Tiny Tinas Wonderlands Walkthroughs
Guides

Tiny Tina’s Wonderlands – The Trial of Crooked-Eye Phil

by MrsChappie in


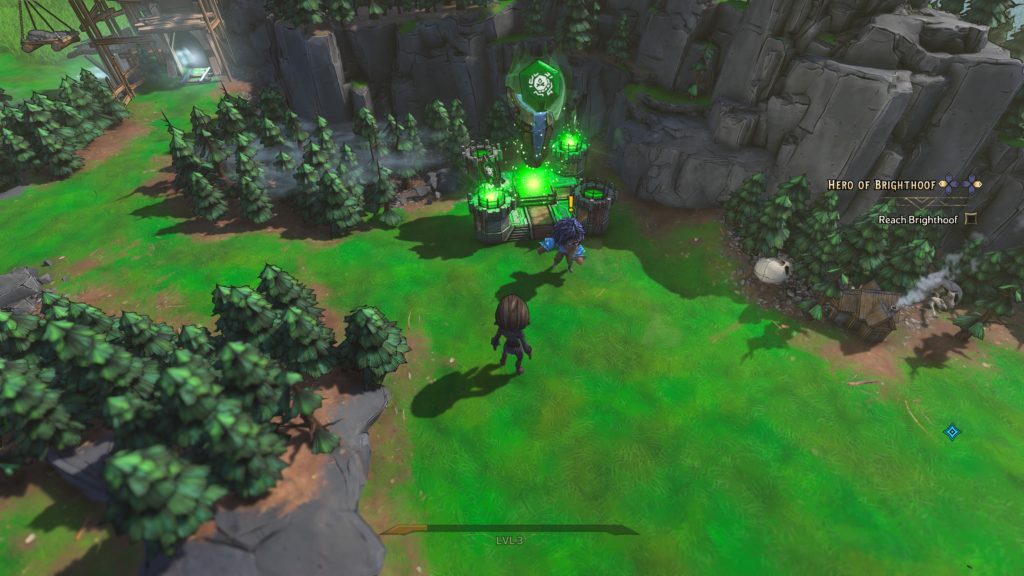
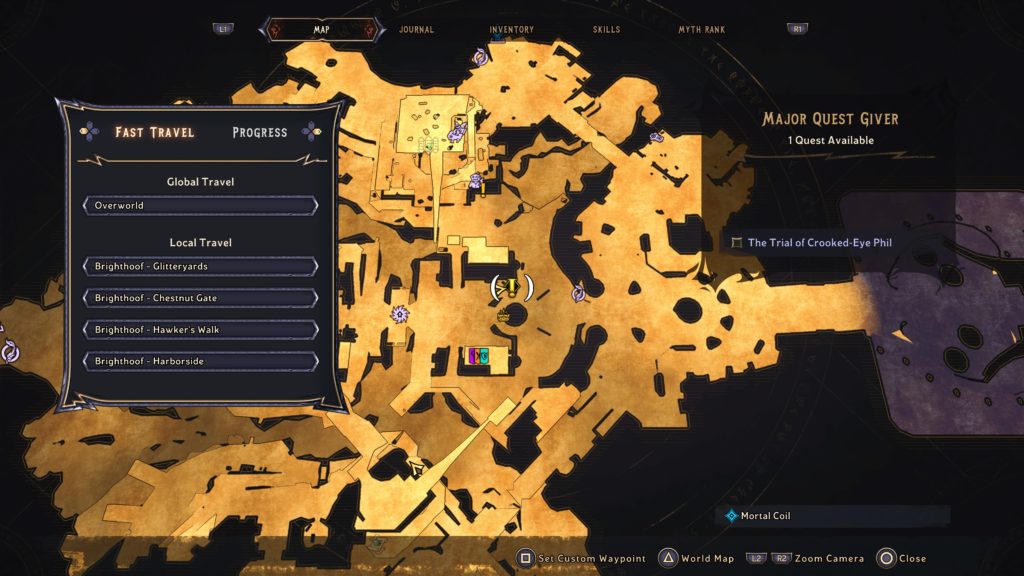
Below is a walkthrough for The Trial of Crooked-Eye Phil side quest in Tiny Tina’s Wonderlands. To obtain this quest, interact with the poster on the board at Brighthoof.


Find Crooked-Eye Phil in Crackmast Cove

Travel to the objective in Crackmast Cove to find Phil in a box.


Knock on box

Bang on the box.


Use lever to release Phil

Head behind the box to pull the lever next to the desk.


Kill cage guards

Defeat all the enemies!


Find directions to Phil’s cave

Travel north to find a scroll.


Find a local 

Head northwest to the next objective to find a group of pirates.


Talk to Surle Finbreaker

Speak with the pirate wearing a pirate hat.


Enter lower caverns

Head north to find the cavern.


Solve the puzzle

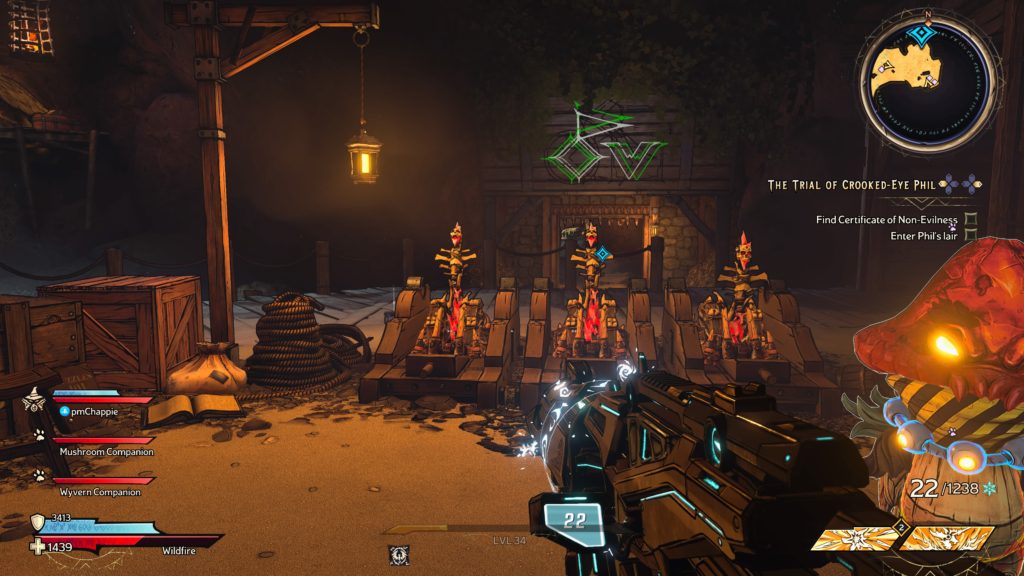
To solve the puzzle, click the left lever one, the middle one once and the right the twice. Just line up the symbols with those above the gate in front of the levers.
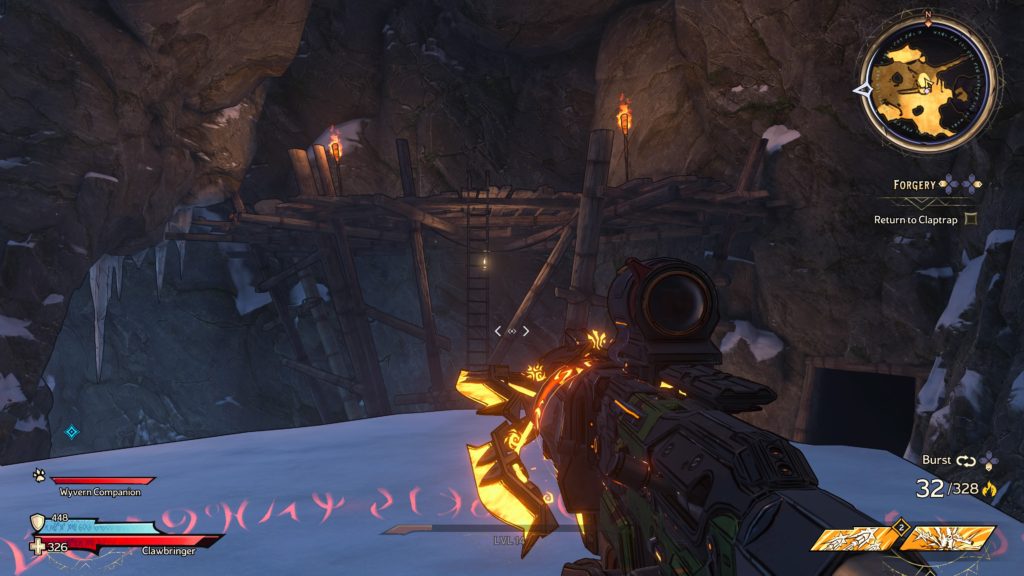
 

Enter Phil’s lair

Head through the newly opened gate and work your way forward. Pull the skull by the gate to open it. Head inside to reach the inner sanctum.


Find Certificate of Non-Evilness

Pull the skull above the chest then loot the chest.


Go to Scallywag Landing

Pull the skull next to the fireplace to find a shortcut then follow the objective to reach a gate. Approach it to trigger a quick dialog event with Surle Finbreaker. Head through the gate and proceed into Scallywag Landing until you approach the objective.


Melee 3 mysterious totems

Melee the totem in front of you then defeat the enemies that spawn. Afterwards, follow the objective to the next one!


Talk to Churl Finbreaker

With the totems destroyed, approach Churl Finbreaker at the objective to the south.


Find Phil

As you make your way to the jail compound, defeat the enemies standing in your way and follow the objectives to 2 Totems and destroy them! Check on Phil in the cage hanging in the air to learn that he is not there anymore.


Reach jail

As you approach the objective, more enemies will spawn. Defeat them only to find the way forward is blocked.
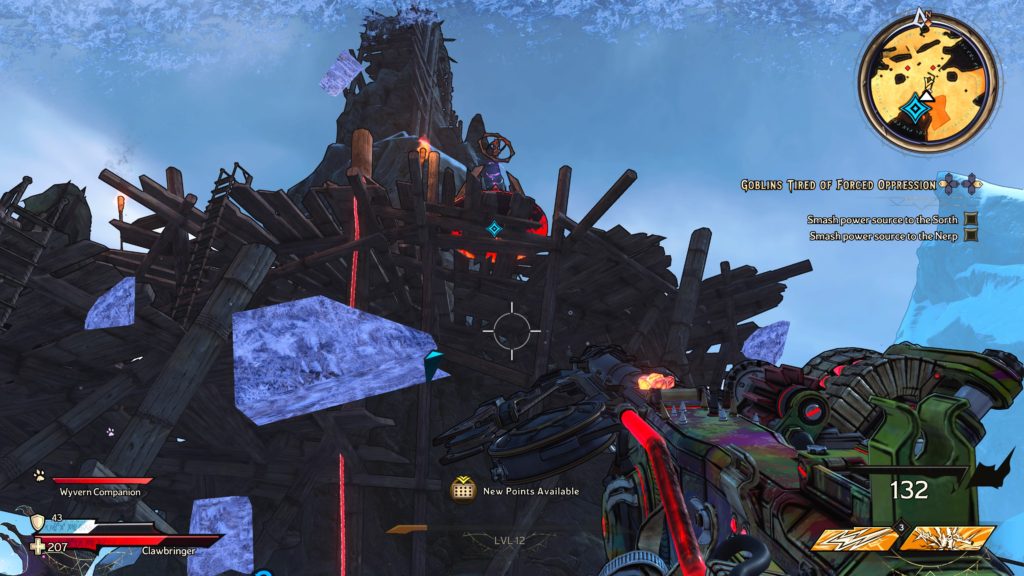
 

Find another way in

Head to the left side of the structure and examine it. Afterwards, head to the cannon in the middle of the area and ignite it. The way forward will now be open so head on through!


Find Phil

Phil can be found in a cage on the upper level of the structure.


Go to pirate court

Head west towards the objective. You’ll pass some vending machines along the way.


Talk to Phil

Speak with Phil in the middle of this area.


Approach the stand

Step on up to the stand!


Present Certificate of Non-Evilness

Place the certificate on the stand.


Kill enemies

After the debate, you’ll be presented with additional objectives to shoot the judge in the leg and melee the totem. If you melee the totem, it’ll cause the shark creatures to spawn just like it’s always done. Defeat everything during your pirate brawl.


Talk to Phil

Speak with him to complete the quest.


Tiny Tinas Wonderlands Walkthroughs
Guides

Tiny Tina’s Wonderlands – A Wandering Aye

by MrsChappie in


Below is a walkthrough for A Wandering Aye side quest in Tiny Tina’s Wonderlands. To obtain this quest, interact with the poster at Crackmast Cove – Scallywag Landing.


Catch up with your undead friend

You can find Bones Three-Wood on a dock overlooking the ghost ship. Speak with him.


Find someone who knows about Plot Armor

Head west to a lone shack.


Find a loud cannon to revive the Witch Doctor

Jump off the cliff to the firing range below where your alarm clock waits! Pull the lever Kronk! 😀 After firing the cannon, pull the lever again. This cannon also will not do. Wait for them to switch it out then fire it!


Speak with the Witch Doctor

Speak with the Witch Doctor near her hammock.


Meet Witch Doctor at Ravenous Caverns

Travel just west of the Crackmast Cove – Scallywag Landing fast travel point to find the Witch Doctor.


Take Hex Caster

Grab the Hex Caster from her.


Collect 4 cursed essence

Head straight across the bridge to find the camp and place the Hex Caster. Attack the pirates until they transform then kill them and loot the essence. You’ll have to do this until you have 4 essences. When you do, kill the remaining enemies.


Let’s see about those Coiled witches

Travel to the next objective to reach the closed gate.


Kill the Coiled

Proceed forward through the gate and defeat the enemies.


Approach Long Bronzed Gilbert

Approach the skeleton then defeat the waves of enemies that spawn from the ship near the beach.


Create curse

Interact with the cauldron where Long Bronzed Gilbert was standing before he ran off.


Take Curse of True Character

Pick up the skull from the ground.


Go to Long Bronzed Gilber’s den

Jump into the portal to reach the den then make your way to the objective to reach a group of Super Badass Pirates.


Try the Hex Caster

Place the object where indicated then defeat the crabs.


Open the front gate

Pull the skull to open the gate.


Find LeChance

Head straight ahead to find LeChance suspended in a cage.


Kill Gilbert’s crew

Defeat all the enemies.


Check on LeChance

Make your way down to the pit to check on LeChance.


Pursue Long Bronzed Gilbert

Exit the cavern.


Cast Curse

Place the curse on the beach where indicated.


Kill Long Bronzed Gilbert

Defeat the enemy!


Return to Bones

Jump through the portal and approach the pirates.


Curse Bones

Place the curse where indicated.


Plunder the booty

Loot the chest!


Say goodbye to Bones

Talk to Bones Three-Wood to complete the quest.


Tiny Tinas Wonderlands Walkthroughs
Guides

Tiny Tina’s Wonderlands – A Knight’s Toil

by MrsChappie in


Below is a walkthrough for A Knight’s Toil side quest in Tiny Tina’s Wonderlands. To obtain this quest, interact with the wanted poster on the door of a building next to the vending machines near the Weepwild Dankness – Dank Encroachment fast travel point.


Find Lake Lady

Head north to find the lovely Lake Lady near a pond and approach her.


Talk to Lake Lady’s neighbors

Head west and approach the goblin drummers.


Silence the drumming neighbors

Kill all the goblins you Goblin Slayer!


Return to Lake Lady

Head back to the lady.


Kill Lake Lady

Defeat her!


Find Llance

Head west towards the objective to find Llance.


Slam attack Llance’s mushroom

Jump down onto the mushroom in the center of the village. Use it to launch into the air to reach the mushroom that Llance is on. When above him hit circle to do a slam attack (you might have to try a couple of times).


Defeat Llance and his squires

Defeat all the enemies.


Grab Llance Bro’s shield

Pick up the shield that drops.


Attach shield

Head over to Claptrap and attach the shield to him.


Find Extra-Caliber

Head across the bridge to locate the sword in the rock.


Take summons

Grab the summons from Claptrap.


Find King Archer

Head north towards the objective to find King Archer and his guard.


Deliver summons

Place the summons on the table.


Kill all the King’s men

Defeat the enemies!


Take hand

Grab the hand that drops from King Archer.


Place arm

Return to Claptrap then place the arm on the sword.


Draw Extra-Caliber

Interact with the sword to pull it out.


Attach Extra-Caliber

Place the sword on Claptrap’s back.


Meet Claptrap at Mervin’s gate

Travel north to the objective to find Claptrap in front of a closed gate in a cave.


Find Mervin

Continue forward then defeat the enemies. Afterwards, approach Mervin.


Approach the first wizard

Approach the objective marked by the objective. You’ll fall through the floor and have to return to the area.


Approach the second wizard

Approach the second wizard marked by the objective then head through the portal.


Kill 3 Mervin

Kill the remaining Mervins.


Collect Holey Spell-nade

Grab the item from Mervin’s tower.


Talk to Claptrap

Speak with him to complete the quest.


Tiny Tinas Wonderlands Walkthroughs
Guides

Tiny Tina’s Wonderlands – Forgery

by MrsChappie in


Below is a walkthrough for the Forgery side quest in Tiny Tina’s Wonderlands. To obtain this quest, speak with Claptrap at the forge on the eastern side of the area.


Take pickaxe

Grab the Shoddy Pickaxe from the ice.


Break into quarry

Head to the wooden gate and melee the lock.


Collect 15 Iron Ore Scraps

Look for the shiny ore and melee it. Afterwards, collect the iron that flies out. Please note that 2 deposits are located on the upper level of the cave. To reach them, you’ll have to run at then jump to the ladder and climb up.


Return to Claptrap

Head back to Claptrap and speak with him.


Place ore in kiln

Go ahead and do as the objective says then wait for Claptrap to do his thing!


Hammer the metal

Melee the metal in front of Claptrap.


Go to the Mountain of Despair

Travel east towards the objective. At the dead end, melee the ore then drop down. Collect 30 Obsidian Ore as an optional objective.


Reach magical ring

Work your way through the area, defeating all the enemies. At the end, melee the hand sticking out of the rocks the pick up the Ring of Fire Dancing.


Go to Ice Caverns

Travel to the northwestern side of the large frozen lake to find a cave. If you haven’t been here before, you’ll need to melee the ice blocking the entrance to gain access to the cave.


Find Cloak of Frost Resistance

Collect 30 Permafrost Ore as an optional objective. In the center of the cave, you’ll spot an ice statue.

Melee it to cause enemies to spawn.


Kill the Froblins

Defeat the enemies in the area.


Take Cloak of Frost Resistance

Grab the cloak from the statue.


Return to Claptrap

Head back to Claptrap.


Place ring and cloak

Place the ring and cloak on the statue next to Claptrap.


Kill Master Tonhammer

Defeat the enemy!


Speak with Claptrap

Talk with Claptrap to complete the quest.


Tiny Tinas Wonderlands Walkthroughs
Guides

Tiny Tina’s Wonderlands – Goblins Tired of Forced Oppression

by MrsChappie in


Below is a walkthrough for the Goblins Tired of Forced Oppression in Tiny Tina’s Wonderlands. To obtain this quest, interact with the bounty board across from the vending machines in the central part of Brighthoof.


Find GTFO camp

Head to Mount Craw then proceed forward just a short way past the Mount Craw – Craw’s Craw fast travel point.


Talk to Jar

Speak with the goblin in the camp.


Follow Jar

Follow Jar across through bridge and through a little camp filled with enemies.


Shoot barrier

When Jar stops, shoot the red barrier blocking the way forward. It won’t work!


Melee the barrier

Melee the barrier. Again, it will not work!


Smash power source to the Sorth

Head south to the objective and smash the power source atop a wooden structure.


Smash power source to the Nerp

Head north to the objective and smash the power source.


Return to entrance

Return to Jar where the barrier was.


Kill Oracle Maer’ji

Defeat the enemies that charge you.


Destroy rock

Melee the rock highlighted to find the Propaganda Posters. Pick them up!


Hang 3 posters

Follow the objective to the 3 locations to place the posters. You’ll have to defeat enemies along the way as you place the posters.


Find Jar

Press forward towards the next objective to find Jar stuck in a room with a bunch of enemies.


Kill Oracle A’menezok and the Oracle’s guards

Defeat all the enemies!


Pick up rusted axe

Pick up the axe dropped by Oracle A’menezok.


Give rusted axe to Jar

Hand the axe to Jar.


Raise GTFO flag

Head behind Jar to place the flag.


Talk to Jar

Wait for Jar to finish her speech then speak with her.


Follow Jar

Follow Jar to the next area.


Free 5 political prisoners

Shoot the locks on the cages to free the prisoners. Afterwards, the quest will complete!


Tiny Tinas Wonderlands Walkthroughs
Guides

Tiny Tina’s Wonderlands – Knife to Meet You Side Quest

by MrsChappie in


Below is a walkthrough for the Knife to Meet You side quest in Tiny Tina’s Wonderlands. To obtain this quest, speak with Bach Stahb in the Overworld.


Reach ruin

When facing Bach Stahb, follow the path to the right then swing north to find the ruins. Fight through two encounters (making sure to melee an enemy) then retrieve the shrine piece for Mool Ah.

Return to Mool Ah and interact with him to complete the quest.


Ghostwire Tokyo
Guides

Ghostwire: Tokyo – The Crimson Moon

by Chappie in


To obtain The Crimson Moon side quest in Ghostwire: Tokyo, interact with the payphone just west of the Construction Labyrinth landmark in the Kuo Shrine area.


Pick up the observation device from the locker

Head to the nearby locker marked by the objective and press L2 to open it.


Acquire lunar analysis data x3

Make your way to the closest search area to find a tall building south of the Yashin Shrine.

On the west side of the building there will be some scaffolding. Climb up it to reach the first third of the building. If you turn around, you’ll see a yellow lift you can ride up. Once at the top, you’ll find another yellow lift. Again, ride it up to the roof. Once on the roof, deal with the enemies and clear the corruption as you make your way to the very top of the building. Interact with the objective marker and press L2 while looking at the moon. Next, travel to the search area northwest of Yashin Shrine to find another tall building.

On the eastern side of the building, use the Tengu to pull yourself up to a higher part of the building. Follow the building around to find escaladers. Take them up a flight. If you haven’t been here yet, run behind the next set of escaladers to find a relic next to the last set of clothes at the far end. When you’re ready, head up the second escalader. Turn around and take then next set of escaladers up. Look up to see a Tengu and use it to reach a higher level. You’ll then need to climb the long ladder. At the top, turn around and use the yellow lift to reach the roof of the building. Once on the roof, clear out the enemies as you make your way to the tallest part. Again, approach the objective and press L2 while pointing the device at the moon. Afterwards, make your way to the search area north of Shibuya Station landmark to find the last tall building.

Take the stairwell on the northwestern side of the building up then use the yellow lift. Once on the roof, head south past a set of stairs and use the ladder on the left to reach the highest part. Use the device.


Send Ed the lunar analysis data

Travel back to the payphone you received this quest from at the construction site west of Kuo Shrine. Answer the call to complete the quest!


Rewards

  • Meika: 5,000
  • Outfit: Ghostwear
  • Outfit: Fallout 4 Vault Suit
  • Approx. 750 Spirits


Astria Ascending
Guides

Astria Ascending – Phantom Illness

by Chappie in


In Astria Ascending, speak with Senna at Uptown after making Alassia an Alchemist to obtain the Phantom Illness side quest.


Talk to Geoduera in Awisi Woods

Travel to Awisi Woods and speak with Geoduera.


Talk to Nobi at the Harmonia Tower

Nobi can be found on Floor 000 – Entrance to the left of the elevator. Speak with her.


Talk to Nabu at the Harmonia Tower

Nabu is standing right next to Nobi (above objective). Speak with her.


Go back to talk to Geoduera in Awisi Woods

Travel to Awisi Woods and speak with Geoduera.


Find the Guild client at the Libra Temple

Travel to the Room of Balance at the Libra Temple then head east to the next area. In this room, you’ll need to work your way to the top left side of the room. This will bring you to a section of the area with multiple gusts of air blowing up. You’ll want to glide to the middle part of the room which will carry you to an upper area where you’ll find Della. Speak with her to trigger a cutscene.


Go back to talk to Geoduera in Awisi Woods

Travel to Awisi Woods and speak with Geoduera.


Obtain 2 Ethers, 2 Fire Ores and 1 Life Fragment

If you do not have these items, click here to find out how to obtain them!


Meet Geoduera at the Libra Temple

Geoduera can be found in the same location as the above Guild client (Della). Speak with her to start a fight with Specter. It’s weak to light, resist fire and drains dark. Defeat it!


Talk to Geoduera at the Libra Temple

After you defeat the creature, speak with Geoduera.


Go back to talk to Senna in Uptown

Travel to Harmonia and speak with Senna in Uptown to complete the quest.


Rewards: Genubi x1, Eriorus Ore x6 and 5,000 Lums


Astria Ascending
Guides

Astria Ascending – Scorpio Temple

by Chappie in


This is a guide for the Scorpio Temple side quest in Astria Ascending.


Obtained: Given to you automatically as part of the story from Yuno in Chapter XI.

Rewards: This quest has no rewards.


Find Fedorah in the Swamps 

Fast travel to the Branching Roots fast travel point then head east until you find Fedorah.


Fly to the Scorpio Temple and Investigate Zibani’s statue

Interact with Fedorah to begin the flying minigame. When it completes, you’ll be at the Scorpio Temple.


Explore the Scorpio Temple

Approach the Zibani statue to trigger a fight with the Zibani, the Scorpio Astrae. It has 7 transformations you’ll have to get through to bring it down. For the first two, it resists water, nullifies physical and drains ice. For transformation 3 to 6, it’s weak to fire, resists water and nullifies ice. For the last phase, it’s weak to physical and drains everything else. After you defeat it, continue through the temple heading for the prayer room. Towards the end, you’ll come to a big open room with multiple doorways with the way forward is at the far east side of the room past a long stretch of water. In this room, you’ll want to move the ice block from the right side of the room to the left. You’ll do this by using the wind power of the Zodiac Ring. When you get the ice block to the top level on top of the wooden platform, head to the left side of the map to find a pedestal. Hit it with the Zodiac Ring to drop the wooden platform causing the ice block to fall. This will allow you to move the block to the gap on the left side of the room raising the water on the right side. Walk across the water and head to the doorway. Keep heading forward until you reach the Prayer Room.


Talk to Marin

When you get there, speak with Marin to trigger a cutscene and complete the quest.


Astria Ascending
Guides

Astria Ascending – A Past for a Future

by Chappie in


This is a guide for A Past for a Future side quest in Astria Ascending.

Obtained: Speak with Senna after making Alassia a Chronomancer

Rewards: Nunki x1, Alassia – Chronomancer Token x1, 5000 Lums


Talk to Nabu at the Harmonia Tower

Speak with Nabu at F000 – Entrance. You’ll have to choose between Jana the Quick and Shay the Kind.


Jana the Quick

Find out about Jana in the Awisi Woods

Make your way to the second area of Awisi Woods to trigger a cutscene.


Talk to Nareena at the Guild of Arsion

Travel to the Guild in Arsion and speak with Nareena.


Go back to talk to Nabu at the Harmonia Tower

Return to Nabu on F000 – Entrance.


Talk to the PeysKing in Vetira

Travel to Vetira and speak with the PeysKing.


Defeat the targets in The Swamps

Now, it’s time to make your way to The Swamps. Fast Travel to the Path to the Pisces Temple then head through the eastern doorway to reach the next area. Keep heading east until you reach the glowing red orb just before the small pond. Interact with it then defeat the Noise.


Go back to talk to the PeysKing in Vetira

Return to the King in Vetira and speak with him to learn more about Jana.


Talk to Juma in Windam

Travel to the Guild in Windam and speak with Juma inside.


Investigate Shay at the Sagittarius Temple

Fast travel to the Statue of Helcion in the Sagittarius Temple and head follow the linear path in the first area to find a glowing orb in the southern part of the room. Interact with it to trigger a scene.


Talk to Yuno

Head to Floor 295 in Harmonia Tower and speak with Yuno.


Talk to Chelle at the Coliseum

Speak with Chelle at the Leo Temple and defeat Jana.


Go back to talk to Shay at the Sagittarius Temple

Fast travel to the Statue of Helcion in the Sagittarius Temple and head follow the linear path in the first area to find a glowing orb in the southern part of the room. Interact with it to trigger a scene.


Go back to talk to Yuno

Head to Floor 295 in Harmonia Tower and speak with Yuno.


Go back to talk to Senna in Uptown

Speak with Senna in Uptown to complete the quest.


Shay the Kind

Find out about Shay in Arktan Valley

Make your way to Arktan Valley and interact with the glowing orb in the second area to trigger a cutscene.


Talk to Enoha in Vetira

Travel to Vetira and speak with Enoha in the Guild.


Search the Capricorn Temple

Shay’s Possession can be found at the top of the room shown above. The glowing orb is hard to see as it rests in front of some pots. Interact with it!


Go back to talk to Senna in Uptown

Speak with Senna in Uptown.


Go back to talk to Lyedach in Arktan Valley

Make your way to Arktan Valley and speak with Lyedach in the second area.


Obtain Shay’s Possession at the Cancer Temple

Fast travel to the Statue of Karkinos and make your way to the fourth area. In the fourth area just before the door there will be a symbol on the wall. Interact with it!


Obtain Shay’s Possession at the Aquarius Temple

Fast travel to the Room of Determination and head west. In the next room solve the puzzle by hitting the pedestal on the upper levels with light to open the door on the left. Head through the door and make your way to the very northern part of the area to find a glowing orb. Interact with it!


Talk to Yuno

Head to Floor 295 in Harmonia Tower and speak with Yuno.


Talk to Chelle at the Coliseum

Speak with Chelle at the Leo Temple and defeat Jana.


Obtain Shay’s Possession at the Sagittarius Temple

Fast travel to the Statue of Helcion in the Sagittarius Temple and head follow the linear path in the first area to find a glowing orb in the southern part of the room. Interact with it to trigger a scene.


Go back to talk to Yuno

Return to Yuno and speak with her.


Go back to talk to Senna in Uptown

Speak with Senna in Uptown to complete the quest.