Avatar Frontiers of Pandora Logo
Guides

How to Complete Crush – Frontiers of Pandora Guide

by NightlyGamingBinge in

Welcome to NGB and our guide for the Crush side quest in Avatar: Frontiers of Pandora. Here’ll we cover how to start the quest and what all you’ll need to do in order to complete it.

How to Start Crush

In order to start this quest, you’ll first need to progress with the main story until you reach the “Eywa’s Blessing” main quest. Once you’ve done that, speak with Nawuk outside near the entrance to Hometree.

Crush Objectives

  • Locate the island where Nawuk saw the human
  • Investigate the Island for Clues
  • Hack the tablet for clues
  • Pick up the dropped Resistance tablet
  • Ask Alexander at Resistance HQ if he knows anything about the tablet
  • Ask around Resistance HQ

Locate the Island Where Nawuk Saw the Human

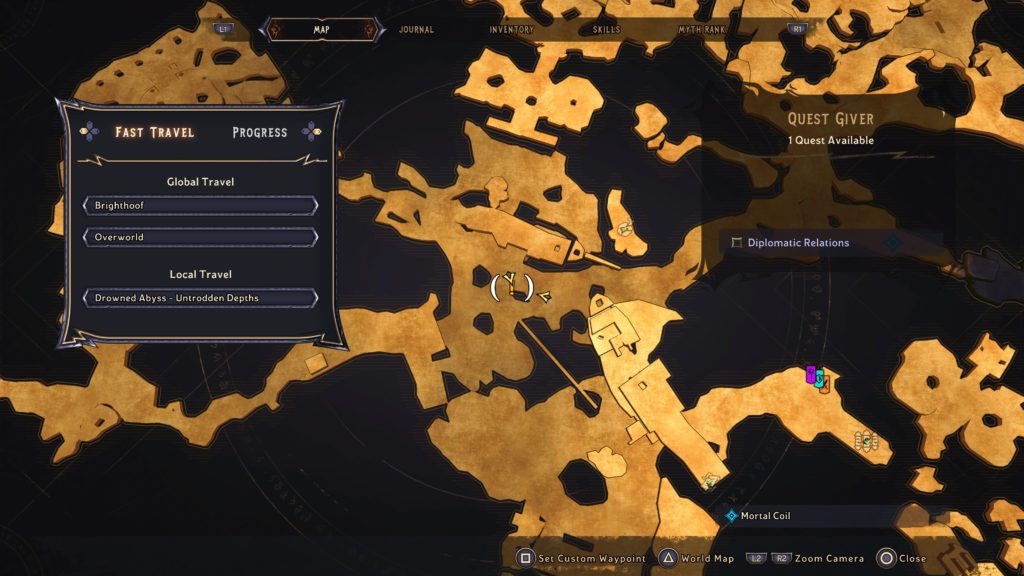
Exit Hometree then head east towards Resistance HQ. About halfway between the two, you’ll reach the Threaded River. The crash site can be found in the middle of it near a giant fallen log.

Crush Avatar Frontiers of Pandora Crash Site

Investigate the Island for Clues

You’ll need to investigate the area to figure out what’s going on. Start by inspecting the two items below. You’ll then need to interact with the box of rations then link it with the skid marks to find the first clue. The skid marks are located outside of the log on the southwestern side. You can find the box of rations under the log next to a backpack with a musical instrument leaning on it.

  • Aircraft Skid Marks
  • Box of Resistance Rations
Avatar: Frontiers of Pandora Crush Side Quest Skid Marks Area Location

For the next clue, you’ll need to inspect the two items listed below. The cracked tablet can be found near the skid marks from the previous clue while the wide footprints are northeast of the tablet near the broken branch. After finding and inspecting both, interact with the footprints and link them to the tablet.

  • A Cracked Tablet
  • Wide Footprints
Avatar: Frontiers of Pandora Crush Side Quest Wide Footprints Area Location

The last clue can be found across the opening of the fallen log to the northwest. The branch and wasphive will both be on the ground next to each other. Inspect them both then interact with the branch and link it with the hive.

  • Broken Branch
  • Broken Wasphive
Avatar: Frontiers of Pandora Crush Side Quest Broken Branch and Broken Wasphive Area Location

Hack the Tablet for Clues / Pick it Up

Return to the broken tablet then break out your handy hacking tool and use it to hack the device. This will cause an audio recording to play. After it ends, collect the tablet and bring it to Alexander at the Resistance HQ. For us, he was in the Research Area on one of the upper floors. Speak with him about the device and in return he’ll offer a prayer and good luck!

Ask Around Resistance HQ

There are a number of people around HQ you can ask about the tablet so feel free to look around if you want to see everyone’s dialog options. If you just want to progress the quest, head down to Maintenance on the 1st level of HQ and speak with Anqa Salaam near the northeastern air lock. After the initial conversation, you’ll need to speak with her once more to confront her about the tablet. This will cause her to lead you nearby to Living Quarters where you’ll have to speak with her once more about the poem. After a brief conversation, the quest will complete.

Avatar: Frontiers of Pandora Crush Side Quest Anqa Salaam Area Location
Avatar Frontiers of Pandora Logo
Guides

How to Complete Gatherer Gone in Frontiers of Pandora

by NightlyGamingBinge in

Welcome to NGB and our guide for the Gatherer Gone side quest in Avatar: Frontiers of Pandora. Here’ll we cover how to start the quest and what all you’ll need to do in order to complete it.

How to Start Gatherer Gone

In order to start this quest, you’ll first need to progress with the main story until you reach the “Eywa’s Blessing” main quest. Once you’ve done that, speak with Neytu in the Weaver’s Den at Hometree.

Gatherer Gone Objectives

  • Ask the People at Shaded Grove camp about Vu’an
  • Locate Vu’an’s gathering spot
  • Investigate the Gathering Spot
  • Track the scent of herbs from the strange viperwolf attack
  • Talk to Vu’an at Wildwood Den
  • Clear the area of viperwolves
  • Meet Vu’an at Hometree

Ask the People at Shaded Grove Camp About Vu’An

After accepting the quest, set out for the Shaded Grove which can be found west of Hometree. When you get there, you’ll want to find Lurei playing some giant bongos on the upper level of the Shaded Grove. Speak with her and she’ll tell you about Vu’an’s favorite gathering spot.

Avatar: Frontiers of Pandora Gatherer Gone Side Quest Lurei Area Image

Locate Vu’an’s Gathering Spot

Leave Shaded Grove and travel north (and slightly west) to reach the Gossamer Lakes. You’ll find the gathering spot on the north side under some giant tree roots. Start out by inspecting the herb bag in the water then travel northwest and inspect the dead viperwolf stuck to the tree by arrows. Link those to items together to receive the first clue.

  • Slashed Herb Bag
  • Dead Viperwolf
Avatar: Frontiers of Pandora Gatherer Gone Side Quest Dead Viperwolf Area Image

Next, inspect the scattered arrows near the herb bag stuck in the ground and the broken bow leaning against a rock down the path to the right of the tree with the viperwolf. You’ll then want to link the two together to receive the 2nd clue.

  • Scattered Arrows
  • Broken Bow
Avatar: Frontiers of Pandora Gatherer Gone Side Quest Bow Area Image

Track the Scent of Herbs from the Strange Viperwolf Attack

After collecting both clues, use your Na’vi sense to follow the scent of herbs. This will lead you to a den in the Wildwood where Vu’an is taking refuge. Approach her to trigger a cutscene where you’ll offer to deal with the viperwolves.

Clear the Area of Viperwolves

Now you’ll have to fight off three groups of the viperwolves. If you use your senses on them, you’ll see their weak point is in their neck. Once you finish a group, you’ll have to wait a bit for the next one to spawn. Try circling the den to make this happen a bit faster. Once they have all been taken care of, return to Vu’an in the Wildwood Den and speak with her.

Meet Vu’an at Hometree

Travel back to Homtree then speak with Vu’an and Neytu in the Weaver’s Den to complete the quest.

Gatherer Gone Rewards

  • Vu’an’s Sleeve (Armguard)
    • 40 Health
    • 15% Bonus health
    • 2% Melee resistance
    • 1% Ranged resistance
Hogwarts Legacy Logo
Guides

Hogwarts Legacy – Flying Off the Shelves

by NightlyGamingBinge in

This side quest becomes available during the Attend Your First Day At Hogwarts main quest after attending both Charms and Defense against the Dark Arts class. To start it, speak with Cressida Blume in Central Hall at The Library Annex in Hogwarts. She’ll tell you how a charm of hers didn’t quite go as planned and ask you to retrieve her 5 flying books from the library.

Find 5 Flying Books

Head down the stairs near Cressida then take a right through the door there to enter the library. Her books can be found flying around various parts of the library. You’ll need to use the Accio spell to collect them. Check out the list below for a general idea of where you can find each book.

  • Middle of the library on the ground floor
  • Northeast side of the library
  • Southwest side of the library and cuts over into the restricted section
  • Second level northeast side
  • Second level southwest side

Rewards

After nabbing all five of them, return to Cressida. If you hand them over without any fuss, she’ll reward you with some money and an Avian-Grey wand handle. Alternatively, if you ask her for a reward to keep her diary a secret, she’ll of course be mad. If you press her, she’ll say that she’s going to write nasty stuff about you but will fork over 300 Gold and an Avian-Grey wand.

Hogwarts Legacy Logo
Guides

Hogwarts Legacy – Like A Moth to a Frame

by NightlyGamingBinge in

In Hogwarts Legacy, you have the option of completing side quests to earn different rewards. Below is a guide on the Like a Moth to a Frame side quest!

To obtain this side quest, speak with Lenora in The Library Annex near the Central Hall Floo Flame at Hogwarts. For the first task, you’ll need to discover the painting’s secret. To do this, stand in front of the blank painting and cast the Lumos spell.

Next, you’ll have to find the spot the painting reveals. This spot can be found on the other side of the room to the south. Head down the stairs (a book should be flying overhead) then take a left to find the spot shown in the empty painting. To the left of the statue, you’ll see a moth on the wall. Approach it with the Lumos spell active to retrieve the moth. Return to the empty picture and cast Lumos to reactive the spell to transfer the moth into the painting thus solving the riddle. Before leaving to find Lenora, collect the Field Guide Page next to you!

Afterwards, head up the stairs to the right of the painting and speak with Lenora who is reading a book leaning on the rail over where the painting was to complete the quest. You’ll receive the Cobalt Regalia Appearance as a reward!

Xenoblade Chronicles 3 Walkthroughs Guides
Guides

Xenoblade Chronicles 3 – Champion of the Nopon

by MrsChappie in


Below is a walkthrough for the Champion of the Nopon DLC quest in Xenoblade Chronicles 3. You can accept this quest from the Expansion Pass tab in the menu under Vol. 2 (if you purchased the expansion pass!).


Travel to the Great Idalla Ravine landmark in the Fornis Region then make your way east to the objective. When you arrive, a cutscene will trigger followed by a fight against 4 Level 19 Dannagh Arachno. Defeat them then travel east to the next objective where another cutscene will trigger. Afterwards, approach the group of Level 20 Disparre Skwaror then defeat them to trigger another cutscene. Once it concludes, follow the tutorial on how to power up Ino. When you’ve finished, another cutscene will trigger and the quest will complete.


Rewards:

  • 1180 EXP
  • 1520 G
  • 10 SP


Eiyuden Chronicles Rising
Guides

Eiyuden Chronicle: Rising – Go Fetch Some Rare Nuts

by MrsChappie in


Below is a walkthrough for the Resident Quest called Go Fetch Some Rare Nuts in Eiyuden Chronicle: Rising. This quest can be found on the bulletin board in the Plaza after completing The Cost of Good Manners main quest. To accept it, head to the Town Outskirts and speak with Mannan.


Gather 5 Nuts in the Great Forest

Nuts can be found in the Great Forest in the area between the Forest Cave and Great Tree Blade. They appear as shiny objects on the ground. After you collect 5 Nuts, return to Mannan in the Town Outskirts to speak with him and complete the quest.


Rewards: 

  • Stamp
  • EXP: 500


Tiny Tinas Wonderlands Walkthroughs
Guides

Tiny Tina’s Wonderlands – Ancient Powers

by MrsChappie in


Below is a walkthrough for the Ancient Powers side quest in Tiny Tina’s Wonderlands. To obtain this quest, interact with the poster near Karnok’s Wall – The Ribs fast travel point.


Meet up with Dryxxl

Travel to the objective to find Dryxxl. Speak with him then follow him.


Solve puzzle

The solution to the puzzle can be found behind a breakable wall next to the puzzle. You’ll be able to break this wall after you melee one of the statues. Melee the statues in the following order:


Follow Dryxxl

Follow behind him!


Defeat the enemies

Kill all the enemies that attack.


Explore without Dryxxl

Head up the steps to find Dryxxl near a sealed door. Approach him!


Find 2 Keys

Head to each objective and slay the enemies there. One enemy will drop the key in each area.


Insert Keys

Return to Dryxxl and insert the keys.


Locate Inner Sanctum

Head through the newly opened door and follow the path. Enter the portal at the end.


Follow Dryxxl

Once through the portal, follow Dryxxl.


Have Dryxxl start ritual

When he stops, interact with Dryxxl to have him begin. You’ll have to fight off the enemies that spawn immediately after.


Invest life essence

Interact with the object next to Dryxxl then take the spell. Afterwards, the quest will complete.


Tiny Tinas Wonderlands Walkthroughs
Guides

Tiny Tina’s Wonderlands – A Pet’s Rest

by MrsChappie in


Below is a walkthrough for A Pet’s Rest side quest in Tiny Tina’s Wonderlands. To obtain this quest, speak with Lisha in the Overworld after completing The Godswell area.


Reach cave

Head to the objective in the north and enter the dungeon. Complete 2 encounters then loot the chest that spawns at the end. Exit the dungeon via the portal.


Talk to Lisha

Return to Lisha and speak with her to complete the quest.


Tiny Tinas Wonderlands Walkthroughs
Guides

Tiny Tina’s Wonderlands – Diplomatic Relations

by MrsChappie in


Below is a walkthrough for the Diplomatic Relations side quest in Tiny Tina’s Wonderlands. To obtain this quest, interact with the poster in Drowned Abyss.


Talk to Quimble in Drowned Abyss

Make your way to Quimble in the southern part of the area.


Repel Coiled assault

Defeat all the enemies.


Report back to Quimble

Head back to Quimble and speak with him.


Catch up to Claptrap

Follow the objective to reach the missile spewing green stuff.


Explode 3 barrels

Shoot the barrels next to the rocket.


Talk to Claptrap

Speak with him.


Kill Coiled

Defeat the enemies as they did not like Claptrap’s speech.


Meet Claptrap near peaceful flowers

Follow the objective to find Claptrap.


Frolic and jump around the flowers

Jump in circles!


Talk to Claptrap

Speak with Claptrap to watch his peace attempt.


Kill some more Coiled

Defeat the enemies!


Meet Claptrap near pirate ship

Head nearby to the pirate ship.


Hit 3 someones

Melee Claptrap 3 times!


Smack that booty

Melee the chest behind Claptrap.


Talk to Claptrap

Speak with Claptrap to watch his negotiation attempt.


Follow Claptrap

Follow Claptrap to a new area and listen to him negotiate.


Kill Coiled

When the negotiations fall through again, defeat the enemies!


Find Claptrap

Follow the objective through the newly opened door to find Claptrap. Defeat all the crabs around him.


Dislodge Claptrap

Melee him!


Talk to Quimble

Return to Quimble and speak with him to complete the quest.


Tiny Tinas Wonderlands Walkthroughs
Guides

Tiny Tina’s Wonderlands – Of Curse and Claw

by MrsChappie in


Below is a walkthrough for the Of Curse and Claw side quest in Tiny Tina’s Wonderlands. To obtain this quest, speak with Snider in the Drowned Abyss.


Defeat the Slither Sisters

Head to the objective and defeat the seduced sailors. Afterwards, kill the shadows.


Obey the Slither Sisters

Exit the temple then proceed straight ahead to Captain Claw’s ship. Defeat the crabs there.


Speak with Captain Claw

Talk to the crab.


Destroy the clampifiers

Travel southwest to the objective then shoot the 4 pearls.


Return to the Slither Sisters

Return to the sisters and defeat them.


Talk to Captain Claw

Speak with the crab to complete the quest.