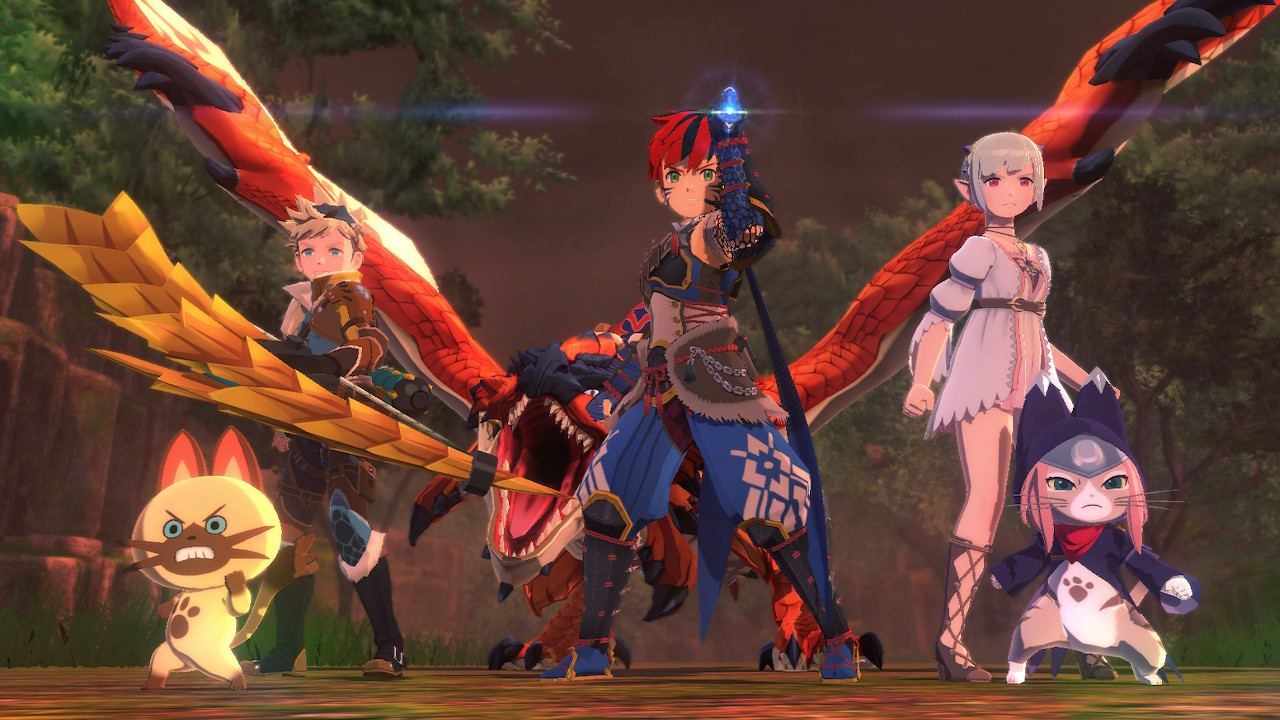
Below are the 3 star subquests in Monster Hunter Stories 2! For a detailed guide on everything you need to know about the monsters (Monsterpedia plus more), click here!
Basics: Rite of Channeling
Obtained: Quest Board
Objective: Perform Rite of Channeling
Head to a Stables and select “Rite of Channeling” to complete the quest.
Rewards: Bottle Cap x5, 3000 Z and 80 EXP
By the Name of Mud
Obtained: Quest Board
Objective: Slay Barroth
Barroth can be found in Loloska. Their attack type is normally Speed, but when they are covered in mud it’s Technical. Their weak point is fire normally and water when covered in mud. They are also weak to slash normally and when the body parts are available they are weak as follows:
- Head – Blunt
- Tail – Pierce
- Leg – Slash
- Body – Slash
Rewards: Kuan Cruller x2, 5400 Z and 110 EXP
Co-Op Call: Congalala
Obtained: Quest Board
Objective: Slay Congalala
The Congalala can be found in Loloska. Its attack type is Technical normally and Power when enraged. The weak point is fire and its body is weak to pierce.
Rewards: Blue Mushroom x3, Stinkshroom x3, 4800 Z and 100 EXP
Co-Op Call: Tobi-Kadachi
Obtained: Quest Board
Objective: Slay Tobi-Kadachi
Tobi-Kadachi can be found in Loloska. Its attack type is Speed normally, Technical when enraged and Power when electric. The weak point is water and it’s weak to the following weapon types:
- Body – Slash
- Legs – Slash
- Tail – Slash, Blunt
Rewards: Flashbug x2, 4800 Z and 100 EXP
Energy Drink Concoction
Obtained: Quest Board
Objective: Deliver Hot Pepper x3 and Honey x3
These items can be found from gathering points around Loloska.
Rewards: Need a Boost?, Energy Drink x3, 4000 Z and 90 EXP
Forest Fiend
Obtained: Quest Board
Objective: Slay Kecha Wacha x1
The Kecha Wacha can be found in Loloska. Its attack type is Speed normally and Technical when enraged. The weak point is fire and its weak to the following weapon types:
- Head – Slash
- Body – Slash
- Tail – Slash
- Claws – Blunt
Rewards: Anesfressia x3, 3600 Z and 80 EXP
Gene-ius: Sleeping Cinder
Obtained: Speak with Ol’ Dede at Lavina Hot Spring in Loloska
Objective: Bring a Monstie with a Fire gene
Show him any monster with a Fire gene. He’s not picky!
Rewards: Brute Wyv. Stimulant, 4000 Z and 90 EXP
Gene-ius: Two-Tone
Obtained: Speak with Ol’ Dede at Lavina Hot Spring in Loloska
Objective: Bring a Monstie with two or more elemental genes
Show him a monster that has at least 2 different elemental genes.
Rewards: Leviathan Stimulant, 5000 Z and 160 EXP
Good to Those Who Wait
Obtained: Quest Board
Objective: Slay Baggi x6
The Baggi can be found in Loloska. Their attack type is Speed. They are weak to fire and slash.
Rewards: Energy Drink, 3600 Z and 80 EXP
(Hard) Co-Op Call: Seltas
Obtained: Quest Board
Objective: Slay The Alluring Mantid
The Alluring Mantid is a Seltas Queen, which can be found in Loloska Rocky Canyon. Its attack type is Technical normally, Power when united with Seltas and Speed when enraged. It is also weak to the following weapon types:
- Head – Pierce
- Body – Pierce
- Legs – Blunt
Rewards: Stink Scrub x2, Godbug x2, 8400 Z and 170 EXP
(Hard) Lurking Nerscylla
Obtained: Quest Board
Objective: Slay The Insidious Weaver
The Insidious Weaver is the Nerscylla, which can be found in Loloska Forest at night. Its attack type is Technical normally and Speed when enraged. The weak point is fire and it is also weak to the following weapon types:
- Needle – Pierce
- Head – Blunt
- Chest – Pierce
- Stomach – Slash
- Legs – Slash
Rewards: Godbug x2, Bitterbug x2, 7800 Z and 160 EXP
(Hard) Tyrant Anjanath
Obtained: Quest Board
Objective: Slay The Torrid Tyrant
The Torrid Tyrant is an Anjanath, which can be found roaming directly south of the North Kamuna Cape Catavan Stand just past the long-necked dinos on Hakolo Island. Its attack type is Speed normally and Power when enraged. The weak point is water and it’s weak to the following weapon types:
- Body – Pierce
- Nose (when enraged) – Pierce
Rewards: Paralysis Knife, Trap Tool, 7800 Z and 160 EXP
Heartwarming Weapons!
Obtained: Speak with the Loving Rider in Kuan Village
Objective: Equip an Anjanath weapon
Forge any one of the Anjanath weapons at the Smithy using 6 points of Anjanath Material, 2 points of Mid-Grade Ore and 7400 Z. Once you’ve forged the weapon, equip it for the quest!
Rewards: H. Horn: Bloodsuck, 6000 Z and 130 EXP
Hot Fresh Donuts
Obtained: Quest Board
Objective: Deliver Woemill Wheat x3 and Loloska Honey x3
The Woemill Wheat can be found as gather points around Alcala, and the Loloska Honey can be collected from beehives in Loloska!
Rewards: Family Favorite, Kuan Cruller x3, 3000 Z and 80 EXP
Item Quiz 2
Obtained: Speak with Paw-Throwing Felyne in Rutoh Village
Objective: Answer all questions correctly
The answers to the quiz questions are as follow:
- Question 1 – Pitfall Trap
- Question 2 – Shock Trap
- Question 3 – Tranq Trap
Rewards: Trendsetter: Scents, Stink Scrub x2, 4000 Z and 90 EXP
Love is Blind
Obtained: Quest Board
Objective: Slay Khezu
The Khezu can be found in Loloska in the Lavina Glacial Peaks in a cave on the western side of the area near where the boss was. Their attack type is normally Technical and when enraged it switches to Power. They are weak to the following weapon types:
- Head – Pierce
- Body – Slash, Blunt
Rewards: Fire Herb x3, 4800 Z and 100 EXP
Lovely Loloska
Obtained: Quest Board
Objective: Deliver Mt. Lavina Commodity x10 points
Mt. Lavina Commodities can be obtained from gather points around Loloska. They are Aurora Grass (1 point), Diamond Dust (2 points) and Icebound Bone (5 points).
Rewards: Chillshroom x2, 1800 Z and 50 EXP
More Layers!
Obtained: Speak with the Loving Rider in Kuan Village
Objective: Equip Zamtrios Armor
You can craft the armor at the Smithy. It require 6 points of Zamtrios Material and 2300 Z. Once you craft it, make sure to equip it!
Reward: Warm and Healthy, Hot Mist x3, 5000 Z and 110 EXP
Nerscylla Habitat Research
Obtained: Quest Board
Objective: Slay Nerscylla
The Nerscylla can be found in Loloska. Its attack type is Technical and Speed when enraged. The weak point is fire and it’s weak to the following weapon types:
- Needle – Pierce
- Head – Blunt
- Chest – Pierce
- Stomach – Slash
- Legs – Slash
Rewards: Spider Web x2, 5400 Z and 110 EXP
Overpowering Pheromones
Obtained: Quest Board
Objective: Slay Seltas Queen
The Seltas Queen can be found in Loloska Rocky Canyon. Its attack type is Technical normally, Power when united with Seltas and Speed when enraged. Its weak point is fire and its weak to the following weapon types:
- Head – Pierce
- Body – Pierce
- Legs – Blunt
Rewards: Stink Scrub, 5400 Z and 110 EXP
Popo Protector
Obtained: Speak with the Little Prankster near the chief’s house in Kuan Village
Objective: Slay Anjanath
The Anjanath can be found in Loloska. Its attack type is Speed and Power when enraged. The weak point is water and both its body and nose (when enraged) are weak to pierce.
Rewards: Bow Tech: Arc Shot, 8000 Z and 170 EXP
Shadows of Red 3
Obtained: Speak with the Kindly Old Man in Rutoh Village
Objective: Equip Red Khezu Armor
Head to a Smithy and forge the Red Khezu armor using 6 points of Red Khezu Material and 3300 Z. Please note that there is literally a red Khezu you’ll need to fight to obtain this material. It can be found at Loloska in the Lavina Glacial Peaks in a cave on the western side of the area near where the boss was.
Rewards: Perfect Vision, Intuitizer, 7000 Z and 150 EXP
Three-Hole Donuts
Obtained: Quest Board
Objective: Deliver Woemill Wheat x3 and Alcala Honey x3
Collect from gathering points around Alcala!
Rewards: Alwin’s Specialty, Rutoh Ringer x3, 3000 Z and 80 EXP
Toughness Meat is a Treat
Obtained: Quest Board
Objective: Deliver Raw Meat x6 and Hot Pepper x1
Both items can be obtained in Loloska.
Rewards: Toughness Meat x2, 3000 Z and 80 EXP
Tundra Terror
Obtained: Speak with Popular Old Woman in Kuan Village
Objective: Slay Zamite x6
The Zamite can be found in Loloska. Their attack type is Technical. They are weak to electric, Slash and Pierce.
Rewards: Flash Bomb How-To, Flash Bomb x2, 5000 Z and 110 EXP
Unsolicited Light Show
Obtained: Quest Board
Objective: Slay Gypceros
The Gypceros can be found in Loloska. Their attack type is Power and Technical when enraged. The weak point is fire and their tail is weak to Slash.
Rewards: Antidote Herb x3, 4200 Z and 90 EXP
X Marks the Spot!
Obtained: Speak with the Relaxed Man in Kuan Village
Objective: Find the treasure /pirate’s beach
Travel to Sailor’s Beach then follow the beach around south to find a shiny object on the ground. Pick it up to receive your next clue. Next, travel to Mahana Village. Exit the village and head north towards two waterfalls. Approach the first waterfall, which is the right one, and interact with the rock on the right side to receive the next clue. Travel to the Zeramon Oasis in Lamure at night and inspect the rock next to the Oasis Everden. Afterwards, you’ll be able to turn in the quest!
Rewards: Bottle Cap x10, Golden Chunk x3, 5000 Z and 110 EXP