Guides

Borderlands 3 – Eridian Writing Locations

by Chappie in

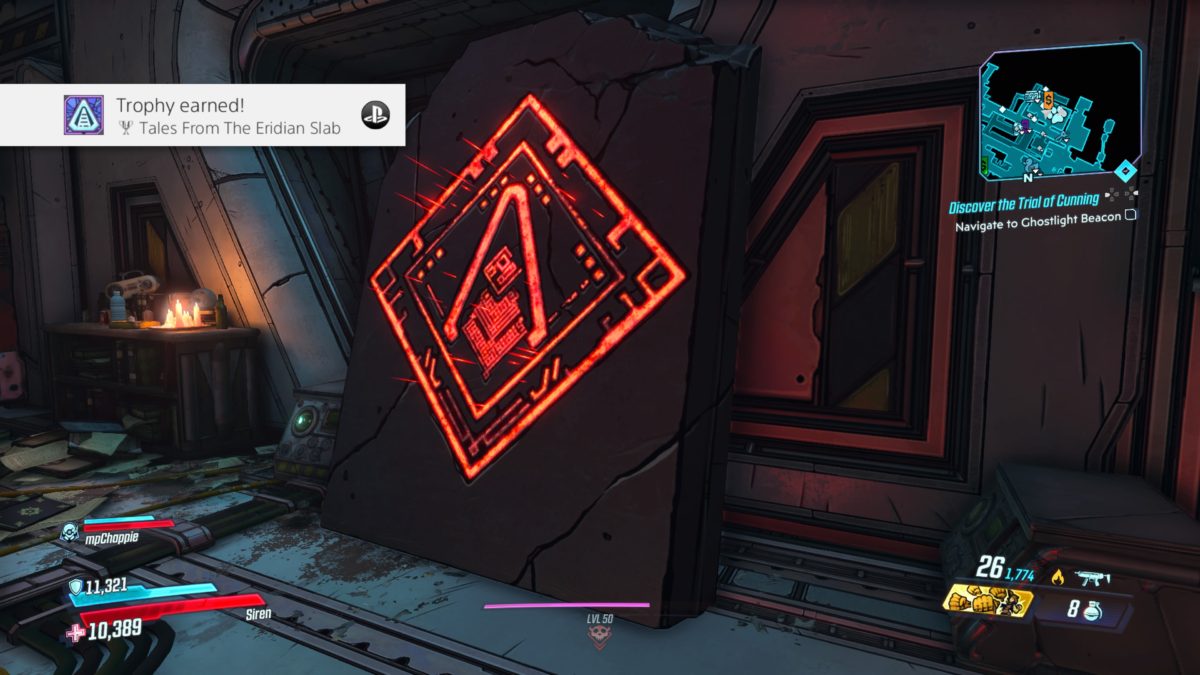
*NOTE: If you did not receive The Tales From The Eridian Slab trophy, head back to the infirmary at Sanctuary and keep translating the Eridian writing until the trophy triggers.  (We inspected it approximately six times.)


Pandora

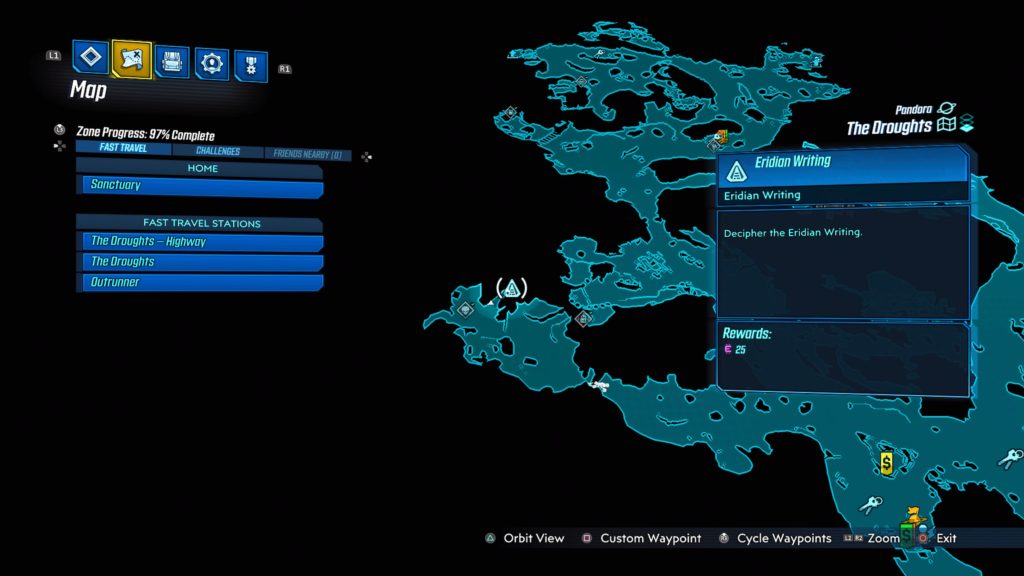
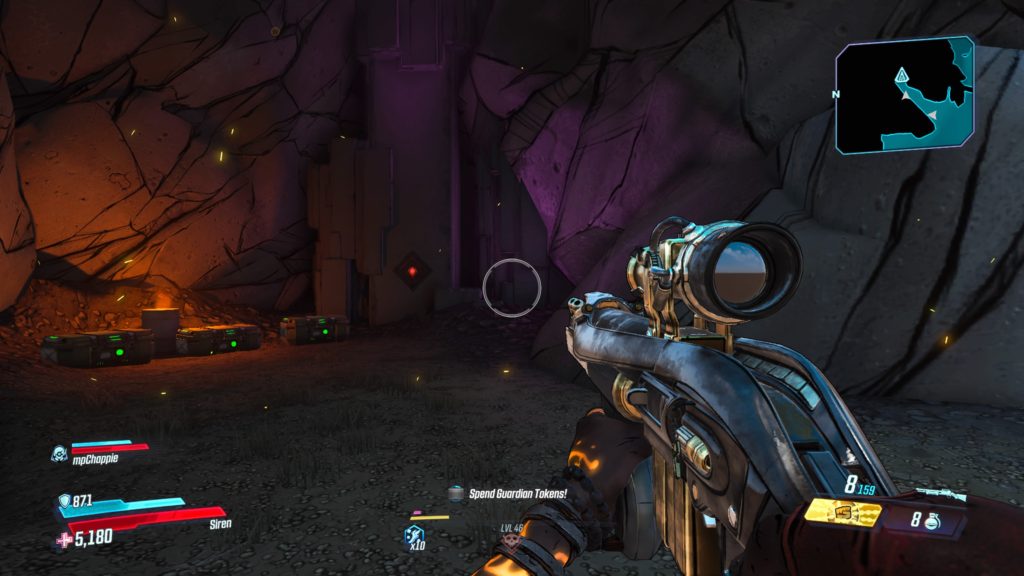
The Droughts

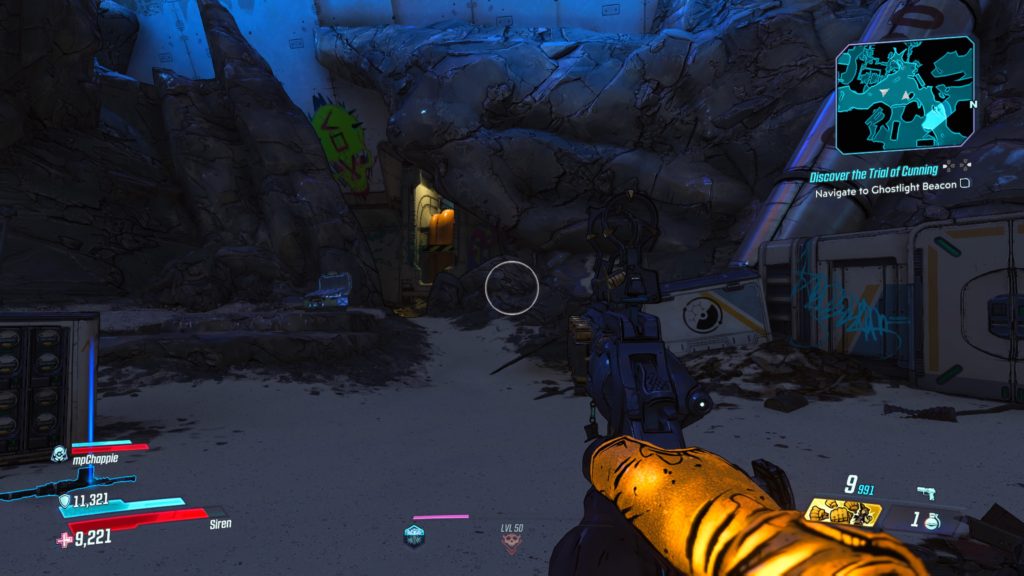
This writing is located on the east side of Varkid Valley in a cave near the Lavender Crawly Legendary Hunt.


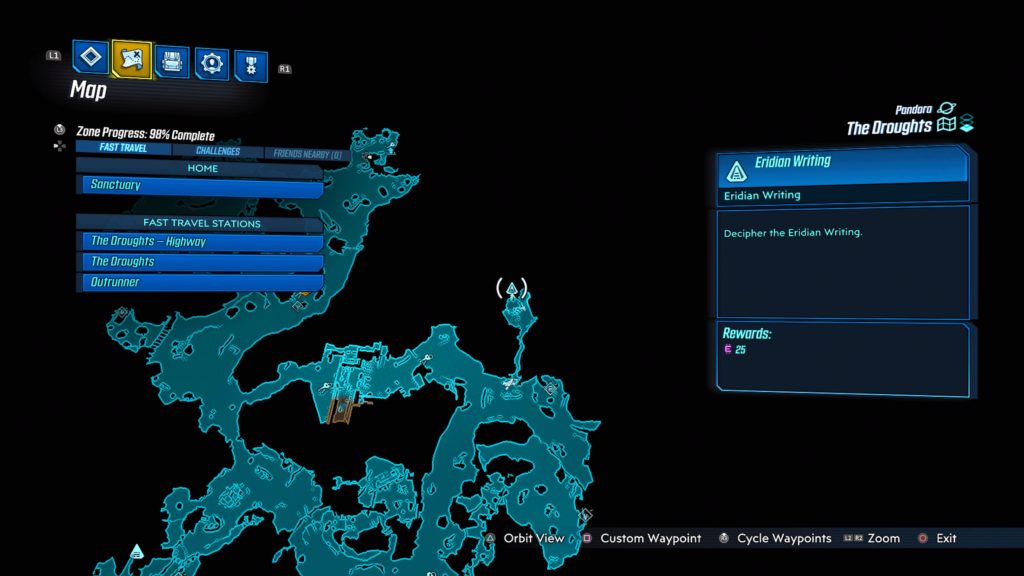
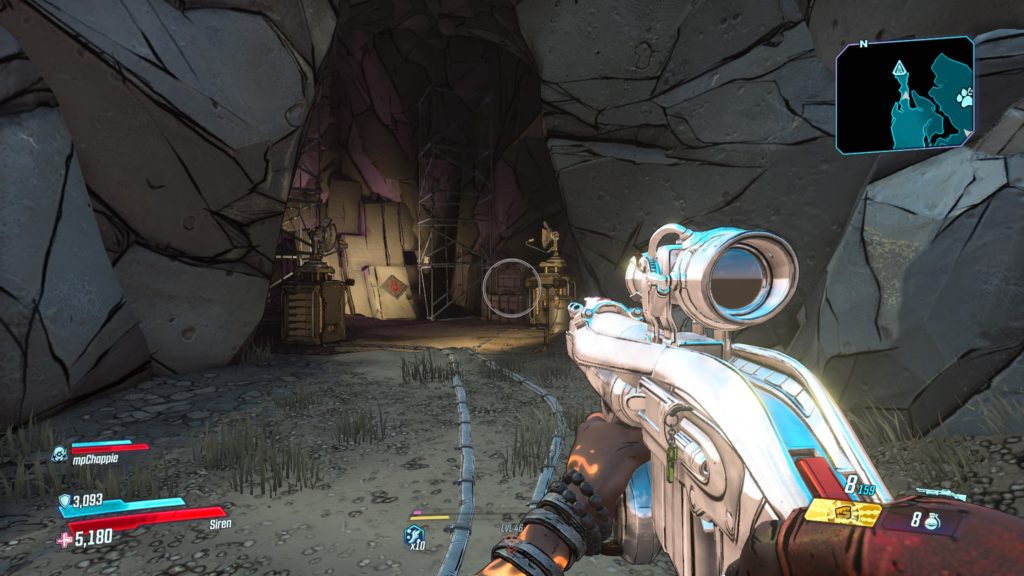
The Droughts

This writing is located in the back of the Eridian Dig Site in a cave next to some scaffolding.


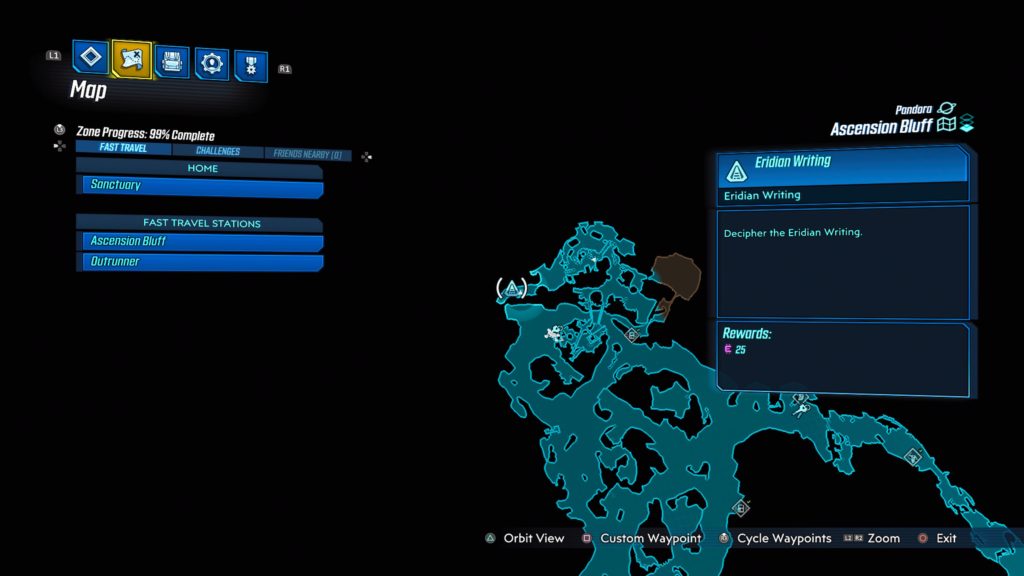
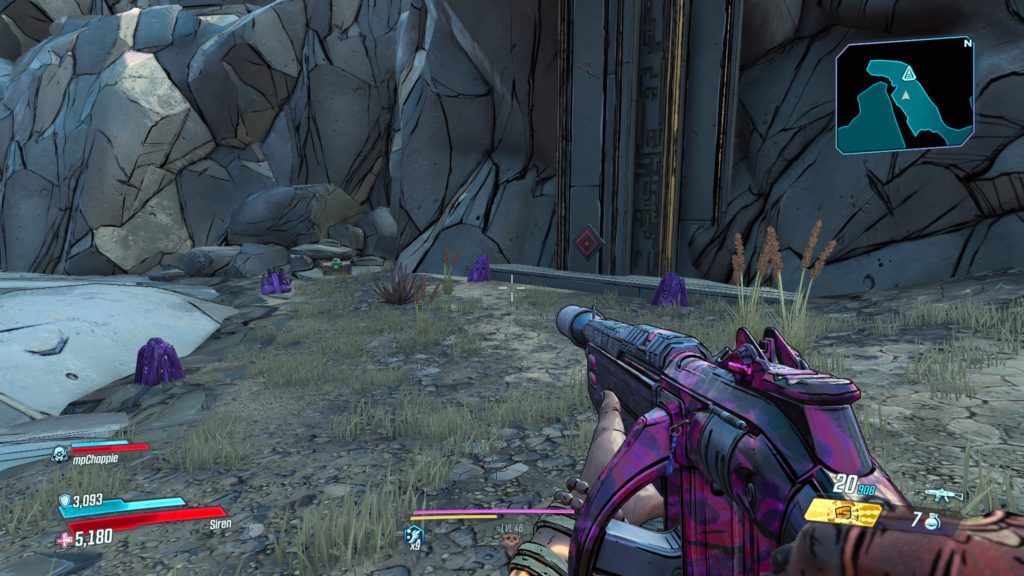
Ascension Bluff

This writing is located in the most northern part of the map, north of the most northern Catch-A-Ride.  We previously came here during the Golden Calves side mission.


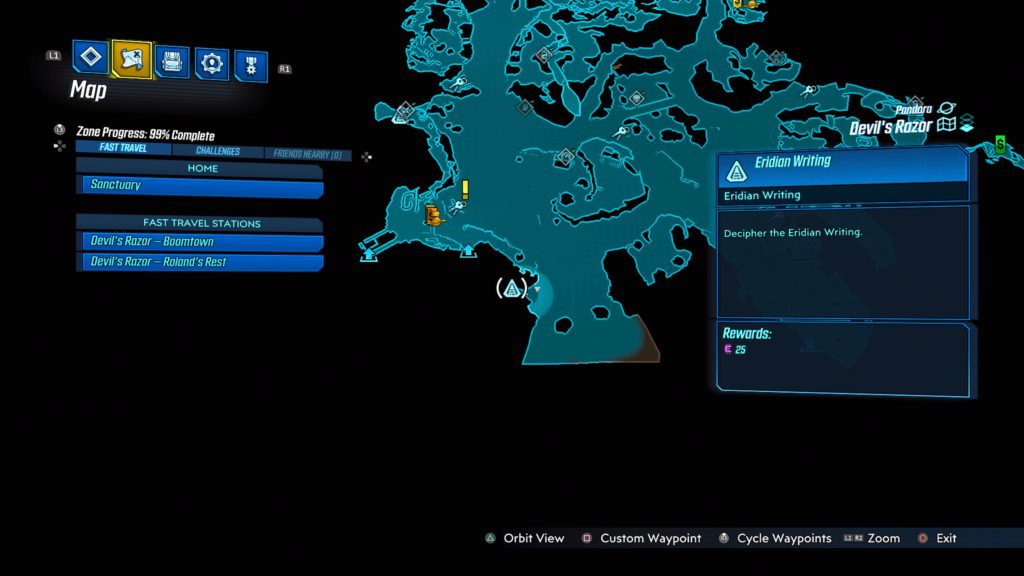
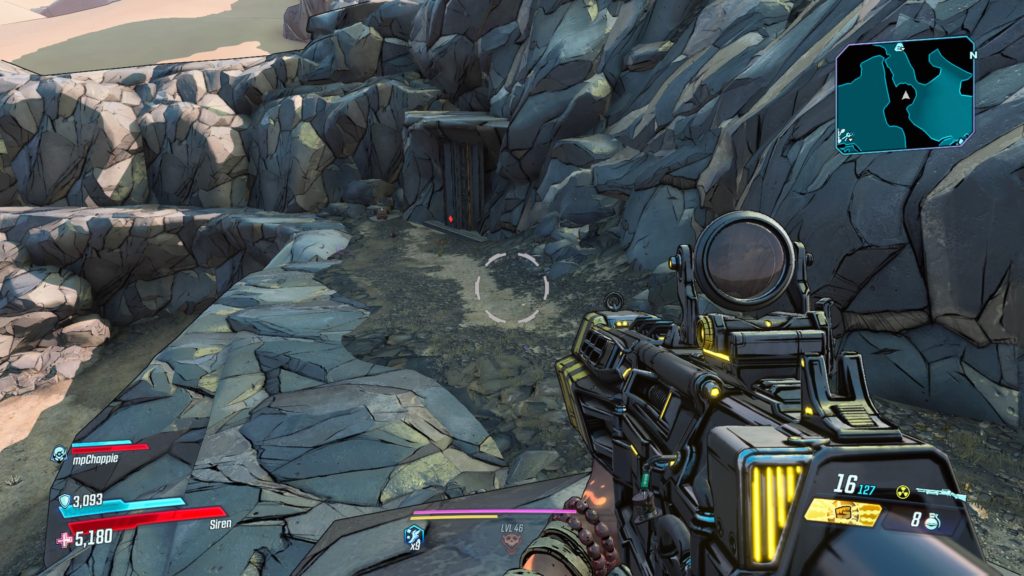
Devil’s Razor

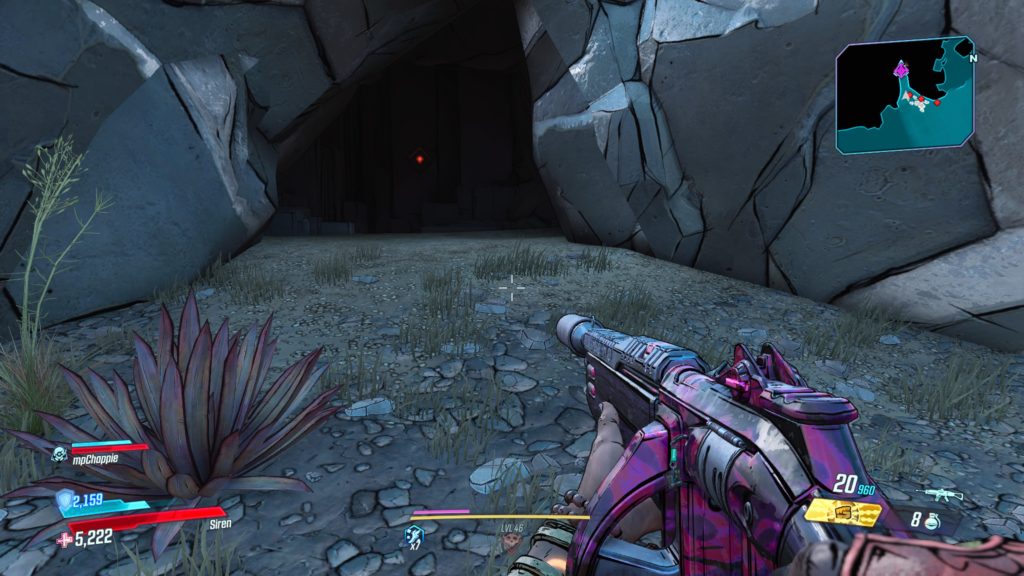
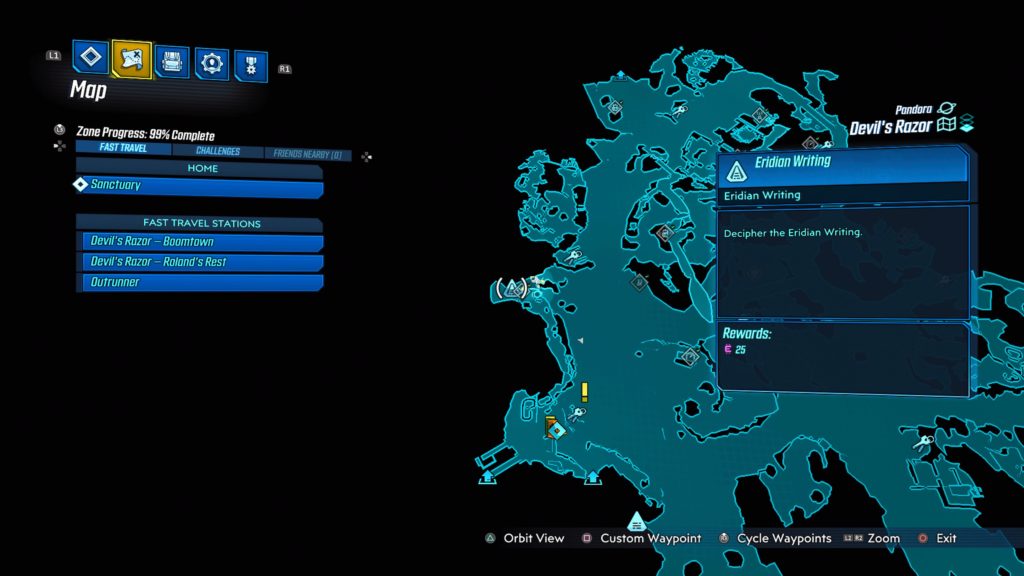
This writing is located in a small cave south of Roland’s Rest. You will need to shoot the boards off to enter the cave.


Devil’s Razor

This writing is located on a rock face overlooking a canyon north of Roland’s Rest.


The Splinterlands

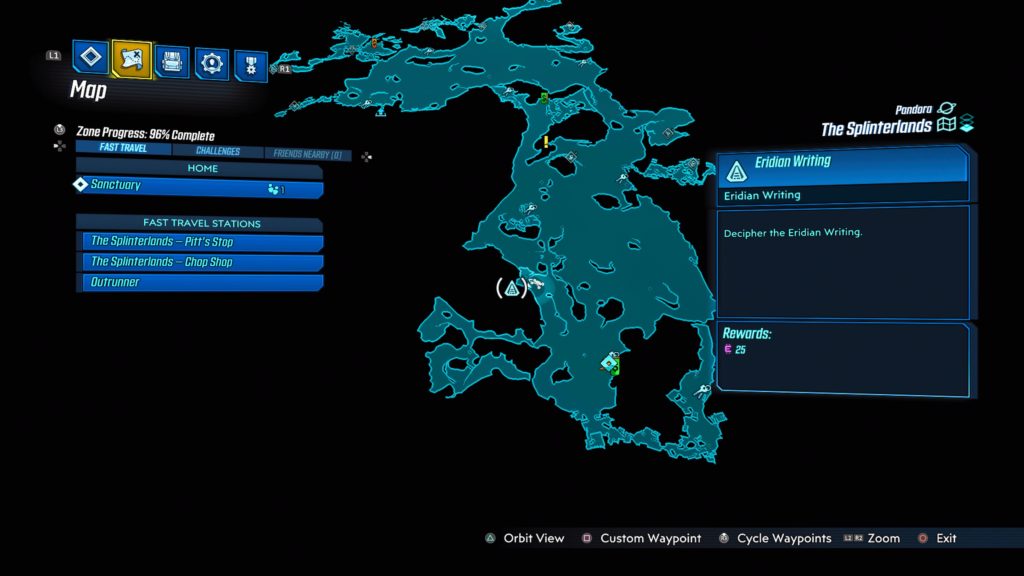
This writing is located in a small cave northwest of the Chop Shop, past The Homestead.


Carnivora

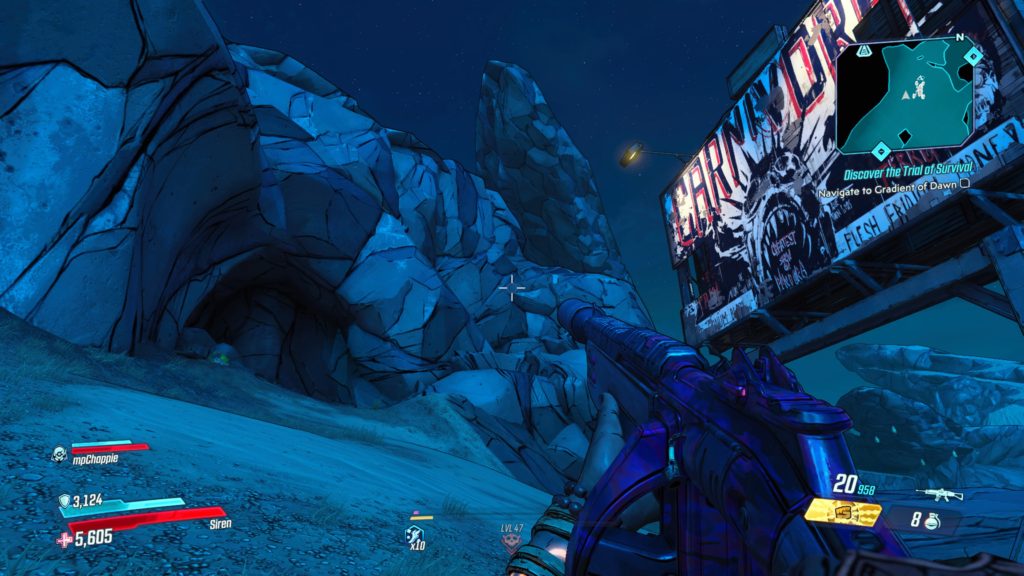
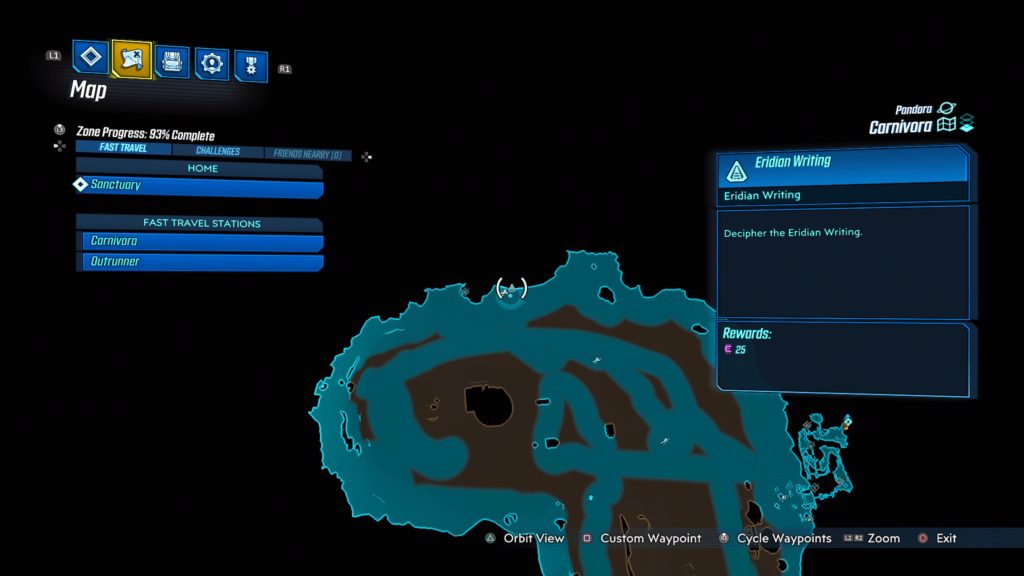
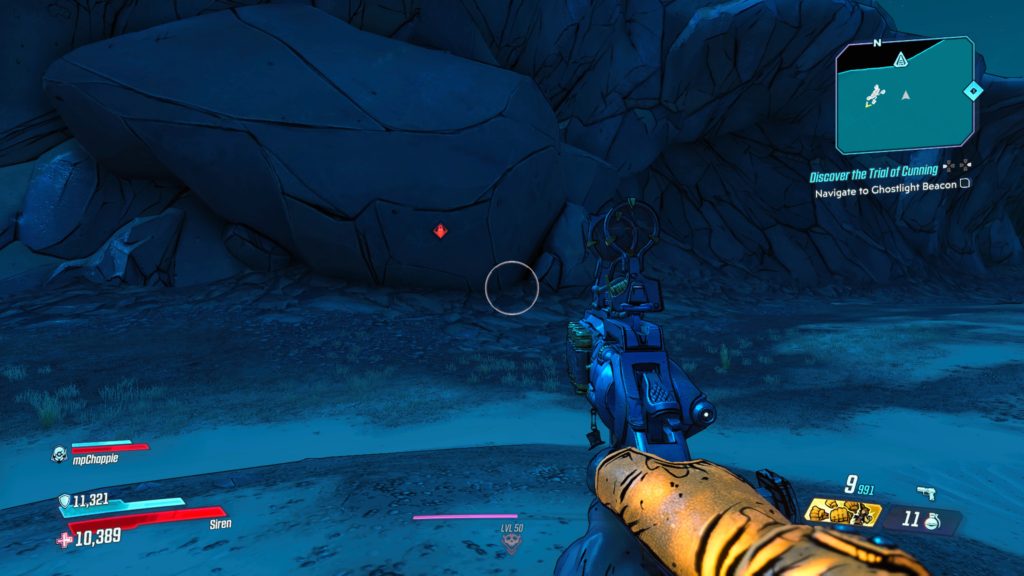
This writing is located on a rock face next to the Azlan’s Stash Typhon Log in the north-central area.


Guts of Carnivora

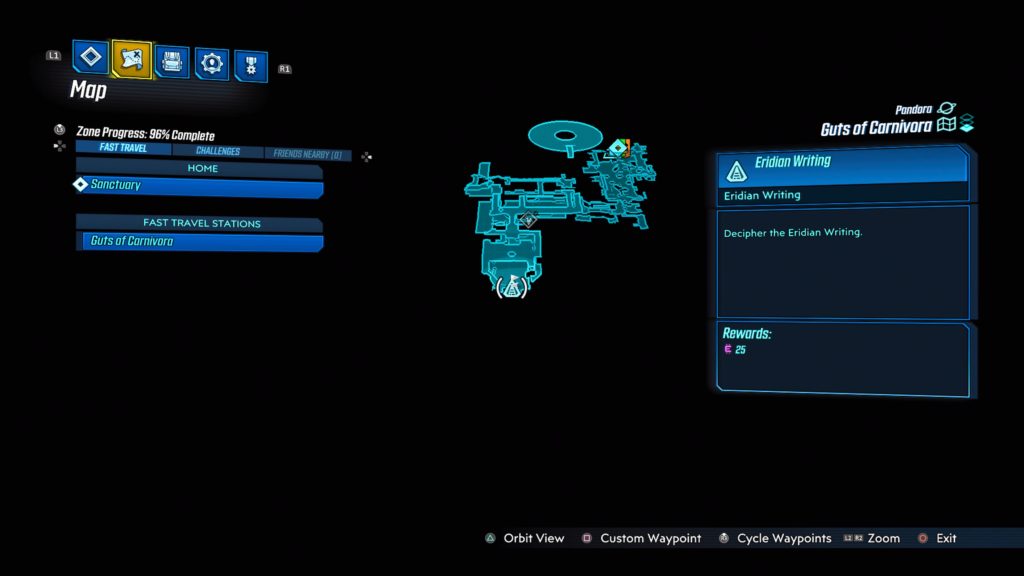
This writing is located in the back of Mack’s Head Room near some computer monitors.


Konrad’s Hold

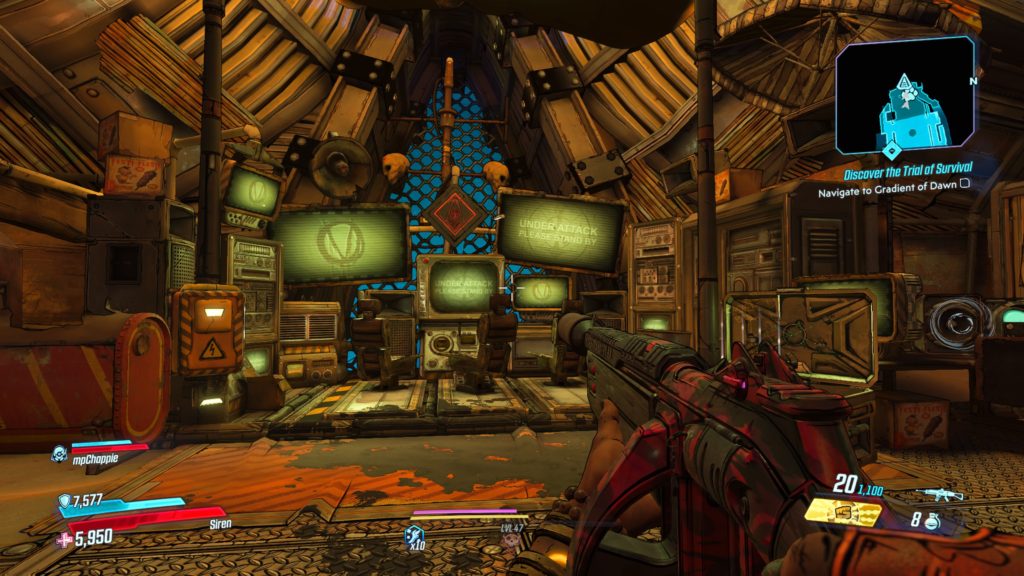
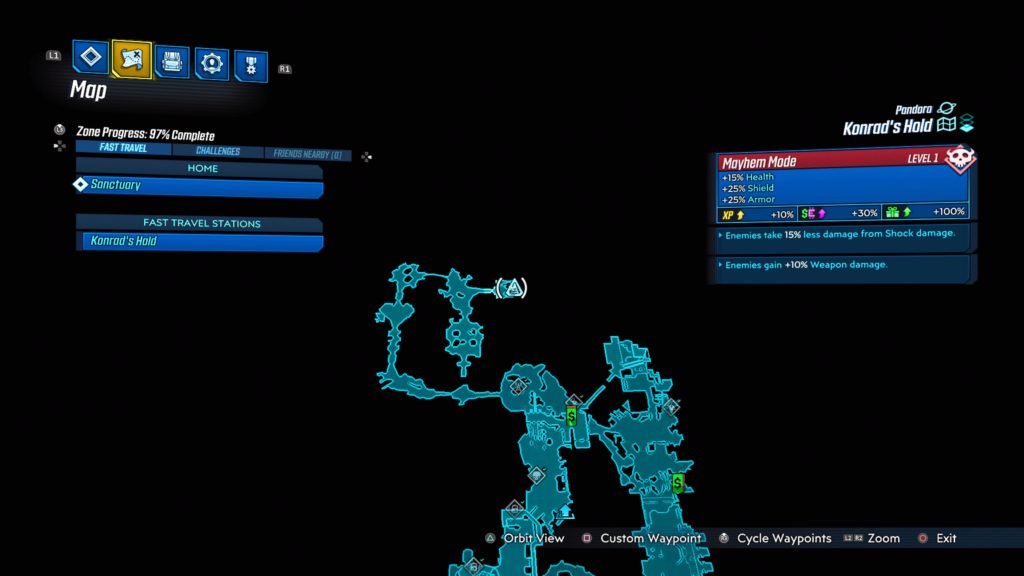
This writing is located in the These are No Mines area in the northern part of the map. You will need to start The Demon in the Dark side mission reach it.


Cathedral of the Twin Gods

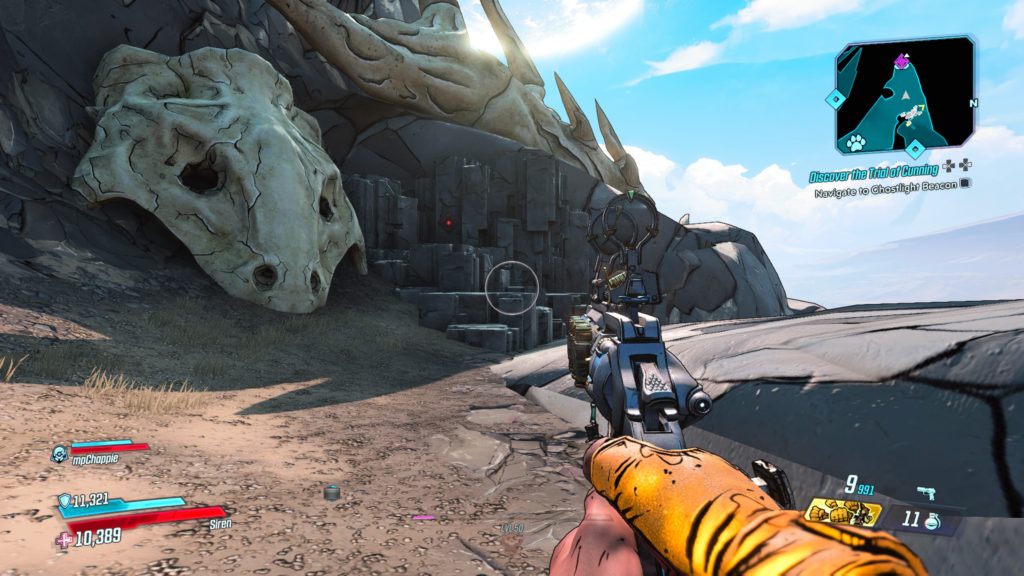
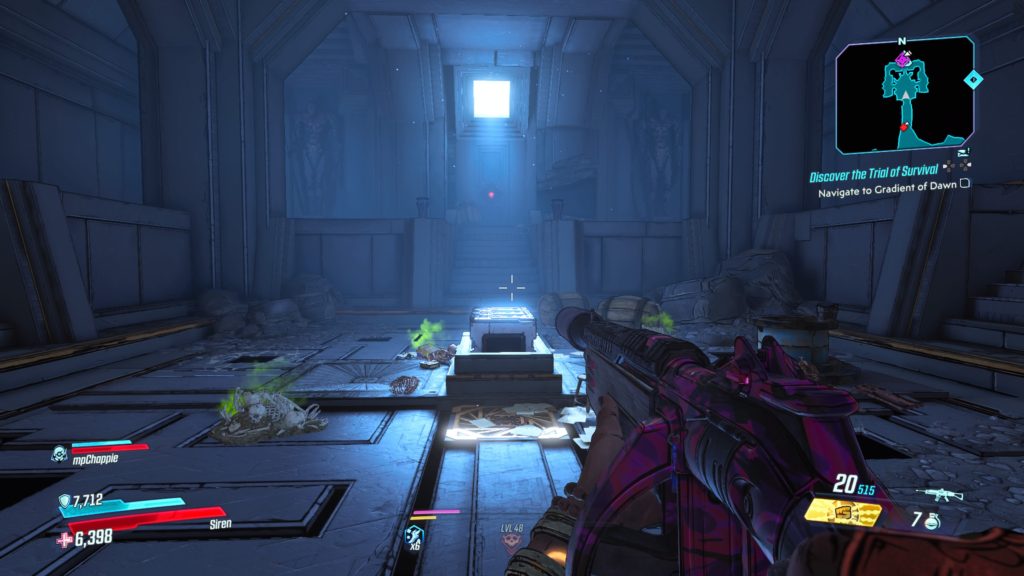
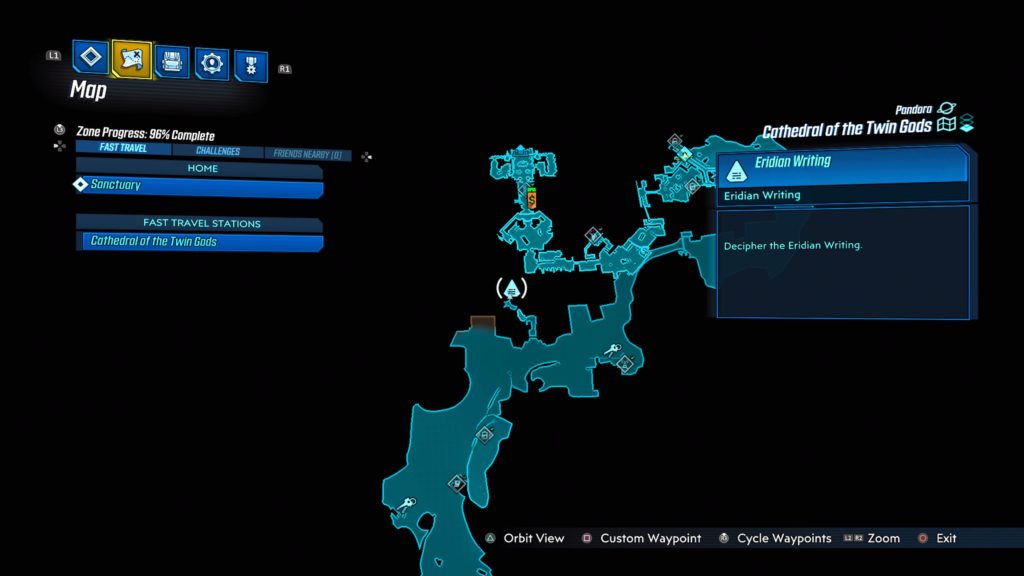
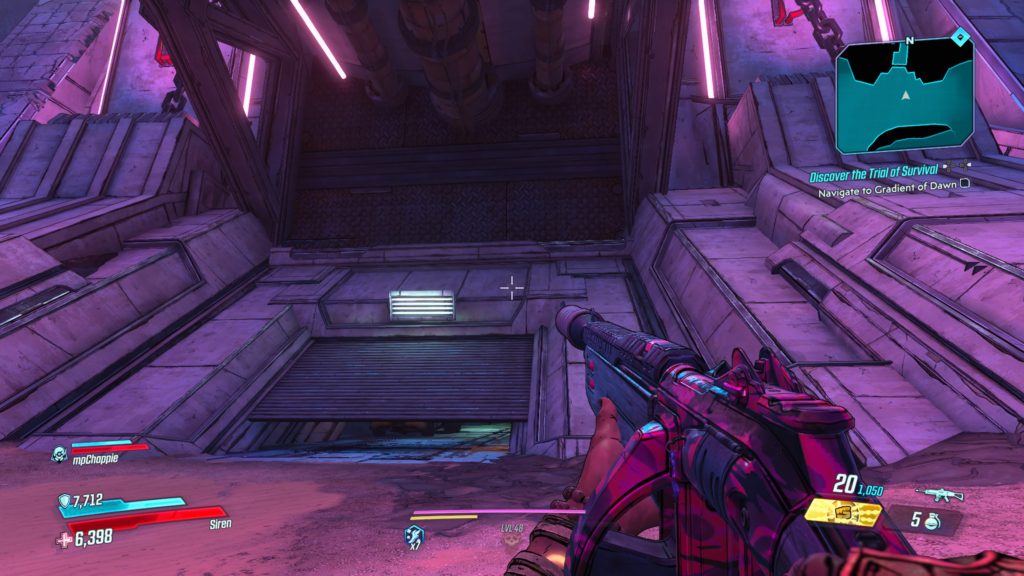
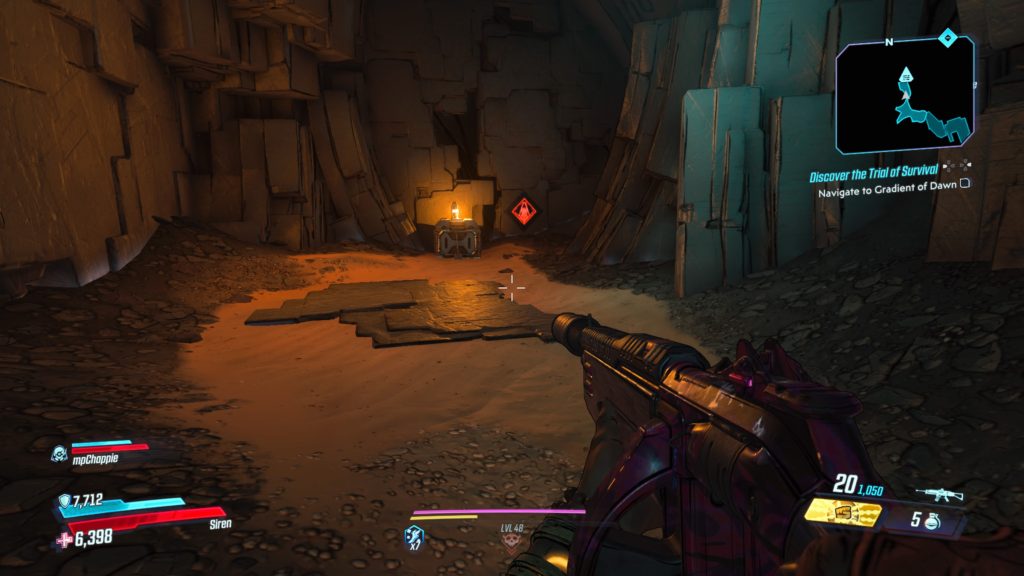
This writing is located under the giant skull with a bridge coming out of its mouth. You will have to crouch walk under the partially opened gate then locate the hole in the back of the room and pass through. Follow the tunnel to the end where the writing can be found in the back wall.


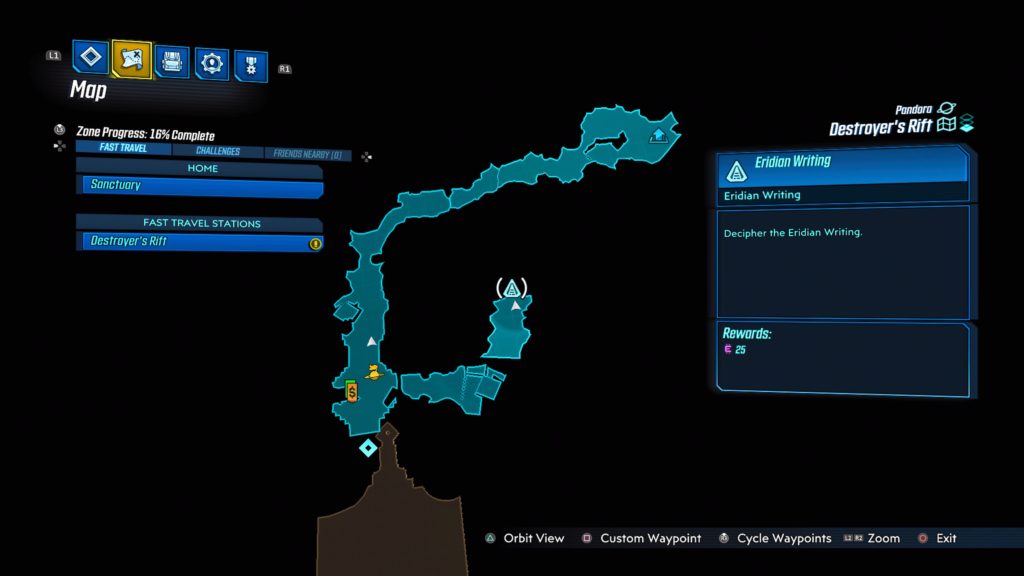
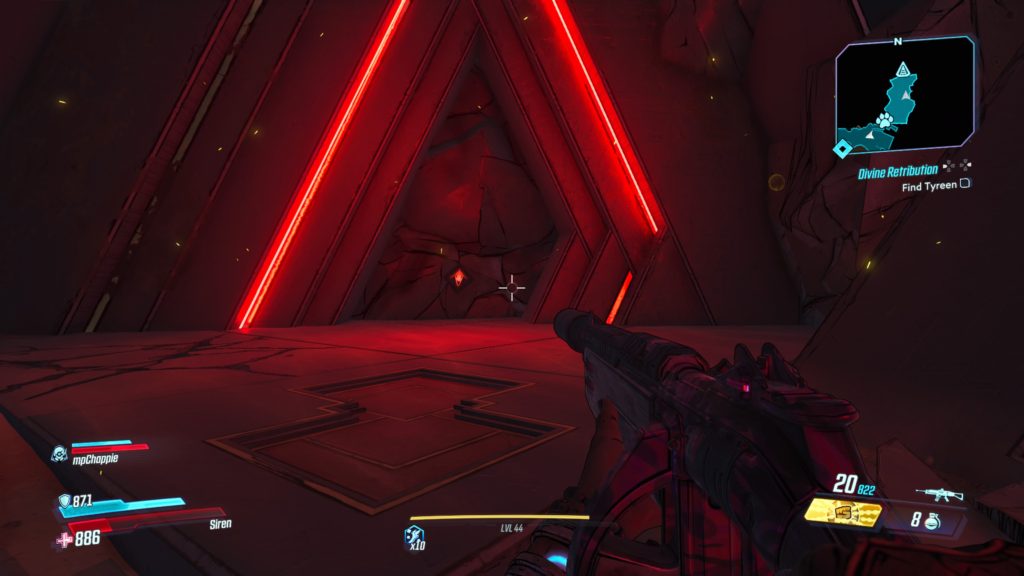
Destroyer’s Rift

This writing is located in the Treacherous Path.  Take the path left of the fast travel station before boss fight to find it.


Promethea

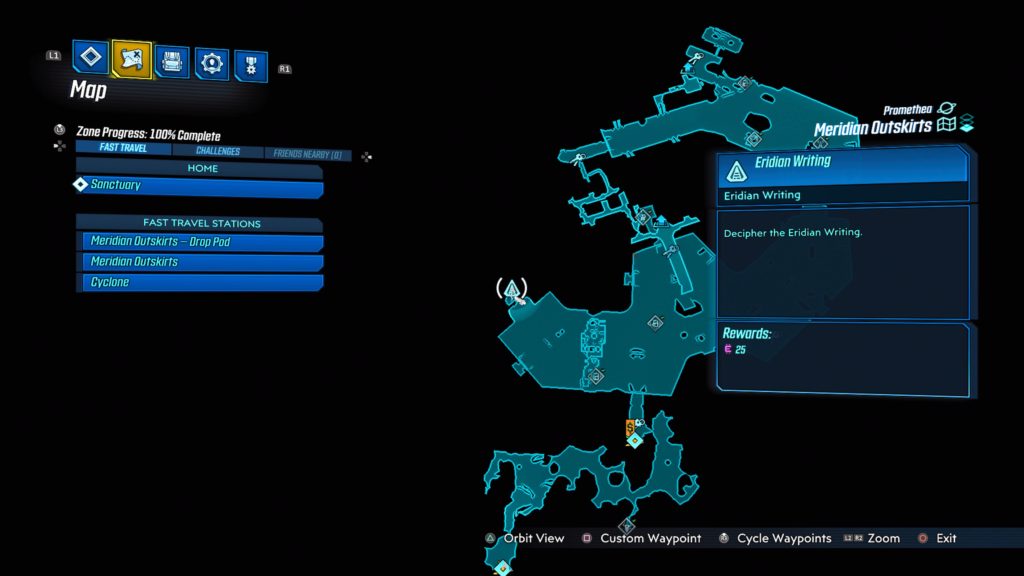
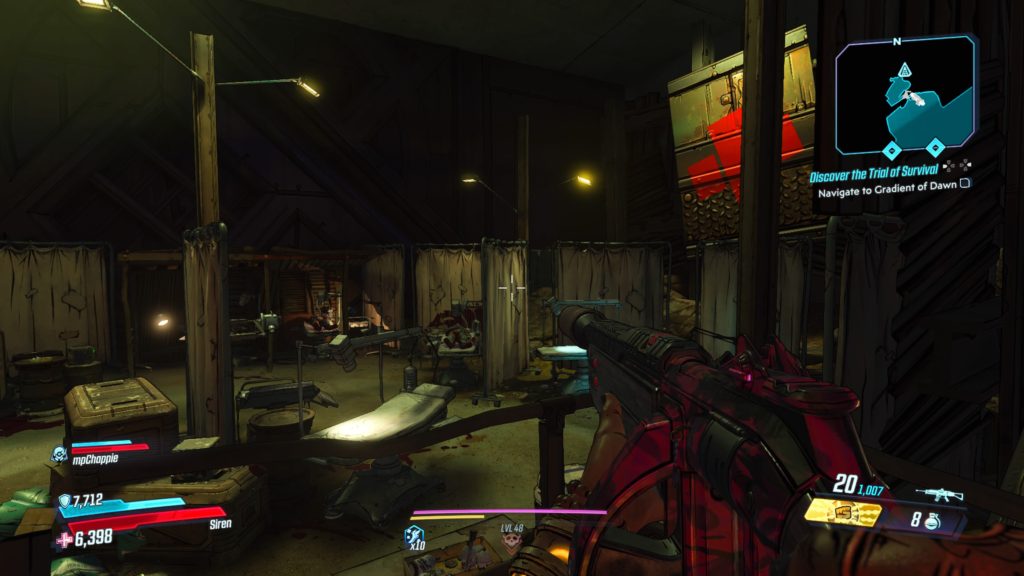
Meridian Outskirts

This writing is can be found in Mt. Schuler Recovery Center located in the northwestern part of the Spillways on a rock behind the gurneys and privacy curtains.


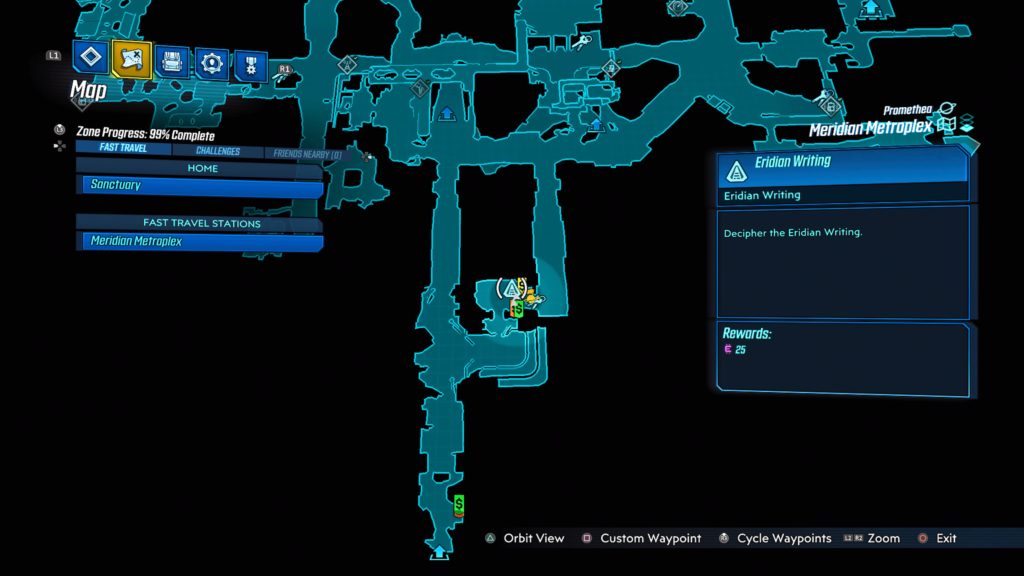
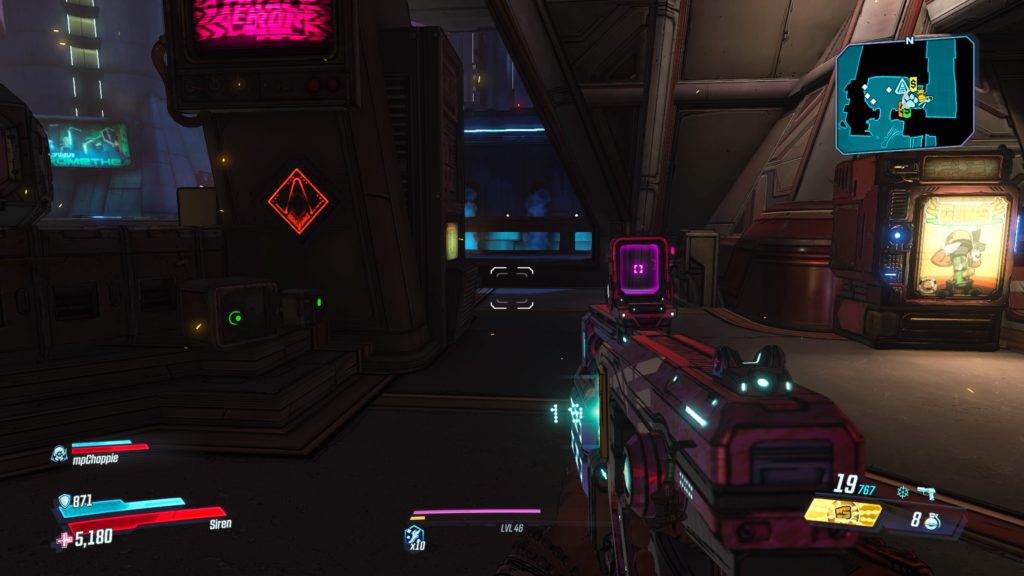
Meridian Metroplex

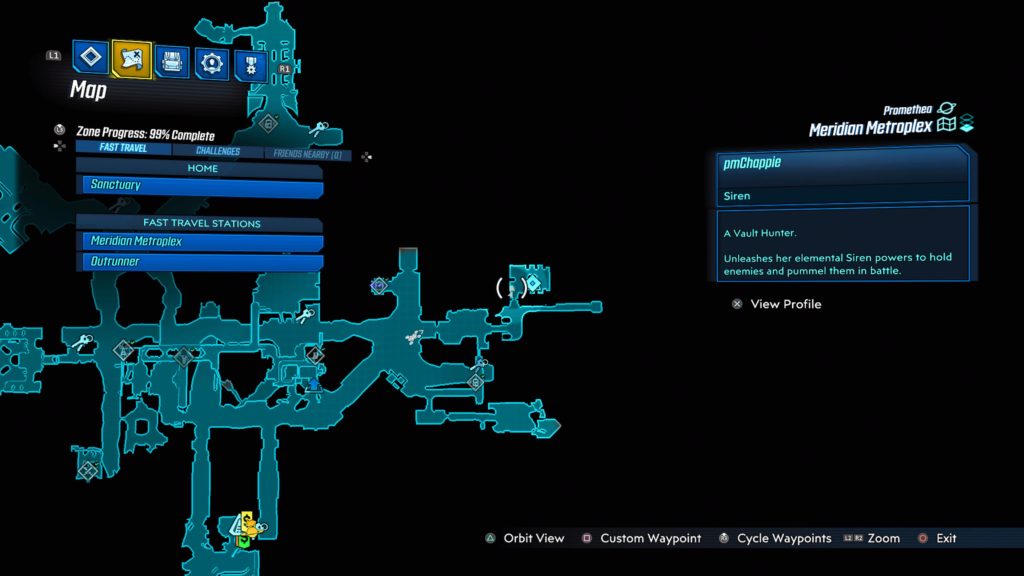
This writing is located in Watershed Base on a post across from the fast travel station.


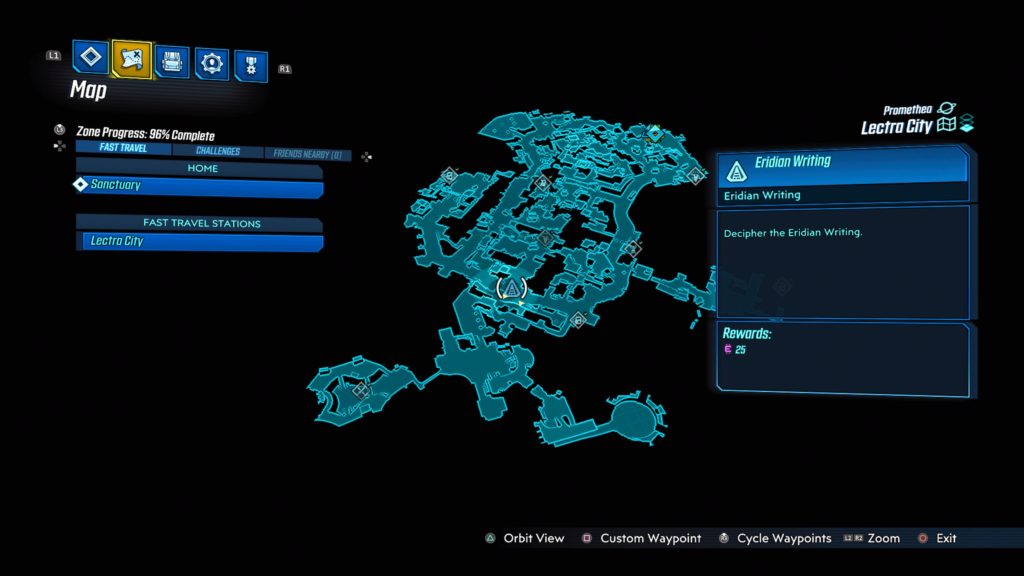
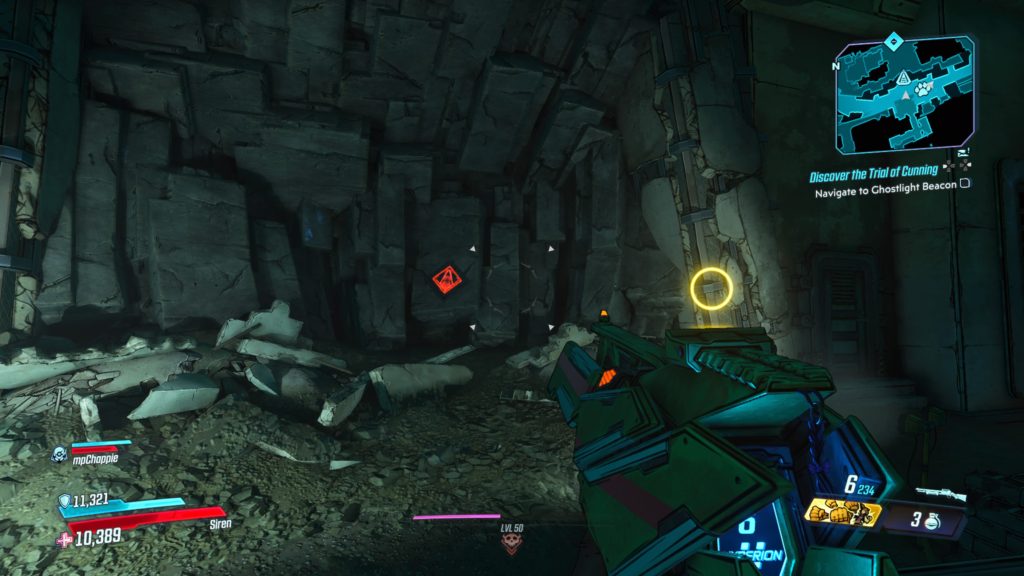
Lectra City

This writing is located in the tunnel that runs underneath Downtown Square.


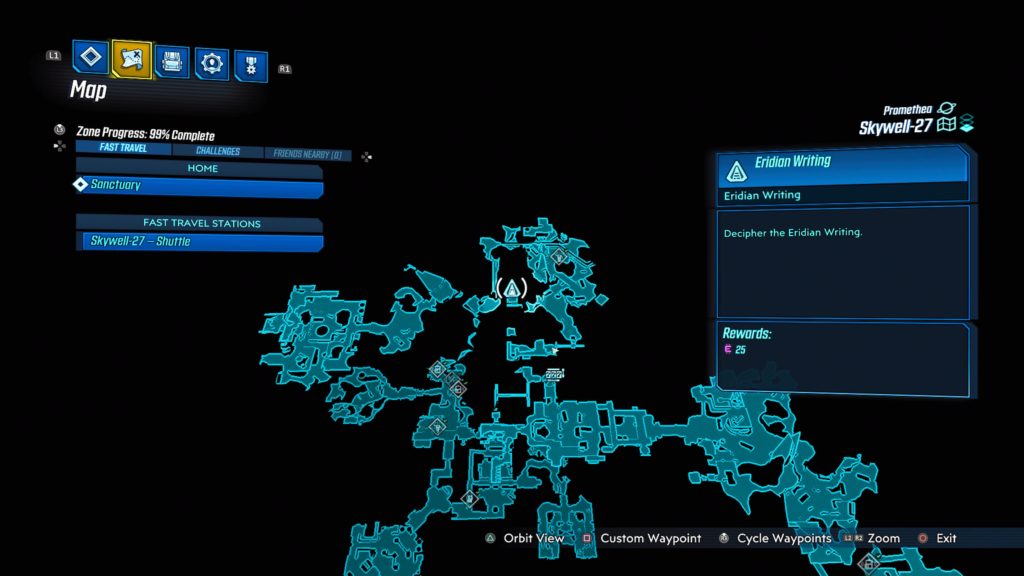
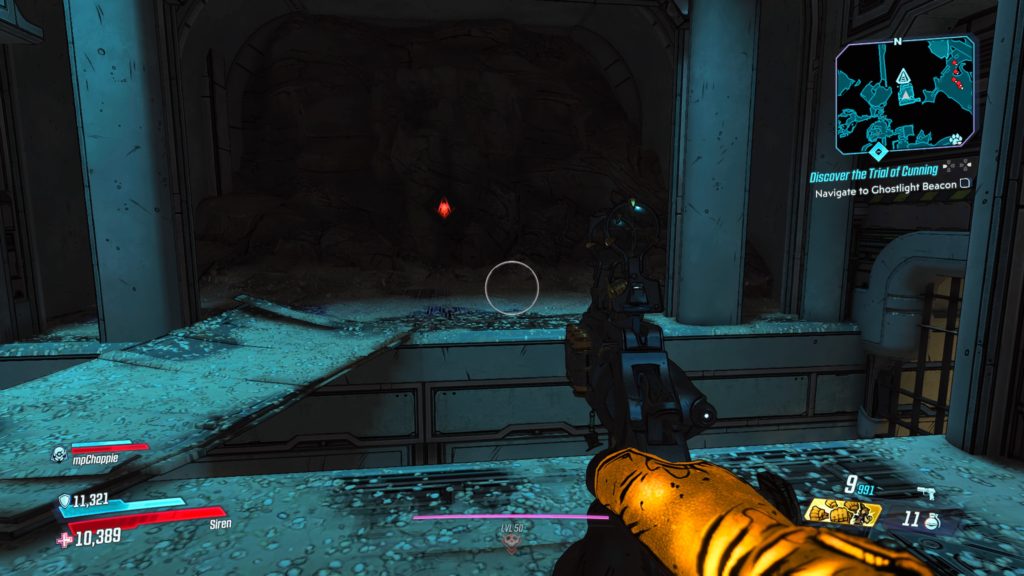
Skywell-27

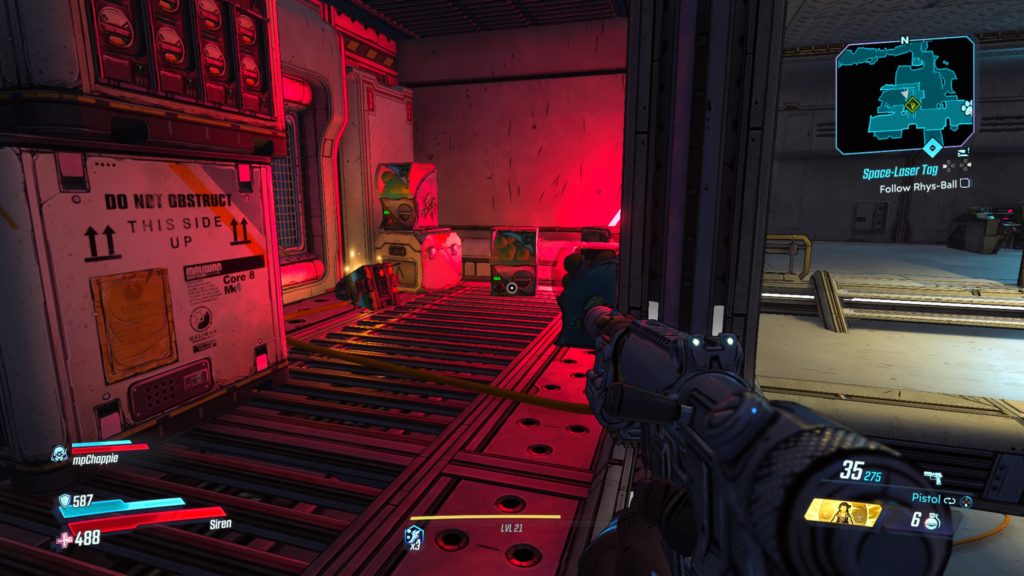
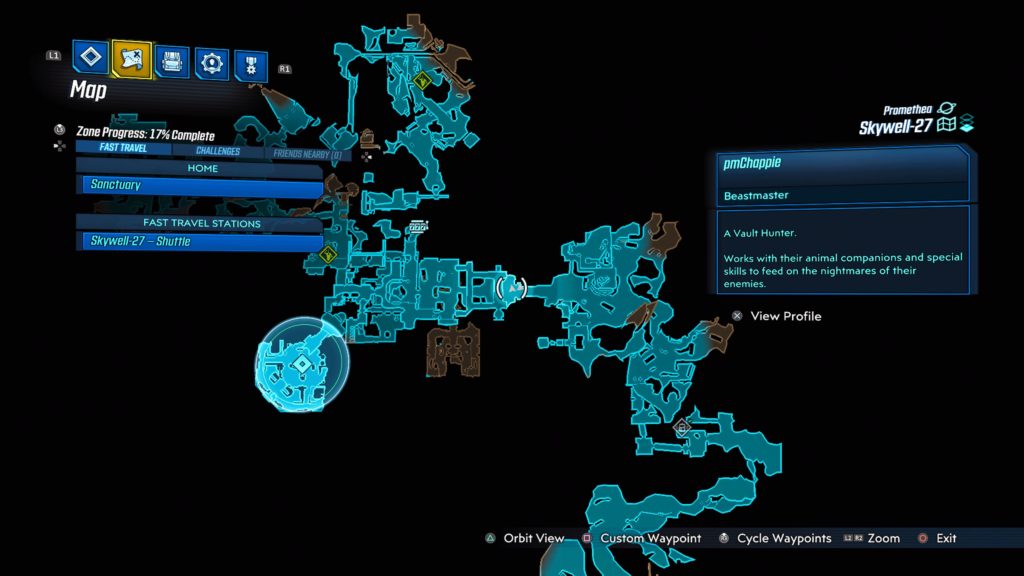
This writing is located on a wall a little southwest of the dead claptrap with an antenna just before the Tritanium Refinery area.


Atlas HQ

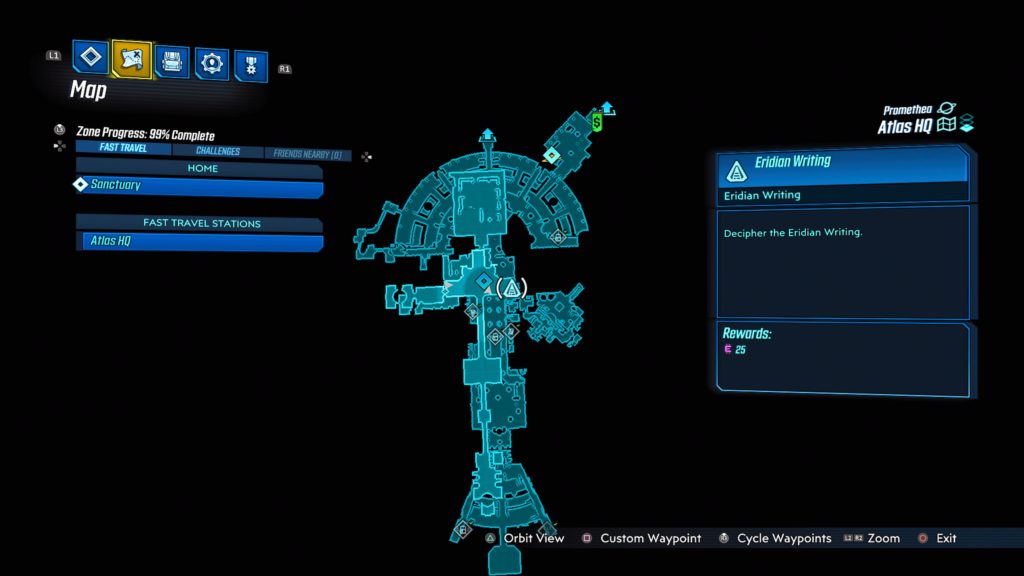
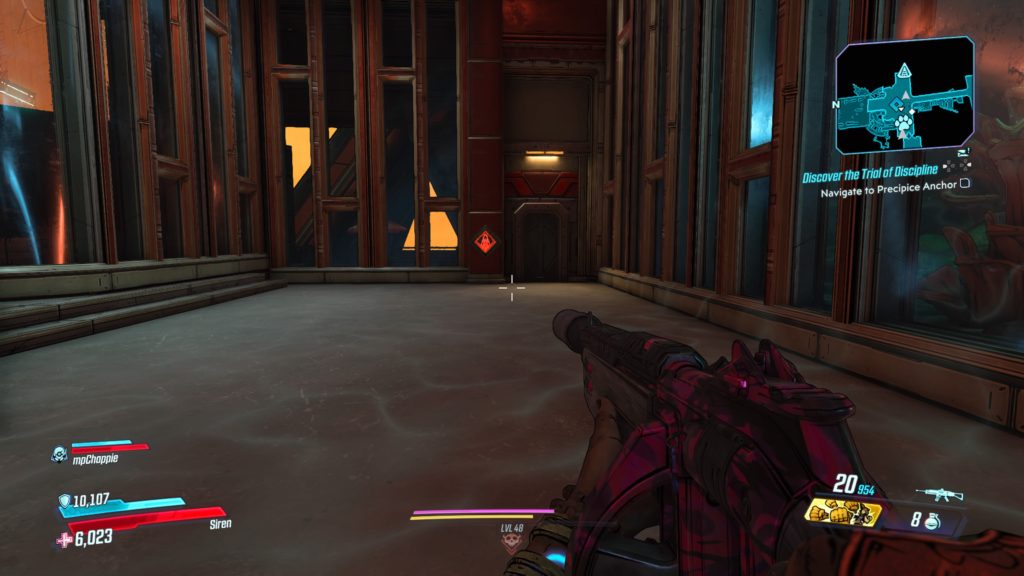
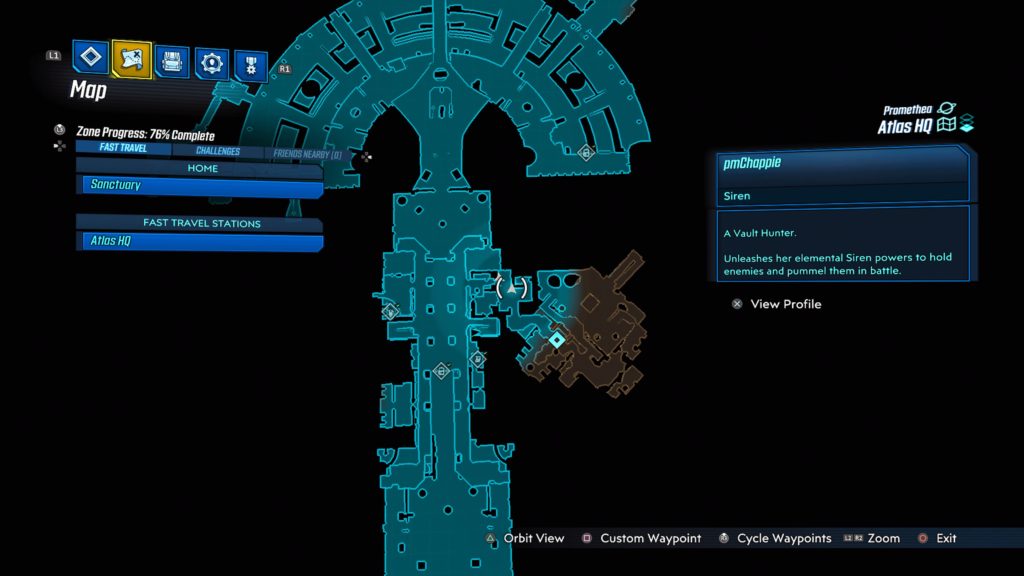
This writing is located on the wall in the CEO’s office near a door on the left side.


Neon Arterial

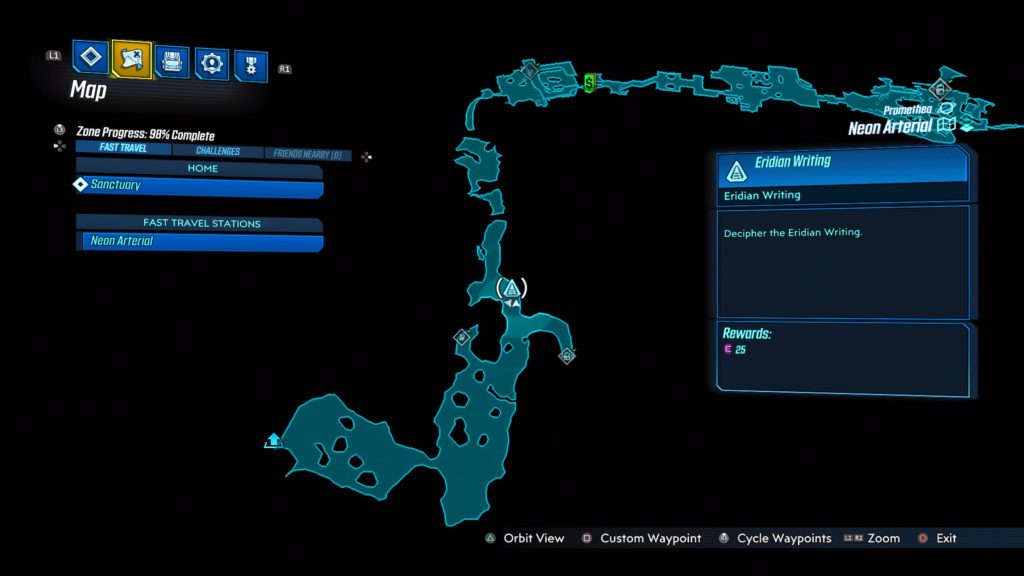
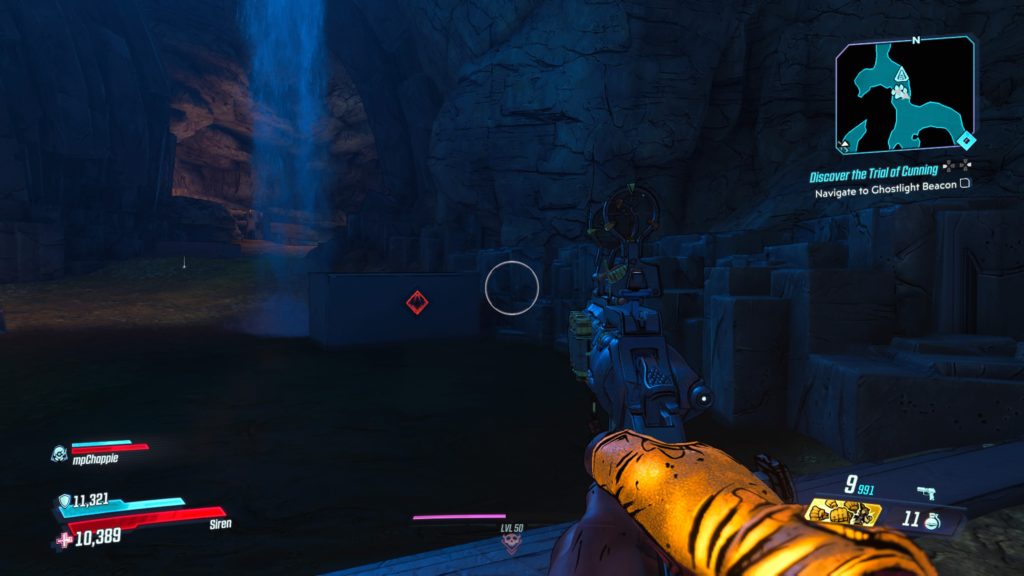
This writing is located just north of the Restricted Catacombs Typhon Log.


Athenas

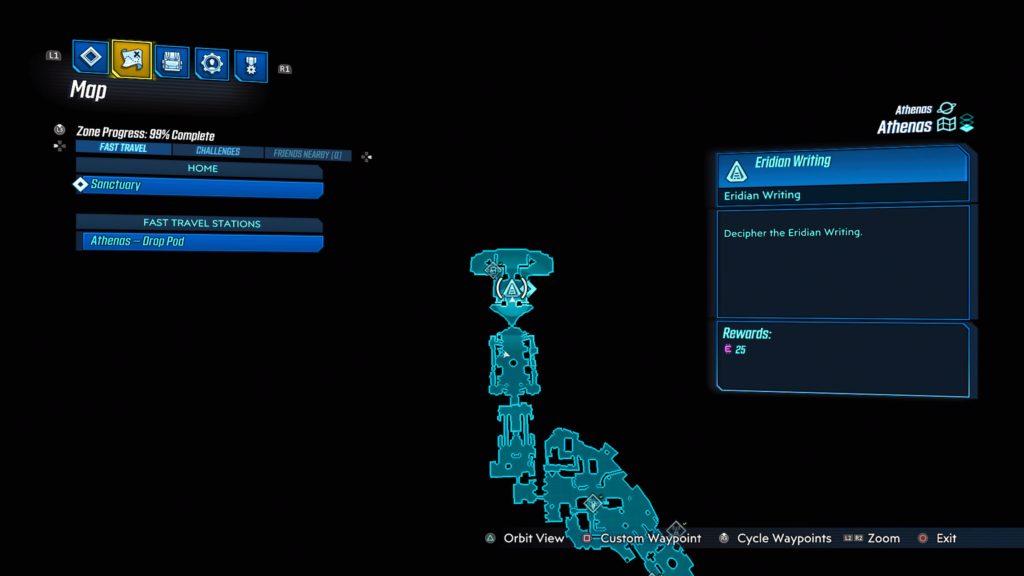
This writing is located in Anchorhold in the room just after the boss fight with Captain Traunt.


Eden-6

Floodmoor Basin

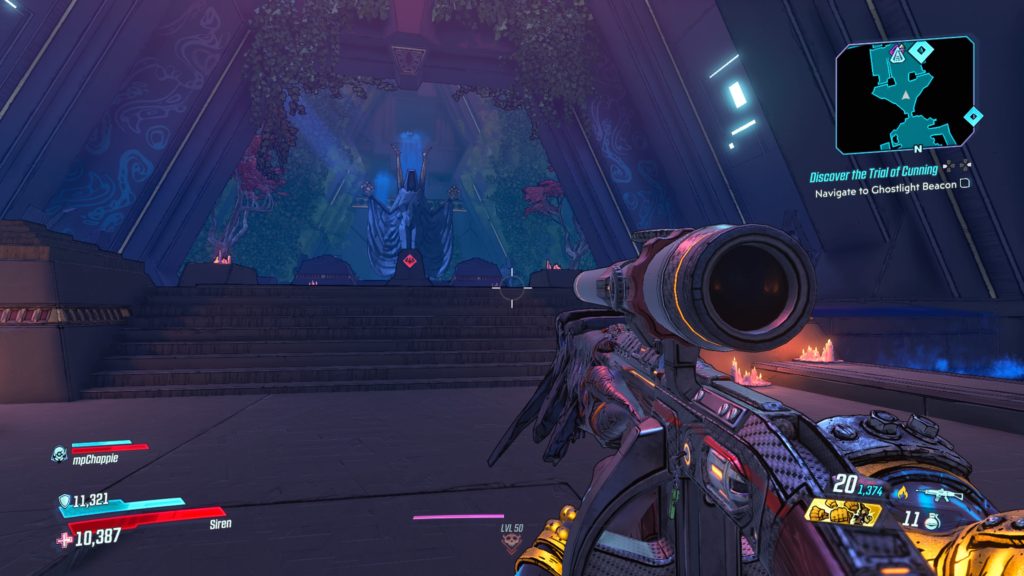
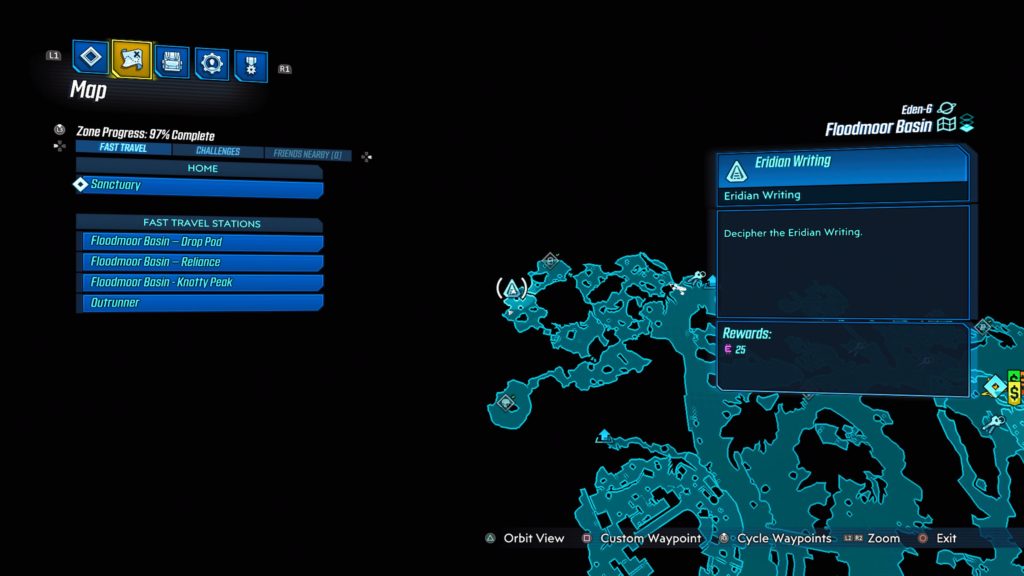
This writing is located in the Primeval Grotto in the northwest section of the map near the Primeval Preserve Typhon Log.


Floodmoor Basin

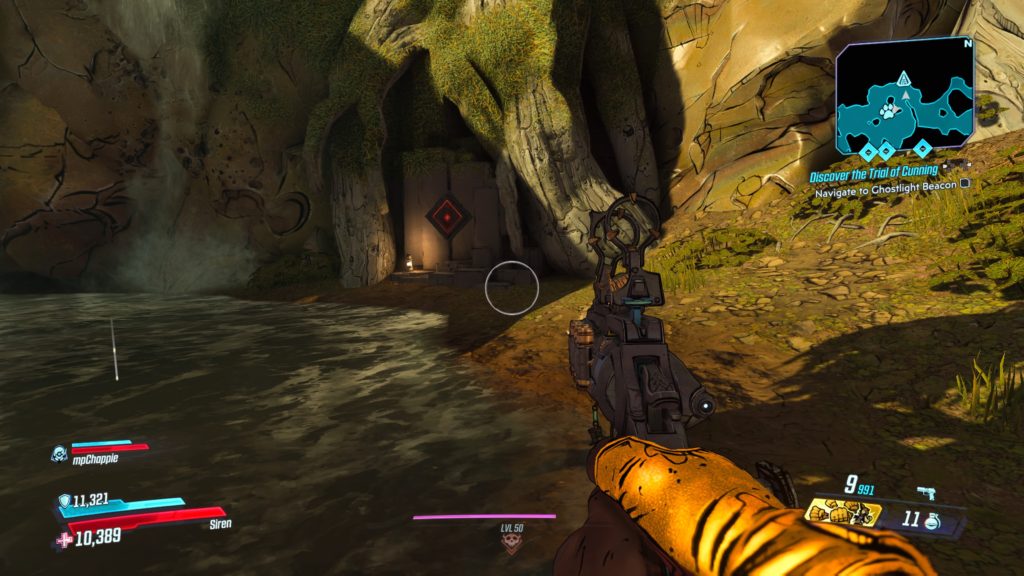
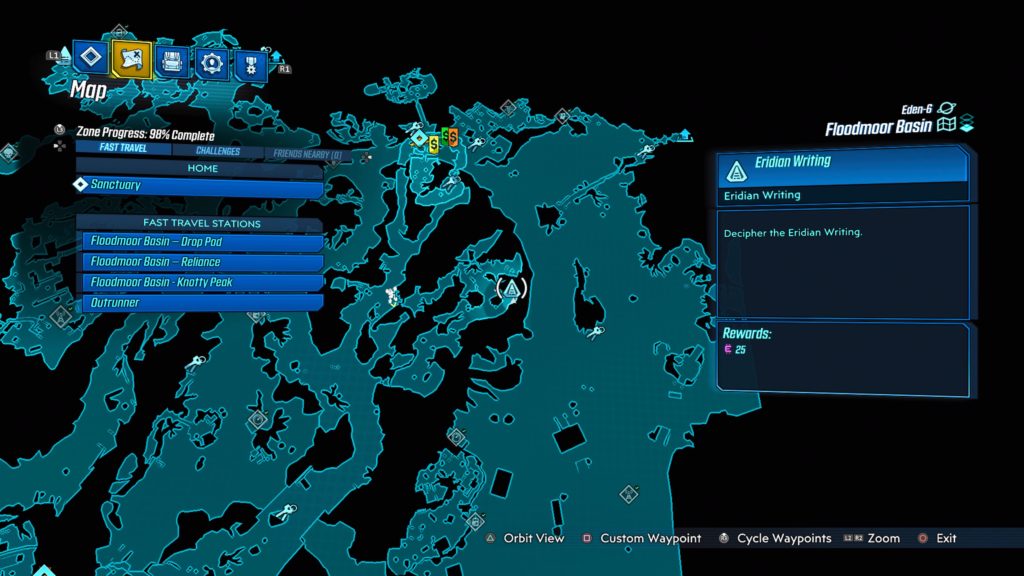
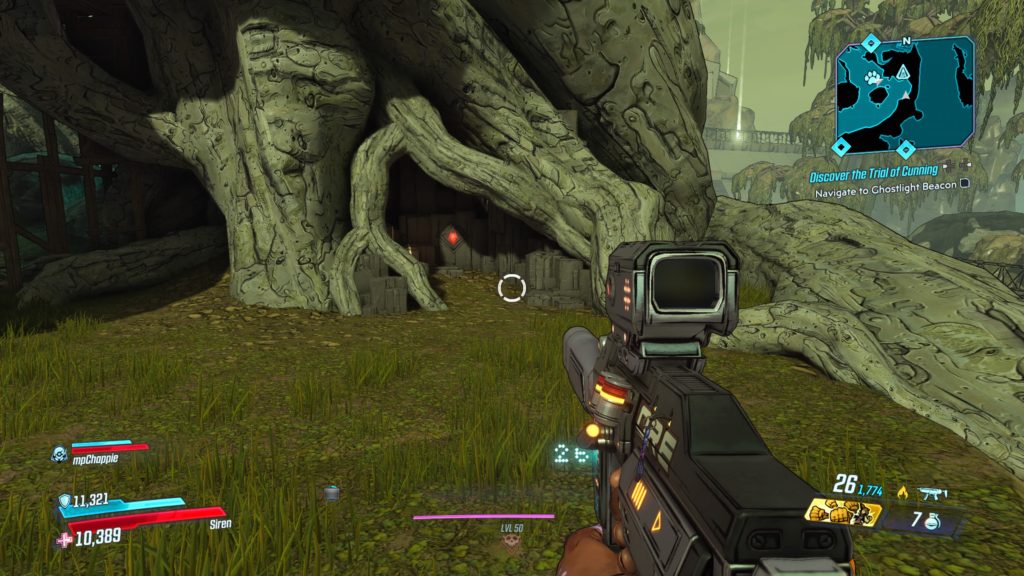
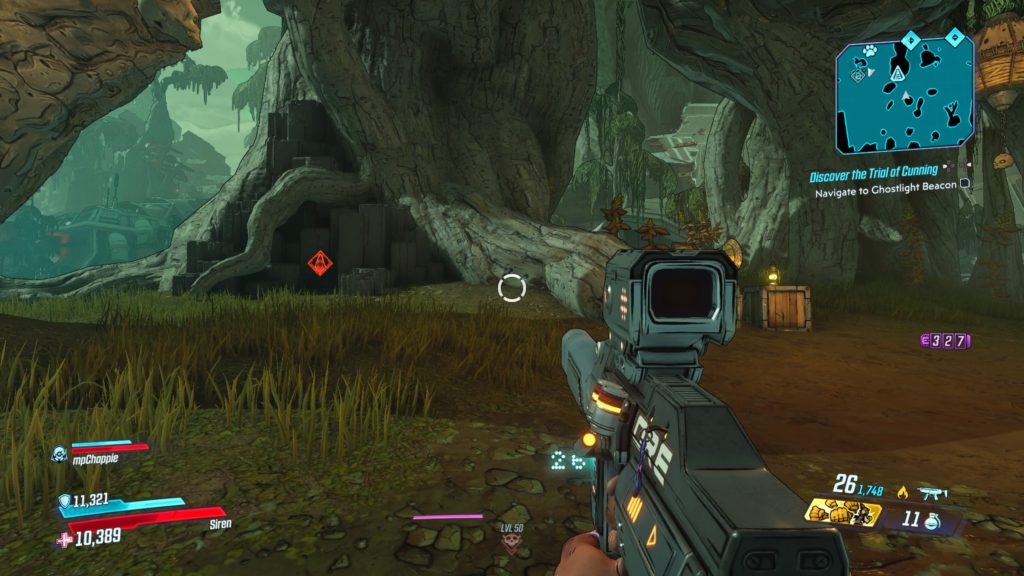
This writing is located on a rock face at the base of a tree next to a lantern southeast of Knotty Peak.


The Anvil

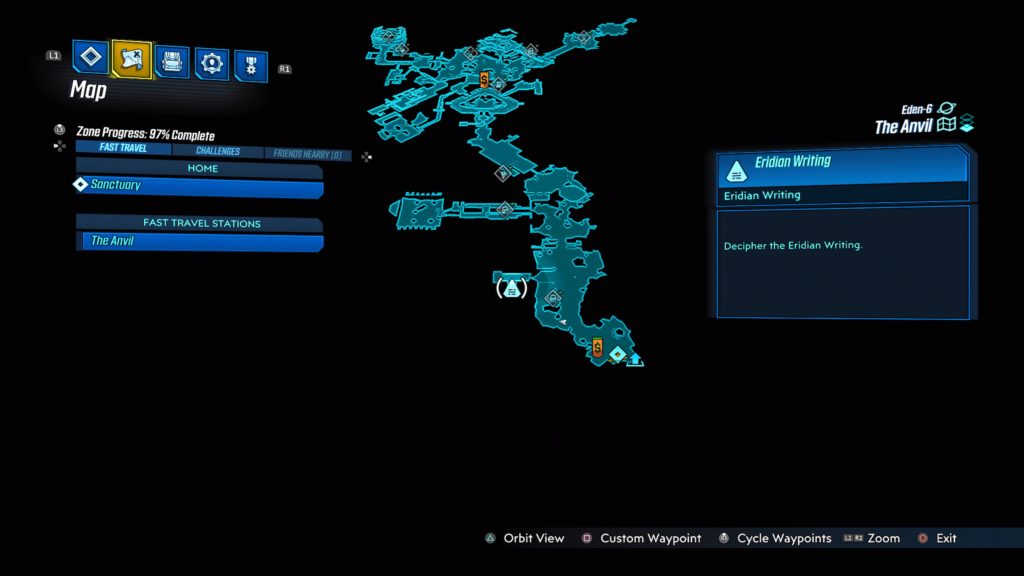
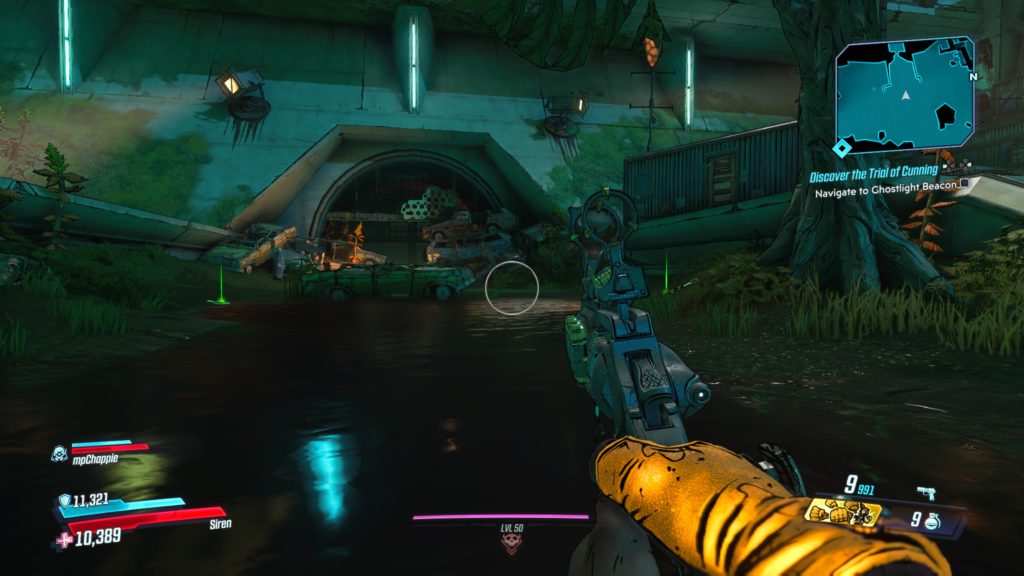
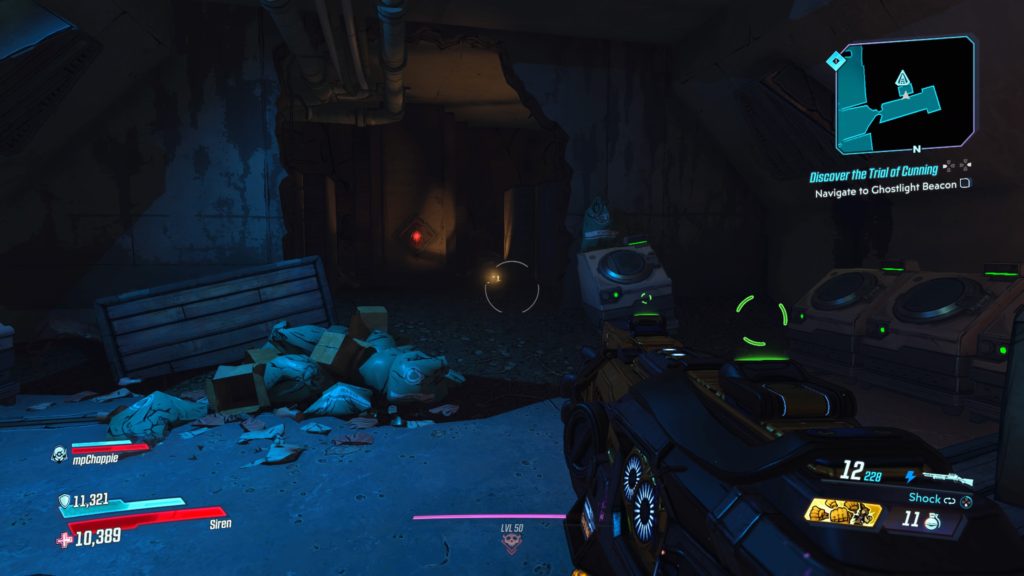
This writing is located in a sewer tunnel just past the Hector’s Lament Typhon Log on the left.


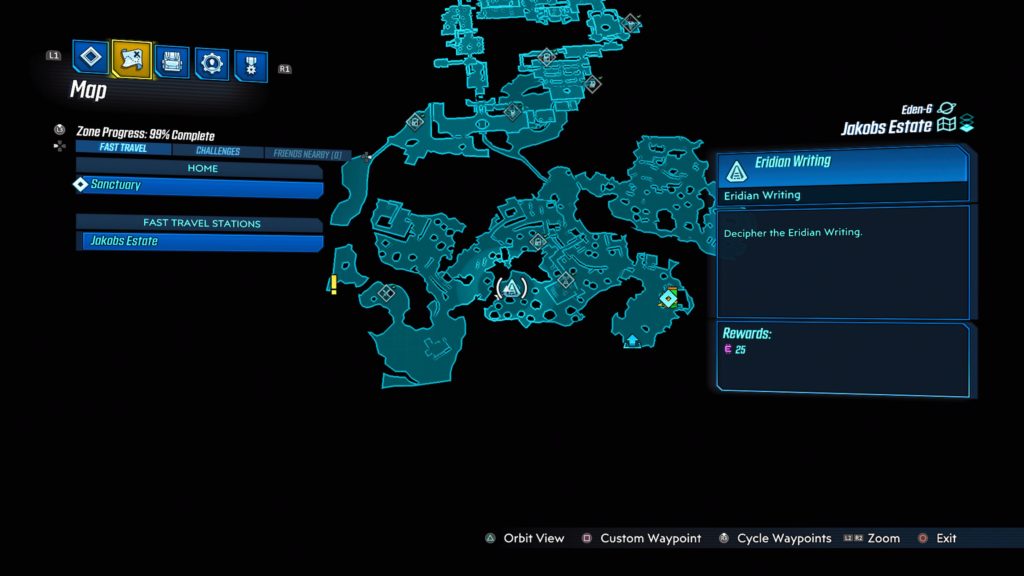
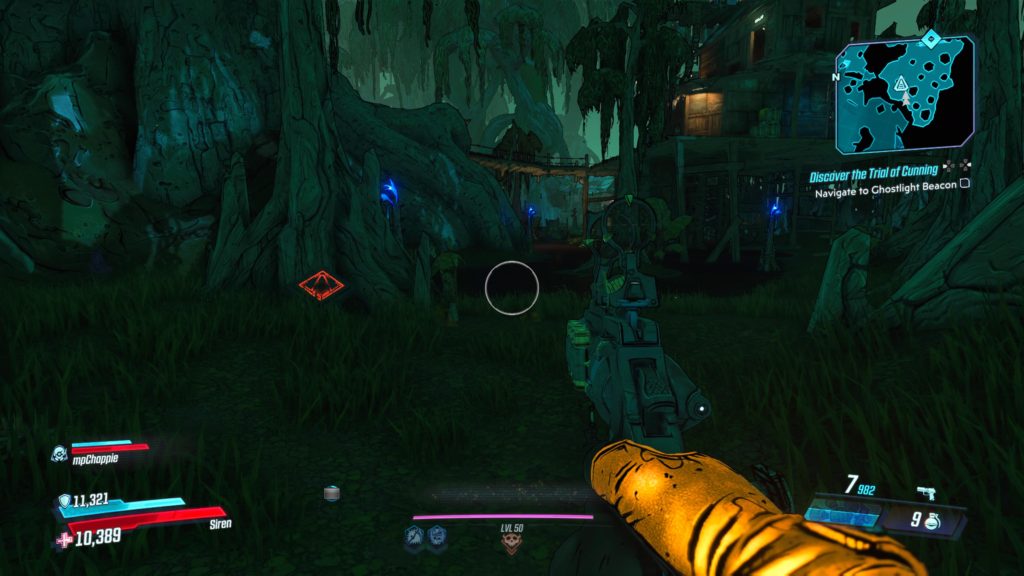
Jakobs Estate

This writing is located in the Leery Hamlet at the base of a tree.


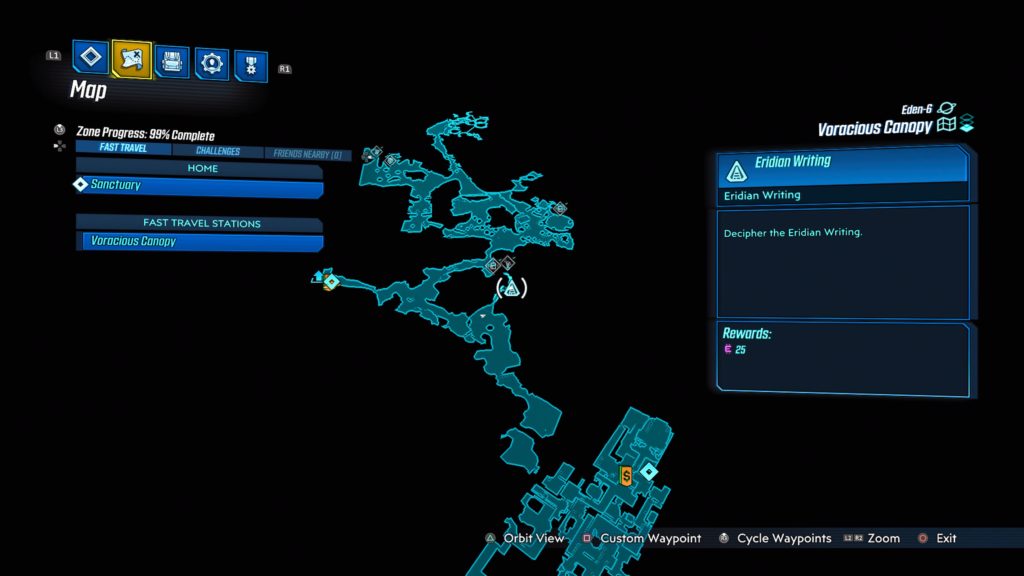
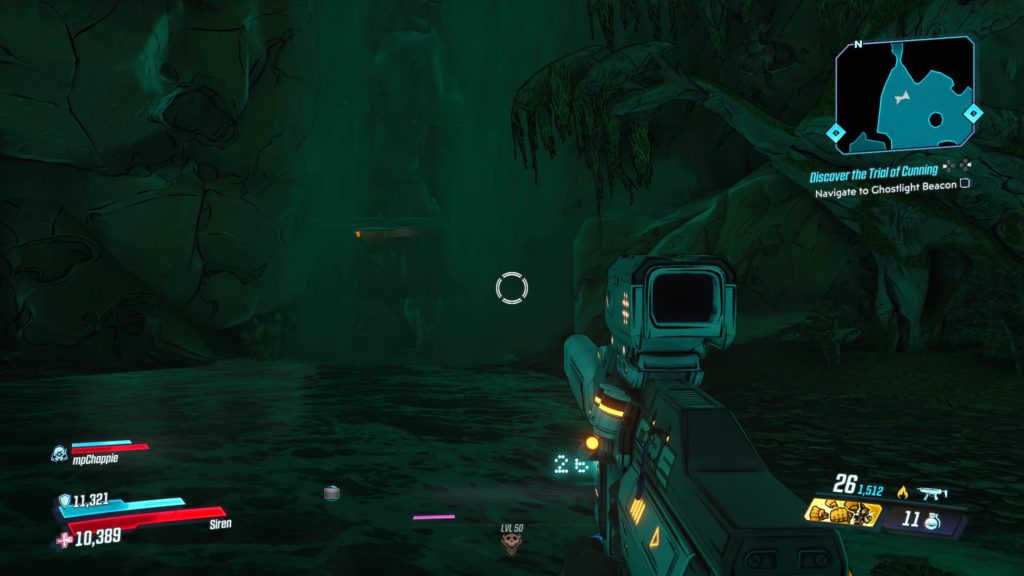
Voracious Canopy

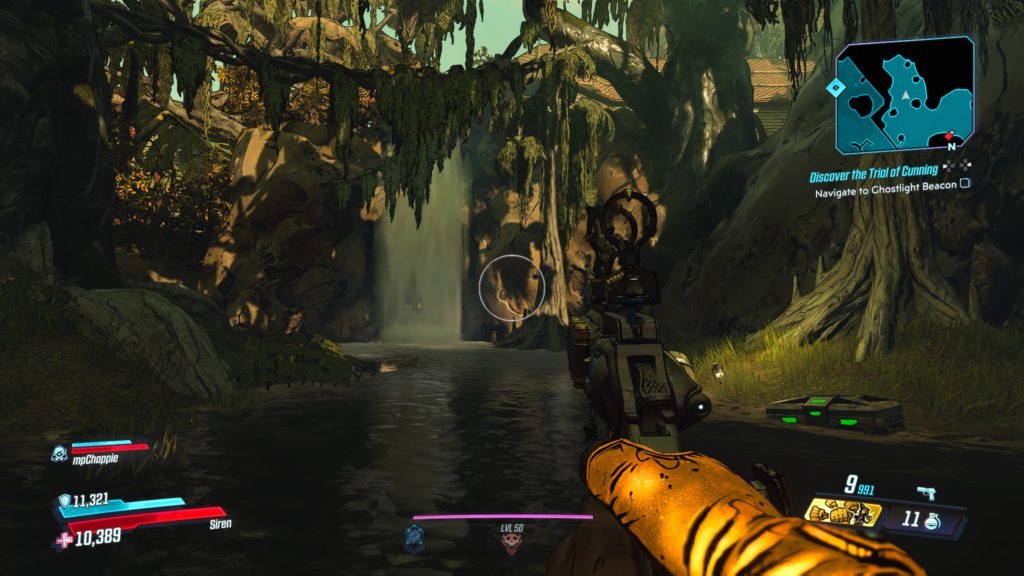
This writing is located behind a waterfall in the Green Labyrinth on the path to the Family Jewel.


Ambermire

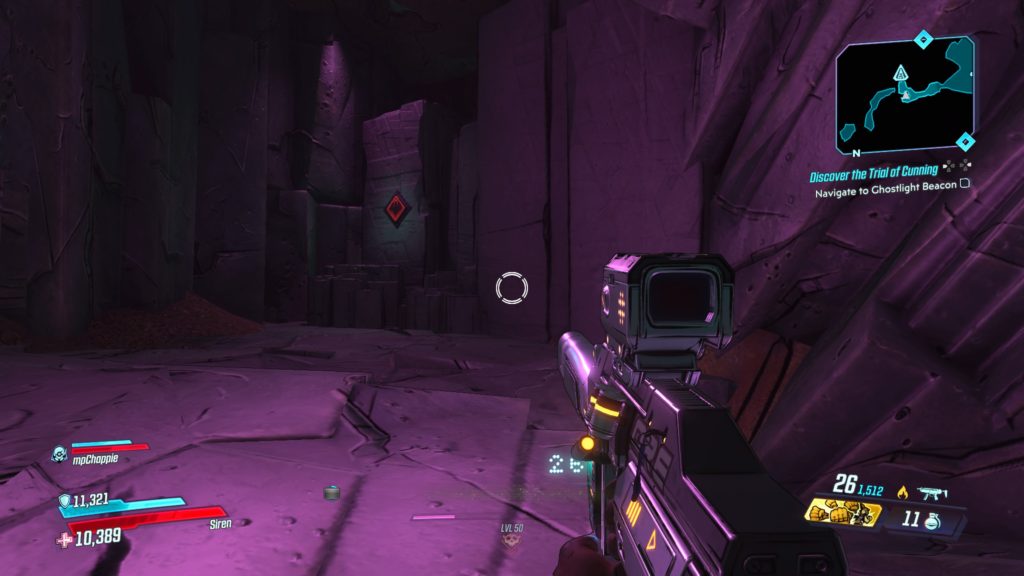
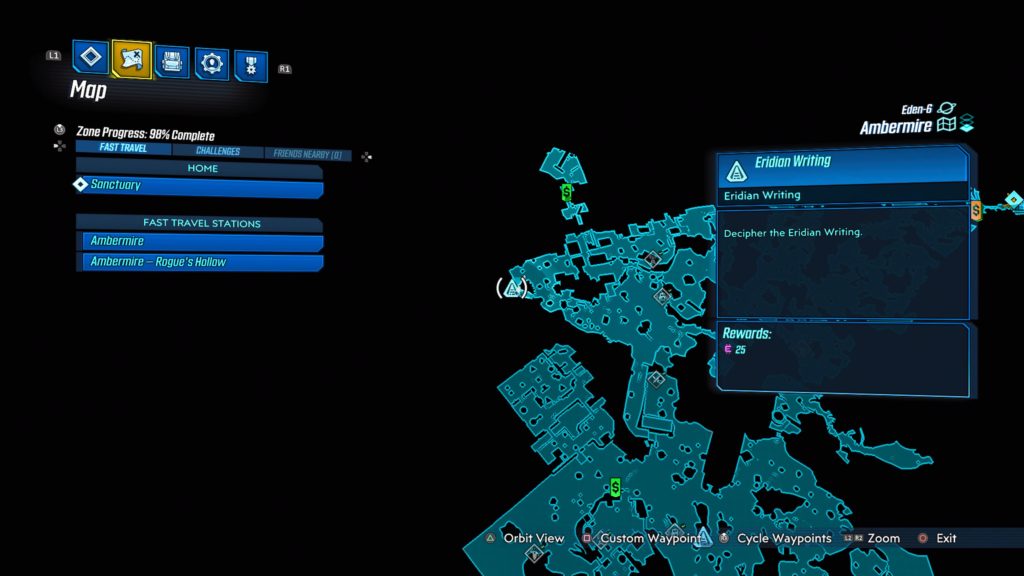
This writing is located near the Soggybog Rigs on the northwestern side of the map next to a crate with a light.


Ambermire

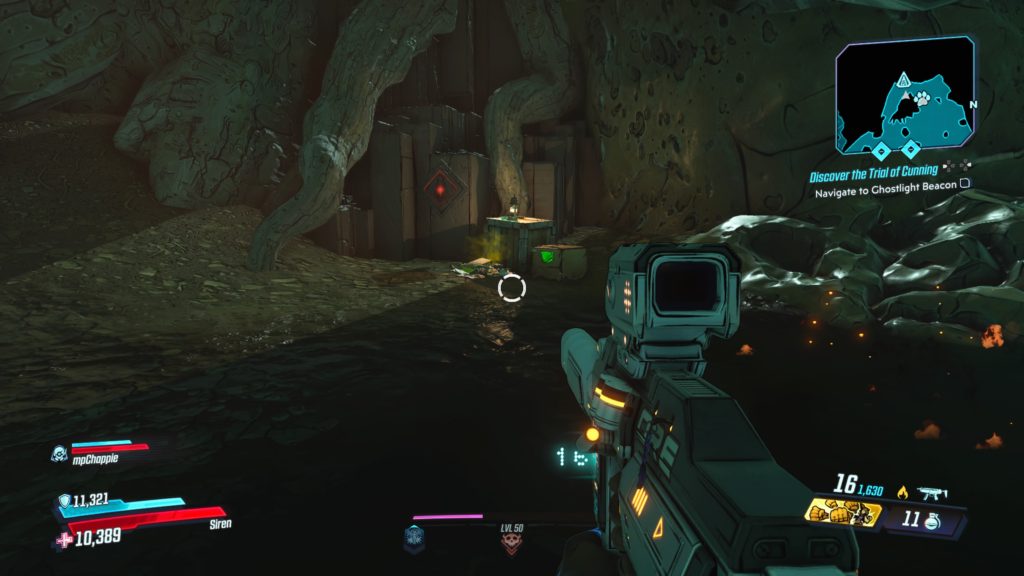
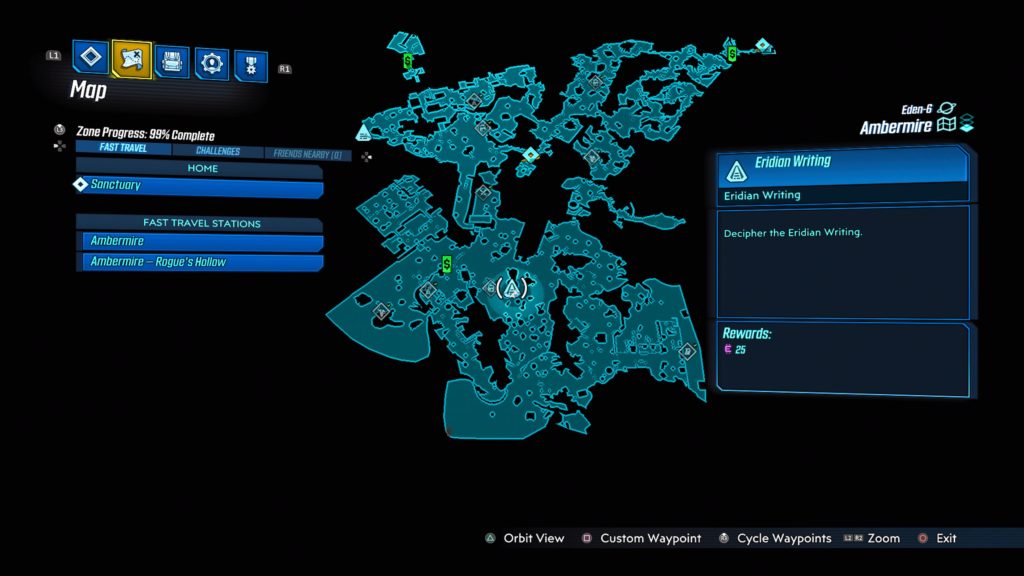
This writing is located at the base of a tree near the Tig’s Big Rig Typhon Log.


Blackbarrel Cellars

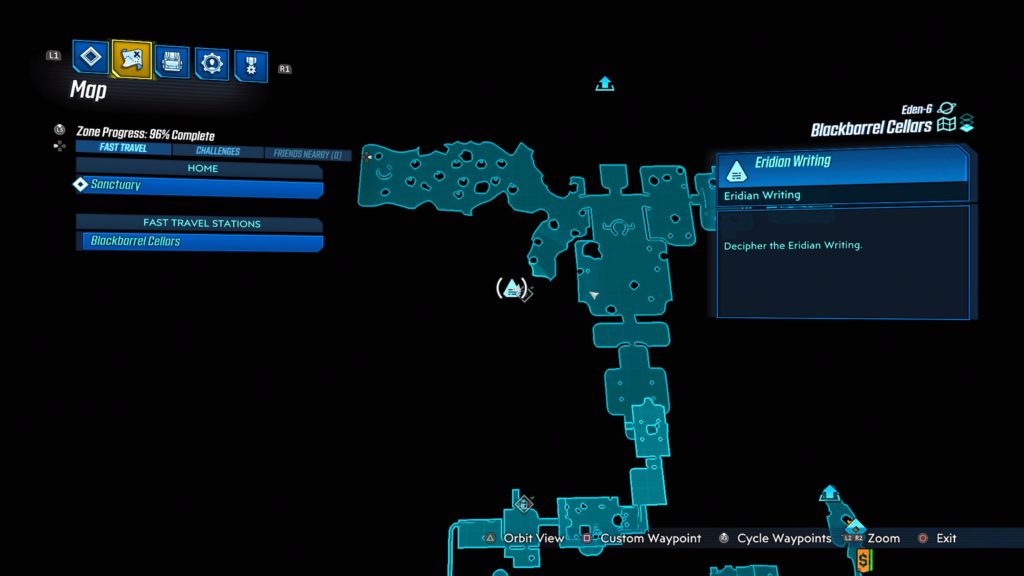
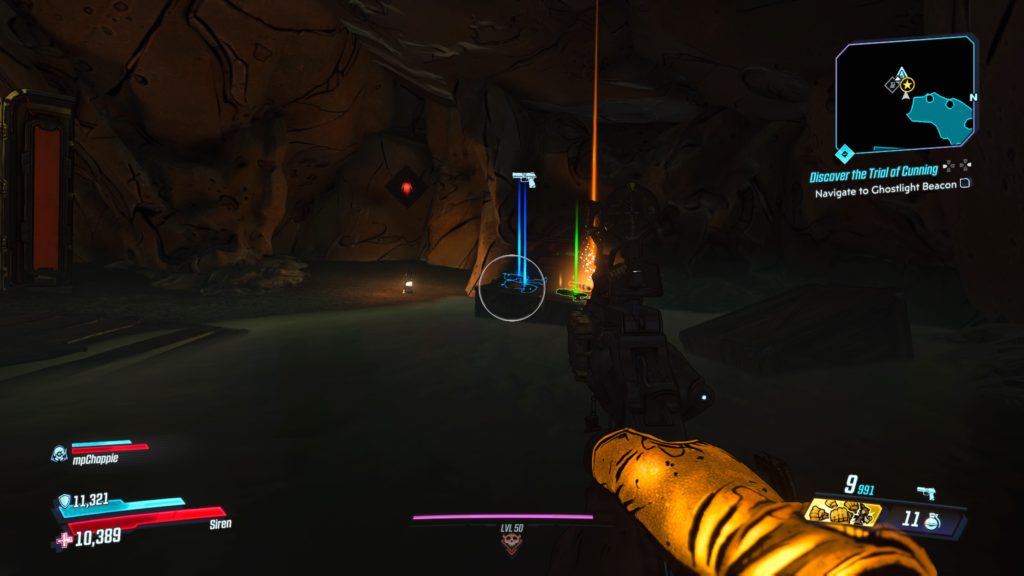
This writing is located next to a Typhon cache on a rock wall in a cave behind a waterfall in the Estate Gardens.


Nekrotafeyo

Desolation’s Edge

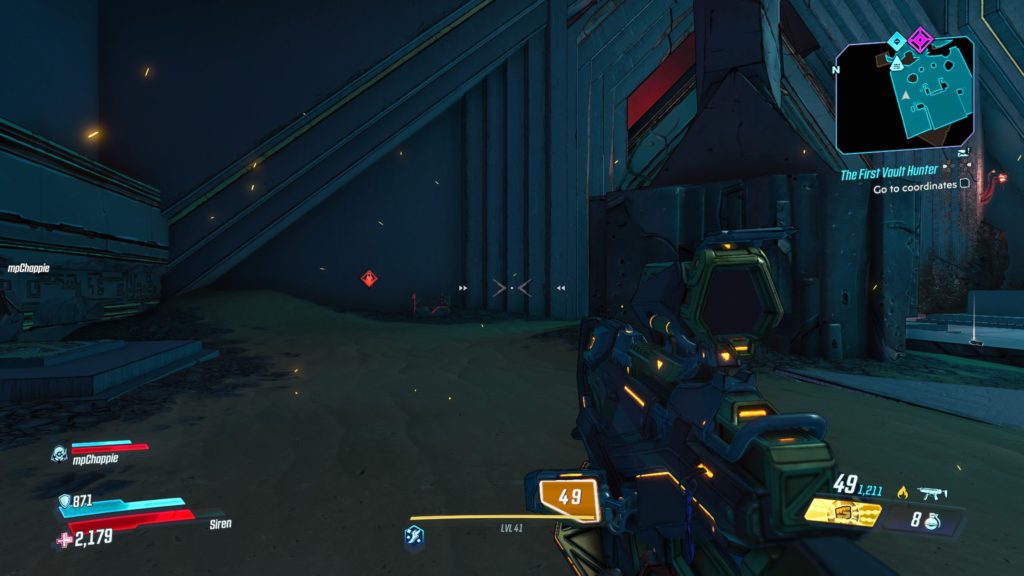
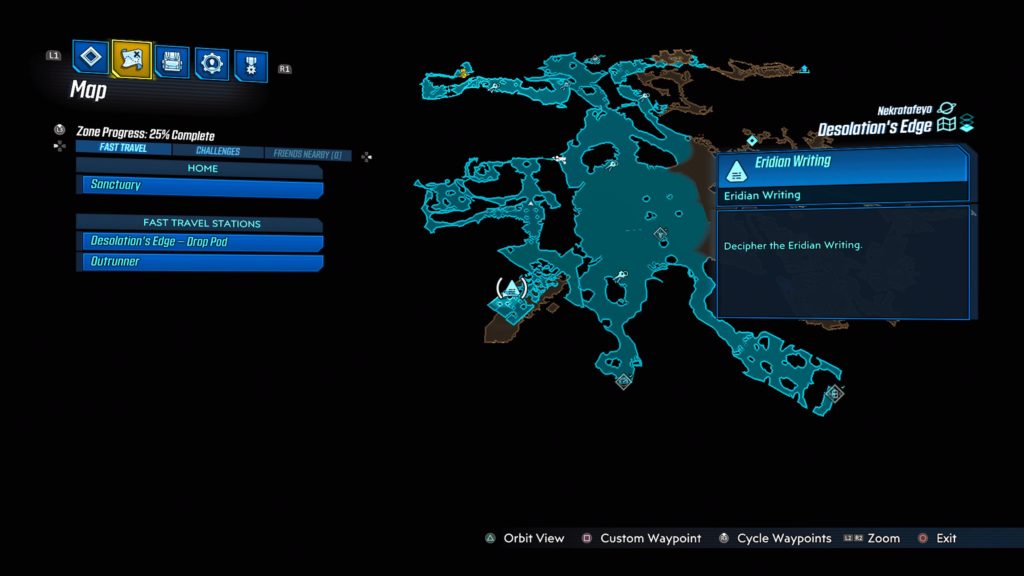
This writing is located in the Twilight Arcade in the southwest. See the map below for the exact location.


Desolation’s Edge

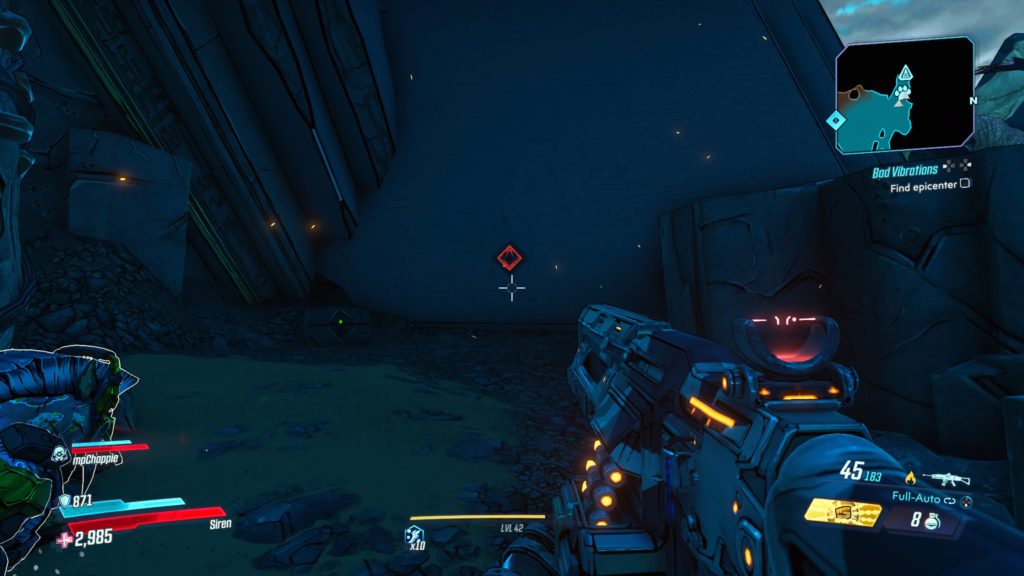
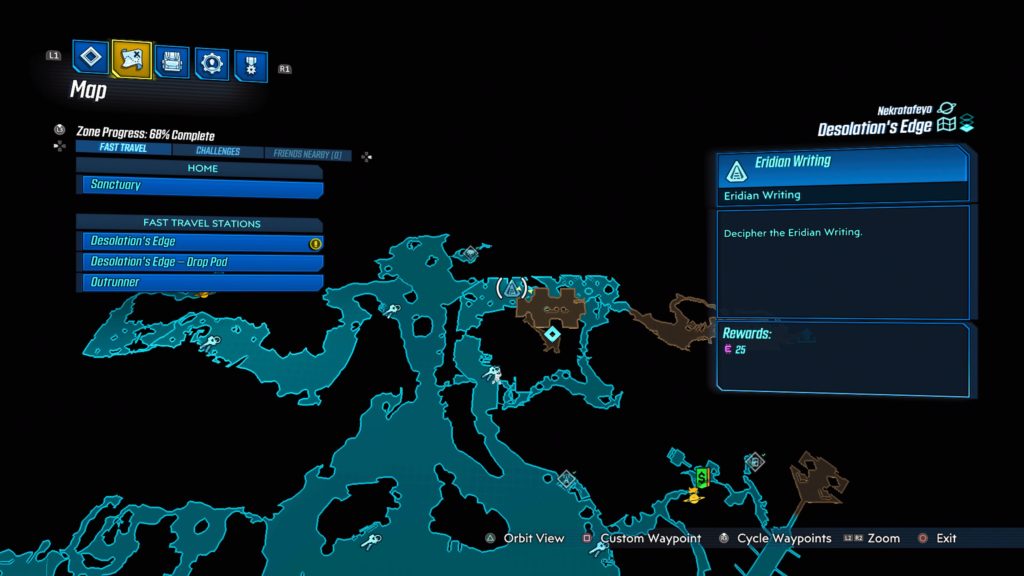
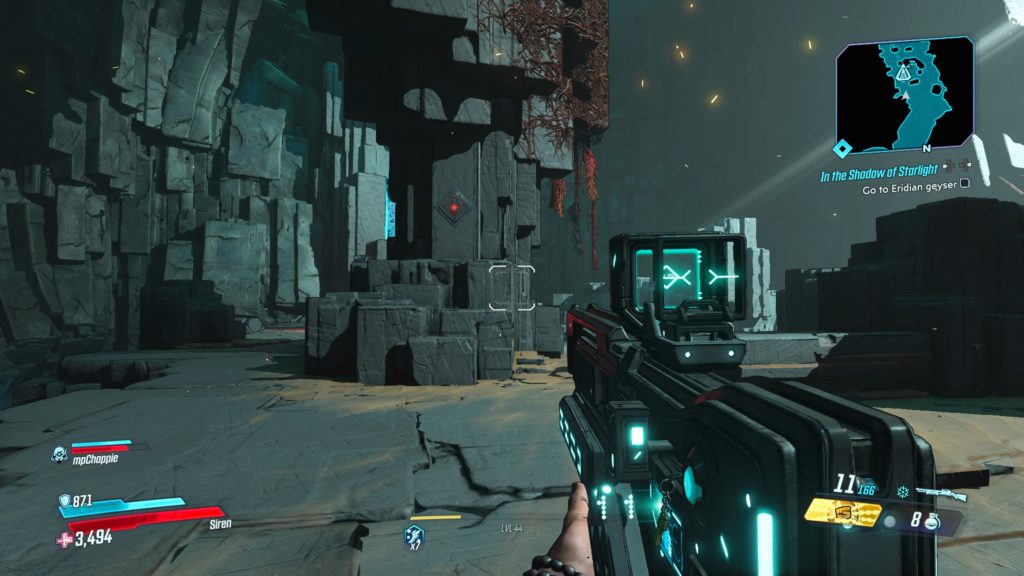
This writing is located in the Chancellor’s Throat where the Bad Vibrations side mission took place. See the map below for the exact location.


Tazendeer Ruins

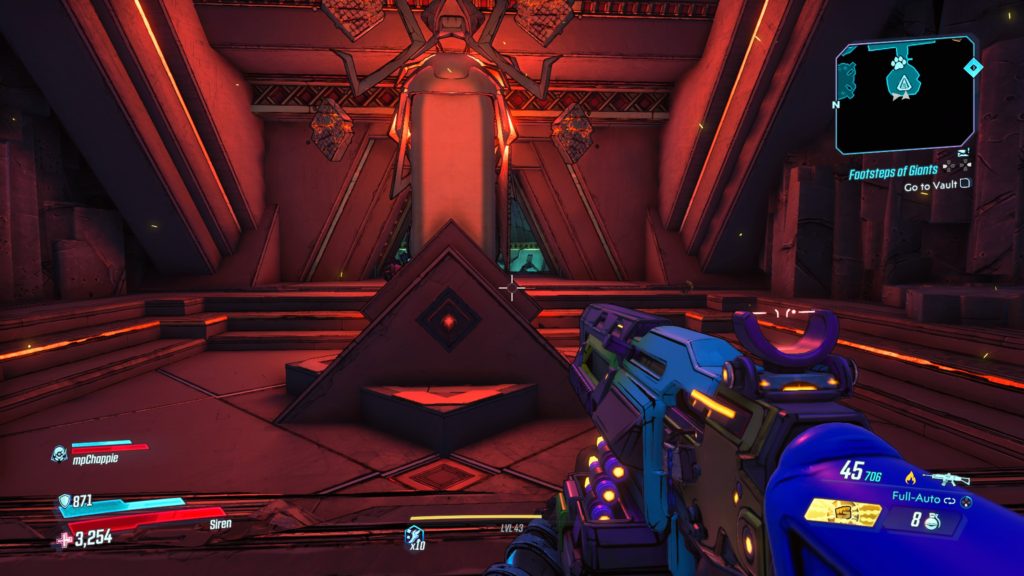
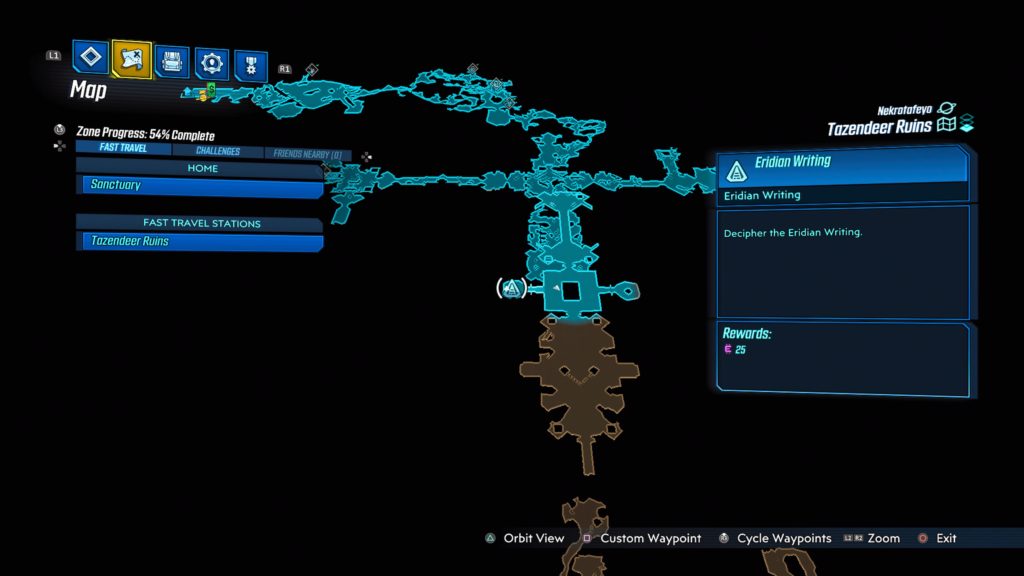
This writing is located in Pertinence and Light near the elevator in the vault. See the map below for the exact location.


The Pyre of Stars

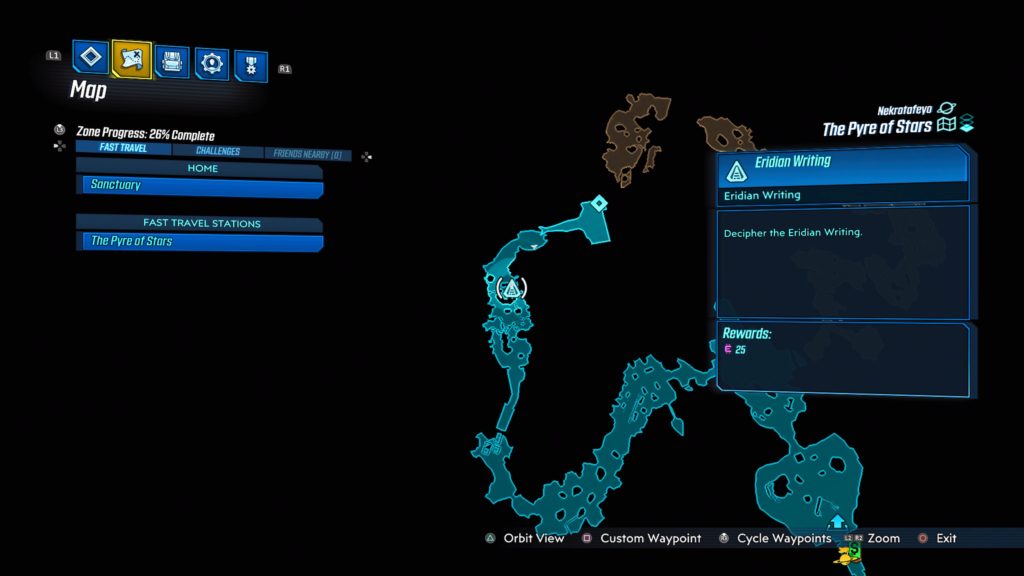
This writing is located in Hallowed Shame near the steam to Eden-6 Pedestal.
 

Guides

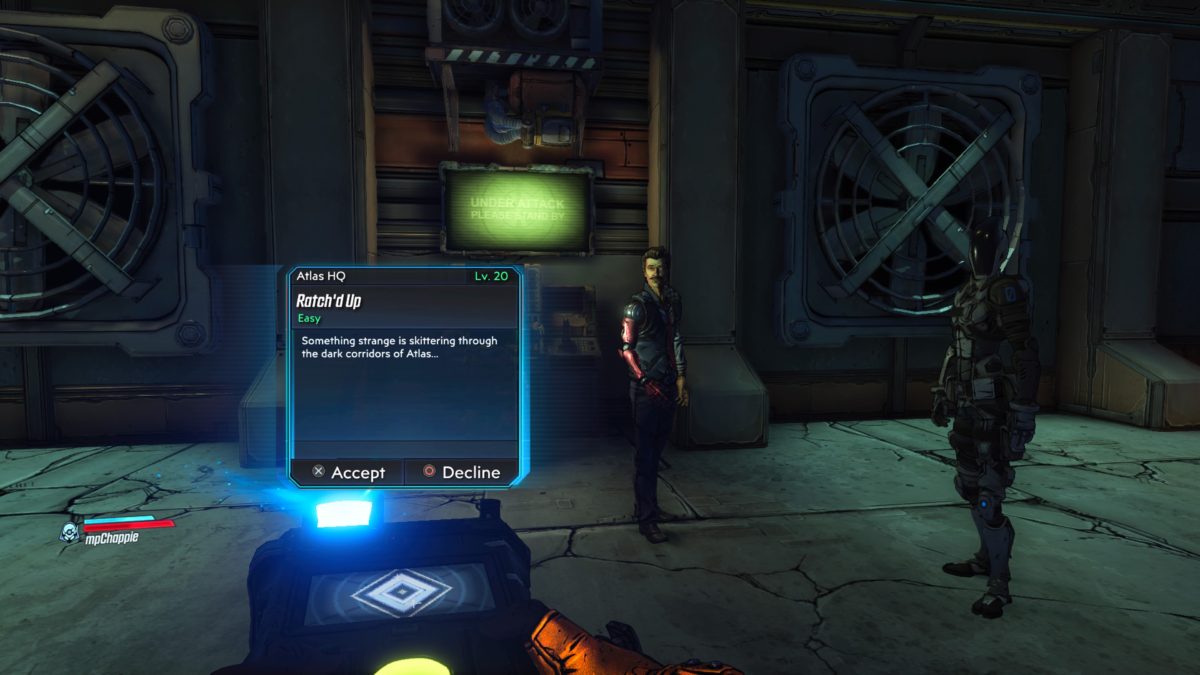
Borderlands 3 – Ratch’d Up

by Chappie in


Location: Promethea – Atlas HQ

Obtained: Talk to Rhys in Atlas HQ after completing the Atlas, at Last main mission.

Objective(s):

  • Find Terry
  • Search for Clues
  • Search Secret Area
  • Investigate Voice
  • Open Glenn’s Cell
  • Eliminate Ratch Threat
  • Talk to Glenn
  • Pick Up Terry’s Brain
  • Lower Cage
  • Kill Gary
  • Place Terry’s Brain
  • Resurrect Terry
  • Talk to Terry
  • Talk to Glenn


Find Terry

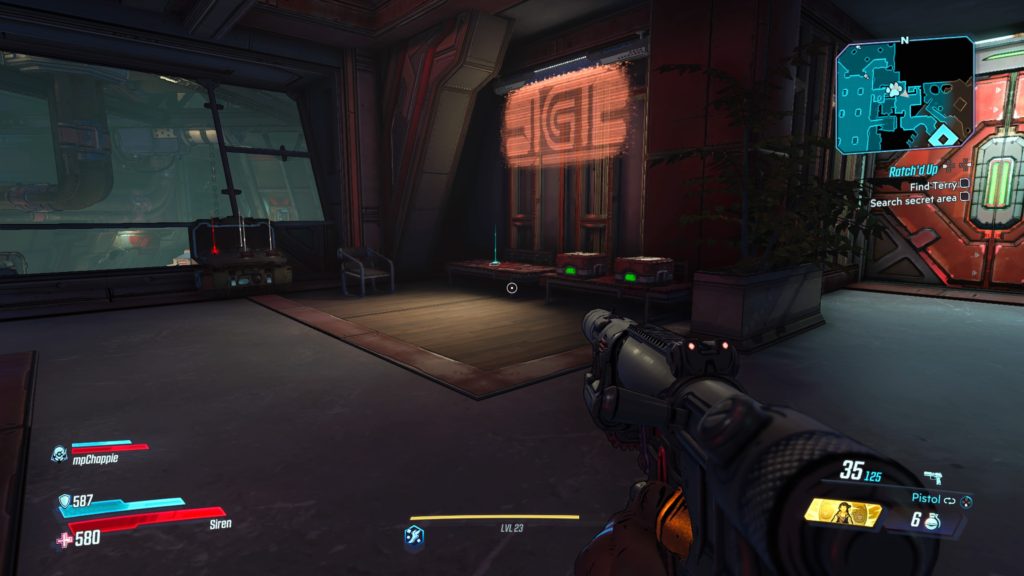
Head to the second level of Lobby of Self-Actualization and enter Terry’s Office.


Search for Clues

Press the green button behind the XXX jug next to the stereo on the table.


Search Secret Area

Enter the super secret area via the secret entrance.


Investigate Voice

Head deeper into the lab until you hear a voice. Walk over to the locked red door.


Open Glenn’s Cell

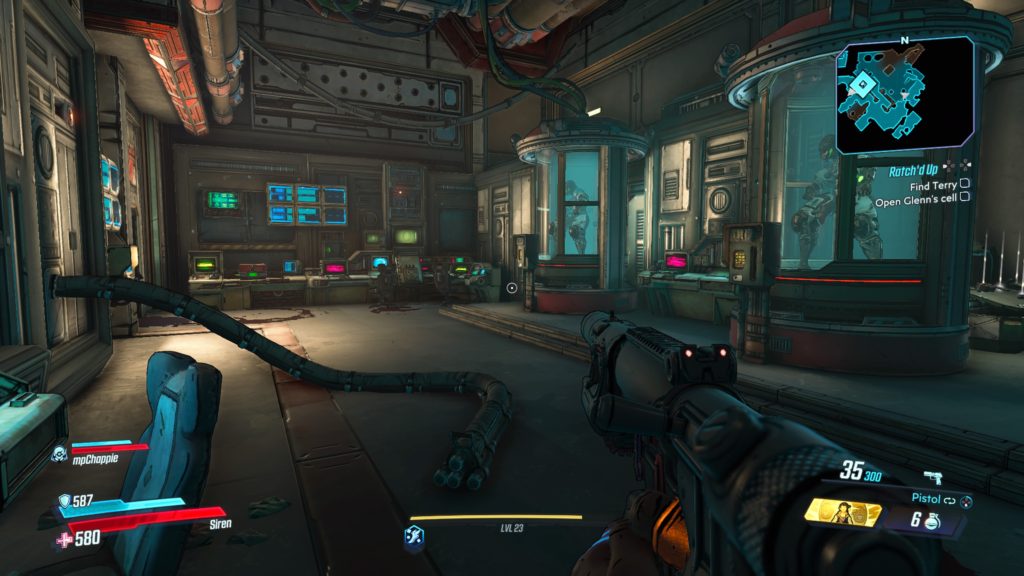
Work your way further into the lab until you come to a room filled with Ratch. Eliminate the Ratch then head up to the second level of the room and press the button to free Glenn.


Eliminate Ratch Threat

Exterminate the Ratch.


Talk to Glenn

Exit the room and talk to Glenn.


Follow Glenn

Follow Glenn back into the room with the Ratch.


Pick Up Terry’s Brain

Collect Terry’s brain off the ground.


Lower Cage

Pull the lever next to the large cage containing Gary.


Kill Gary

Drop into Gary’s Pit and kill him before he eats you.


Place Terry’s Brain

Put Terry’s brain into the transfer tank in the room connected to Gary’s Pit.


Resurrect Terry

Press the button to bring Terry back as a Ratch.


Talk to Terry

Talk to Ratch Terry.


Talk to Glenn

Head back to Glenn and talk with him to complete the mission.


Guides

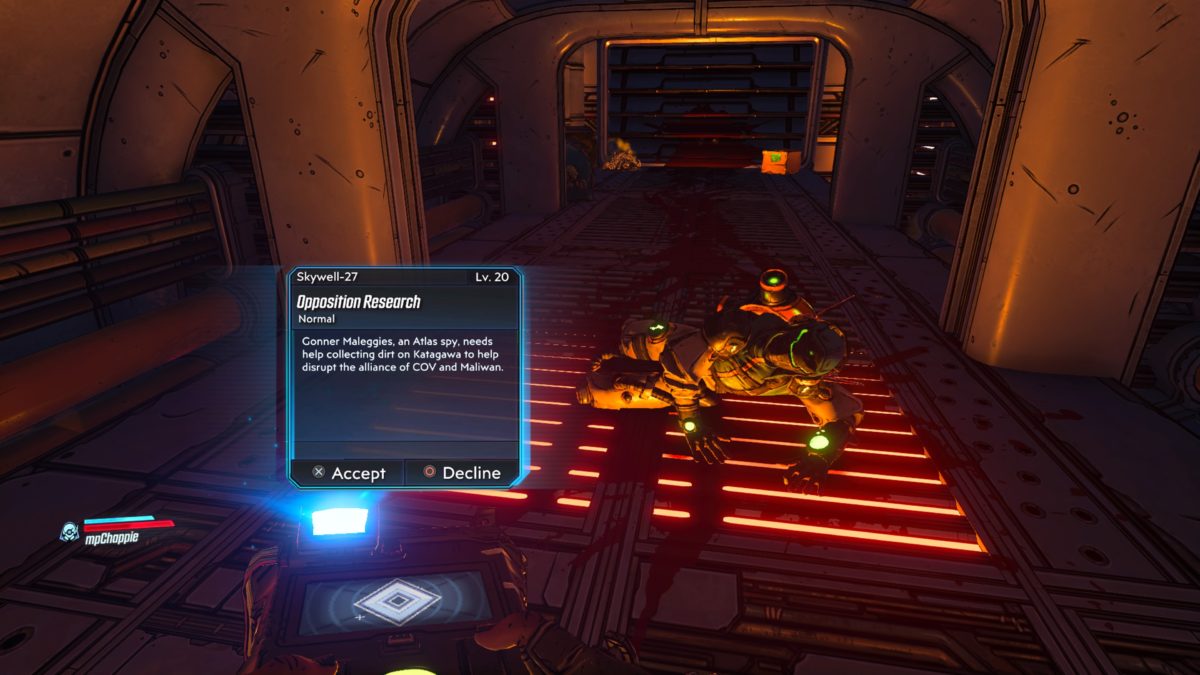
Borderlands 3 – Opposition Research

by Chappie in


Location: Promethea – Skywell-27

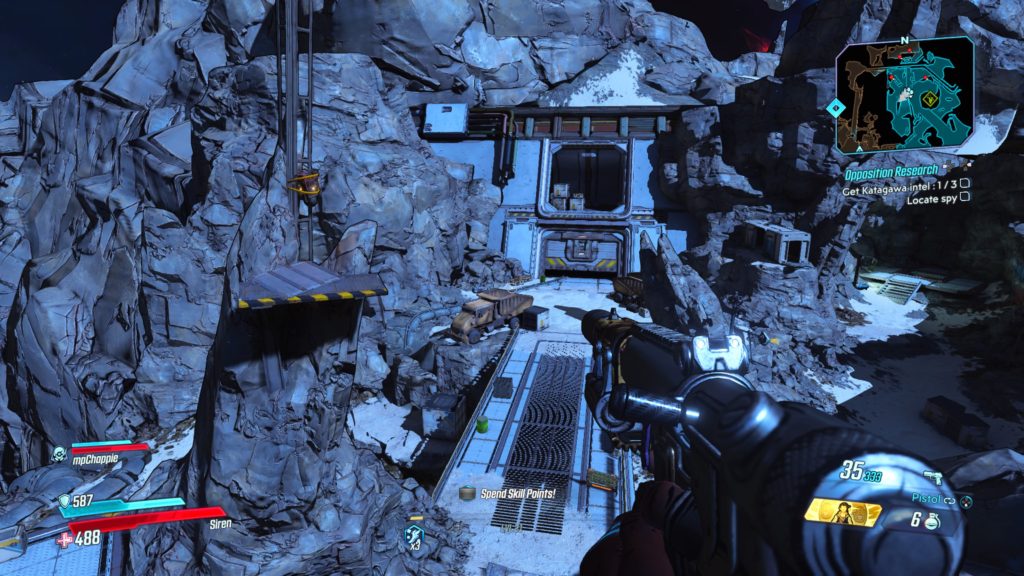
Obtained: Talk to Gonner Maleggies who is in a ventilation shaft in Sector 1 to the left of the giant circular door in the image below.

Objective(s):

  • Get Katagawa Intel
  • Locate Spy
  • Search Body
  • Follow Blood
  • Search Toilet
  • Take Tape
  • Locate Spy
  • Search Body
  • Open Locker
  • Kill Interrogator
  • Take Key
  • Get Tape
  • Locate Spy
  • Tale Tape
  • Open Door to Data Center
  • Use Central Computer
  • Enter Password
  • Kill Maliwan
  • Kill COV
  • Turn on Loudspeaker
  • Clear Room
  • Upload Data to Atlas


Get Katagawa Intel

Collect all 3 tapes from the spies.


Locate Spy

Head through the circular door mentioned above and make your way to the room with the giant elevator that leads down to the mine laser. Head to the second level and enter the doorway behind the elevator.  Take the stairs down a level, turn right and head to the end of the hall to locate the spy.


Search Body

Inspect the body.


Follow Blood

Follow the blood trail into the 2nd stall from the left in a bathroom.


Search Toilet

Interact with the toilet to locate the intel.


Take Tape

Pick up the poop covered echo log.


Locate Spy

Keep making your way through the Maliwan facility, passing the laser thruster and entering Sector 4 (Tritanium Refinery). You know your in the right spot when you see the giant chute in the middle of the area. Head into the building west of the chute and take the stairs inside to the second level. Head through the doorway and take a left, heading through another doorway into a room. Go to the second room across from where you are to locate the spy.


Search Body

Inspect the body.


Open Locker

In the same room as the body, search the lockers on the right side of the room.


Kill Interrogator

Defeat the Interrogator in the hallway just outside the room.


Take Key

Grab the key the Interrogator drops when you defeat him.


Get Tape

Head back to the locker and use the key to unlock it.  Once it’s open, pick up the echo log.


Locate Spy

Jump down the long chute in Sector 4. This will place you in Fuel Processing. Exit through the door to enter a room containing a cylinder with a blue sphere in the middle of it. Take a right and follow the path forward to arrive in the area before the boss leading to the server room. Enter the server room and head to the east side of the room to locate the spy.


Take Tape

Grab the tape from the spy


Open Door to Data Center

Follow the path in the room the spy was in to head to the Data Center. Press the button under the Data Center sign to open it.


Use Central Computer

Head into the Data Center and use the central computer.


Enter Password

Interact with the computer to enter the password two times.


Kill Maliwan

Fight off the Maliwan soldiers.


Kill COV

Take out the COV bandits that attack.


Turn on Loudspeaker

Press the button on the terminal to turn on the loudspeaker.


Clear Room

Fight the Maliwan soldiers and COV bandits.


Upload Data to Atlas

Press the button on the console near the central computer to upload the intel and complete the mission.


Borderlands 3
Guides

Borderlands 3 – Promethea Dead Claptrap Crew Challenge

by Chappie in

Meridian Outskirts

Cave (Universal Transistor)

This dead claptrap is located in a cave between Meridian Outskirts drop pad and the Meridian Outskirts fast travel station.


Meridian Metroplex

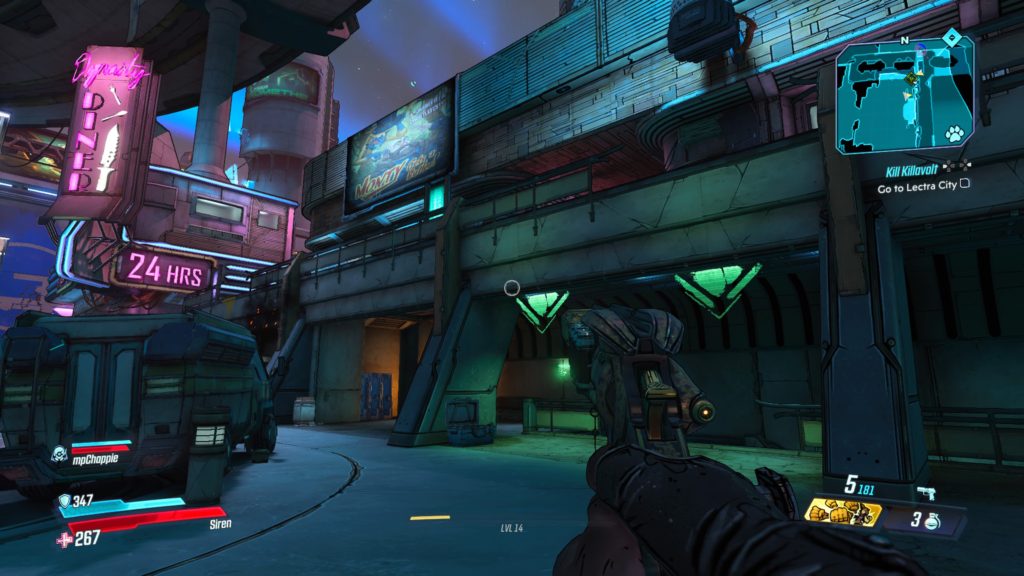
Stairwell (Stair-Climbing Update)

This dead claptrap is located in a stairwell to the right of Dynasty Diner (near the center of the map).  Head below the green arrows in the image above to enter the stairwell containing the claptrap.


Lectra City

Downtown Square (8th Gen Emotive Resonator)

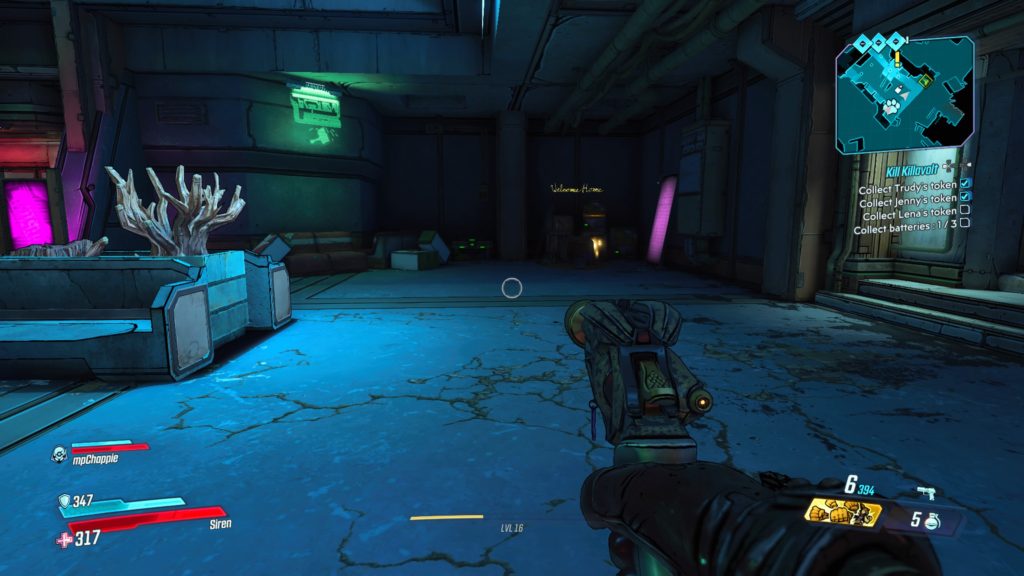
This dead claptrap is located under the Welcome Home neon sign in the Underpass in south-central Lectra City. To reach it, take the big concrete stairs in Downtown Square down to the area where you fight Jenny during the Kill Killavolt side mission.  The dead claptrap is located in this room in the back corner.


Market Quarter (Eye Rotor)

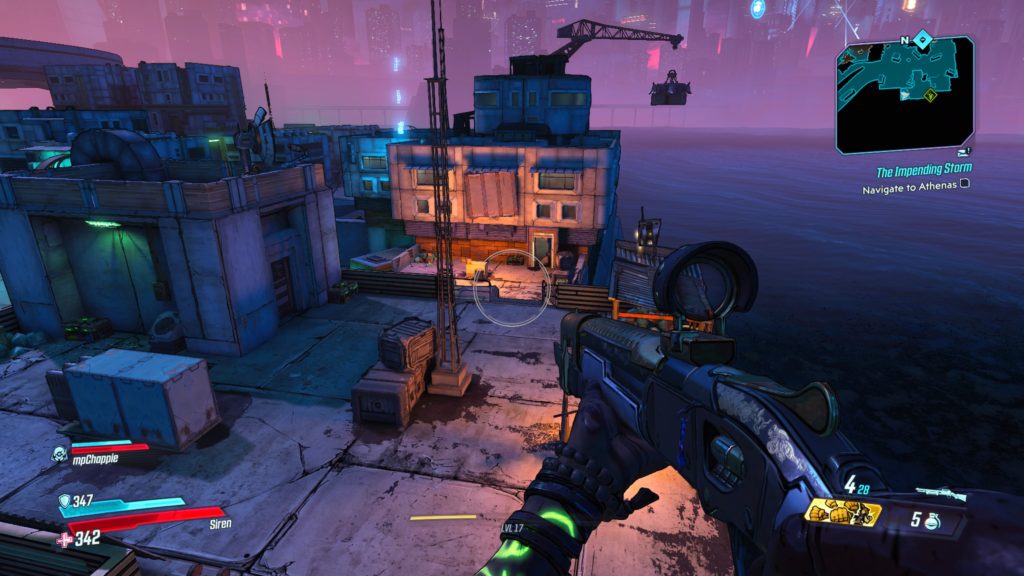
This dead claptrap is located directly south of the Lectra City fast travel station on the roof of a shack overlooking the docks.


Skywell-27

Sector 2 (Antenna)

This dead claptrap is located in Sector 2 of the Maliwan base. This is after passing the large elevator that leads to the laser and climbing through the vents leading back outside. Claptrap will be tied to a metal radio tower connected to a rock just past a bridge in the middle of the path. You will need to climb up the big rock across from the tower to jump over to it.


Observation Deck (Dubstep Library)


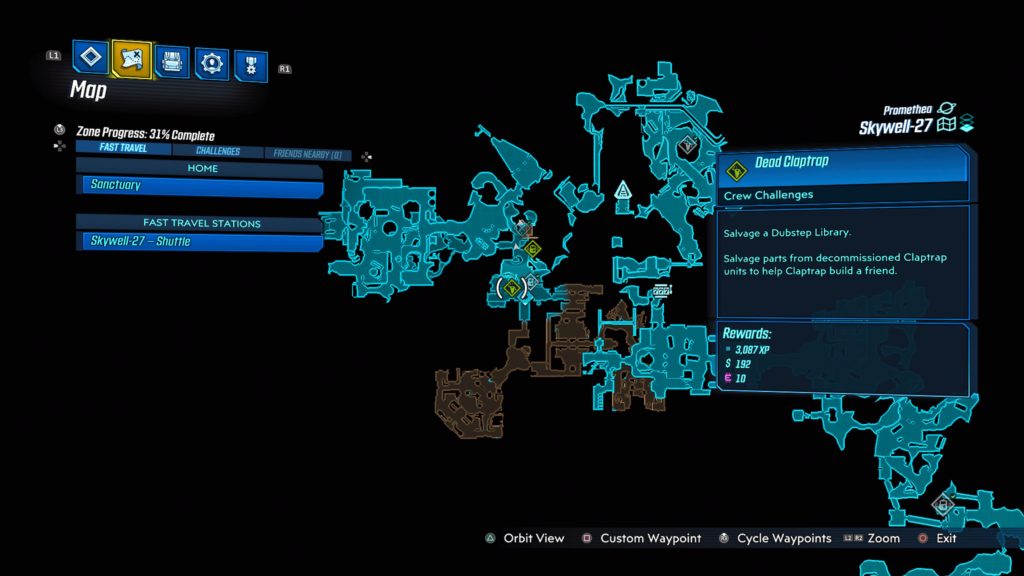
This claptrap is on the second level of a building in the Observation Deck. See the image below for the exact location. To reach it, you will need to jump down the long chute in Sector 4. This will place you in Fuel Processing. Exit through the door to enter a room containing a cylinder with a blue sphere in the middle of it. Take a right and follow the walkway down a couple of steps. Take another right and enter the building there. Climb up the two flights of stairs then jump through the open section of the wall to locate it.

Atlas HQ

Lobby of Self-Actualization (Claptrap-VPN)

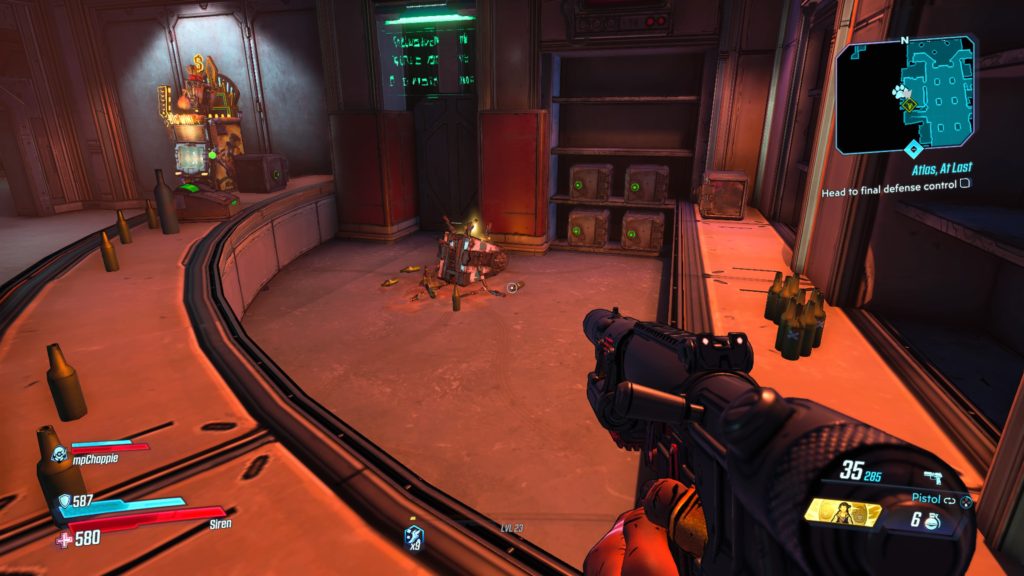
This dead claptrap is located in Atlas Tower behind a bar on the second floor. Enter Atlas and head forward, past the spinning gold ball, then under the red ATLAS sign in the middle of the walkway. Follow the walkway forward until you reach a set of double doors. Instead of heading through them, take the flight of stairs up on the left or right side of the doors to reach the second level in the Lobby of Self-Actualization. The bar will be in the room on the northeastern side of the walkway.


Neon Arterial

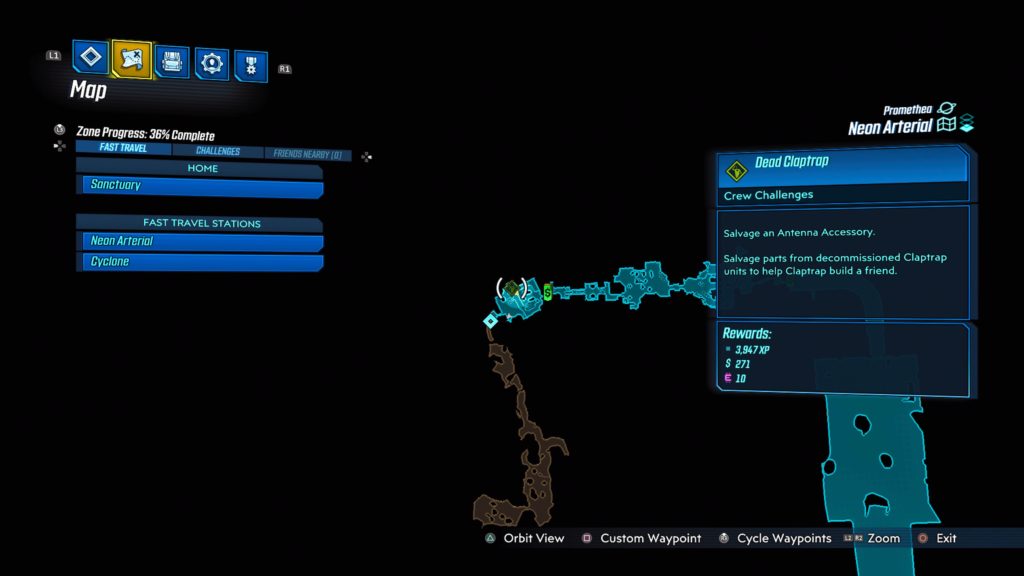
Green Diamond Platform (Antenna Accessory)

This dead claptrap is located on the train track in the middle of the Green Diamond Platform. See the map below for the exact location.


Borderlands 3
Guides

Borderlands 3 – Promethea Echo Log Locations

by Chappie in


Meridian Outskirts

Marcus Munitions (Part 3)

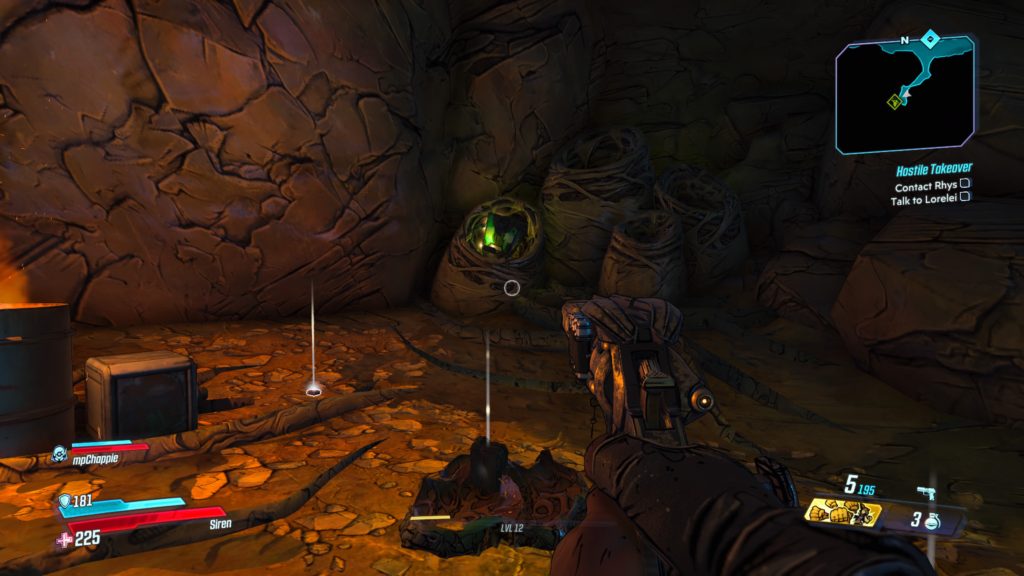
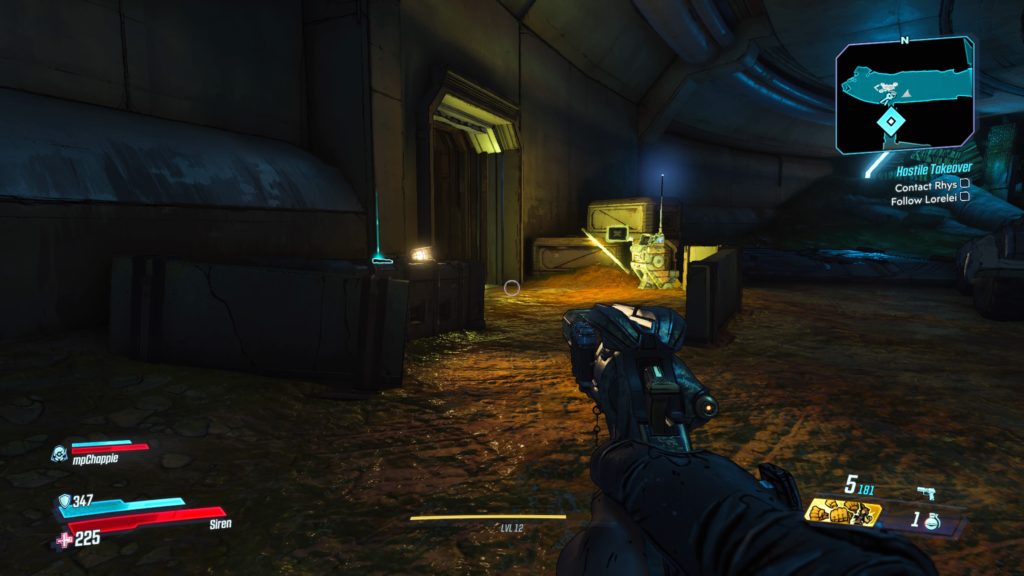
This log is located on a metal crate just before the civilian camp that Lorelei takes you to during the Hostile Takeover main mission (near a Catch-A-Ride).


Marcus Munitions (Part 1)

Located in a tunnel across (north) of Fort Pissoff (contains the Meridian Outskirts fast travel station) on a metal crate near the elevator leading to the top of the bridge. You can reach it after completing the Hostile Takeover main mission.


Occupational Hazard

This log is located on a cot behind Ziff in the area just before the Meridian Metroplex map transition.


Meridian Metroplex

Sitrep

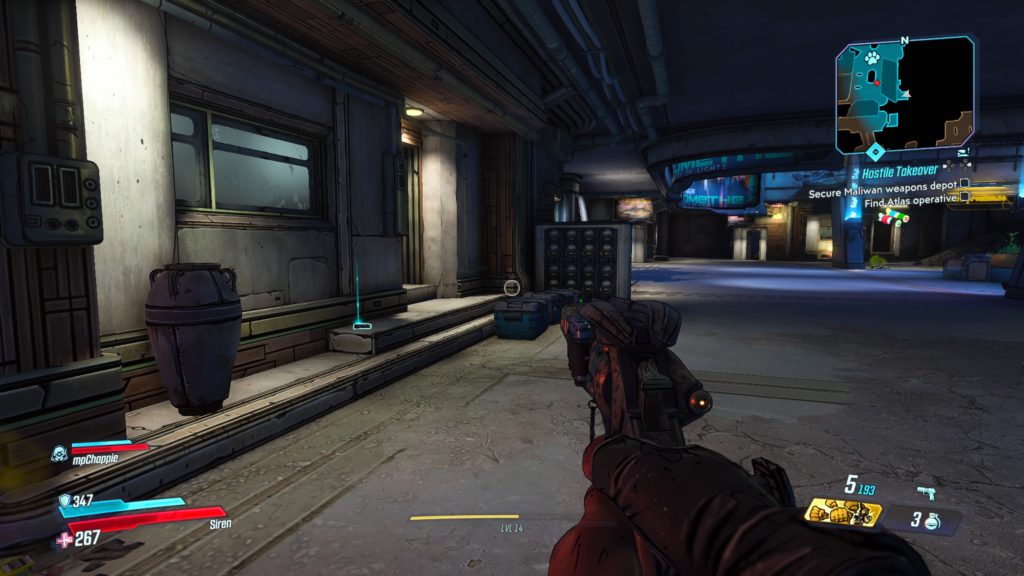
This log is located near some steps next to a door in the middle of a bunch of buildings directly north of the Meridian Metroplex fast travel station.


Morning Meridian

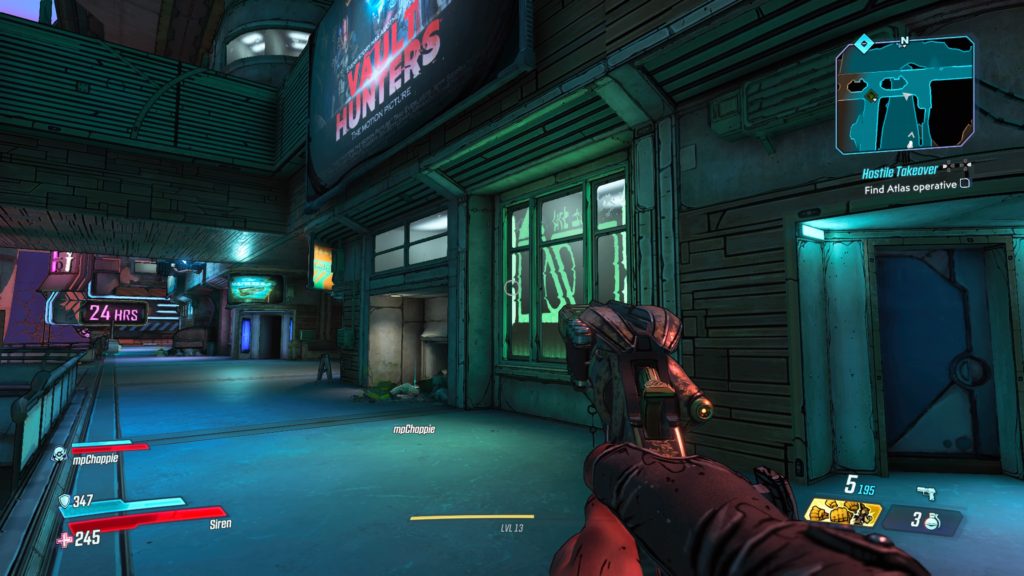
This log is located on the ground in front of a building with a billboard advertising Vault Hunters The Motion Picture. The building is on a bridge near the center of the map close to where you find Beau during the Dynasty Diner side mission.


Daily Grind

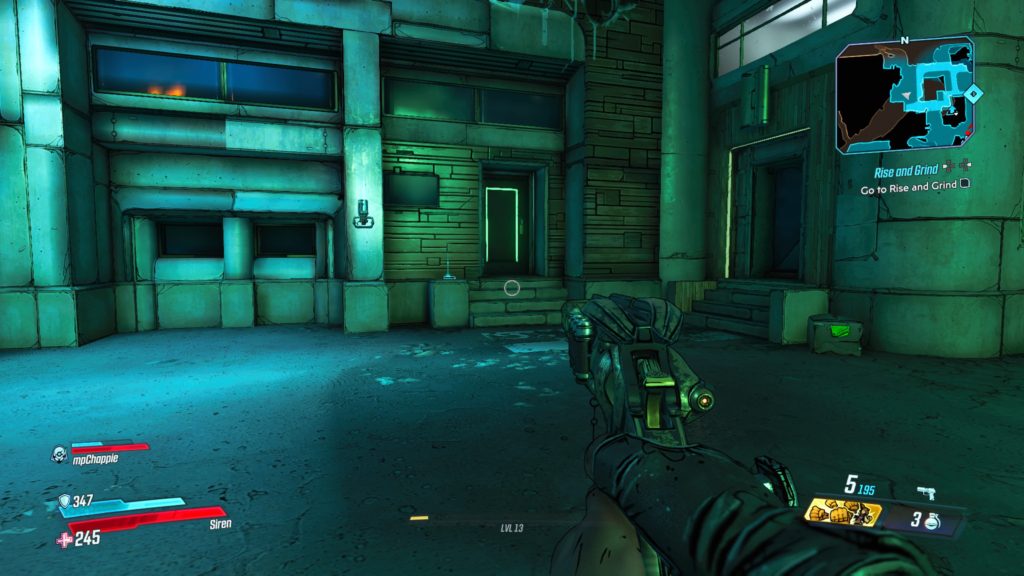
This log is located on the ground next to a door just before the Maliwan Weapons Depot in Meridian Mercantile on the western side of the map, which you access during the Hostile Takeover main mission.


Lectra City

Lashley (Part 1)

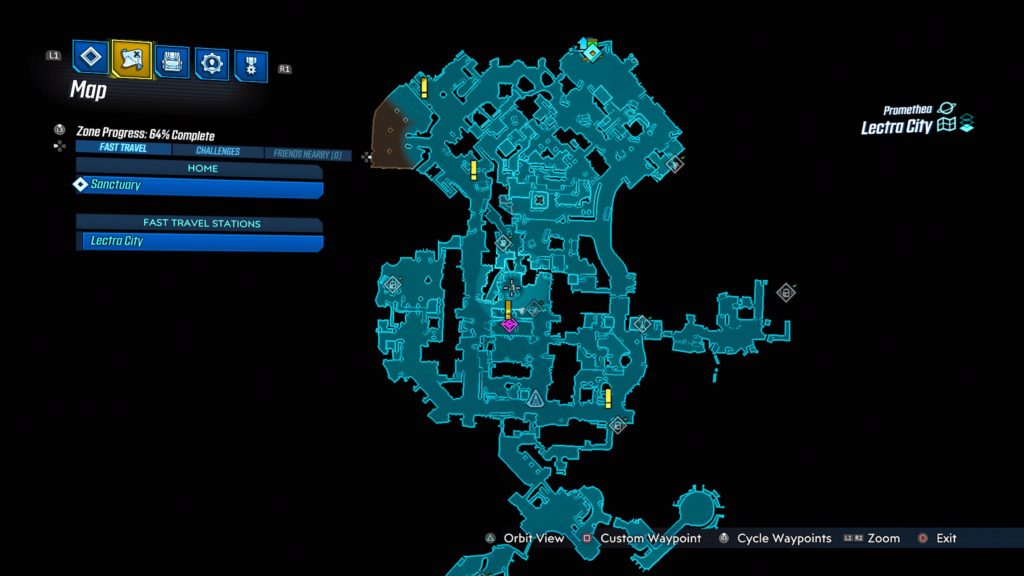
This log is located near the center of the map on a platform near the top of a bridge support. See the map below for the exact location. To reach it, you will have to climb up to the roof of an adjacent building to jump across to it. This is close to where you fought Trudy during the Kill Killavolt side mission.


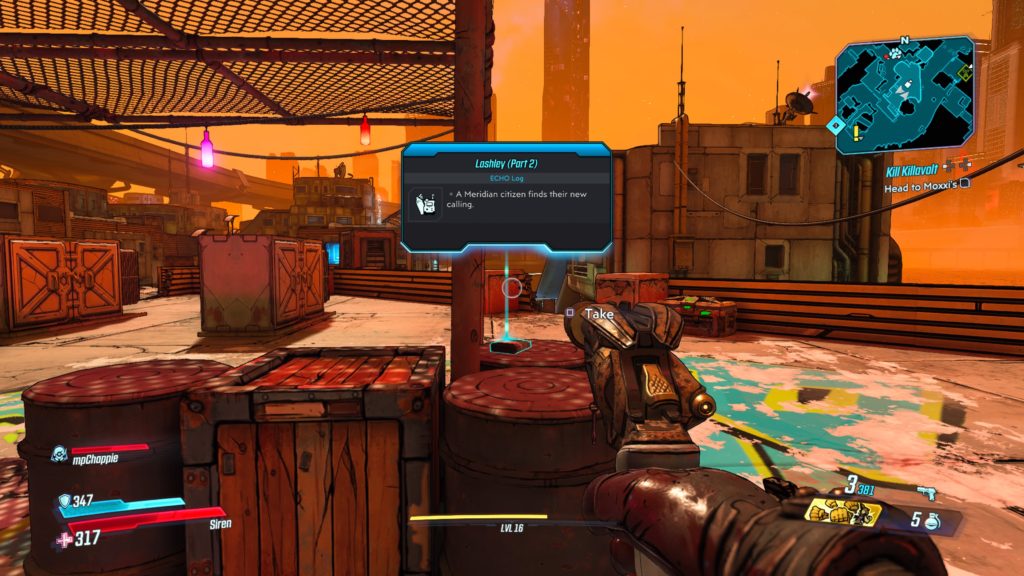
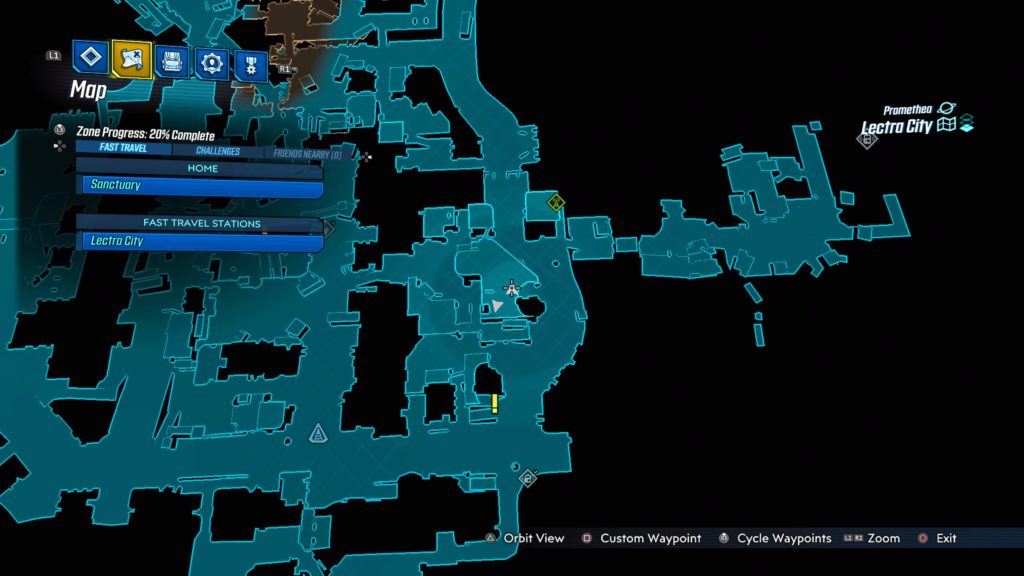
Lashley (Part 2)

This log is located on a rooftop south of where the Lectra City Broadcast Tower Crimson Radio Crew Challenge was.  See the map below for the exact location.


Skywell-27

Back-Up

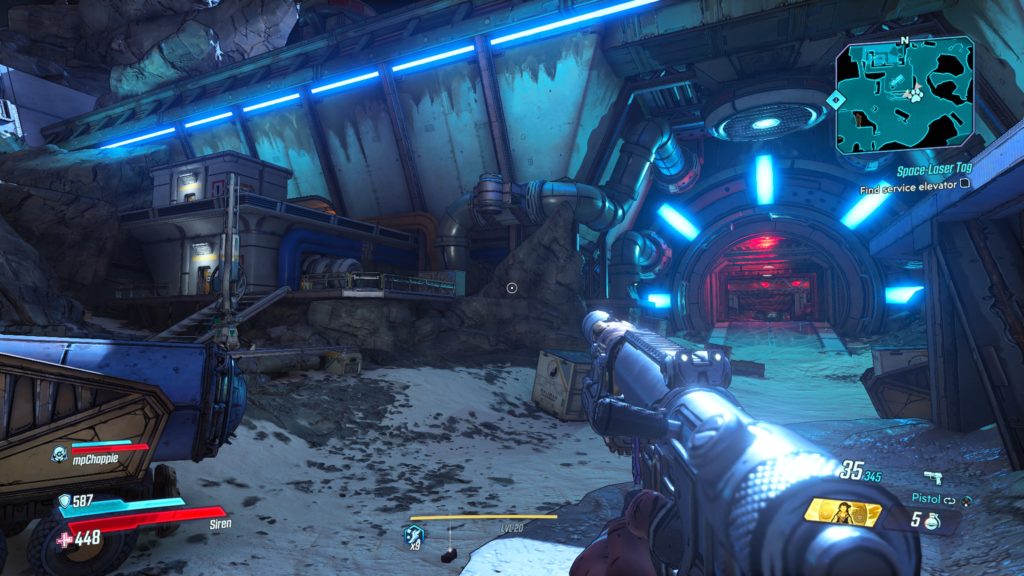
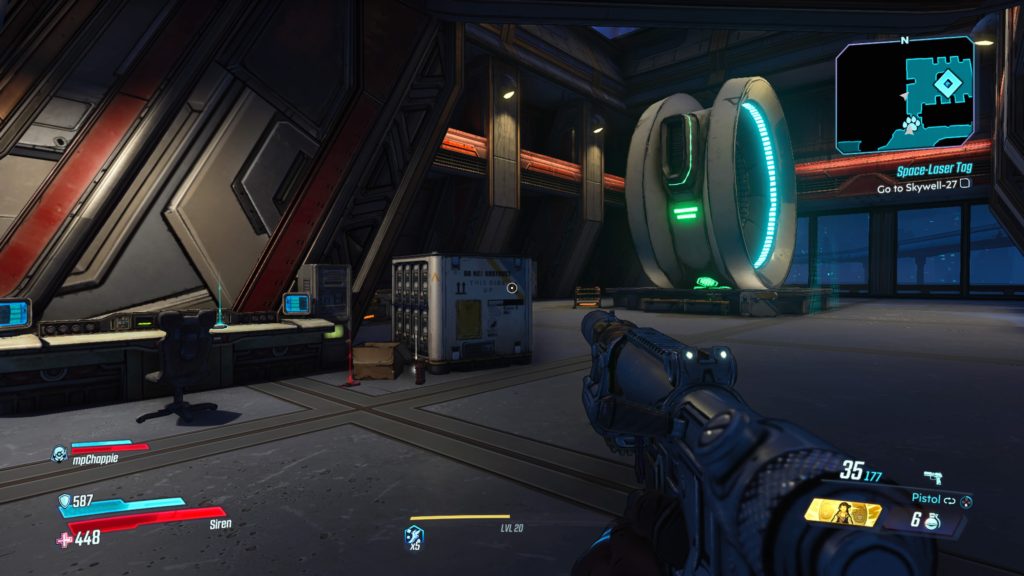
This log is located in the most northeastern building on the map where you borrow the Maliwan shuttle during the Space-Laser Tag main mission (at the Skywell-27 map transition) on a desk near the entrance. See the map below for the exact location.


Laser Technician

This log is located past the giant circular door in Sector 1 that leads to the elevator in the Maliwan facility. See map below for the exact location. To reach it, jump on top of the light located on the right side of the room next to a dump truck under a bridge. Jump on top of the bridge and head left to find the log laying on a table in a small room.


Atlas HQ

Bloodbath on the Zanara

This log is located near the entrance to the Courtyard of Innovation coming from the Atlas Campus. You will walk up a flight of stairs to arrive in the courtyard with giant turrets. Take a left (heading south) at the top of the stairs and follow the wall to the end. The log will be located on a metal crate.


Friends in Invisible Places

This log is located in Atlas Tower. Enter Atlas and head forward, past the spinning gold ball, then under the red ATLAS sign in the middle of the walkway. Enter the first room on the right to find this log on a desk in the back of the room.


Terry’s Science Dairy (Part 1)

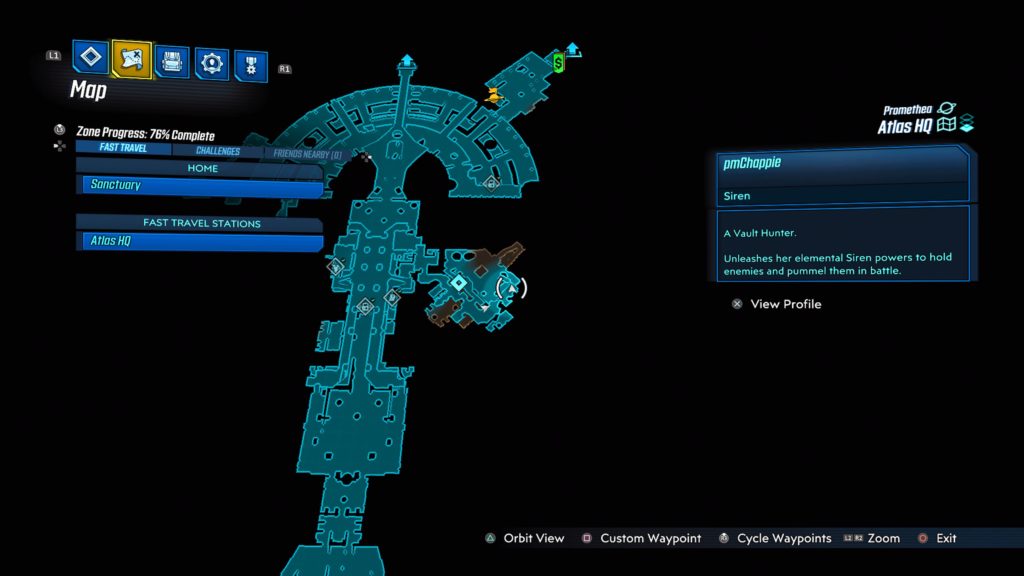
This log is located in the Skunkworks Lab. You can find it during the Ratch’d Up side mission on a cushioned bench. See map below for the exact location.


Terry’s Science Dairy (Part 2)

This log is located in the Skunkworks Lab. You can find it during the Ratch’d Up side mission laying on a console in a room with the two cylinder tanks. See map below for the exact location.


Neon Arterial

Below (Part 1)

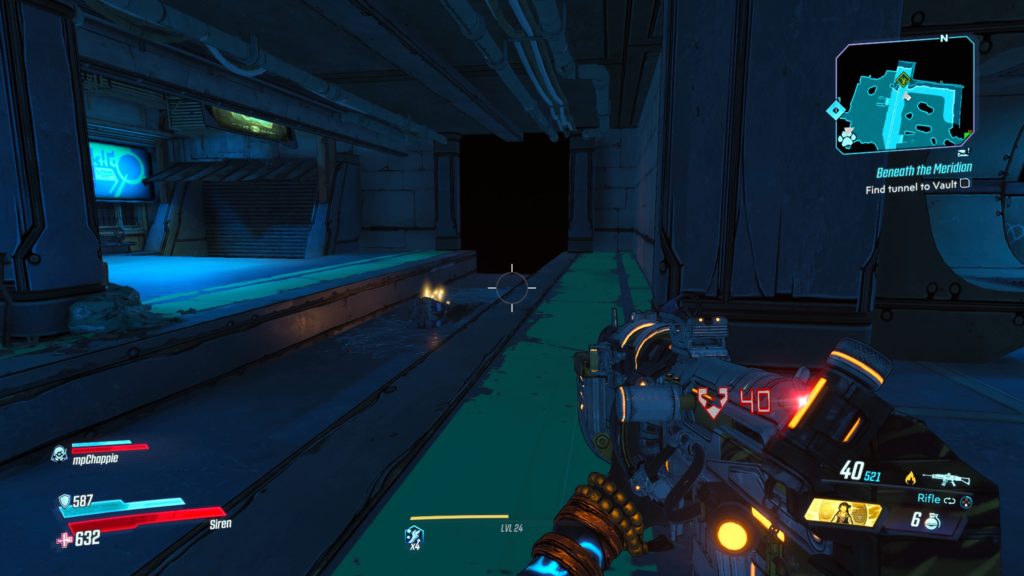
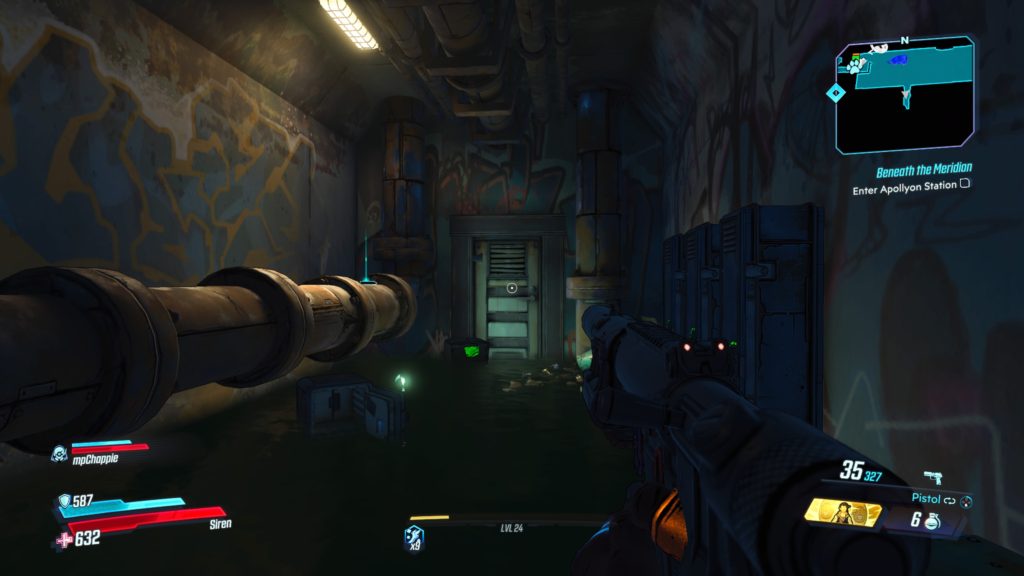
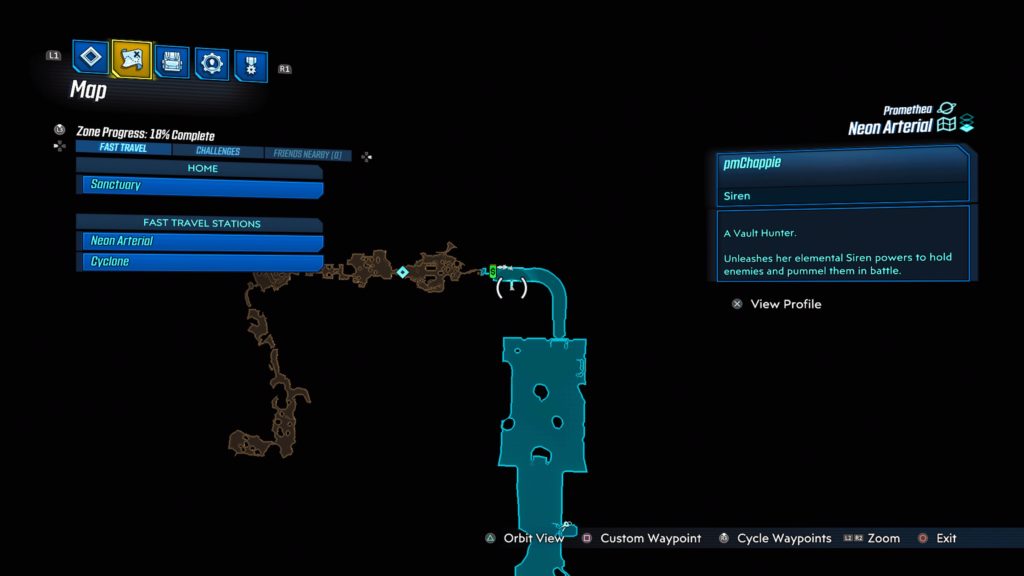
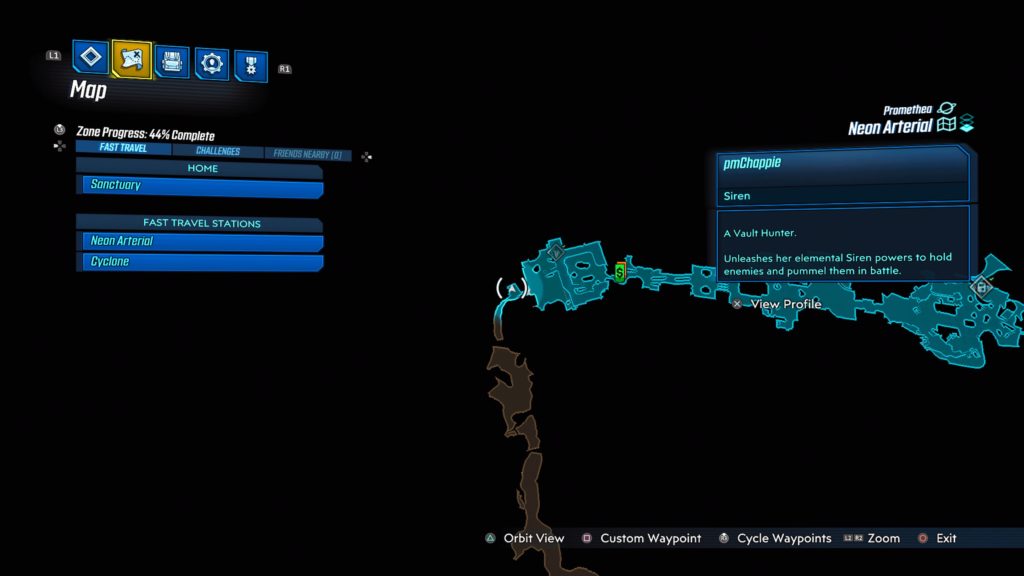
This log is located on a pipe in a tunnel with a dead end just before Apollyon Station. You will come here during the Beneath the Meridian main mission. See the map below for the exact location.


Below (Part 2)

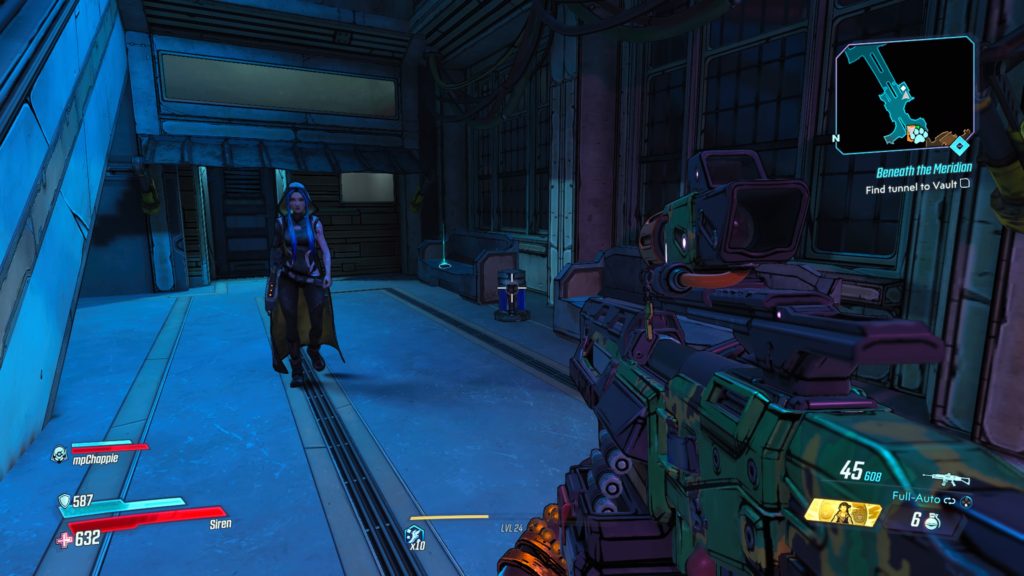
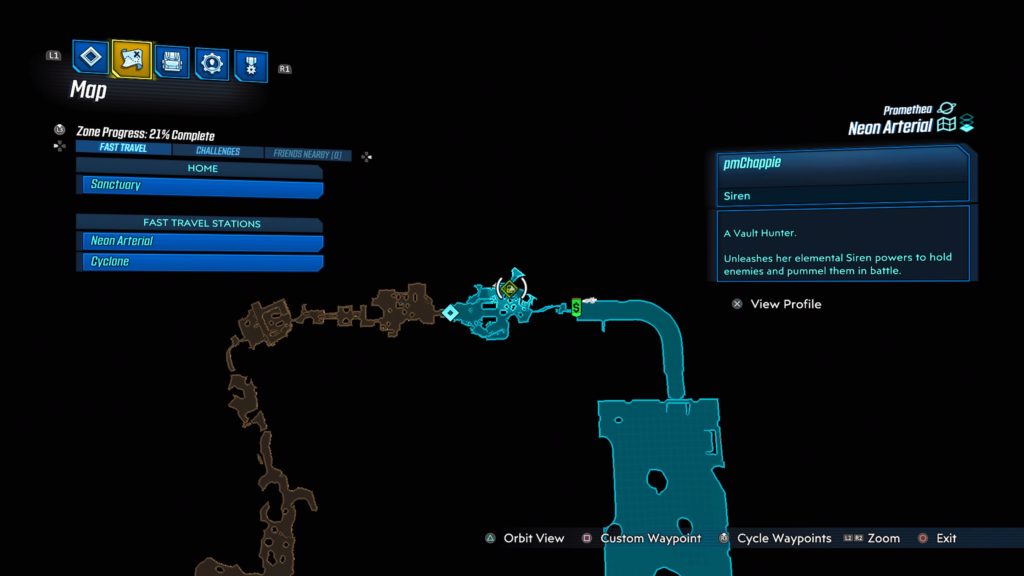
This log is in Apollyon Station on a couch next to some stairs just before the vending machines and Green Diamond Platform. See the map below for the exact location.


Below (Part 3)

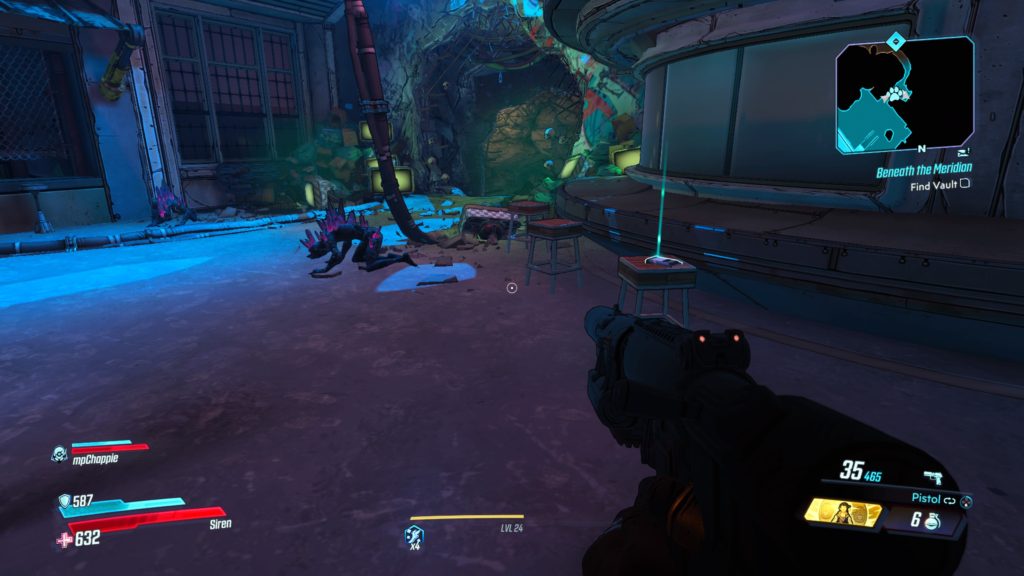
This is log is located on a barstool just before the tunnel leading to the vault in the Green Diamond Platform. See the map below for the exact location.


Guides

Borderlands 3 – Proof of Wife

by Chappie in


Location: Promethea – Lectra City

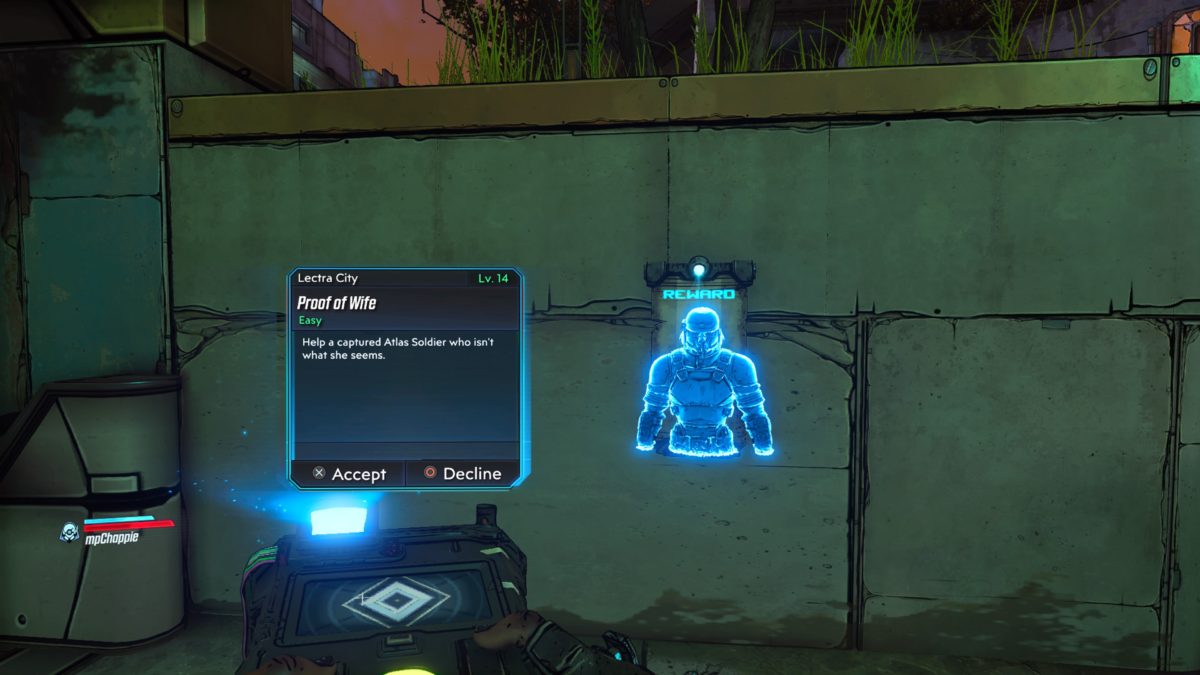
Obtained: Interact with one of the digital flyers around the area.  There are three to pick from.

Objective(s):

  • Go to Hideout
  • Get Rid of Cop Bots
  • Ring Buzzer
  • Head to Police HQ
  • Use Intercom
  • Destroy Cop Bots
  • Free Bloodshine
  • Collect Bloodshine’s Mask
  • Return to Hideout
  • Place Bloodshine’s Mask
  • Kill Bloodshine’s Friends
  • Kill Entire Wedding Party
  • Kill Bloodshine’s Best Man
  • Kill Bloodshine’s Brother
  • Kill Bloodshine’s Sister
  • Kill Bloodshine’s Mother
  • Kill Tumorhead
  • Free Naoko


Go to Hideout

Head for the objective in the subway tunnels under the city.


Get Rid of Cop Bots

Take care of the cop bots near the entrance of the hideout.


Ring Buzzer

Press the button next to the hanging corpses.


Head to Police HQ

Return to the surface and make your way to the Police HQ in the northern area of the map.


Use Intercom

Press the button under the speaker near the closed metal door with red and blue lights on it.


Destroy Cop Bots

Enter the newly opened door and fight off the waves of cop bots.


Free Bloodshine

With the bots taken care of, head over to Bloodshine’s cell and pull the lever on the side of it to free her.


Collect Bloodshine’s Mask

Pick up Bloodshine’s mask from the ground.


Return to Hideout

Head back to the underground hideout.


Place Bloodshine’s Mask

Put Bloodshine’s mask on a corpse hanging near the entrance to the hideout.


Kill Bloodshine’s Friends

Defeat the three bandits that walk through the hideout door.


Kill Entire Wedding Party

Enter the hideout and drop down into a makeshift arena. Fight the waves of enemies taking out Bloodshine’s best man, brother, sister and mother.


Kill Tumorhead

With everyone else defeated, Tumorhead will show up. Take her out.


Free Naoko

Head to the next room and free Naoko by shooting the lock on the gate. This will complete the mission.


Guides

Borderlands 3 – Porta Prison

by Chappie in


Location: Promethea – Lectra City

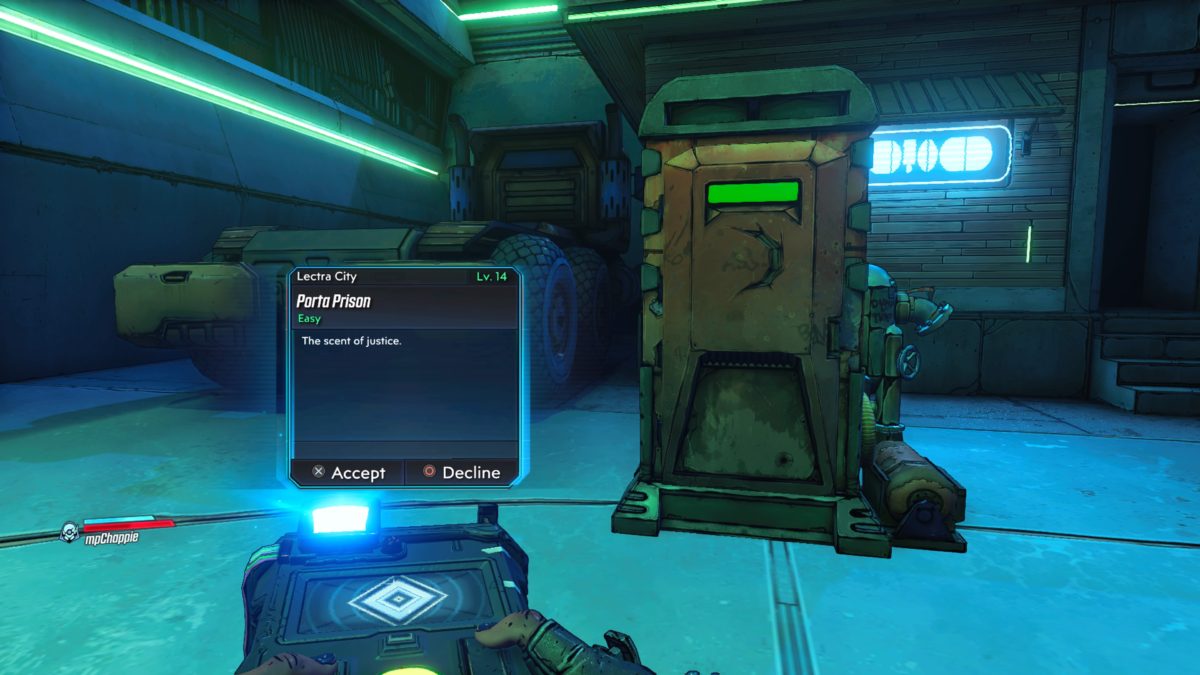
Obtained: Talk to the guy trapped in the porter potty in the northern area of the map, west from the Lectra City fast travel station

Objective(s):

  • Speak to Trashmouth’s Crew
  • Kill Traitors
  • Get Spray Paint
  • Spray Graffiti
  • Destroy Dirty Cop Bot
  • Collect AI Chip
  • Install AI Chip
  • Destroy Dirty Cop Bots
  • Break Septic Tank
  • Destroy Recycler Bot
  • Collect AI Chip
  • Install AI Chip
  • Find Trashmouth
  • Destroy Trashmouth’s Technical
  • Collect Illegal Weapon


Speak to Trashmouth’s Crew

Follow the objective southwest a short way passed a police station and down a flight of stairs to arrive in an underground tunnel.


Kill Traitors 

Defeat the enemies to update the objective.


Get Spray Paint

Pick up the spray paint on a metal crate in front of a shipping container next to a burn barrel.


Spray Graffiti

Head back to the porter potty and jump onto the second level of the nearby building to spray graffiti all over it.


Destroy Dirty Cop Bot

Head over to the Police Station and defeat the Sheriff Bot.


Collect AI Chip

Grab the AI chip from the bot.


Install AI Chip

With the chip in hand, head back to the porter potty and install the chip into the circuit behind it.


Destroy Dirty Cop Bots

Take out the attacking dirty cop bots.


Break Septic Tank

Will all of the bots defeat, head back to the porter potty and melee the septic tank.


Destroy Recycler Bot

Eliminate the Recycler Bot.


Collect AI Chip

Collect the AI chip dropped by the Recycler Bot.


Install AI Chip

With the chip in hand, head back to the porter potty and install the chip into the circuit behind it.


Find Trashmouth

Head to the Meridian Outskirts fast travel station and exit Fort Pissoff into the Spillways to locate Trashmouth.


Destroy Trashmouth’s Technical

Destroy Trashmouth’s vehicle to cause him to drop the weapon.


Collect Illegal Weapon

Pick up the weapon to complete the mission.


Guides

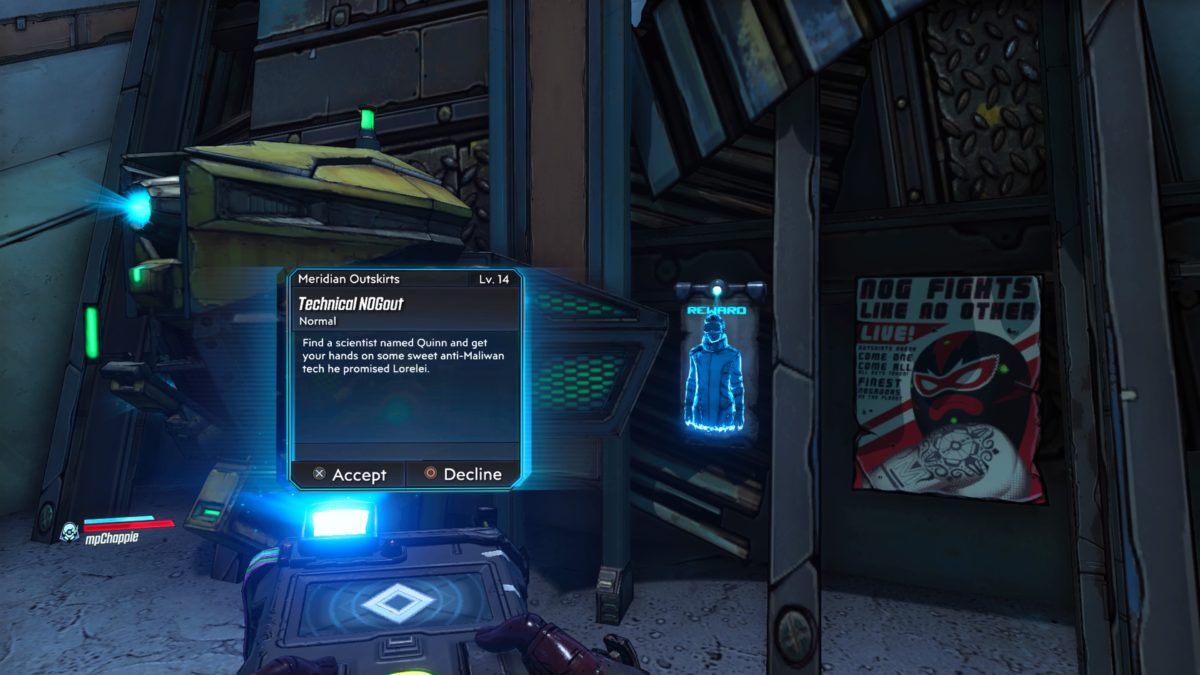
Borderlands 3 – Technical NOGout

by Chappie in


Location: Promethea – Meridian Metroplex

Obtained: Inspect the bounty hanging on the wall behind the New You Station, south of the Lectra City map transition after completing the Hostile Takeover main mission

Objective(s):

  • Check on Quinn
  • Clear out Maliwan
  • Locate Quinn
  • Follow Quinn
  • Drive NOG Catcher
  • Capture NOGs
  • Talk to Quinn
  • Summon NOG
  • Observe Quinn’s Upgrade
  • Defend Quinn
  • Receive Reward


Check on Quinn

Head to Meridian Outskirts and make your way to the tunnel on the northeastern corner (there is a Meridian Metroplex map transition here).  Head to the objective in the tunnel to update the objective.


Clear out Maliwan

Defeat the Maliwan soldiers.


Locate Quinn

After the soldiers are defeated, head to the sealed door on the north side of the room and knock on the door.


Follow Quinn

Follow Quinn to his terminal.
 

Drive NOG Catcher

Head back to the Catch-A-Ride station in the tunnel near the entrance to this room and hop in the NOG Catcher.
 

Capture NOGs

Follow the objective south along the main road using the NOG Catcher to capture three NOGs.
 

Talk to Quinn

Head back to Quinn in his lair and talk to him.


Summon NOG

Use the button in the middle of the room across from Quinn three times to summon El Fuego, The Conductor and NOGador Maxima.


Observe Quinn’s Upgrade

Just watch the action in the summoning circle.


Defend Quinn

Defeat the enemies until the transfer is complete.


Receive Reward

Take the grenade mod from Quinn to complete the mission.


Borderlands 3
Guides

Borderlands 3 – Target of Opportunity Crew Challenge

by Chappie in


Promethea – Meridian Metroplex

Baron Noggin

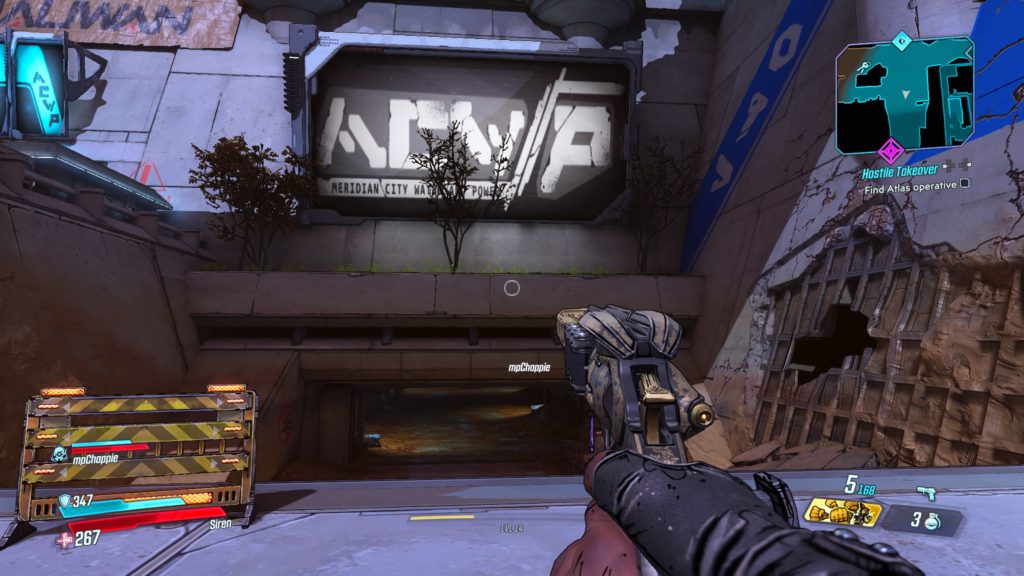
Baron Noggin is located in the sewer below the Meridian City Water and Power sign on the western side of the map, southwest of Dynasty Diner.  You can find Baron Noggin during the Dynasty Diner side mission.


Promethea – Lectra City

Judge Hightower and his Gang

Judge Hightower is located at the very southern tip of the map, west of the Killarena. You can find him near the Kill Killavolt side mission.


Promethea – Skywell-27

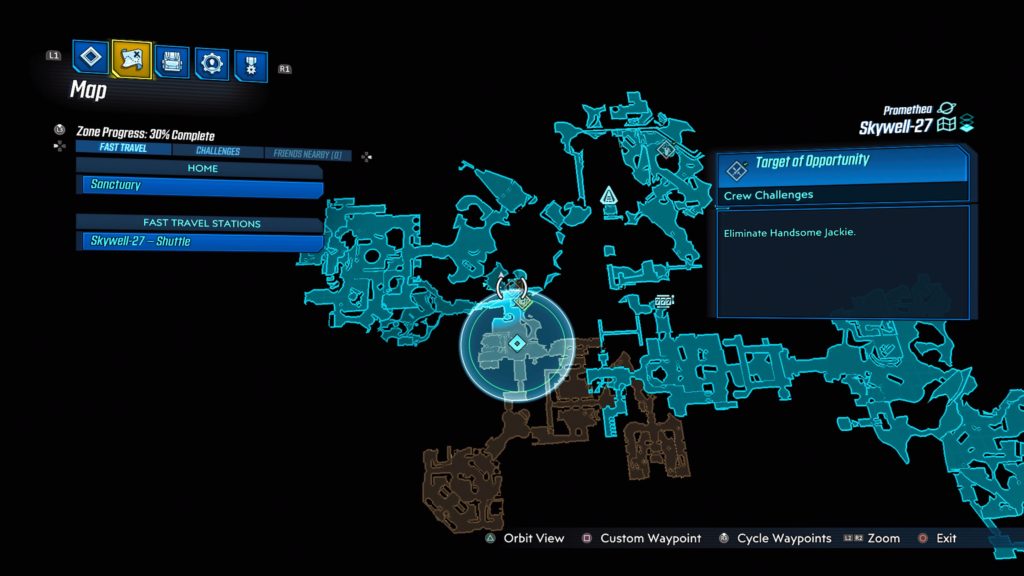
Handsome Jackie

Handsome Jackie is located in a cave near the observation deck. See the map below for the exact location. To reach it, you will need to jump down the long chute in Sector 4. This will place you in Fuel Processing. Exit through the door to enter a room containing a cylinder with a blue sphere in the middle of it. Take a left heading north down the walkway and jump onto a fan below. From there, jump across to the cave where Handsome Jackie lurks.


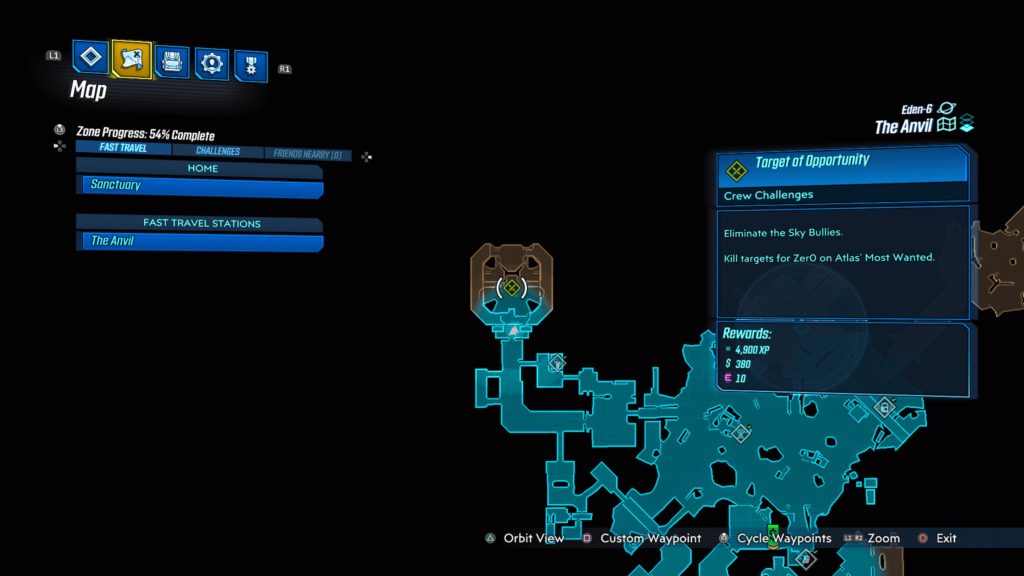
Eden-6 – The Anvil

Sky Bullies

The Sky Bullies are located in the Devil’s Saucepan, which is in the northern section of a building on the west side of The Yard. See the map below for the exact location.


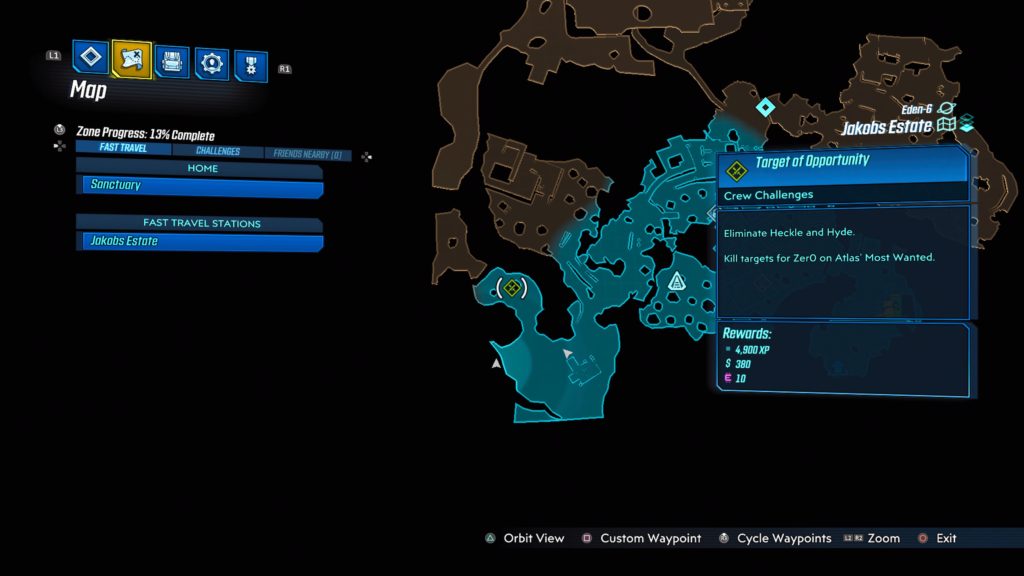
Eden-6 – Jakobs Estate

Heckle and Hyde

Heckle and Hyde are located in the southeastern region of Leery Hamlet near Servant’s Lift. See the map below for the exact location.


Eden-6 – Ambermire

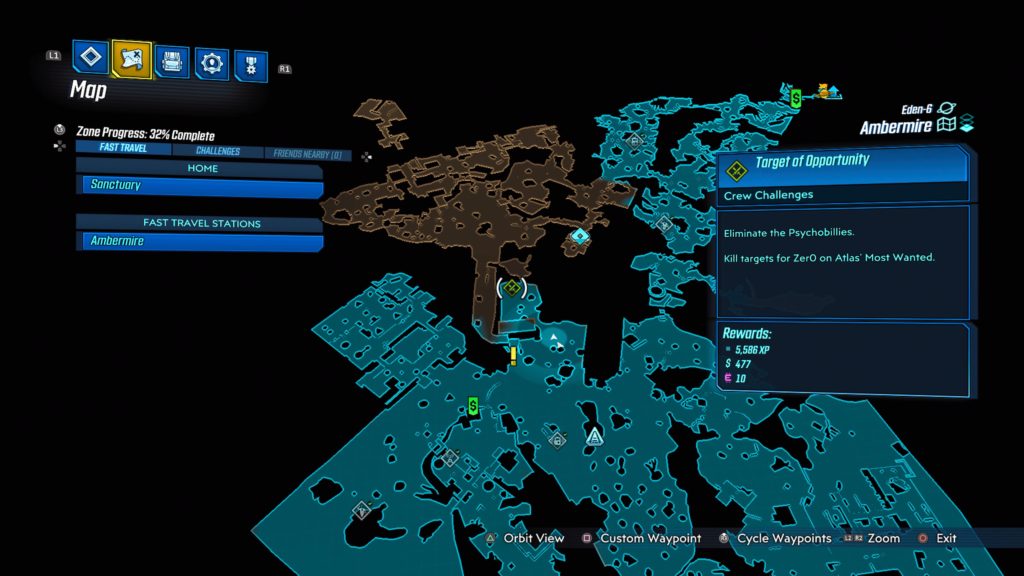
Psychobillies

The Psychobillies are located near the middle of the map, north of where you pick up the Sell Out side mission and the lone Ammo Dump vending machine. See the above map for the exact location.


Pandora – Devil’s Razor

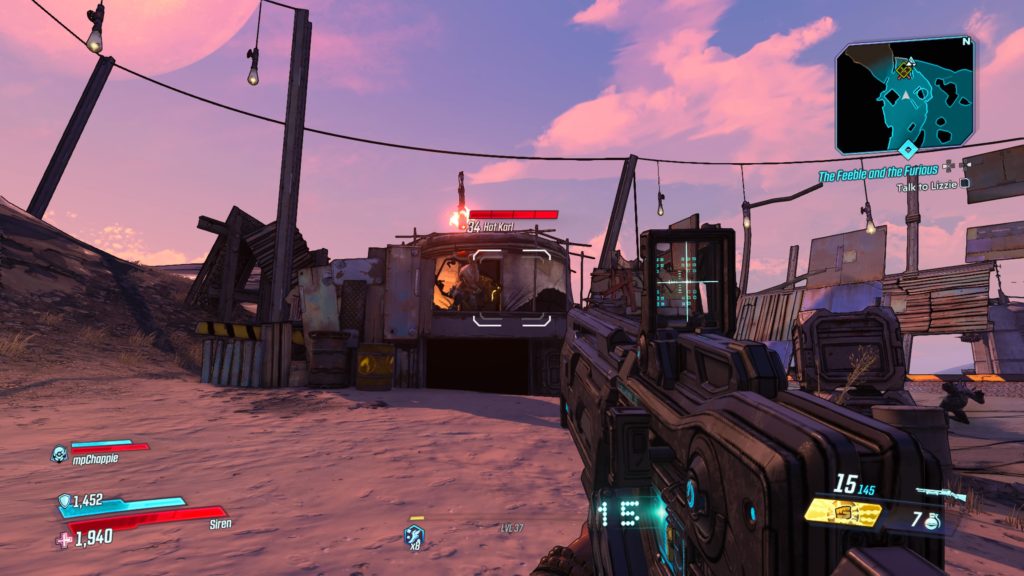
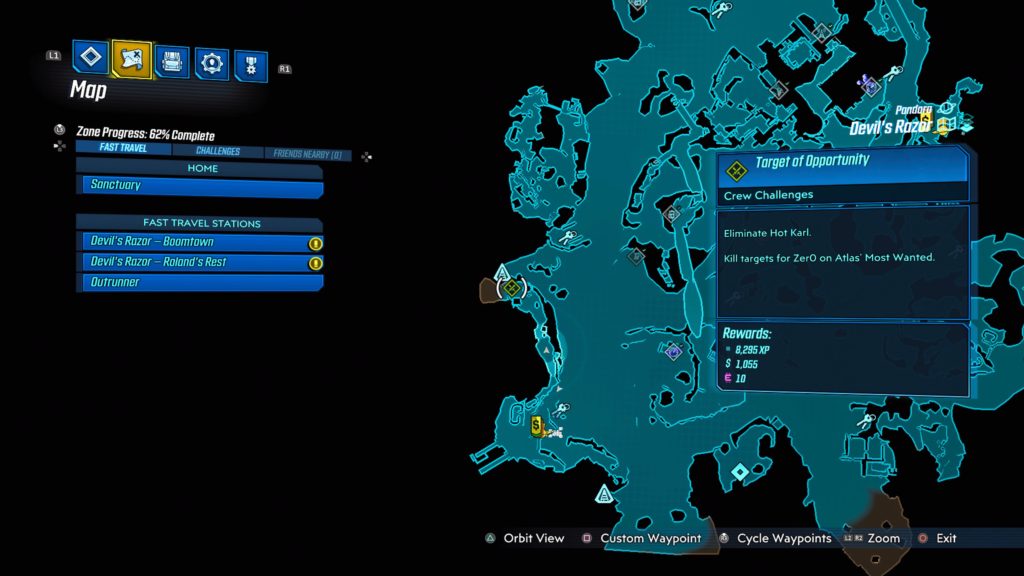
Hot Karl

Hot Karl is located north of Roland’s Rest along the side of a cliff. See the map below for the exact location.


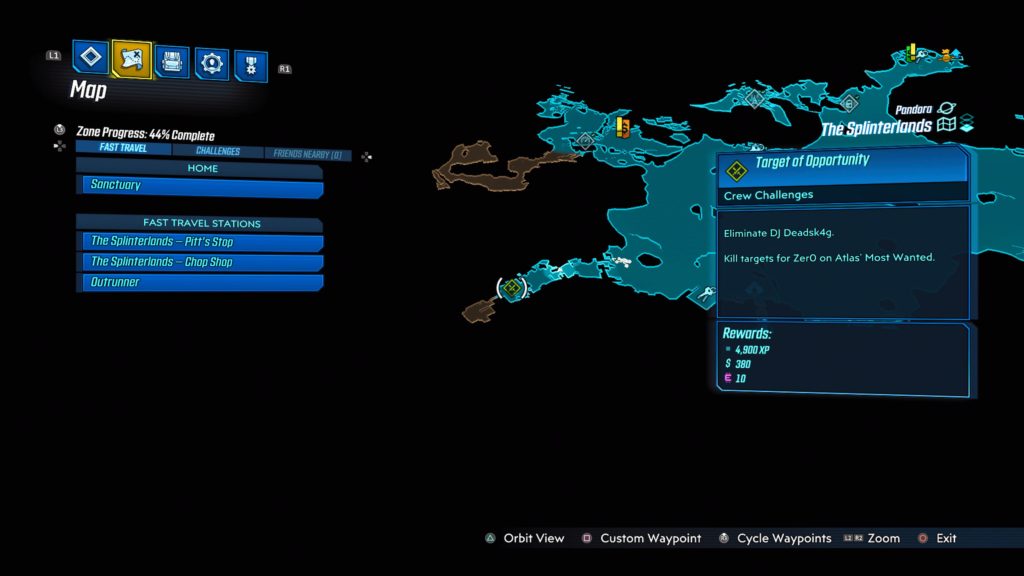
Pandora – The Splinterlands

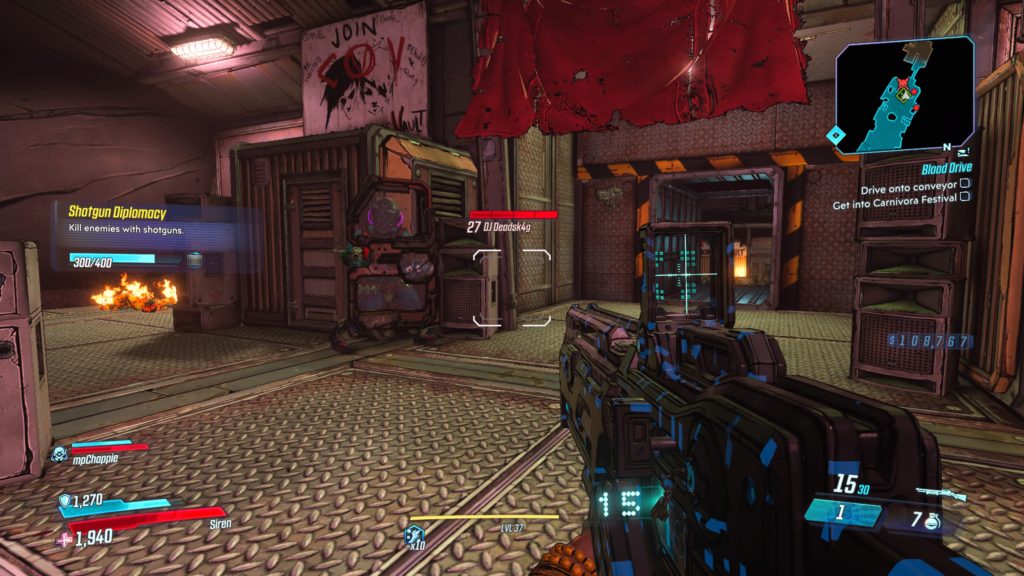
DJ Deadsk4g

This DJ is located in the Rave Cave at the southwestern part of the map. See the map below for the exact location.


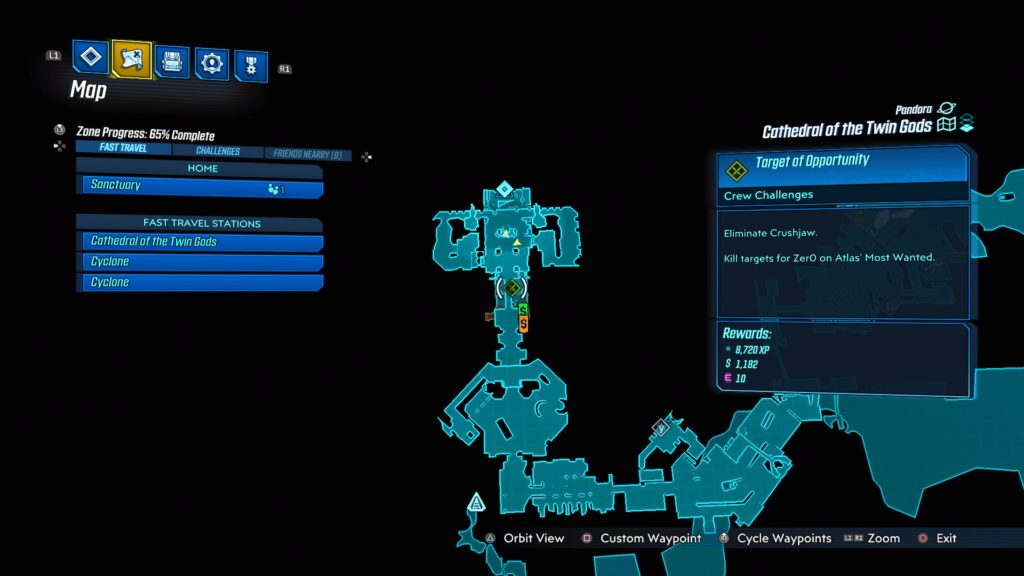
Pandora – Cathedral of the Twin Gods

Crushjaw

During The Great Vault main story mission, you will pass through the Eridium Sluice.  Crushjaw is located on the opposite side of The Great Vault map transition and is below the Altar of the Twins. See the map below for the exact location.


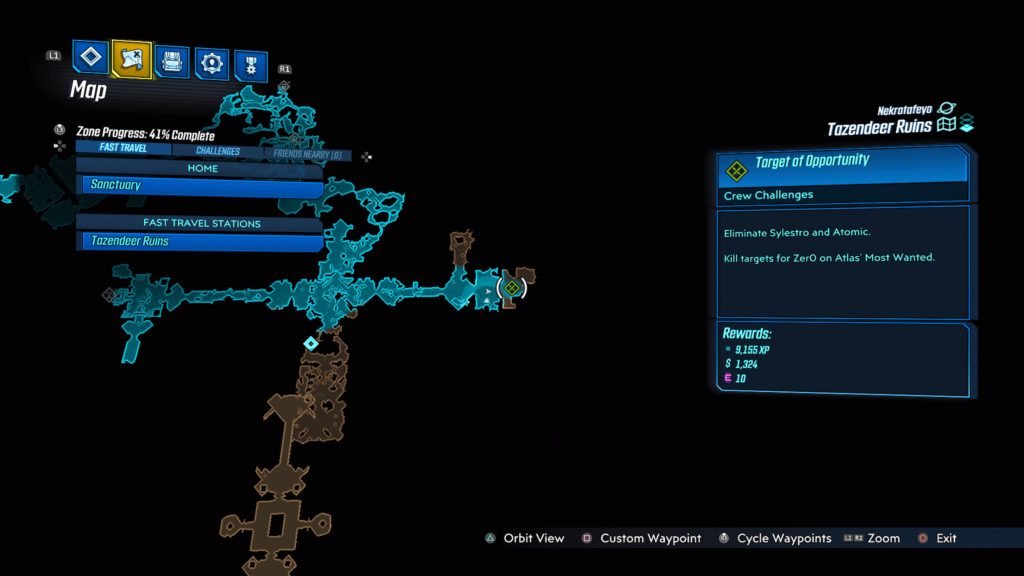
Nekrotafeyo – Tazendeer Ruins

Sylestro and Atomic

Sylestro and Atomic can be found to the far east of the map, east of the vault. See the map below for the exact location.


Guides

Borderlands 3 – Kill Killavolt

by Chappie in


Location: Promethea – Meridian Metroplex

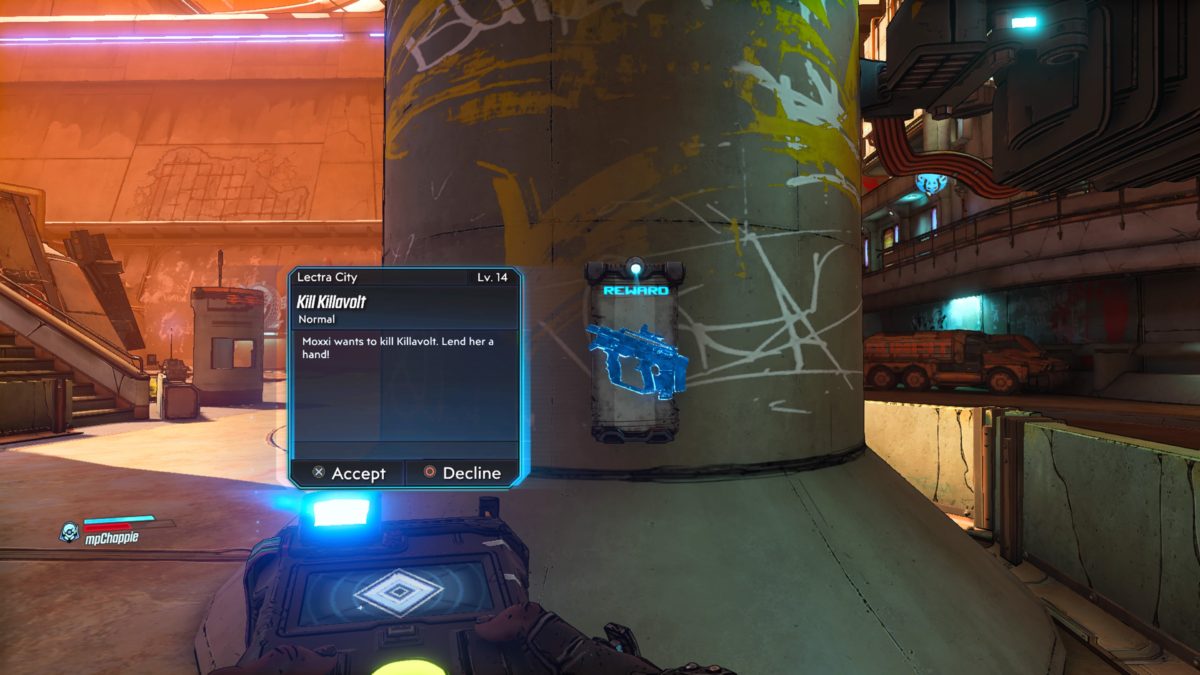
Obtained: Interact with the bounty poster on a pillar in the central-eastern part of the map (north of the Meridian Metroplex fast travel station)

Objective(s):

  • Go to Lectra City
  • Enter Battle Royale
  • Meet Up With Moxxi
  • Collect Trudy’s Token
  • Collect Jenny’s Token
  • Collect Lena’s Token
  • Collect Batteries
  • Head to Moxxi’s
  • Give Batteries to Moxxi
  • Take Booby-Trapped Token From Moxxi
  • Head to the Killareana
  • Attend Token Ceremony
  • Give Trudy’s Token
  • Give Jenny’s Token
  • Give Lena’s Token
  • Give Booby-Trapped Token
  • Kill Killavolt
  • Collect Killavolt’s Charge Pack
  • Mount Killavolt’s Charge Pack
  • Talk to Moxxi


Go to Lectra City

Head to Lectra City via the map transition located in the northern part of Meridian Metroplex.


Enter Battle Royale

Pull the latch under the Contestants Only sign to raise the door.


Meet Up With Moxxi

Head up the flight of stairs to find Moxxi in the Meridian Seaport.


Collect Trudy’s Token

Follow the objective south through the Market Quarter to arrive at Big Dock Energy. Head to the back of the dock near the Trudy the Toeless sign to find her. Take her out and pick up the token.


Collect Jenny’s Token

Follow the objective to the south-central region of the map to reach Downtown Square. From there, look for the giant concrete steps leading underground and head down them to find Jenny in the Underpass. Defeat her and collect her token.


Collect Lena’s Token

Follow the objective to the western side of the map to end up in the Hills where Lena is located.  Defeat her and grab her token.


Collect Batteries

Each battery is located next to one of the three girls.

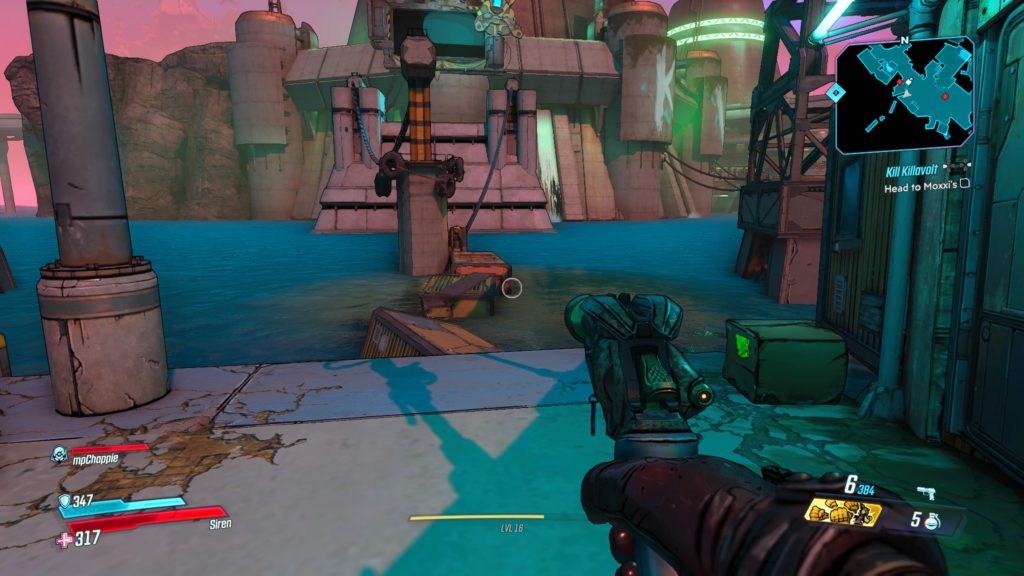
The one next to Trudy is located on the southwest side of the dock. You will need to jump across shipping containers in the water to reach it.

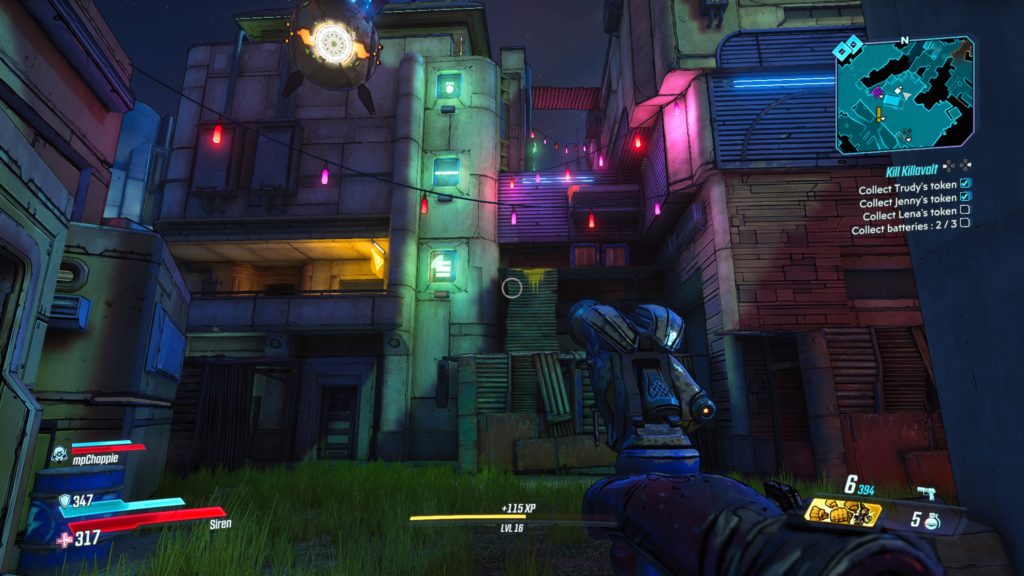
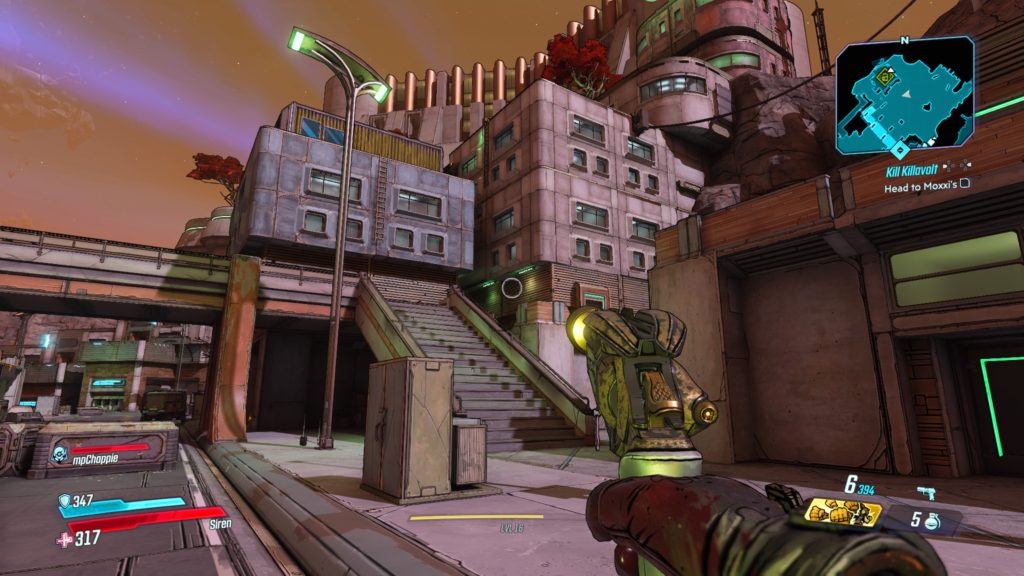
The battery near Jenny is located on top of a building north of the concrete stairs in the Downtown Square leading to the Underpass. You will have to climb up the building from the side to reach it.

The final battery is located at the top of a building directly west of there you fought Lena. Head through the alleyway between the two buildings to find the spot to start climbing up to the roof.


Head to Moxxi’s 

Make your way to Moxxxi’s bar located in the southern part of the map.


Give Batteries to Moxxi

Hand the batteries over to Moxxi.


Take Booby-Trapped Token From Moxxi

Grab Moxxi’s token from her.


Head to the Killarena

Head south of Moxxxi’s bar to reach the Killarena in the Plant.


Attend Token Ceremony

Enter the Killarena and make you way to Killavolt in the Bone Zone.


Give Trudy’s Token

Hand over Trudy’s token to Killavolt.


Give Jenny’s Token

Hand over Jenny’s token to Killavolt.


Give Lena’s Token

Hand over Lena’s token to Killavolt.


Give Booby-Trapped Token

Hand over the booby-trapped token to Killavolt.


Kill Killavolt

Defeat Killavolt in glorious combat. Watch out for the electric floor.


Collect Killavolt’s Charge Pack

Grab the charge pack that Killavolt dropped.


Mount Killavolt’s Charge Pack

Head back to Moxxxi’s bar and install the charge pack on the toilet.


Talk to Moxxi

Talk to Moxxi to complete the mission.