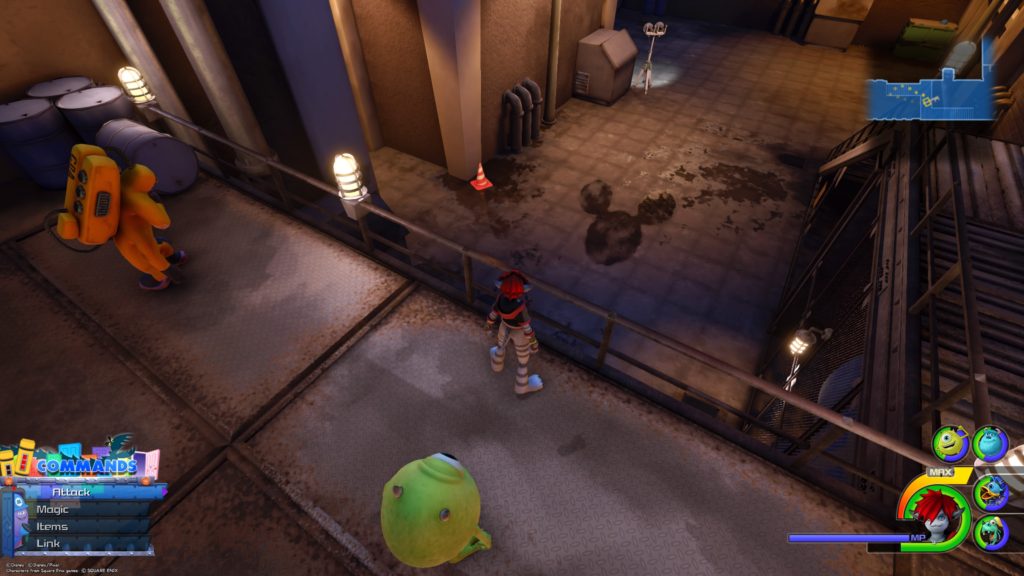
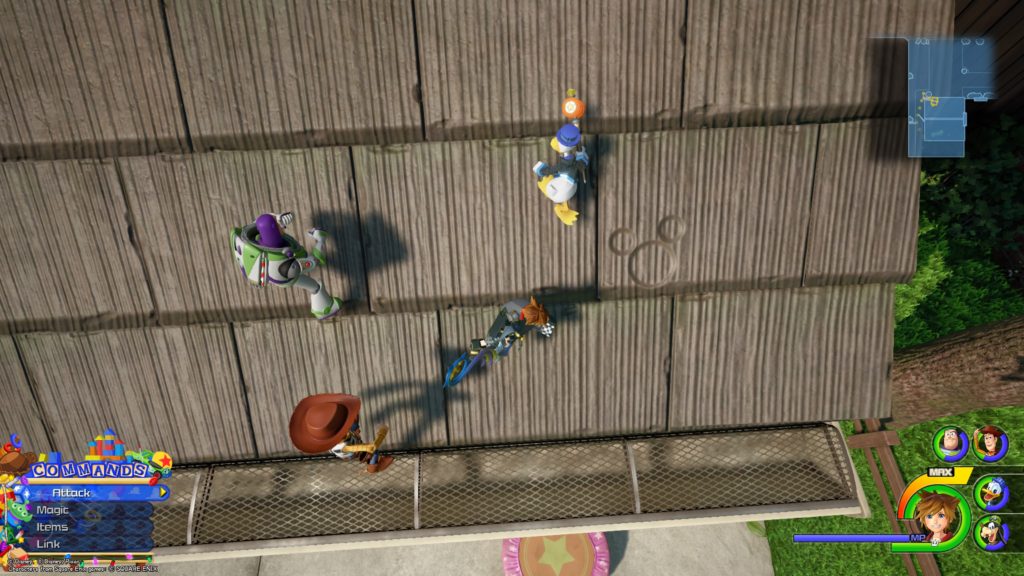
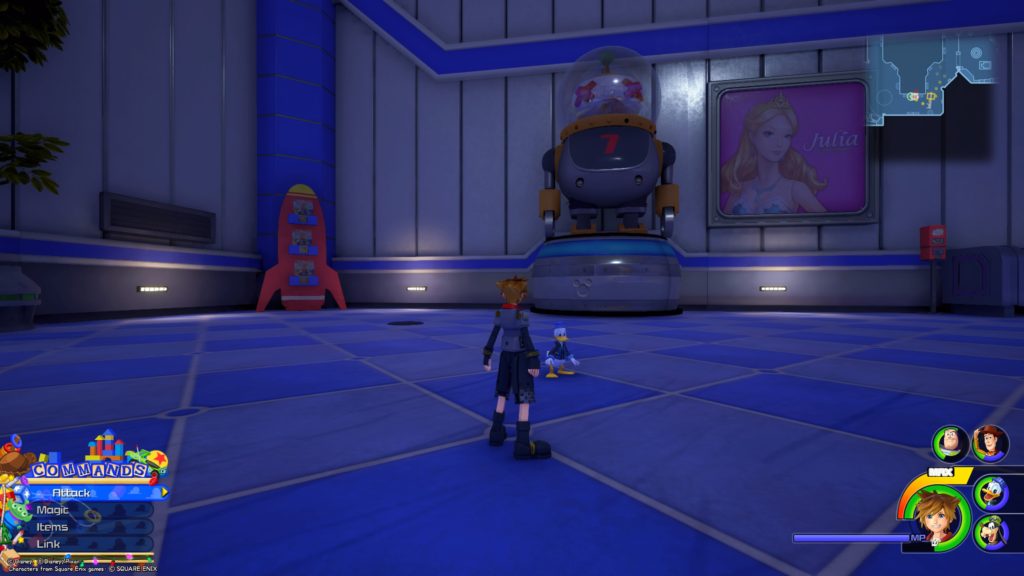
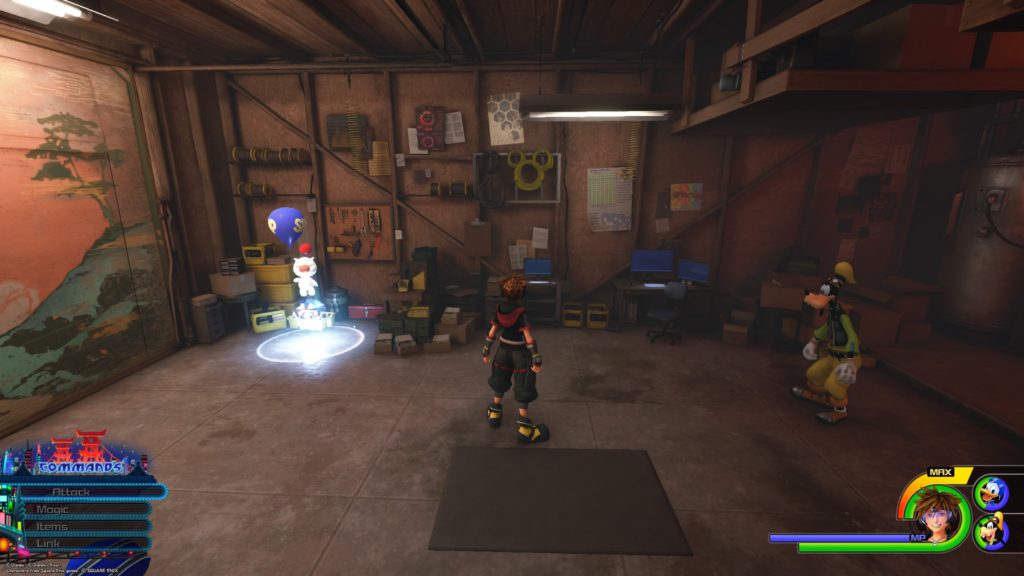
Hiro’s Garage
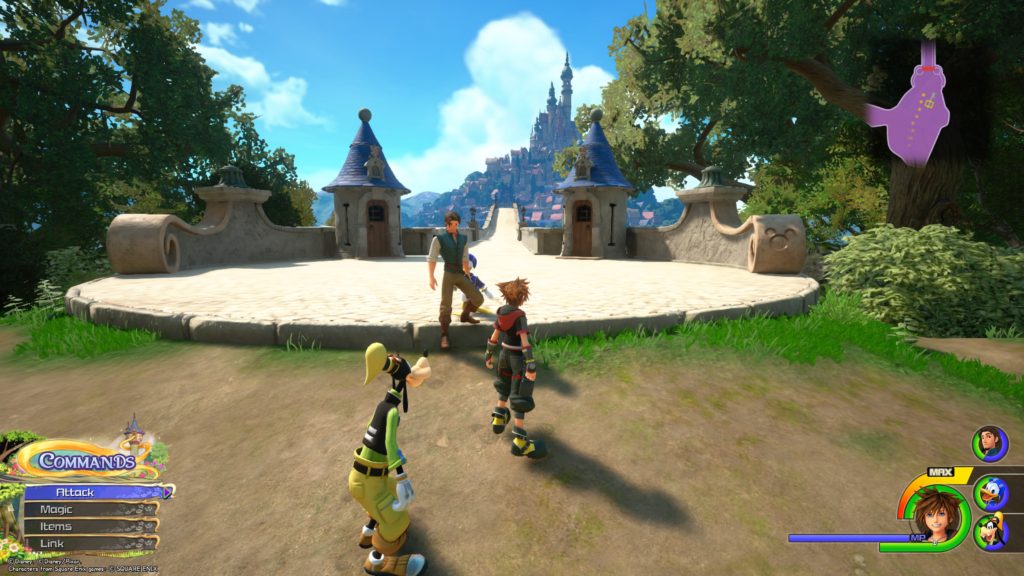
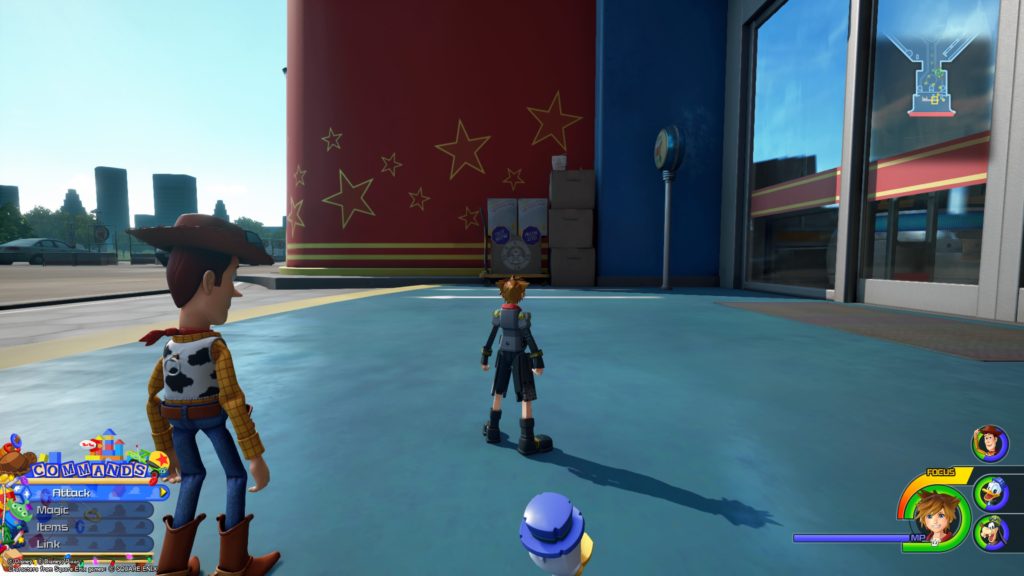
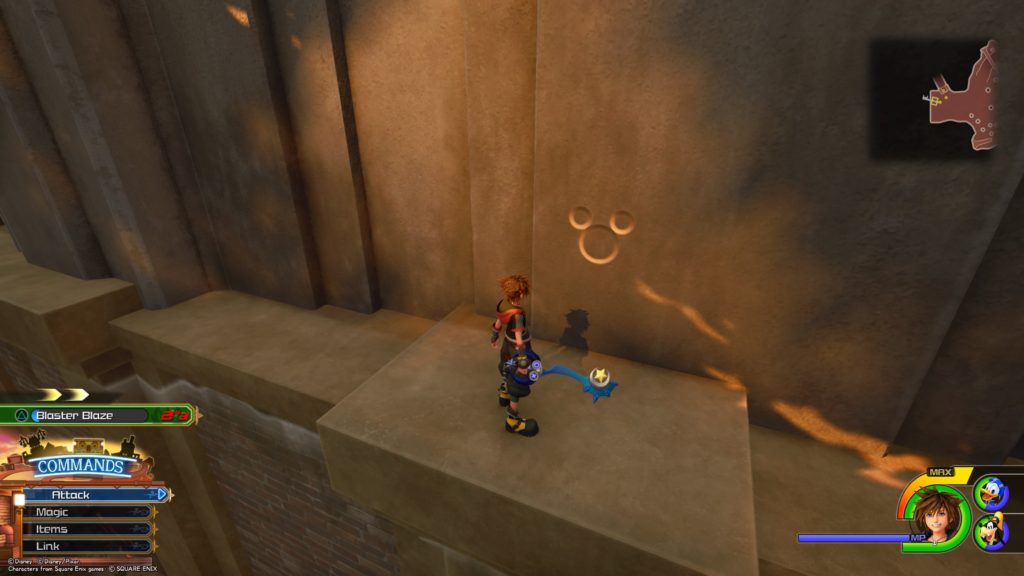
Lucky Emblem 1
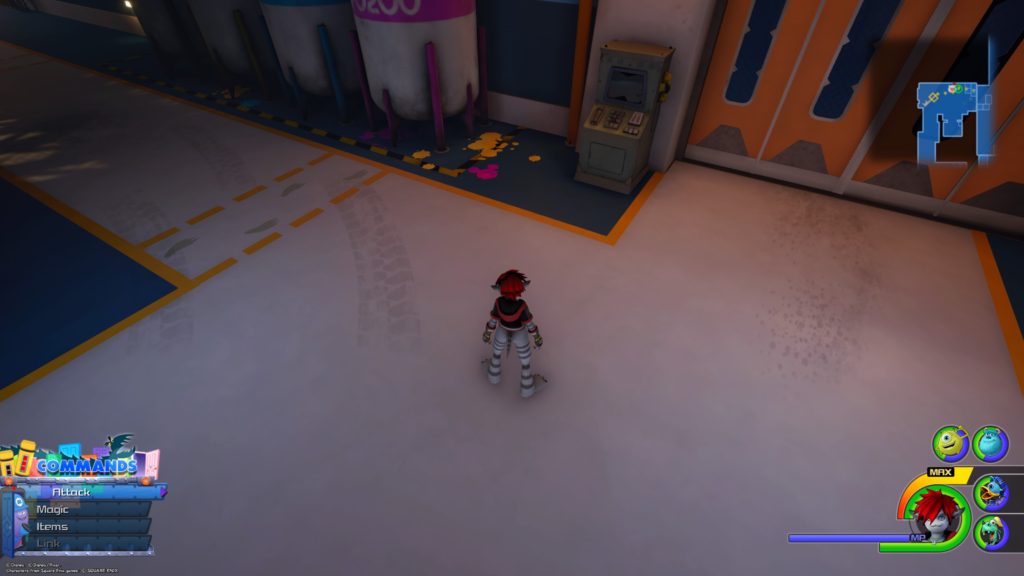
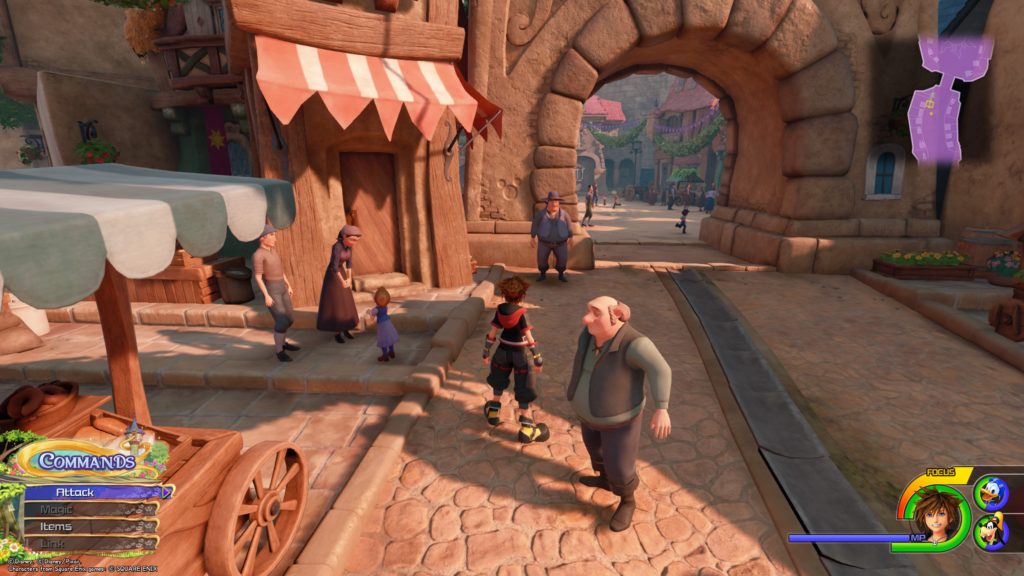
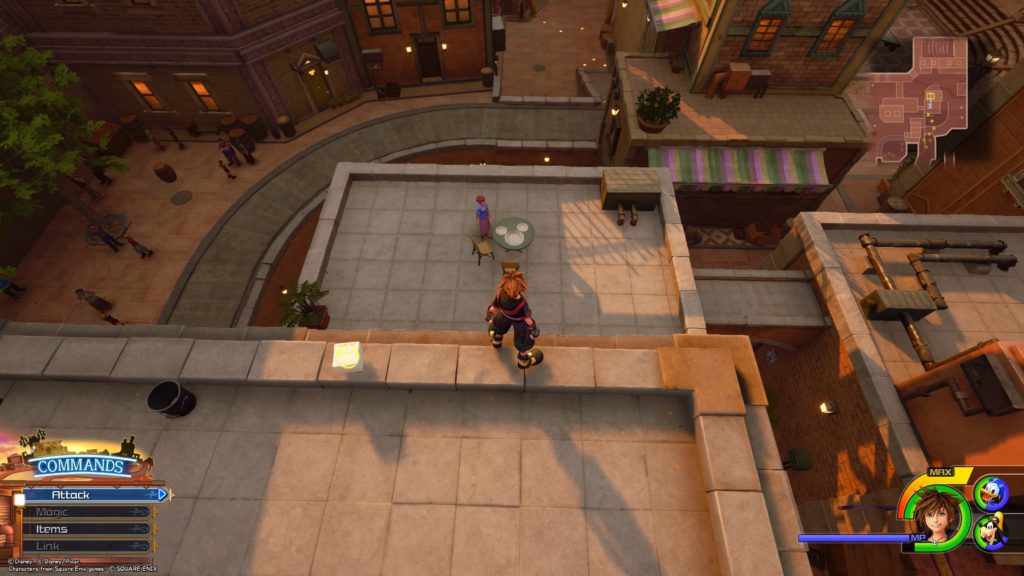
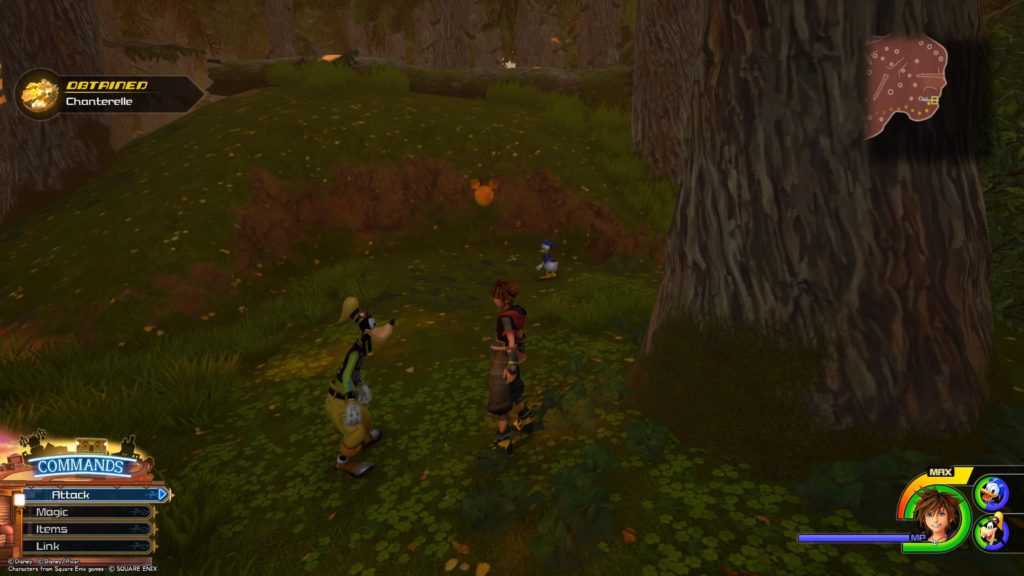
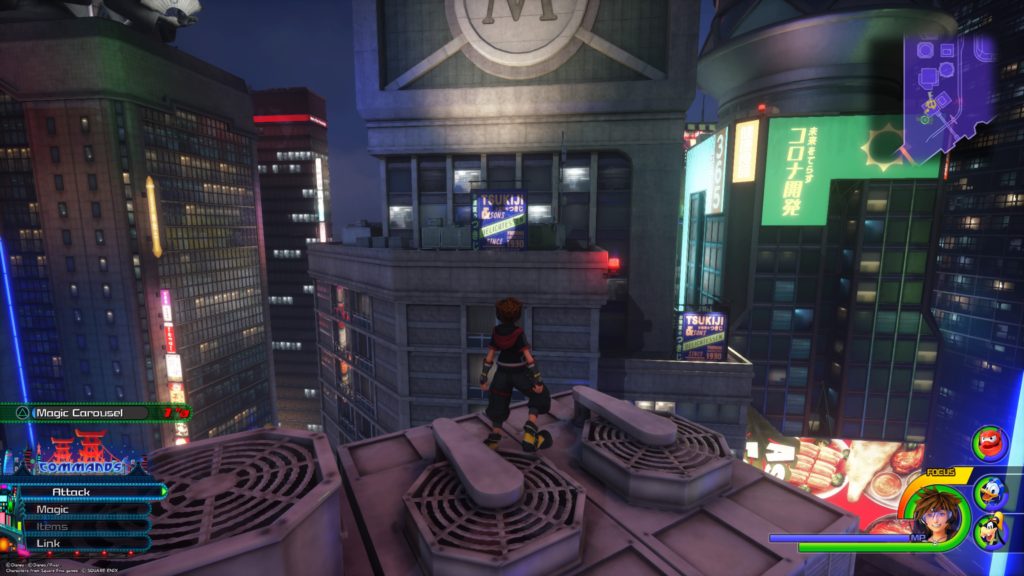
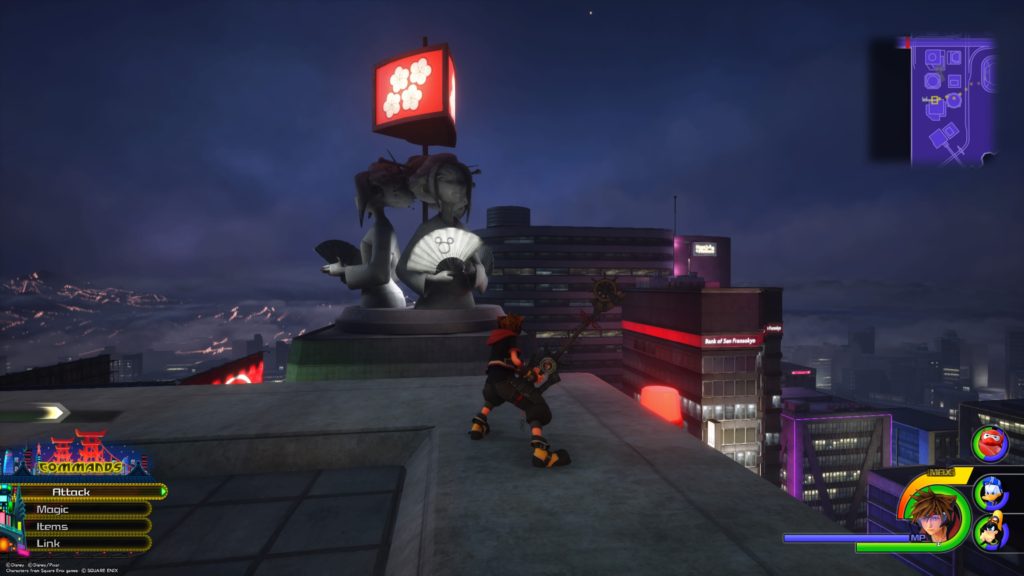
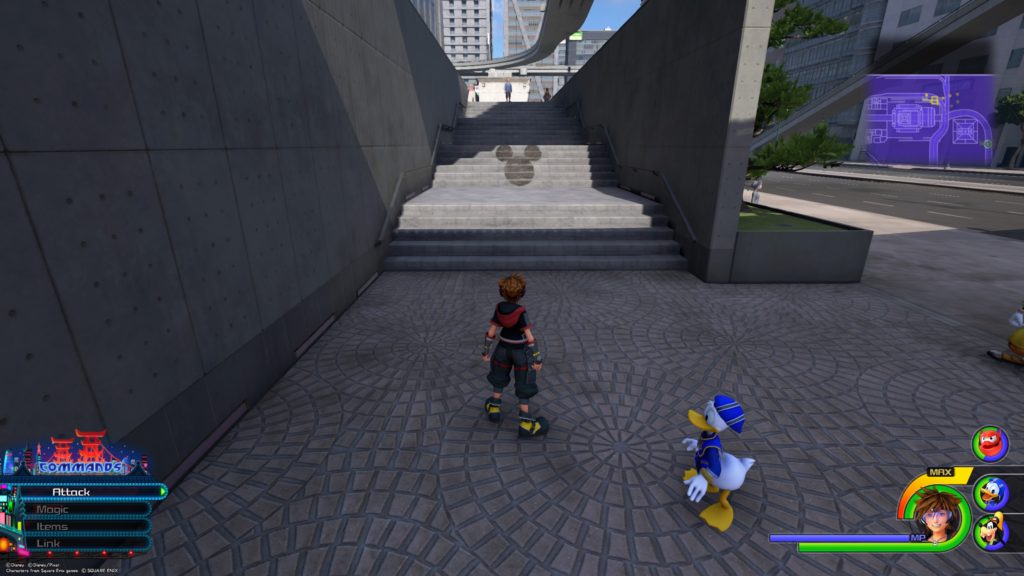
The City / South District
Lucky Emblem 2
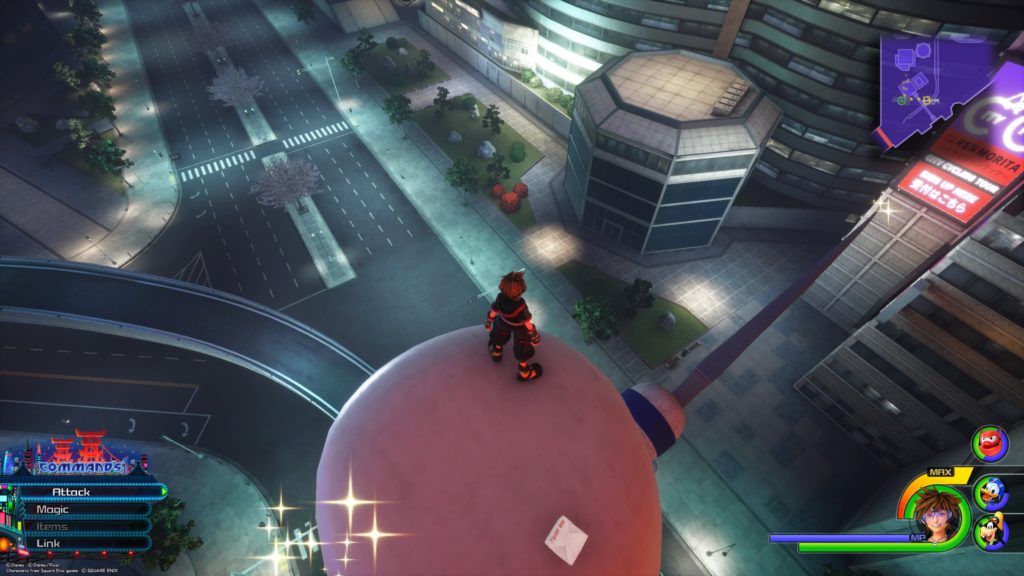
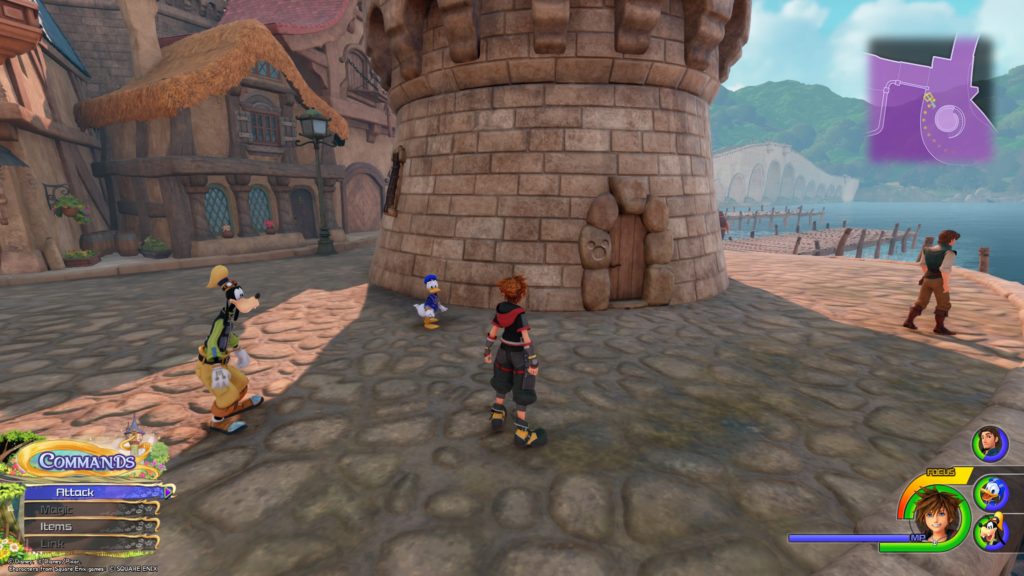
Lucky Emblem 3
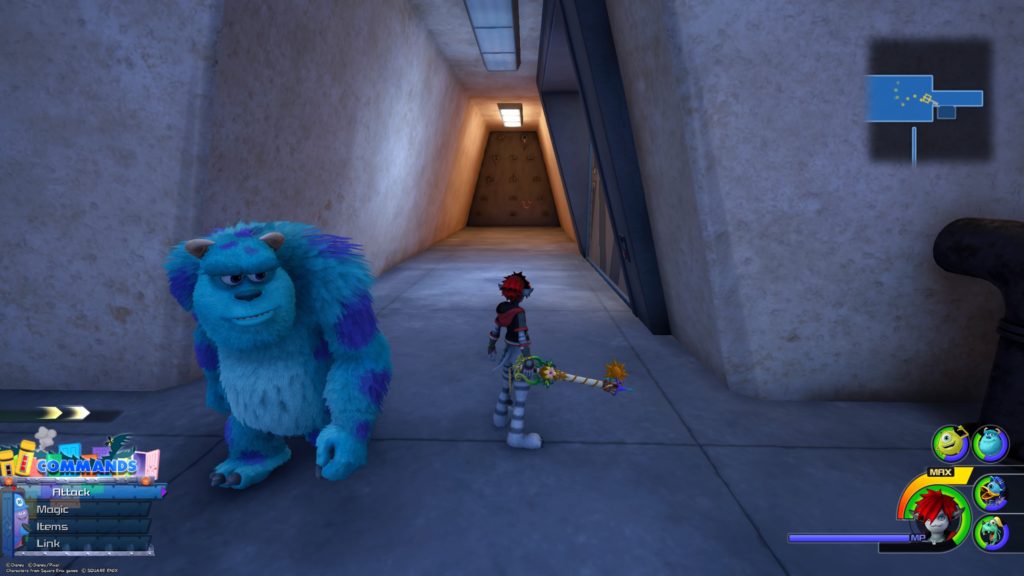
Lucky Emblem 4
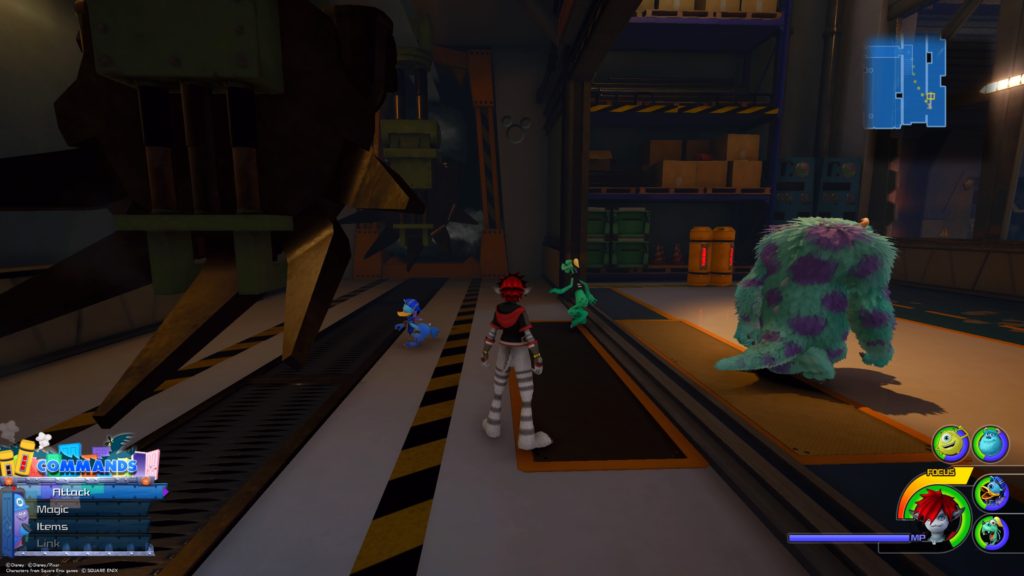
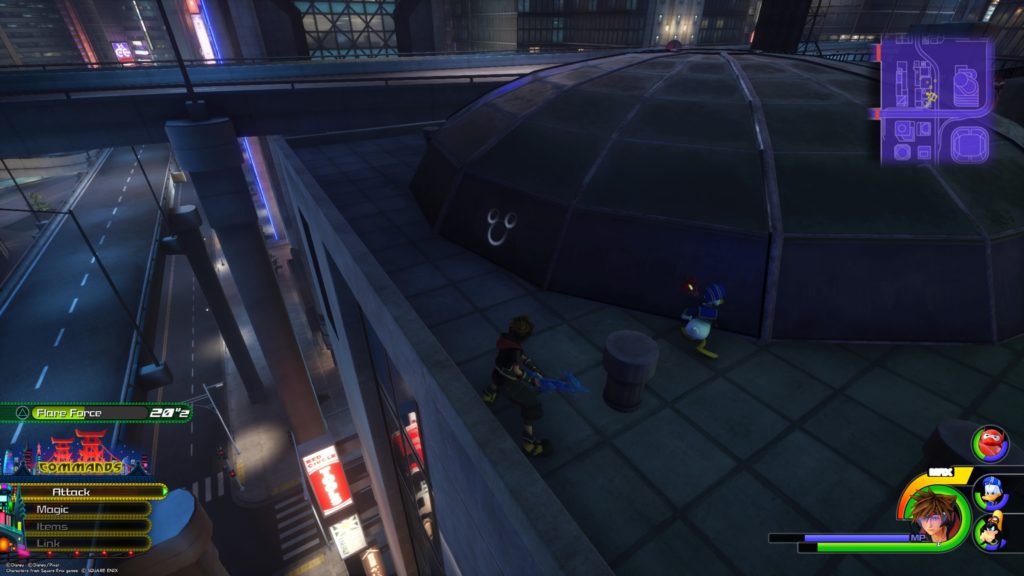
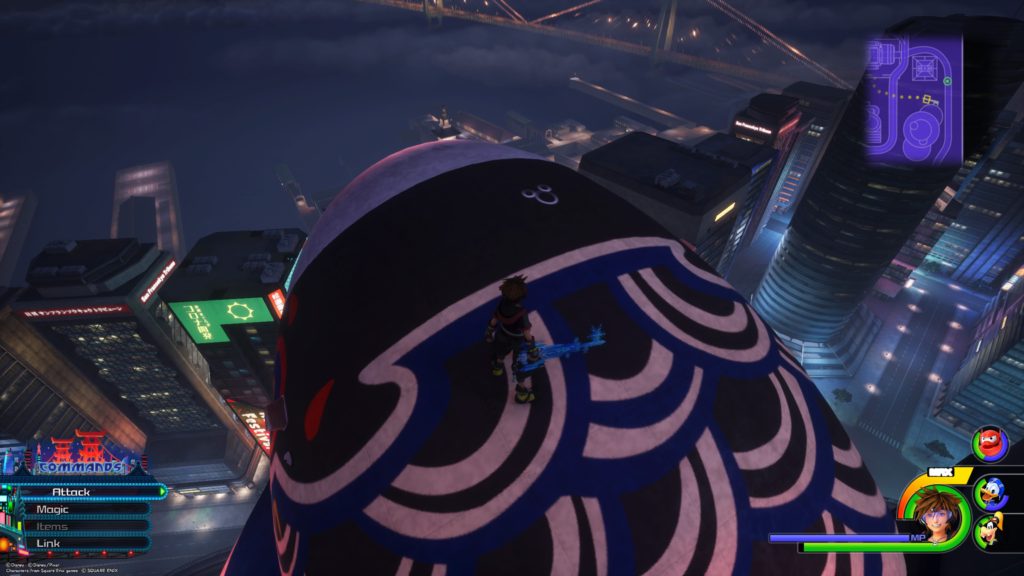
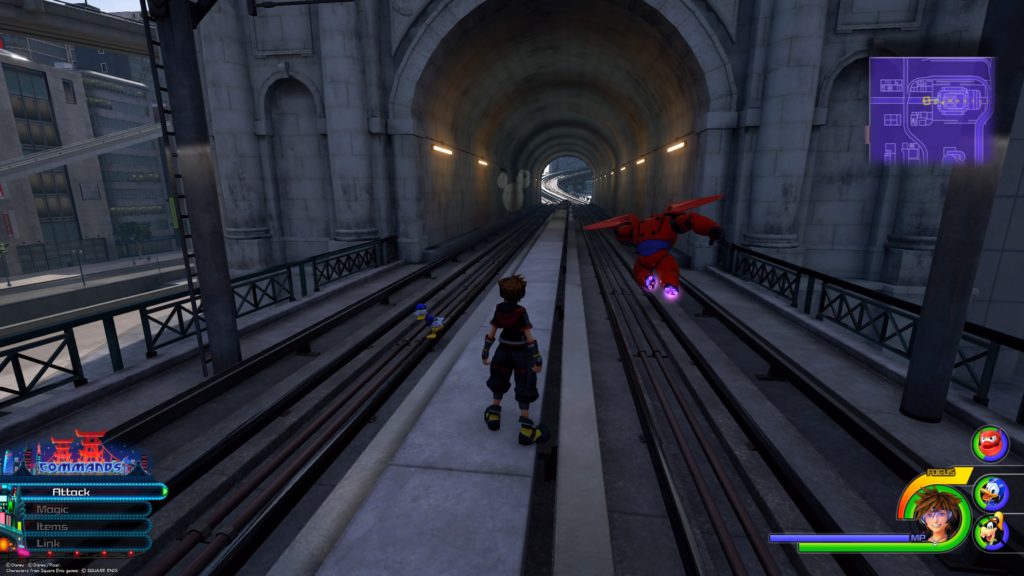
The City / North District
Lucky Emblem 5
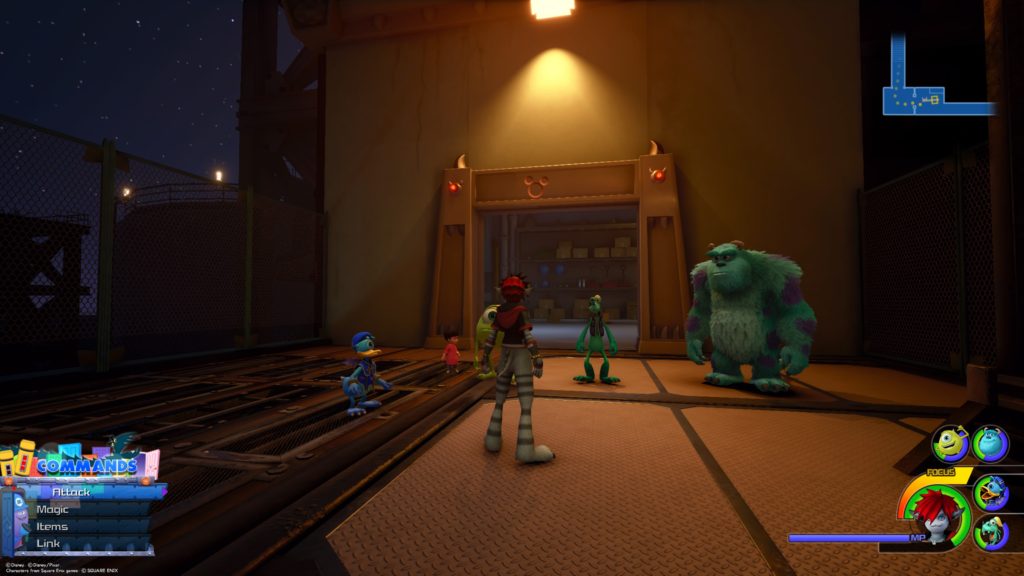
Lucky Emblem 7
Lucky Emblem 8
Lucky Emblem 9
Lucky Emblem 10
Lucky Emblem 11
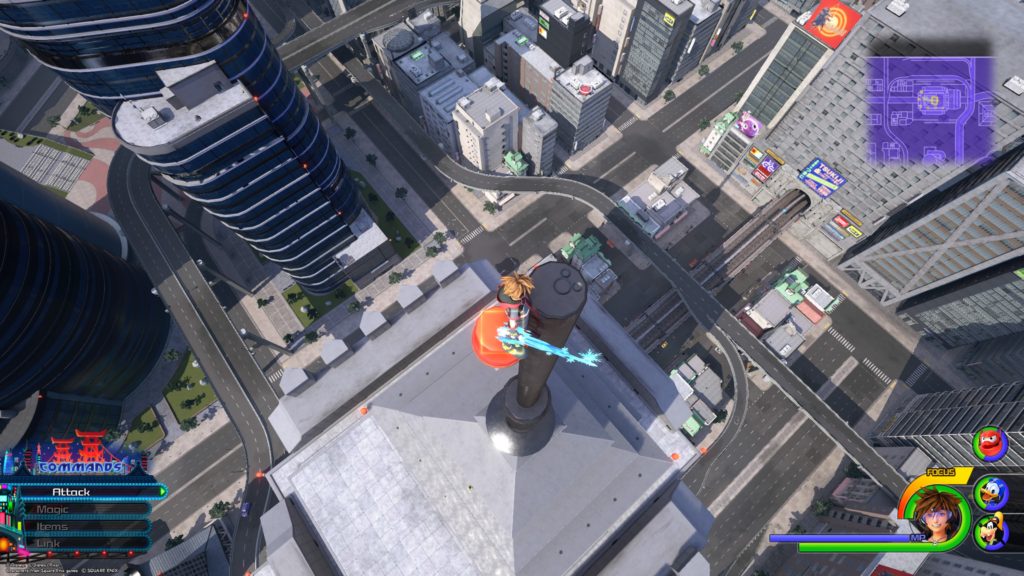
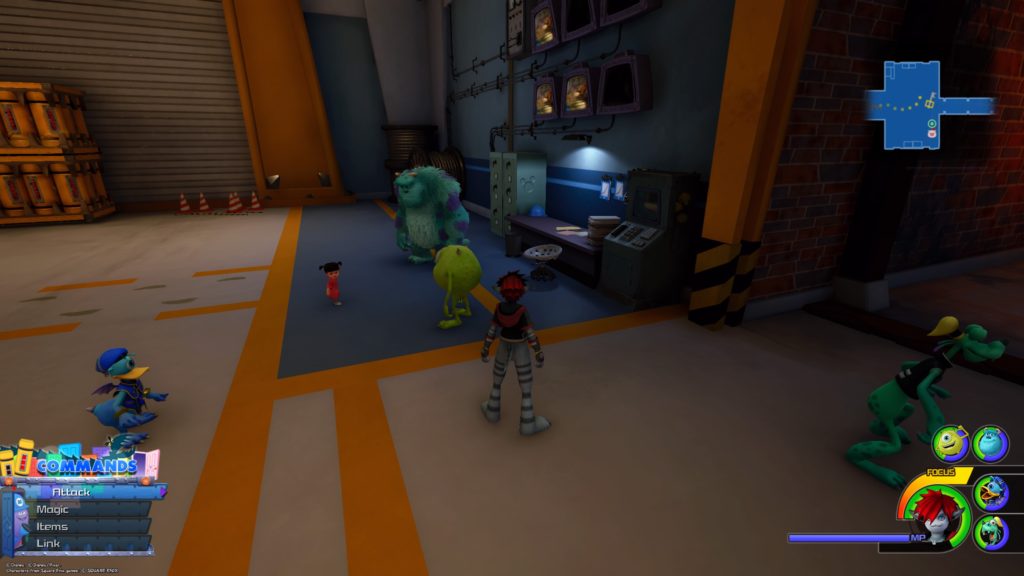
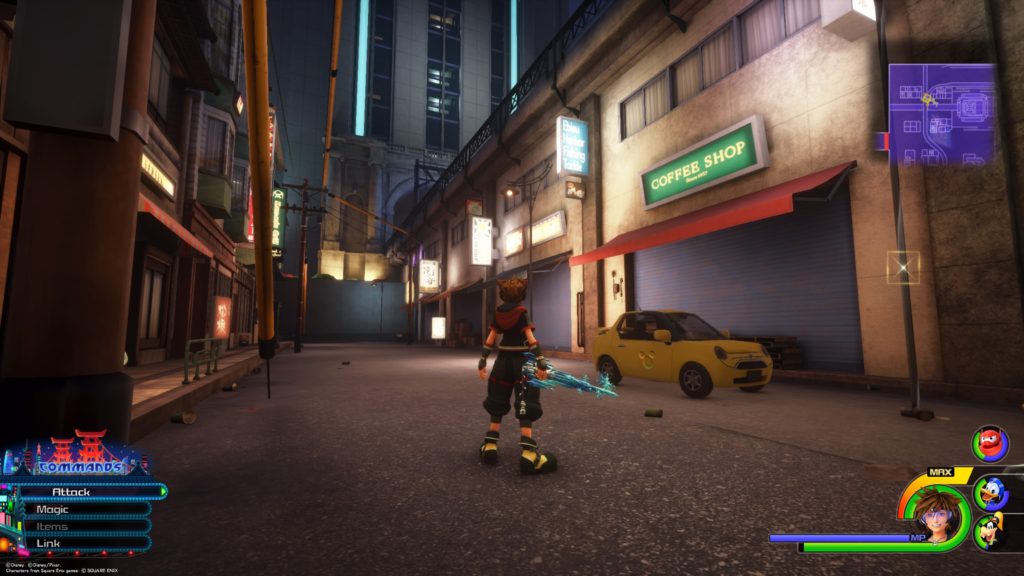
The City / Central District
Lucky Emblem 6