Below are guides and walkthroughs for Kingdom Hearts III.
Olympus
Twilight Town
Toy Box
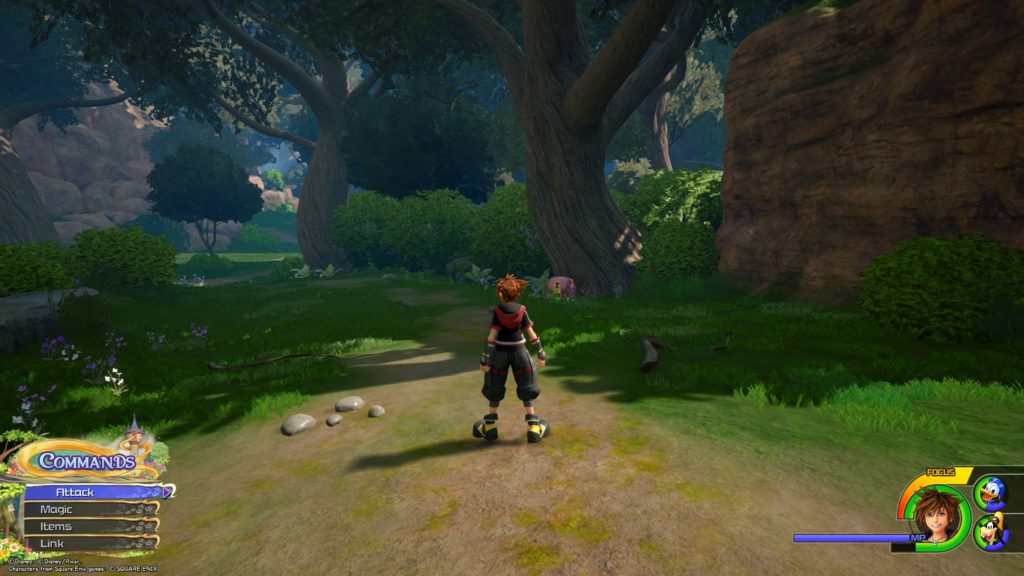
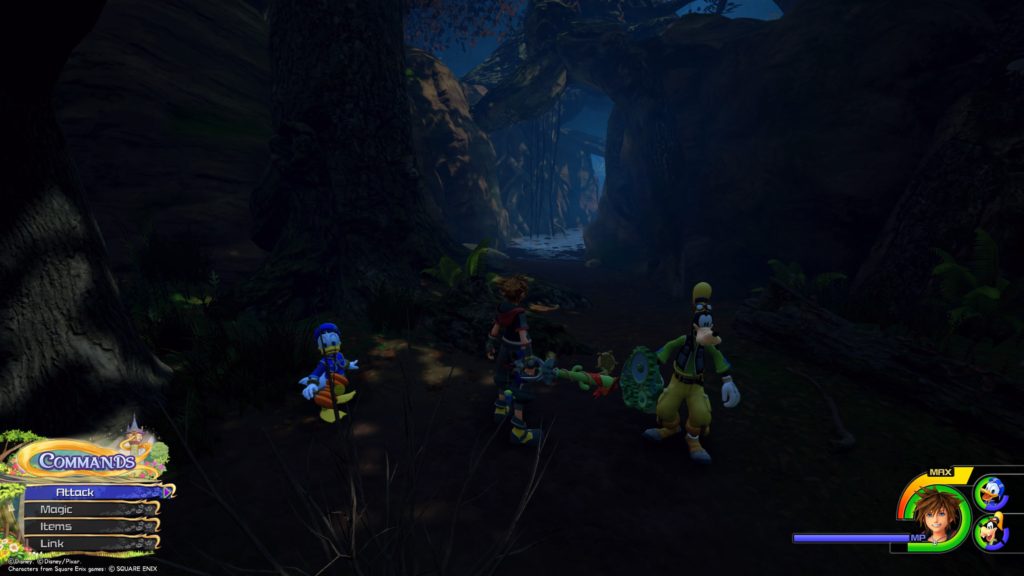
Kingdom of Corona
100 Acre Wood
Monstropolis
Arendelle
The Caribbean
San Fransokyo
Keyblade Graveyard
The Final World
Miscellaneous
Below are guides and walkthroughs for Kingdom Hearts III.
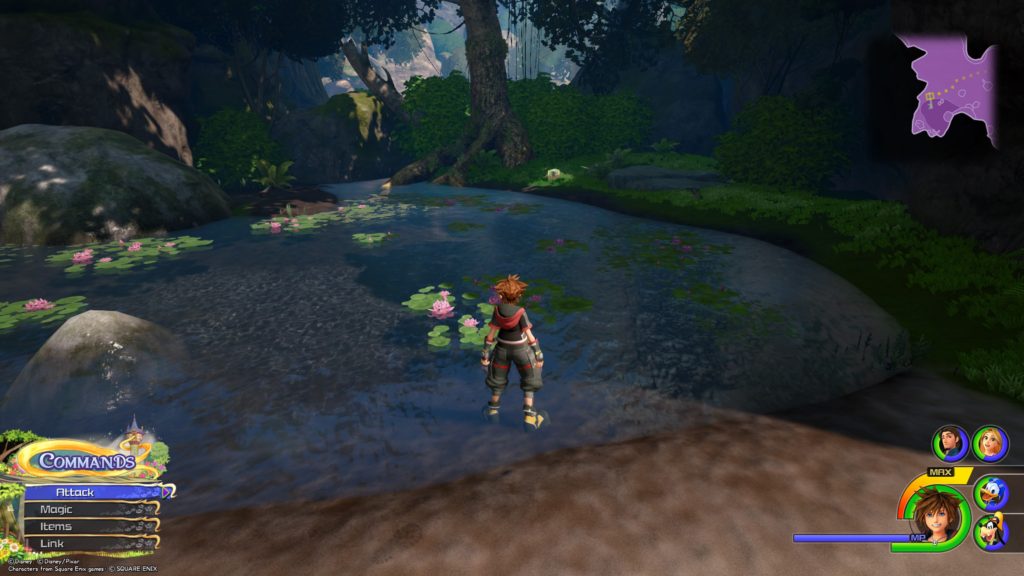
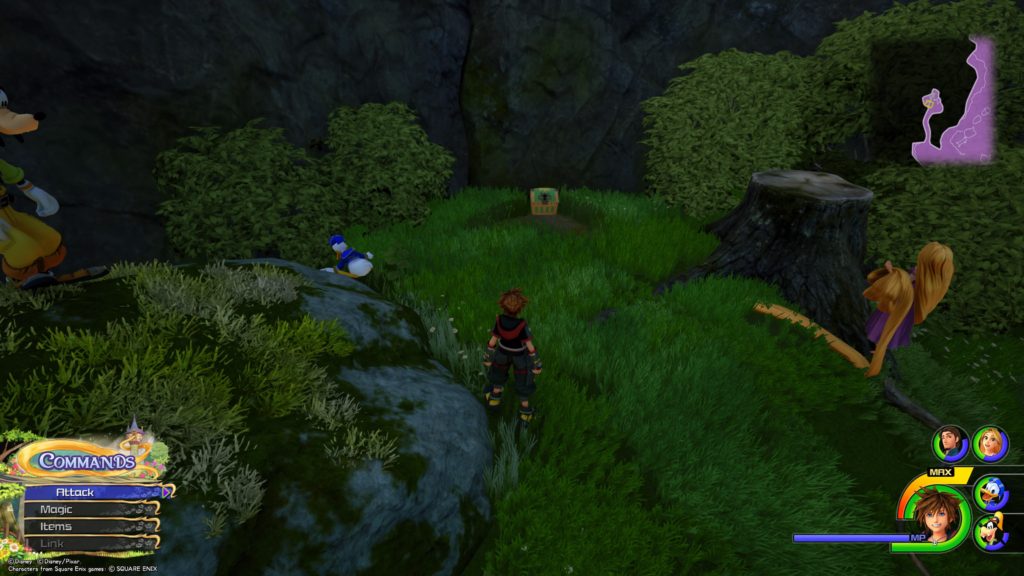
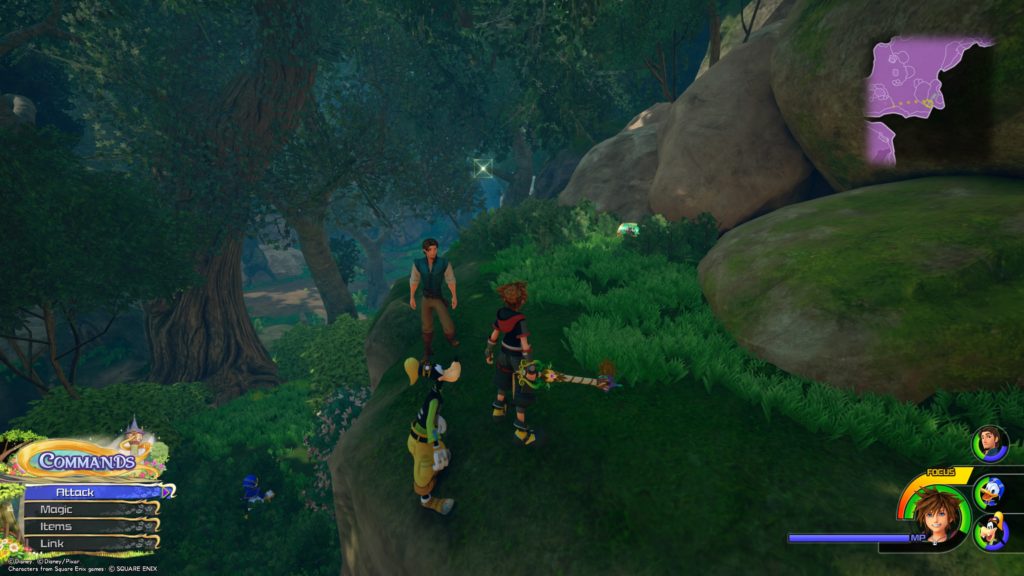
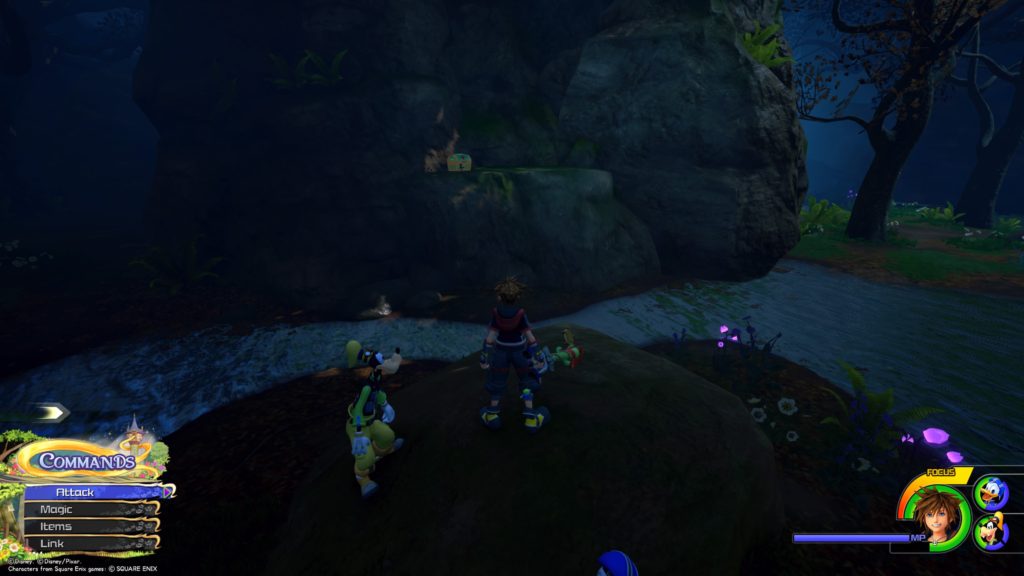
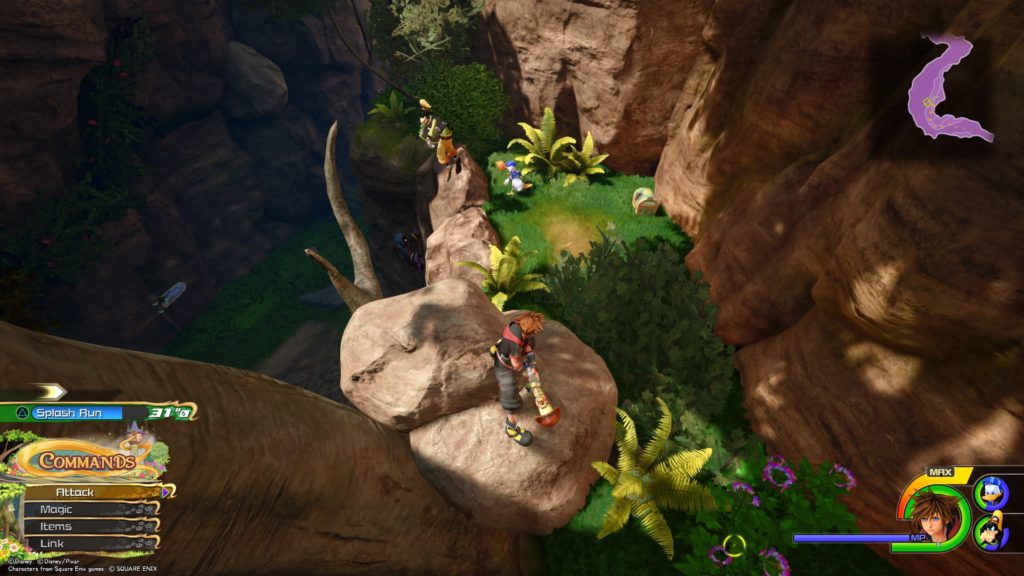
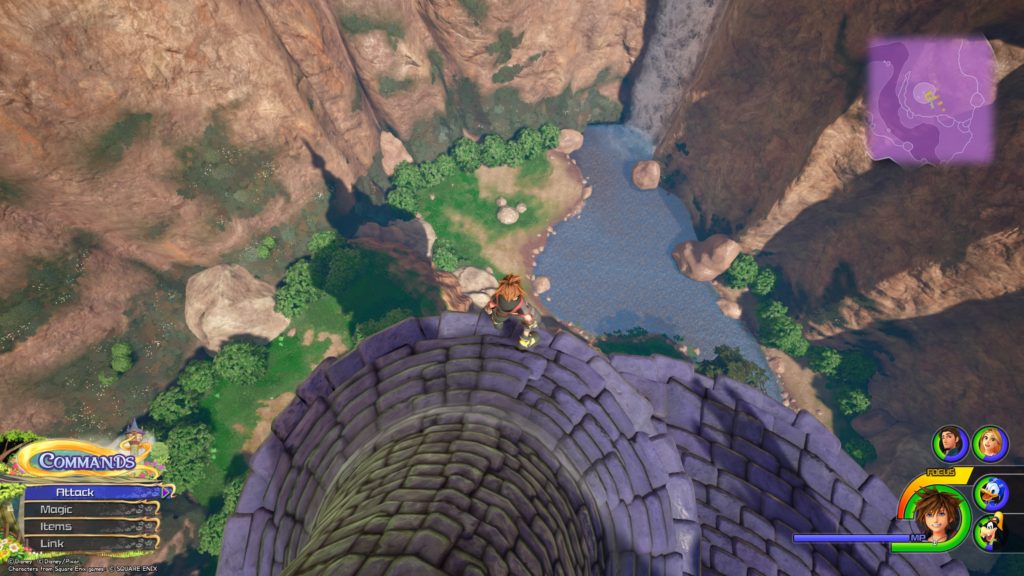
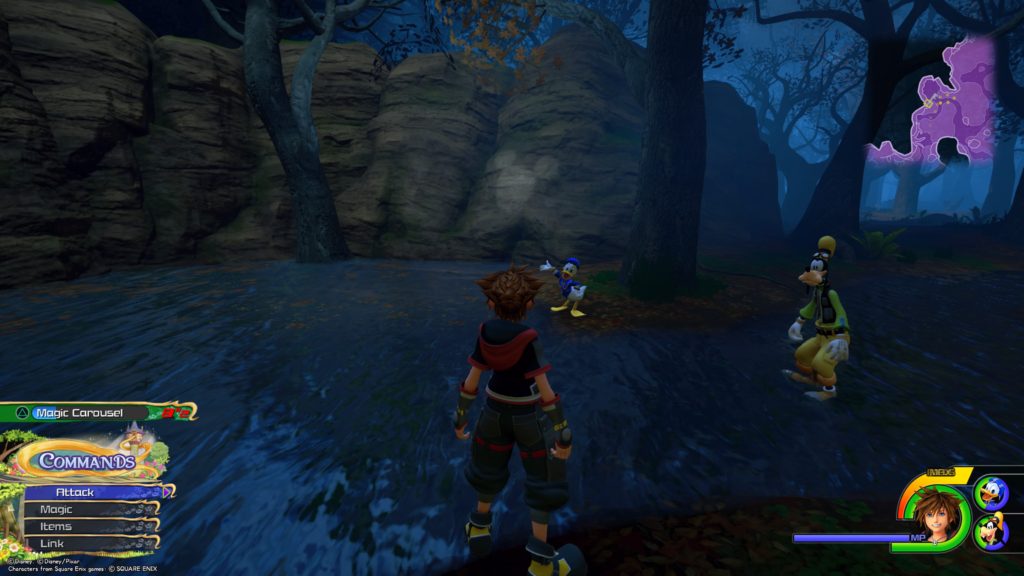
Map: The Forest (1/2)
Refocuser
Camping Out
Potion
Bronze Amulet
Panacea

Wind Fan
Elven Bandana
Mask Rosette
Shadow Anklet
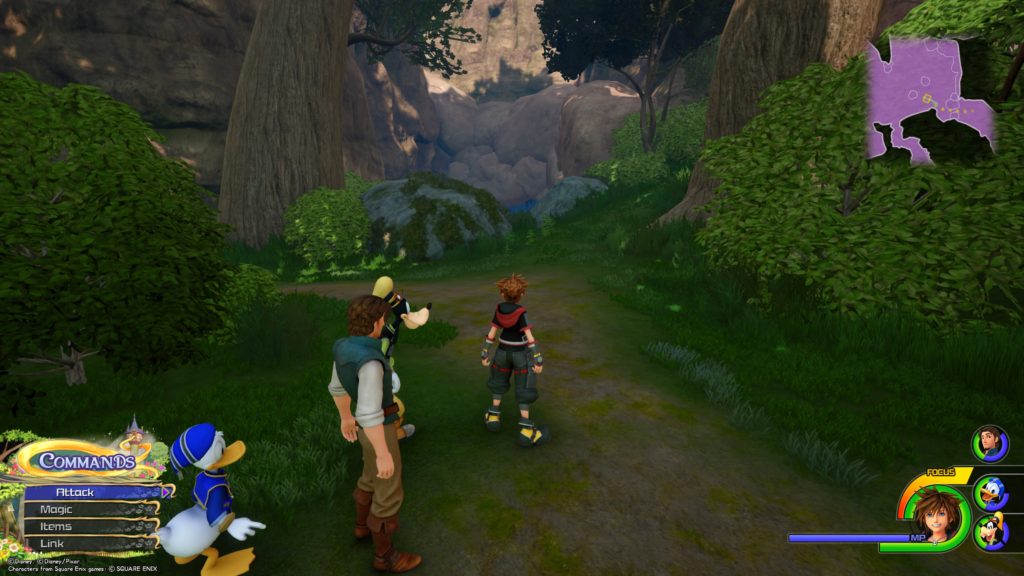
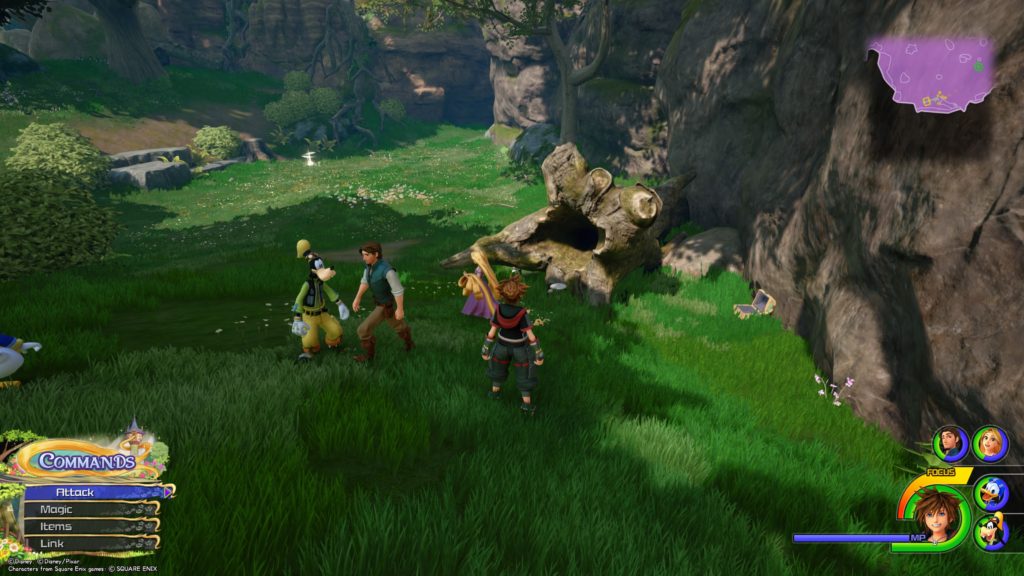
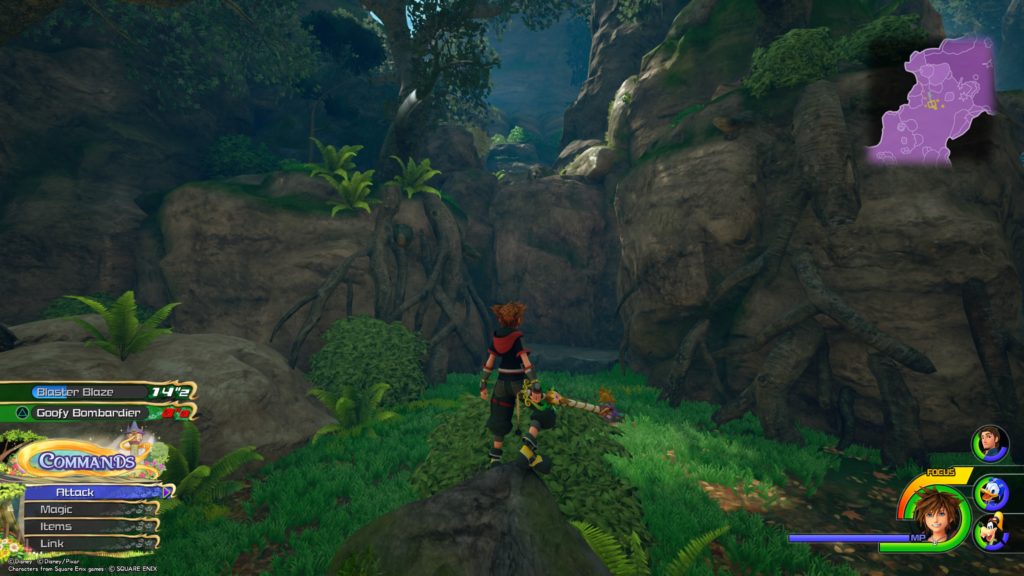
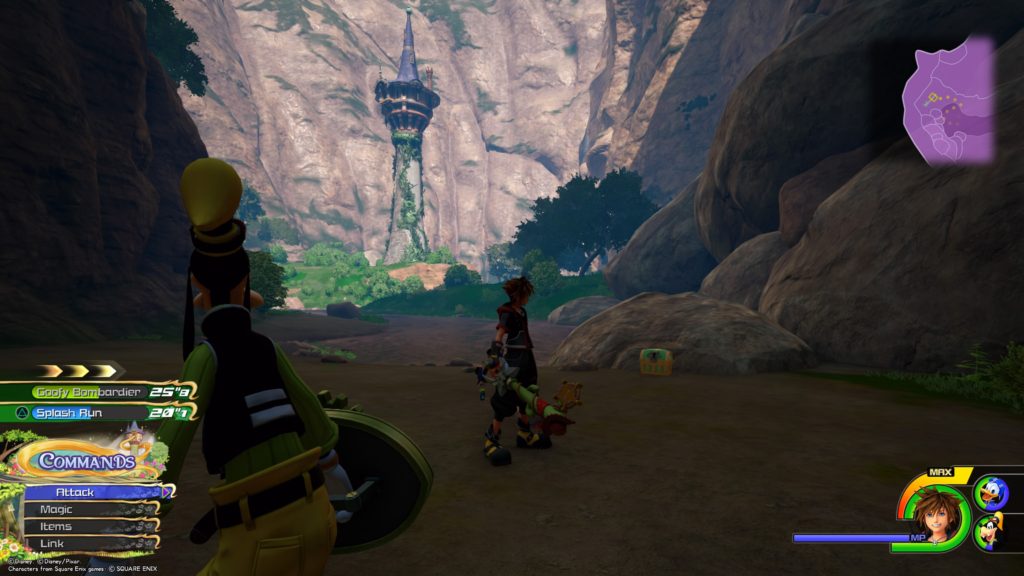
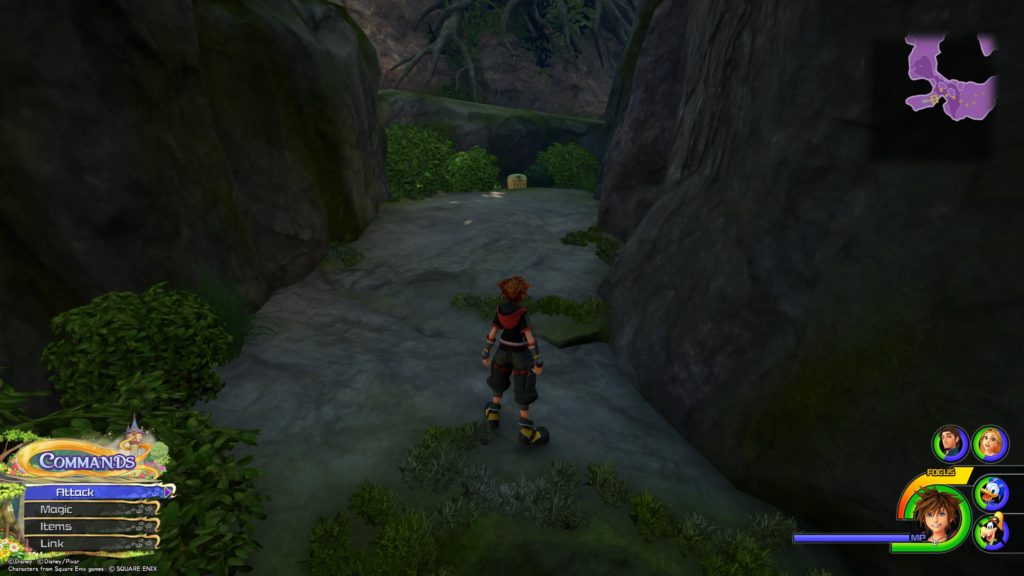
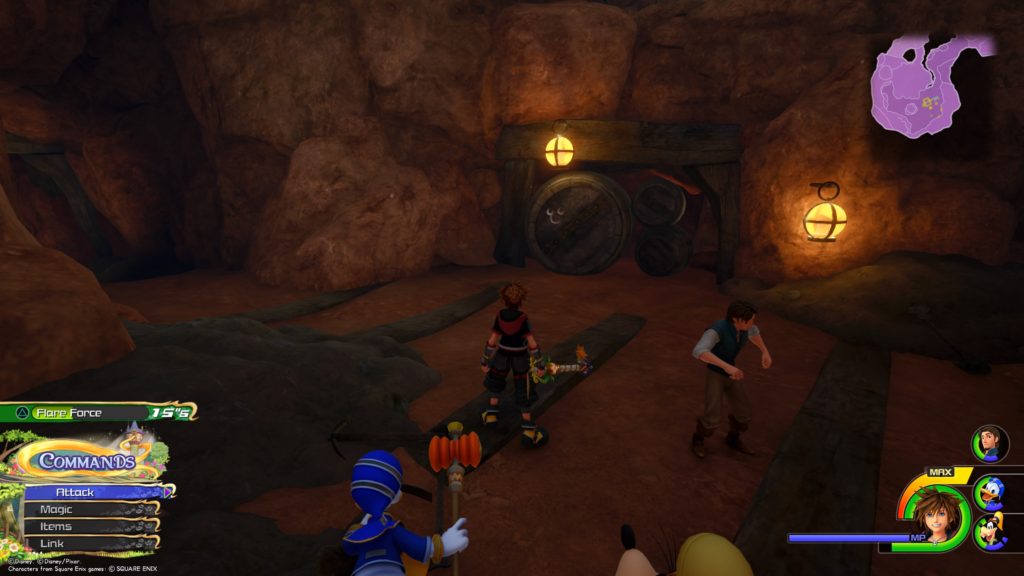
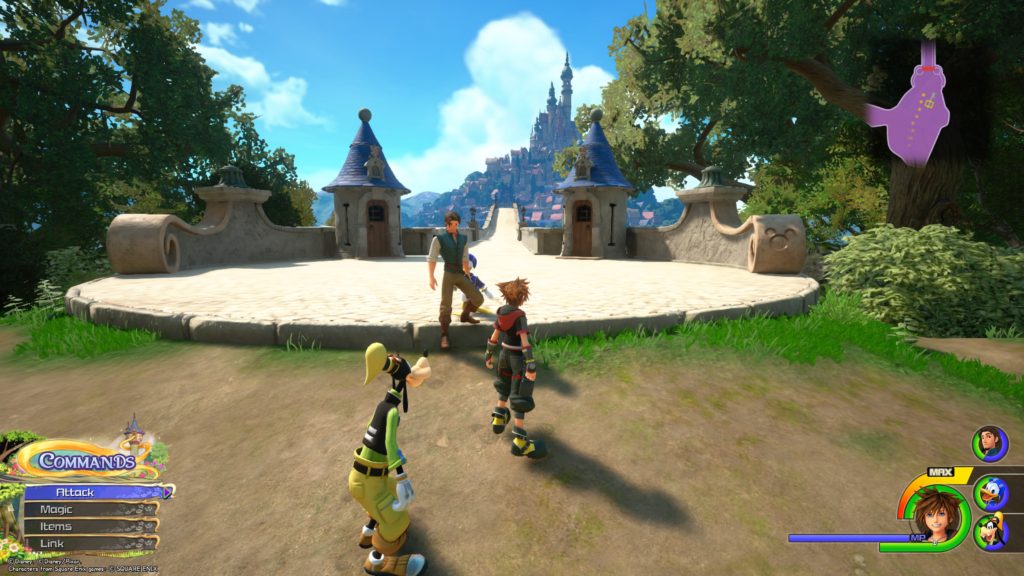
Map: The Forest (2/2)

Potion
Damascus
Ether
Defense Belt
Aero Cufflink
Damascus

Mythril Stone
Mage’s Earring

The Wayward Canary
Hi-Ether
AP Boost
Ether

The Karnival Kid
Magic Boost

Rune Ring
Sea Bass en Papillote+
Hi-Potion
Lucky Emblem 1
Lucky Emblem 2
Lucky Emblem 3
Lucky Emblem 4
Lucky Emblem 5
Lucky Emblem 6

Lucky Emblem 7
Lucky Emblem 8

Lucky Emblem 9
