Welcome to NGB and our Kingdom Come Deliverance walkthrough for the At Your Service My Lady quest! Here you’ll find everything you’ll need to easily breeze through this quest.
At Your Service My Lady Overview
Quest Giver: Talmberg Guards – Talmberg
Summary: Lady Stephanie needs help collecting some things for her cousin’s wedding and since Henry has proven himself to be reliable, she asks him to lend a hand.
Objective(s):
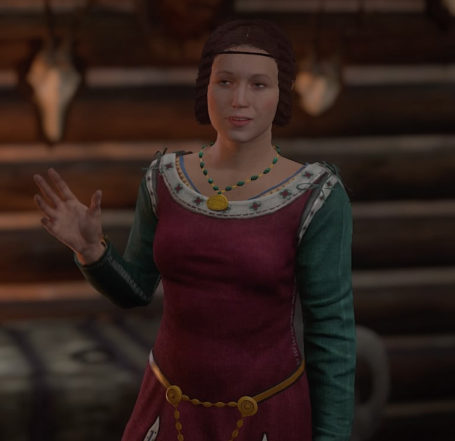
Talk to Stephanie
Talk to Stephanie, and she will task you with getting some things for her cousin Sophie’s wedding. After you agree to help, select all three dialog options to learn about each task and then the option I can do all that will appear. Choose that option to get started.
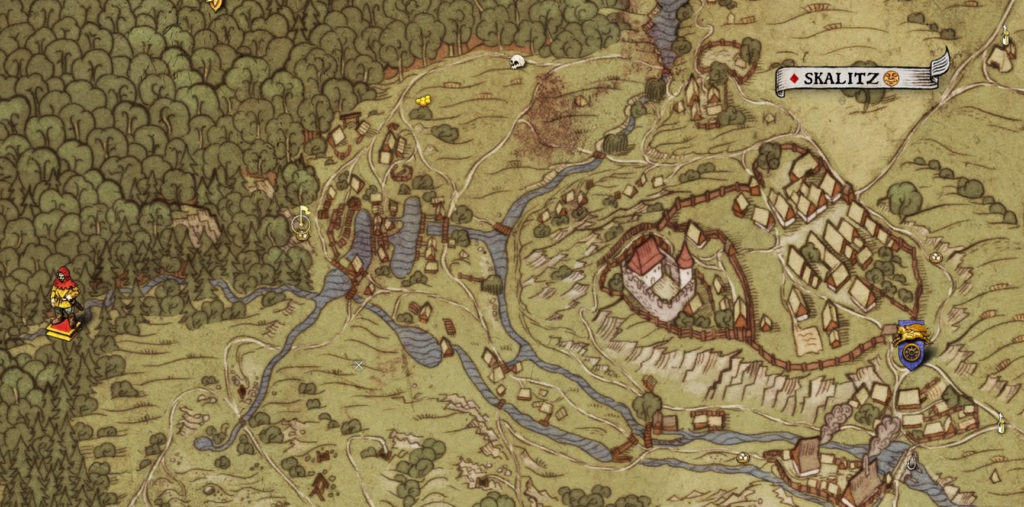
Buy wine from the merchant in Rattay
Follow the objective in Rattay to the merchant Konrad Hagen to buy the wine. Konrad will tell you he sold the last barrel of wine as the prize for an archery tournament.
Enter the archery tournament
Head to the archery range in Rattay to enter the tournament to try and win the wine. Win and you get the wine, lose and you’ll have to find another way to get it.
Get the wine some other way
Head to the winner of the tournament and try to buy the wine off of them. If your speech is high enough, they will give you the wine for free, otherwise, you will need to buy it from them. The default offer is 150 groschen, but you can try and haggle for a lower price if you wish.
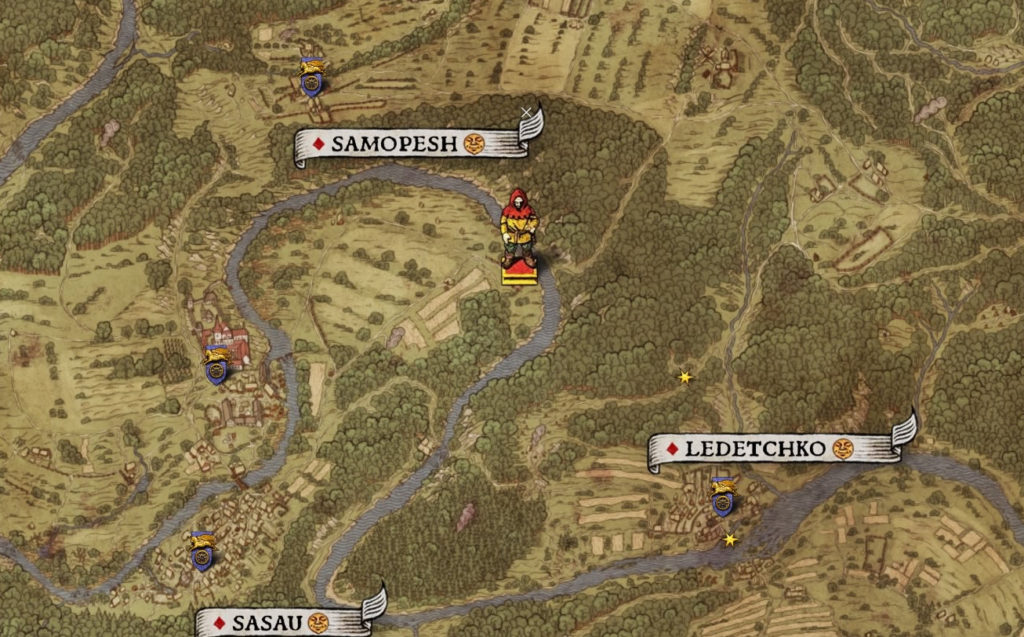
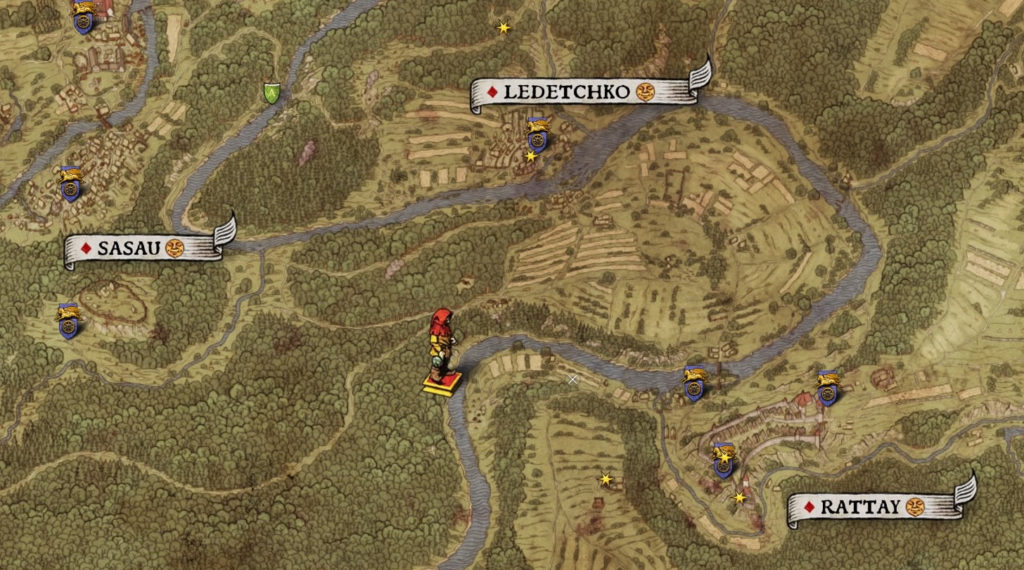
Get the decorative crown from the masters in Sasau
Head to Sasau and follow the objective to Master Jerome. Talk with him to learn that the merchant carrying the stone for the crown has gone missing. You can complete this objective by telling him to replace it with another stone or volunteer to go looking for the merchant. If you chose to replace it with another stone, Master Jerone will tell you to return the next day to pick up the crown.
Find the missing moldavite
If you offered to look for the merchant, this objective will unlock. Head to the new point on the map to being your search. The merchant and the stone are located at a bandit camp in the middle of the quest area right next to the objective marker in the center (NW of the wrecked wagon). The camp is home to 2 bandits that you will need to deal with. The merchant is dead on the ground right next to a chest with an easy lock that contains the moldavite. Pick the chest and grab the stone to take it back to Master Jerome. Hand it over to him, and he will tell you to come pick it up tomorrow.
Find a roan from Uzhitz
Make your way to the objective marker just outside of Uzhitz and locate the Head Groom at the stable (make sure it’s during the day after 8). Choose the dialog option I’m looking for the local groom and then pick the What do I have to do? option to get a new objective to talk to Vashek or the I’ll handle him option if you think you can manage. I was able to mount the roan and ride it to Talmberg with horsemanship at level 15 with a +4 buff from my silver spurs.
Talk to Vashek
Speak to Vashek and choose The roan for Lady Stephanie option. He will tell you he’s good to him and a speech check will appear. Pass the check and Vashek will tell you he sings to the horse and teach Henry the lyrics to the song.
Mount the roan
Hop on roan and either fast travel to Talmberg or start riding there yourself. If you get thrown off, return to the Head Groom and pick the I don’t think I’ll be able to handle that horse option. This will update the objective to Talk to Vashek. After talking to Vashek and learning the song from him, Henry will sing the song to the roan after he mounts it. You should then be able to ride the horse to Talmberg.
Ride to Talmberg on the roan
Deliver the horse to the inside of the keep of Talmberg where the other horses are located to complete the objective.
Go back to Lady Stephanie
Once you have delivered the roan and collected the wine and crown, return to Lady Stephanie to deliver the items. Exhaust the dialog options then pick a new option What can I do for you, my lady? Lady Stephanie will give you a reward and ask you to put it on.
Put on the shirt in front of Lady Stephanie or leave
You can choose to either leave or put the shirt on. If you choose the leave option, the quest completes. If you have Henry put the shirt on, things happen and the quest will complete, unlocking the Casanova trophy/achievement.
Kingdom Come Deliverance Guides and Walkthroughs
For more Kingdom Come Deliverance guides and walkthroughs, click here!