Guides

Kingdom Hearts III – Arendelle Treasure Chests Guide

by Chappie in


The North Mountain / Treescape

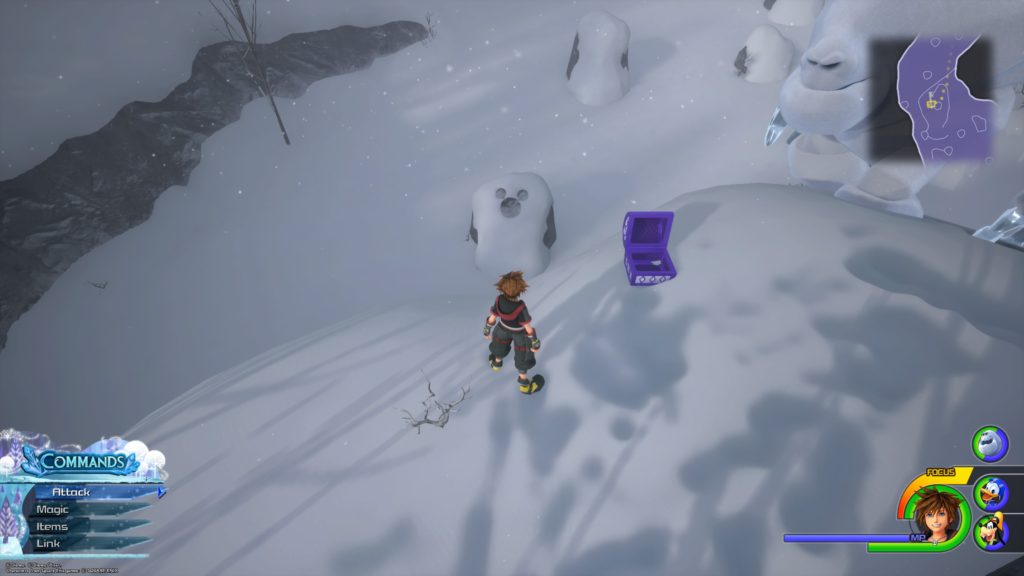
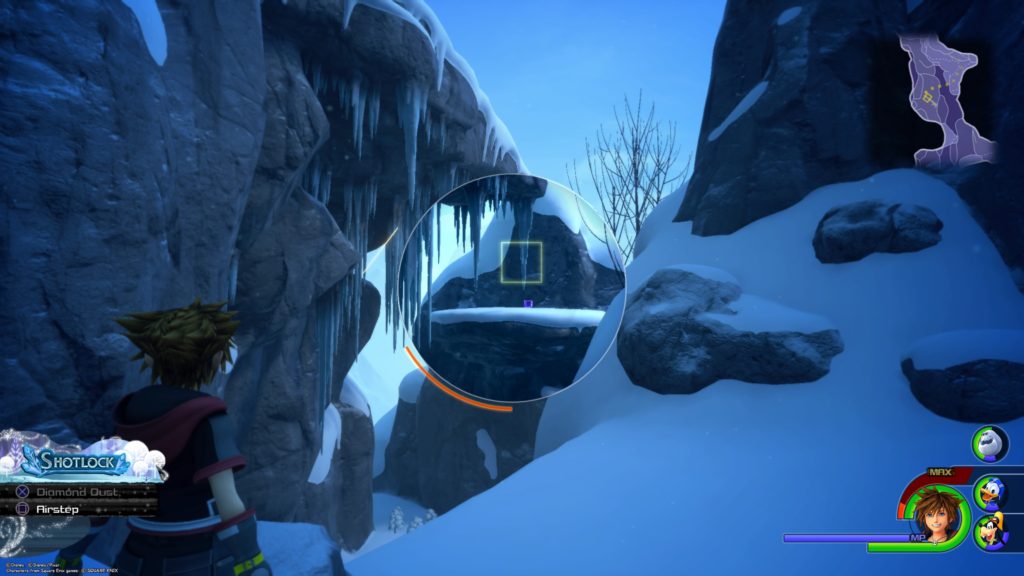
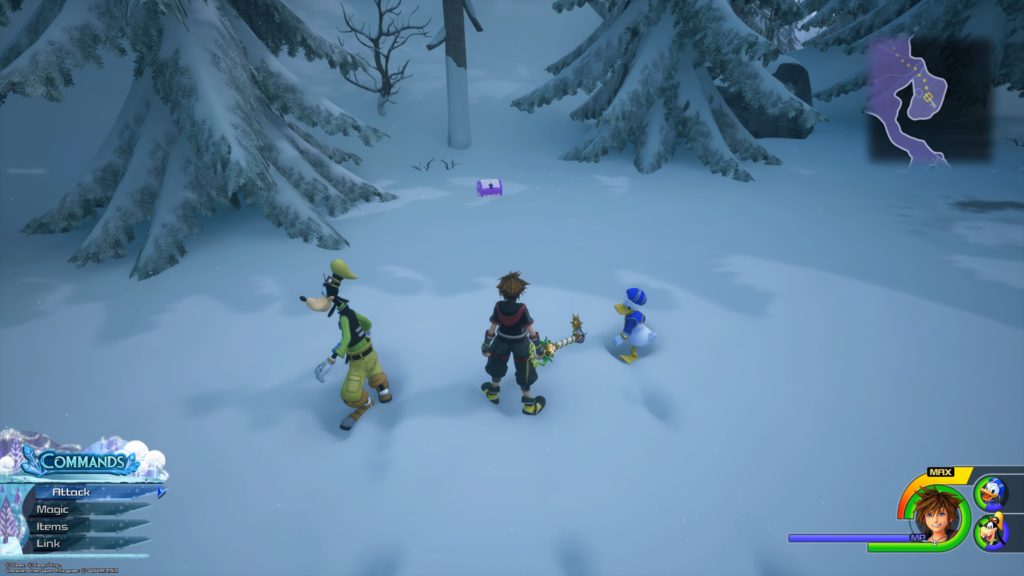
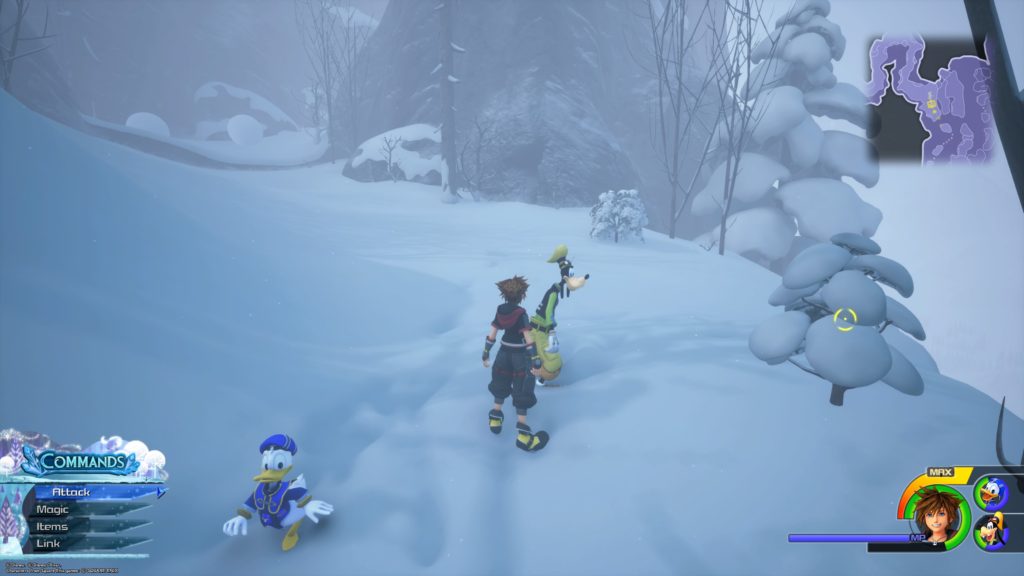
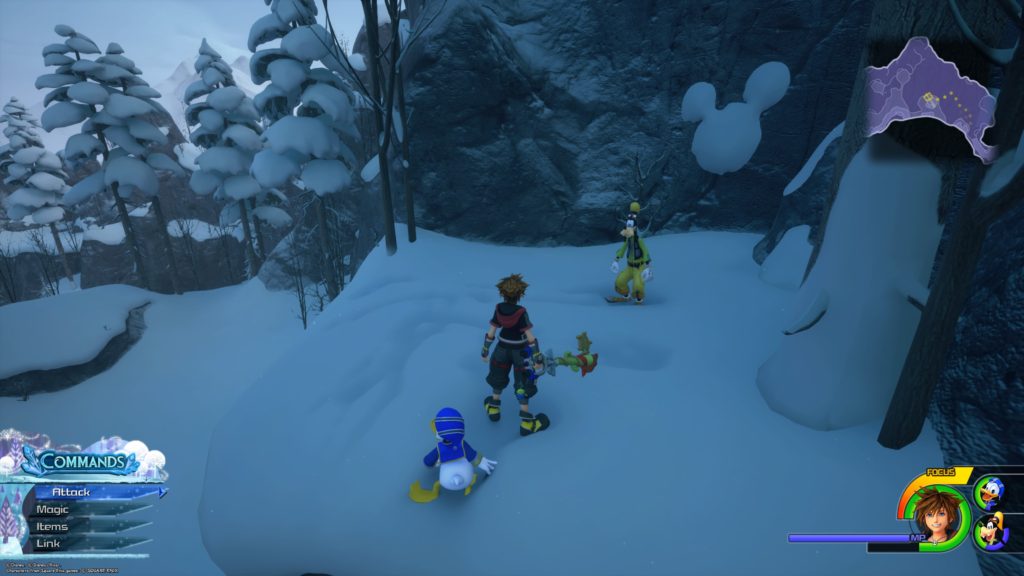
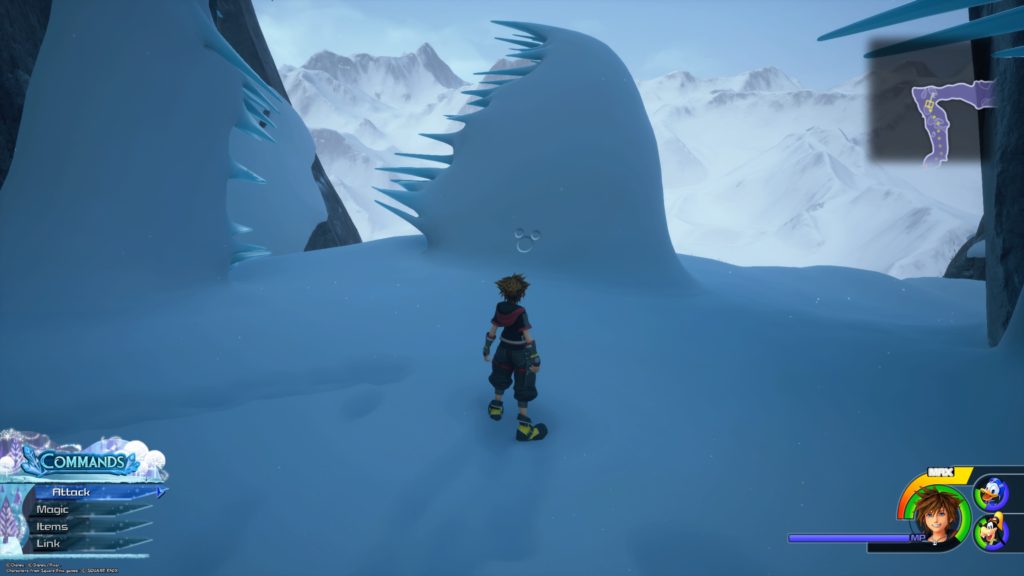
Map: The North Mountain

This chest is located next to the Moogle shop in the Treescape.


Blizzard Choker

From the Treescape save point, head north until you reach the entrance of the mountain pass. Before entering, turn left and the chest will be atop a large boulder.


Damascus

From the Treescape save point, head north through the mountain pass until you see a cluster of four bushes on the right where the path widens. Attack the bushes to reveal the chest.


The Klondike Kid

From the Treescape save point, head north and follow the pass through the mountain. After climbing the climbable rock wall to reach the Gorge, follow the path up and take the first right, dropping down to a ledge below. On the way down, use the falling strike to hit the ice pillar, shattering it to reveal the chest.


The Labyrinth of Ice / Middle Tier

Snowman Rosette

From the room with the rotating ice pillar, follow the path down until you reach a T intersection. Turn left and take the stairs down to the bottom room. Jump on the ice blocks to the left to find the chest at the top. This isĀ in the room with the ice trees whose branches you can swing on.


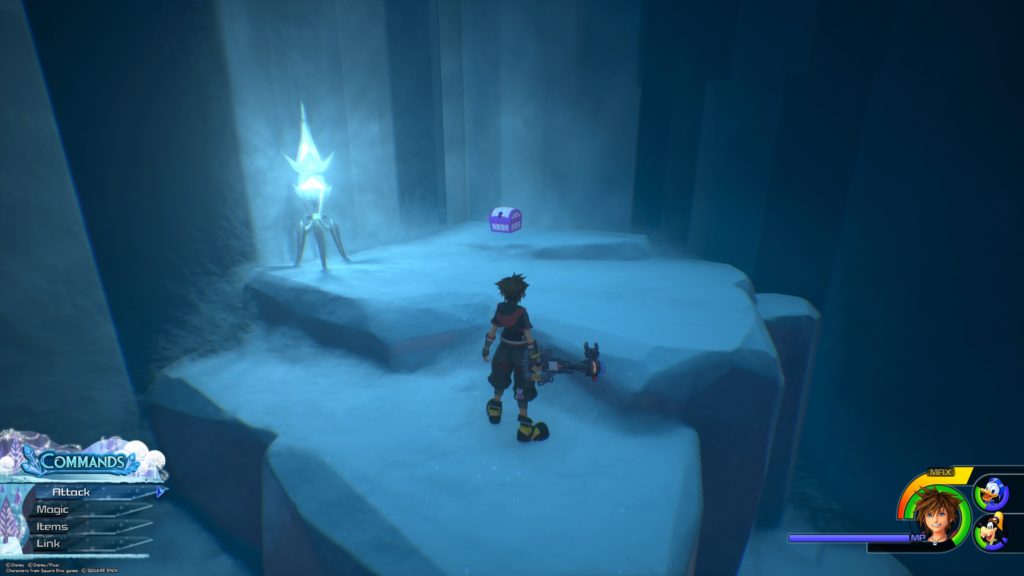
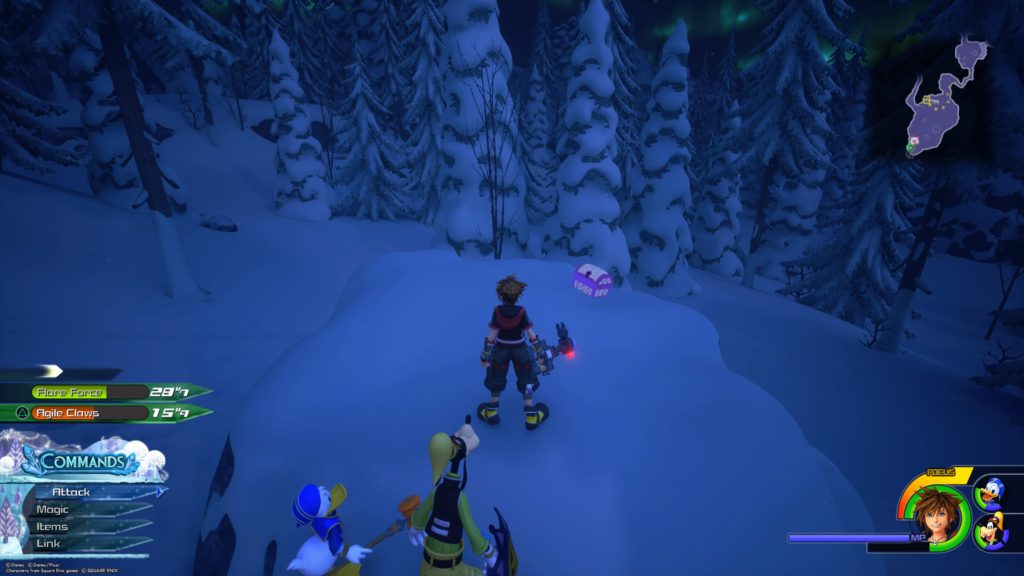
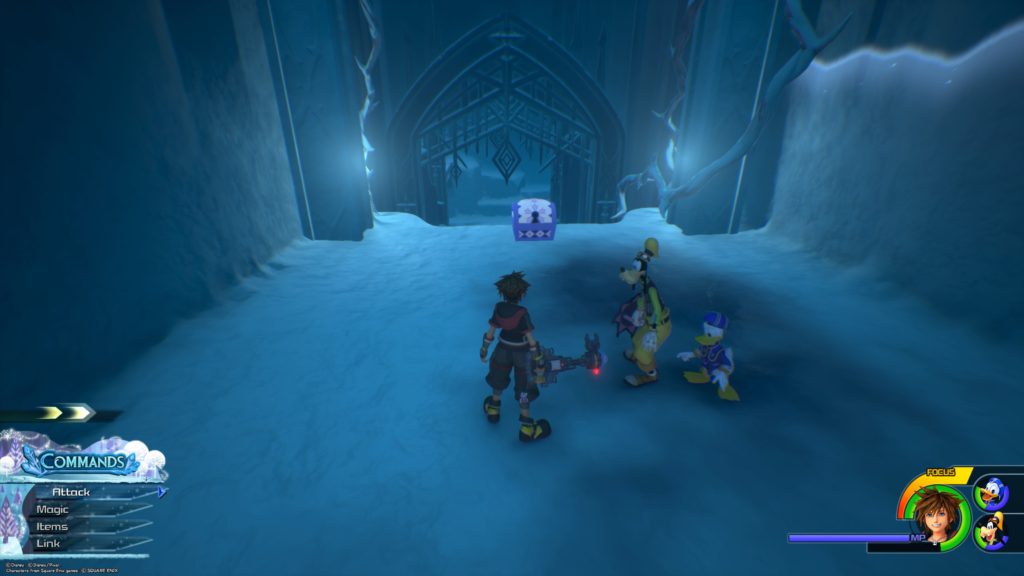
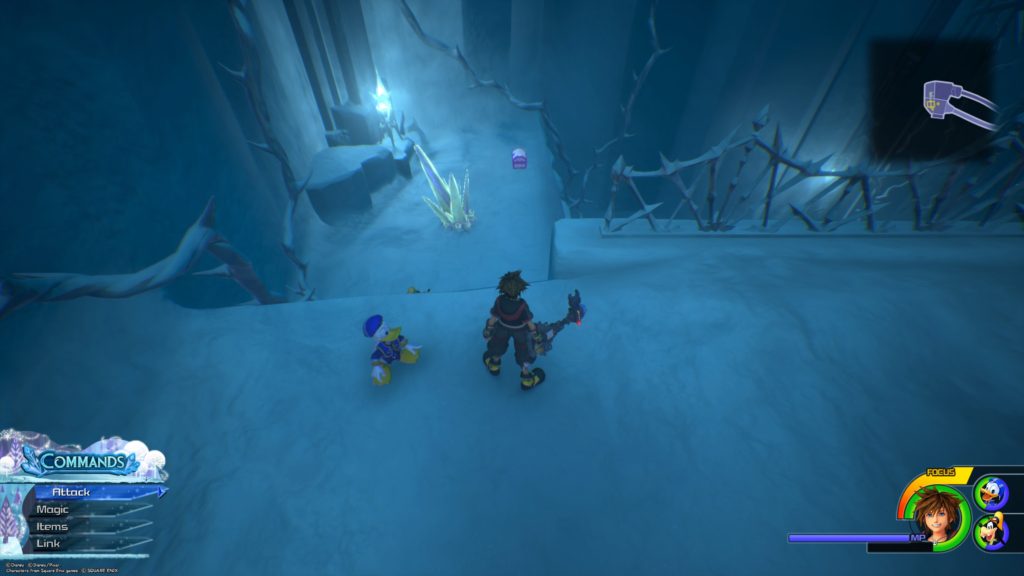
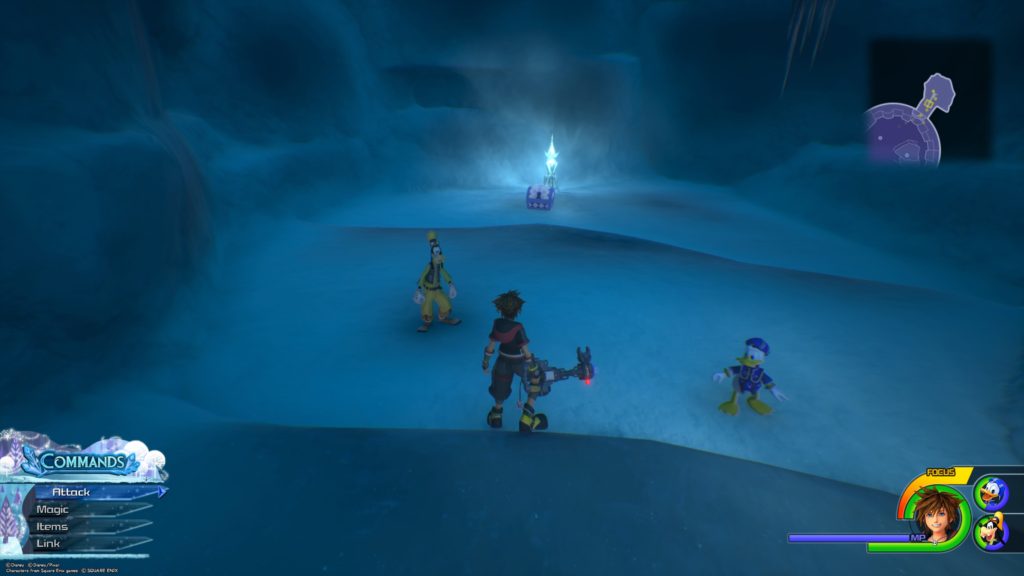
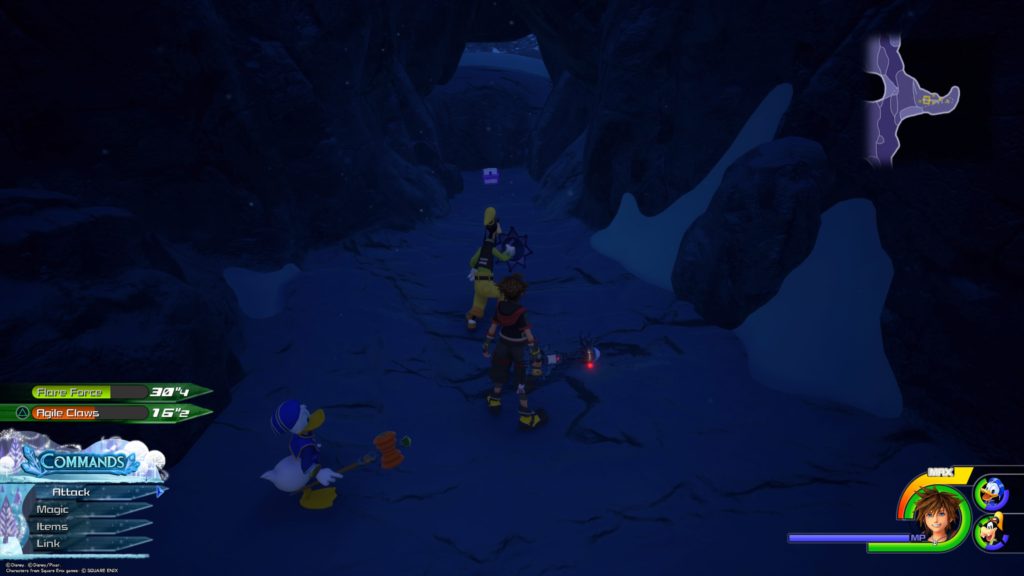
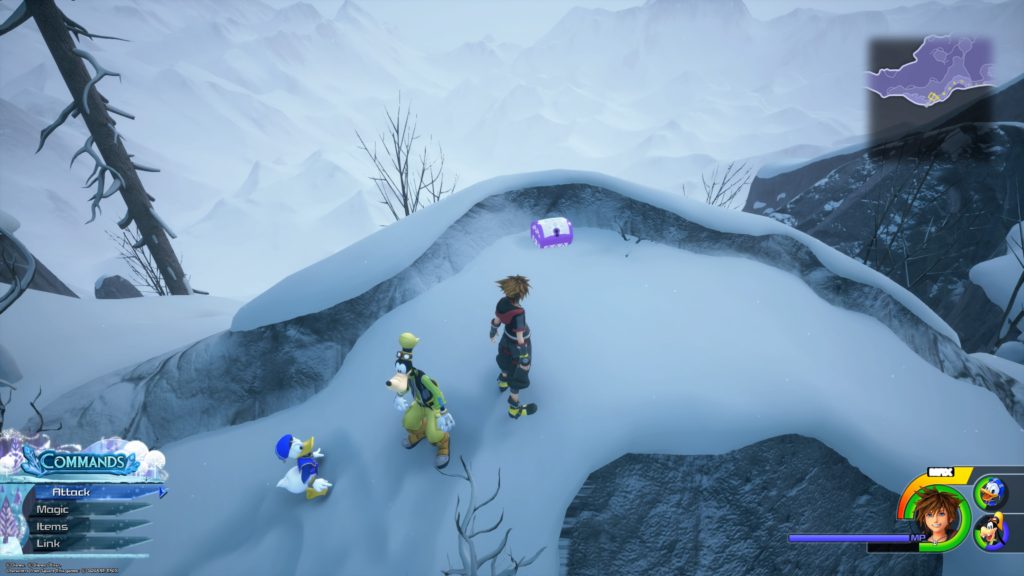
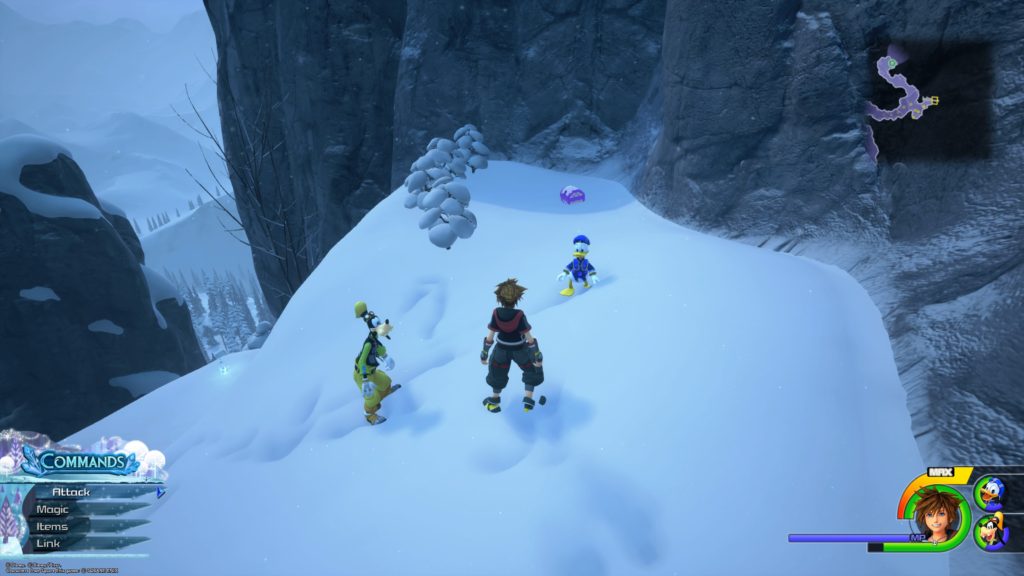
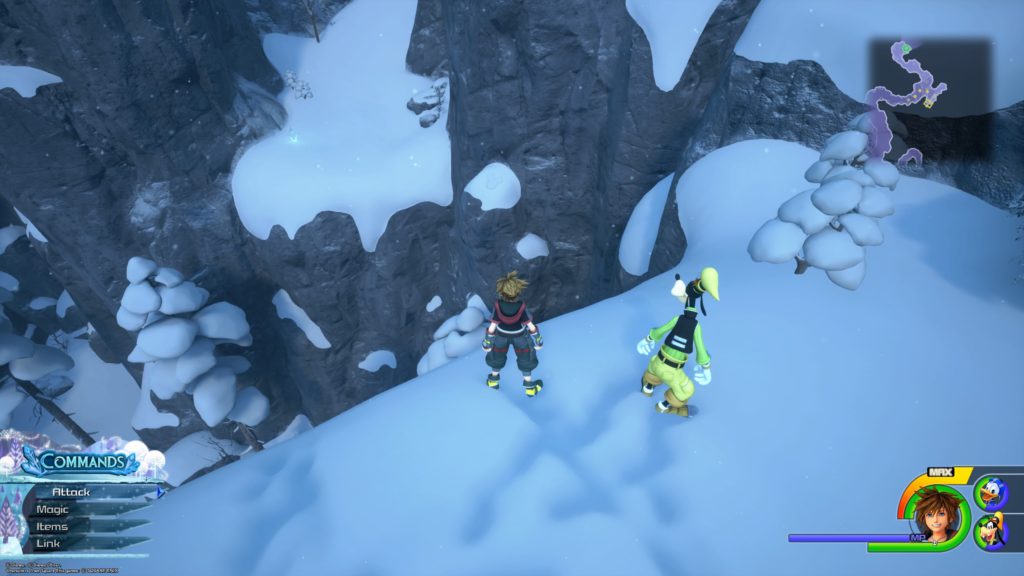
Map: Labyrinth of Ice

From the room with the rotating ice pillar, follow the path down until you reach a T intersection. Turn left and break the ice wall if you havenā€™t already. Drop down on the ledge to find the chest.


Blizzard Cufflink

From the Lower Tier save point, take the southwest path and travel up the wall to the Middle Tier. From there head across the ice bridge into the room with the spinning pillar and take the left path down the stairs. Turn left a jump on the rail. About halfway along the rail, jump onto a second rail above you that leads to a room with the chest.


The Labyrinth of Ice / Lower Tier

Barnyard Sports

The chest is located in the room north of the save point. You will need to spin the pillars to access it.


The Labyrinth of Ice / Upper Tier

Damascus / Dark Anklet

Starting in the center room with the spinning ice pillar, grind on the south rail to reach the room with the exit. The room contains two chests. The Damascus is in the chest on the right and the Dark Anklet is on the left.


The North Mountain / Gorge

Guardian’s Belt

From the Gorge save point, head up the mountain by taking the climbable wall. Jump across and take the second climbable wall. The chest will be guarded by the pot like enemies. Defeat them to open the chest.


Elixir

From the Mountain Ridge save point, head south to the Gorge by jumping down three climbing walls. Follow the path left under the icicles hanging down from the overhanging rock. At the end, jump to the ledge across the way. From there look south to see the chest on a ledge in the distance. Use R1 to lock onto the icicle closest to the chest and use flowmotion to launch yourself to the icicle.Ā  This will put you in range to reach the ledge to open the chest.


The North Mountain / Valley of Ice

Hi-Potion

From the Valley of Ice save point, take the first right jumping onto a small cliff. The chest will be in the very back.


Refocuser

From the Valley of Ice save point, follow the lake to the right until you come across the wheelbarrow. Jump onto the ledge to the right of the wheelbarrow to reach the chest.


Hi-Ether

From the Valley of Ice save point, take the path east heading into the mountain. The chest will be on the left in an inlet a little way up the mountain.


Blizzara Charm

From the Valley of Ice save point, take the path east heading into the mountain. Continue following the path south until you come to a clearing where the Winterhorns spawn. Turn right and follow the snowy path to the top of a large overhanging rock. Use doubleflight to reach the other side of the gap where the chest is located.


AP Boost

From the Valley of Ice save point, follow the path until just before the Frozen Wall (at the southernmost tip around where the Parasol Beauty start to spawn). Head up the snow-covered rock and jump across the gap to the other side to find the chest just off to the right in a little nook.


The North Mountain / Frozen Wall

Mega-Ether

From the Frozen Wall entrance, you will travel throughout this area using wind pillars that launch you into the air. When you come to the big clearing with a wind pillar and climbable wall, turn left just before the clearing and drop down to a secluded part of the mountain that will contain the chest.


Silver Amulet

From the Frozen Wall entrance, you will travel throughout this area using wind pillars that launch you into the air. When you come to the big clearing with a wind pillar and climbable wall, take the climbable wall up and keep following that path along the mountain. After you pass the second wind pillar, head up a little way until the path curves left. Jump off the right side of the mountain two levels to land on a ledge with a tiny cave near a climbable wall. This chest is inside the cave.


Magician’s Wand+

From the Frozen Wall entrance, you will travel throughout this area using wind pillars that launch you into the air. When you come to the big clearing with a wind pillar and climbable wall, take the climbable wall up and keep following that path along the mountain. After quite a ways, you will come to another climbable wall on the left. Climb that wall all the way to the top of the mountain to arrive on a narrow snow path. Follow that path to come across this chest.


The North Mountain / Snowfield

Force Ring

From the Snowfield save point, follow the path south and slide off the mountain. Keep moving forward to reach a climbable wall on the east side and take it up to the top of the mountain. At the top, jump across the gap to the snowy path next to the lucky emblem. Follow the path up the mountain to reach the chest.


Orichalcum

From the Snowfield save point, follow the path south and slide off the mountain. Turn right and jump down the mountain two times. On the second jump, smash the ice block while falling to reveal the chest.


Mickey’s Kitten Catch

From the Snowfield save point, follow the path south and slide off the mountain. Turn right and jump down the mountain two times. Follow the path until you come across a clearing. The chest will be to the right on the raised ground. You will need to follow the clearing until it allows you to jump up to reach it. (In the area where you meet the giant snowman for the second time.)


The North Mountain / Foothills

Slayer’s Earing

From the Foothills save point, head south into the Foothills clearing. The chest will be located on the largest rock straight ahead.


Damascus

From the Foothills save point, head south into the Foothills clearing past the giant rock in the middle of the area. The chest will be located on the right behind a wheelbarrow.


Guides

Kingdom Hearts III – Arendelle Lucky Emblems Guide

by Chappie in


The North Mountain / Treescape

Lucky Emblem 1

From the Treescape save point, head north and follow the pass through the mountain. After climbing the climbable rock wall to reach the Gorge, follow the path up and take the first right, dropping down to a ledge below. Follow the path south to find the emblem on a tree at the end of the path.


The Labyrinth of Ice / Middle Tier

Lucky Emblem 2

From the room with the spinning ice pillar, follow the path down until you reach a T intersection. Turn right and follow the stairs to the bottom. Swing right following another set of stairs down. At the bottom of the second stairs, turn right and break the ice wall if you havenā€™t already. The emblem will be at the top of the bridge on the right side.


Lucky Emblem 4

From the Lower Tier save point, take the southwest path and travel up the wall to the Middle Tier. From there head to the middle of the nearby ice bridge and look to the left of the bridge to find the emblem on the wall.


The Labyrinth of Ice / Lower Tier

Lucky Emblem 3

From the spinning pillar, keep heading down the slopes, dodging the ice pillars until you reach a drop-off. Drop off the slope and the emblem will be on the left on a wall.Ā  Alternatively from the Lower Tier save point, head south past the save point into the frozen hallway to find the emblem on the wall at the end of the hallway.


The Labyrinth of Ice / Upper Tier

Lucky Emblem 5

Starting in the center room with the spinning ice pillar elevator, grind on the northeast rail to reach a room with pillars. Jump on the center ice formation to find the emblem on the north side of the room on the ground in a cluster of small pillars.


The North Mountain / Mountain Ridge

Lucky Emblem 6

From the Gorge save point, head up the mountain via two climbable walls. After you climb the second wall, go through the path and jump across the gap to the line of icicles hanging down. Pass underneath the icicles and climb up the next climbable wall. At the top you will be staring at the emblem, which is on a part of the mountain not covered by snow. Alternatively, from the Mountain Ridge save point, head south down the snow-covered path to find the lucky emblem on the cliff wall on the right at the end of the path.


The North Mountain / Frozen Wall

Lucky Emblem 7

From the Frozen Wall entrance, you will travel throughout this area using wind pillars that launch you into the air. When you come to the big clearing with a wind pillar and climbable wall, take the climbable wall up and keep following that path along the mountain. After quite a ways, you will come to another climbable wall. Instead of taking the wall up, jump down to the big open area below. Swing left around a rock sticking out the side of the mountain to come to another piece of the climbable wall. The rock to the right of that will have the lucky emblem on top of it. You can either run up the rock wall and jump over to it or use the doubleflight and superjump to reach it.


Lucky Emblem 8

From the Mountain Ridge save point, head into the cave and follow the path north through the jagged snowy rocks until you reach where the path turns right. The emblem will be straight in front of you in the snow on the last jagged snowy rock.


The North Mountain / Snowfield

Lucky Emblem 9

From the Snowfield save point, follow the path south and slide off the mountain. Keep moving forward to a climbable wall on the east side taking it up to the top of the mountain. Look behind you towards the northeast to find the lucky emblem on a snow-covered rock below.


Lucky Emblem 10

From the Foothills save point, head north into the Snowfield. Follow the path, hugging the right side. Before you go into the clearing you will see a giant rock on the right. Behind the giant rock is a stack of logs that form the emblem.


The North Mountain / Foothills

Lucky Emblem 11

From the Foothills save point, head south into the Foothills clearing. Climb up on the largest rock in front of you that has a chest on it and look downwards to the north near the chest. The emblem will be in the snow on top of a small rock.