Fire Emblem Engage Logo
Guides

Fire Emblem Engage – Emblem Guide

by NightlyGamingBinge in

Below is a guide on how to unlock the Hero Emblems in Fire Emblem Engage. You’ll find the hero, which chapter they become available and how to unlock them. Some heroes are listed twice. These heroes temporarily become unavailable and will be usable in later chapters.

How to Unlock Emblems

HeroChapterCondition
Byleth14 – The Battle for SolmObtained after the chapter battle as part of the main story.
Celica4 – A Land in BloomObtained during the beginning of the battle as part of the main story.
Celica20 – The Kingless CastleObtained after winning the chapter battle as part of the main story
Claude
Dimitri
Edelgard
6 – The Stolen RingThis is Wave 1 DLC from buying the Season Pass. Head to Lookout Ridge in the Somniel during the intermission after completing the Mountain Settlement battle. This will trigger an event where you’ll be given the Emblem.
Corrin15 – Dancer in the RuinsObtained during the chapter battle as part of the story.
Eirika
Ephraim
16 – Seashore TravelsObtained at the beginning of the chapter battle.
Ike13 – Heroes of the OasisObtained during the beginning of the chapter battle as part of the main story.
Leif8 – Brodia CastleObtained after winning the battle at Brodia Castle.
Leif17 – Serenity in RuinObtained after winning the chapter battle.
Lucina11 – RetreatObtained towards the end of the battle at Shadowy Moor as part of the main story.
Lyn11 – RetreatObtained towards the end of the battle at Shadowy Moor as part of the main story.
MarthPrologueThis is the Emblem you start with.
Marth23 – The Four HoundsObtained at the beginning of the chapter following some lengthy cutscenes.
Micaiah6 – The Stolen RingObtained near the beginning of the level after retrieving the ring from a bandit.
Micaiah19 – The Dead TownObtained after winning the chapter battle.
Roy8 – Brodia CastleObtained at the beginning of Brodia Castle battle.
Roy19 – The Dead TownObtained after winning the chapter battle.
Sigurd3 – HostilitiesObtained at the end of the chapter as part of the main story.
Sigurd17 – Serenity in RuinObtained after winning the chapter battle.
Soren7 – Dark EmblemComplete the Divine Paralogue: The Radiant Strategist which becomes available at the start of Chapter 7. This is Wave 2 DLC from buying the Season Pass.
Tiki7 – Dark EmblemComplete the Divine Paralogue: The Ancestor which becomes available at the start of Chapter 7. This is Wave 1 DLC from buying the Season Pass.
Veronica7 – Dark EmblemComplete the Divine Paralogue: The Lonely Heir which becomes available at the start of Chapter 7. This is Wave 3 DLC from buying the Season Pass.

How to Unlock Max Bond Level

UnitChapterCondition
Byleth15 – Dancer in the RuinsComplete the Instructor paralogue
Celica 21 – The ReturnCompete the Caring Princess paralogue
Corrin16 – Seashore Travels Complete the Crux of Fate paralogue
Eirika
Ephraim
17 – Serenity in RuinComplete the Azure Twin paralogue
Ike14 – The Battle for SolmComplete the Radiant Hero paralogue
Lief18 – The Cold VoyageComplete the Sage Lord paralogue
Lucina12 – The SentinelsComplete the Exalt paralogue
Lyn13 – Heroes of the OasisComplete the Lady of the Plains paralogue
Marth23 – The Four HoundsComplete the Hero-King Paralogue
Micaiah20 – The Kingless Castle Complete the Dawn Maiden paralogue
Roy20 – The Cold VoyageComplete the Young Lion paralogue
Sigurd18 – The Cold VoyageComplete the Holy Knight paralogue
Guides

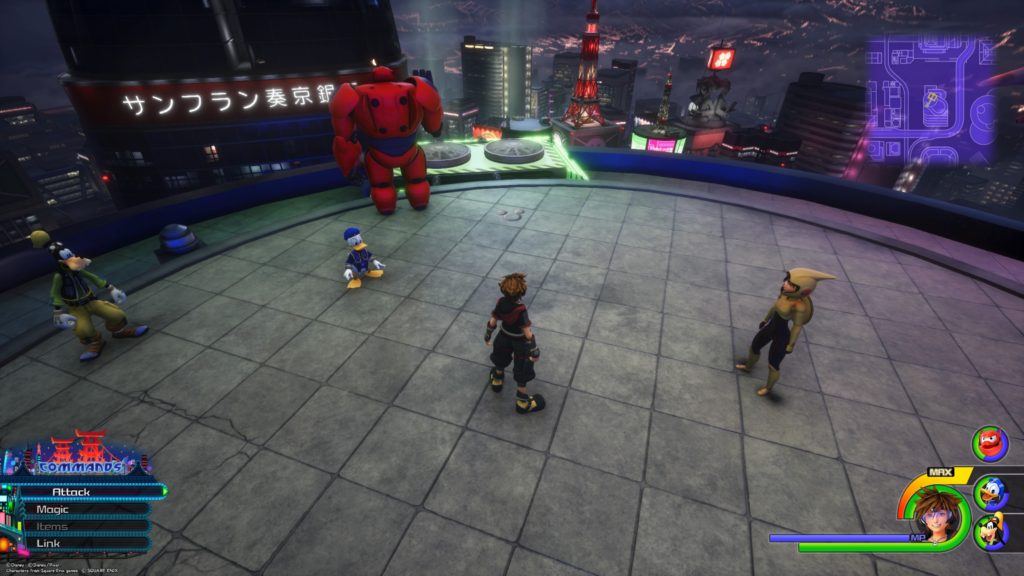
Kingdom Hearts III – San Fransokyo Lucky Emblems Guide

by Chappie in


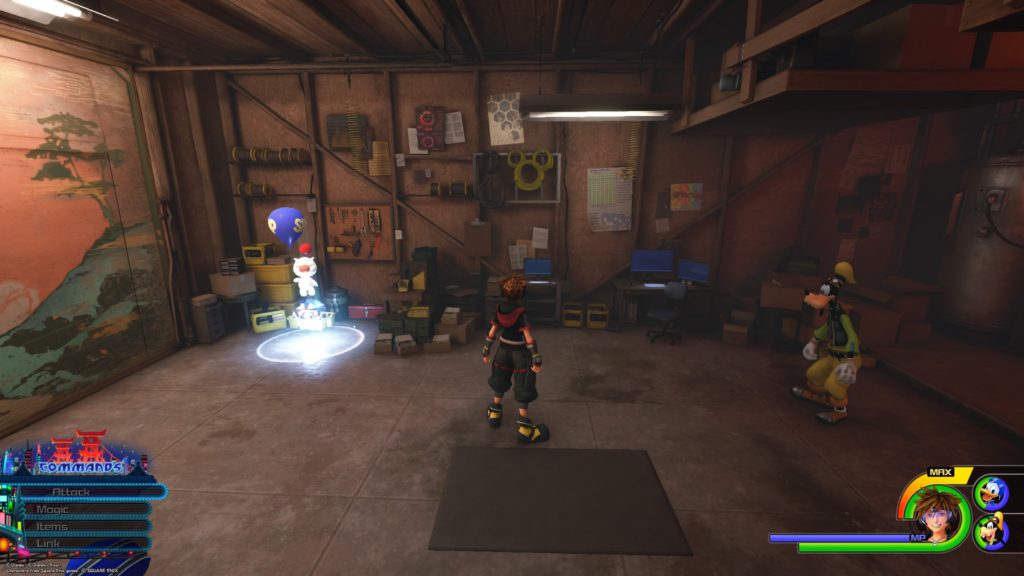
Hiro’s Garage

Lucky Emblem 1

The emblem is made out of a yellow cord hanging on the wall to the right of the Moogle shop.


The City / South District

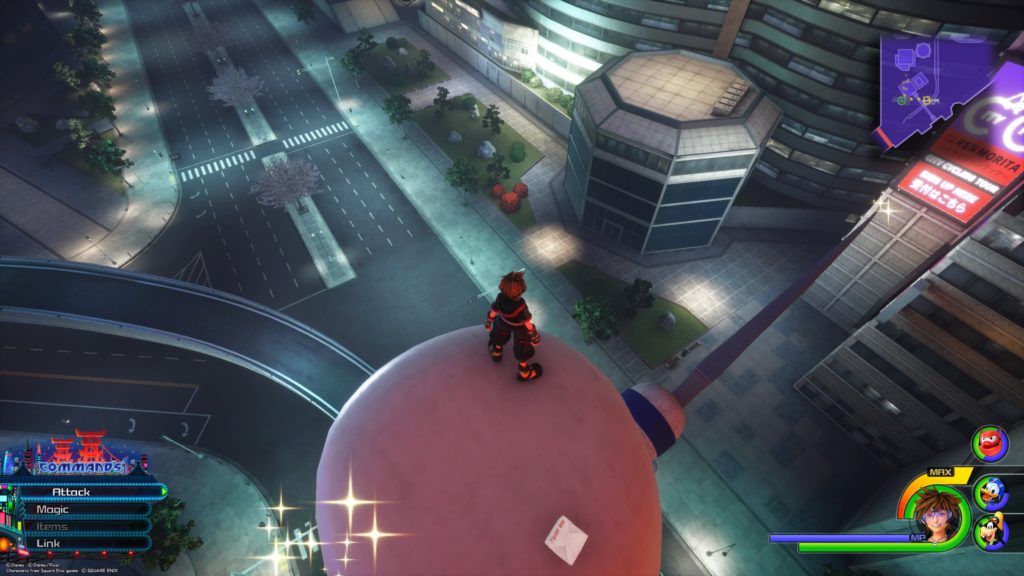
Lucky Emblem 2

From the South District save point, take the ramp to the nearby highway until you reach the giant chef. Climb up to the chef’s hat and look east to find the emblem on the ground formed by three red bushes.


Lucky Emblem 3

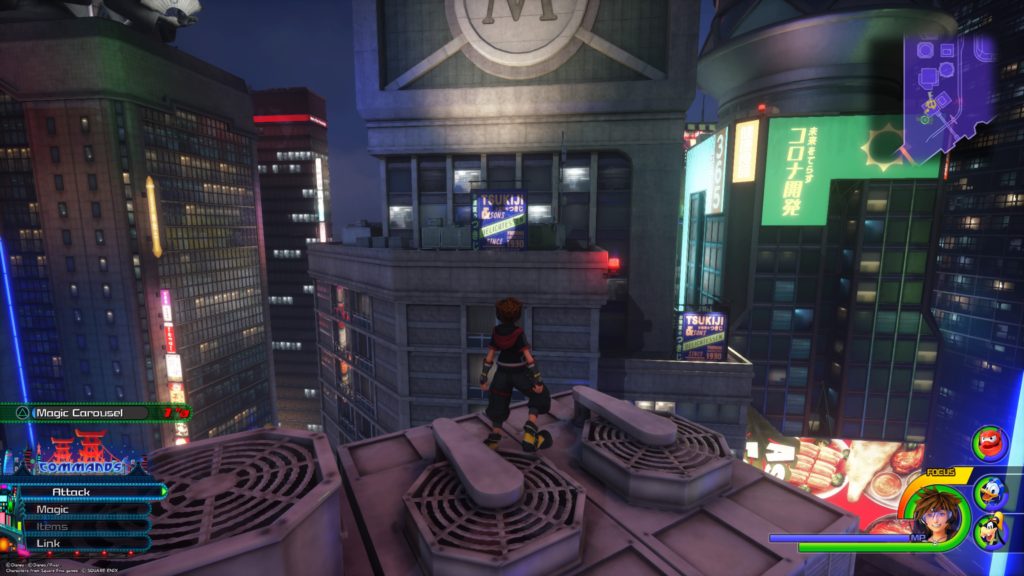
Note: This emblem is only reachable at night.  From the South District save point, climb up the wall and look at the building across the street (north) with a giant M on it. The emblem will be a blue advertisement projected onto the building.


Lucky Emblem 4

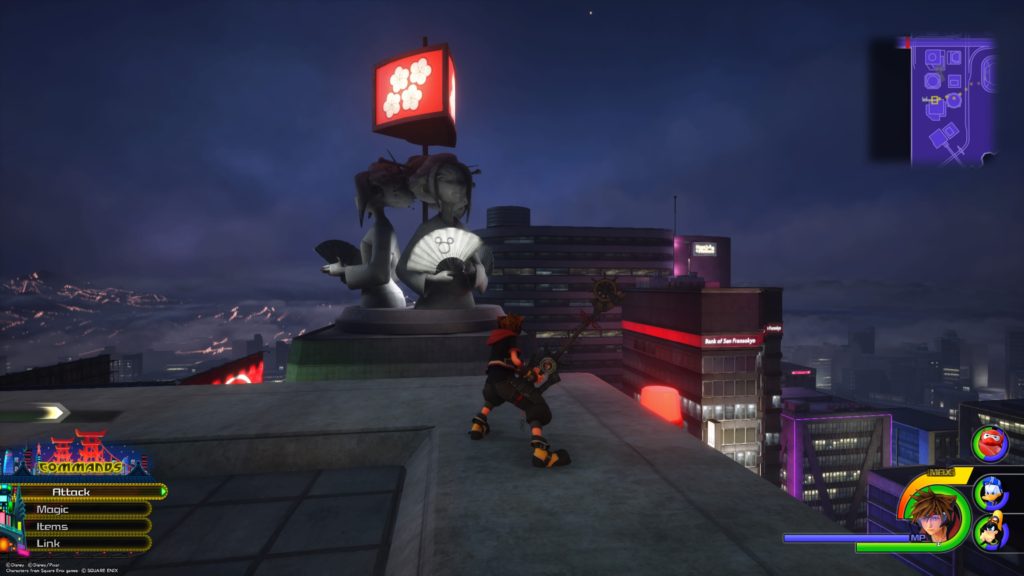
Head to the rooftops north of the South District save point in the South District and look for the giant statue of the three ladies holding folding fans. The emblem is on one of the fans.


The City / North District

Lucky Emblem 5

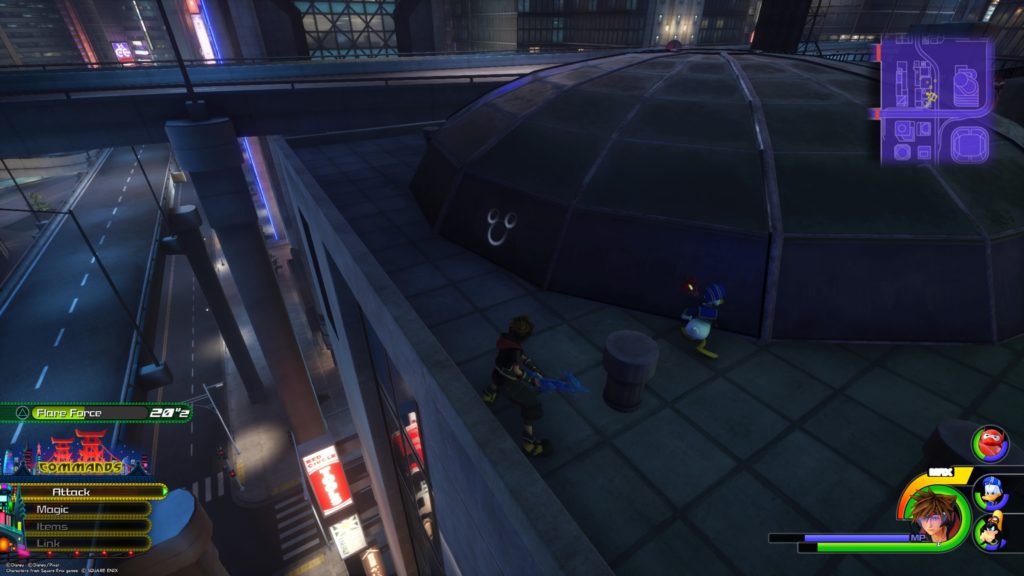
From the building with the metro running through it, head to the roof of the building across from it (south). Jump off the west end of the building, aiming for the domed roof across the street. The emblem will be on the side of the dome.


Lucky Emblem 7

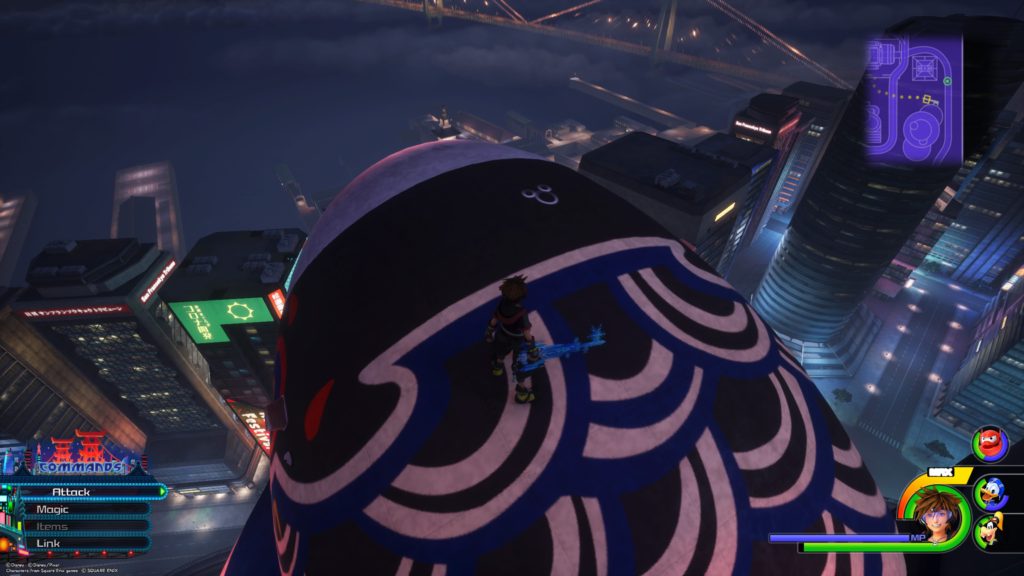
The emblem is way up in the sky on top of the blue fan slightly southwest of the North District save point.


Lucky Emblem 8

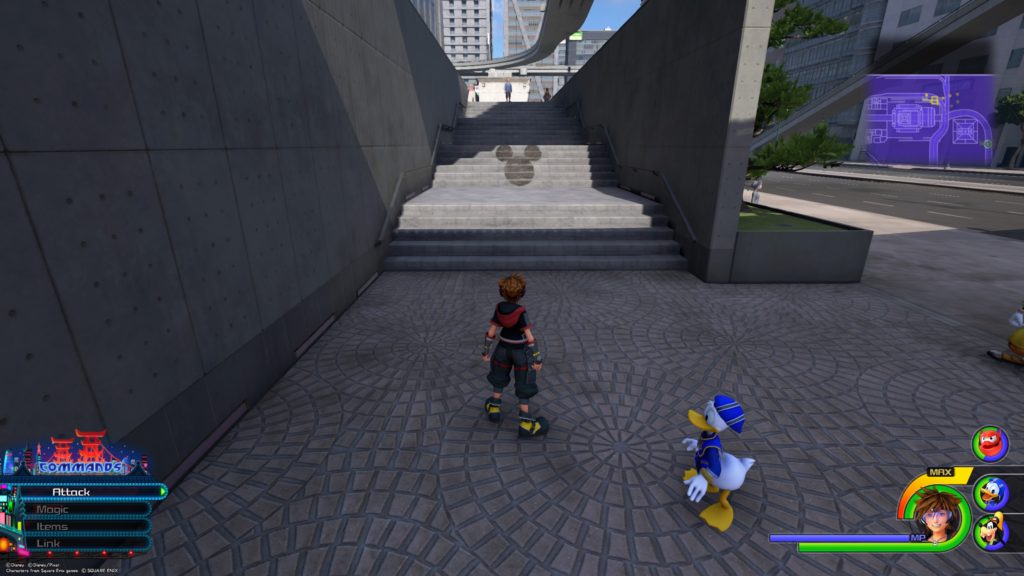
The emblem is located on the stairs of the building with the metro tracks running through it.


Lucky Emblem 9

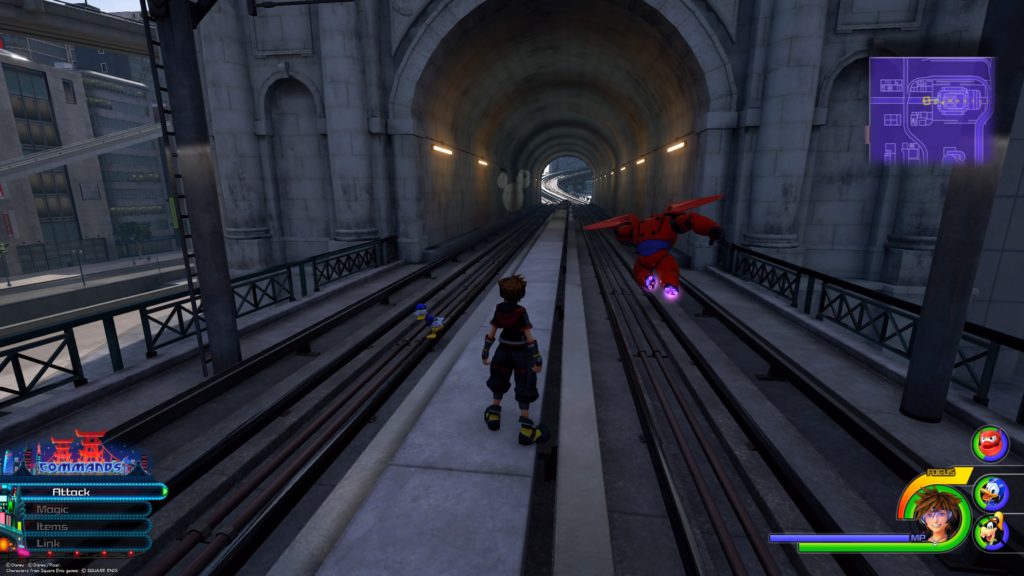
The emblem is a shadow in the metro tunnel of the second building northeast of the North District save point.


Lucky Emblem 10

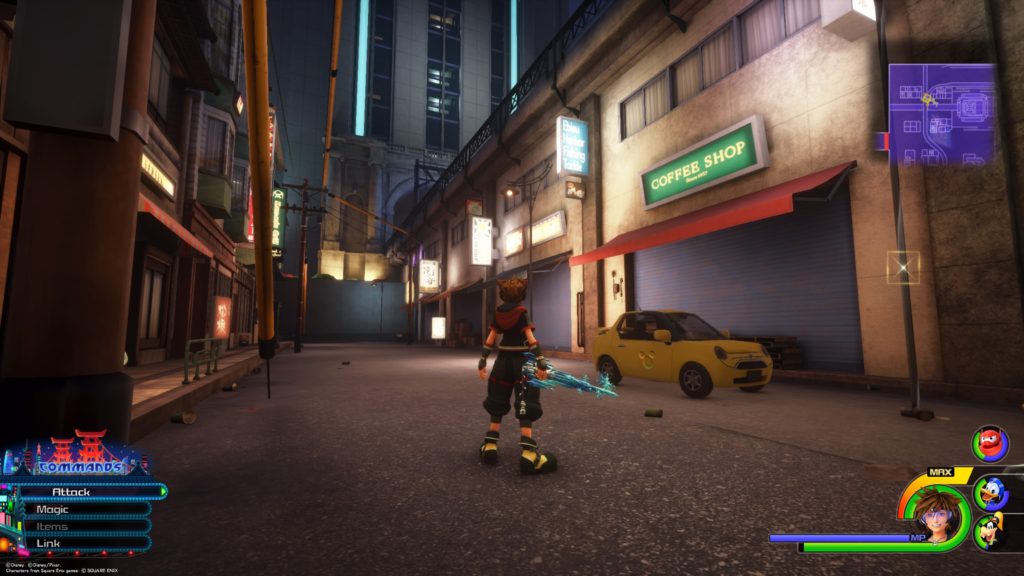
The emblem is located on the side of the yellow car parked in front of a Coffee Shop next to the metro tracks in the northwest most corner of the map.


Lucky Emblem 11

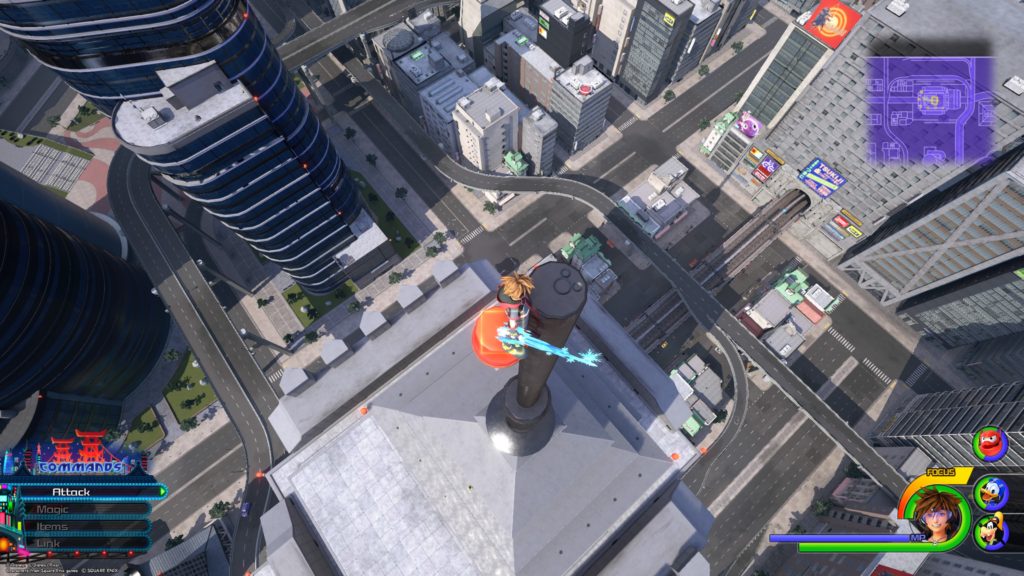
This emblem is located at the very top of the antenna/point of the building with the metro running through it.


The City / Central District

Lucky Emblem 6

The emblem can be found in the roof tiles located at the very top of the tall building south of the building with the metro running through it.


Guides

Kingdom Hearts III – Arendelle Lucky Emblems Guide

by Chappie in


The North Mountain / Treescape

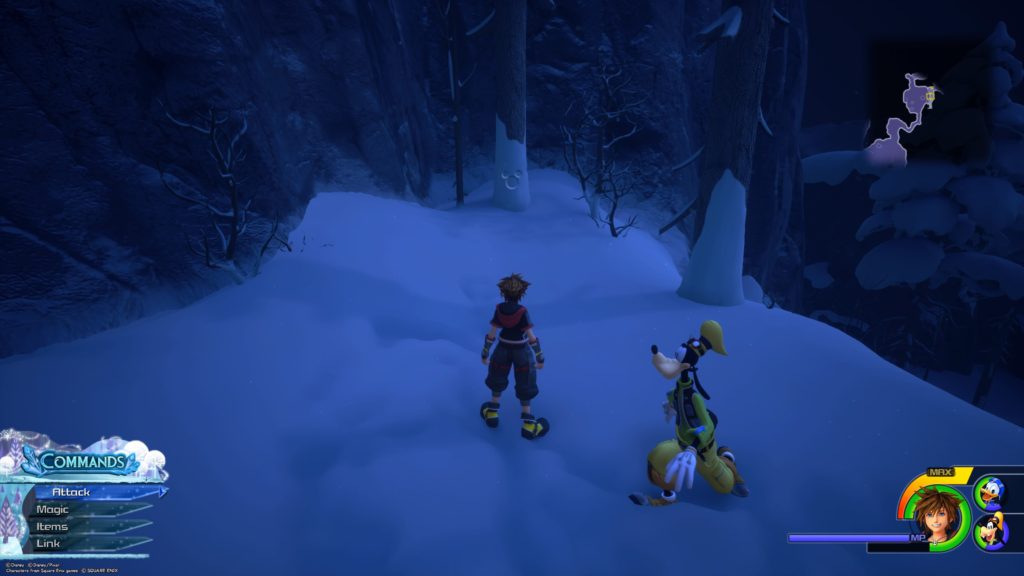
Lucky Emblem 1

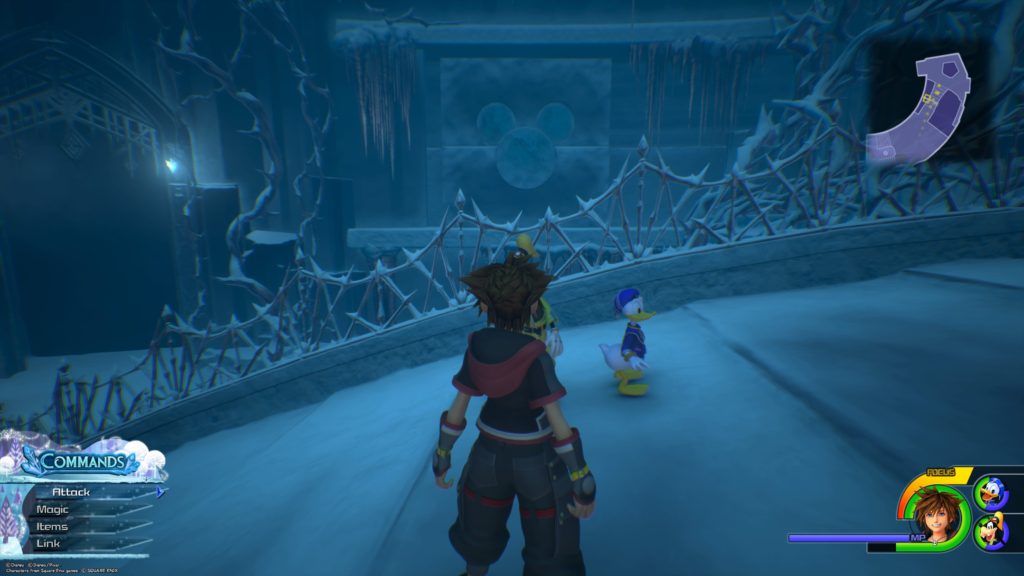
From the Treescape save point, head north and follow the pass through the mountain. After climbing the climbable rock wall to reach the Gorge, follow the path up and take the first right, dropping down to a ledge below. Follow the path south to find the emblem on a tree at the end of the path.


The Labyrinth of Ice / Middle Tier

Lucky Emblem 2

From the room with the spinning ice pillar, follow the path down until you reach a T intersection. Turn right and follow the stairs to the bottom. Swing right following another set of stairs down. At the bottom of the second stairs, turn right and break the ice wall if you haven’t already. The emblem will be at the top of the bridge on the right side.


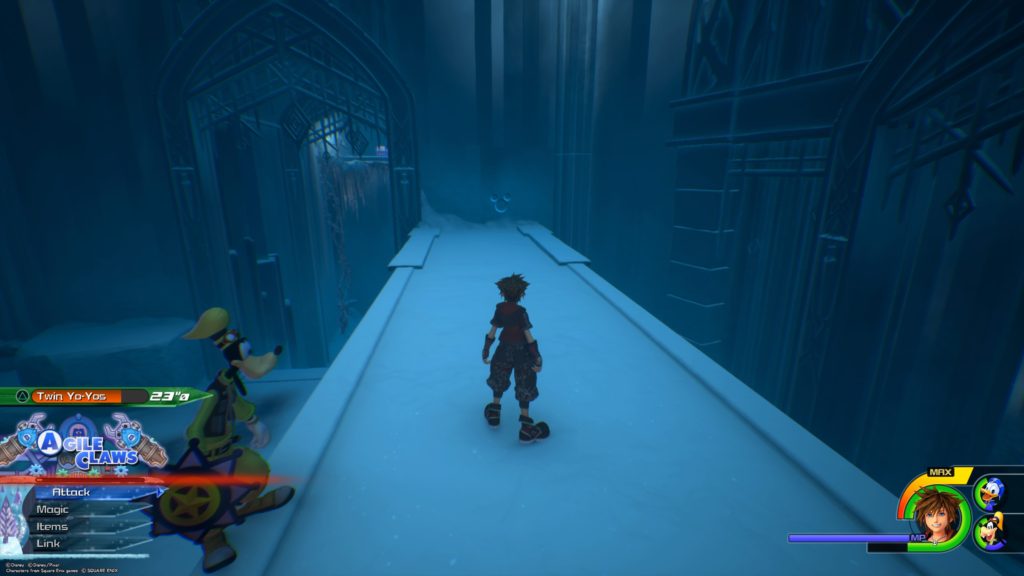
Lucky Emblem 4

From the Lower Tier save point, take the southwest path and travel up the wall to the Middle Tier. From there head to the middle of the nearby ice bridge and look to the left of the bridge to find the emblem on the wall.


The Labyrinth of Ice / Lower Tier

Lucky Emblem 3

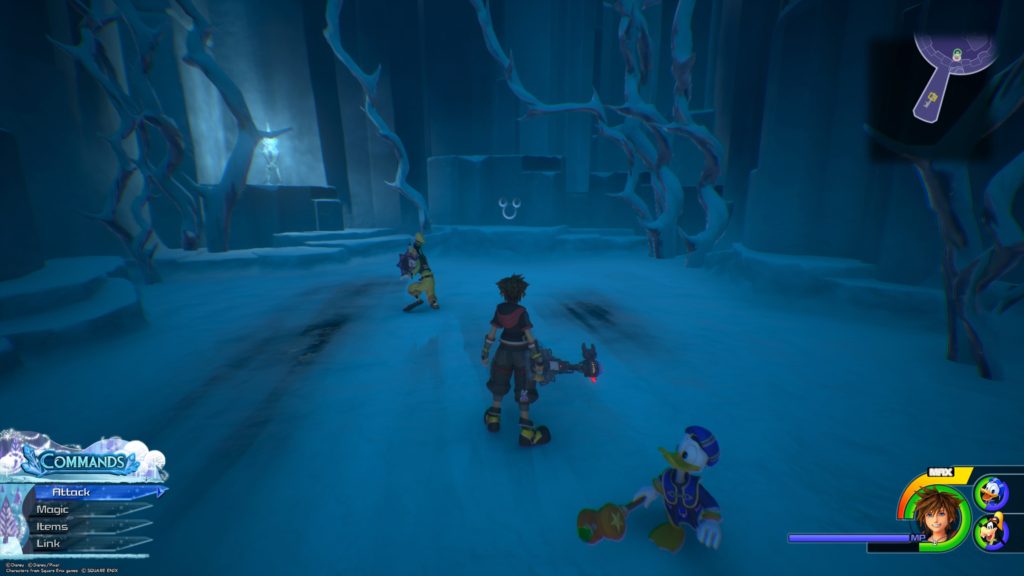
From the spinning pillar, keep heading down the slopes, dodging the ice pillars until you reach a drop-off. Drop off the slope and the emblem will be on the left on a wall.  Alternatively from the Lower Tier save point, head south past the save point into the frozen hallway to find the emblem on the wall at the end of the hallway.


The Labyrinth of Ice / Upper Tier

Lucky Emblem 5

Starting in the center room with the spinning ice pillar elevator, grind on the northeast rail to reach a room with pillars. Jump on the center ice formation to find the emblem on the north side of the room on the ground in a cluster of small pillars.


The North Mountain / Mountain Ridge

Lucky Emblem 6

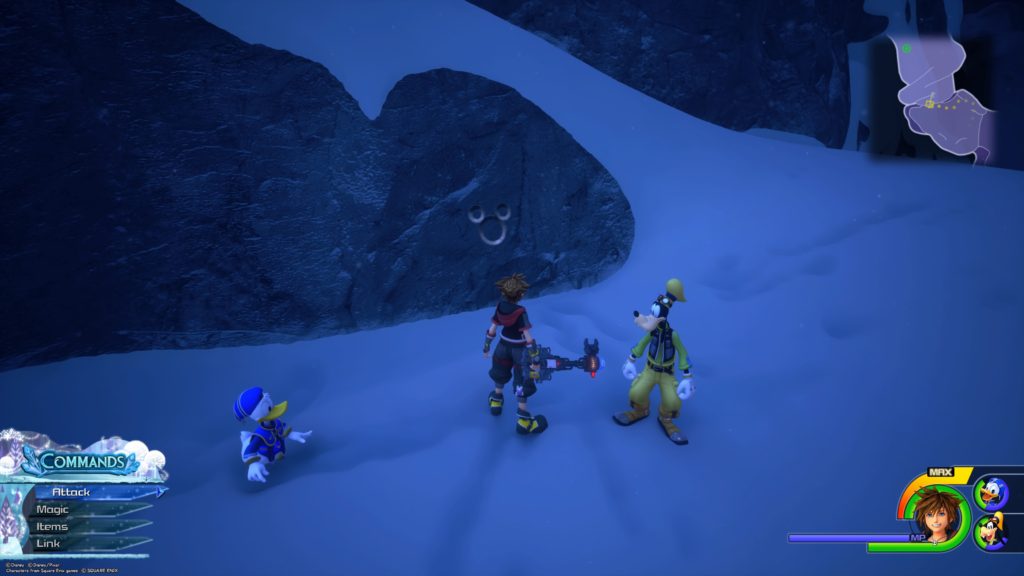
From the Gorge save point, head up the mountain via two climbable walls. After you climb the second wall, go through the path and jump across the gap to the line of icicles hanging down. Pass underneath the icicles and climb up the next climbable wall. At the top you will be staring at the emblem, which is on a part of the mountain not covered by snow. Alternatively, from the Mountain Ridge save point, head south down the snow-covered path to find the lucky emblem on the cliff wall on the right at the end of the path.


The North Mountain / Frozen Wall

Lucky Emblem 7

From the Frozen Wall entrance, you will travel throughout this area using wind pillars that launch you into the air. When you come to the big clearing with a wind pillar and climbable wall, take the climbable wall up and keep following that path along the mountain. After quite a ways, you will come to another climbable wall. Instead of taking the wall up, jump down to the big open area below. Swing left around a rock sticking out the side of the mountain to come to another piece of the climbable wall. The rock to the right of that will have the lucky emblem on top of it. You can either run up the rock wall and jump over to it or use the doubleflight and superjump to reach it.


Lucky Emblem 8

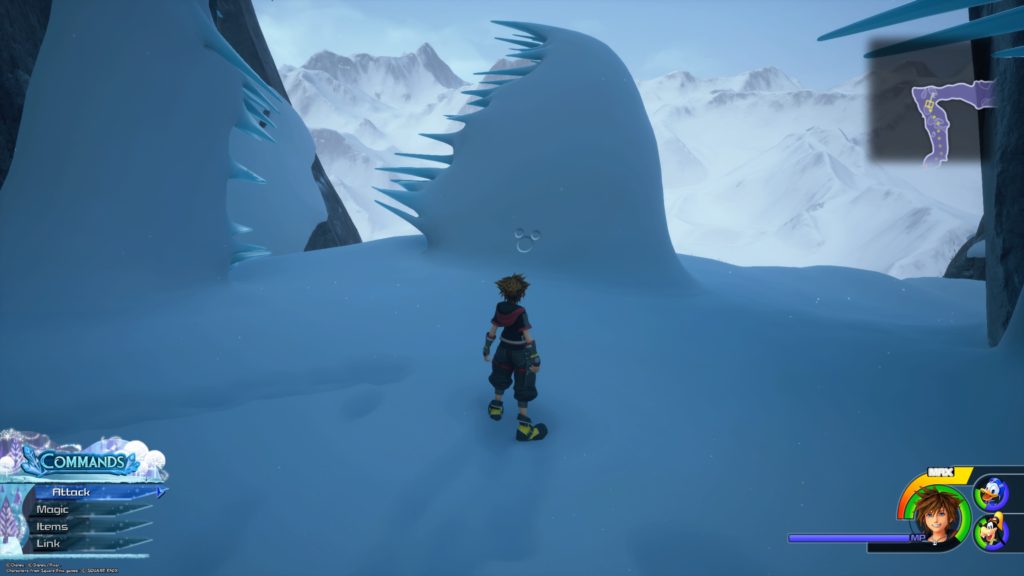
From the Mountain Ridge save point, head into the cave and follow the path north through the jagged snowy rocks until you reach where the path turns right. The emblem will be straight in front of you in the snow on the last jagged snowy rock.


The North Mountain / Snowfield

Lucky Emblem 9

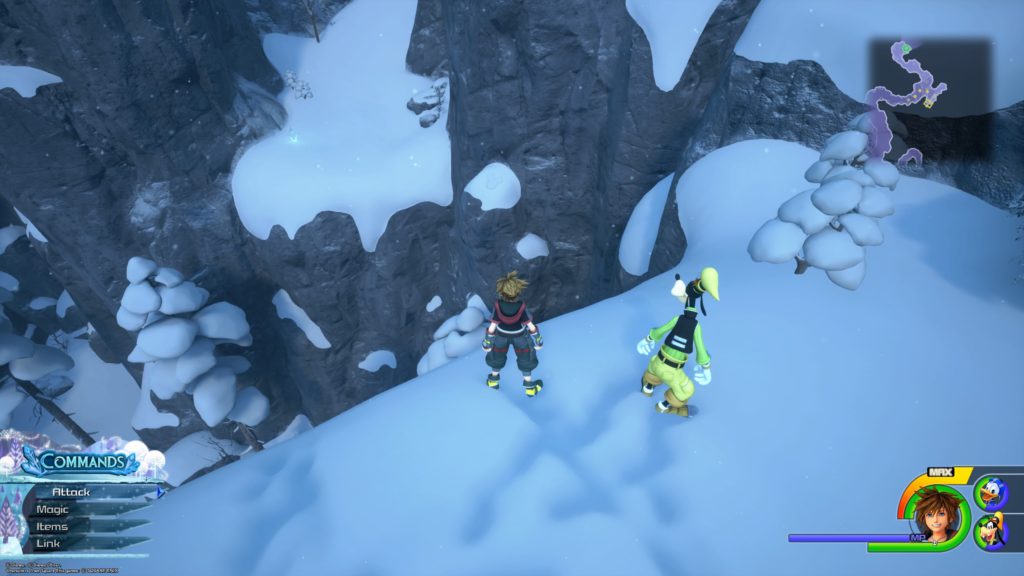
From the Snowfield save point, follow the path south and slide off the mountain. Keep moving forward to a climbable wall on the east side taking it up to the top of the mountain. Look behind you towards the northeast to find the lucky emblem on a snow-covered rock below.


Lucky Emblem 10

From the Foothills save point, head north into the Snowfield. Follow the path, hugging the right side. Before you go into the clearing you will see a giant rock on the right. Behind the giant rock is a stack of logs that form the emblem.


The North Mountain / Foothills

Lucky Emblem 11

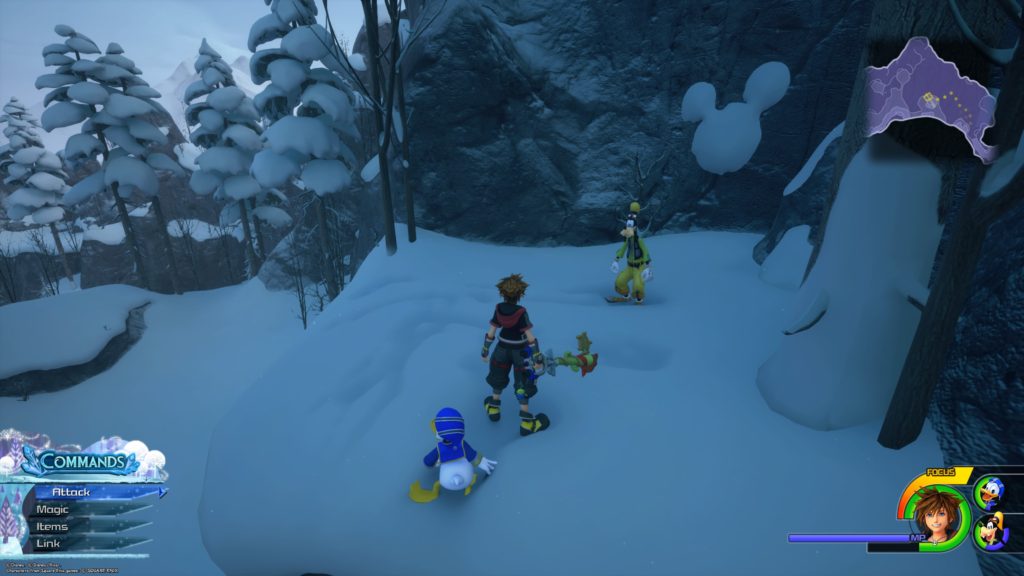
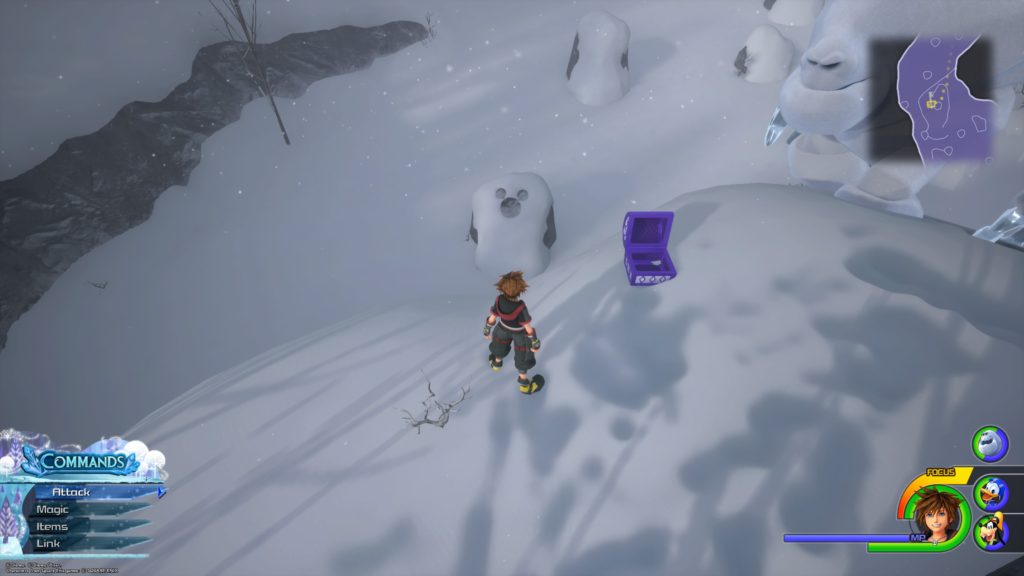
From the Foothills save point, head south into the Foothills clearing. Climb up on the largest rock in front of you that has a chest on it and look downwards to the north near the chest. The emblem will be in the snow on top of a small rock.


Guides

Kingdom Heart III – Monstropolis Lucky Emblems Guide

by Chappie in

Monsters, Inc. / Laugh Floor

Lucky Emblem 1

This lucky emblem is on a piece of paper attached to a clipboard on the 7th desk from the entrance to the Laugh Floor.


Lucky Emblem 2

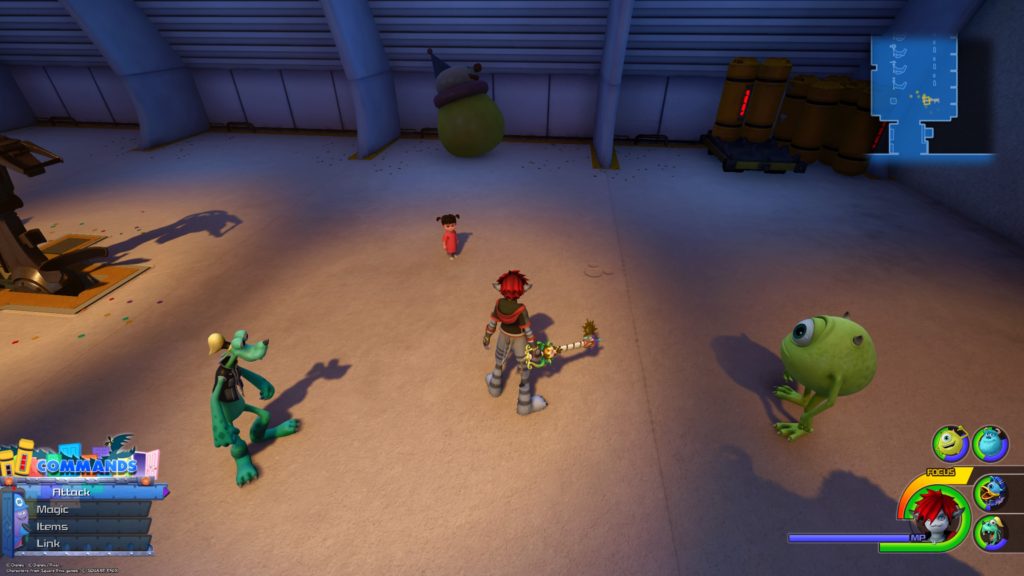
This lucky emblem is under a blow-up clown near the entrance to the Laugh Floor on the right (east) side. You will need to hit it a couple of times to move it out of the way, revealing the emblem.


Monsters, Inc. / Upper Level

Lucky Emblem 3

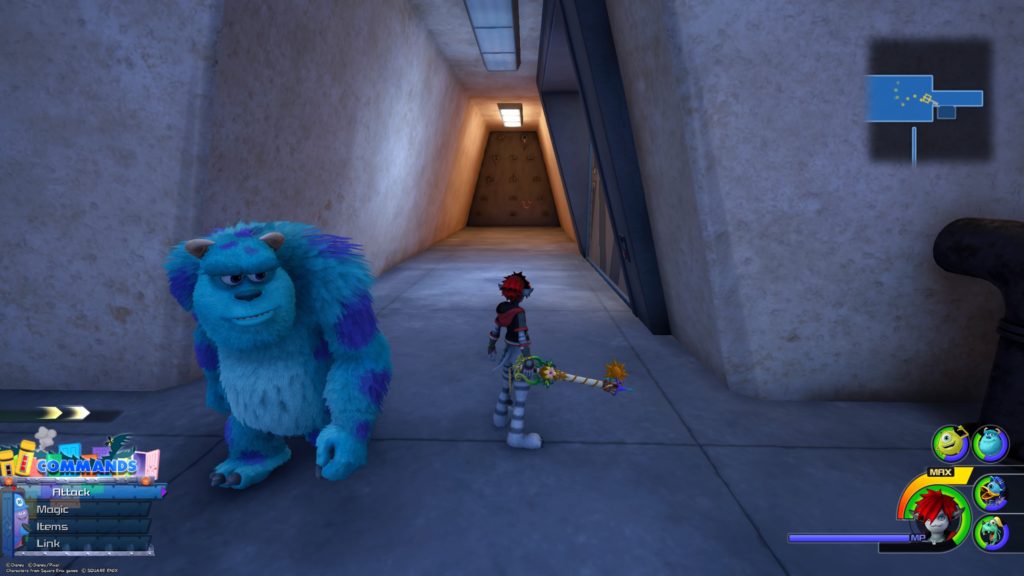
Use the r-ed door in the Lower Level (room with the wall of doors) to enter the area where you were grinding on the conveyor belt transporting doors. This emblem will be straight ahead at the end of the hallway on a wall.


Lucky Emblem 4

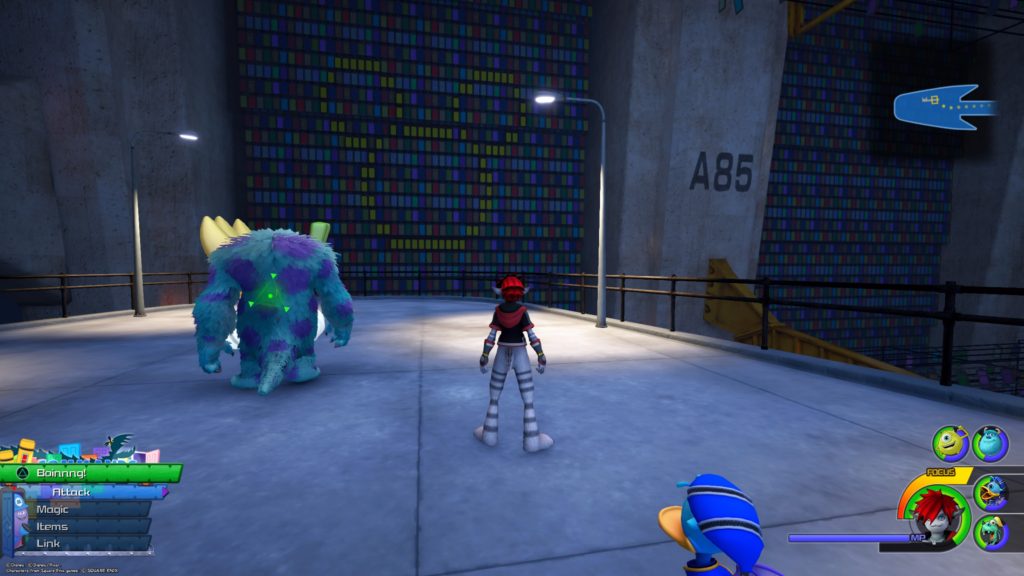
Use the brown door (kind of looks like a bar door) on the left side of the wall of doors in the level. Swing left and head through the concrete hallway towards the giant banana. The emblem will be behind it made out of doors.


The Factory / Ground Floor

Lucky Emblem 5

From the Factory Ground Floor save point, head south through the hallway next to the Painting Room and into the open room with C1 on the wall. Continue through this room to find the lucky emblem on the wall near the stairs heading towards the Factory Basement save point.


Lucky Emblem 6

From the Factory Ground Floor save point, head over to the Painting Room to find this emblem on the floor to the left of the Painting Room sign.


The Factory / Second Floor

Lucky Emblem 7

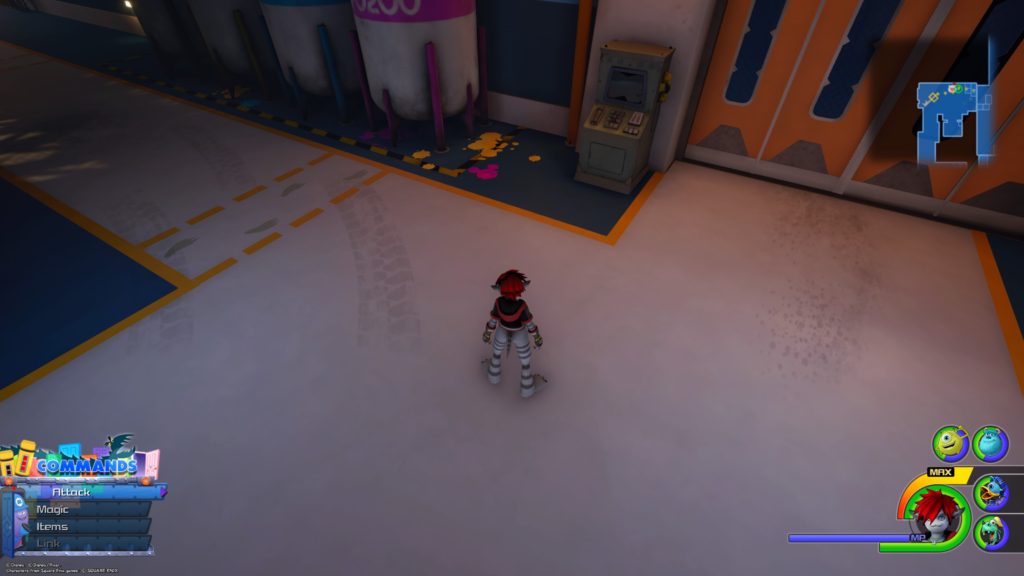
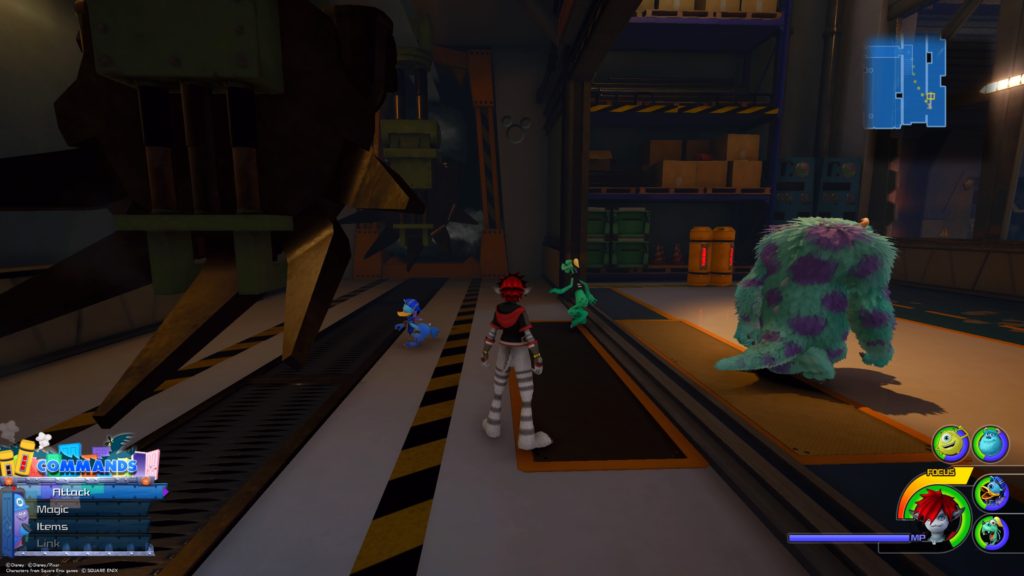
From the Factory Ground Floor save point, take the elevator up to the second floor and follow the path until you reach the dead end in the image above. Keep going straight and take a left at the end of the hallway into an assembly line for a big metal part. The emblem will be on the wall to the right.


The Power Plant / Accessway

Lucky Emblem 8

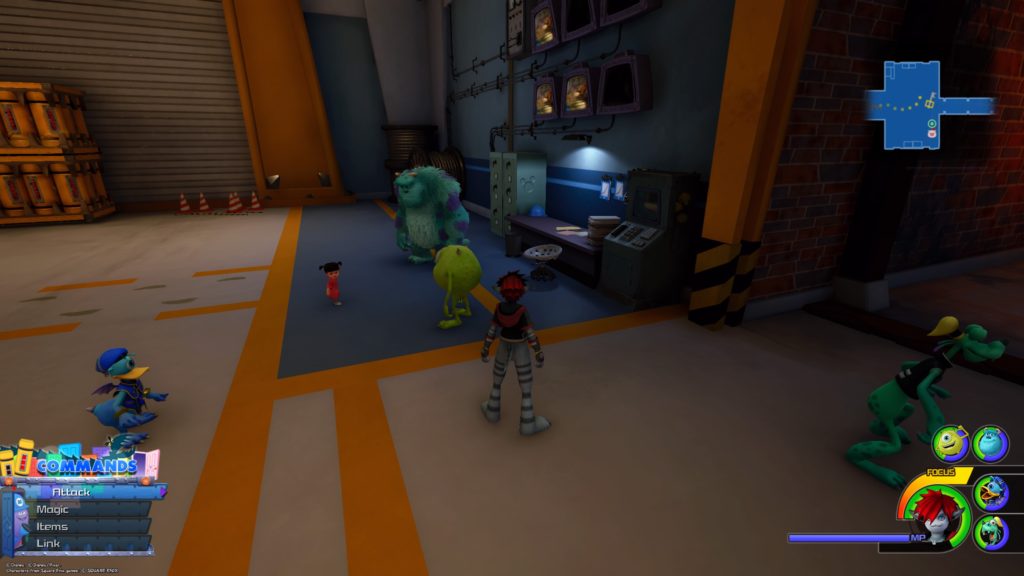
From the Power Plant Accessway save point, head over to the monitors on the wall to find this emblem on the side of a file cabinet.


Lucky Emblem 9

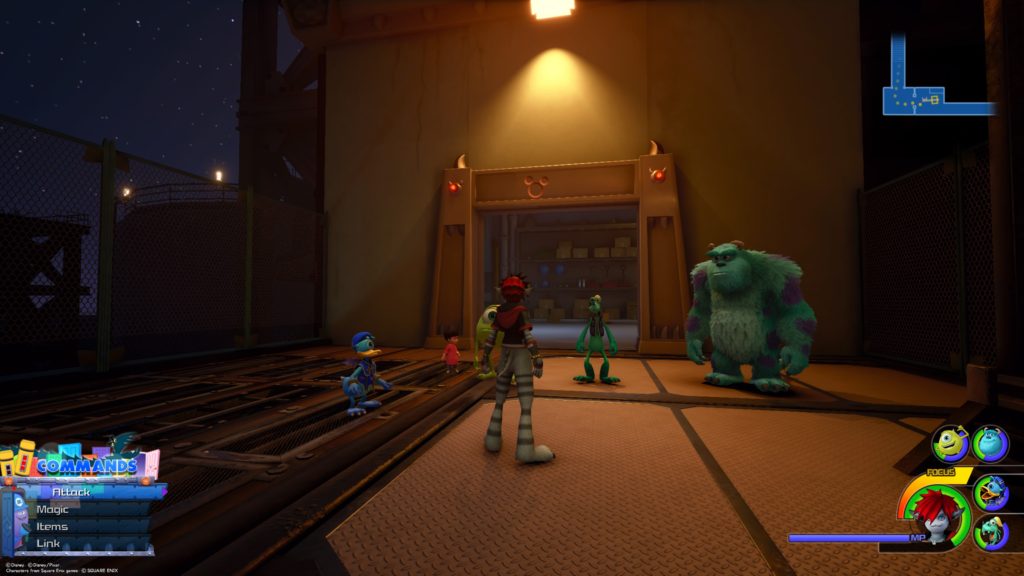
From the Power Plant Accessway save point, follow the hallway leading outside and head down the steps. Once at the bottom, pass through the courtyard and enter the bricked doorway. Follow that hallway to a sort of break/storage room. Exit that room to head outside once more and turn around looking at the top of the doorway to find this emblem.


The Power Plant / Tank Yard

Lucky Emblem 10

This emblem is located in the same room as the Power Plant Tank Yard save point. Climb up to the platform in the northeastern corner of the room and look south to find the emblem made out of some pipes.


The Power Plan / Vault Passage

Lucky Emblem 11

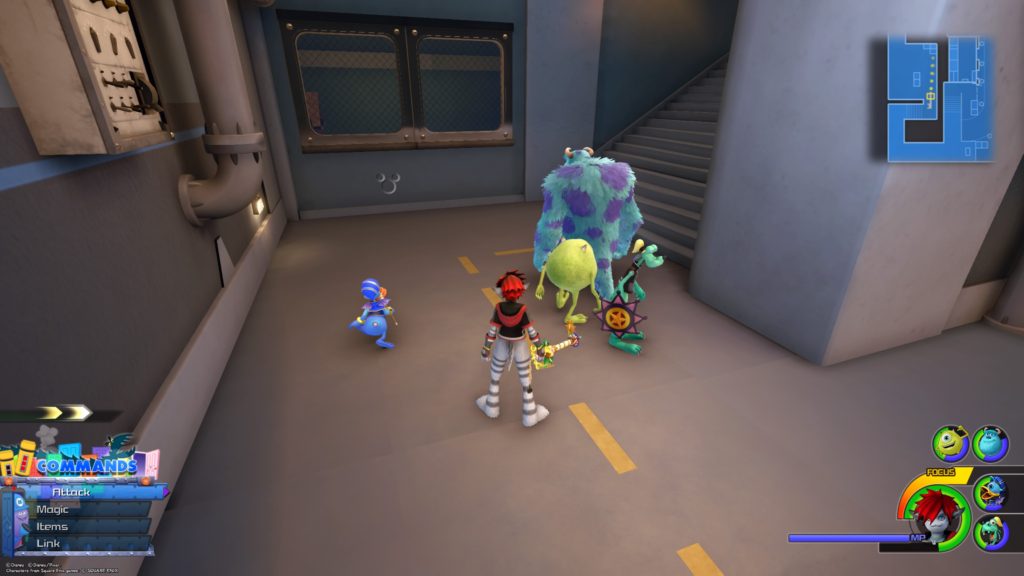
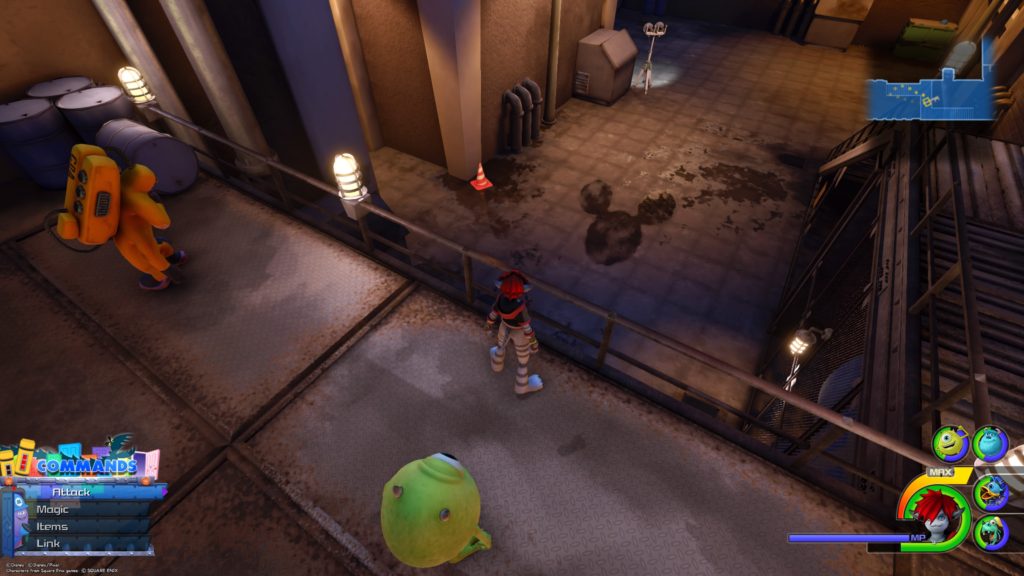
From the Service Area save point, head back into the Vault Passage. Take the stairs on the left up and look over the walkway at the top next to the CDA agent to find this emblem on the ground below. You will need to stand on the railing to take the picture. Note: You cannot access this emblem until you complete the story for this world.


Guides

Kingdom Hearts III – Kingdom of Corona Lucky Emblems Guide

by Chappie in


The Forest / Tower

Lucky Emblem 1

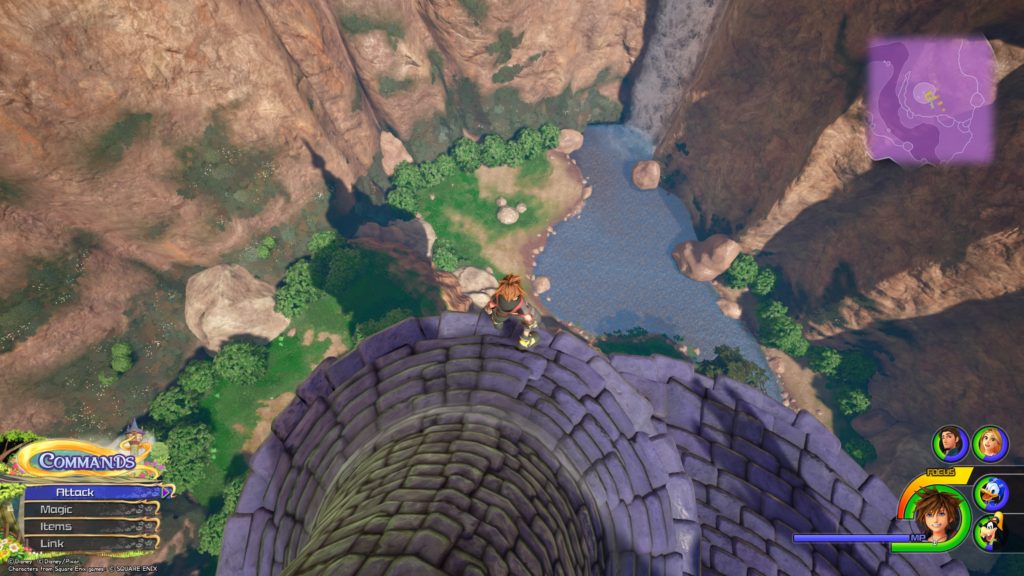
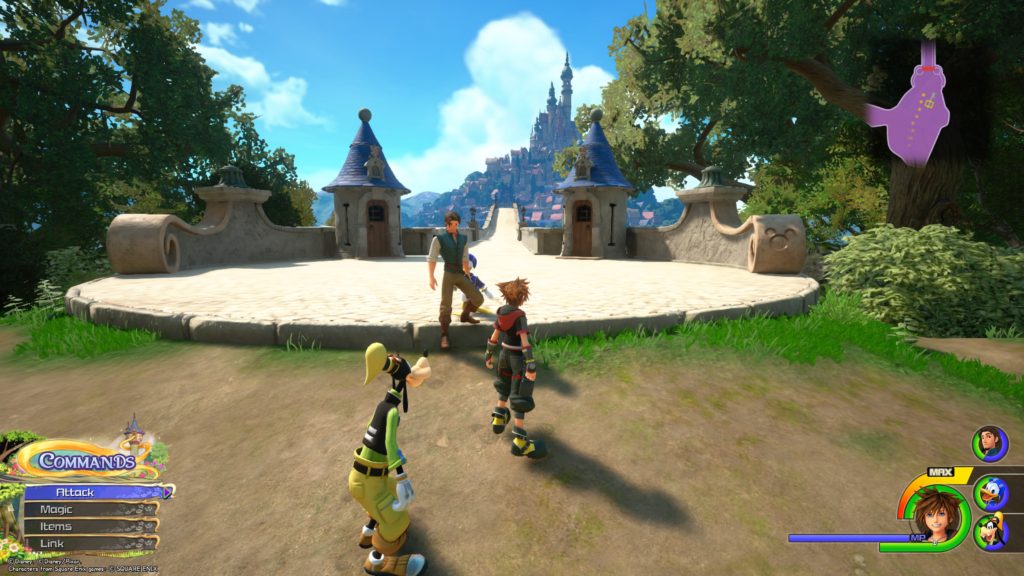
This emblem is the rock formation on the ground southeast of Rapunzel’s tower. You will need to climb up Rapunzel’s tower in order to take the picture.


The Forest / Marsh

Lucky Emblem 2

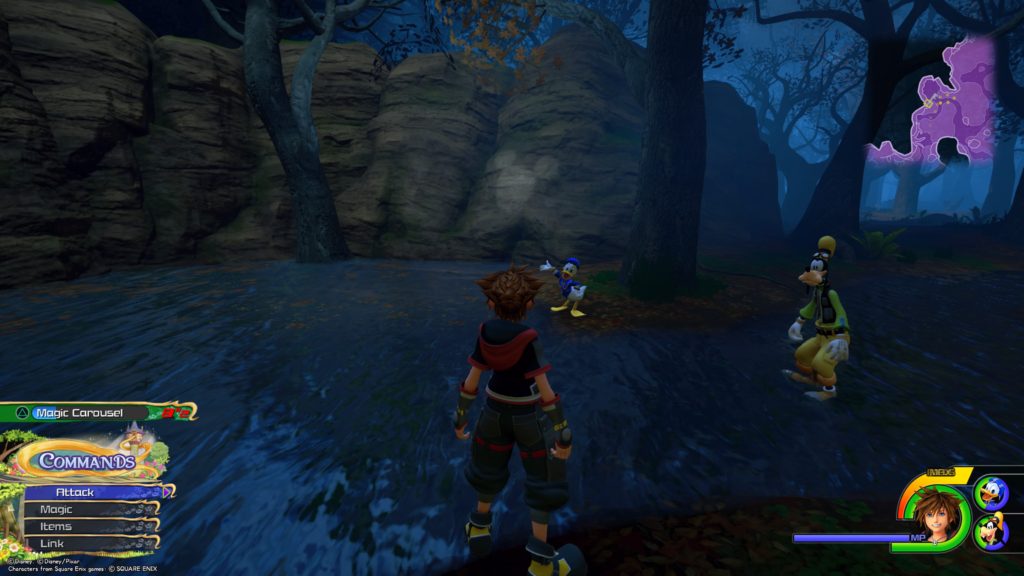
With the Marsh cave leading to the Campsite behind you, head east until you reach a giant rock surrounded by trees and follow the path left. From there keep heading straight until you reach an inlet surrounded by rocks. The emblem will be on the right side of the rock face.


The Forest / Wetlands

Lucky Emblem 3

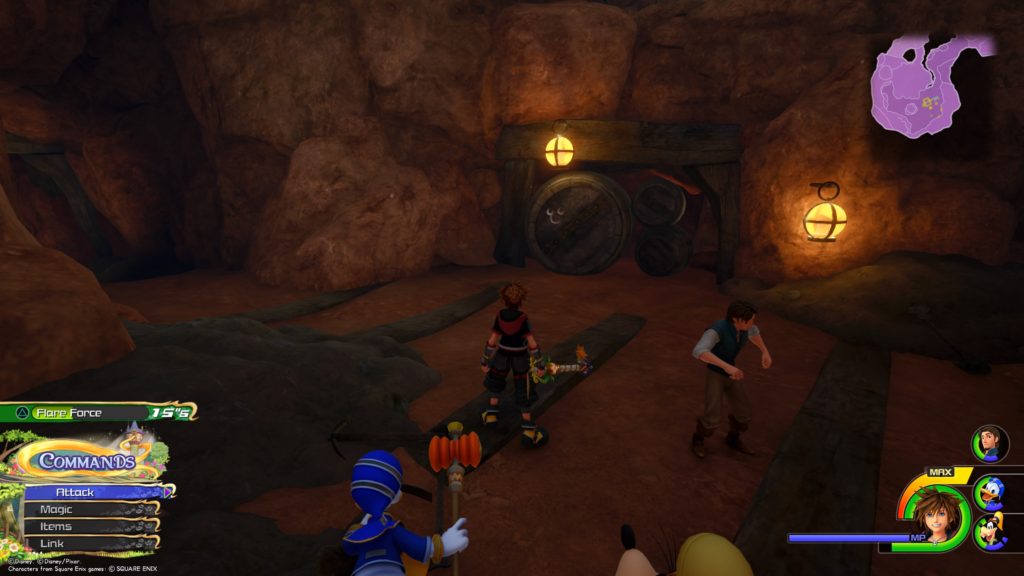
Head to the spot in the Quarry area from when Rapunzel helped you the second time and head into the cave that is straight in front of you. Follow the path until you reach an open area in the cave. Turn to the left to find the Lucky Emblem on the side of a barrel.


The Forest / Shore

Lucky Emblem 4

From the Thoroughfare save point, head back to the shore to find this emblem at the end of the stone wall.


The Kingdom / Thoroughfare

Lucky Emblem 5

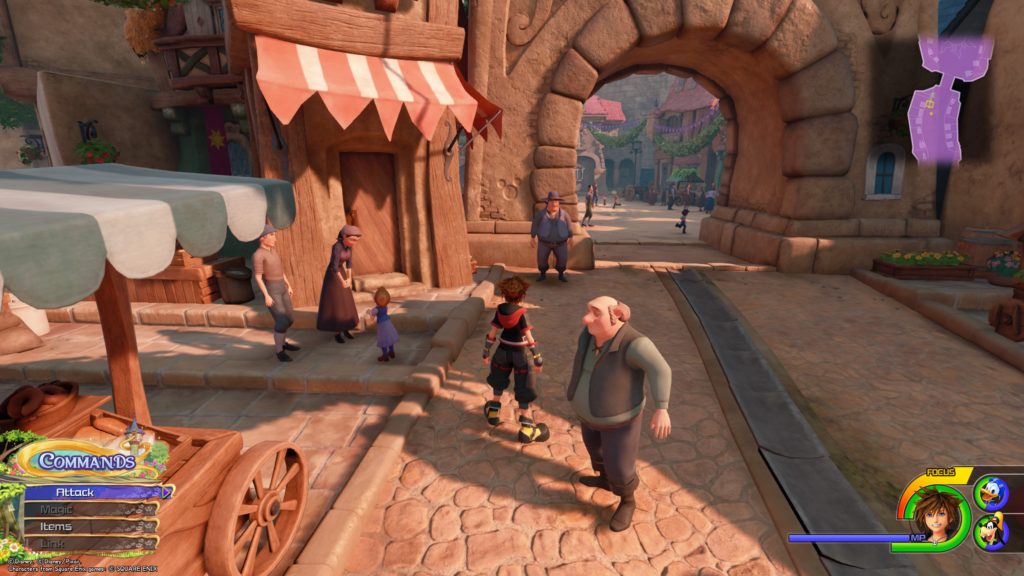
This emblem is on the left side of the stone entryway leading to the plaza in front of the castle


Lucky Emblem 6

Head to the plaza and turn left at the portrait of the royal family. The emblem will be on a wooden door located on the right side of the street.


The Kingdom / Wharf

Lucky Emblem 7

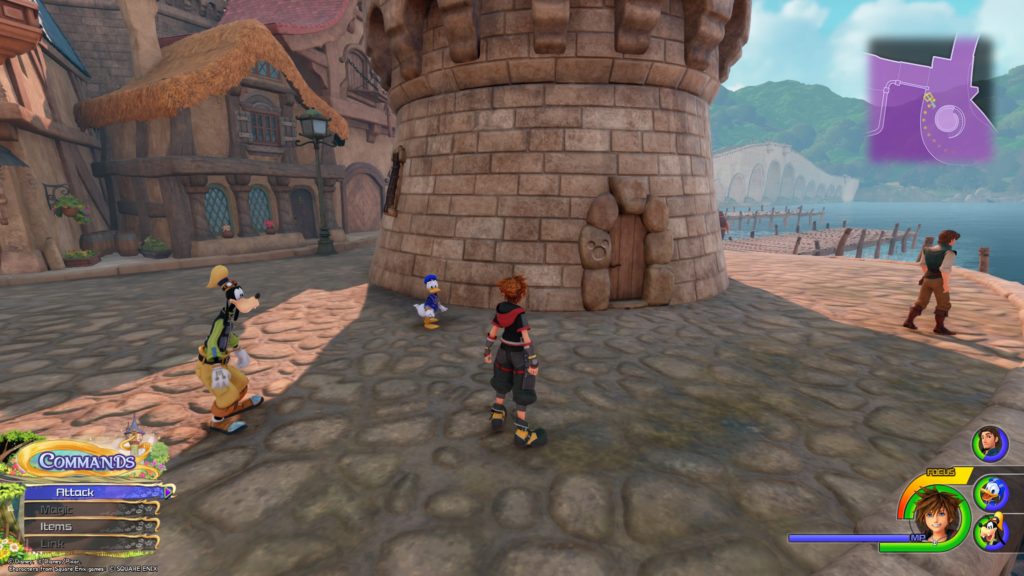
From the Thoroughfare save point, take a left and head down the stairs into the Wharf. Go right and make your way to the castle tower structure to find this emblem on its wooden door.


Lucky Emblem 8

From the Thoroughfare save point, take a left and head down the stairs into the Wharf. Take another left to find the lucky emblem made out of some barrels along the stone wall to the right of the steps.


Lucky Emblem 9

From the Thoroughfare save point, take a left and head down the stairs into the Wharf. Go right and make your way past the castle tower structure. Turn left over the bridge and go to the lighthouse on the other side of the wharf. Climb the lighthouse to find the lucky emblem at the top.


Guides

Kingdom Hearts III – Toy Box Lucky Emblems Guide

by Chappie in


Andy’s House

Lucky Emblem 1

Located above the bookshelf (left of the white door) on a gray box in the middle. You will need to jump onto Andy’s desk or onto the bookshelf right in front of the emblem to take the picture.


Lucky Emblem 2

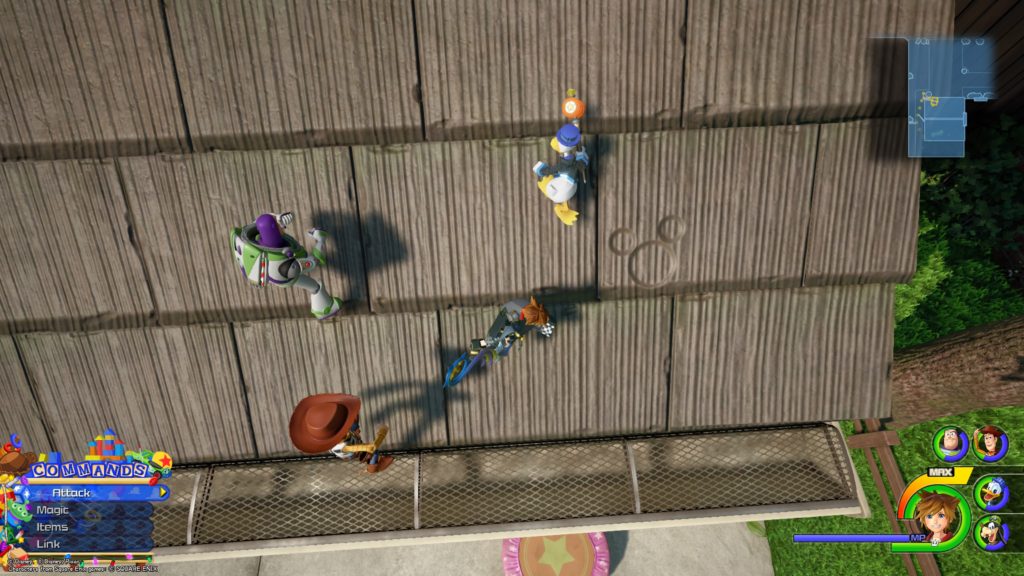
Located on the roof of Andy’s house closest to the street in the shingles near the gutter (the trampoline is directly below)


Lucky Emblem 3

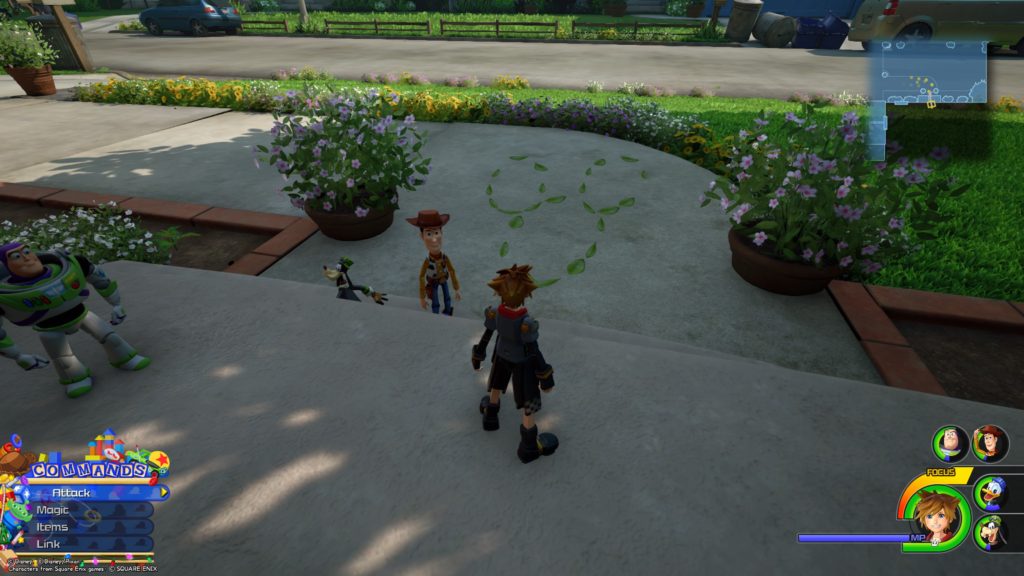
Located on the ground in the leaves on the sidewalk in front of Andy’s front door


Lucky Emblem 4

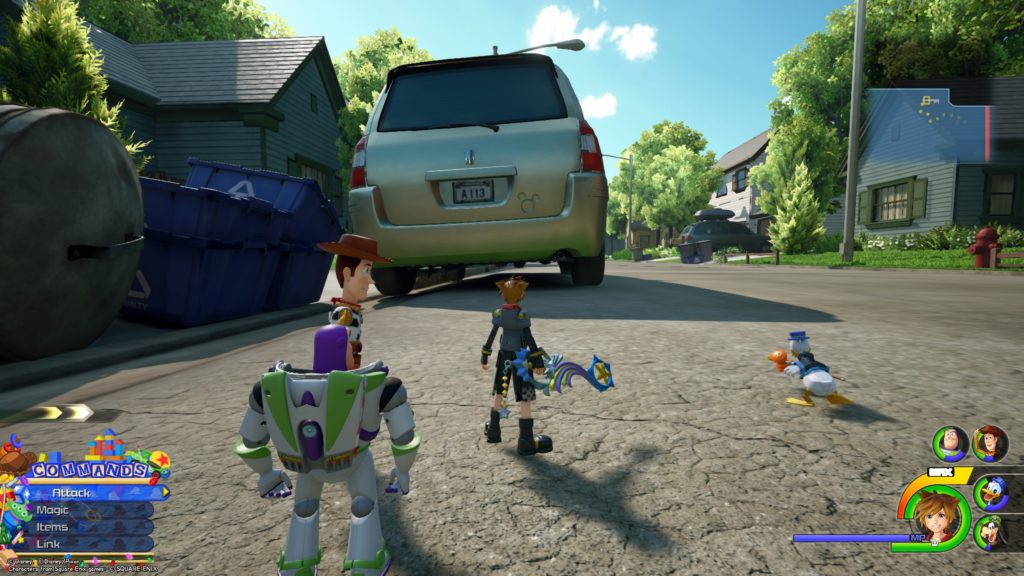
Located on the trunk of a silver minivan next to the license plate across from Andy’s House


Galaxy Toys / Main Floor: 1F

Lucky Emblem 5

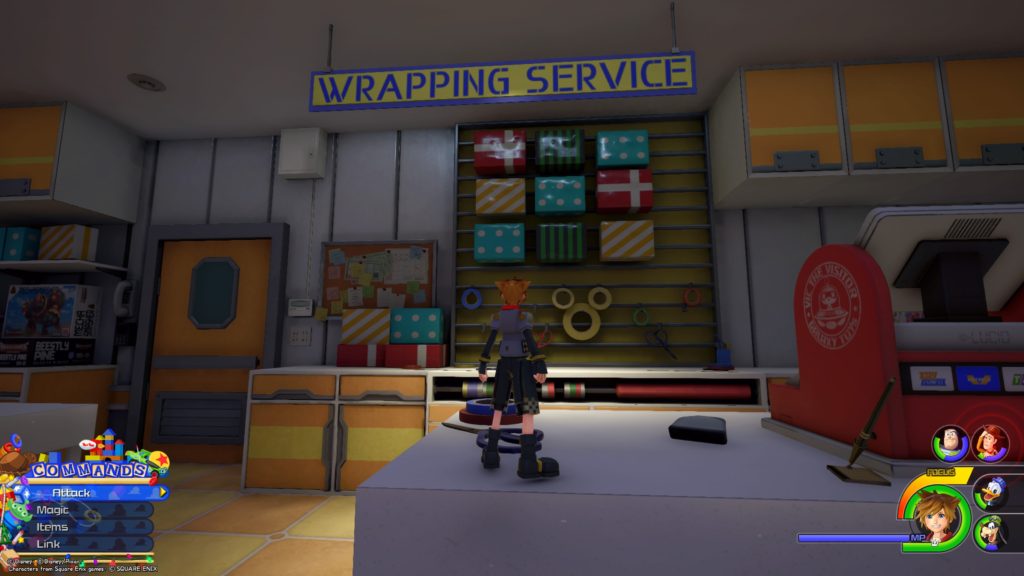
Located in Wrapping Service behind the counter on a wall under some gift boxes


Lucky Emblem 6

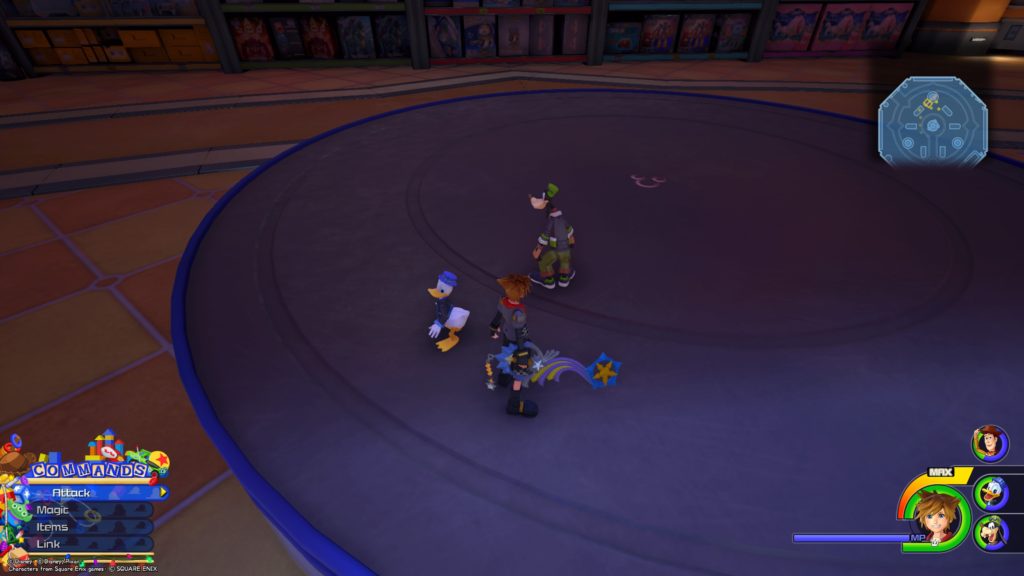
Located underneath the toys on a toy display rack straight behind the gumball machine. You must destroy the toy display with the Gigas to reveal the emblem.


Lucky Emblem 11

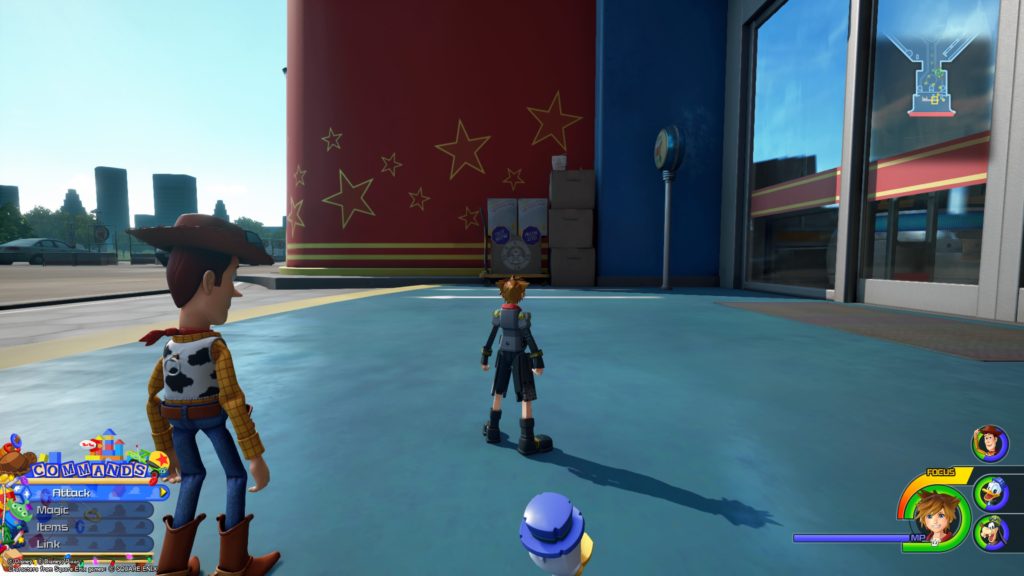
Located outside the main doors of Galaxy Toys to the right


Galaxy Toys / Lower Vents

Lucky Emblem 7

From the Lower Vents savepoint, head back towards the Action Figures passing through the giant spinning fan. Take a right at the end of the duct into another section of the duct and follow it all the way down until you reach the emblem.


Galaxy Toys / Main Floor: 3F

Lucky Emblem 8

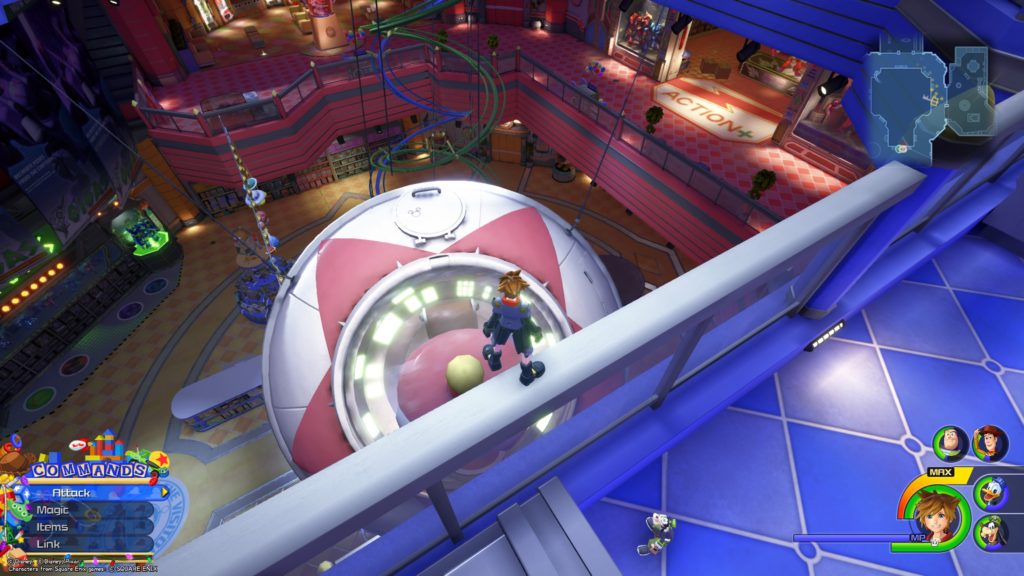
Stand on the railing of 3F outside of Lovely Party and look down. The emblem is on the hatch of the spaceship. You may need to jump onto the spaceship to take the picture.


Lucky Emblem 10

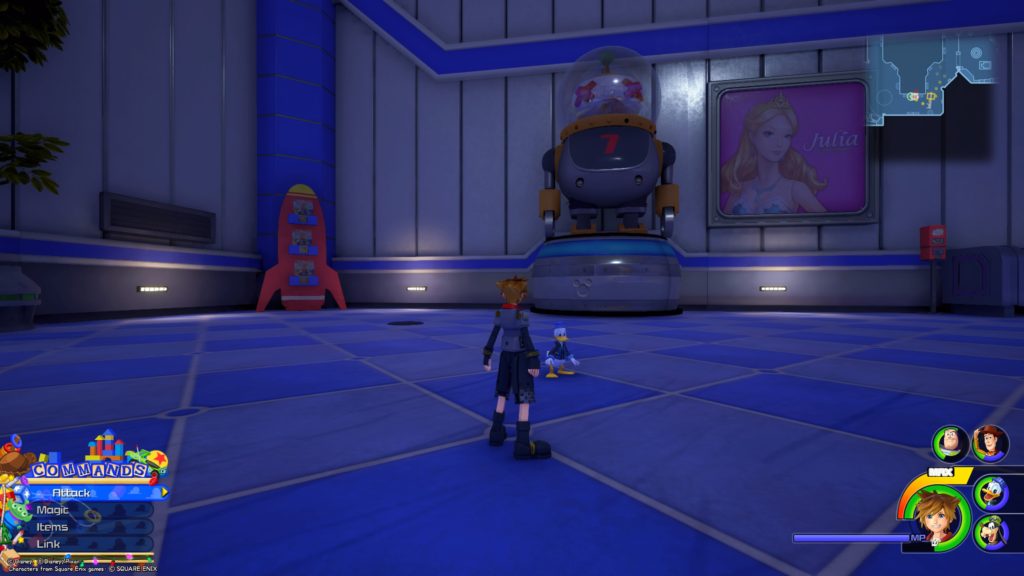
Located on the base of the #7 Robot next to the Main Floor: 3F save point


Galaxy Toys / Babies & Toddlers: Dolls

Lucky Emblem 9

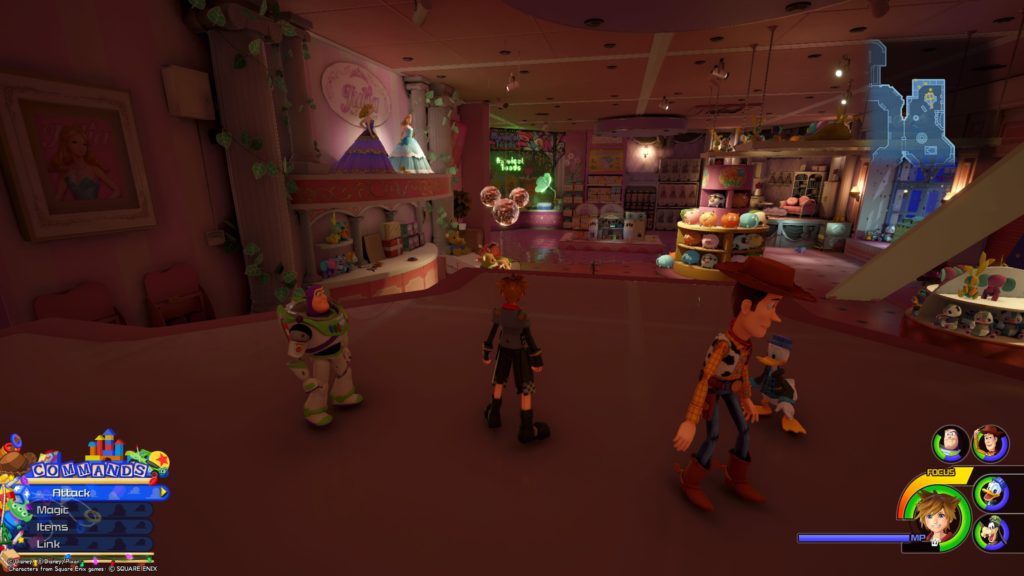
Line the three disco balls above the checkout counter by standing on top of the Julia display nearest the Upper Vent