Marvel's Midnight Suns Logo
Guides

Midnight Suns – Bones of the Dead

by NightlyGamingBinge in

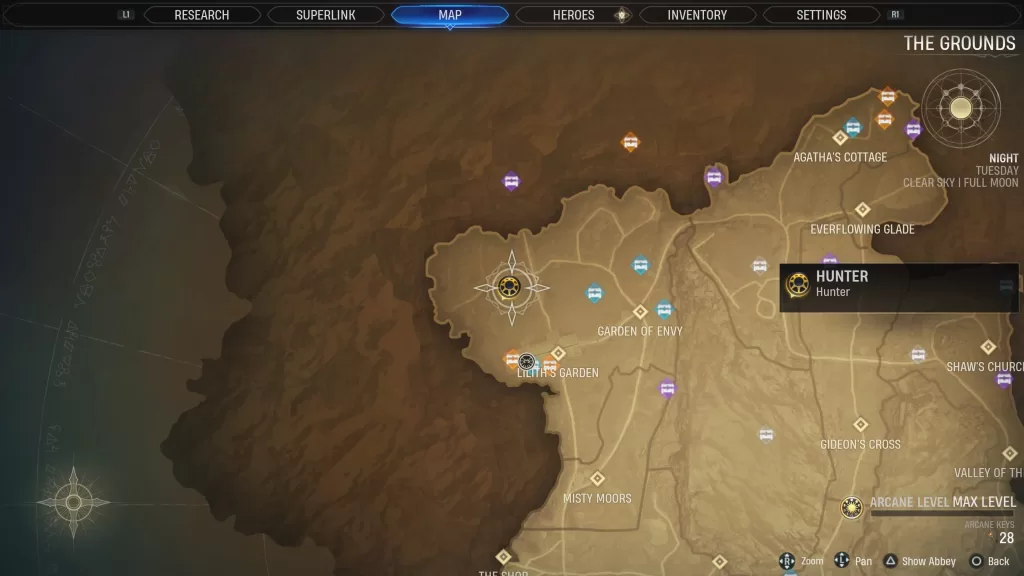
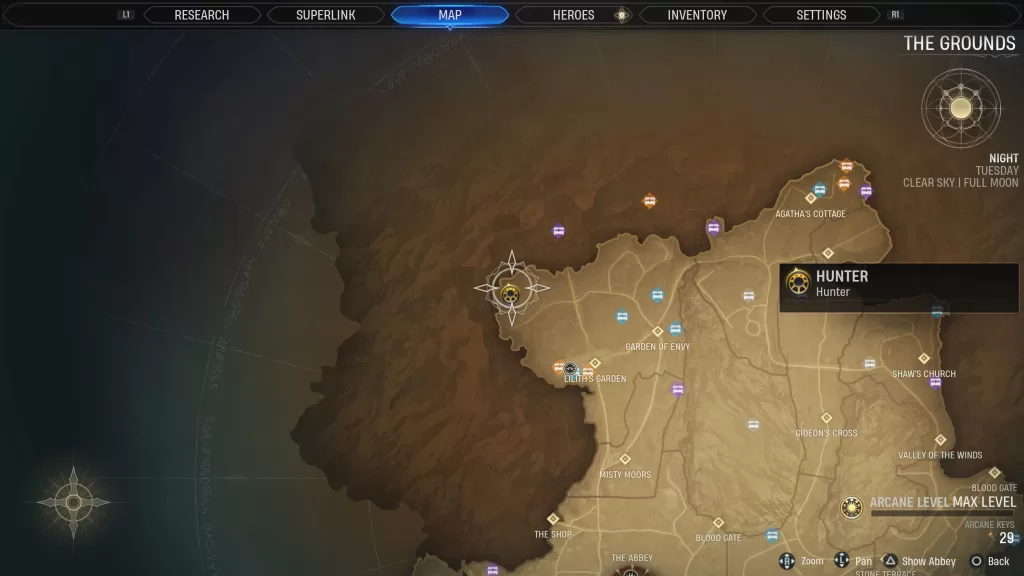
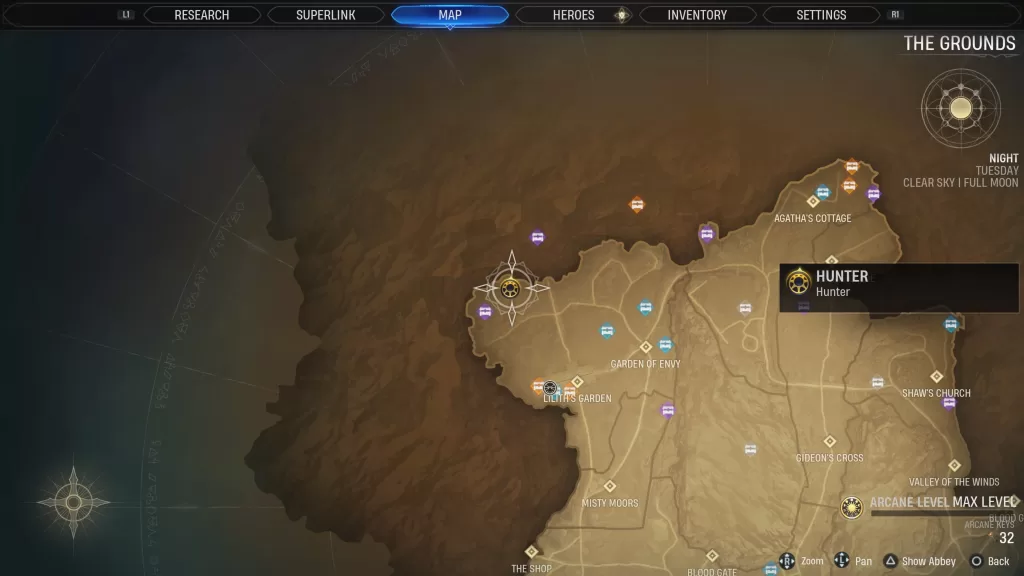
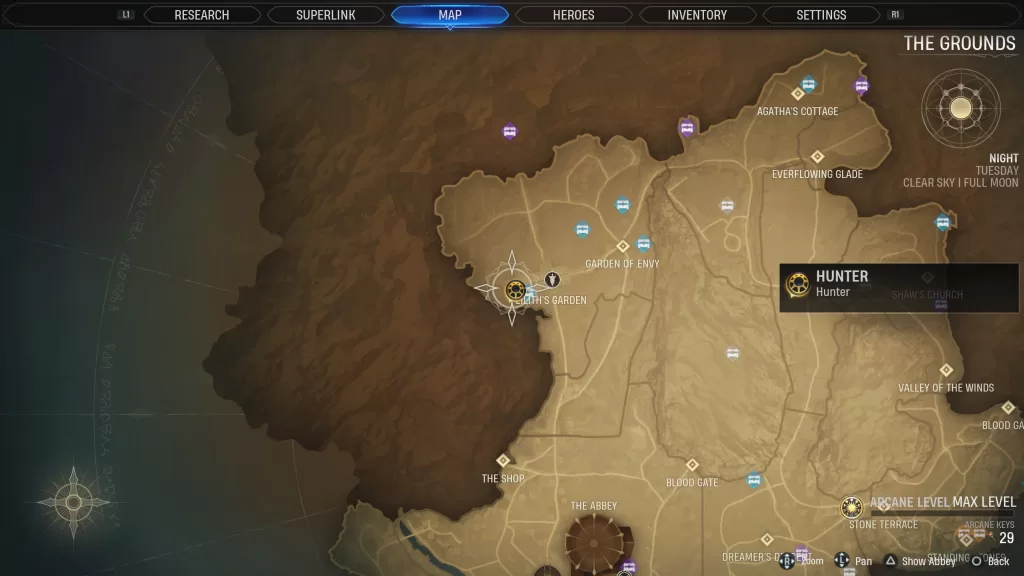
In Marvel’s Midnight Suns, there are 6 bones that make up the Bones of the Dead, which is a collectible that can be found throughout the world. Below are the locations of these bones in Marvel’s Midnight Suns!

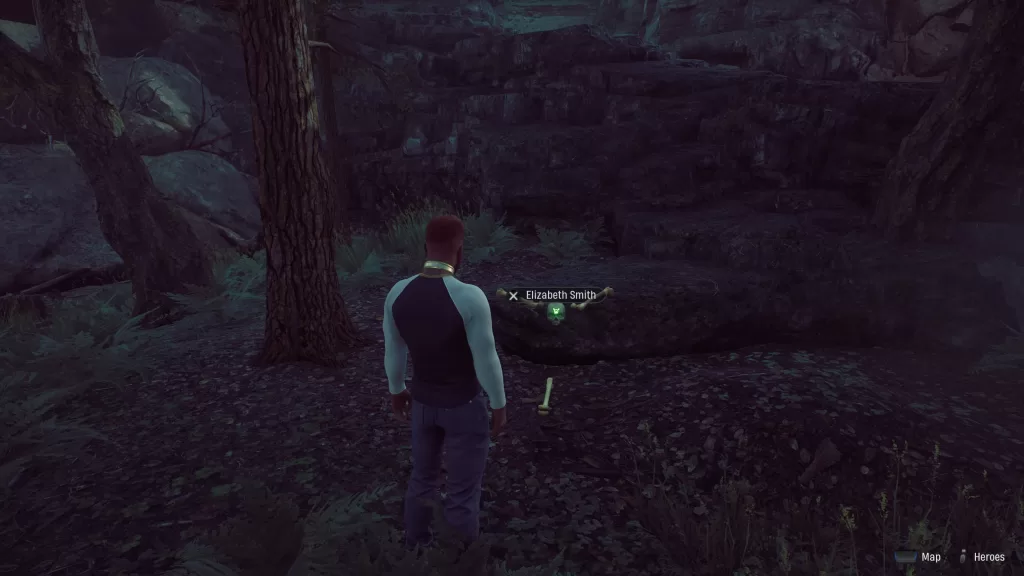
Elizabeth Smith

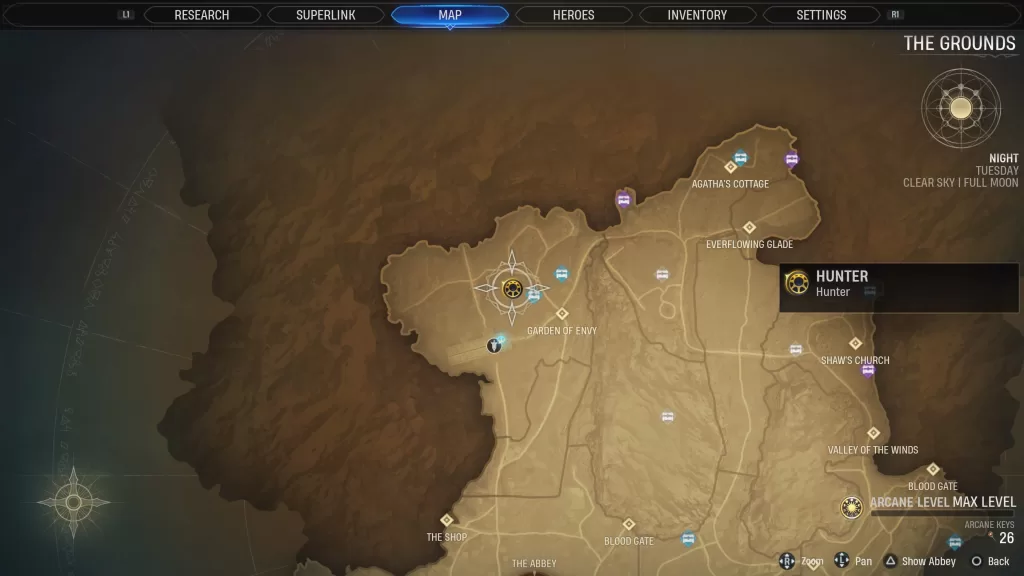
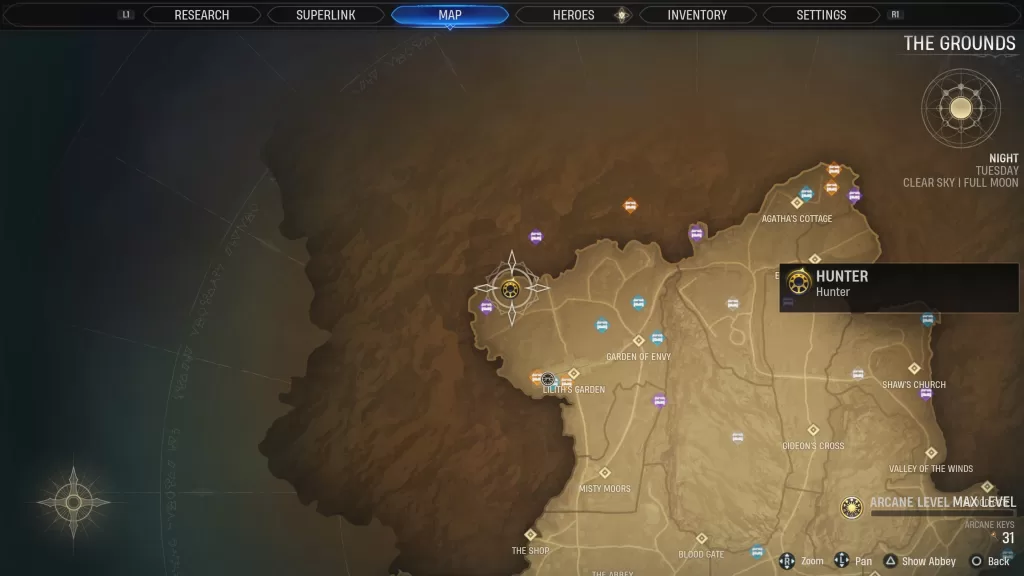
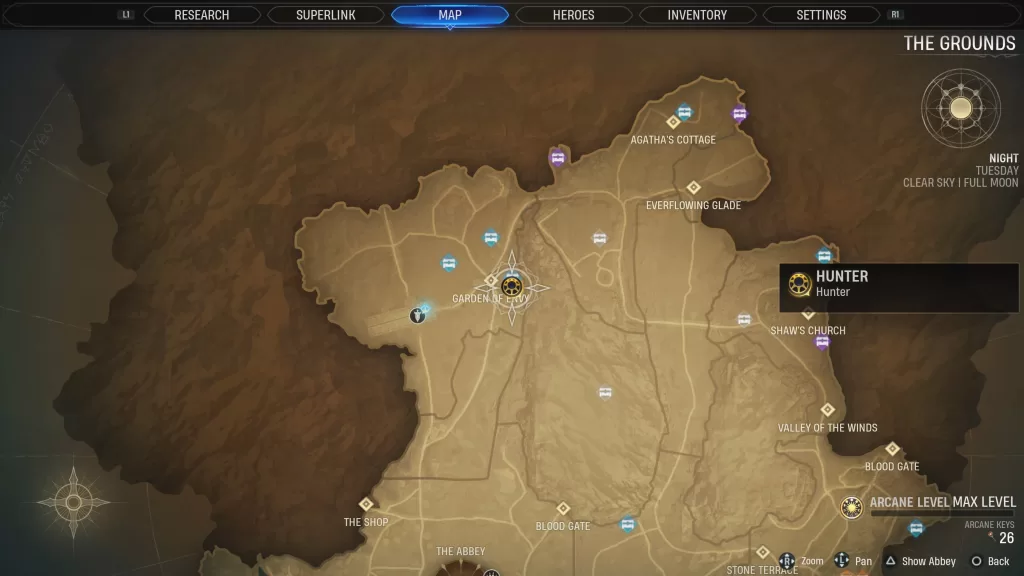
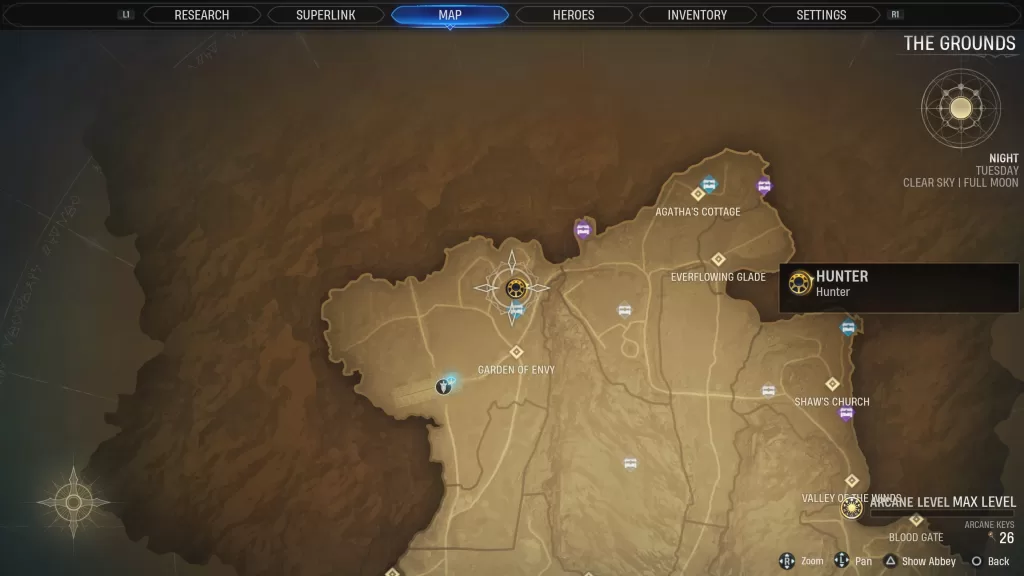
These bones can be found on a rock north of the Garden of Envy text on the map.

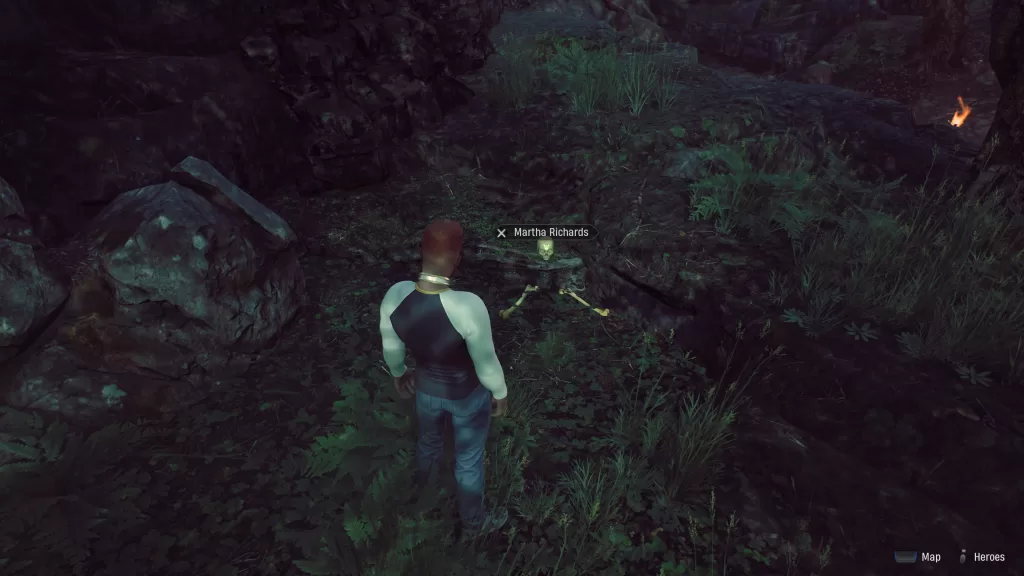
Martha Richards

This skull can be found on the ground in the northern part of the Garden of Envy.

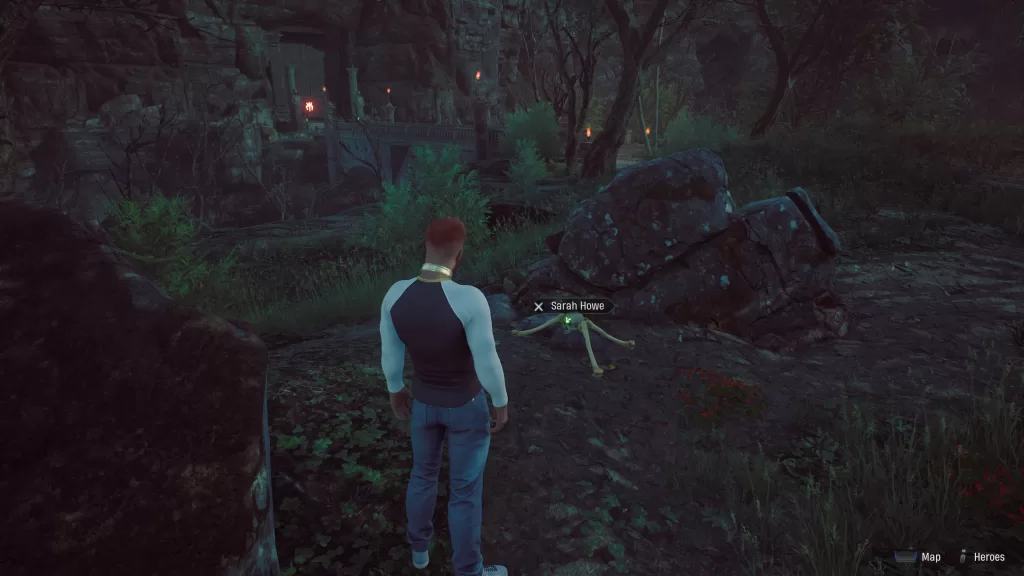
Sarah Howe

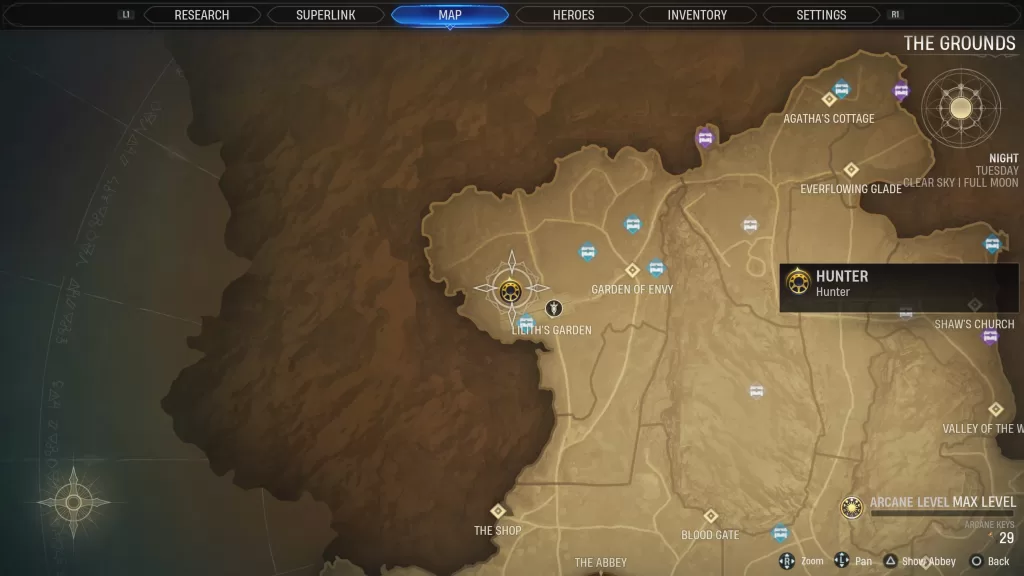
This skull can be found on the north side of Lilith’s Garden between two big rocks.

Margaret Adams

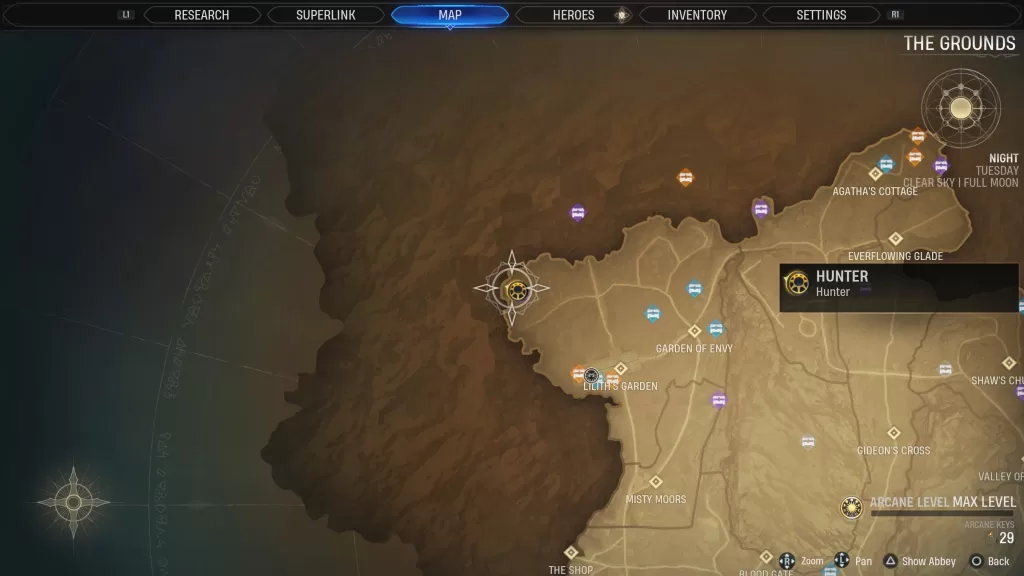
This skull can be found in Devil’s Den, which is northwest of Lilith’s Garden.

May Richards

This skull can be found northwest of Lilith’s Garden.

Anne Stevens

This skull can be found northwest of Lilith’s Garden.

Marvel's Midnight Suns Logo
Guides

Midnight Suns – Lilith’s Journal

by NightlyGamingBinge in

In Marvel’s Midnight Suns, there are 12 Faded Journal Pages that make up Lilith’s Journal, which is a collectible that can be found throughout the world. Below are the locations of these pages in Marvel’s Midnight Suns!

July 9, 1610

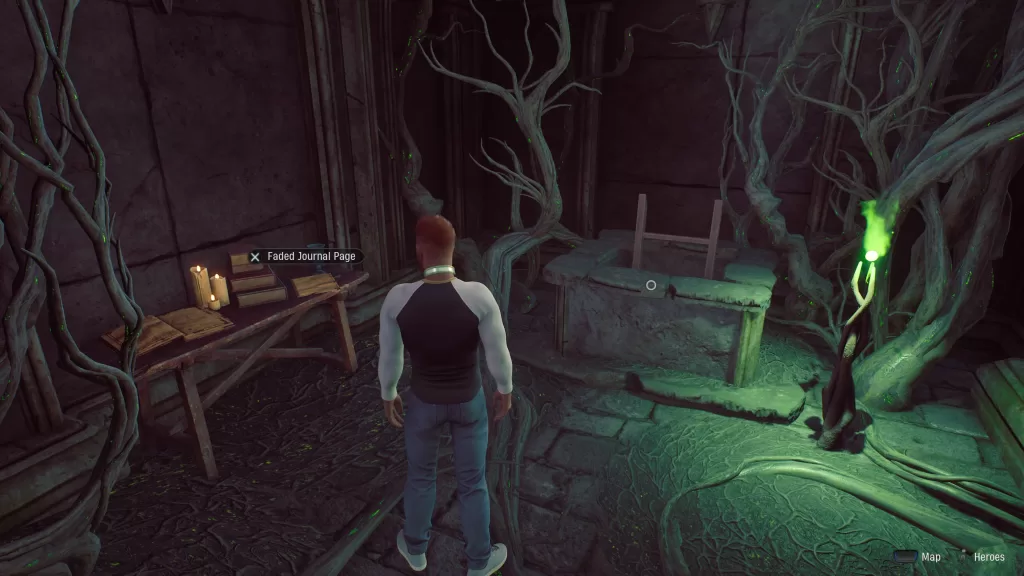
This faded journal page can be found in Lilith’s Garden after breaking the back wall using the Break Word of Power.

June 28, 1689

This faded journal page can be found behind the breakable wall in Lilith’s Garden.

July 13, 1689

This faded journal page can be found behind the breakable wall in Lilith’s Garden.

November 24, 1689

This faded journal page can be found behind the breakable wall in Lilith’s Garden.

October 13, 1691

This faded journal page can be found behind the breakable wall in Lilith’s Garden.

January 2, 1692

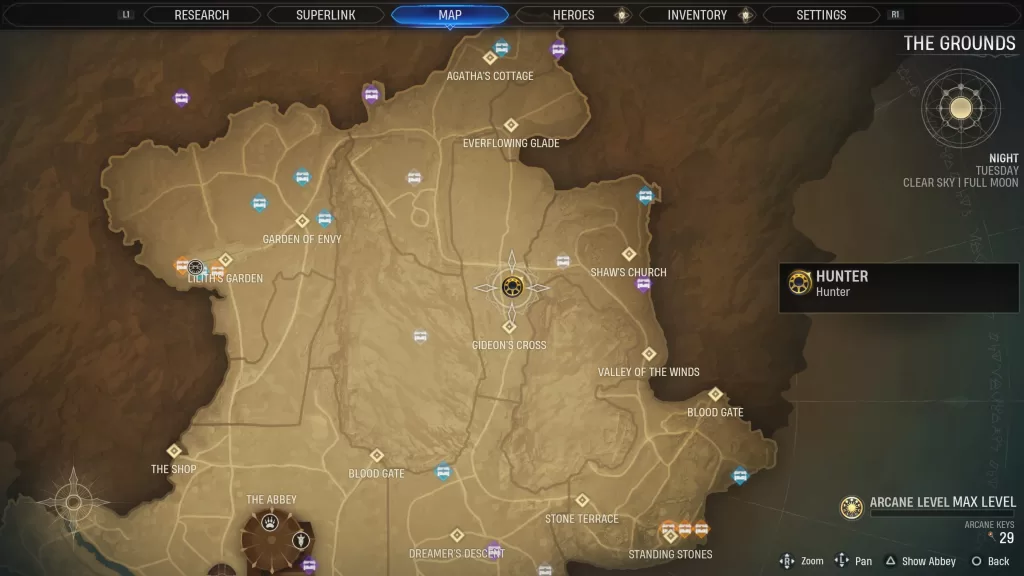
This faded journal page can be found along the main path in northern Gideon’s Cross near a Haven.

April 14, 1694

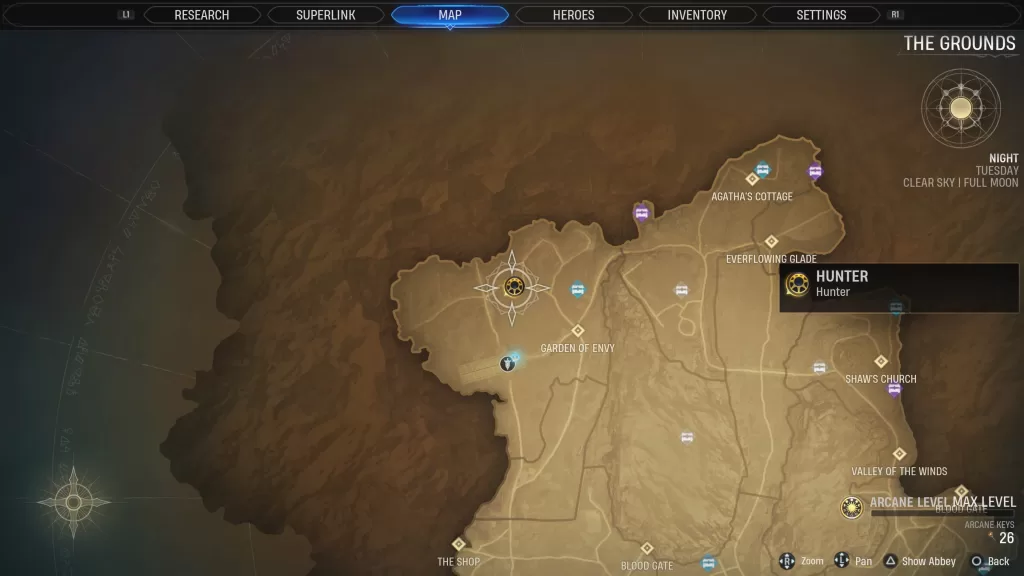
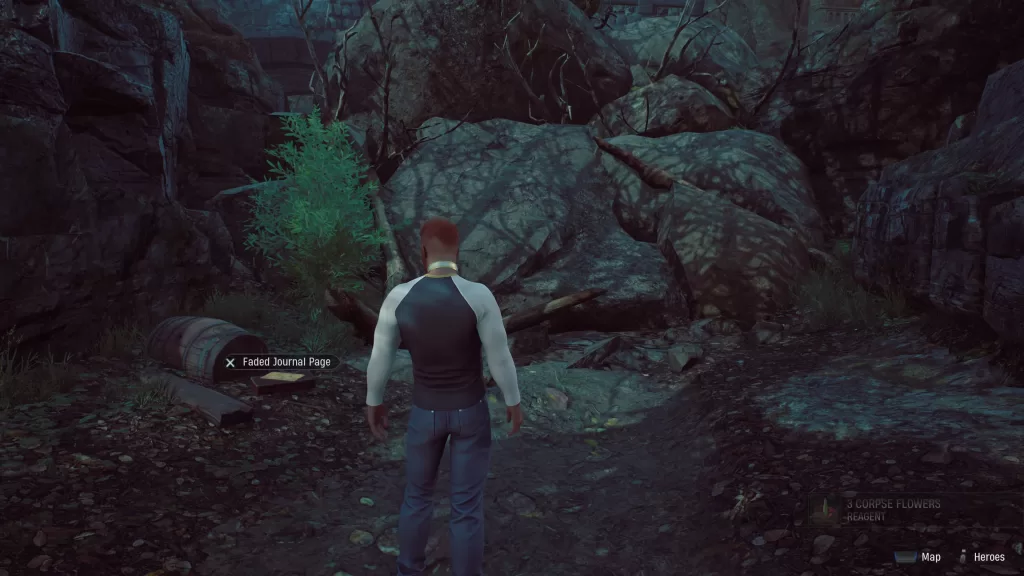
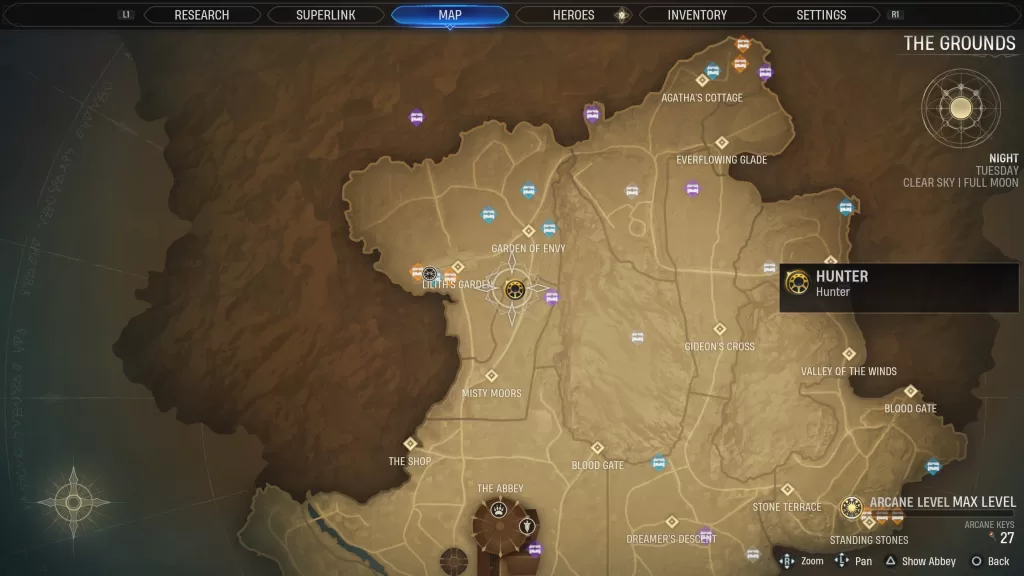
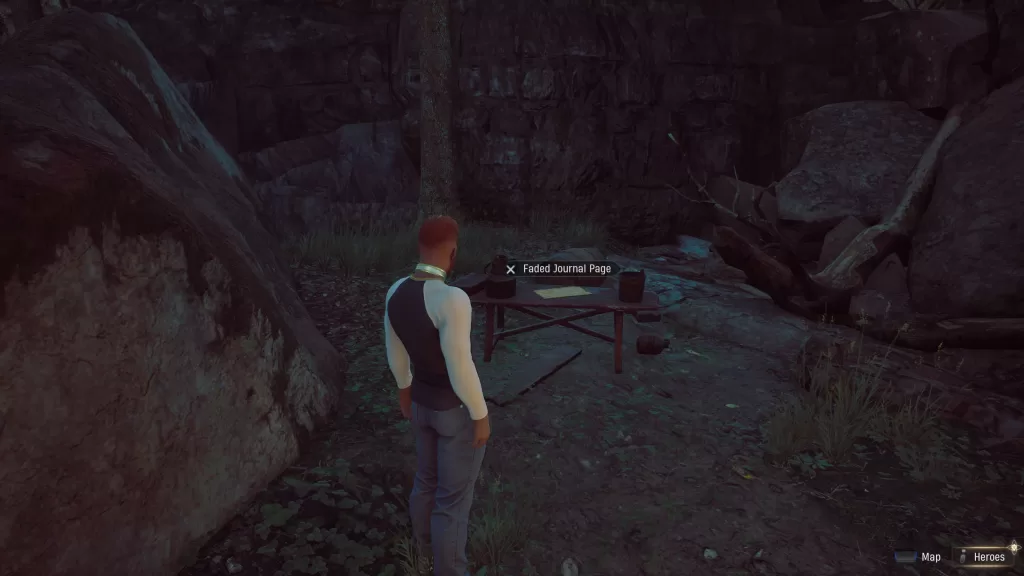
This faded journal page can be found next to a barrel in the northwestern part of the Garden of Envy.

November 4, 1694

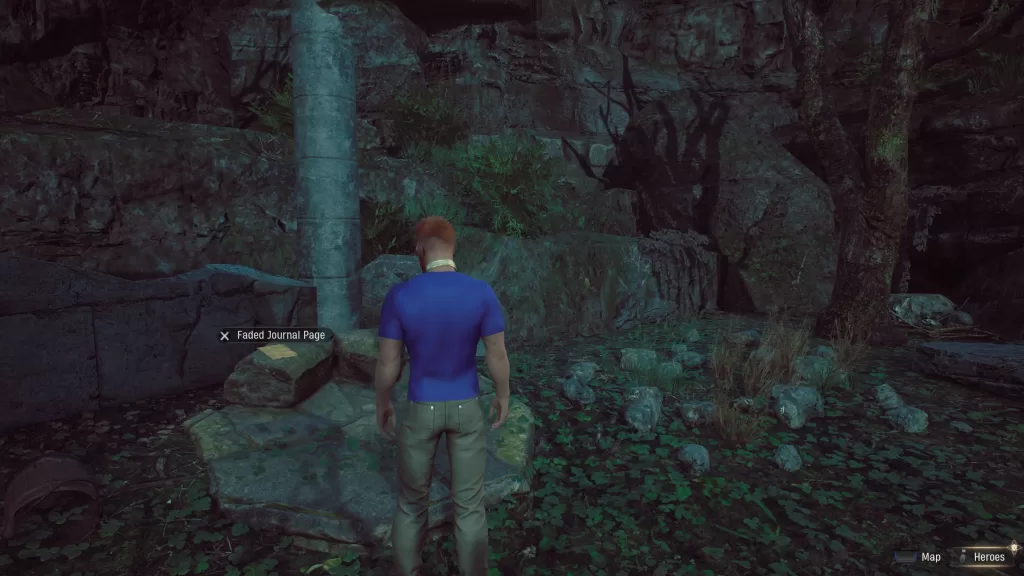
This journal page can be found northwest of Lilith’s Garden.

November 13, 1694

This journal page can be found northwest of Lilith’s Garden.

November 14, 1694

This journal page can be found northwest of Lilith’s Garden.

November 17, 1694

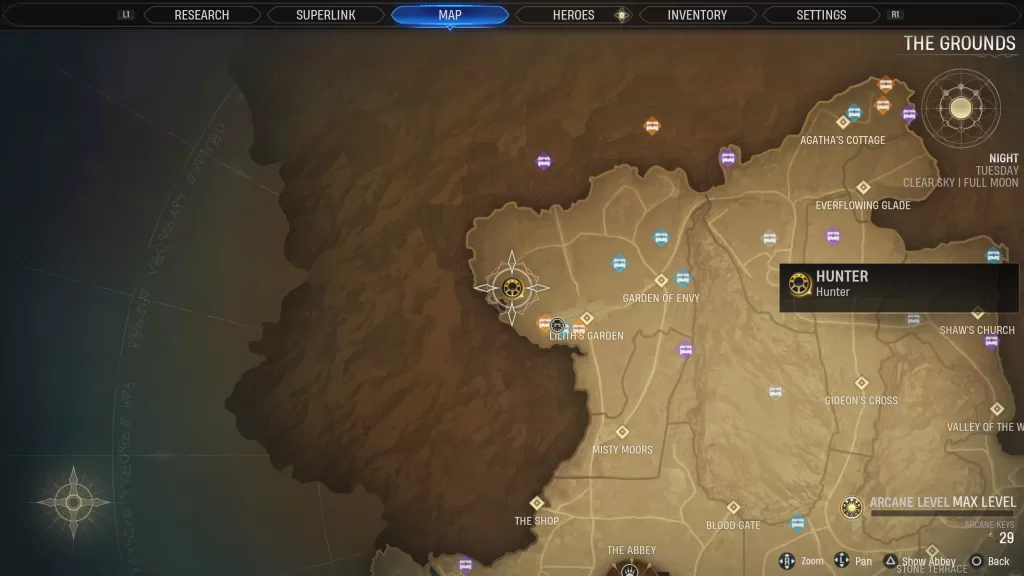
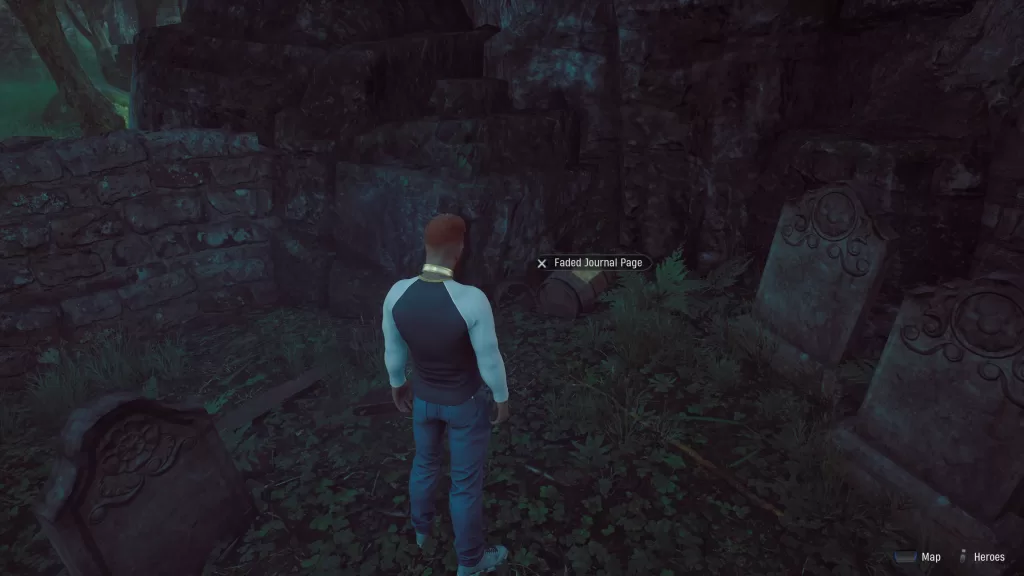
This faded journal page can be found in a small cemetery just north of the Envy part of the Garden of Envy text on the map. You’ll need to use the Open Word of Power on the gate to reach it.

November 18, 1694

This journal page can be found in the northern part of the Misty Moors.

A Plague Tale Requiem Walkthrough
Guides

A Plague Tale: Requiem – Chapter 3 Collectible Walkthrough

by MrsChappie in


Below is a walkthrough for the collectibles found during Chapter III: A Burden of Blood in A Plague Tale: Requiem.


Tool

Before raising the gate to leave the city, loot this tool from a chest up the stairs near the crank.


Souvenir: A Grave

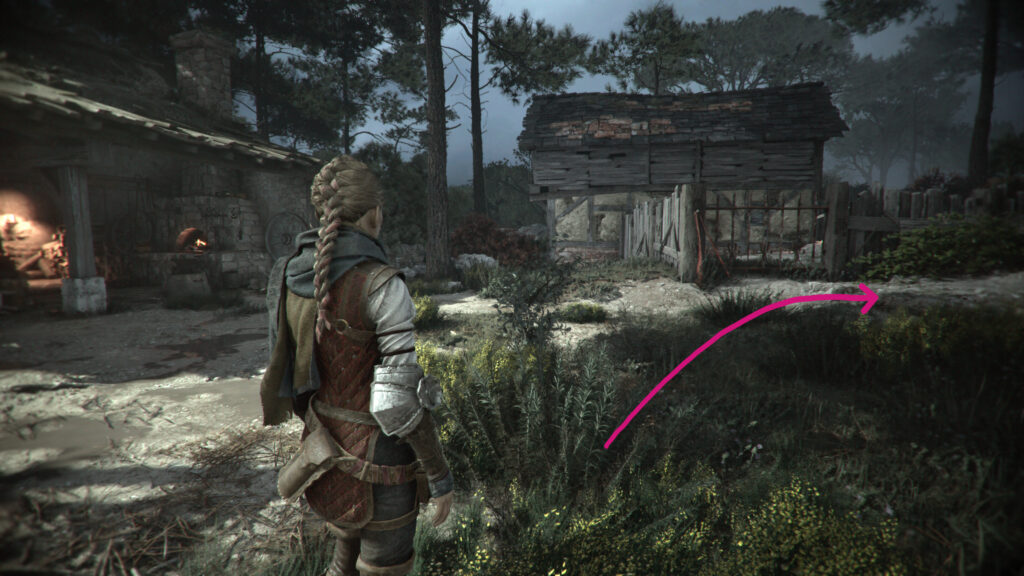
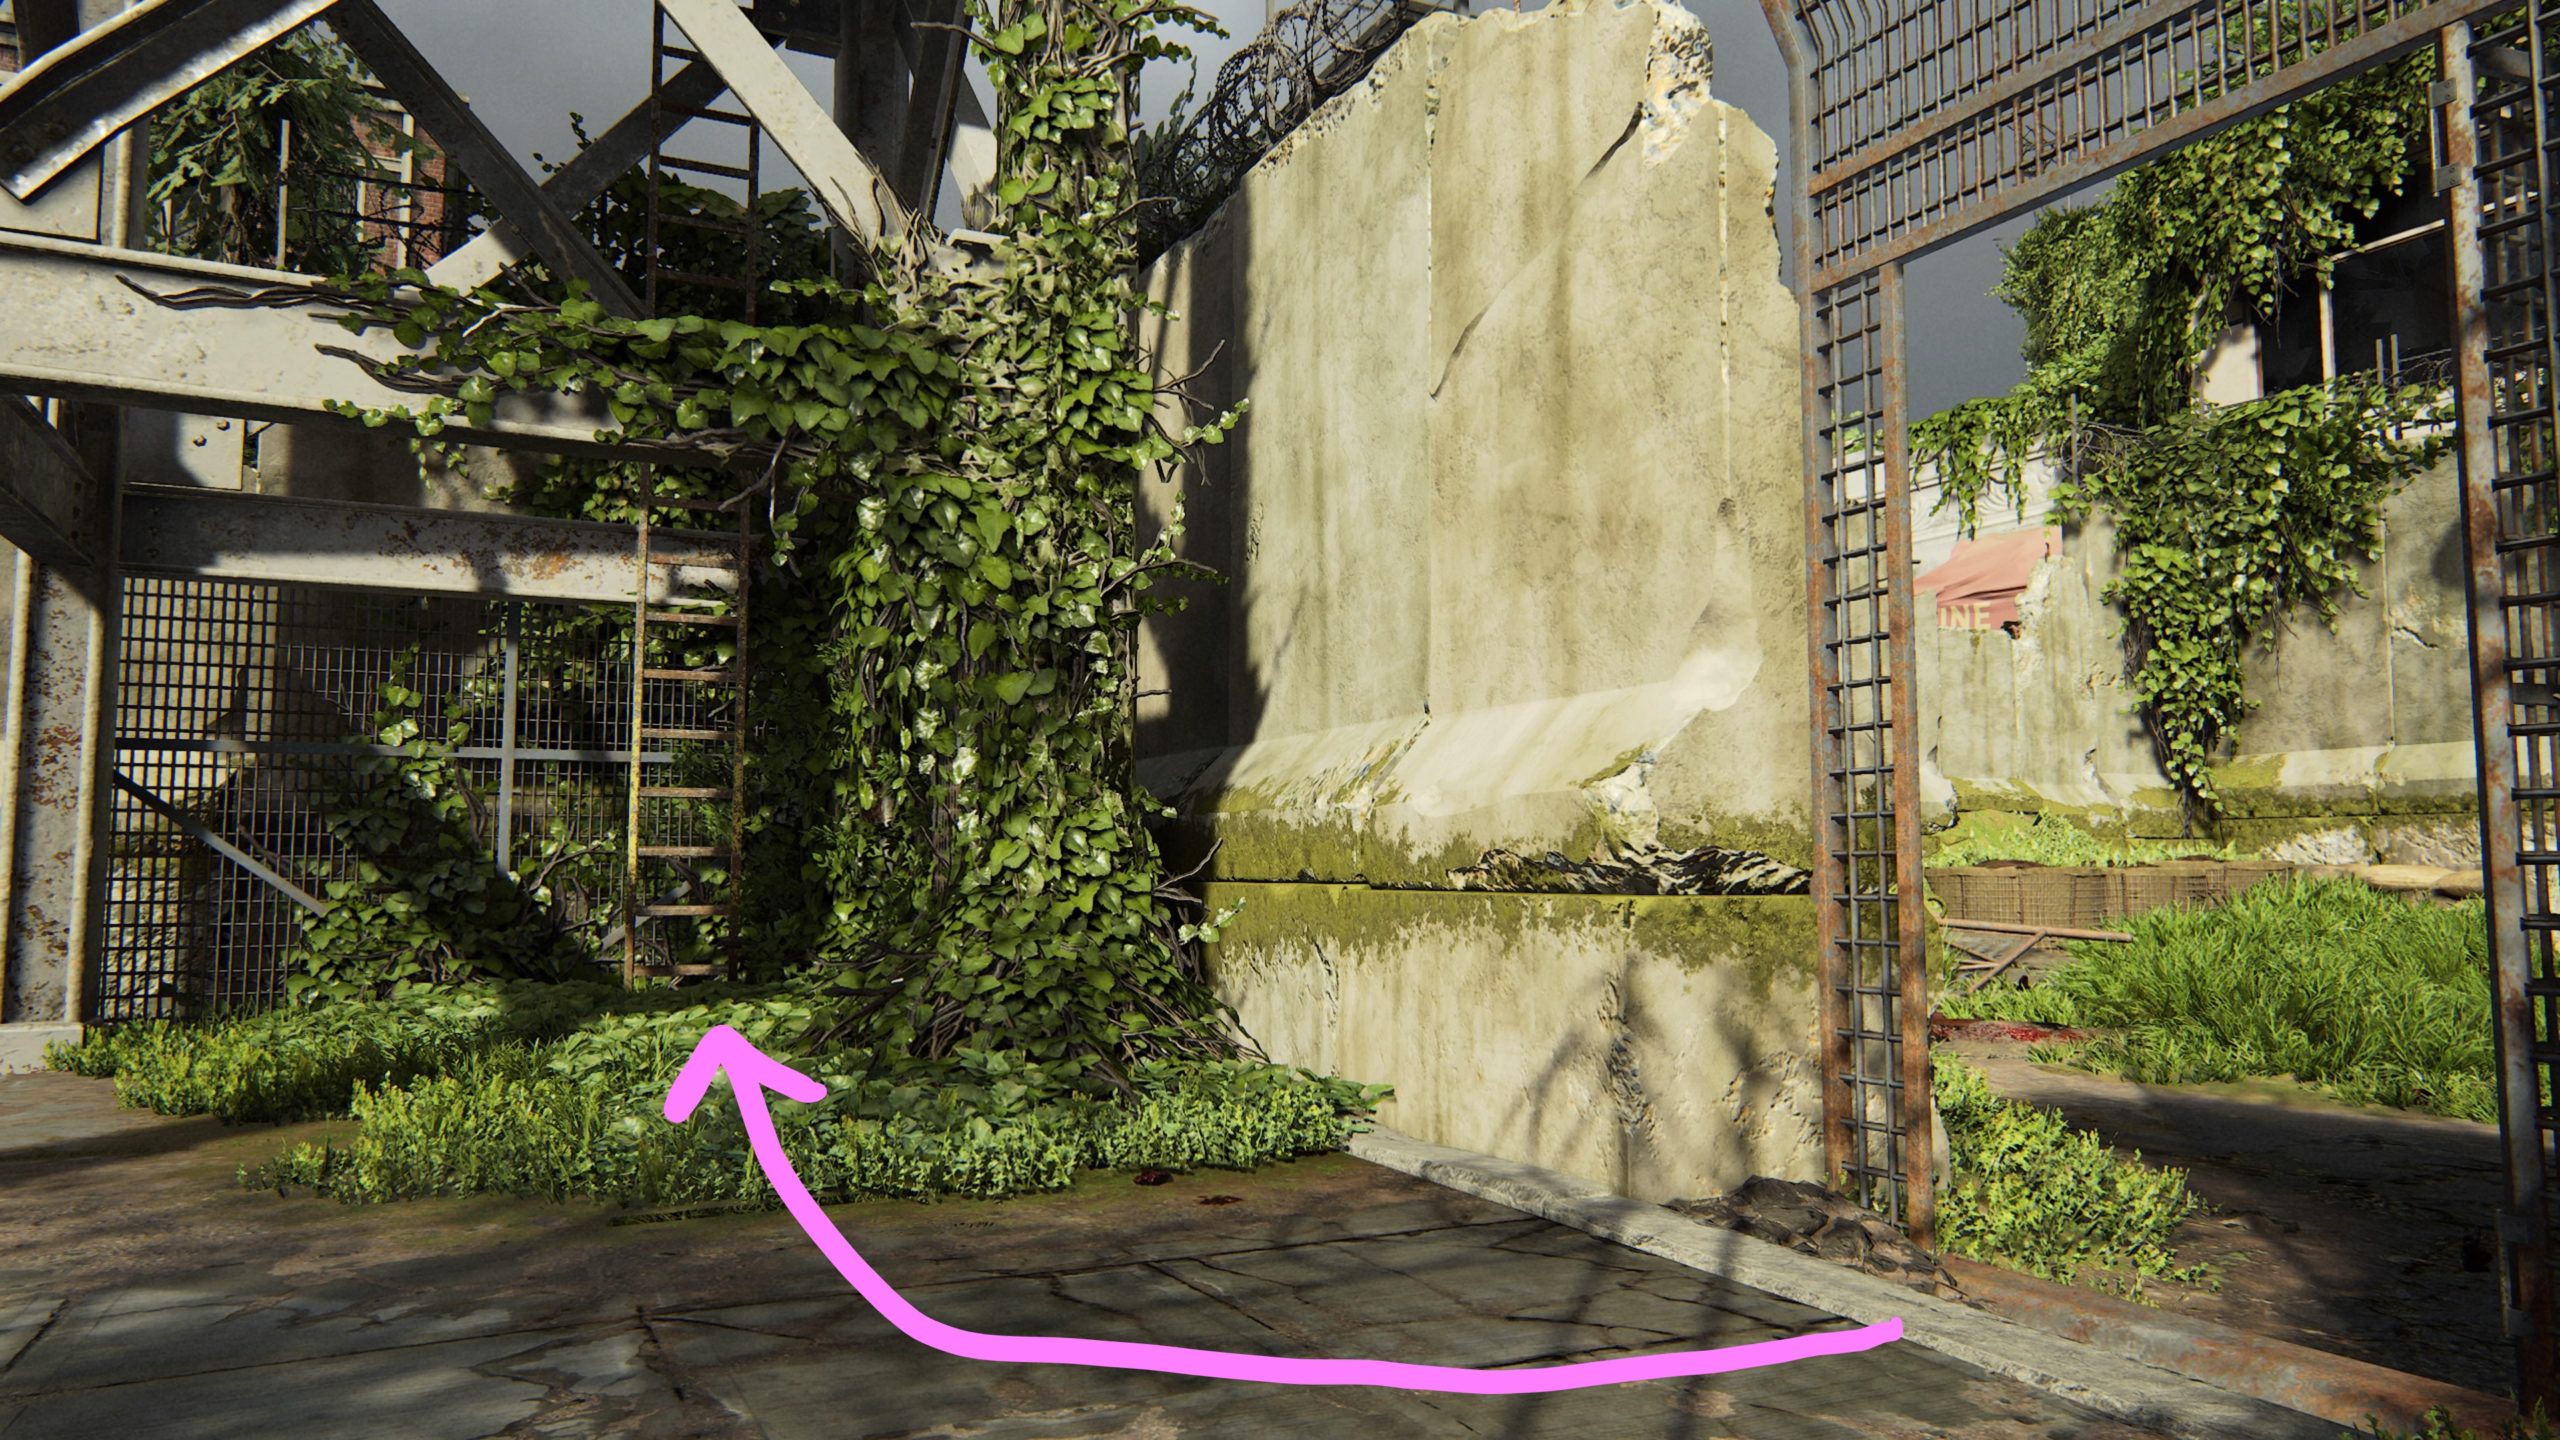
After you exit the city, follow the path down to reach a forge. Across from the forge will be a small fenced in area. Follow along the fence to the right of the gate.

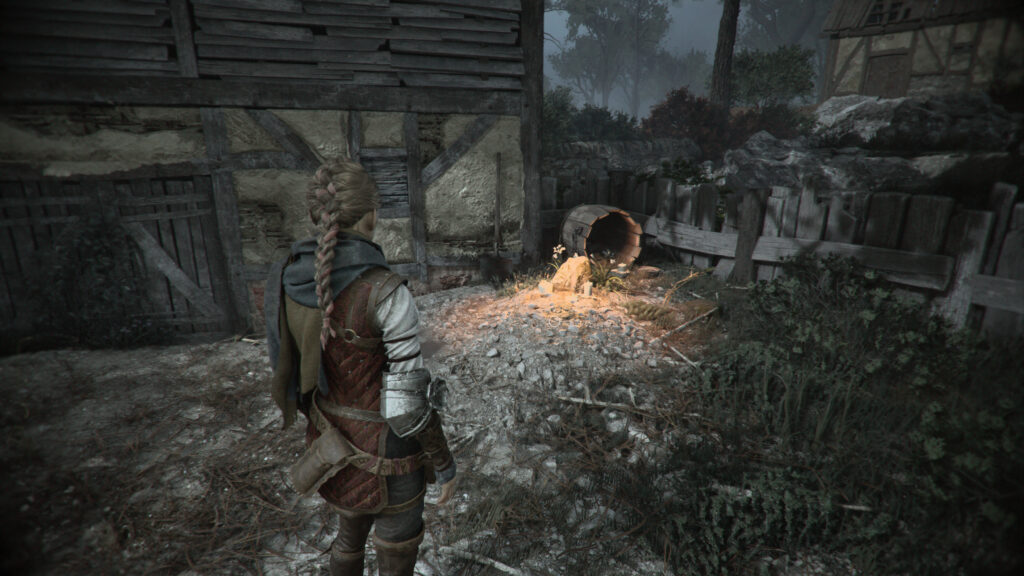
This will give you access to hit the lock on the gate with your slingshot. Head inside and interact with the grave next to the house to collect the souvenir.


Hugo’s Collection: Chamomile

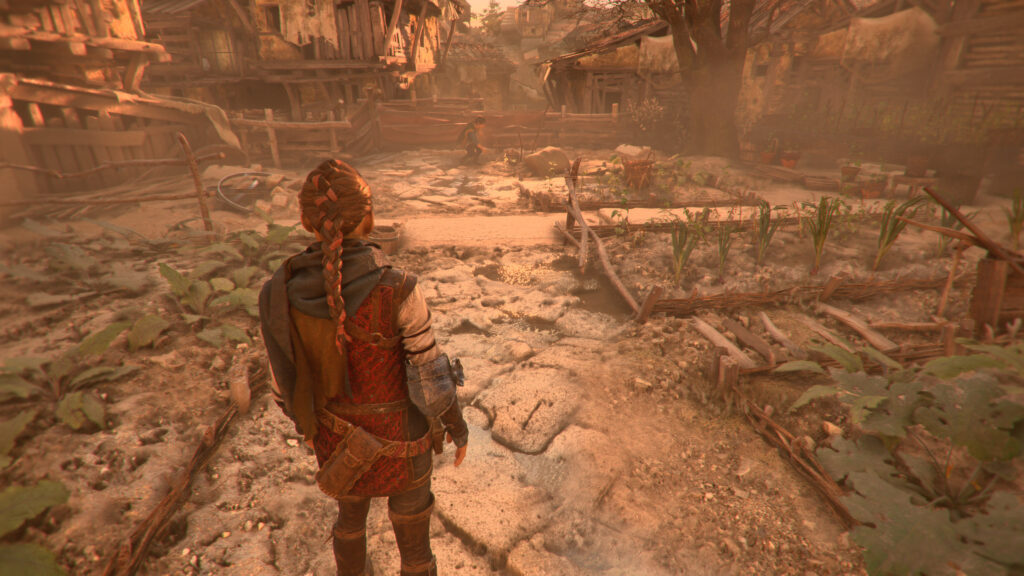
When you reach the Herbalist’s garden, head to the back left and look for the tree with a wooden ladder leaning against it.

The flower can be found hanging from the branch to the left of the ladder. You’ll need to hit the lock holding the container the flower is in to cause it to drop.


Secret Chest / Tool

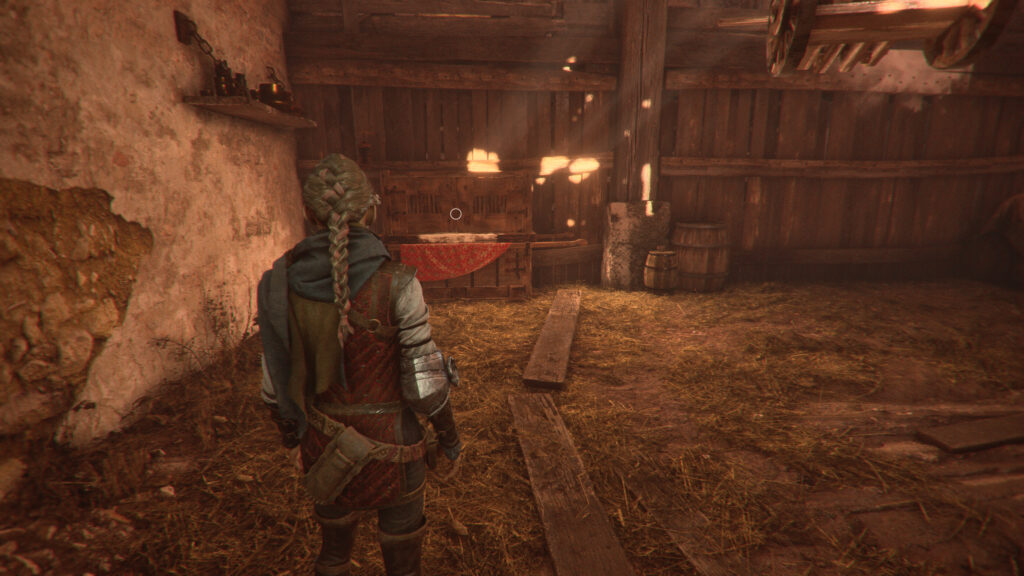
This secret chest is obtained in the depot where you retrieve your sling. It is directly across from where you found your sling and requires 1 knife to open.

This chest will contain a tool!


Souvenir: Our Home

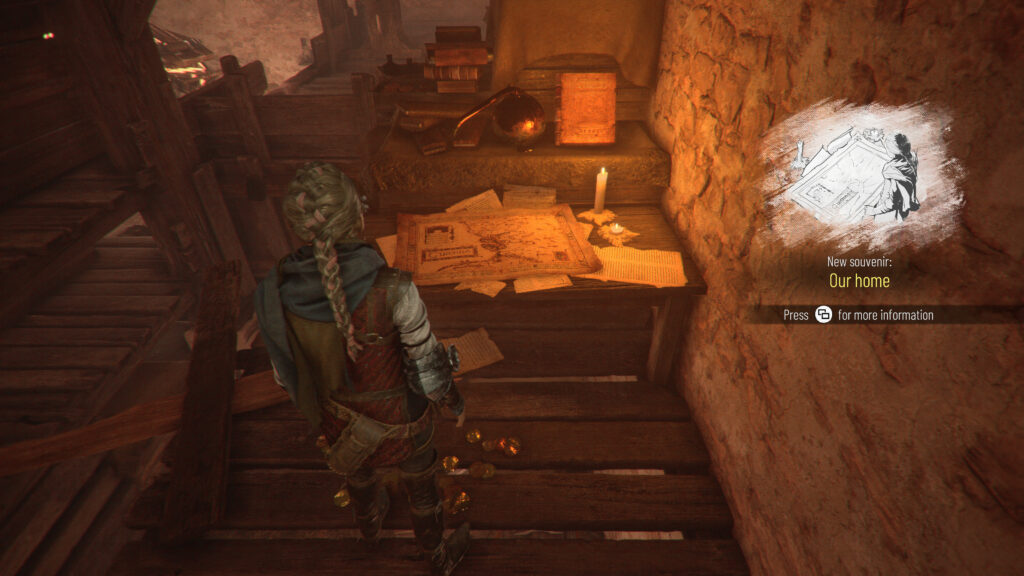
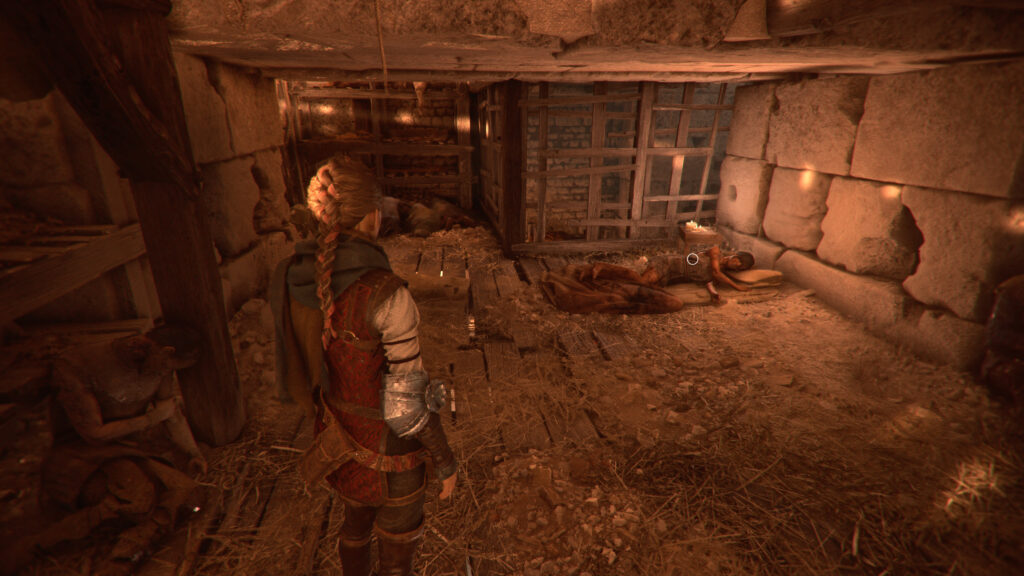
After getting the slingshot, climb up the ladder in the depot to reach the second level. Follow the walkway left to come across a board you can knock down with your slingshot. Cross it then examine the table to find the souvenir.


Click here for the next walkthrough for Chapter 4 in A Plague Tale: Requiem!


A Plague Tale Requiem Walkthrough
Guides

A Plague Tale: Requiem – Chapter 2 Collectible Walkthrough

by MrsChappie in


Below is a walkthrough for the collectibles found during Chapter II: Newcomer in A Plague Tale: Requiem.


Souvenir: Best Player

During the Walk to the House objective, head through the town, passing the crier, to make it to the market. After exiting the pavilion crowded with merchants, Hugo will run up to a flower stall. Down the path to the left of the flower stall you’ll see a fish stall. At the fish stall, take a right and follow the path to the end to find a game stall. Win the game to find the Souvenir: Best Player


Souvenir: Be at Peace

During the Follow the Order’s symbols objective, you’ll reach a large open outdoor area. A quick event where an archer shoots a dead body and another guard comments about it will trigger. You’ll need to sneak through this area and enter a doorway with a symbol above it just past the archer. Head through the building until you reach a set of stairs. Head up the stairs and take the right path.

Follow it to the end to find a woman still alive laying on a bed on the ground.

Interact with her to receive the Souvenir: Be at Peace.


Hugo’s Collection: Arrowhead

After exiting the underground arena, your objective will update to Reach the South Tower. Follow the path a short way to reach a vegetable garden. The garden will be under the tree. Lucas will bend down and point it out.

Collect the flower he pointed out!


Click here for the next walkthrough on the collectibles in Chapter 3 of A Plague Tale: Requiem.


Guides

Trails of Cold Steel IV – Landscape Photos

by Chappie in


In Trails of Cold Steel IV, there is a trophy called Shutterbug. To earn this trophy, you must take all landscape photos and report them to Rex. Below are the locations of the landscape photos.


Titus Gate

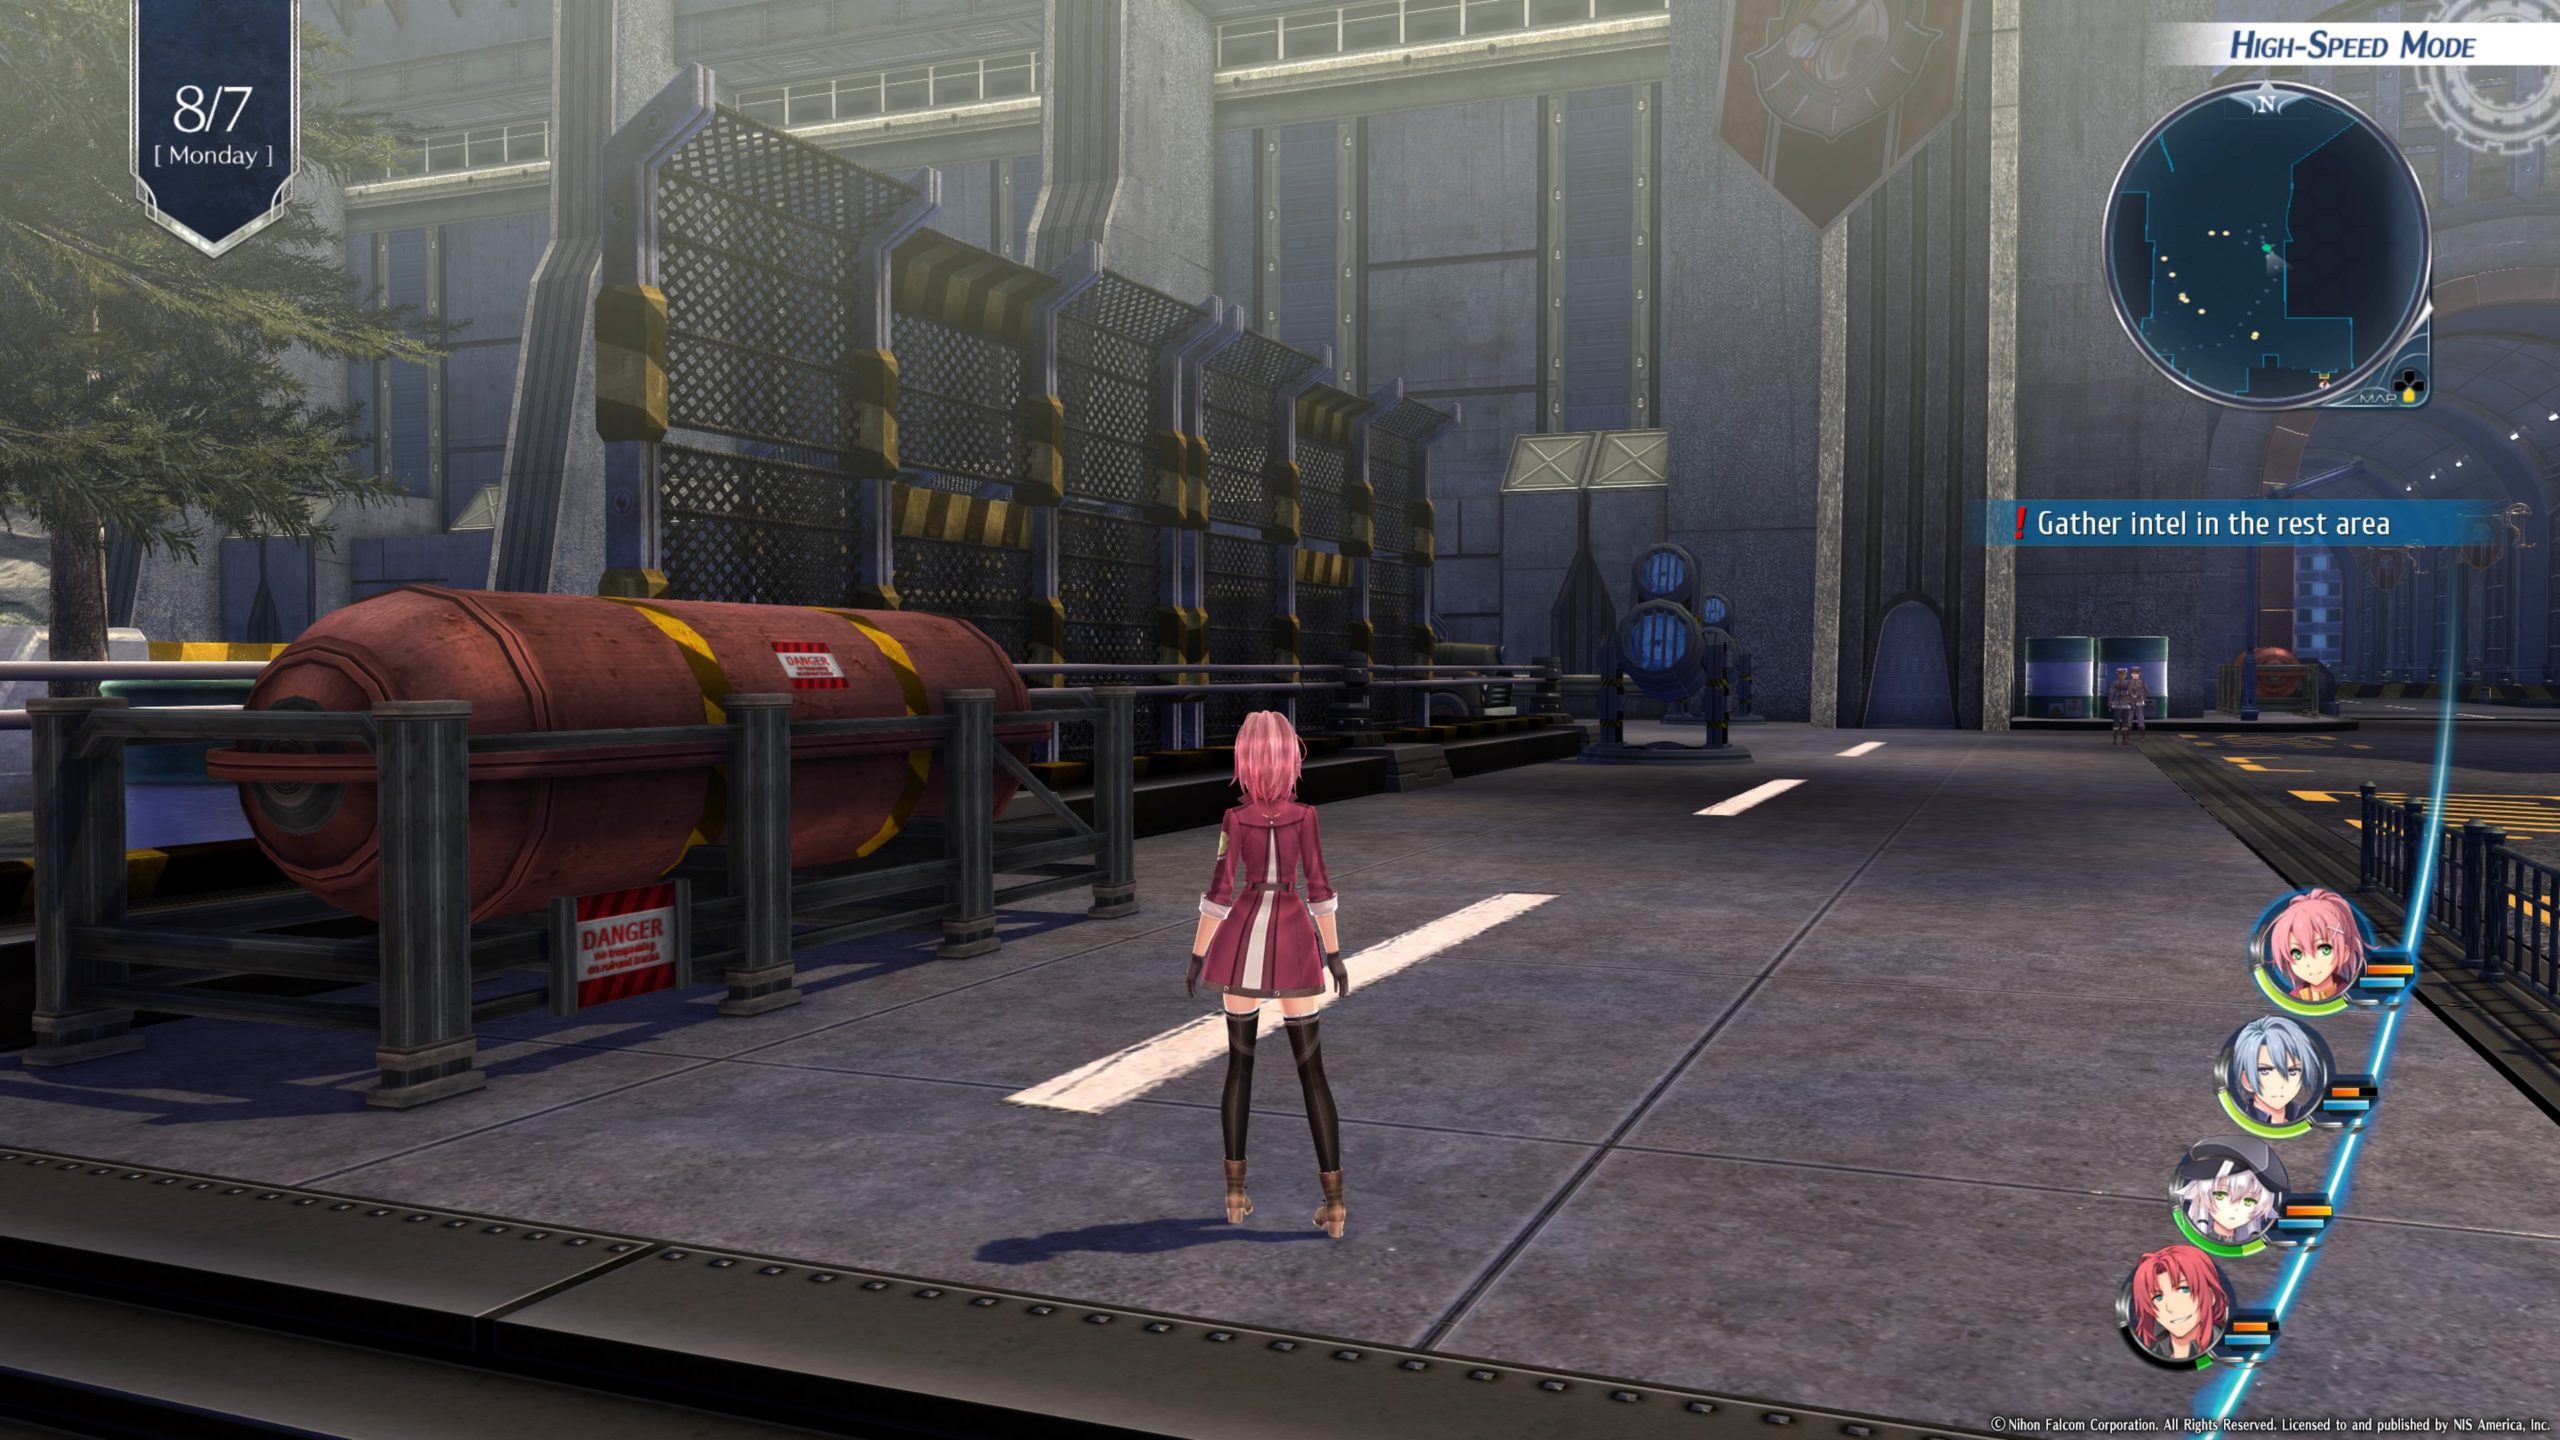
On 8/7 investigate the area by the fuel container to the left of Titus Gate to take the landscape photo. Send it to Rex using your Arcus to receive a photo of Elise.


Milsante

On 8/10 take a photo on the balcony of White Birch Inn then send it to Rex.


Old Lamare Road 2

On 8/10 take a photo in the photo spot found in the south central part of the map.


Ursula Road 2

On 8/15 take the photo near the beach by the Ursula Road 3 map transition.


Mishelam

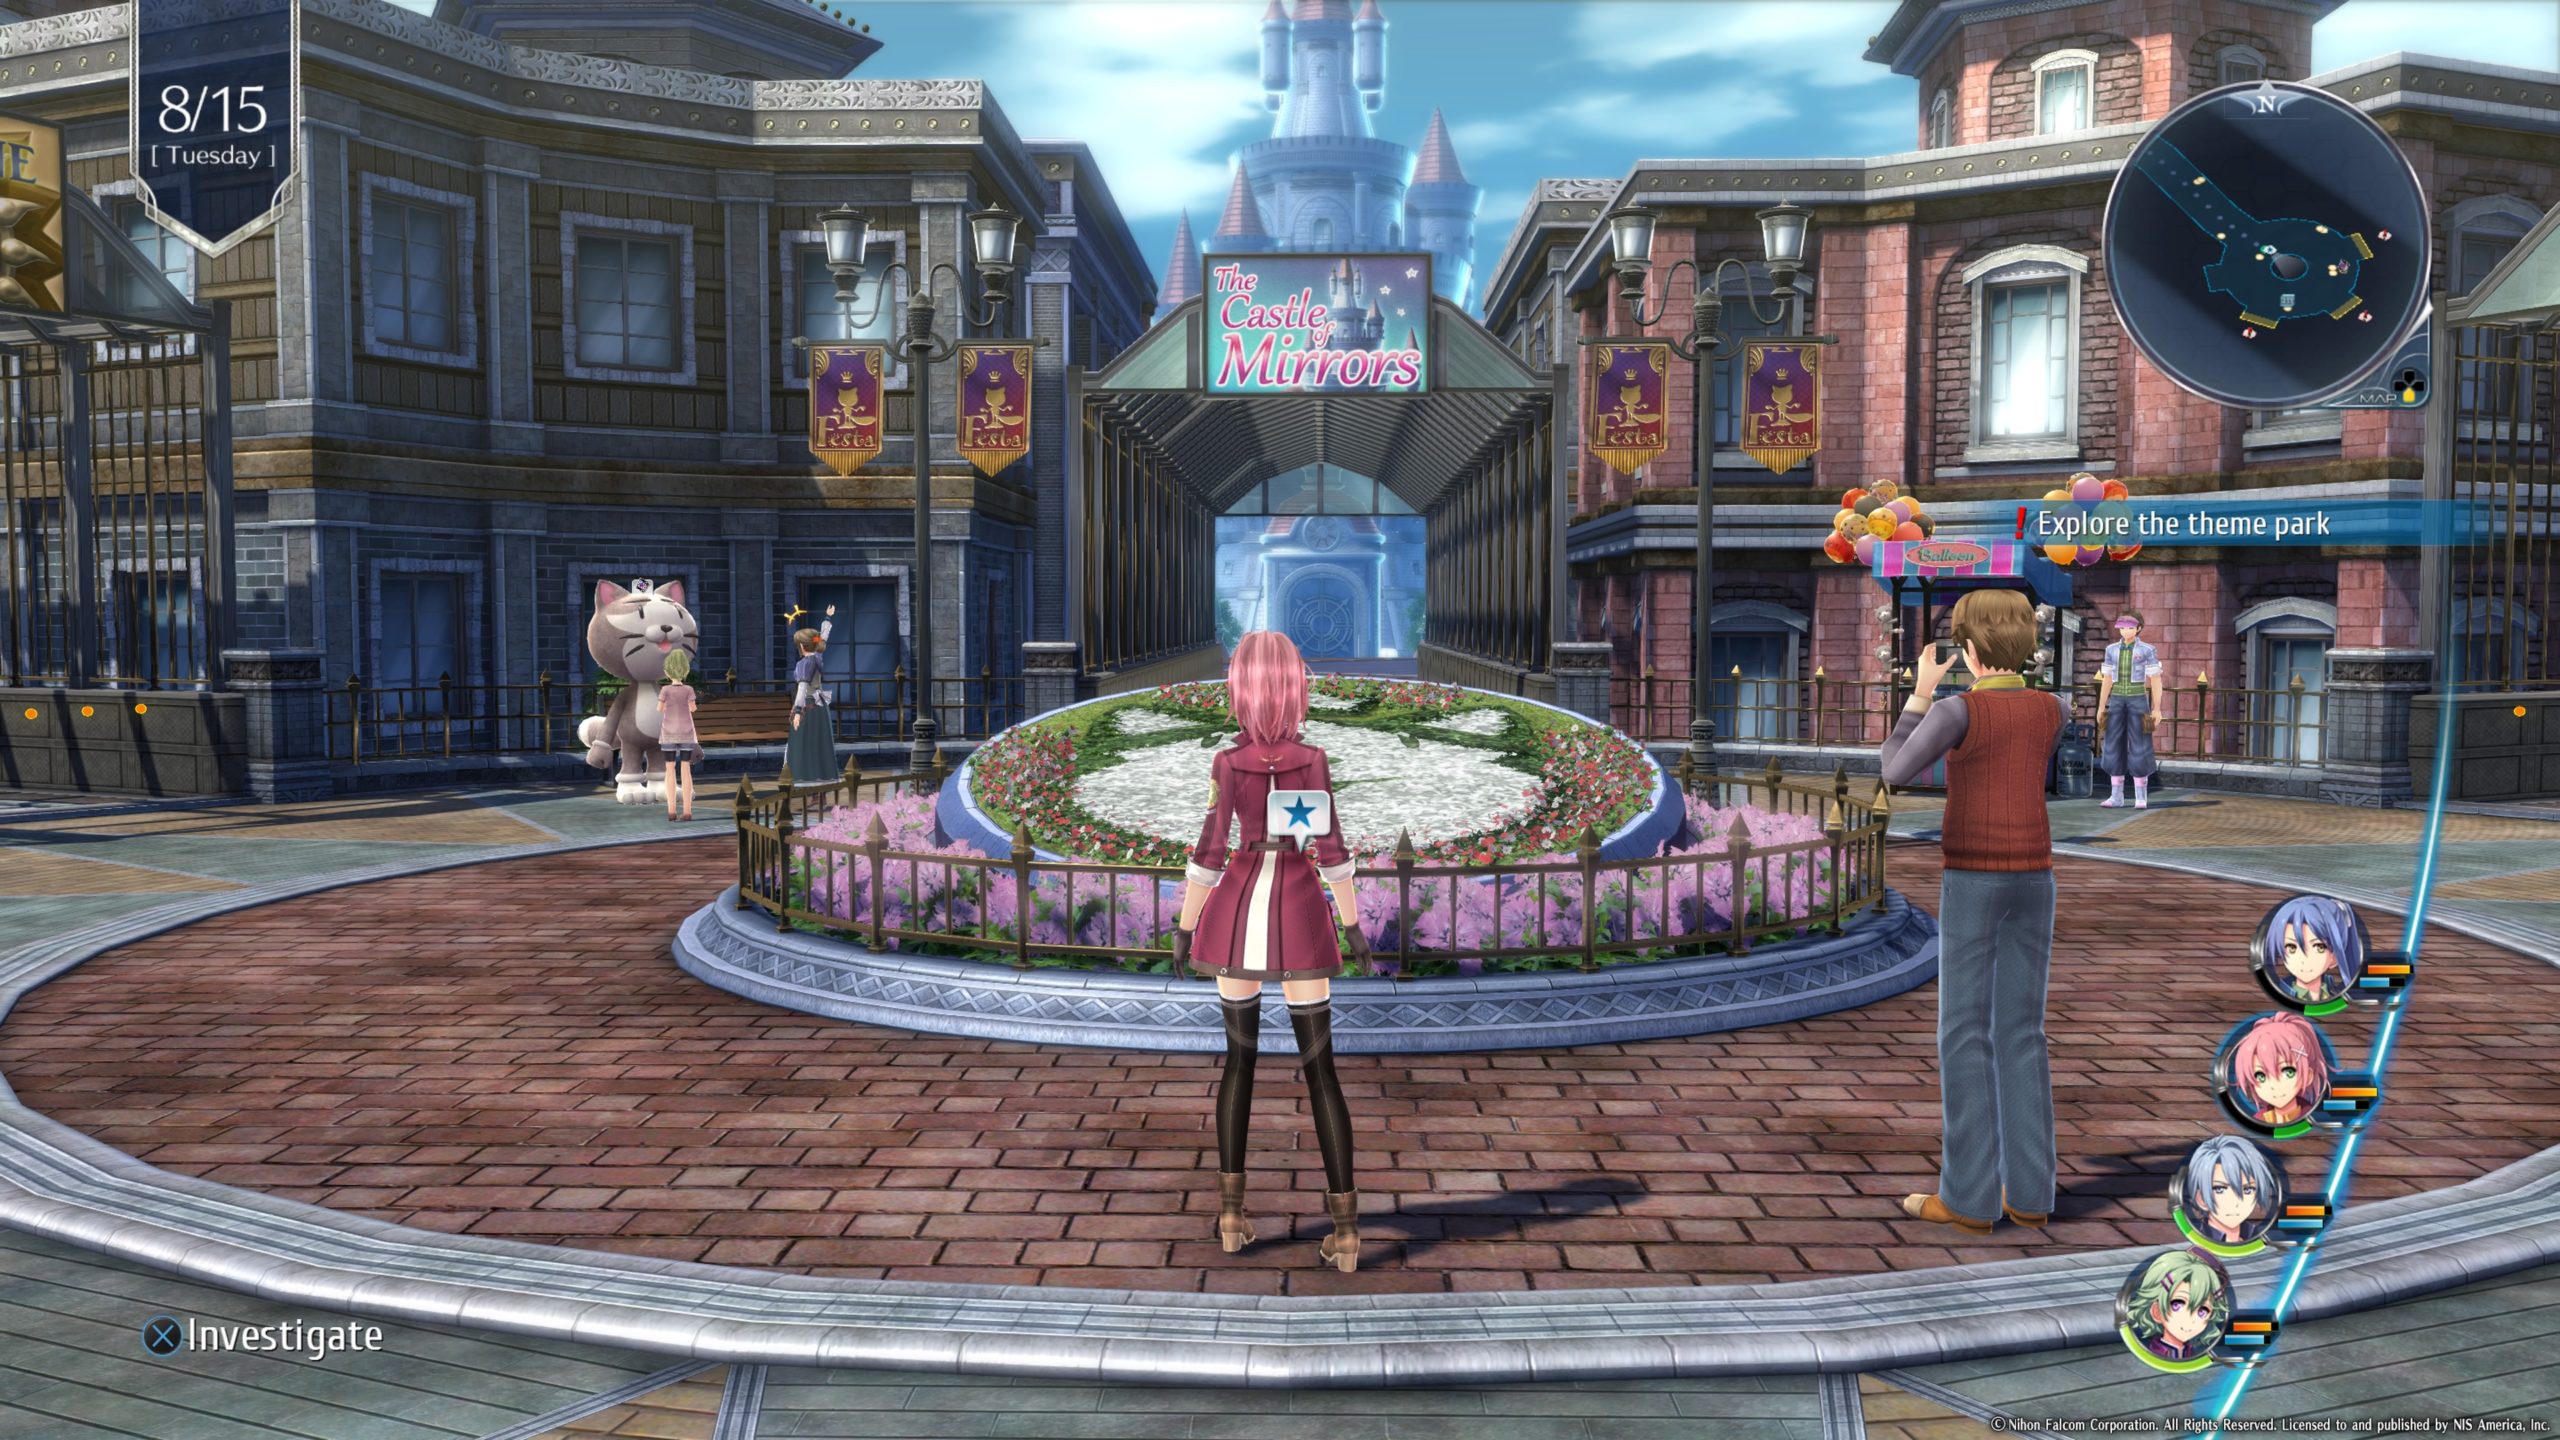
On 8/15 take the photo in the middle of the MWL Entrance Plaza courtyard near the Mishy face made of flowers.


Byronia Island

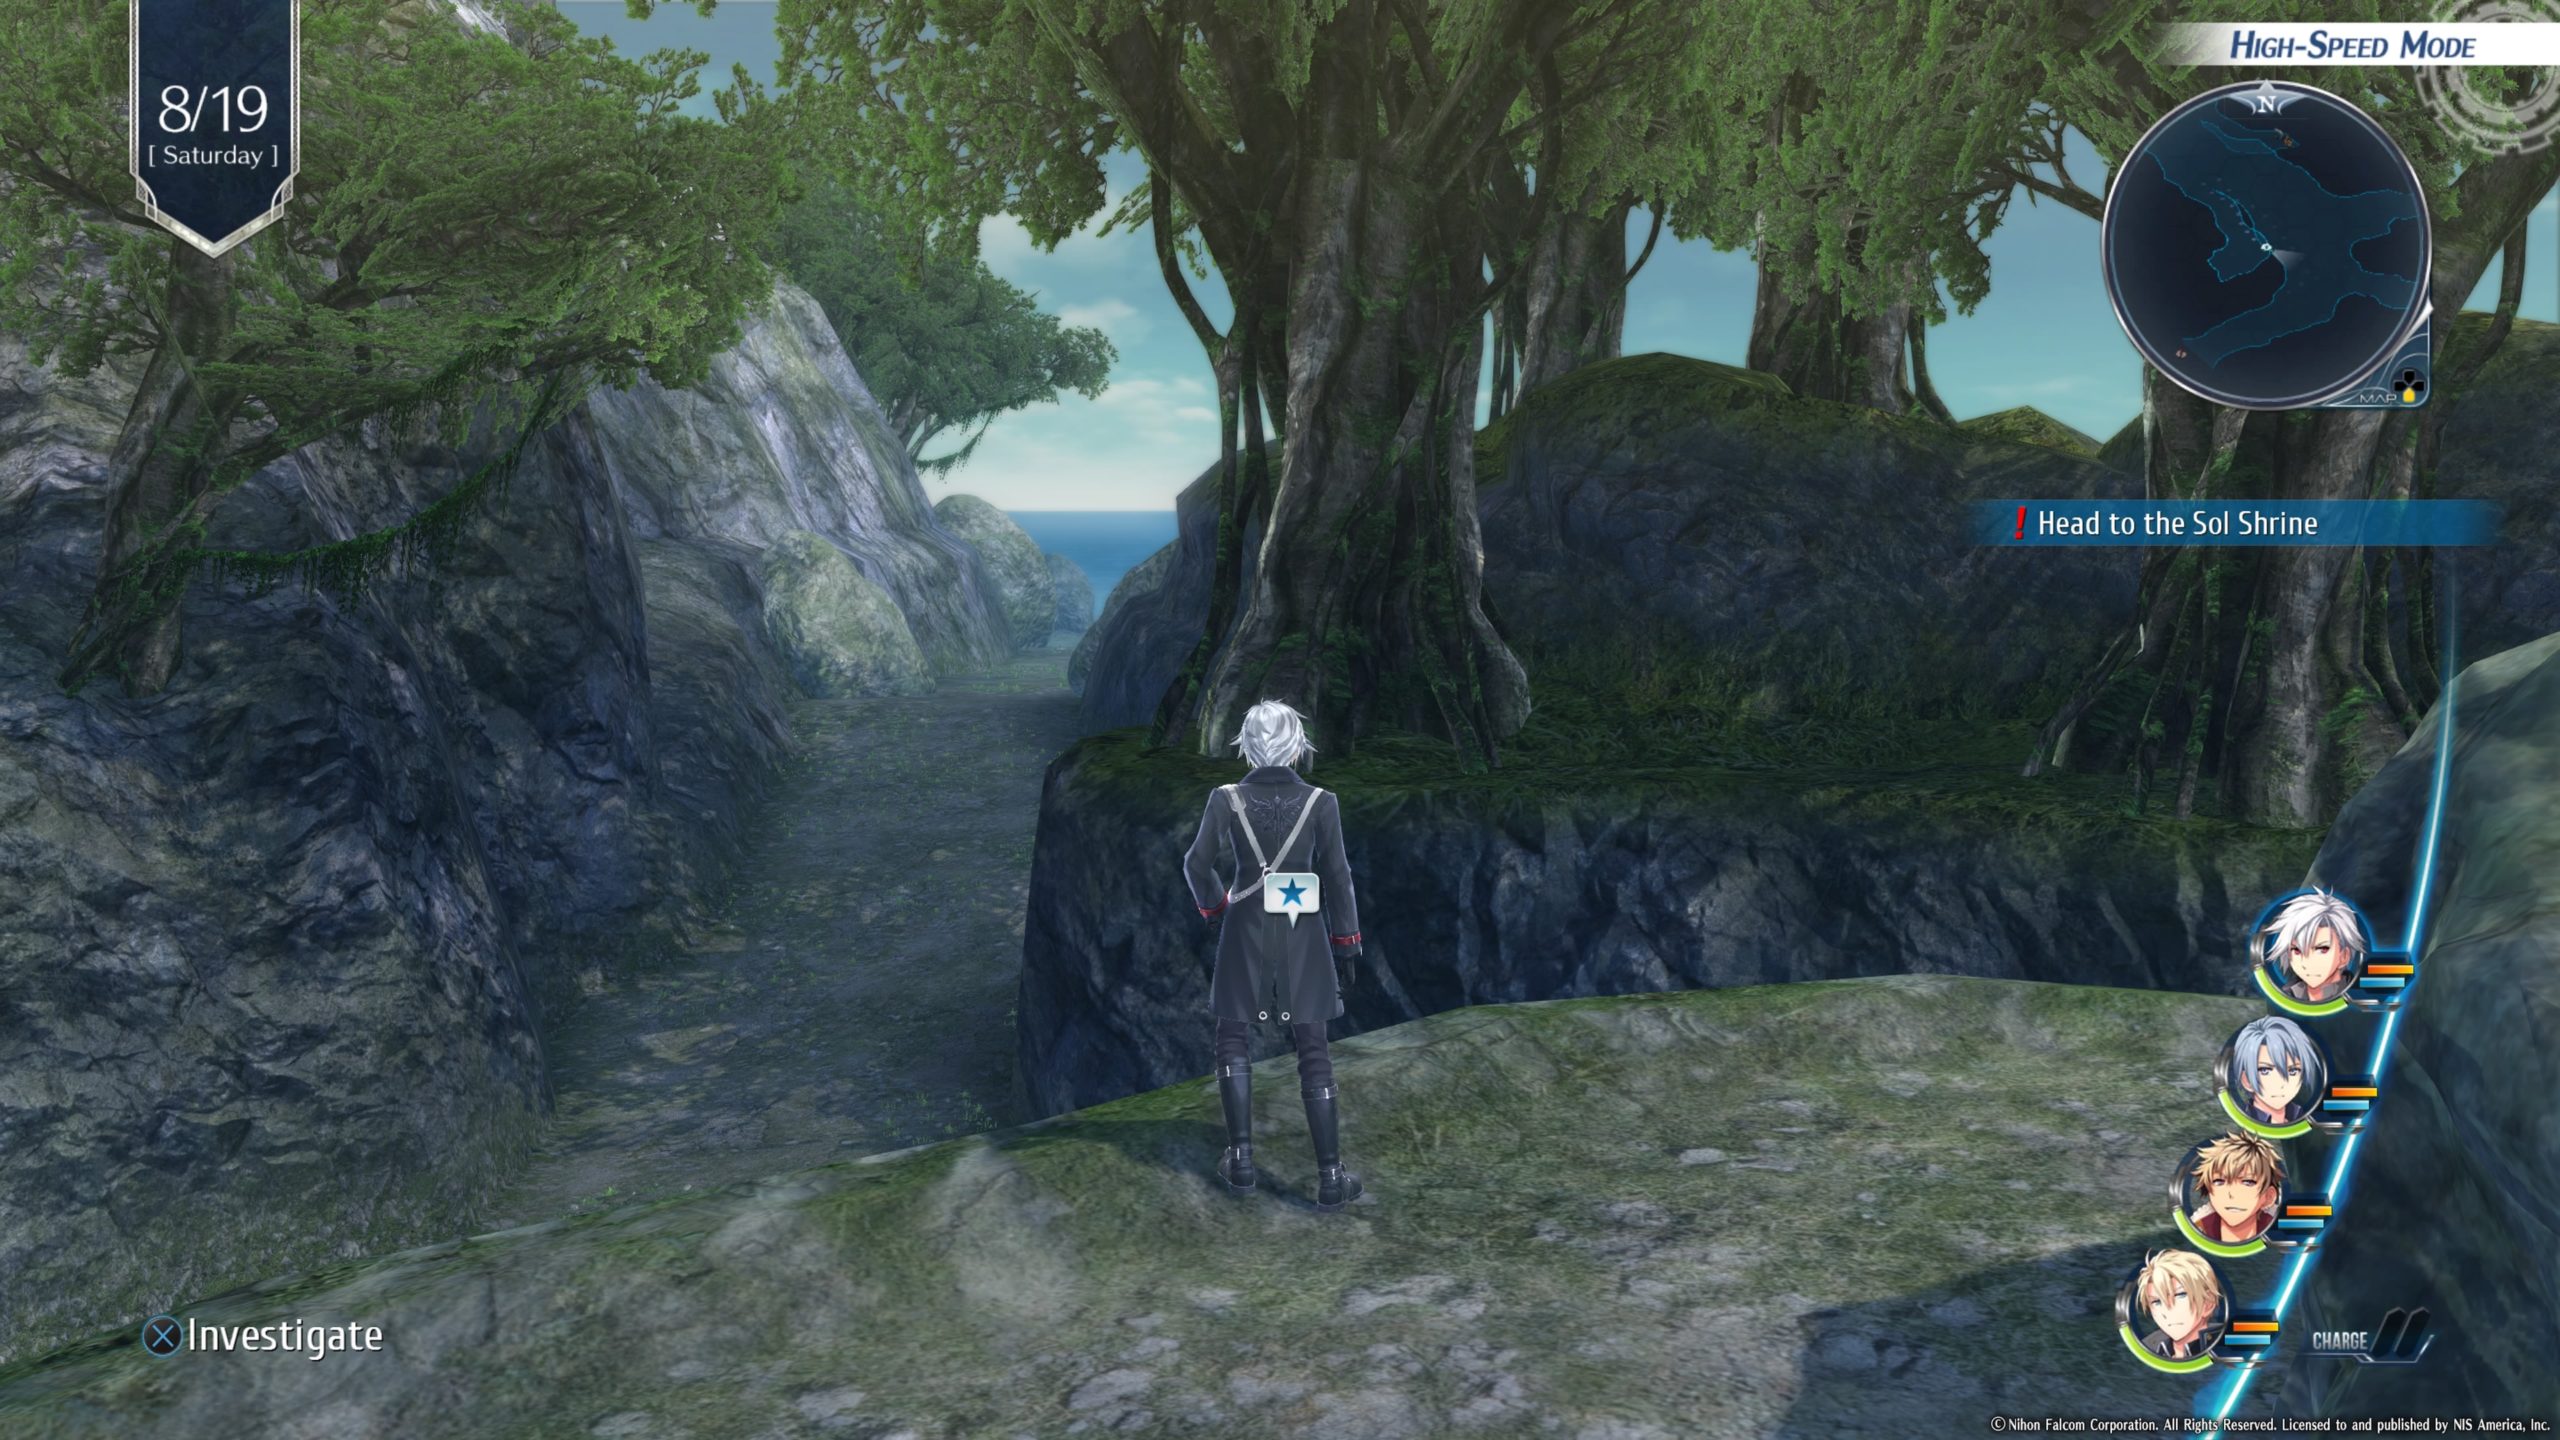
On 8/19 take the picture on a rock overlooking the waterfall east of the Sol Shrine.


Bryonia Island (Near Statues)

Climb up the nearby ladder then take the picture on a cliff overlooking the statue.


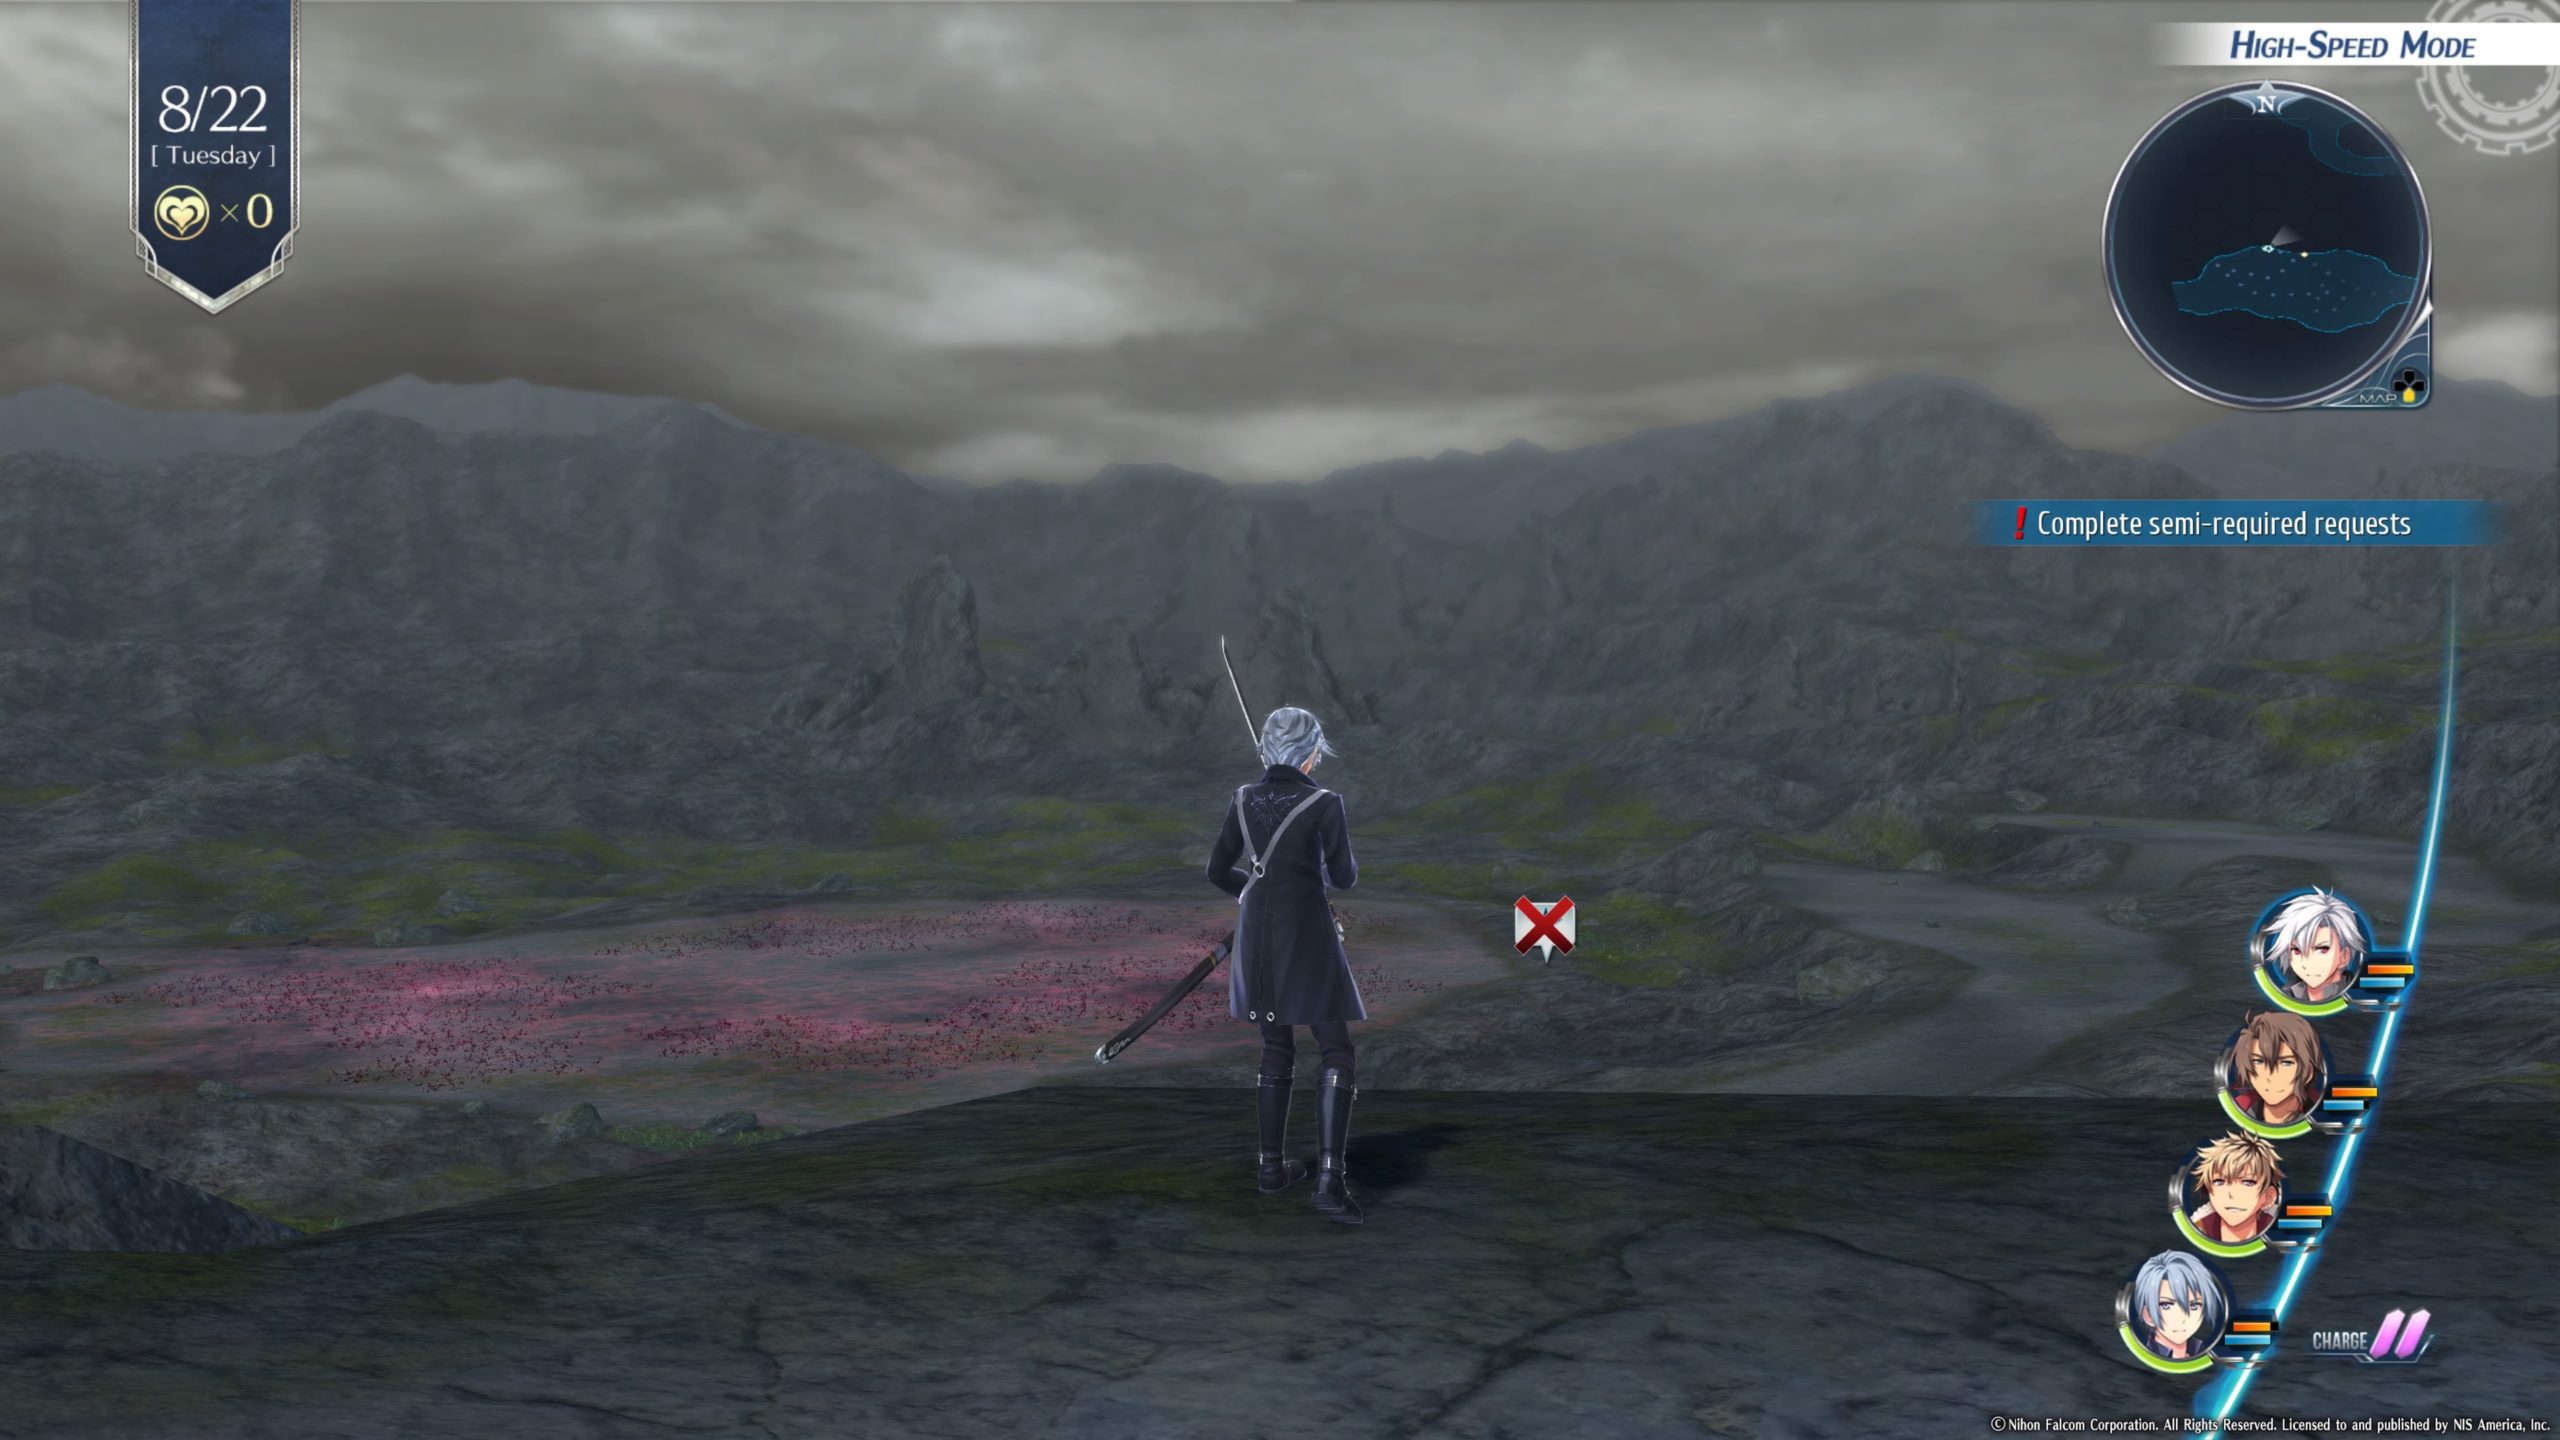
Ogiliath Basin

On 8/22 take the picture next to Beryl.


Lake Gala Byroad

On 8/25 take a picture at the end of the dock after passing through the barrier on the bridge.


Languedoc Canyon – North

On 8/29 take a picture in the north central part of the map.


Mishelam

On 8/31 take a picture along the shore of Lakeside Beach.


Mishelam

On 8/31 take a picture at MWL Ferris Wheel of the ferris wheel.


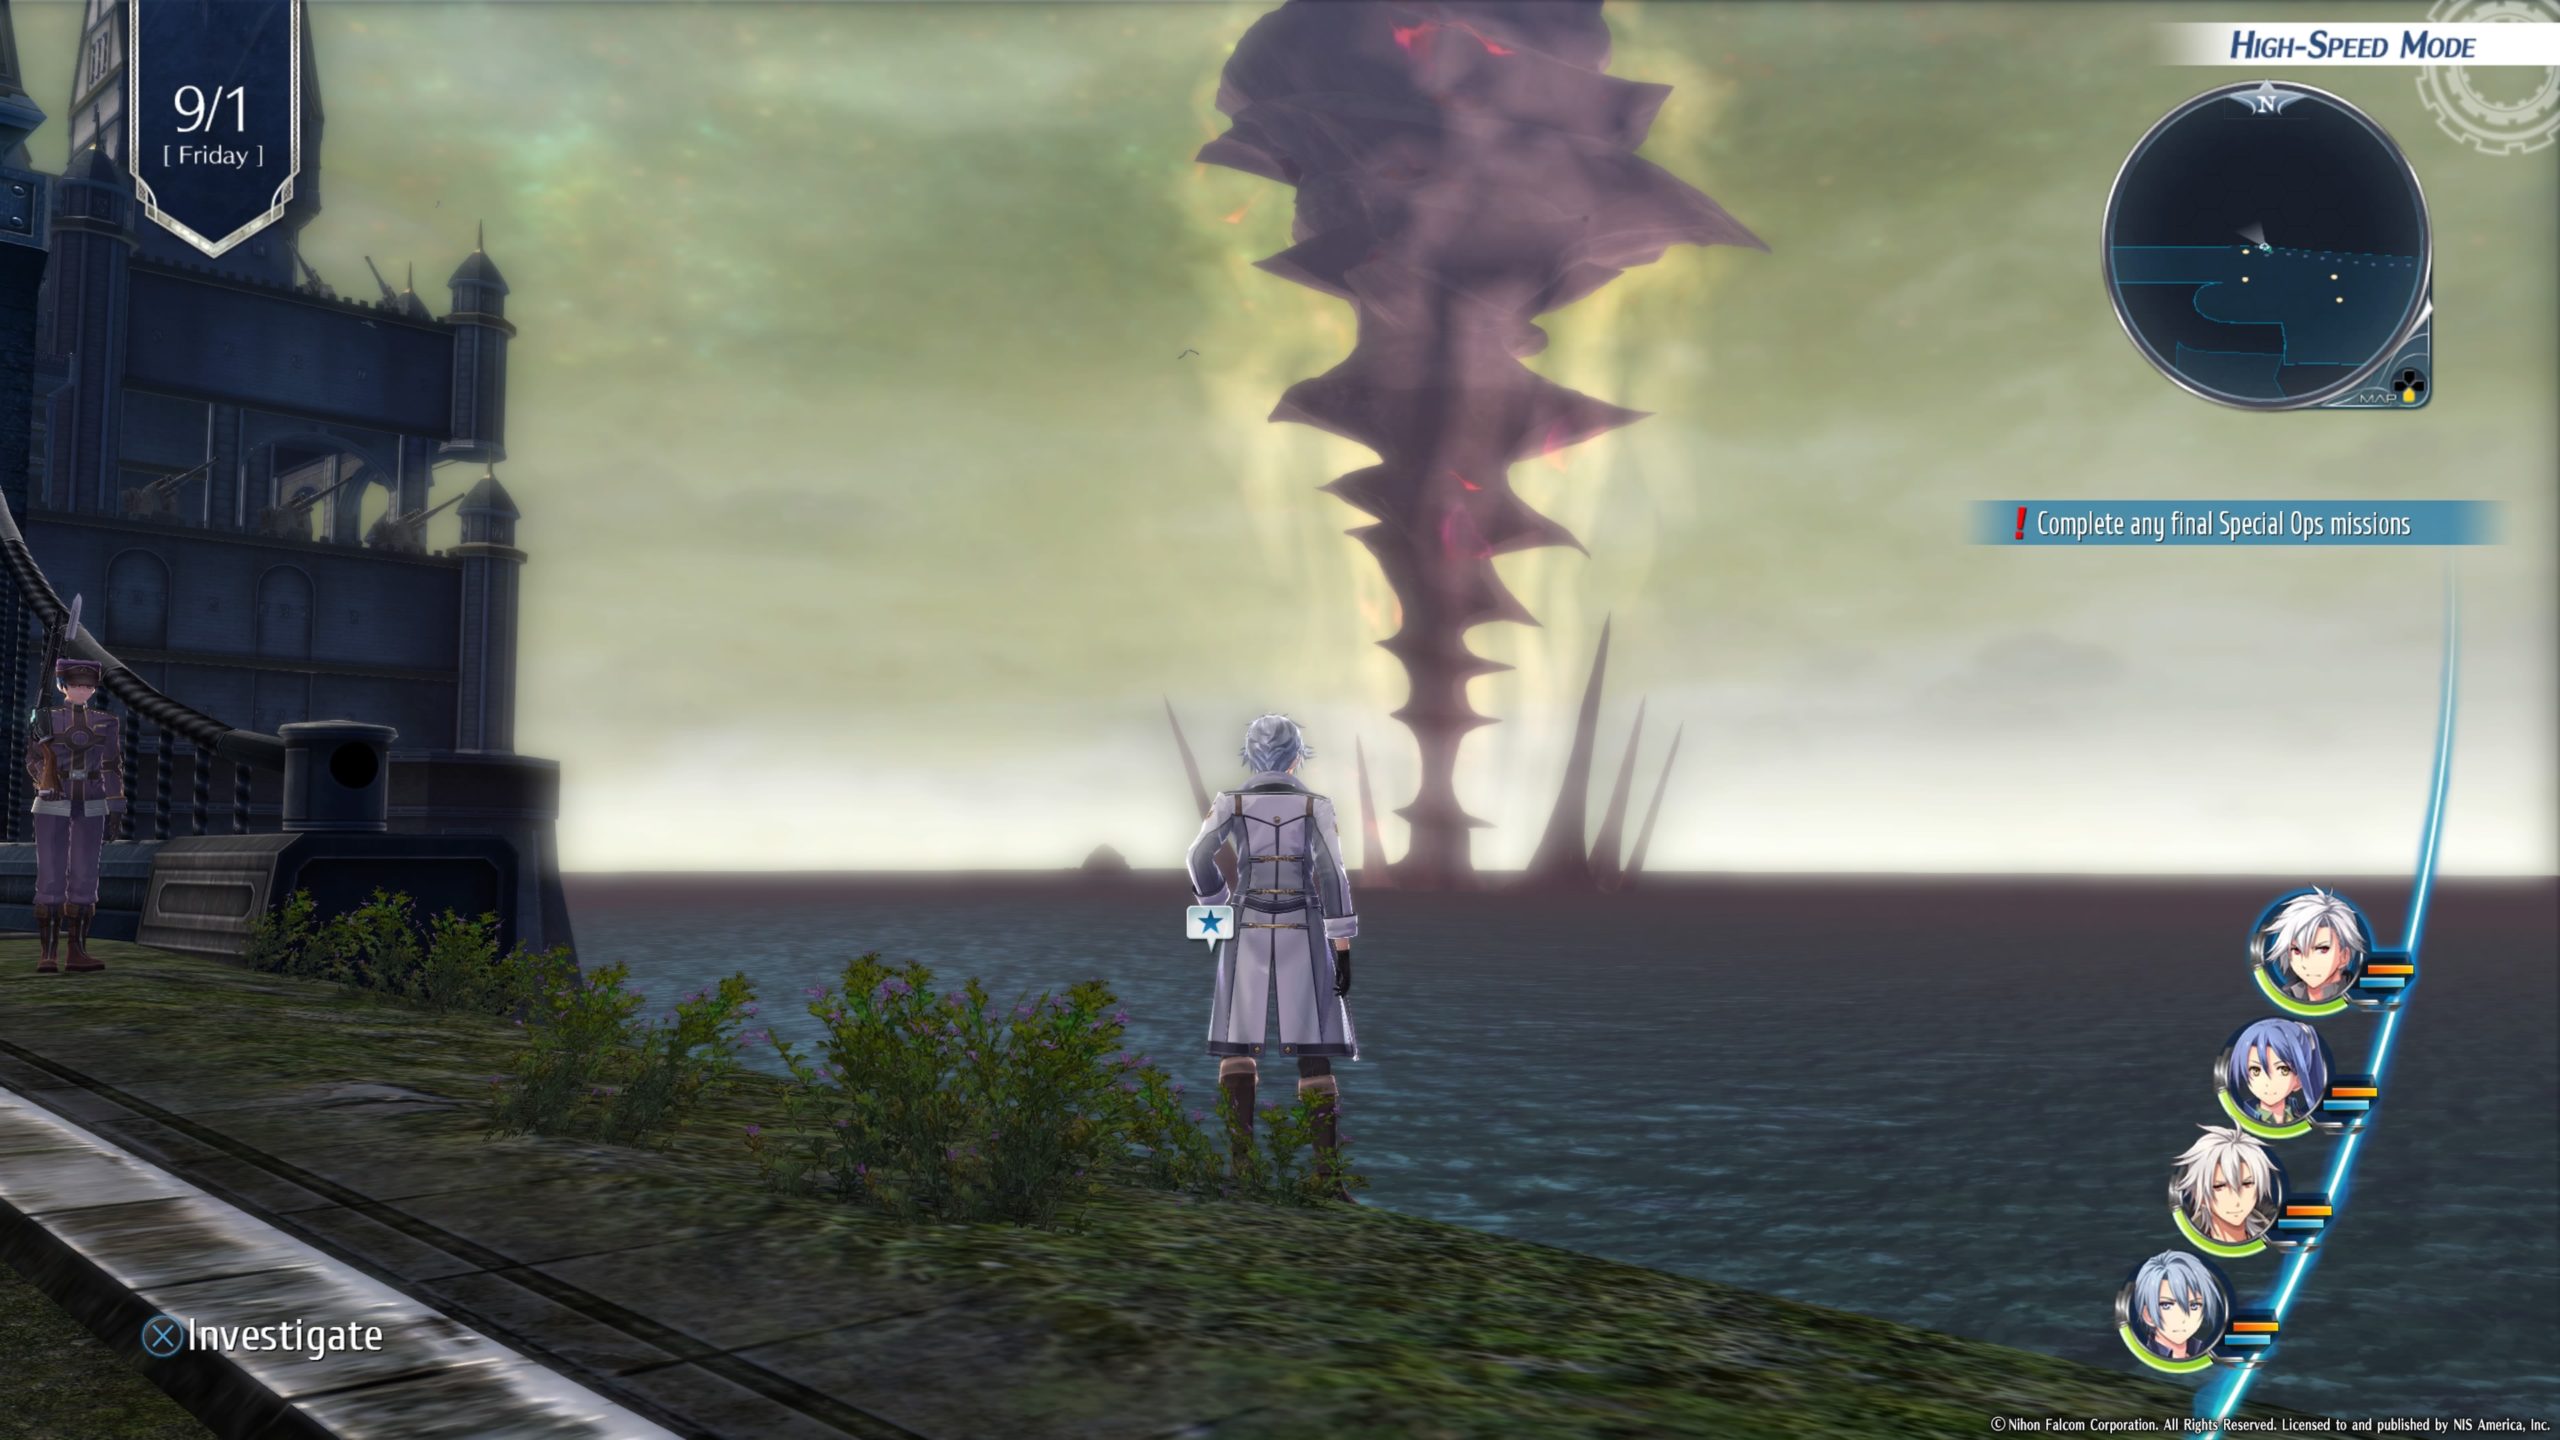
Juno Naval Fortress (West Lamare Highway)

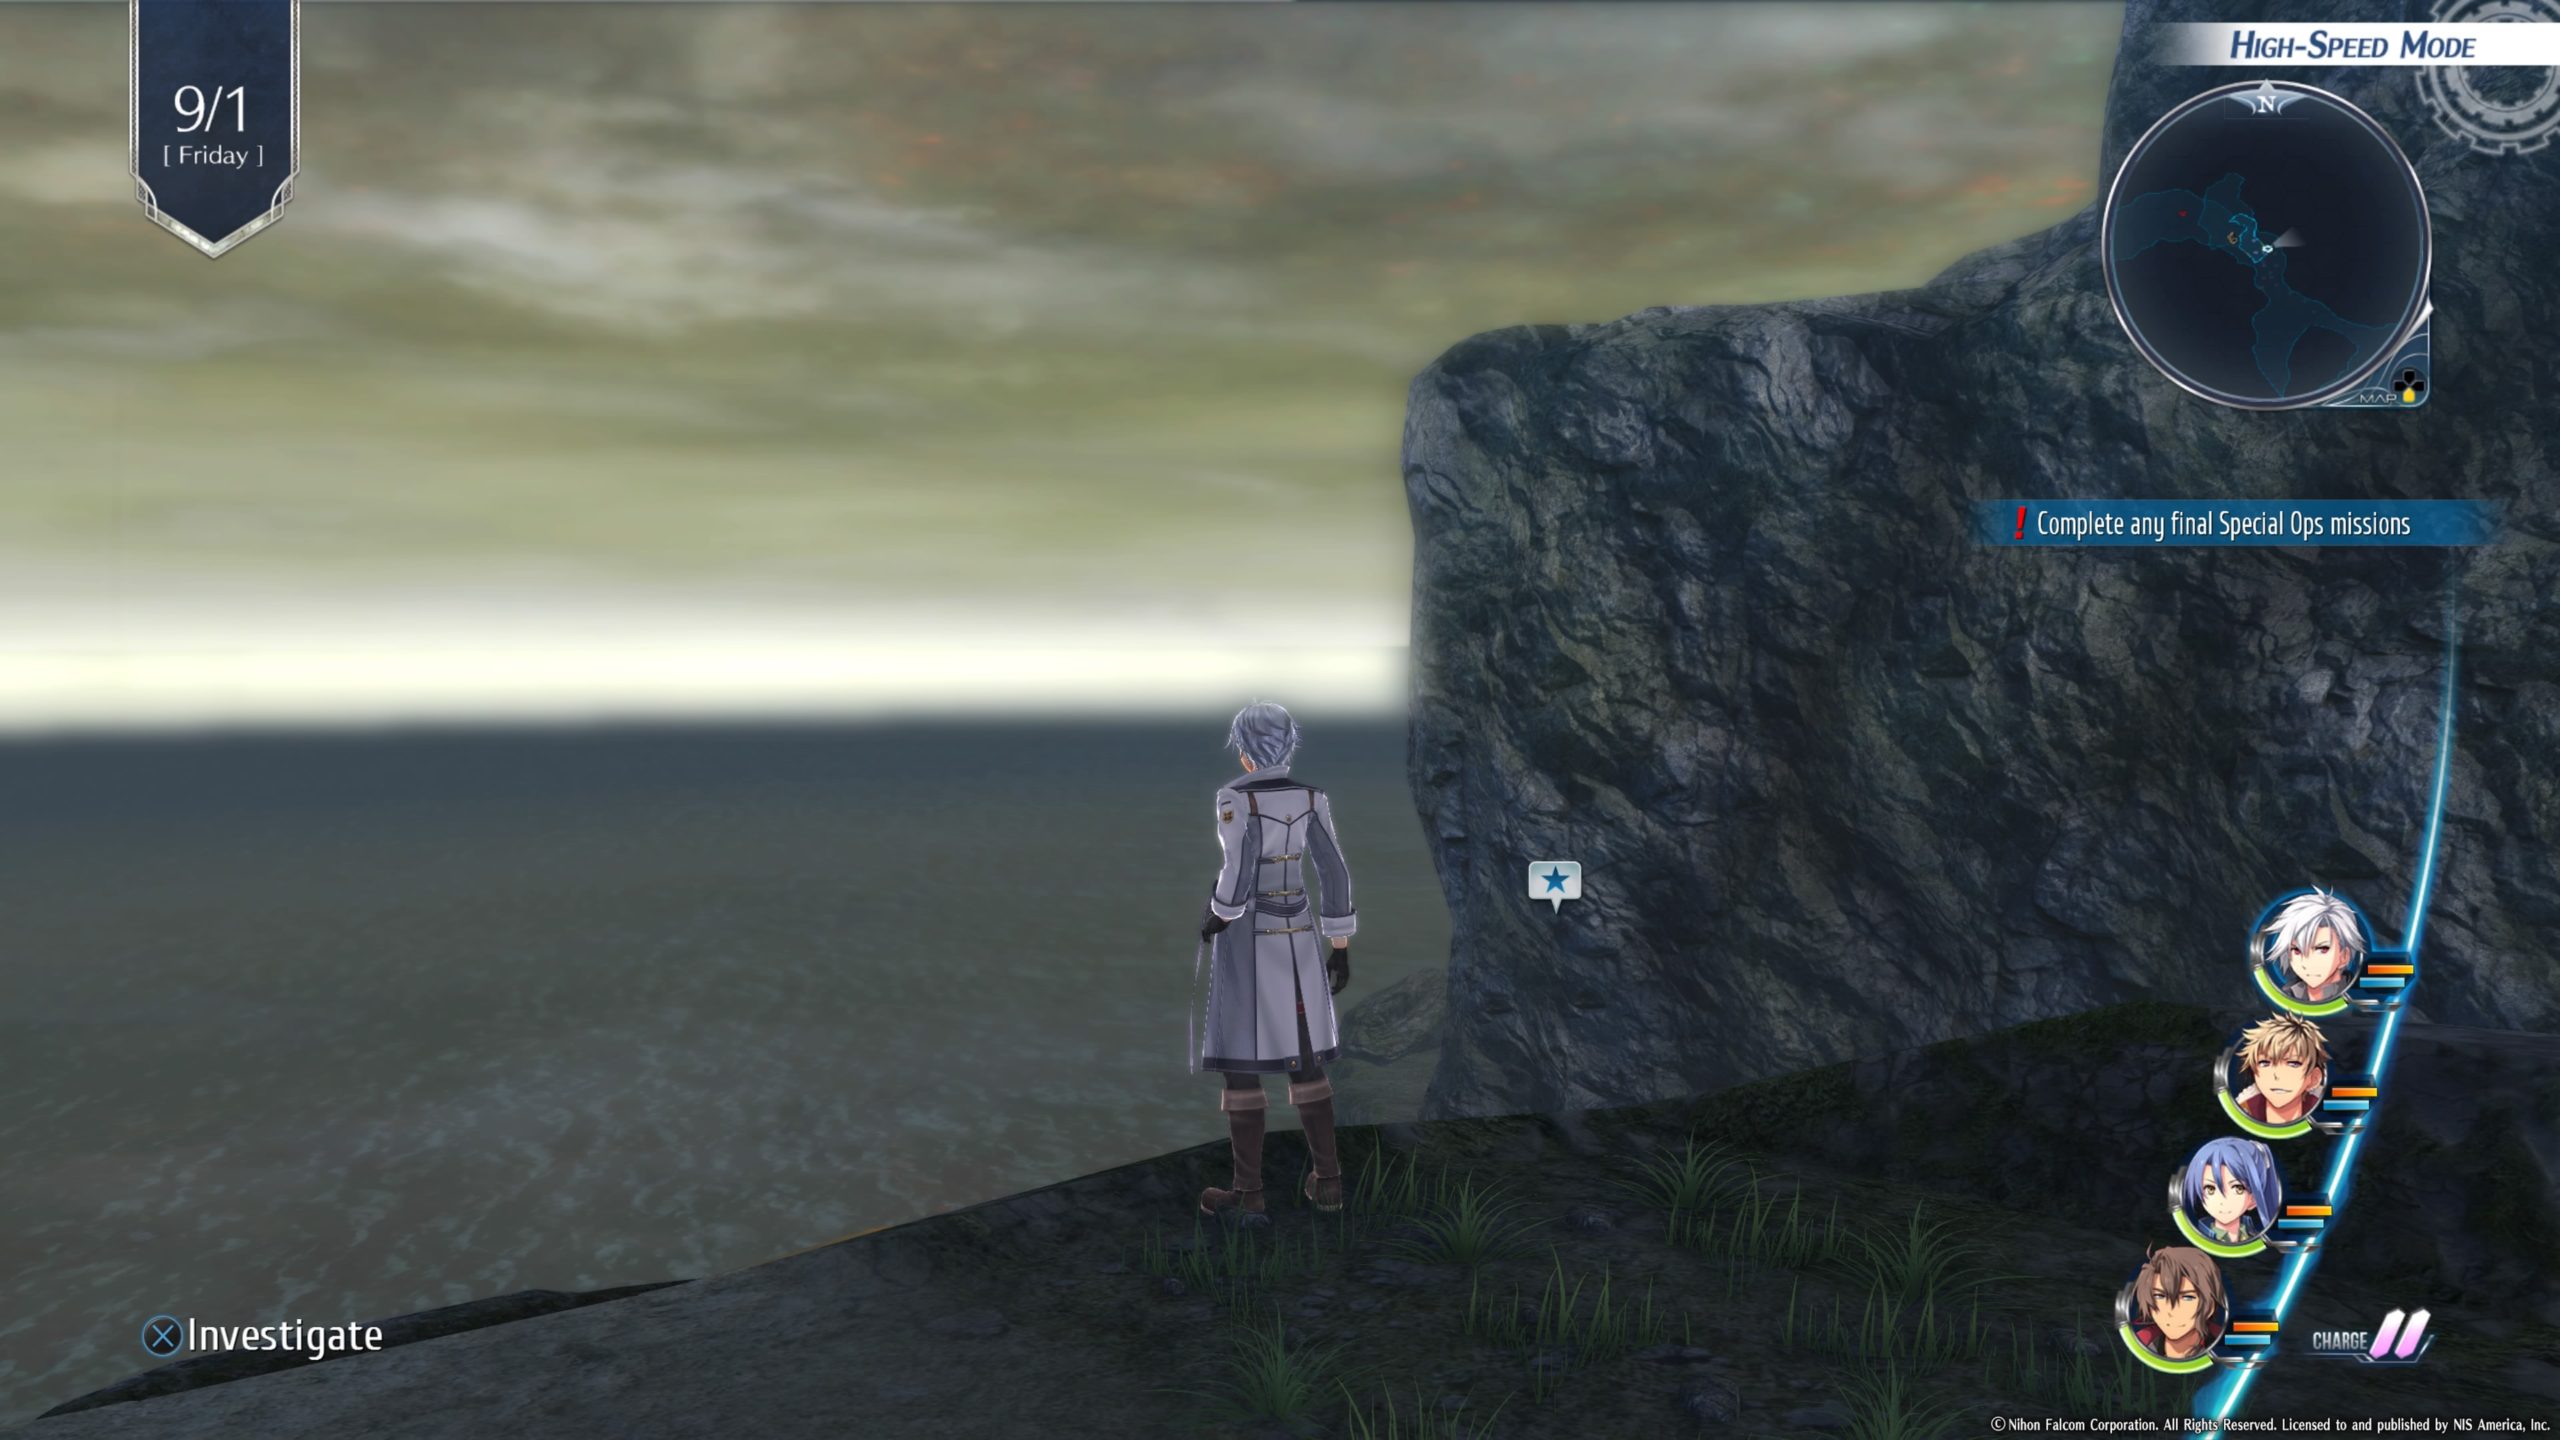
On 9/1 take a photo near the bridge leading to the fortress.


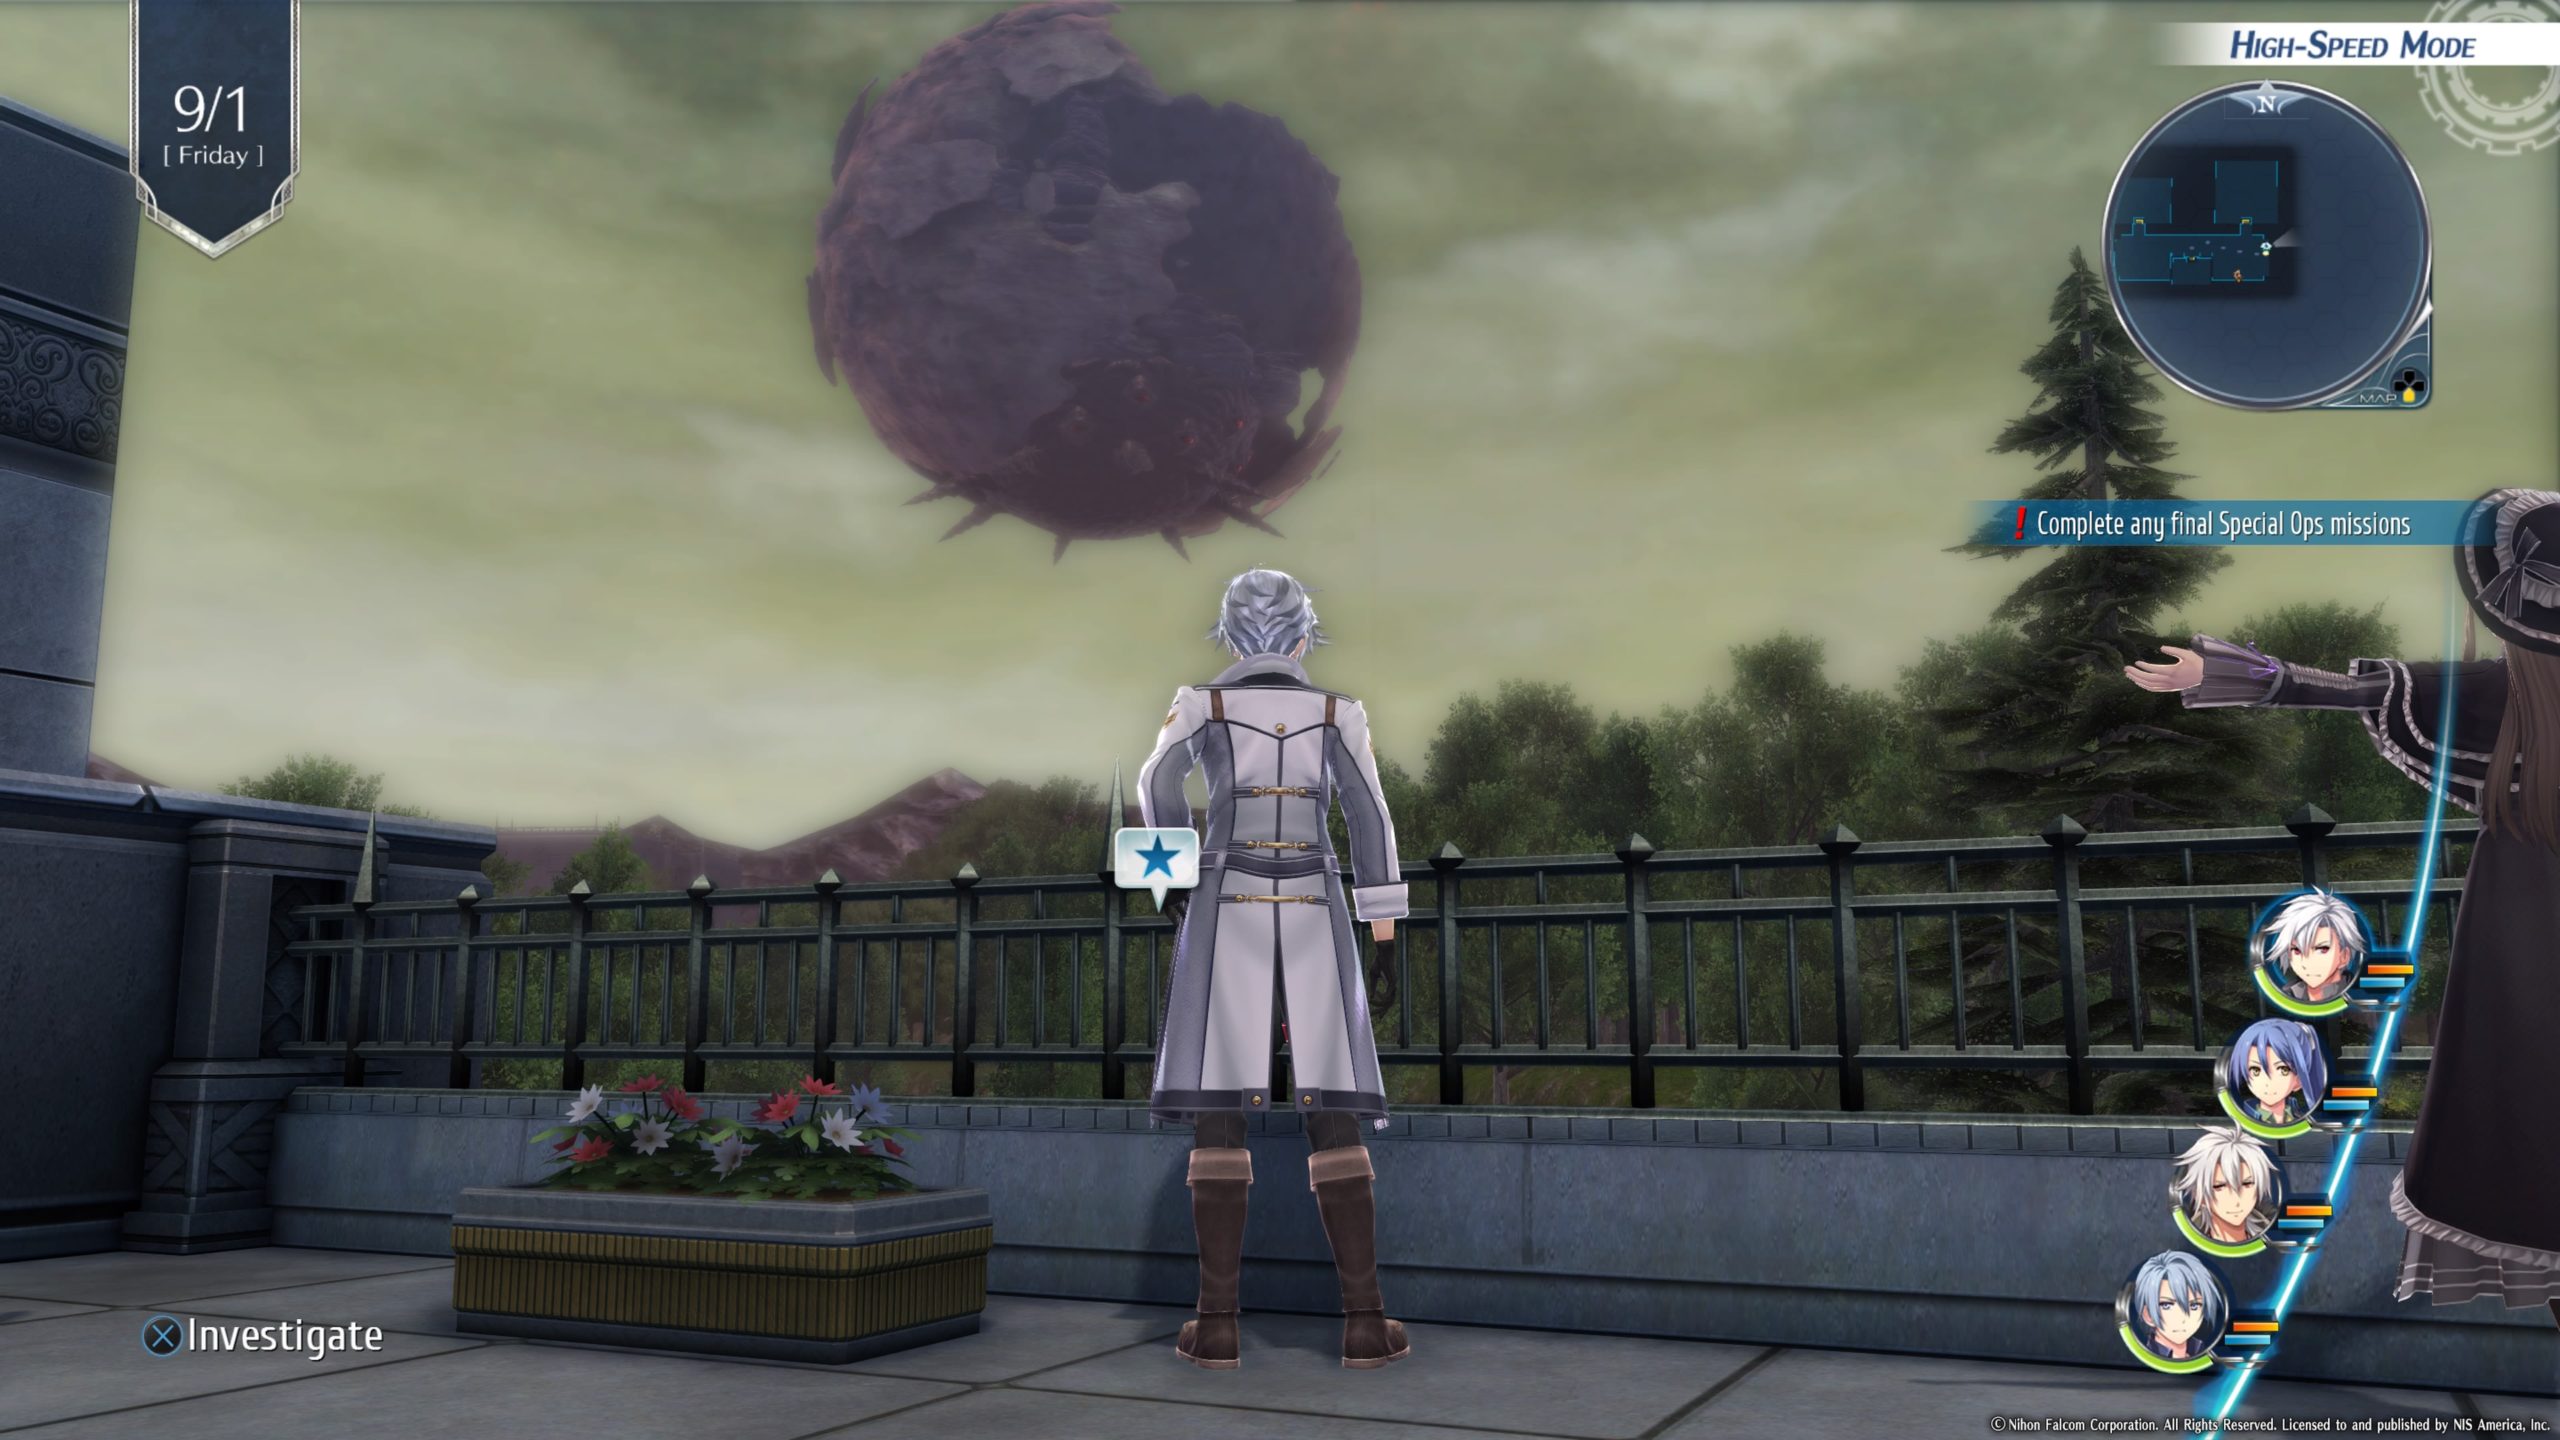
Thors Branch Campus

On 9/1 take the photo at the Main Building – Rooftop next to Beryl.


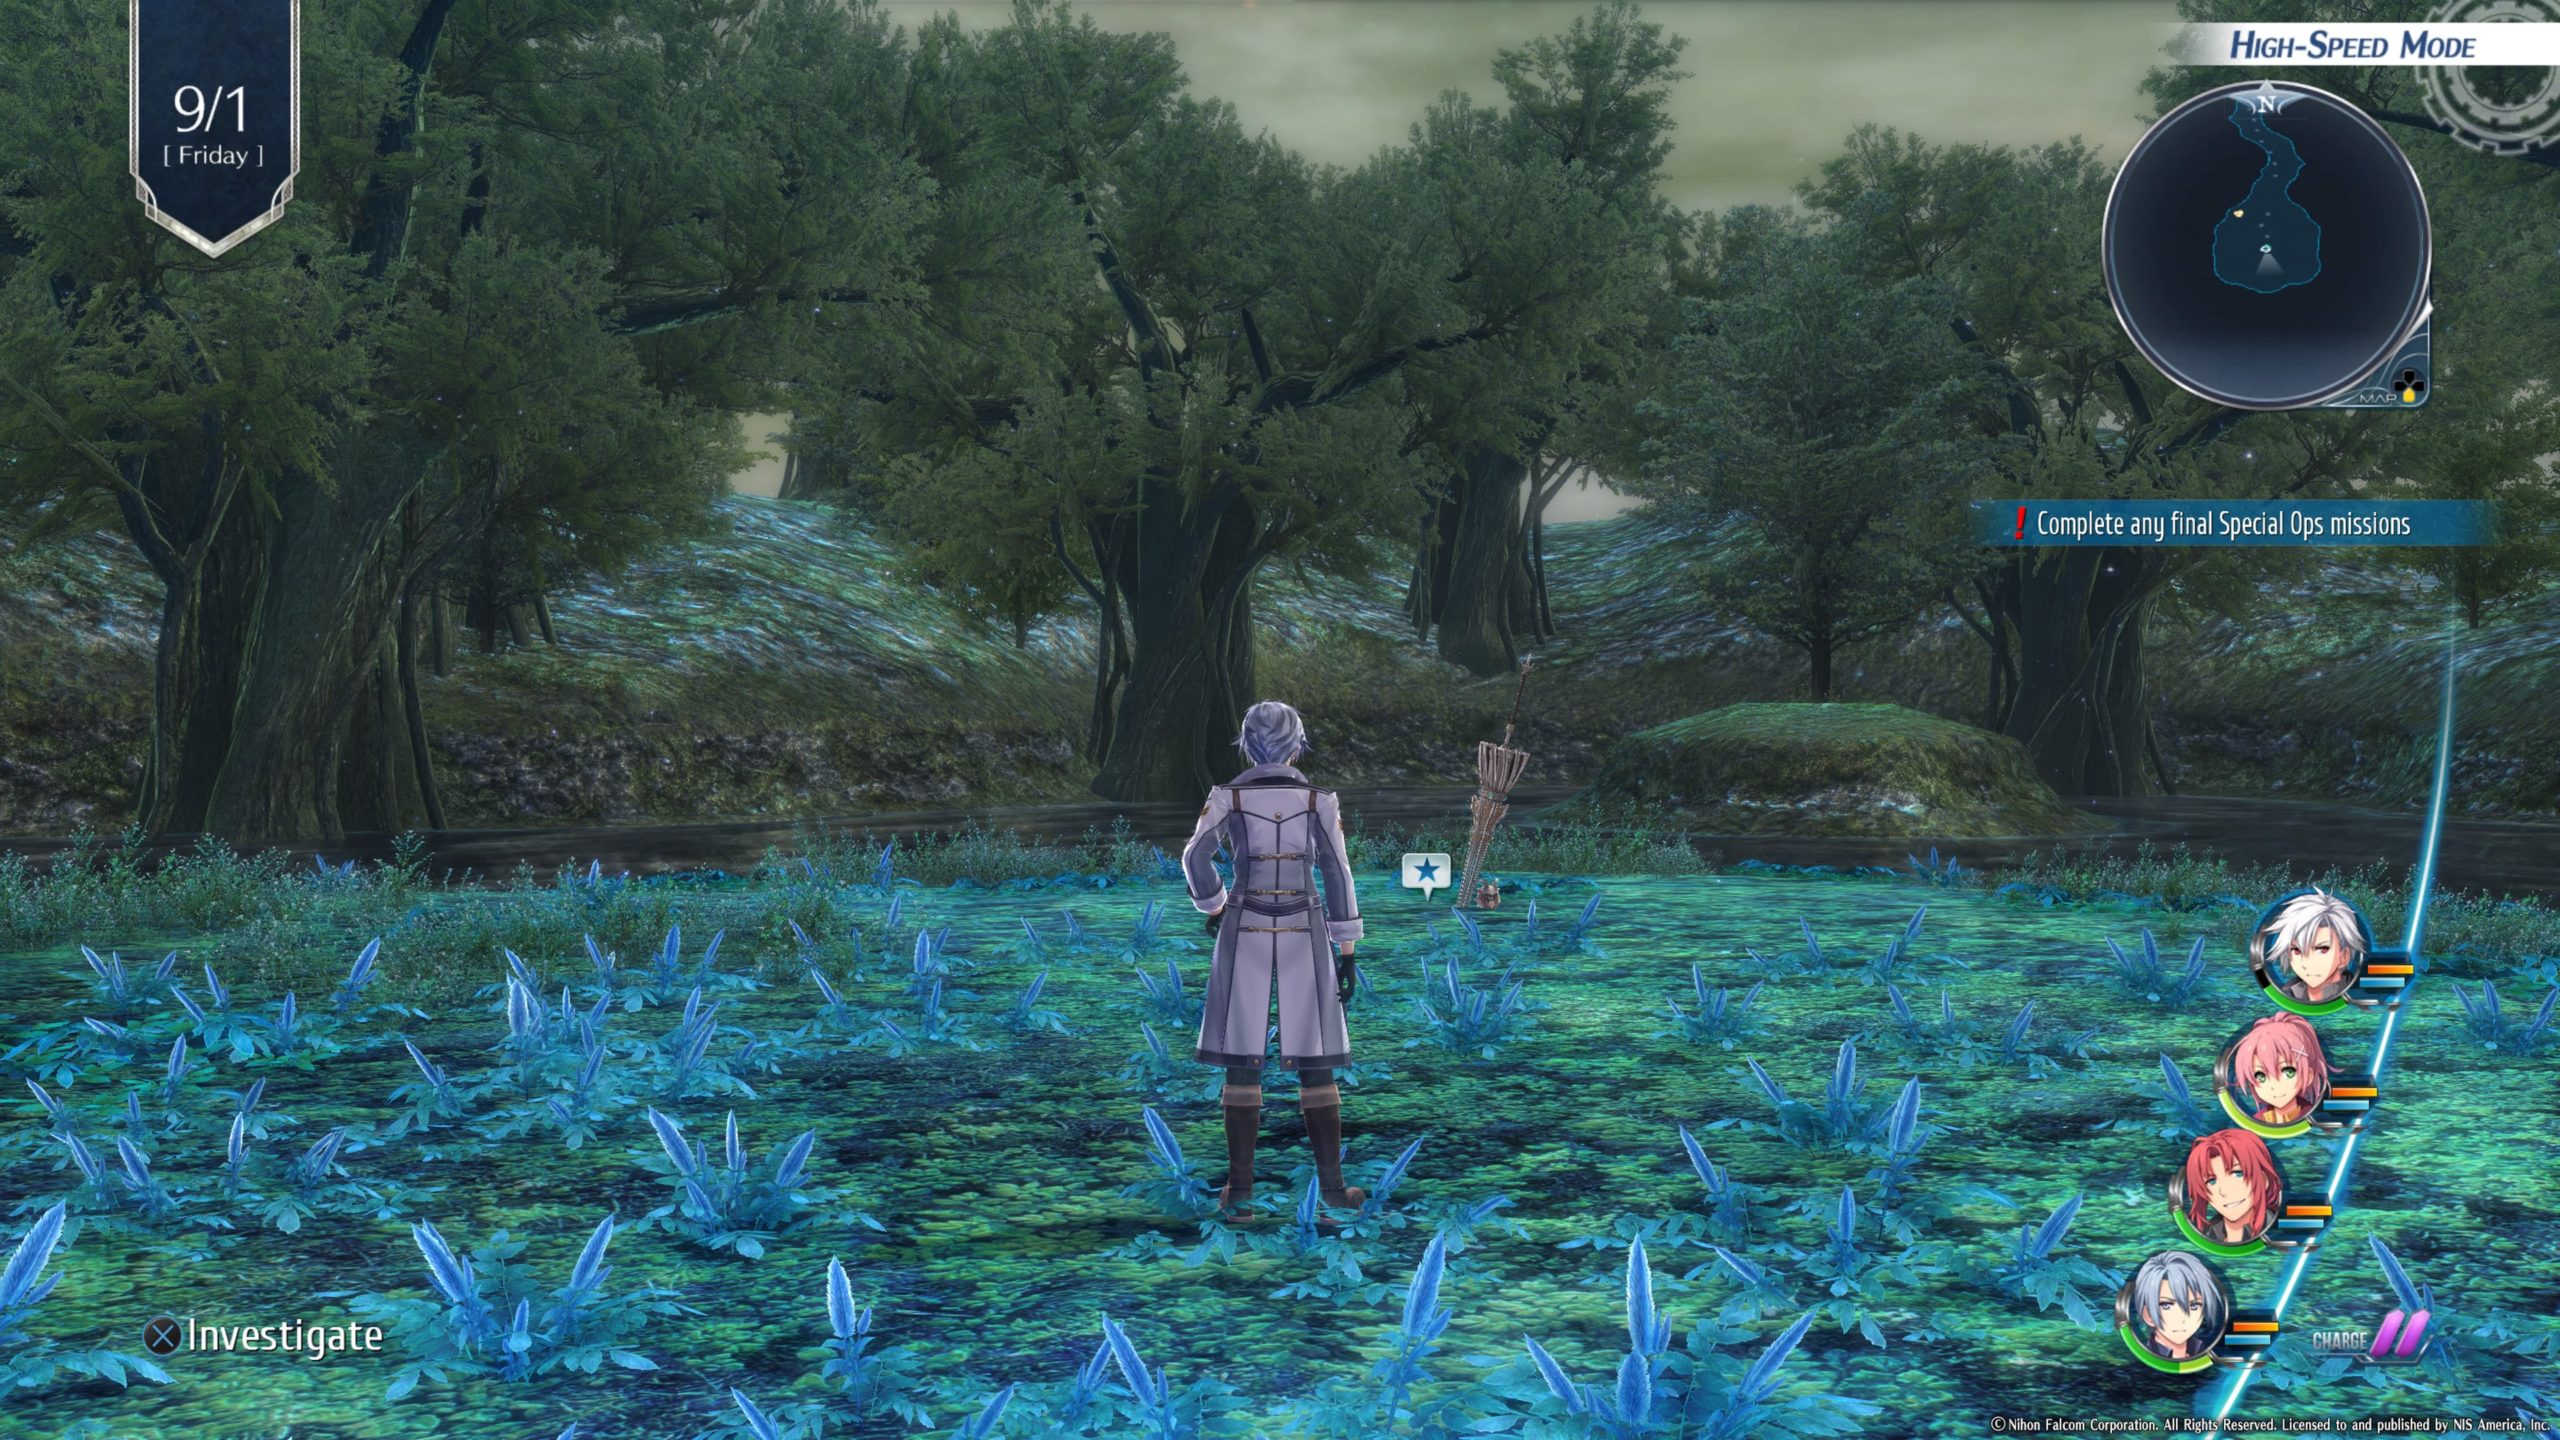
Lake Elm Wetlands 1

On 9/1 take a photo of the sword and helmet.


The Last of Us Part 2
Guides

The Last of Us Part 2 – Capitol Hill Collectibles

by Chappie in


Below is a guide on the 7 artifacts, 1 safe, 6 trading card, 1 weapon and 2 workbenches that can be found during the Capitol Hill chapter in The Last of Us Part II.


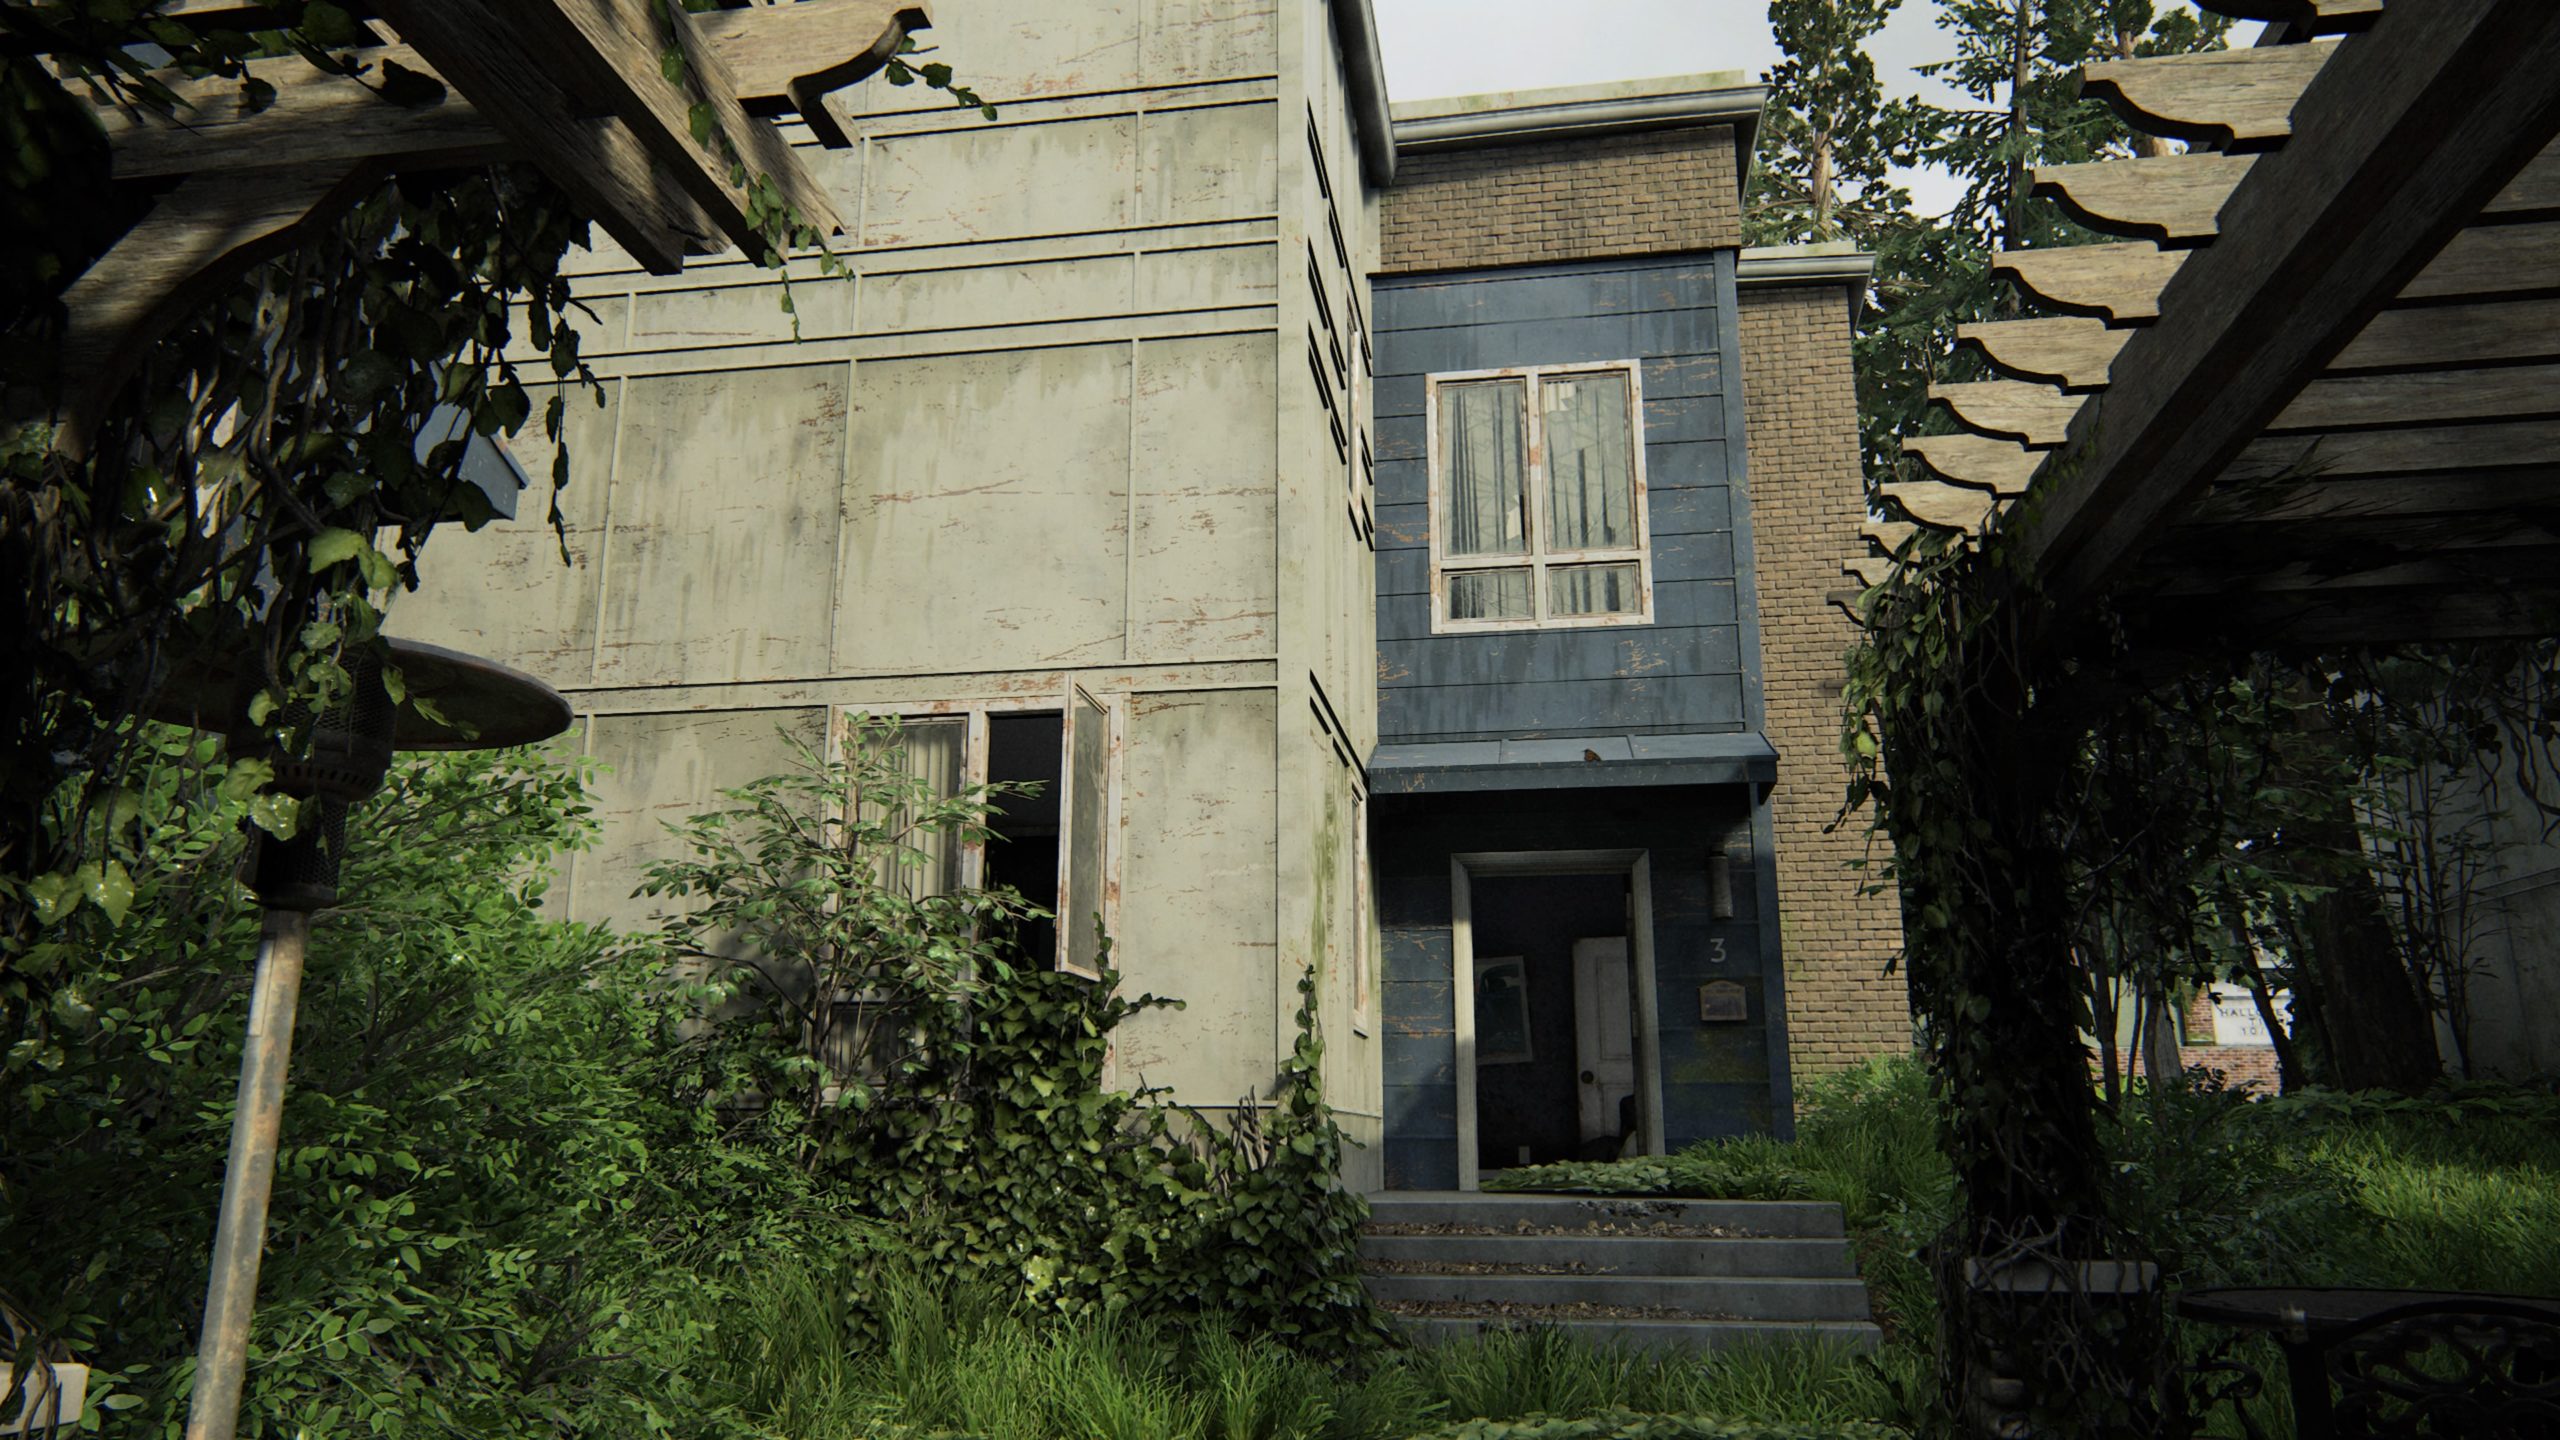
Trading Card – Kinnard, Esq.

At the very start of this section, take a right passing through an opening in the fence. Hug the right side of the house to find the front door. Enter through the door then head to the living room to find the card in the drawer of an end table.


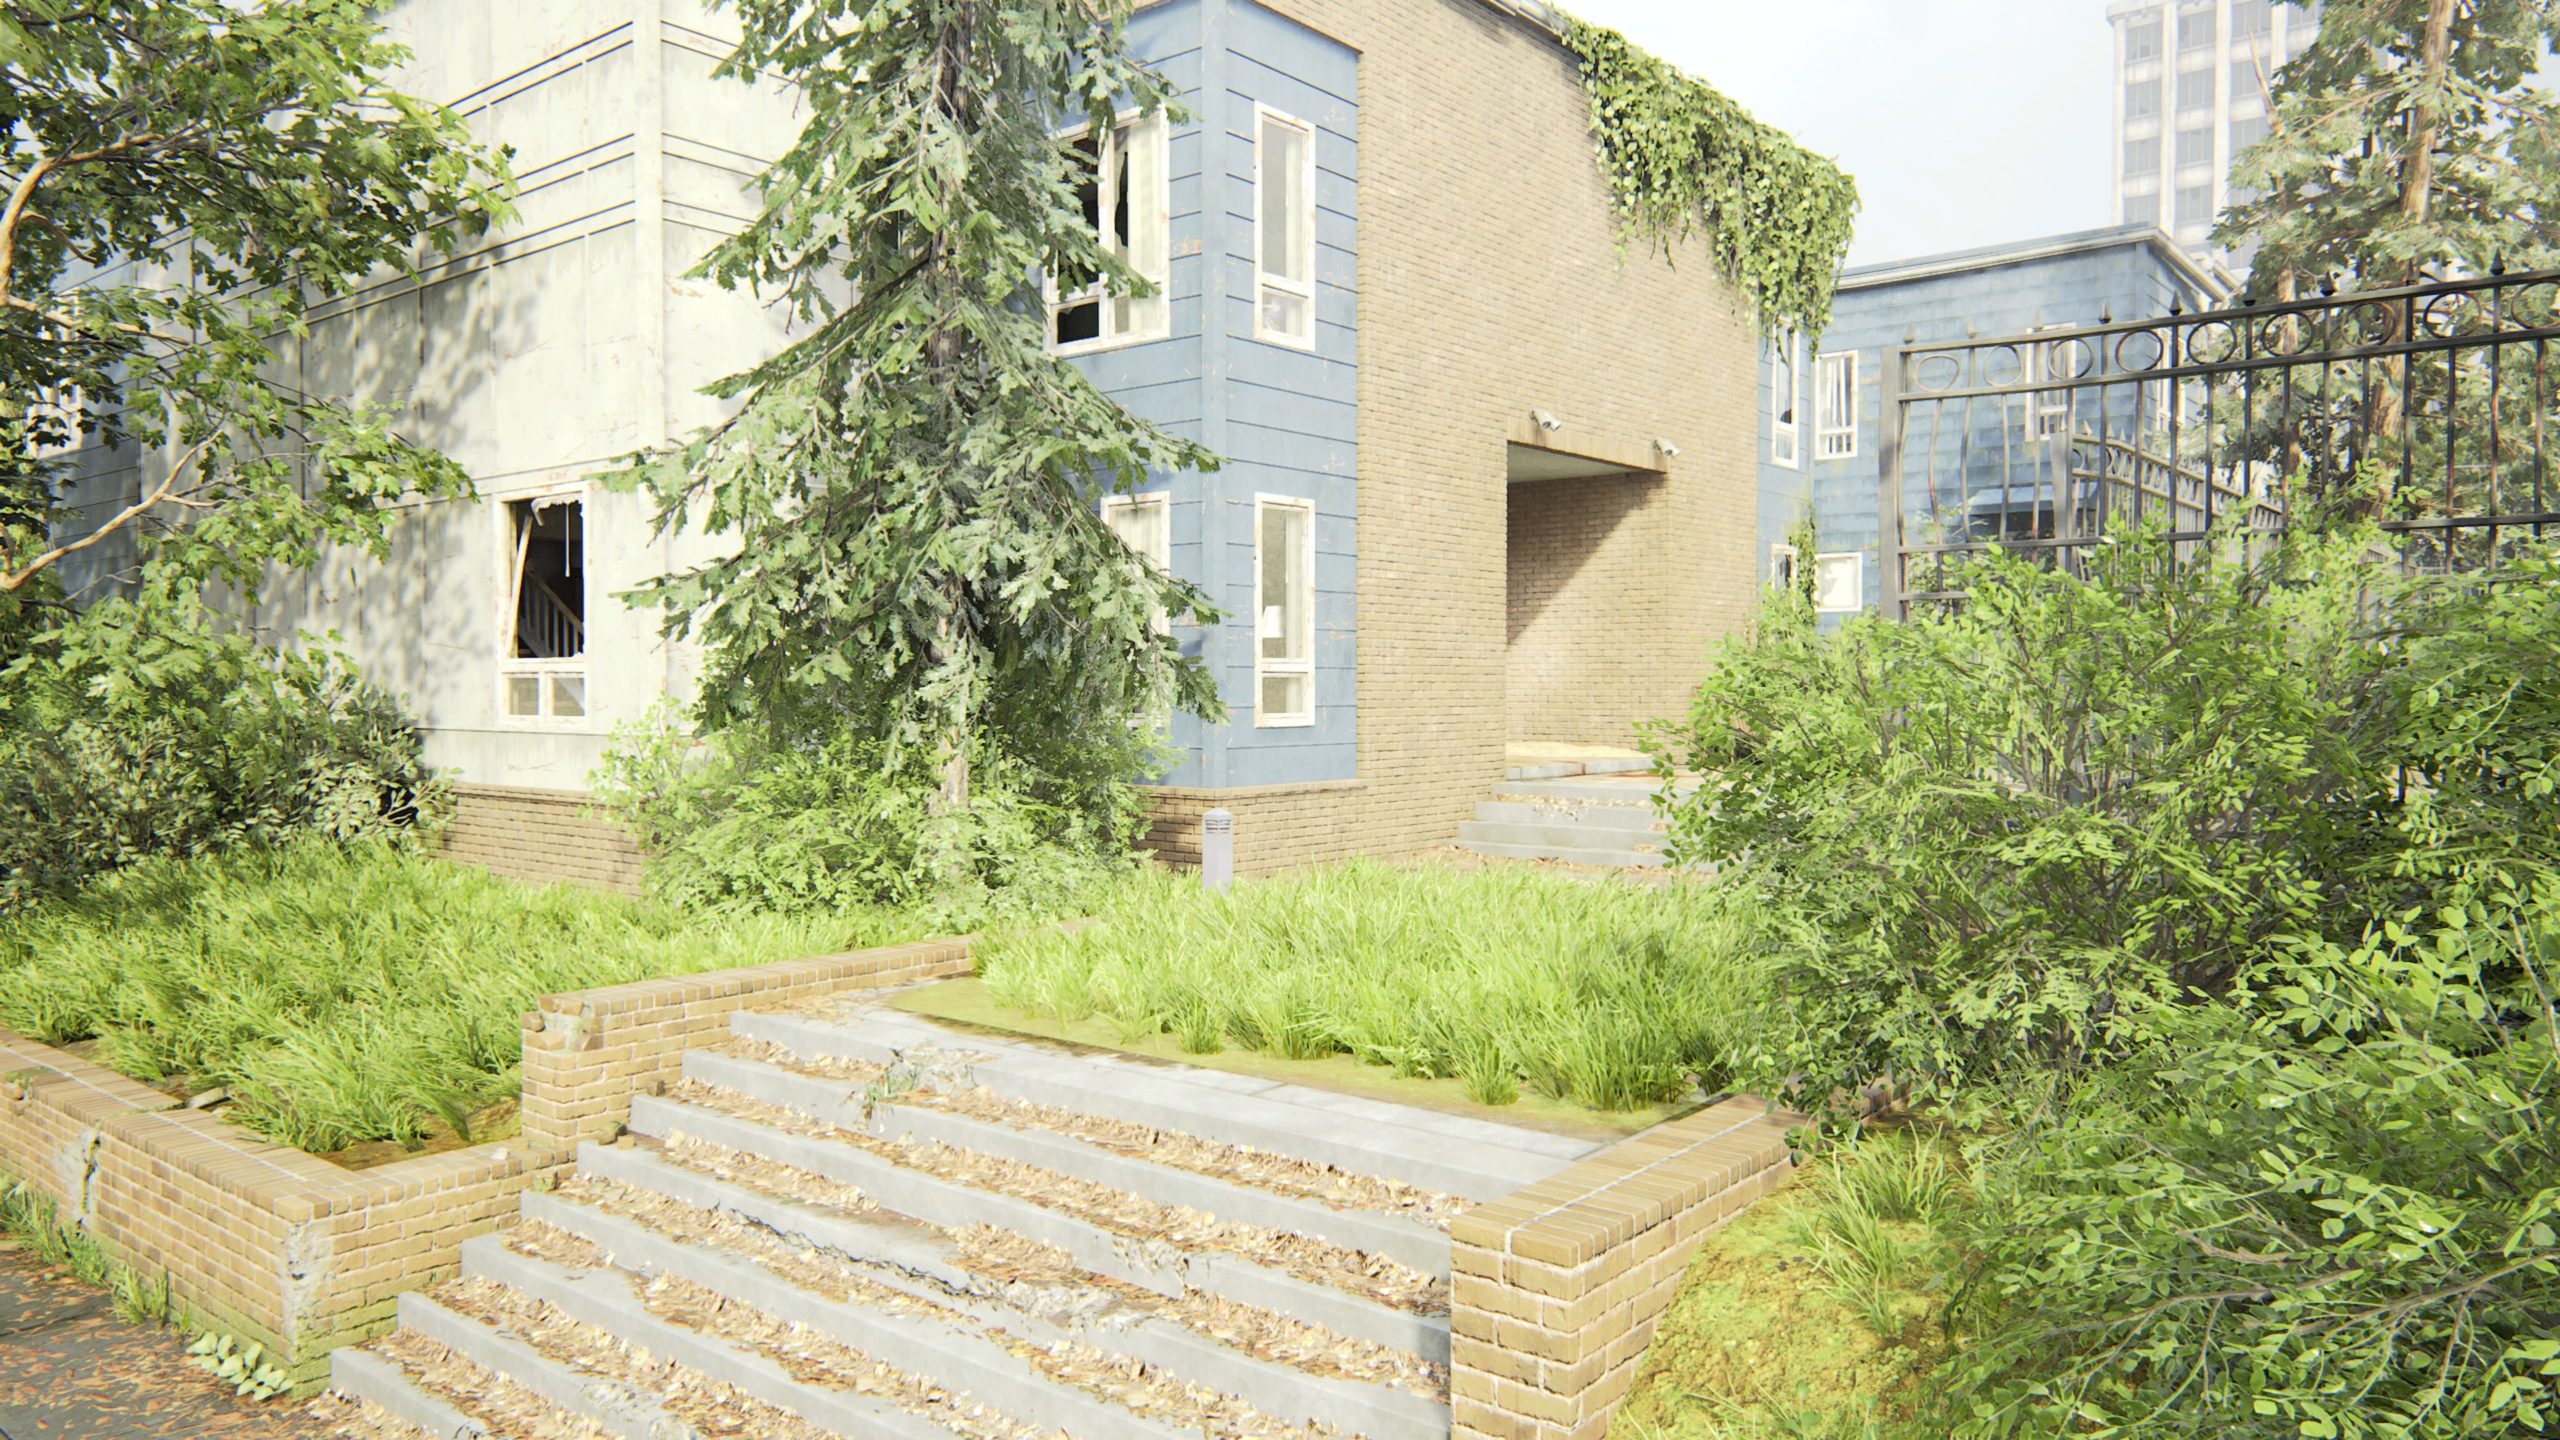
Artifact – Chevy’s Apology

This artifact can be found on the bed in the bedroom on the second level of the building across from a swimming pool.


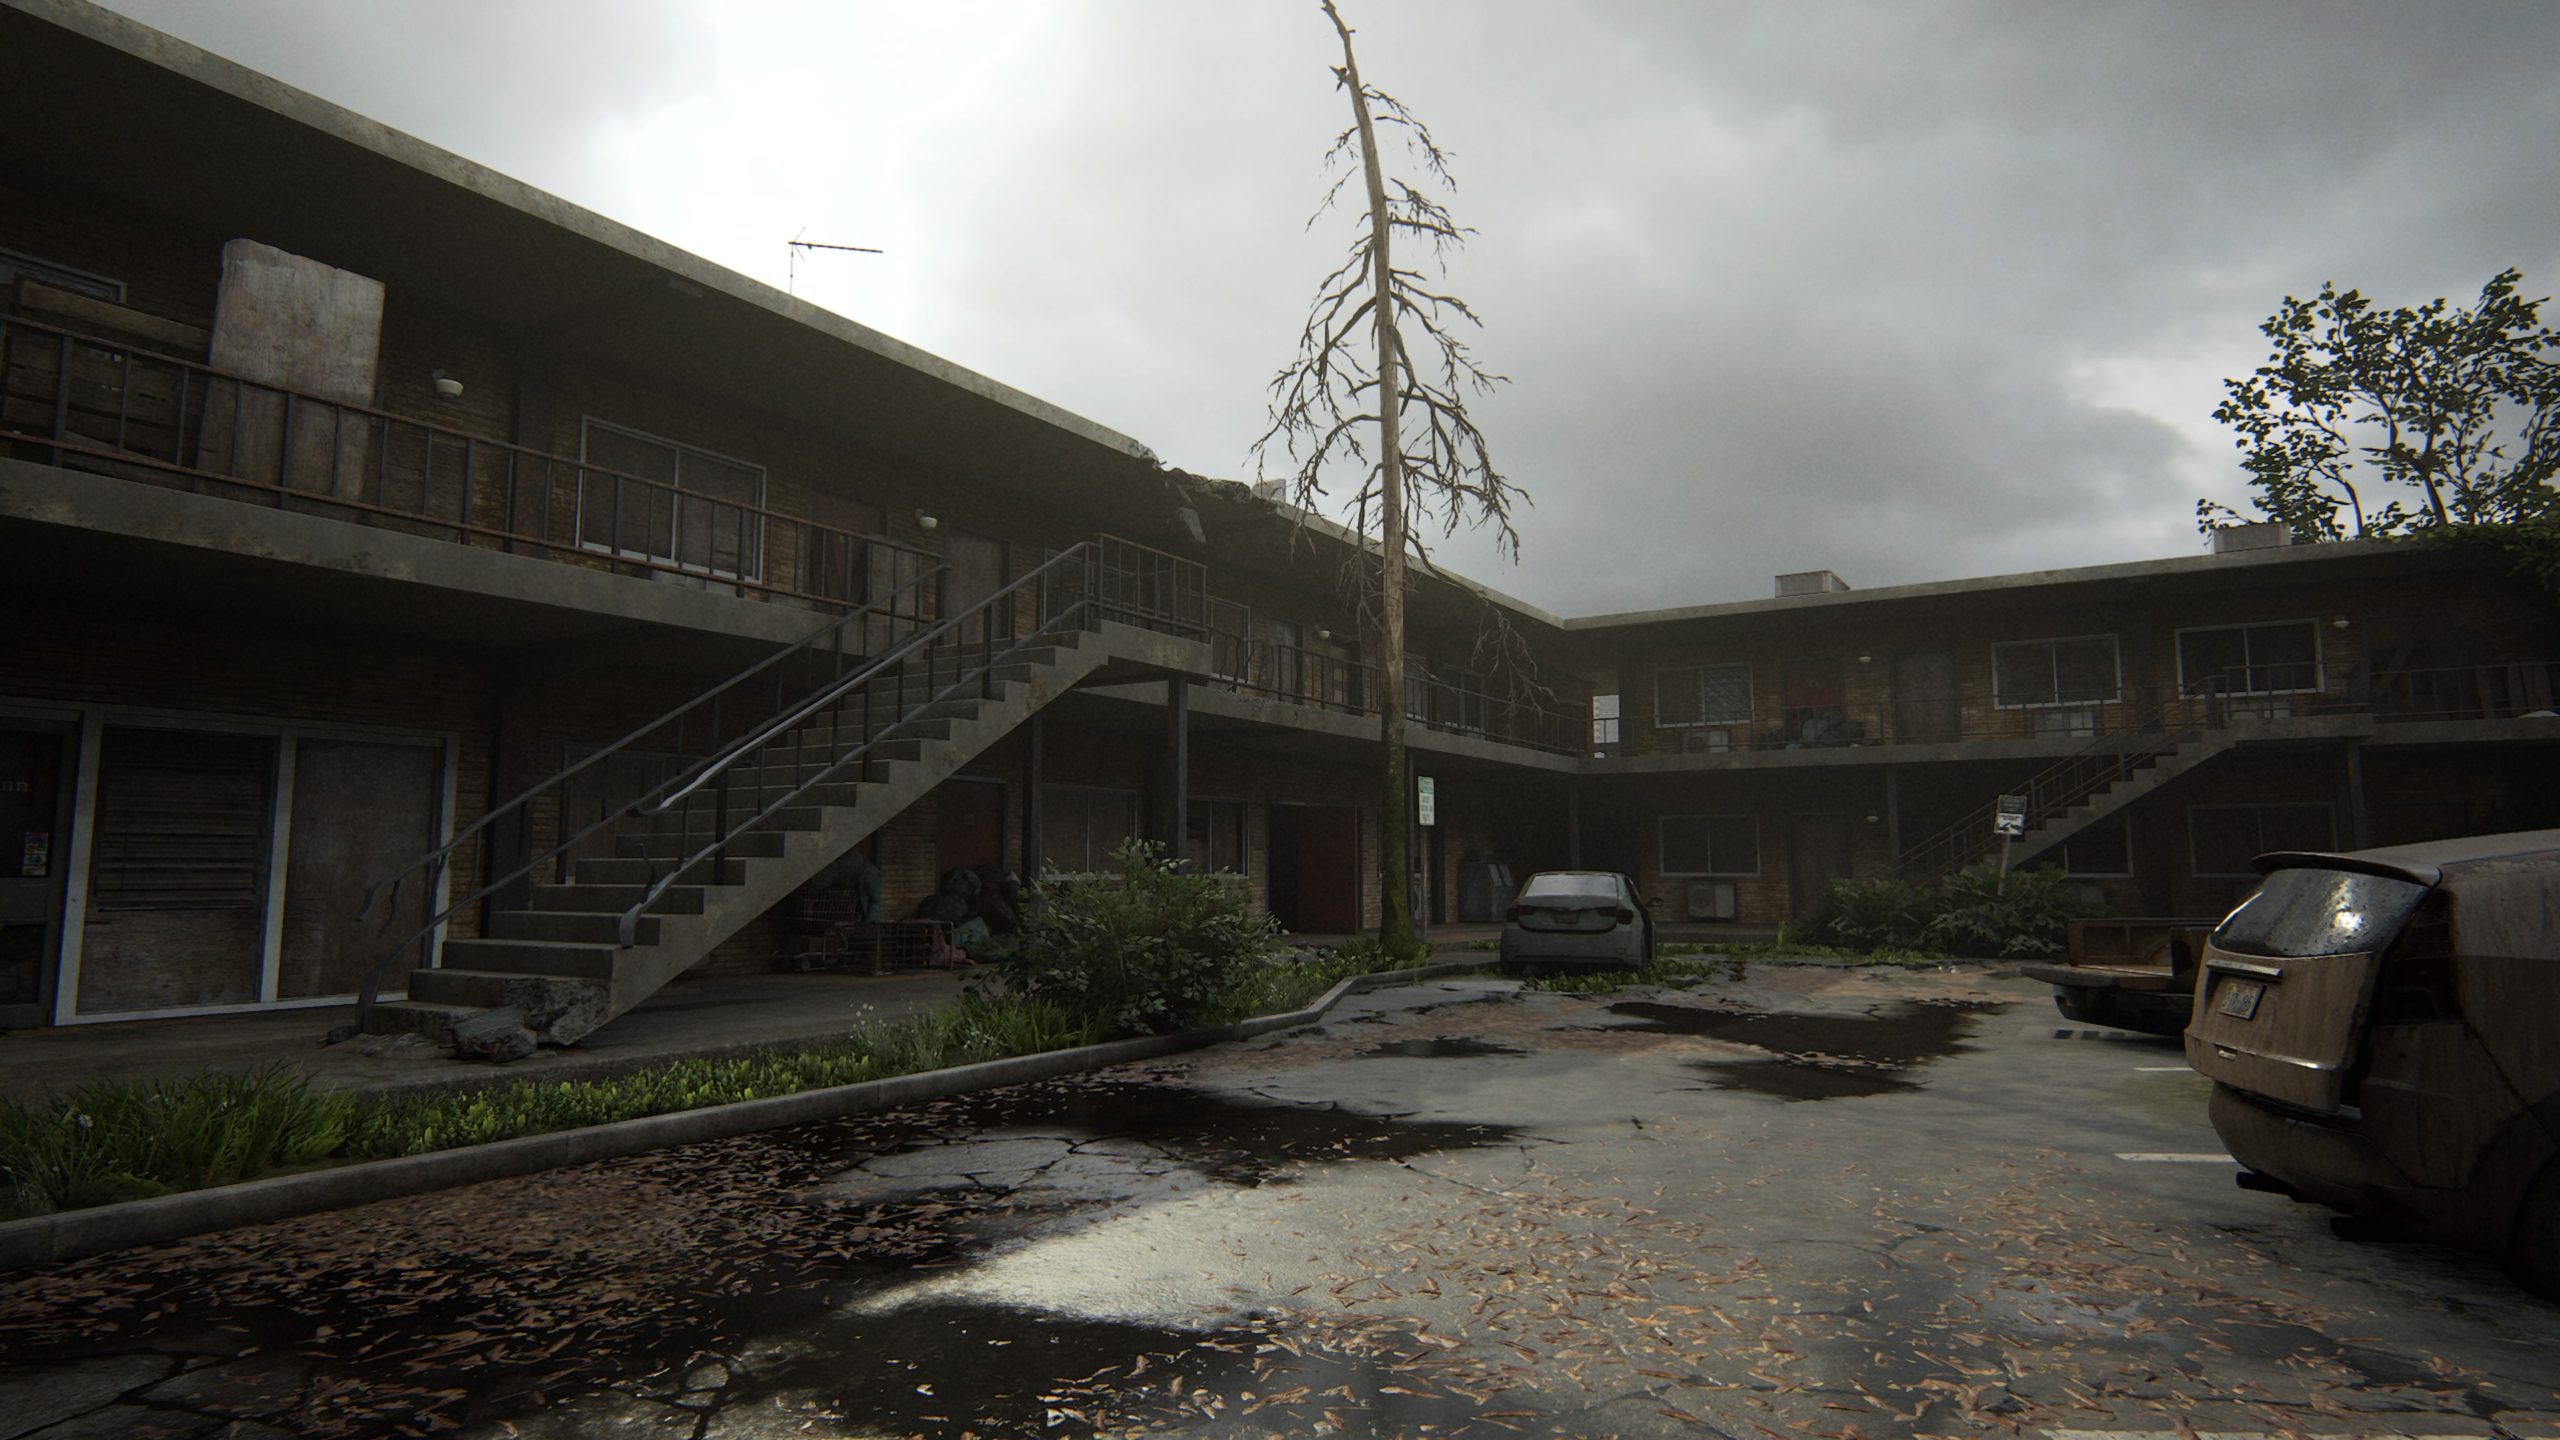
Trading Card – Rockafella

This card can be found at the Capitol Inn in room 03. To reach it, head to the alley to the left of the inn then climb through the window to enter the room.


Weapon – Trap Mine

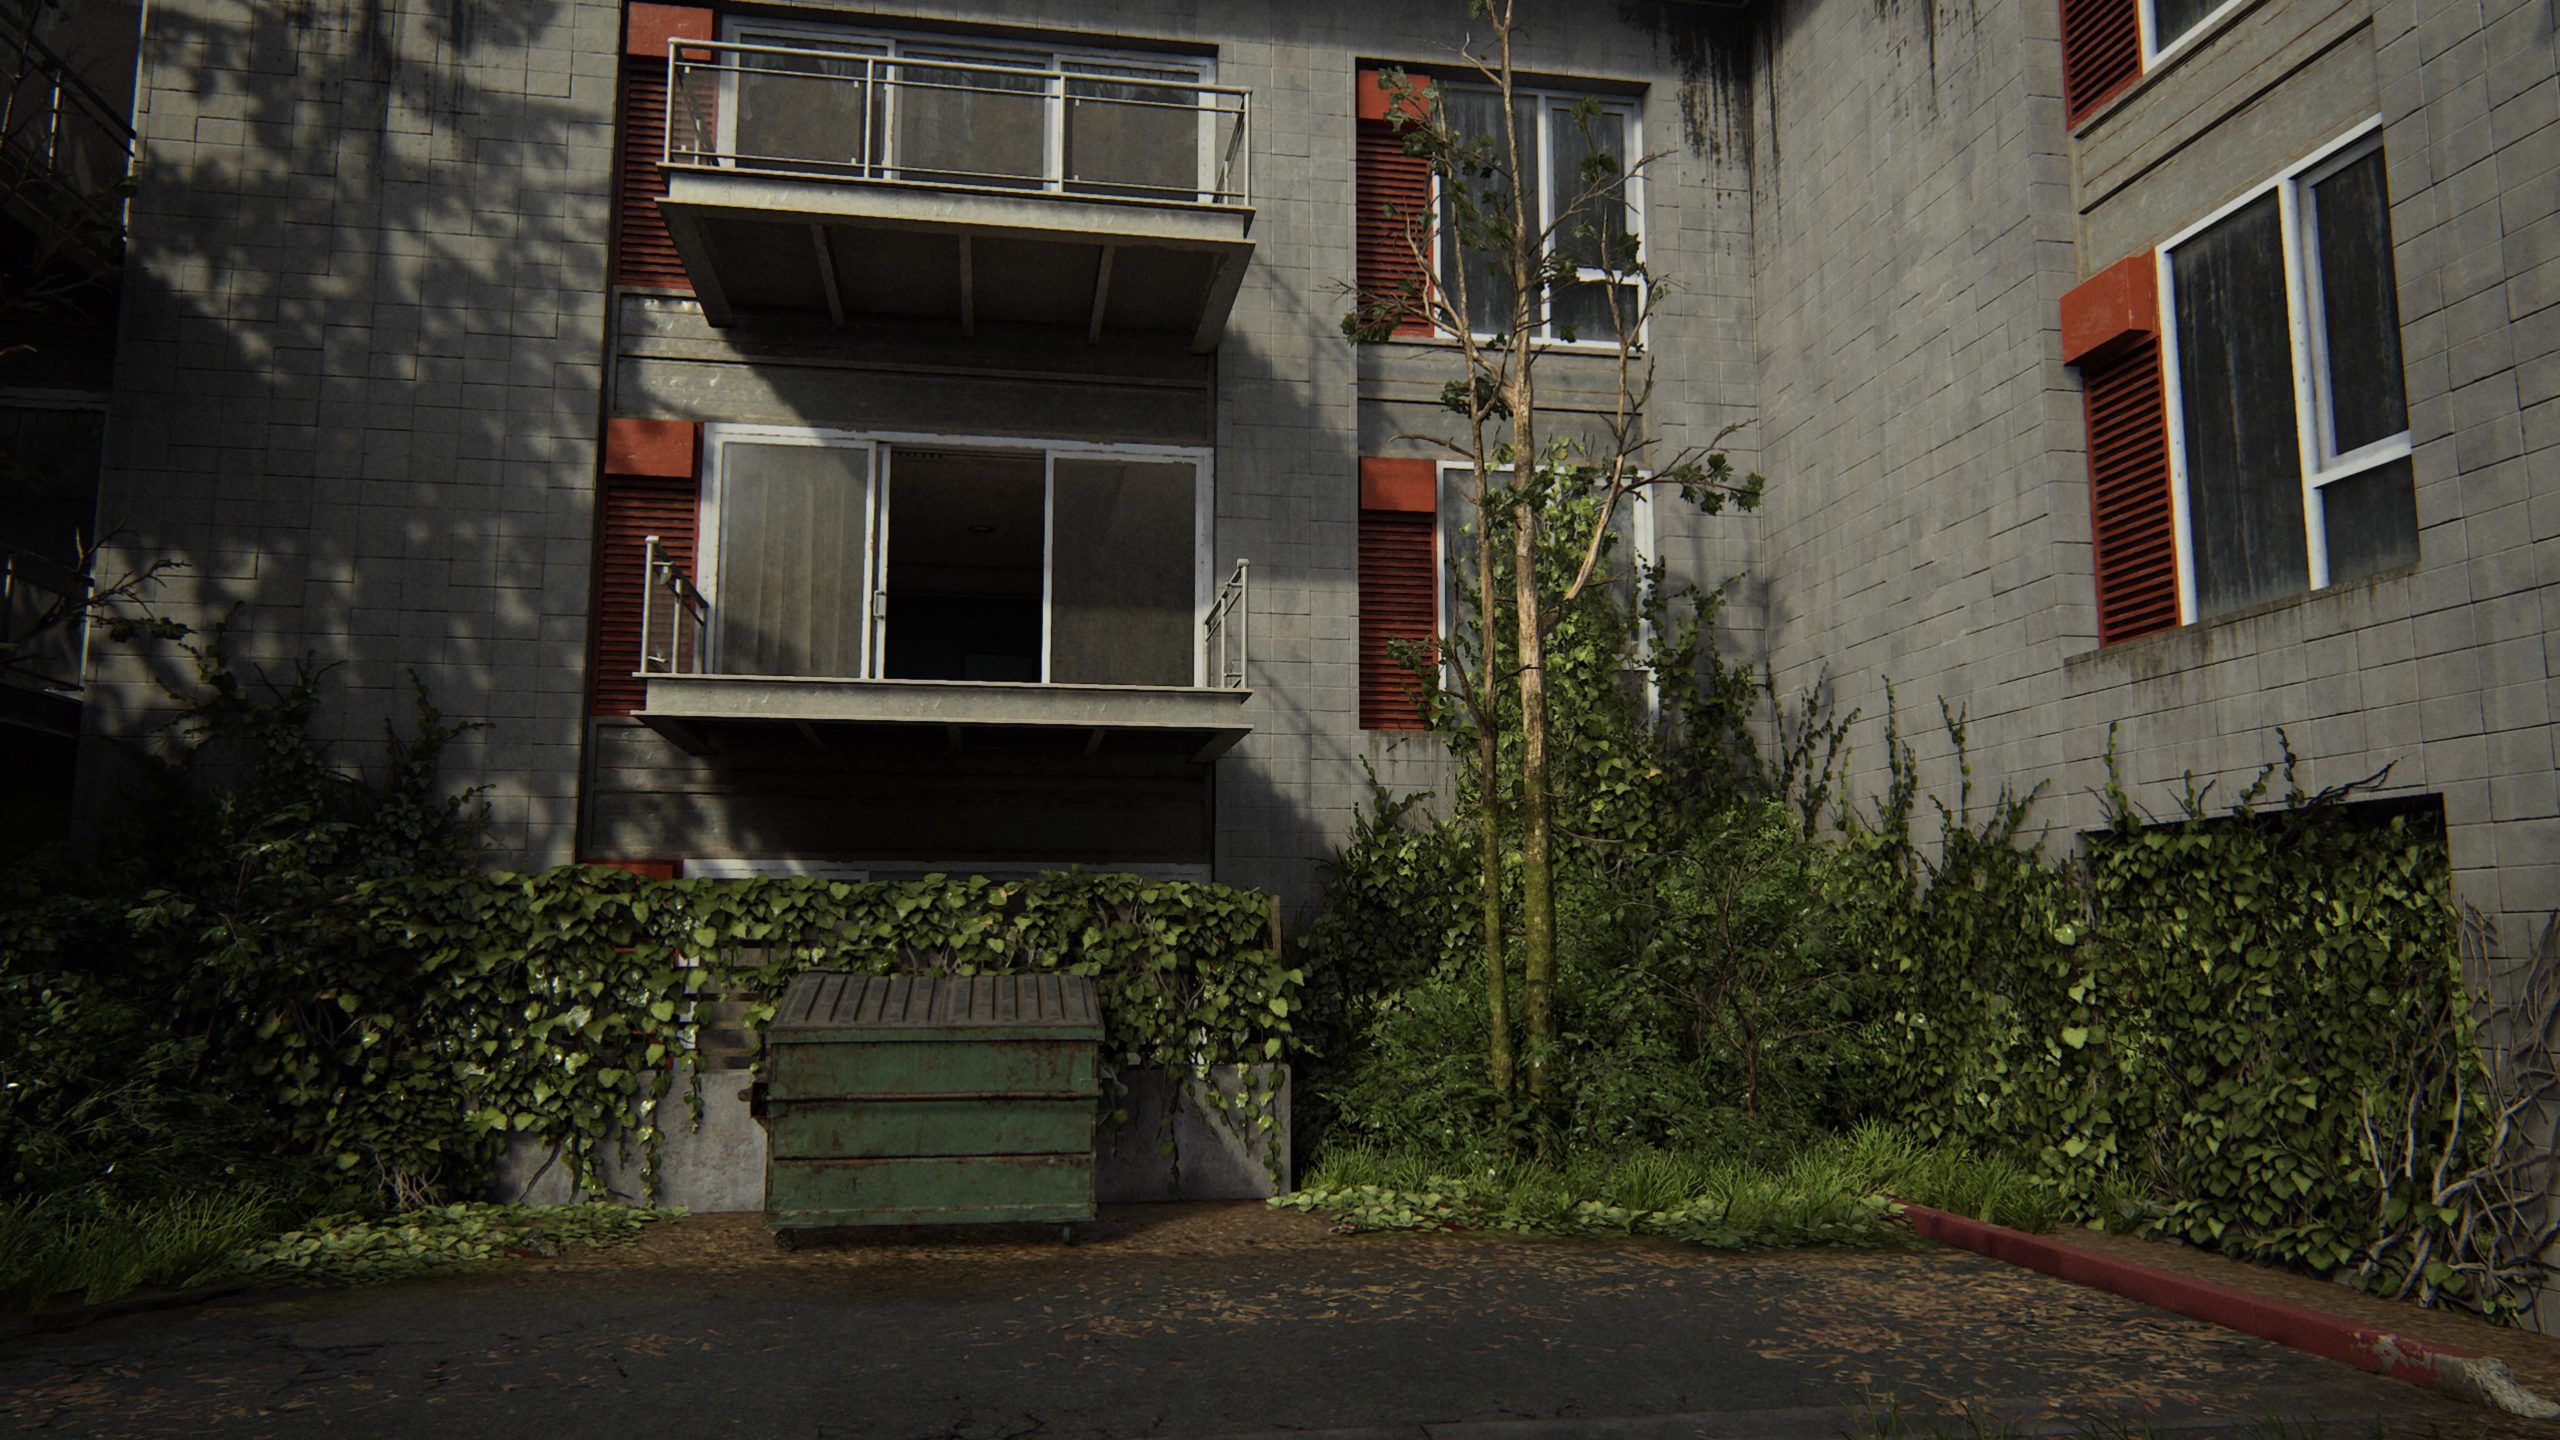
To reach this collectible, interact with the green dumpster to the right of the inn and drag it underneath an accessible balcony. Climb up to the balcony then enter the hotel room. The weapon can be found on the bed with the red and white comforter in the inn.


Artifact – Raul’s Olive Branch

This artifact can be found in a drawer next to the fridge in the kitchen of the above hotel room.


Workbench

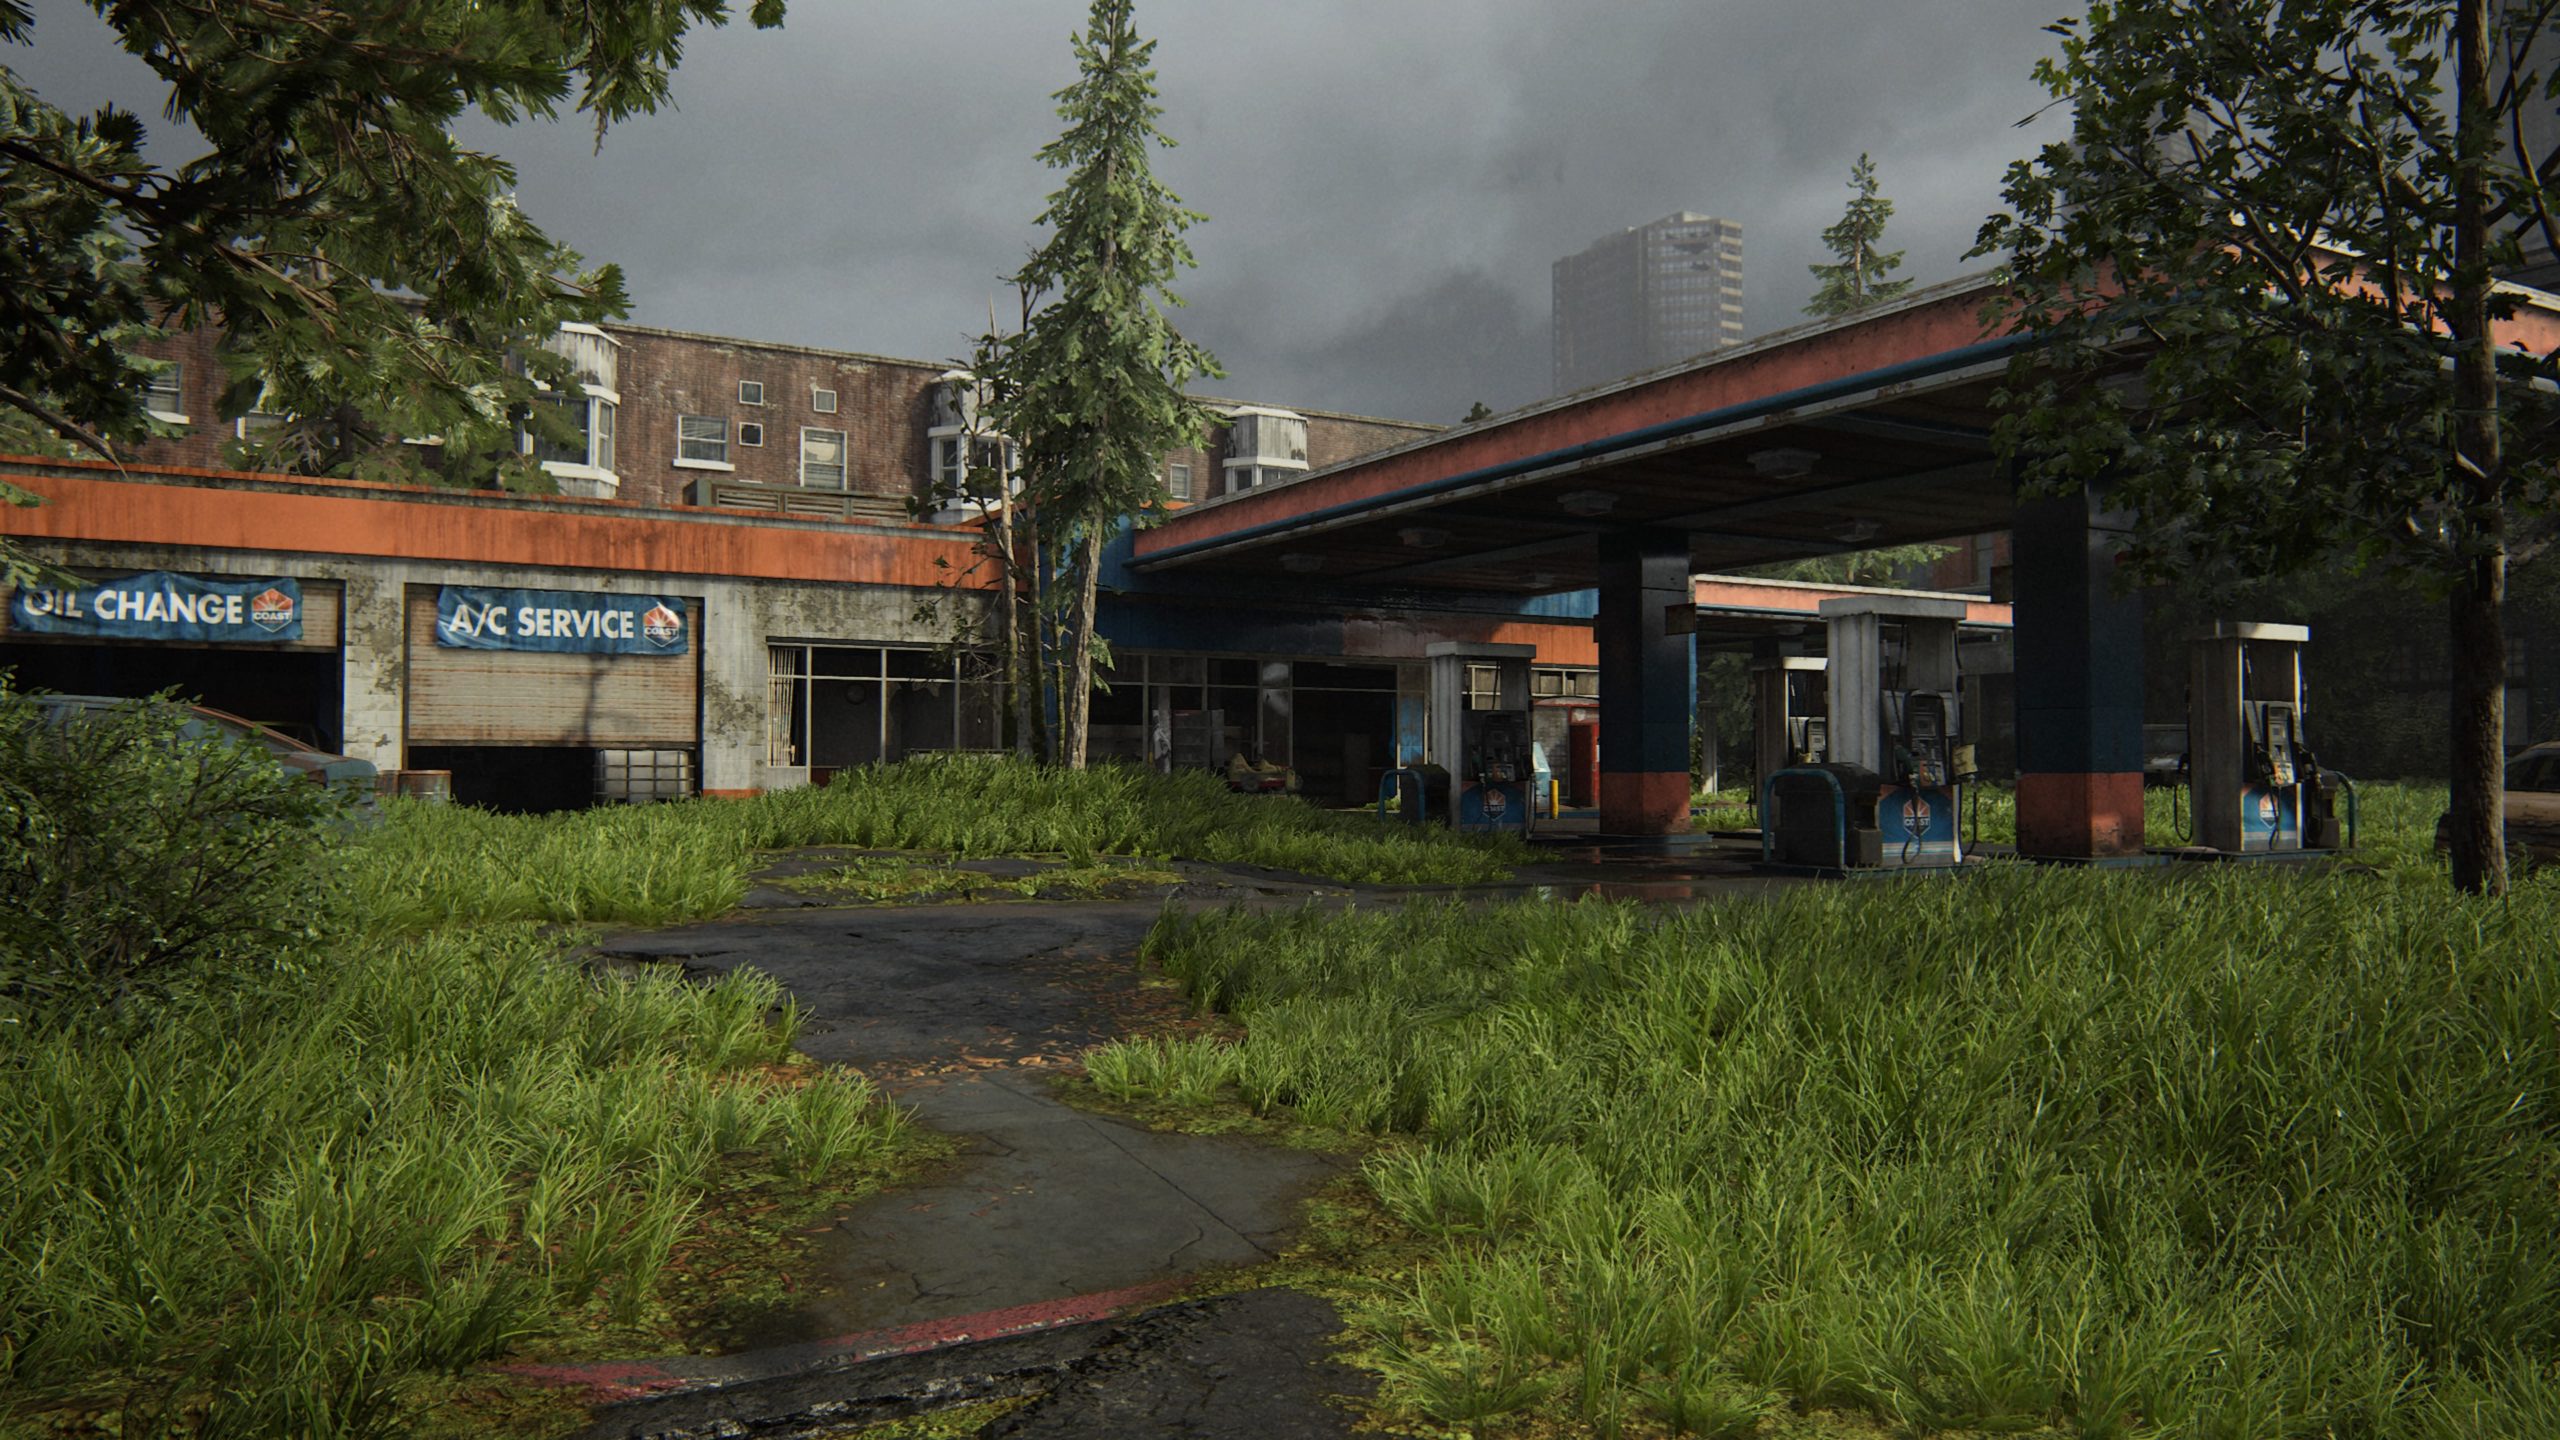
This workbench can be found in the garage of the gas station.


Trading Card – Doctor Stem

This card can be found in the book store on a chest between 2 chairs past the bathrooms.


Artifact – Rebecca’s Tip Off

This artifact can be found in the book store on a counter next to the sink.


Trading Card – Sergeant Frost

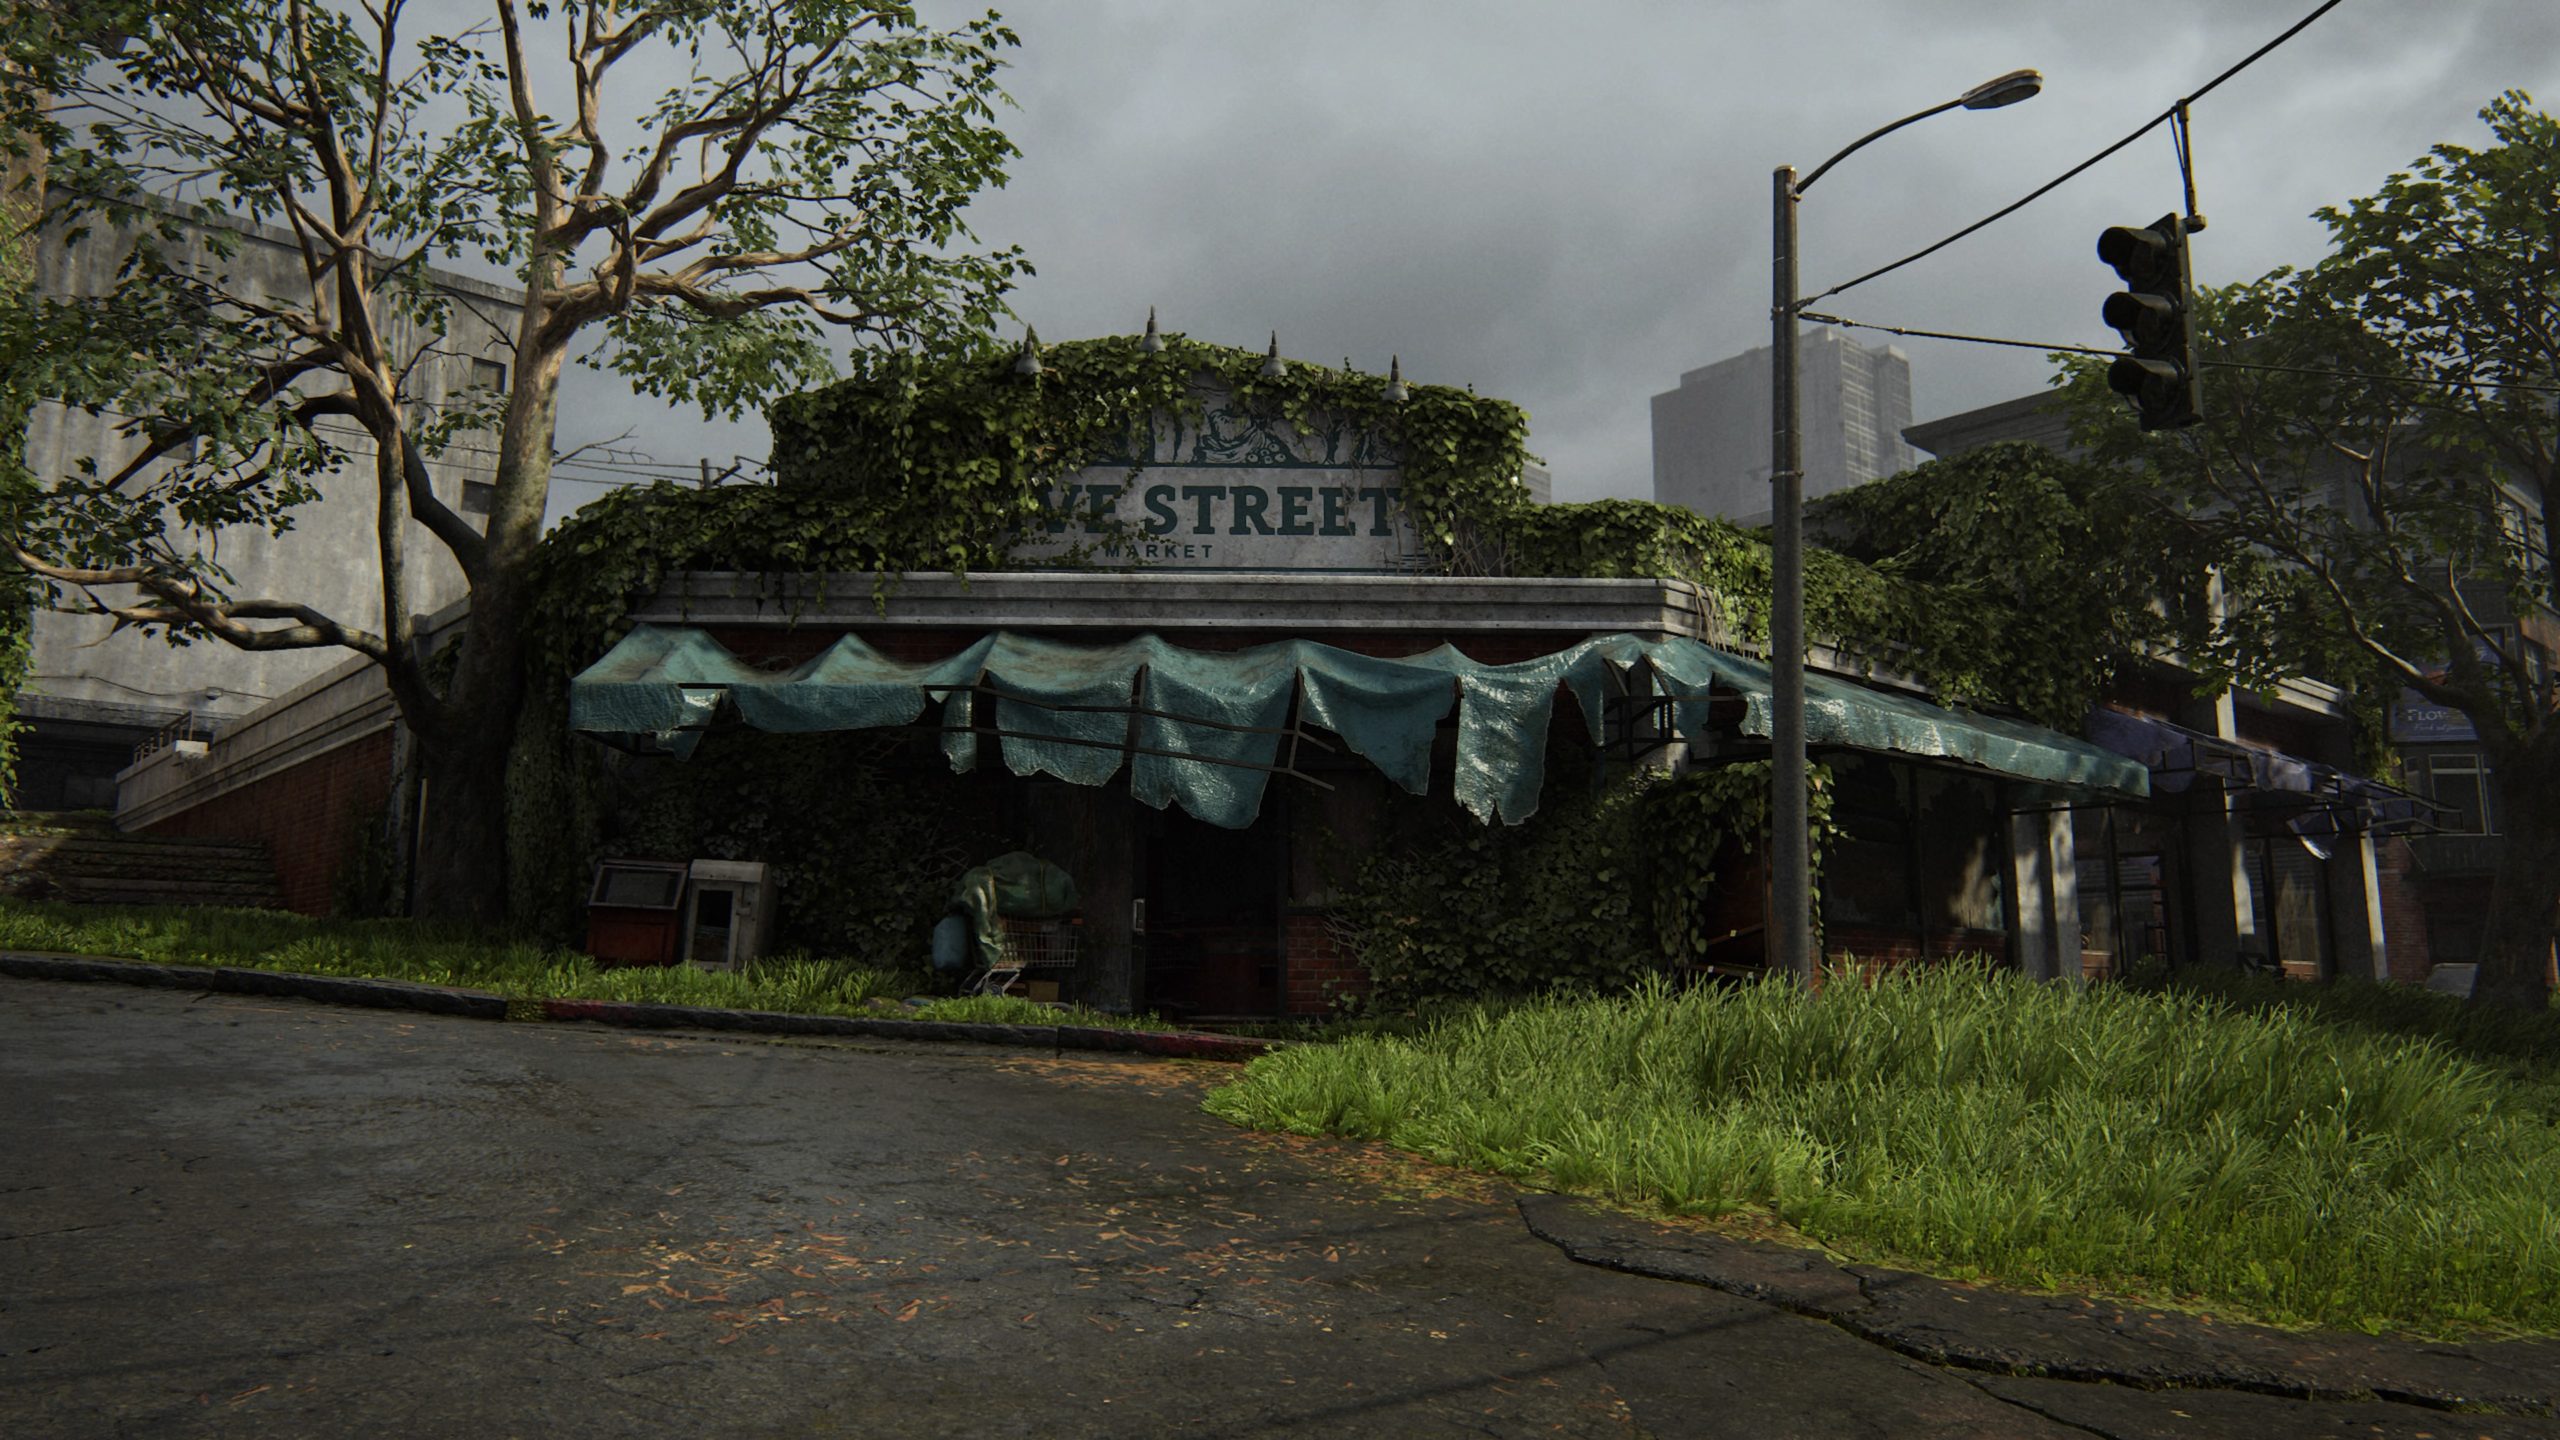
This card can be found in the Olive Street Market in a locker in the back of the building.


Trading Card – Candelabra

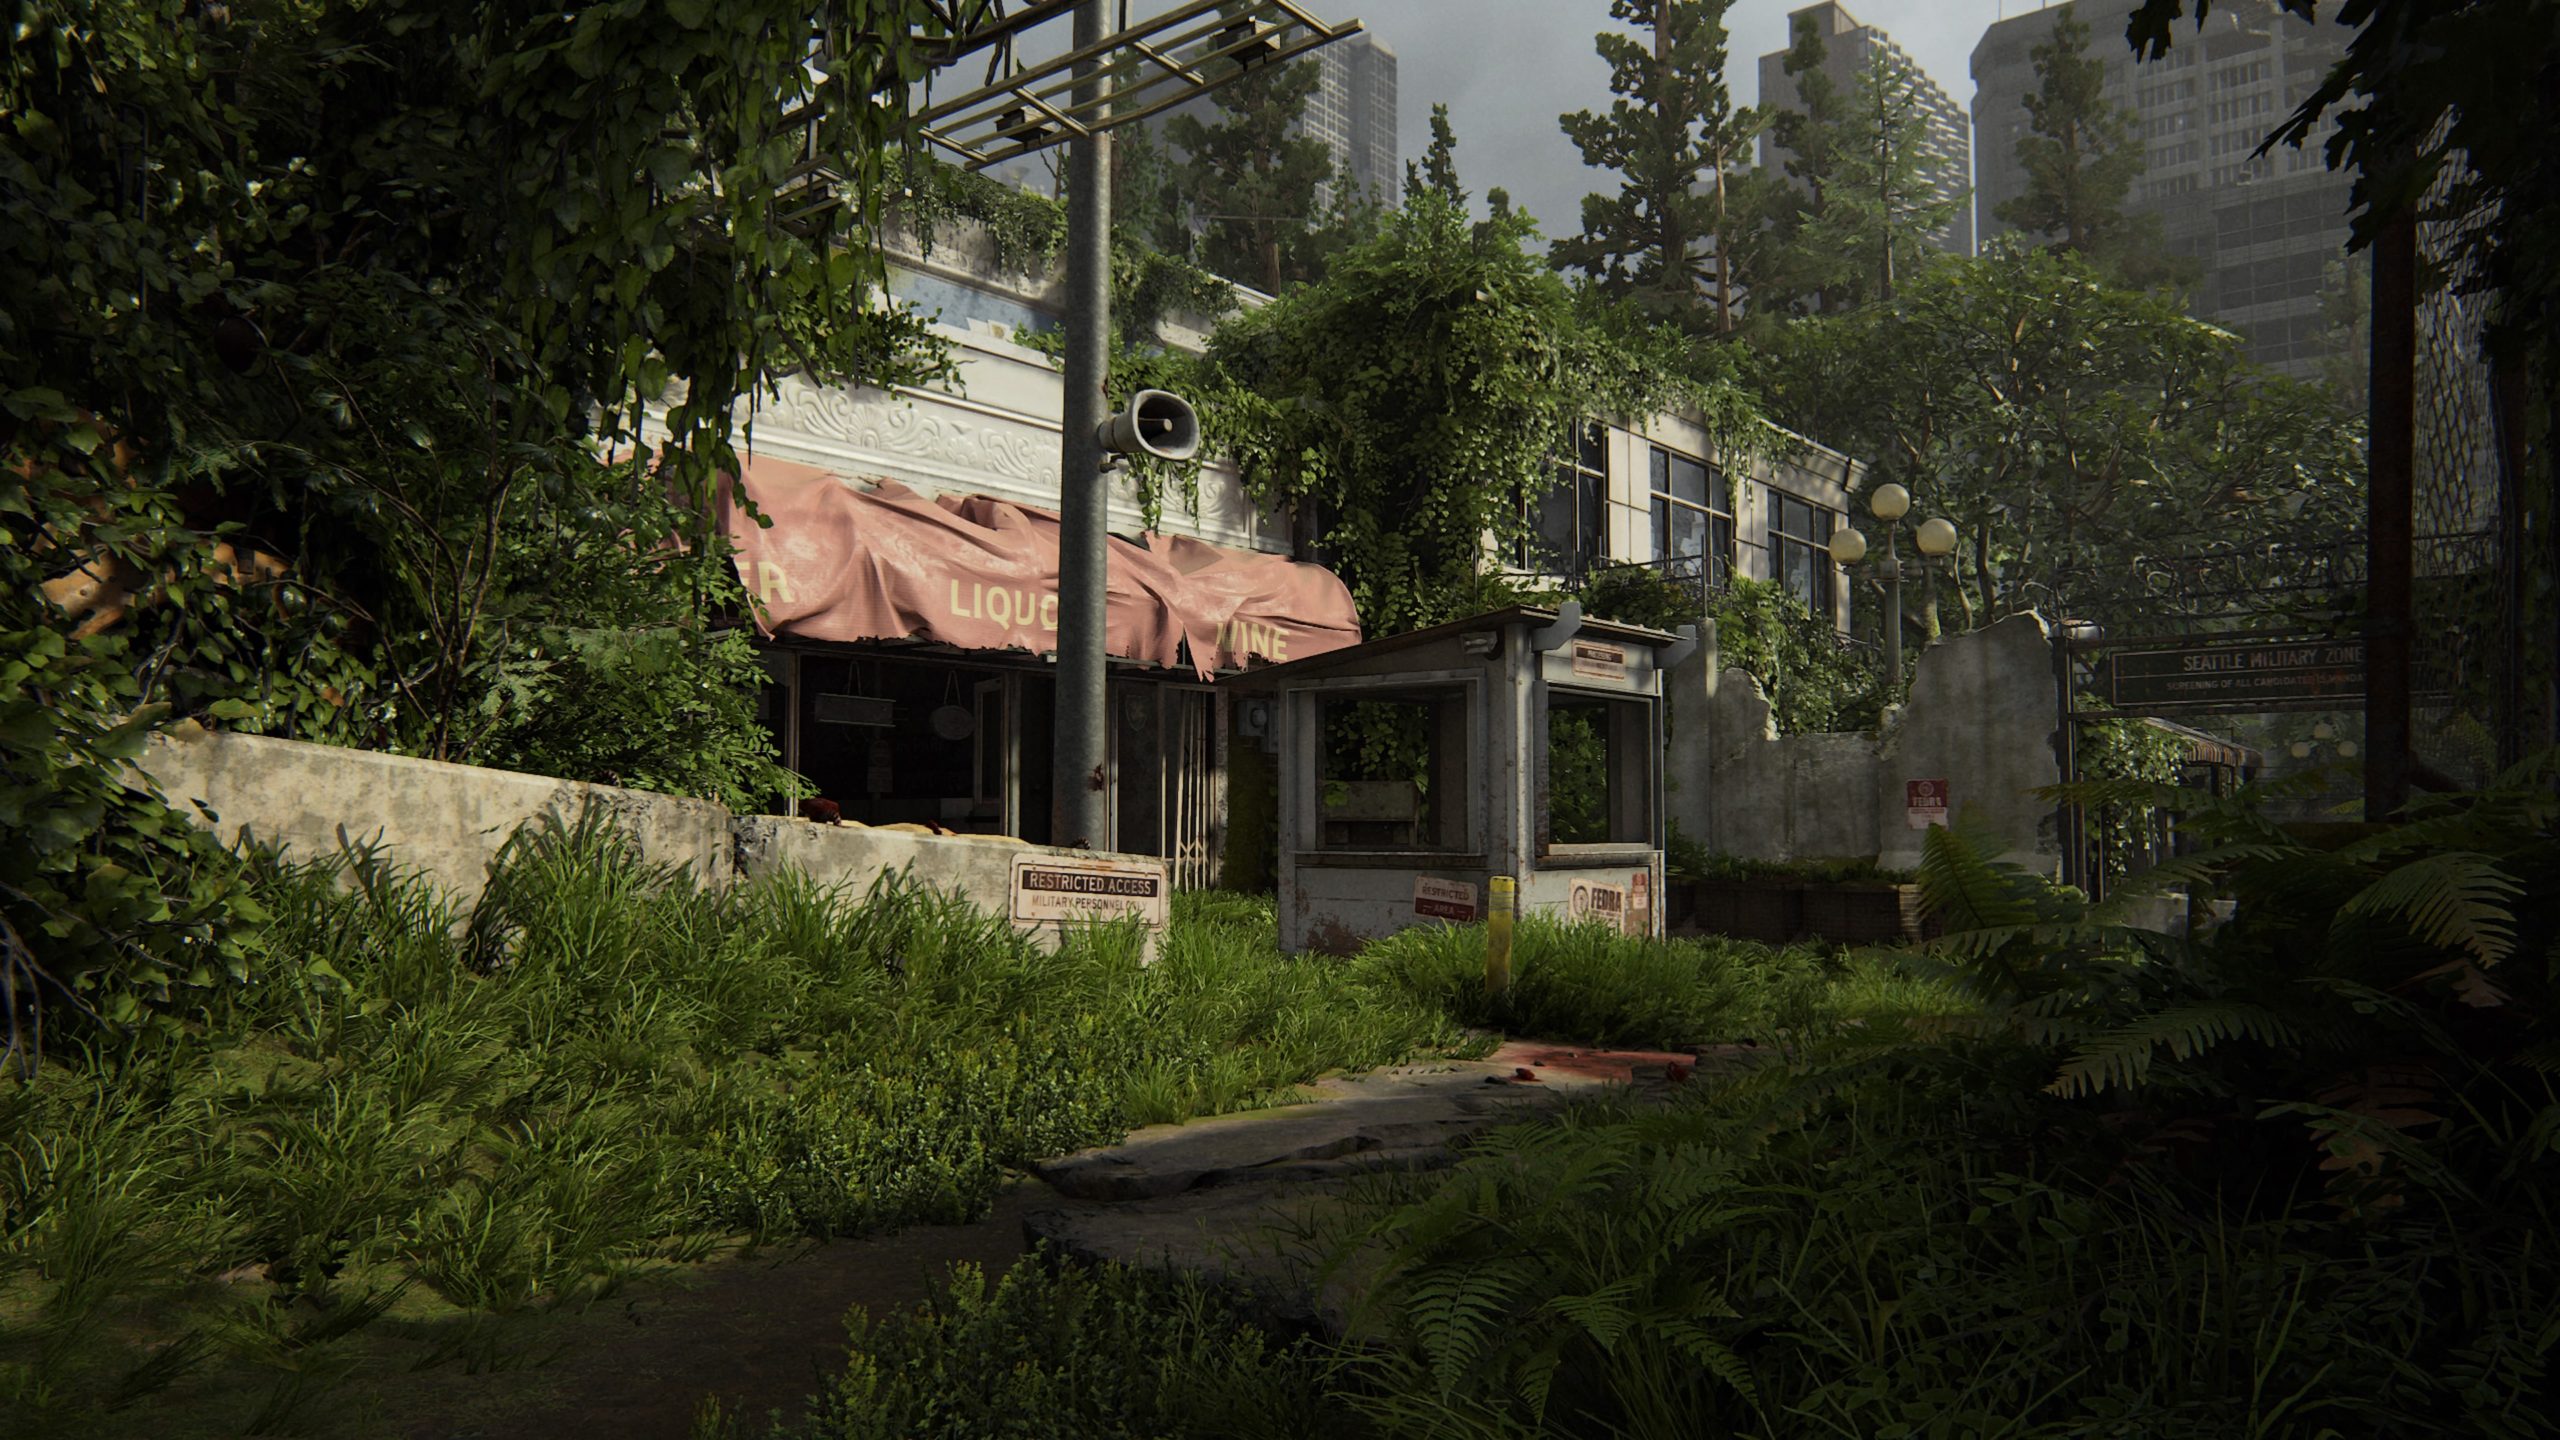
This card can be found on a shelf near the ATM in the liquor store where the Clicker is blown up by an explosive trap.


Artifact – Tower Doodles

This artifact can be found just after the two Infected behind some traps. The story will want you to proceed down the steep hill but don’t. Instead look to your right to find a ladder that leads to the top of a lookout tower. The artifact will be in this room.


Artifact – Raul’s Account

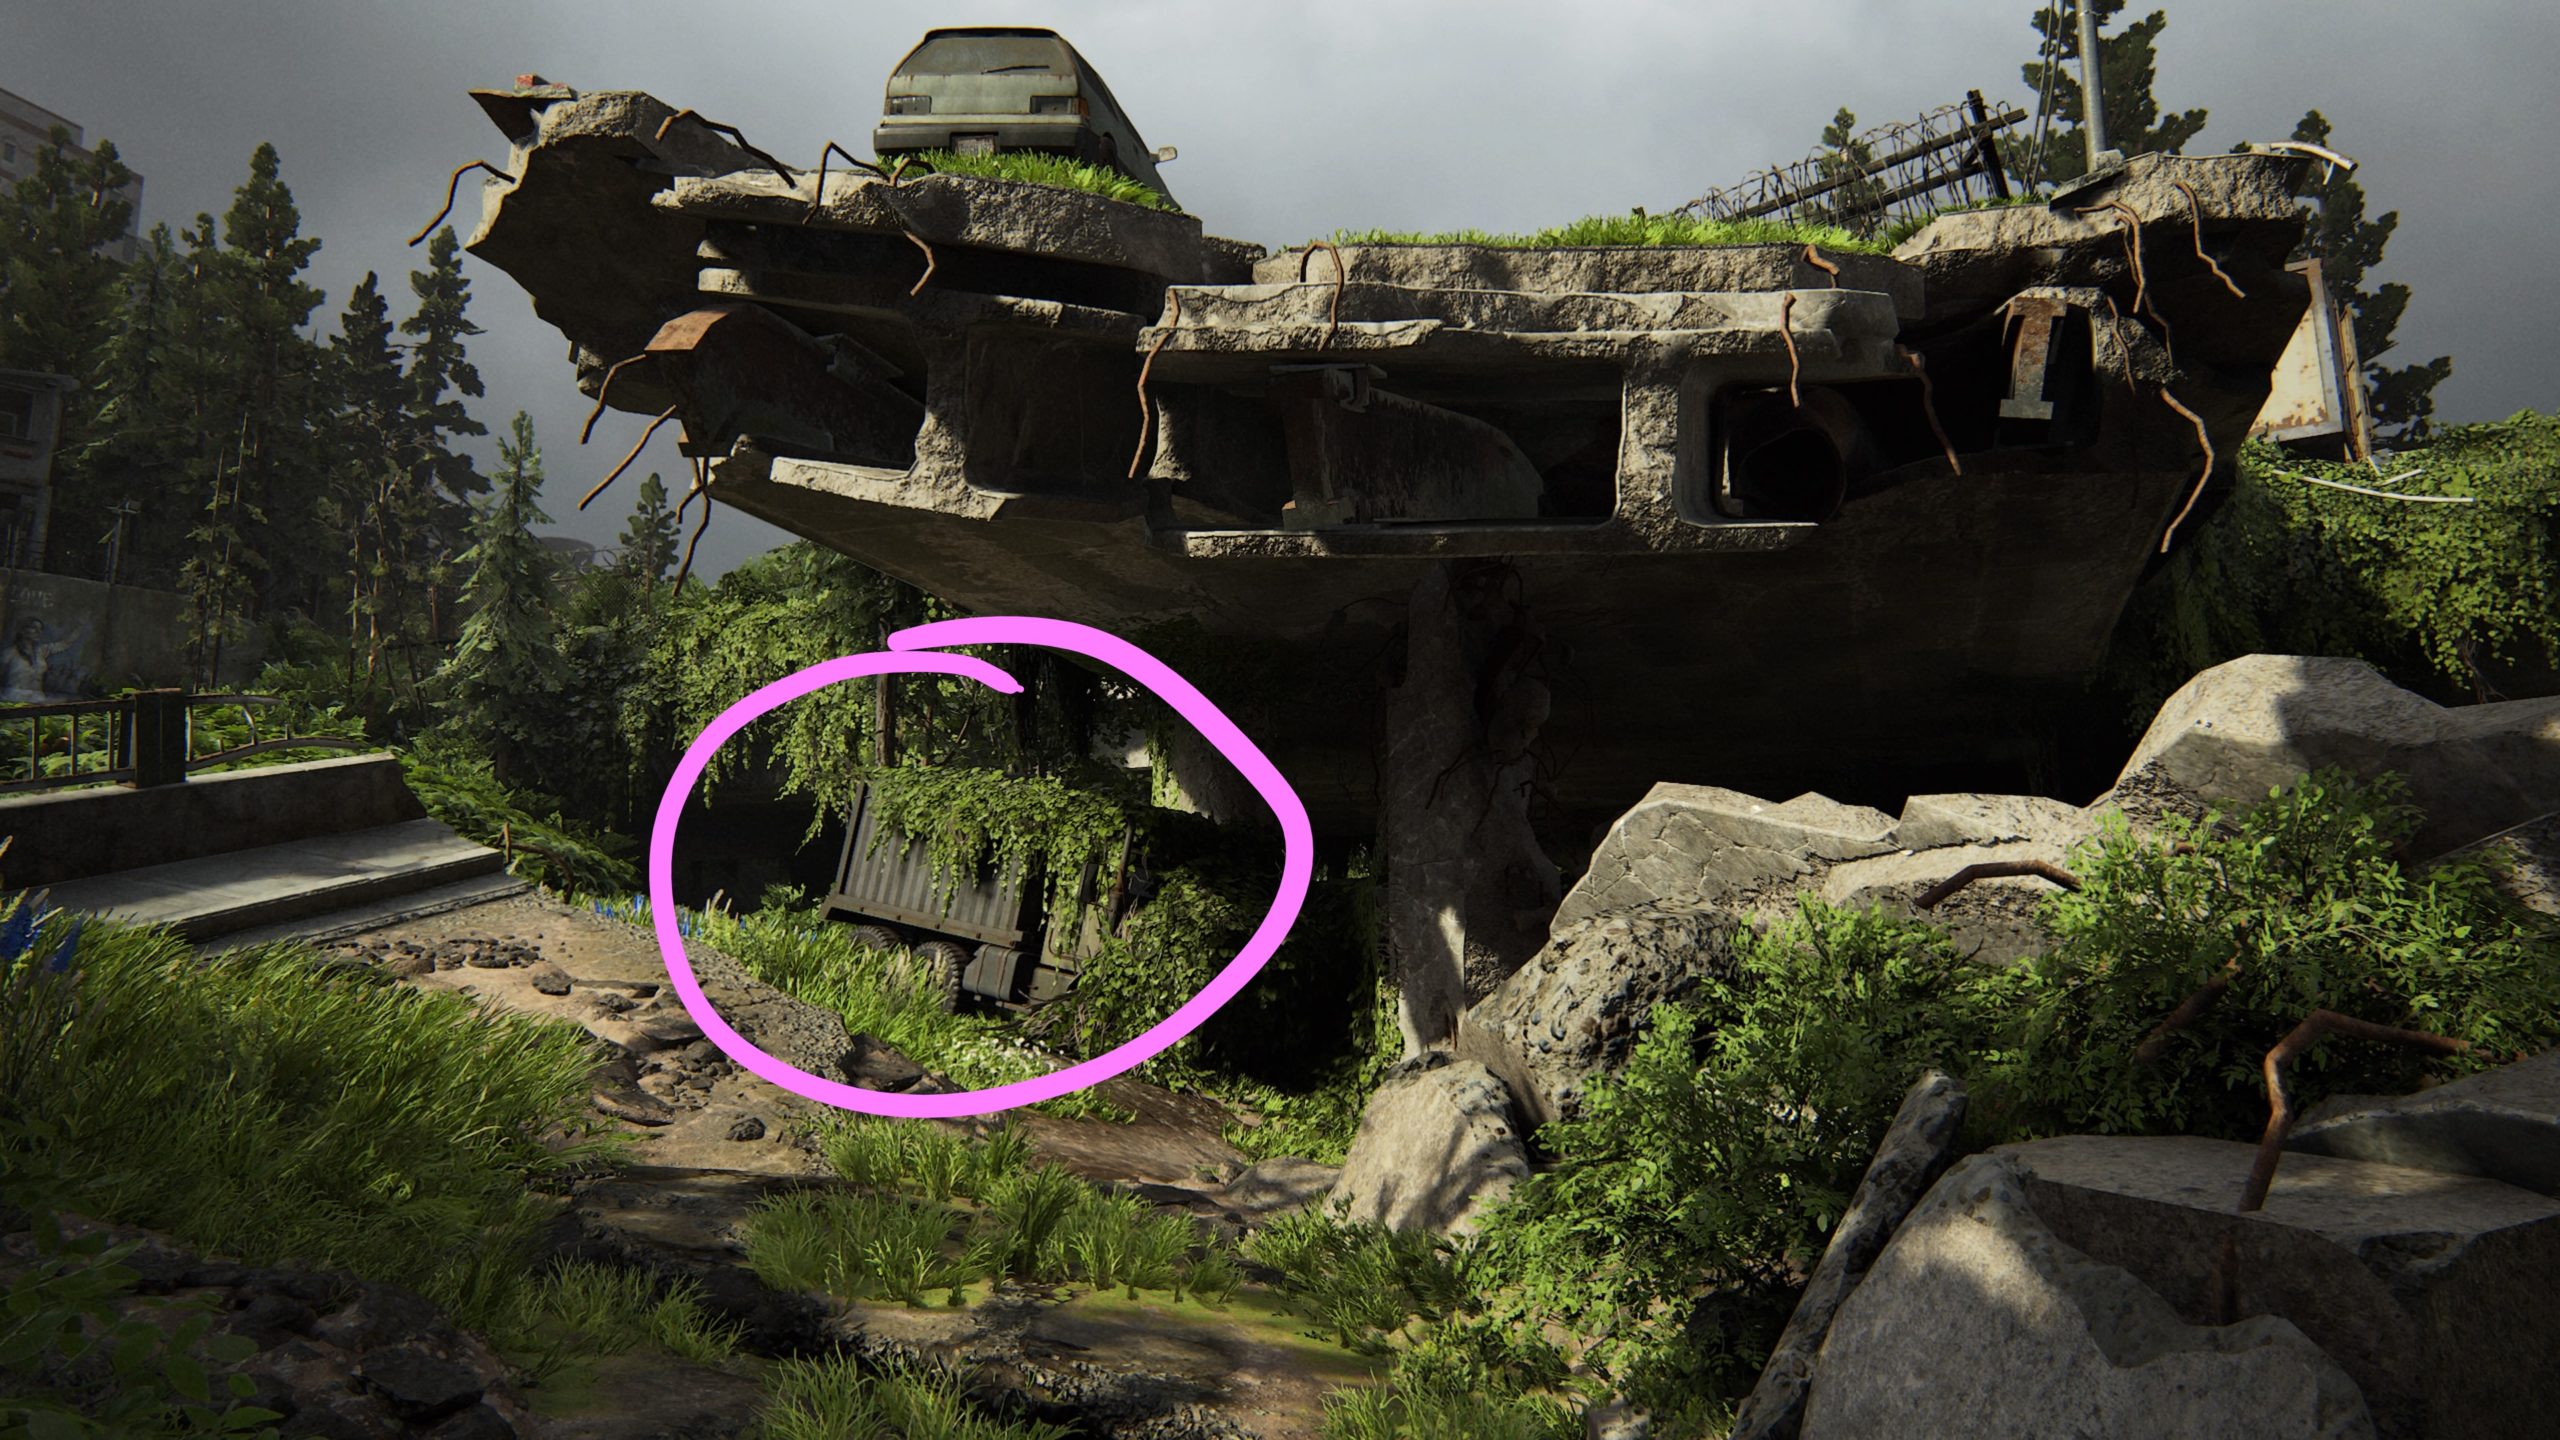
After sliding down the steep hill, cross the river and follow the path up towards the broken highway to find a FEDRA truck underneath it. The artifact can be found in the back of the truck.


Artifact – Fran’s Refusal

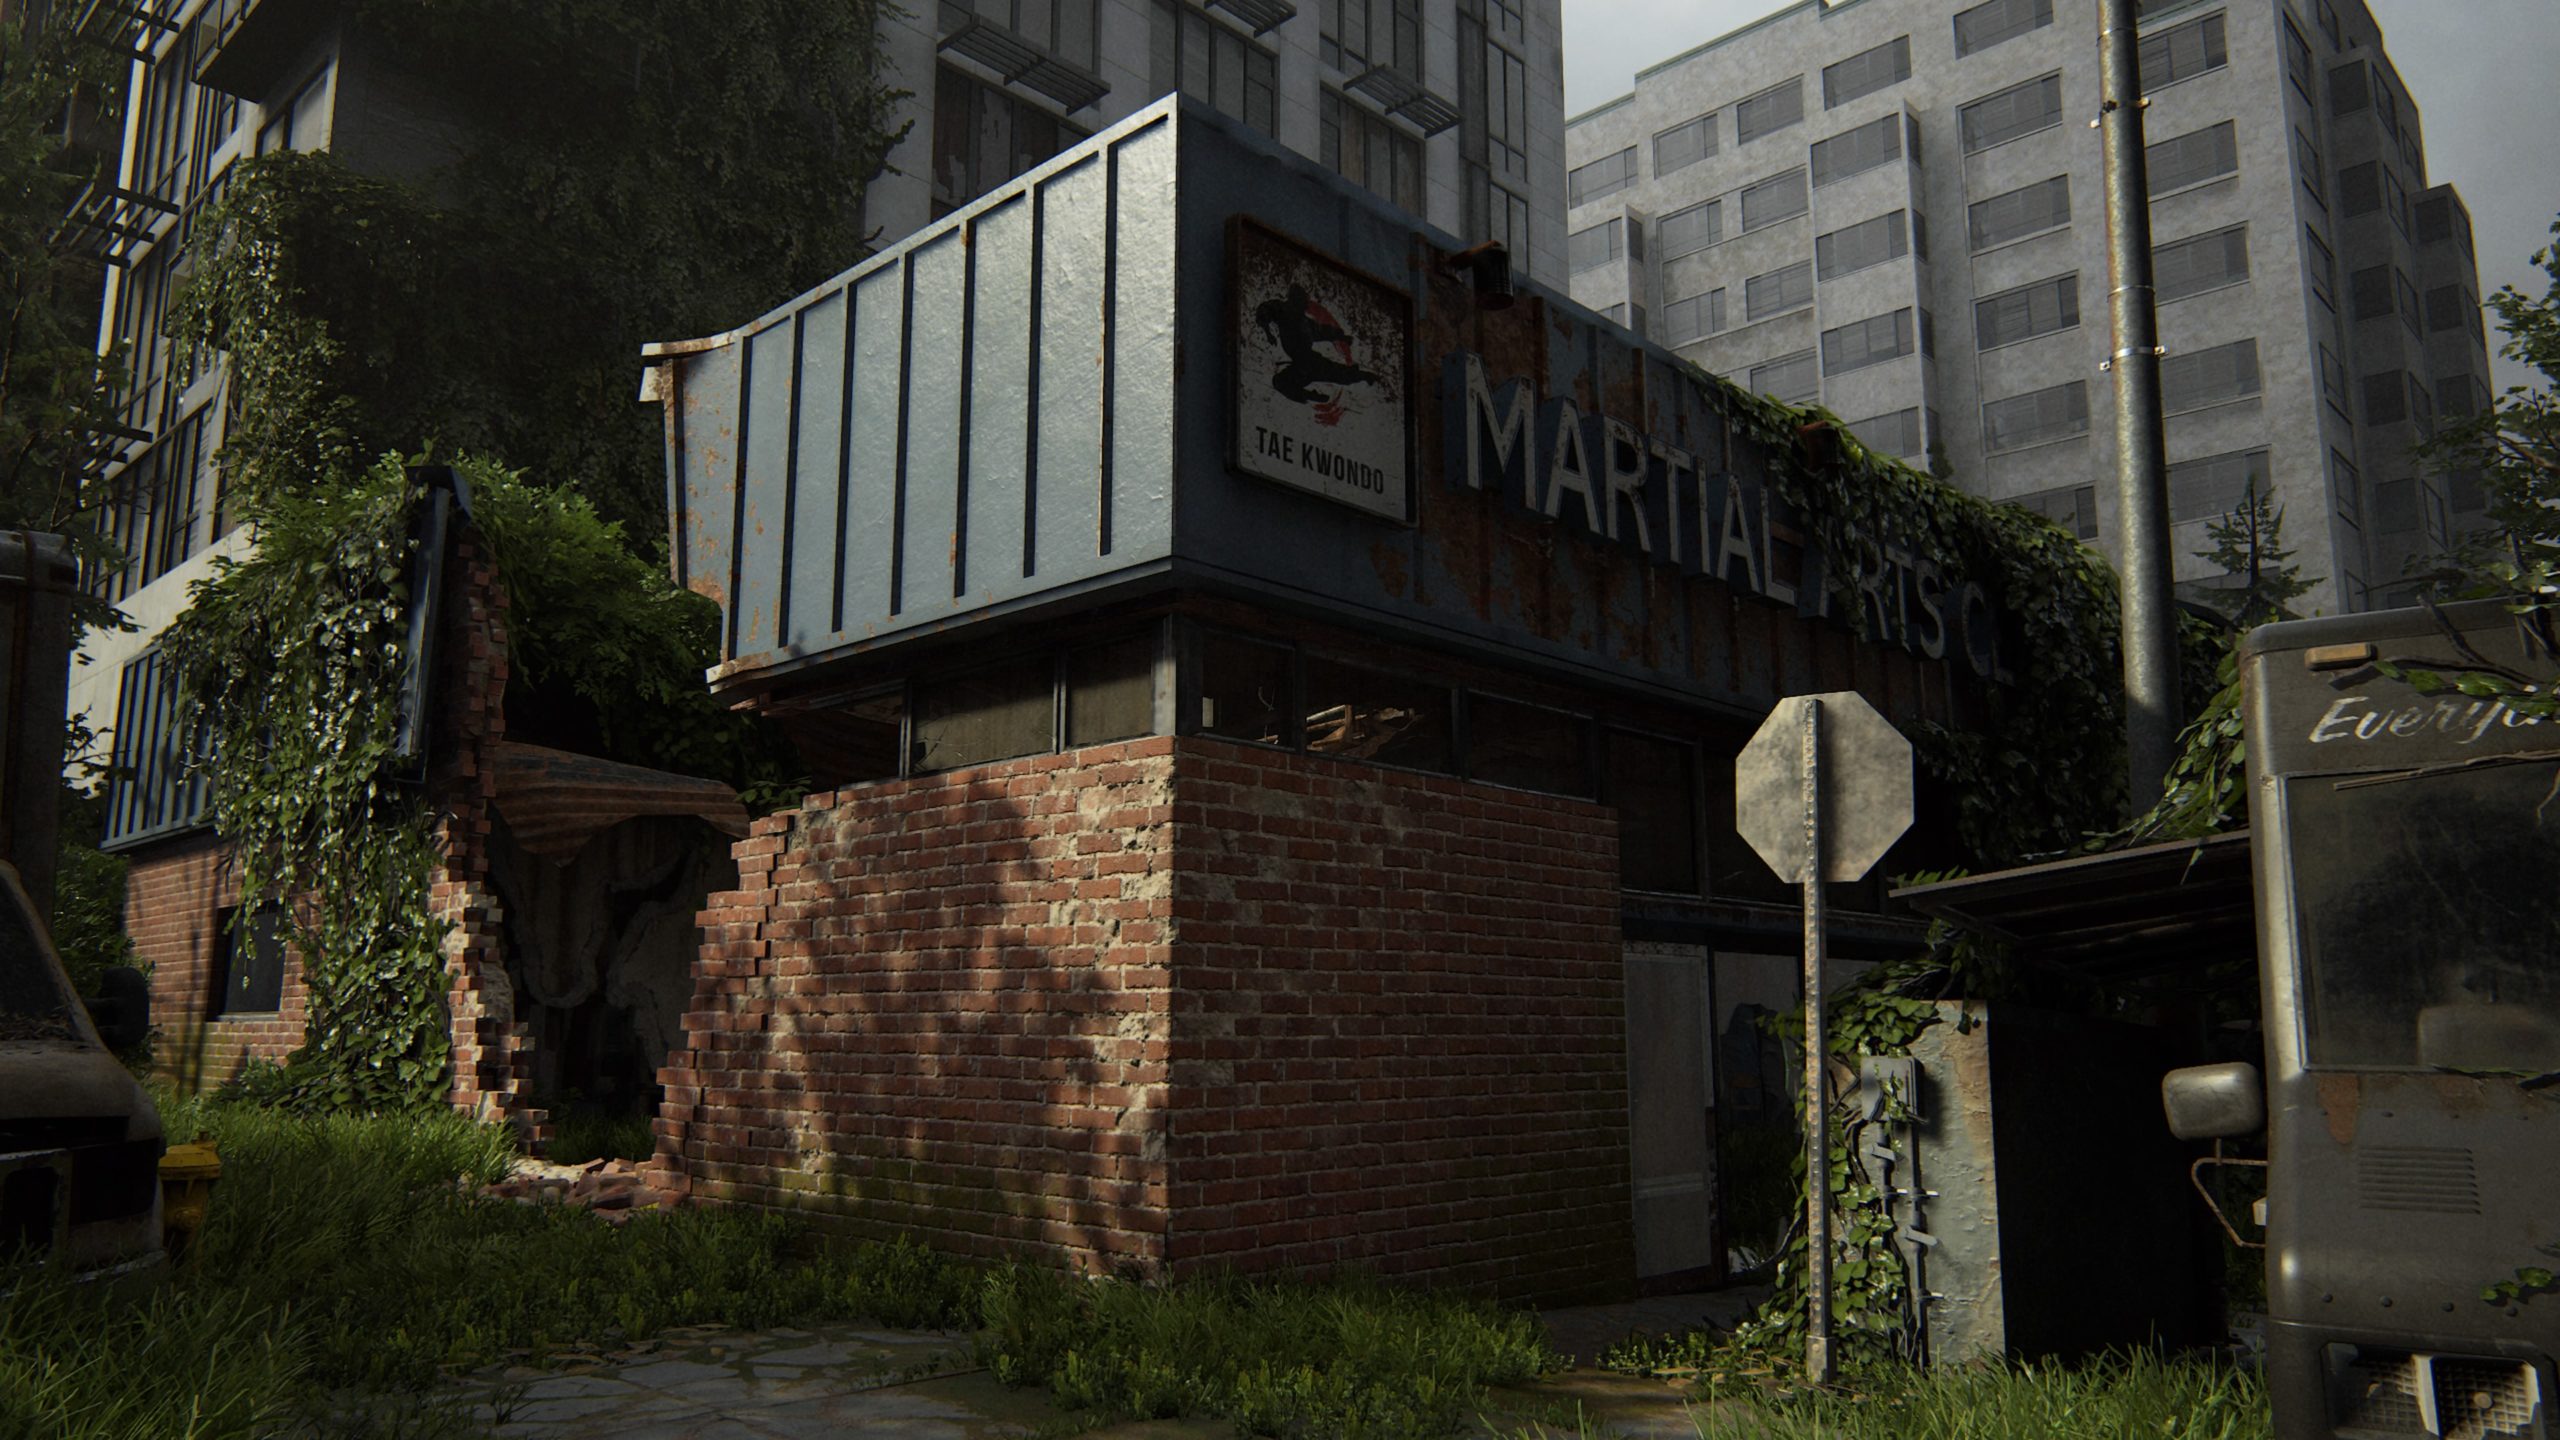
When you first spot all the tripwires, head into the martial arts building on the right. This artifact can be found on a bulletin board in the main room.


Workbench

The workbench can be found down the hall in a back room of the martial arts building.


Artifact – Thrift Store Reminder

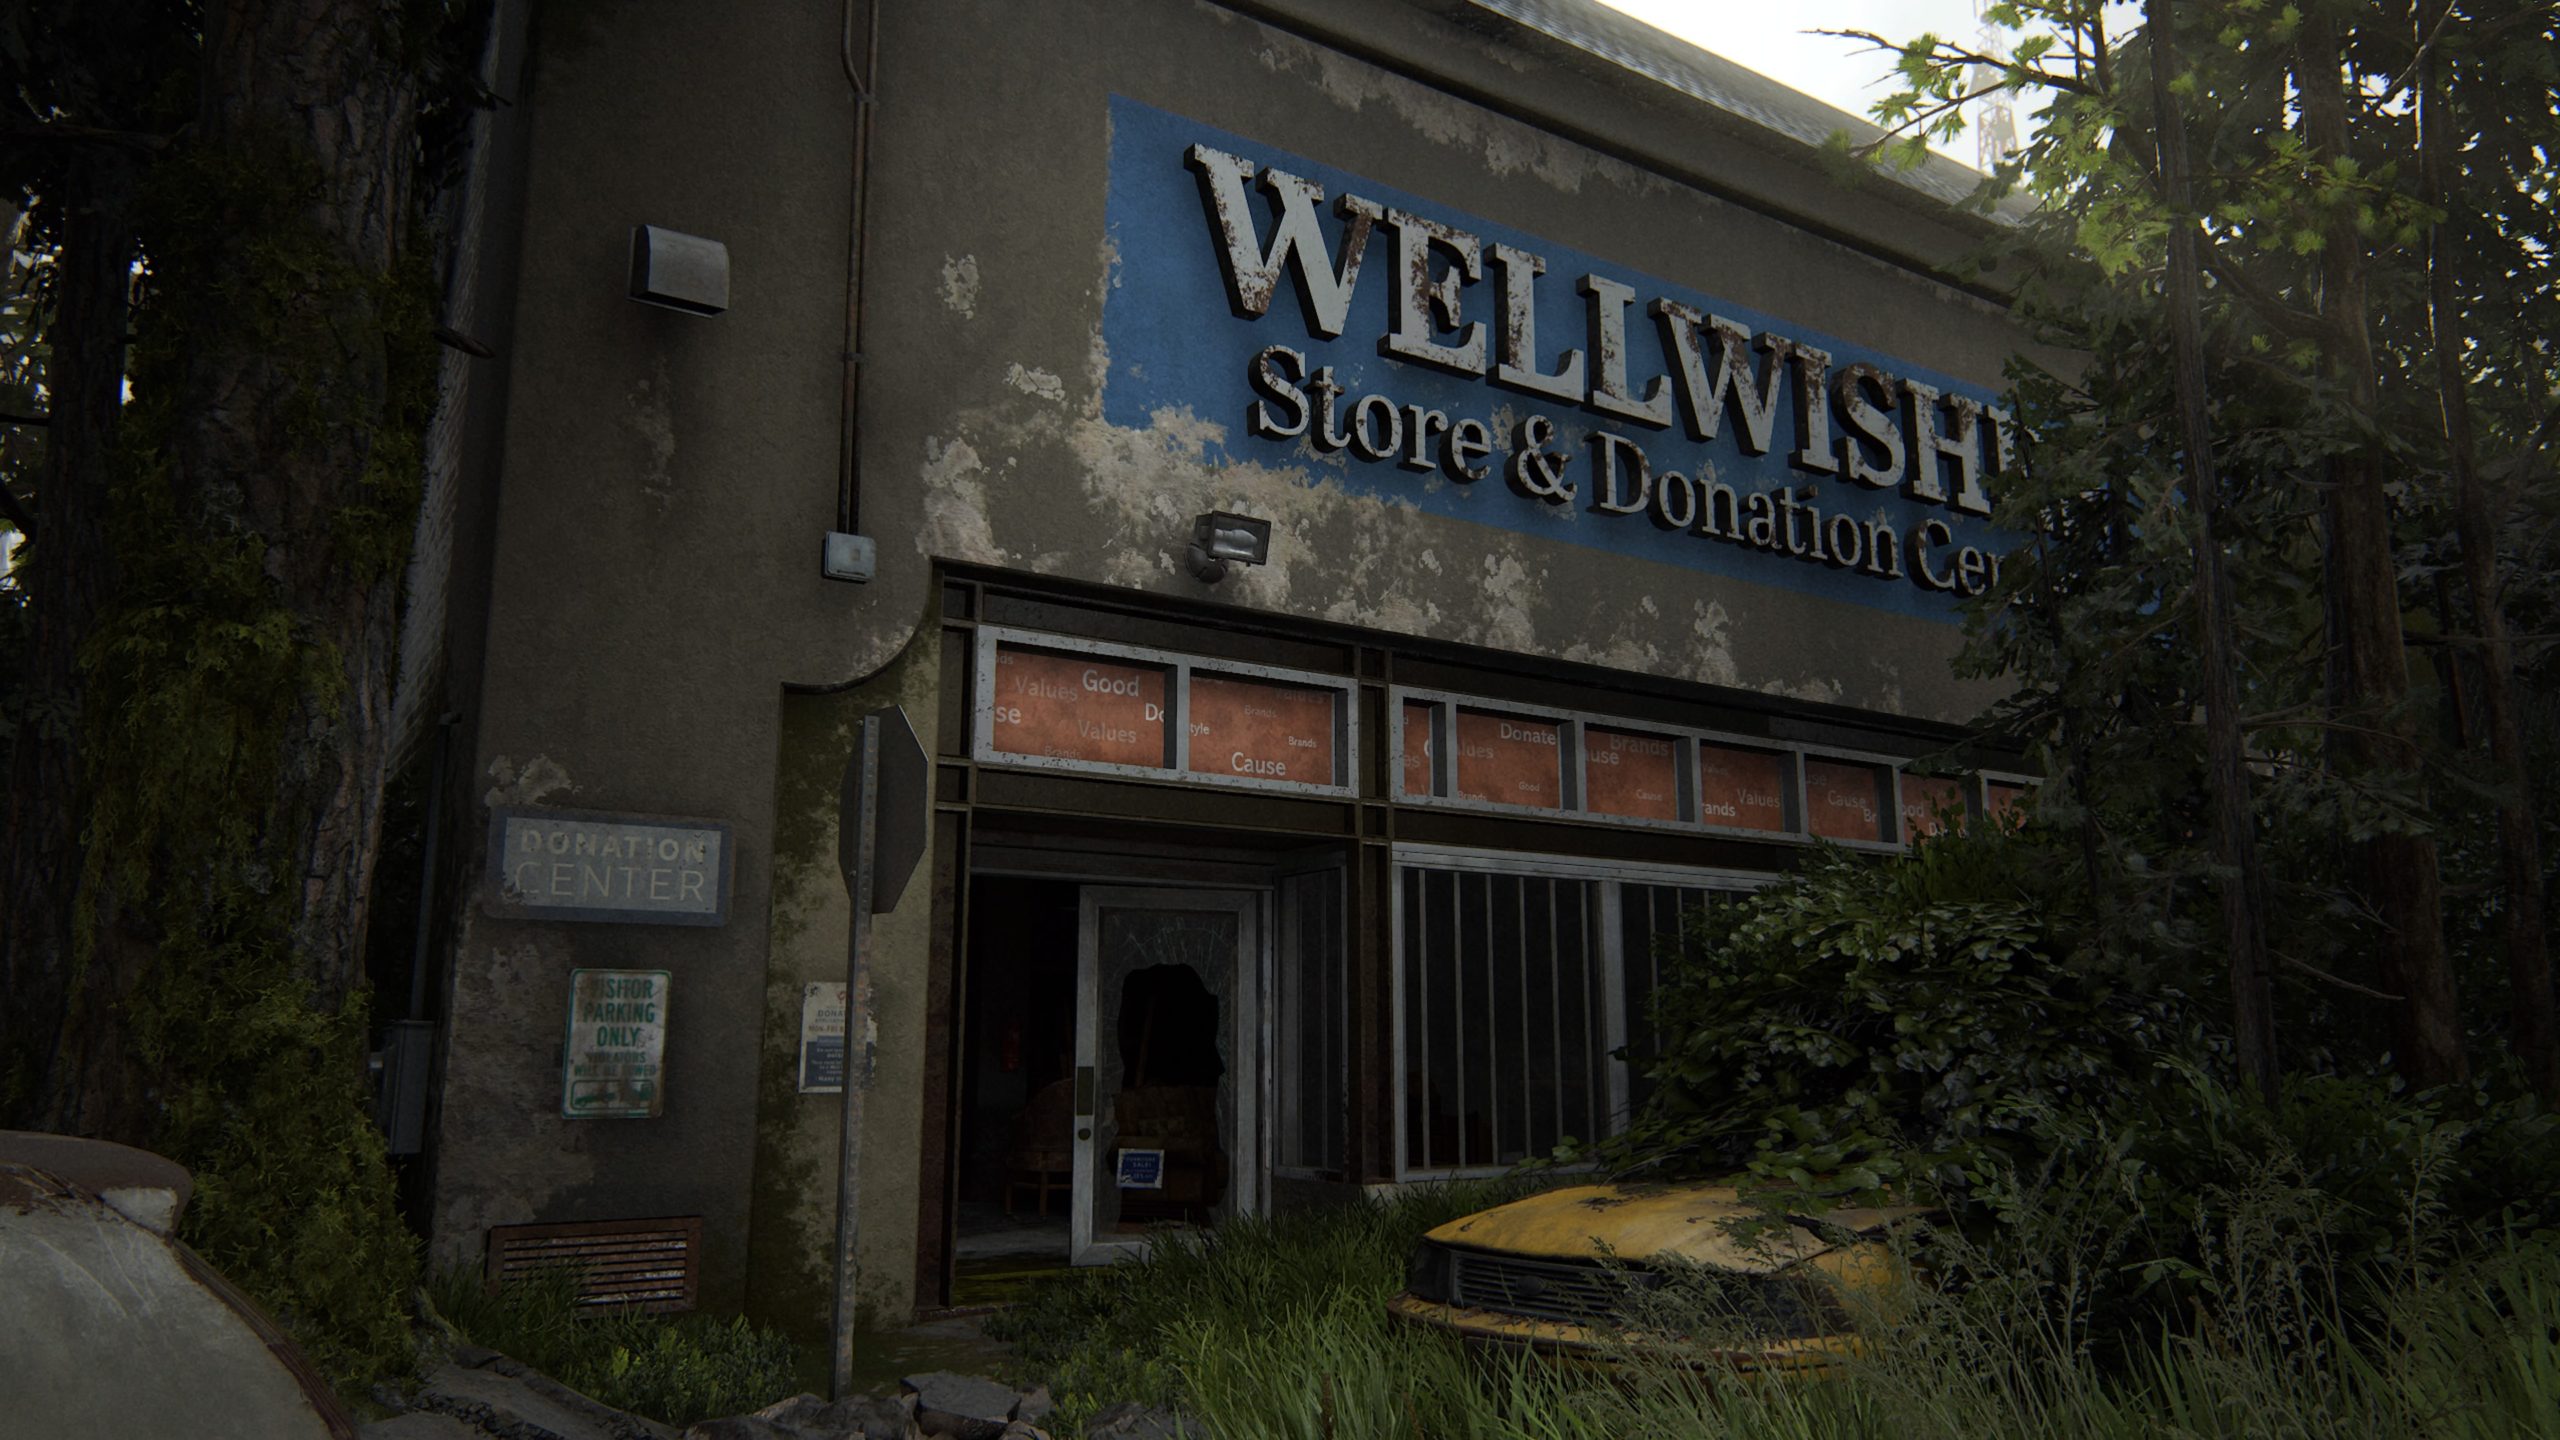
This artifact can be found on a bulletin board near some vending machines in the Well Wishes Store & Donation Center.


Safe

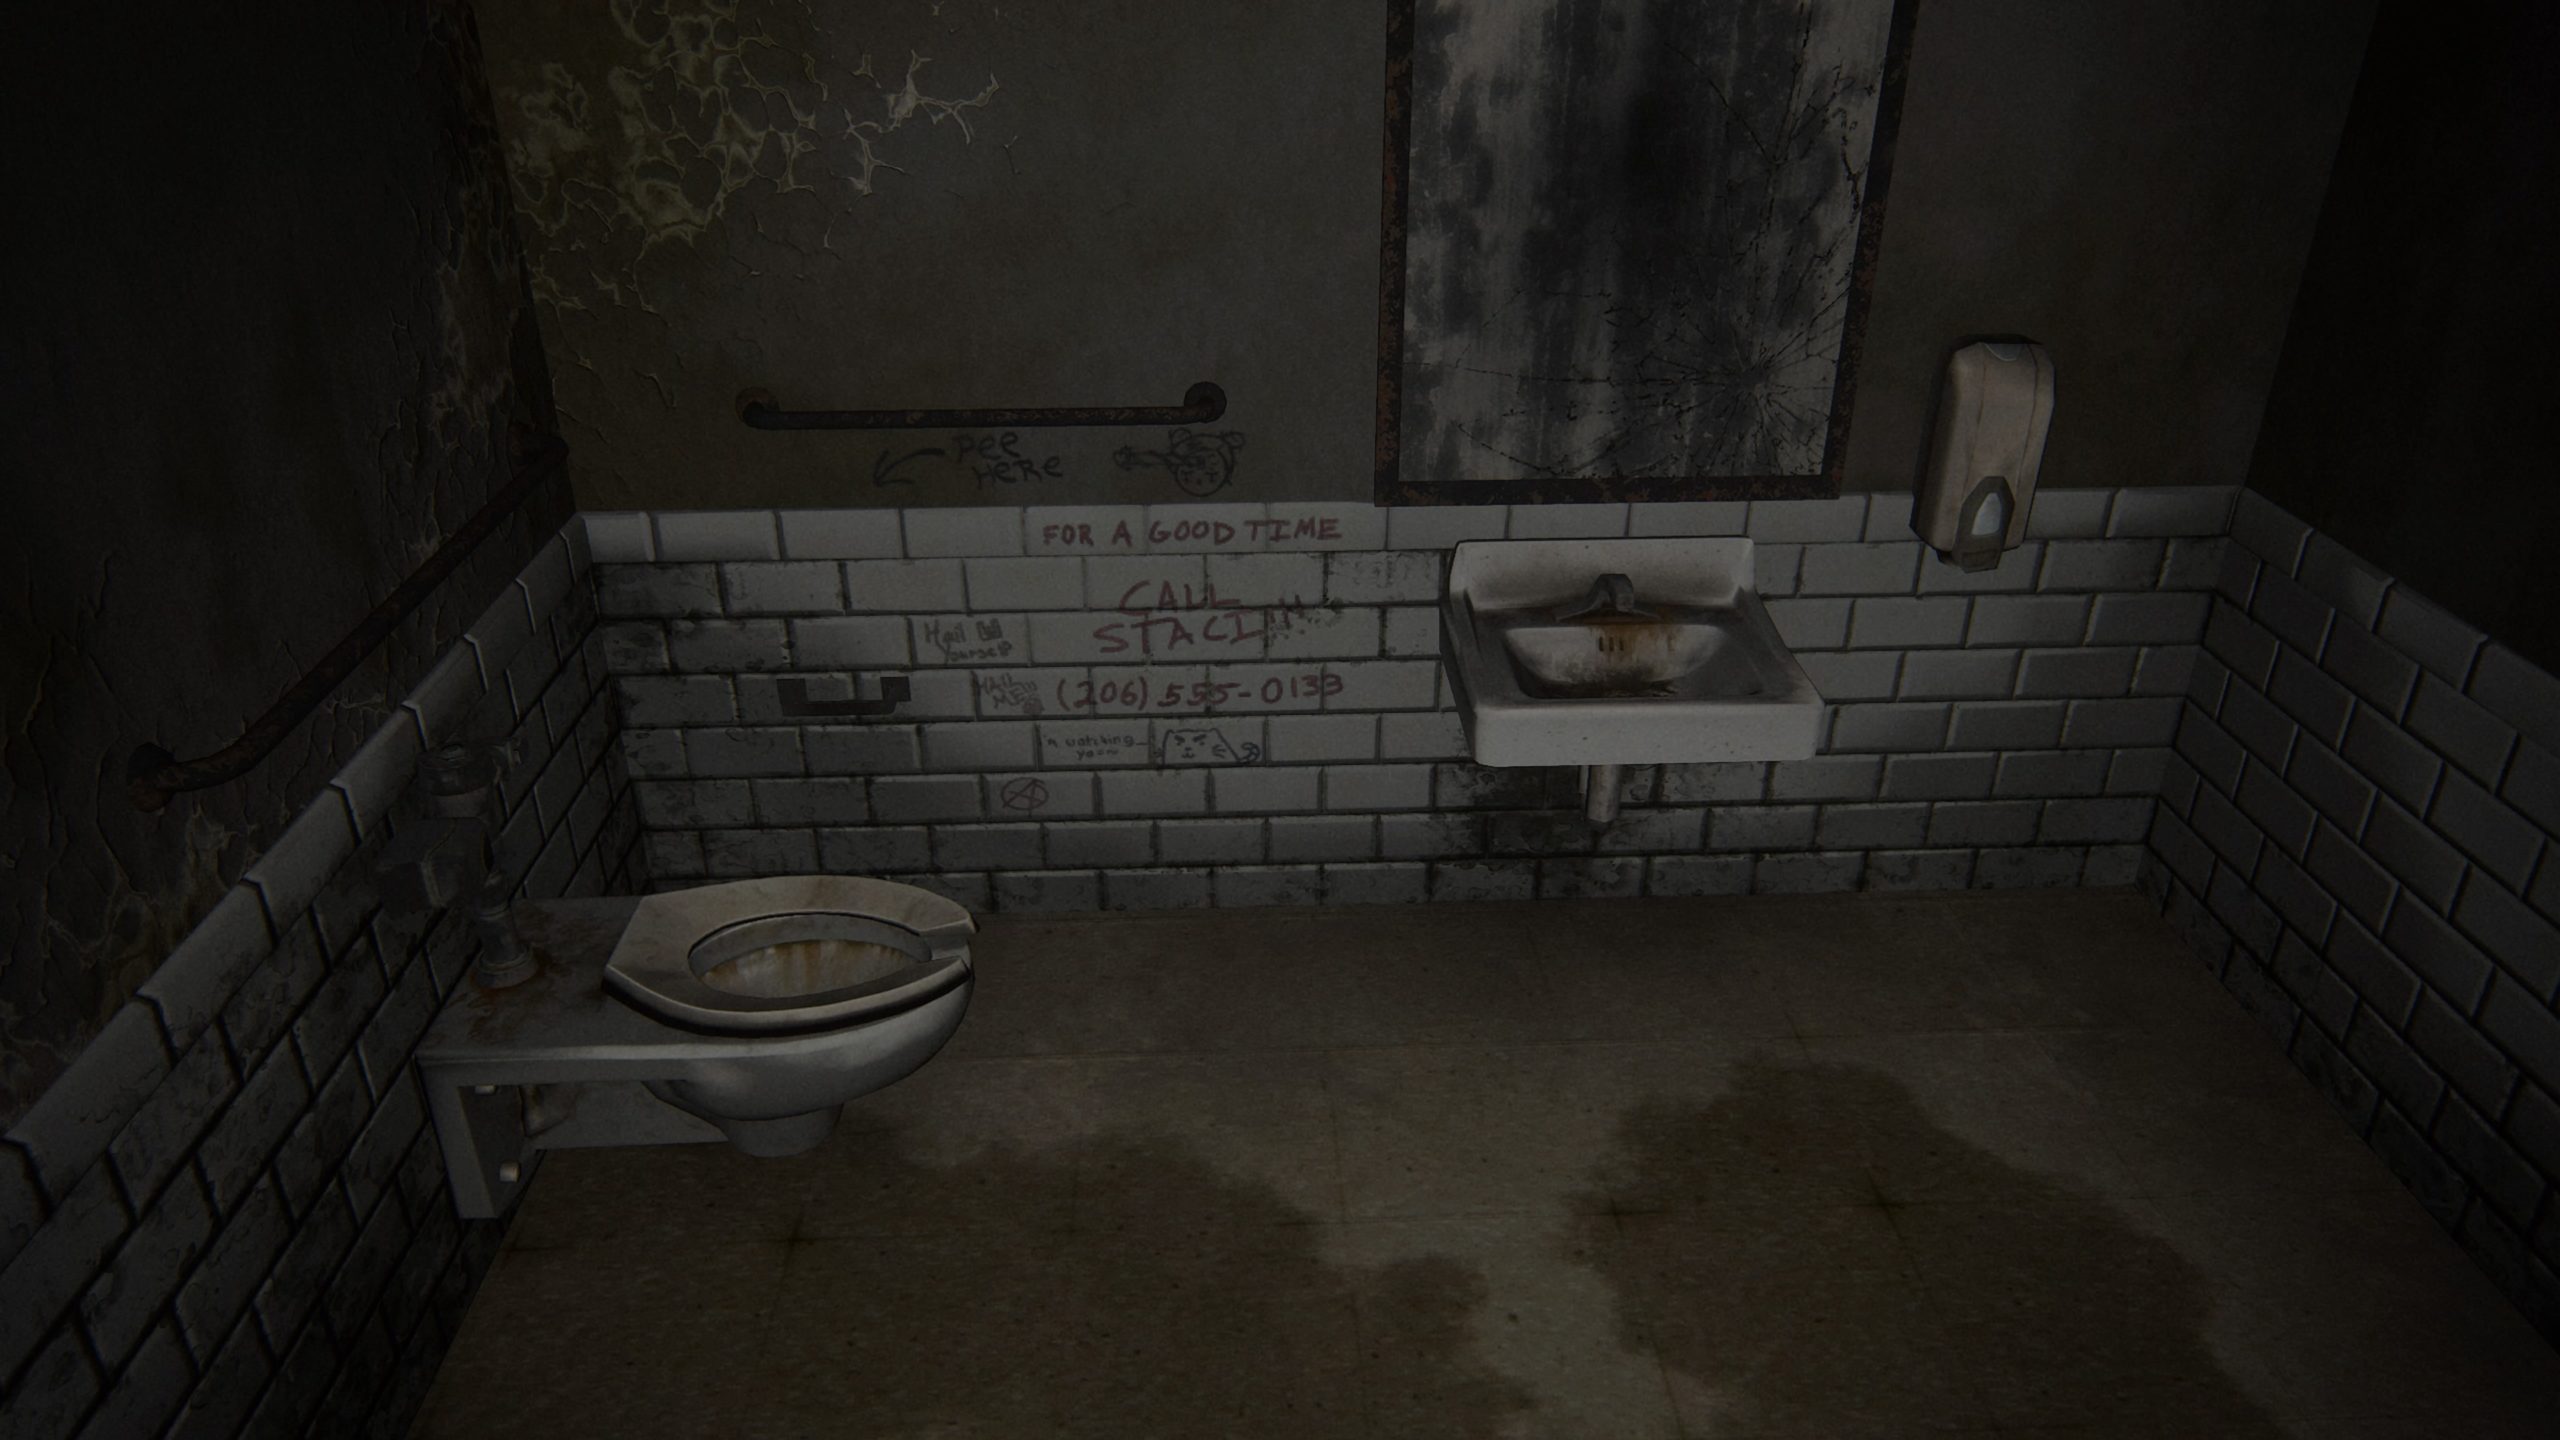
The safe can be found in the back room of the Well Wishes Store & Donation Center. The combo to the safe is 550133, which can be found in the writing on the bathroom wall.


Trading Card – Bizarrebra

This card can be found on the bookshelf in the children’s section in the Well Wishes Store & Donation Center.


Click here for the next guide on the collectibles in Channel 13!


Final Fantasy VII Remake
Guides

Final Fantasy VII Remake – Chapter 8 Music Disc Locations

by Chappie in


Below are the locations of the music discs in Chapter 8 of Final Fantasy VII Remake!


Chapter 8

21. Cait Sith’s Theme

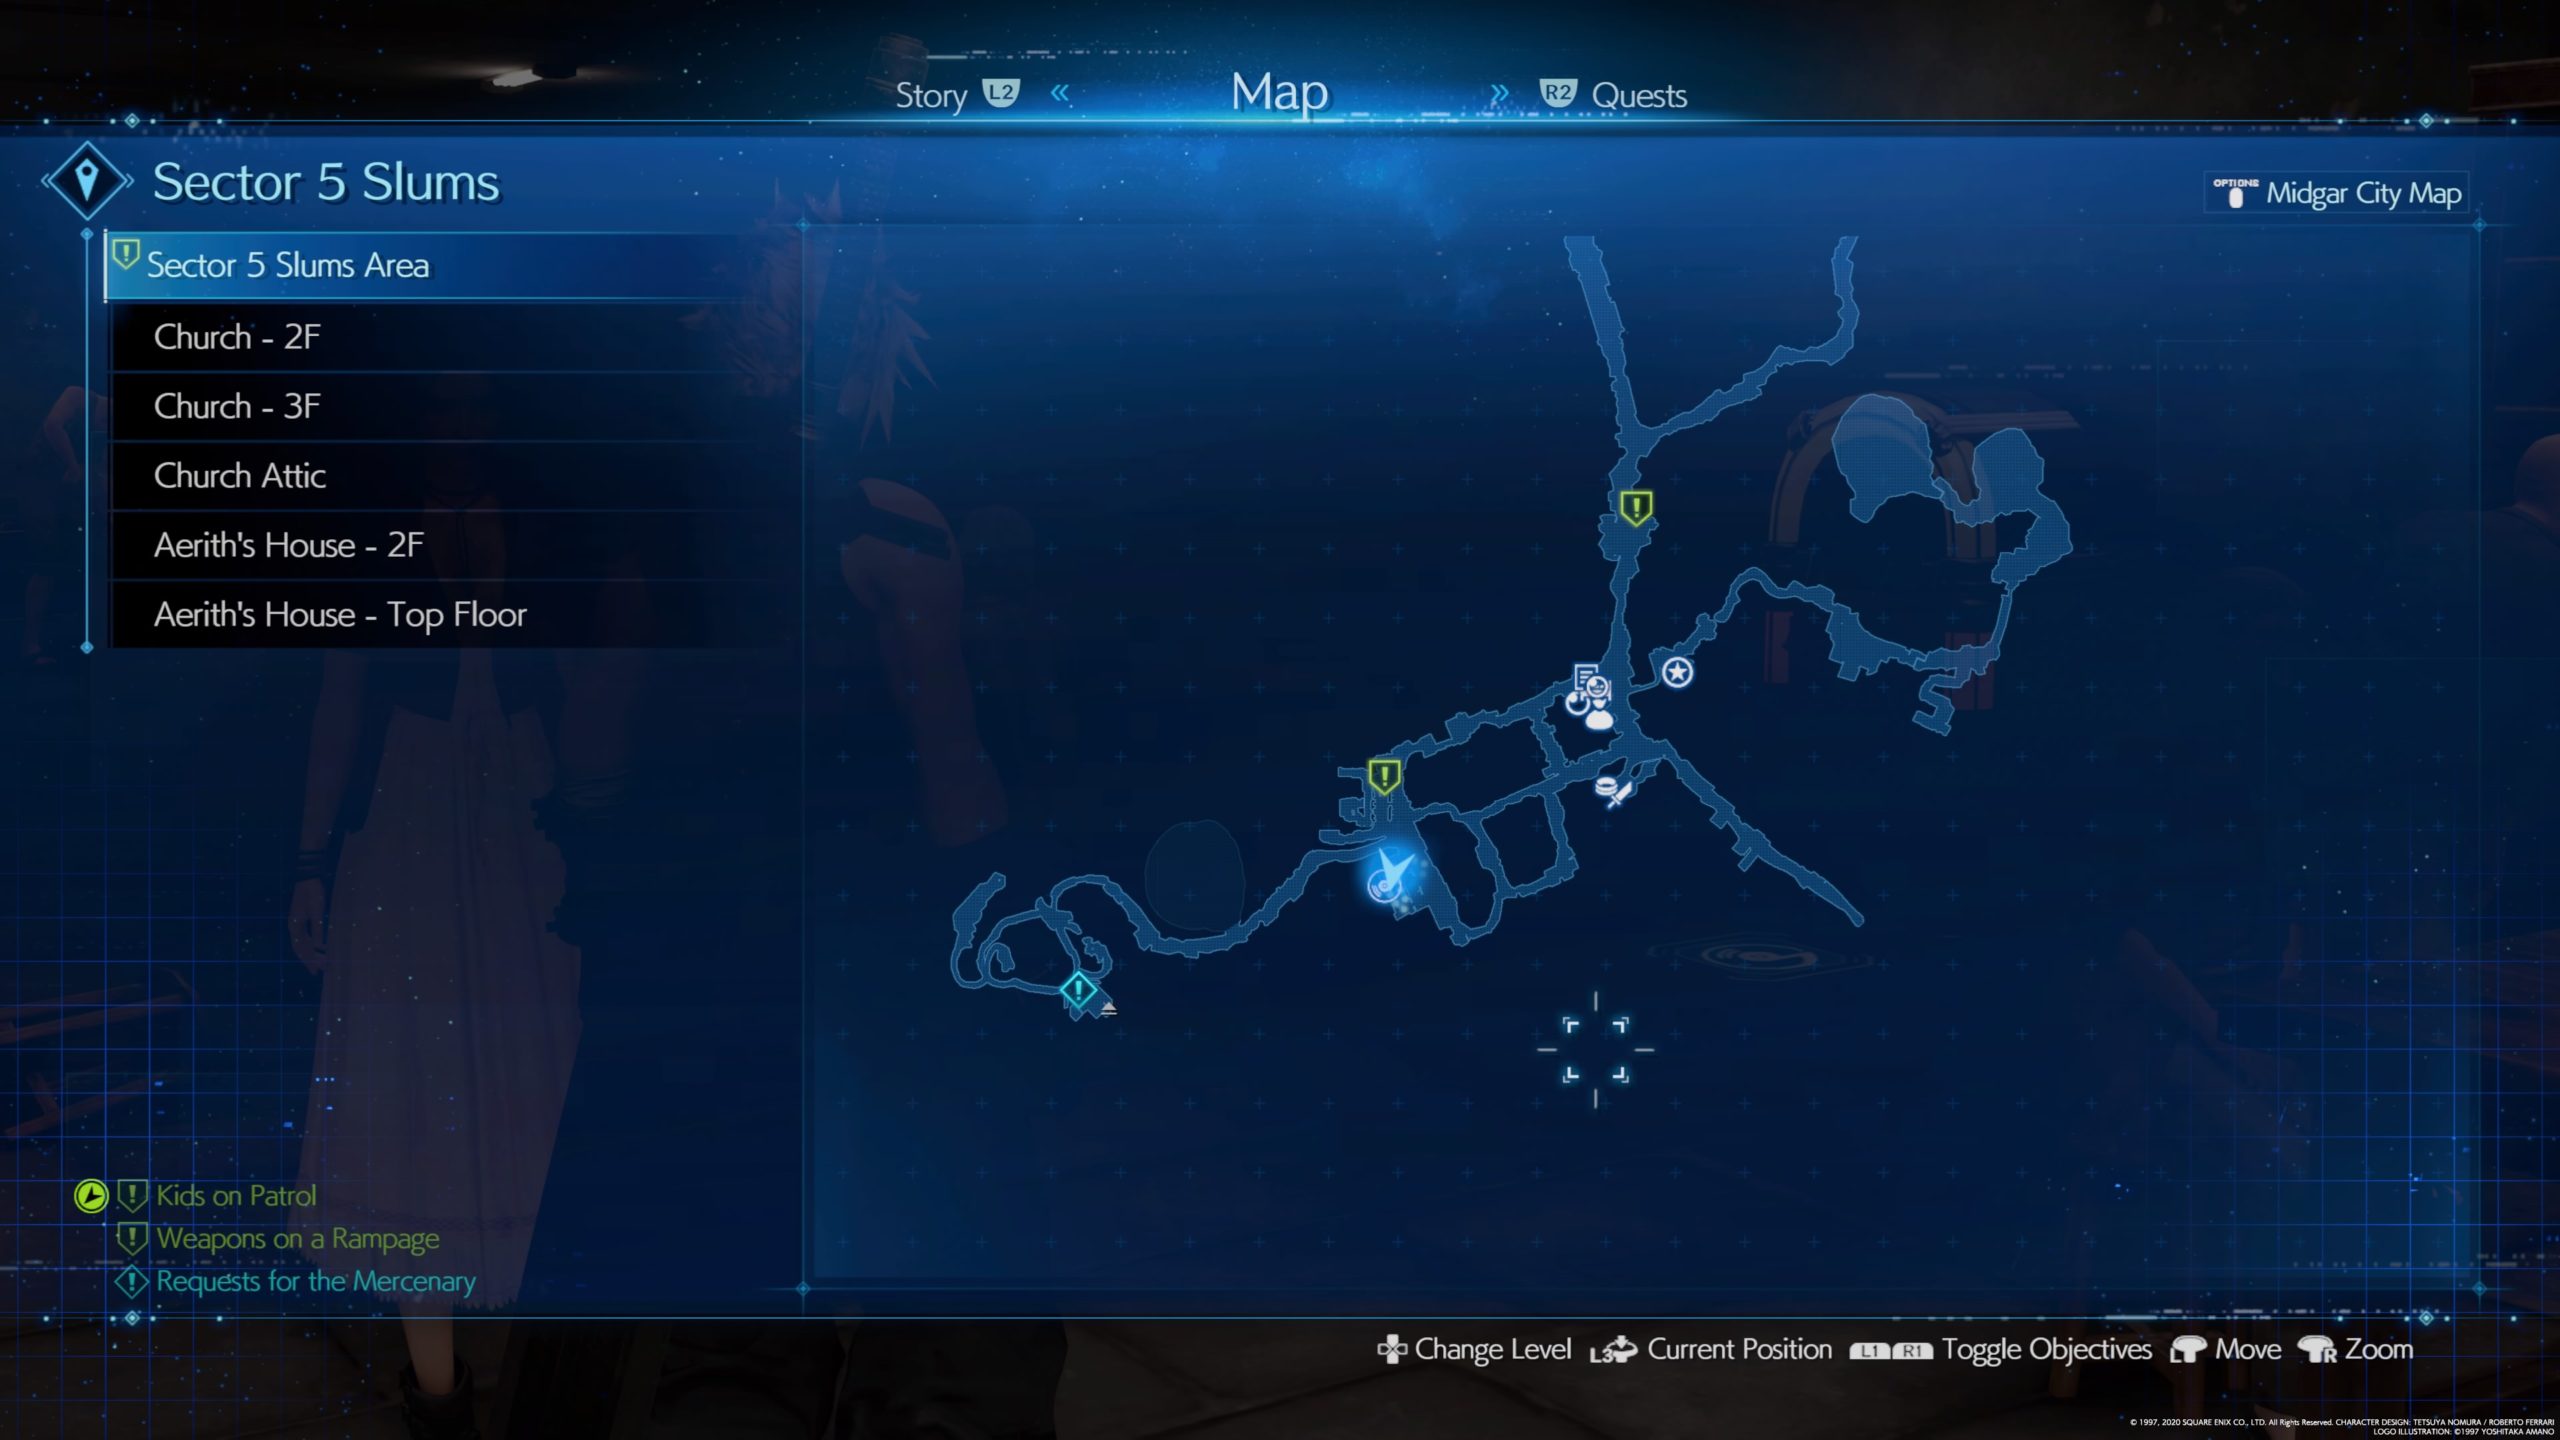
Purchase for 50 gil from a vending machine located next to the Sector 5 Slums Undercity Station.


19. Costa del Sol

Purchase for 50 gil from the Materia Shop in the Sector 5 Slums Center District.


20. Gold Saucer

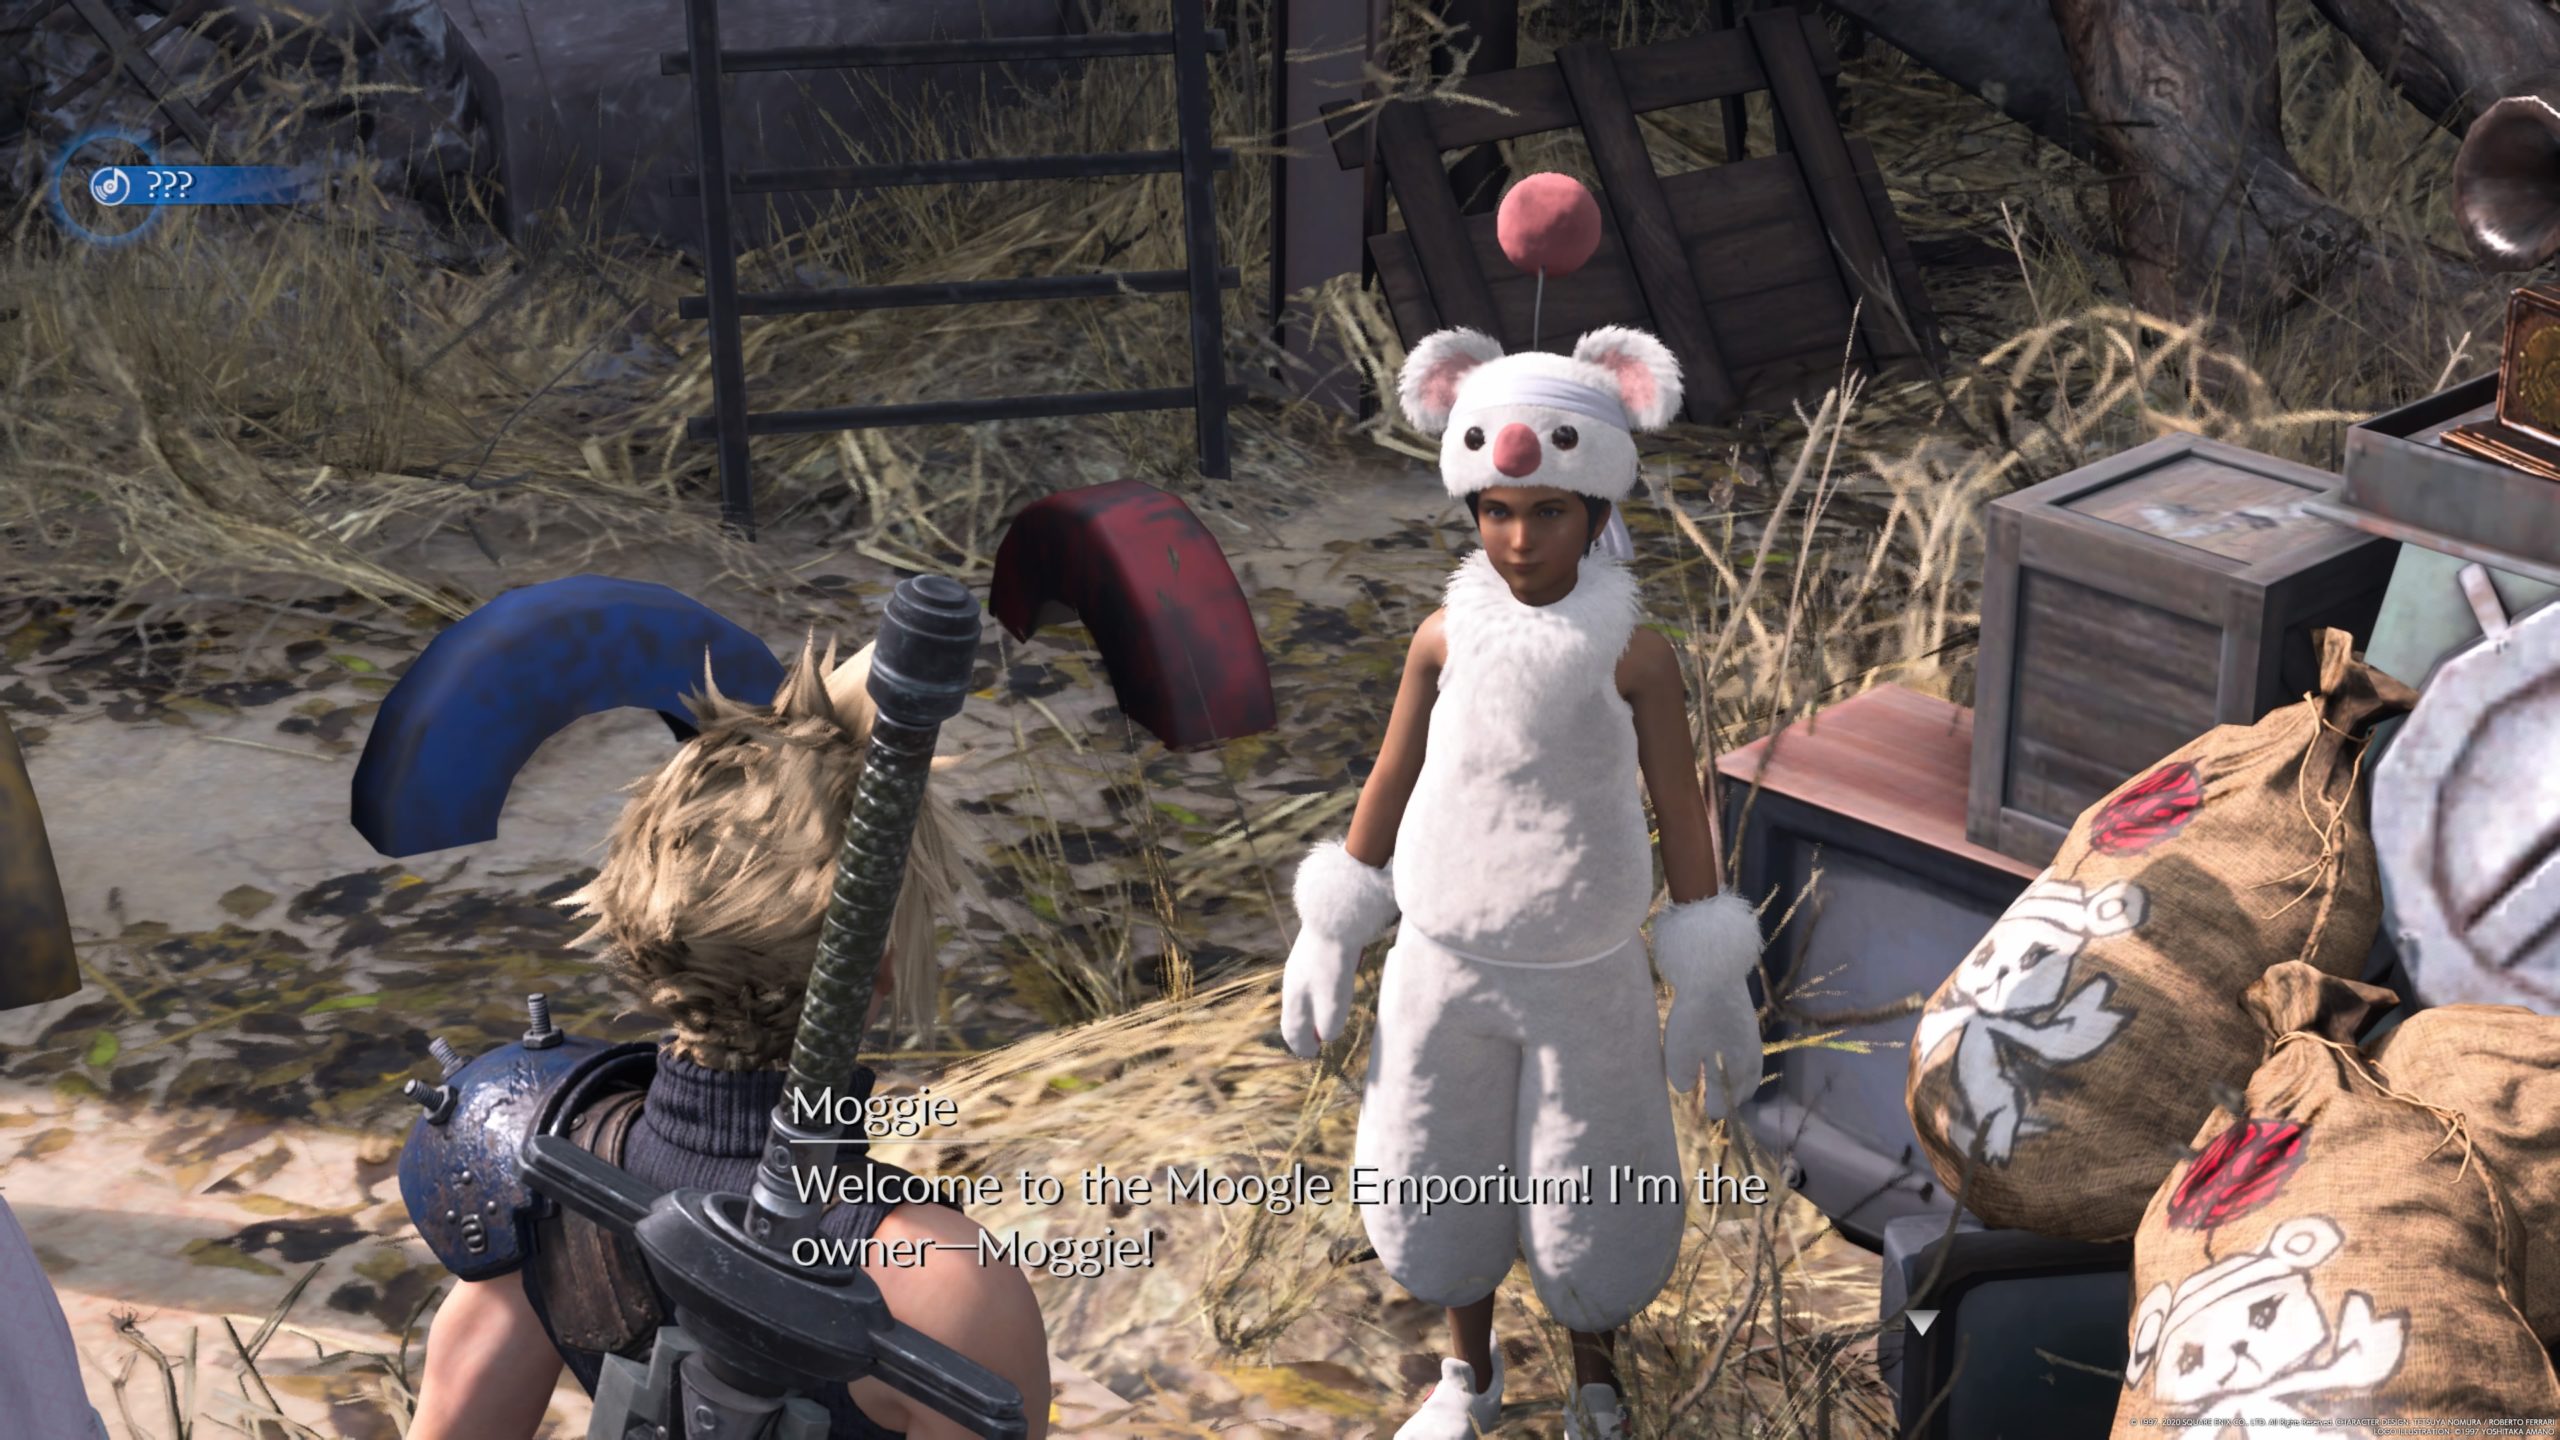
Purchase the disc for 1 Moogle Medal from the Moogle Emporium in the Children’s Secret Hideout in Sector 5 Slums Central District.


25. Tango of Tears

Interact with the Jukebox in the Sector 5 Community Center located in Center District.


Doom Eternal
Guides

Doom Eternal – Praetor Suit Perks

by NightlyGamingBinge in


Praetor Suit Points unlock the Praetor Suit Perks, which are needed in order to receive the platinum trophy in Doom Eternal. If you complete a Praetor Suit Perk category in a single save slot, you will unlock This One’s my Favorite trophy.  You can unlock They’re ALL my Favorite trophy by purchasing all Praetor Suit Perks in a single save slot. The guide below describes the locations of all the Praetor Suit Points!


Mission 3: Cultist Base

Praetor Suit Point 1

The first Praetor Suit Point is obtained through the story in the Fortress of Doom after completing the second mission.


Praetor Suit Point 2

During the mission, you will walk across a yellow bridge to arrive in a long hallway of death. Activate the terminal straight ahead to trigger a fight that introduces the Mancubus. After you defeat all the enemies, head to the end of the hallway where the cultist key is located and take a right to find a Sentinel holding the point.


Praetor Suit Point 3

As you progress through the story, you will eventually use a skull switch to unseal a gate, which will enable you to return to a previously visited courtyard. Defeat the enemies then stand on the green platform in the middle of the area to unseal the gate. Head inside then turn left down the tunnel. Just before the doorway there will be a cracked section of wall on the left side of the tunnel. Melee it then drop down into a room below containing the Praetor Suit Point.


Praetor Suit Point 4

During the objective to obtain the Super Shotgun, you’ll head into the next room with two moving columns. Enter the moving column on the left and take it down to the next level. Exit the column and follow the metal walkway until you reach a metal cube. Jump over the cube and continue along the walkway to reach the collectible.


Praetor Suit Point 5

During the story, you’ll pass through a guillotine hallway and enter a large circular room with a skull slab in the middle. Use the spin bars to reach the top then dash to the area that contains the Sentinel holding the Praetor Suit Point.


Praetor Suit Point 6

You can find this point near the entrance of the Terrordome.


Mission 4: Doom Hunter Base

Praetor Suit Point 7

The Praetor Suit Point is located on a ledge above the starting area. To reach it, head to the platform on the other side of the red barrier then jump towards the metal skull that shoots fire. Once on that platform, head to the other side and climb up the wall to reach another climbable wall on the other side of the room. At the top of the wall, take a left facing the entrance where you came from to spot a gold spin bar. Use the gold spin bar to reach the climbable wall on a bridge. At the top of the bridge, the sentinel holding the point will be straight ahead on the ledge to the right. You’ll need to use double jump and dash to reach it.


Praetor Suit Point 8

This point is located under the coffin that was unsealed (coffin in a sealed cylinder in middle of room). To reach it, exit the room and jump to a circular walkway then use the climbable walls to reach a top level where you can press the skull switch. From here jump to the cylinder and use the climbable wall to reach the top where you will be able to jump into the cylinder via a hole to find the point.


Praetor Suit Point 9

During the story, you’ll enter the red access door then follow the ramp down continuing through a hallway towards a stream of fire. Take the stairs at the end of the hallway up. At the top of the stairs, head through the right doorway with horizontal red laser beams. The Sentinel holding the point can be located in a shaft above the doorway. You can reach it by jumping on the nearby crates.


Praetor Suit Point 10

From the previous Praetor Suit Point, melee the crack in the wall then jump across the hanging climbable walls to reach a narrow ledge. Stay as far away from the lasers shooting along the wall as you can and defeat the enemies. The Sentinel holding the point will be at the end of the ledge near a climbable wall.


Mission 5: Super Gore Nest

Praetor Suit Point 11

*NOTE: In order to reach this point, you must first collect the extra life from the gunk covered pillar. From the Upper Area – Mixom Square fast travel point, head straight forward and take a right just before the gunk covered column. Proceed to the room at the end with a gunk covered pillar. Use the gold spin bar on the pillar to reach the second level. Look for a crack in the wall then melee the wall to reveal the extra life. Use double jump and dash to reach the extra life on the gunk covered column. When you land on the pillar, the pillar will go down, causing a door to open revealing the Sentinel holding the Praetor Suit Point.


Praetor Suit Point 12

From the Upper Area – Star Mall fast travel point, head to the center of the room with the moving gunk press. Head past the press and use the green portal to arrive in a gunk covered room. Head to the side of the room with three openings behind you. Take the left ramp up and turn left at the top to find the Sentinel holding the point.


Praetor Suit Point 13

From the Upper Area – Vorus Medical Plaza fast travel point, turn around heading into the green lit room and follow the hallway down a flight of stairs. Jump through the hole in the window straight ahead to land on a giant concrete slab with lava in the middle. Head to the square structure to find the Sentinel holding the point along the back of it.


Praetor Suit Point 14

From the Upper Area – Vorus Medical Plaza fast travel point, head forward through the teeth guarded doorway and follow the hallway to the end. Work your way through the toxic room using the climbable walls. When you go past the fire spinning chain, jump to the climbable wall just beyond it then head to the wall across the way and turn around to find the room with the Sentinel holding the point.


Praetor Suit Point 15

From the Lower Area – Toxin Refinery fast travel point, jump down into the green toxic liquid and follow the path right through a doorway to find the Sentinel holding the point at the end.


Mission 6: Arc Complex

Praetor Suit Point 16

From the Emerson fast travel point, head up the stairs past the flaming debris and follow the hallway to the end. When you reach the broken window, jump through it to reach the hotel lobby. Look for the Emerson logo behind the check-in desk. When you find it, head down the hallway to left of it. This will bring you to an open room with some couches and chairs scattered about and a UAC Spokesperson hologram near the a window. Facing the hologram, head to the left side of the room to find a hole in the floor leading to a lower level. Jump down this hole and the one in the next room to arrive in a hallway. Take the nearby steps down then swing right to find the point in front of an elevator.


Praetor Suit Point 17

From the start travel point, head down the hallway and through the door at the end. Pass the A9 Security room and head down the nearby stairs. Keeping heading passed the UAC Spokesperson hologram and into an elevator.  Take the elevator down and exit it into a hallway. Follow the hallway, jumping over the hole in the floor. Next, take a left through the hole in the wall near some burning debris followed by a right heading through the room. At the end of the room, take a right through a hole in the wall. On the other side of the hole, look to the right to spot the Praetor Suit Point.


Praetor Suit Point 18

From the Atrium Offices fast travel point, jump out the window to the building across the way. Once in the other building, turn left and jump over the fallen debris to find a cracked wall. Melee the wall then head up the stairs to find a hole in the middle of the stairwell. Go through the hole then turn right and break the boarded wall then head into the room beyond it. Go past the golden plane and head out the broken window to the left of the room, using a series of gold spin bars and climbable walls to reach the top level of the building. Once inside, follow the hallway taking a left through a broken wall into an elevator shaft. Climb up the elevator, exiting on the right near a UAC Spokesperson hologram. The Praetor Suit Point will be located in this room.


Praetor Suit Point 19

From the Moring Aeronautics fast travel point, head right into the interior portion of the building to locate a set of stairs. Head up two flights of stairs then take a left. Follow the hallway to the end then jump across the way to the other side to find the Praetor Suit Point.


Praetor Suit Point 20

From the Convention Parking fast travel area, turn around heading into the parking lot. Pass the bus on the right side and enter the room on the right to find the Praetor Suit Point.


Mission 7: Mars Core

Praetor Suit Point 20

From the Phobos – BGF-10000 Ventilation fast travel point, head forward through an opening near the tiny pistons. This will bring you to a room with four giant moving cylinders. Use the cylinders to reach the platform on the top left of the room to locate the Sentinel with the point.


Praetor Suit Point 21

From the UAC – UAC Outpost LD fast travel point, drop down onto the platform below and head to the walkway across from the portal near the edge of the platform. Drop down the hole under the walkway to locate the hallway leading further into the level. To left of it will be a wall with a crack in it. Melee the wall, but don’t head through yet. Look down to the right to see a doorway. Jump to the doorway to see the Sentinel with the point at the top of some stairs.


Praetor Suit Point 22

From the Meteor – Alpha Labs fast travel point, head for the stairs leading the monitors that say “SYSTEM CRITICAL”, but don’t go up them. Instead, drop down to lower level by the green light to the left of them. Take the first left in the hallway and use the lift pad to reach the room above. From there, head through the nearby hole in the wall then cross the room to the doorway on the other side.  Go through the doorway then take a left climbing up the fallen crate to reach the vent shaft. Climb up to the top to find the Sentinel with the point.


Praetor Suit Point 23

From the Meteor – UAC Transmission Tower fast travel point, head forward towards the three floating pillars with climbable walls. Jump to the floating rock just before them then use that rock to reach the third rock. The Sentinel will be at the top with the point.


Praetor Suit Point 24

From the Hell – Temple of Sin fast travel point, follow the path forward dropping down off the ledge at the end. Turn right then head down the nearby steps. Take a left and head to the end to find the Sentinel in a small room to the right.


Mission 8: Sentinel Prime

Praetor Suit Point 25

From the Training Hall fast travel point, take the stairs up to the top. Once there take a right and follow the walkway to the end. Across from you will be another walkway containing the Sentinel holding the point.


Mission 9: Taras Nabad

Praetor Suit Point 26

From the Atrium Plaza fast travel point, enter the doorway in front of you and take a left to find the Sentinel holding the point.


Praetor Suit Point 27

From the Slayer Creation Chamber fast travel point, turn around and head down the stairs. Once at the bottom of the stairs, head through the doorway on the right then take a right to follow the hallway to the end. The Sentinel holding the point will be on the left.


Praetor Suit Point 28

From the Fallen Titan fast travel point, head forward and climb over the titan’s legs to find the Sentinel holding the point to the left of the titan’s body.


Praetor Suit Point 29

From the Skyline fast travel point, head right and take the stairs up to find the Sentinel standing behind a column with a spin bar.


Praetor Suit Point 30

From the Throne Room fast travel point, drop down the hole in front of the throne. Head down the stairs then drop into another hole. The Sentinel will be located on the far side of this room.


Mission 10: Nekravol – Part I

Praetor Suit Point 31

From The Mill fast travel point, take a right and follow the path to the end to find the Sentinel holding the point.


Praetor Suit Point 32

From the above Praetor Suit Point, head left passing the green diamond and under a spiked ceiling. After the spiked ceiling, take a right up a flight of stairs then head through the doorway on the right side of the room to go up a flight of stairs. The Sentinel holding the point will be at the top.


Praetor Suit Point 33

From the Halls of Torment fast travel point, head to the other side of the room and turn around. Use the first gold spin bar to reach the higher gold spin bar. Use that spin bar to reach the ledge above the fast travel point with a green skull. Facing the skull, jump to the ledge on the left and work your way through the hall of presses and fire to find the Sentinel holding the point at the end.


Mission 11: Nekravol – Part II

Praetor Suit Point 34

From the Soul Ascent fast travel point, look to the left to locate a cracked wall underneath the sliding gate. Dash through the wall to reach the Sentinel holding the point.


Praetor Suit Point 35

From the Soul Converter fast travel point, head forward up the small flight of stairs and follow the path left or right to find the Sentinel holding the point.


Praetor Suit Point 36

From the Argent Transmitter fast travel point, turn around and jump down the long shaft backwards then dash forward to reach a hidden area containing the Sentinel holding the point.


Mission 12: Urdak

Praetor Suit Point 37

From the Abyss of Sanctuary fast travel point, head to the right side of the room past the open doorway. In the next room proceed through the door and head through a hallway to reach an outdoor area. Step on the green switch straight ahead to trigger the warp gates. Jump to the warp gate and follow the path right along the structure. You will need to use the outside stack on the right of the structure to reach the ledge on the inside containing the crackable wall. Melee the wall to reach the Sentinel holding the point.


Praetor Suit Point 38

From the Perse Harmonizer fast travel point, head into the structure to find the Sentinel holding the point behind the elevator.
 

Guides

Metro Exodus – Sam’s Story Harmonica Melodies Sheet Music Collectibles

by Chappie in

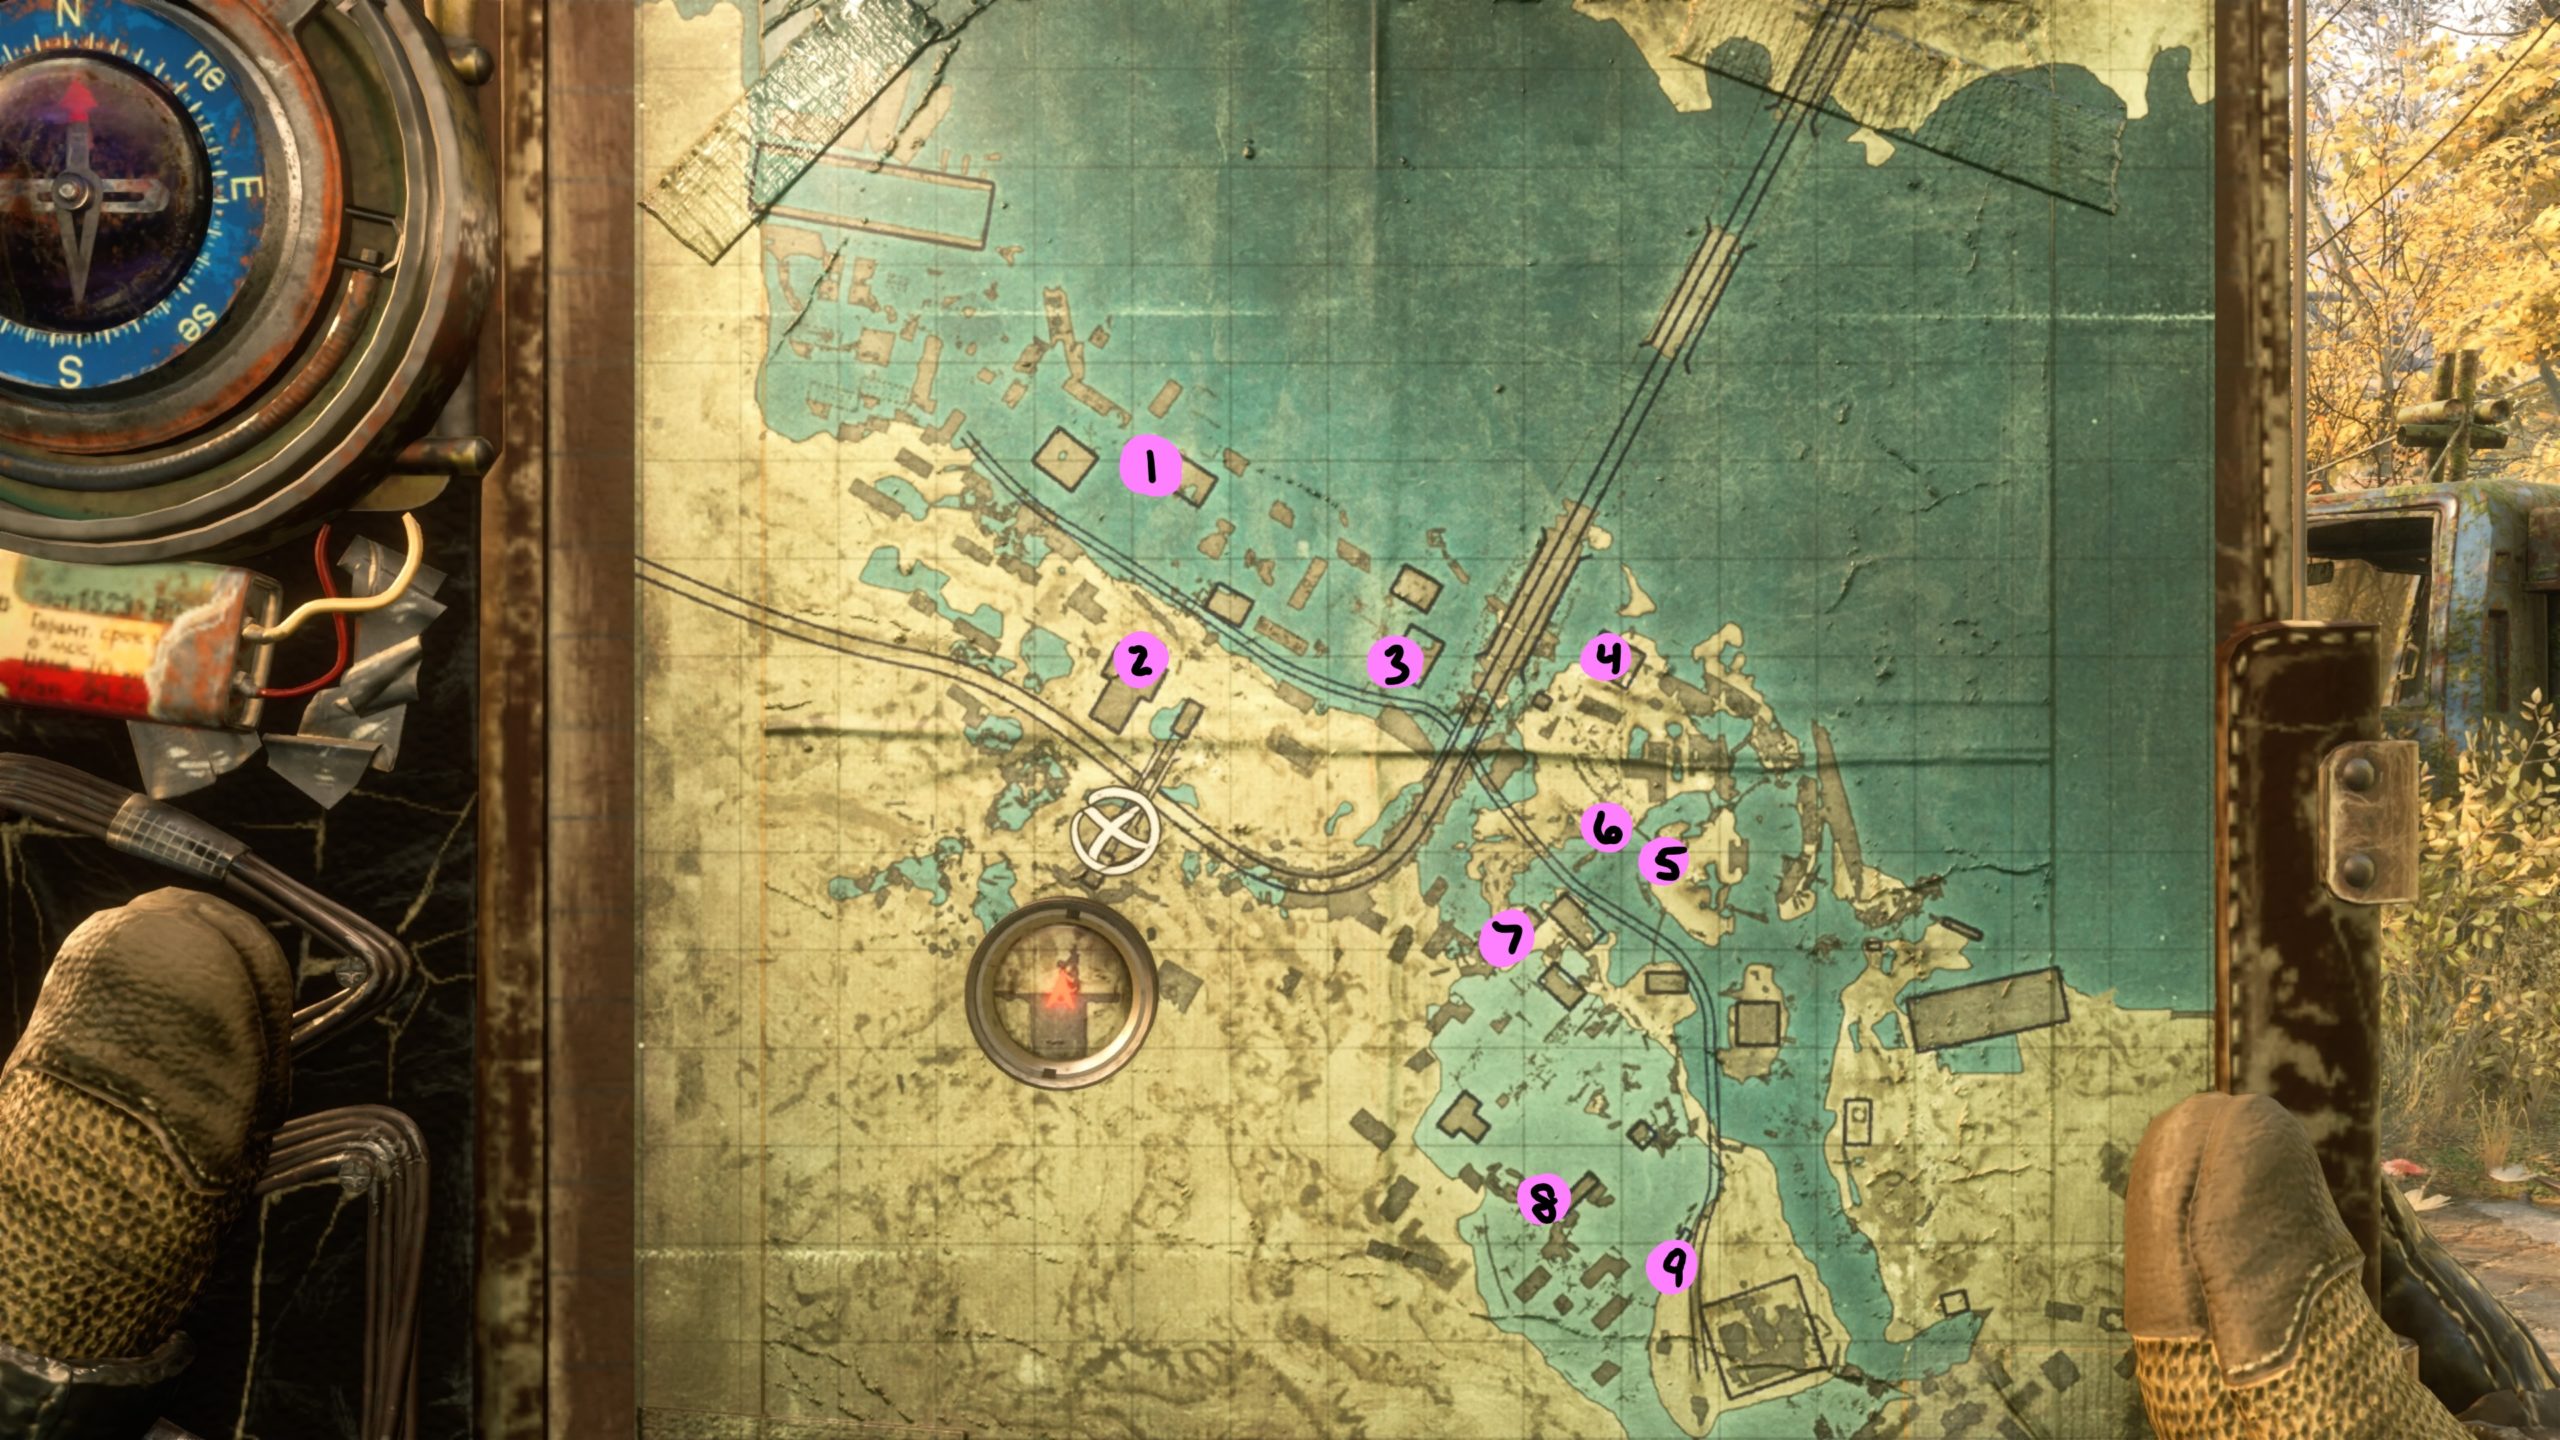
*NOTE: There are 9 harmonic melodies (sheet music) to collect in the Metro Exodus Sam’s Story DLC. The melodies are listed below in the order that they can be obtained during the main story. Please make sure to collect them as you go. If you progress too far in the story, you will be locked out of the locations that contain the melodies.


Melody 01

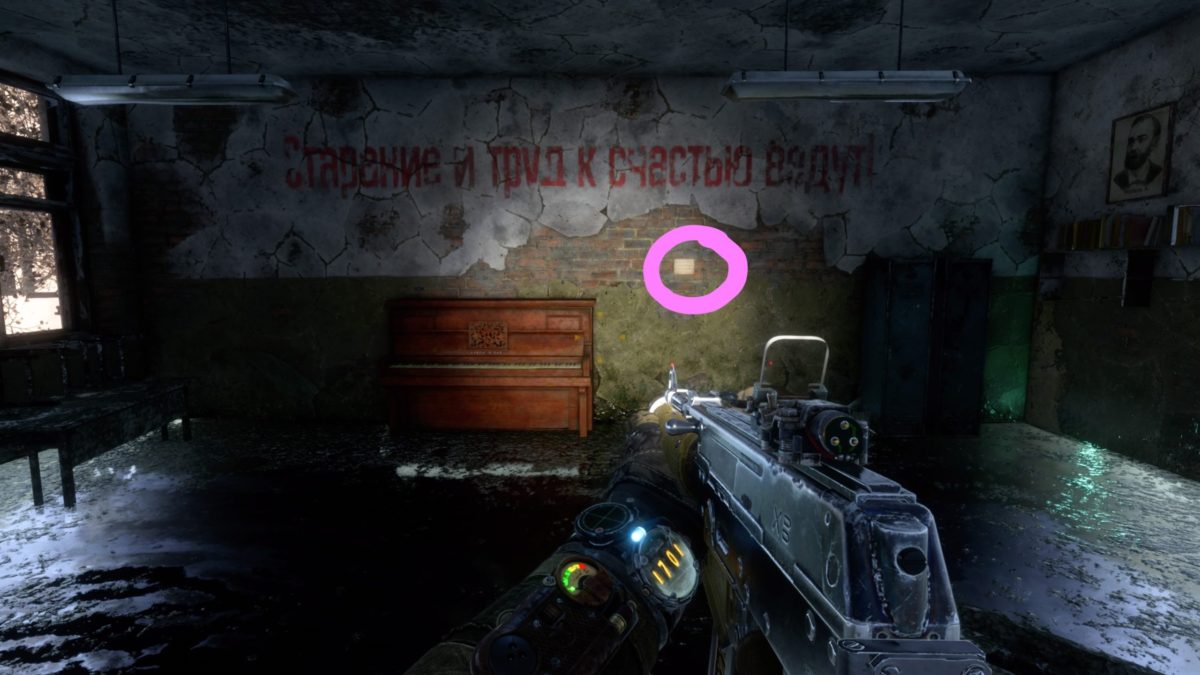
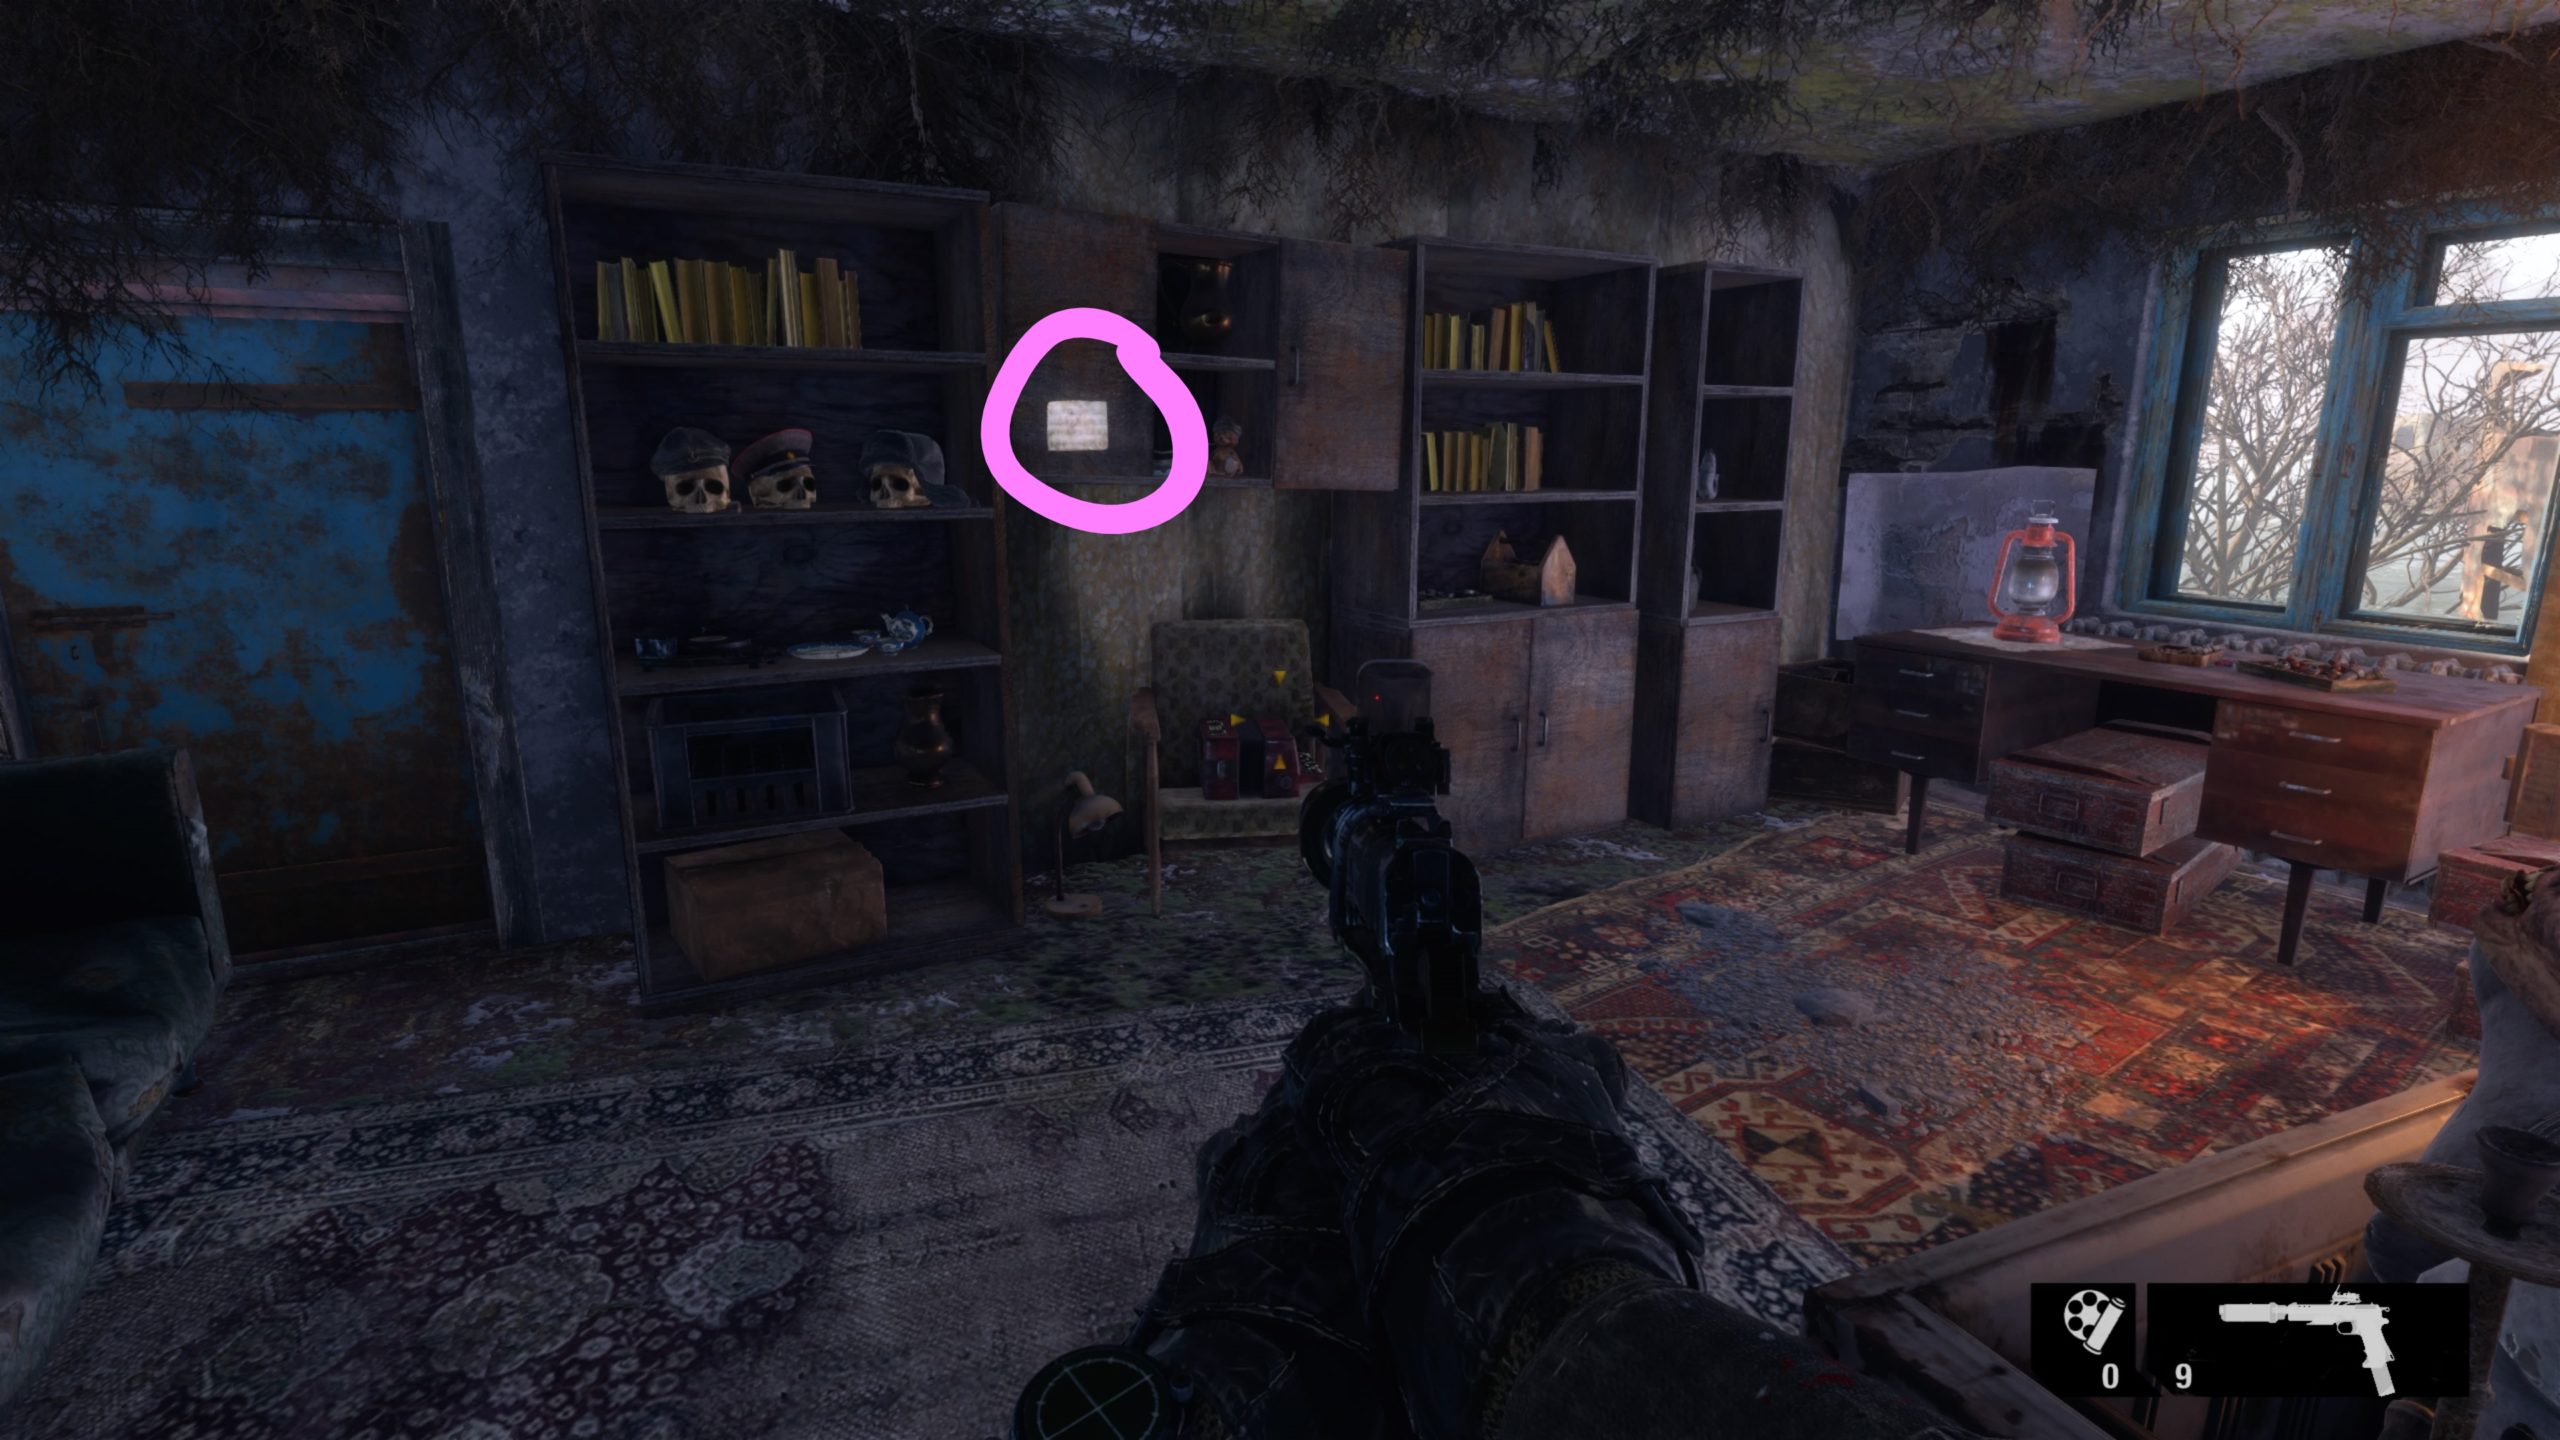
After you dock the boat, enter the school via a window and work your way to the part of the building containing a set of stairs leading to the second level. Facing the stairwell leading up, follow the hallway right and take the first left into a classroom to find the sheet music hanging on the wall next to a piano.


Melody 02

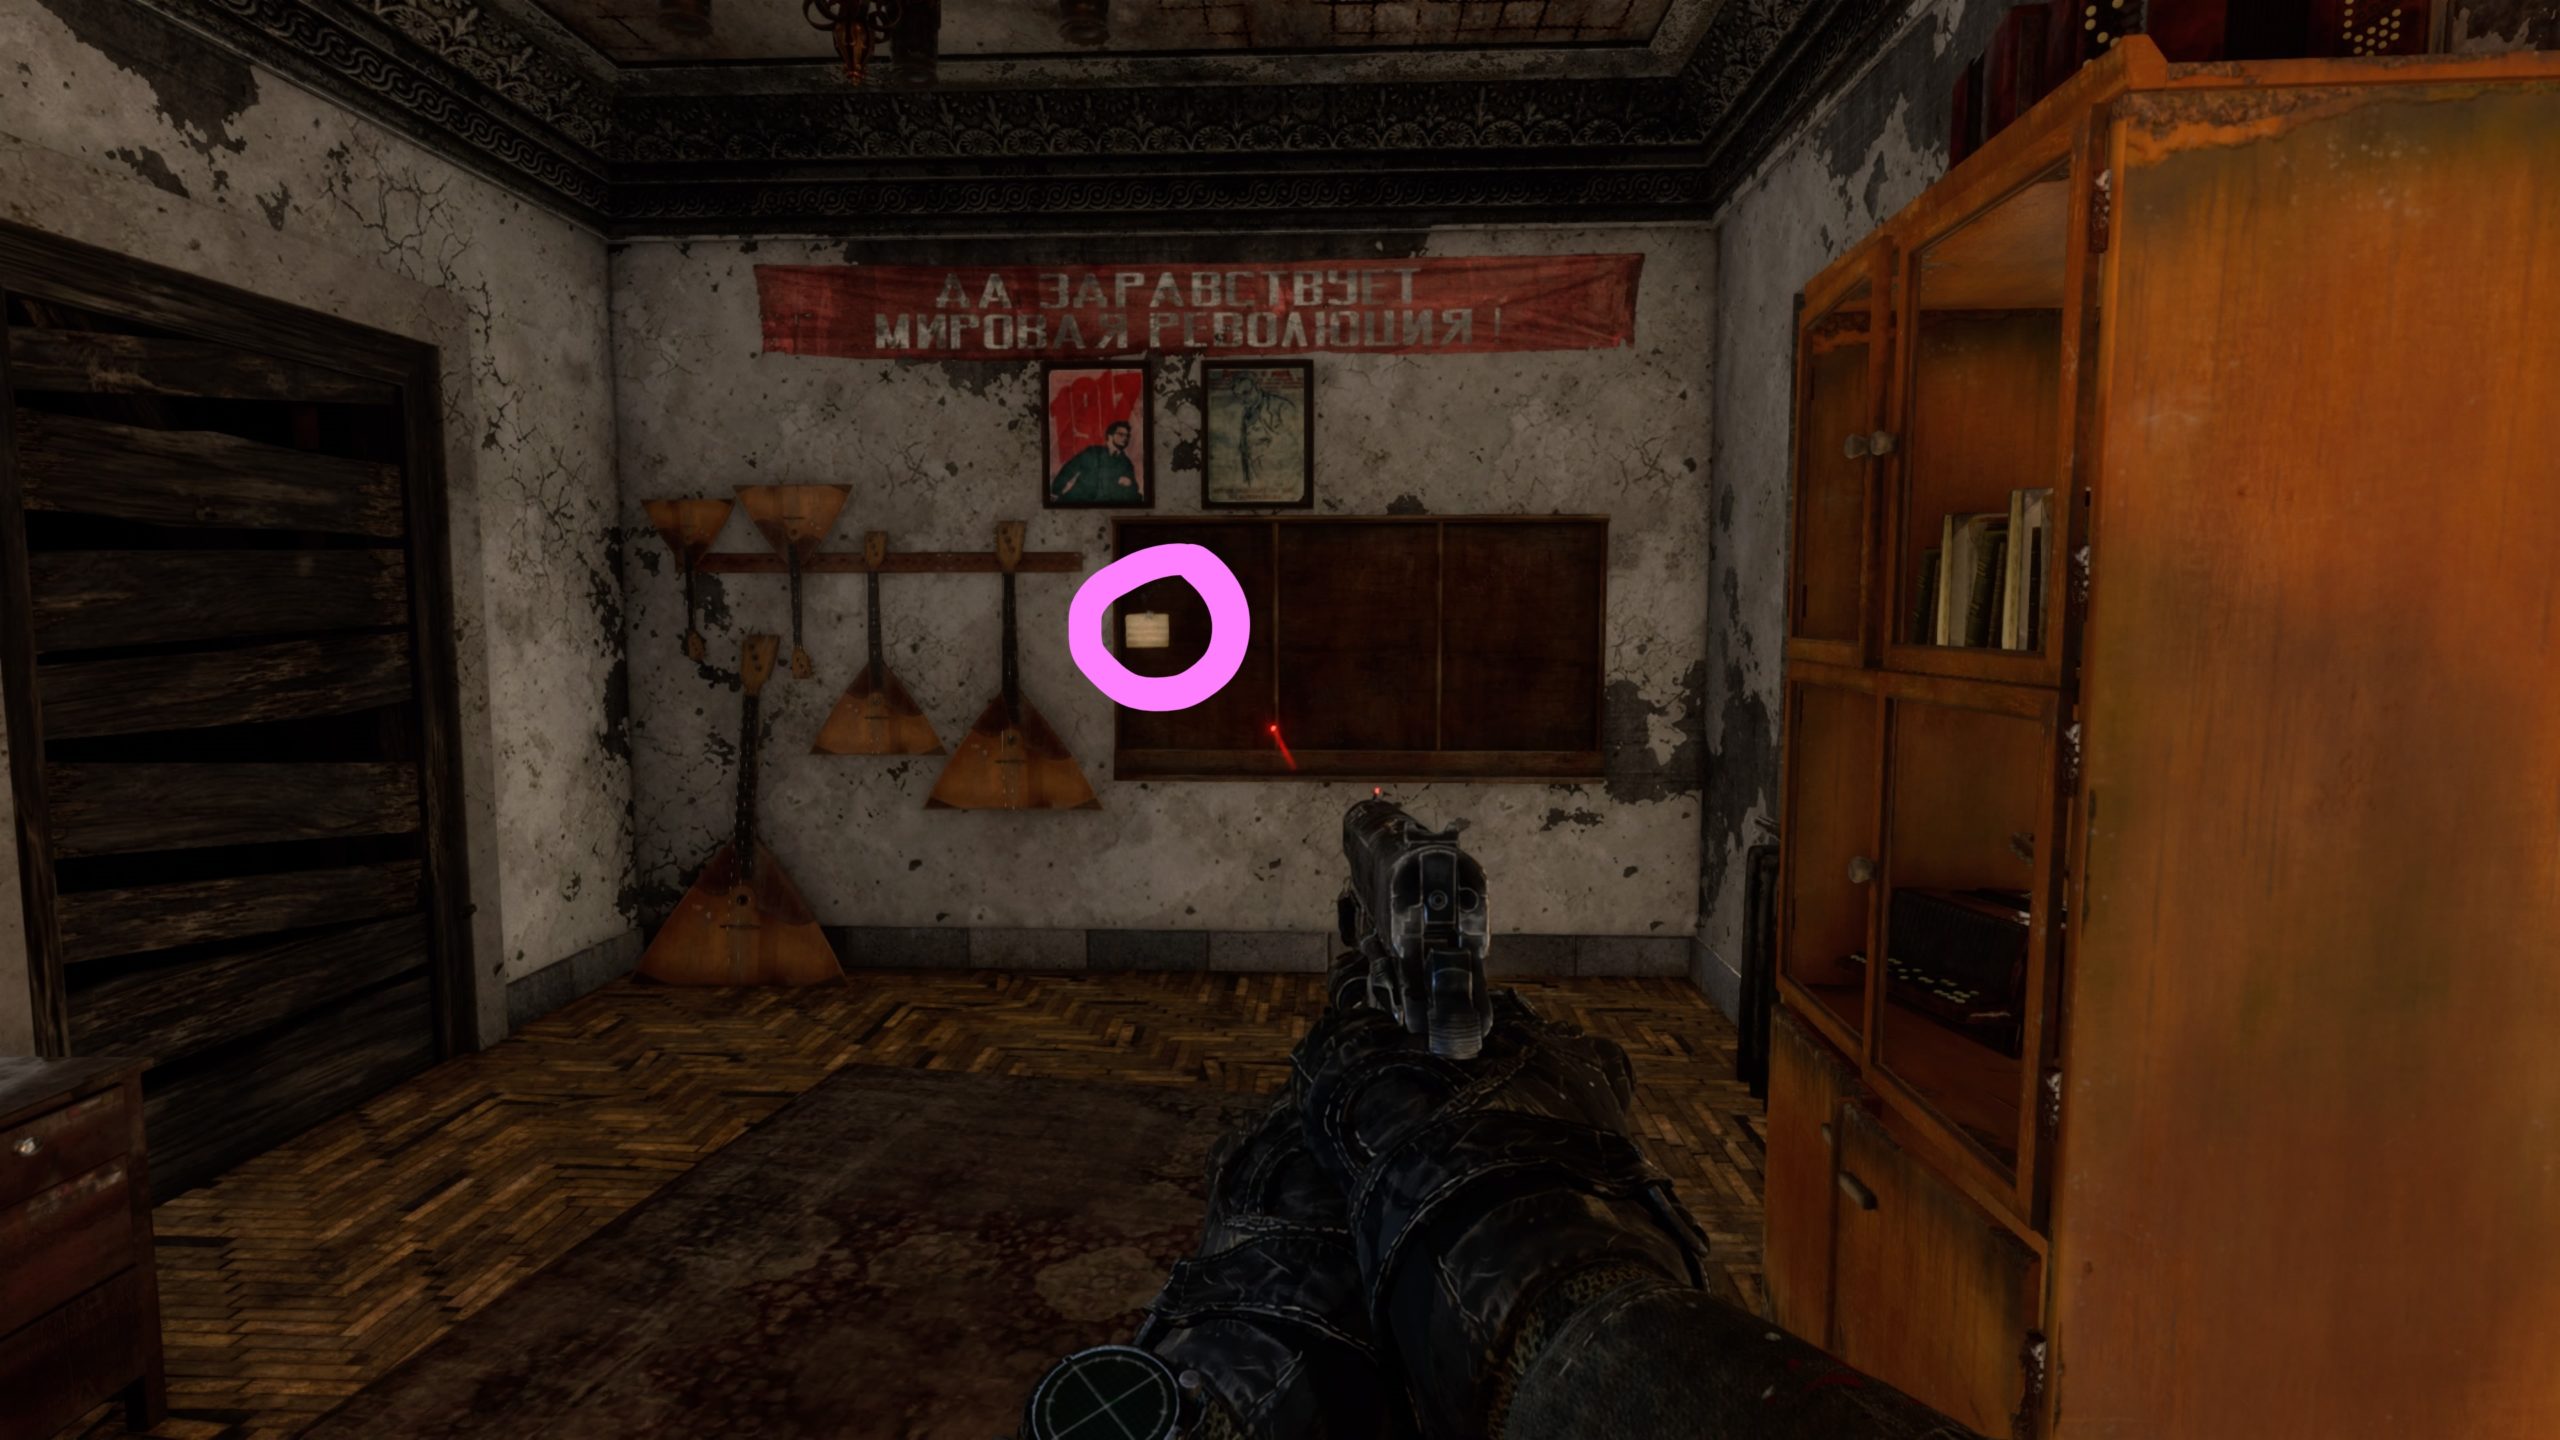
Head to the theater occupied by bandits and make your way to the second level. Once on the second level, make your way to the east side of the building to find a room filled with bookshelves. Just outside this room, there will be a window in the hallway with planks connecting it to another window in a sealed off room. Head across the planks and enter the sealed off room to find the sheet music on a bulletin board near some triangular guitars.


Melody 03

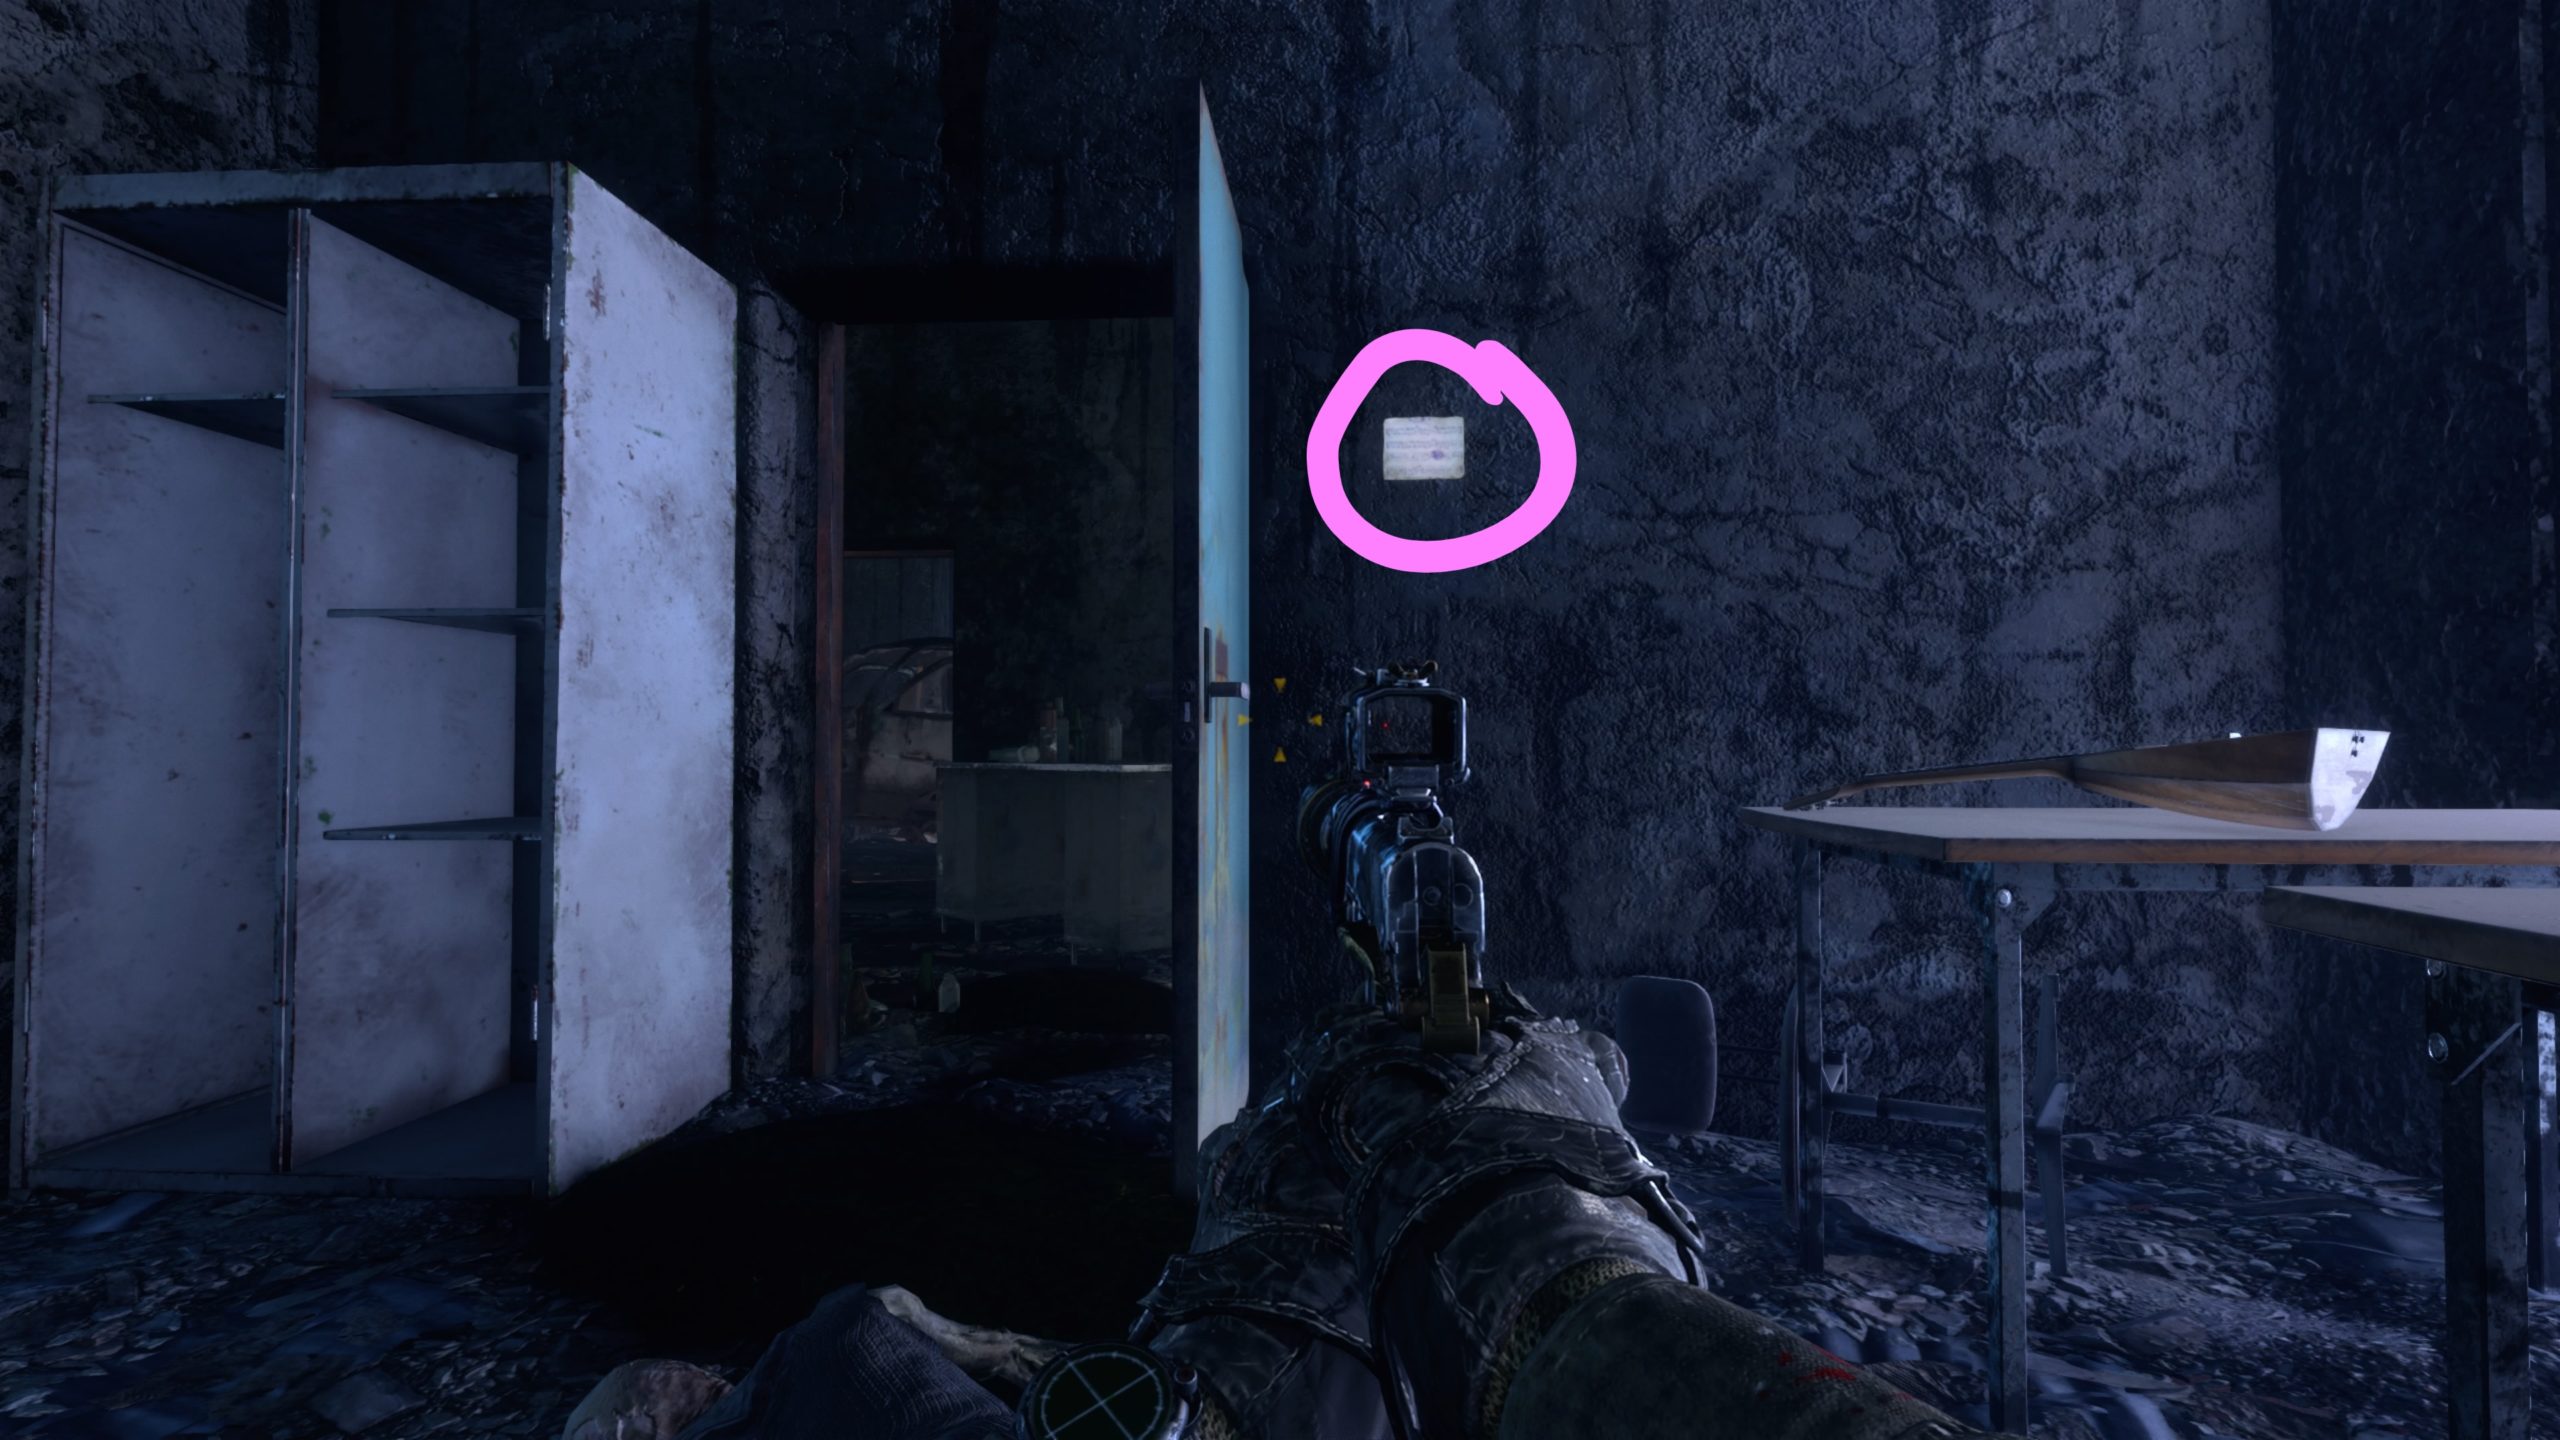
After you defeat the sniper, exit the door and head towards the boat. Instead of entering the boat, take a left in front of the boat and follow the walkway to a blue door. Enter the door to find the sheet music on the wall straight ahead.


Melody 04

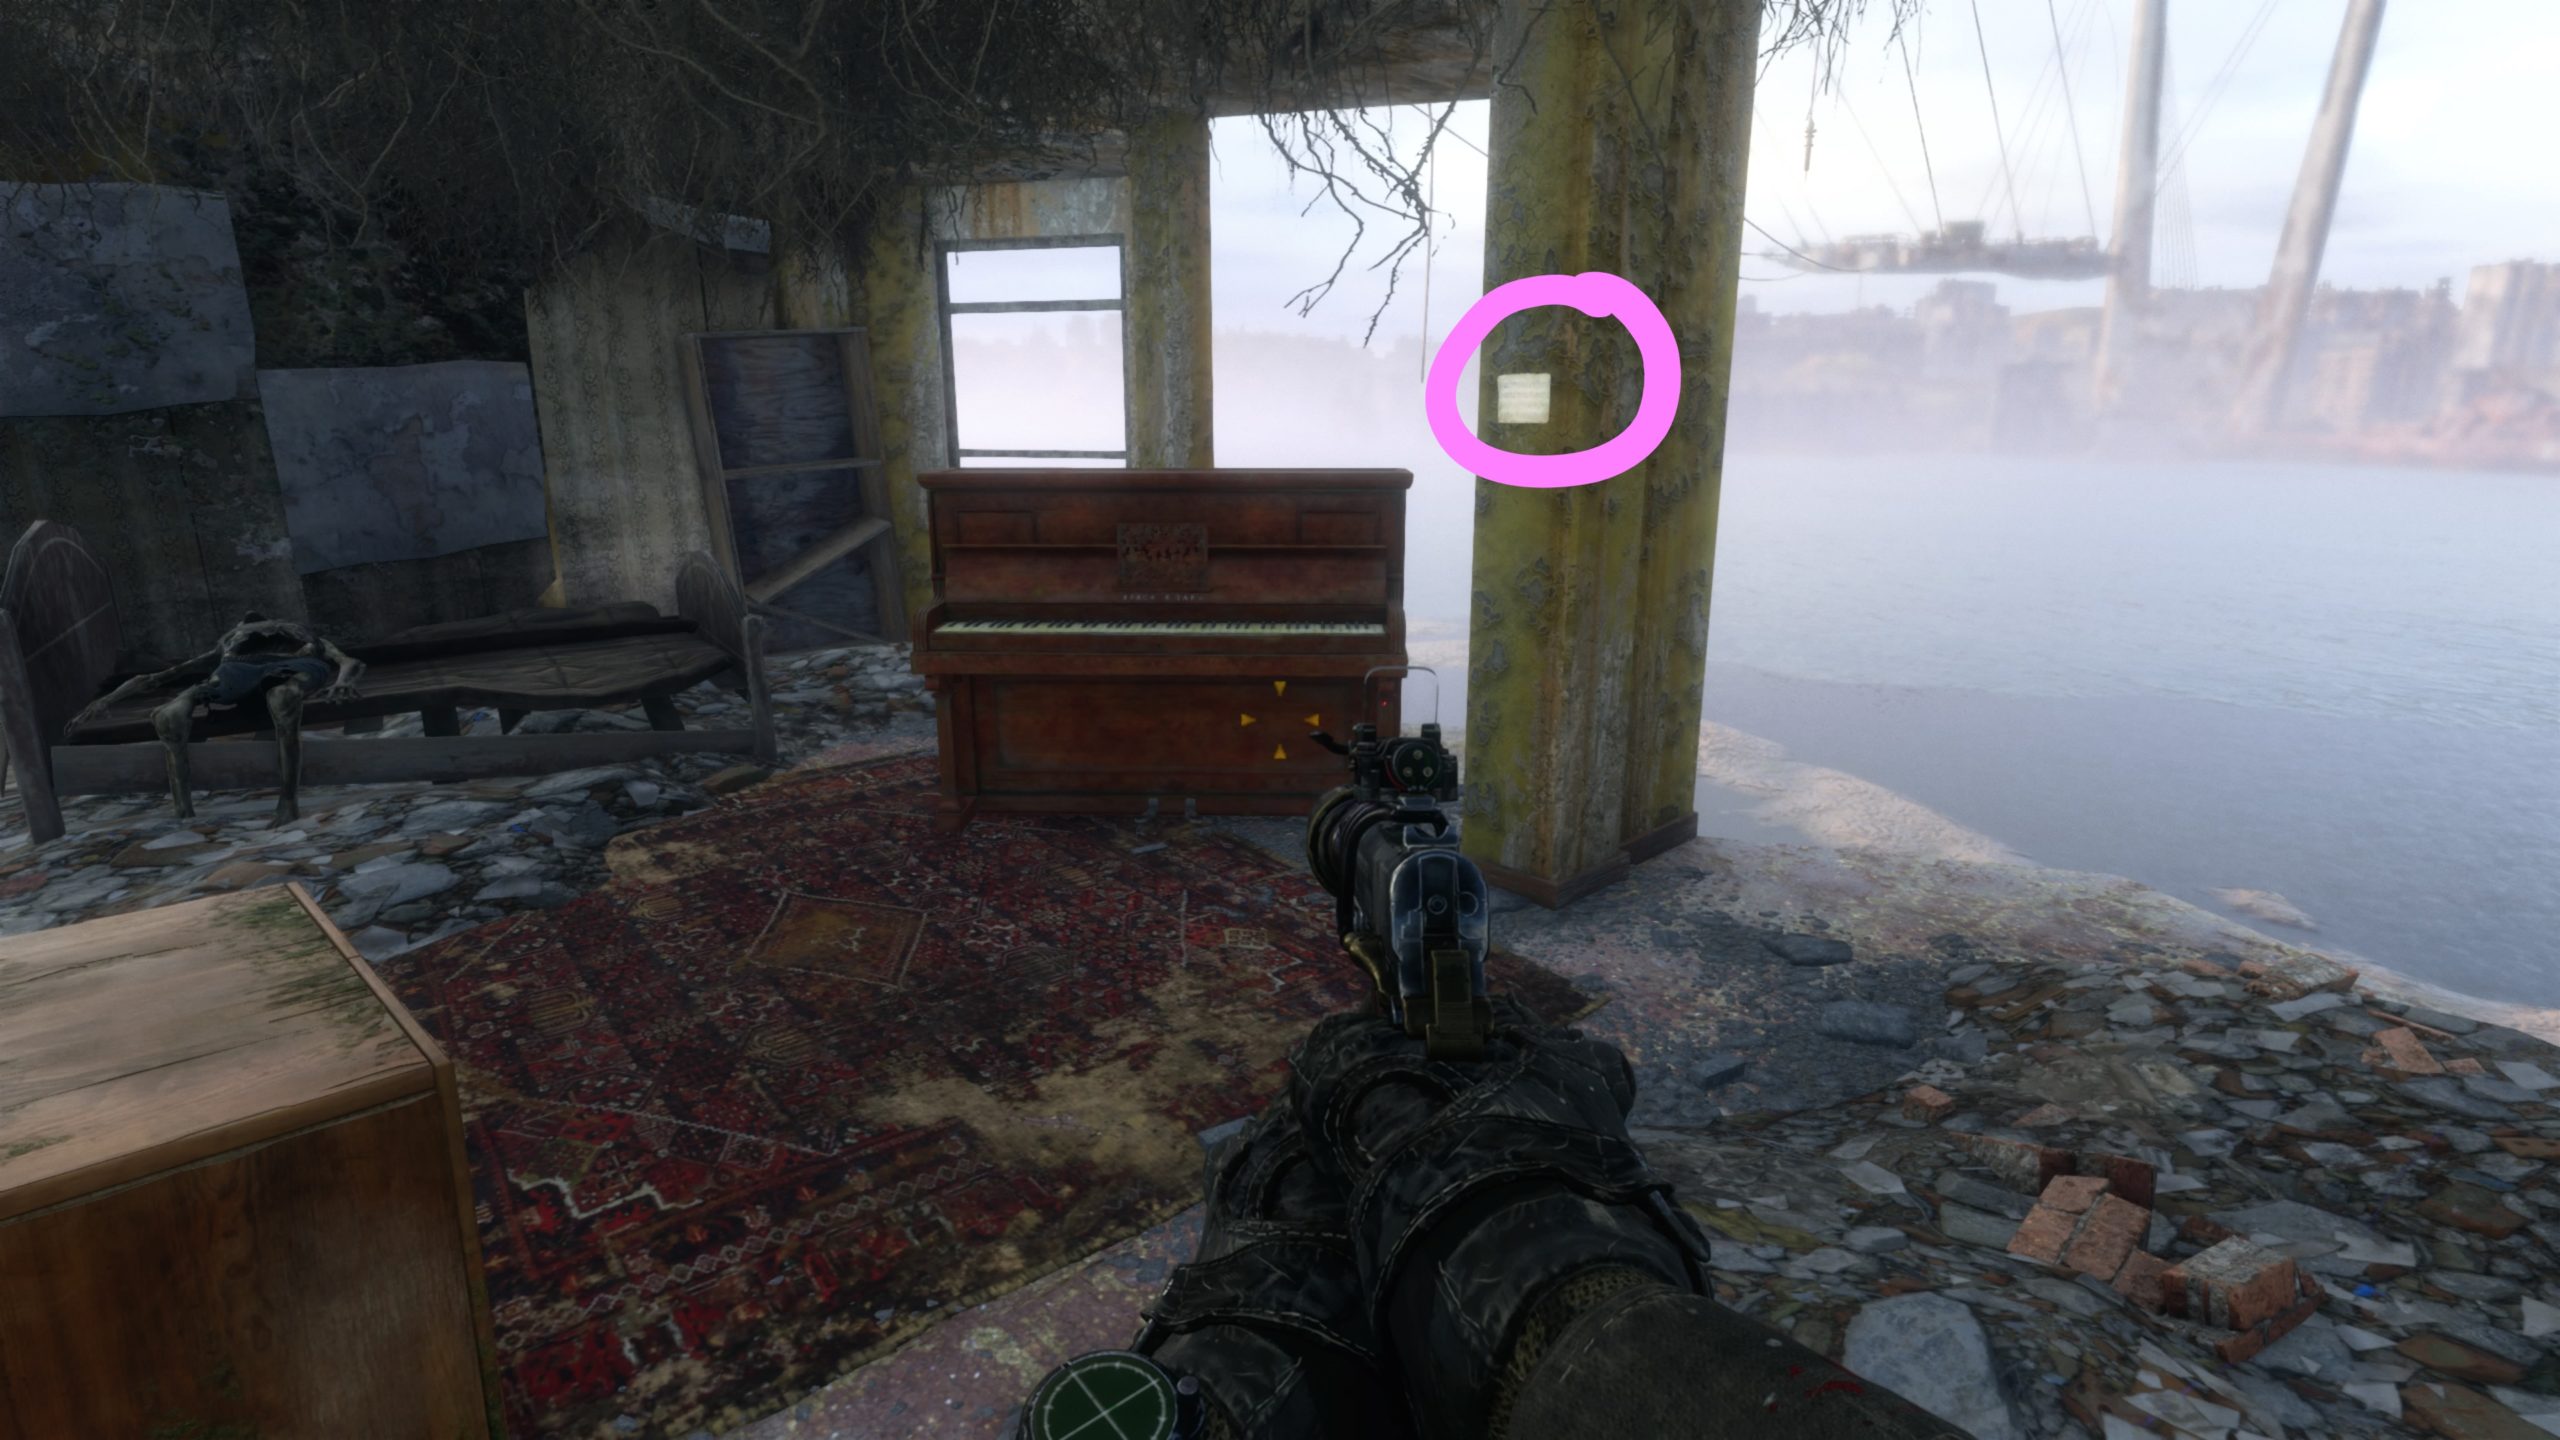
After your drunken adventures with the Captain, you will be tasked with setting up traps in his base. Head to the floor below his sleeping quarters via the stairwell. Next, head through the doorway, passing a red door on your right, and take a right to reach a brown sofa at the end of the room. Facing the sofa, jump over the wall to the left marked with yellow paint. Follow the path forward to reach a room with a piano and a corpse resting on a bed. The sheet music will be located on a pillar next to the piano.


Melody 05

The sheet music is located at the scout outpost. After you dock your boat, head towards the outpost and make your way to the ramps. The sheet music will be located on the wall next to a workbench.


Melody 06

The sheet music is located at the car dealership on the wall behind a blue door in a break room.


Melody 07

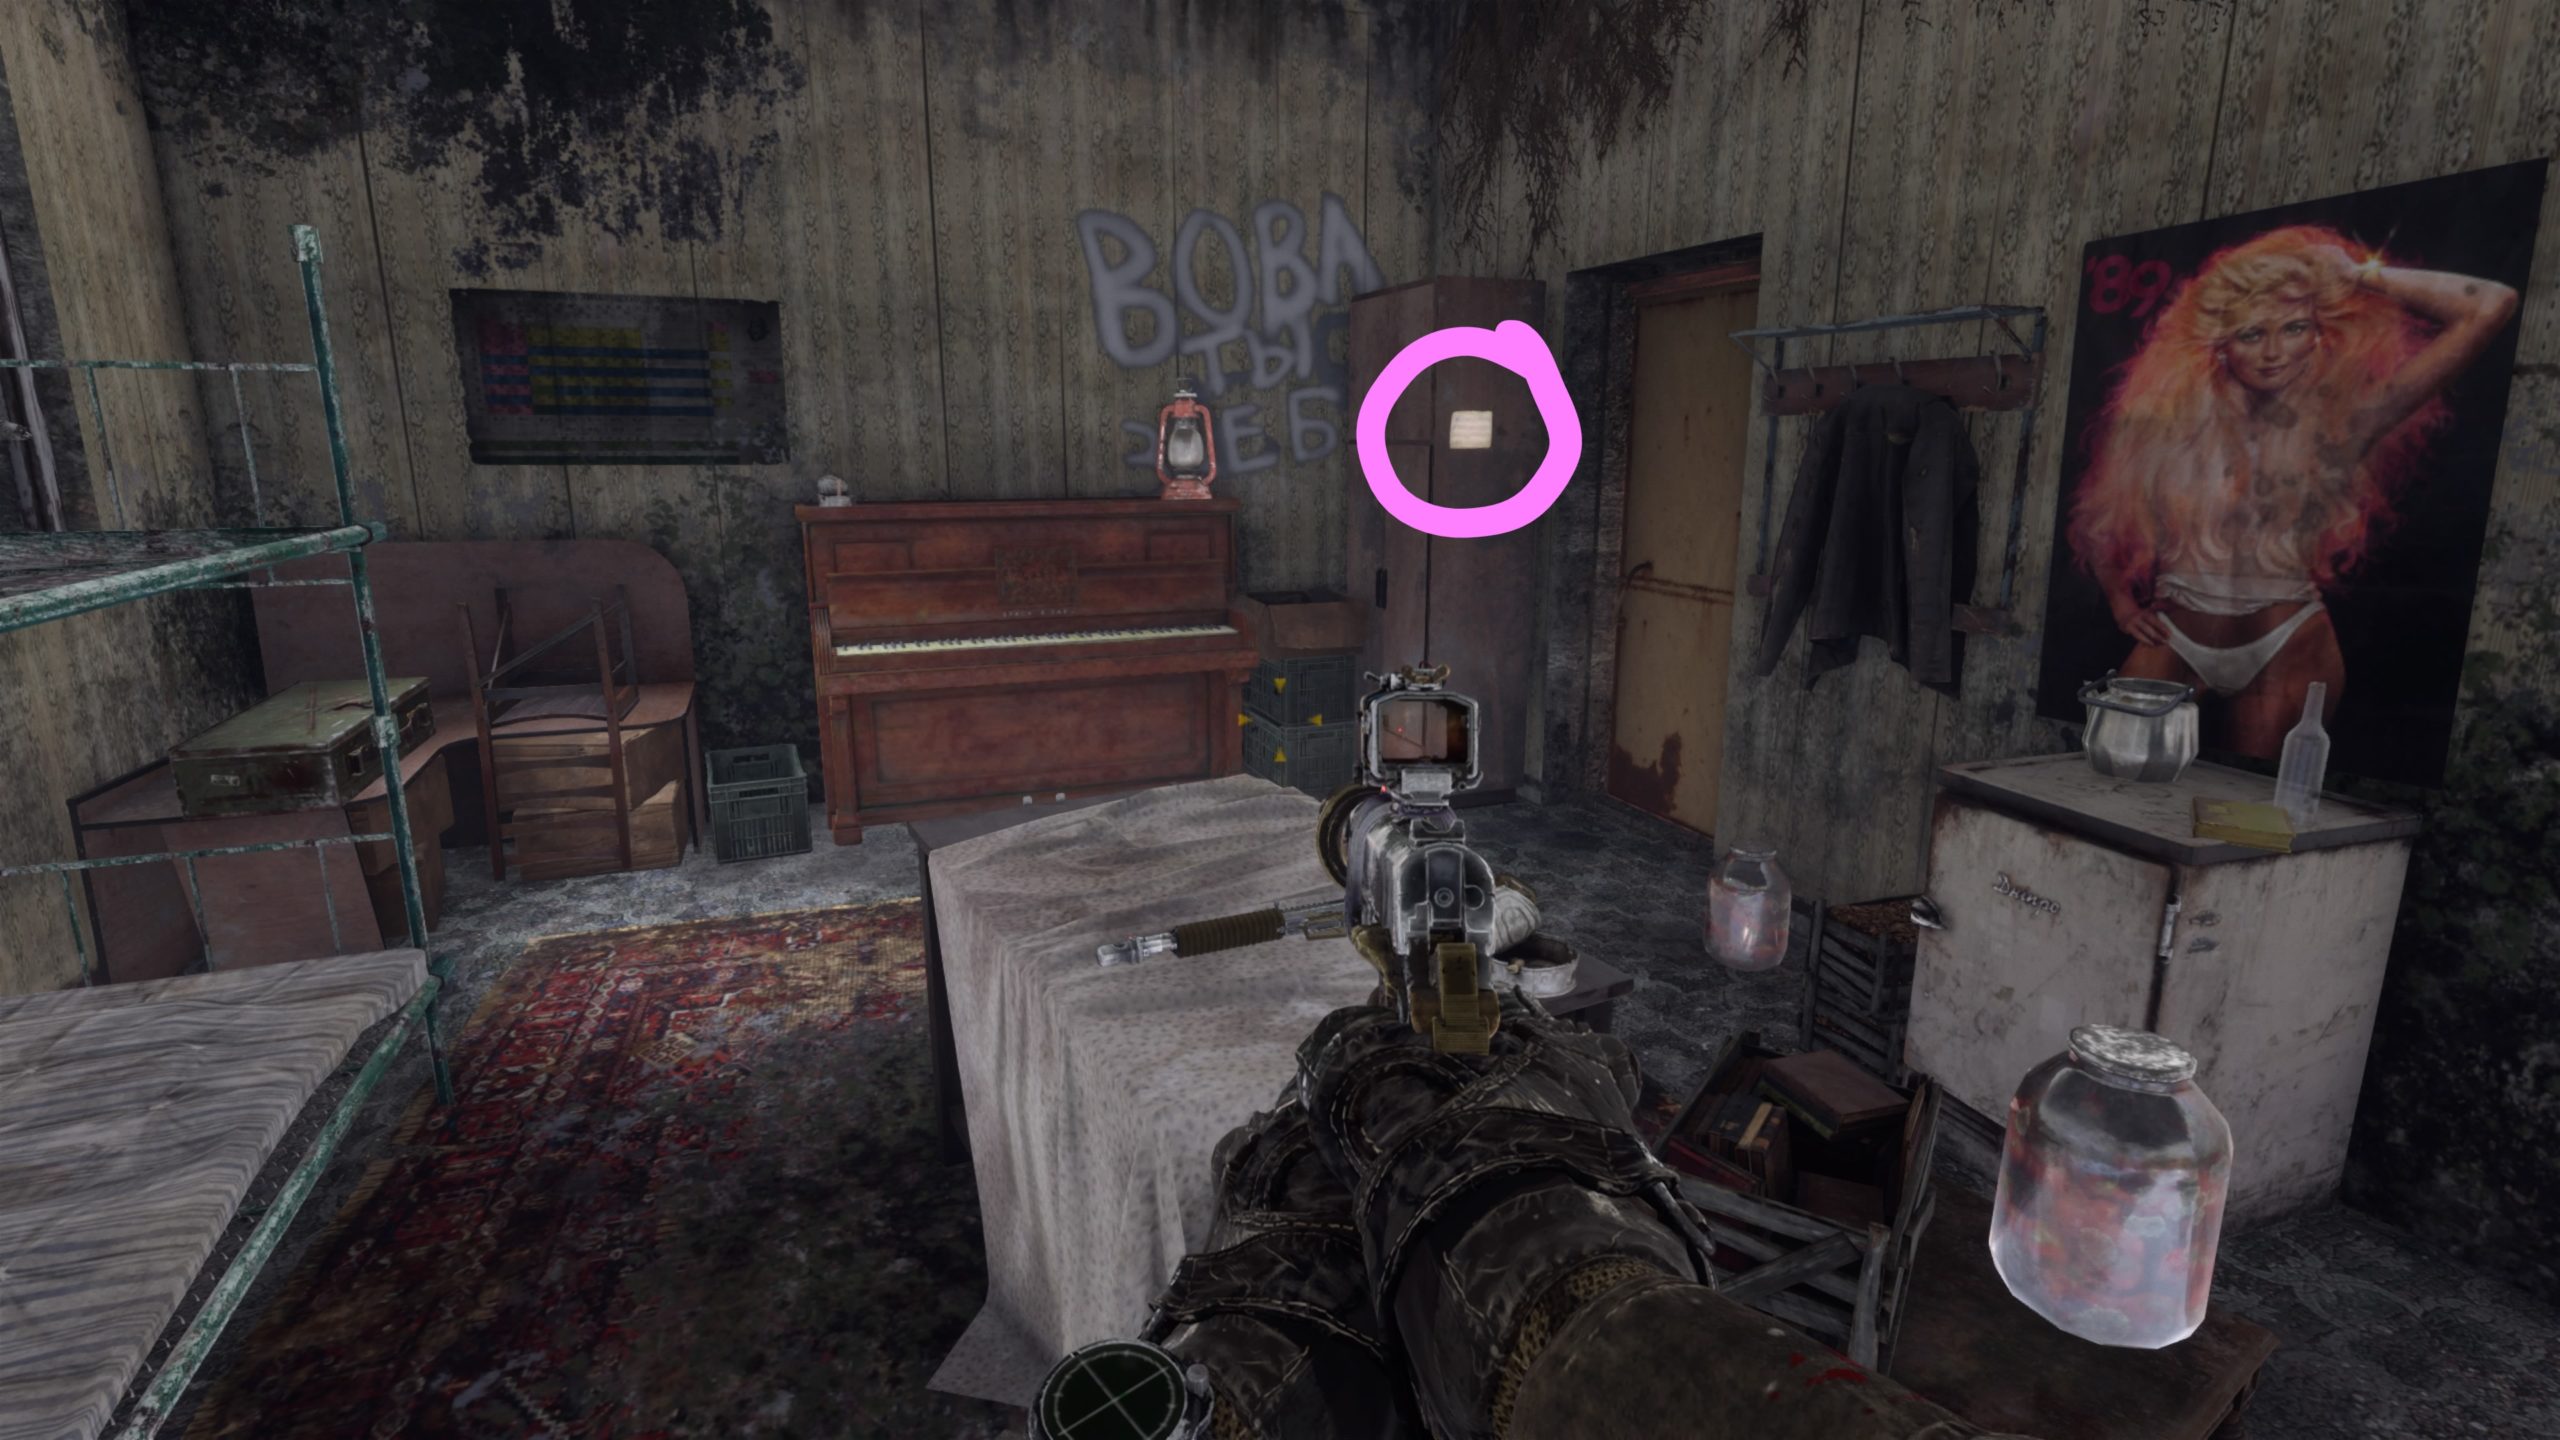
This sheet music is located on a wooden cabinet to the right of a piano.


Melody 08

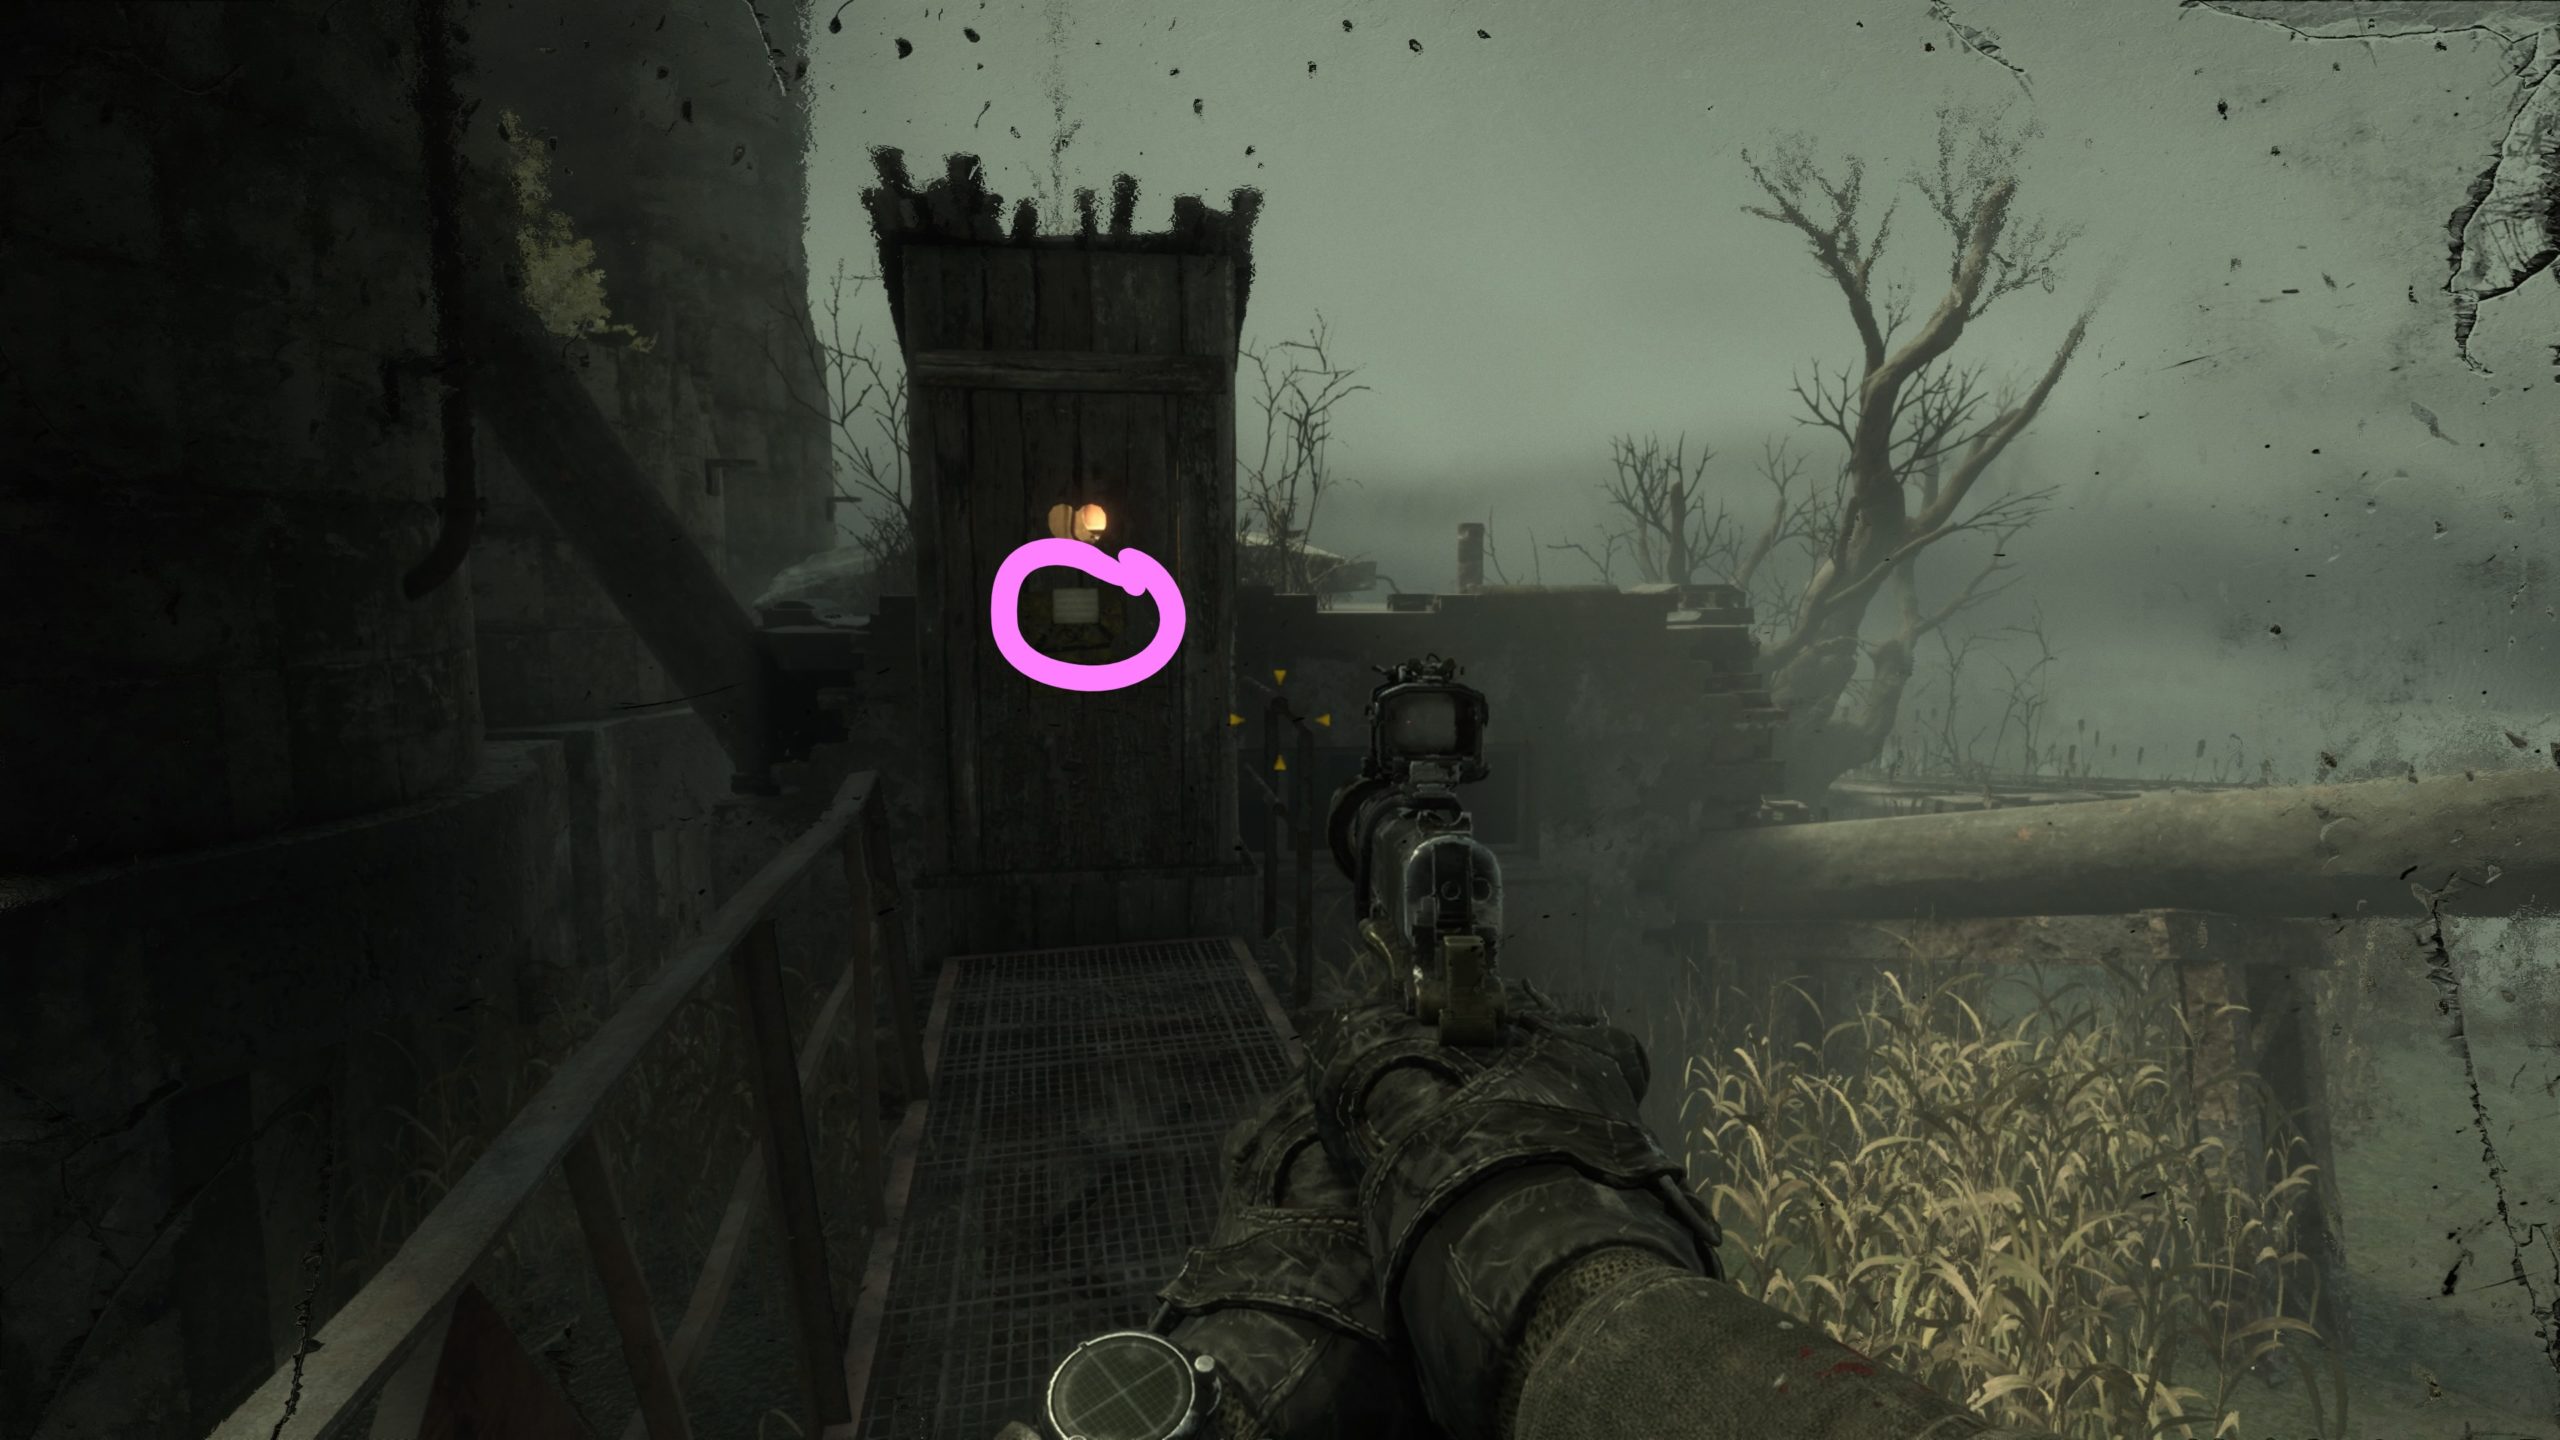
The sheet music is located on the door of an outhouse which is reachable via a walkway connected to the roof of the medical building.


Melody 09

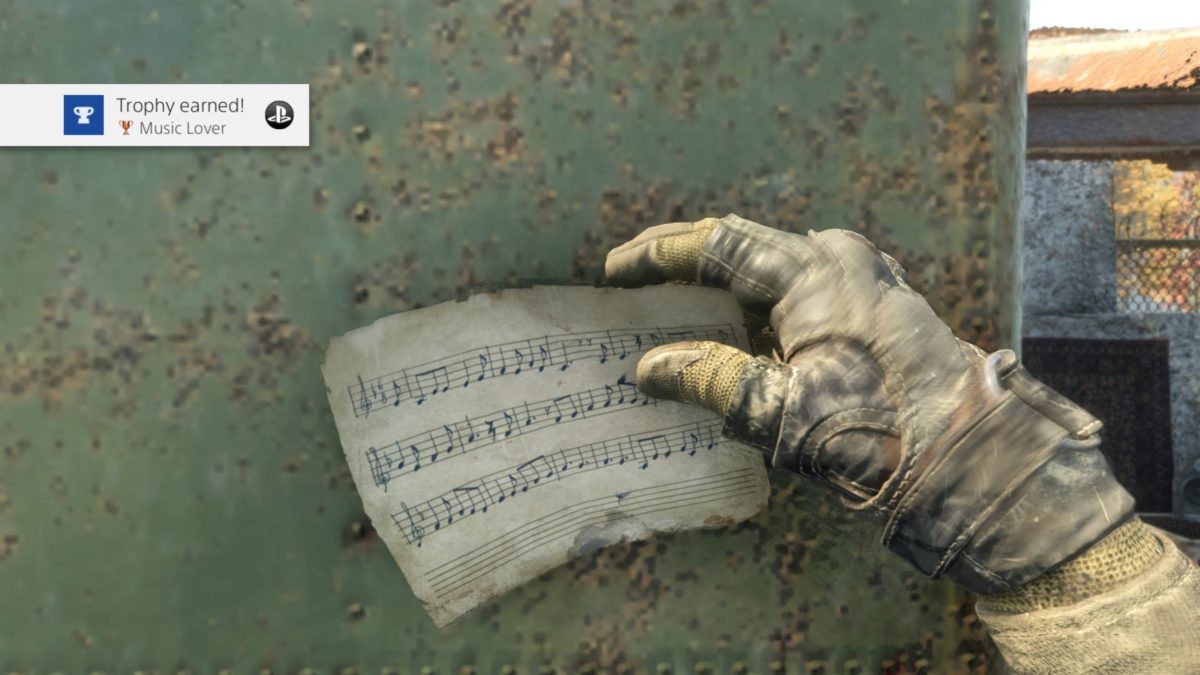
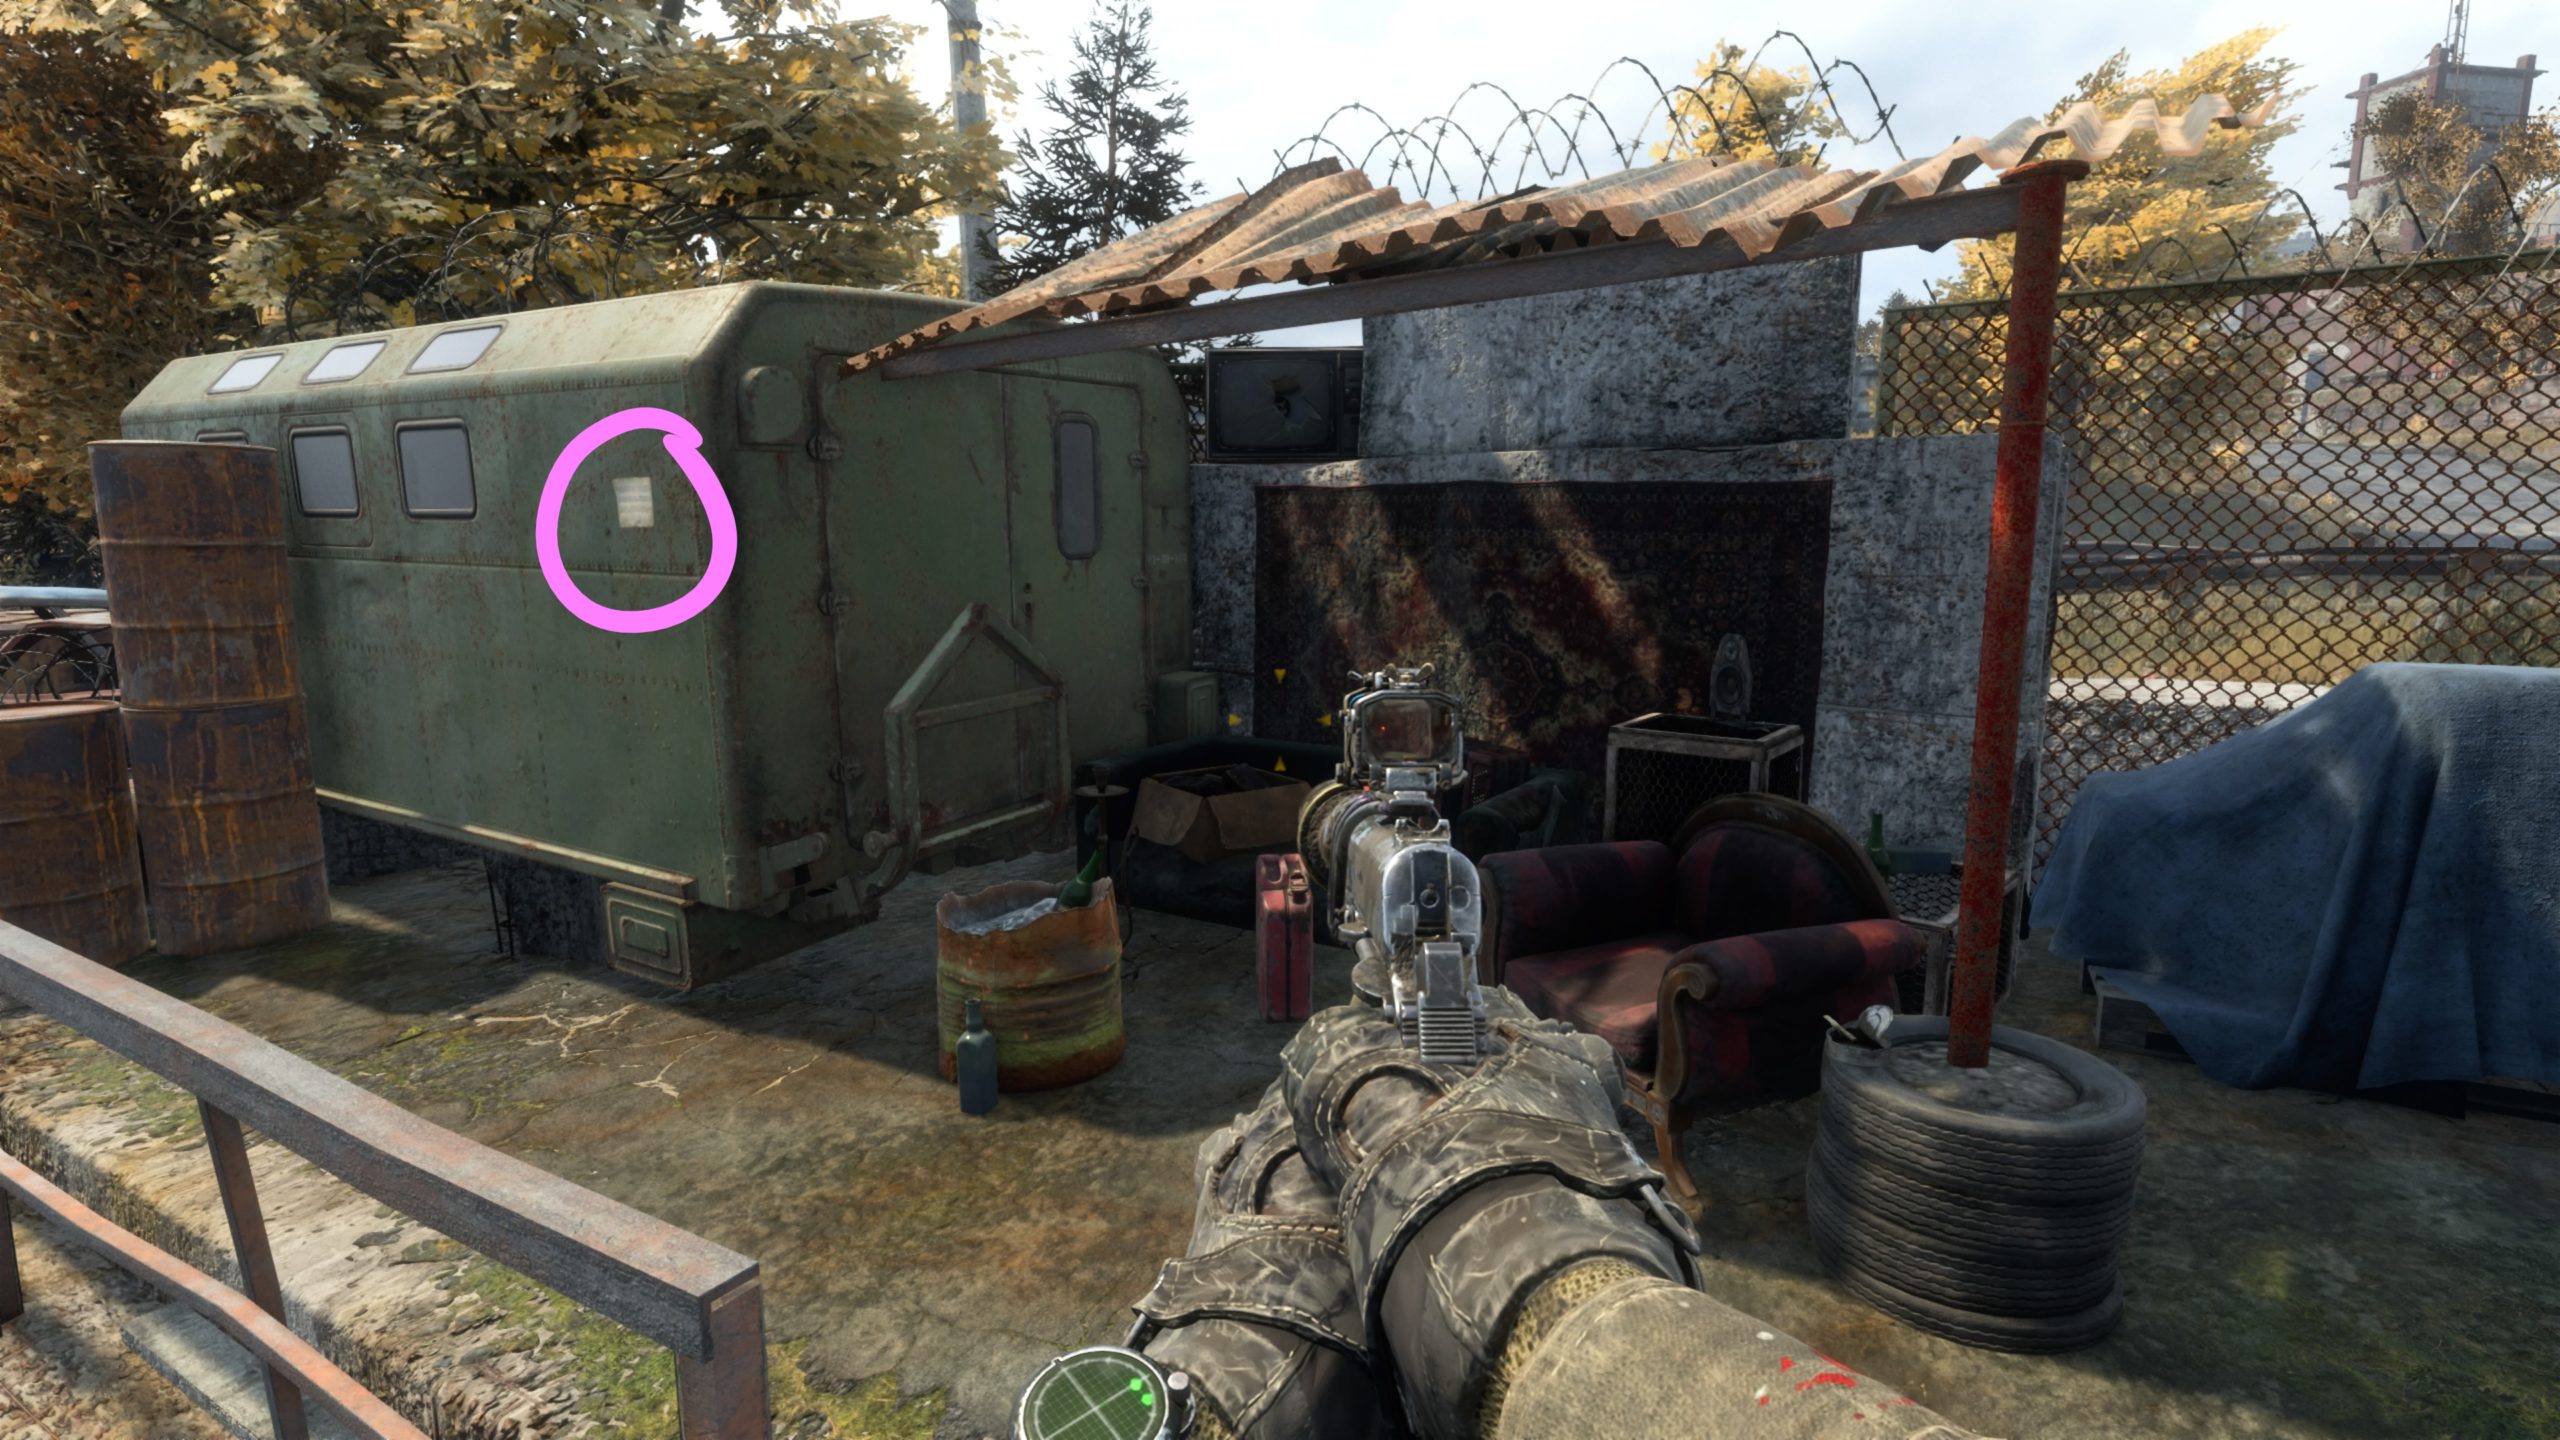
After you dock the boat, head up the stairs and take a left to find the note on the side of a large green container.


Guides

Borderlands 3 – Mayor’s Killer Look Crew Challenge

by Chappie in

*NOTE: These challenges are unlocked after you meet the Mayor during the main story quest line.
 

Evil Saint Lawrence

This target is located in The Burning Pocket, which is in The Spendopticon (Market District).


Loco Chantelle

This target is located in the entrance of the VIP Tower to the right of the Hyperion sign.


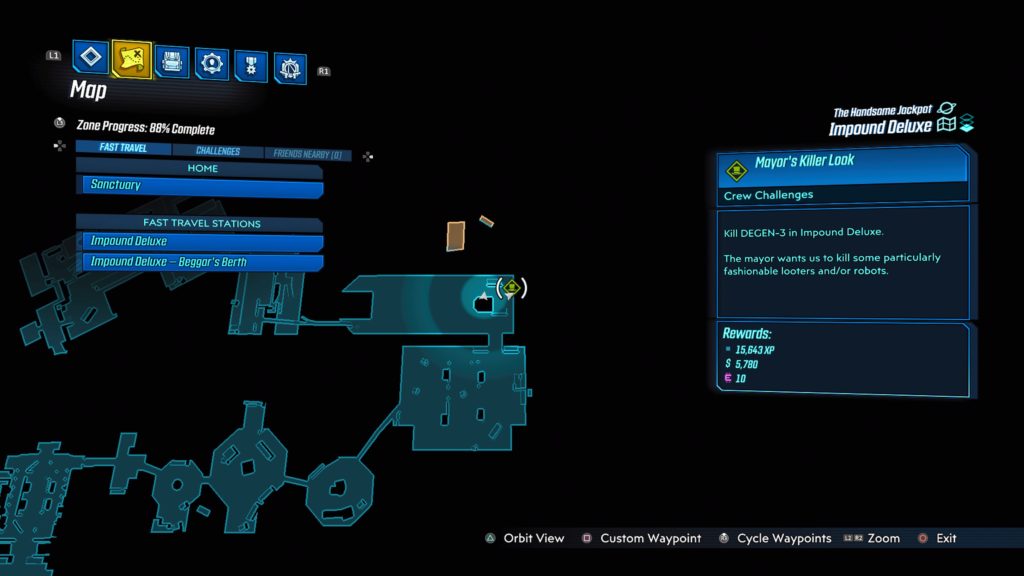
DEGEN-3

This target is located in the far northeast corner of Impound Deluxe.


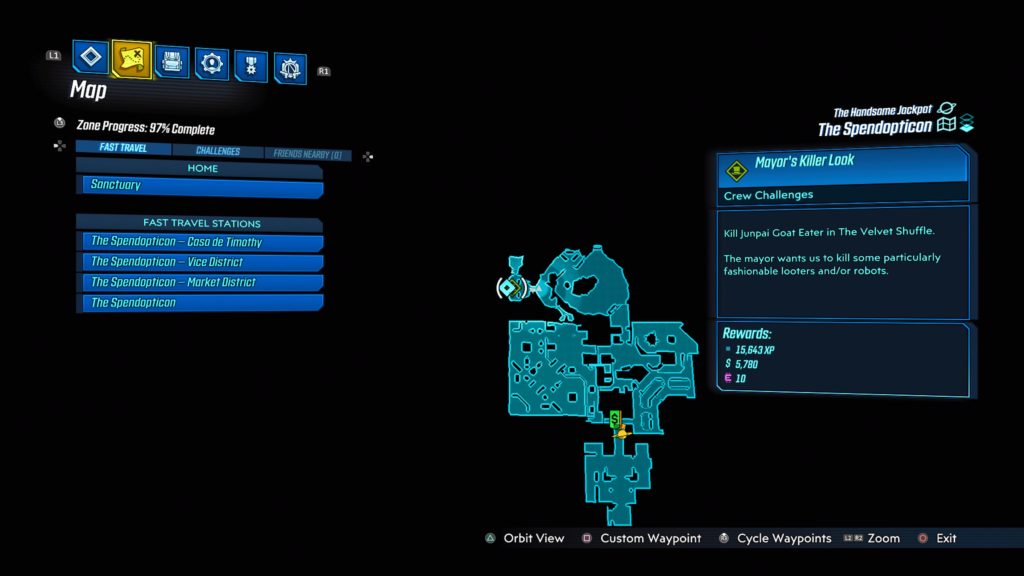
Junpai Goat Eater

This target is located in The Velvet Shuffle (northwestern side) in The Spendopticon.


Georgeous Armada

This target is located in the Refuse Ridge VIP room (west central side) in The Compactor.