Artemis
Location: Home Base
Talk to Mia in Home Base to receive this Blood Code. I had explored 50% of the Cathedral of the Sacred Blood.
Asclepius
Location: Crypt Spire – Upper Level
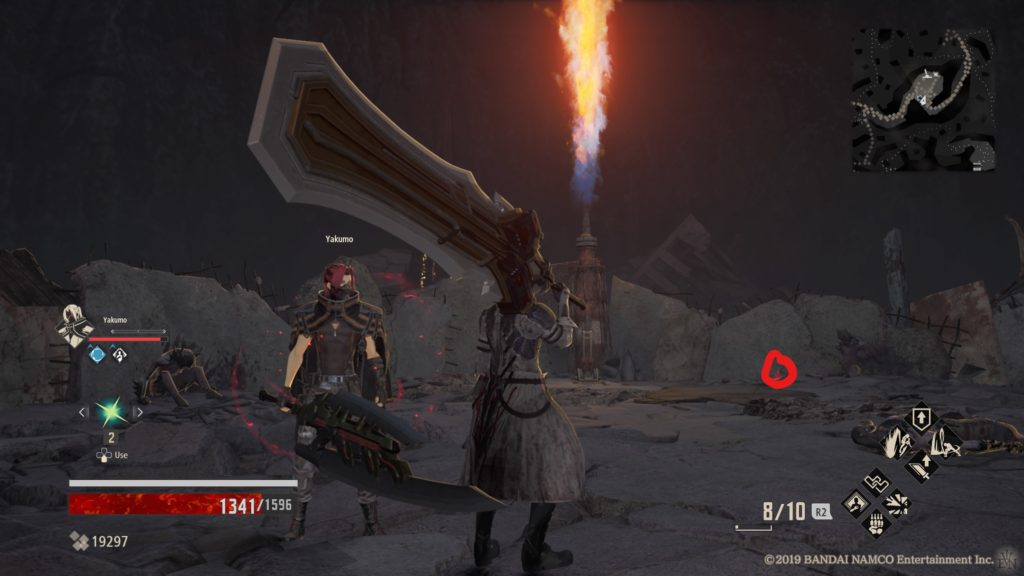
From the Crypt Spire mistle, head north passing the areas where you fought the Blade Bearer, Cannoneer and Juzo Mido. This will bring you to a long hallway with lights leading down it on both sides. Head through that hallway and make a left at the end going down a side set of stairs. (There is another set of stairs that keeps leading north. Don’t go that way!) When you get to the bottom of the steps, you will come to a sealed purple door. Open that door (have to be far enough in the story) and head through it to find the Blood Code on the floor straight ahead. *Note: This Blood Code is part of the Hellfire Knight DLC.
Assassin
Location: Howling Pits – Howling Pits Entrance
This Blood Code can be found at the western part of the map on a platform guarded by an enemy. To reach it, start from the Howling Pits Entrance mistle and take the ramp down into the pits. At the bottom of the ramp, follow the left wall for quite a ways. Take the first left to arrive in a sort of open area. There will be spike enemies that float in the water here. Head straight into the area to locate the remains of a circular structure. The platform holding the Blood Code will be in the middle of it.
Astrea
Location: Home Base
This Blood Code can be found in the basement of Home Base if you purchased the season pass.
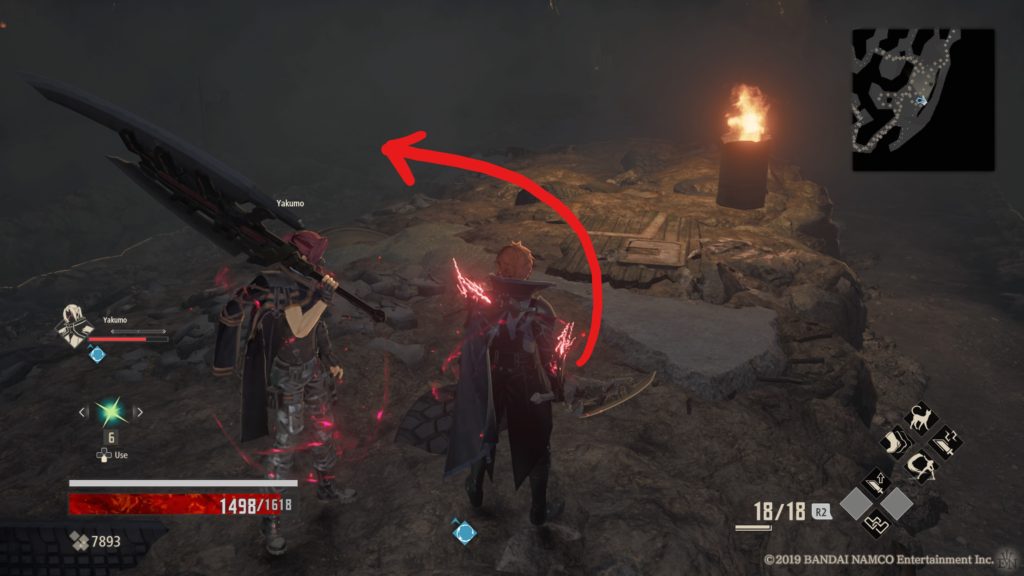
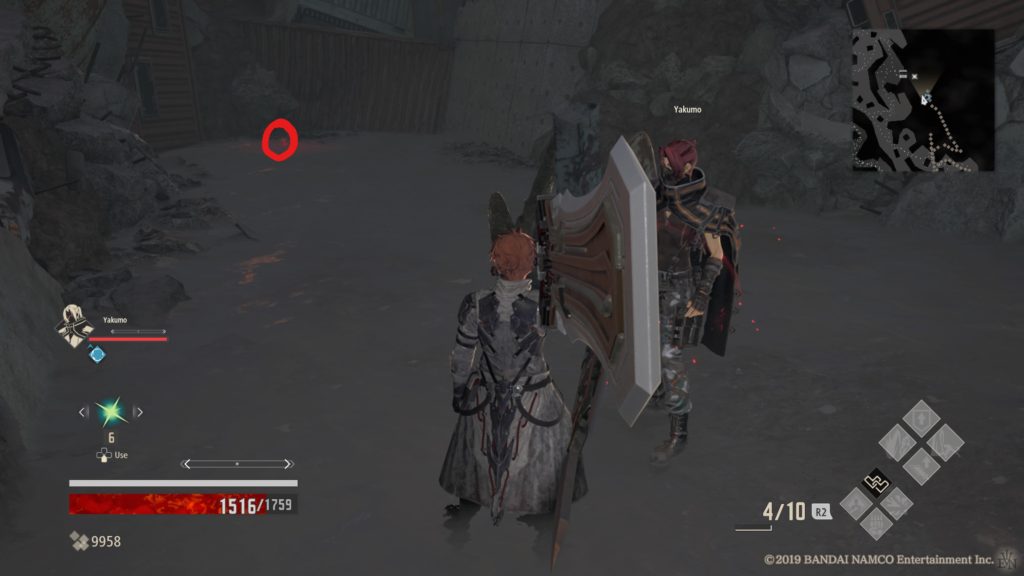
Atlas
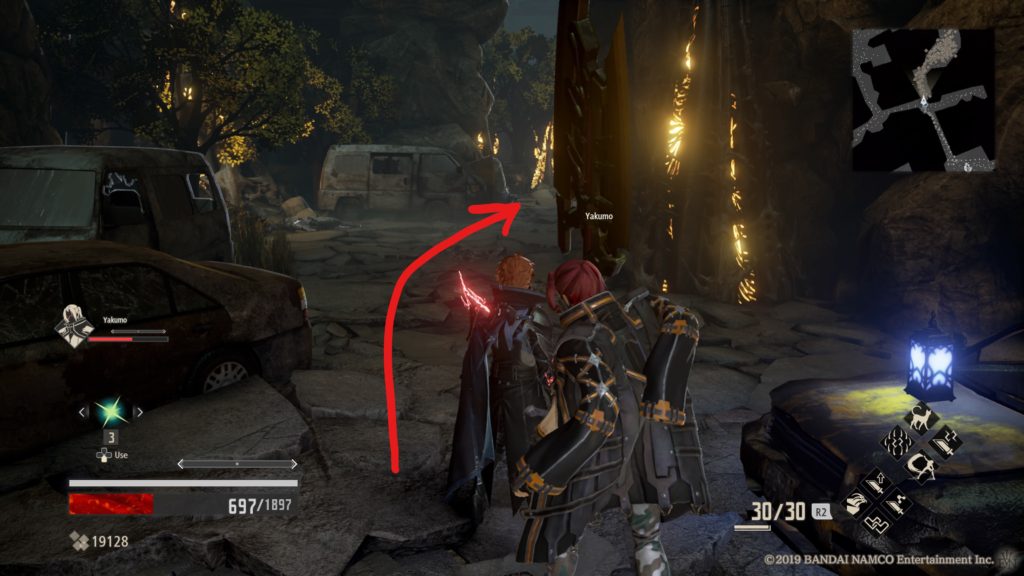
Location: Home Base
Talk to Yakumo after progressing far enough into the story. (I had beaten two main story bosses and visited four areas when I got it from him.)
Berserker
Location: Ruined City Underground – Outer Crossroads
Defeat the boss at the Outer Crossroads during the main story to receive it.
Caster
Location: N/A
This Blood Code is given to you at the start of the game.
Dark Knight
Location: Ashen Cavern – Putrid Surge Tank
Defeat the boss at the Putrid Surge Tank during the main story to receive it.
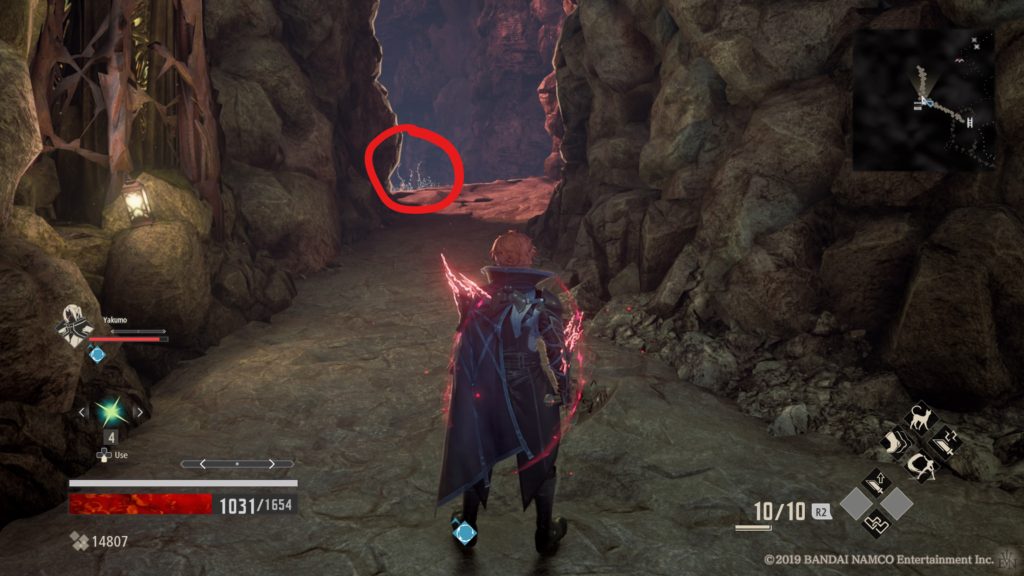
Darkseeker
Location: Dried-Up Trenches – Frozen Seabed
This Blood Code is located behind the Blood Spring in the boss area.
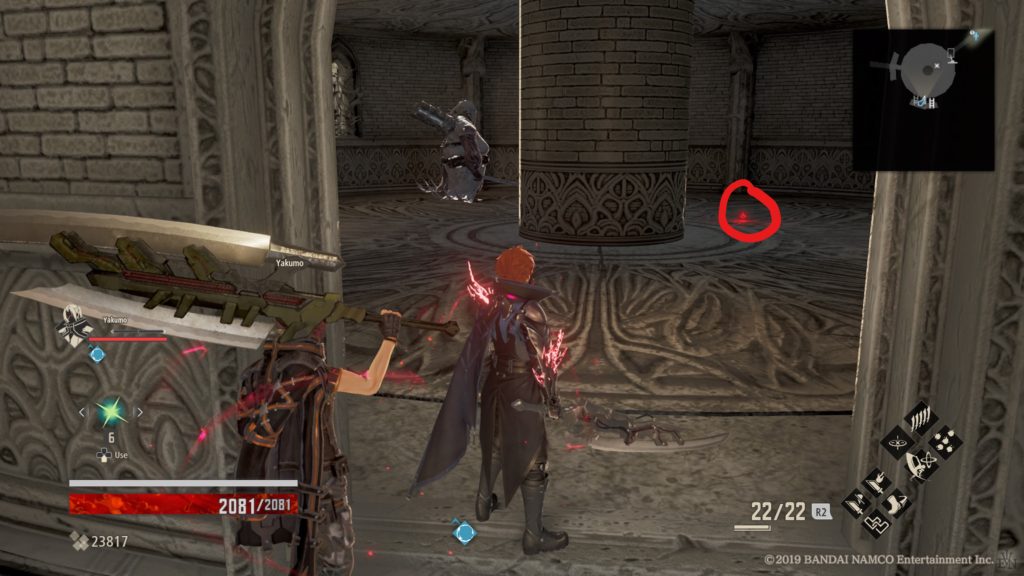
Demeter
Location: Cathedral of the Sacred Blood – Crypt of the Ribcage
Head to the lower level of the crypt to find this Blood Code in front of a lady veiled in white after dealing with the four Successors.
Eos
Location: Home Base
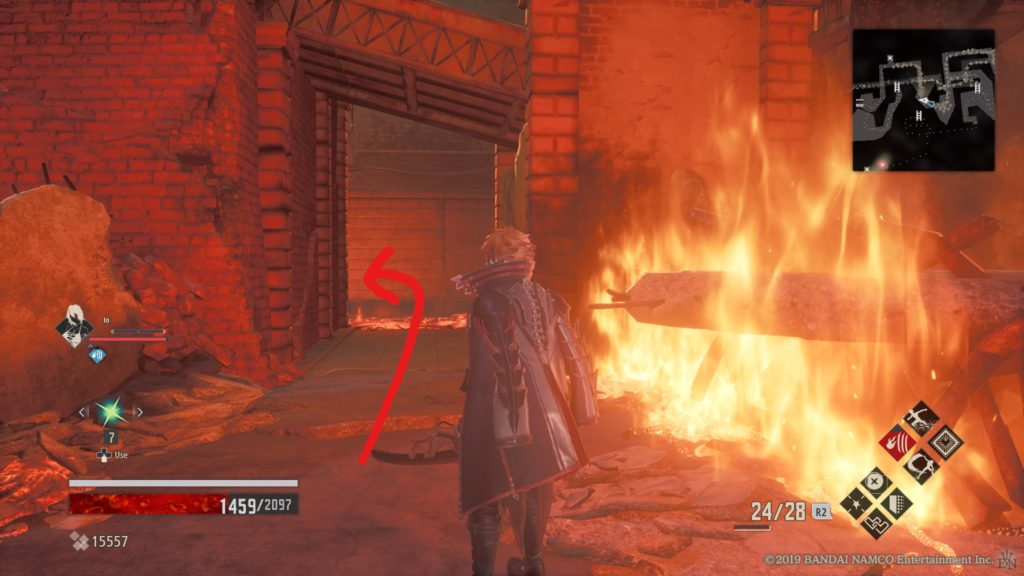
Talk to Io after beating the Cathedral of the Sacred Blood boss.
Fighter
Location: N/A
This Blood Code is given to you at the start of the game.
Fionn
Location: Ridge of Frozen Souls – Crypt of the Breath
Defeat the boss and restore the Successor’s memory in the Crypt of the Breath during the main story to receive it.
Hades
Location: *spoiler*
Defeat the final boss of the game to obtain this blood code after the credits roll.
Harmonia
Location: Crown of Sand – Crypt of the Throat
Defeat the boss and restore the Successor’s memory in the Crypt of the Throat during the main story to receive it.
Heimdall
Location: Home Base
Talk to Jack at Home Base after defeating the boss at the Crypt of the Throat.
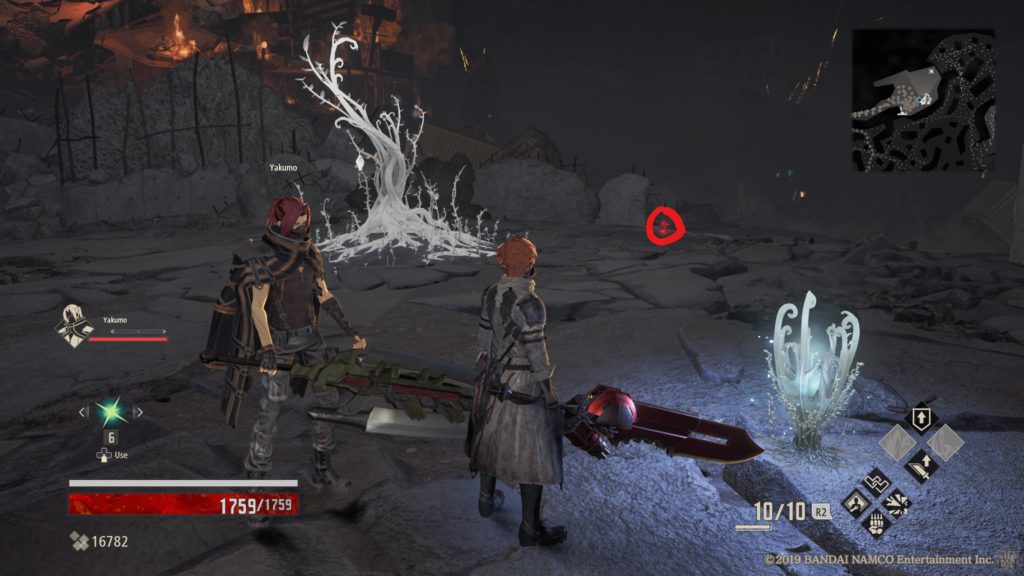
Hephaestus
Location: Home Base
Talk to Murasame at Home Base after finding a Hephaestus vestige part in Crypt Spire.
Hermes
Location: Home Base
Talk to David in Home Base to receive this Blood Code from him. You can’t get this until you beat the Butterfly of Delirium boss.
Hunter
Location: Ruined City Center – Parking Garage
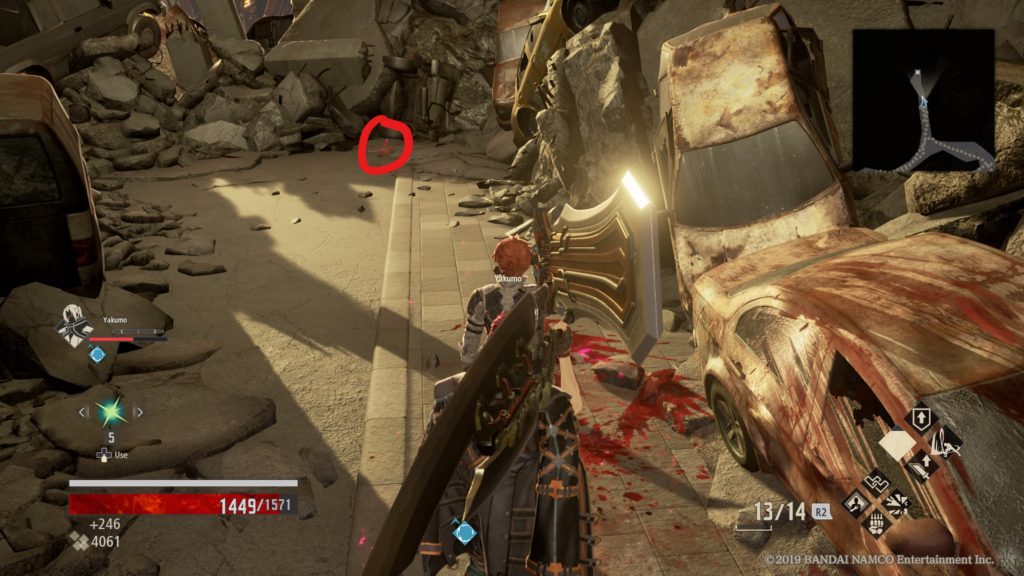
From the Parking Garage mistle, climb down the ladder in the parking garage and follow the path forward. When you reach the intersection with the traffic light hanging in the center, take a right (heading north) and follow the path to a chest. The Hunter Blood Code will be located on the ground near a delivery truck across from the chest. This is also the location of a Trial of Blood so be prepared to fight off waves of enemies.
Ishtar
Location: Provisional Government Outskirts – Government Square
Defeat the boss in the Provisional Government Outskirts during the story to receive it.
Isis
Location: Cathedral of the Sacred Blood – Crypt of the Ribcage
Defeat the boss and restore the Successor’s memory in the Crypt of the Ribcage during the main story to receive it.
Mercury
Location: Home Base
Talk with Coco to receive this Blood Code. I got it after exploring four areas and beating two of the story bosses.
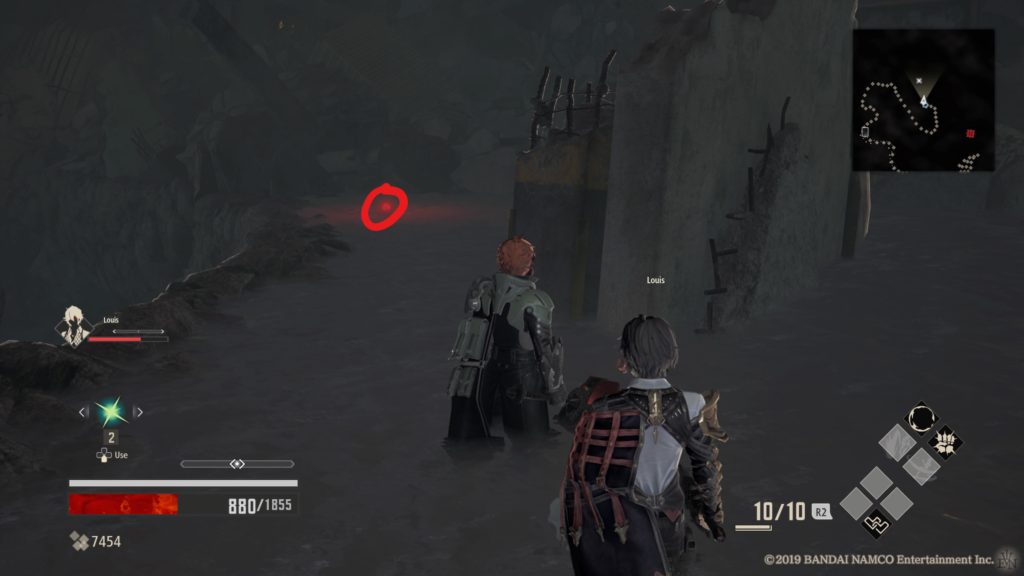
Prometheus
Location: Home Base
Louis will give you this Blood Code during the main story.
Queen’s Breath
Location: Ridge of Frozen Souls – Crypt of the Breath
Defeat the boss and do not restore the Successor’s memory in the Crypt of the Breath during the main story to receive it.
Queen’s Claw
Location: City of Falling Flame – Back Alley
Defeat the boss and do not restore the Successor’s memory in the Back Alley during the main story to receive it.
Queen’s Ribcage
Location: Cathedral of the Sacred Blood – Crypt of the Ribcage
Defeat the boss and do not restore the Successor’s memory in the Crypt of the Ribcage during the main story to receive it.
Queen’s Throat
Location: Crown of Sand – Crypt of the Throat
Defeat the boss and do not restore the Successor’s memory in the Crypt of the Throat during the main story to receive it.
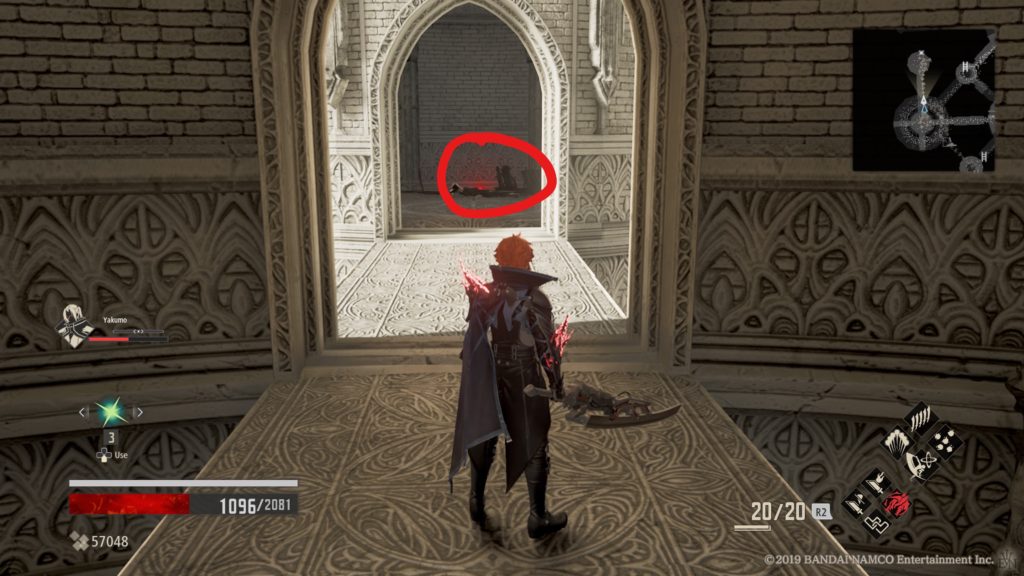
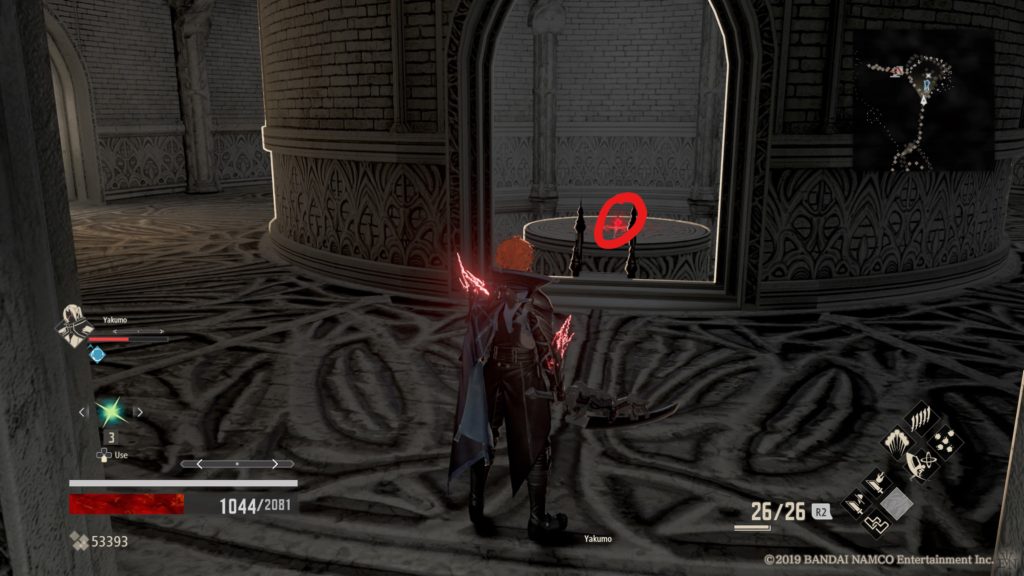
Queenslayer
Location: Cathedral of the Sacred Blood – Cathedral Perimeter
Defeat the boss in your memory. To enter your memory, interact with the special vestige after defeating the Argent Wolf Berserker mini-boss at the Cathedral of the Sacred Blood just before the Cathedral Perimeter mistle.
Ranger
Location: N/A
This Blood Code is given to you at the start of the game.
Scathach
Location: City of Falling Flame – Back Alley
Defeat the boss and restore the Successor’s memory in the Back Alley during the main story to receive it.
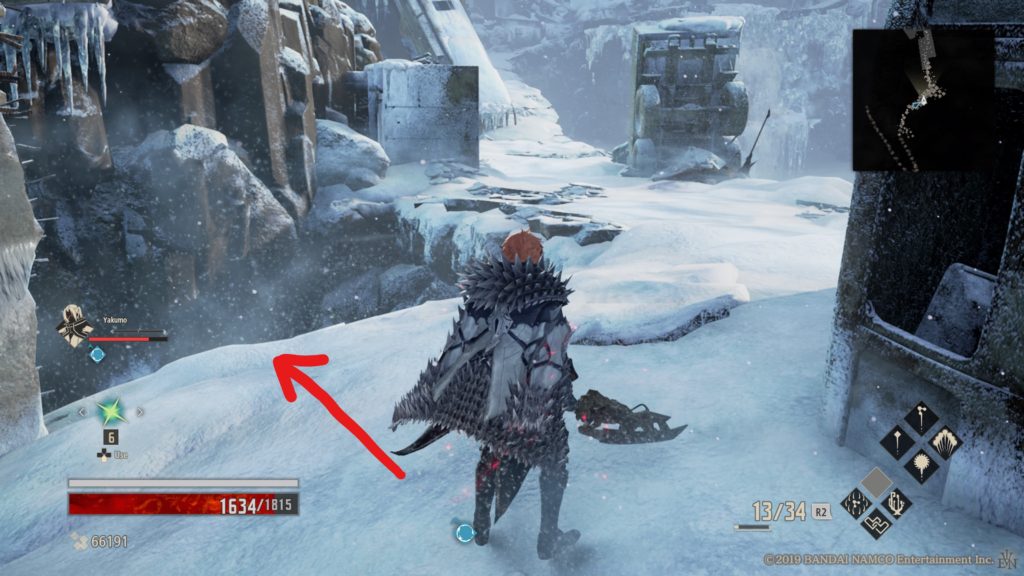
Scout
Location: Depths – Rocky Ruins
From the Rocky Ruins mistle, follow the eastern path. When you get to the big area at the end of the path, take a right past the giant rock then head forward a short way to find a set of stairs. Take them up then head straight across, passing the right side of a rock (the rock will be on your left and a burn barrel on the right). After the rock, swing left to find this vestige on the ground next to a taxi.
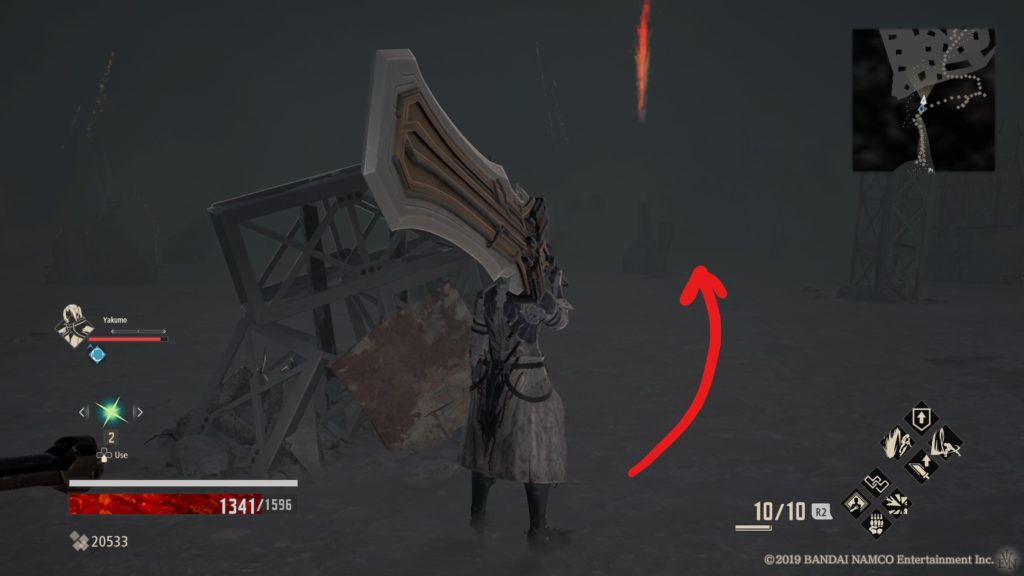
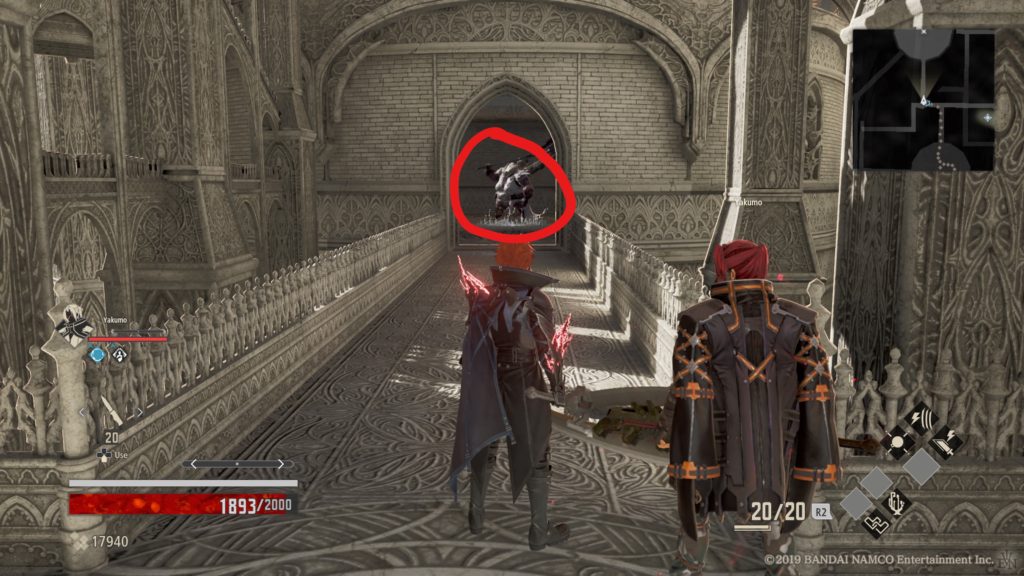
Surt
Location: Depths: Fiery Oblivion
Defeat the Hellfire Knight within five attempts.
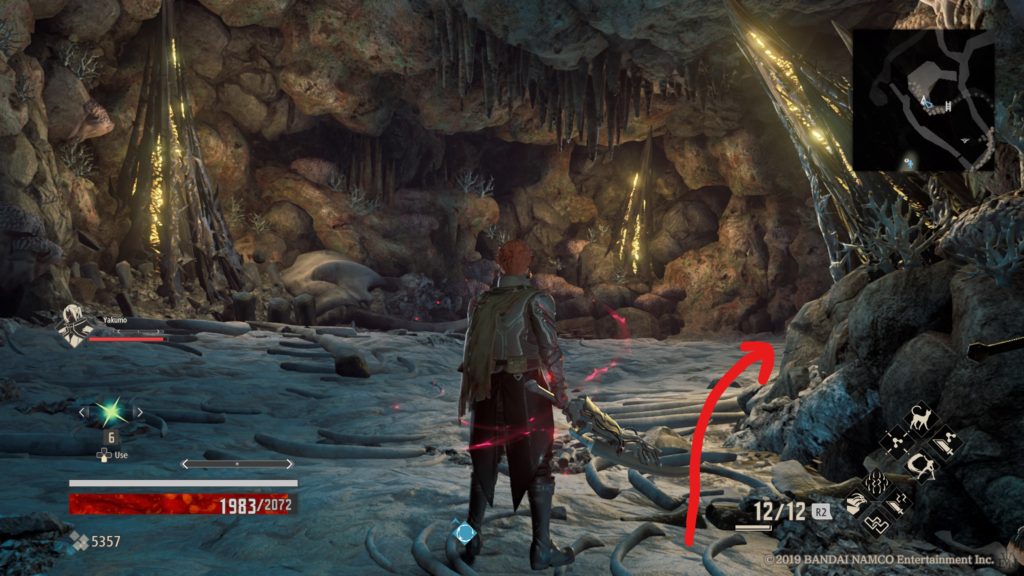
Survivor
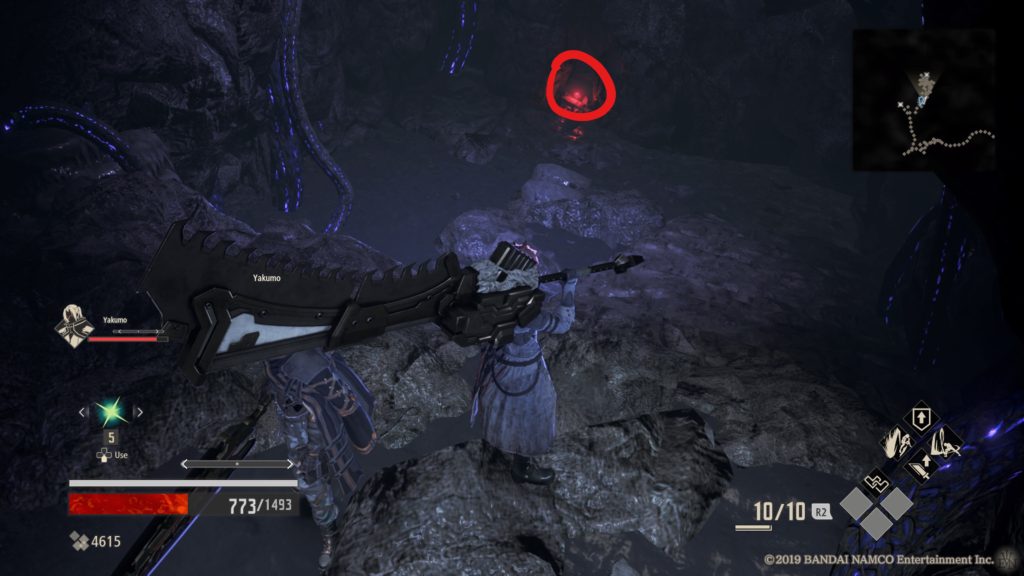
Location: Ashen Cavern – Accumulator Ruins
From the mistle follow the path along the left crack, working your way towards the northern part of the room. You should end up at a hole in the concrete-lined with yellow and black vines on the wall and blue vines on the ground. When facing the tunnel, the Blood Code can be found on the other side of the concrete pillar to the right.
Vali
Location: Sealed Depths – Eternal Abyss
Defeat the Lord of Thunder without your HP reaching 0 more than 5 times.
Warrior
Location: Crypt Spire – Crypt Spire Entrance
From the mistle, follow the path up the stairs heading south. When you get to the large circular platform, enter the small circular room at the end with a corpse leaning against the right wall. Take the left doorway and head up the stairs, entering another circular room. Exit out the right side of the room taking another flight of stairs up. Keep following the path until you come to a circular platform with a lever in the middle. Head forward (west) and climb up the ladder. At the top, keep following the path to enter a big circular room with a hole in the middle. Exit this room on the left side. When you get to the second circular platform after exiting the room, take the right path to enter a large circular room with a lever near you. Exit the room on the right side to end up on a ledge. Take the ladder on the ledge to the roof of the circular room to find this Blood Code.
Ymir
Location: Depths- Celestial Ice Prison
You can obtain this Blood Code from defeating the Empress Overthrower Horror Hunting Trial. In order to get it, your health cannot reach 0 more than 5 times.