After clearing out the Miasma in the different zones, Remnants will start to appear. If you talk to them, they may have something they need your help with.
Daryl
Request 1
Location: Ruined City Center – Parking Garage
Talk to Daryl who can be found at the top of the hole leading down to the Howling Pits. His friends are missing, but there are too many strong enemies preventing him from searching for them. Daryl will then ask you to keep an eye out for them and mention they are wearing dog tags. Head to the Howling Pits Entrance mistle to locate the Ash Covered Dog Tag at the top of the nearby ramp leading into the pits. Return to Daryl and give him the dog tag to complete the request.
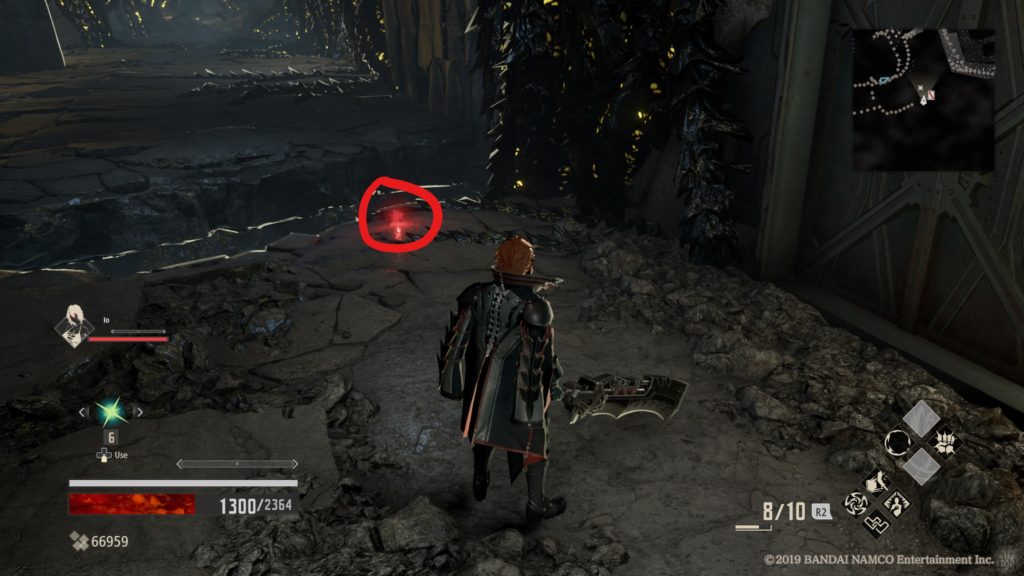
Request 2
Location: Howling Pit – Howling Pit Entrance
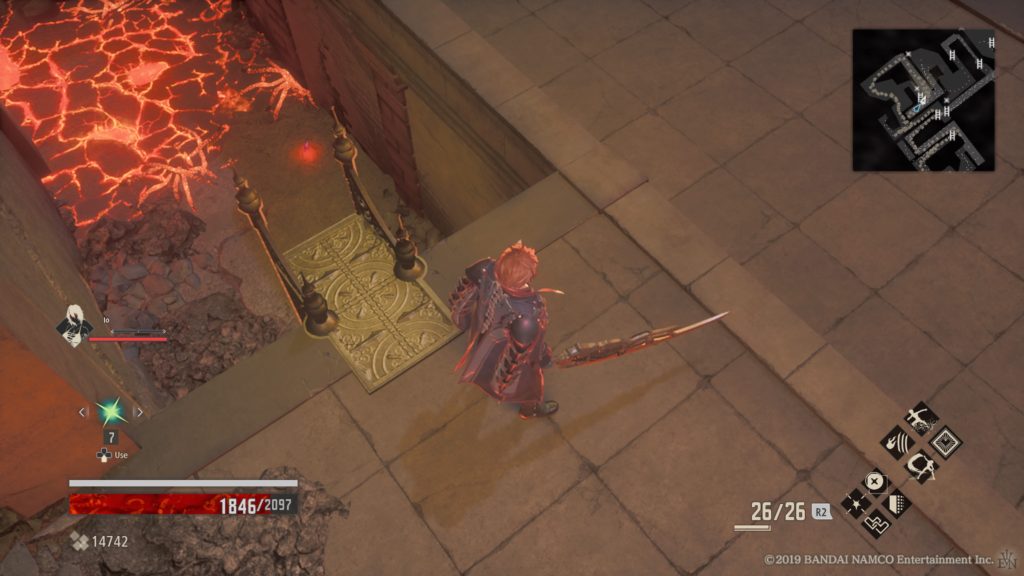
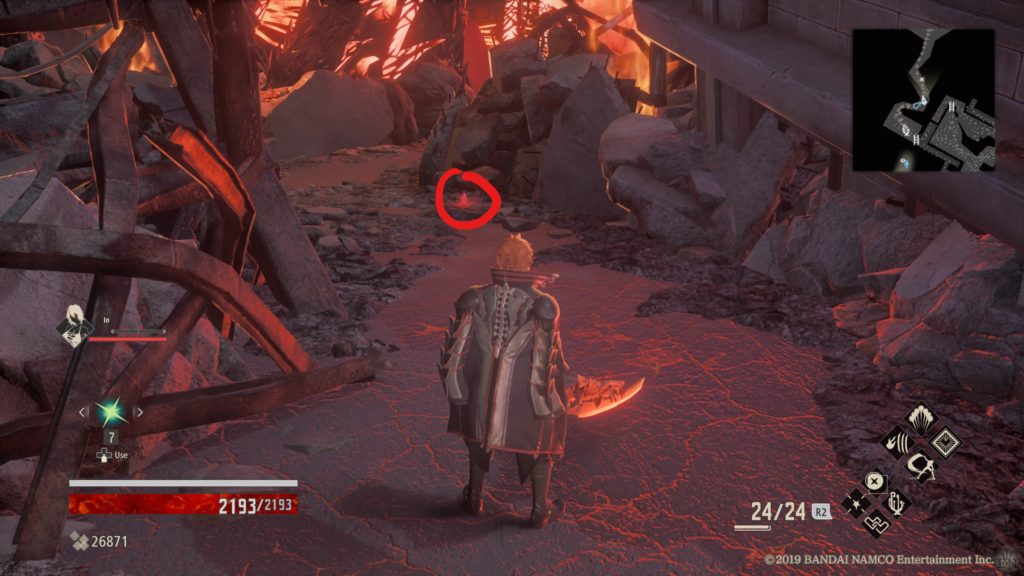
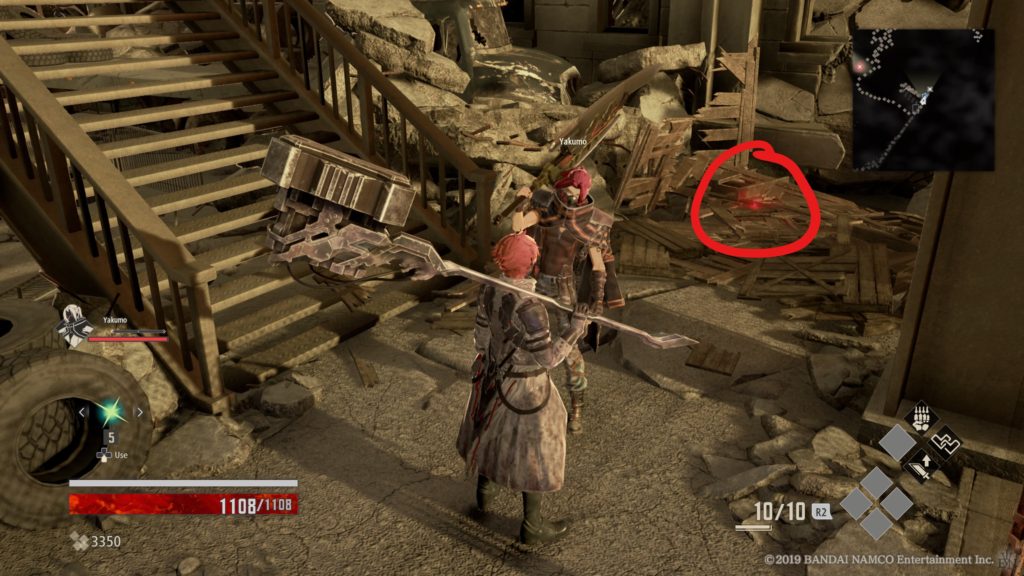
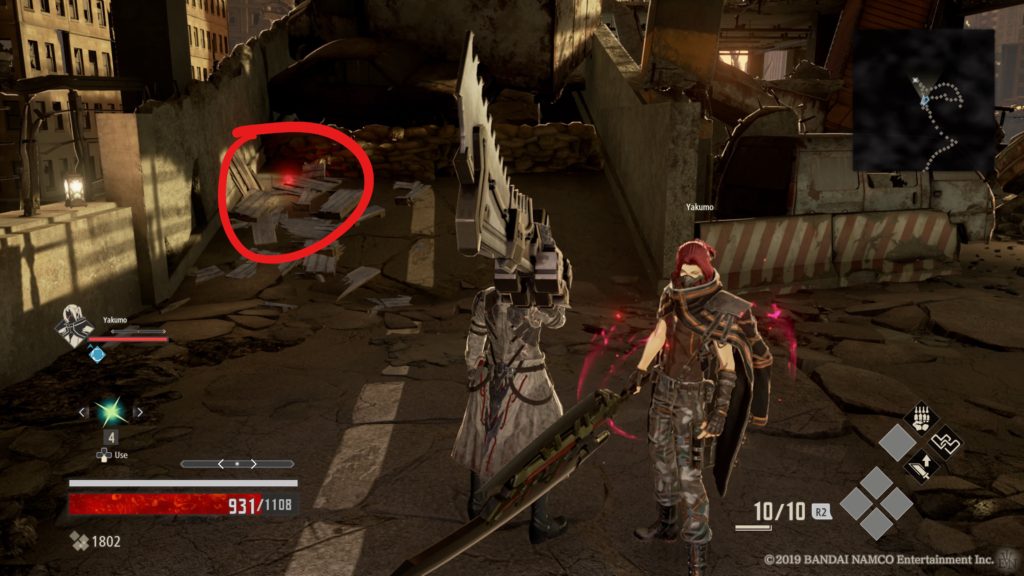
Travel to the Howling Pit Entrance mistle to find Daryl standing next to it. Talk with him to learn he is looking for one of his friends. Make your way north of the mistle following the marker on the map. You will arrive at a ramp with a red lost on it. Defeat the enemy to receive the Dog Tag with Ring key item. Return to Daryl and hand over the dog tag to complete the request.
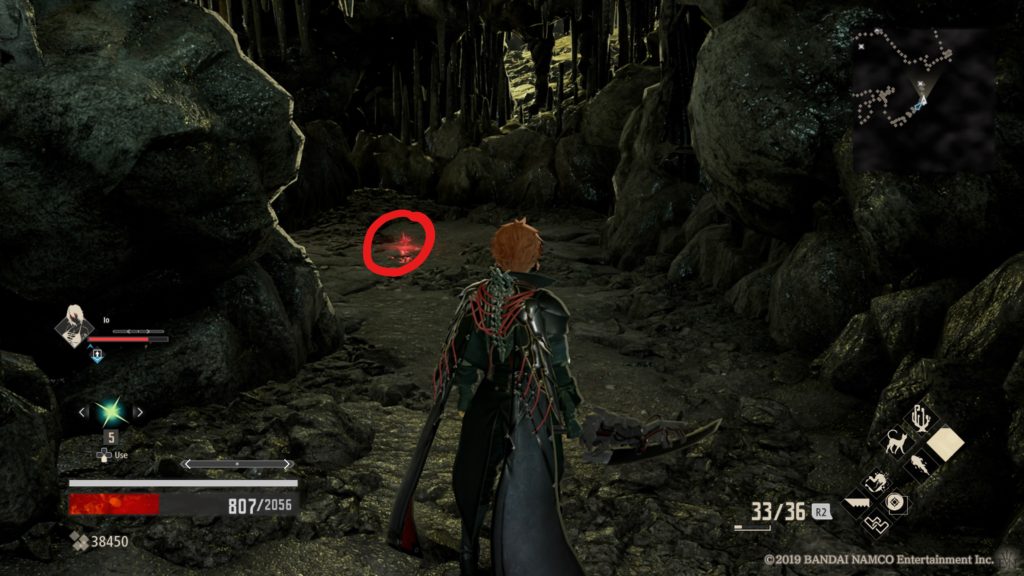
Request 3
Location: Howling Pit – Howling Pit Entrance
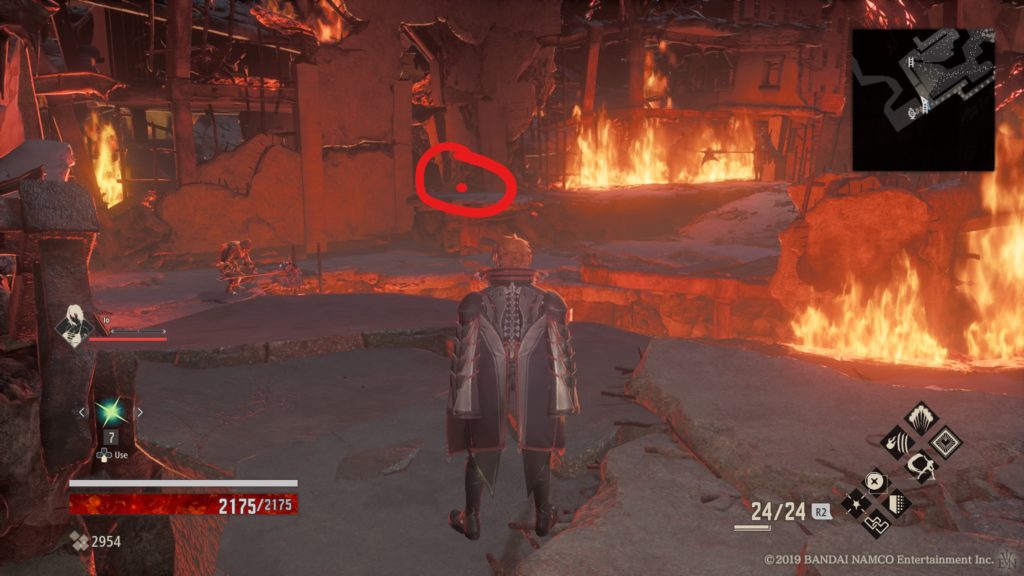
After defeating the Crypt Spire boss, talk to Daryl near the mistle to learn that a lost is blocking his path home. Travel to the Halls of Deception mistle and follow the path deeper into the pit to come across the lost. Defeat the droopy-nose lost with a hood then return to Daryl to talk with him, completing the request.
Dominic
Location: Provisional Government Center – Provisional Government Center Entrance
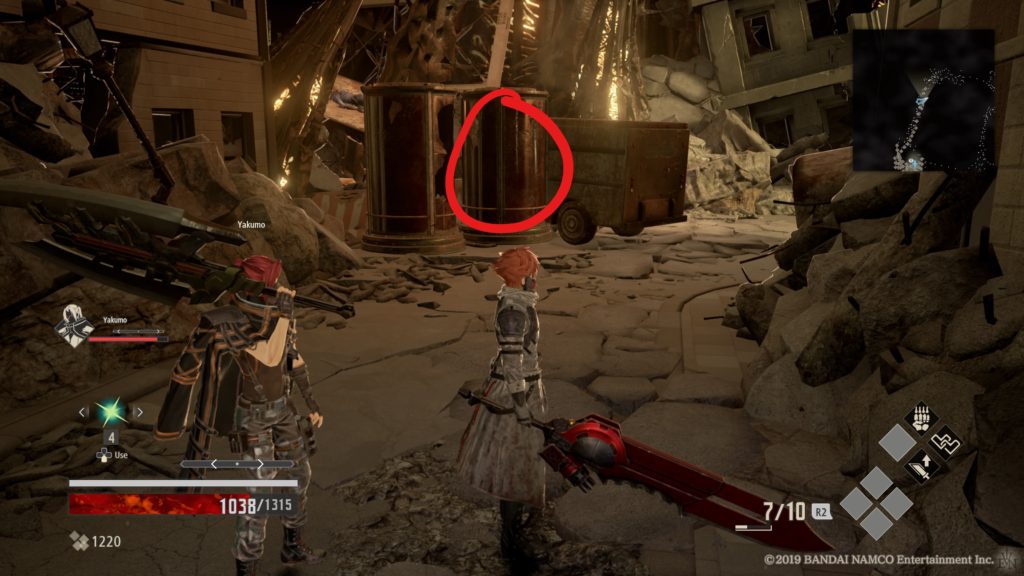
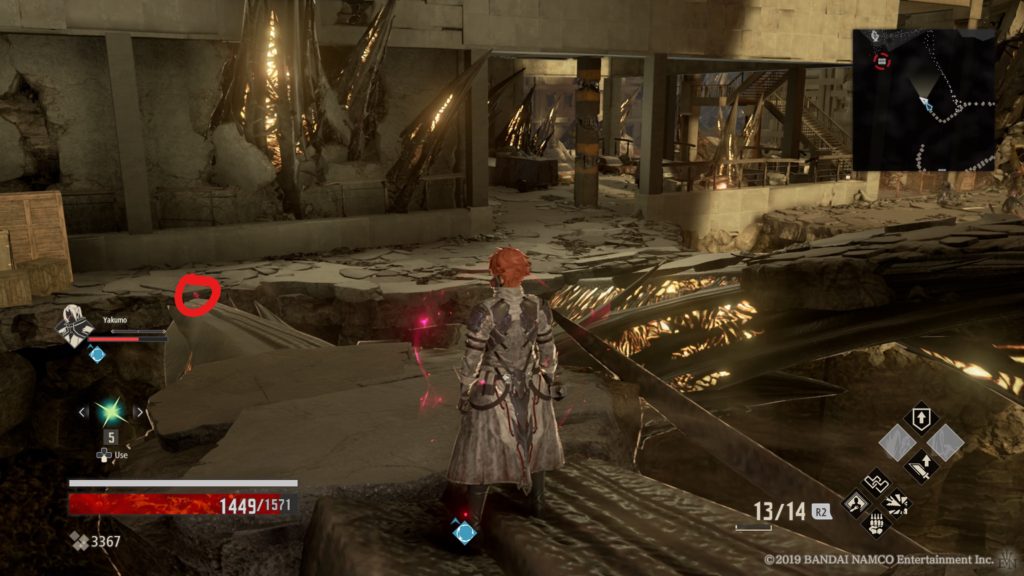
Talk to Dominic to learn about the revenants beginning to frenzy and agree to bring him any documents you find. The first document to find is the BOR Parasite Report. From Dominic, head down the hall and take the first right. Descend down the ramp, fighting the enemies blocking your path, and continue through the doorway. At the end of the hall, turn left and descend down the stairs. Keep heading forward until you come across some wooden boxes. Break the boxes and head down the ladder. Looking at the ladder you just went down, take the door to your right. The documents are at the far end of the room toward the left side. The second document is the Missions Directives. From the room where the BOR Parasite report was found turn around and head back up the ladder to your right as you exit the room. At the top of the ladder turn to the left and head down the stairs. At the bottom of the stairs, turn right and follow the path until it opens up into a large room. Turn immediately to your right and head forward up the stairs to the raised area then head through the door. Proceed very carefully down this hallway as it has the wall-tendrils waiting to attack. At the end of the hallway, turn left and fight your way through the cramped corridor. Keep proceeding forward, until you hit the end then turn left and proceed down the stairs. You’ll arrive at a fork. Take a left and break the objects to reveal the document under a glass jar next to a ladder you can kick down. The last item is the Red Mist Analysis. In the room with the elevator leading to the boss, this document can be found on the left side of the room (when facing the elevator) under some boxes/tanks. Return to Dominic and hand over the documents to complete the request.
Gustav
Request 1
Location: Dried-Up Trenches – Dried-Up Trenches Entrance
Talk to Gustav near the Dried-Up Trenches Entrance mistle to learn he is searching for evidence that Silva’s policies are a mistake. After that travel to the Ruined City Center – Parking Garage mistle and make your way to the 3rd floor (floor above the mistle level). Search the level for the Citizens’ Opinions key item. Once you find it return to Gustav and give it to him to complete the request.
Request 2
Location: Cathedral of the Sacred Blood – Outlook Tower
Head to the Outlook Tower mistle and follow the walkway southwest. You will head up a flight of stairs and reach a split in the path. Take the left path to find the Damage Report key item lying on the ground. Return to Gustav at the Dried-Up Trenches to hand over the report to complete the request.
Request 3
Location: Ridge of Frozen Souls – Observatory Site
From the Observatory Site mistle, take the path east to find the Project Evaluation key item on the right near some ruined buildings. Once you find it, head back to Gustav to hand it over, completing the request.
Request 4
Location: Ashen Cavern – Accumulator Ruins
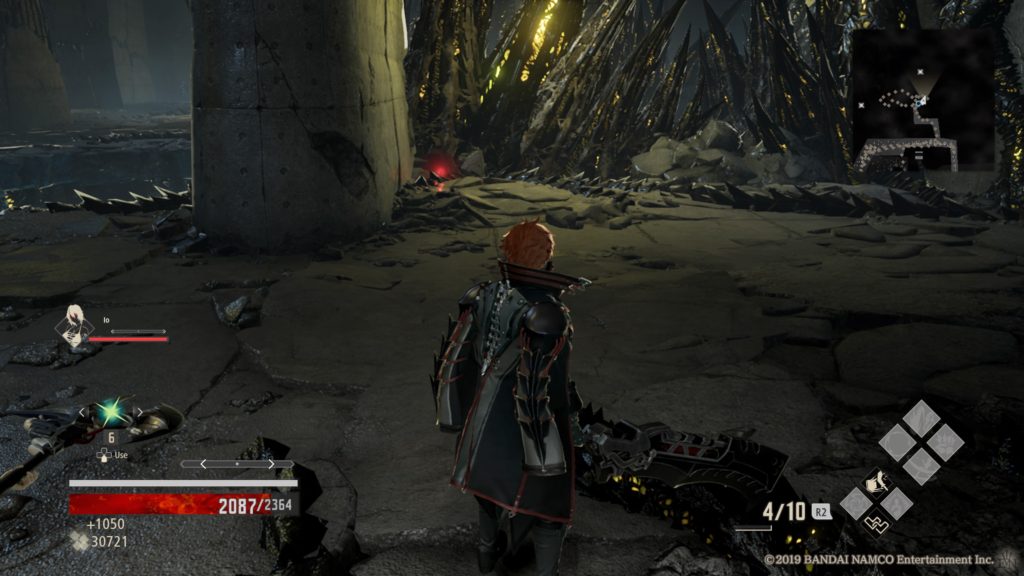
Talk to Gustav who is standing near the Accumulator Ruins mistle. He will give you the Arachnid Grotto map and ask you to defeat a lost revenant to retrieve the documents he is carrying. Head back to Home Base and talk to Davis to head to the Depths: Arachnid Grotto. From the mistle, take the path leading south. When you emerge from the path into a big room, head for the enemy straight ahead with the axe. Defeat him to get the Construction Record key item. Return to Gustav and hand it over to complete the request.
Lyle
Request 1
Location: Crypt Spire – Crypt Spire Entrance
Talk to Lyle while exploring the Crypt Spire to trigger a Trial of Blood. Talk with him again after you defeat all the enemies to complete the request.
Matthew
Request 1
Location: Ruined City Center – City Ruins Entrance
From the mistle, take the stairway up to enter an open area where Matthew is sitting. Talk to Matthew to learn that there is a monster preventing him from going anywhere. Follow the path forward north to come across this monster with an axe (polearm). Defeat it and return to Matthew to complete the request.
Request 2
Location: Ruined City Center – Parking Garage
Talk to Matthew, who is sitting on the stairwell near the Parking Garage, to find out that he cannot fight without a weapon. Head down the stairs next to him then turn right to enter the ground floor of the parking garage. Follow the path forward and exit the parking garage on the south side. Follow the road around until you come to the giant crater overlooking the cocoon of the Park Ruins boss. Take a right and follow the path to arrive on the other side of the chain-linked fence near the parking garage stairwell. Retrieve the Battered Weapon key item near the front of the taxi and return it to Matthew to complete the request.
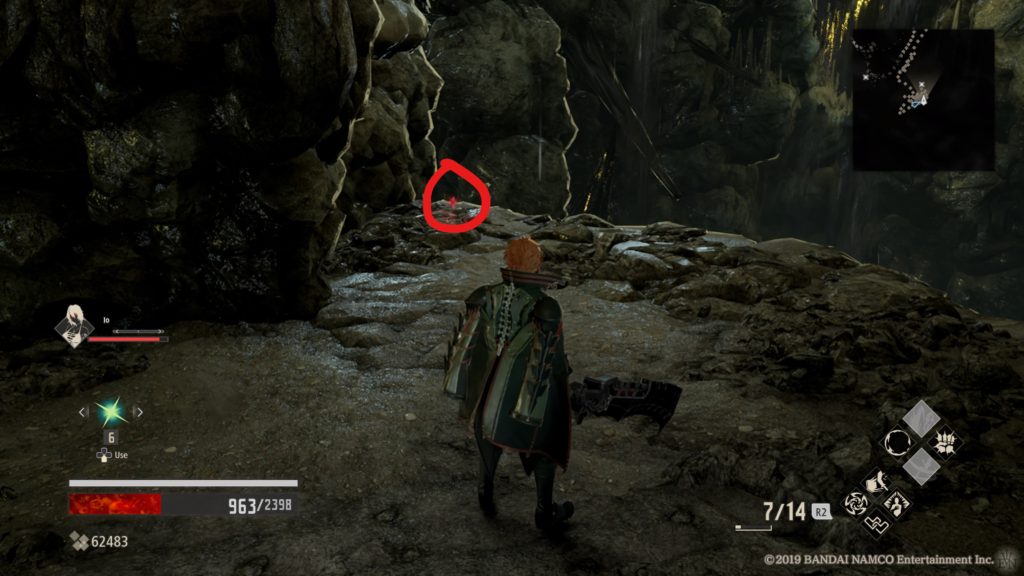
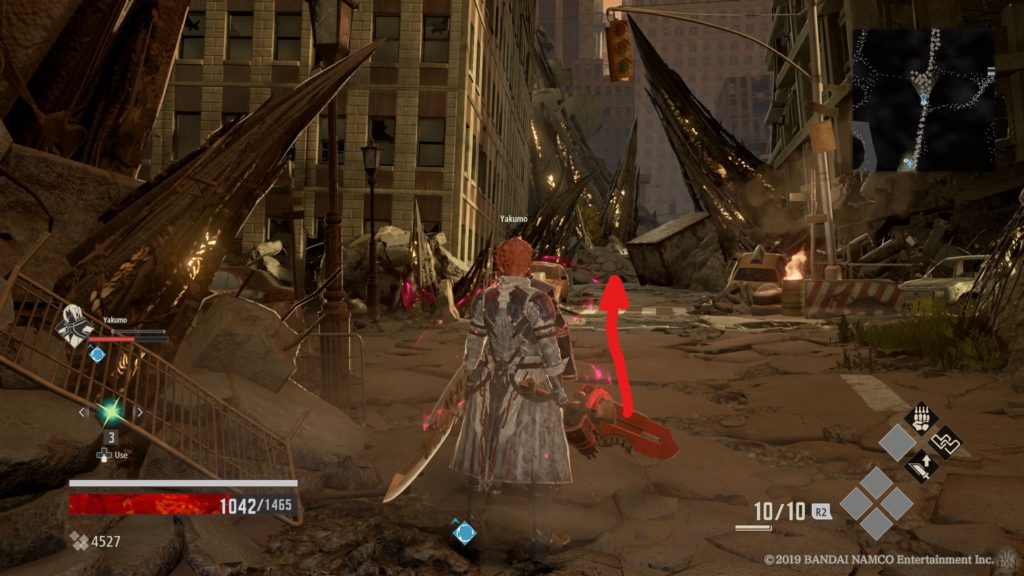
Request 3
Location: Howling Pits – Bottomless Shore
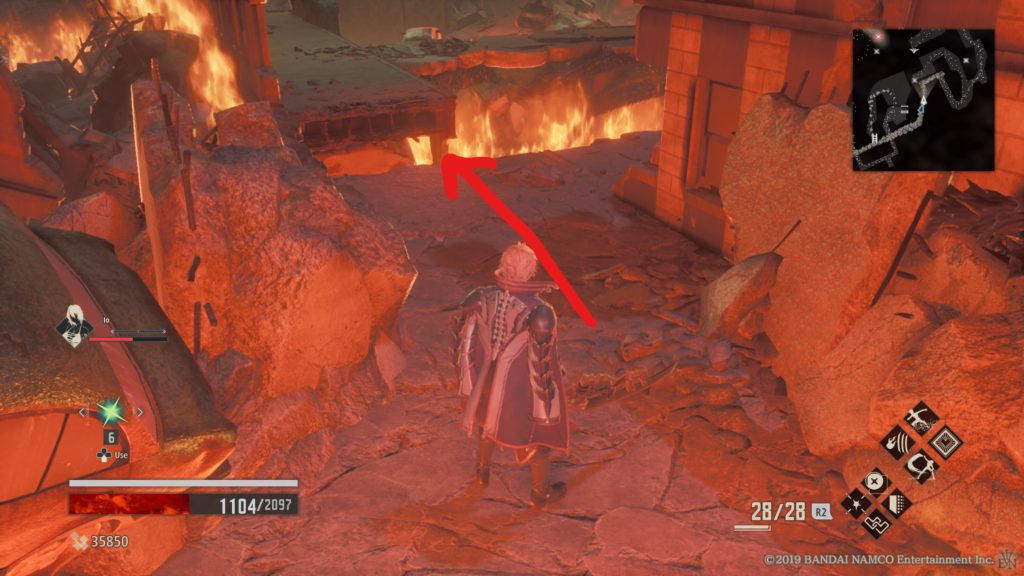
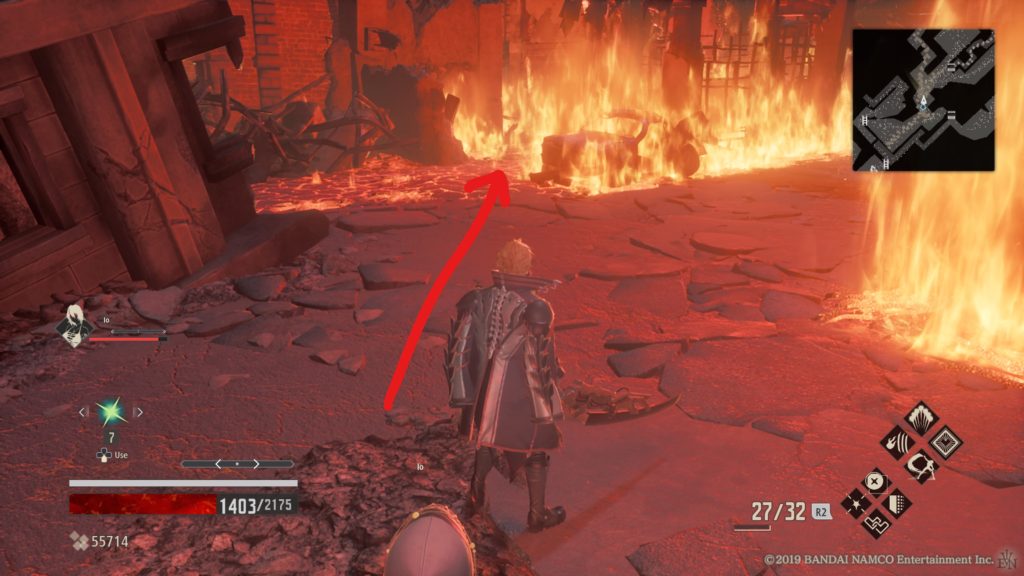
From the mistle, head down the ram and follow the path left to find Matthew sitting next to a burn barrel. Talk with him to learn about a powerful lost nearby. Follow the path towards where the Howling Pits boss was to run into the enemy. Take it out then return to Matthew to complete the request.
Request 4
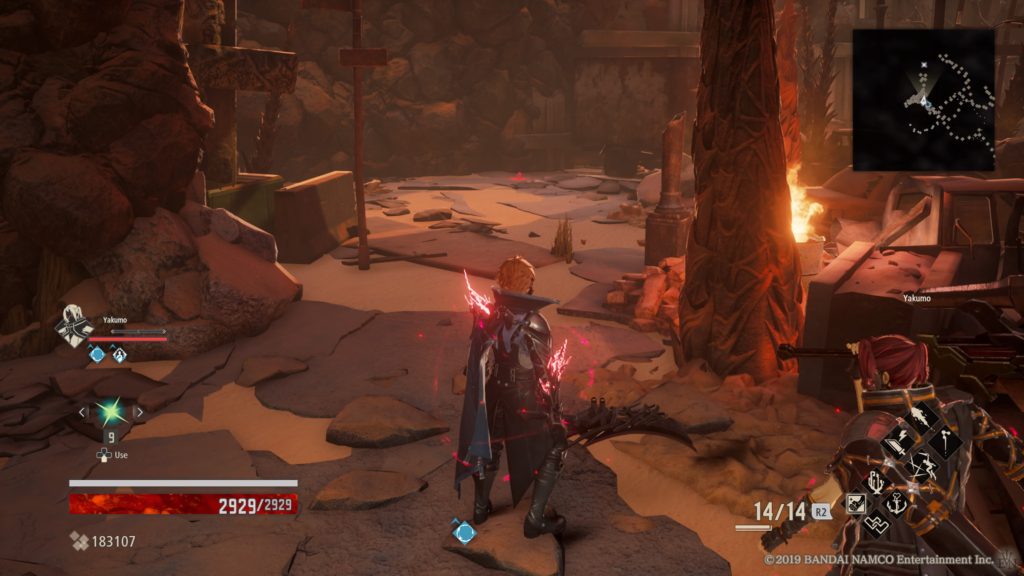
Location: Crown of Sand – Crown of Sand Entrance
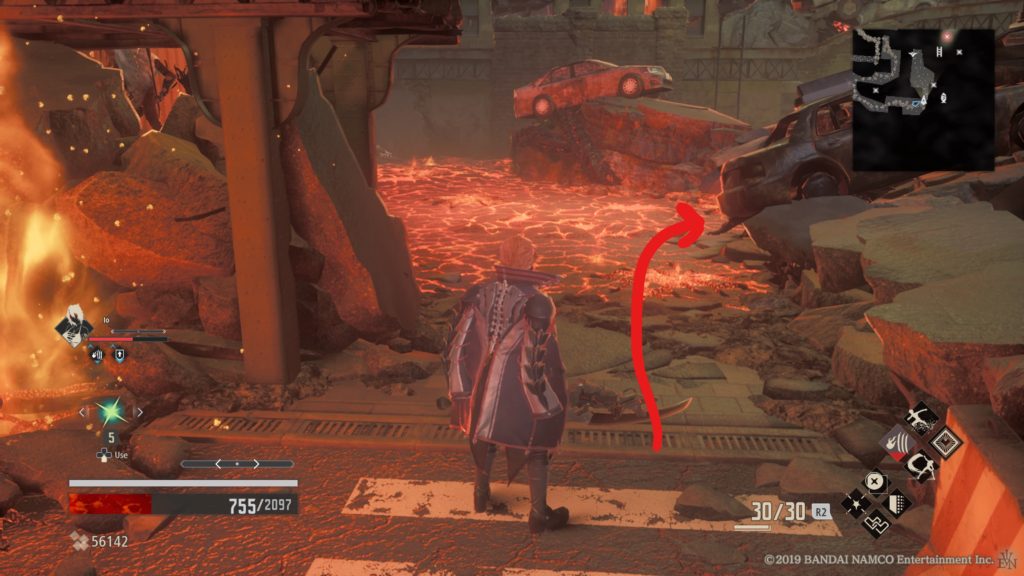
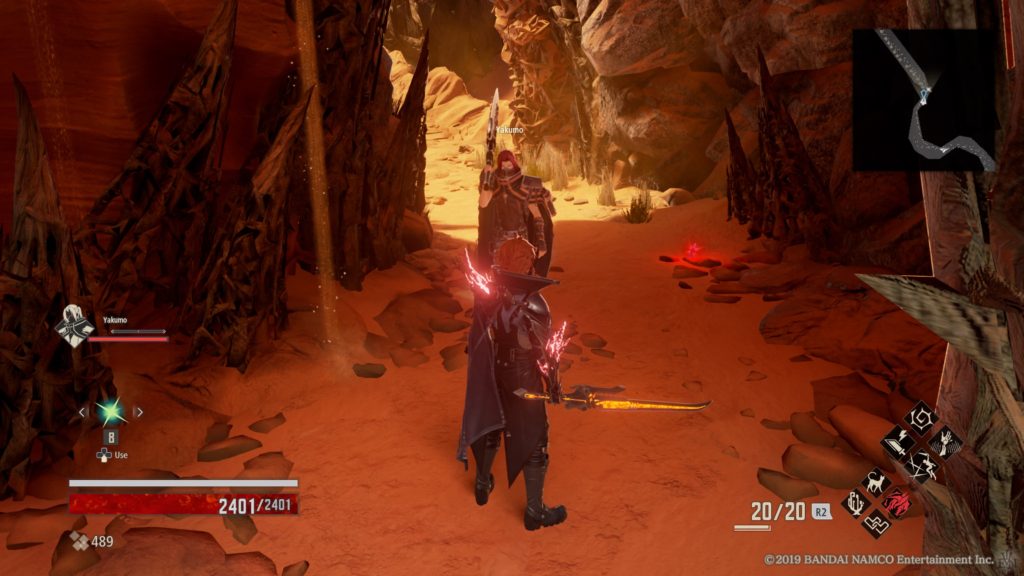
Talk to Matthew to learn about a dangerous lost in the area. To locate it, head down the ramp next to Matthew leading into the ruined city. Follow the path straight (east). When you come to the split, take the right path to locate the lost and defeat it. Afterwards, return to Matthew and speak to him to complete the request.
Richard
Request 1
Location: Howling Pits – Halls of Deception
Talk to Richard near the Halls of Deception mistle to learn that his sleeping bag has gone missing. Take the right ramp (with the mistle behind you) down and follow the path a short way to arrive at a burn barrel. The Threadbare Sleeping Bag will be on the ground right next to it. Return the sleeping bag to Richard to complete the request.
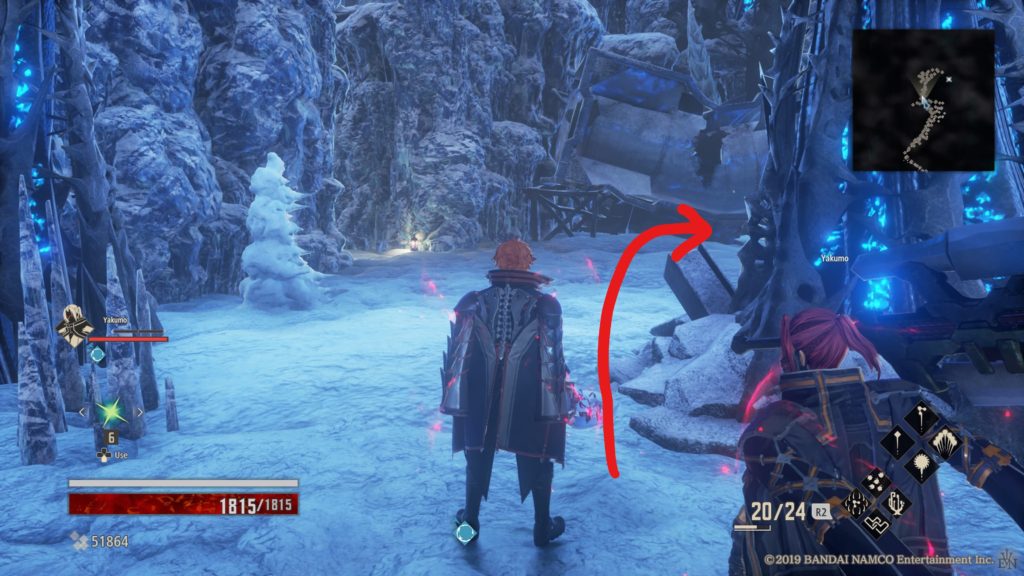
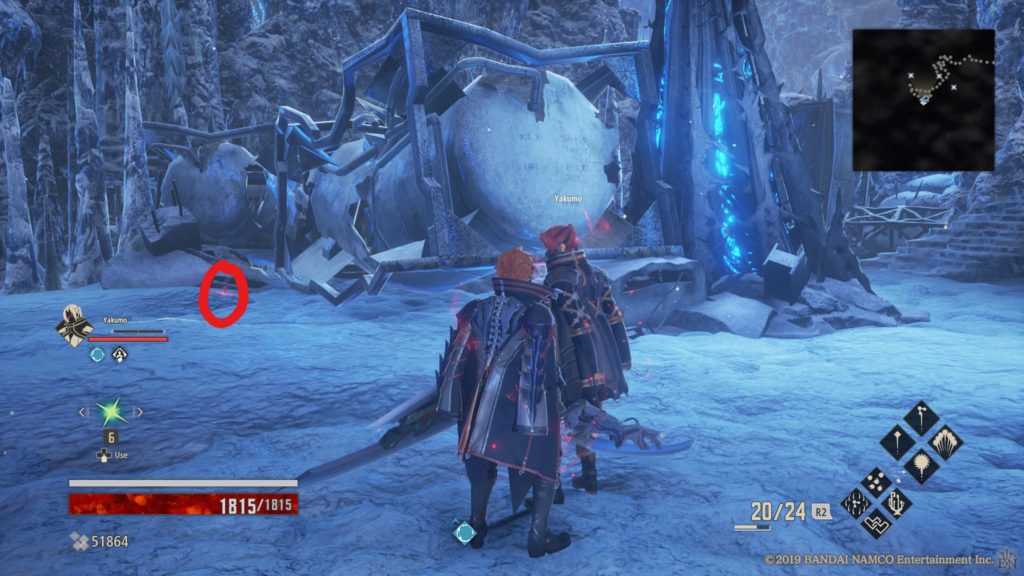
Request 2
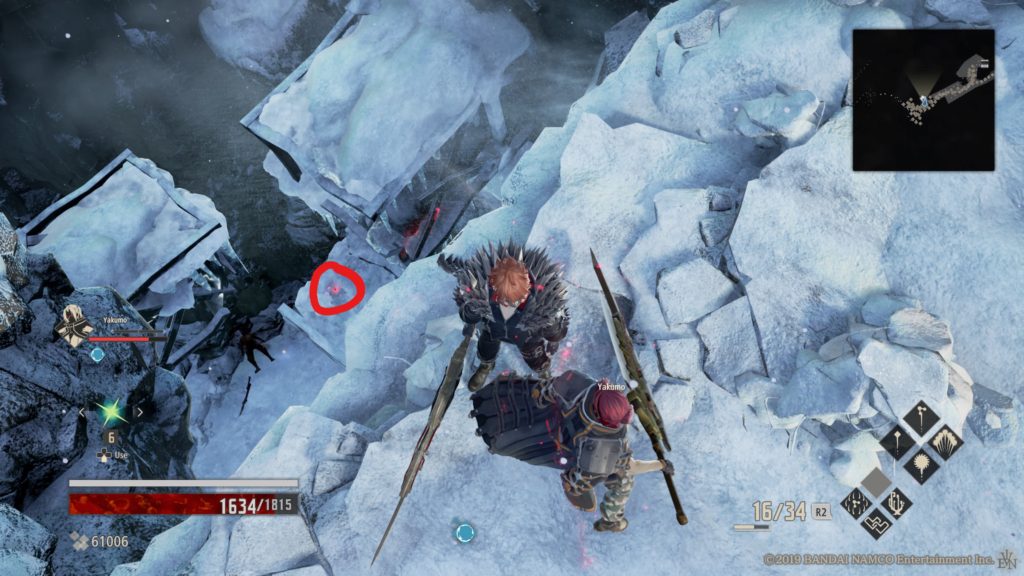
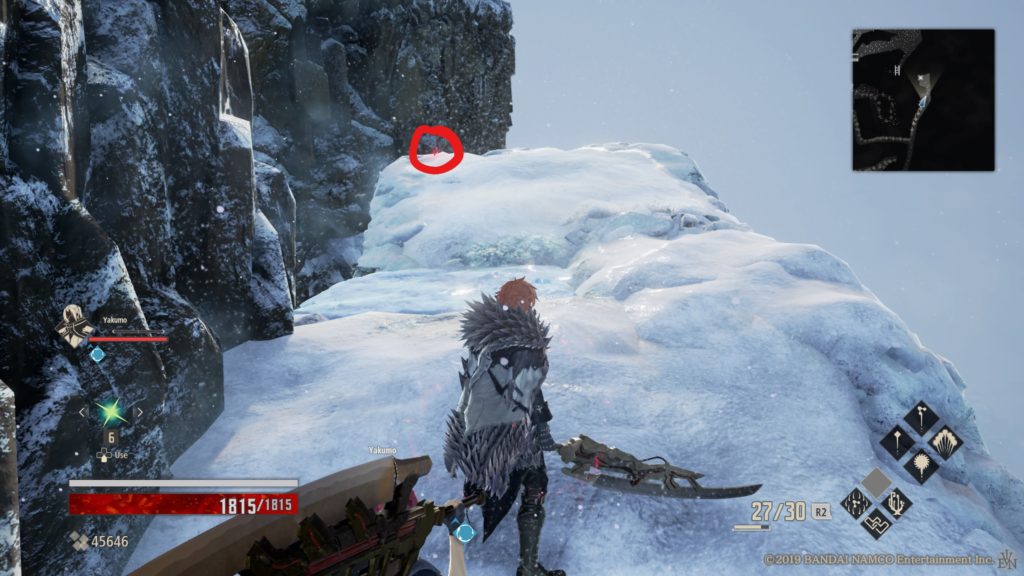
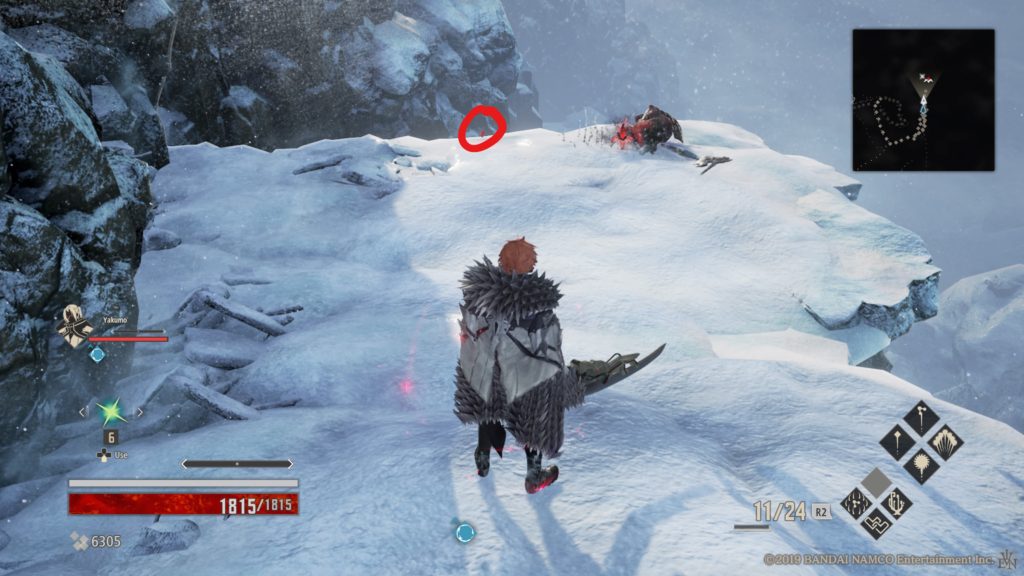
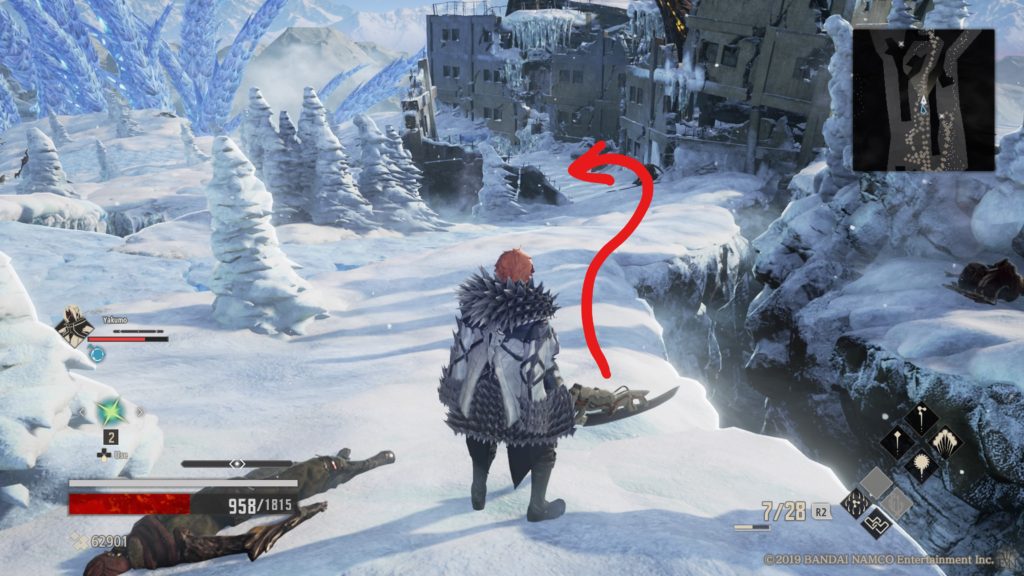
Location: Ridge of Frozen Souls – Ridge of Frozen Souls Entrance
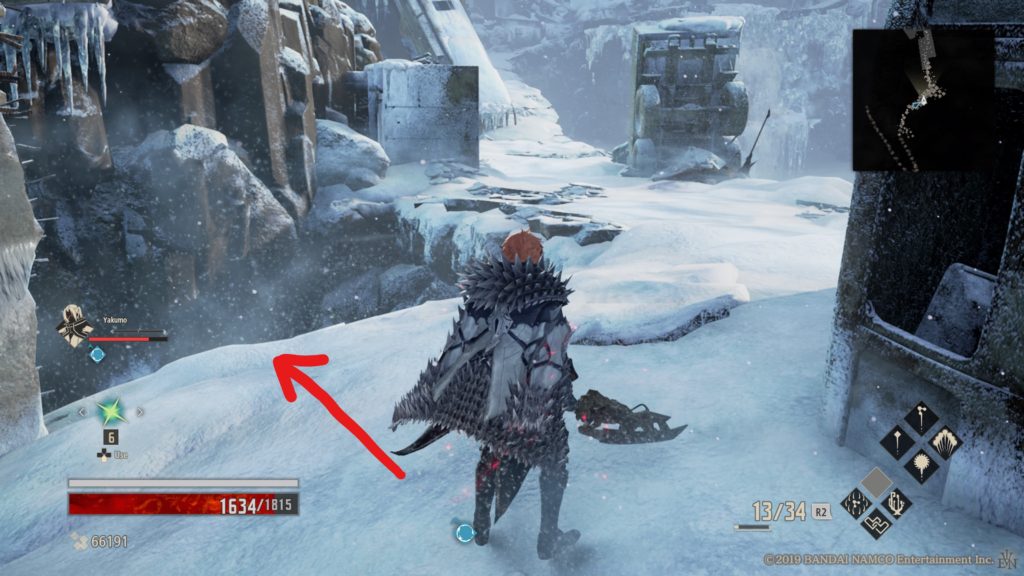
Richard is located at the bottom of a pit. To reach him starting from the mistle, follow the path forward along the snowy trail up the side of a mountain. When you reach the vehicle sticking out of the ground, drop down the hole to the left of the vehicle onto the small platforms to reach the bottom. When you reach the bottom, follow the path a short way to run into Richard. Talk to him to learn about a lost causing problems in the area. Keep following the path to locate the lost and dispatch of him. Head back to Richard and talk to him to complete the request.
Request 3
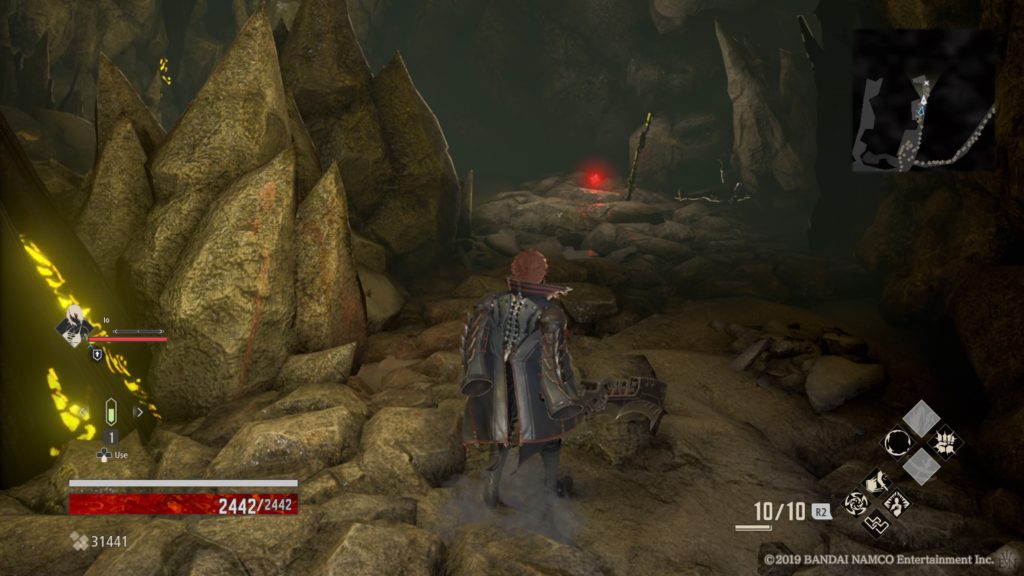
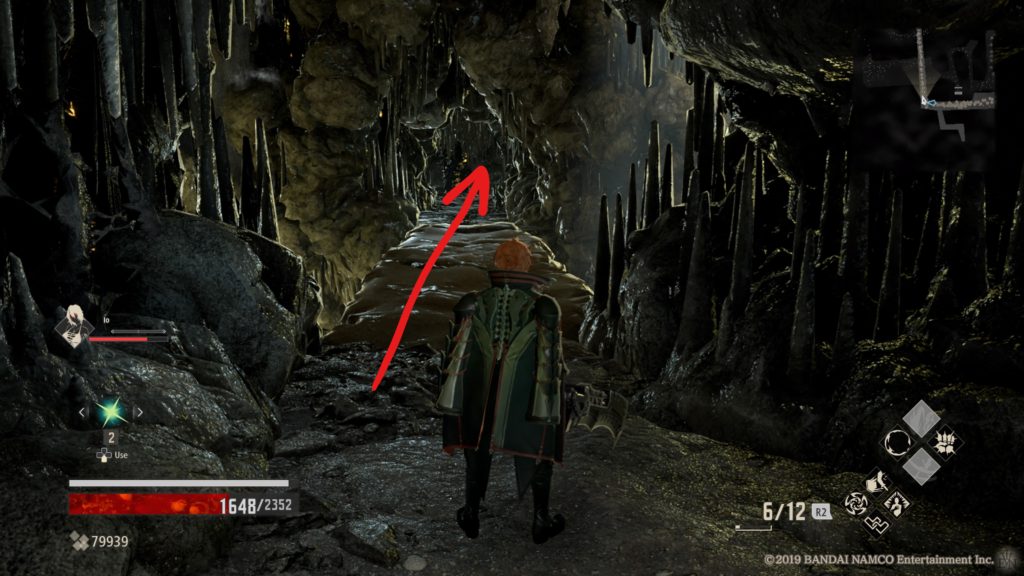
Location: Ruined City Underground – Natural Cavern Depths
Follow the path south from the mistle to come across Richard. Speak with him to learn that a lost is giving him trouble. Keep heading down the path to come across the lost and dispose of it. Return to Richard and tell him the way is clear to complete the request.
Request 4
Location: Ruined City Underground – Natural Cavern Depths
After beating the Crypt Spire boss and completing all the previous requests as well as the Self-Important Revenant’s requests, talk to Richard to receive the Rocky Ruins map. He can be found along the path south of the mistle.
Self-Important Revenant
Request 1
Location: Ruined City Center – Parking Garage
Talk to the Self-Important Revenant near the Parking Garage mistle to learn that a monster in the park ruins is preventing him from searching around in that area. Travel to the Park Ruins mistle and start heading towards the nearby stairwell to locate the lost. Defeat her for Mr. Self-Important and return to the parking garage. Talk to the Self-Important Revenant and tell him you defeated the monster to complete the request.
Request 2
Location: Dried-Up Trenches – Decayed Ship Interior
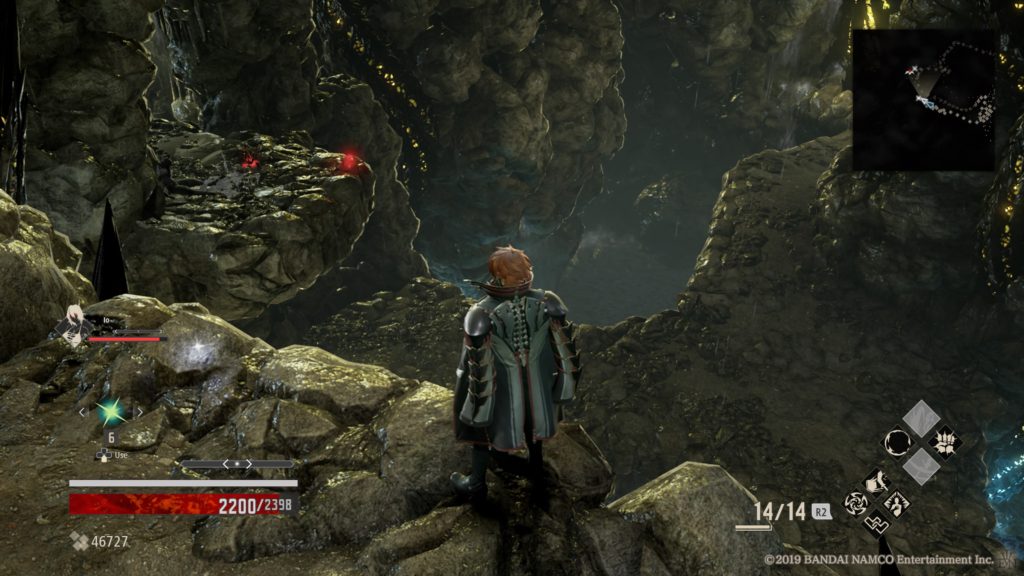
Talk to the Self-Important Revenant to learn he is searching for a bloodspring. Agree to check out the location for him. He will then hand over the Cliffs of Rest map. Head back to Home Base and talk to Davis to head to the Depths: Cliffs of Rest. From the mistle, follow the path south to enter an open room. Instead of taking the stairs down, jump down to the left to attack the red monster below. After defeating this monster, head back to the Self-Important Revenant and talk to him to complete the request.
Request 3
Location: Ruined City Center – Poisonous Butterfly Nest
Talk to the Self-Important Revenant in the Poisonous Butterfly Nest to learn he is in need of some activated mistle. Travel to the Memories of (Your Character) – Research Facility Area mistle and follow the path east back towards the facility. The Mistle Agent key item can be found on a green crate located to the left of Silva. Return to the Revenant and hand over the item to complete the request.
Shang (Vendor)
Request 1
Location: Ruined City Underground – Outer Crossroads
Talk to Shang in the outer crossroads after defeating the boss there. He will ask you to retrieve some Particular Materials from the Den of Darkness. Return to Home Base and talk with Davis. Select the option “Head into the Depths” and choose the Den of Darkness. Explore the area until you find the Particular Material, then return to Shang. Talk with him to hand over the material. You may need to choose the Talk option.
Request 2
Location: Ruined City Underground – Outer Crossroads
After progressing further in the story, check-up on Shang. If he is leaning against a wall out of breath, then this side quest will trigger when you speak to him. Talk with Shang to learn that he is being chased by the lost. A Trail of Blood will then activate resulting in you being swarmed by enemies. Defeat them all then talk to Shang to receive a reward.
Request 3
Location: Ruined City Underground – Outer Crossroads
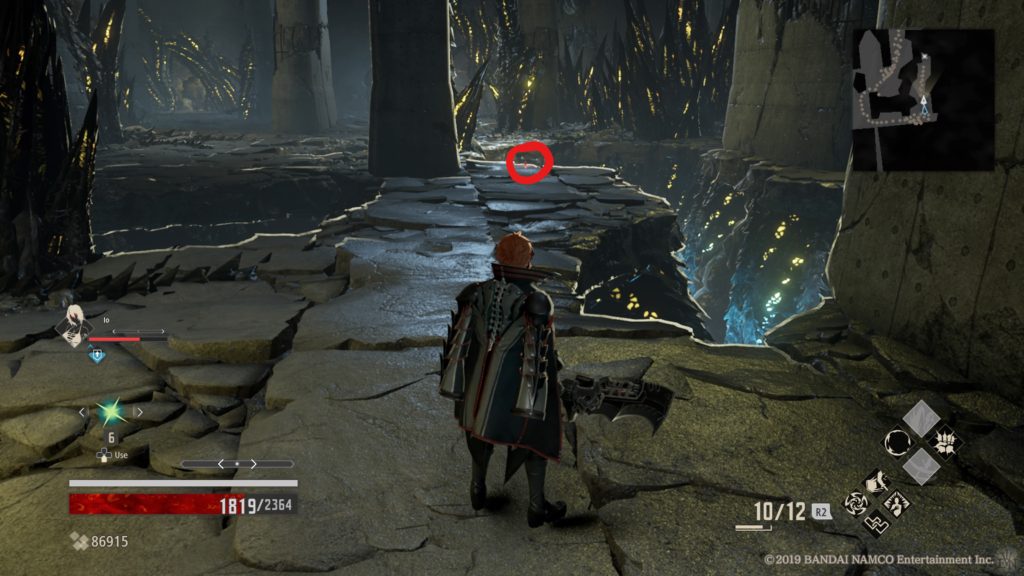
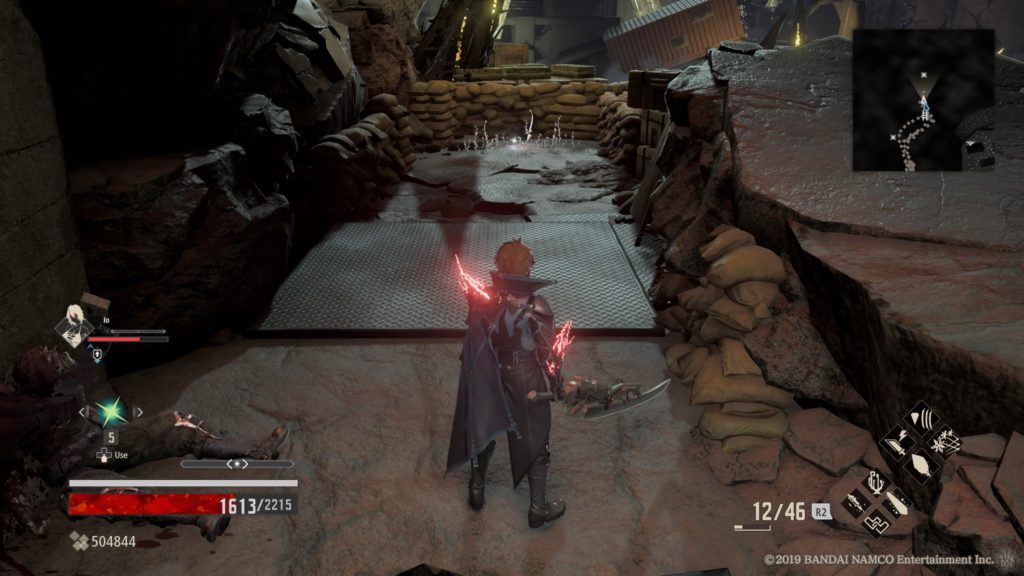
After defeating the Cathedral of the Sacred Blood boss, talk to Shang to get another map and a request to collect some materials from the Depths. Return to Home Base and talk to Davis to go to the Swirling Flood. From the mistle in the Swirling Flood, take the east path. When you emerge from the tunnel, take a left and head up the stairs. Defeat the enemies there to find the Unique Materials key item. Head back to Shang and give it to him to complete the request.
Request 4
Location: Ruined City Underground – Outer Crossroads
After defeating the Ridge of Frozen Souls boss, talk to Shang to learn that he has another job for you. He will sent you to another area of the Depths to retrieve some materials for him. Head back to Home Base and talk with Davis to head into the Depths: Silent White. From the mistle, take the east path (left most path with locked door behind you). When the path opens up, take the stairs on the right up to find the Rare Materials key item. Head back to Shang to hand it over.
Sophie
Request 1
Location: Cathedral of the Sacred Blood – Cathedral Front
Talk to Sophie near the entrance to the Crypt of the Ribcage. She mentions that she is looking into Successors. After talking to her, head into the Crypt of the Ribcage to find the Rib-Touched Spike key item on the ground past the mistle. Return to Sophie and hand over the item to complete the request.
Request 2
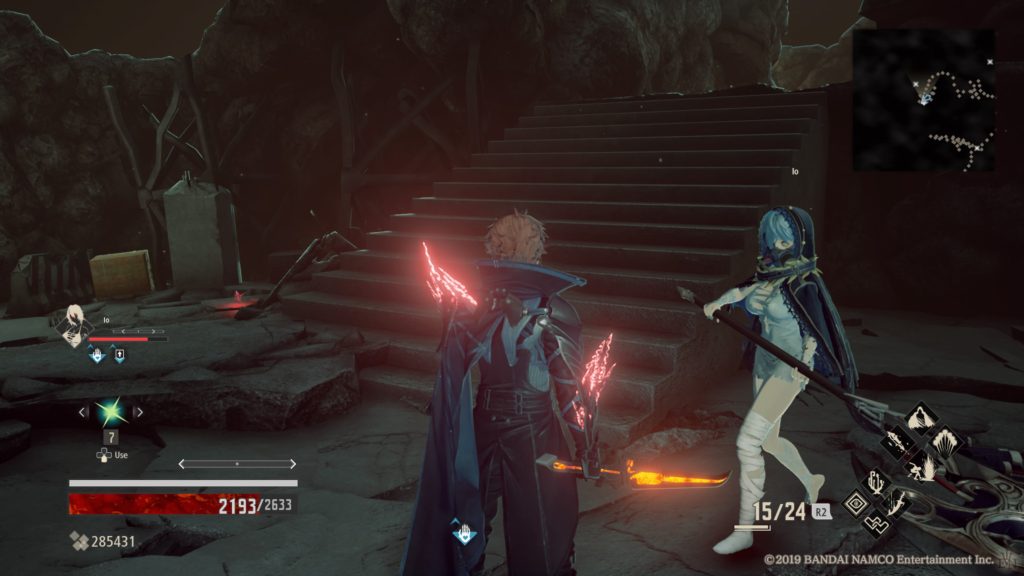
Location: Ridge of Frozen Souls – Crypt of the Breath
Talk to Sophie near the entrance of Crypt of the Breath (after defeating the boss and completing her previous request) to learn that she is looking for a trace of a Successor. Head into the crypt to locate the item or talk with the Successor to get it if you saved them. Return to Sophie and hand over the item to complete the request.
Request 3
Location: City of Falling Flame – City of Falling Flame Entrance
From the mistle, follow the path back through the tunnel towards the Ashen Caverns to run into Sophie (after defeating the City of Falling Flame boss and completing her previous requests). Talk to her to learn she can’t search for the trace of the Successor in this area. Travel back to the Back Alley mistle and head into the area where you fought the boss. Either talk to them (if you restored their memory) or pick up the item off of the ground. Then return to Sophie and hand it over to complete the request.