Below is a walkthrough for Chapter 14: The Battle for Solm in Fire Emblem Engage!
Paralogue: The Radiant Hero
Area: Fort of Hope
Head to Fort Hope for a dialog event with your boy Ike. This will be proceeded by a battle against the Radiant Hero to strengthen his bond with Alear. A good chunk of the enemies you’ll be facing are armored, so it might be a good idea to bring a couple of mages along. After defeating a few of the starting enemies and getting closer to Ike, he will summon some sword-mounted units and charge at you. Additionally, more enemies will appear along the southern and western parts of the map. Defeat Ike to win the battle then explore the area collecting items and adopting animals… you know, the usual.
Item
Obtained
1,000 G
Dropped from a Fabrication
1,000 G
Dropped from a Martial Master Fabrication
1,000 G
Dropped from a General Fabrication
1,000 G
Dropped from a Swordmaster Fabrication
Elthunder
Dropped from a Sage Fabrication guarding Ike
Skirmishes
Now might be a good time to do a couple of skirmishes if you wish. You can use them to level up units you normally don’t use or get others closer to promotion.
Solm Palace
When you’re ready to proceed with the story, travel to Solm Palace. For this chapter’s battle, you’ll need to defeat Hortensia, Zephia, Marni and Mauvier. The enemies are pretty even as to which types are present so a diverse team might provide an advantage. Please note that you can receive the below items during this battle! For the two chests on each side of the throne room behind destructible walls. Be careful when going to loot them as enemies can spawn nearby. When you reach the throne room, Hortensia will break one of your units within range on her turn while the three hounds rush you. After dealing with them, you’ll be free to take on Hortensia. She will have 3 health bars and is capable of dishing out high damage. She will also summon 4 additional enemies to fight alongside her. Defeating her will trigger a dialog event and you’ll also receive 40,000 G. You’ll then be free to explore the palace collecting items and speaking with your allies. Head back to the Somniel when you are done.
Item
Obtained
Boots
Looted from a chest on the northeastern side of the map
Hurricane Axe
Dropped from Marni in the throne room
Radiant Bow
Looted from a chest on the northeastern side of the map
Silver-Spirit Art
Looted from a chest on the northwestern side of the map
Silver Sword
Dropped by a Hero Elusian Soldier in the throne room
Steel Blade
Dropped from a Swordmaster Elusian Soldier on the steps leading to the throne room
Wyrmslayer
Looted from a chest on the northwestern side of the map
Intermission: The Somniel
Back at the Somniel make sure to speak with Hortensia to get her added to the Ally Notebook. Also stock on any supplies you may need and collect the items scattered around the grounds. When you’re ready to proceed with the story, leave the Somniel in search of the next ring.
Below is a walkthrough for Chapter 14: What is a Youth? in Digimon Story Cyber Sleuth: Complete Edition.
Akihabara
When you regain control of the sleuth, you’ll be in Shibuya. Travel to Akihabara and approach the shop to trigger an event with some Royal Knights.
Detective Agency
Return to the agency for an event with a new client.
Central Hospital
Head over to Central Hospital and speak with Yuuko to trigger an event. When it ends, take the elevator down to the Lobby. Talk to the nurse behind the counter with an ! above her head to obtain the “Confused Man” keyword. Speak with the boy wearing an orange jacket sitting on a couch in the lobby to learn about our missing patient. The next step is to take the elevator up to the General Ward. Once you’re there, head to the end of the hallway and interact with the back right room to find Yamashina leading to you ending up in Makoto Yamashina’s Memories.
Makoto Yamashina’s Memories
Descend the path heading deeper into Yamashina’s memories. When you reach the bottom there will be an access point along with the enemy you’ll have to face. Interact with the Digimon to start a fight with the virus-type Ebemon. Defeat it to receive a Memory Up and trigger an event.
Digimon
Cyclonemon
Vademon
Vegiemon
Shinjuku
Travel to Shinjuku then head Dowtown. Make your way to the end of the sidewalk to find an Eater. Approach it to start a fight with the creature to save Date and Matayoshi. Afterwards, head into the subway.
Shinjuku: Digital Shift
Make your way through the Digital Shift until you reach the blocked area. There will be a nearby set of stairs you’ll need to take up with an orb at the top you’ll need to destroy. It is guarded by the virus-type Megadramon. With the way forward cleared, continue heading deeper into the Digital Shift to reach its depths. Approach the group of people to trigger a fight against an Eater. Defeat if to trigger another event leading to the end of the chapter.
Obtained: Speak with Ms. Folia near the Children’s Secret Hideout in the Sector 5 Slums
Objective: Find the children
Head to the Slum Public Cemetery northeast of Center District in the Sector 5 Slums to find Oates and speak with him. Defeat the Phantoms that spawn to find the children and complete the quest.
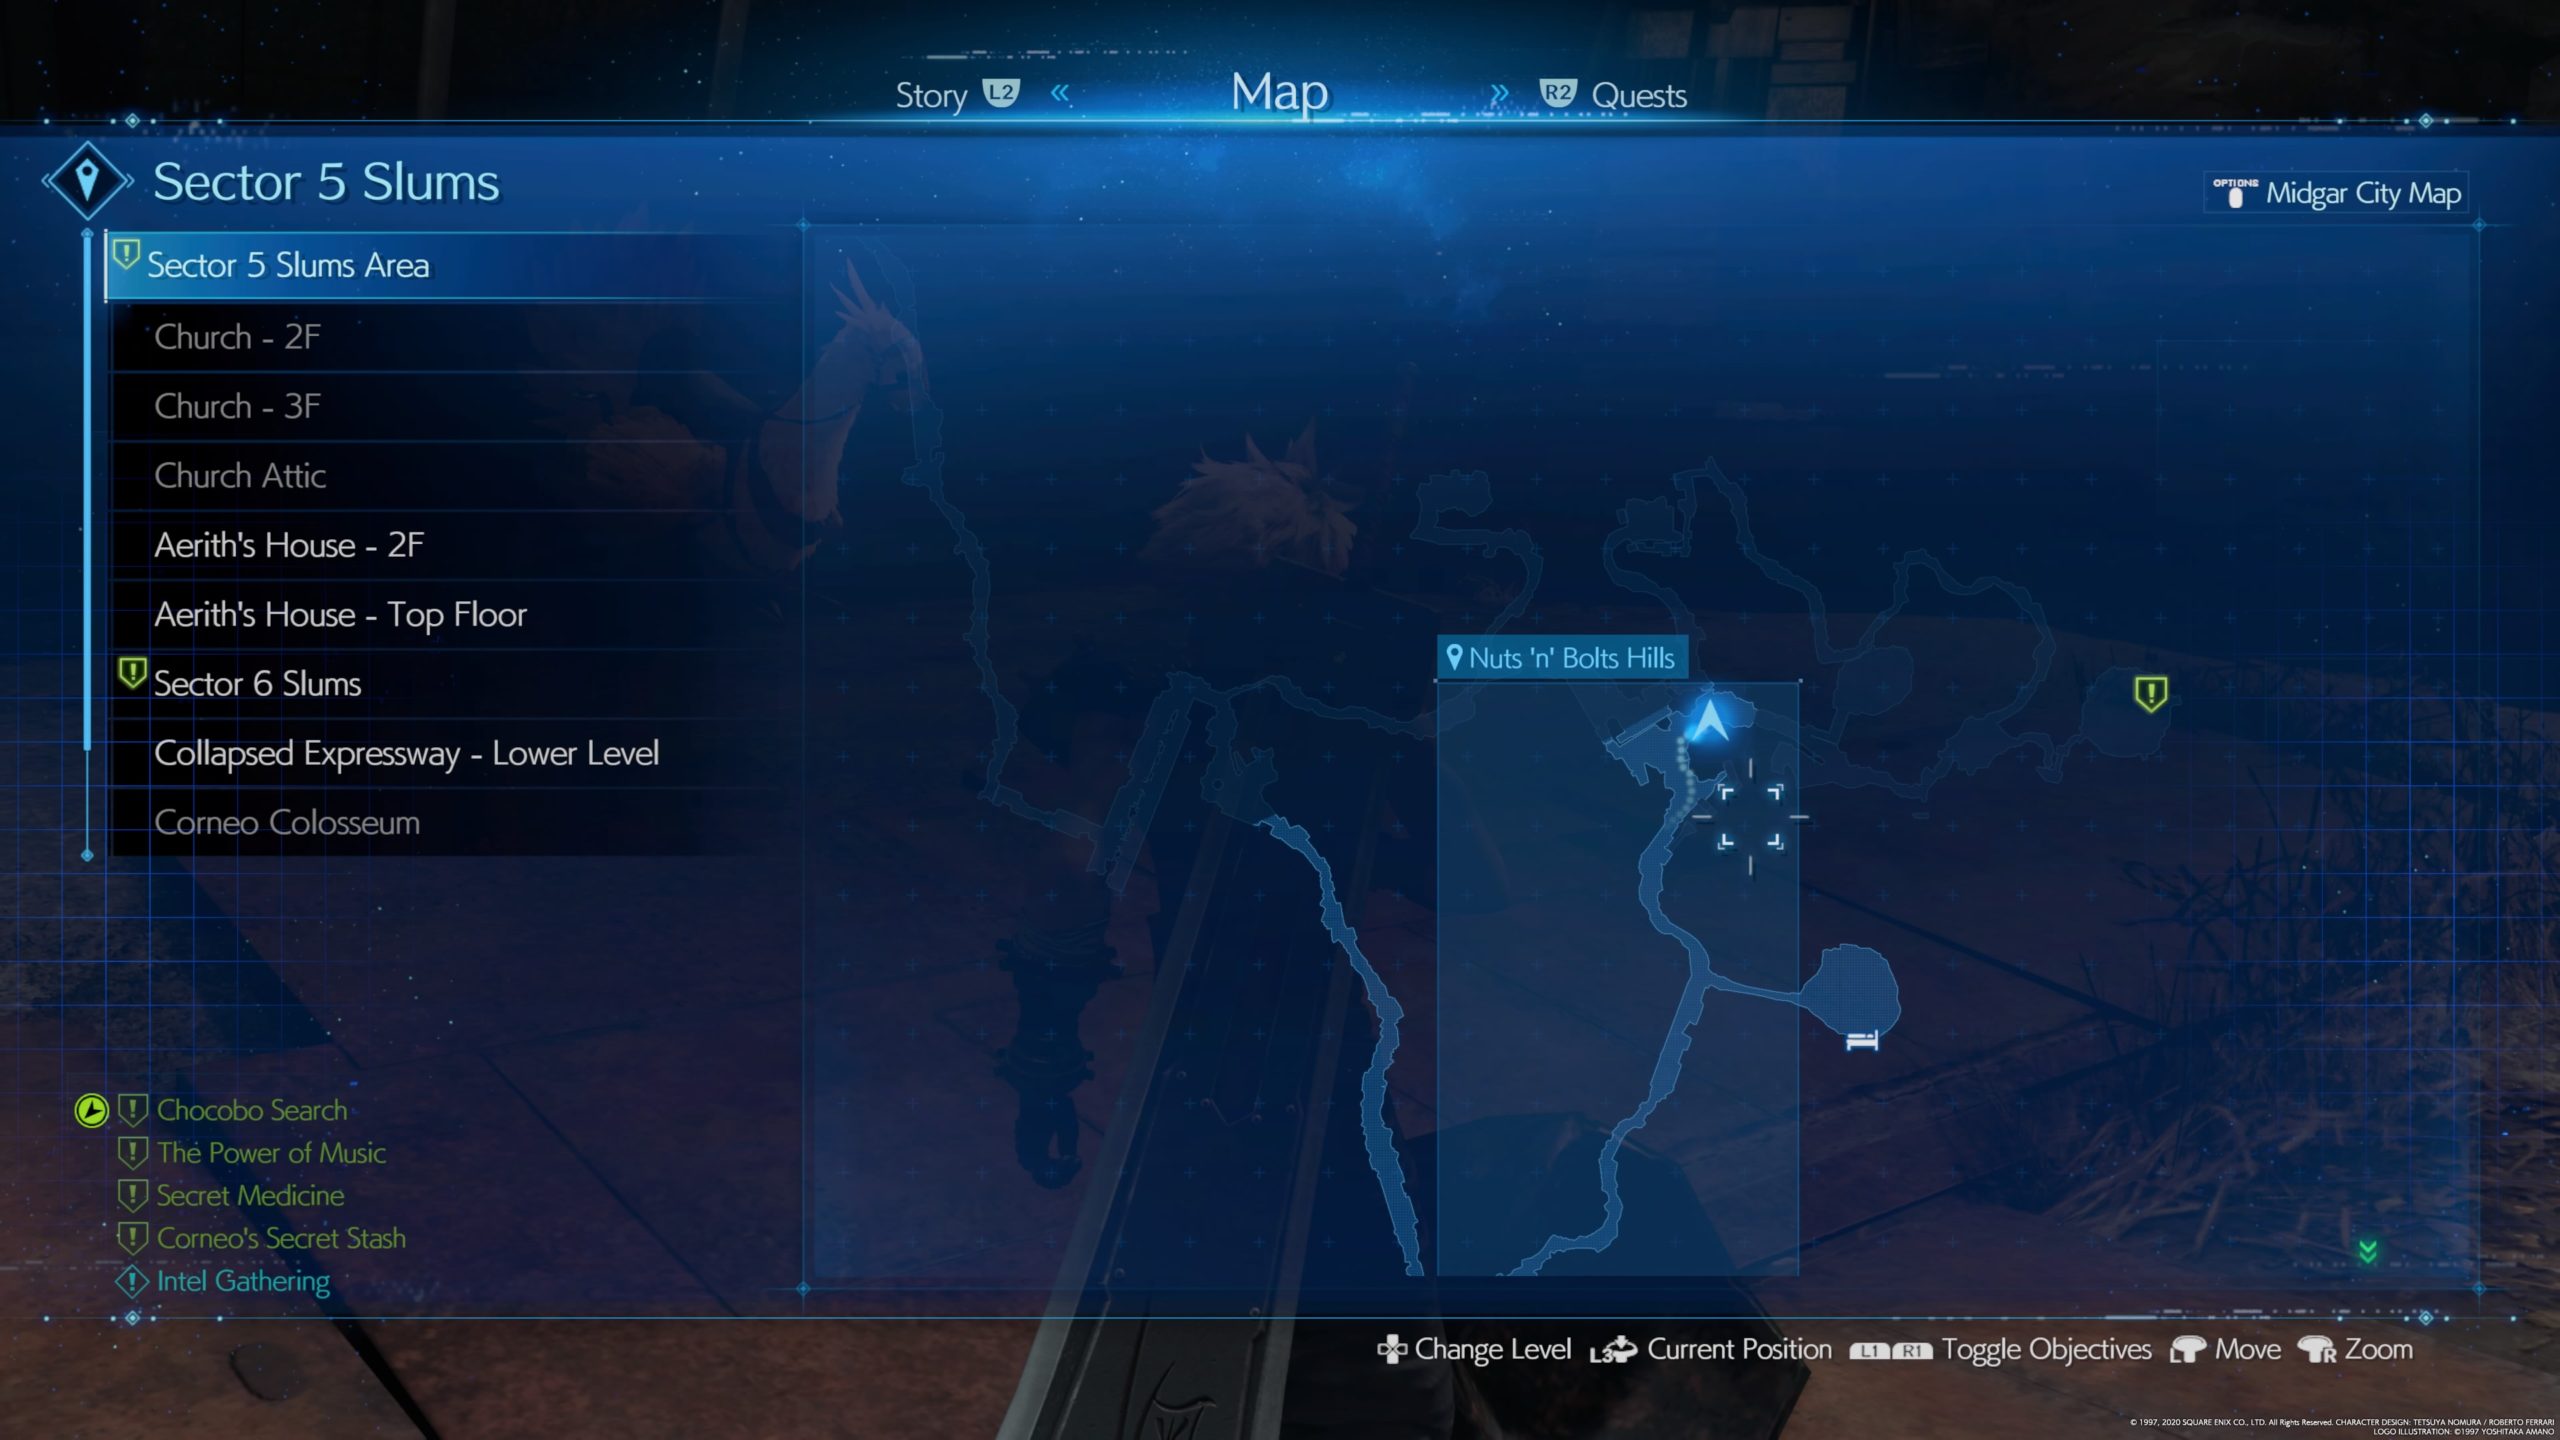
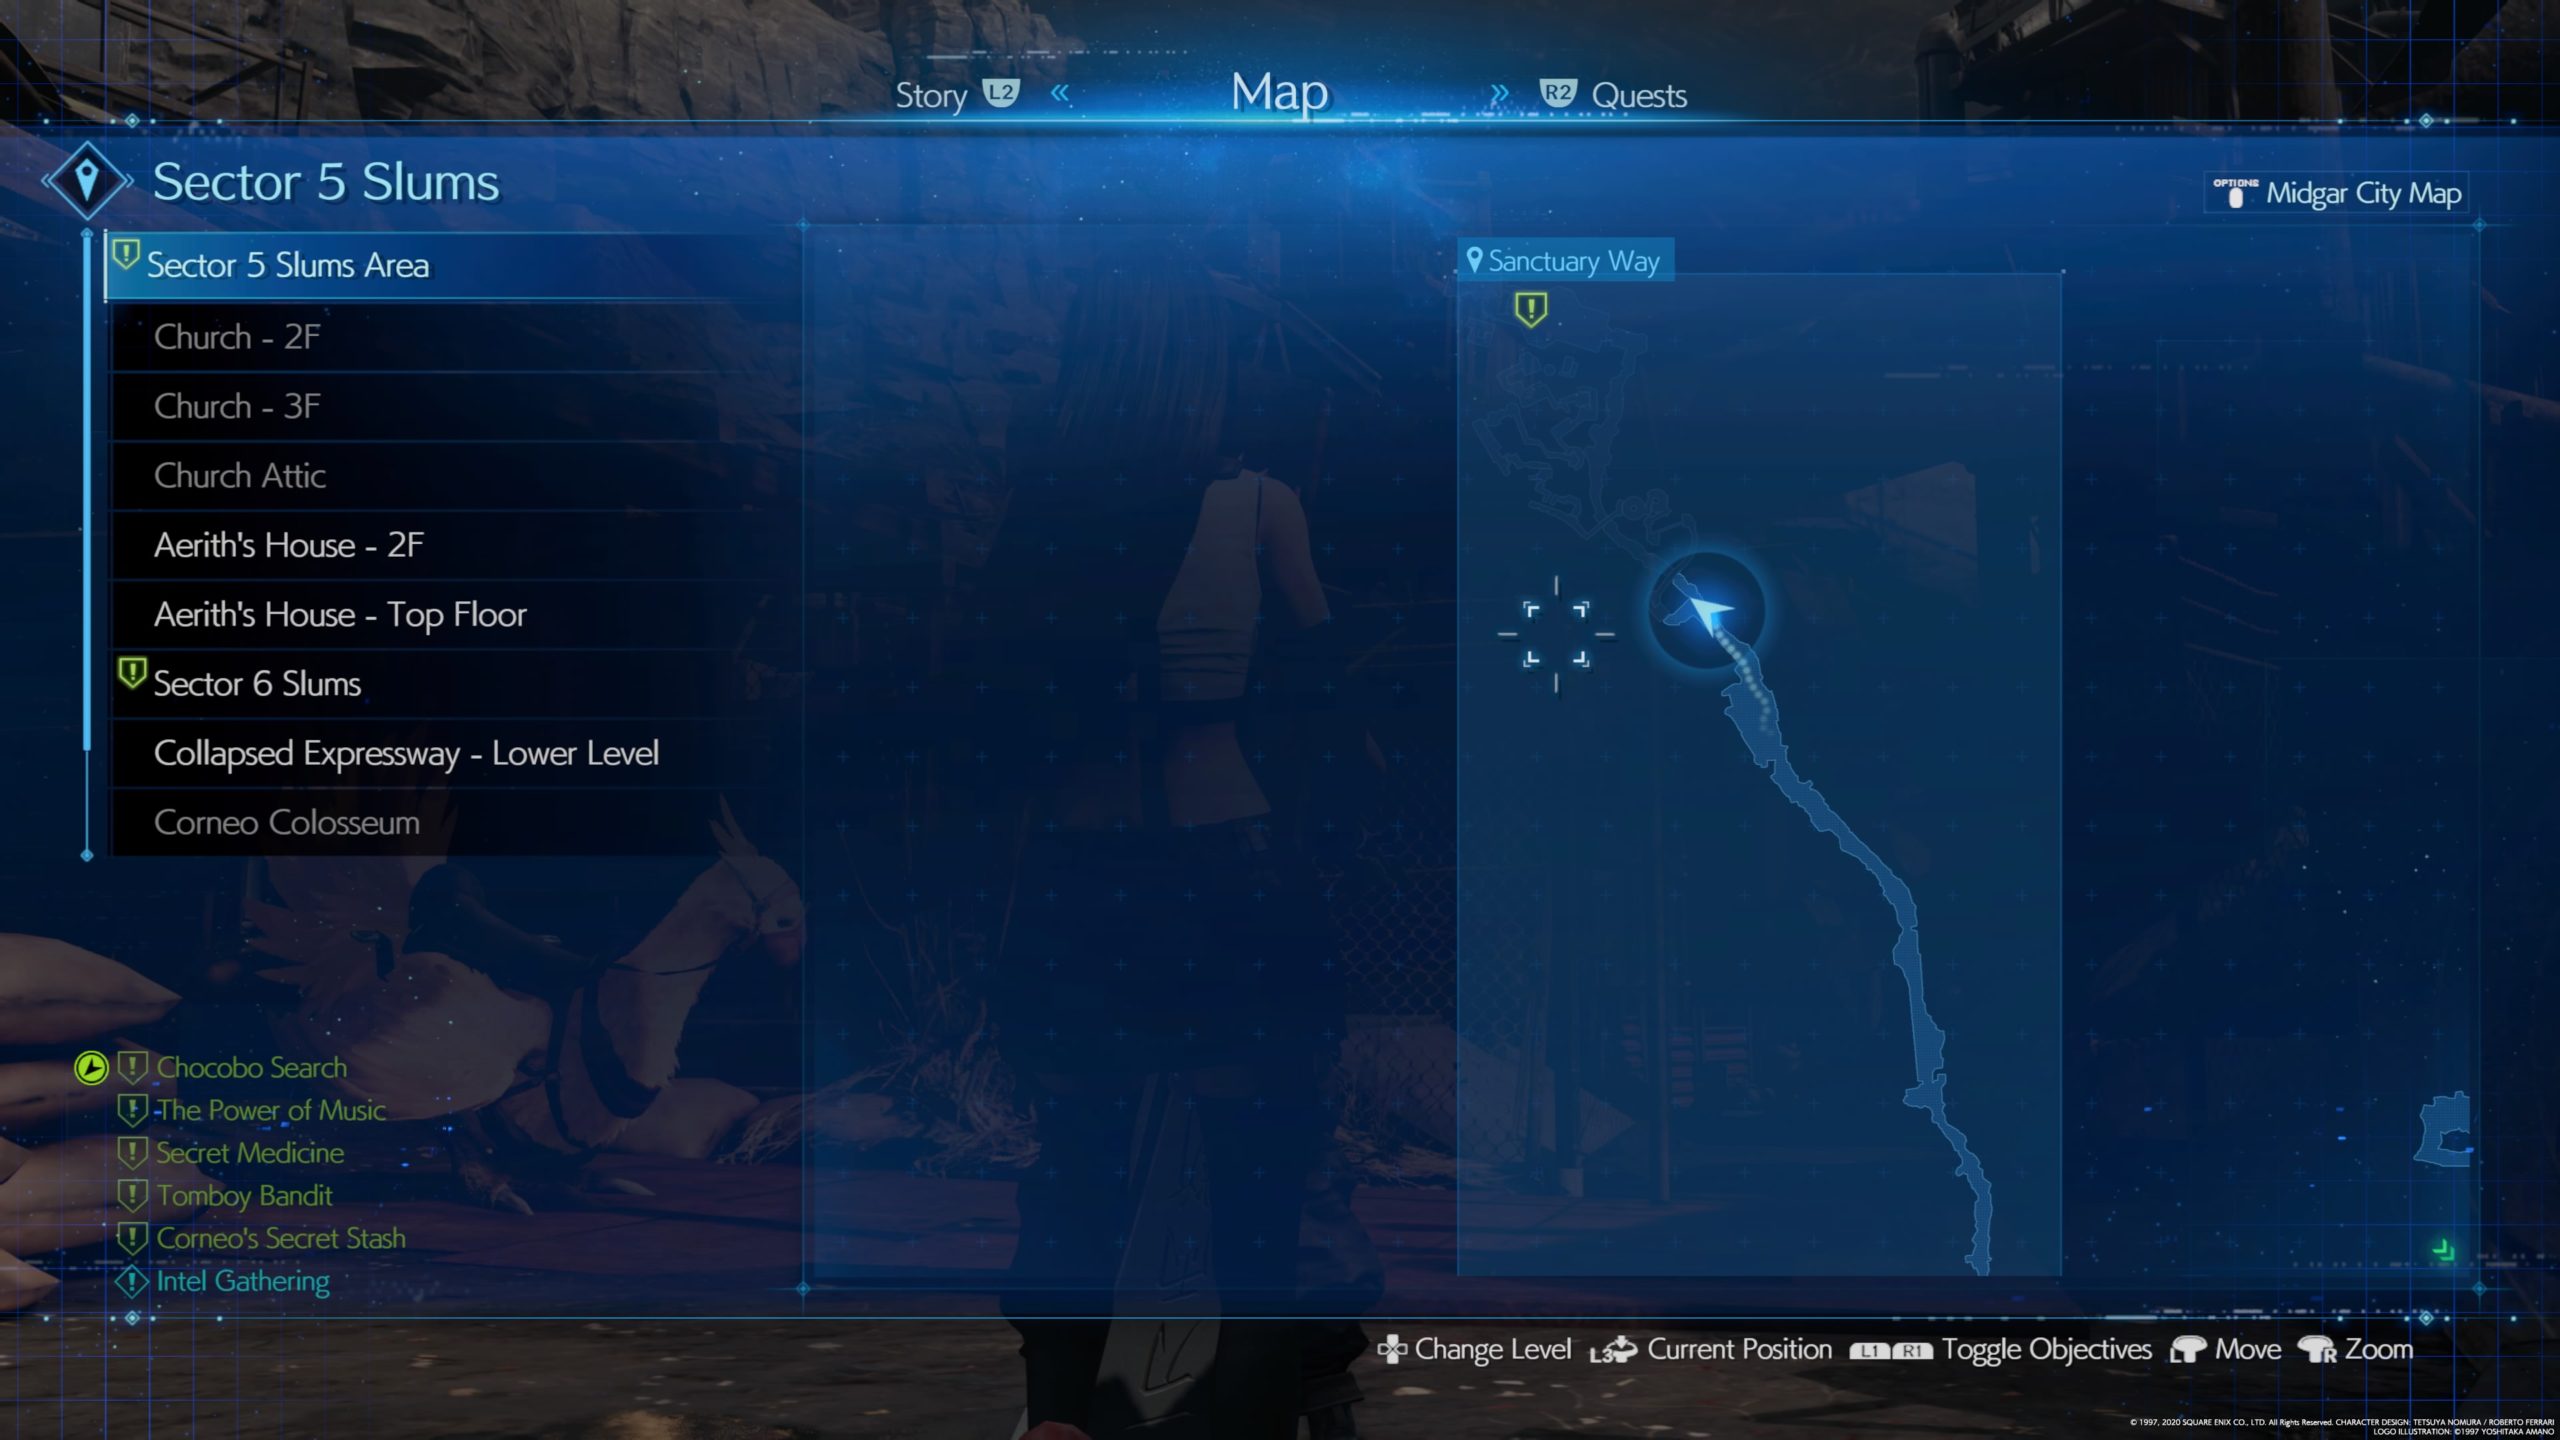
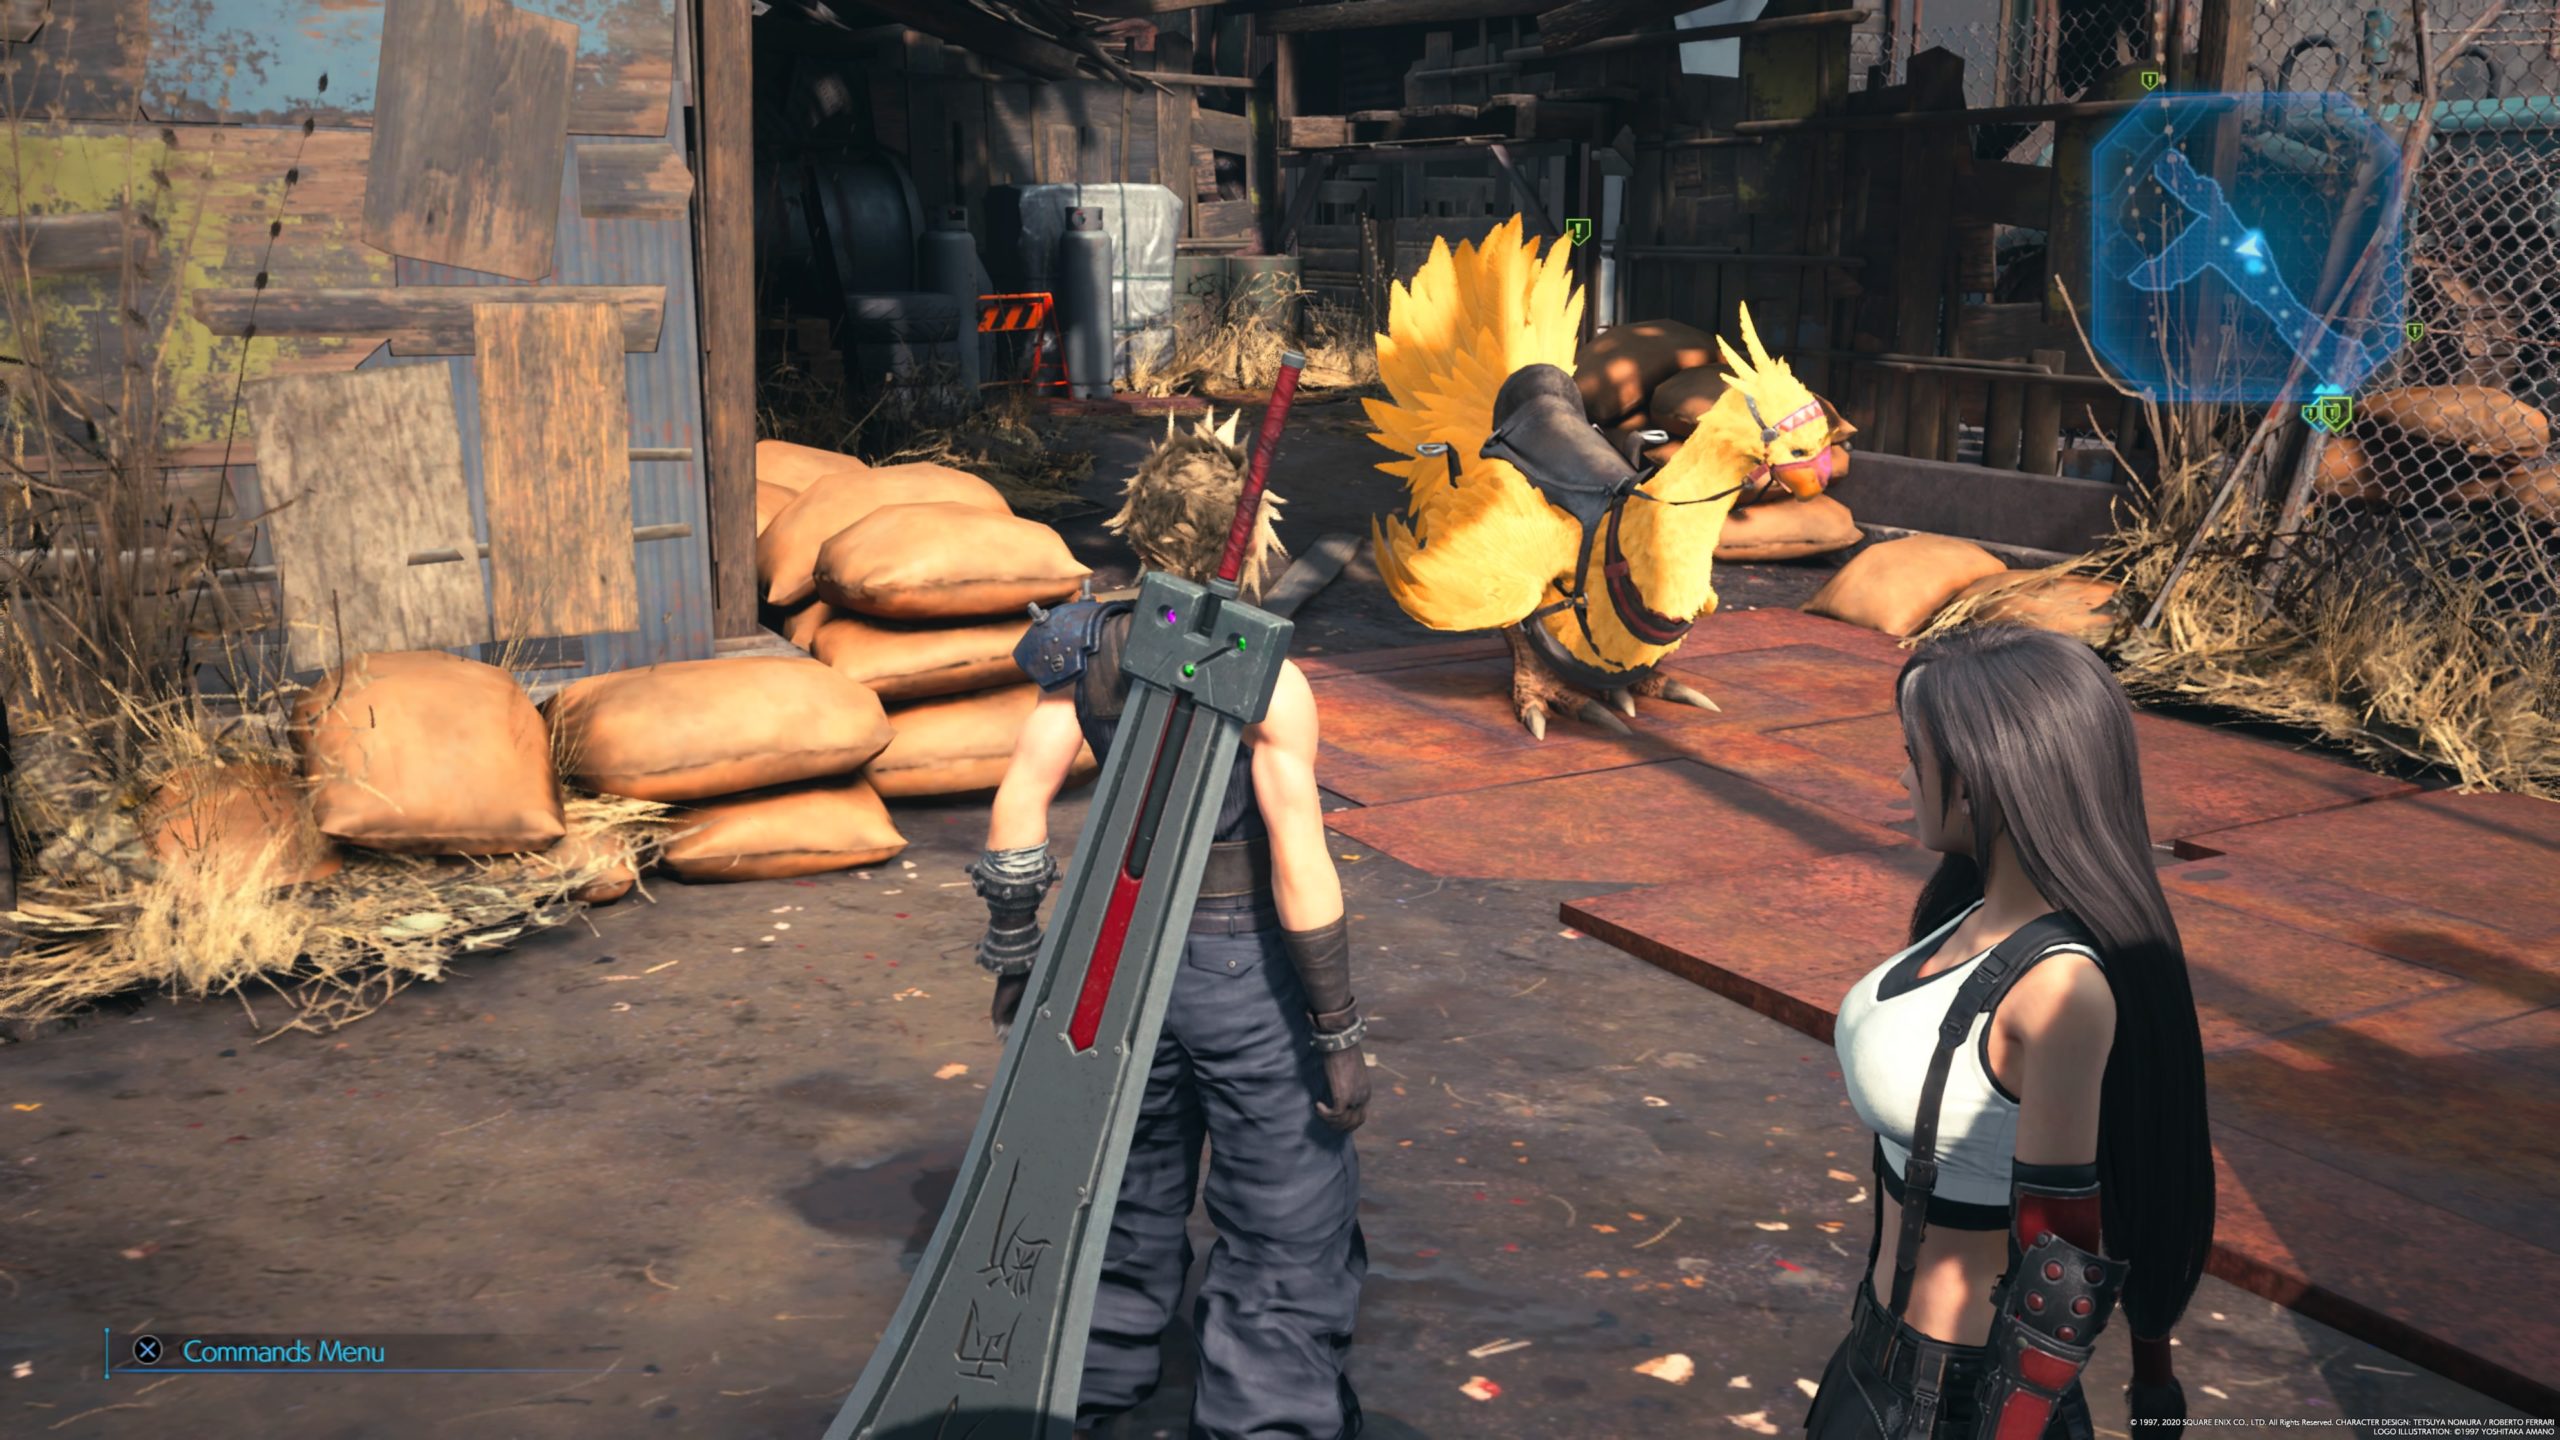
Chocobo Search
Obtained: Speak with the Stablehand in Center District of the Sector 5 Slums near the path leading to Wall Market
Objective: Find the 3 Chocobos
If you head to Wall Market, you can speak to Sam at his Delivery Station to find out that the Chocobos were spotted in Sector 5 Back Alleys, Collapsed Expressway and Old Church.
1. Chocobo
One Chocobo is located in the Collapsed Expressway – Old Bypass. To reach this Chocobo, enter the expressway from Evergreen Park in the Sector 6 Slums and work your way through the expressway until you come across the Chocobo. Defeat the group of enemies that spawn then interact with the Chocobo.
2. Chocobo
Another Chocobo is located along Nuts ‘n’ Bolts Hills north of the Center District in the Sector 5 Slums. Interact with it then defeat the Rust Drake that spawns. After you defeat the drake, interact with the Chocobo again.
3. Chocobo
The last Chocobo is located on Sanctuary Way in the Sector 5 Slums, which is northwest of Undercity Station. Interact with the Chocobo.
After you find all the Chocobos, return to Sam at his Delivery Station in Wall Market and speak with him to complete the quest.
Malicious Goons
Obtained: Speak with Madam M by her massage parlor in Wall Market
Objective: Stop the goons
Travel to the battle arena near Aerith’s house in the Sector 5 Slums to stop the goons! Defeat the Tonberry to make the Hoodlums submit, thus completing the quest.
Wavering Heart
Obtained: Speak with Andrea in the Wall Market Gym
Objective: Defeat Andrea in a pull-up contest!
Interact with Andrea to begin the challenge. Defeat him to complete the quest! *NOTE: In order to obtain the Peeress of Pull-Ups trophy, you will need to beat Andrea, Ronnie, Jay and Jules in the pull-up challenges.
The Power of Music
Obtained: Speak with Betty in Wall Market near the Jukebox behind the Family Hotel
Objective: Give her 3 music discs
Betty only accepts certain music discs. After you obtain each of the below discs (click the link on the discs to find the exact locations), interact with the Jukebox then select the following music discs:
After you play all the music discs, a cutscene will trigger and the quest will complete.
Secret Medicine
Obtained: Speak with the Doctor in the Center District of Sector 5 Slums
Objective: Obtain items on the Doctor’s list
Behemoth Horn – Complete the Subterranean Menace side quest
Moogle’s Mortar – Purchase from Moggie for 1 Moogle Medal in the Sector 5 Slums Children’s Secret Hideout
Medicinal Flowers – Located in the church north of Sanctuary Way in the Sector 5 Slums
Once you collect all the items, return to the Doctor in the Center District of Sector 5 Slums and speak with him to complete the quest.
Tomboy Bandit
Obtained: Speak with Johnny at the Undercity Station in the Sector 5 Slums
Objective: Retrieve Johnny’s wallet
*NOTE: This quest will be done concurrently with the Corneo’s Secret Stash side quest.
Travel to the church north of Sanctuary Way in the Sector 5 Slums to find Kyrie. Speak with her then head to the Colosseum in Wall Market. Speak with the Gatekeeper to begin the special match then defeat the two enemies. Once you defeat the enemies, return to Kyrie and speak with her to obtain Johnny’s wallet and complete the quest. For the trophy, head back to Johnny at the Undercity Station in the Sector 5 Slums and speak with him to hand over his wallet.
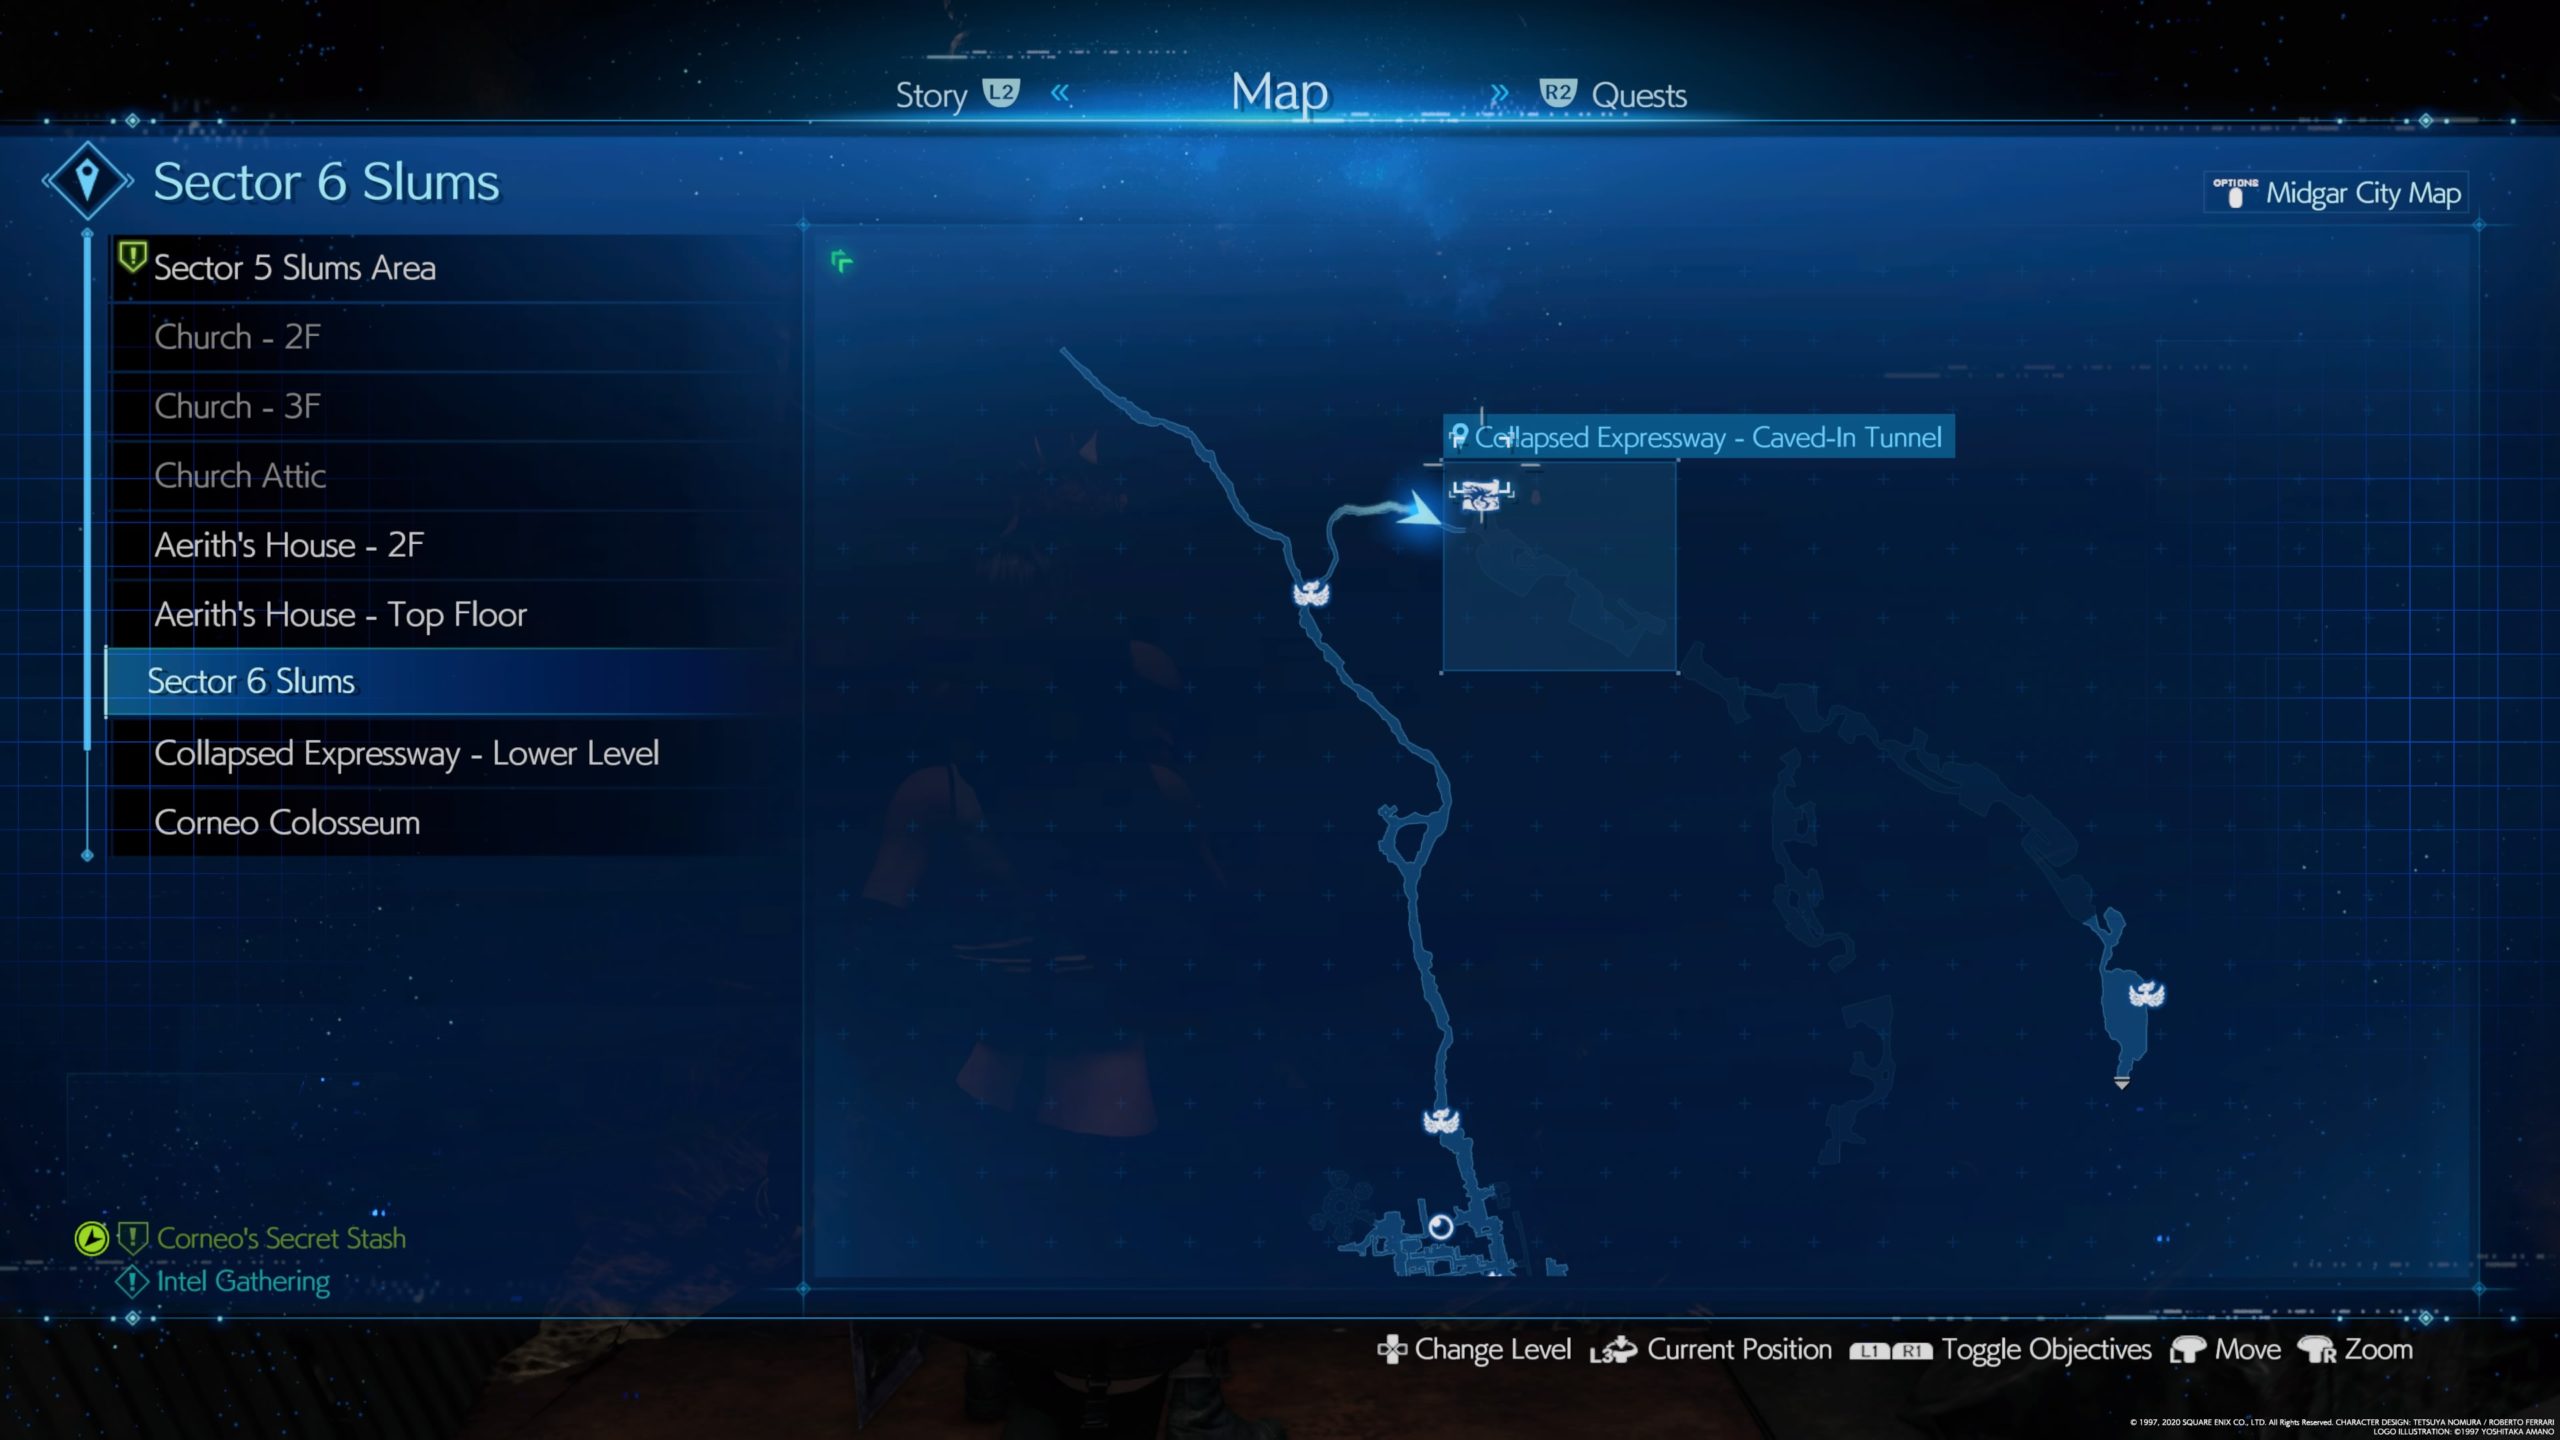
Corneo’s Secret Stash
Obtained: Speak with Damon in Sector 5 Slums
Objective: Reveal the identity of the Guardian Angel
*NOTE: This quest will be done concurrently with the Tomboy Bandit side quest.
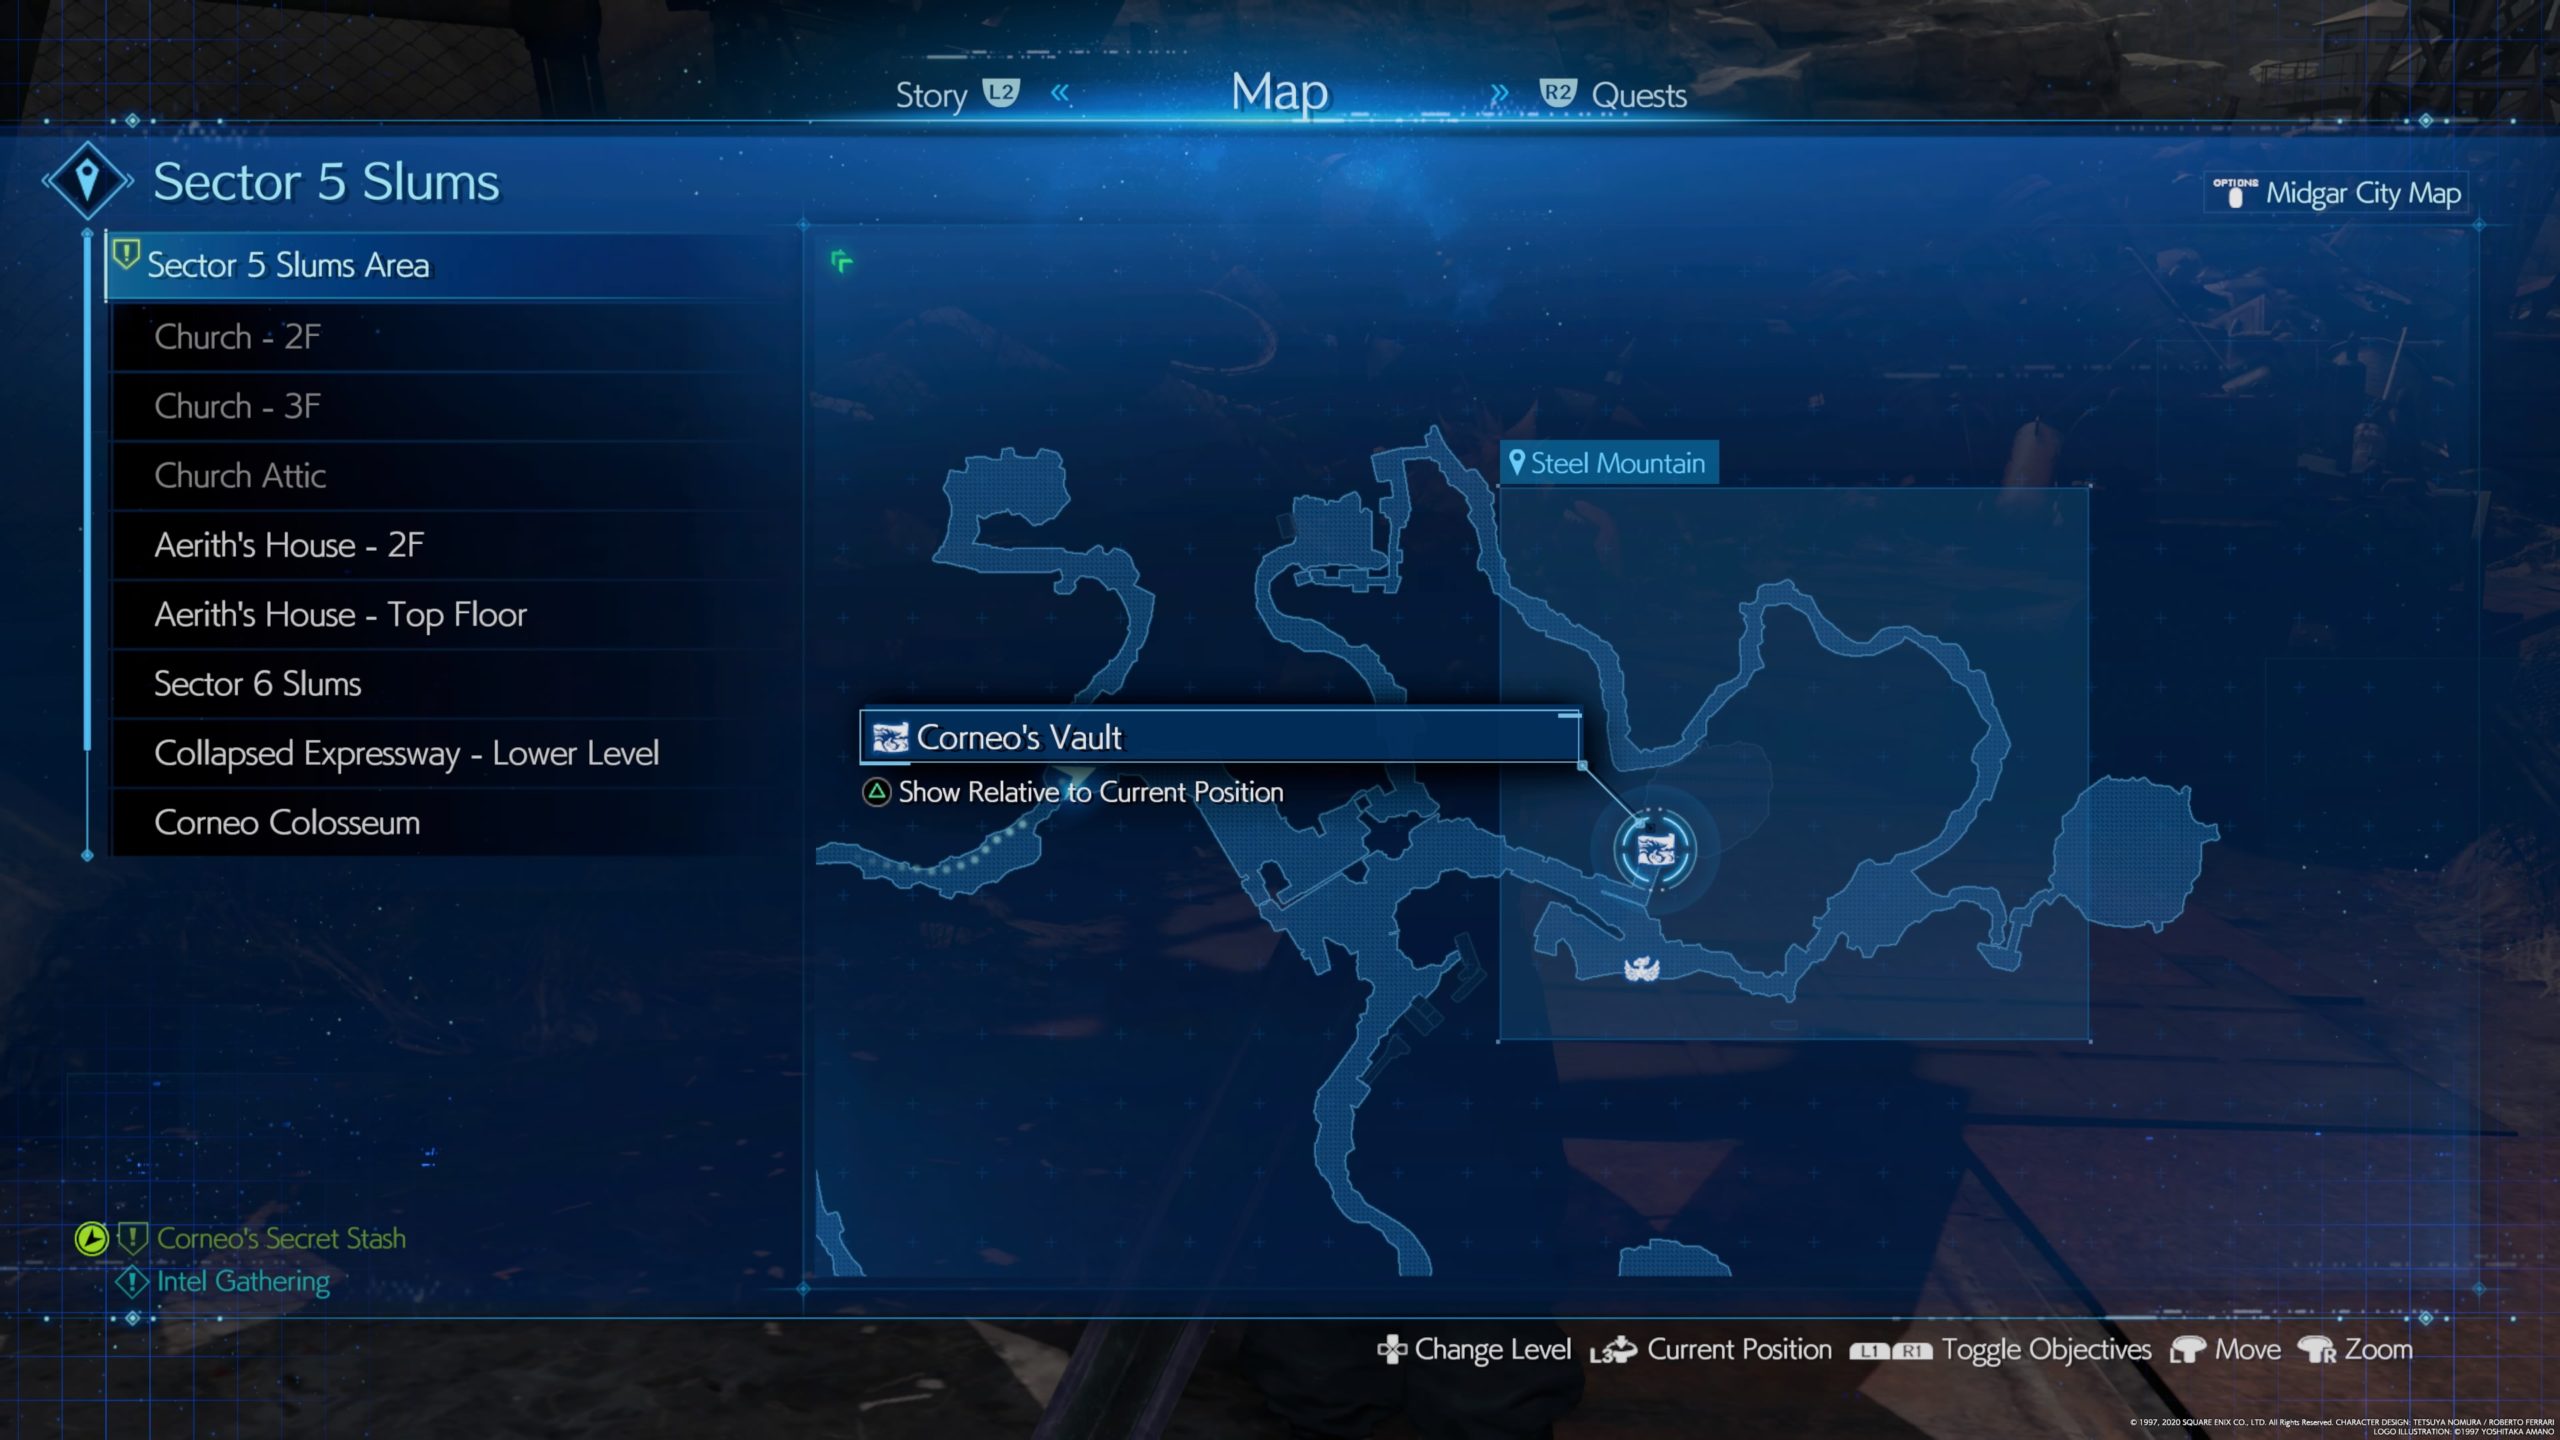
Travel to Lookout Point in the Sector 5 Slums and loot the Corneo’s Vault Note on the blue tarp behind Mireille then speak with her. Head to the church north of Sanctuary Way in the Sector 5 Slums to find Kyrie. Speak with her then head to the Colosseum in Wall Market. Speak with the Gatekeeper to begin the special match then defeat the two enemies. Once you defeat the enemies, return to Kyrie and speak with her again to obtain the key. Once you obtain the key, speak with Mireille to obtain clues on the locations of the secret doors in the Collapsed Expressway, near Angel’s Hideout and in the Sewers.
1. Treasure Trove
For the first bunch of treasure, make your way to the Collapsed Expressway Caved-In Tunnel in the Sector 6 Slums near the northern Sam’s Delivery Station and look for the fancy gate. Open it to loot the treasure!
2. Treasure Trove
For the second bunch of treasure, head directly north of the Sam’s Delivery Station in Steel Mountain, which is in the Sector 6 Slums, and look for the fancy gate. Open it to loot the treasure!
3. Treasure Trove
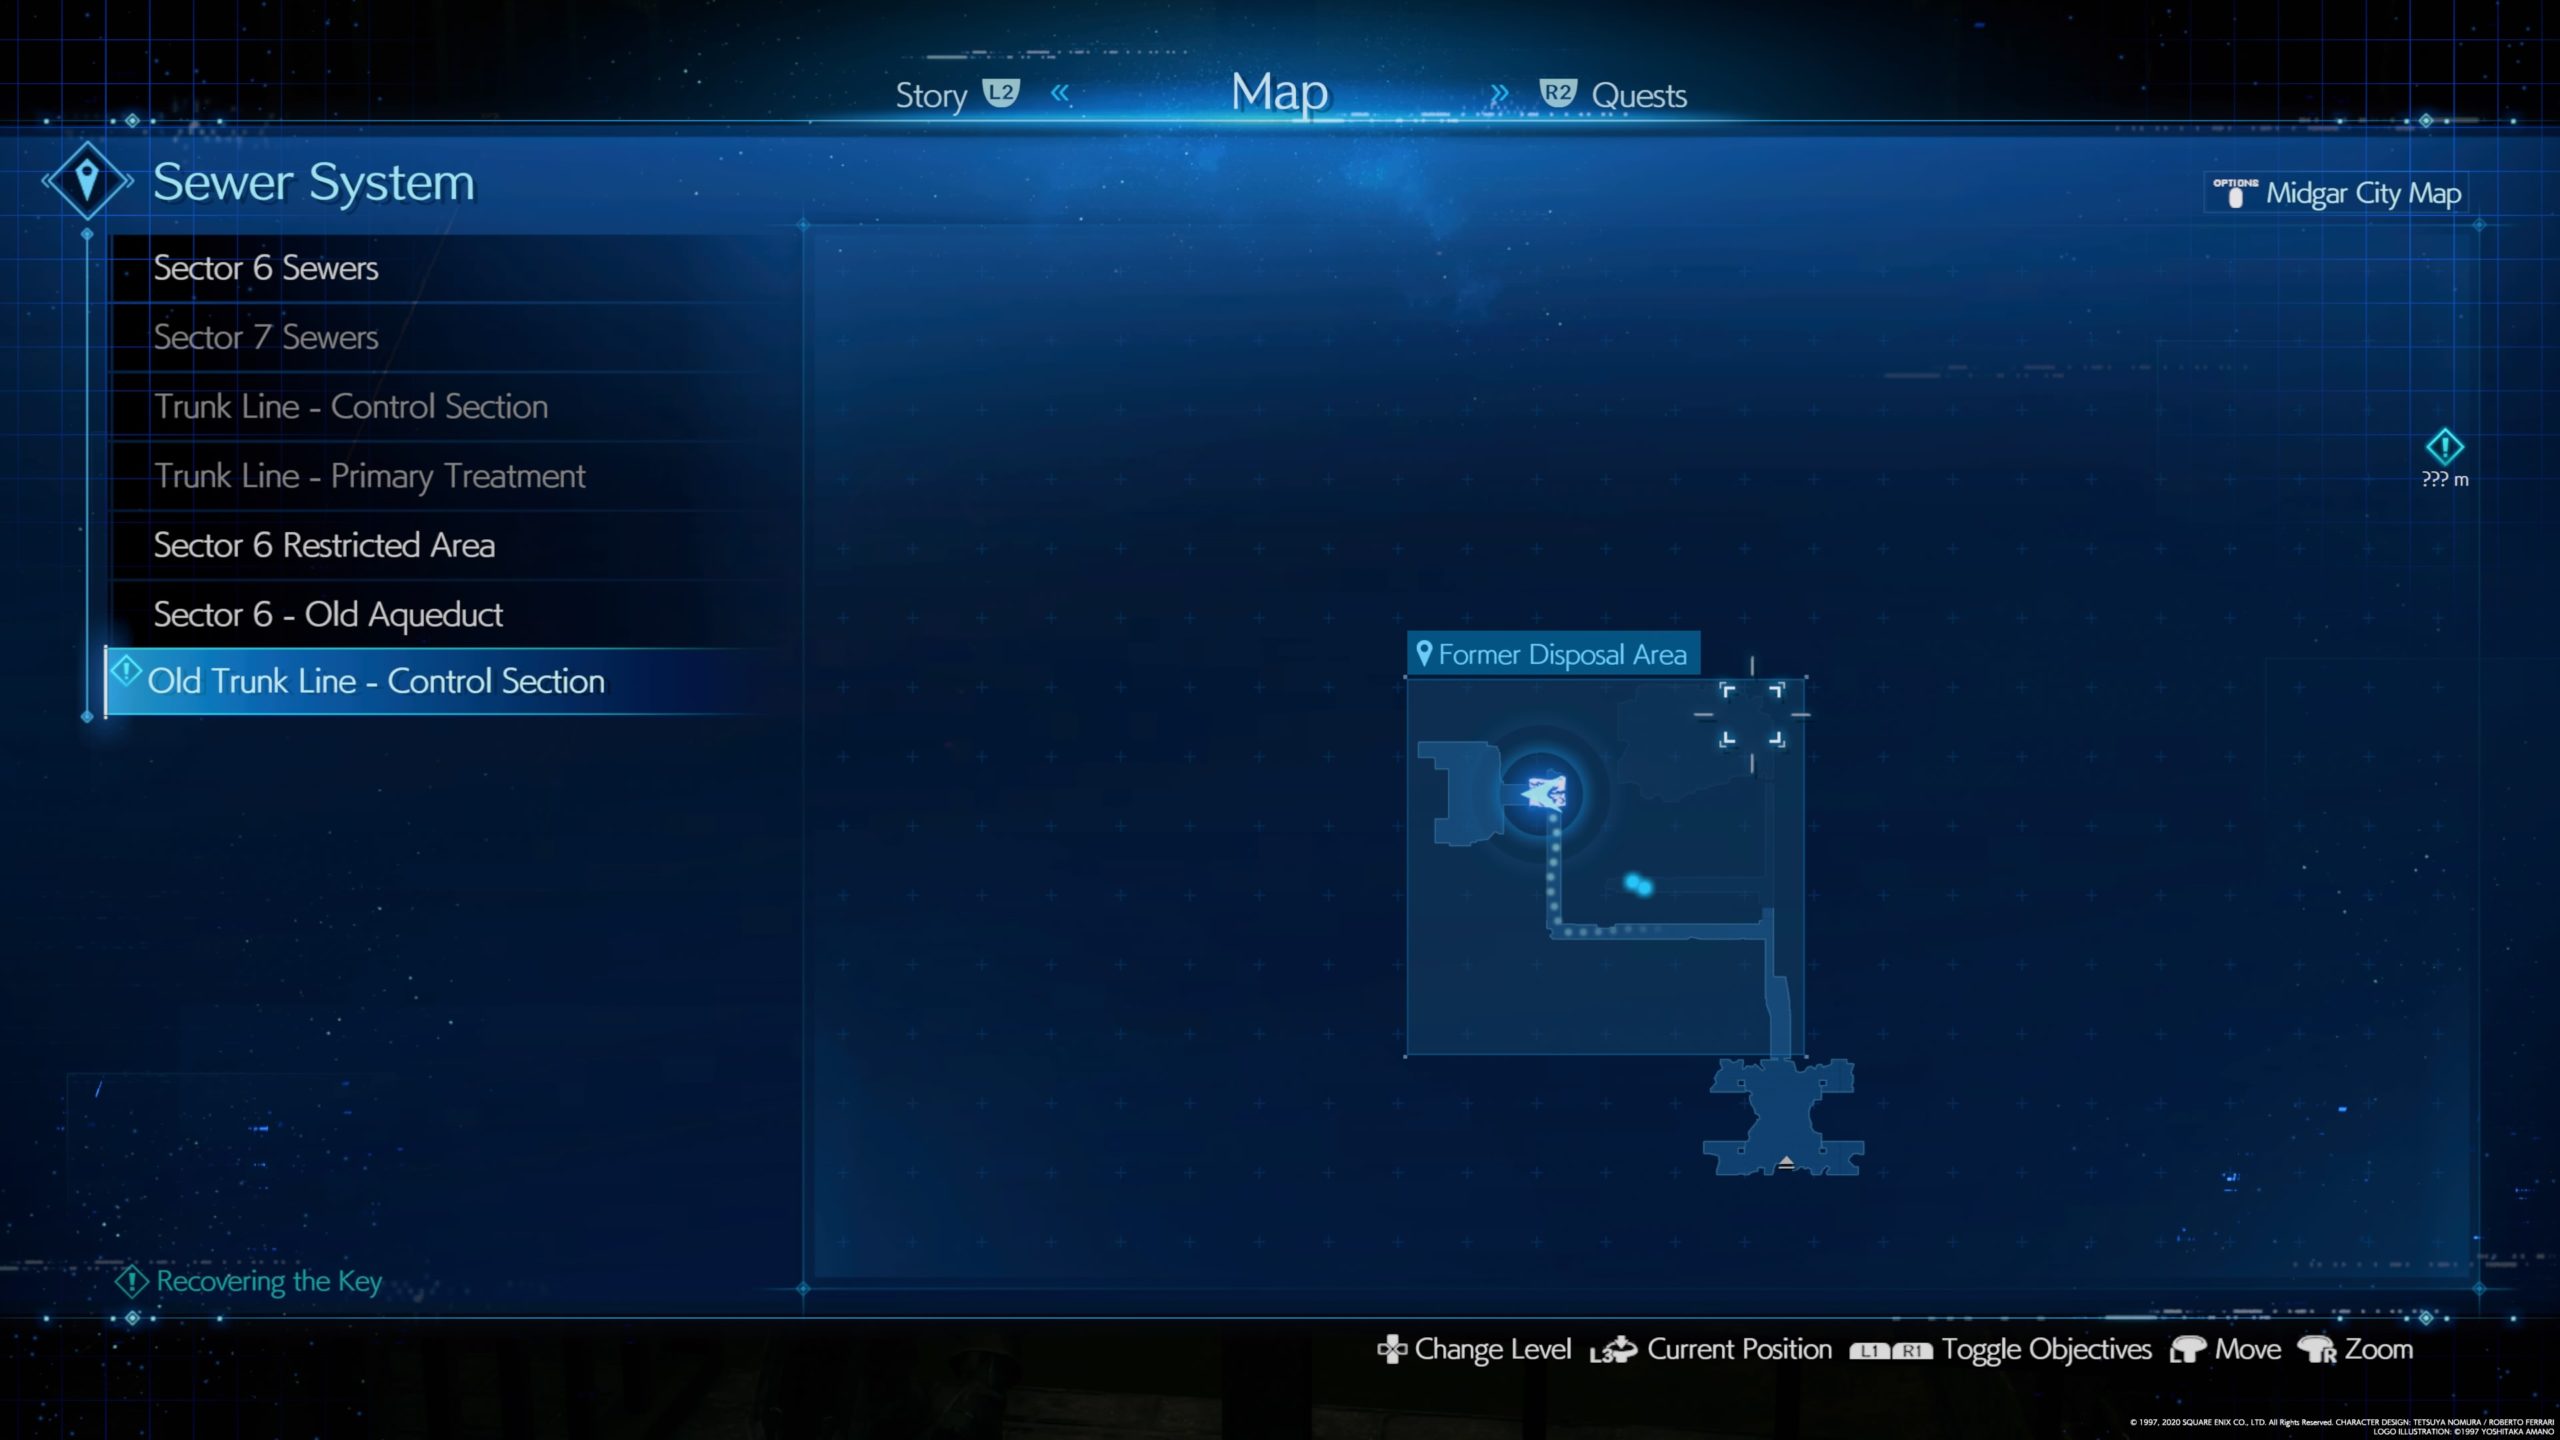
For the last bunch of treasure, you will gain access to the Sewers after meeting up with Leslie again. Once inside the Sewers, make your way to Former Disposal Area in the Old Trunk Line – Control Section of the Sewer System. The way beyond the fancy gate will be flooded so you’ll have to first drain the water before you can loot the treasure. In a room just past the Abzu’s lair (deeper in the Sewers), there will be a lever that you can use to drain the water. Head back to the treasure trove and grab all of the items.
After looting all the treasure troves, talk to Marle who is in the Evergreen Park in the Sector 6 Slums.
Subterranean Menace
Obtained: Speak with Wymer in Evergreen Park in the Sector 6 Slums
Objective: Defeat the monsters in Shinra’s Underground Test Site
From Evergreen Park in the Sector 6 Slums, head to the Power Substation by using the entrance next to Wymer. Follow the tunnel to the end to reach the Underground Test Site where you’ll hear a faint roar in the distance. Make your way through the test site until you reach the Type-B Specimens – Isolation Zone on Underground Lab B5 where the Type-0 Behemoth awaits. Defeat the monster then return to Wymer and speak with him to complete the quest.
This site uses cookies. By continuing to use this website, you are giving consent to cookies being used. For more information on cookies, view our Privacy Policy.OkPrivacy Policy