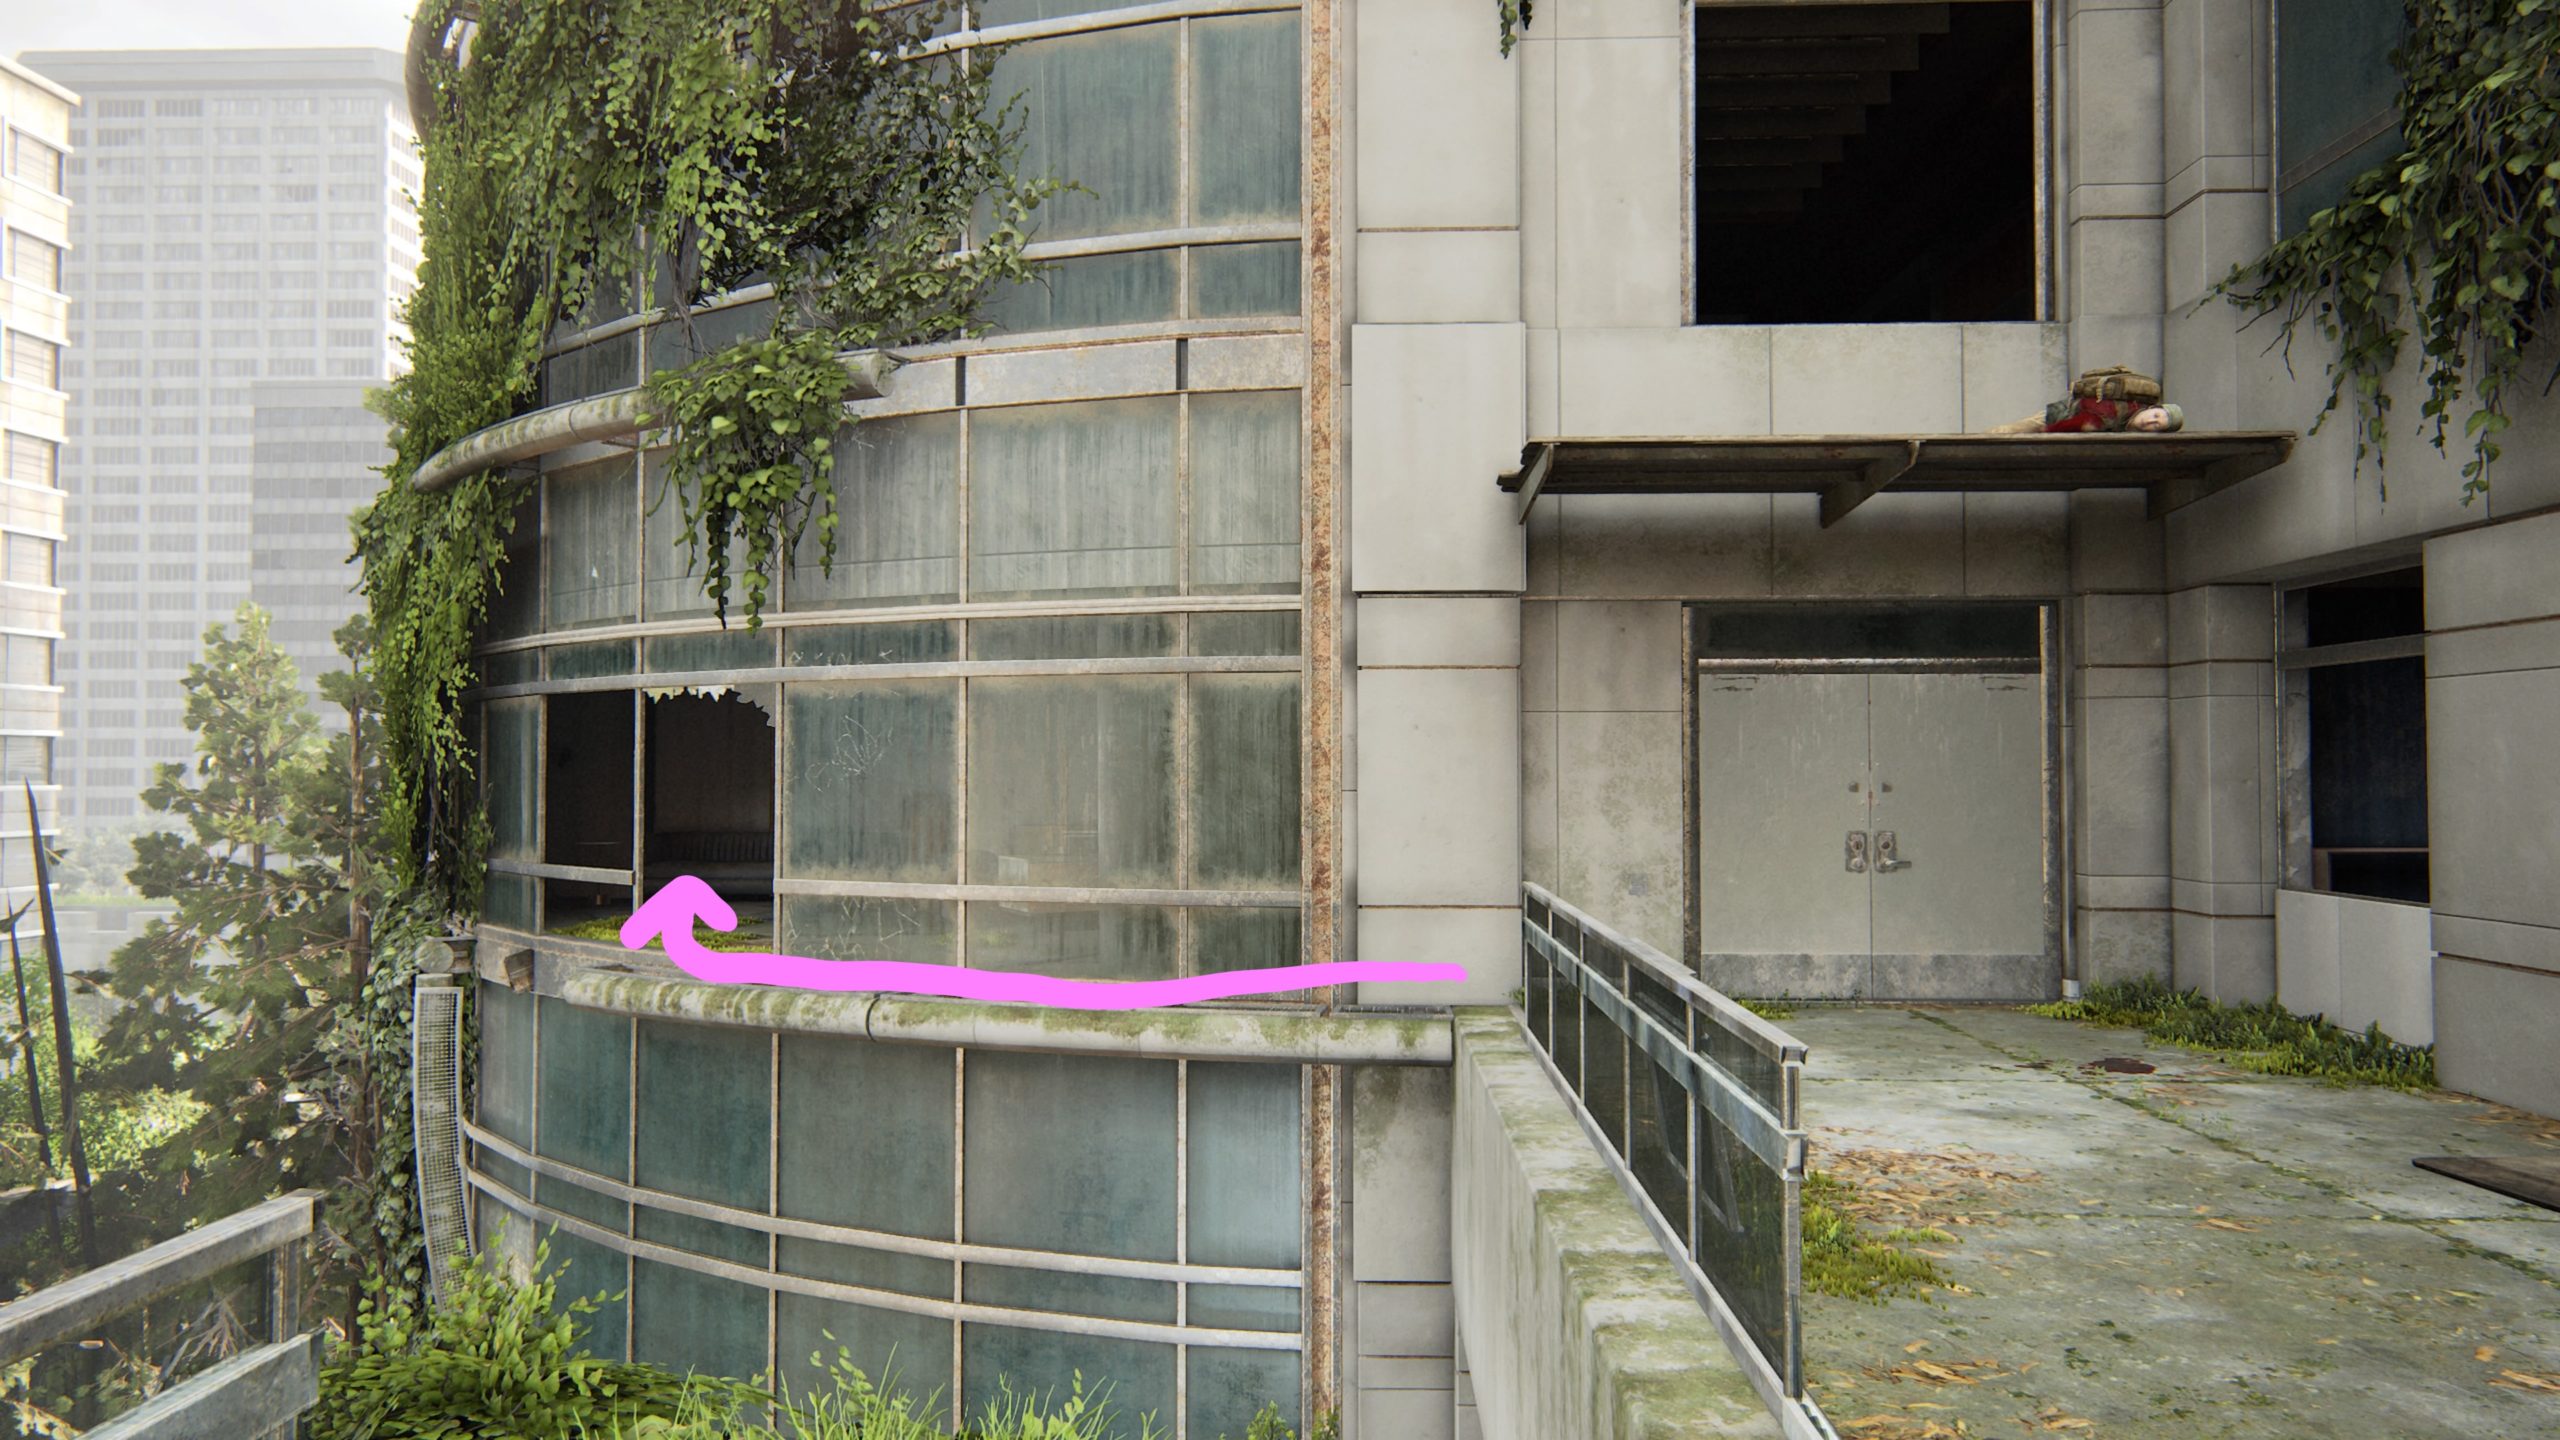
Below is a guide on the 1 artifact and 1 trading card that can be found during the Channel 13 chapter in The Last of Us Part II.
Trading Card – Kimimela
After scooting along a narrow ledge and climbing in through a window, you’ll arrive in an office. This card can be found on a desk in an office on the other side of the floor.
Artifact – Dad’s Pep Talk
This artifact can be found on a couch just before the room you find Leah in.
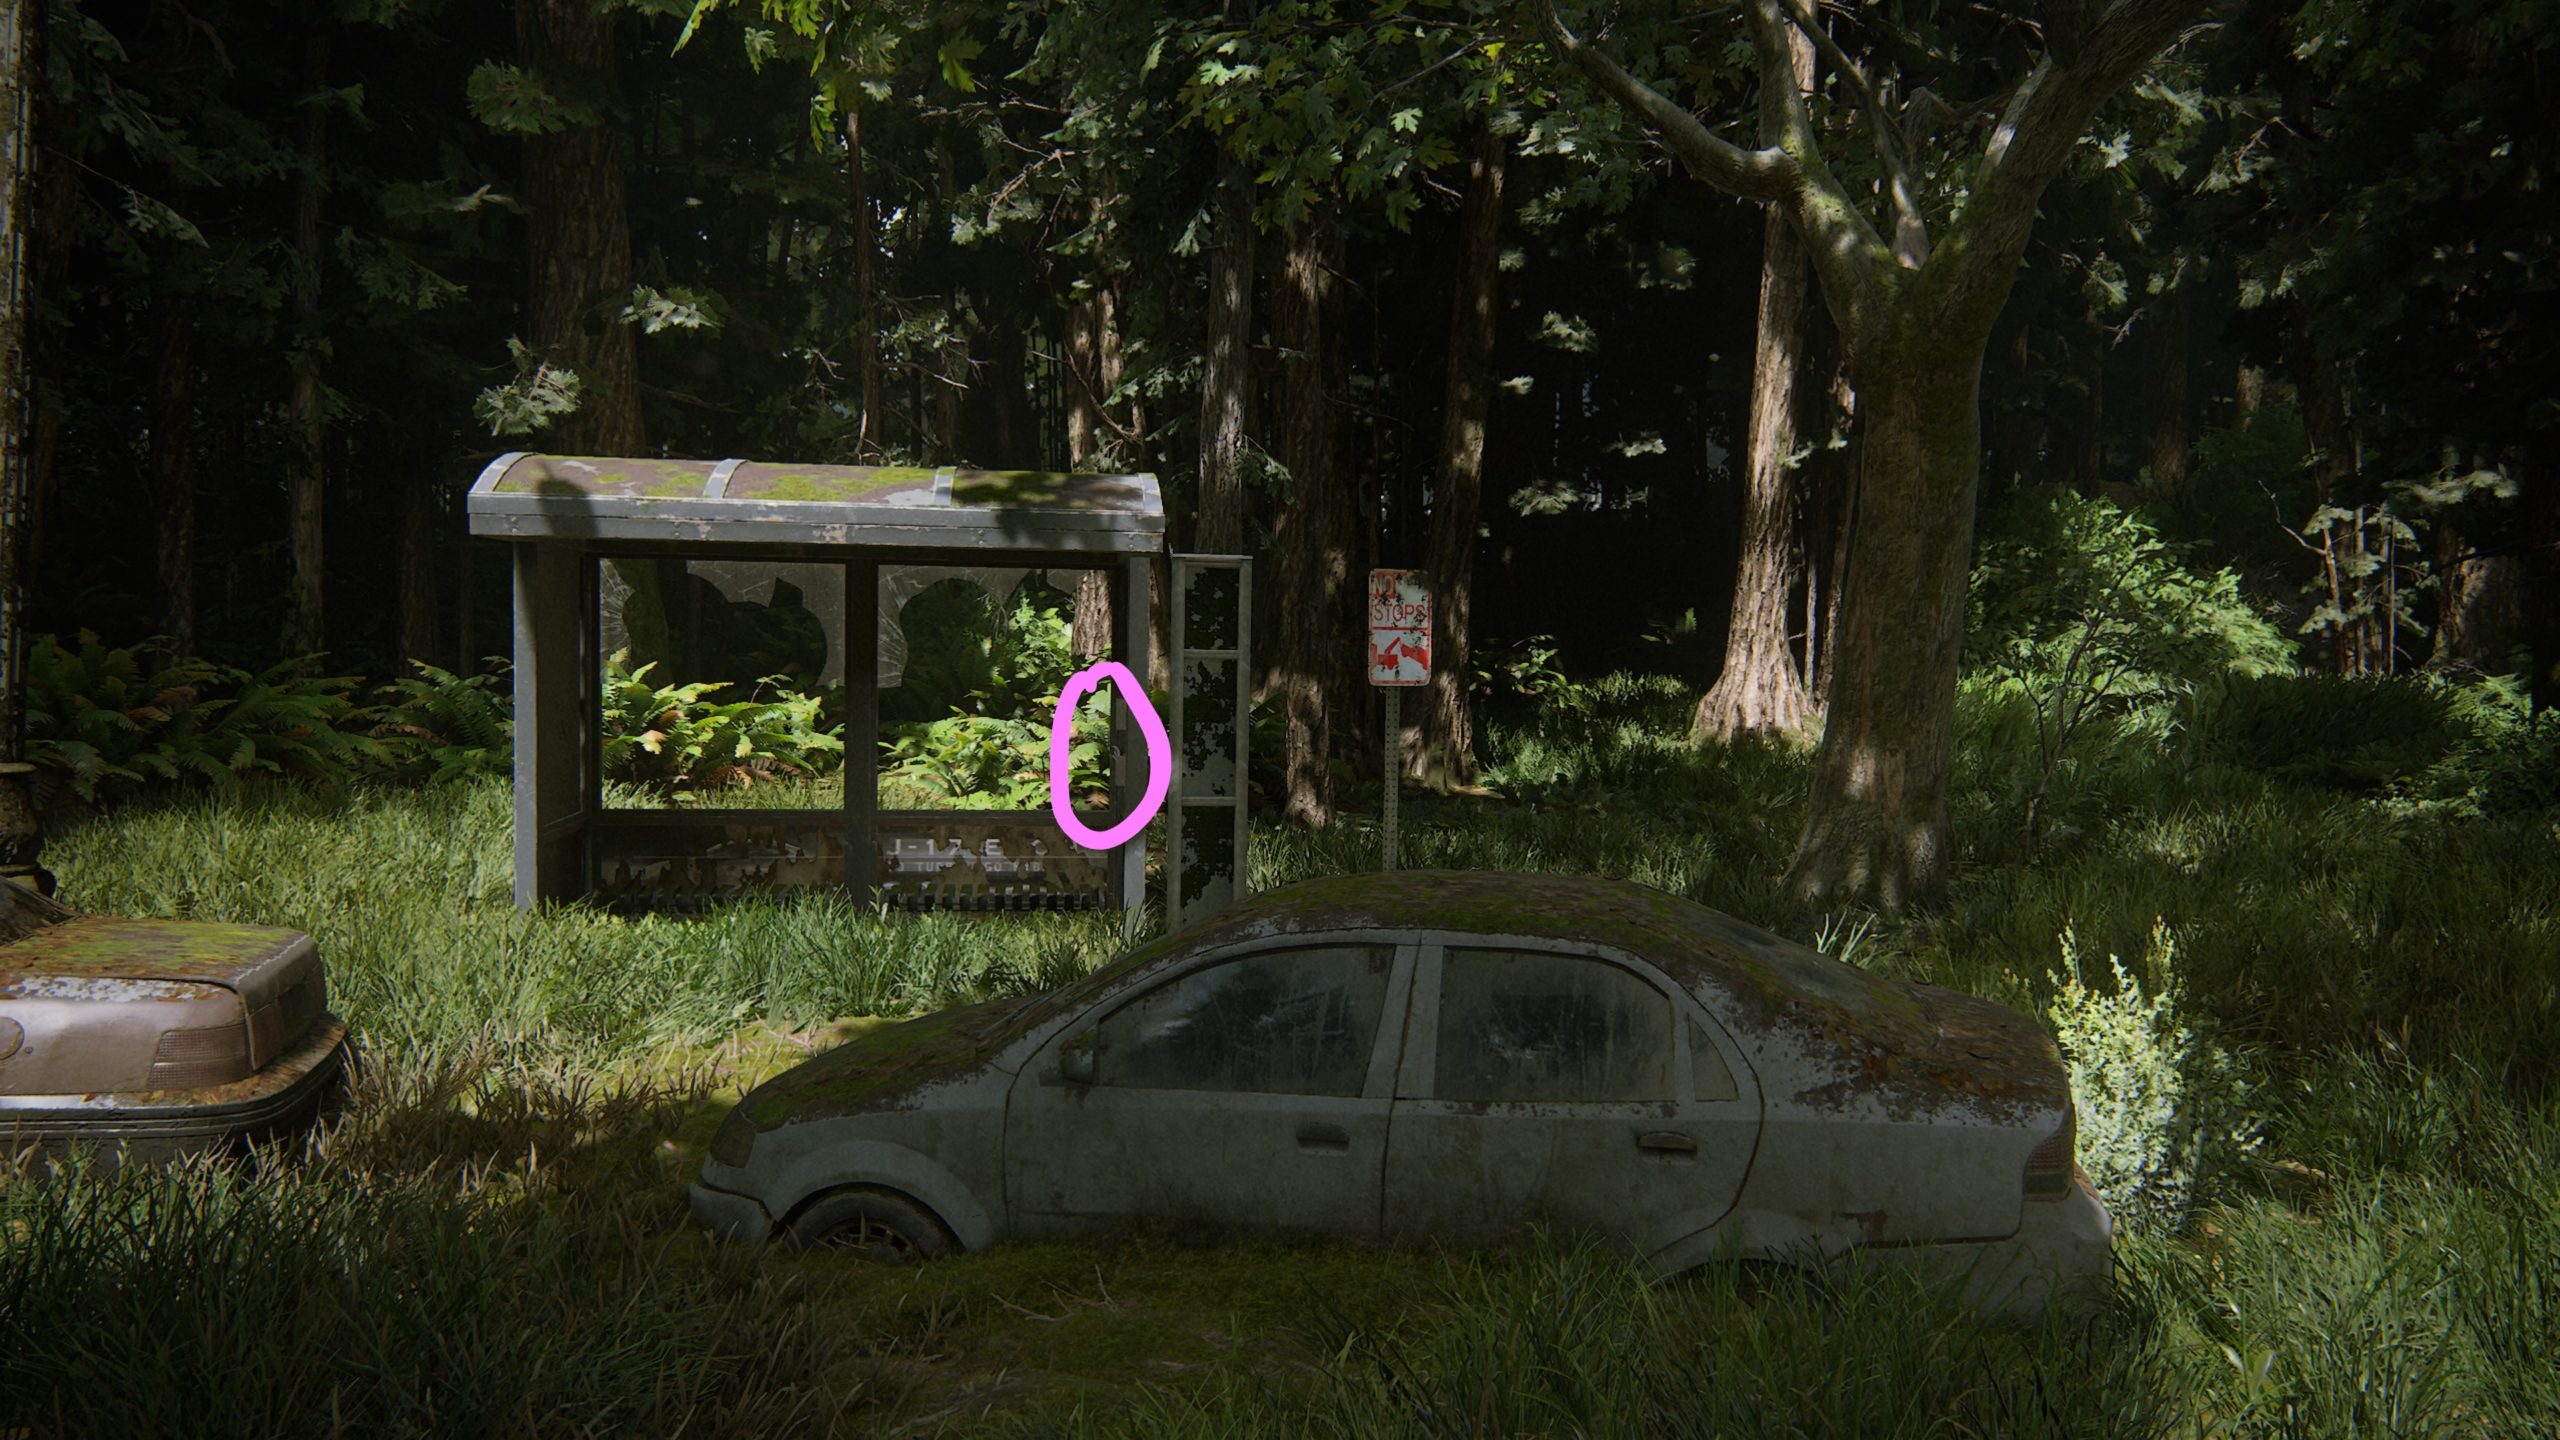
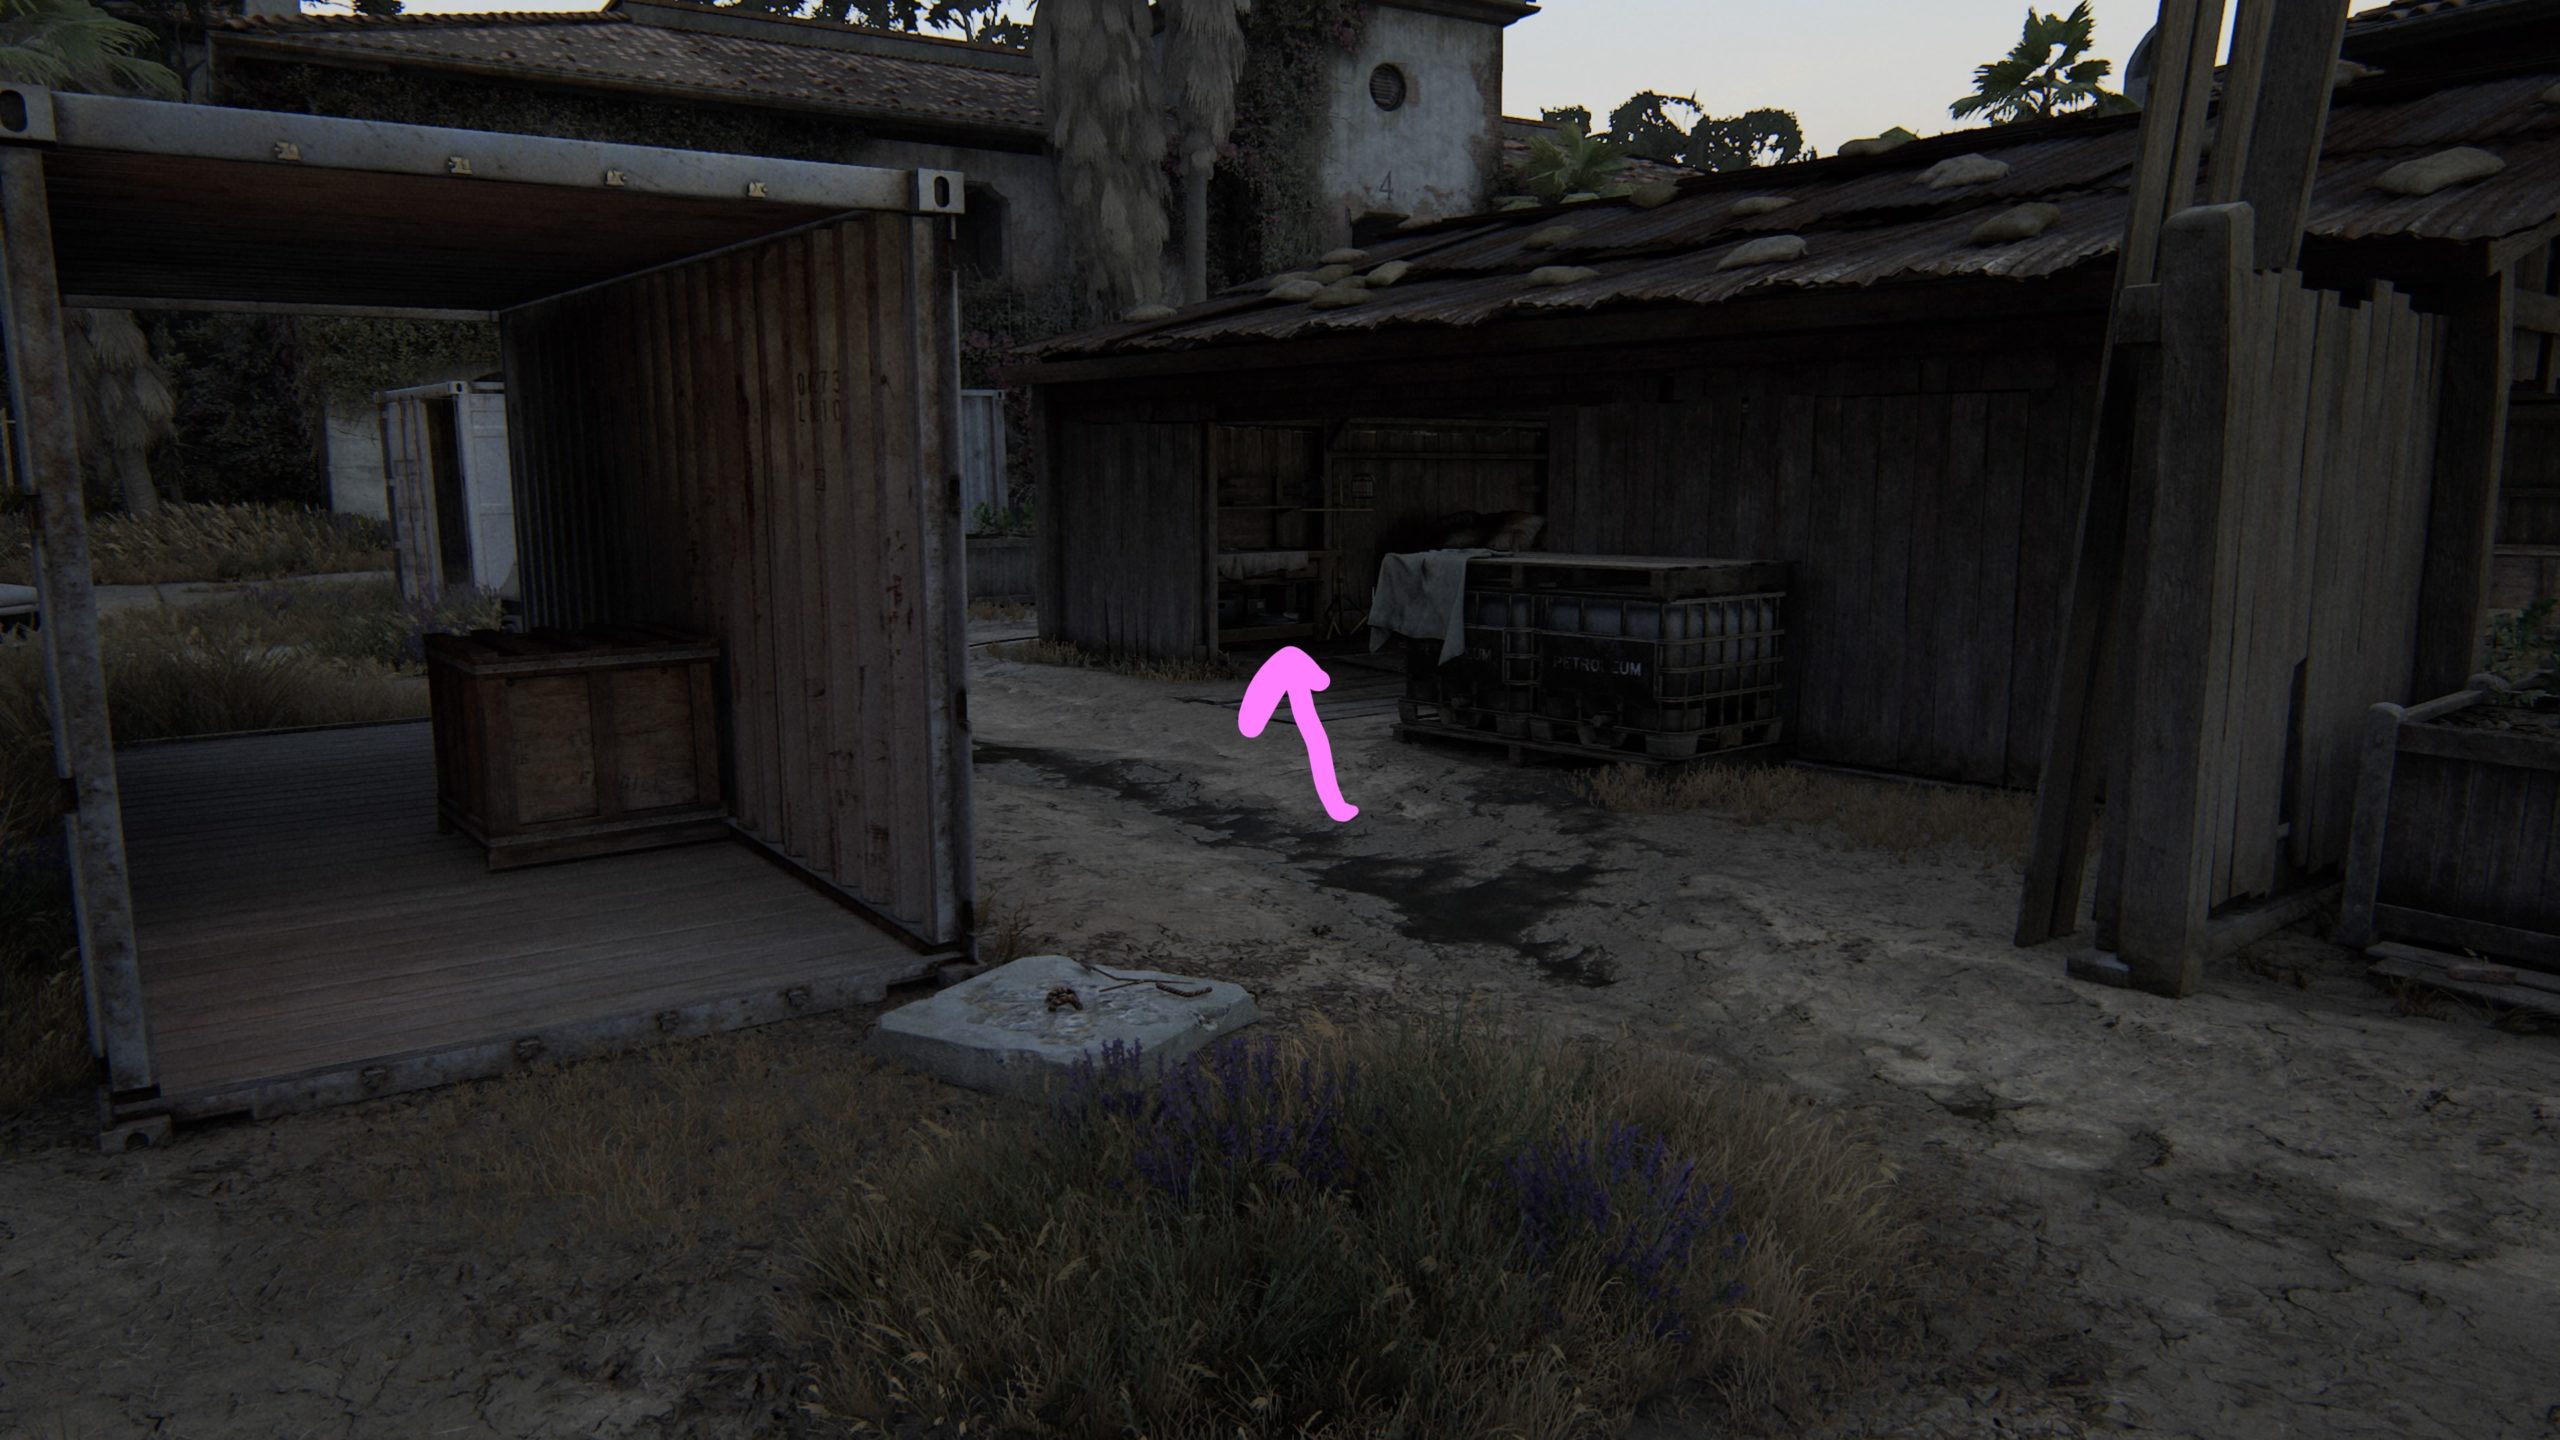
Below is a guide on the 6 artifacts, 1 journal entry and 4 trading cards that can be found during The Gate chapter in The Last of Us Part II.
Trading Card – Motivator
The card can be found in a bus stop in a pamphlet container on the inner wall. This will be shortly after starting the level when you reach a section with cars in the forest.
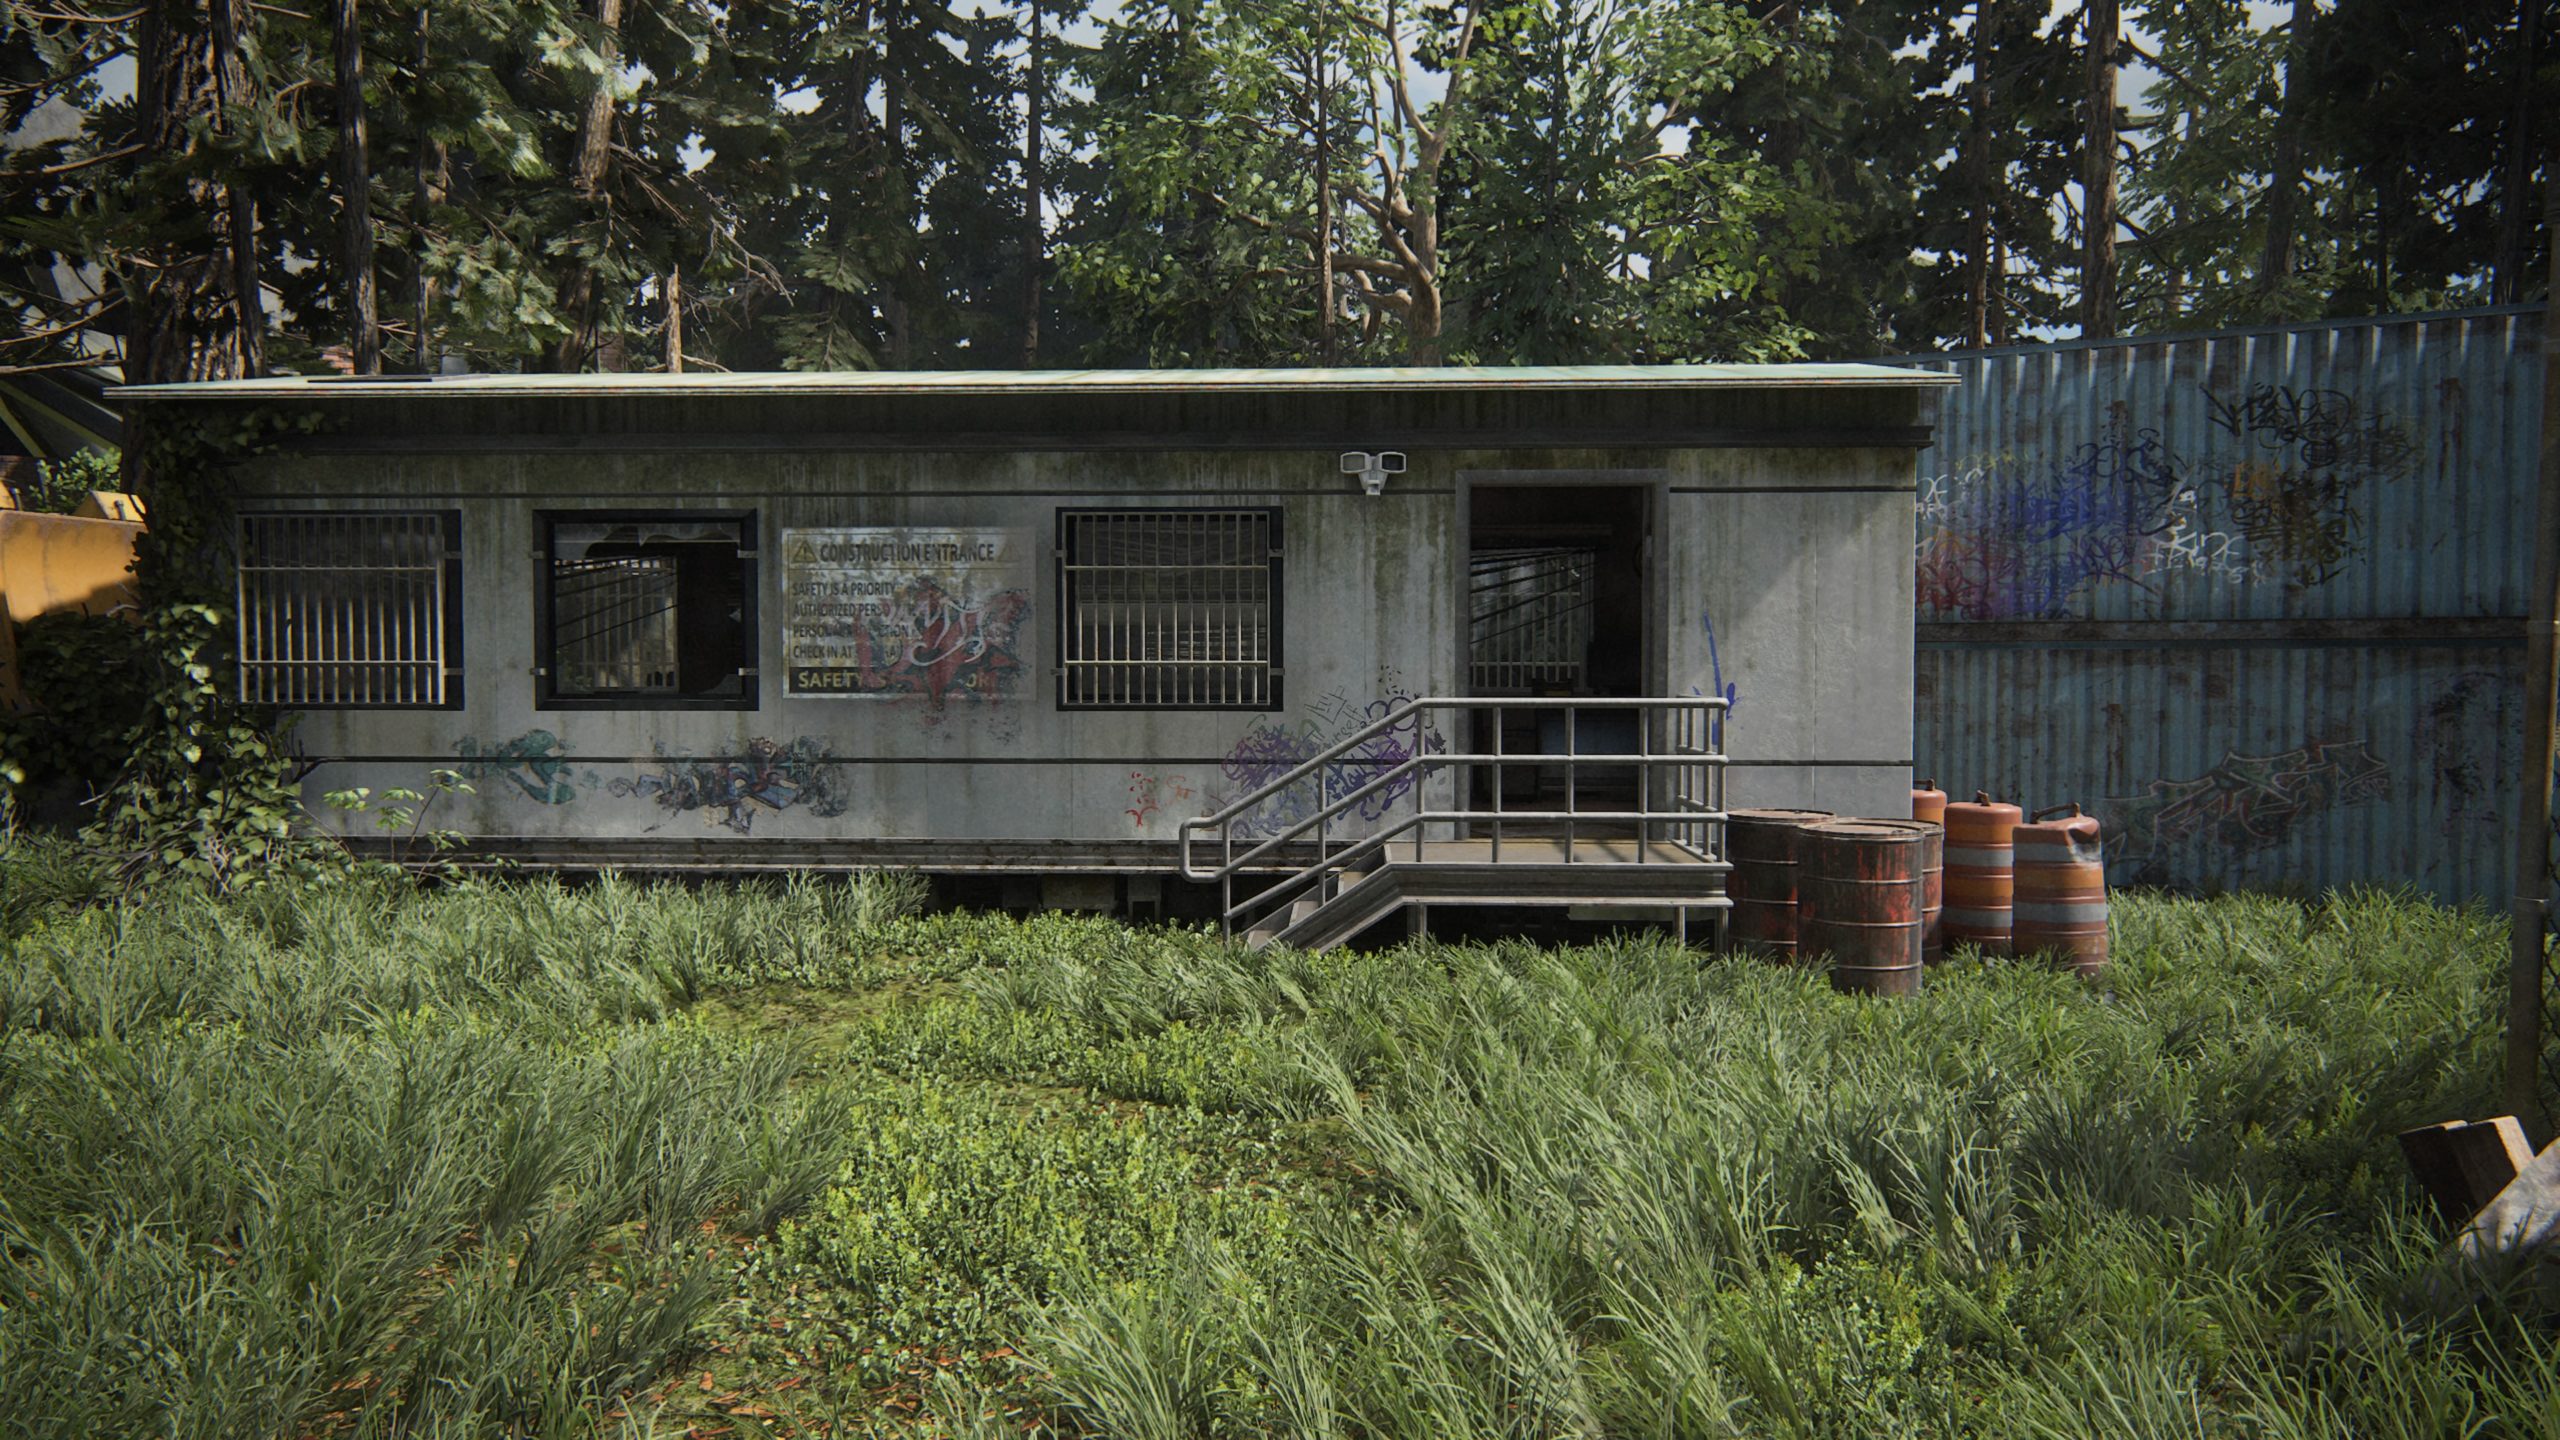
Trading Card – The Starfire Kids
When you reach the highway filled with cars in the forest, follow the road under the overpass to reach a construction trailer on the left side of the road. The card will be in the trailer on a bulletin board.
Artifact – Map of Seattle
This can be found in the same trailer as the above collectible in the back room.
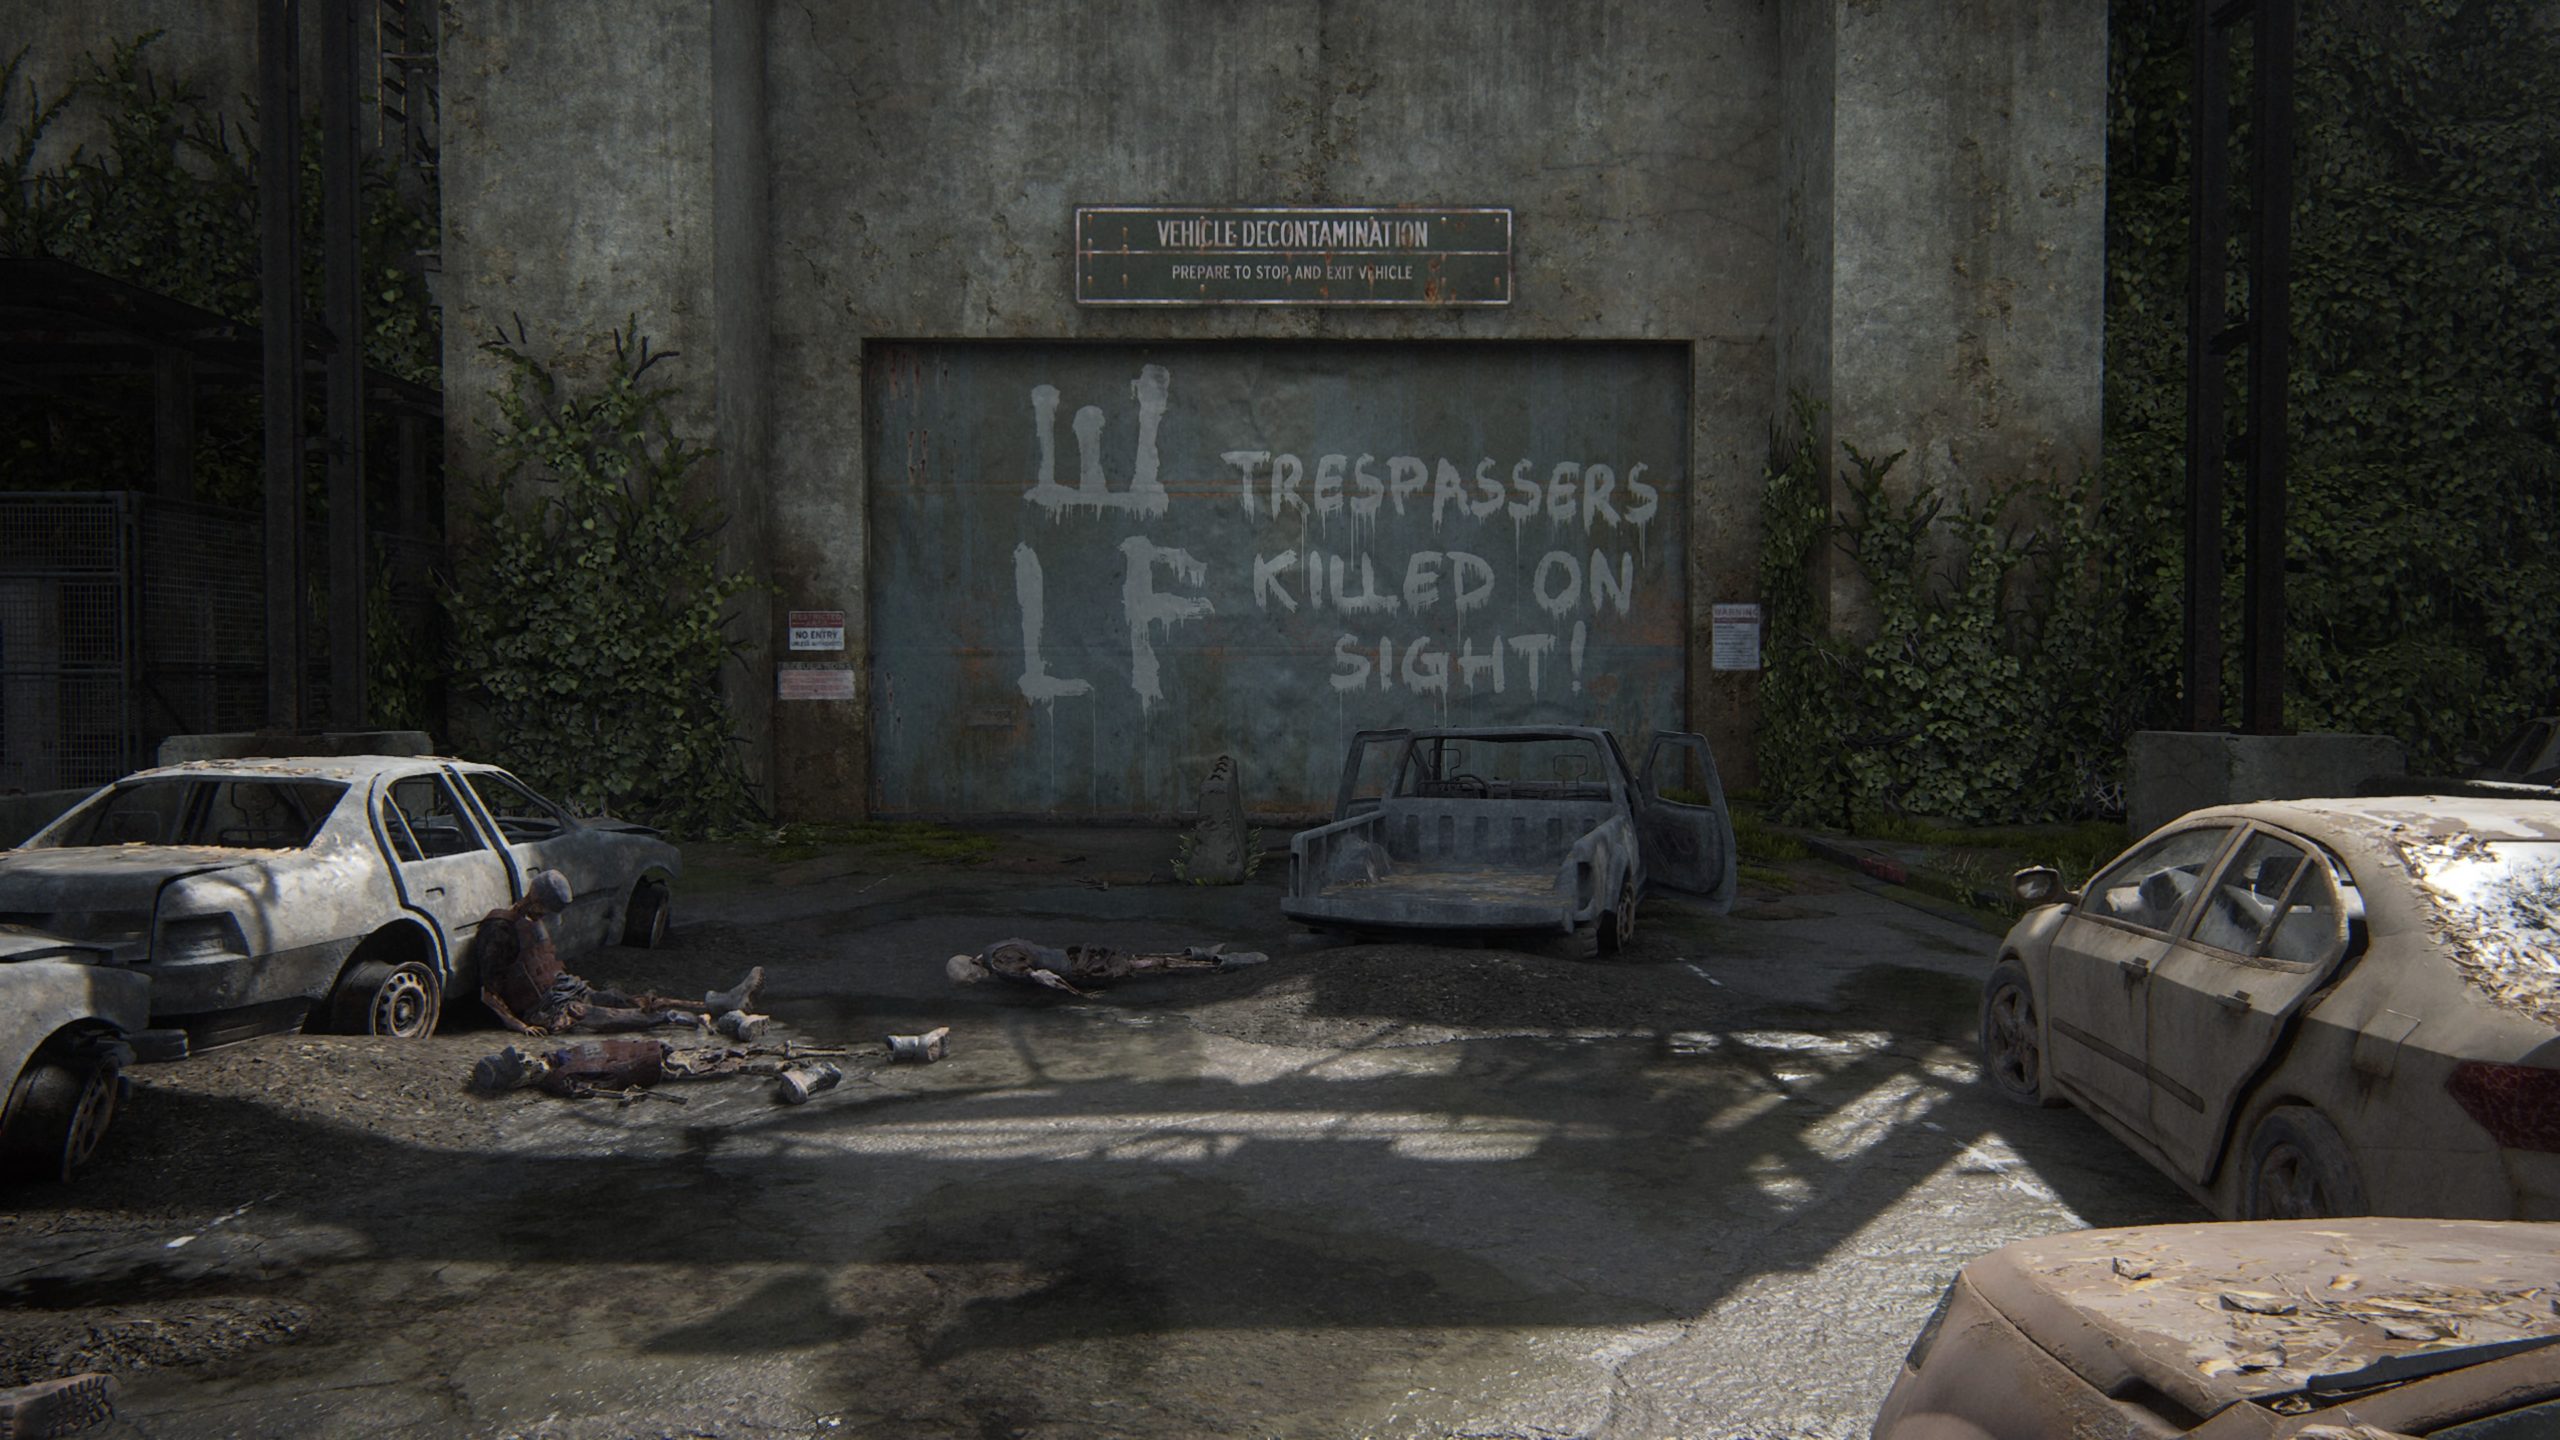
Journal Entry
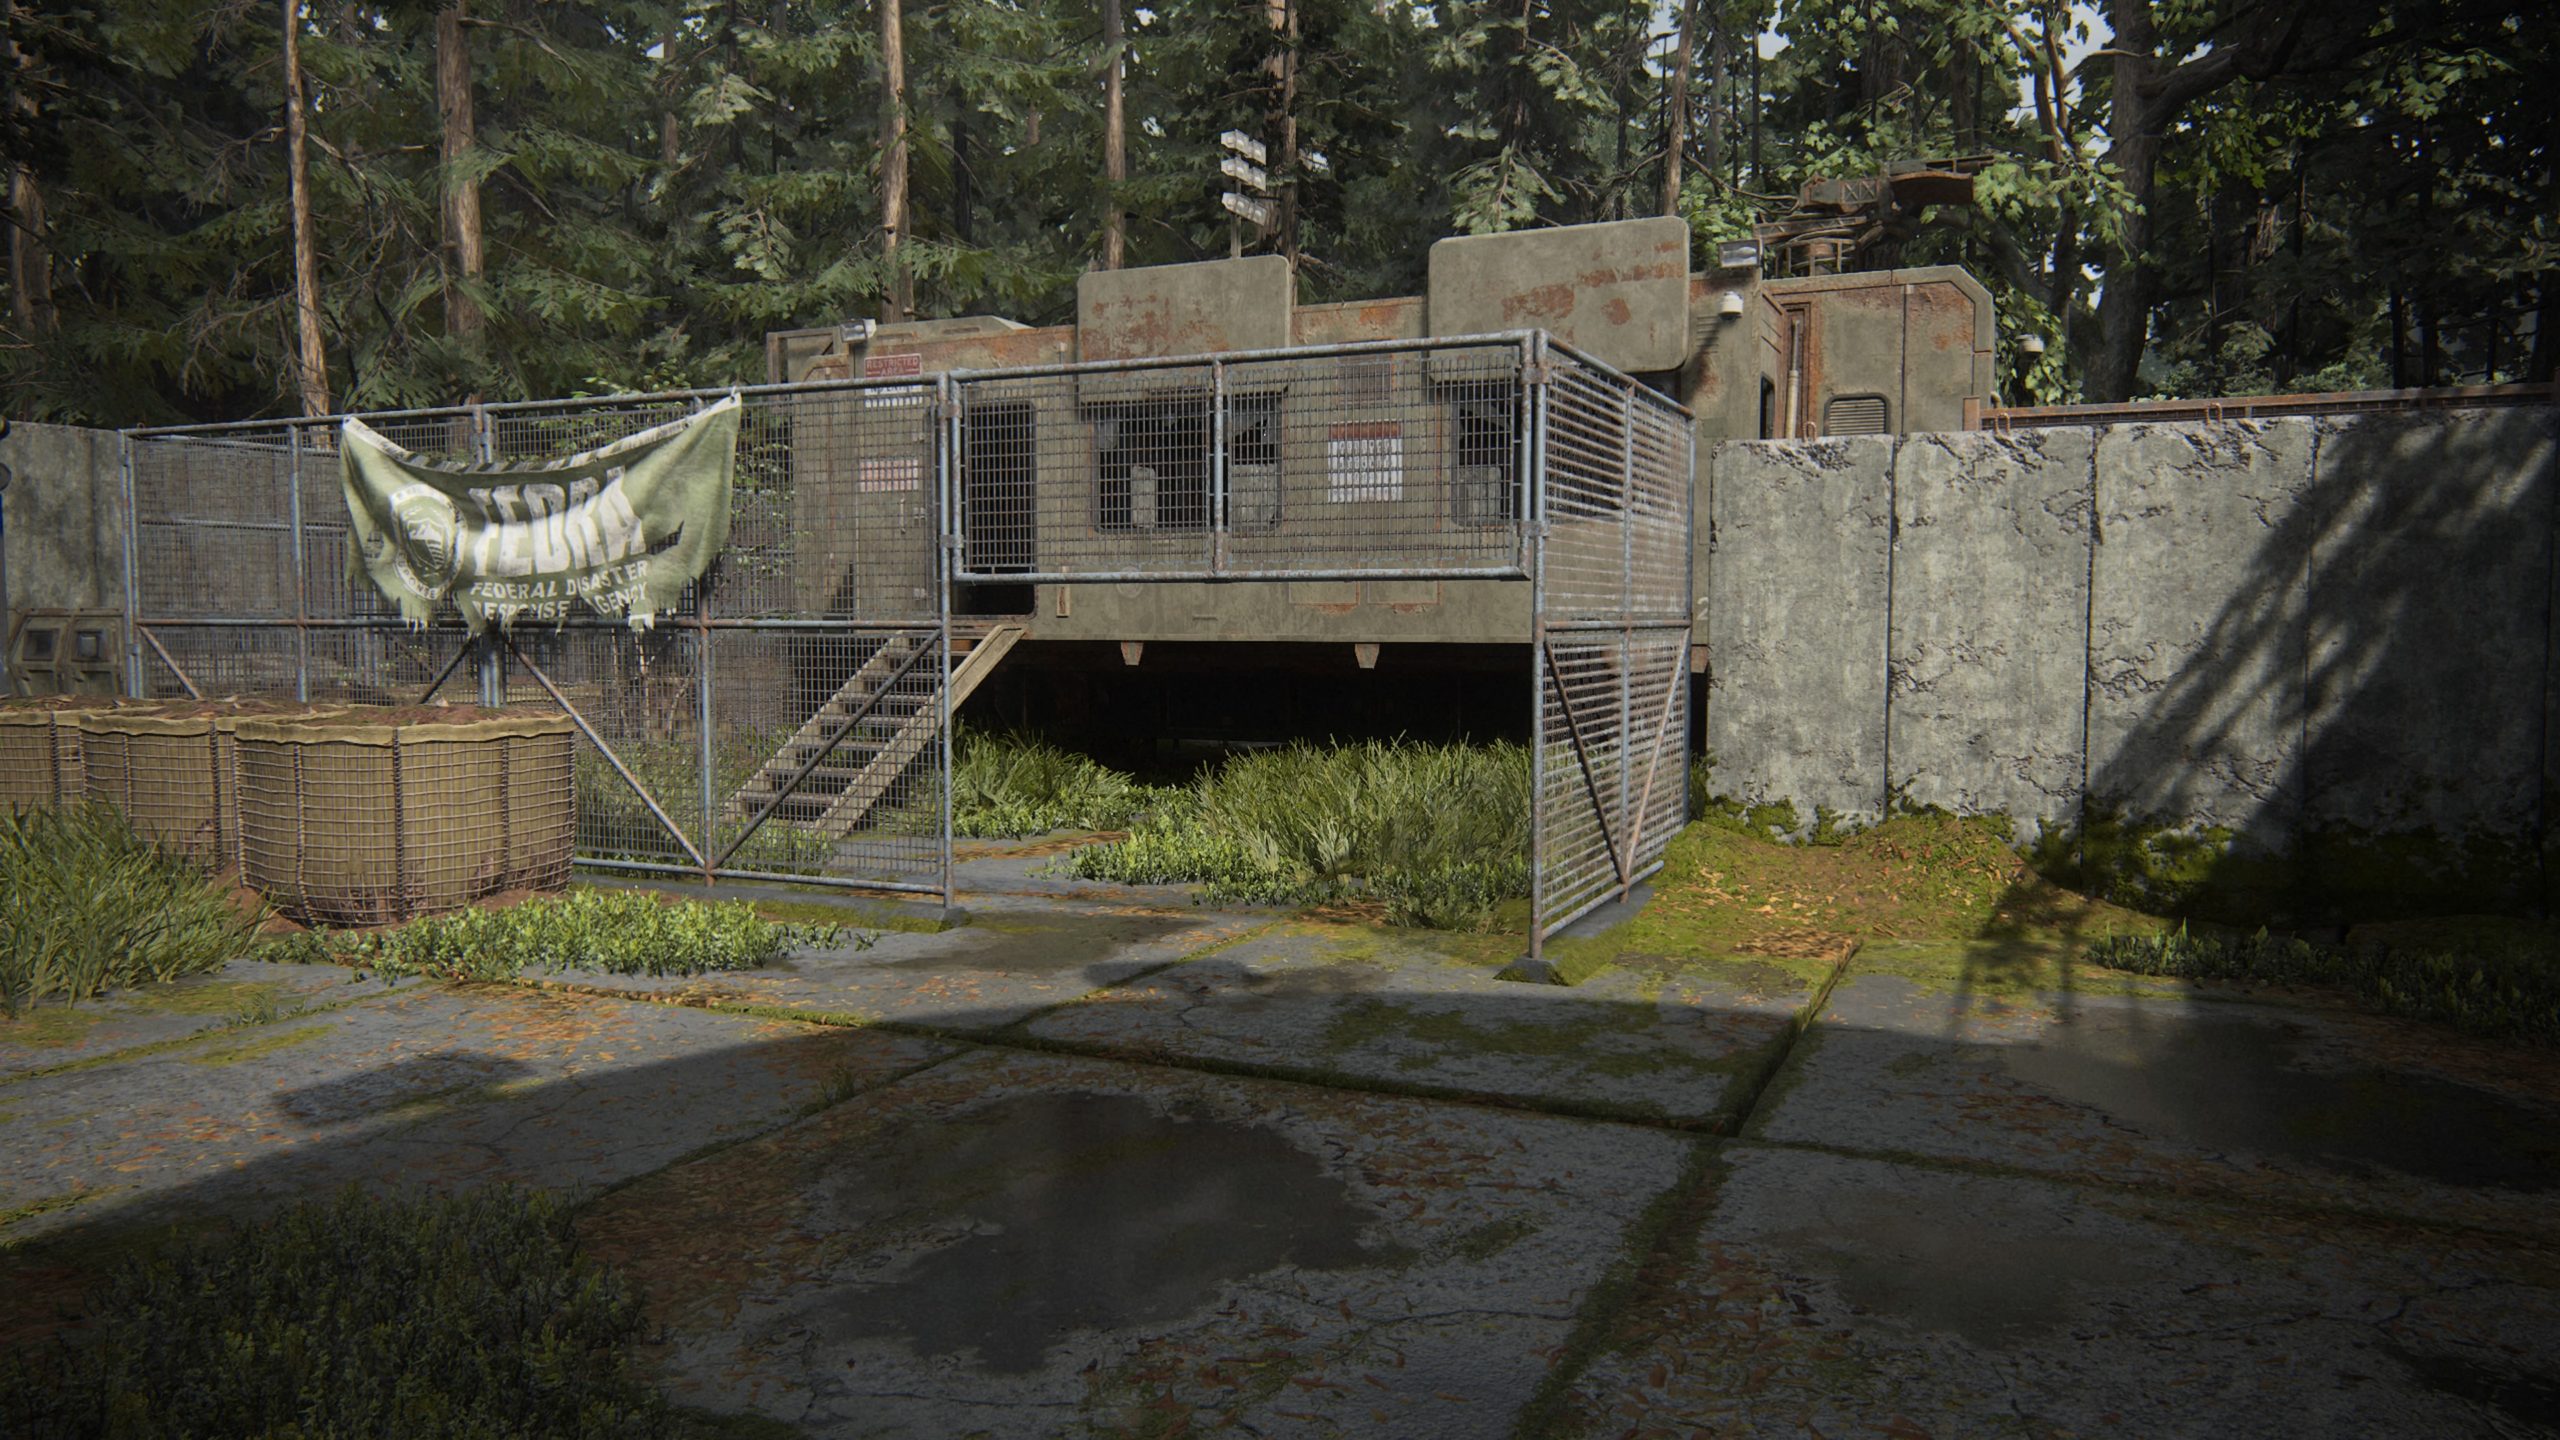
When you reach the military zone with the WLF Trespassers Killed on Sight sign, interact with the sign to receive the entry.
Artifact – Refugee Note
This artifact can be found on a table in the structure to the left of the WLF Trespassers Killed on Sight sign.
Artifact – Infected Infographic
This artifact can be found on a table in the structure furthest from the WLF Trespassers Killed on Sight sign.
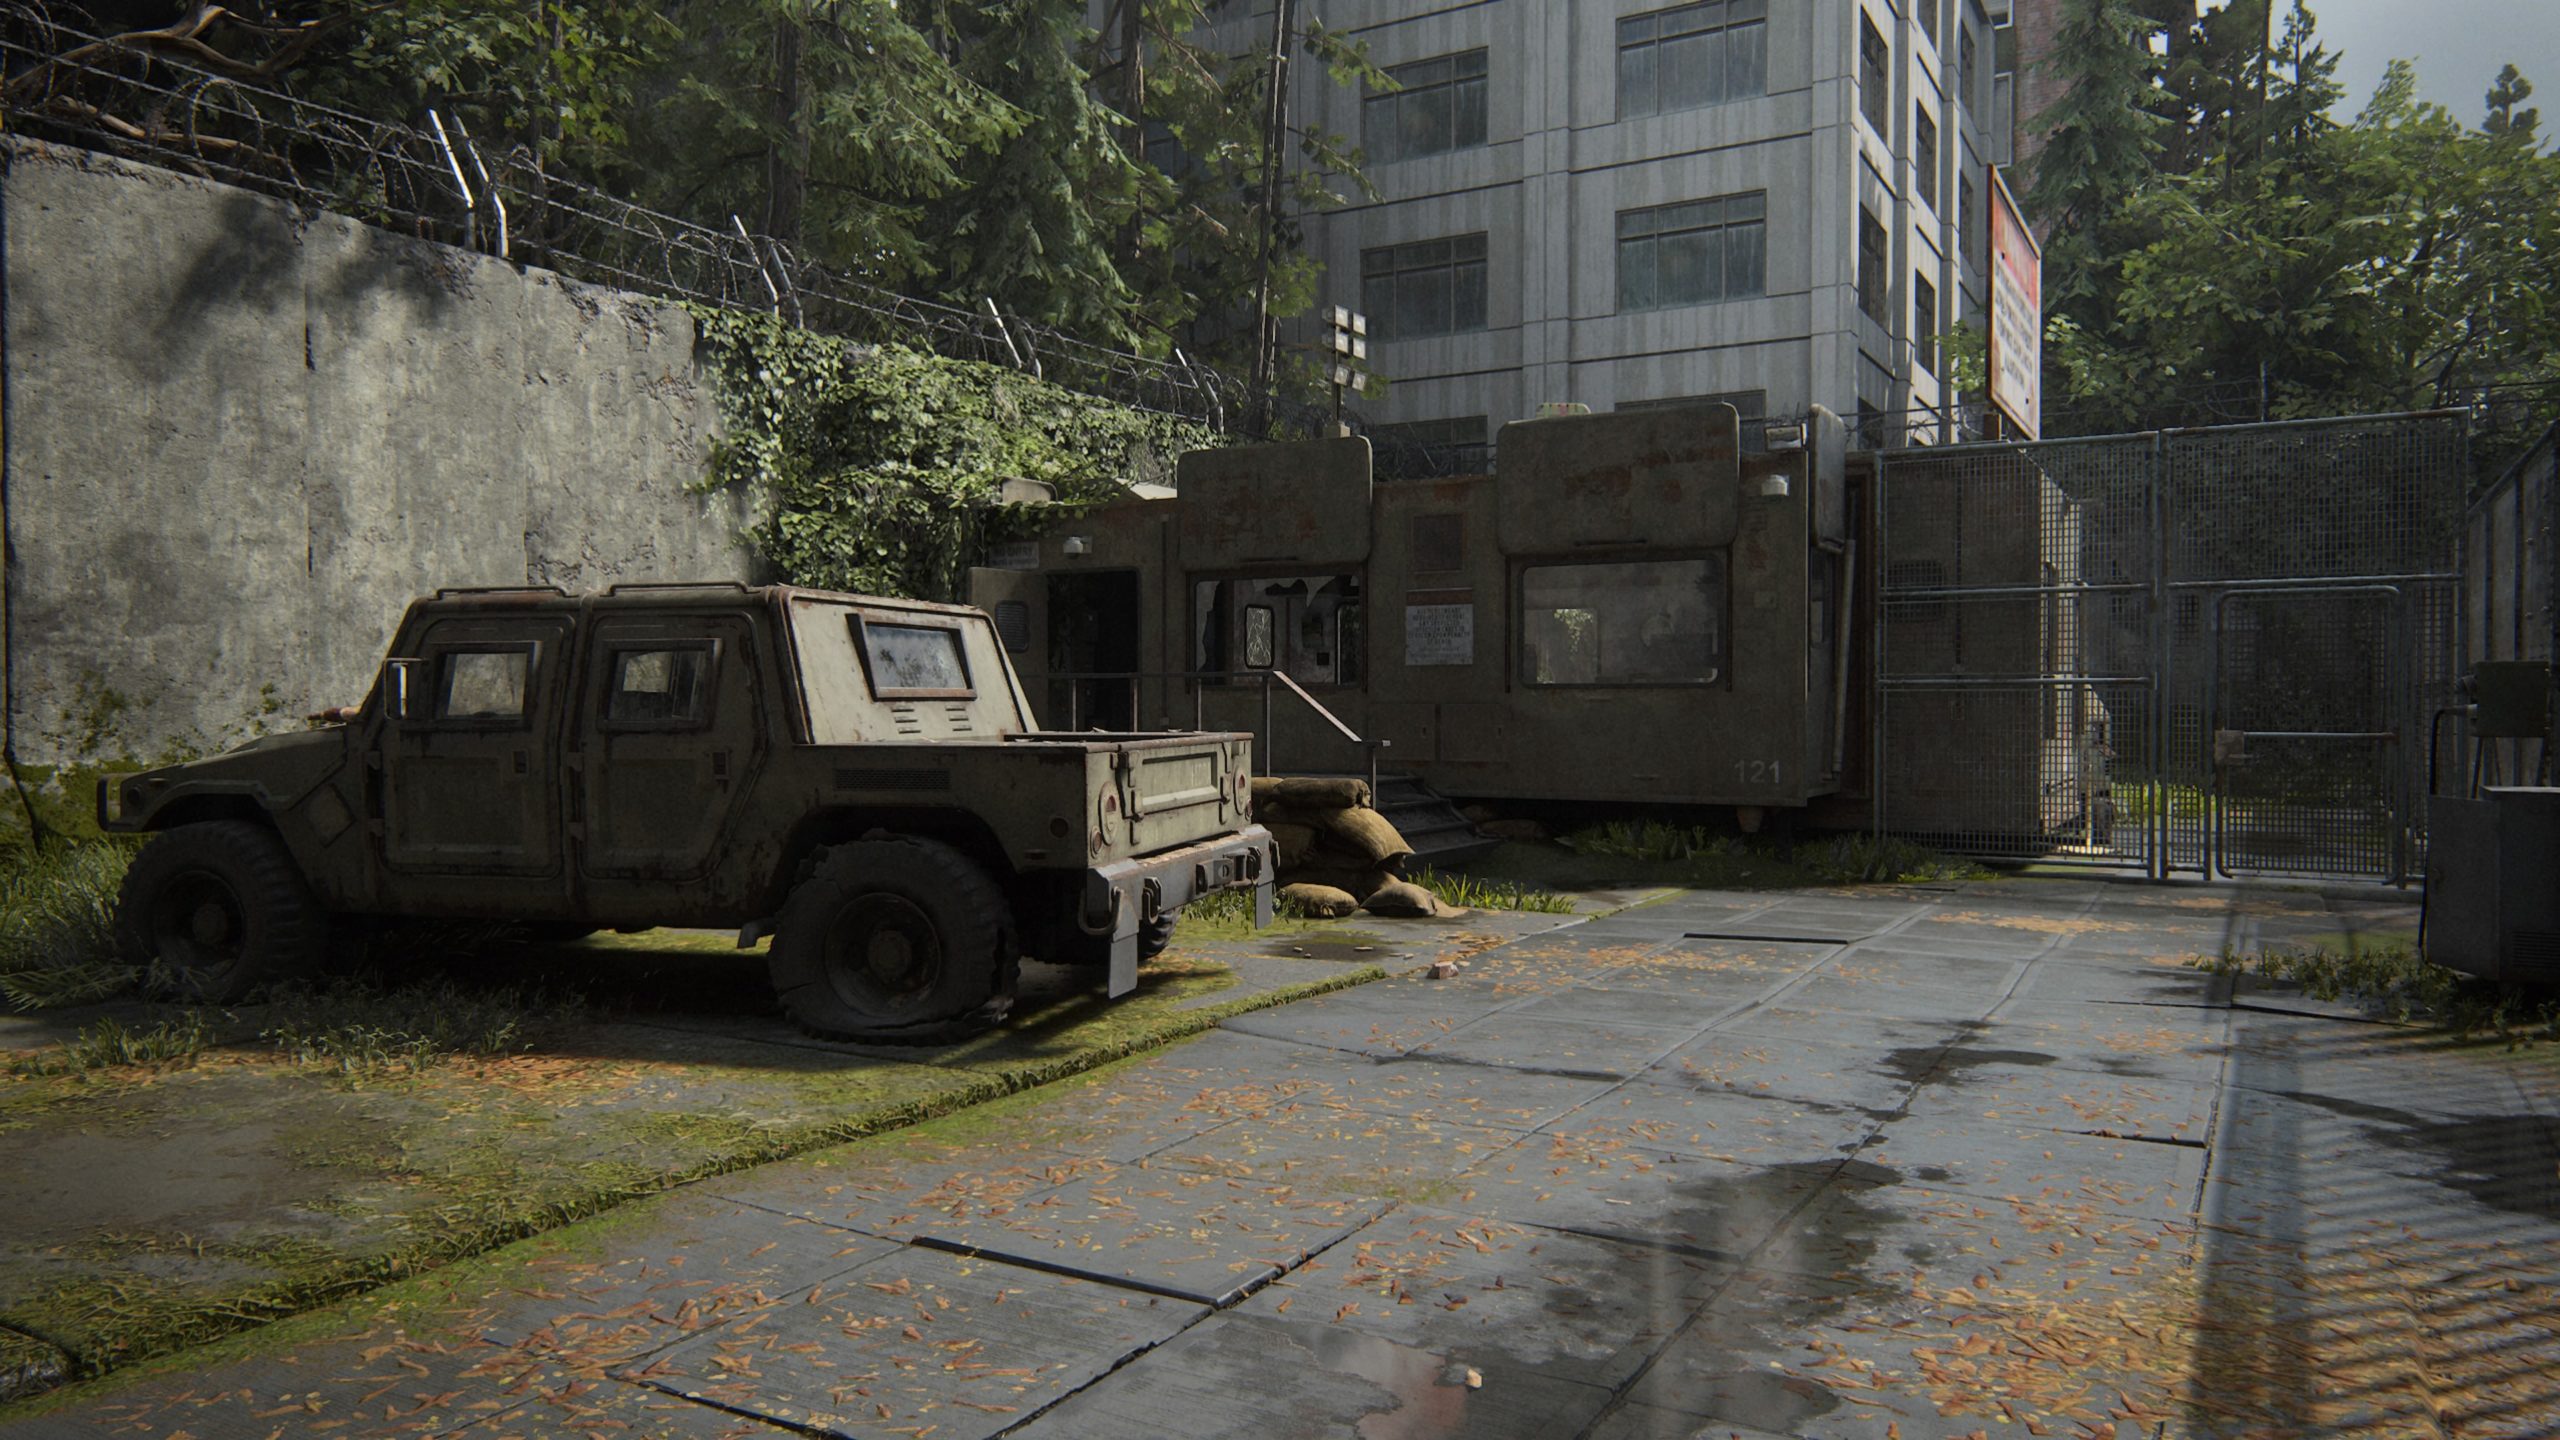
After you climb over the wall, head across the narrow walkway to enter a room with a ladder leading down. If you turn left in that room, you’ll see another ladder heading up. Climb up that ladder to find the card and artifact in the lookout tower on tables.
Artifact – Checkpoint Gate Codes
From the above collectibles, head back down the ladder then take another ladder down to reach the ground floor. The artifact can be found in the military structure straight ahead in a filing cabinet.
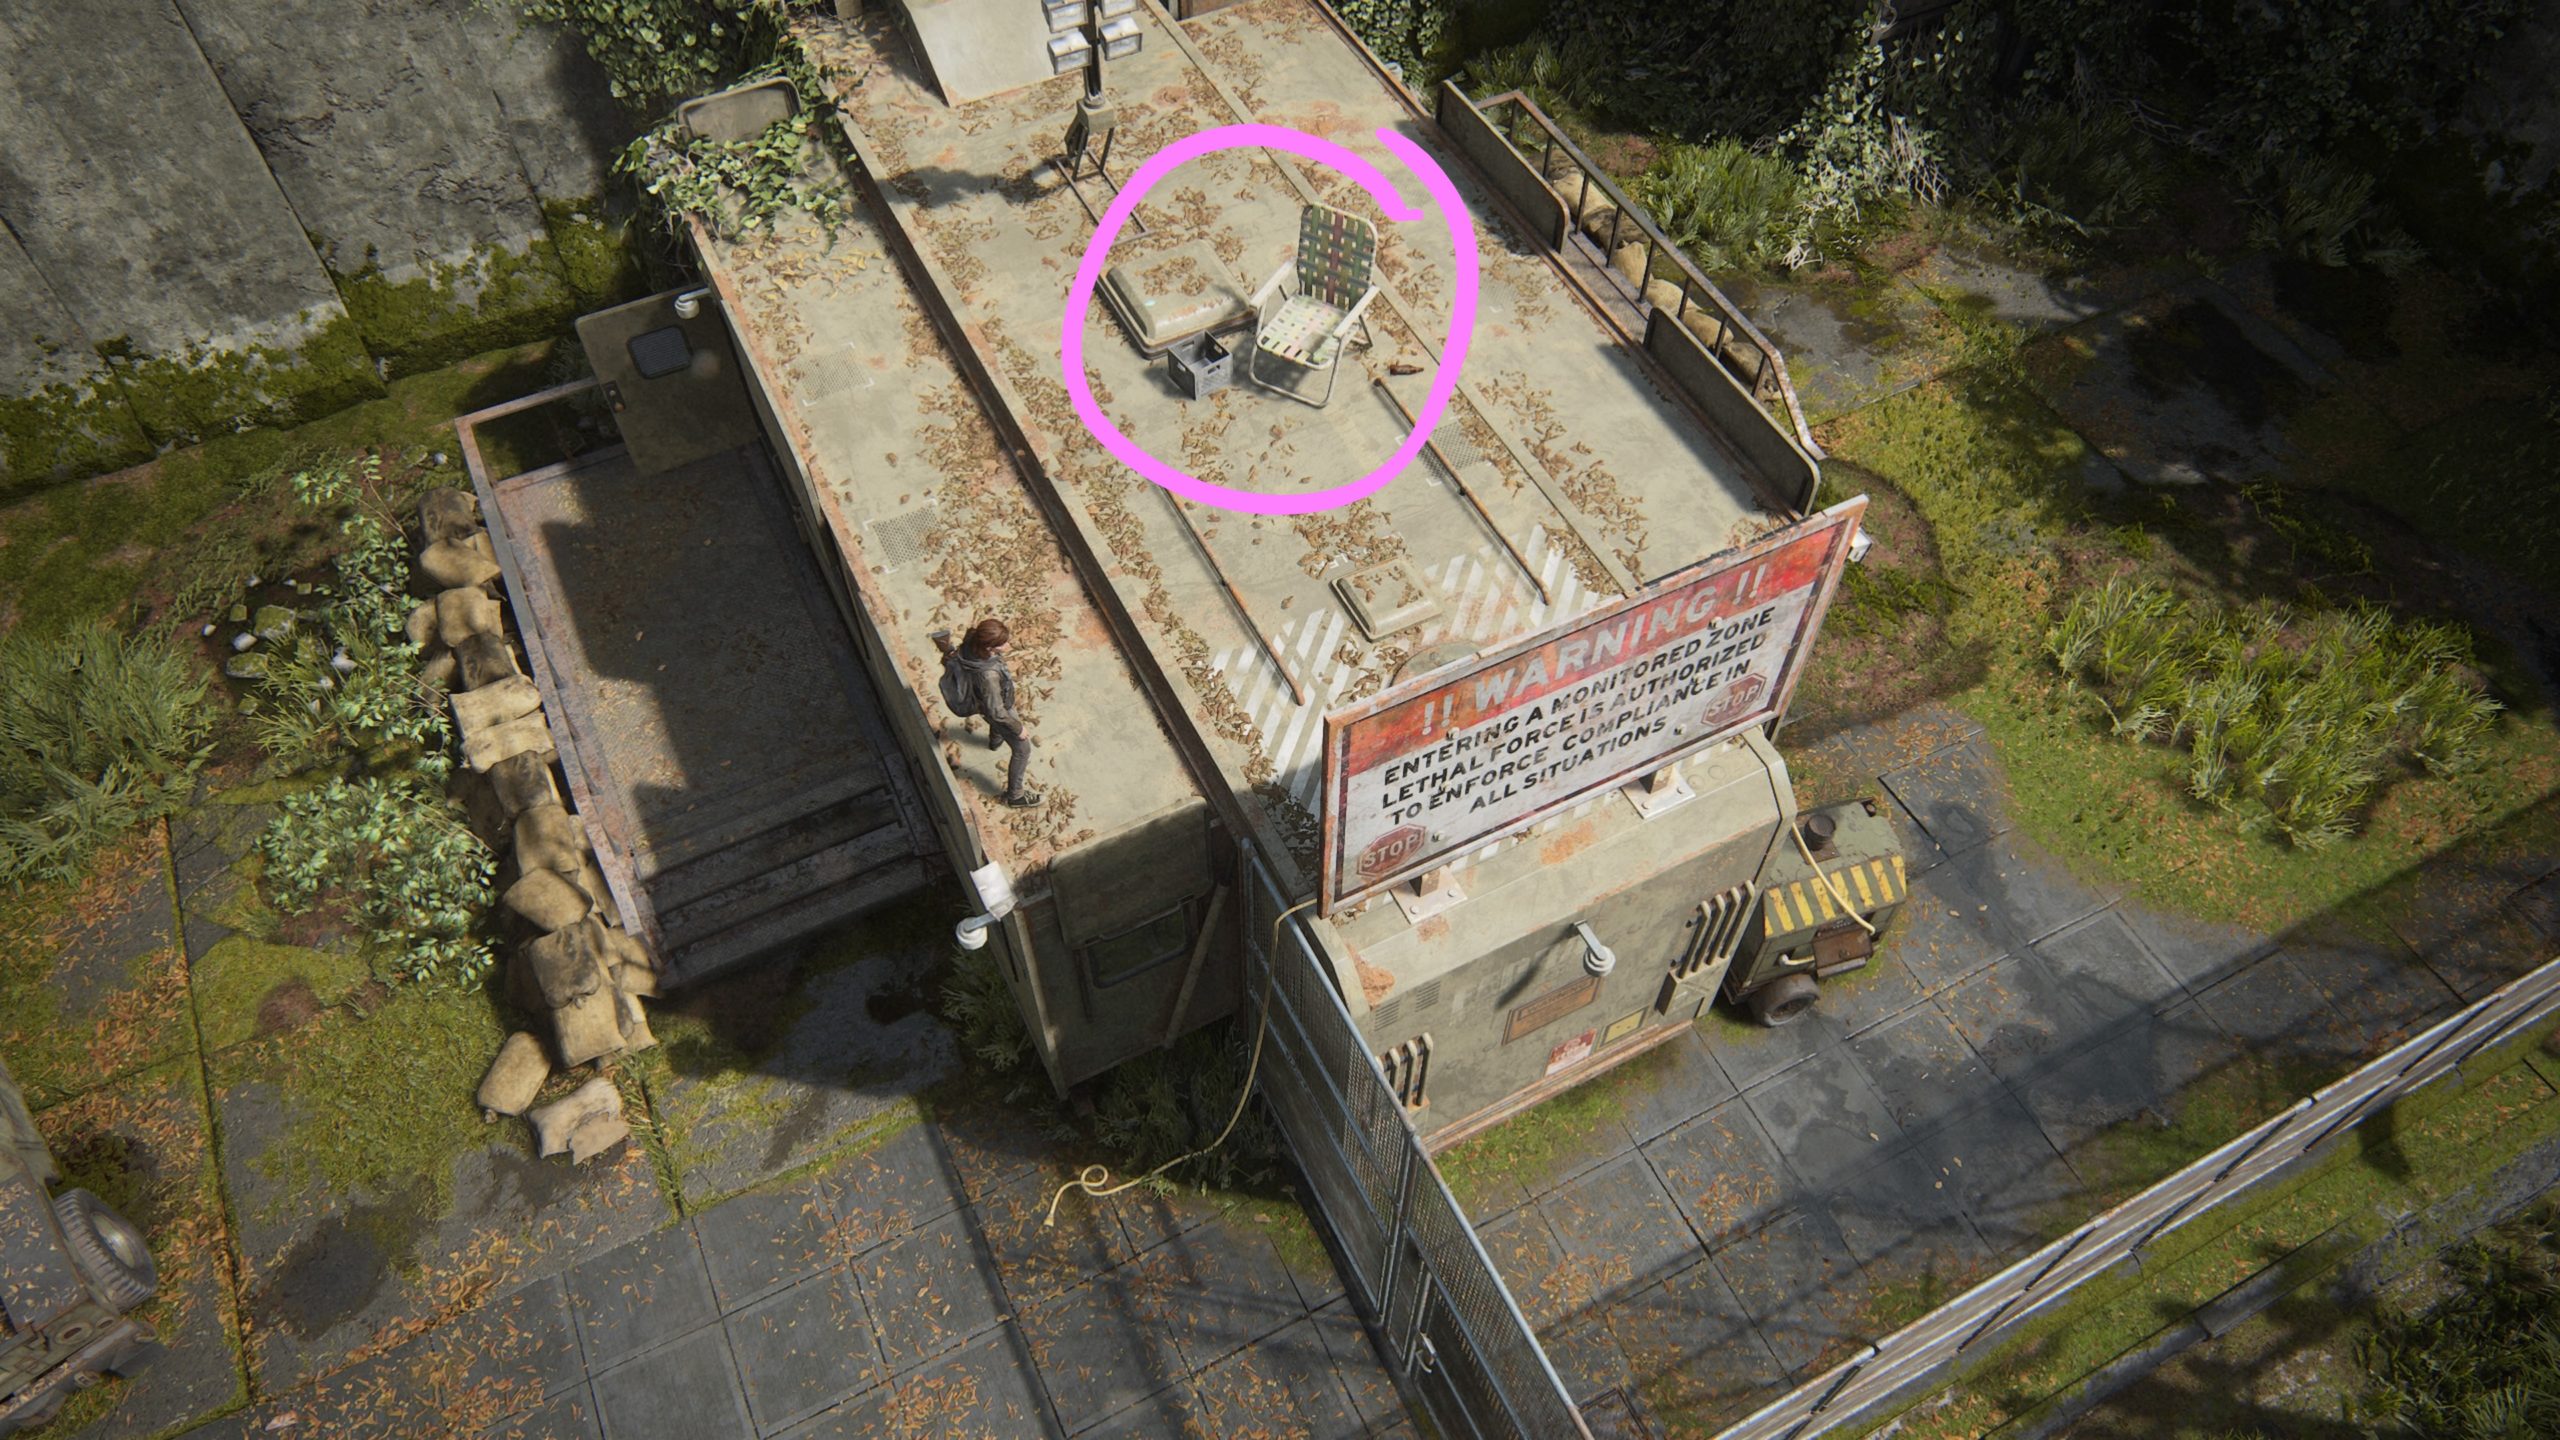
Trading Card – Oozer & Artifact – Rooftop Note
After you start the generator and throw the yellow cable over to the other side, head to the other side of the military structure and climb up the cable you just threw over. The card can be found on a table next to a lawn chair on the roof.
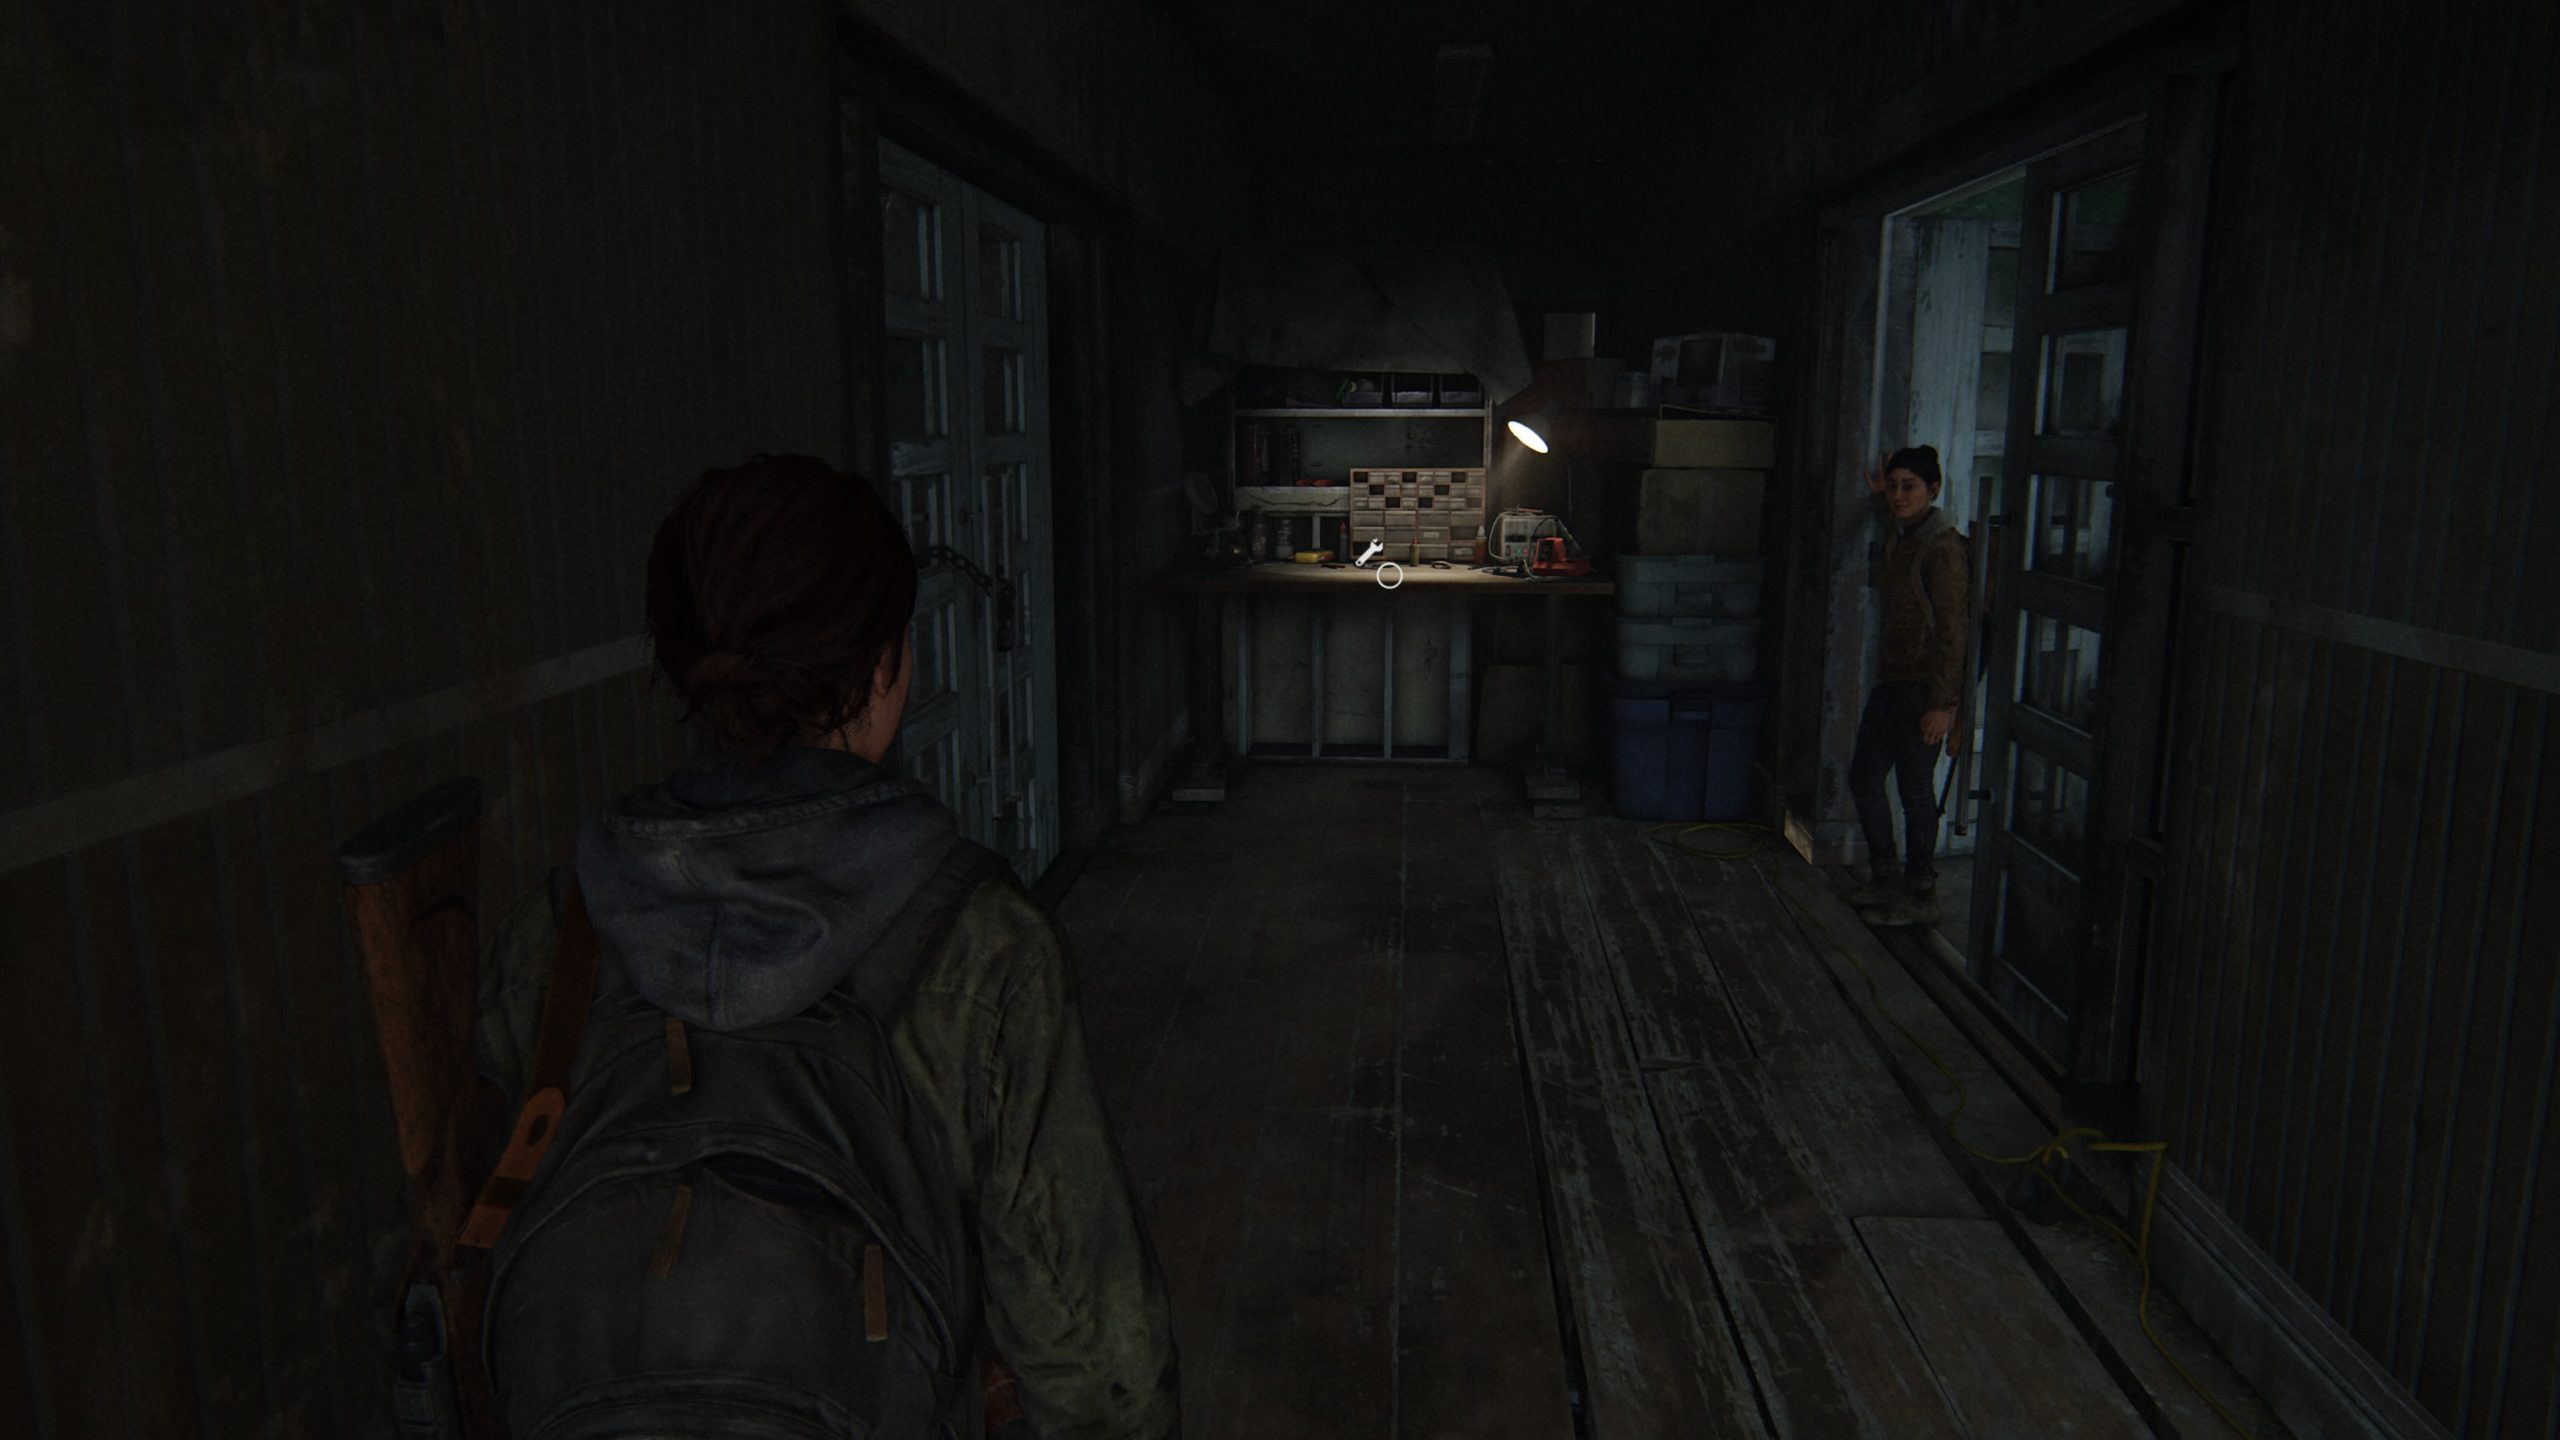
Below is a guide on all the workbenches in The Last of Us Part II!
Patrol
Library
After starting up the generator in the library, the workbench will be illuminated as part of the story. Head on over and interact with it.
Downtown
Corner of Marion Street and 4th Avenue
This workbench can be found at a military checkpoint on the corner of Marion Street and 4th Avenue.
Capitol Hill
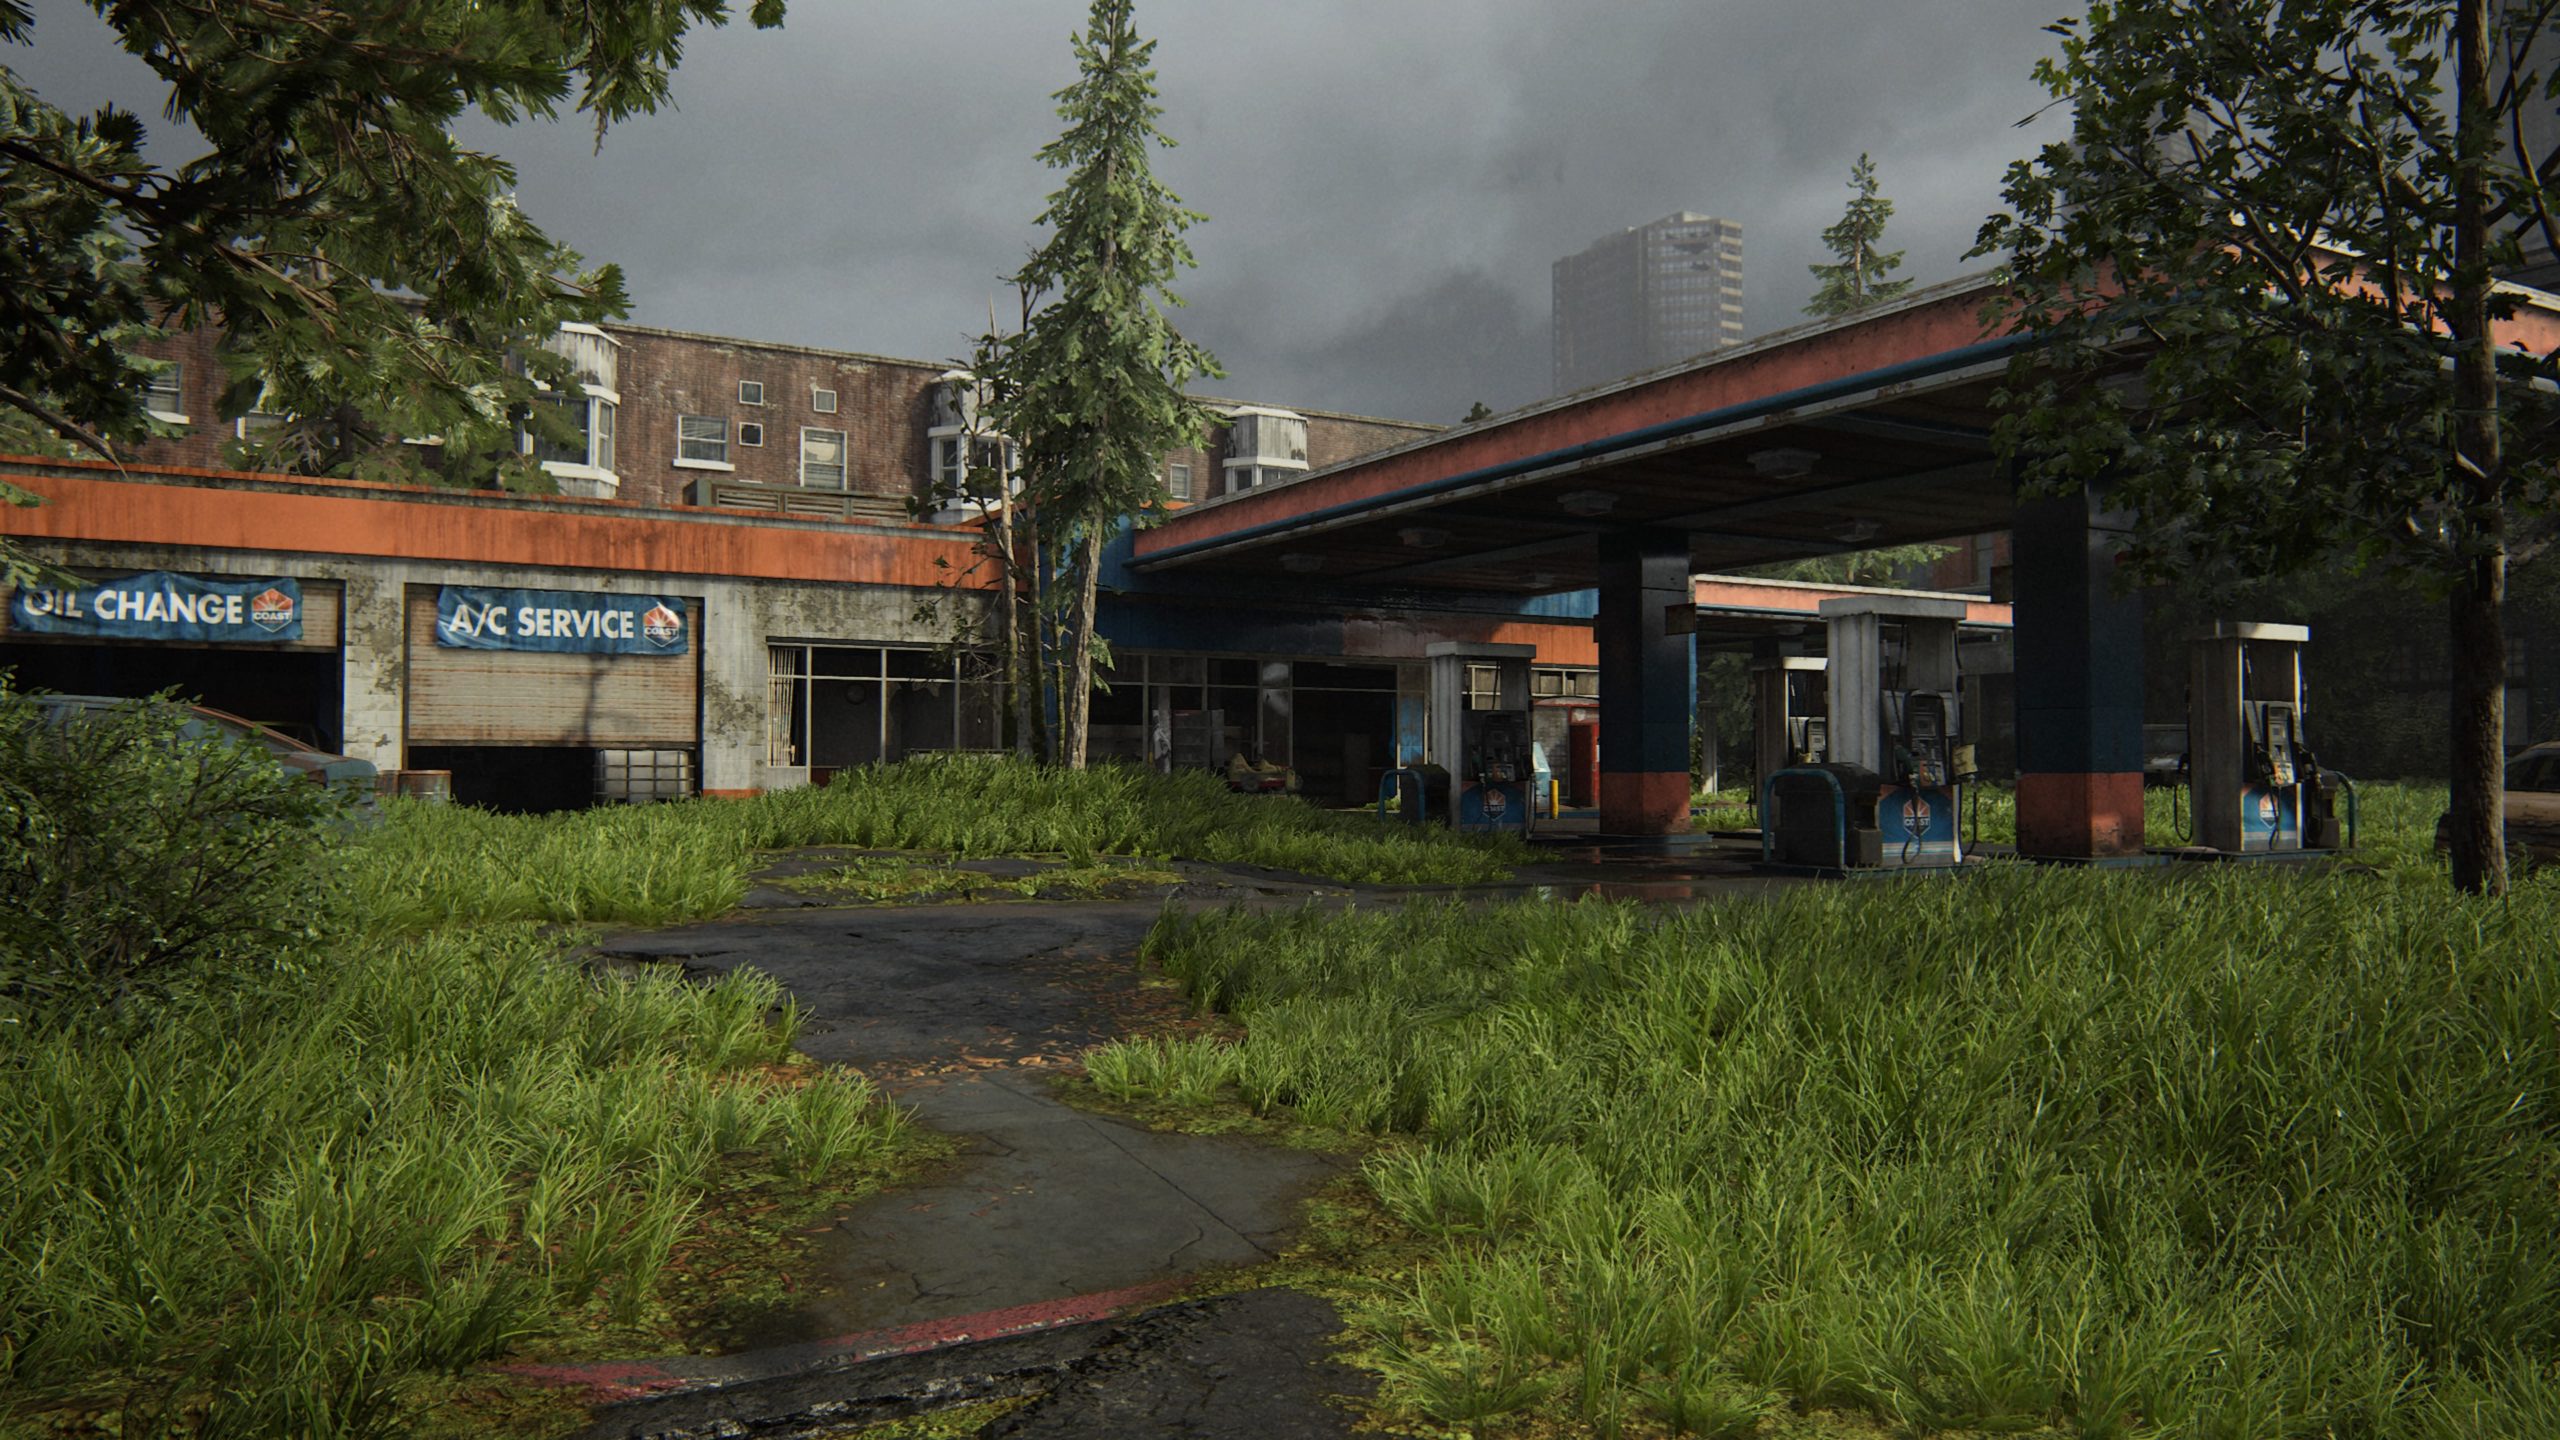
Gas Station
This workbench can be found in the garage of the gas station.
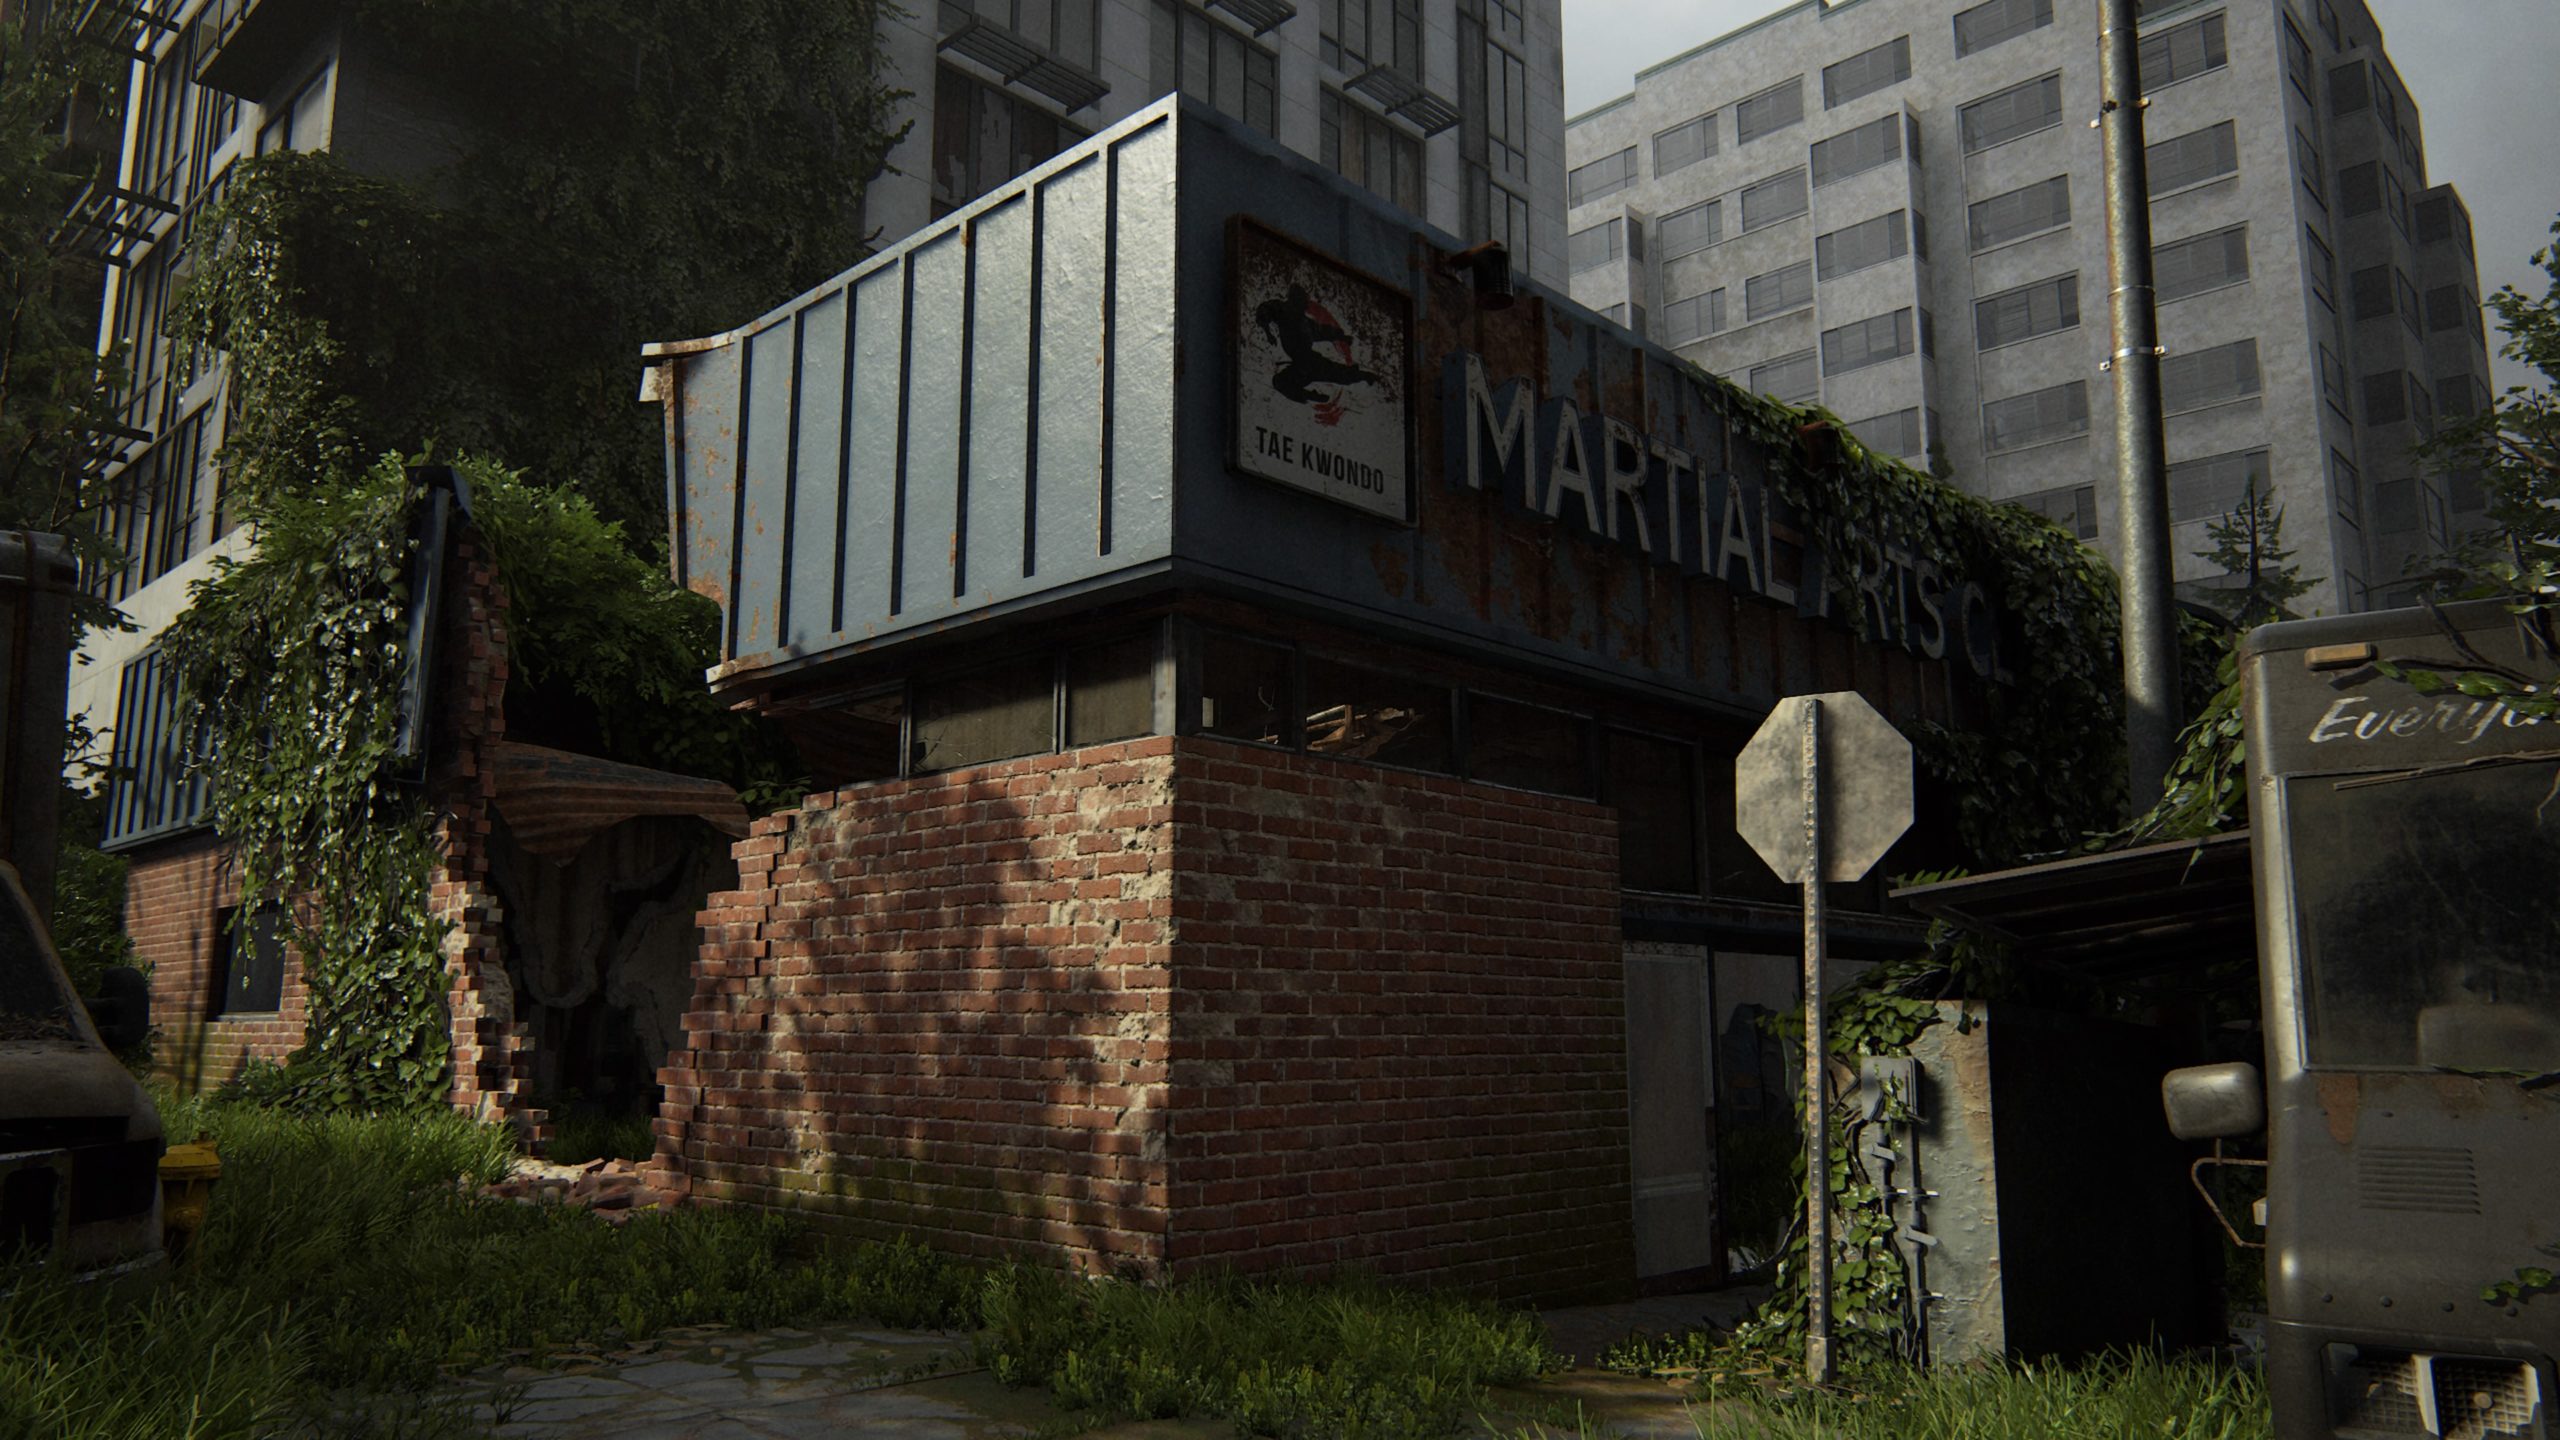
Martial Arts Building
The workbench can be found down the hall in a back room of the martial arts building.
The Tunnels
Storage Room
After entering the red lit room, you will need to climb a ladder on the right side to reach a walkway containing a rope. Head to the right side of the walkway to find a door leading to a storage room that contains this workbench.
Hillcrest
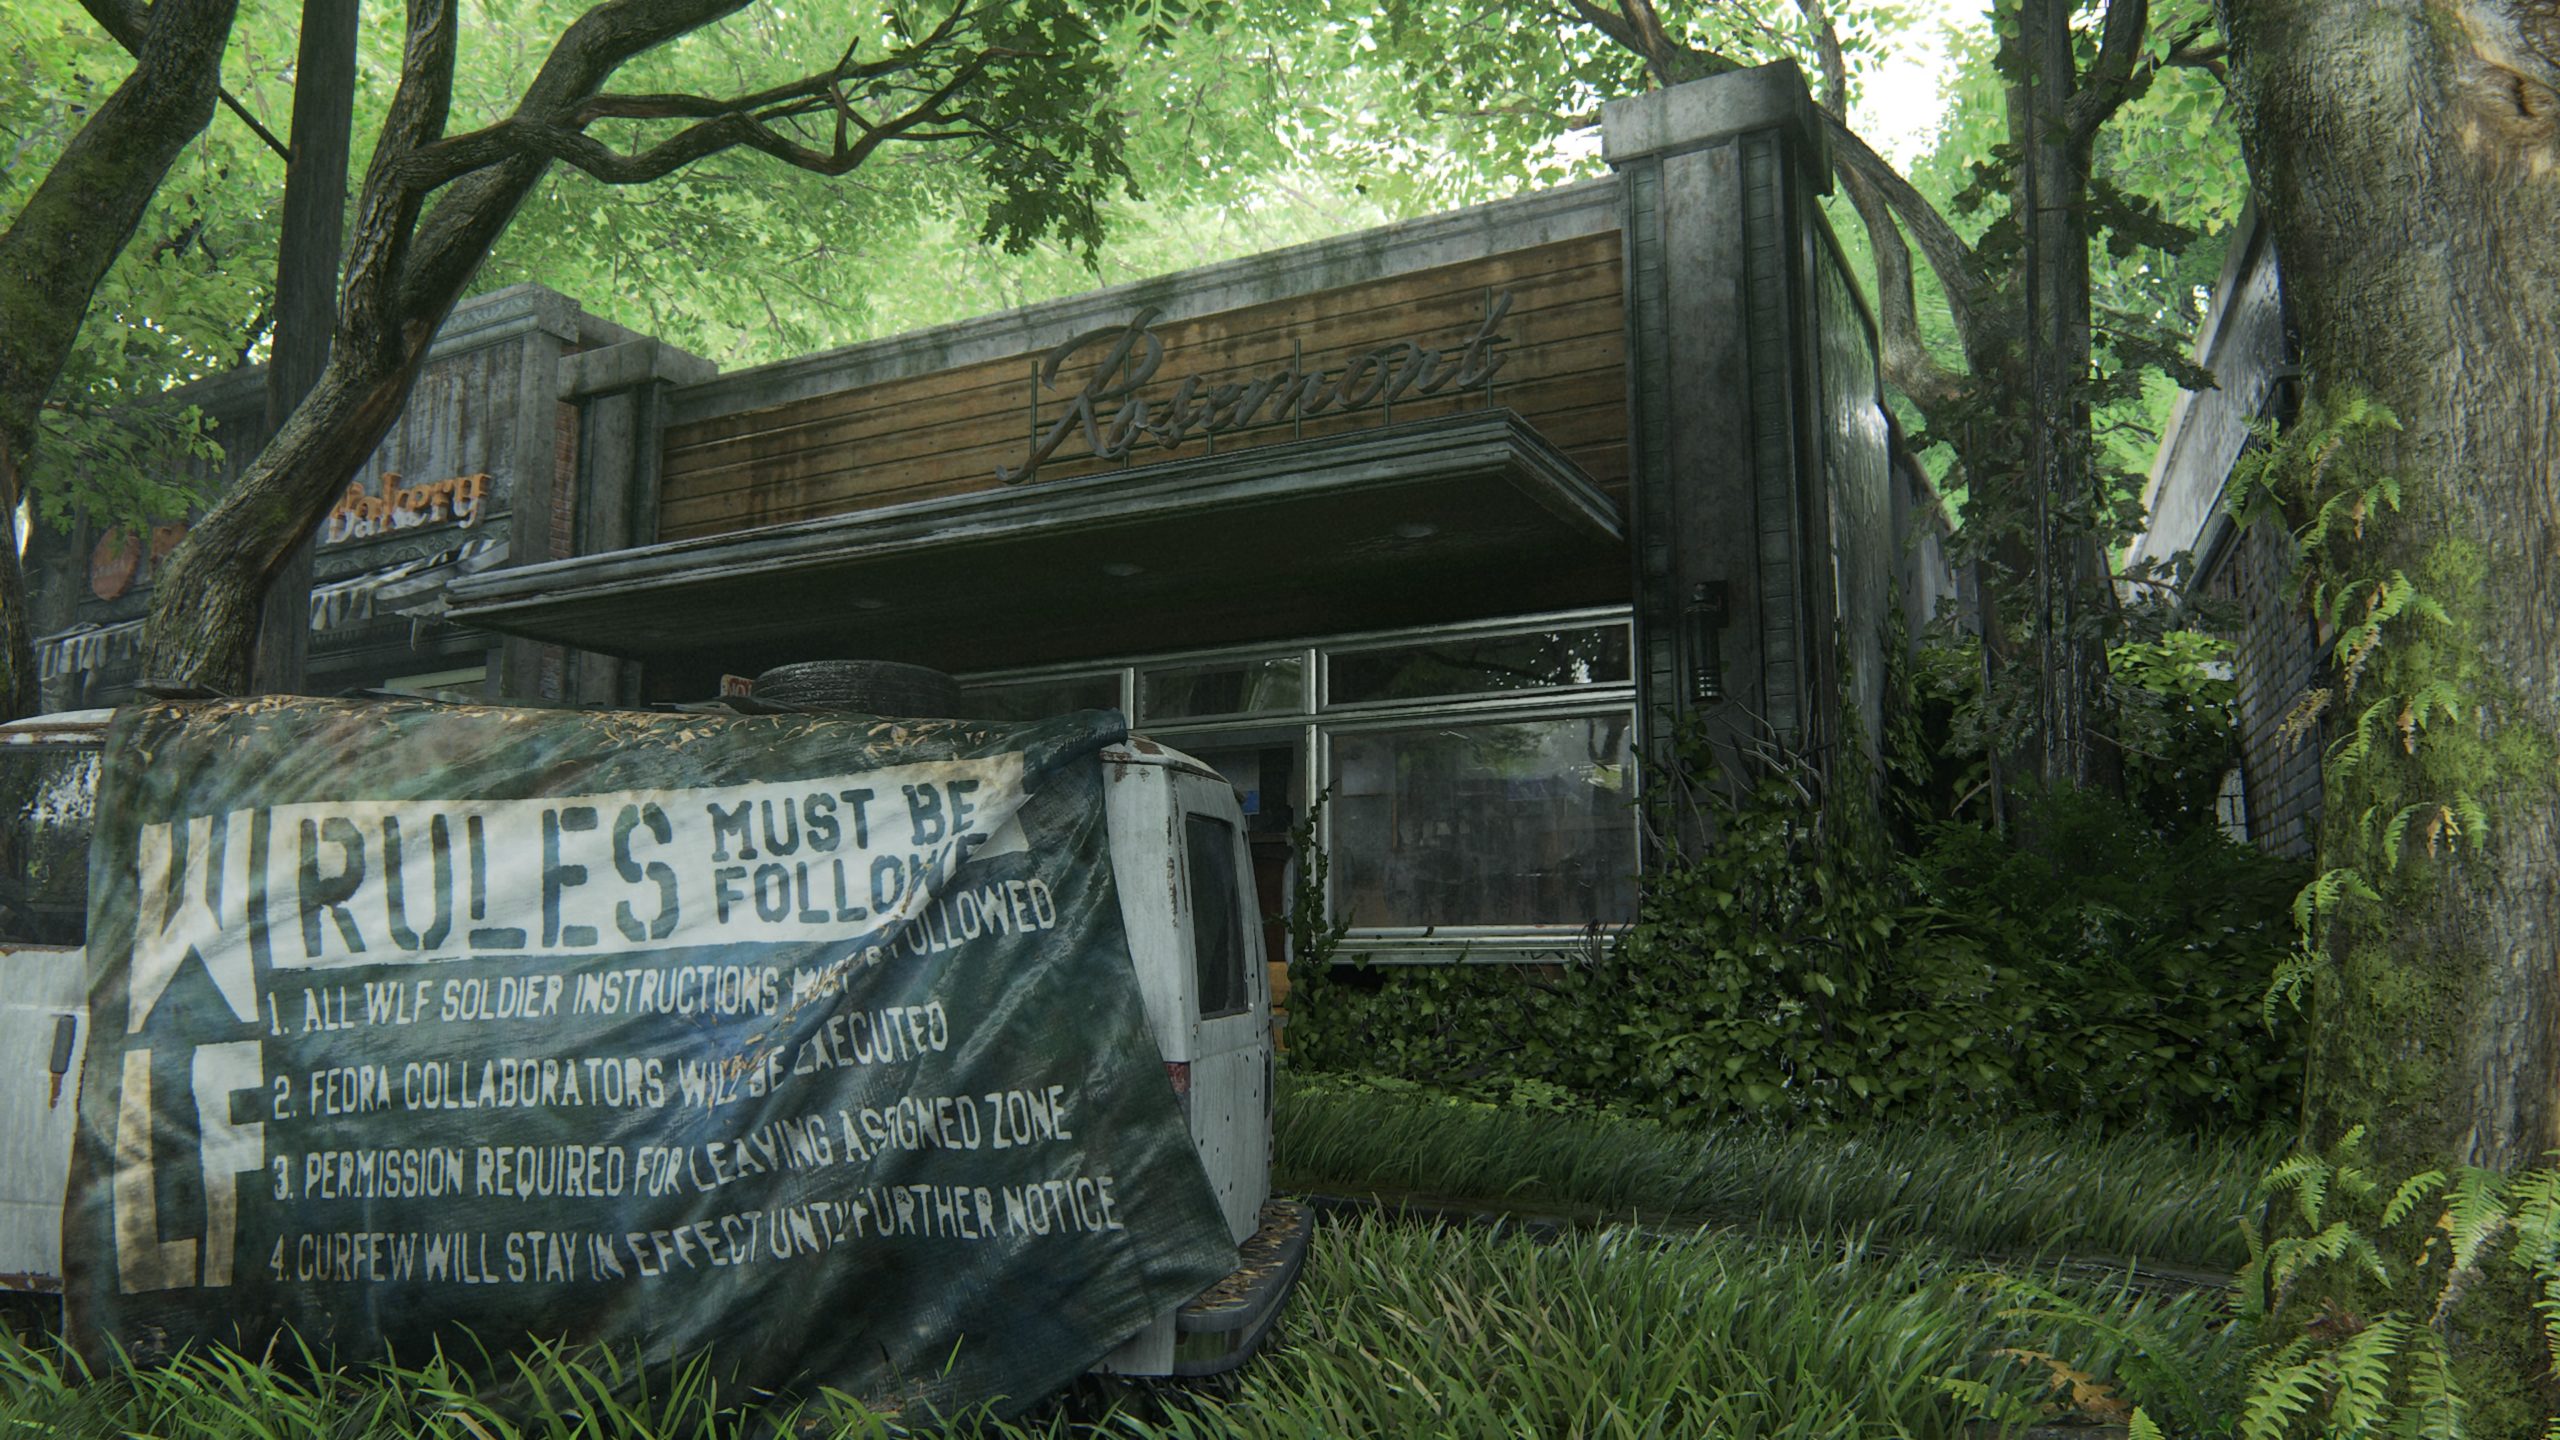
Rosemont
This workbench can be found in the basement of the clothing store.
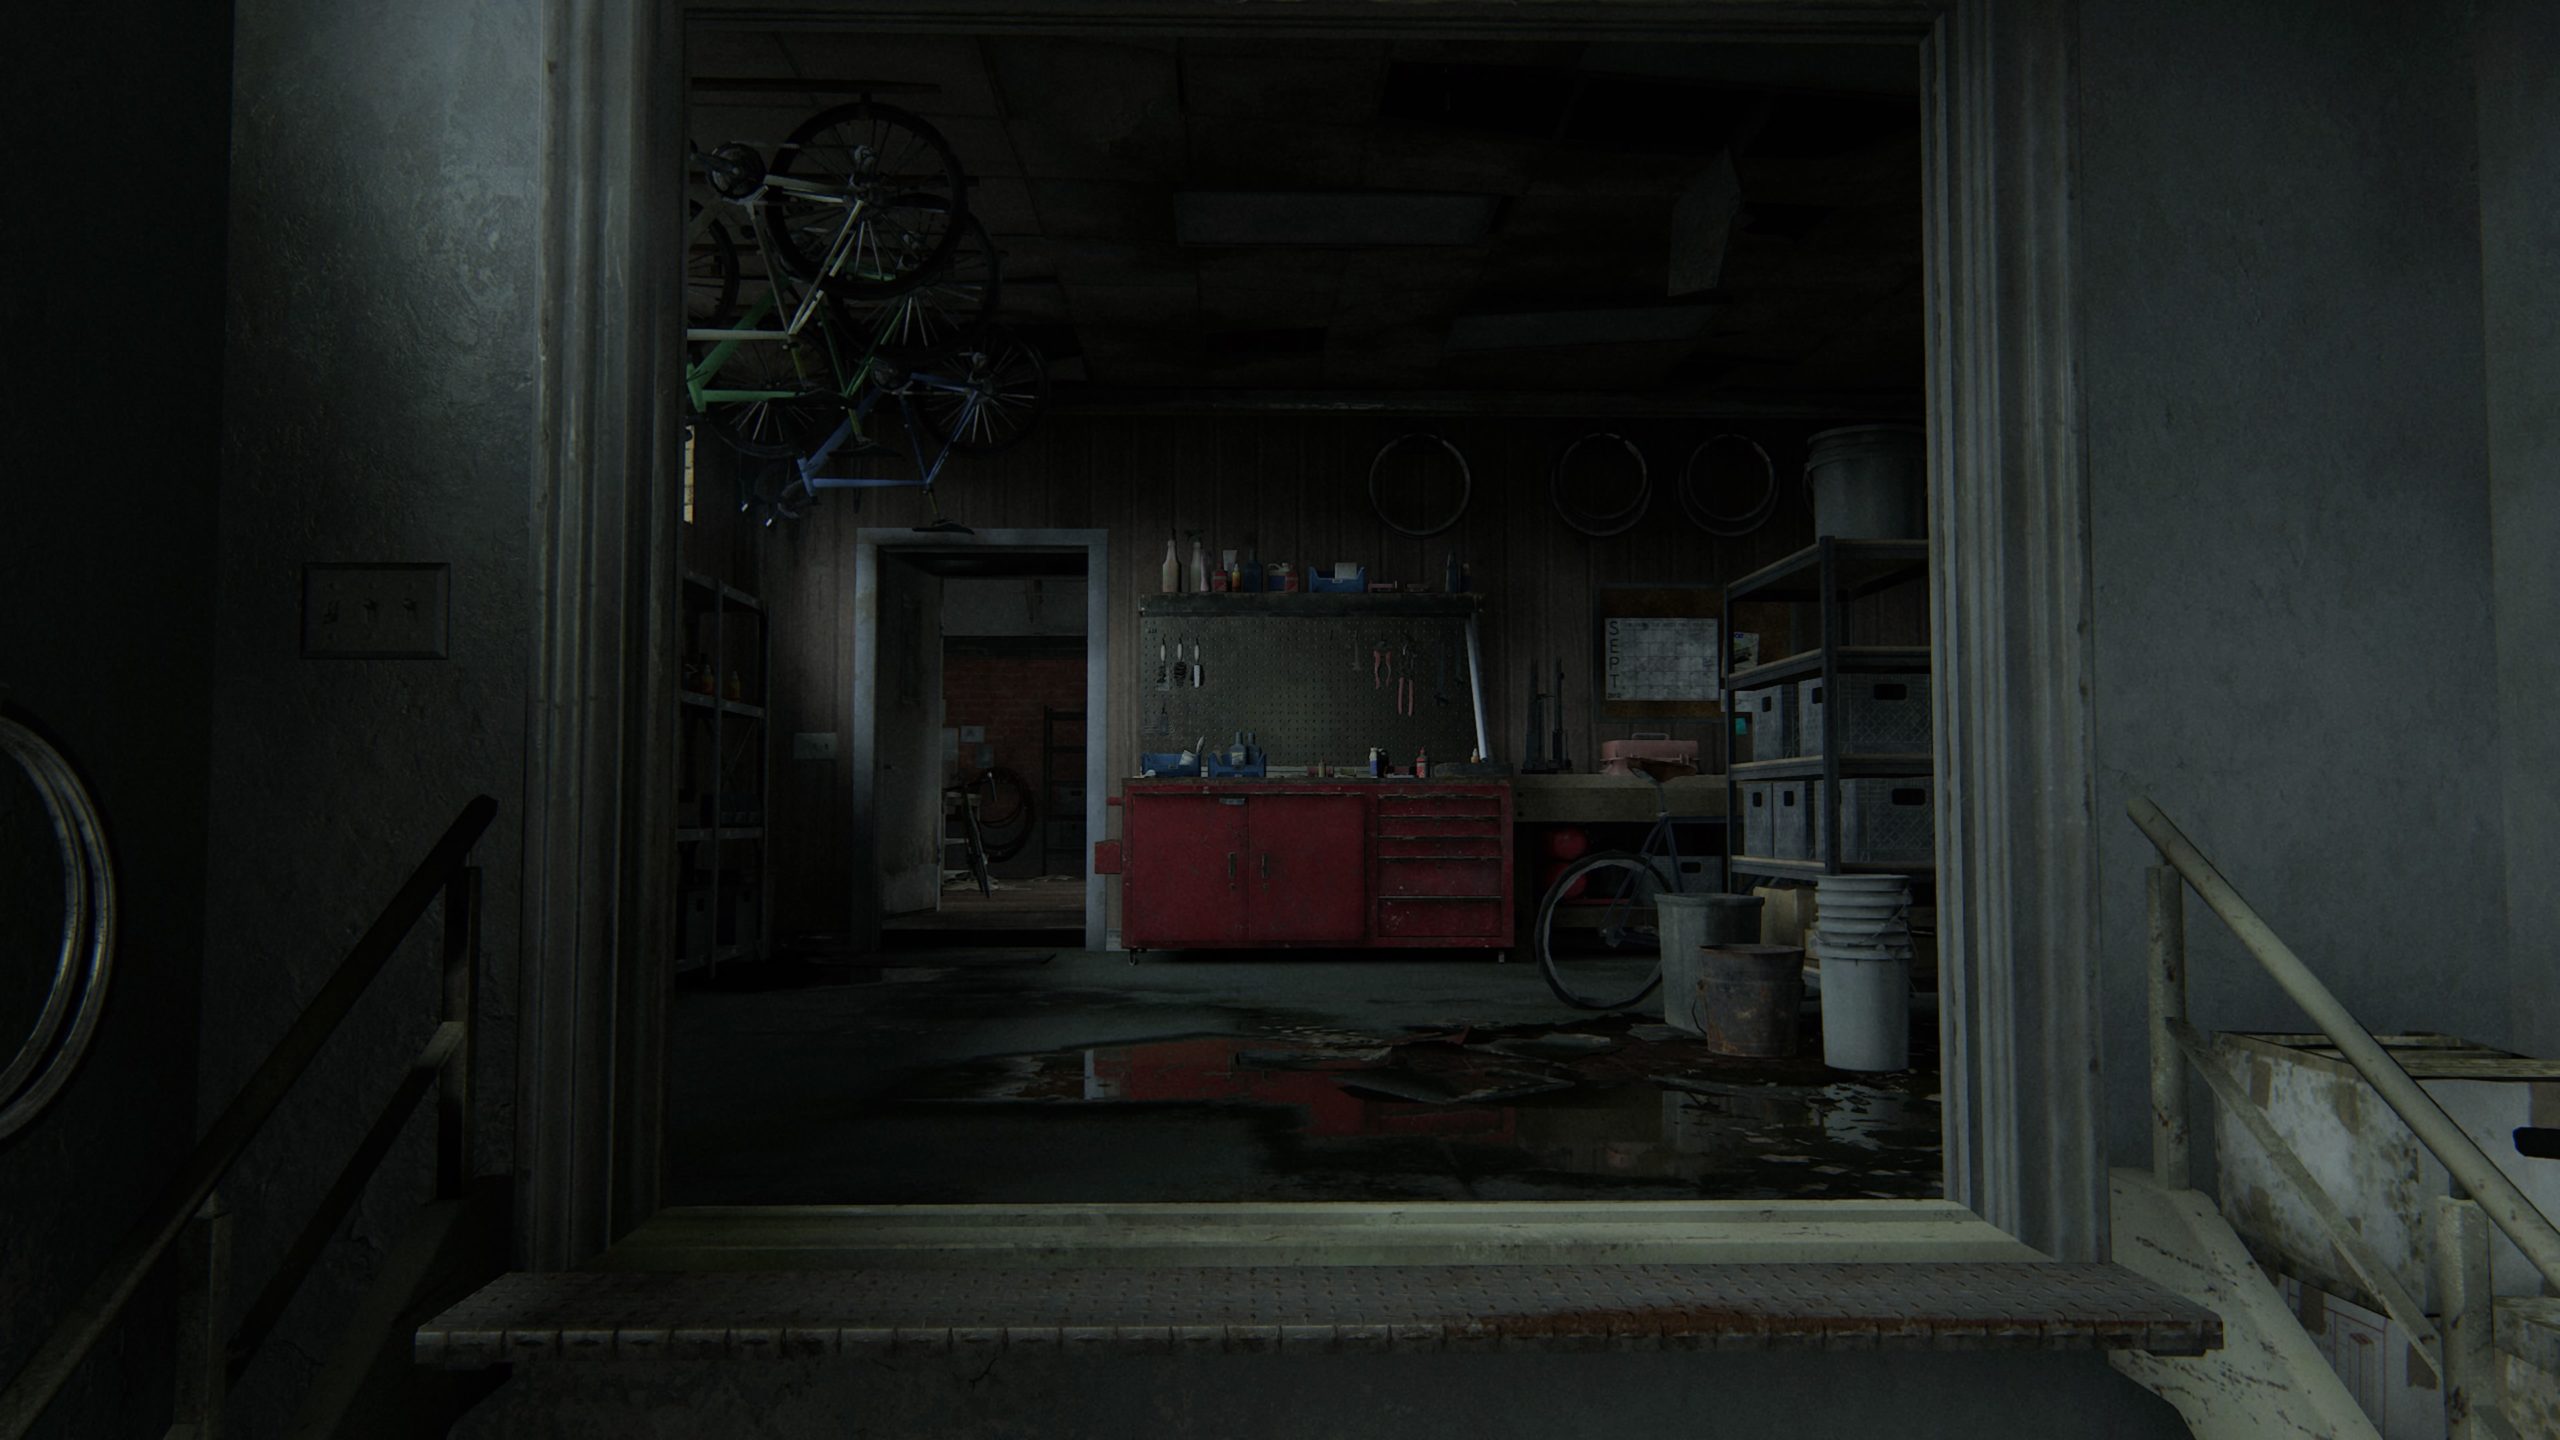
Bicycle Shop
After heading through a set of big red doors you will need to open a gate, causing a dumpster to slide out. Use the dumpster to reach the roof of a nearby structure to progress with the story. Once on the roof, you’ll need to drop down then climb up a hole in the wall. The workbench will be straight ahead near some handing bicycles.
The Seraphites
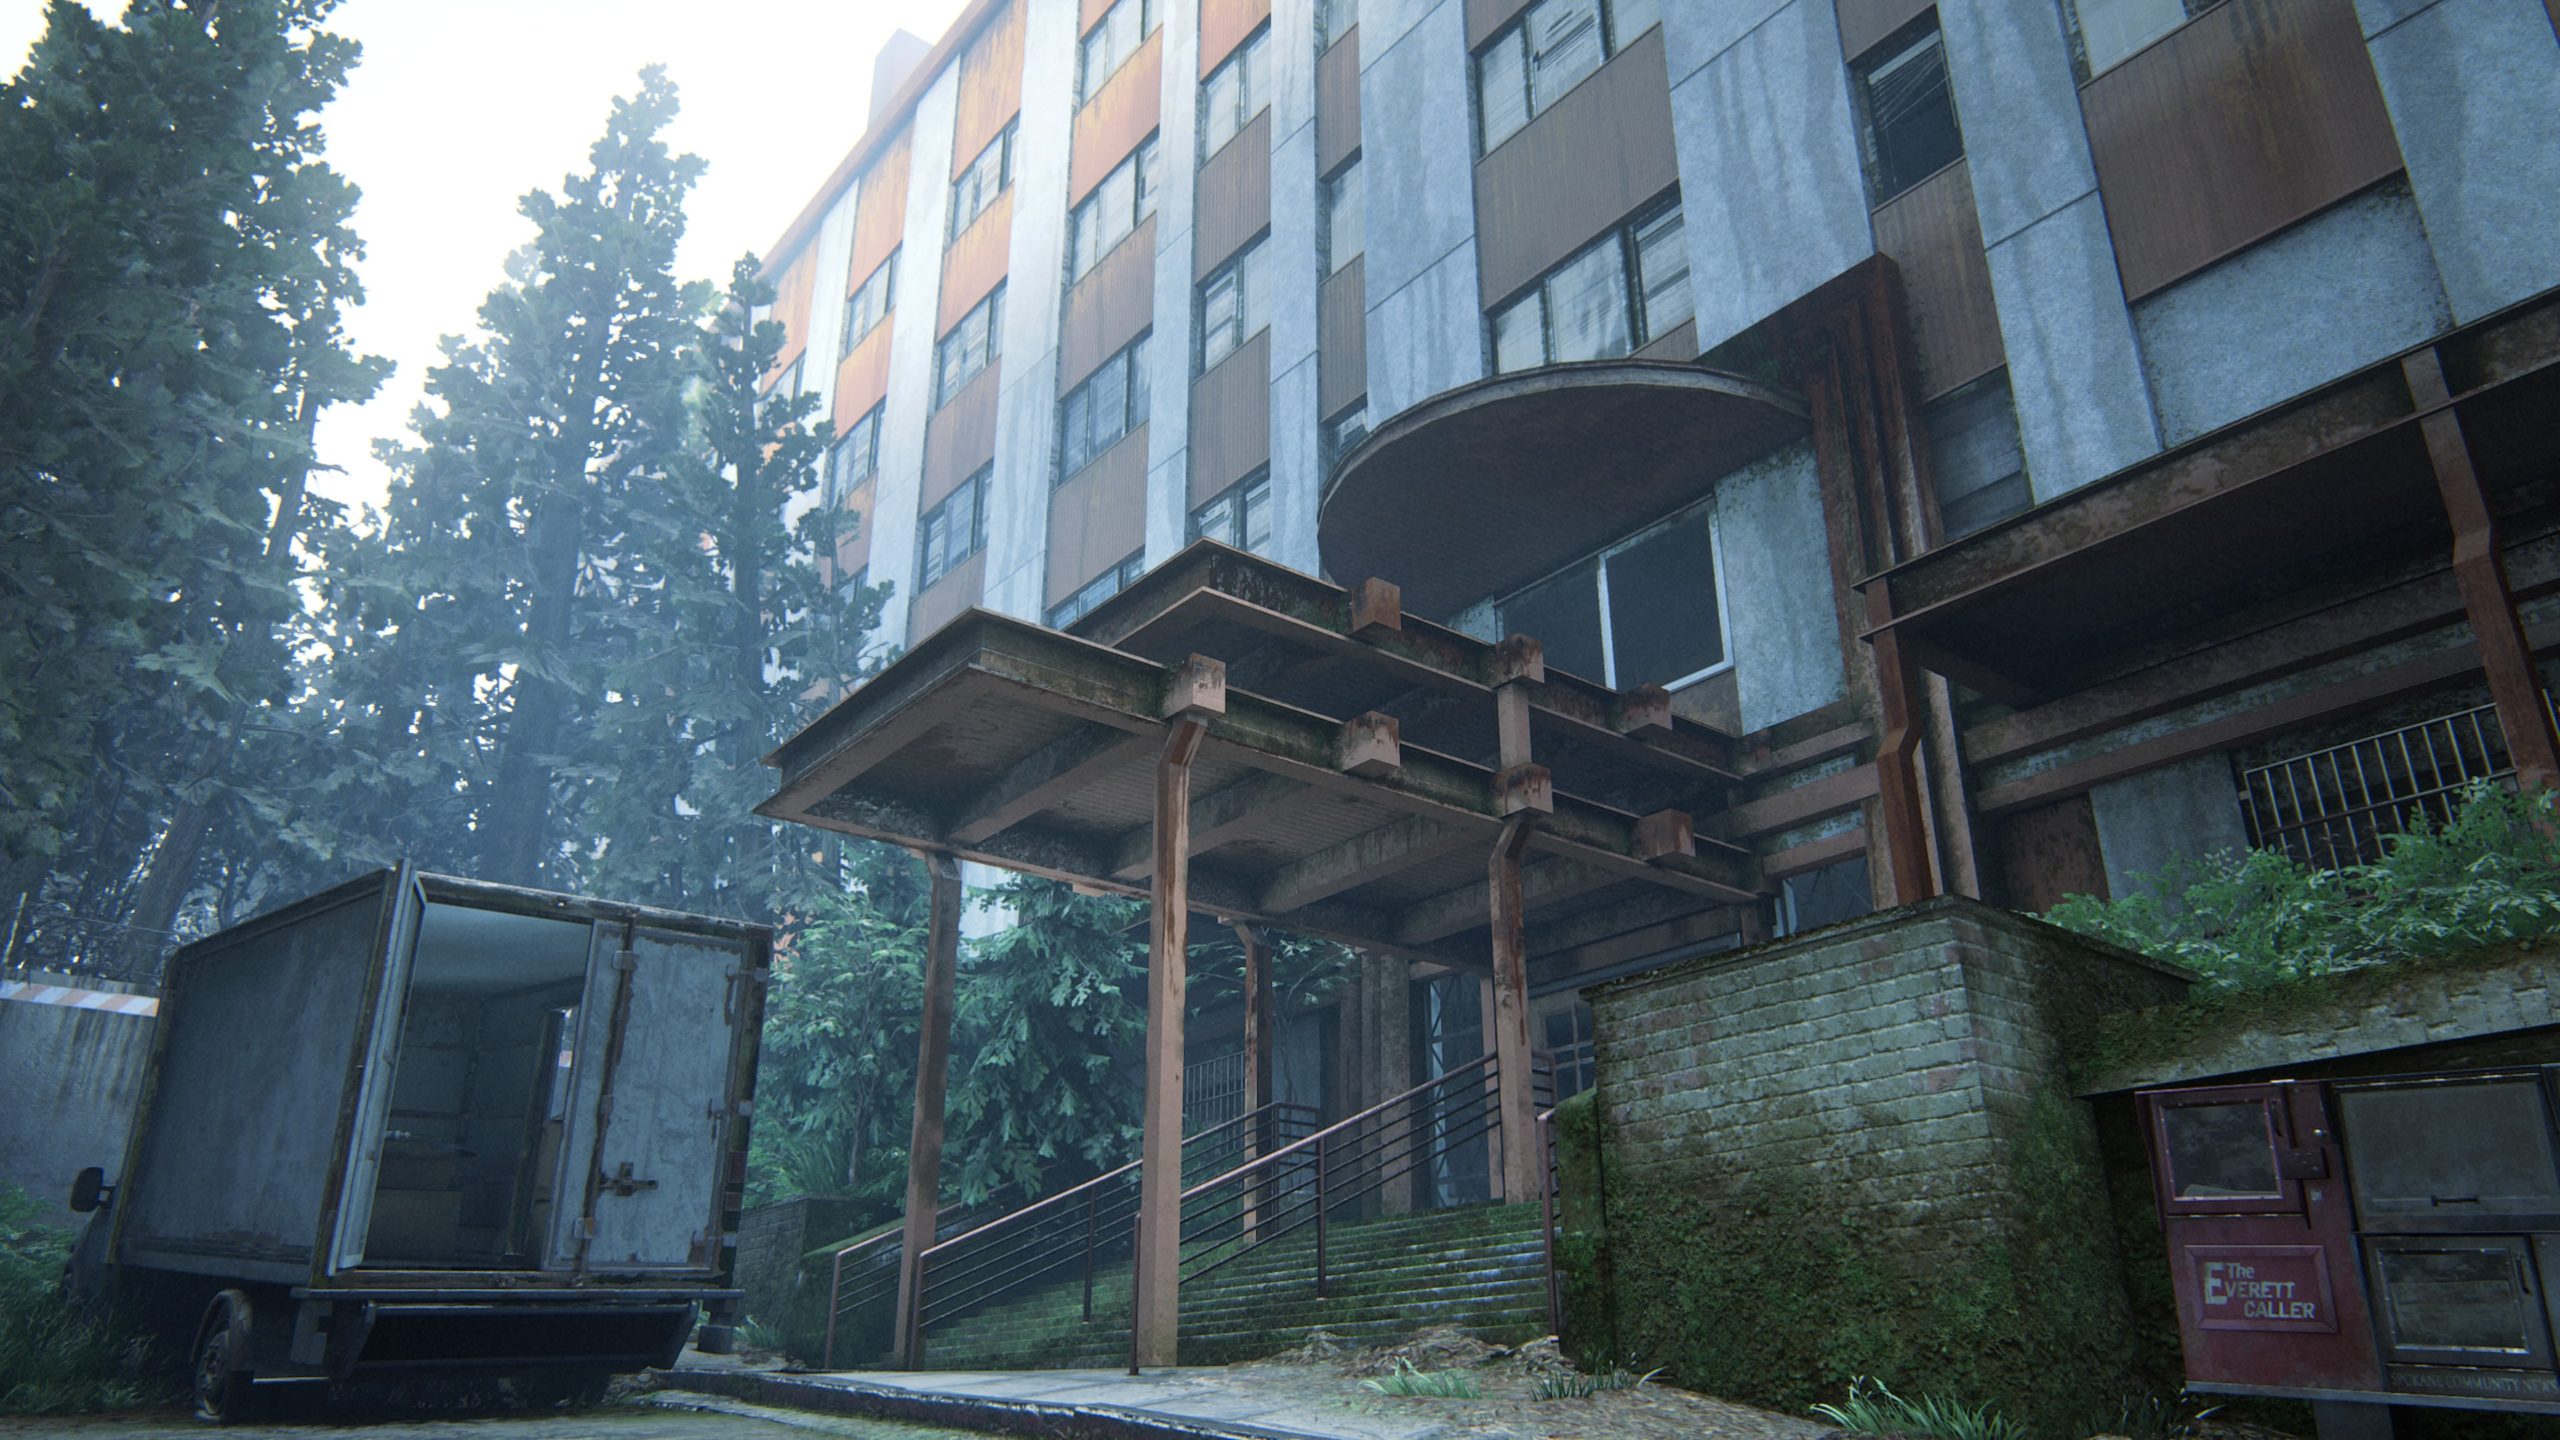
Apartment Building
This workbench can be found in the kitchen of the tall apartment building that is white and orange-ish. When you reach the building, climb up the delivery truck in front of it to reach the top of an overhang. Climb in through the window then take the leftmost door and follow it through the hallway to find the workbench at the end.
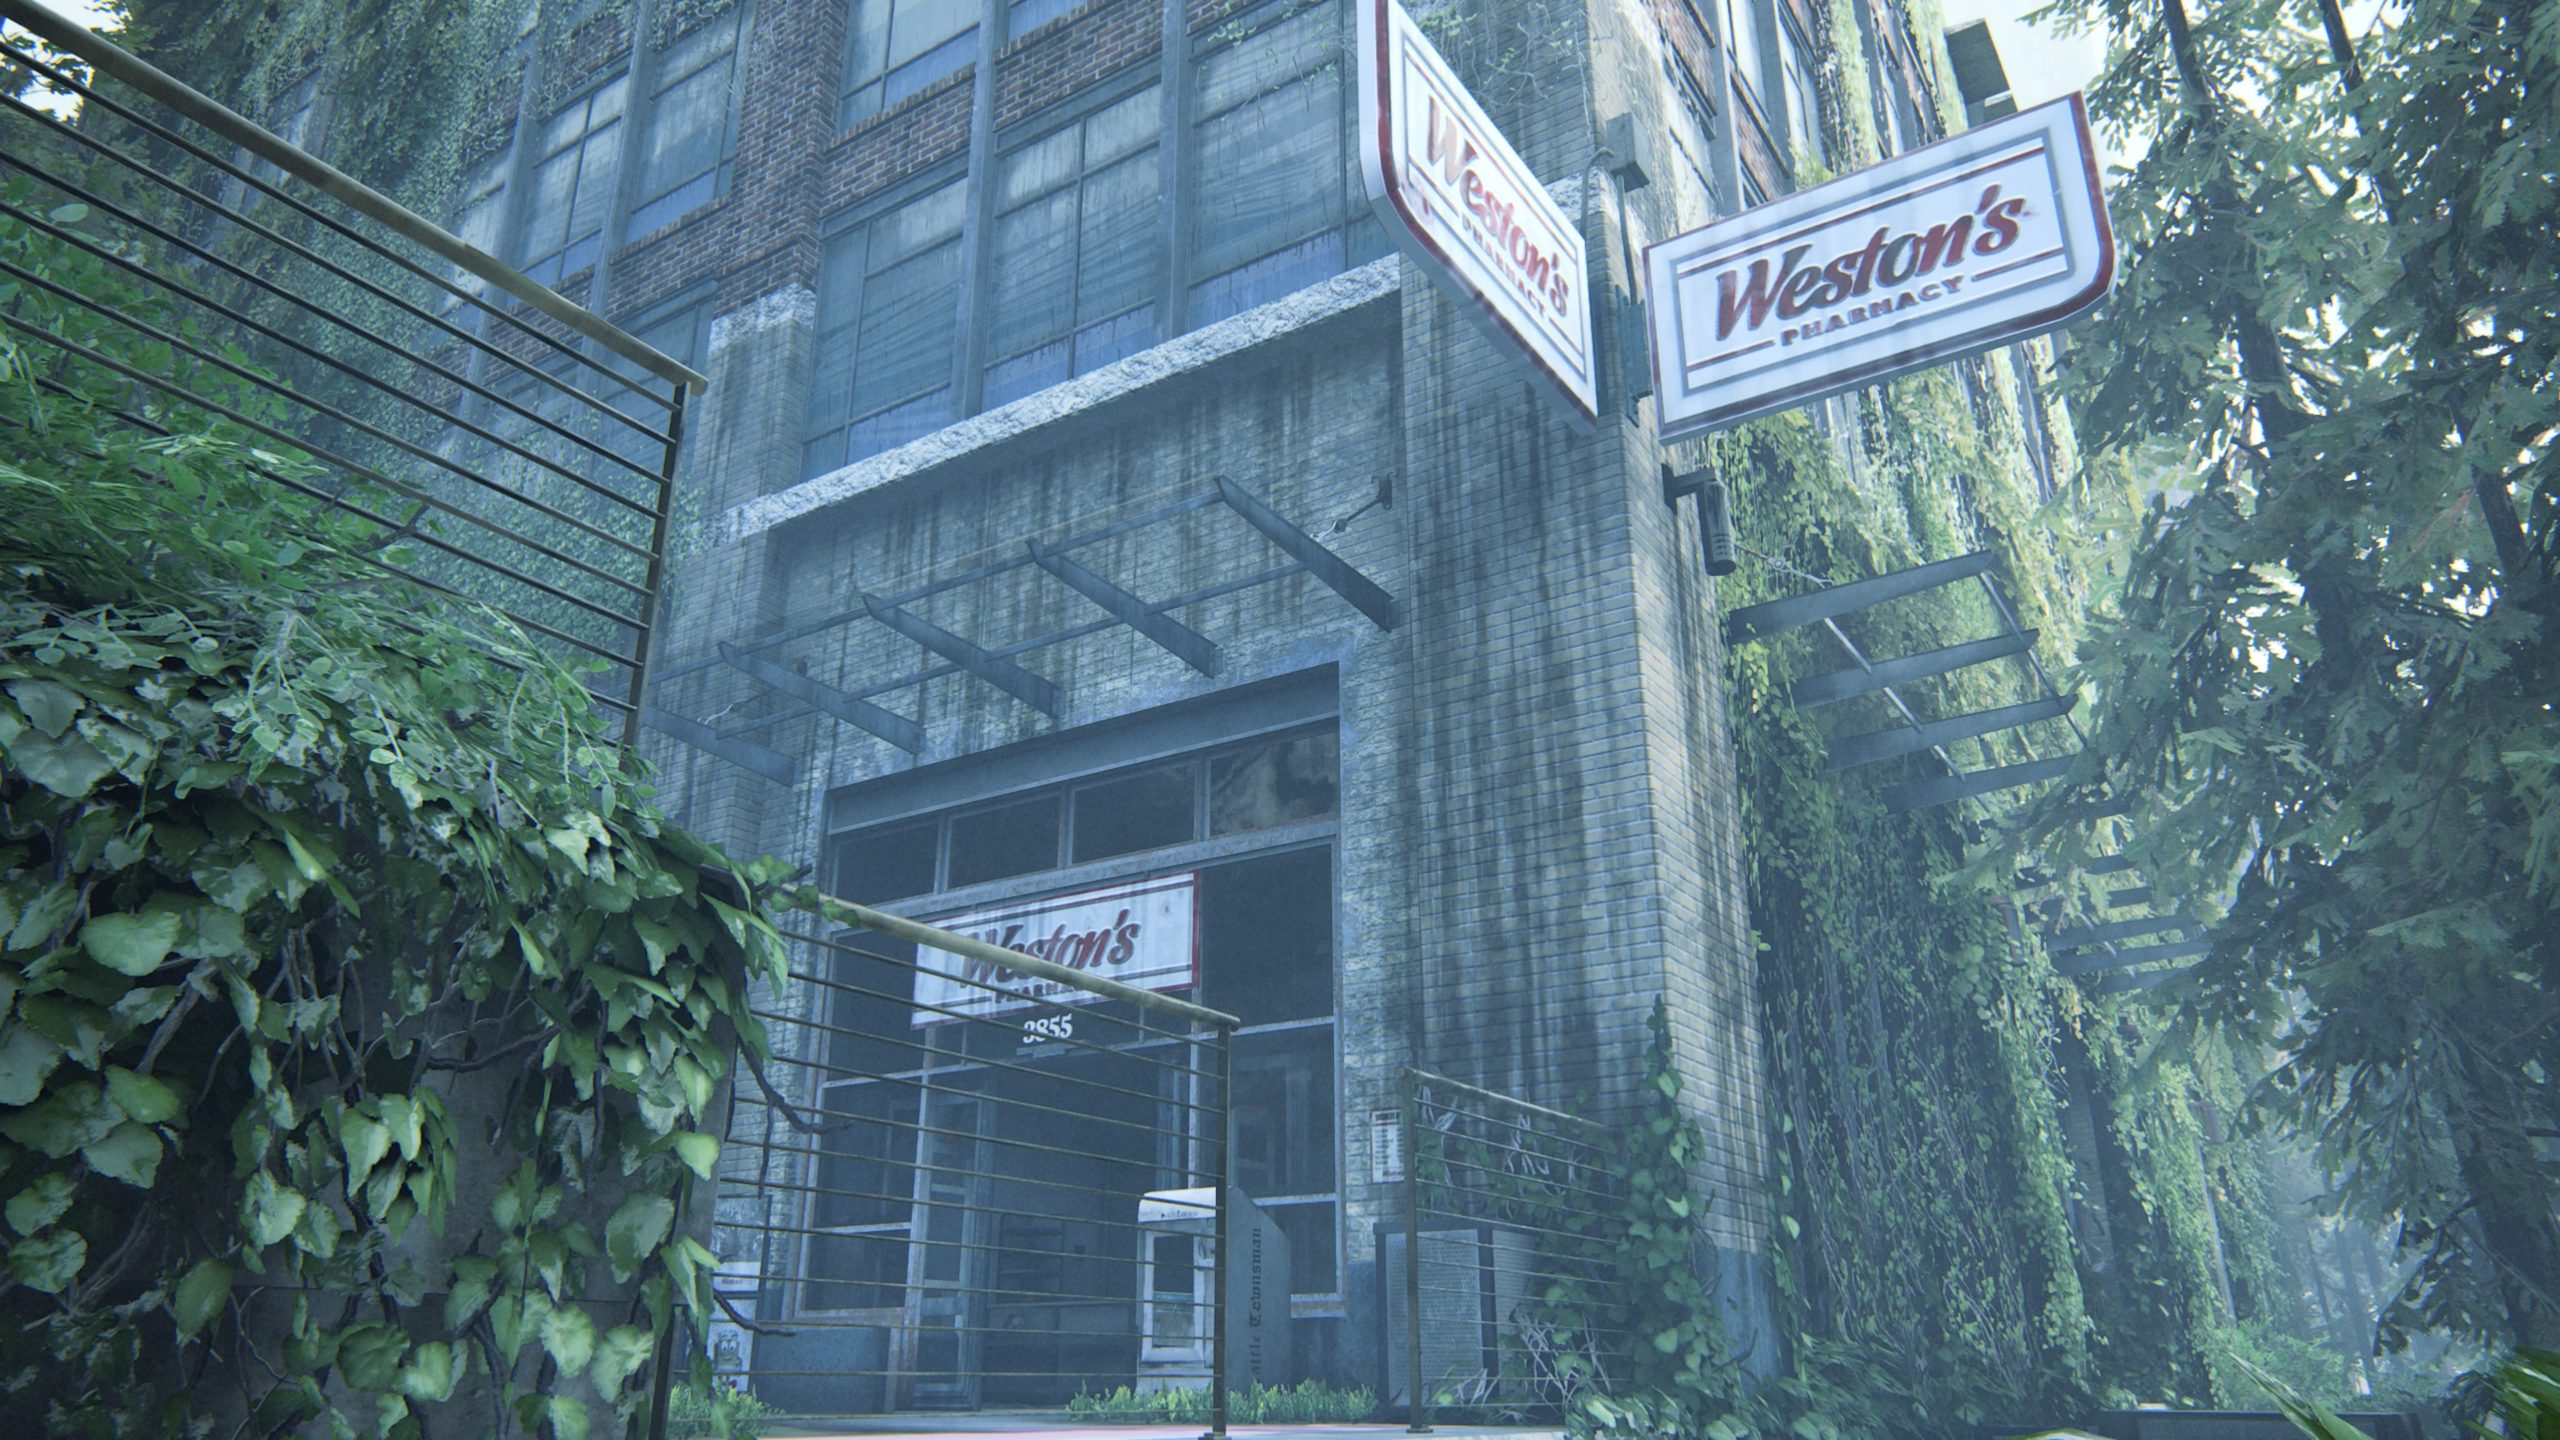
Weston’s Pharmacy
This workbench can be found in Weston’s Pharmacy. To reach it, you will need to crawl through a hole in the wall in the middle of the store.
Road to the Aquarium
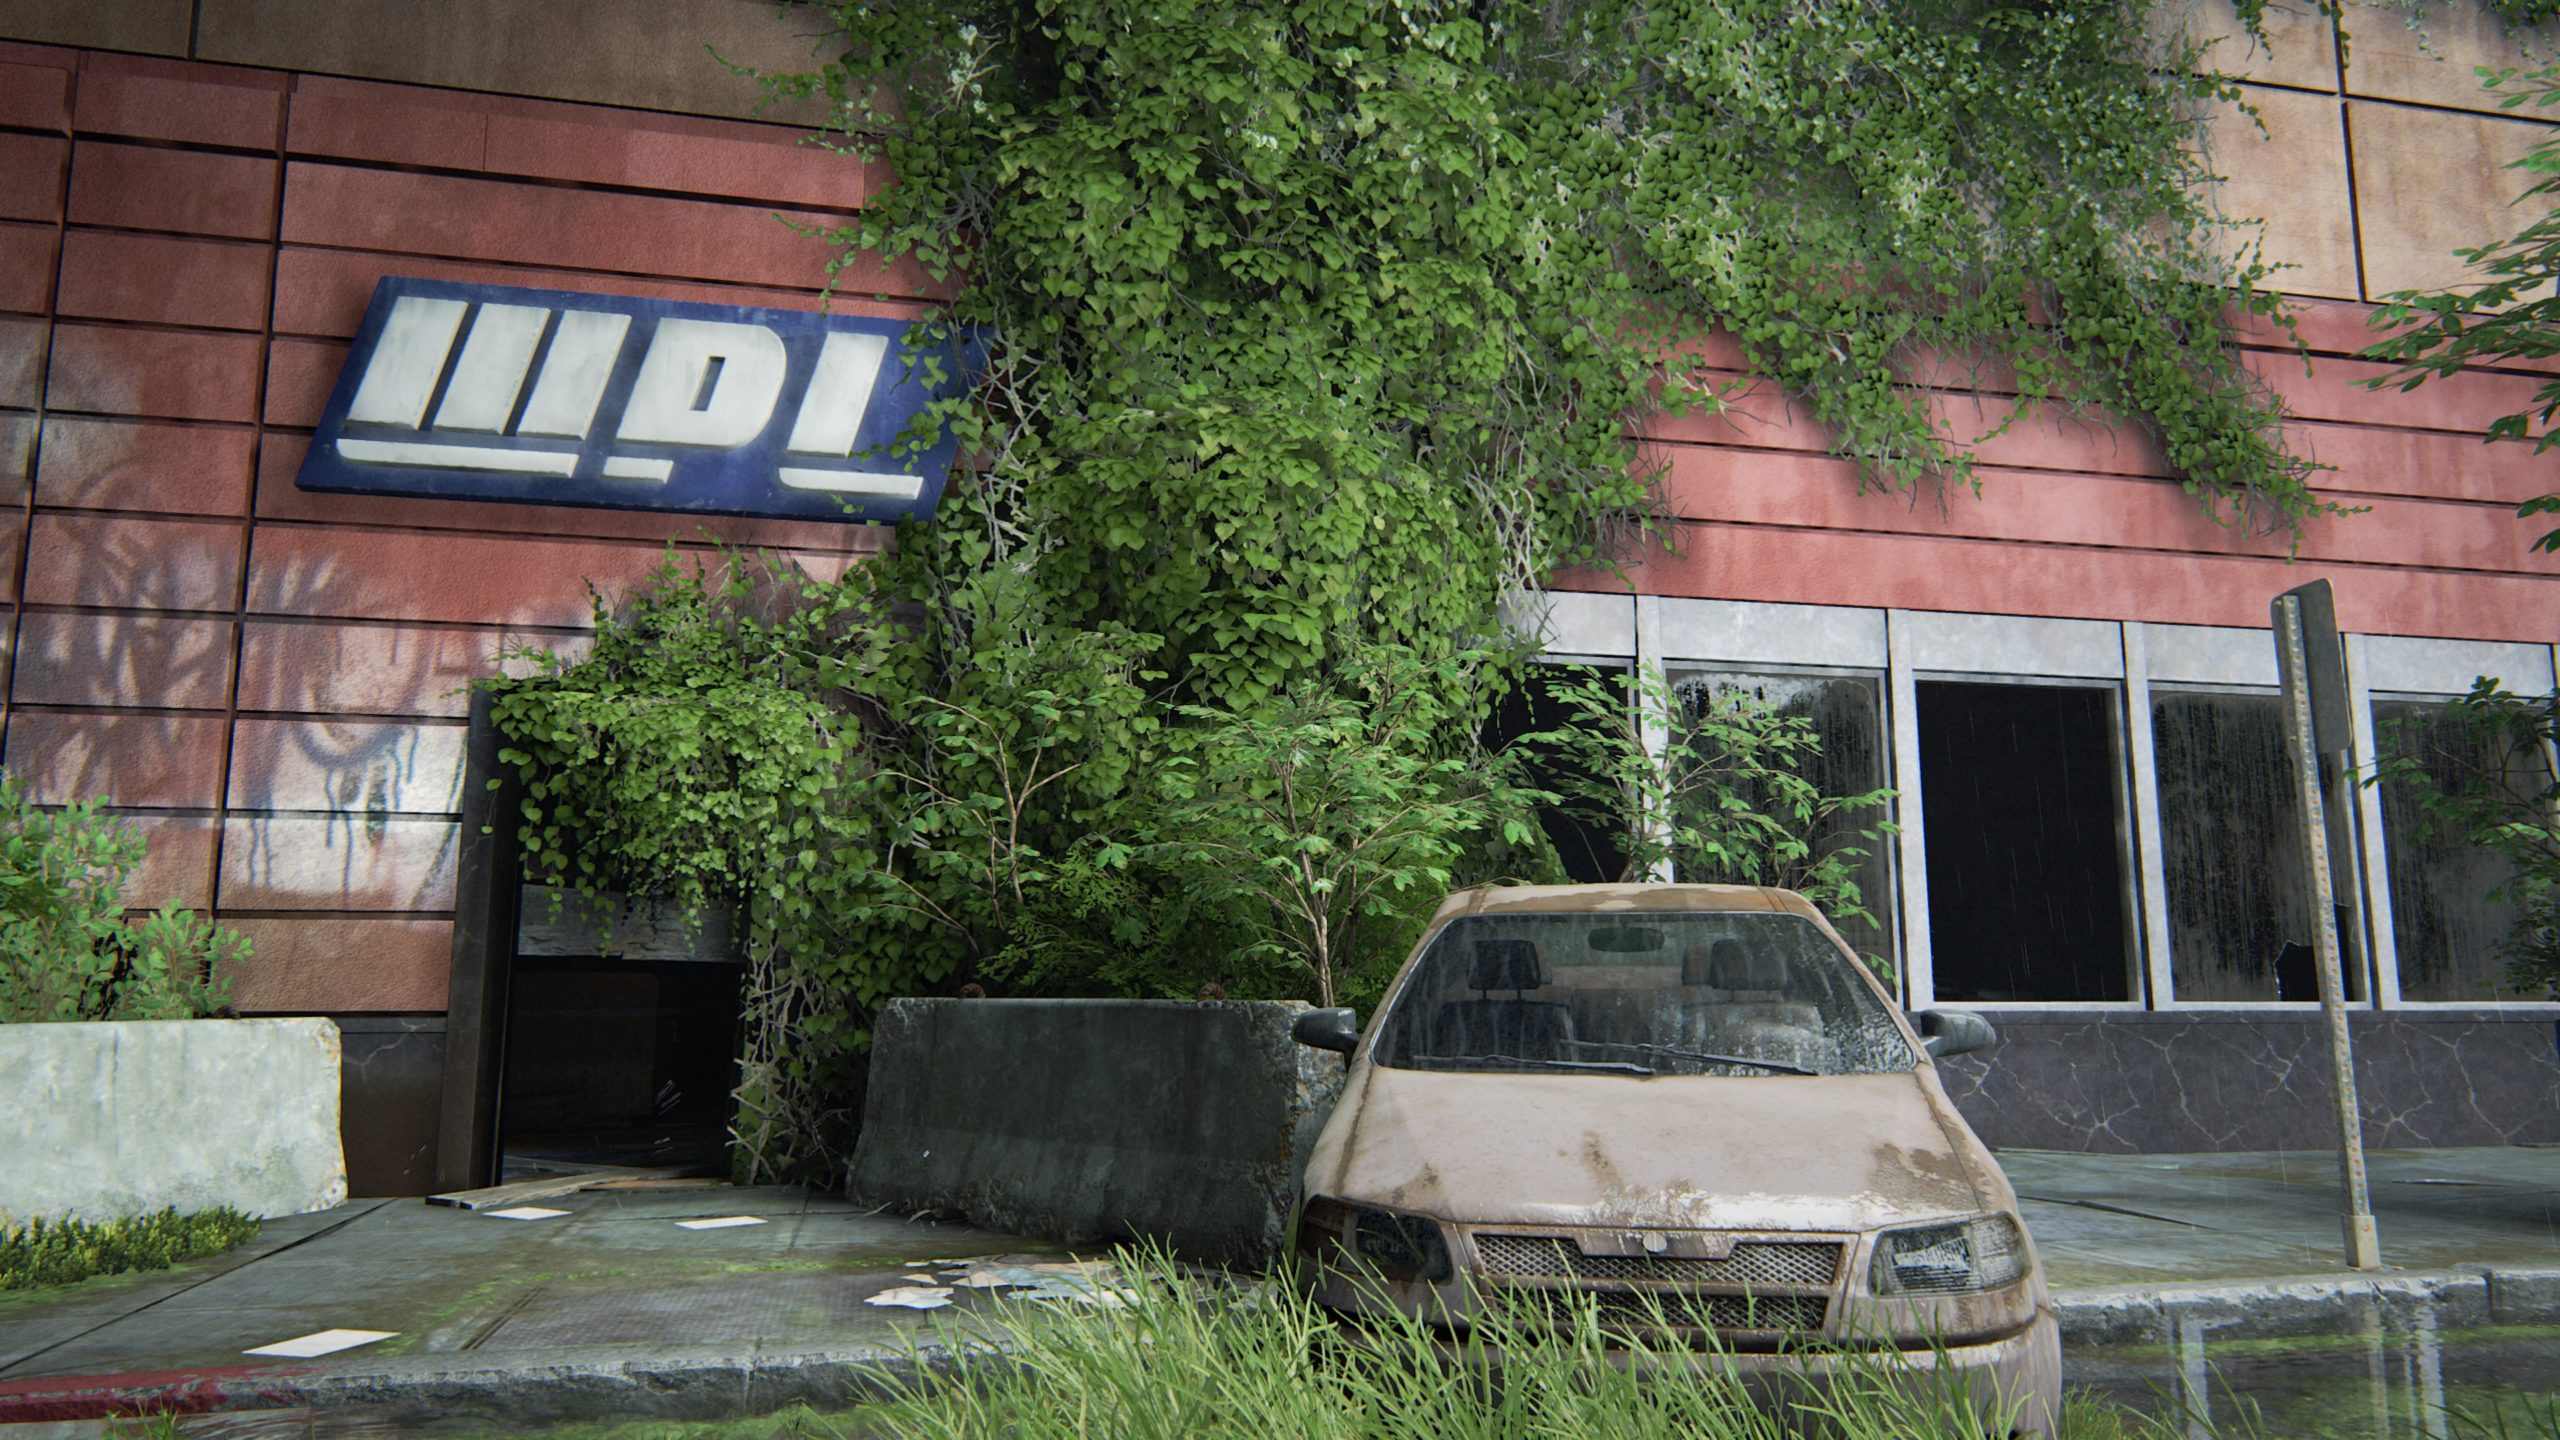
WPL
This workbench can be found in the shipping and packing center. To reach the room containing the workbench, you will need to climb under a fallen filing cabinet blocking the doorway.
Ruined Building
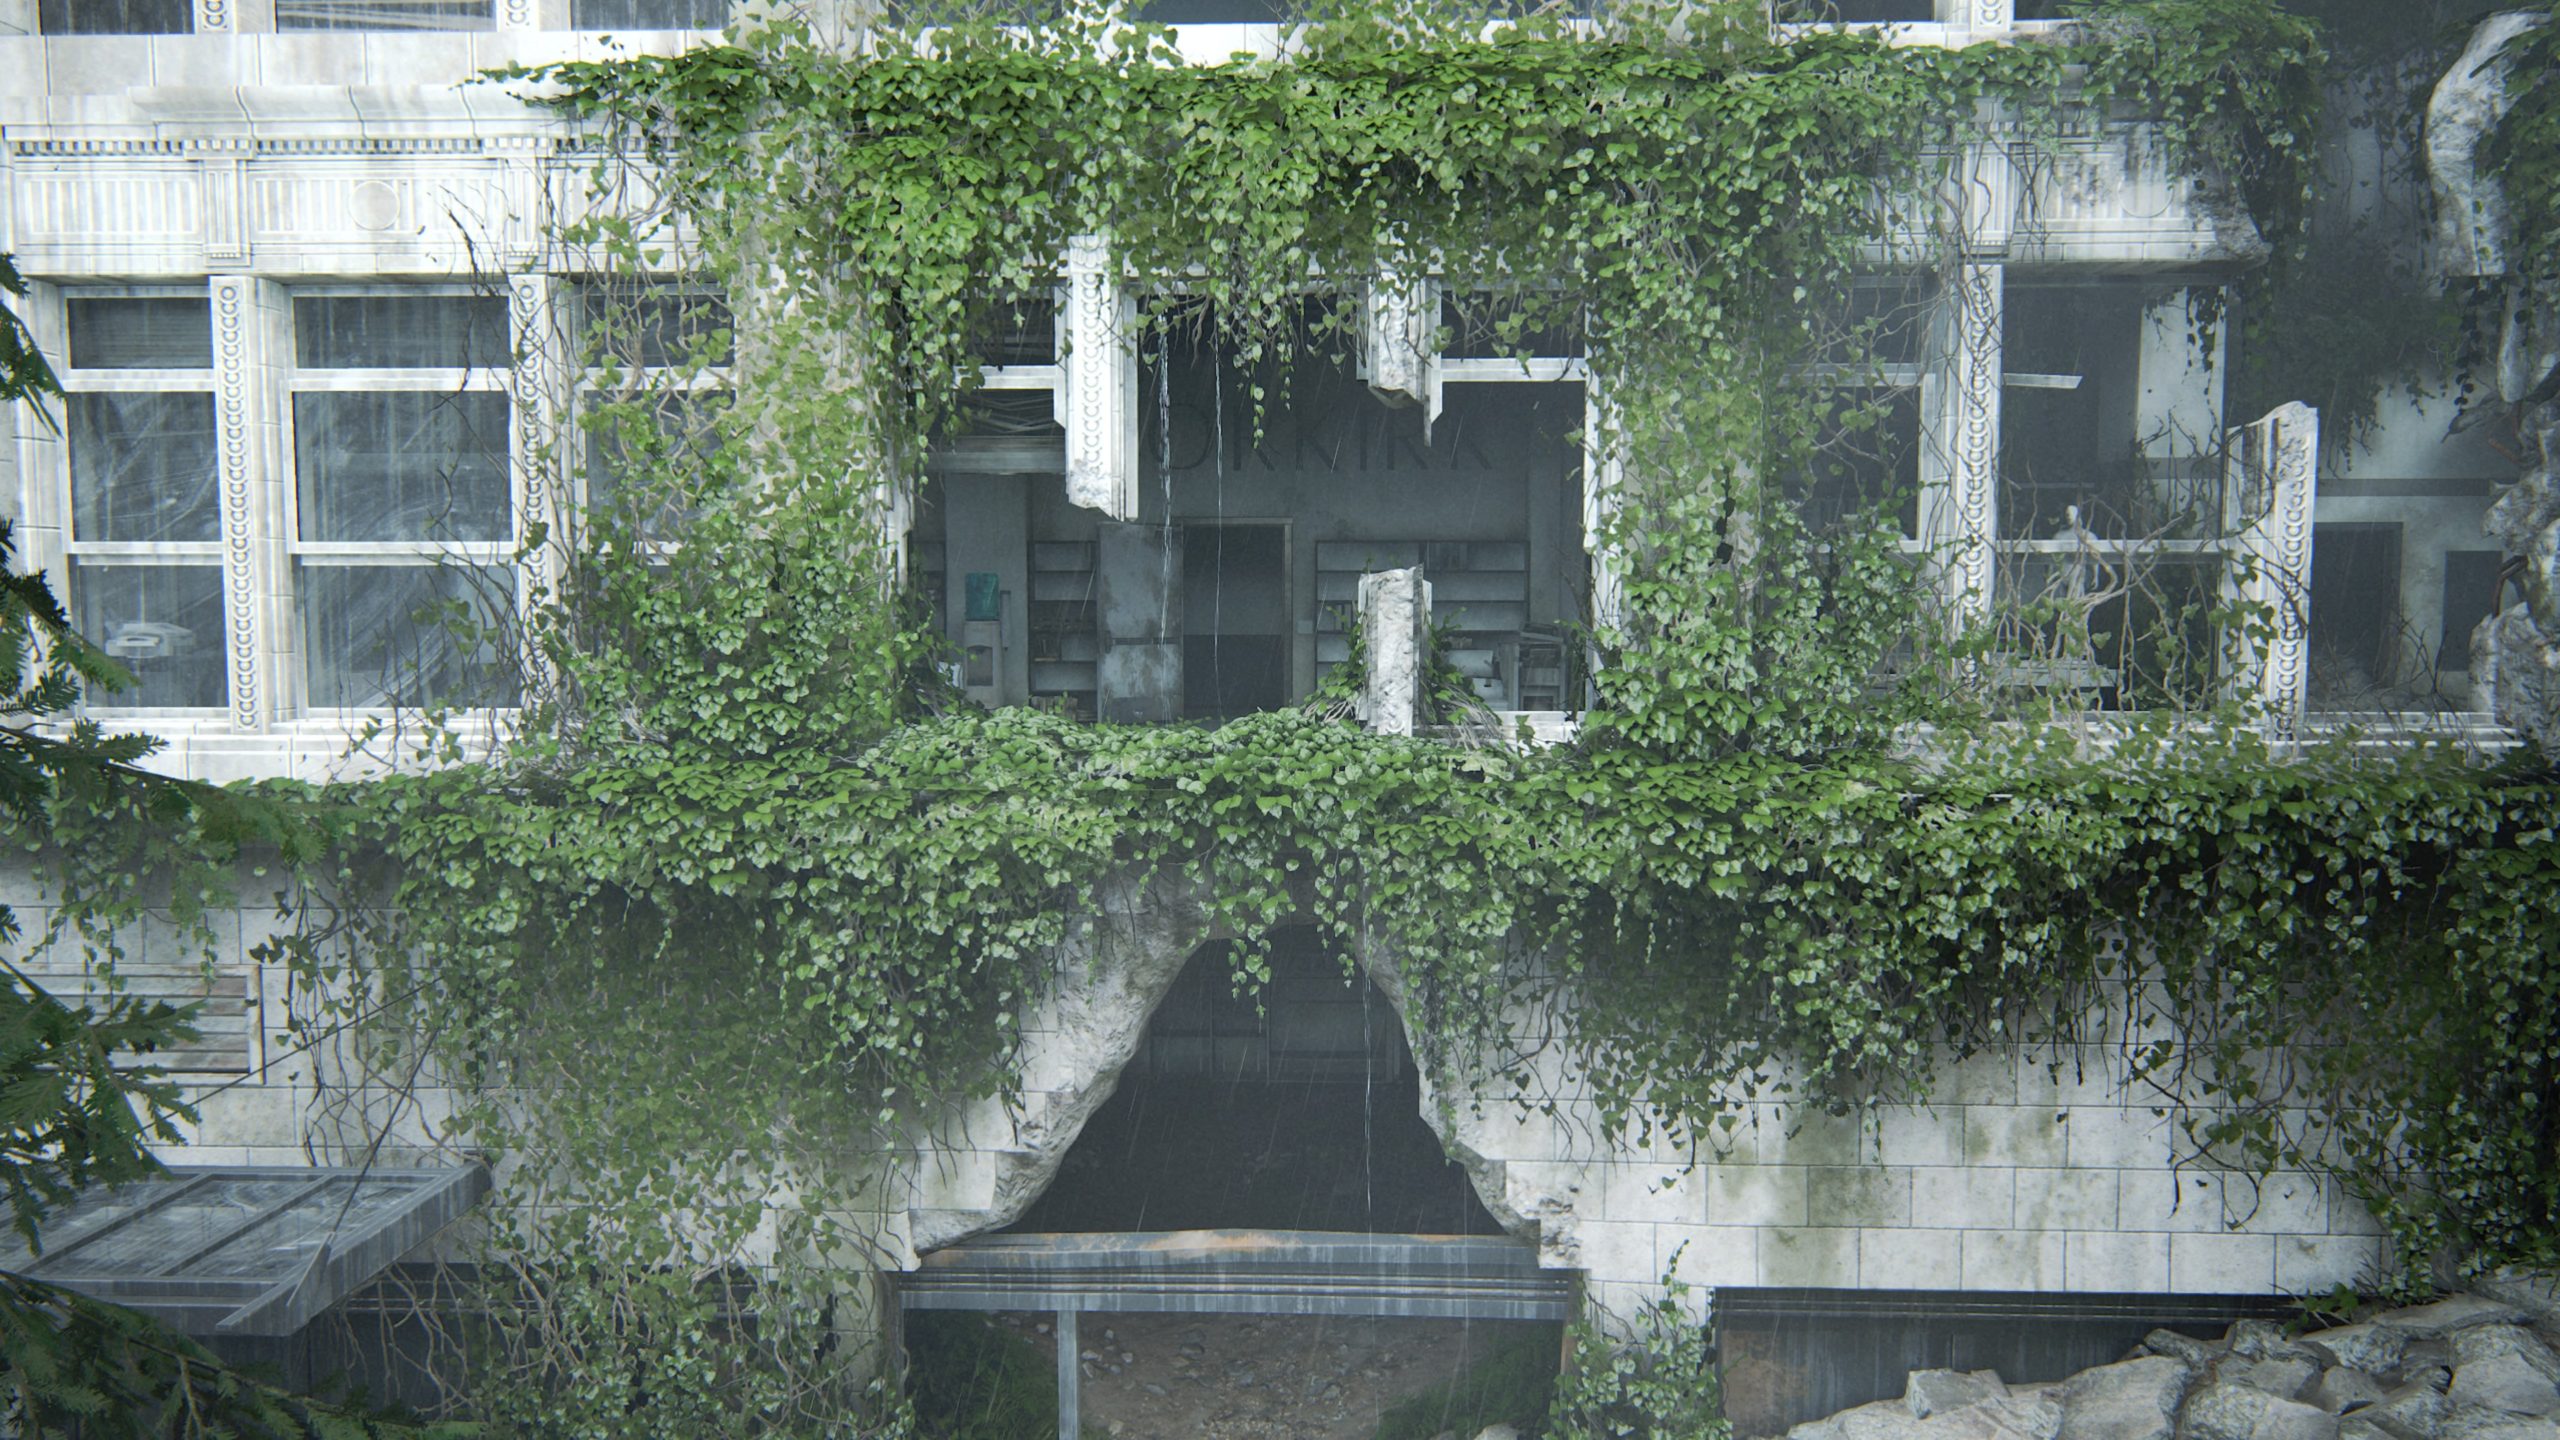
After diving under rubble blocking the path forward as part of the story, you’ll exit the river and come to a ruined building. Jesse will mention that they should head up to the bridge to get their bearings. Make your way to the second floor and look for the room with the Norkirk sign on the wall to find the workbench.
The Flooded City
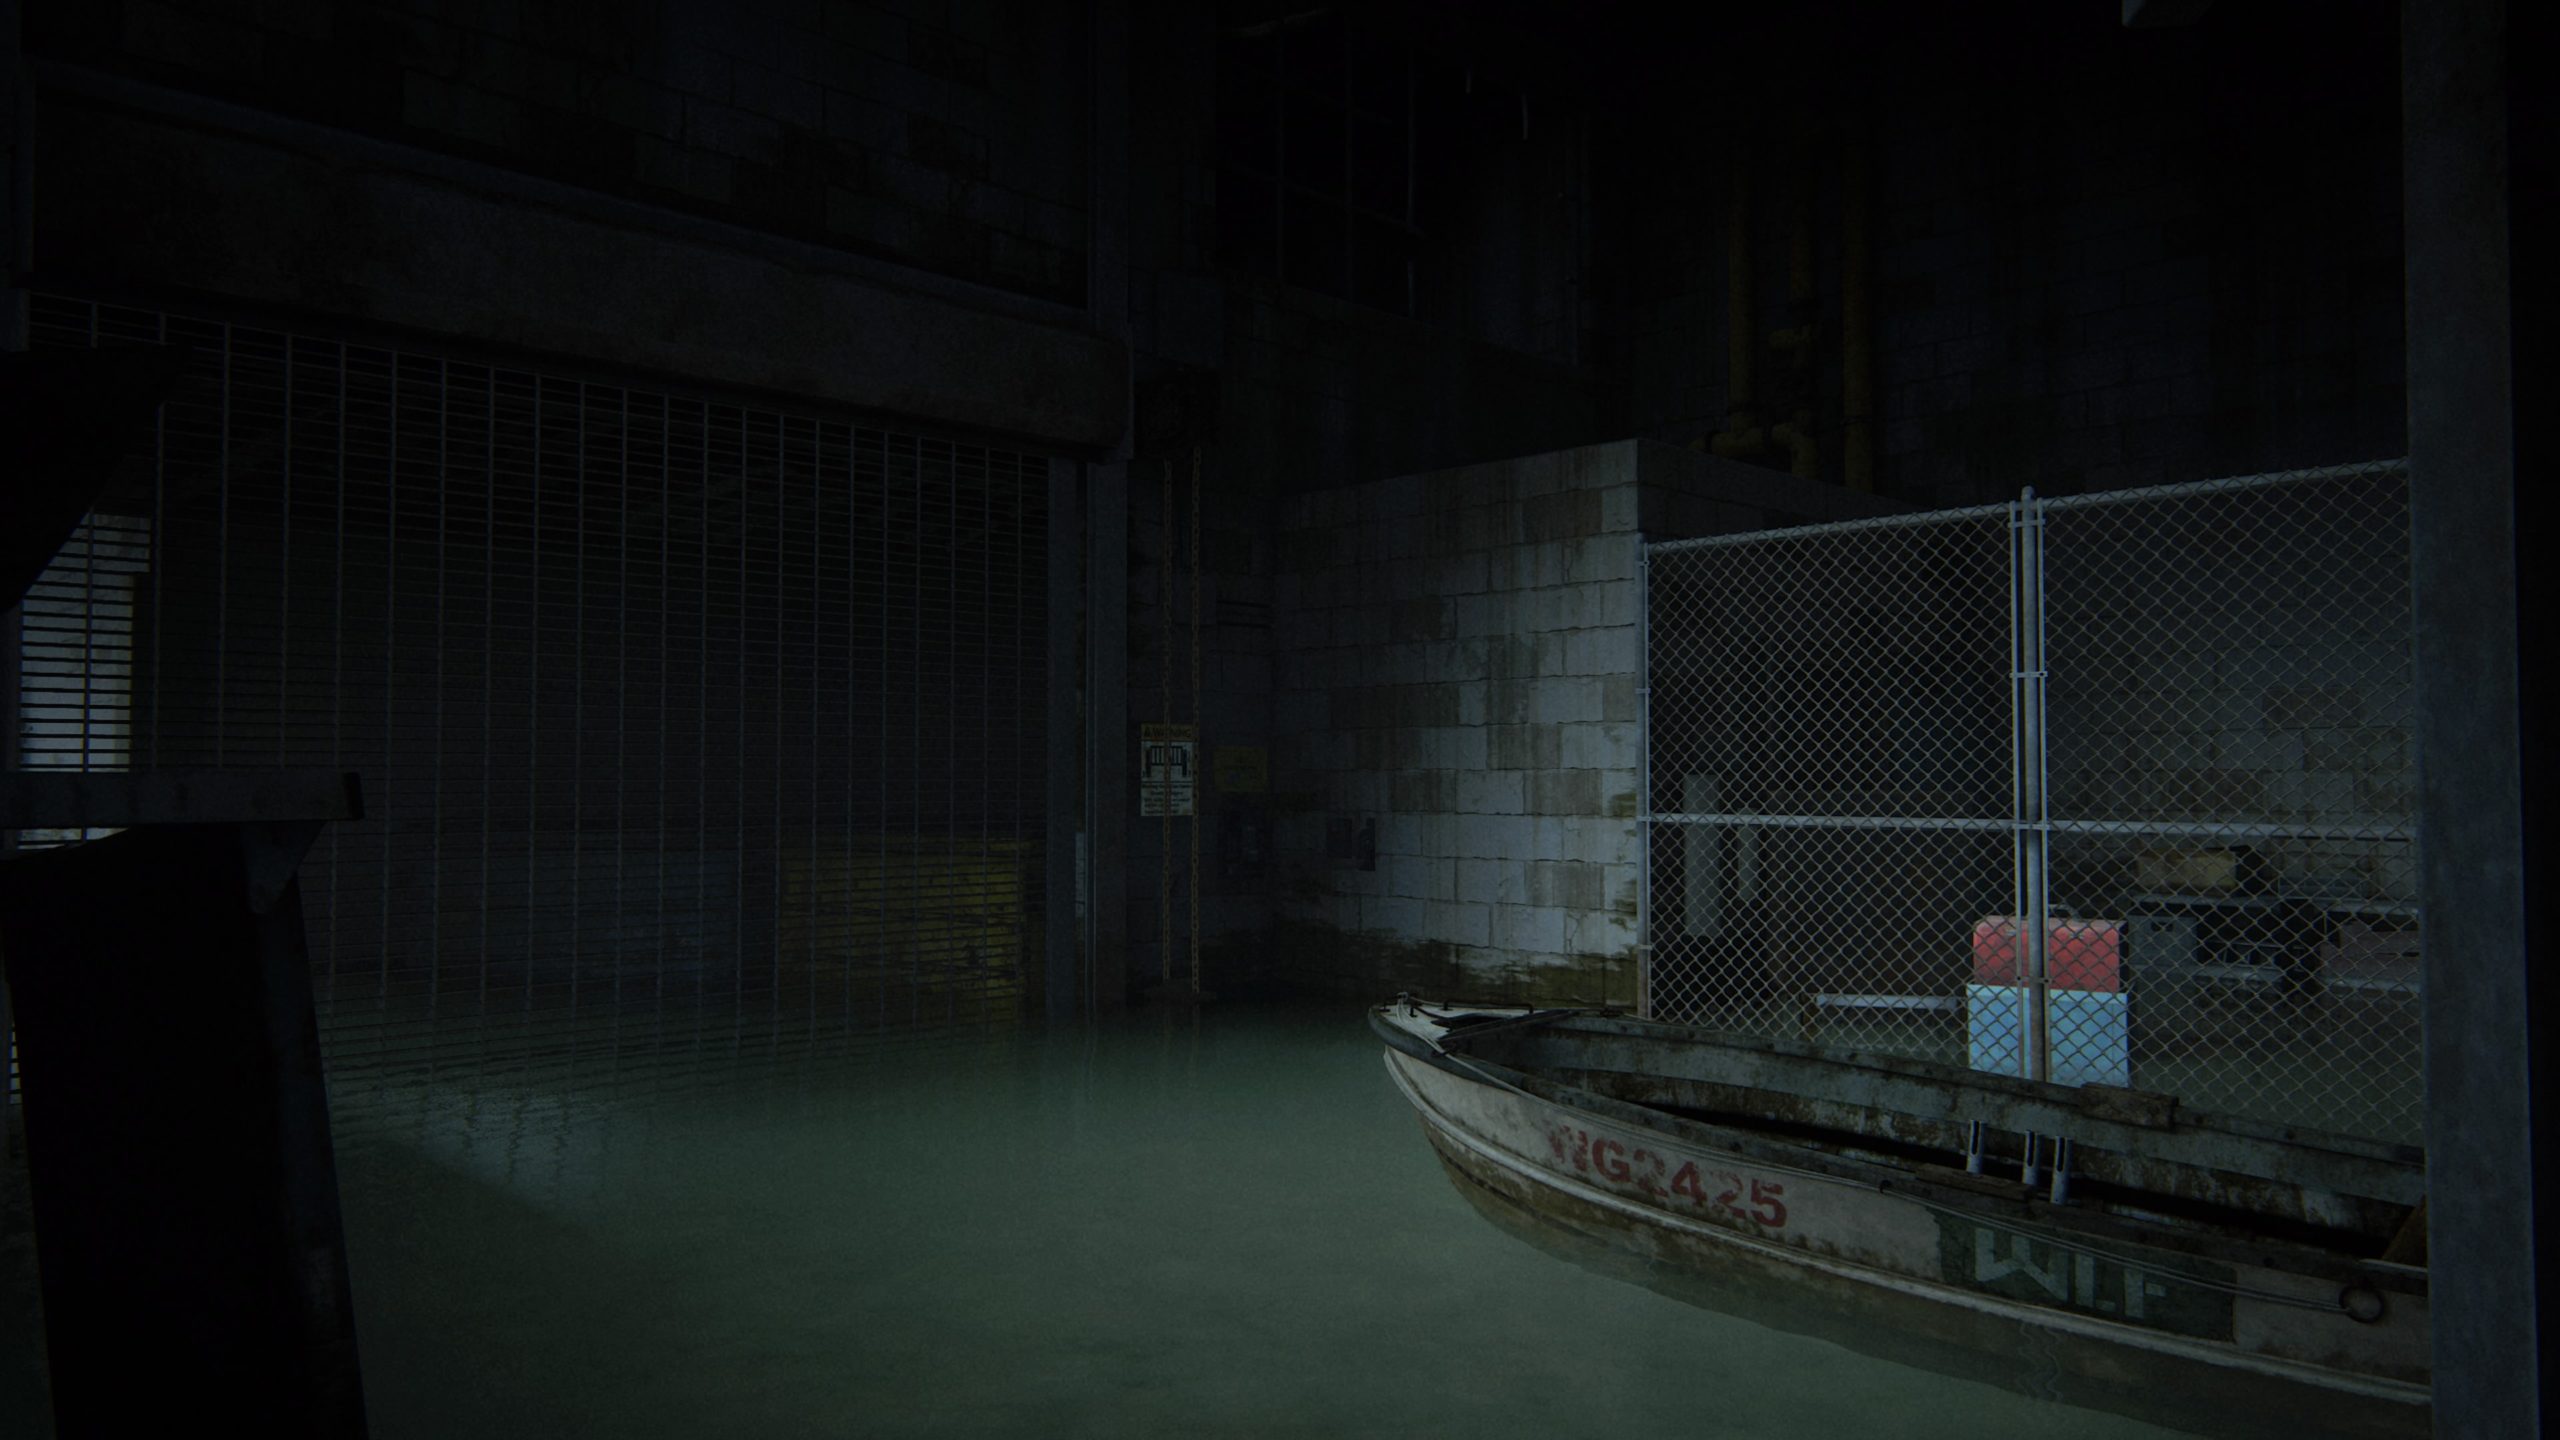
Manufacturing Building
After you restart the boat when it dies, head forward a short way to find the Seattle Sleep Warehouse. Take the path on the left in front of the warehouse to find a manufacturing store with blue barrels in the front. Enter the building to find the workbench.
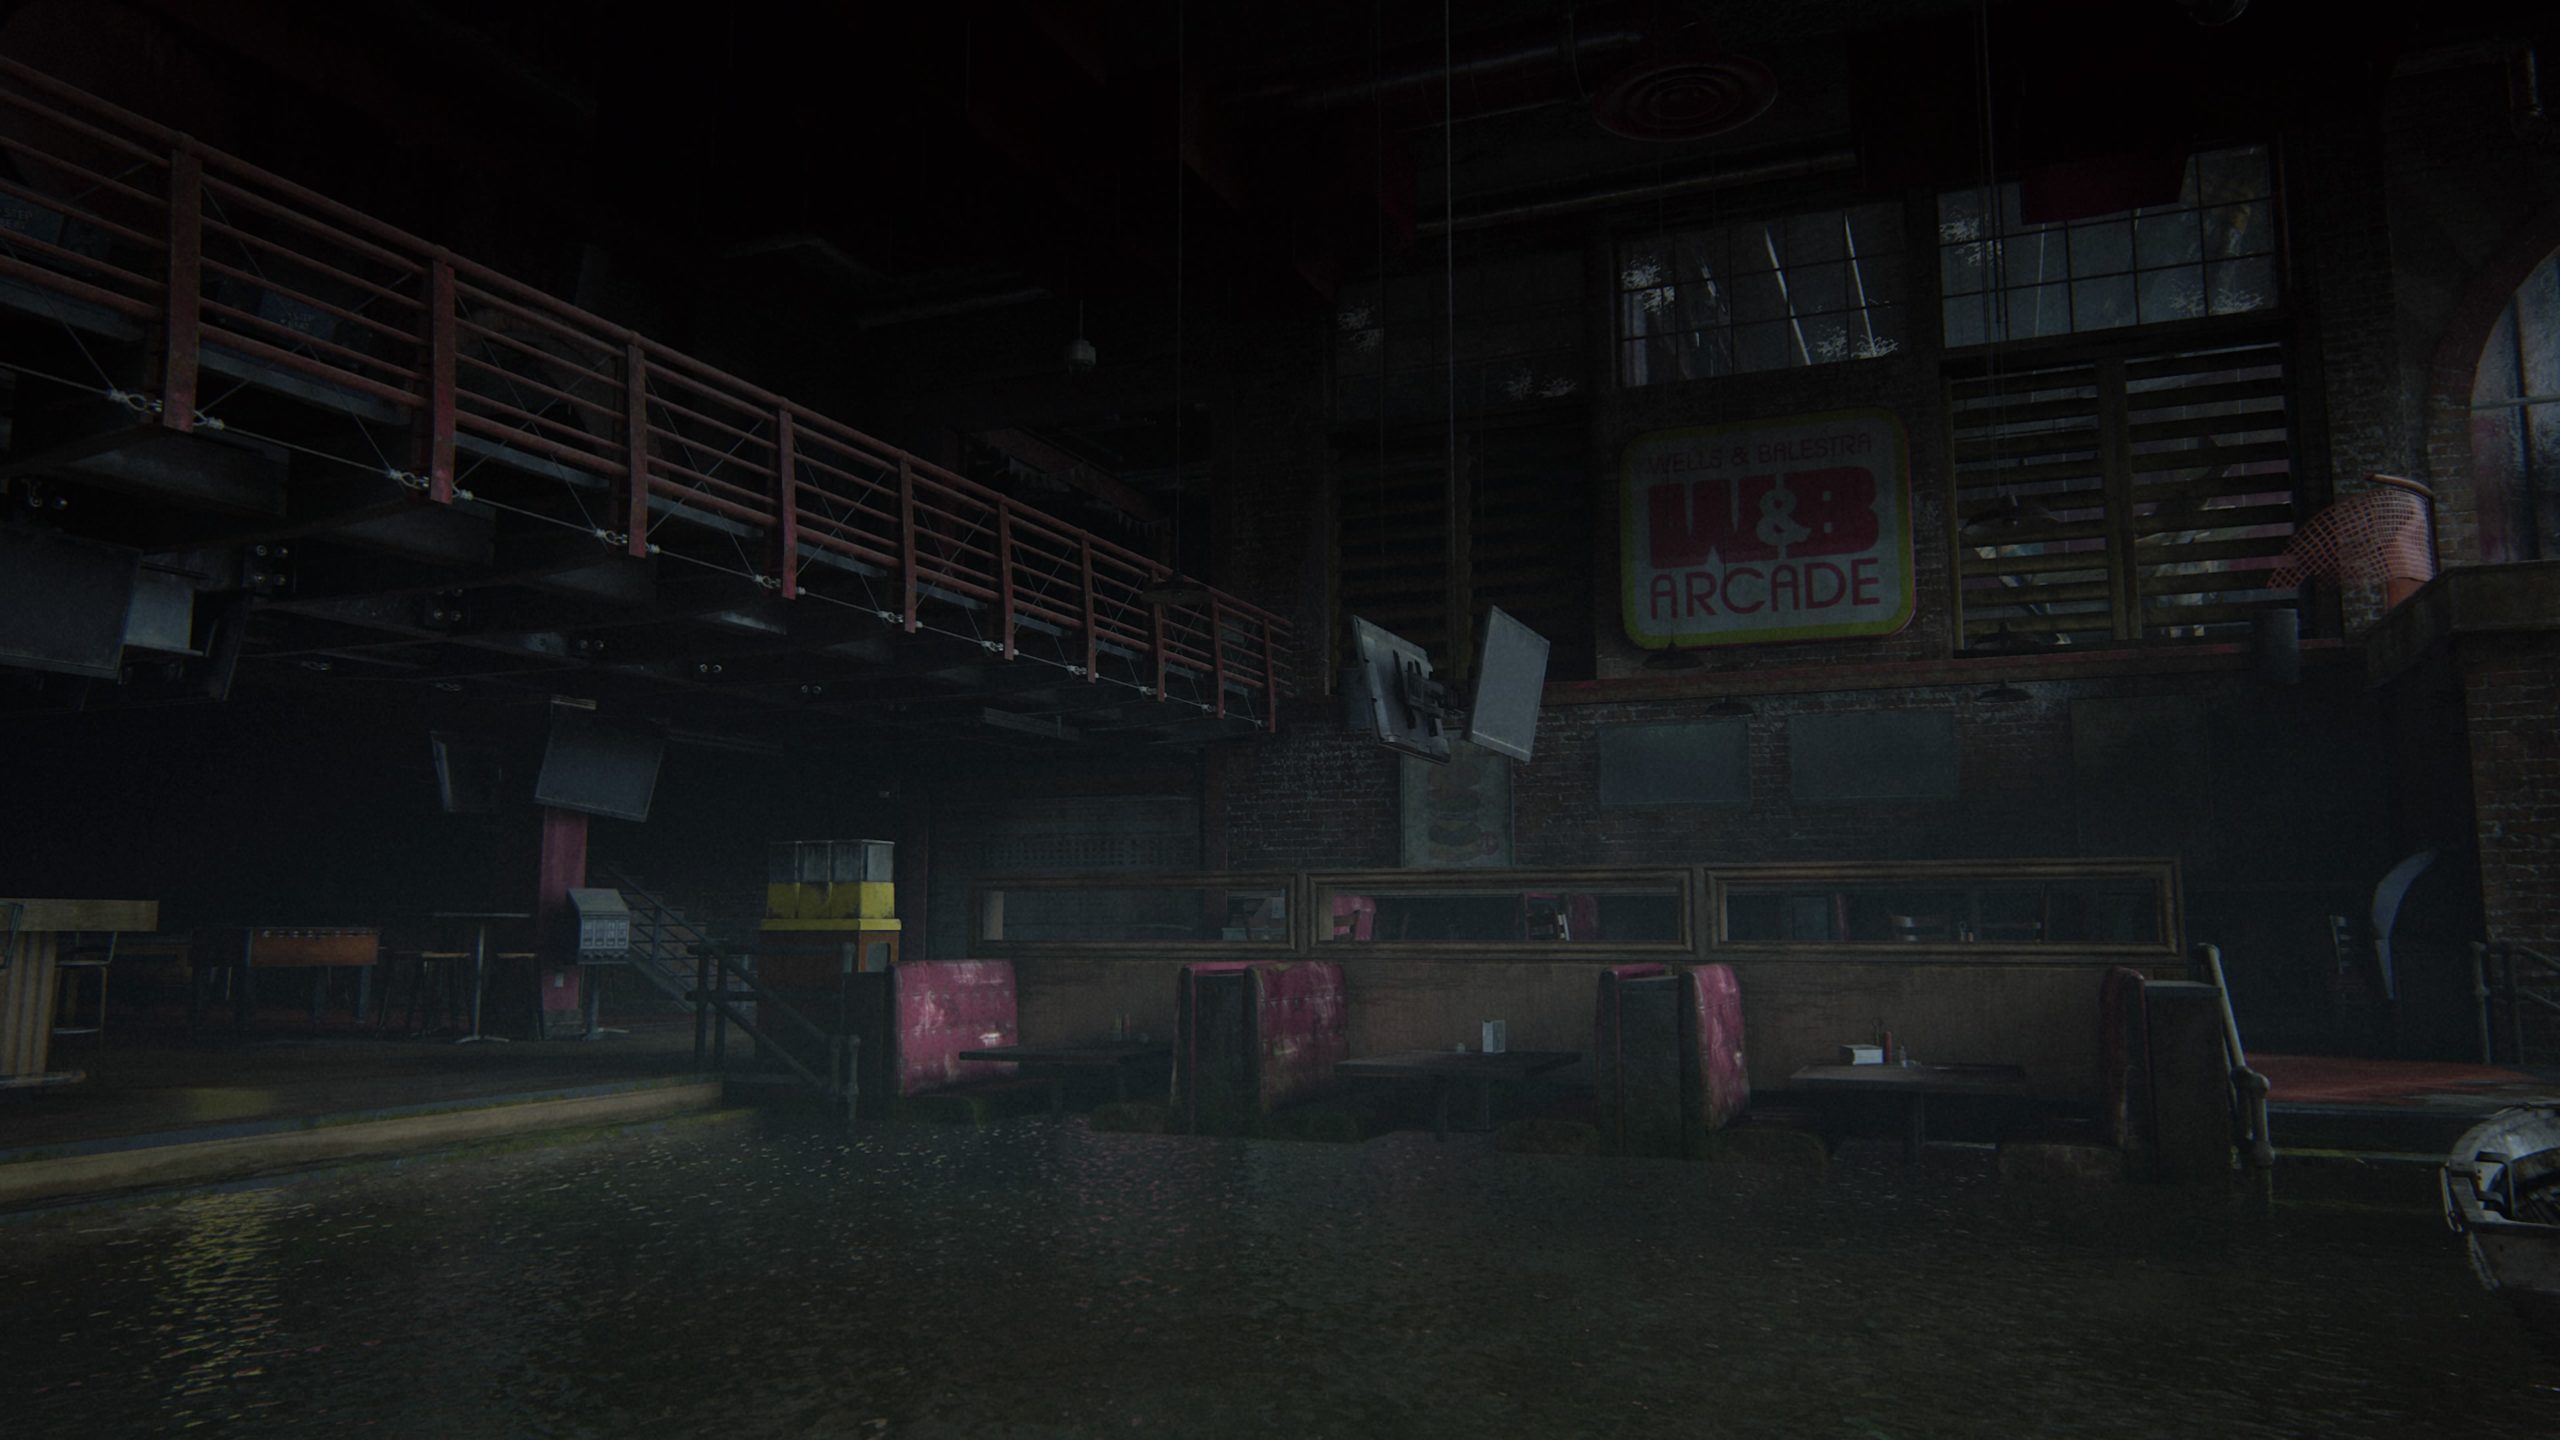
W&B Arcade
This bench can be found on the second level of W&B Arcade.
On Foot
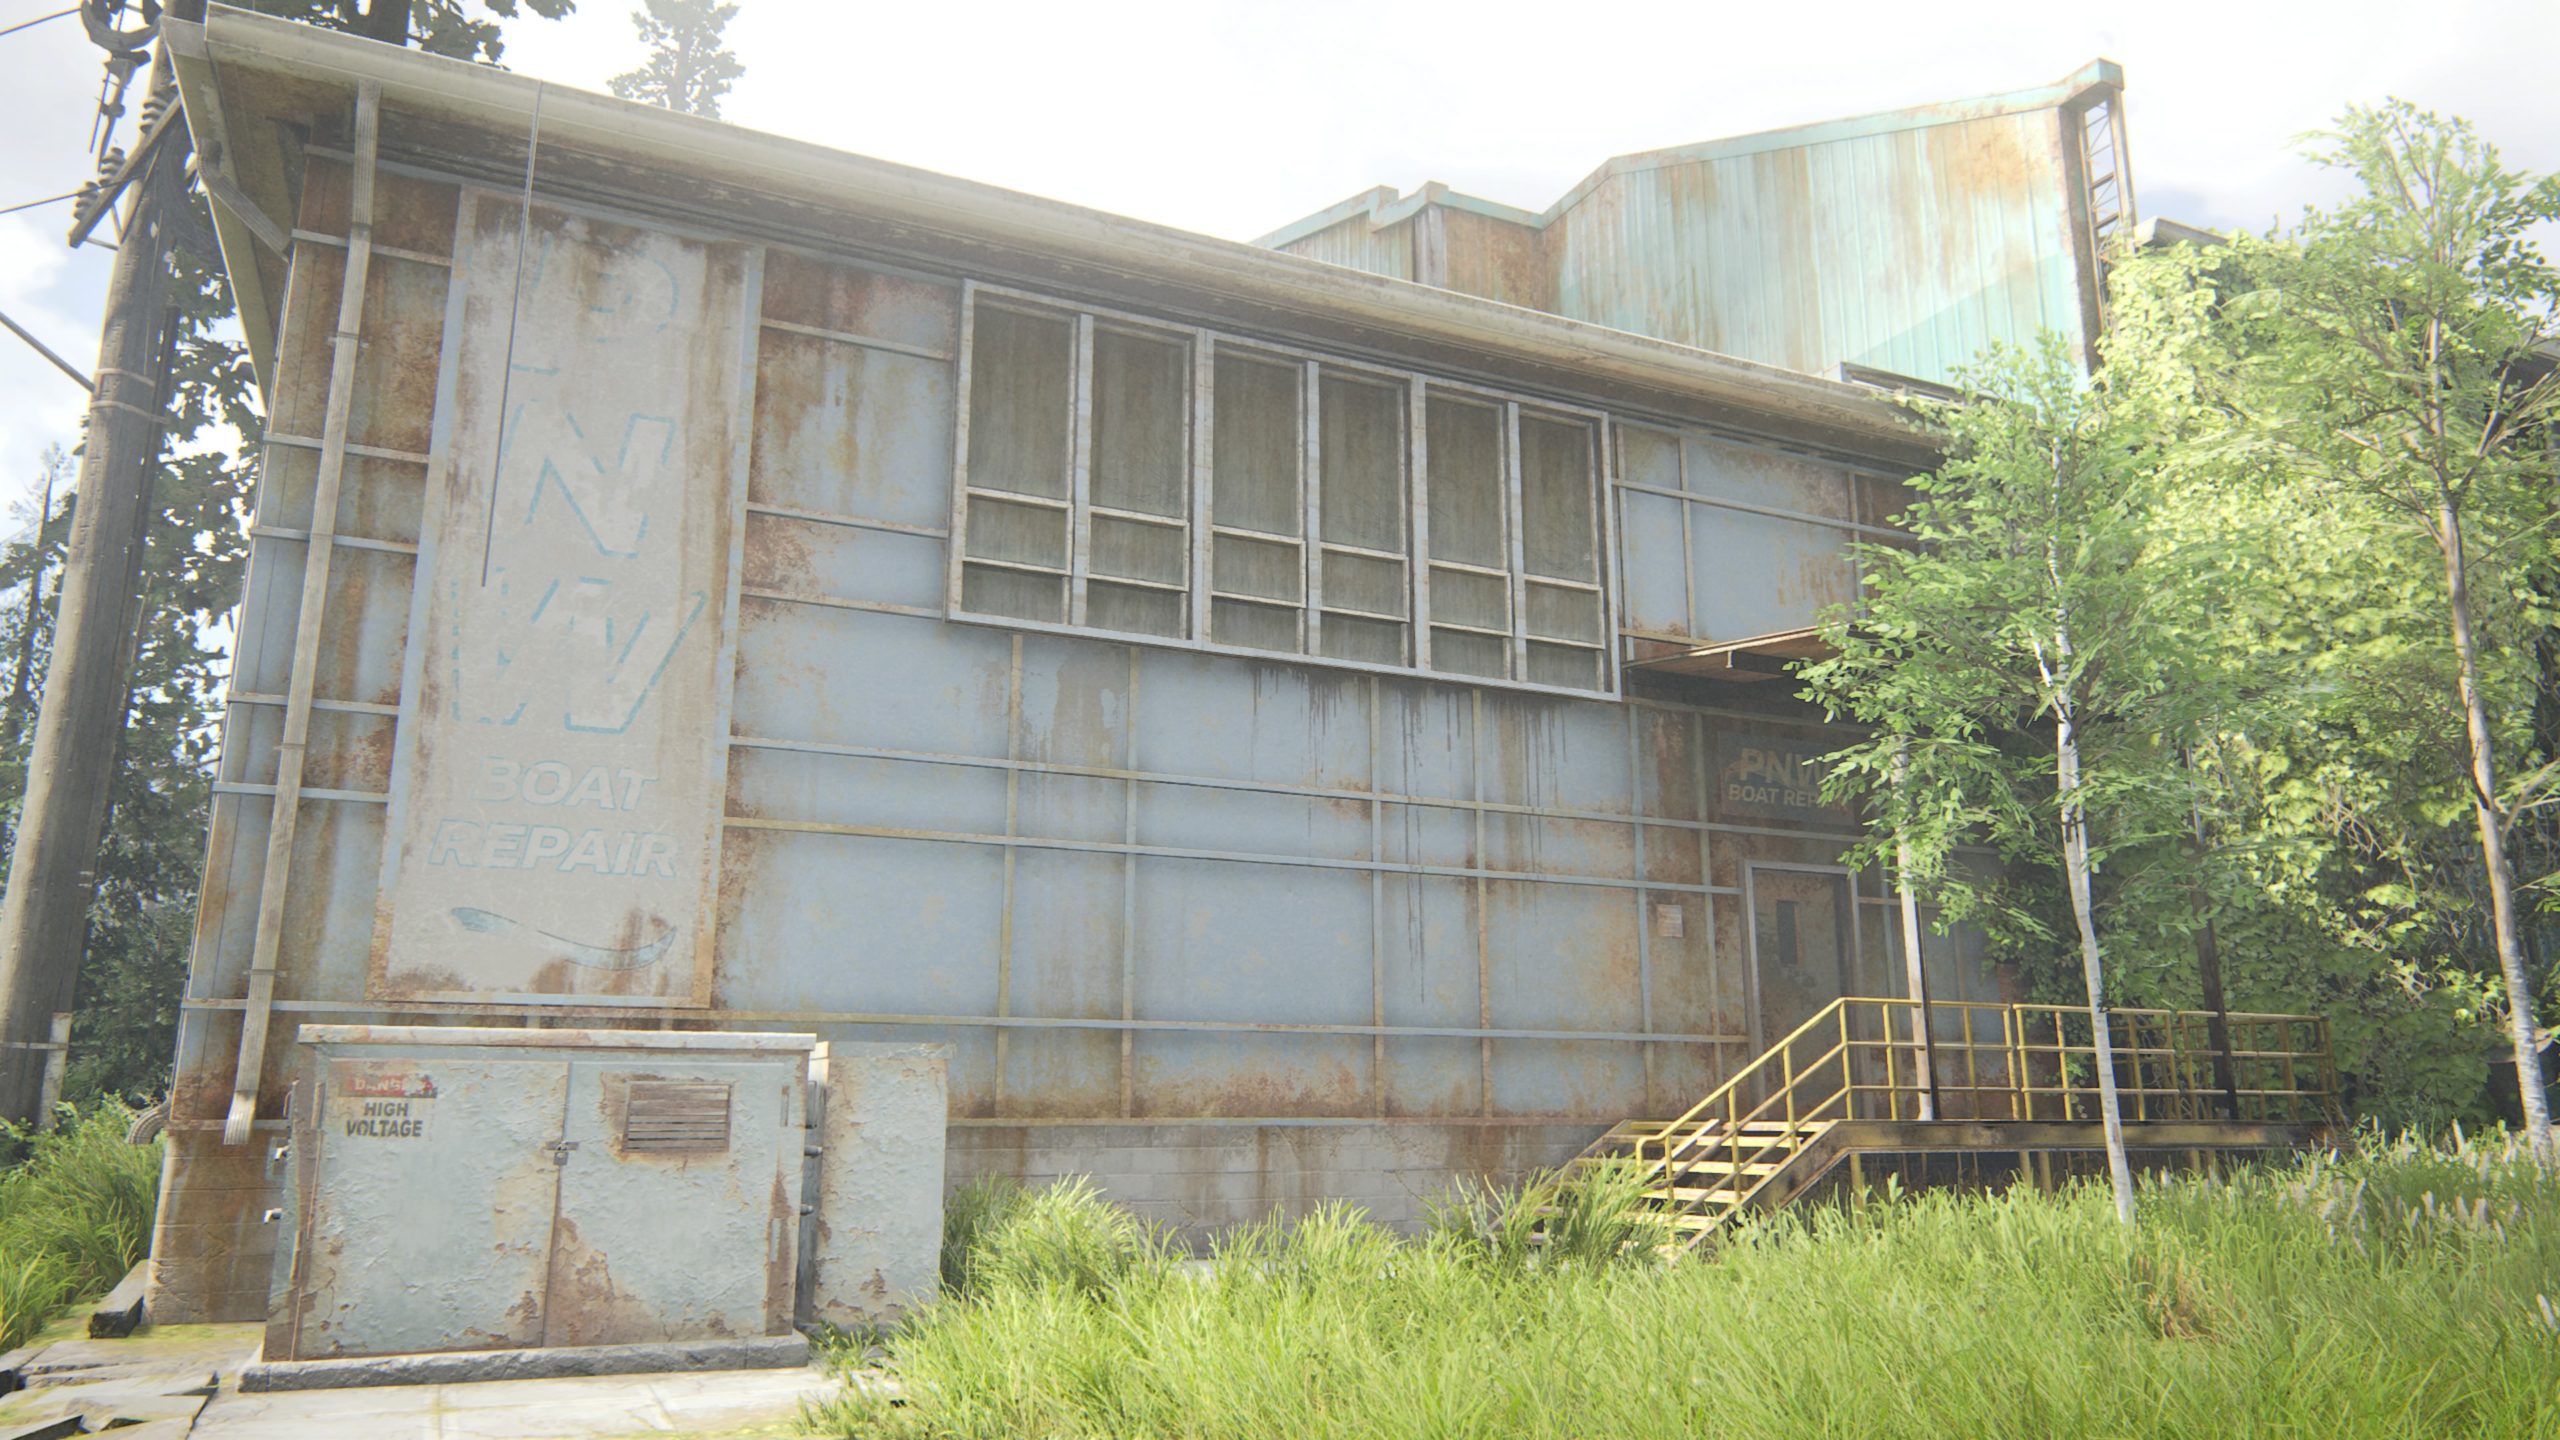
Boat Repair Shop
After using a cable to enter the Boat Repair Shop, you can find this workbench to the left of the blue stairs leading up.
The Forward Base
Inside Base
The workbench can be found in the first big white tent to the left of the path after checking in.
Hostile Territory
Ruined Skyscraper
This collectible is located in a ruined skyscraper. You will need to climb under some rubble and push a container out of the way to exit into a room with “Fresnel” written on the reception desk. The workbench will be located in the next room.
The Forest
La Rosa’s Auto Body Shop
This workbench can be found in La Rosa’s Auto Body Shop.
The Coast
Building
At the start of this chapter, you’ll jump over a fence and enter the first building on the other side. The workbench will be in this room.
The Shortcut
Interbay
This can be found in Interbay.
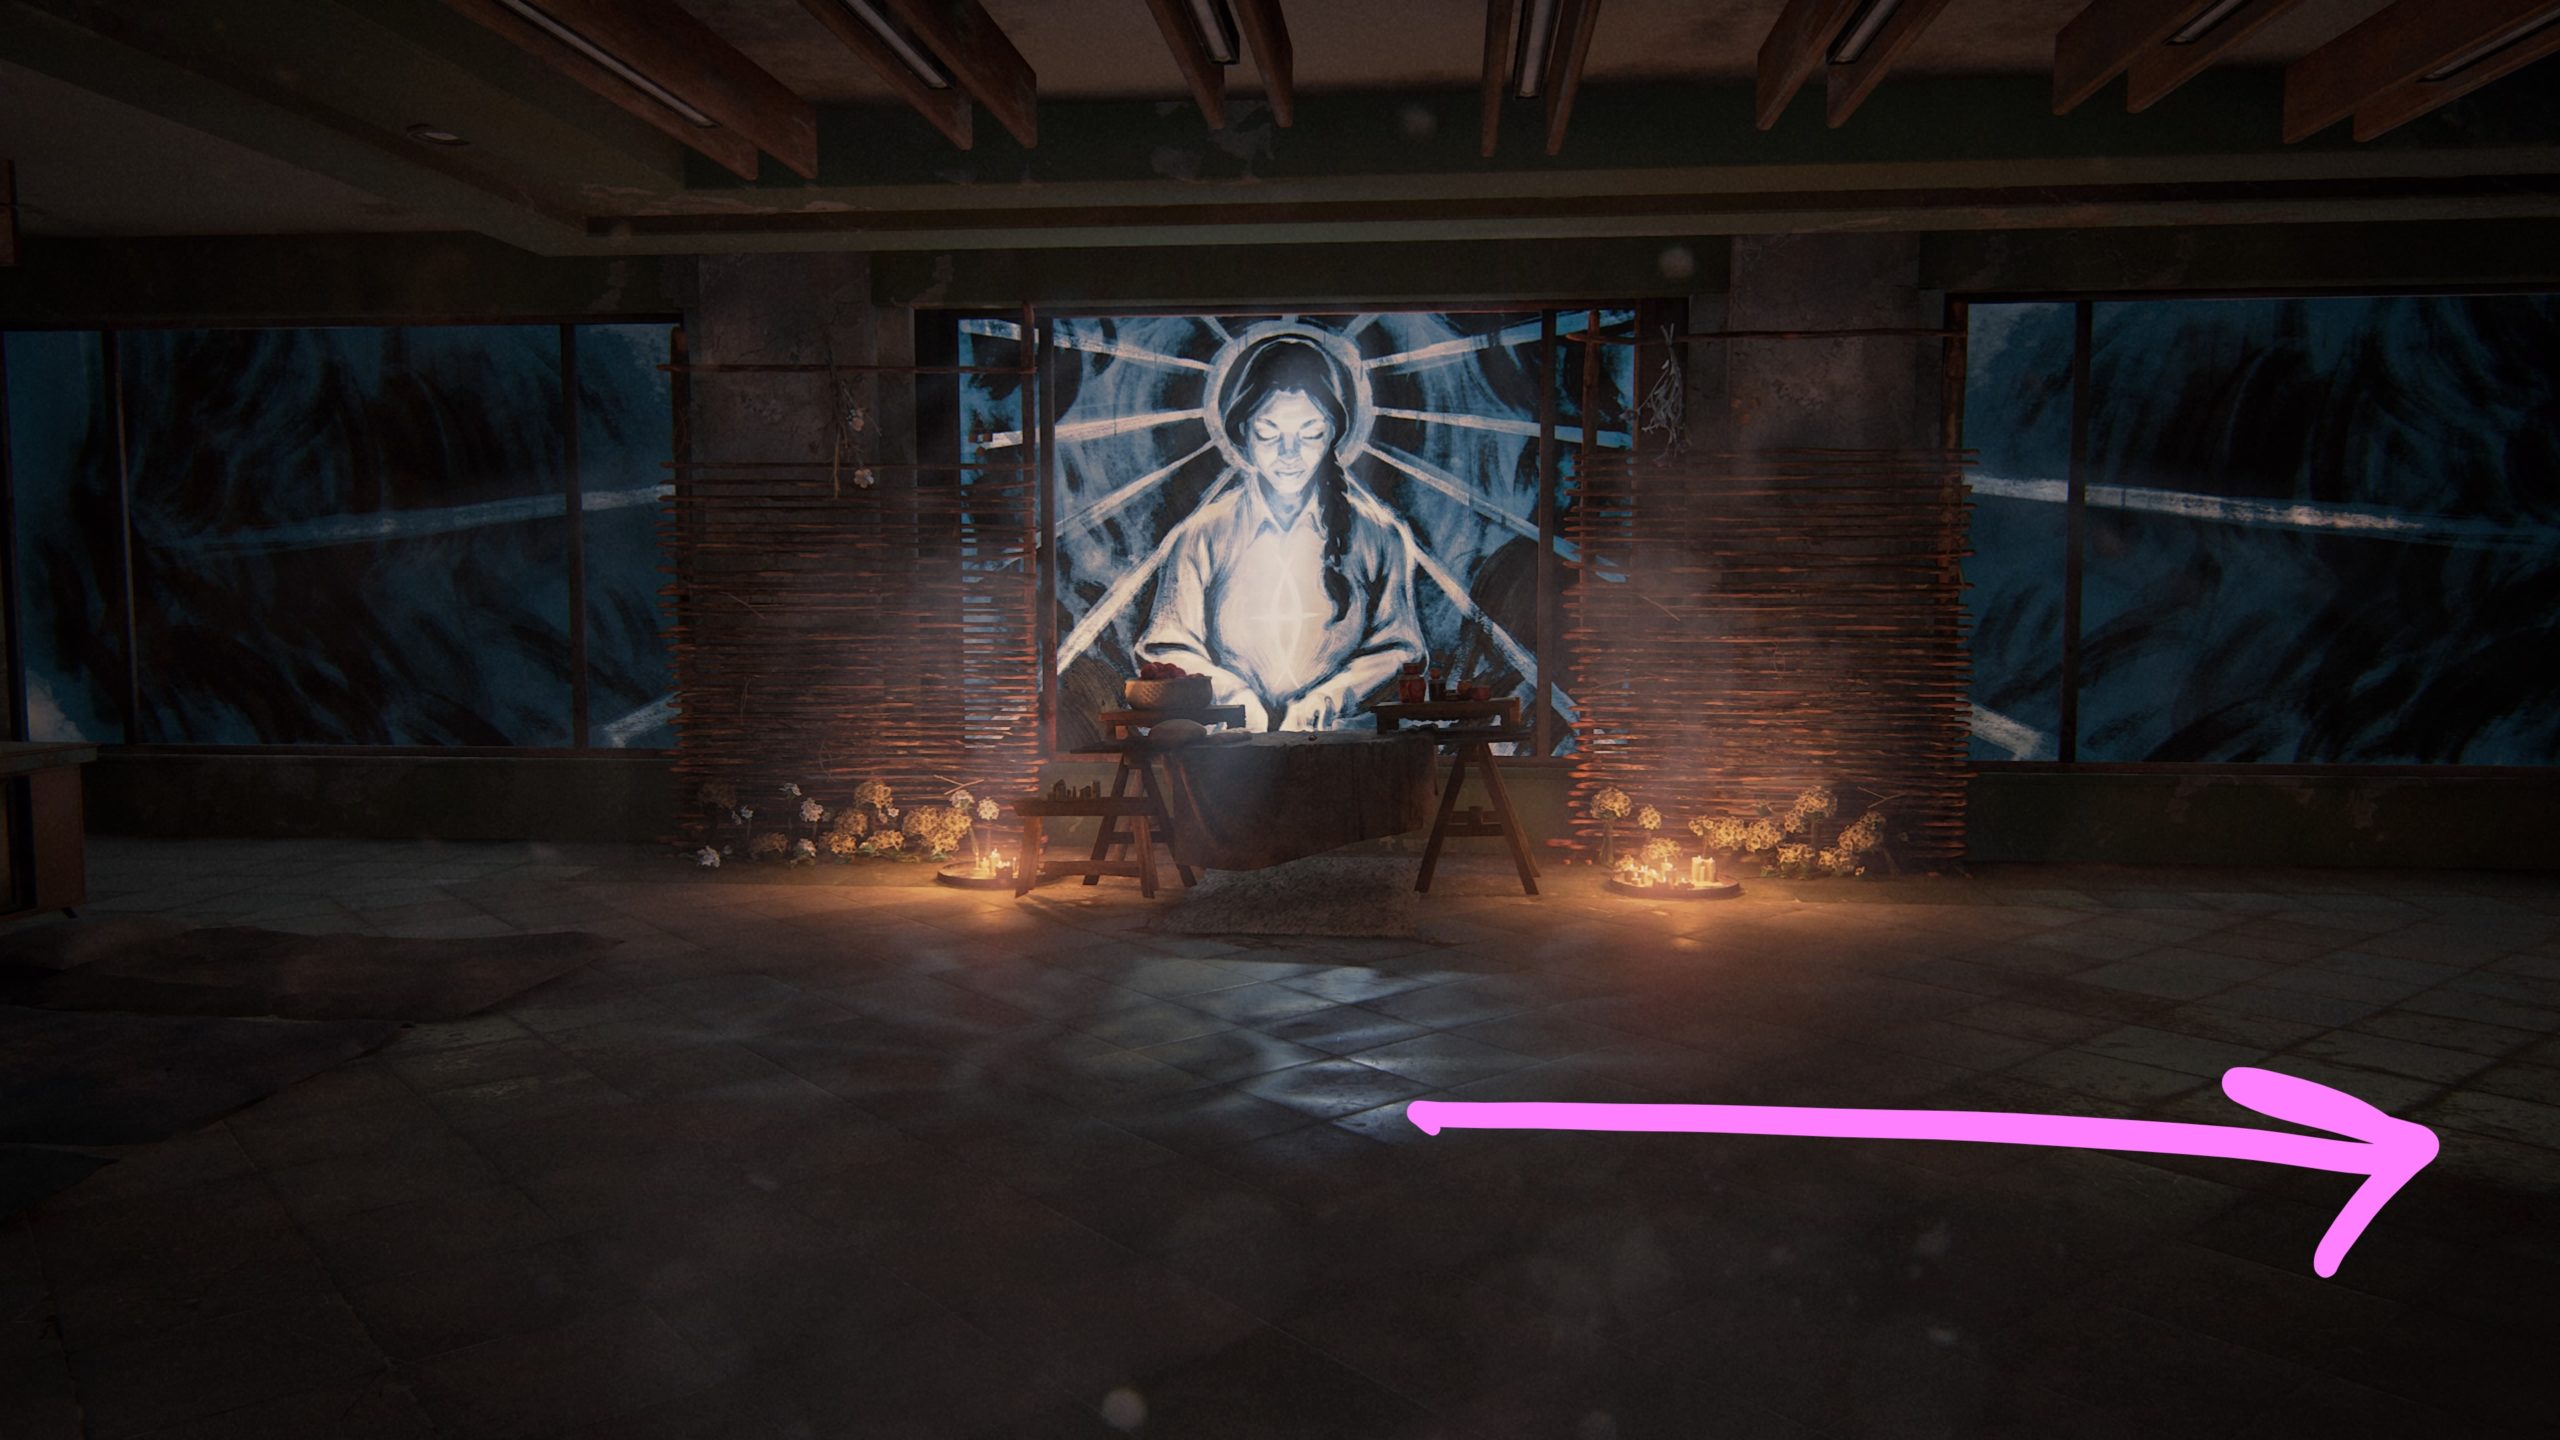
Shrine
This workbench can be found in the room to the right of the shrine.
Ground Zero
Hospital
The workbench is located in the room with the generator.
The Island
Wooden Lodge
After spotting Issac in his boat as part of the story, you will pass by a lookout tower then arrive at 2 wooden lodges across from each other. Enter the one on the left to find the workbench in the back.
The Escape
Radio Station
At the radio station, Lev will lower a ladder for you to climb up. Once you reach the top, climb through the open room on the right to enter the room contain the workbench.
Pushing Inland
House
As you progress through the level, you will have to use a car to climb up onto a roof with a Clicker on it. The workbench can be found downstairs in the kitchen of the above house.
The Resort
Shed
This is located in the shed with a circular saw to the right of where the Infected was chained up.
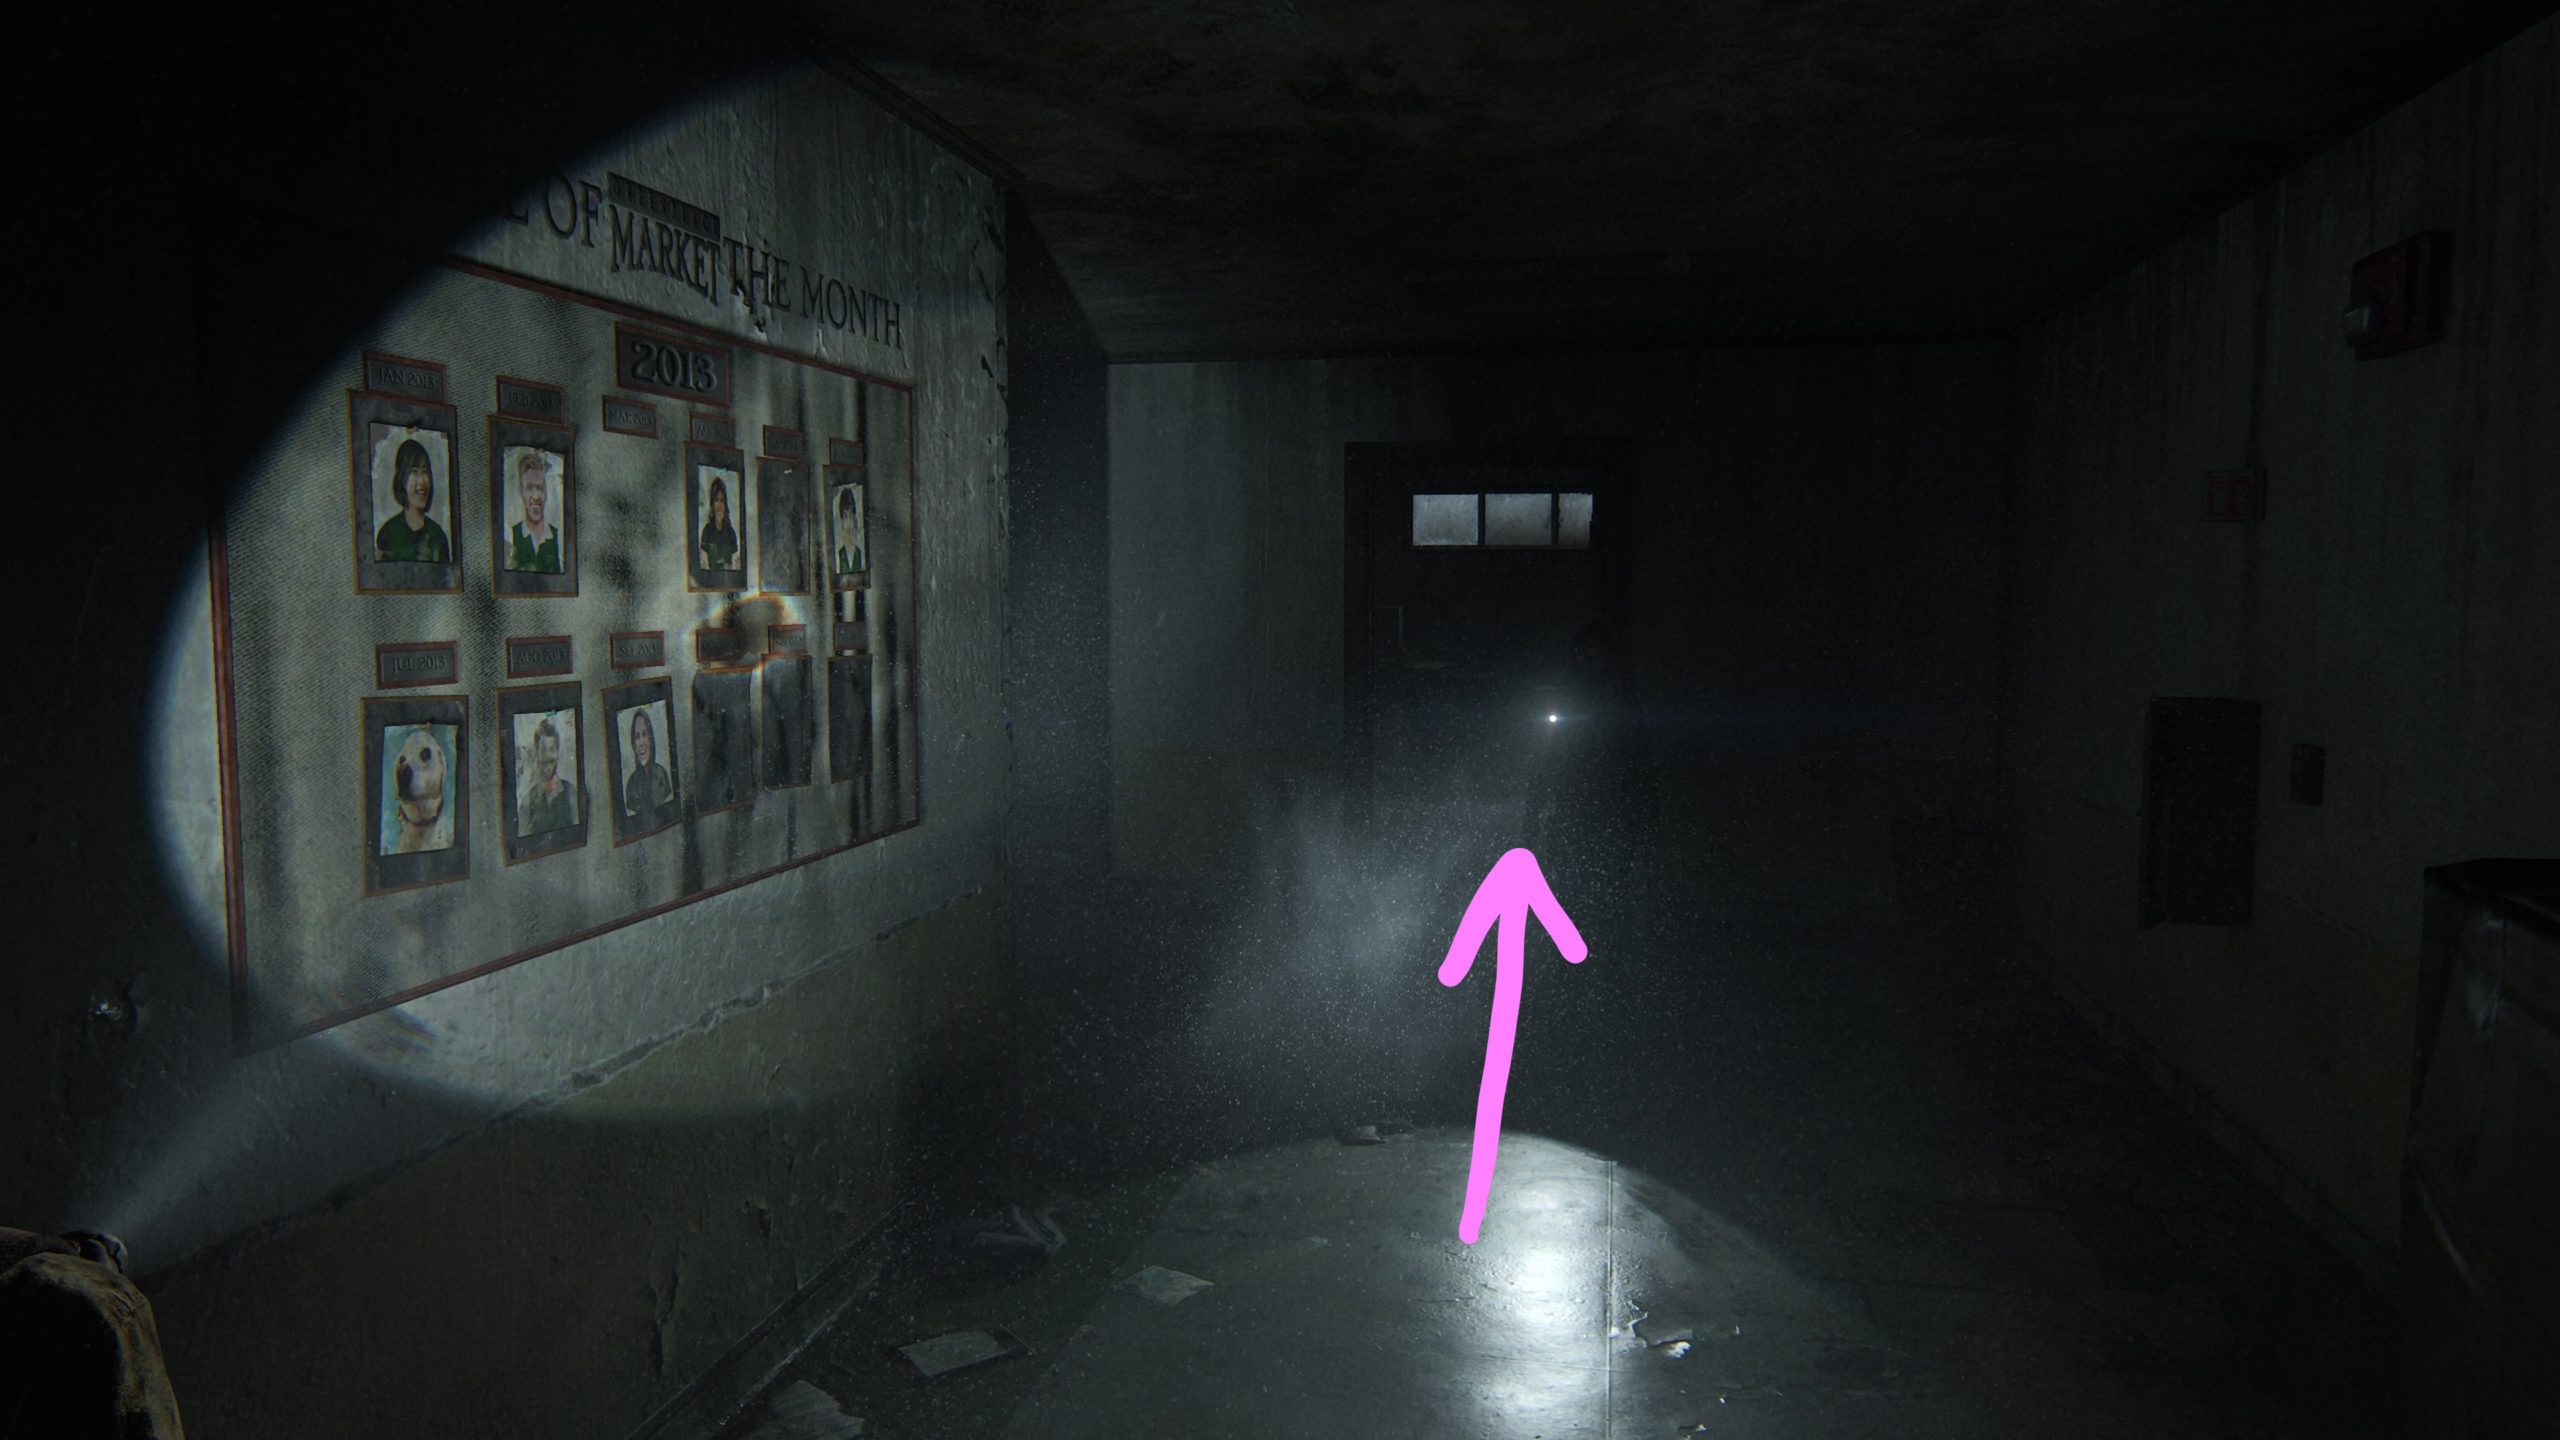
Below is a guide on all the safe locations in The Last of Us Part II!
Patrol
Greenplace Market
As part of the story, you’ll put on your face masks then will need to proceed through a crack in the wall. There will be an Employee of the Month board in front of you on the wall. Turn right down the hallway and head through the door straight ahead to find the safe in the room. The code is 07 20 13. The Good Boy Combo artifact says that the combination to the safe is the month that Mina’s goodest boy got Employee of the Month. If you head to the Employee of the Month board outside of the room, you’ll see the “goodest boy” got employee of the month in 07/2013.
Downtown
Bank
The safe is the bank vault located in the bank on James Street. The code to get into the vault is 60-23-06, which can be found on the artifact called Bank Heist Plans.
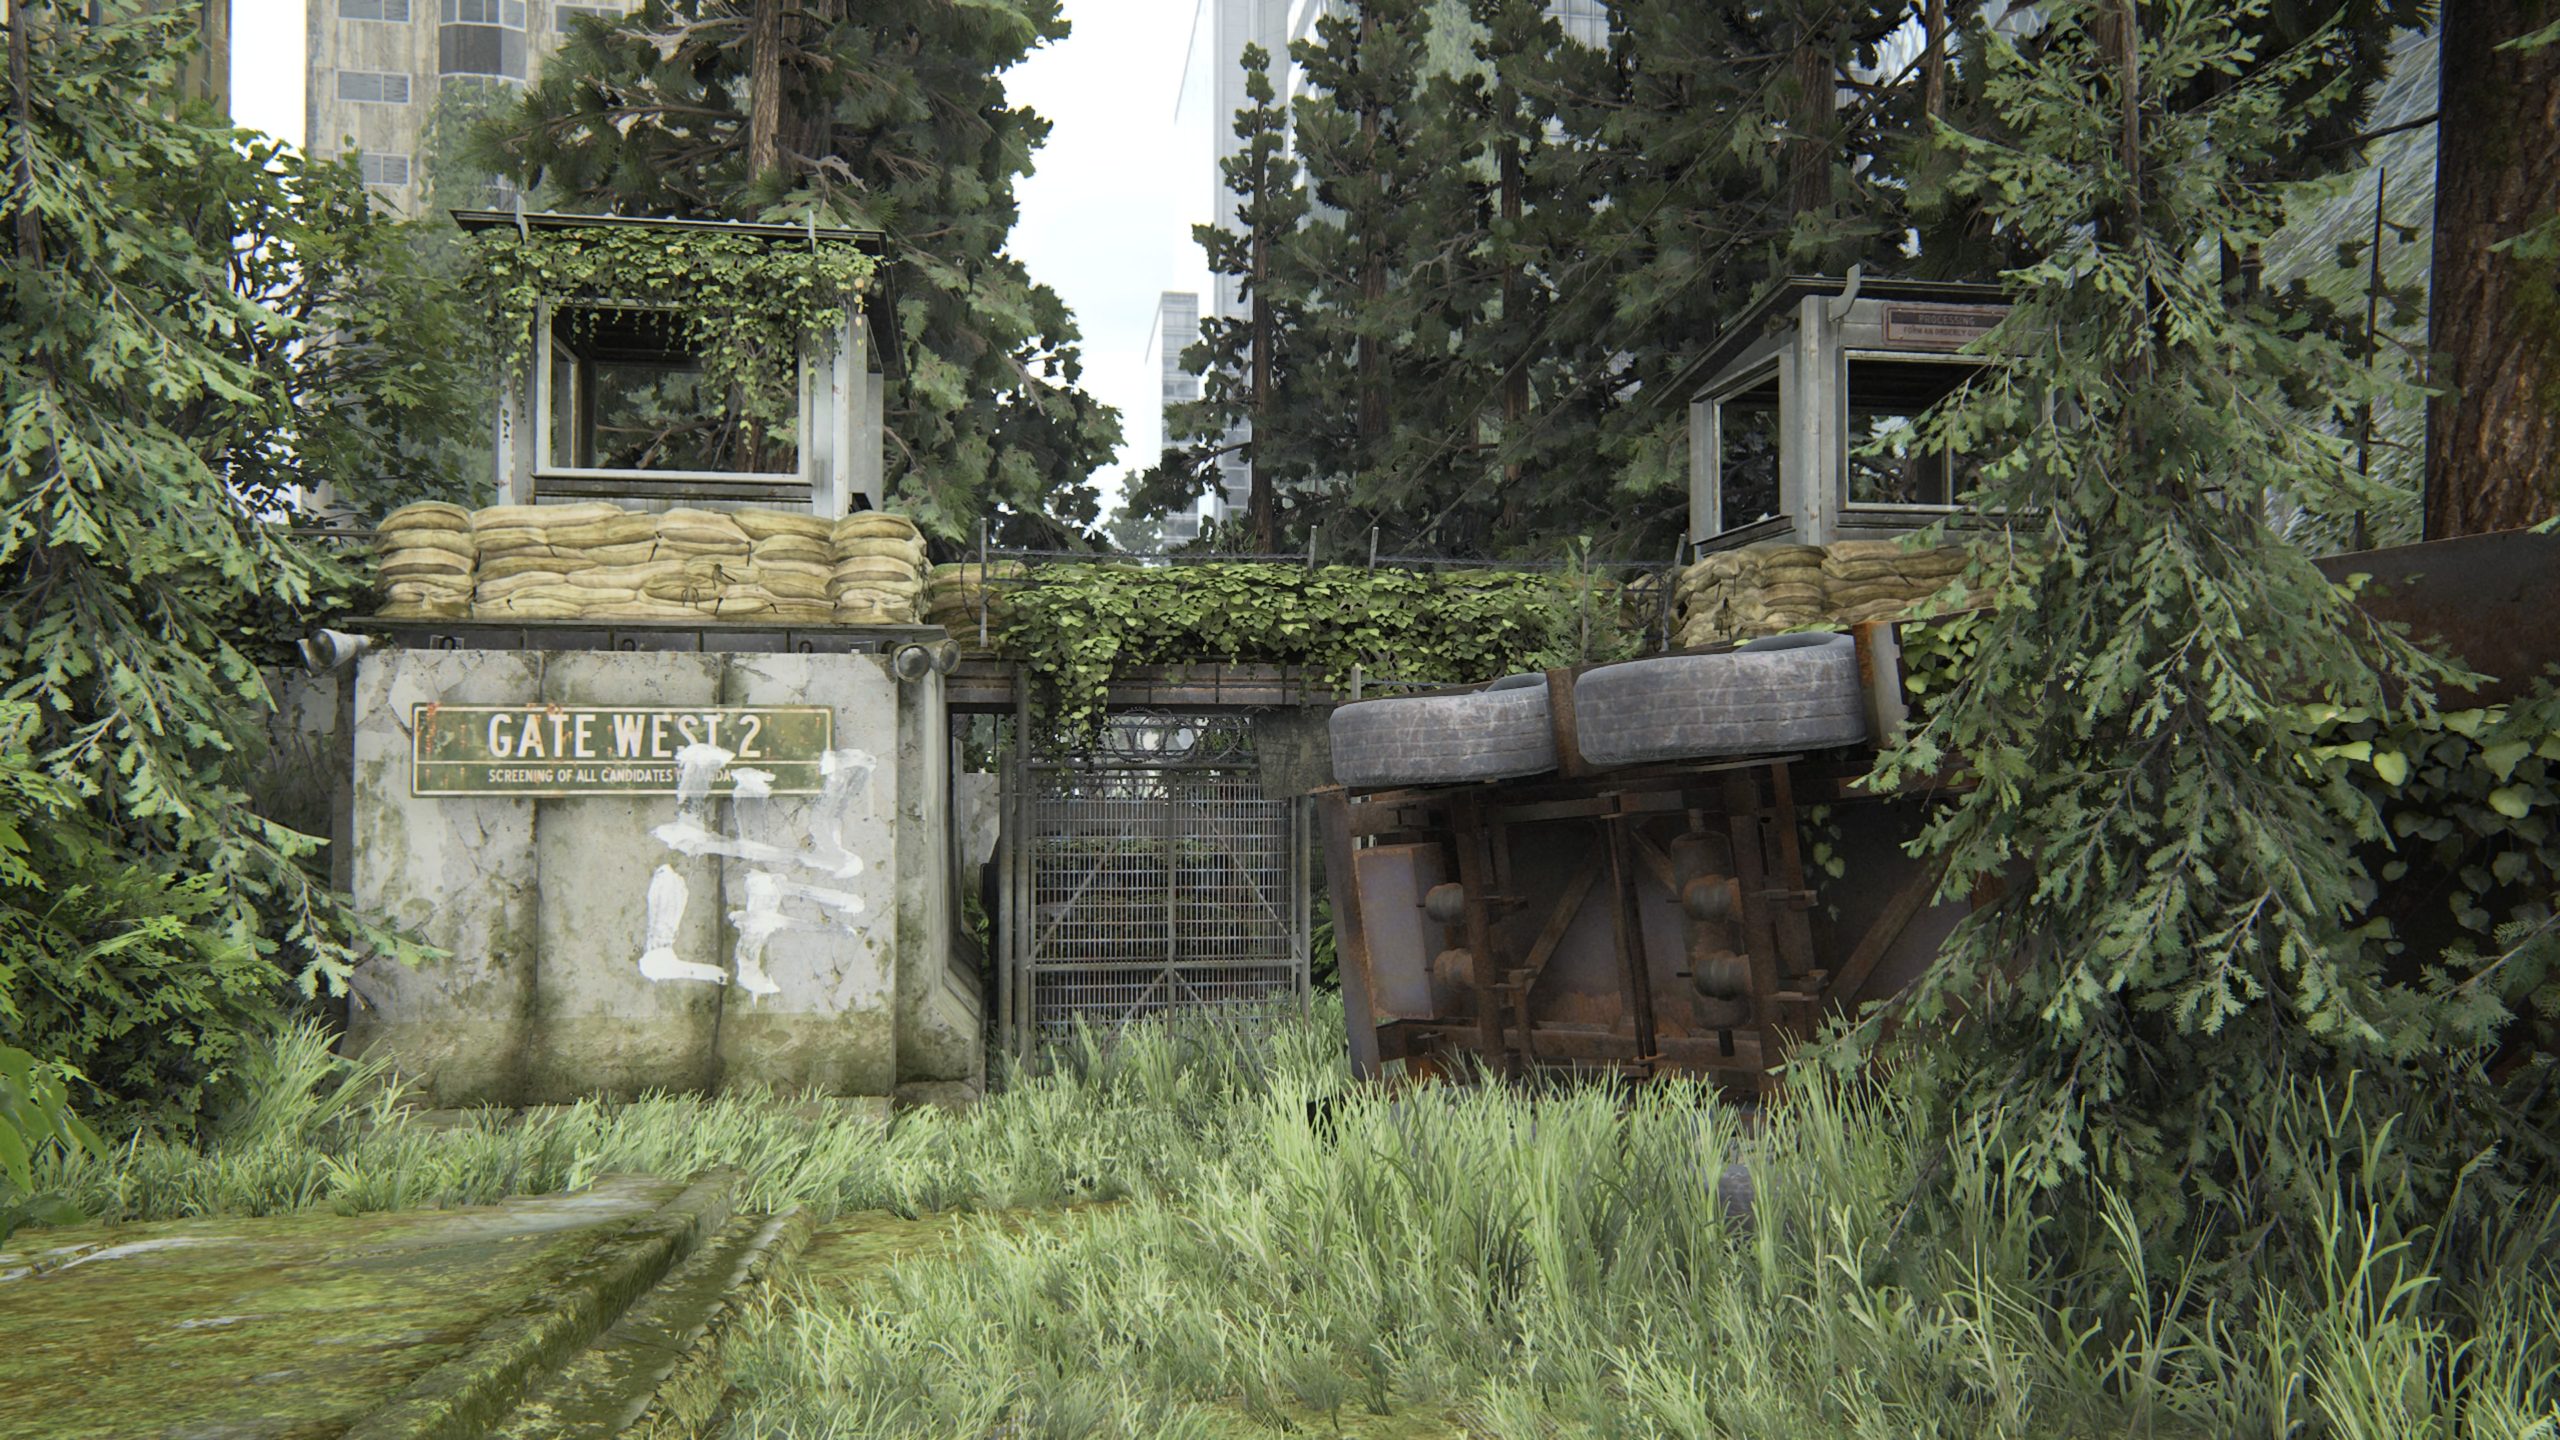
Gate West 2
This safe is located behind Gate West 2 (Madison Street) on a porch. The code to open the safe is 0451.
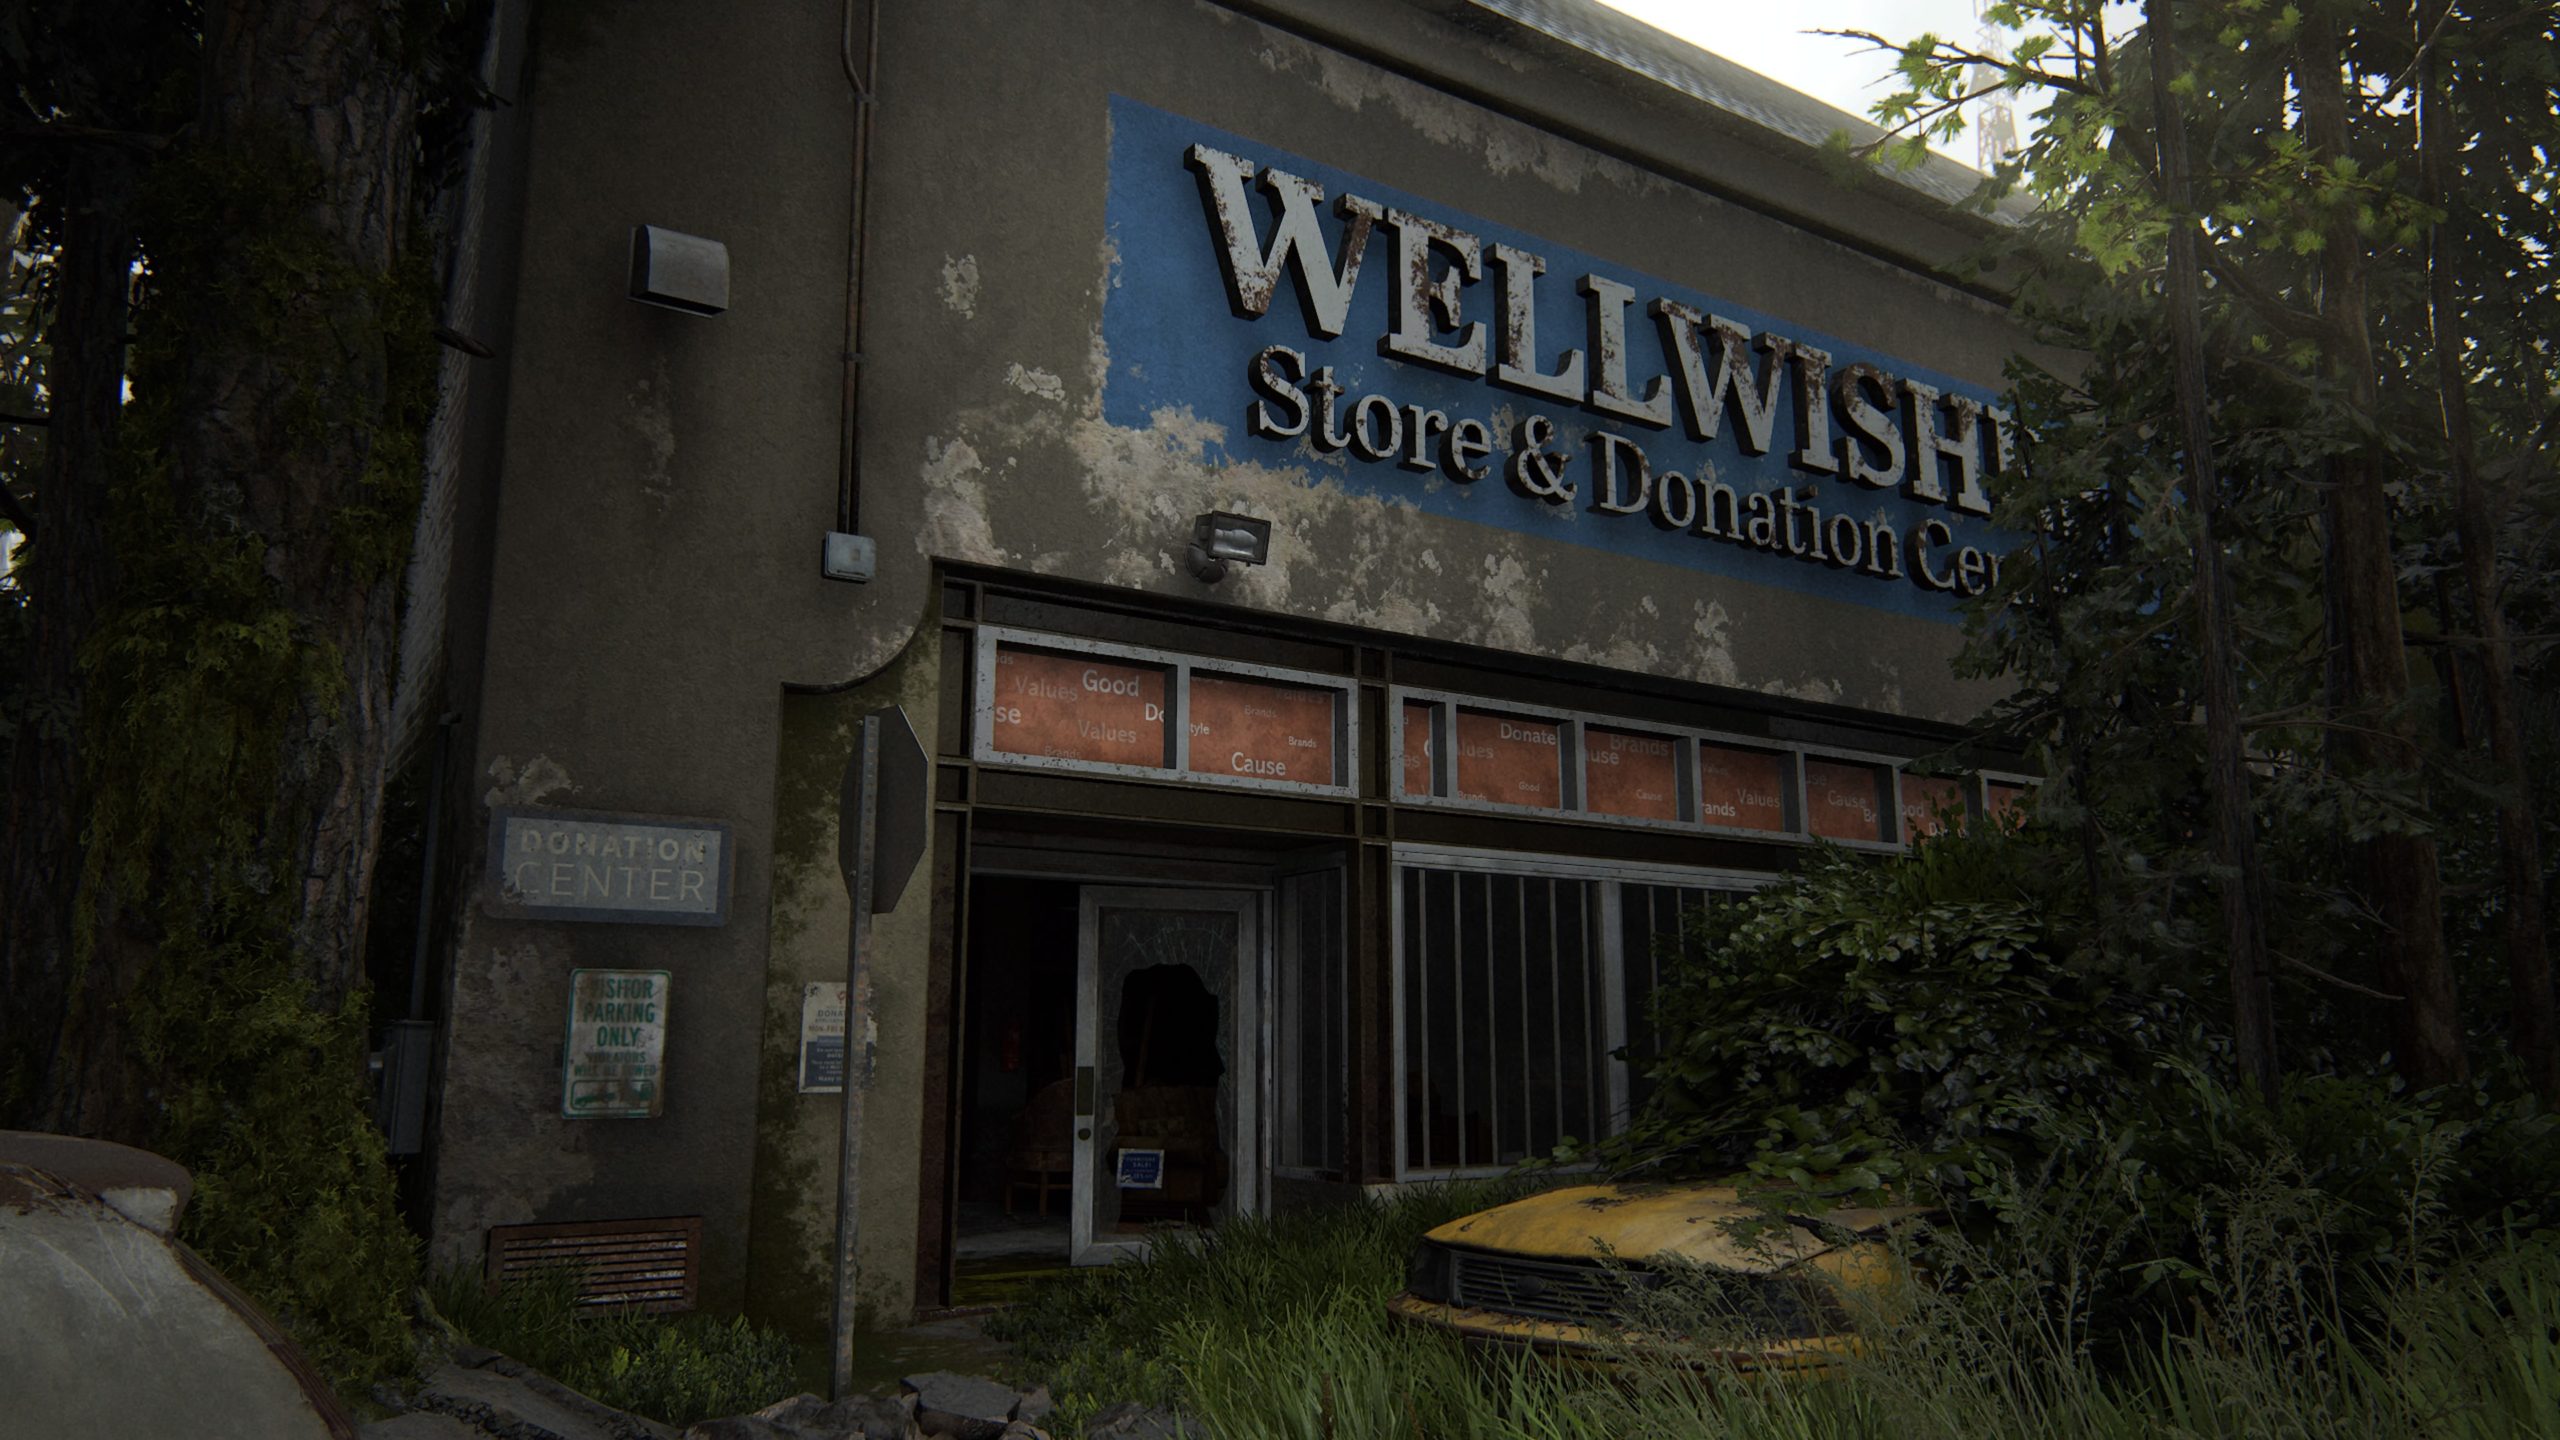
Capitol Hill
Well Wishes Store & Distribution Center
The safe can be found in the back room of the Well Wishes Store & Donation Center. The combo to the safe is 550133, which can be found in the writing on the bathroom wall.
Hillcrest
Auto Parts & Repairs
In the alley behind Velvet Tattoo, you’ll come across a green dumpster blocking a door. Pull the dumpster away then proceed through the door. *NOTE: There are four Infected waiting for you inside!* The safe is located on the other side of the door. The code to get into the safe is 30-82-65.
The Seraphites
Apartment Building
The safe can be found in the above bedroom in the closet. The code to enter the safe is 08-10-83. You can inspect the calendar next to the bed to get their anniversary. The code is the date of their anniversary followed by the month of their anniversary then the actual year of their anniversary (2013- 30 since it’s their 30th anniversary = 1983).
Weston’s Pharmacy
The safe can be found in Weston’s Pharmacy. To reach it, you will need to crawl through a hole in the wall in the middle of the store. The safe code is 38-55-23, which can be obtained from the artifact.
The Flooded City
Building
The safe can be found in the locked cage to the right of where you parked the boat to use the chain to open the gate as part of the story. To reach this room, head up the stairs on the left side of the room then pull the cart out of the way to reveal a hole. Crawl under the debris then jump through the open window. Hop down to get inside the cage. The safe code is 70-12-64, which can be found on the Stash Note artifact.
On Foot
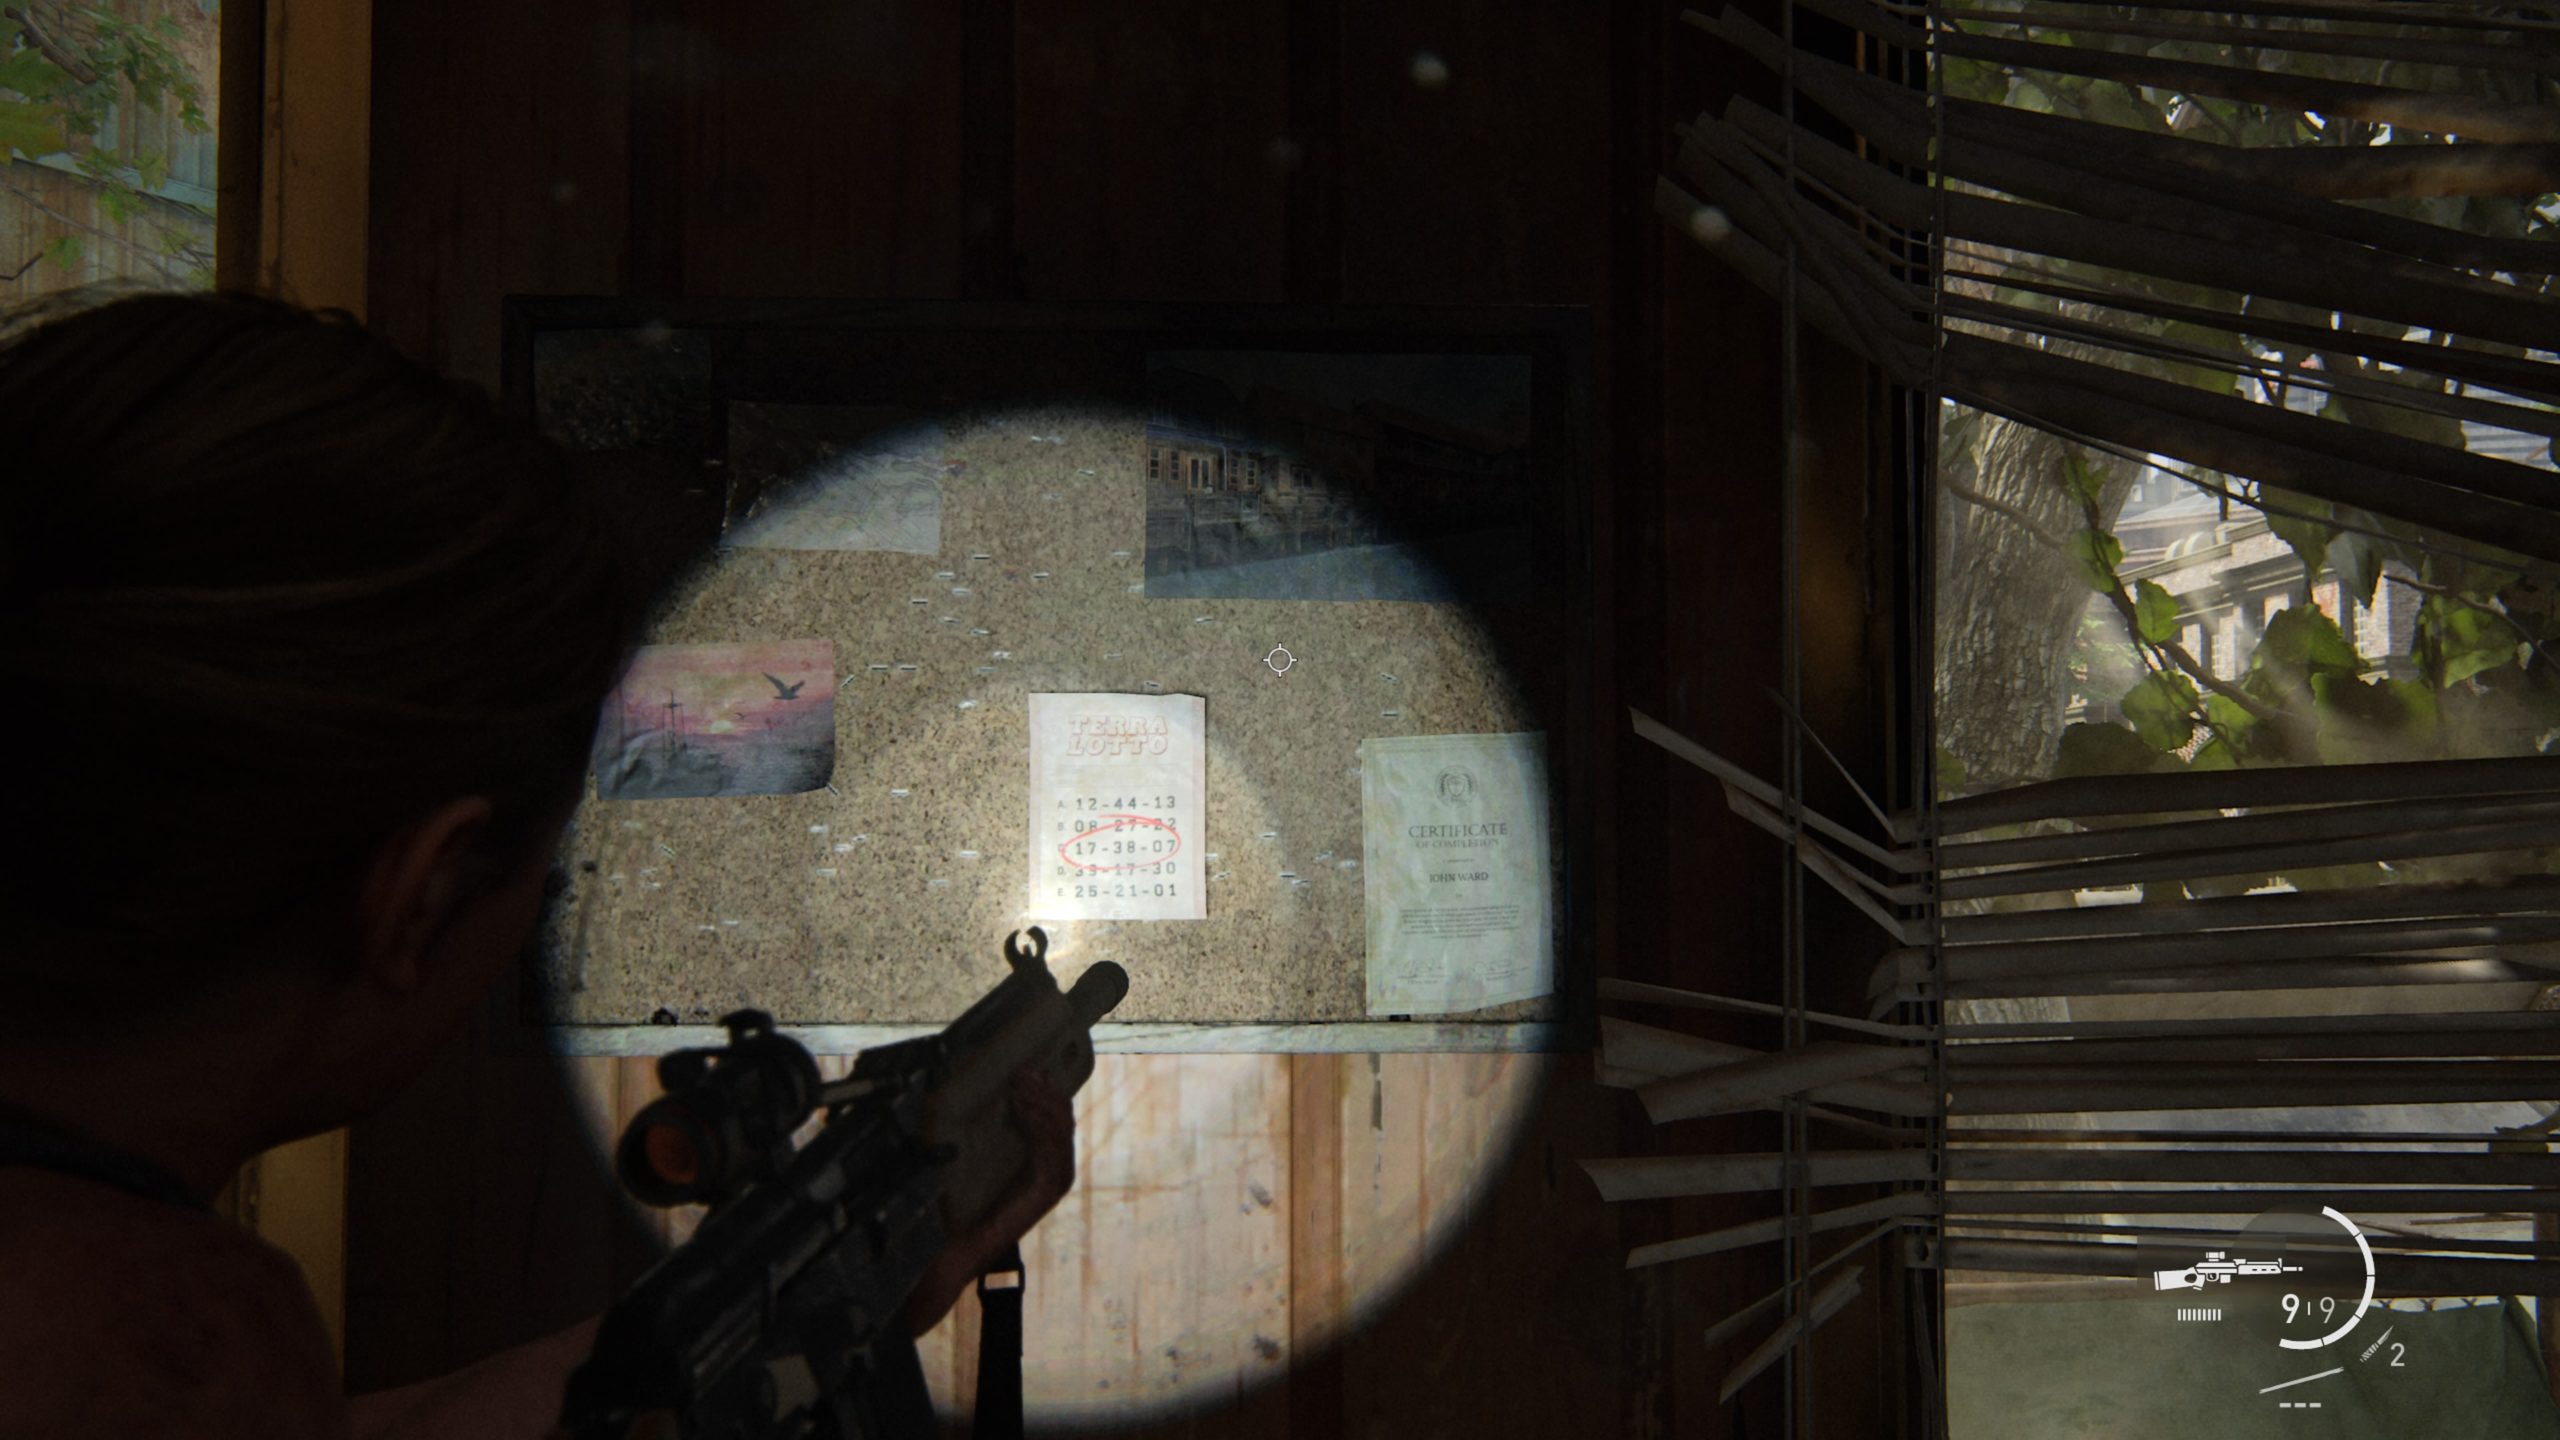
Building
The safe is located in the building across from the rusty construction trailer. To reach the safe, you will need to enter the crack in the wall. The safe combo is 17-38-07, which can be found on a lottery ticket on the bulletin board in the trailer.
Hostile Territory
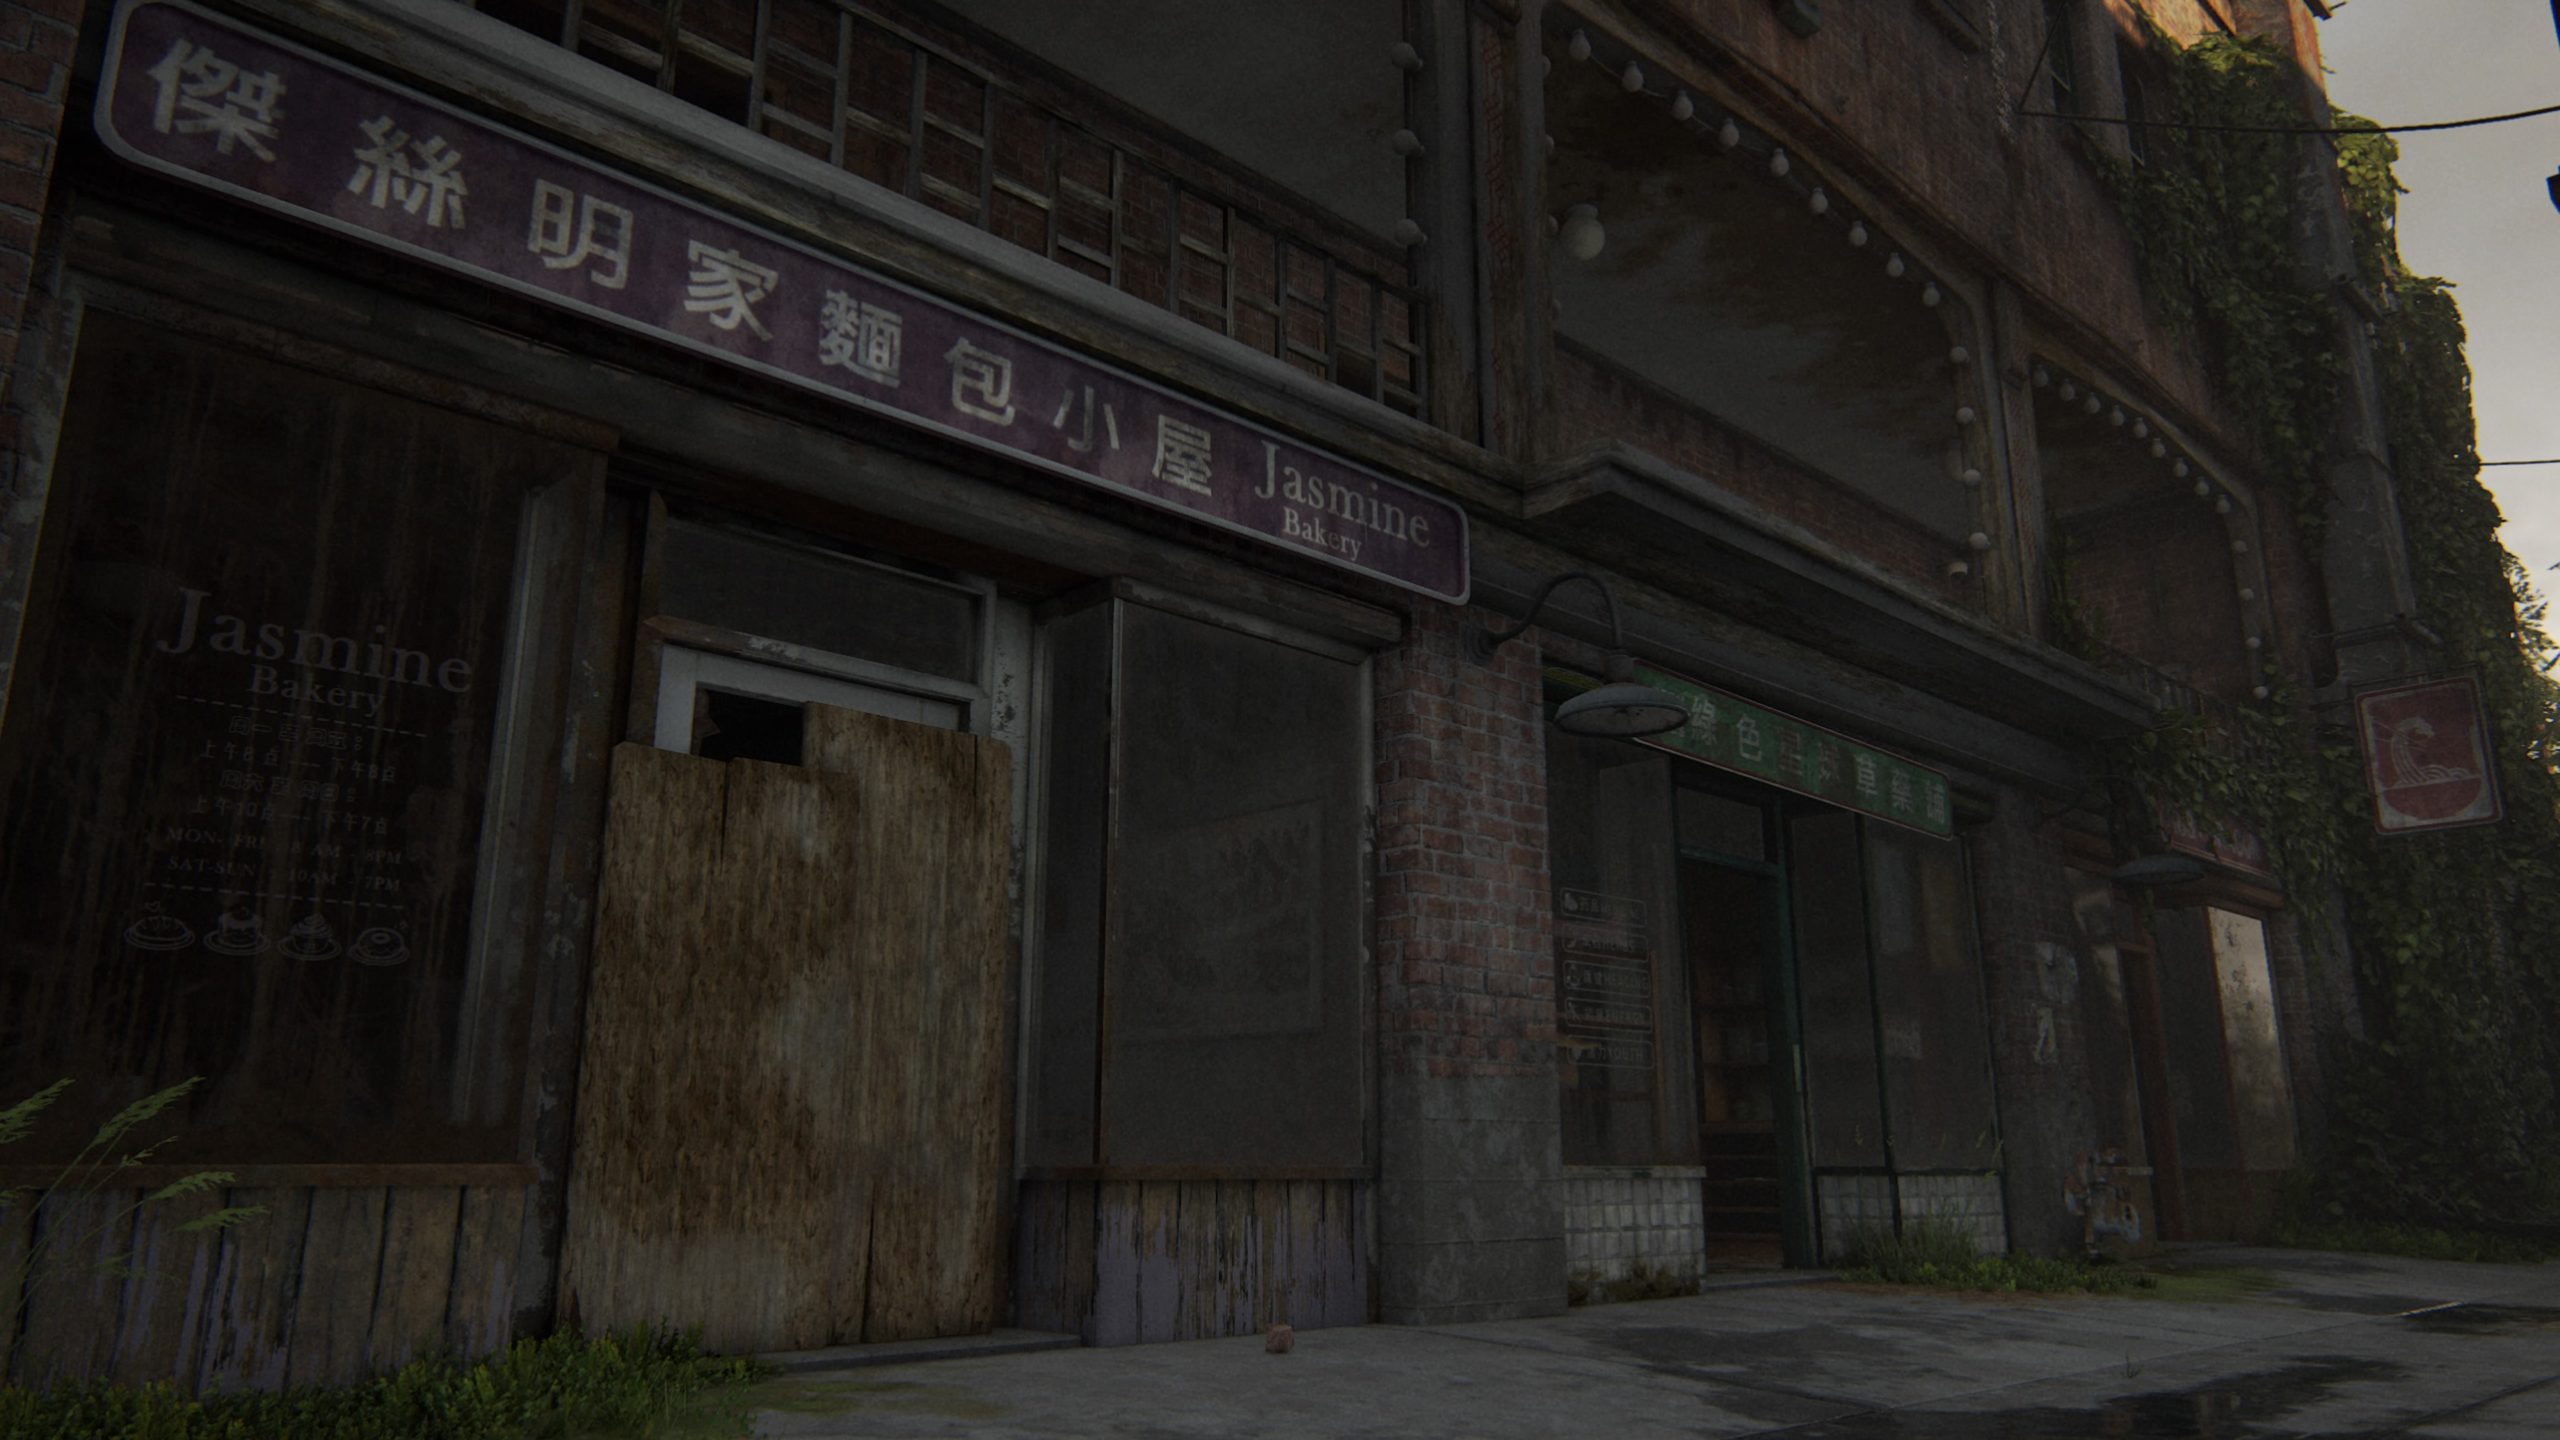
Jasmine Bakery
The safe can be found in Jasmine Bakery. To get inside, break the window then head behind the counter to find the safe. The safe code is 68-96-89.
The Coast
WTA Ship
The safe can be found in the helm of the ship, which is at the very top of the ship. The safe code is 90-77-01, which can be obtained from reading the Mutiny Note artifact.
The Shortcut
Apartment Building
After Abby sees the tall building with the sky bridges again, you will need to jump from the road to a balcony of an apartment. The artifact can be found inside this apartment in the bedroom. The safe code is 30-23-04, which can be found using the Neighbor Exchange artifact.
The Descent
Hotel Blacray
The safe is located in the green door across from the gym. The safe code is 12-18-79, which can be found on the free WIFI sign on the wall in the gym.
Below is a guide on the 1 artifact that can be found in The Overlook chapter in The Last of Us Part II.
Artifact – Seth’s Note
After you crawl underneath a house as part of the story, you will arrive at the front of the house. Climb through the window on the right side of the door to find this artifact on a desk in that room.
Below is a guide on the 2 trading cards and 1 artifact that can be found in the Waking Up chapter in The Last of Us Part II.
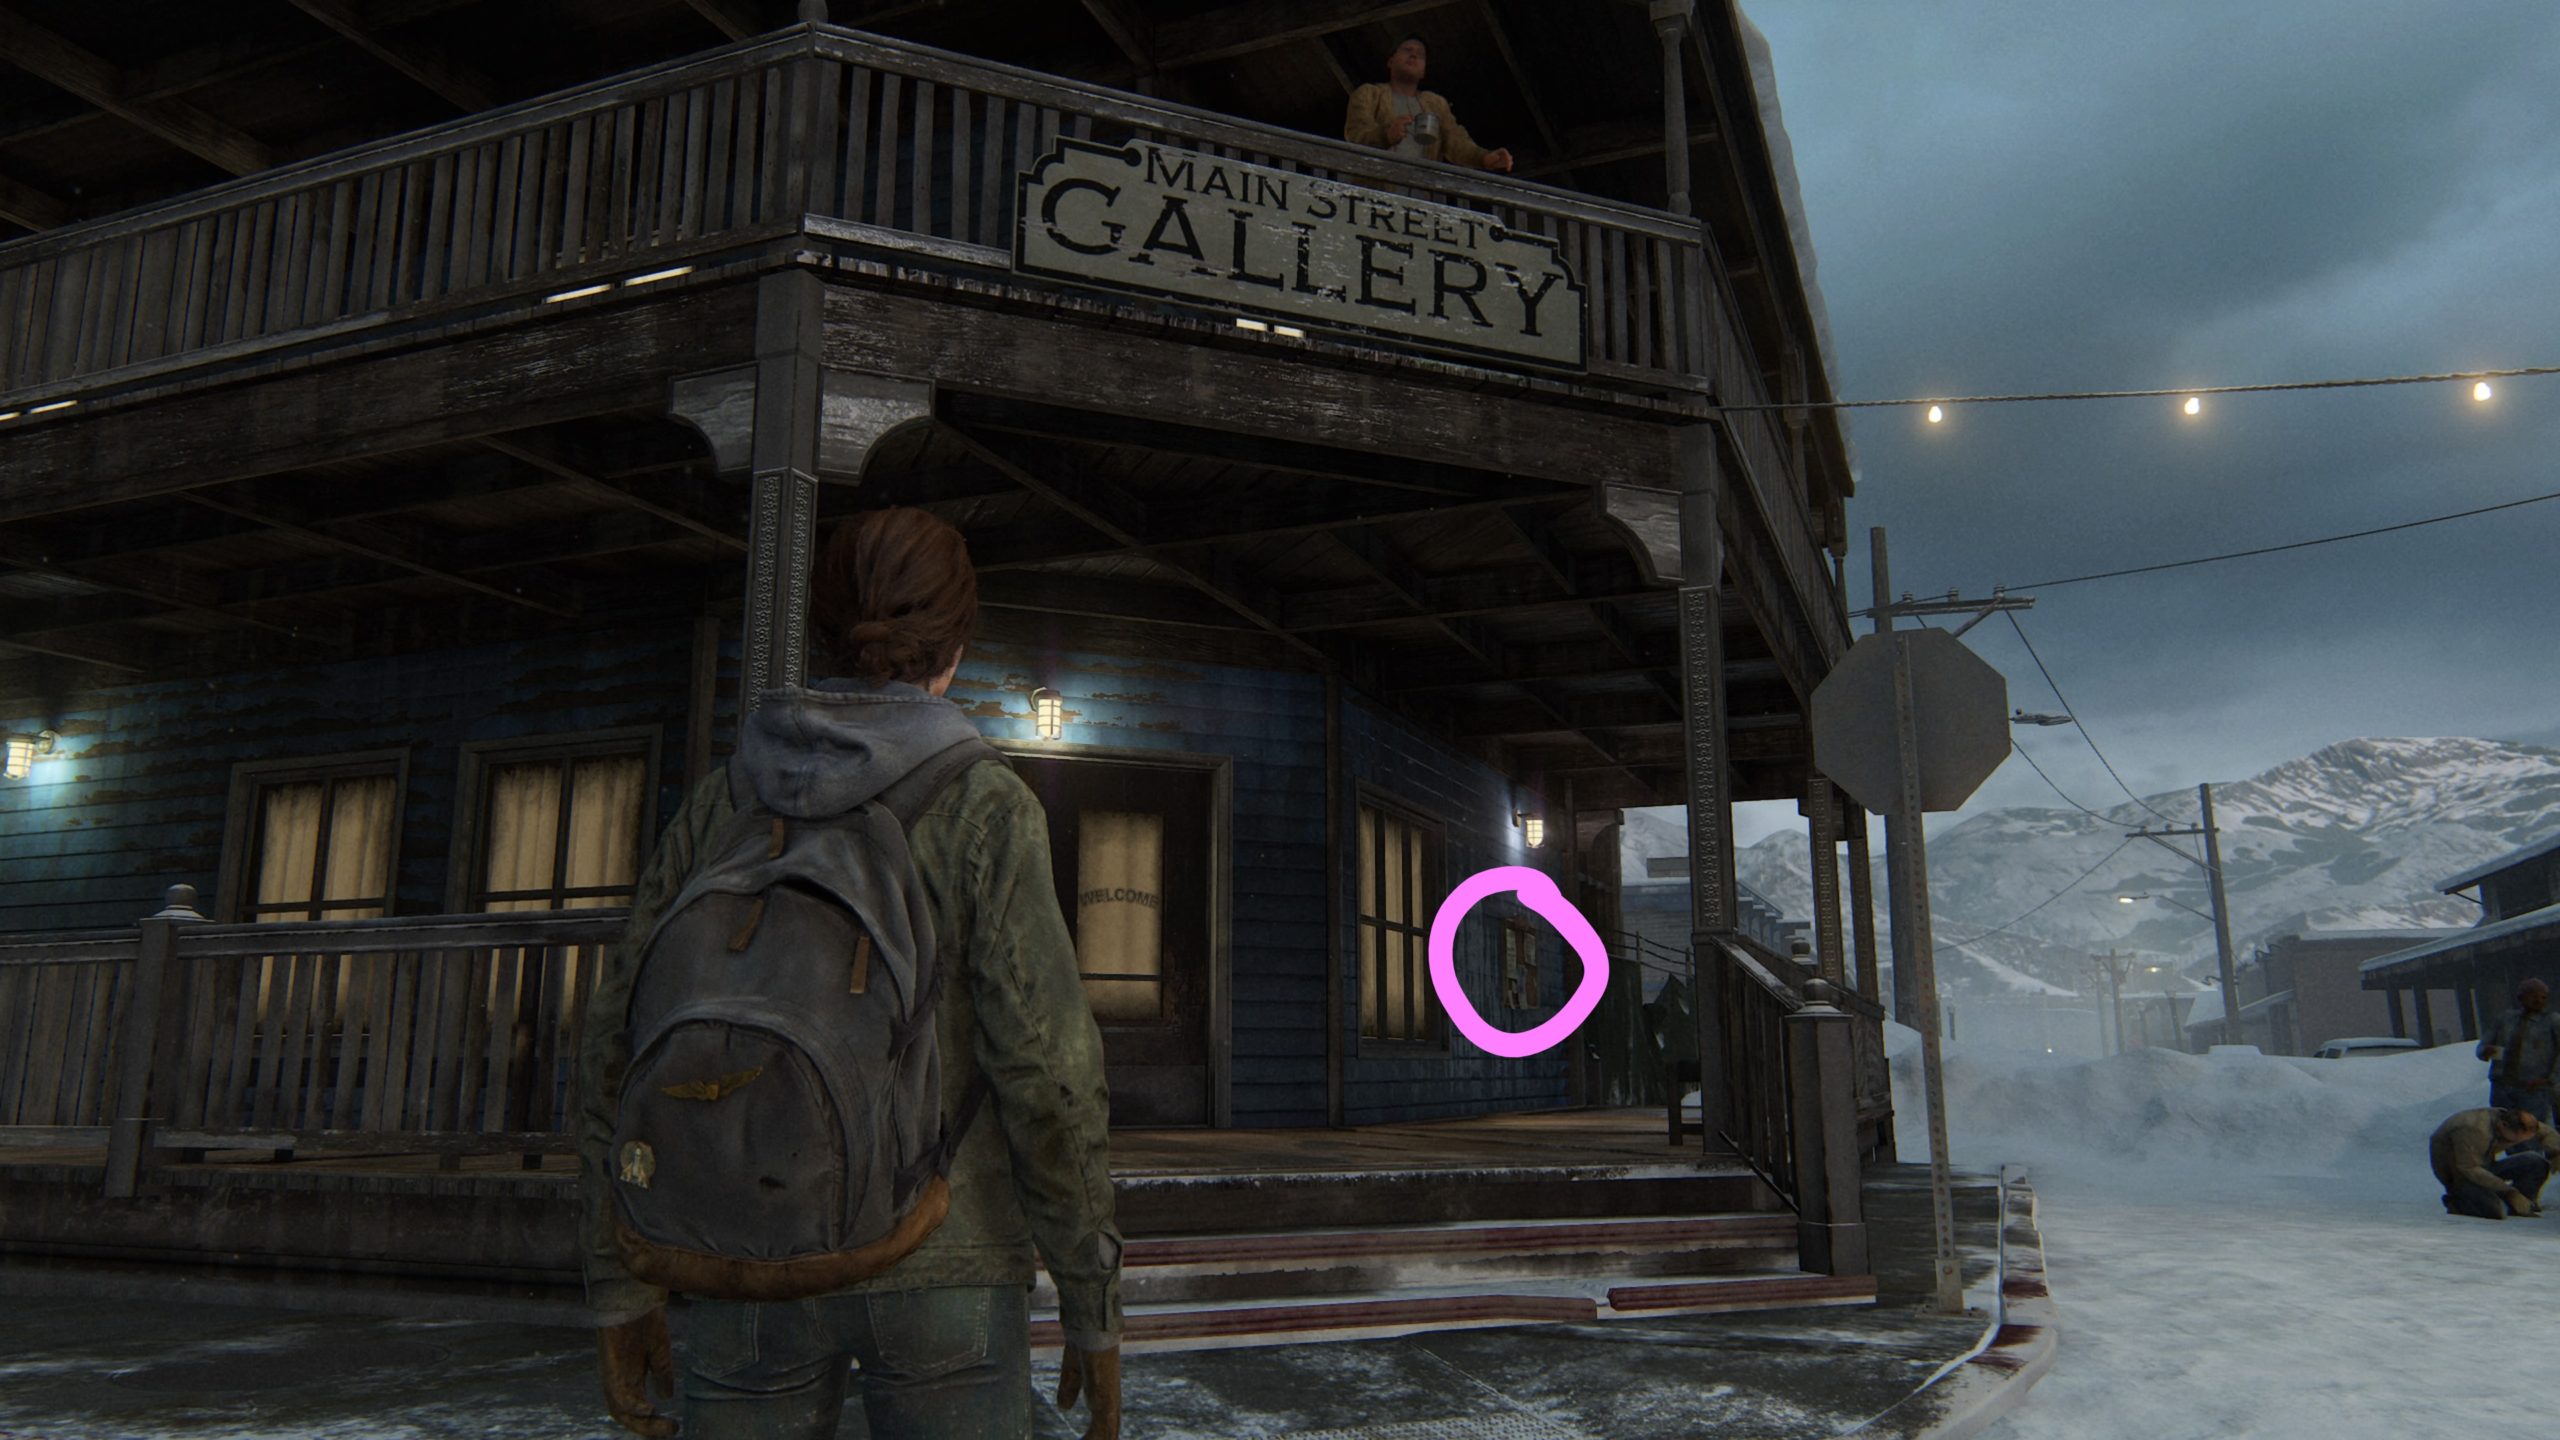
Trading Card – Seismicayla
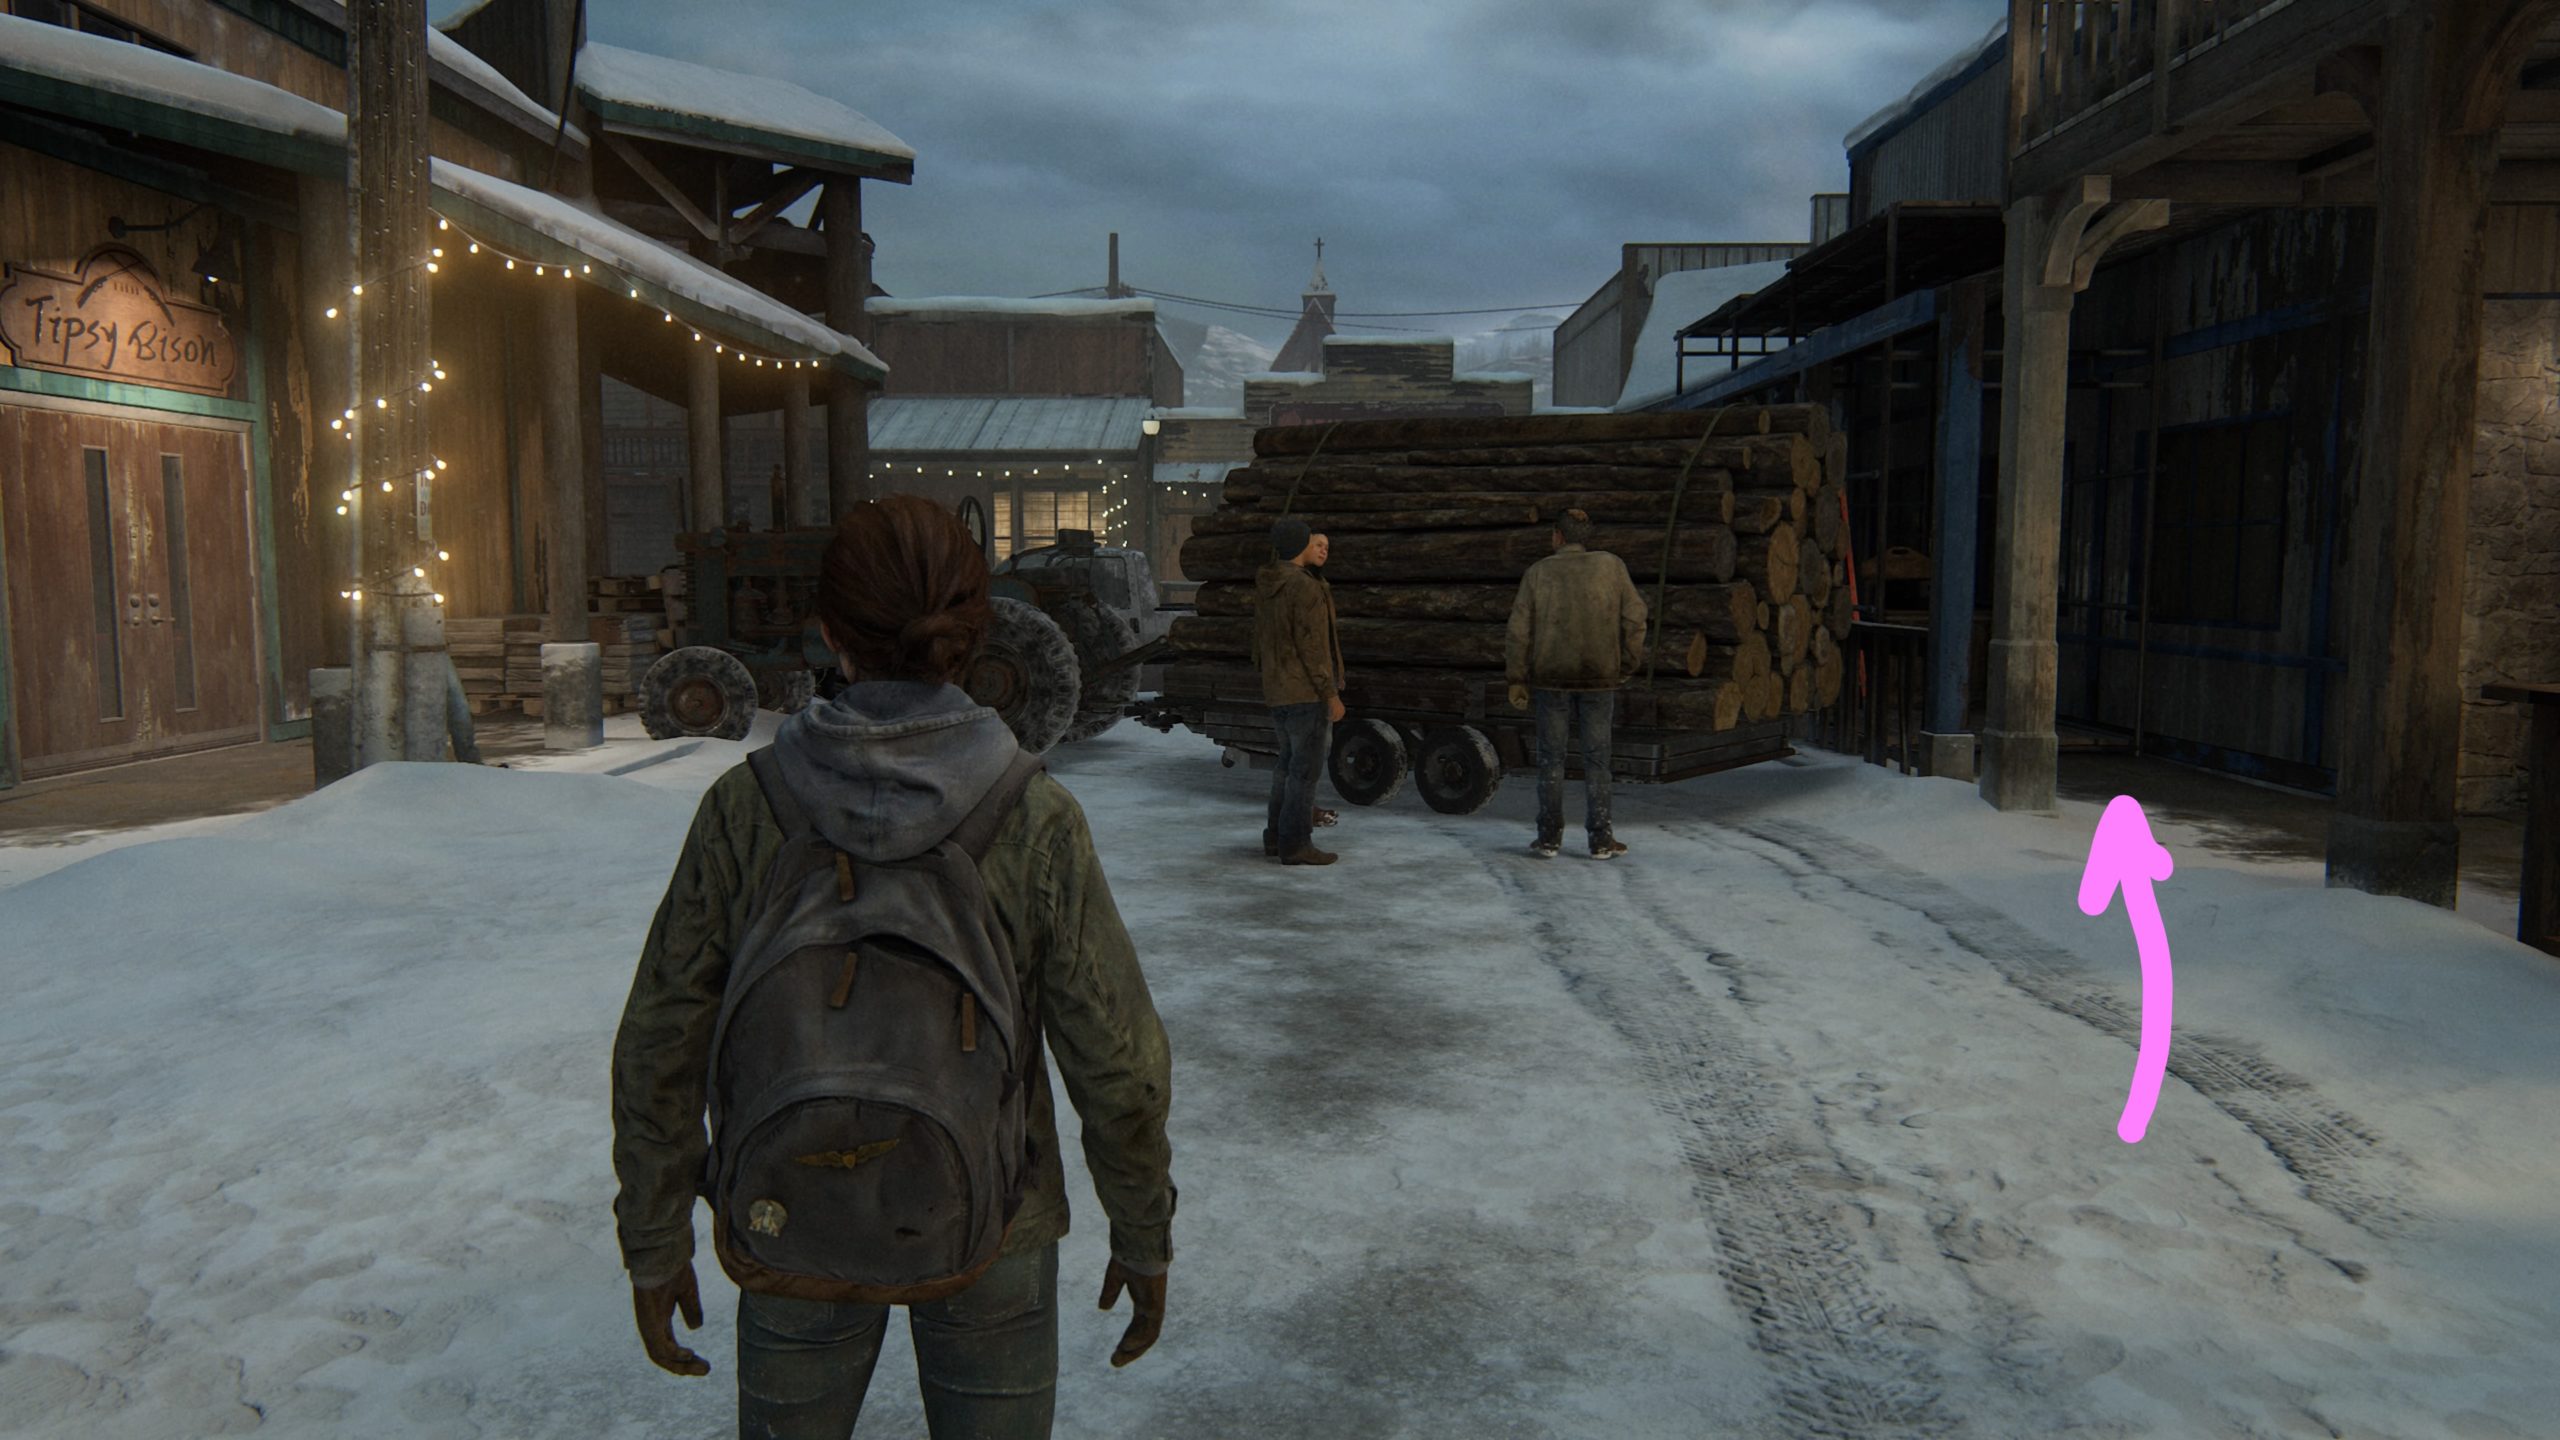
This card can be found on Main Street Gallery’s Help Wanted bulletin board, which can be found to the right of the main doors on the outside of the building. *NOTE: You will need to collect this artifact before heading into the Tipsy Bison.
Artifact – Volunteer Request
This artifact is located across from the Tipsy Bison behind the cart with all the logs under a blue overhang near a ladder on a crate. *NOTE: You will need to collect this artifact before heading into the Tipsy Bison.
Trading Card – The Keene Twins
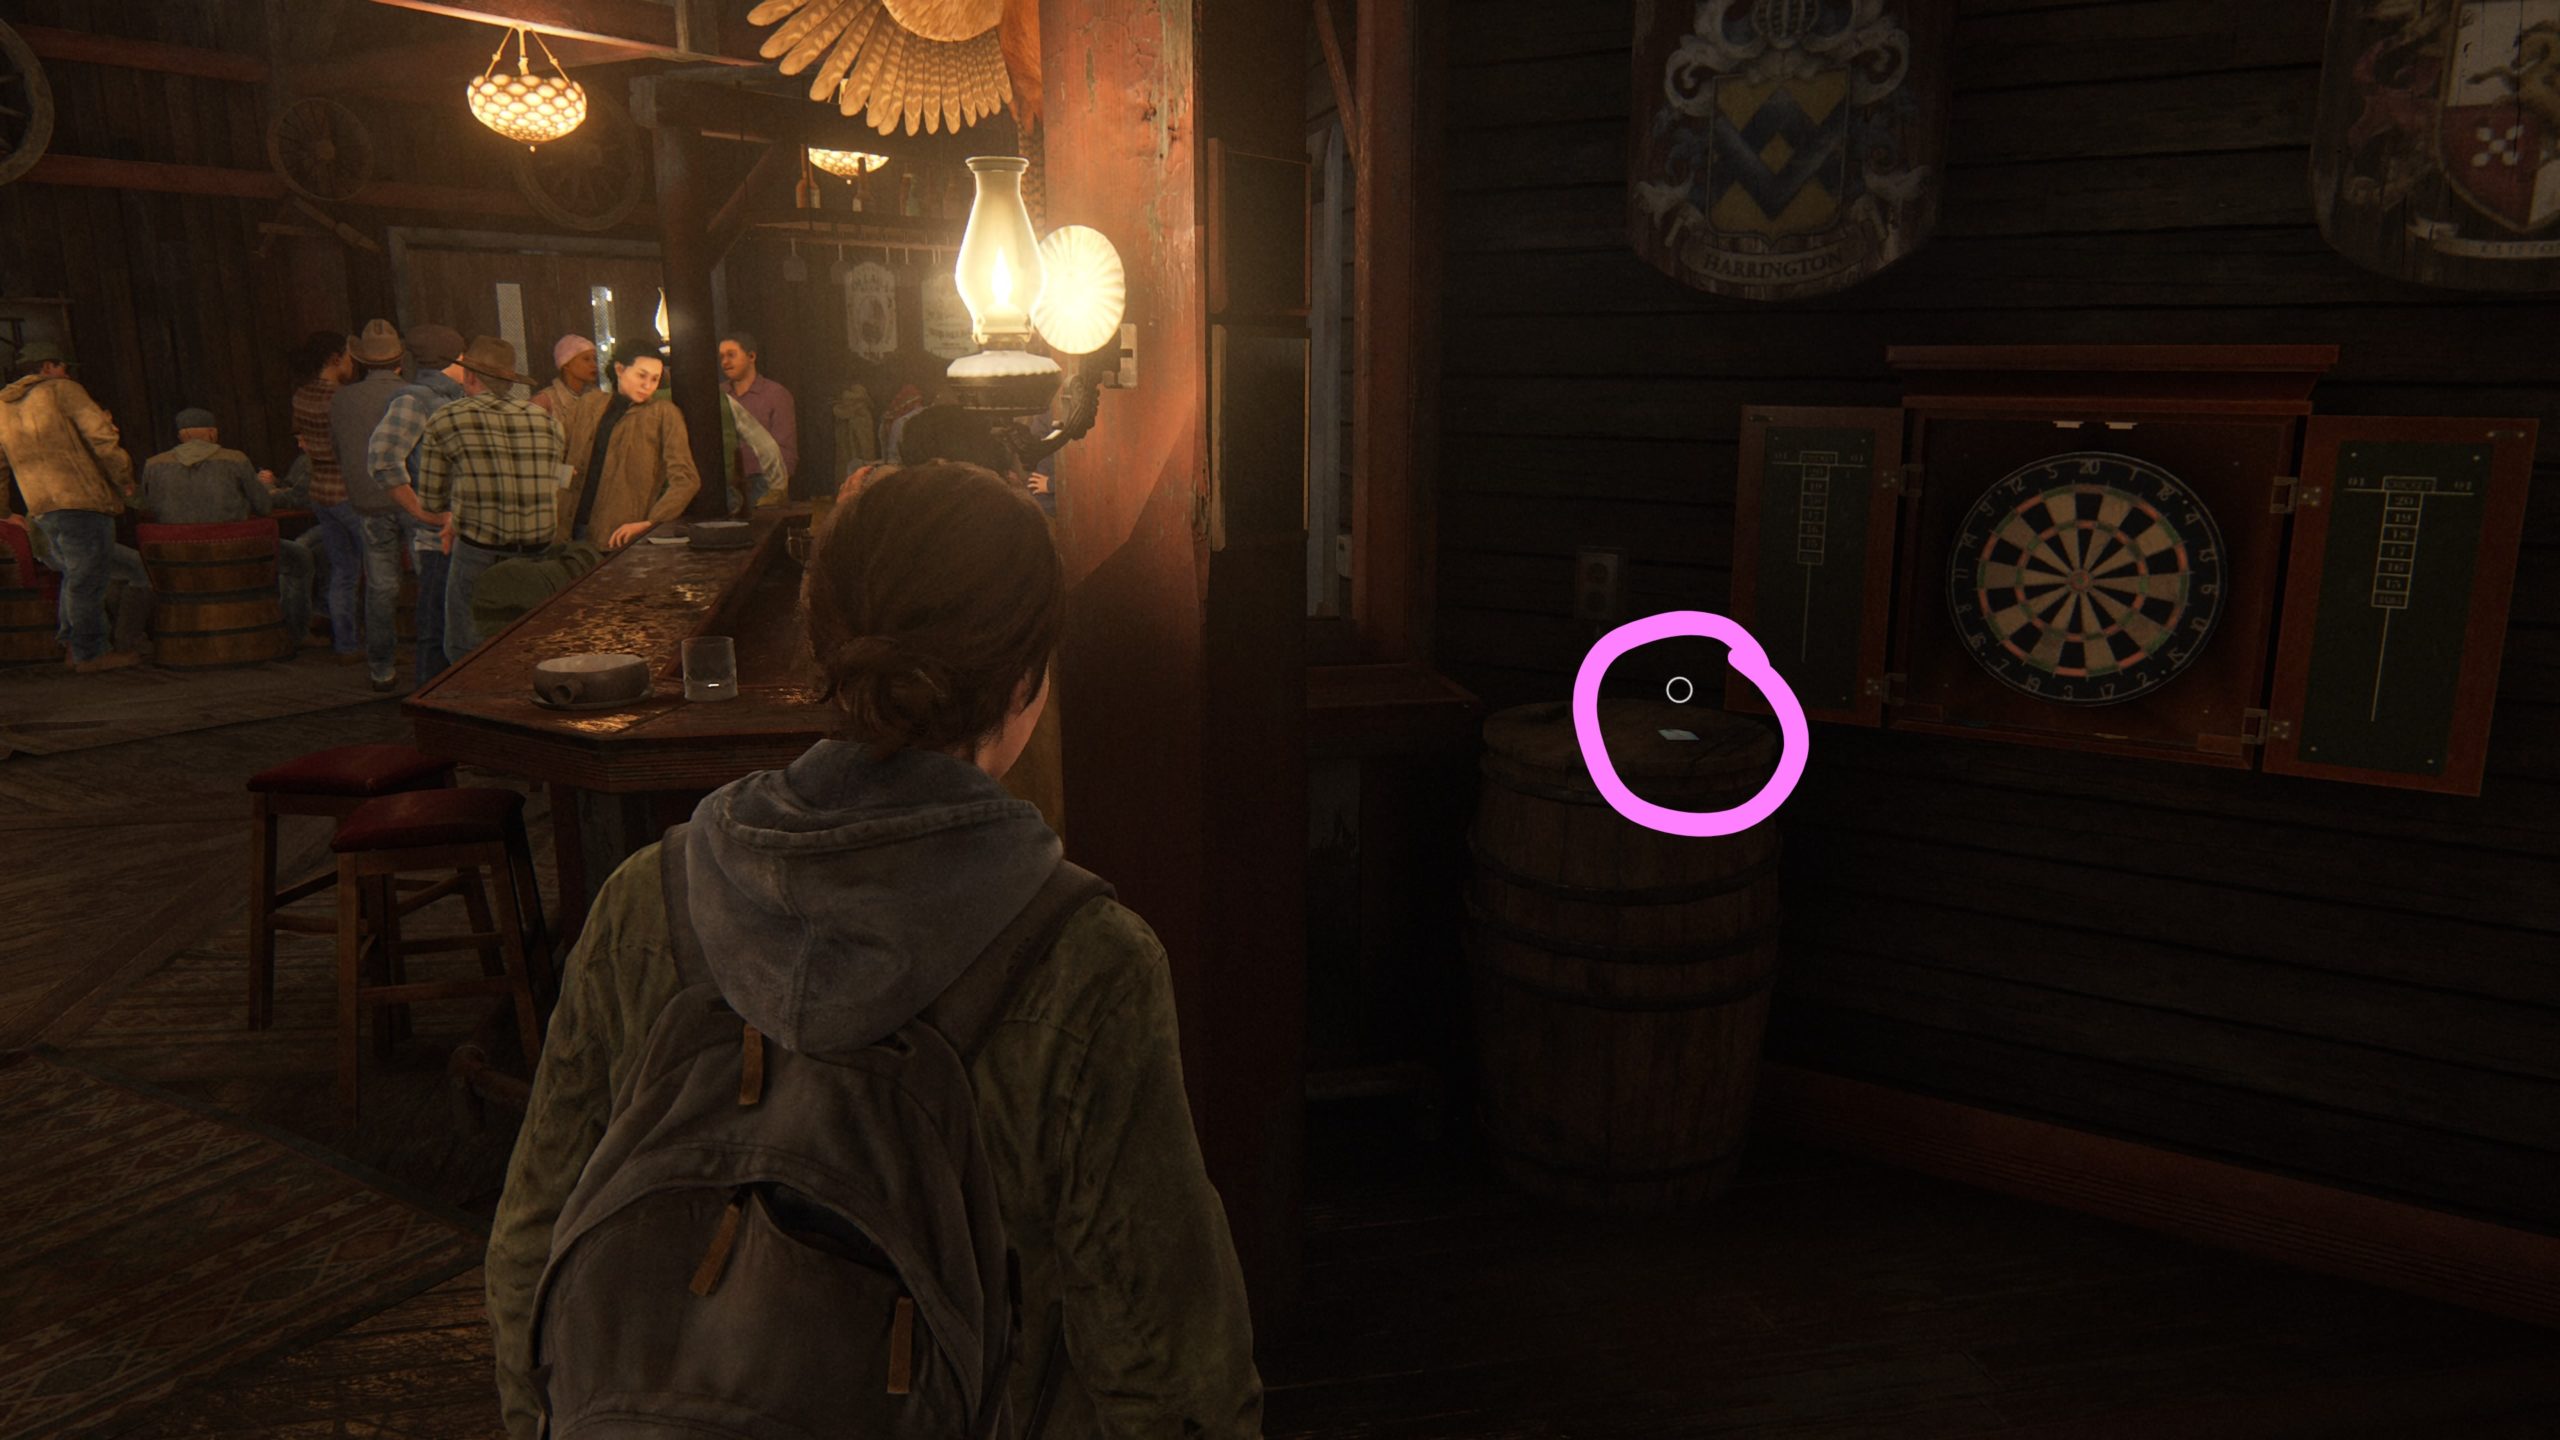
This card can be found on a barrel next to a dart board near the bar in the dining hall.
This site uses cookies. By continuing to use this website, you are giving consent to cookies being used. For more information on cookies, view our Privacy Policy.OkPrivacy Policy