Below are the side quests you can obtain at Bilgewater in Ruined King: A League of Legends Story. Please note that they are listed in alphabetical order!
Deadly Currency
Obtained: Baron’s Rest – Speak with the woman sitting at the table on the western side of the bar
Objective: Inspect the door at the back of Baron’s Rest
Head through the nearby door and go to the end of the hallway. Inspect the door then return to the woman. The quest will complete and you’ll receive the Arena Coin. Return to the door and speak with the Wild Gunner. If you threaten him, he’ll let you through without a fight. Inside is a fight club! Partake if you’d like to receive the following:
- Shoal Walker – Reinforced Leather Tunic
- Cannon Crab – Dock Worker’s Pauldron
- Anguish, Destruction, Misery (level 14) – Inventor’s Pistols
- Ravenous Shimmercoat – Orb of the Glade
- Gluttonous Wurm – Shadowedge
- Cruel Salvager – Red Shadow, Janna Effigy
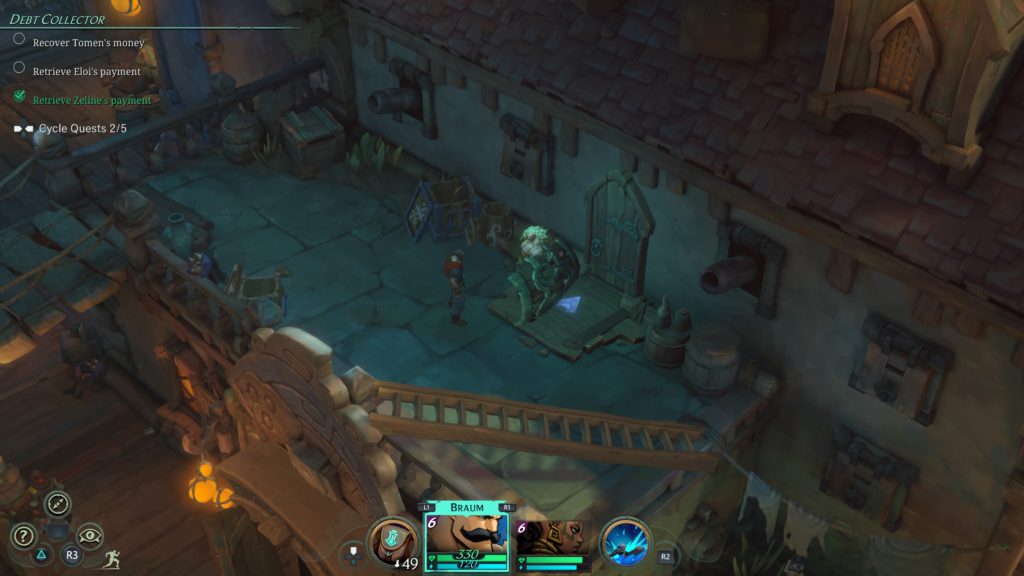
Debt Collector
Obtained: Fleet Streets – Speak with the banker in a building on the western side of Fleet Streets
Objective: Recover Tomen’s money, retrieve Eloi’s payment and retrieve Zeline’s payment
Zeline can be found on the western side of Fleet Streets just outside of Chester’s shop. If you wish to avoid a fight with her, select the option to “threaten her”. She will automatically hand over her payment.
Eloi can be found in the Slaughter Docks directly north of “Bays” in Carving Bays on the map.

Speak with him then select the following options to take the payment:
- How do you know you’ve lost the touch?
- You just need to get out there and try!
After you’ve collected the payments, return to the banker in Fleet Streets and speak with him. We told him that we did not hurt anyone. As a reward, we received Calvina’s Lucky Watch and 150 gold.
Fathom’s Pharos
Obtained: Buhru Grotto – Speak with the person near the spout in the center of the area
Objective: Retrieve the Hymn of Heavenly Motion
Travel to Fathom’s Pharos via The Charming Lady and make your way to the Solarium to find the puzzle. Move the mechanisms until the shadows are positioned over the circles on the floor. Once all 4 beams are lit, interact with the well in the middle to retrieve the Hymn of Heavenly Motion. Return to the Buhru Grotto and speak the with man to receive 2,000 gold.
Like a Dog in the Streets
Obtained: Docks Harbor – Speak with Owen next to the body near the entrance to the Tide Stockades

Objective: Talk with locals about the murder
Speak with Lenny on the path east of the Bounty Board that leads to Buhru Grotto and the Docks Blockade to learn that Barry the Butcher might have killed Owen’s brother. Exhaust all the dialog options then head southwest to find Daren near the fishing hole in the Ship Salvage Yard. After you’ve spoken with both men, return to Owen. You’ll then have the options to either lie to him about what happened to his brother or tell him the truth. If you tell him the truth, you’ll receive 250 coins and it is hinted that he’ll most likely seek revenge. If you lie, you’ll receive 300 coins and he’s satisfied with your answer.
Lost at Land
Obtained: Watchtower – From the Fortune Estate, follow the path southwest to find Glass-eyed Joe on a walkway above some cannons. Speak with him to accept the quest.
Objective: Find the derelict crew
He’ll tell you the following information:
- Lin – Book
- Slim – Package of rations
- Fin – Diving gear
Fin can be found along the most northern path in the Watchtower. Give him the diving gear on a lookout section of the walkway. Slim can be found near the lift by the Observation Deck. Give him the rations. Take the lift down then head near the entrance to the Ordinance Storehouse to find Lin. Give him the book. After finding everyone, return to Glass-eyed Joe to receive 400 gold plus an additional 350 gold if you not only gave everyone the right stuff but called them by their correct name!
Surface Appearances
Obtained: Fleet Streets – Speak with Chester in his shop on the western of the area side then head to the warehouse just under the 2F on the map and speak with the person outside (as shown below)
Objective: Discover the source of the Razorfin
After you agree to help the Abandoned Warehouse Owner out, head inside the building the guy is standing in front of and work your way through the 2 sets of Wharf Rats until you reach a movable crate. Go ahead and move it out of the way then climb down the hatch to reach a cave. Follow the path in the cave to find 2 guys near a cage. Approach them to trigger a cutscene followed by a fight with a Pugilist and Wild Gunner. Defeat them to trigger wave 2 of the battle against another Pugilist and Wild Gunner. Once again defeat them then loot the Smuggler’s Key from the corpse. Backtrack a short way then use the key on the locked door. Climb the ladder to trigger a shocking cutscene. After you’re stabbed in the back (which actually does a fair amount of damage), a fight will occur against Beryl and Chester. Defeat the lovebirds to continue the cutscene. Head back down the ladder in the storage room and backtrack all the way to the Abandoned Warehouse Owner. Speak with him to receive 300 gold and complete the quest.
The Bard’s Ballard
Obtained: Baron’s Rest – After acquiring Sarah as a party member, speak with the bar sitting at the table in front of the stage in the room just before the fight club.
Objective: Find an instrument and source material
Upon accepting the quest, the bard will tell you that the instrument can be found in the Slums Market and the source material might be sold by a Black Marks vendor.
Source Material – Exit the room, go down the stairs and head across the floor to Grifter’s Corner, which is accessible after completing The Difficult Diner side quest (see below). Ask the vendor if there is any source material for sale. He’ll give you the following 3 options:
- A Collection of Overused Cliche Tales (100 gold)
- Modestly Written Stories by Average Authors (200 gold)
- Fantastic Stories for Curious Minds (400 gold)
Instrument – Exit the Baron’s Rest and make your way to the musician next to the shop in the Slums Market. With Yasuo in your party, speak with him and listen to him play then ask him if he has any spare instruments he’d sell. He’ll give you the following 3 options:
- Lily (50 coins)
- Sandra (150 coins)
- Belle (500 coins)
No matter what combination you select, you’ll receive 400 gold as the reward. The best options to select are Modestly Written Stories by Average Authors and Sandra. This way you will actually make a little money and the bard will remain alive. If you give the bard A Collection of Overused Cliche Tales and Lily, the bard will die but you’ll still receive 400 gold.
The Countess Evalista
Obtained: Docks Harbor – Once you have Sarah in your party, head to the walkway to the left of the bounty board in Docks Harbor to trigger a cutscene.
Objective: Speak to the Countess Evalista
Head into the Tide Stockades and make your way to the upper level. Speak with the woman in the cell. You can choose to help her or not. The quest will complete either way and you won’t receive a reward. If you choose to help her then make your way back to the entrance of the stockade. Speak with the man at the desk and select the following options:
- Purty
- Purty says she hears someone trampling flowers outside.
When he leaves grab the Jail Cell Key from his desk. Return to the countess and unlock the door to free her. After the cutscene where she knocks you out and flees, the quest will complete.
The Difficult Diner
Obtained: Baron’s Rest – Head to the northern side of Baron’s Rest to witness a quick cutscene then speak with the angry guy who sent the food back. Inspect the table and ask about the key to obtain this quest.
Objective: Get the key from the diner
Purchase the Seafarer’s Seltzer from the bar to the right of the angry guy then head through the door in the back to show it to the woman at the table with fish on it. A cutscene will trigger. Afterwards, approach the table and grab the Crossed Daggers Key from it to complete the quest. Head to the nearby door and use the key to unlock it. Head on through the door to find chests and a black marks dealer.
The Economy of Violence
Obtained: Jagged Hooks Warehouse – After completing the Ancient Knowledge main quest, head to the Jagged Hooks Warehouse and speak with the man near the counter.
Objective: Recover the stolen supplies
After accepting the quest, head into the next room. The first wooden crate can be found in this room on the eastern side.
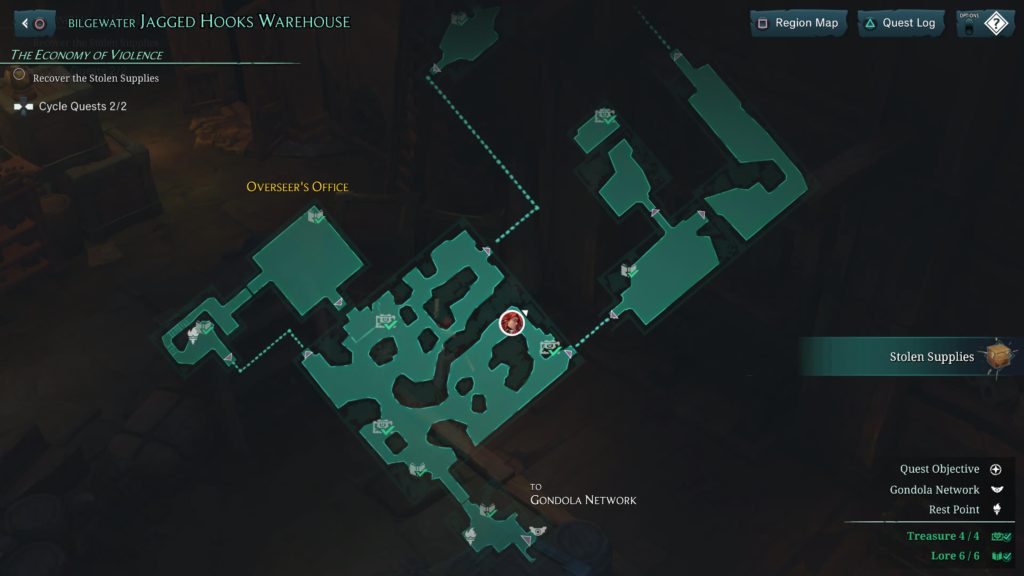
The next crate can be found just past 2 cannons mounted to the wall firing projectile at you in the most northern part of the area.
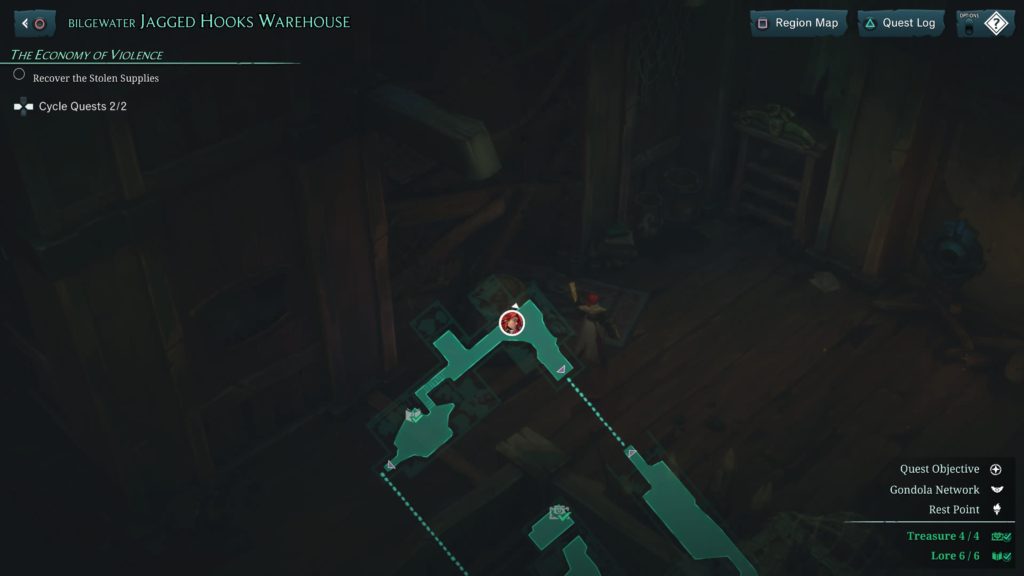
The last crate can be found in the Overseer’s Office.

Once you’ve collected all 3 crates, return to the entrance and speak with the man to receive 2,500 gold.
The Wishing Well
Obtained: Buhru Grotto – After obtaining the Beyond the Wall main story quest, speak with the man at the base of the stairs leading to the Well of the Mother Serpent in Buhru Grotto.
Objective: Resolve matters at the well
When speaking with the man at the base of the stairs, select Illaoi’s special option, “Priest, as Truthbearer, I seek to help my people in any way.” Agree to help him then proceed up the stairs. Follow the path until you reach a bridge where you’ll be stopped by two bandits. Defeat them in battle the continue forward through the area until you find the large green captain’s chair. Approaching it will trigger a cutscene. Before you leave, grab the Bag of Gunpowder from the pouch on the table. You’ll need this to fire the cannon in the ship. Point the cannon downward and all the way to the left then fire to unblock a set of stairs leading down. If you also hit the cannon upward, you’ll cruelly knock down a seagull’s nest. Do this to cause a Calcified Ring to wash up in the newly accessible area. Afterwards, return to the man at the base of the stairs in Buhru Grotto to complete the quest. As a reward, you’ll receive nothing.
Through the Lens
Obtained: Baron’s Rest – Speak with Renee on the first floor near the entrance
Objective: Retrieve the Demacian Box from the Spirit Realm
Follow her up to the second floor and speak with her again then head to the Slaughter Docks. Once there, make your way to the entrance of the Captain’s Pub. Interact with the magic there to enter the spirit room. Attempt to open the chest then bring the box back to Renee to complete the request. As a reward, you’ll receive 300 gold.