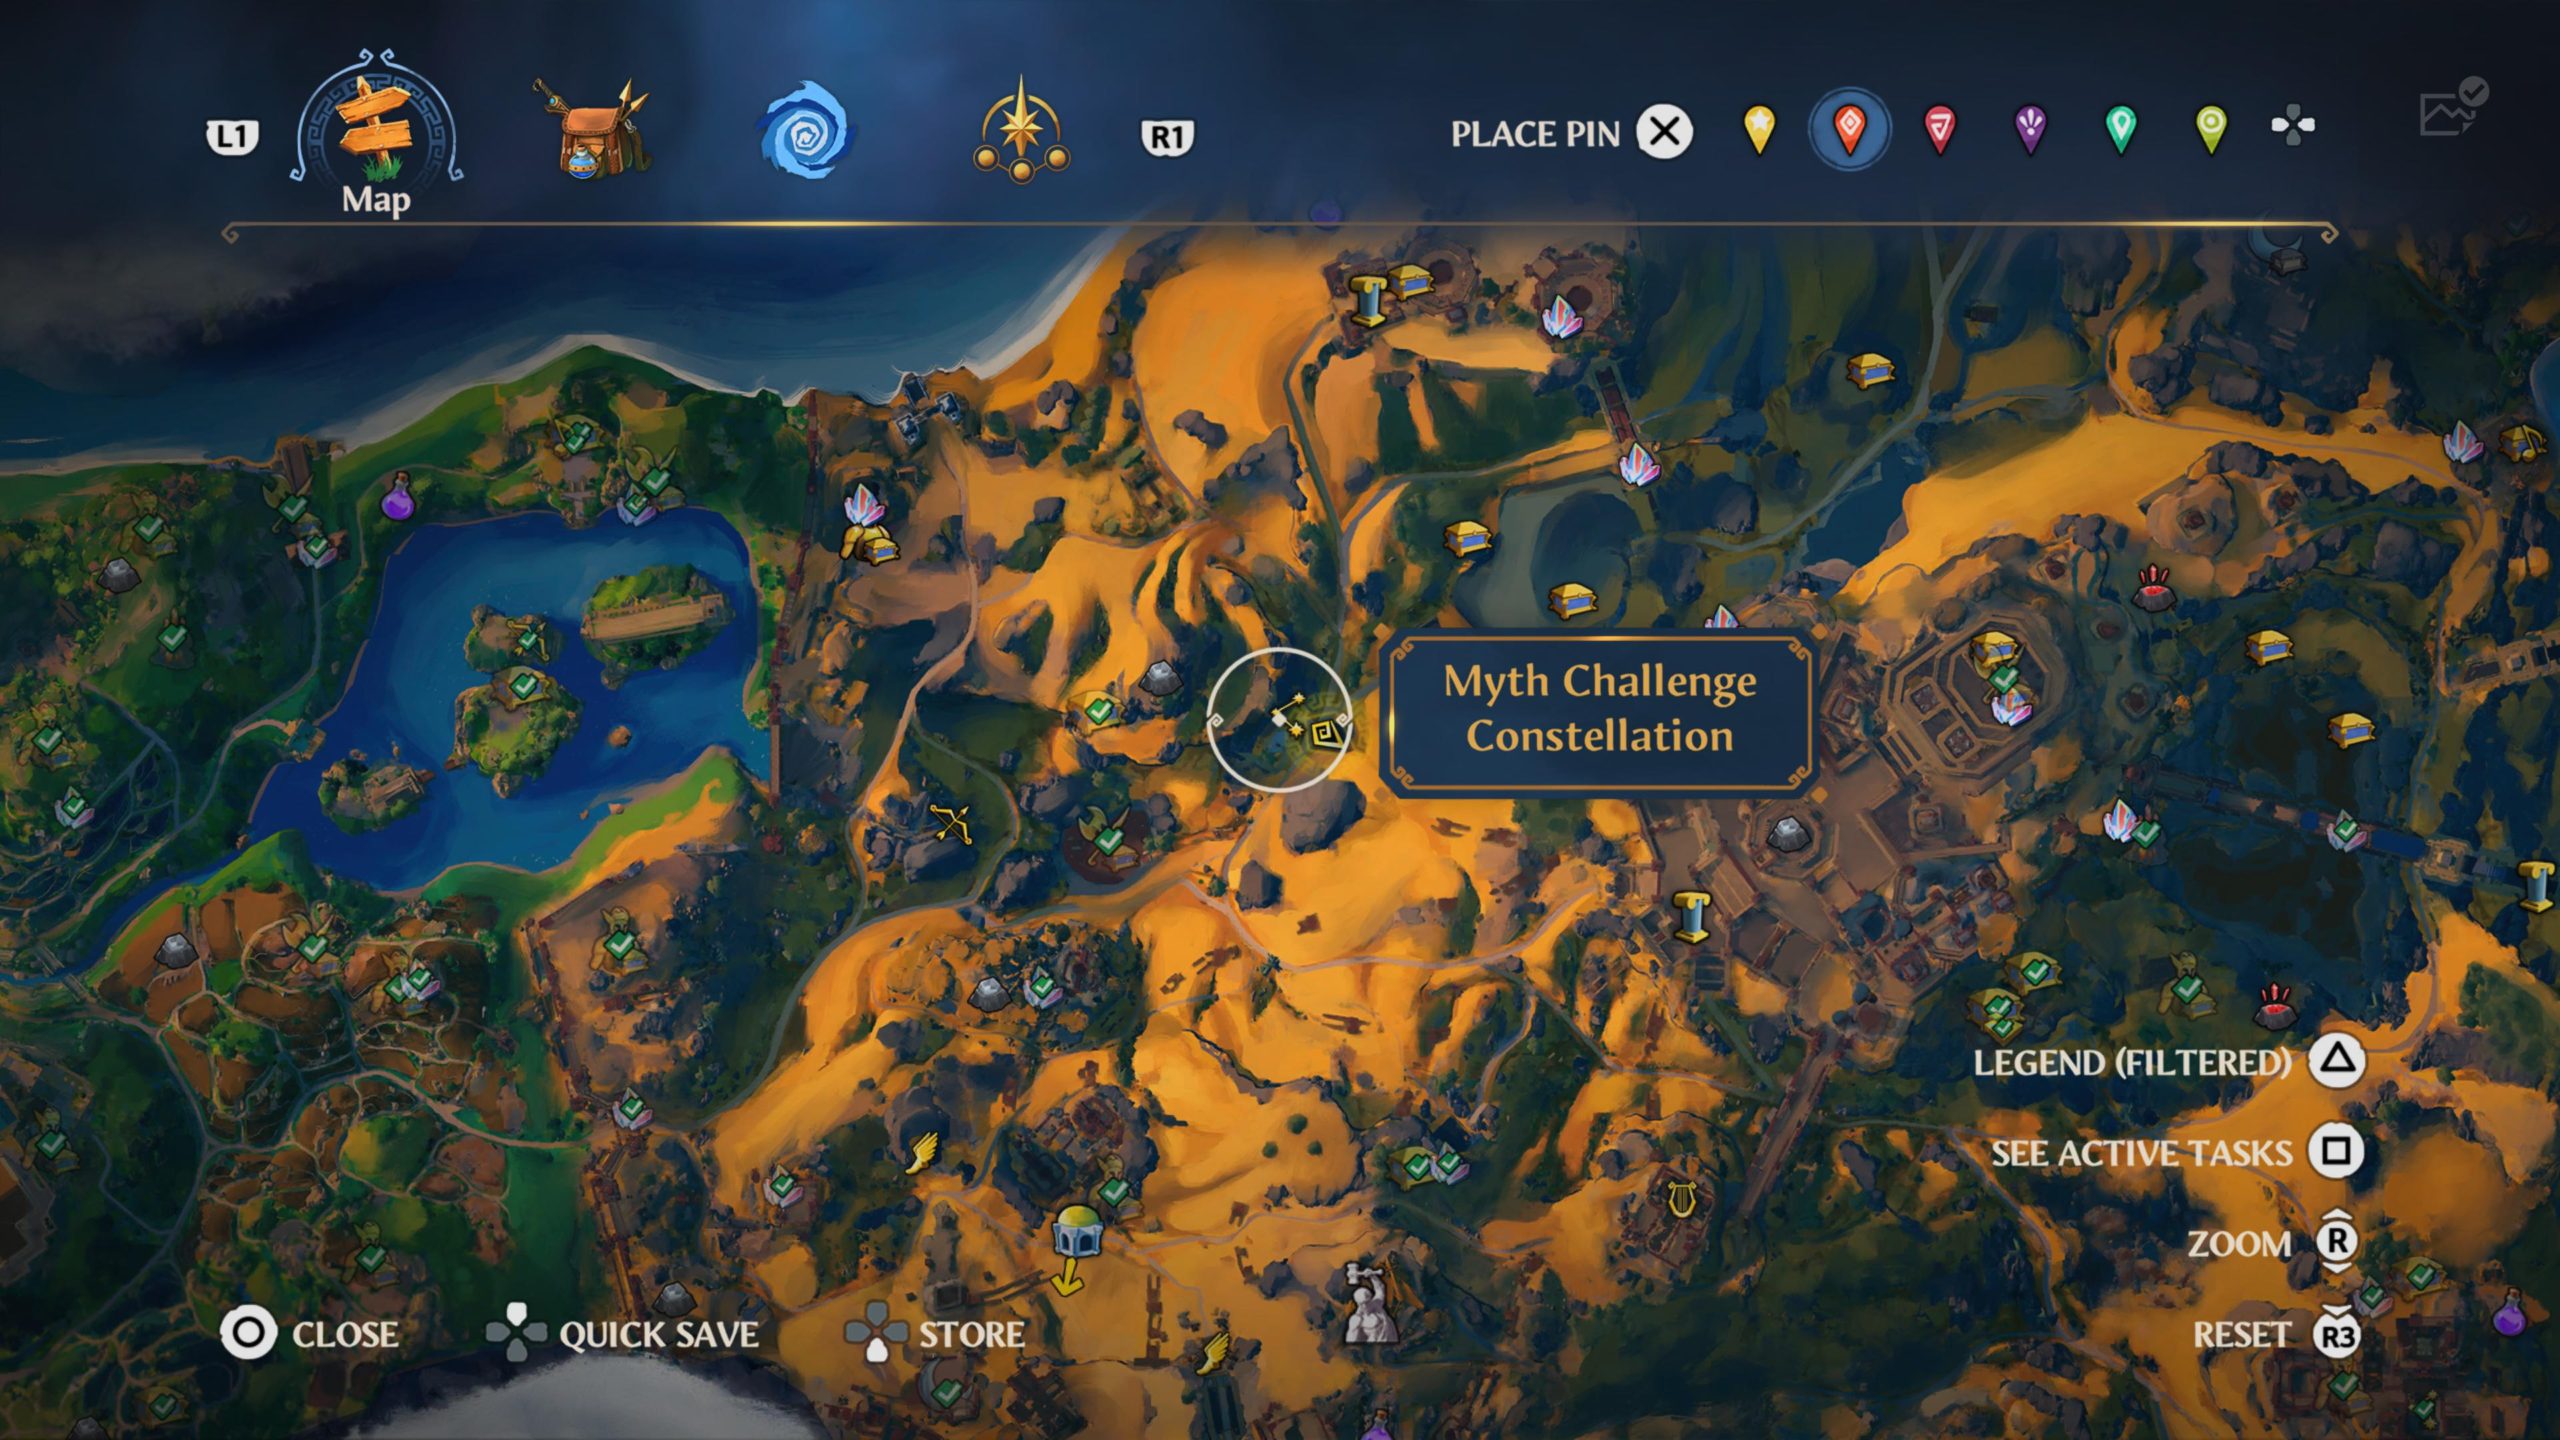
Auriga Constellation
This constellation can be found in the northeast corner of The Forgelands.

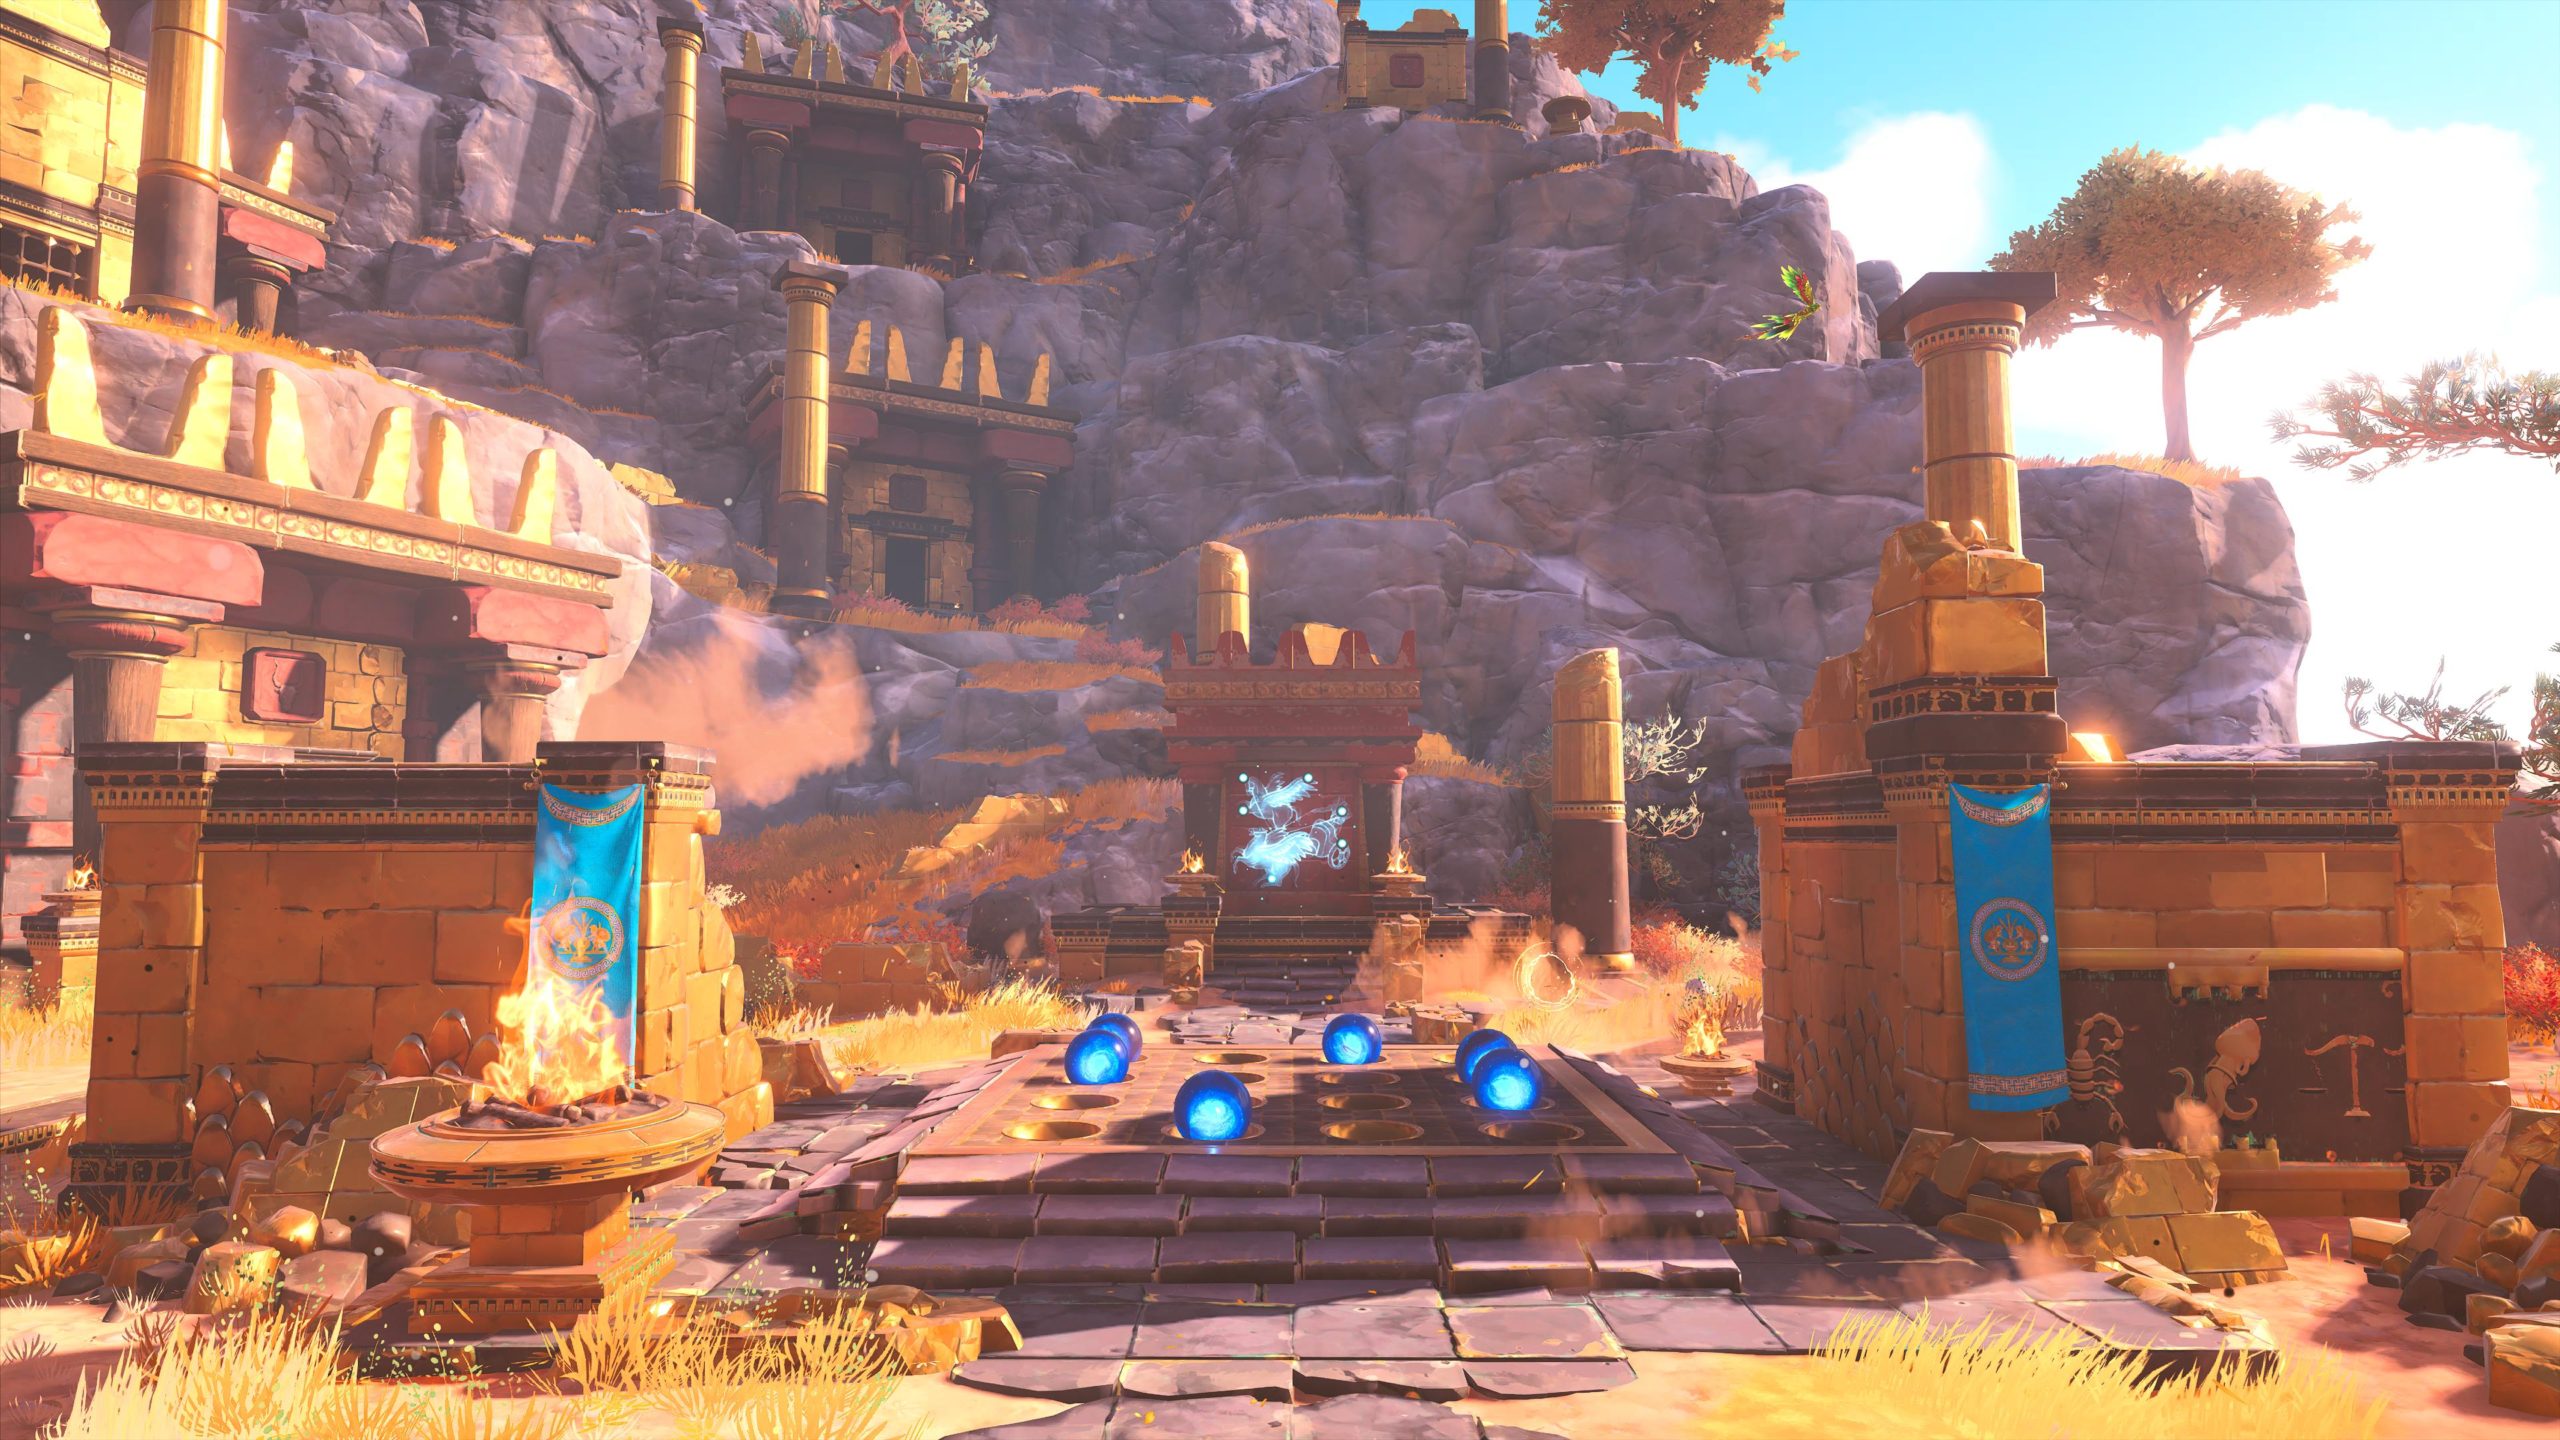
Use the image on the wall to place the glowing orbs in the correct locations on the ground. You can find the orbs in the following locations:
1. The first orb can be found right next to the puzzle in a little nook covered in corruption. R2 the corruption then retrieve the orb.
2. Jump to the room above the sealed orb then grab the metal cube and place it in front of the lasers. After you pass through the lasers, grab the metal cube and continue to the next set. Place this cube and a nearby cube in front of the lasers so you can pass. Do this again for the crisscrossed lasers. After you pass through the lasers, grab the orb!
3. Follow the path north of the puzzle to the middle level. Enter a building about halfway up. Head to the back room and flip the lever then quickly head into the next room before the barrier reactivates. Place the metal cube on the platform. Jump up to a higher lever with a lever. Pull the lever then jump through the hole across from you. Smash a breakable wall then jump down. This will put you at the first barrier of the puzzle. Smash the breakable wall next to the lever and enter the room to find another metal cube. Grab the cube then head back to the room above where the cube was. Throw the cube into the hole and flip the lever. Head back through the barrier then activate the lever in the next room. This will allow you to pull the cube through and drop it onto the platform. You will then be able to grab the cube.
4. Follow the path north of the puzzle to the top to arrive at a building. Break the corruption and enter the building. Defeat the 2 lions inside then retrieve the orb.
5. Head north of the puzzle to find a building on a ledge then head inside. Break the corruption to reveal a metal cube. Throw the cube through the lasers. Activate the platform on the other side then pull the cube onto the platform to release the orb.
6. A little further up from the previous orb, you’ll come across an orb trapped inside a small stand alone room. Smash the breakable wall then grab the orb!
The Aqueducts Constellation
This constellation can be found south of The Aqueducts fast travel point.
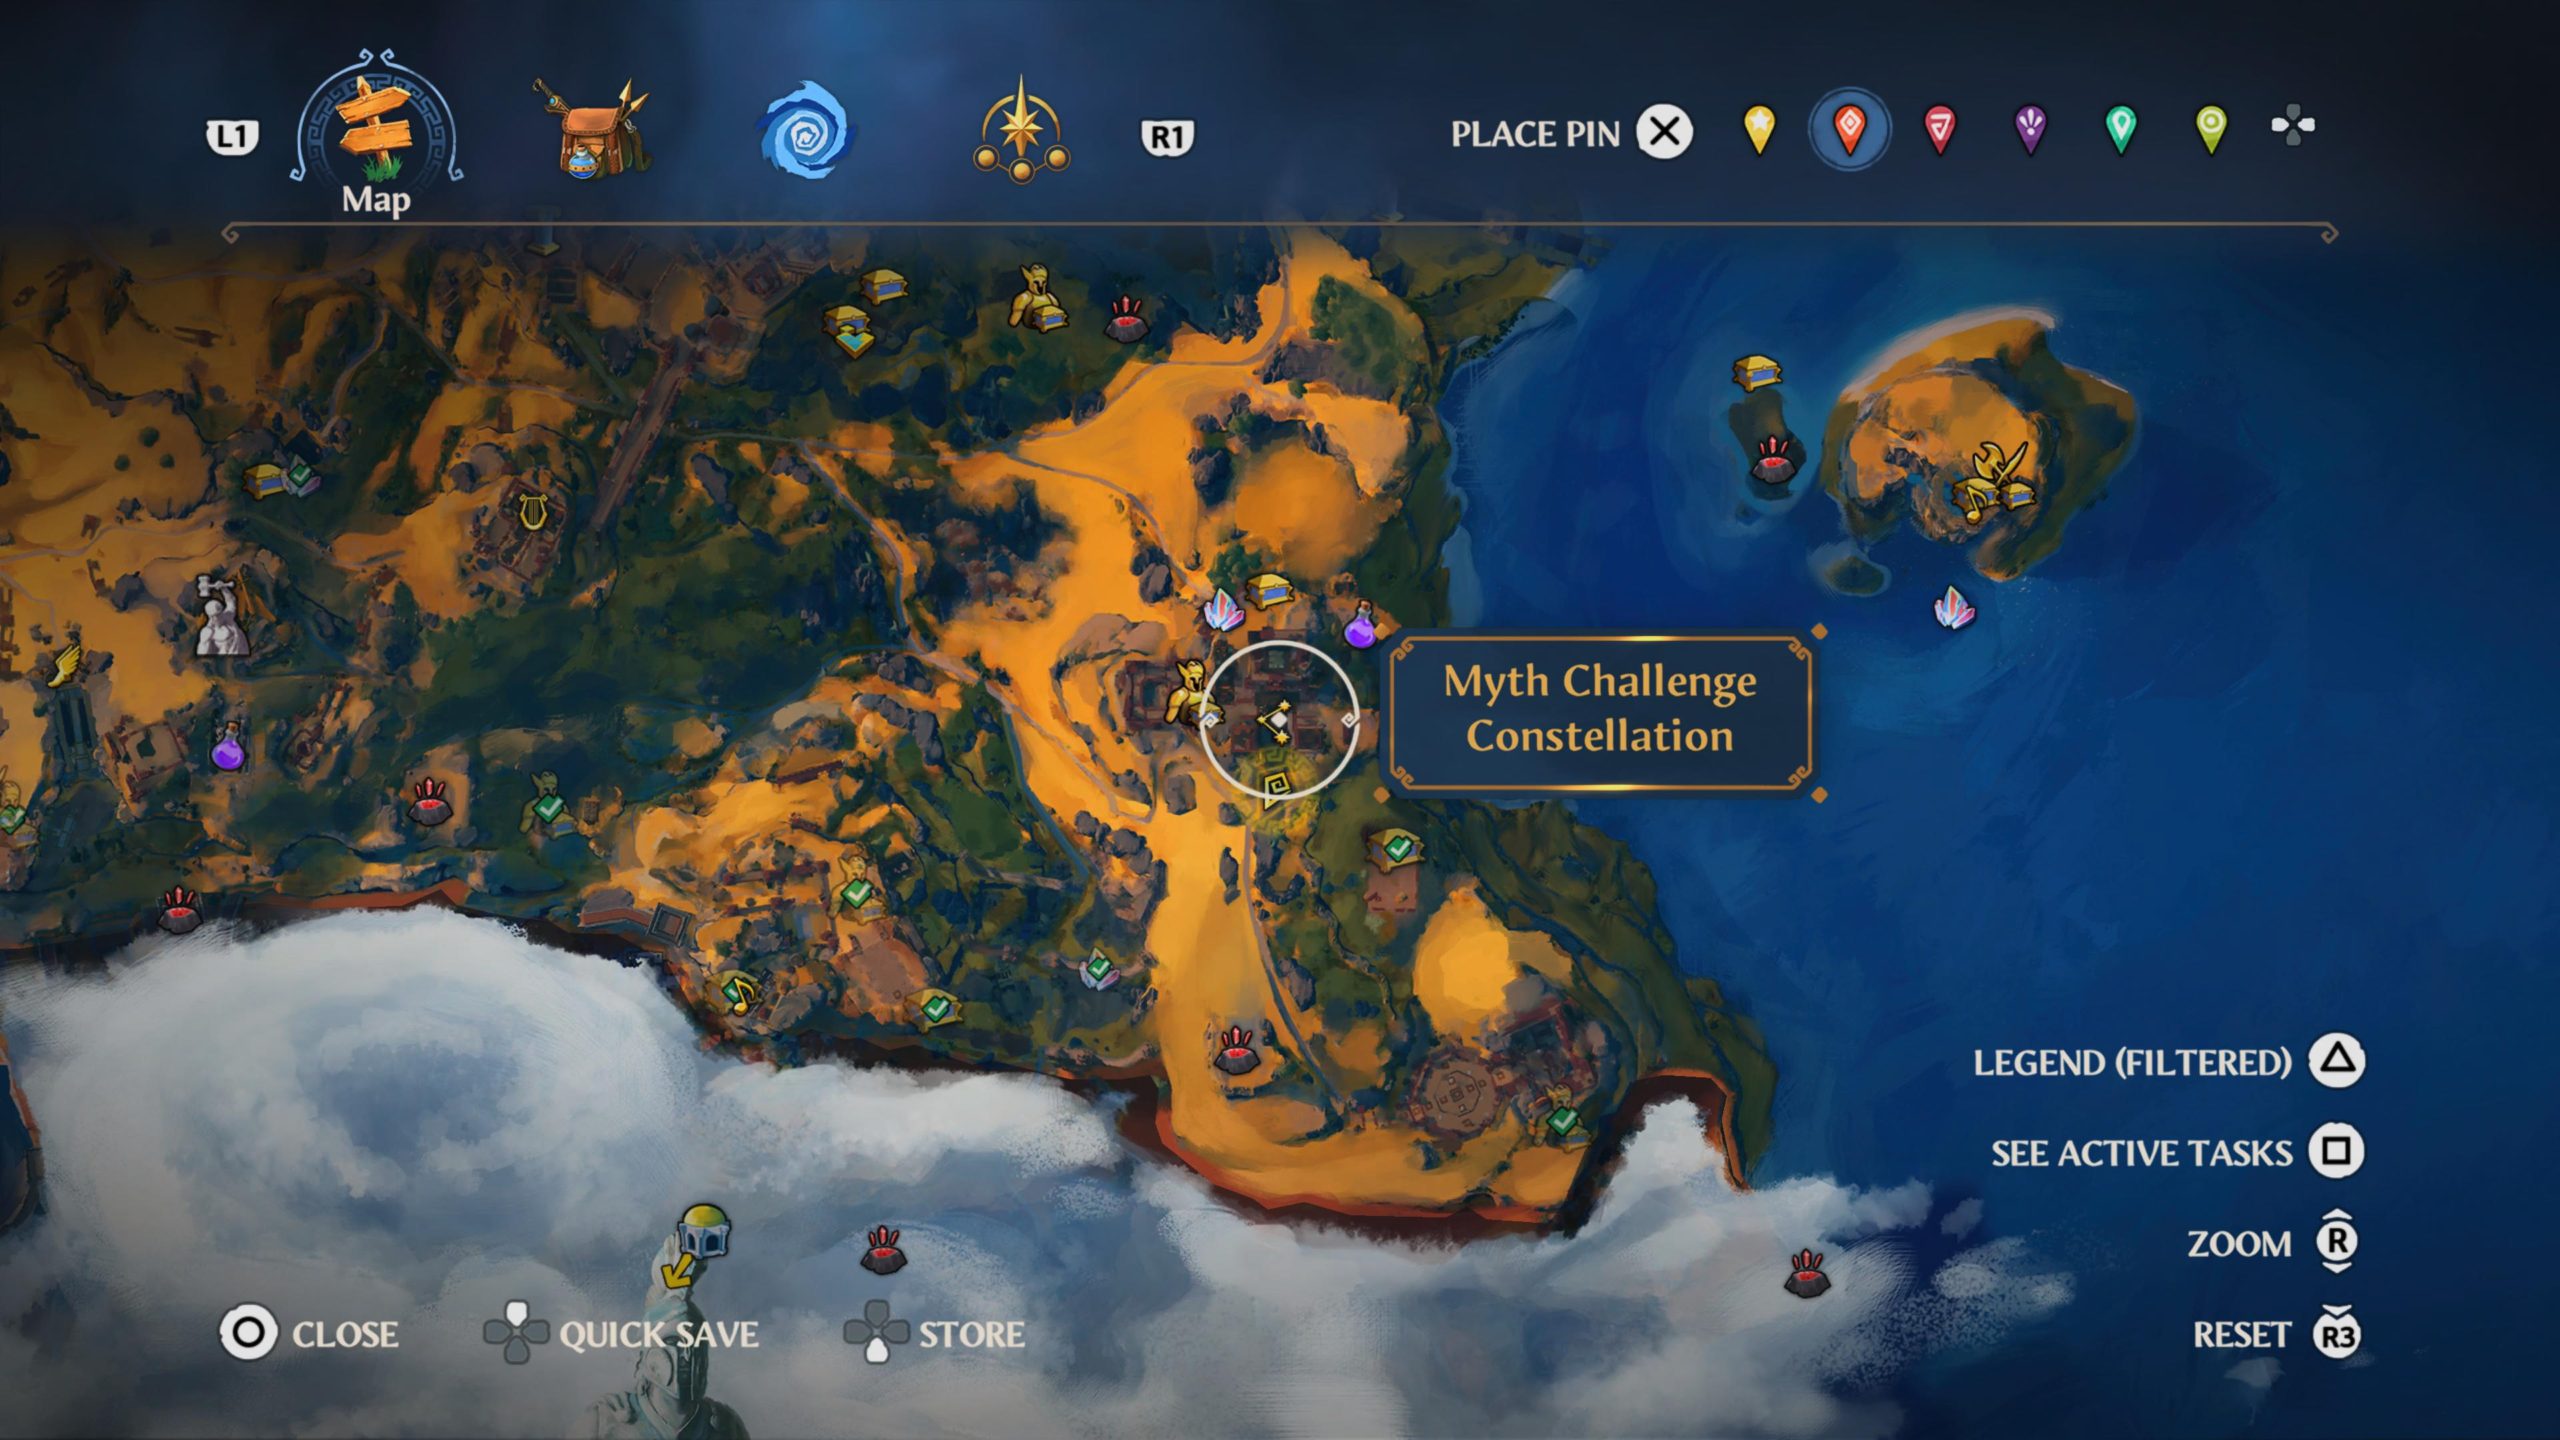
Use the image on the wall to place the glowing orbs in the correct locations on the ground. You can find the orbs in the following locations:
1. The first orb is located in the structure to the east of the puzzle near the silver dog statue. To reach it, climb up onto the top of the building across from it (west) to find a lever. Pull the lever then glide across the gap minding the fireballs before time runs out and the barrier closes again. Head inside the small room and grab the orb!
2. & 3. The second orb is located behind a gate on top of the image on the wall showing where to place the orbs. To open the gate, you’ll need to place an orb in the slot across from the other one up there. One the gate raises, head inside and smash the breakable wall to the right of the locked orb. Use an Apollo’s Arrow to light both braziers.
4. This orb can be found to the left of the image on the wall showing where to place the orbs underneath the ground protected by lasers. Head up to the area above the lasers to find 3 giant metal cubes. Arrange the cubes on the 3 platforms then push the cube in the back up and down the slope. When it falls in the hole below, the lasers will stop allowing you to head inside. Push the cube onto the platform then grab the orb.
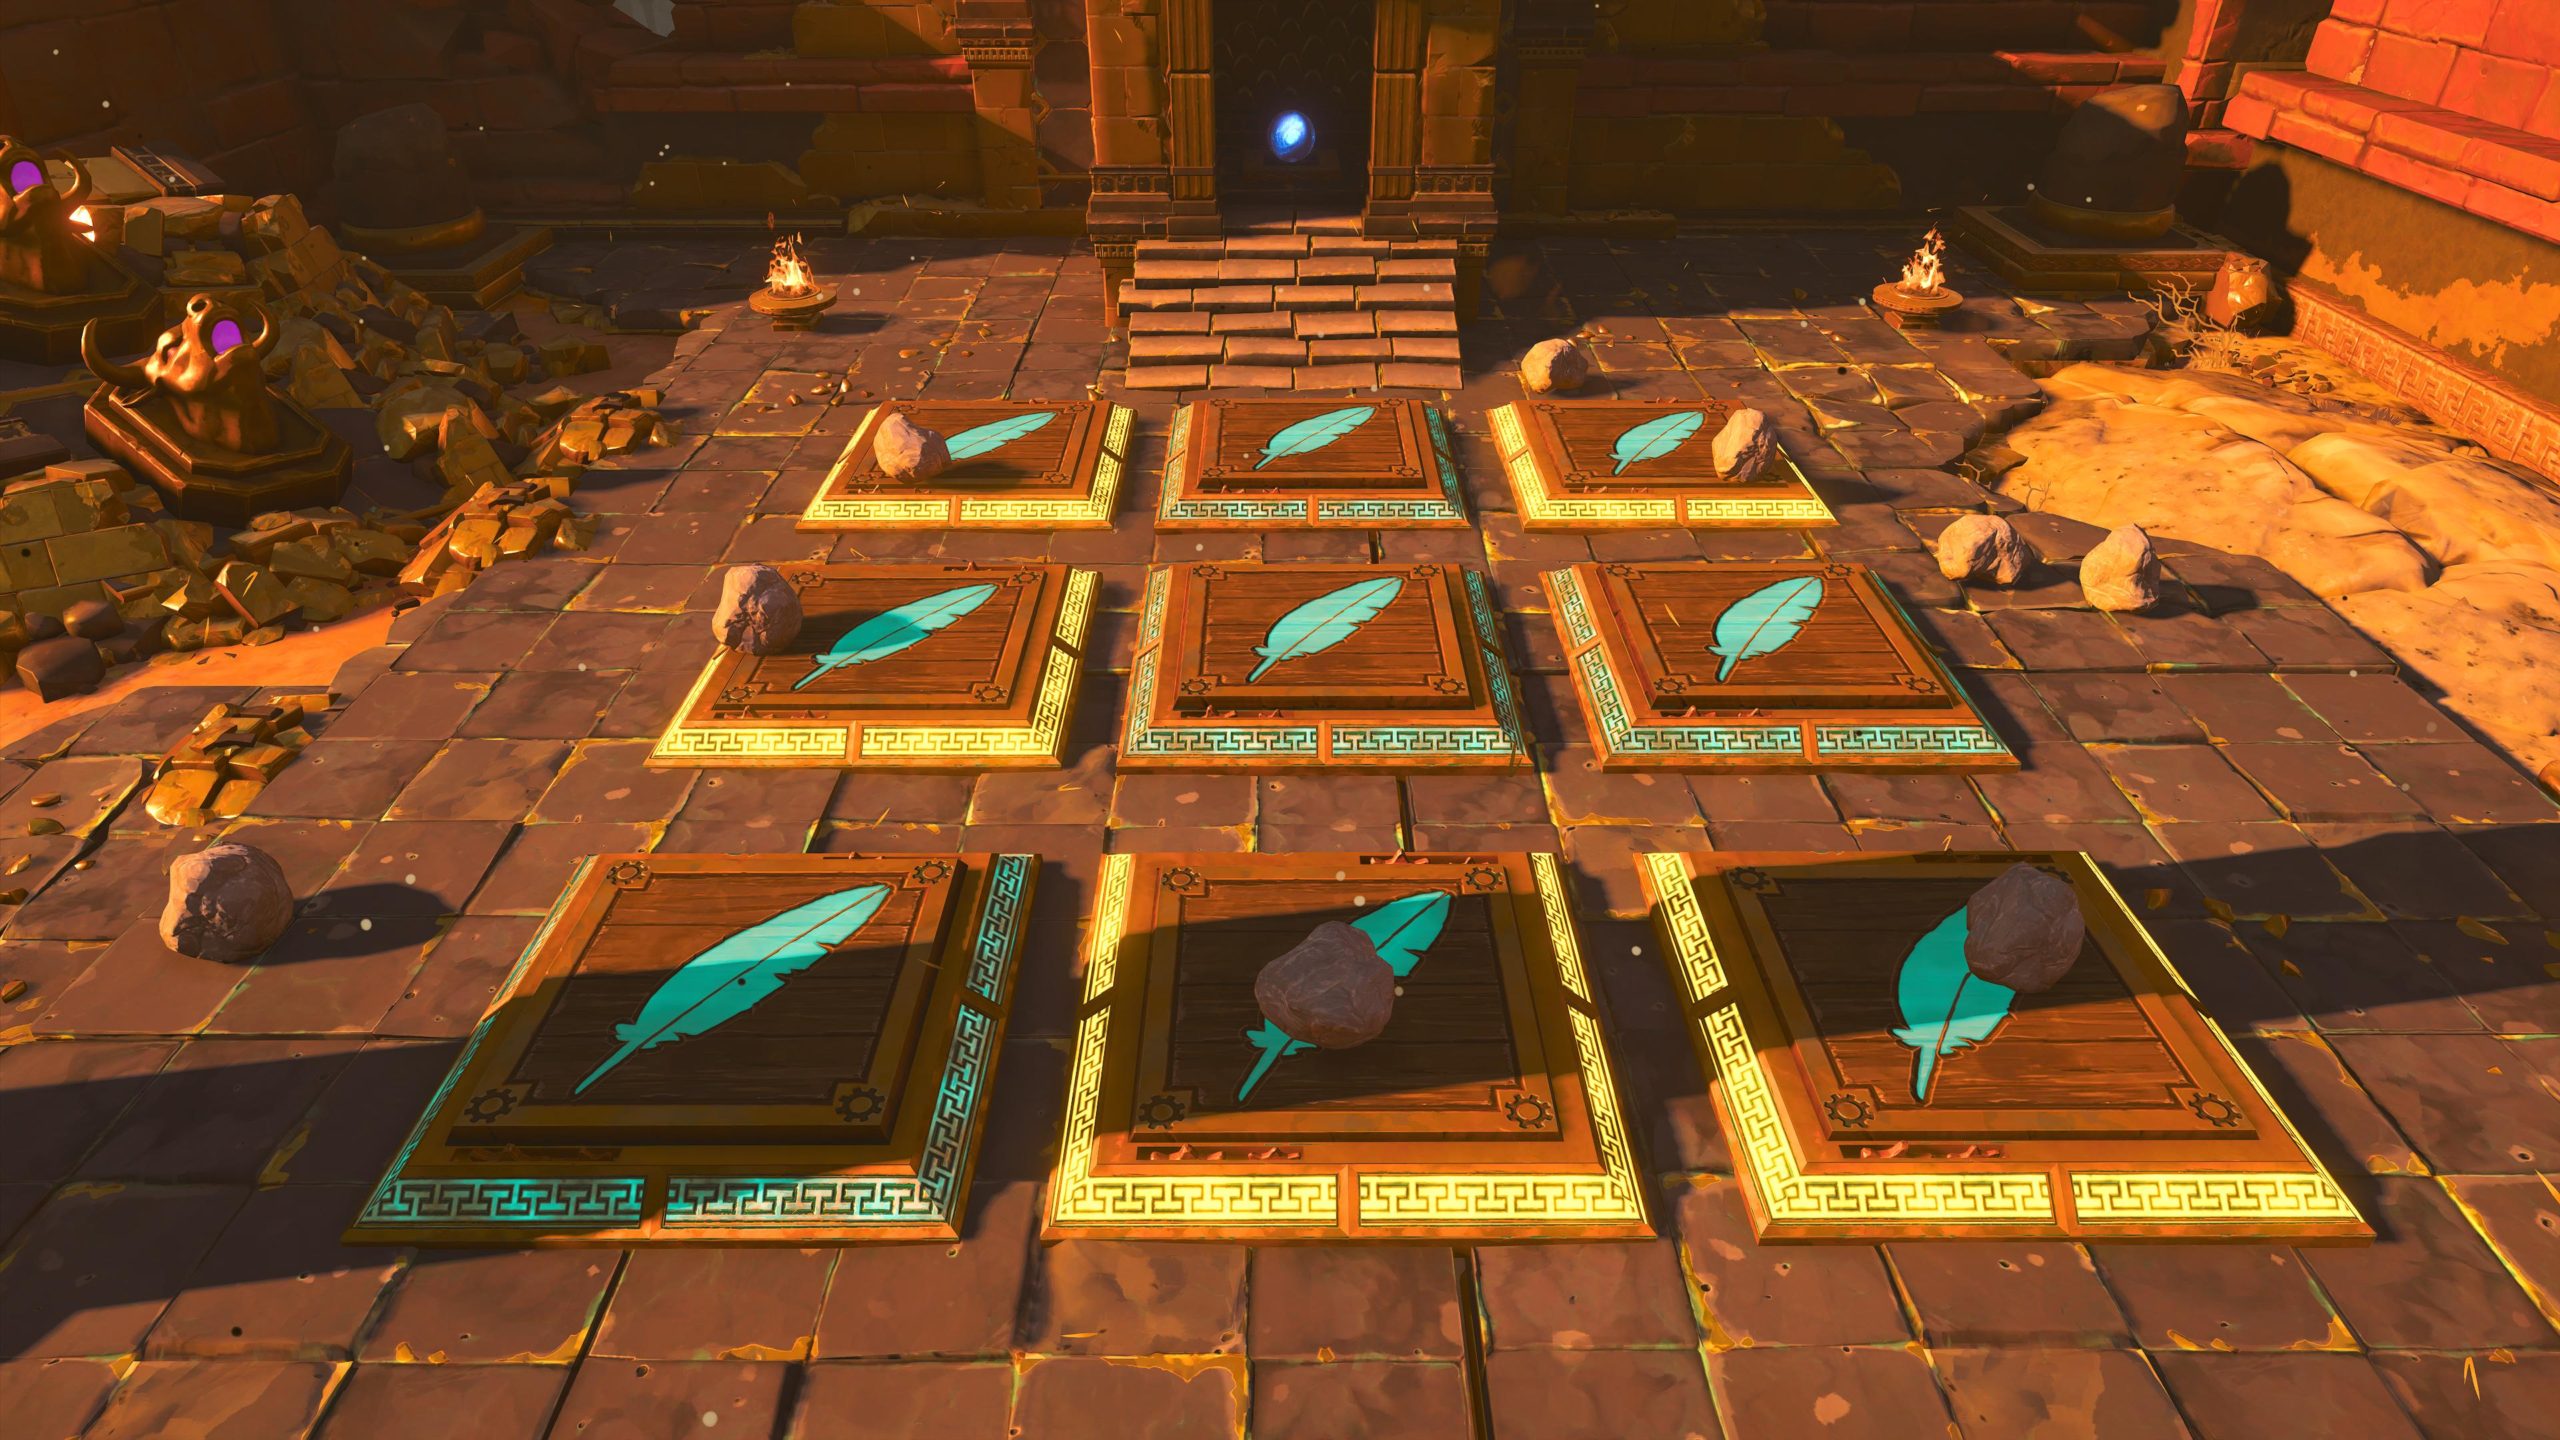
5. For the last orb, head to the very top of the mountain above the puzzle to find an orb trapped behind a barrier with a bunch of platforms in front of it. Look at the cow heads for the correct order of the platforms that need weights. The rocks should be placed on the following platforms:
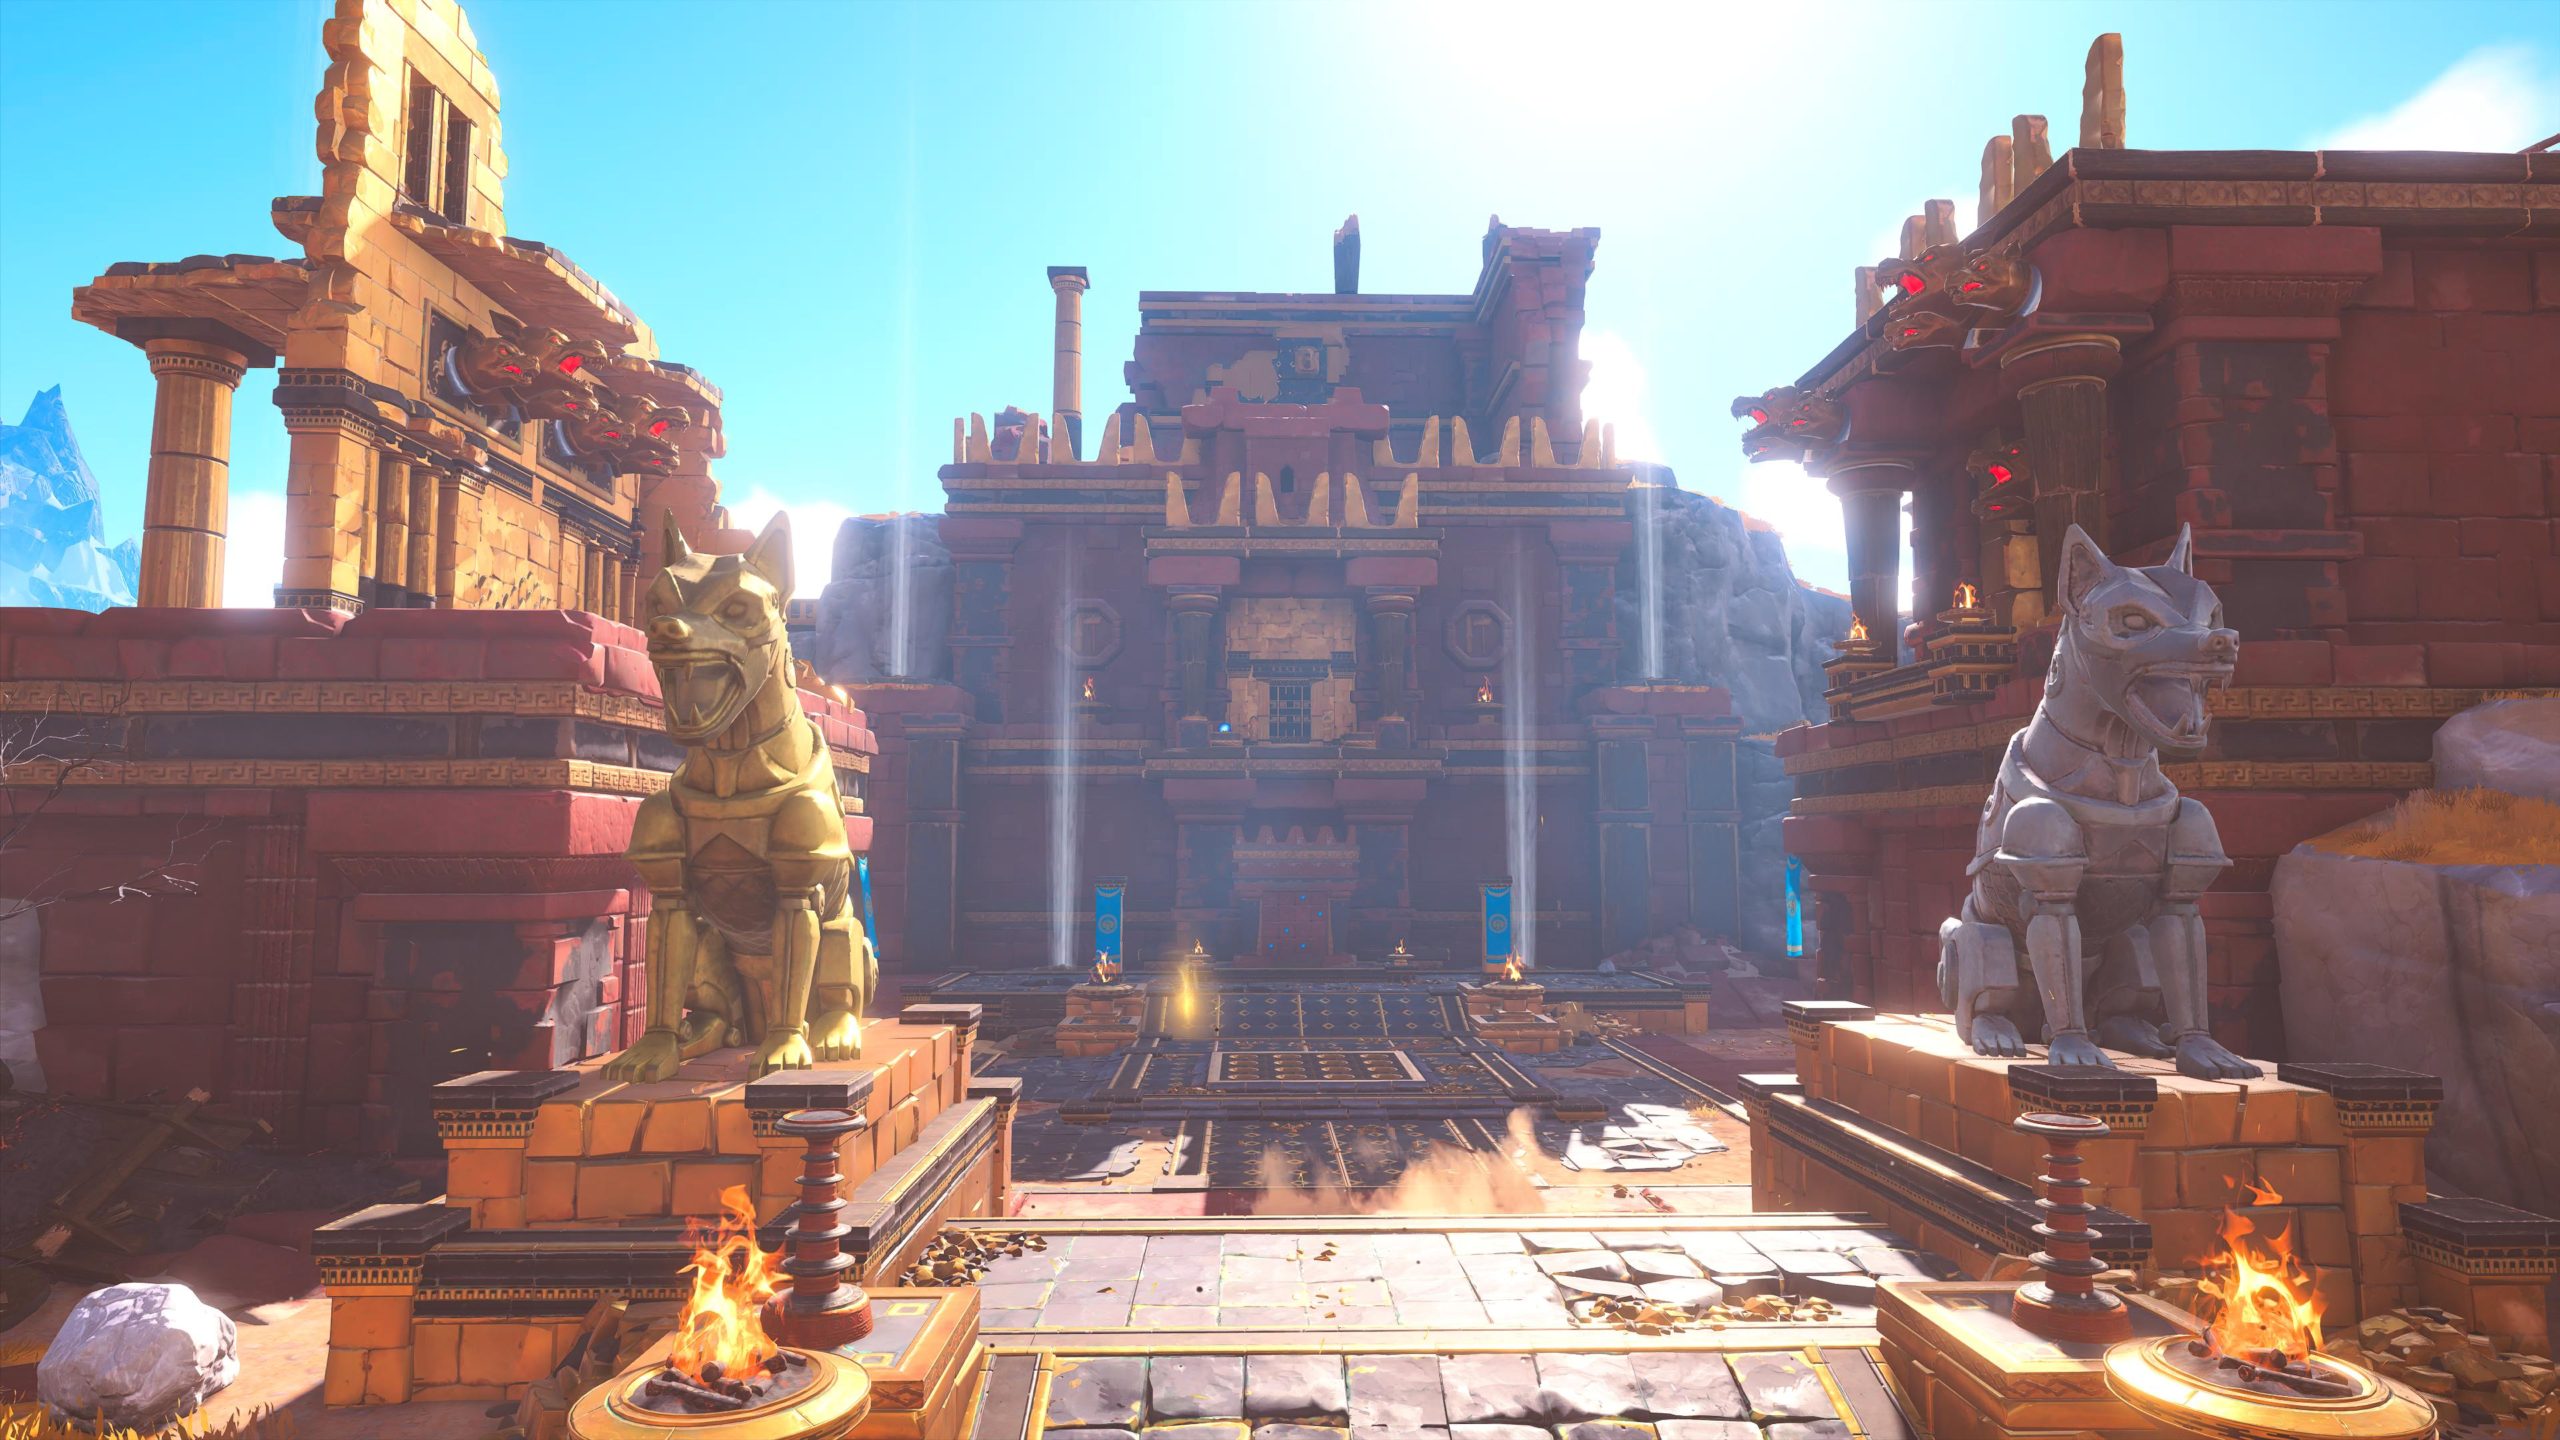
Sisyphos’s Cage Constellation
This constellation can be found east of Sisyphos’s Cage vault in northwestern The Forgelands.

Use the image on the wall to place the glowing orbs in the correct locations on the ground. You can find the orbs in the following locations:
1. For the first orb, smash the corruption to the left (south) of the puzzle.
2. Place the above orb into the slot right next to where you found it to raise the gate. Head inside and pull the orb in. Place it in the slot. Look to the right of the orb you just placed in the slot to find another one. Pull it towards you then head up the stairs and drop down into the hole in the floor. Pull the orb towards you again the climb back of the ceiling. Drop down towards the stairs then turn around and pull the orb towards you once more. Head down the stairs to retrieve the orb.
3. To the right of the puzzle (north) you’ll notice a red barrier with a caged orb on the left. Carry an orb up the rocks to a circular platform. Stand on the platform to remove the red barrier then throw the orb through the hole. This will enable both gates to open!
4. Head to the building above the puzzle. On the left side you’ll see a slot for an orb. Place an orb in the slot then use Apollo’s Arrow to lit the newly revealed brazier in the slot to the right of the orb you placed.
5. & 6. Head back up to the building above the puzzle and quickly jump through the lasers above the entrance to enter. Once inside, press the pedestal to remove the barrier. Grab the orb at the entrance then head into the next room and throw it behind the 2 lasers. Stand on the circular platform then shoot the target to release both gates.