While exploring in Hogwarts Legacy, you’ll come across collectibles needed to fill out your collections and complete challenges. The following collectibles can be found in The South Wing of Hogwarts:
- Collection Chests x5
- Field Guide Pages x23
- Demiguise Statues x1
Collection Chests
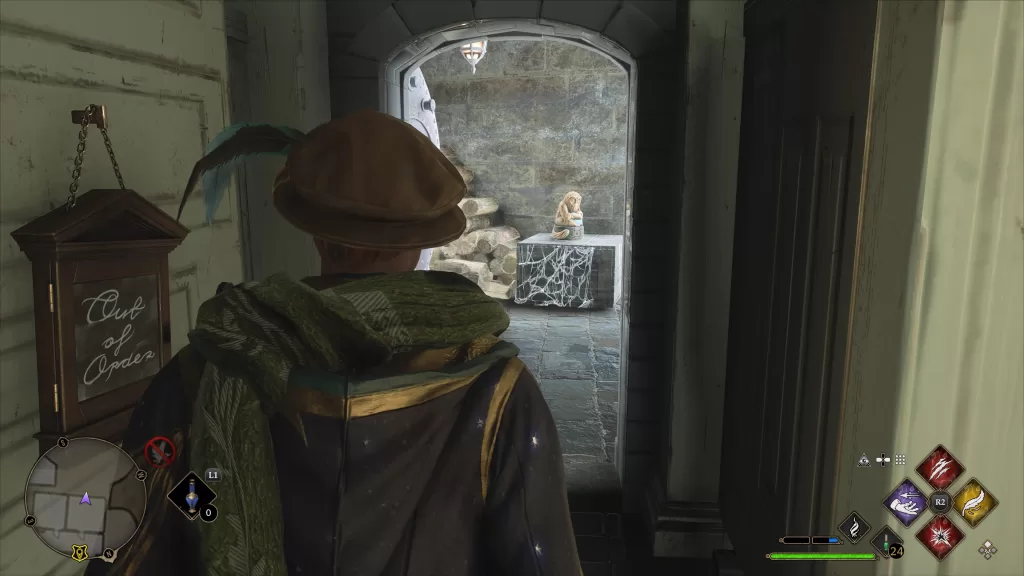
1. Enter Frog Statue
Travel to the Faculty Tower Floo Flame then head south and go down the flight of stairs. On the landing look in the nook of the stairs to find a frog statue. Interact with it to be gulped up and deposited into a hidden room. Loot the chest inside this room.
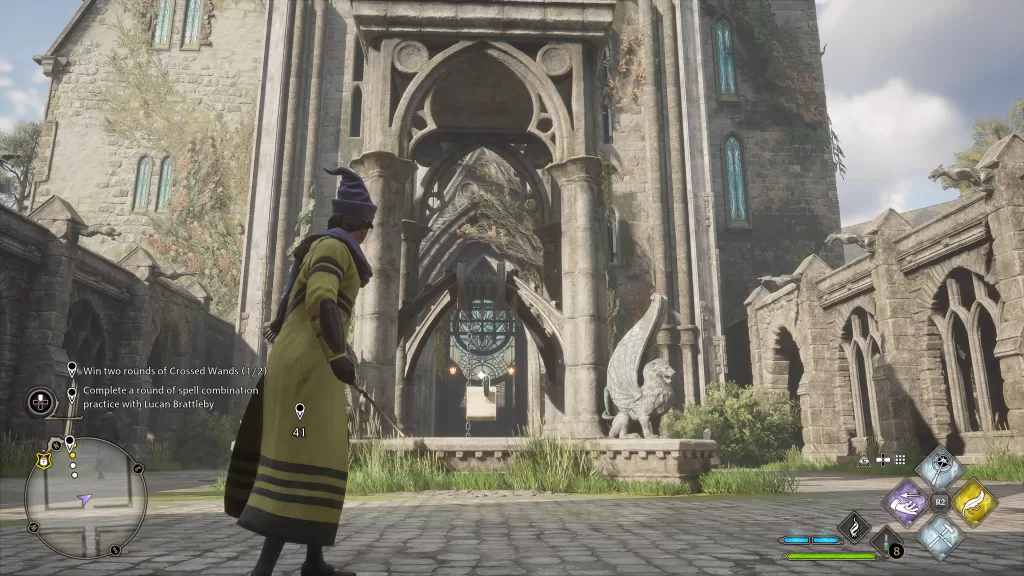
2. Clock Tower Courtyard
Travel to the Clock Tower Courtyard Floo Flame. On the east side of this room, you’ll spot a gated door. Use Alohomora on the door to the left of the exit to the outdoors then head up the stairs until you reach the top. Use Glacius when the pendulum is over the horse symbol to freeze it in place.
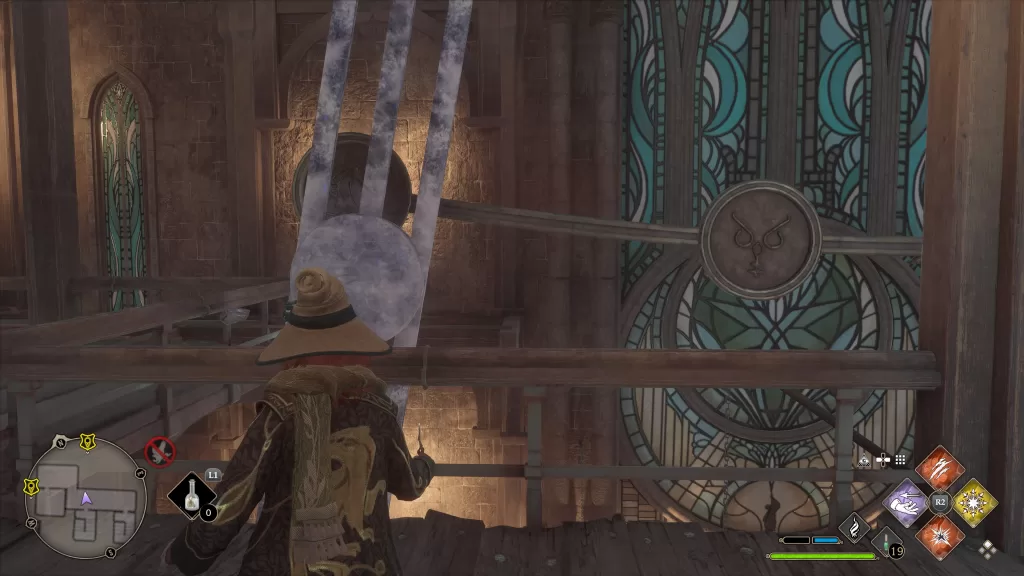
Quickly run back to the gated door, which will now be open. Head inside and loot the chest.
3. & 4. Clock Tower
From the Clock Tower Courtyard Floo Flame, head across the area with the swinging pendulum then enter the door to the left of the exit to the outdoors and head up the stairs. When you reach the left, head left to find another set of stairs leading up. Take these stairs to the top. When you emerge into the open area with the pendulum head over to the northeastern side of the room to find a gated door.
Return to the pendulum and use Glacius on the heart like symbol to freeze it in place. Return to the gated door, which will now be open and loot the two chests inside.
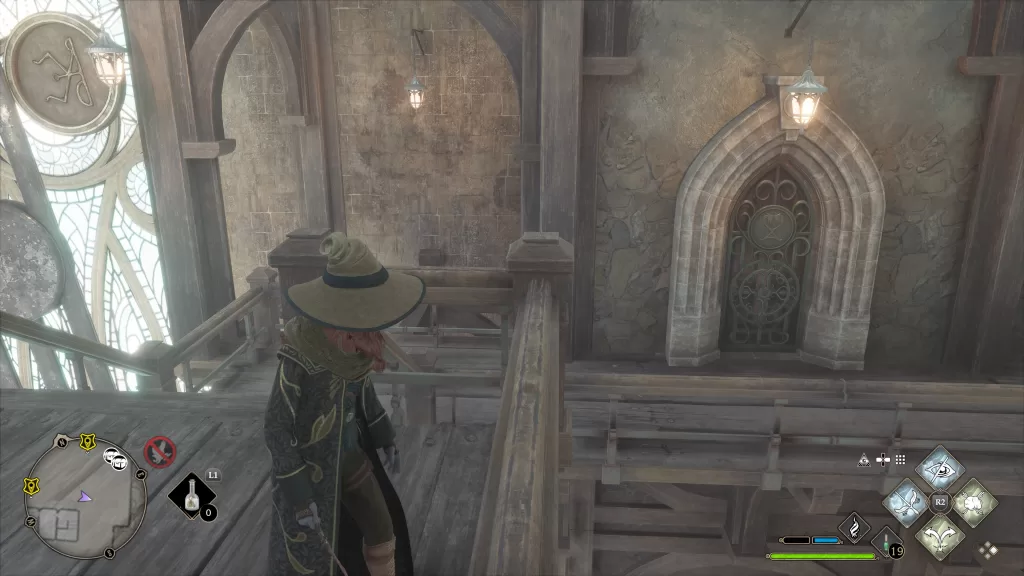
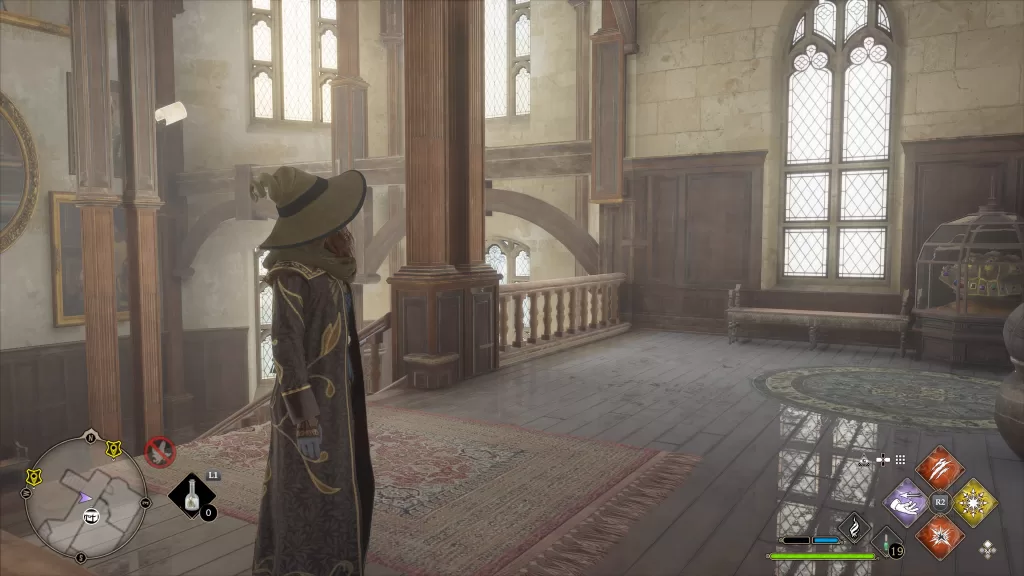
5. Faculty Tower
From the Faculty Tower Floo Flame, head southwest down the hallway and enter the first door on the right (By Mr. Moon). You’ll need to use Alohomora on this door to open it if you haven’t already. Once inside, head up 4 flights of stairs. Use Alohomora on the door in front of you then enter the room. Use Glacius on the fireplace to stop the flames. Head through the hidden passage to find the chest.

Field Guide Pages
1. Statue Field Guide Page
This page can be found by using the Levioso spell on the statue next to the Clock Tower Courtyard Floo Flame.
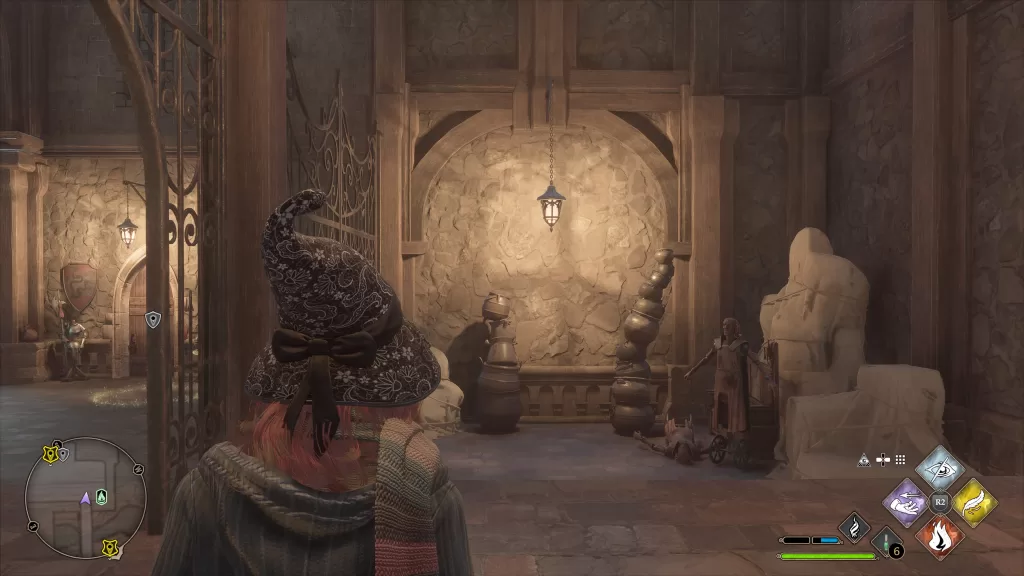
**Statue was between the stacks of pots in the image below!**
2. Statue Field Guide Page
To reach this page, head to The Great Hall Floo Flame then exit out the western door. Head northwest past the wolf statue and down the stairs. Take a right through the archway to find the statue on the left. Use Levioso to reveal the page.
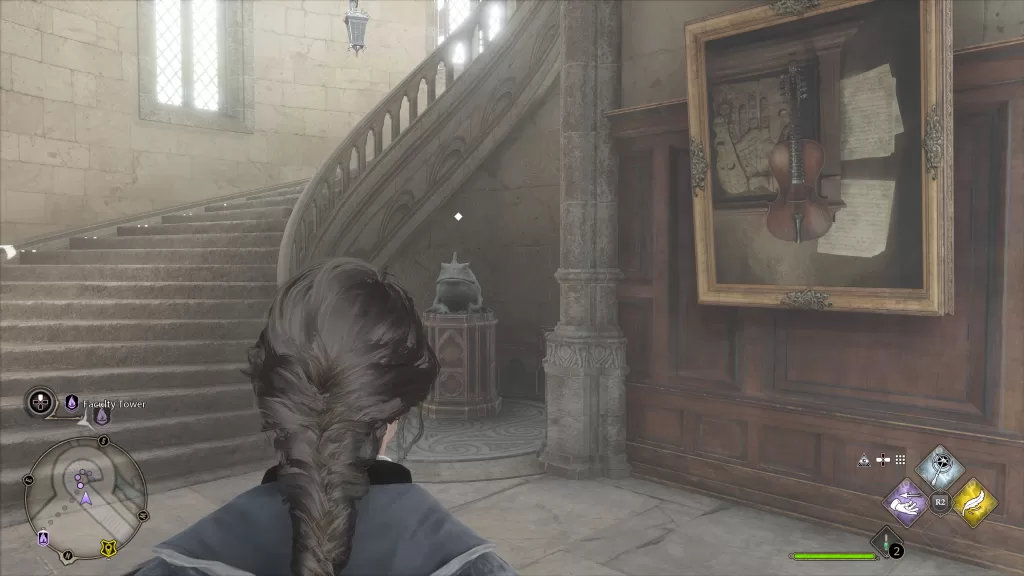
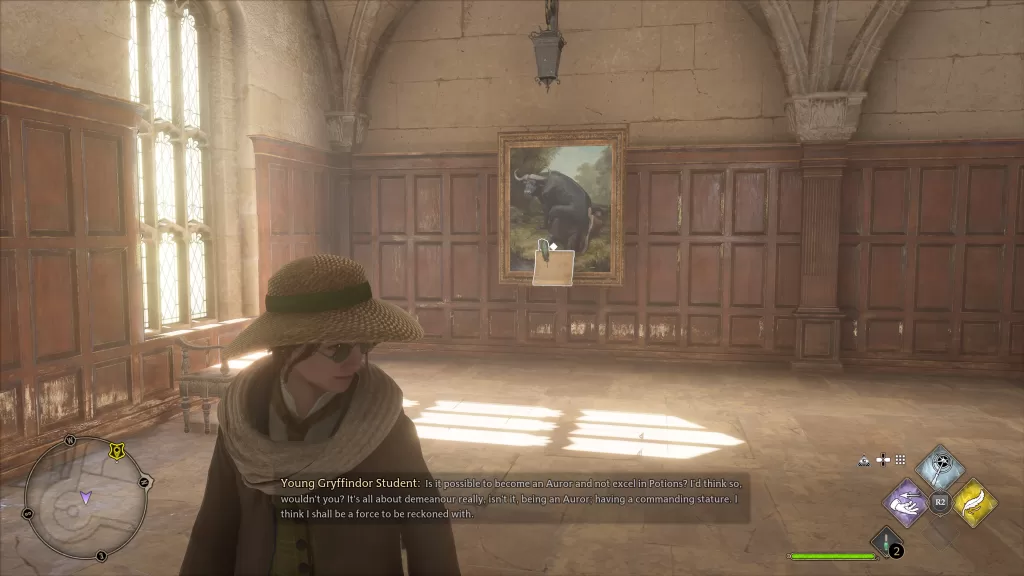
3. Portrait of Baruffio Guide Page
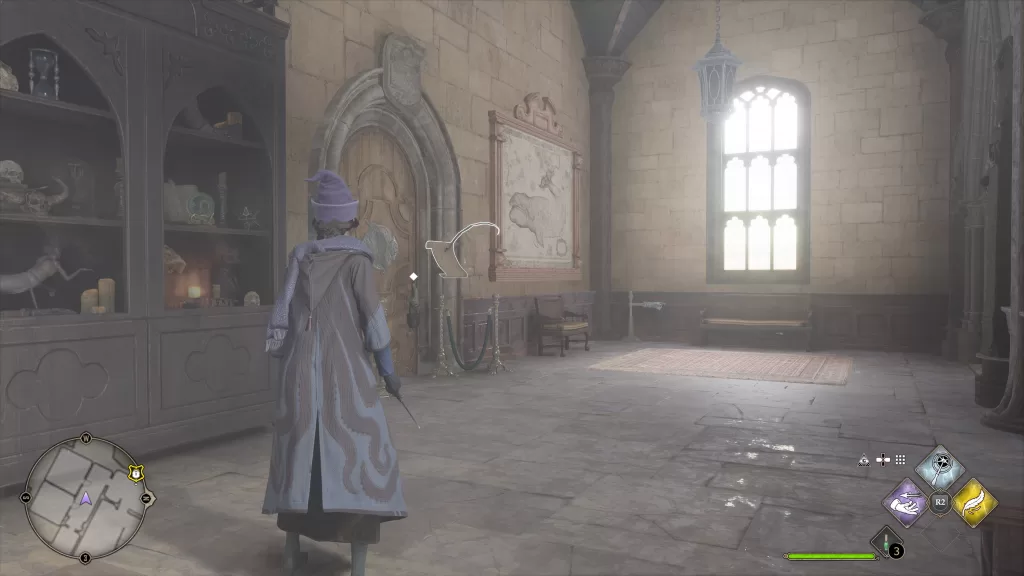
Travel to the Faculty Tower Floo Flame then head southwest. Just before the stairs, use Revelio on the bull painting to the right to reveal the page.
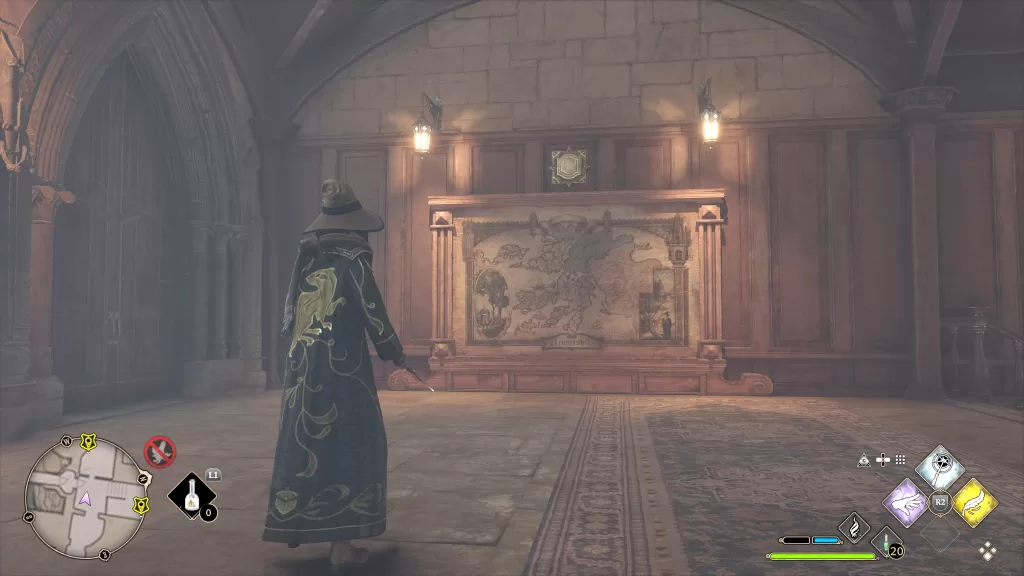
4. Map of Argyllshire Guide Page
To reach this page, travel to the Faculty Tower Floo Flame then head southwest to reach some stairs. Head down the stairs and go straight ahead to find a giant map on the wall ahead.
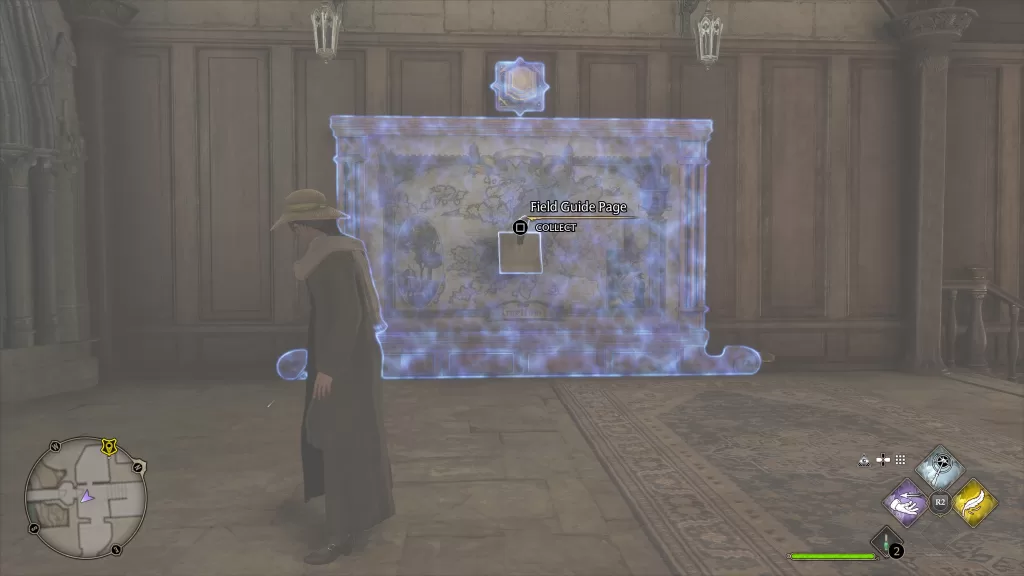
It will be just past the musical room. Use Revelio on the map to reveal the page.
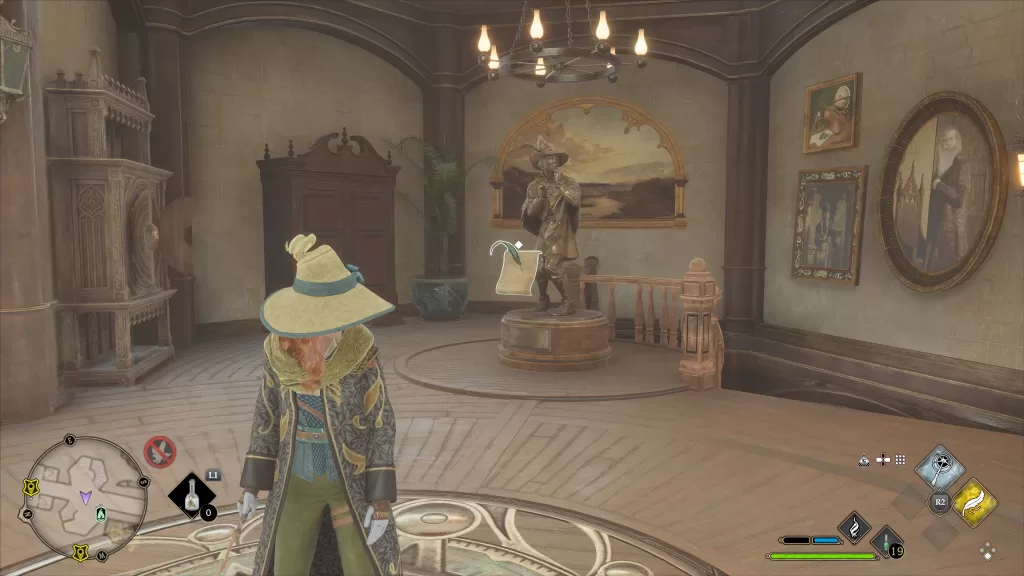
5. Lachlan the Lanky Guide Page
This page can be found down the stairs diagonally by the above page. Use Revelio on the statue in the nook at the base of the stairs to find it.

6. Fat Lady Portrait Guide Page
From the Faculty Tower Floo Flame in The South Wing, head south and go up the spiral staircase. At the top, follow the path to the large portrait of the woman.
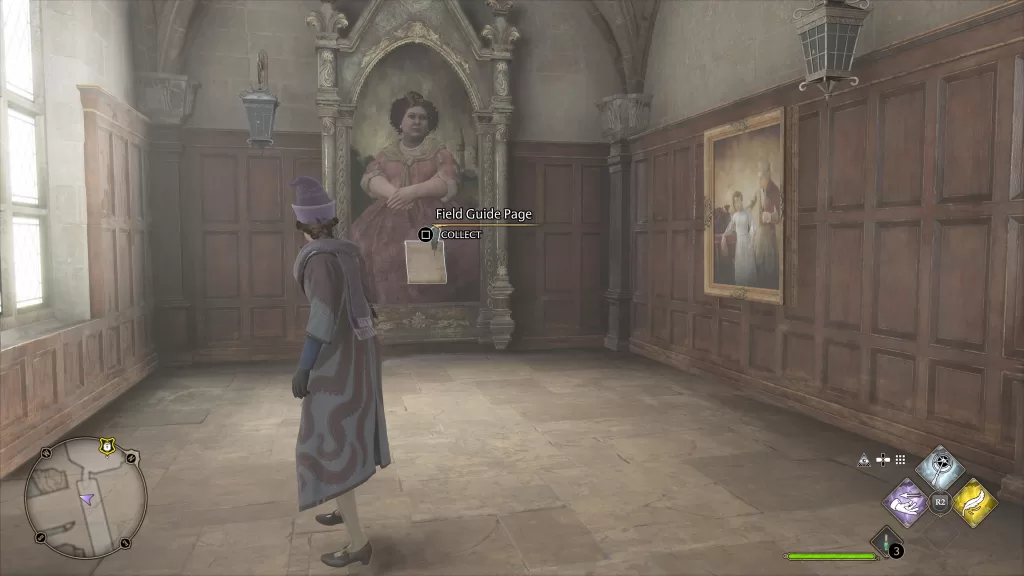
Use Revelio on this painting to find the page.
7. Haunted Toilets Guide Page
To reach this page, travel to the Faculty Tower Floo Flame then head southwest to reach some stairs. Head down these stairs and follow the path until you reach a blocked off bathroom.
Use Revelio on the door to reveal the page.
8. Flying Field Guide Page
This page can be found flying around above the swinging pendulum in the Crossed Wands room next to the Clock Tower Courtyard Floo Flame.
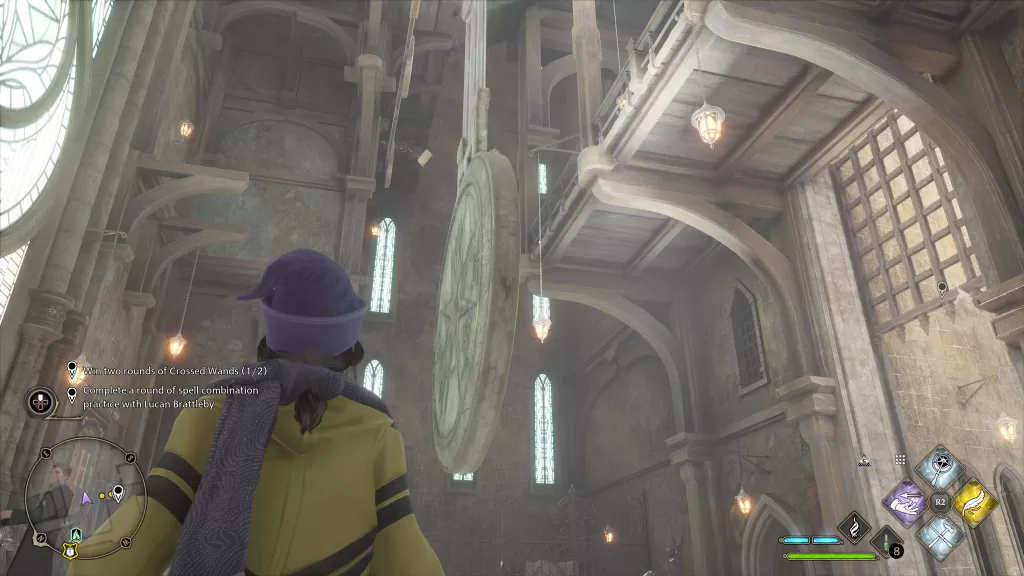
Use Accio to reach it.
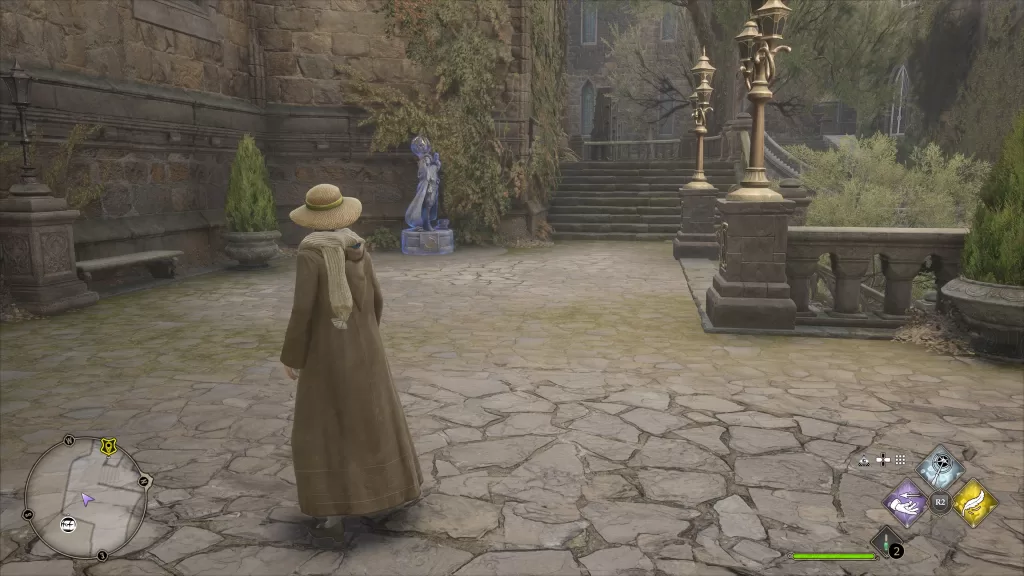
9. The Well of the Four Beasts Guide Page
This page can be found in the outdoor courtyard south of the Clock Tower Courtyard Floo Flame.
10. Dragon Brazier Field Guide Page
Light the dragon brazier using Incendio. To reach this page, travel to the Faculty Tower Floo Flame then head southwest to reach some stairs. Head down the stairs and follow the path to find this in the corner just before the bathrooms.

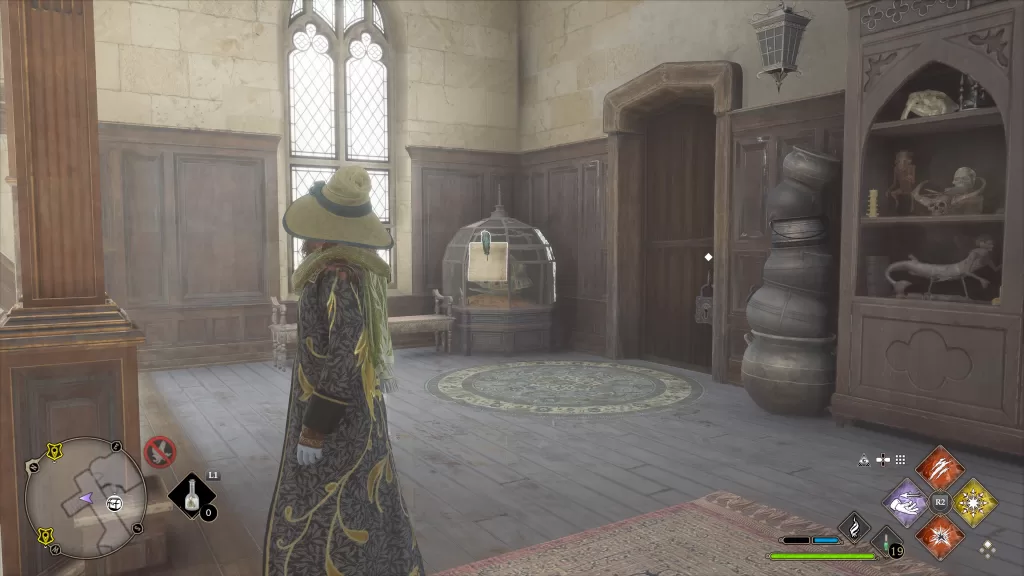
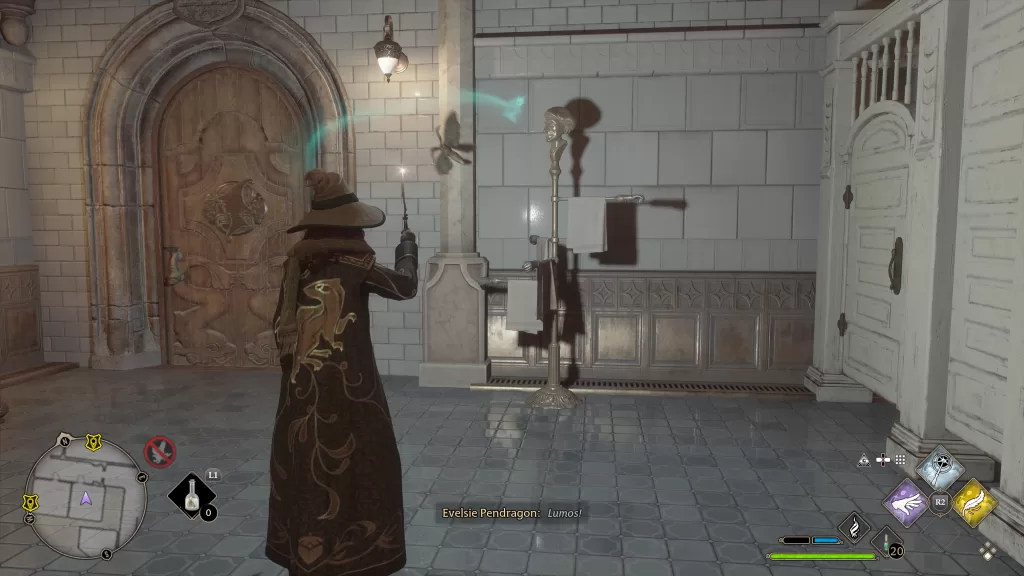
11. Moth Frame Guide Page
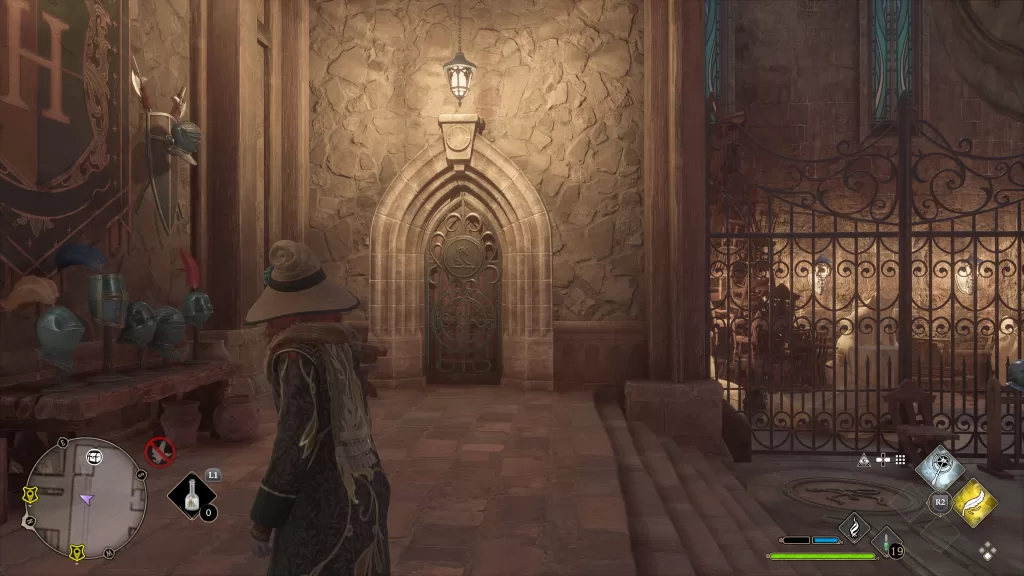
From the Clock Tower Courtyard Floo Flame, head into the open room with the swinging pendulum. On the right side look for a locked door with two sets of armor guarding it. Use Alohomora to open the door then head inside to find the moth frame.
Use Lumos to reveal the picture then exit the room. Take a right and head outside. Once in the courtyard, take an immediate right and head through the archway. Take another right to find the moth. Guide the moth back to the frame to reveal the page.
12. Dragon Brazier Guide Page
From the Clock Tower Courtyard Floo Flame, enter the door to the left of the exit to the outdoor area. You’ll need to use Alohomora to unlock it if you haven’t already. Take the stairs all the way up the clock tower until you reach the clockface area. Once there, you can find this brazier sticking out of the wall. Use Confringo to light it revealing the page. To grab the page, use Accio!
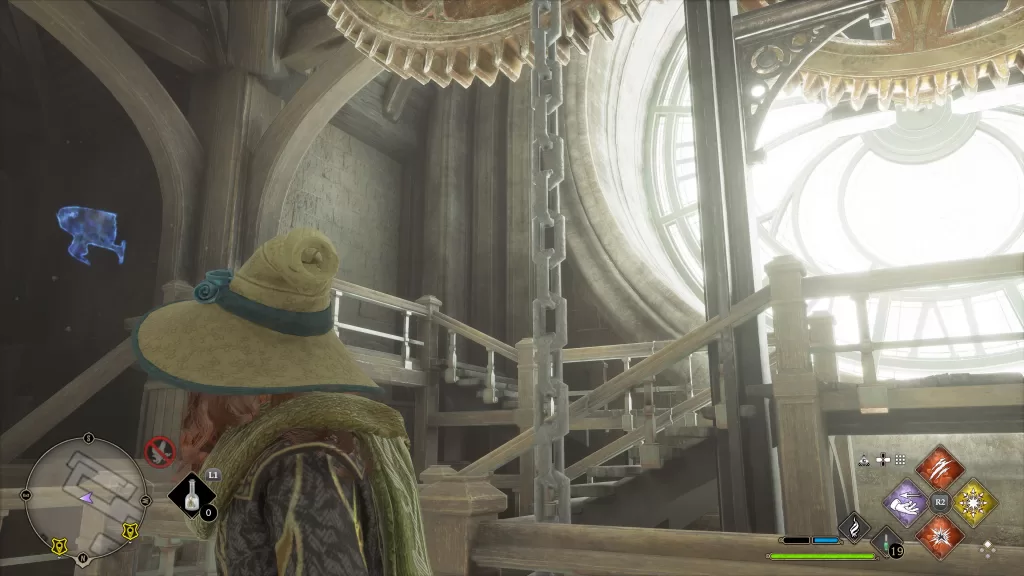
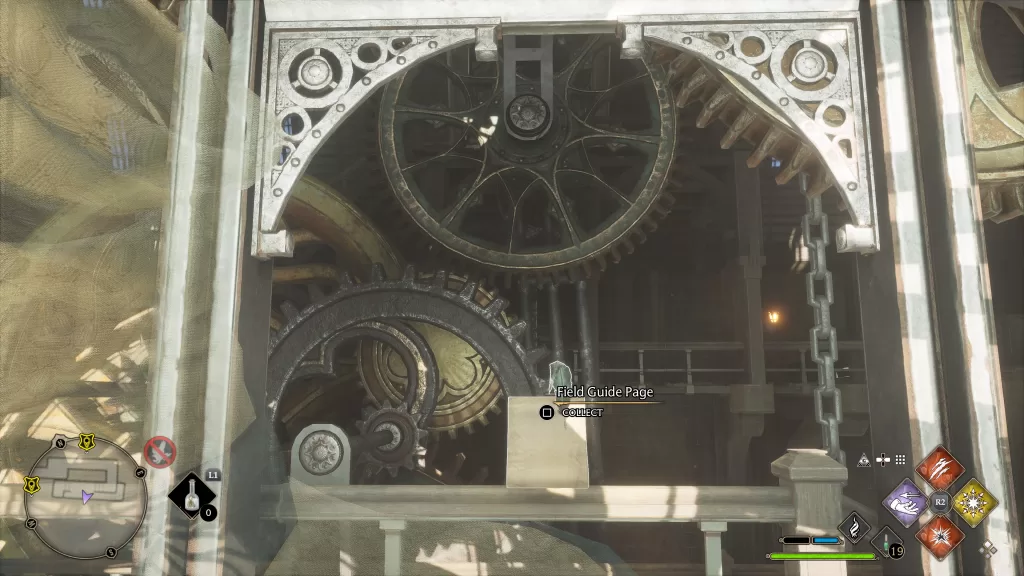
13. Clock Mechanics Guide Page
From the Hospital Wing Floo Flame, head down the hall to the southwest leading to the clock. When you reach the clock, head down 1 flight of stairs. At the landing, take the stairs to the northwest down to the landing. This time take the stairs to the southwest down. Follow the path to the spinning gears and use Revelio on them to reveal the page.
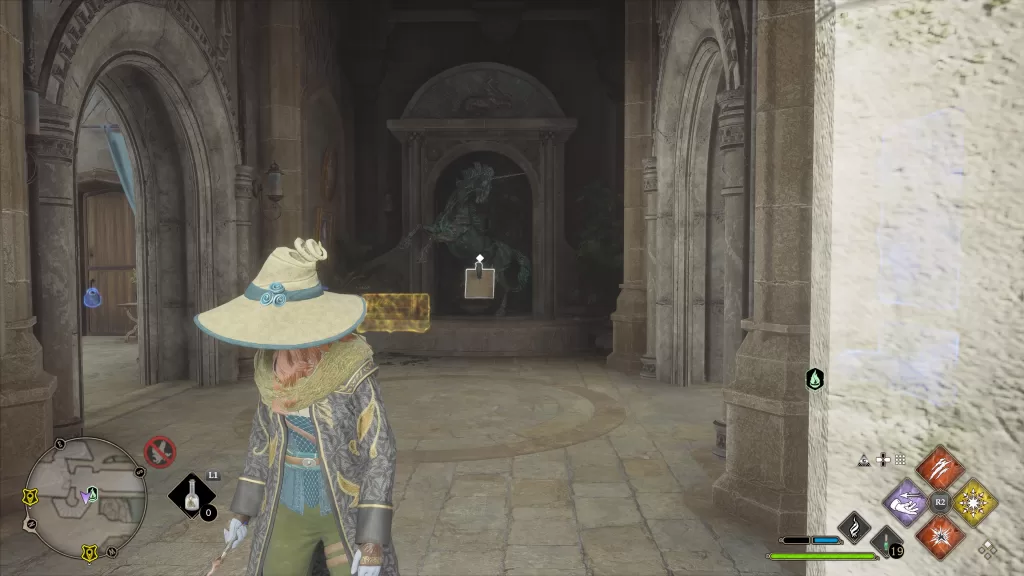
14. Unicorn Fountain Guide Page
Use Revelio on the unicorn statue by the Hospital Wing Floo Flame to reveal this page.
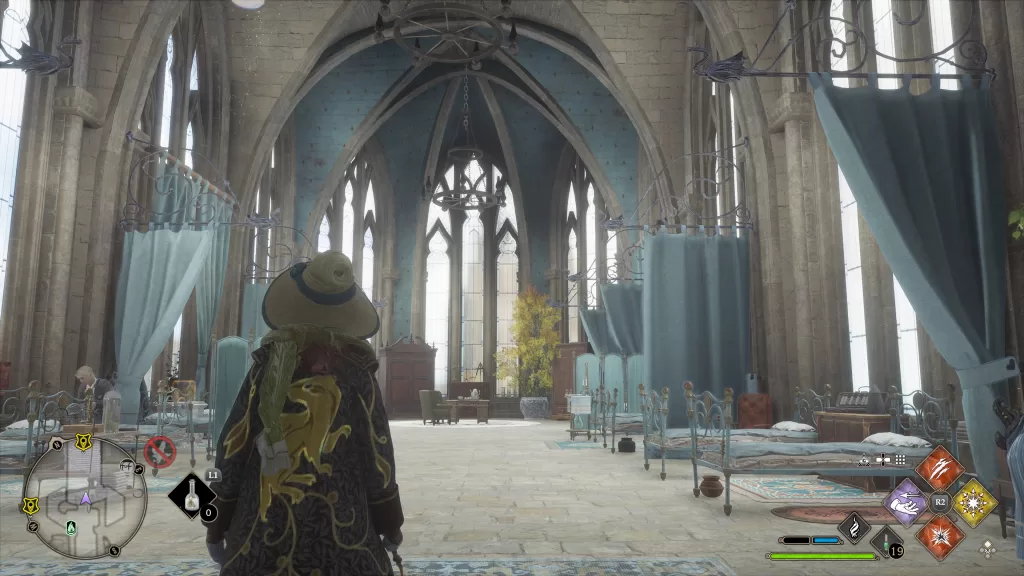
15. Flying Guide Page
This page can be found flying around the hospital room with all the beds by the Hospital Wing Floo Flame.
16. Statue Guide Page
Head down the stairs next to the Hospital Wing Floo Flame to find a statue at the base of them. Use Levioso on the statue to reveal the page.

17. Boris the Bewildered Guide Page
From the Hospital Wing Floo Flame, head down the nearby stairs then go straight ahead to find a statue next to some stairs leading down. Use Revelio on this statue to find this page.
18. Prefects’ Bathroom Guide Page
This page can be found in the Prefects’ Bathroom, which is down the stairs next to the Hospital Wing Floo Flame and to the left. Use Revelio on the mermaid tapestry on the left to find this page.

19. Jewel-Encrusted Tortoise Shell Guide Page
From the Hospital Wing Floo Flame, head down the nearby stairs. At the bottom, head straight across towards the statue then head down that set of stairs until you reach a bookshelf. Next to this bookshelf use Revelio on the encased tortoise shell to reveal the page.
20. Flying Guide Page
This page can be found flying around the stairs next to the above page.
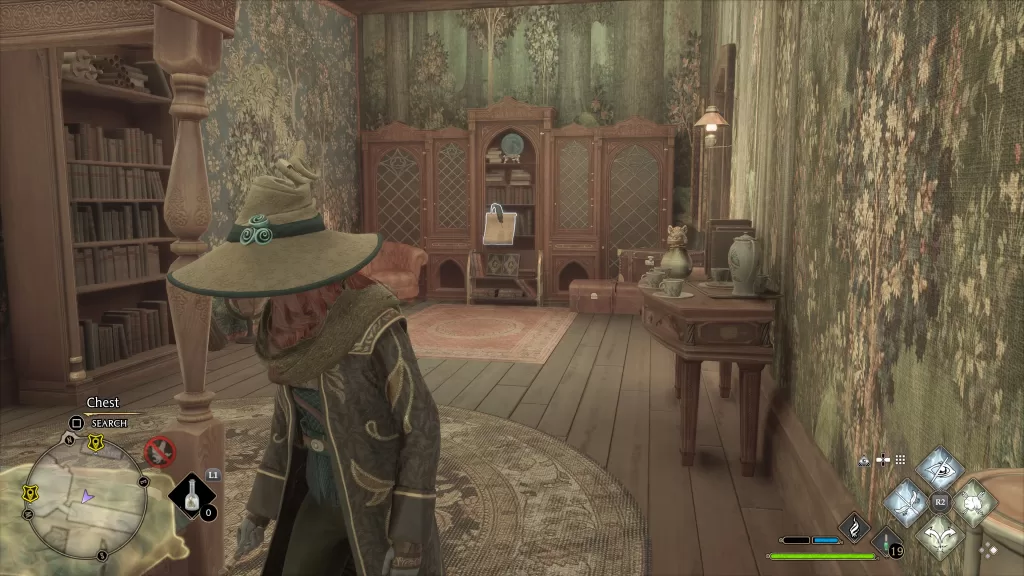
21. Adventure Novel Set Guide Page
From the Faculty Tower Floo Flame, head southwest down the hallway and enter the first door on the right (By Mr. Moon). You’ll need to use Alohomora on this door to open it if you haven’t already. Once inside, head up the stairs until you spot the hot air balloons. Use Alohomora Level 2 to open the door to the right. Head inside and use Revelio on the bookshelf in the bedroom.
22. Moth Frame Guide Page
This page can be found behind a map. To reach it, travel to the Clock Tower Courtyard Floo Flame. Head through the door to the right of the Floo Flame and cross the walkway heading through the door at the end. Look to the left to find the map.
Cast Depulso on the button above the map. Head inside to find the moth frame. To find the moth, exit the room then take a left down the stairs and follow the hallway left. It will be in the first bathroom on the left on a coatrack. Return the moth to the frame to reveal the page.
23. Dragon Brazier Field Guide
From the Faculty Tower Floo Flame, head southwest down the hallway and enter the first door on the right (By Mr. Moon). You’ll need to use Alohomora on this door to open it if you haven’t already. Once inside, head up 4 flights of stairs. Use Alohomora on the door in front of you then enter the room. Use Glacius on the fireplace to stop the flames. Head through the hidden passage to find the chest.
Demiguise Statues
1. Locked Bathroom
This statue can be found in the middle stall of a locked bathroom. To reach it, travel to the Clock Tower Courtyard Floo Flame in the South Wing then head through the door next to the flame. Walk across the bridge and through the door at the end. Go down the stairs and take a left following the hallway. Look for the locked door on the left with the post and ropes in front of it. Use Alohomora Level I to unlock the door and enter the bathroom.