Welcome to NGB’s complete Cyberpunk 2077 Heywood Gigs Guide! Below you’ll find detailed walkthroughs for every gig available in Heywood, including how to start them and key objectives to complete. This guide will help you unlock all the content Heywood has to offer.
Heywood Gigs
In the table below, click the links to find a walkthrough for each of the Heywood gigs. For the smaller quests, you’ll find their walkthroughs below the table while longer quests will link to their own pages.
| Quest | How to Obtain |
|---|---|
| Cyberpsycho Sighting: Letter of the Law | Wellsprings – Approach the gig location west of the Parque Del Mar fast travel point |
| Cyberpsycho Sighting: Seaside Cafe | Wellsprings – Approach the gig location southwest of the Megabuilding H2 fast travel point |
| Eye for an Eye | The Glen – Approach the gig location south of Palms View Way fast travel point |
| Fifth Column | The Glen – Approach the gig location northeast of Valentino Alley fast travel point |
| Going Up or Down? | The Glen – Approach the objective northwest of the Metro: Glen North fast travel point |
| Hot Merchandise | Wellsprings – Approach the objective south of Berkeley & Bay |
| Jeopardy | Vista Del Rey – Approach the objective west of the College St fast travel point |
| Life’s Work | The Glen – Approach the gig location in the far southeastern corner of The Glen |
| Old Friends | Vista Del Rey – Approach the gig location south of the Delamain HQ fast travel point |
| On a Tight Leash | Wellsprings – Approach the gig location north of the Megabuilding H2 fast travel point |
| Psychofan | The Glen – Approach the gig location west of El Coyote Cojo fast travel point |
| Sr. Ladrillo’s Private Collection | Vista Del Rey – Approach the gig location east of Delamain HQ |
| The Lord Giveth and Taketh Away | Wellsprings – Approach the gig location west of the Pumping Station fast travel point |
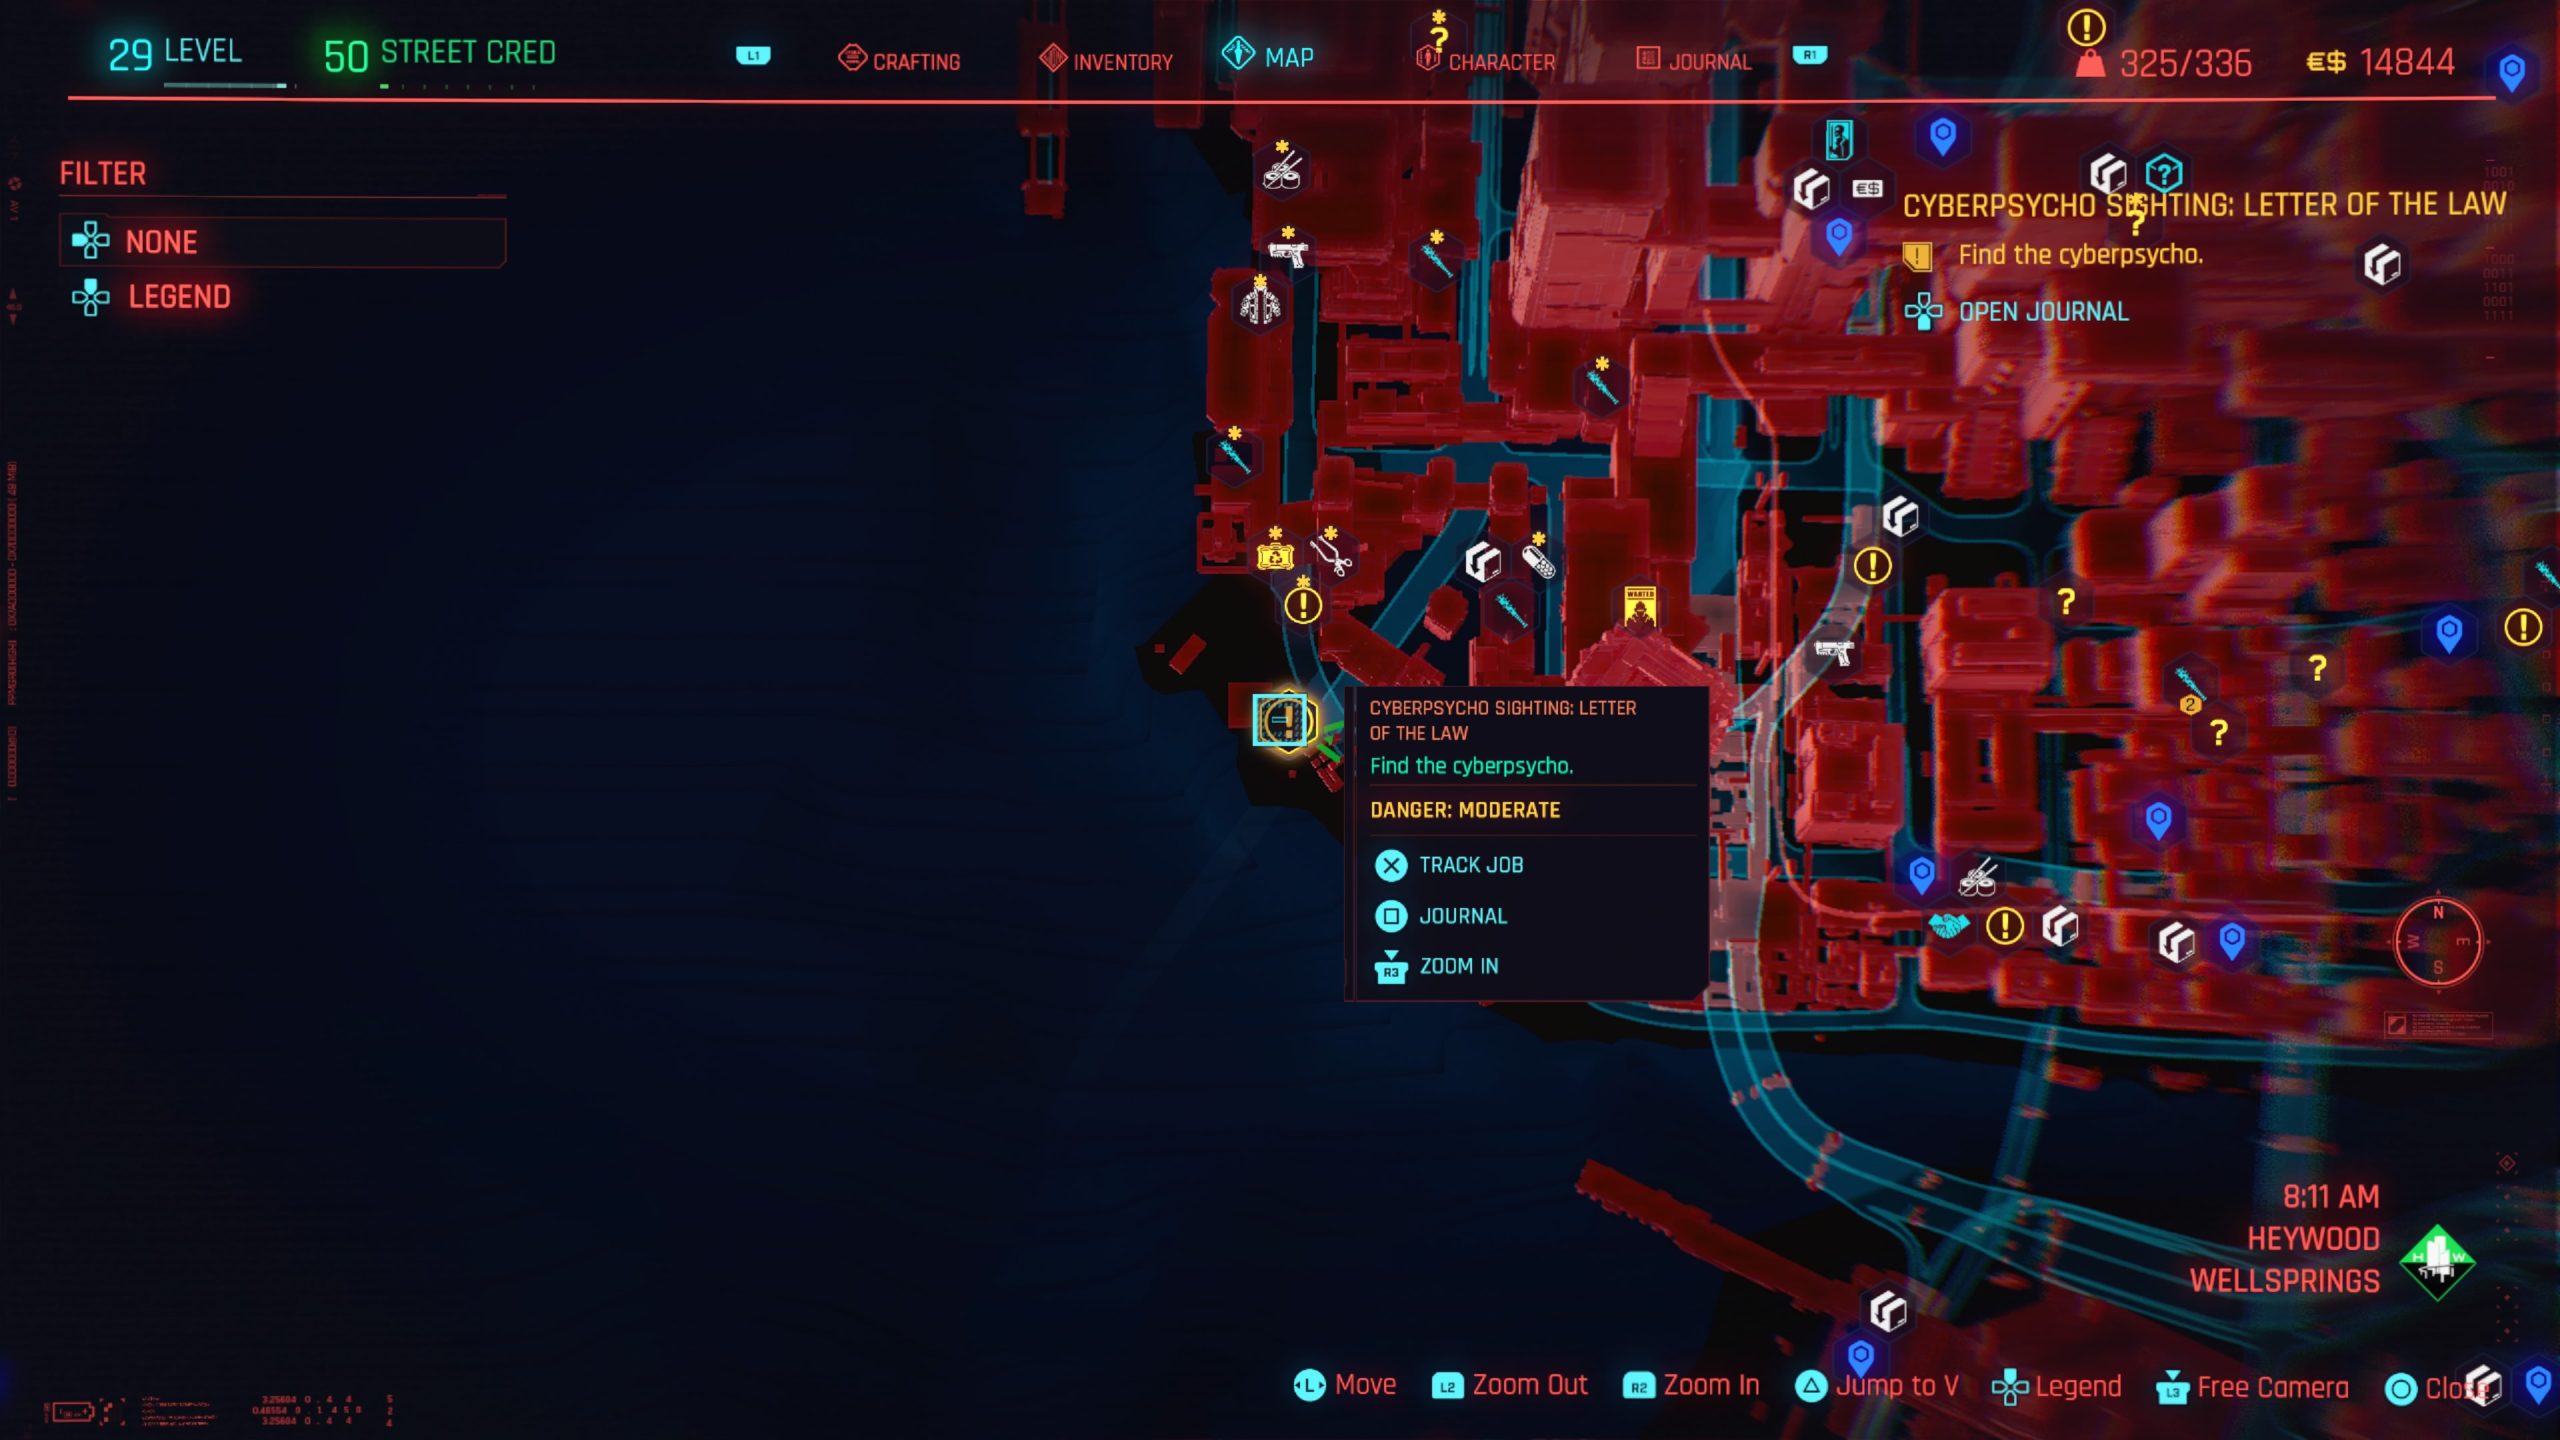
Cyberpsycho Sighting: Letter of the Law
Obtained: Wellsprings – Approach the gig location west of the Parque Del Mar fast travel point
Objective: Find the cyberpsycho
When you arrive at the objective, make your way through the mine field, taking out all the mines as you go, to find Gaston Phillips. Defeat him (nonlethally) then loot his body for a shard called “Stop! Don’t Do It”.
Next, search the area for a computer underneath a scaffold, which can be found near a radio on the west side of the area. Access the computer and read the messages then text Regina to complete the gig.
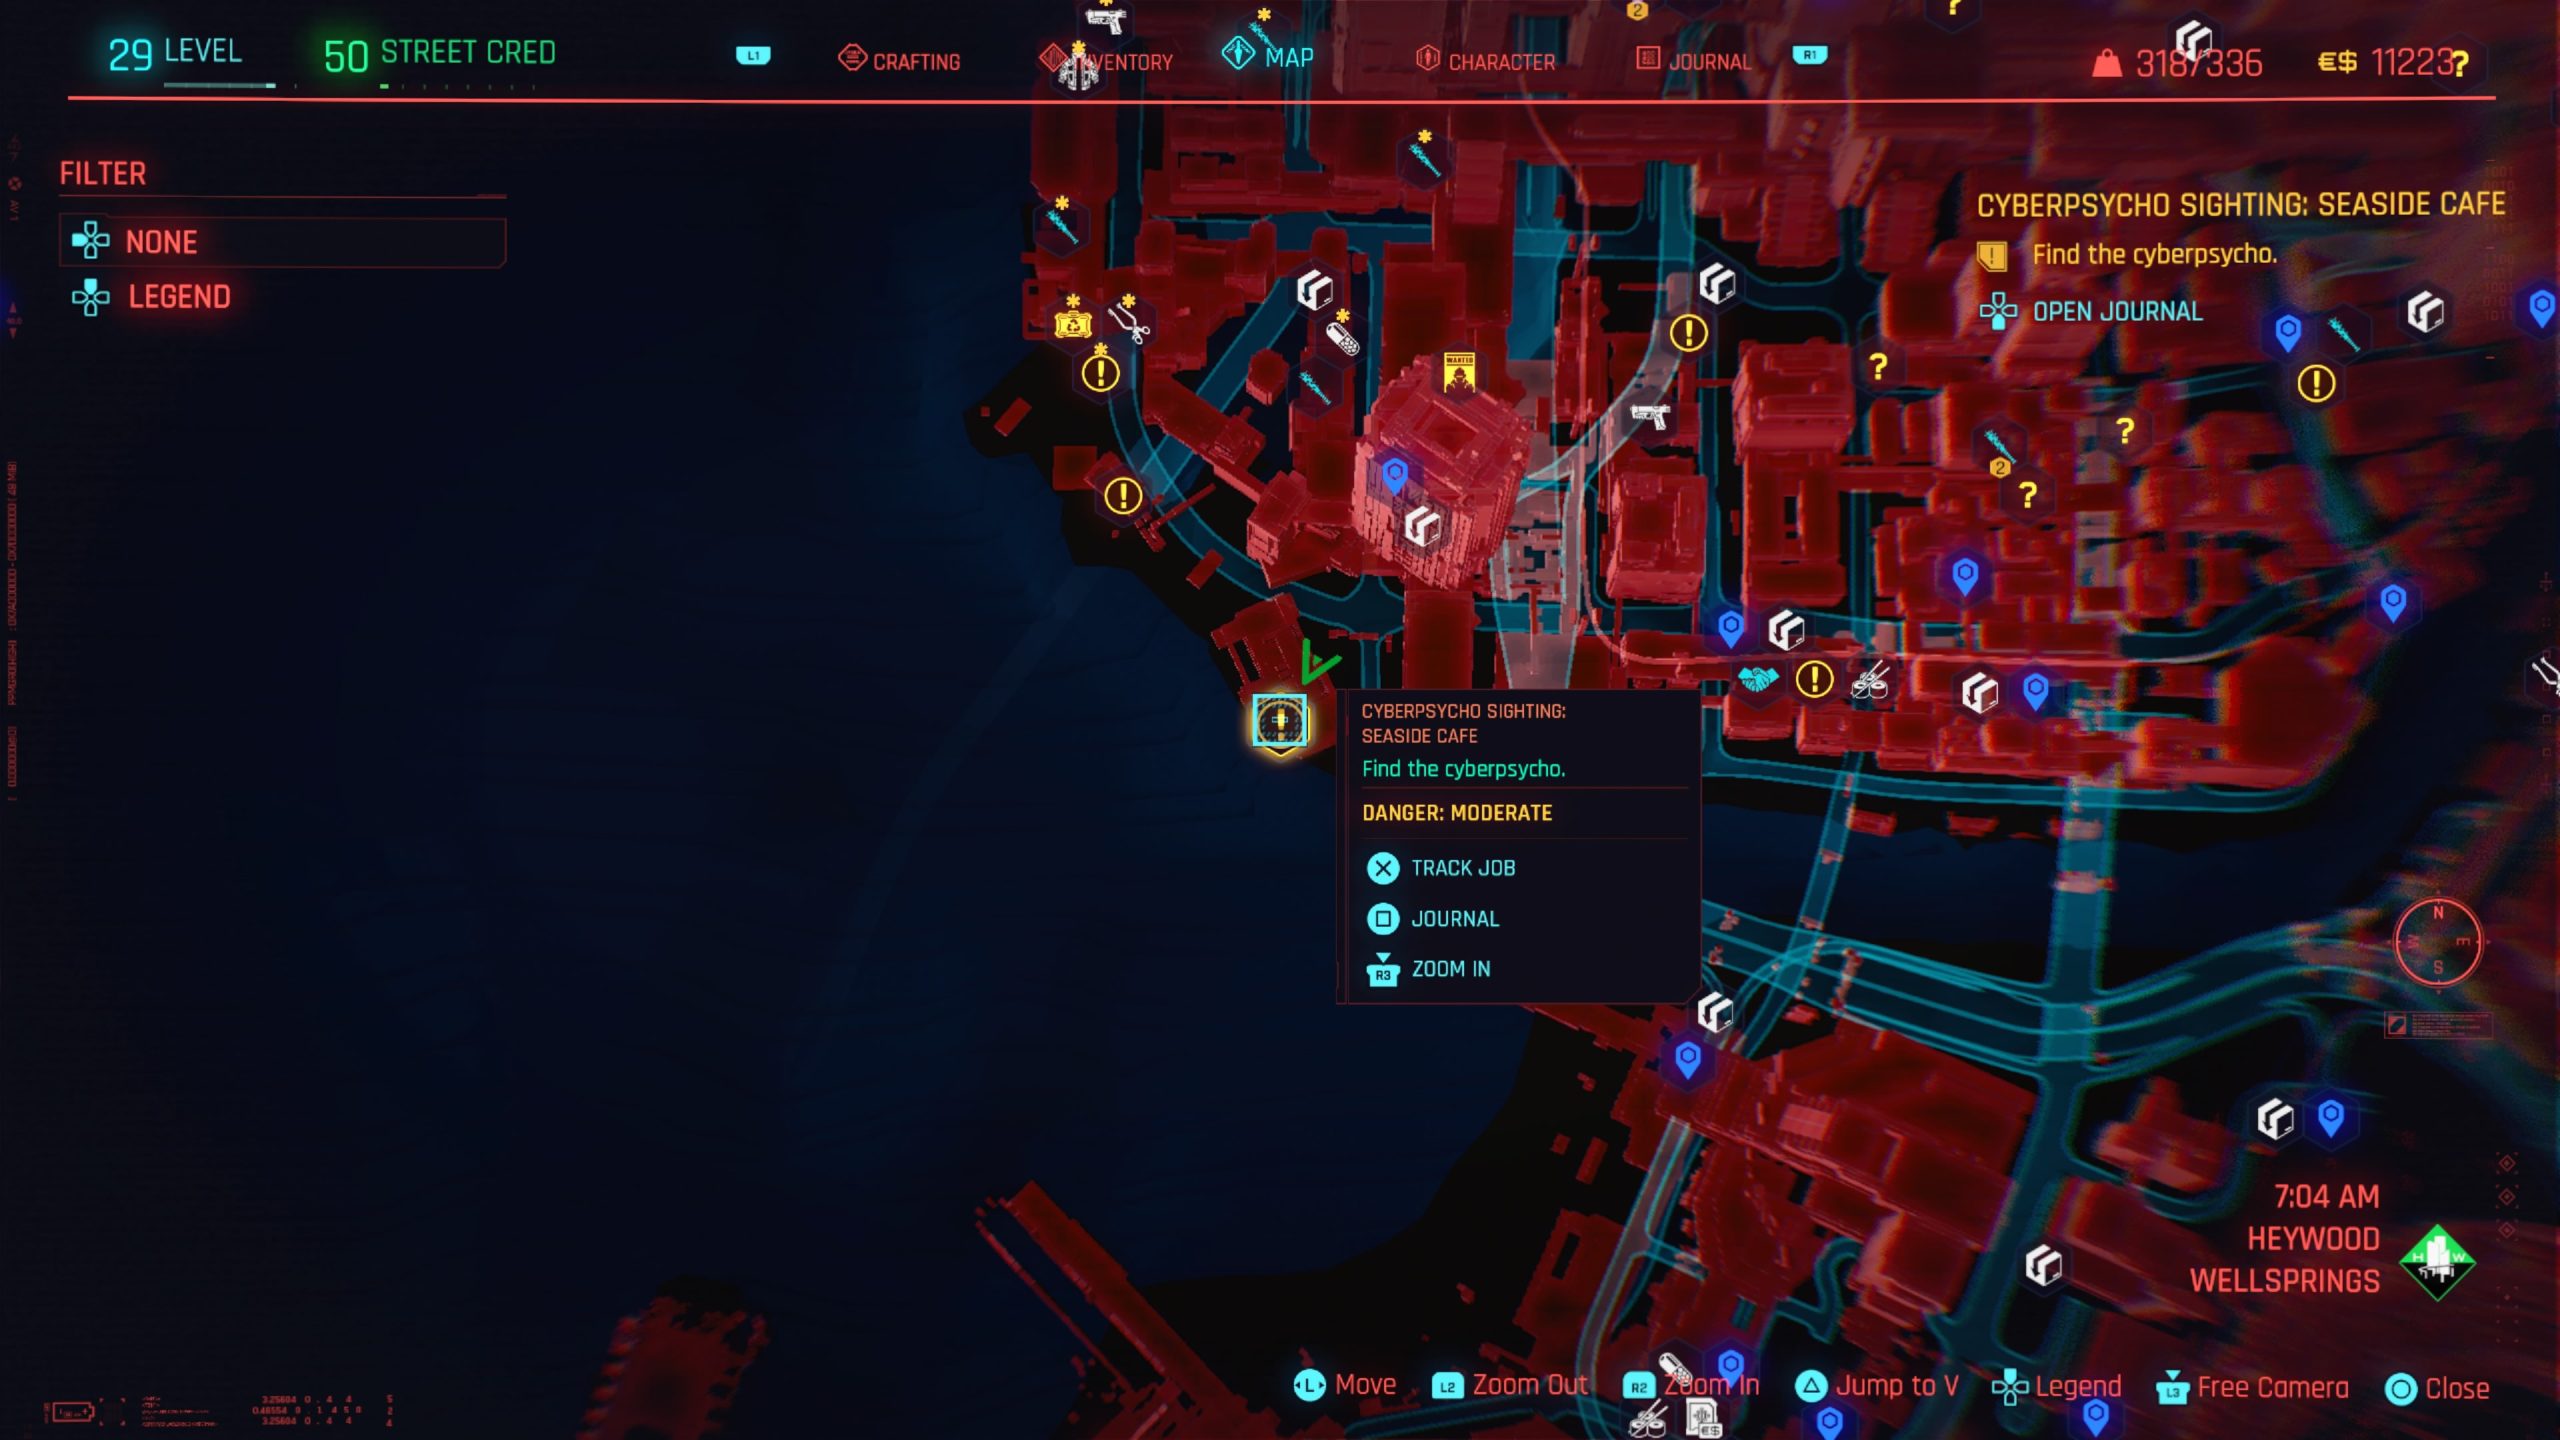
Cyberpsycho Sighting: Seaside Cafe
Obtained: Wellsprings – Approach the gig location southwest of the Megabuilding H2 fast travel point
Objective: Find the cyberpsycho
Once you reach the search area, head to the balcony where everyone is gawking. Jump over it to find Dao Hyunh and defeat her (nonlethally). If you don’t beat her quickly enough, she’ll run away, and you’ll need to chase her to finish her off.
When you do, loot her body for a shard called “Message to Dao Hyunh” then read it. Head back to the lower level of the pier where you first discovered Dao then loot the body of the girl for another shard called “Message to Linh Hyunh” and read it.
Next, look for the suitcase on the deck near where the little box juts out from the search area to find a broken rail. Jump down to discover two more corpses. Loot the girl to find a shard called “Saigon Sisters – Treatment” then read it. Afterwards, message Regina to complete the gig.
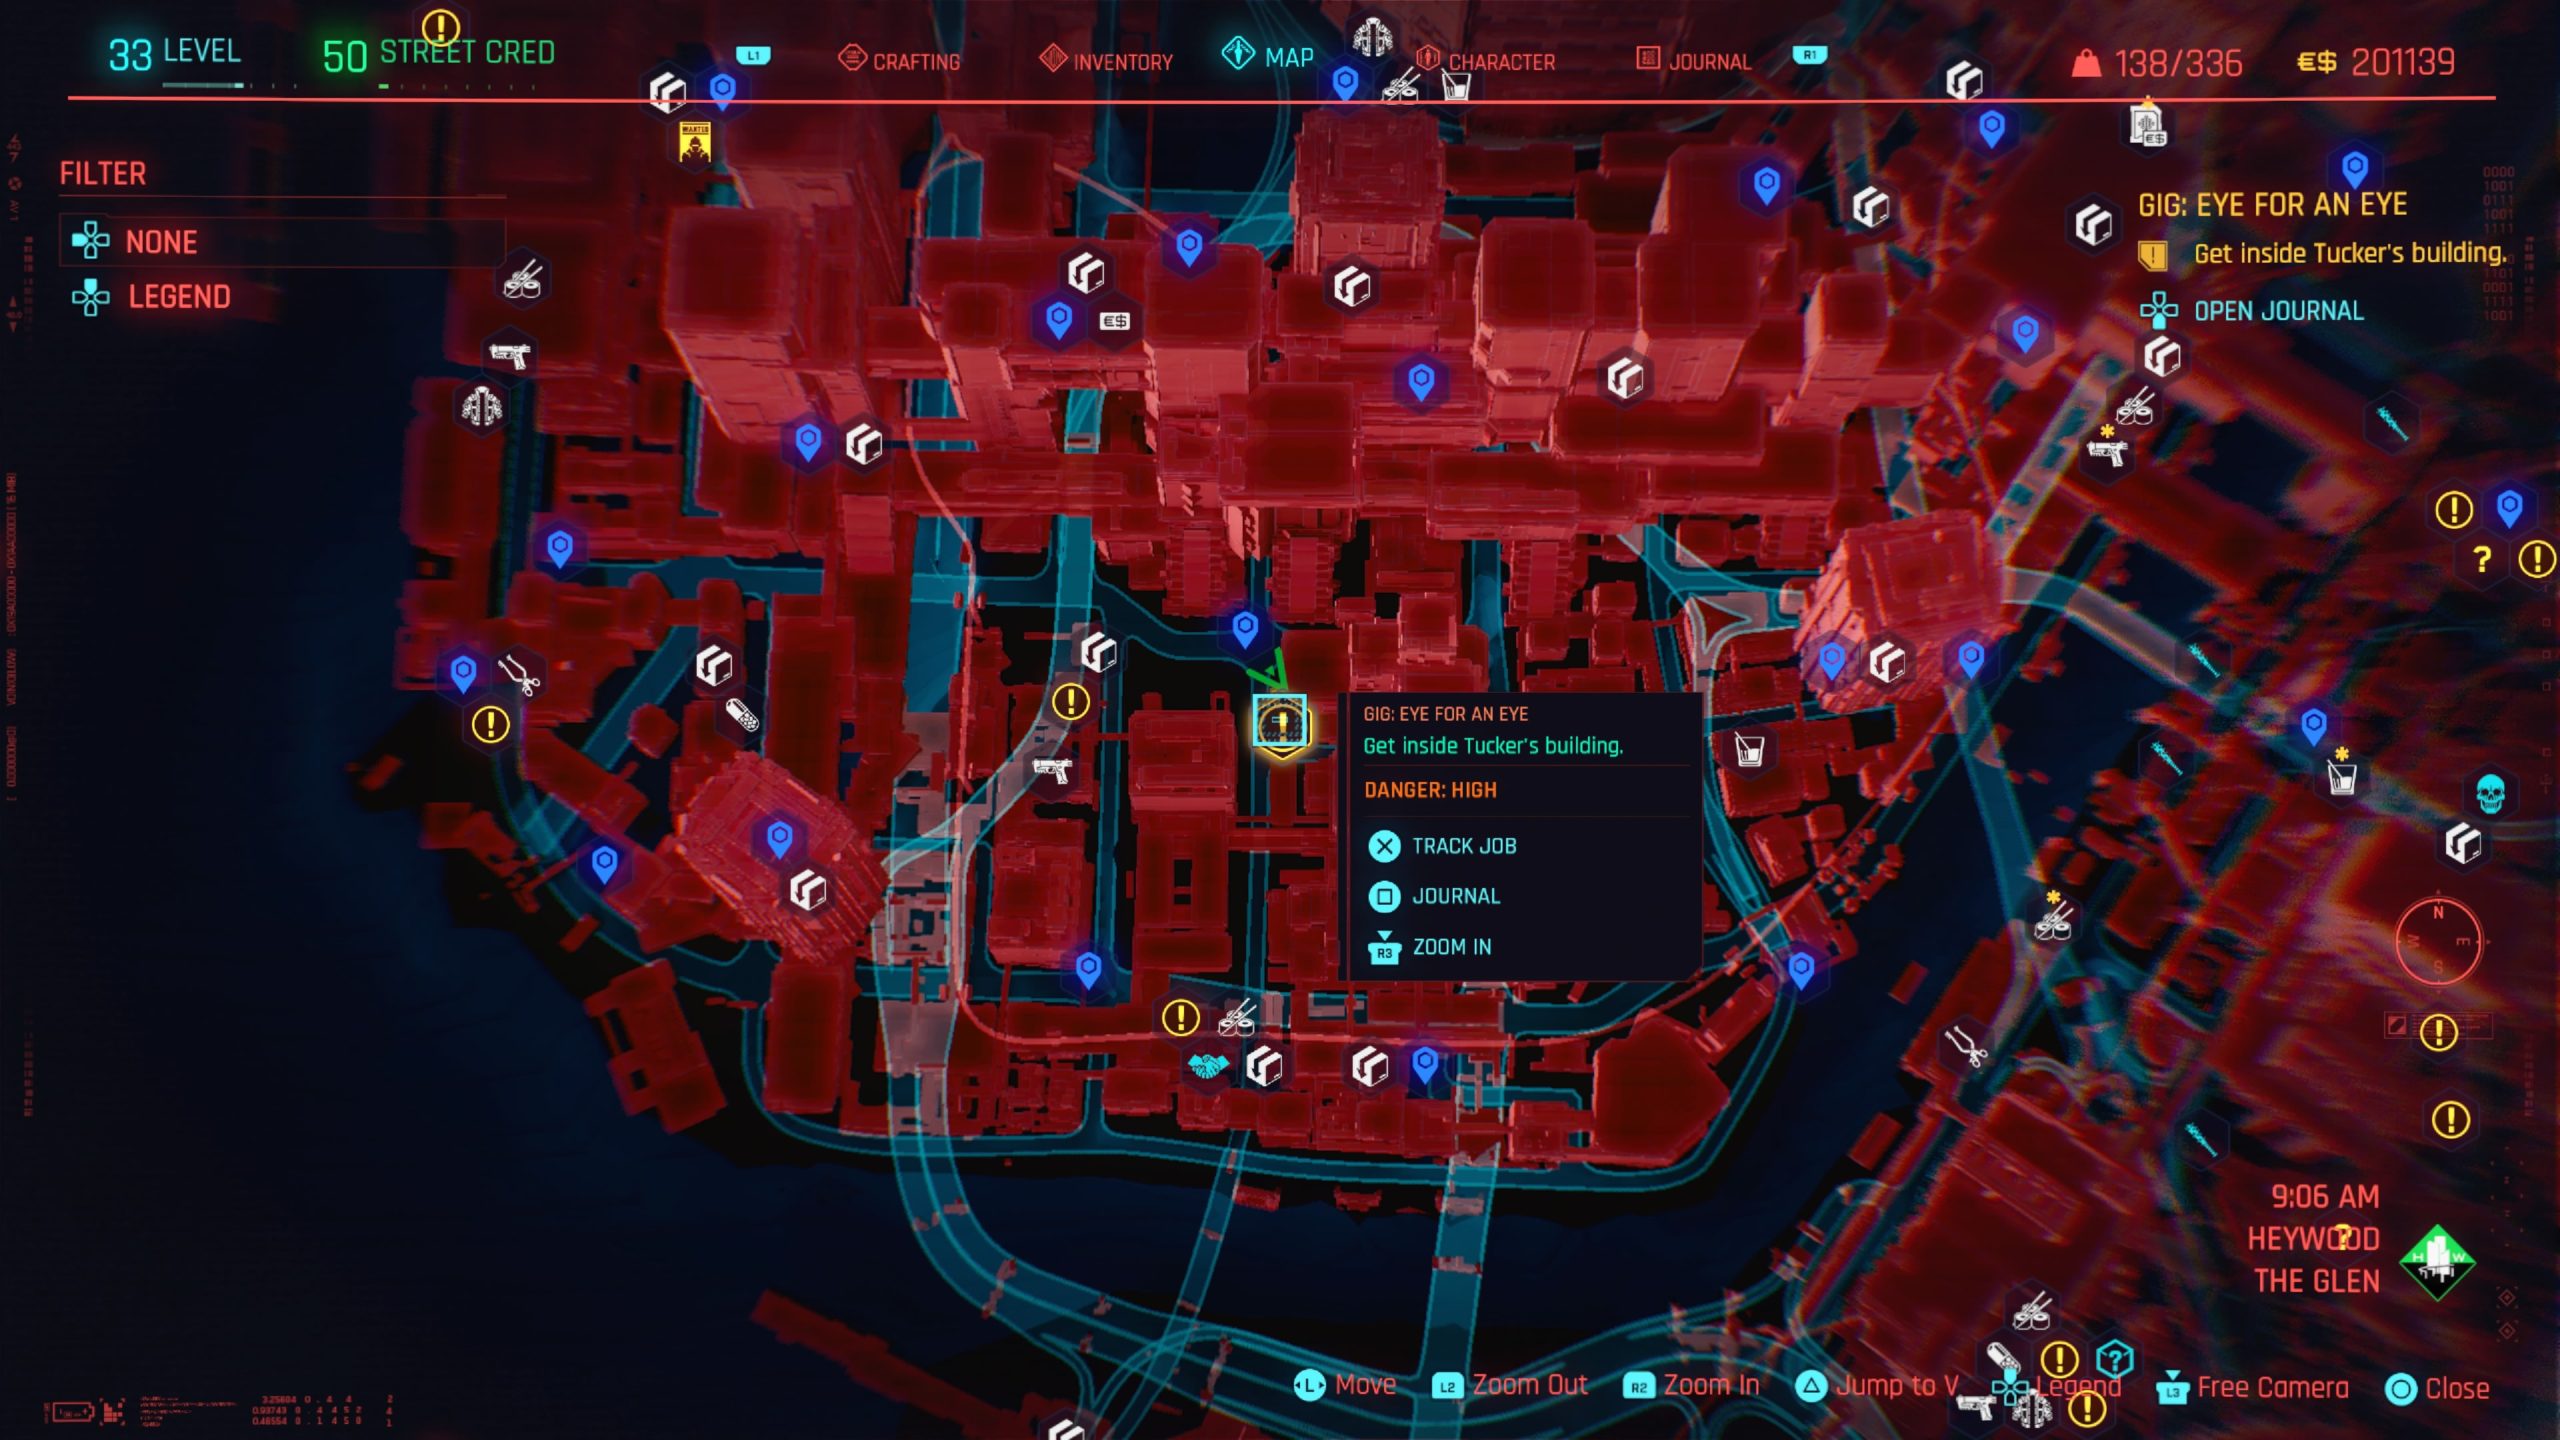
Eye for an Eye
Obtained: The Glen – Approach the gig location south of Palms View Way fast travel point
Objective: Get inside Tucker’s building
Head inside the building then make your way up to the third floor to find Tucker Albach sitting in a chair behind a desk. You can speak with her or just flatline her first, it’s your choice. If you do talk to her, you have the option to let her weasel her way out of this situation by giving you access to the safe in her office. Alternatively, you can kill her, loot her body for the access card then loot the safe yourself.
The contents of the safe include $2,057 and an epic Border Guard Multilayer Aramio Vest that has 144.4 Armor and 2 Empty Clothing Mod Slots. The level requirement to use this vest is 36, and it’s worth $2,139. Once you’ve dealt with Tucker, leave the building to receive a call from Padre, which completes the gig.
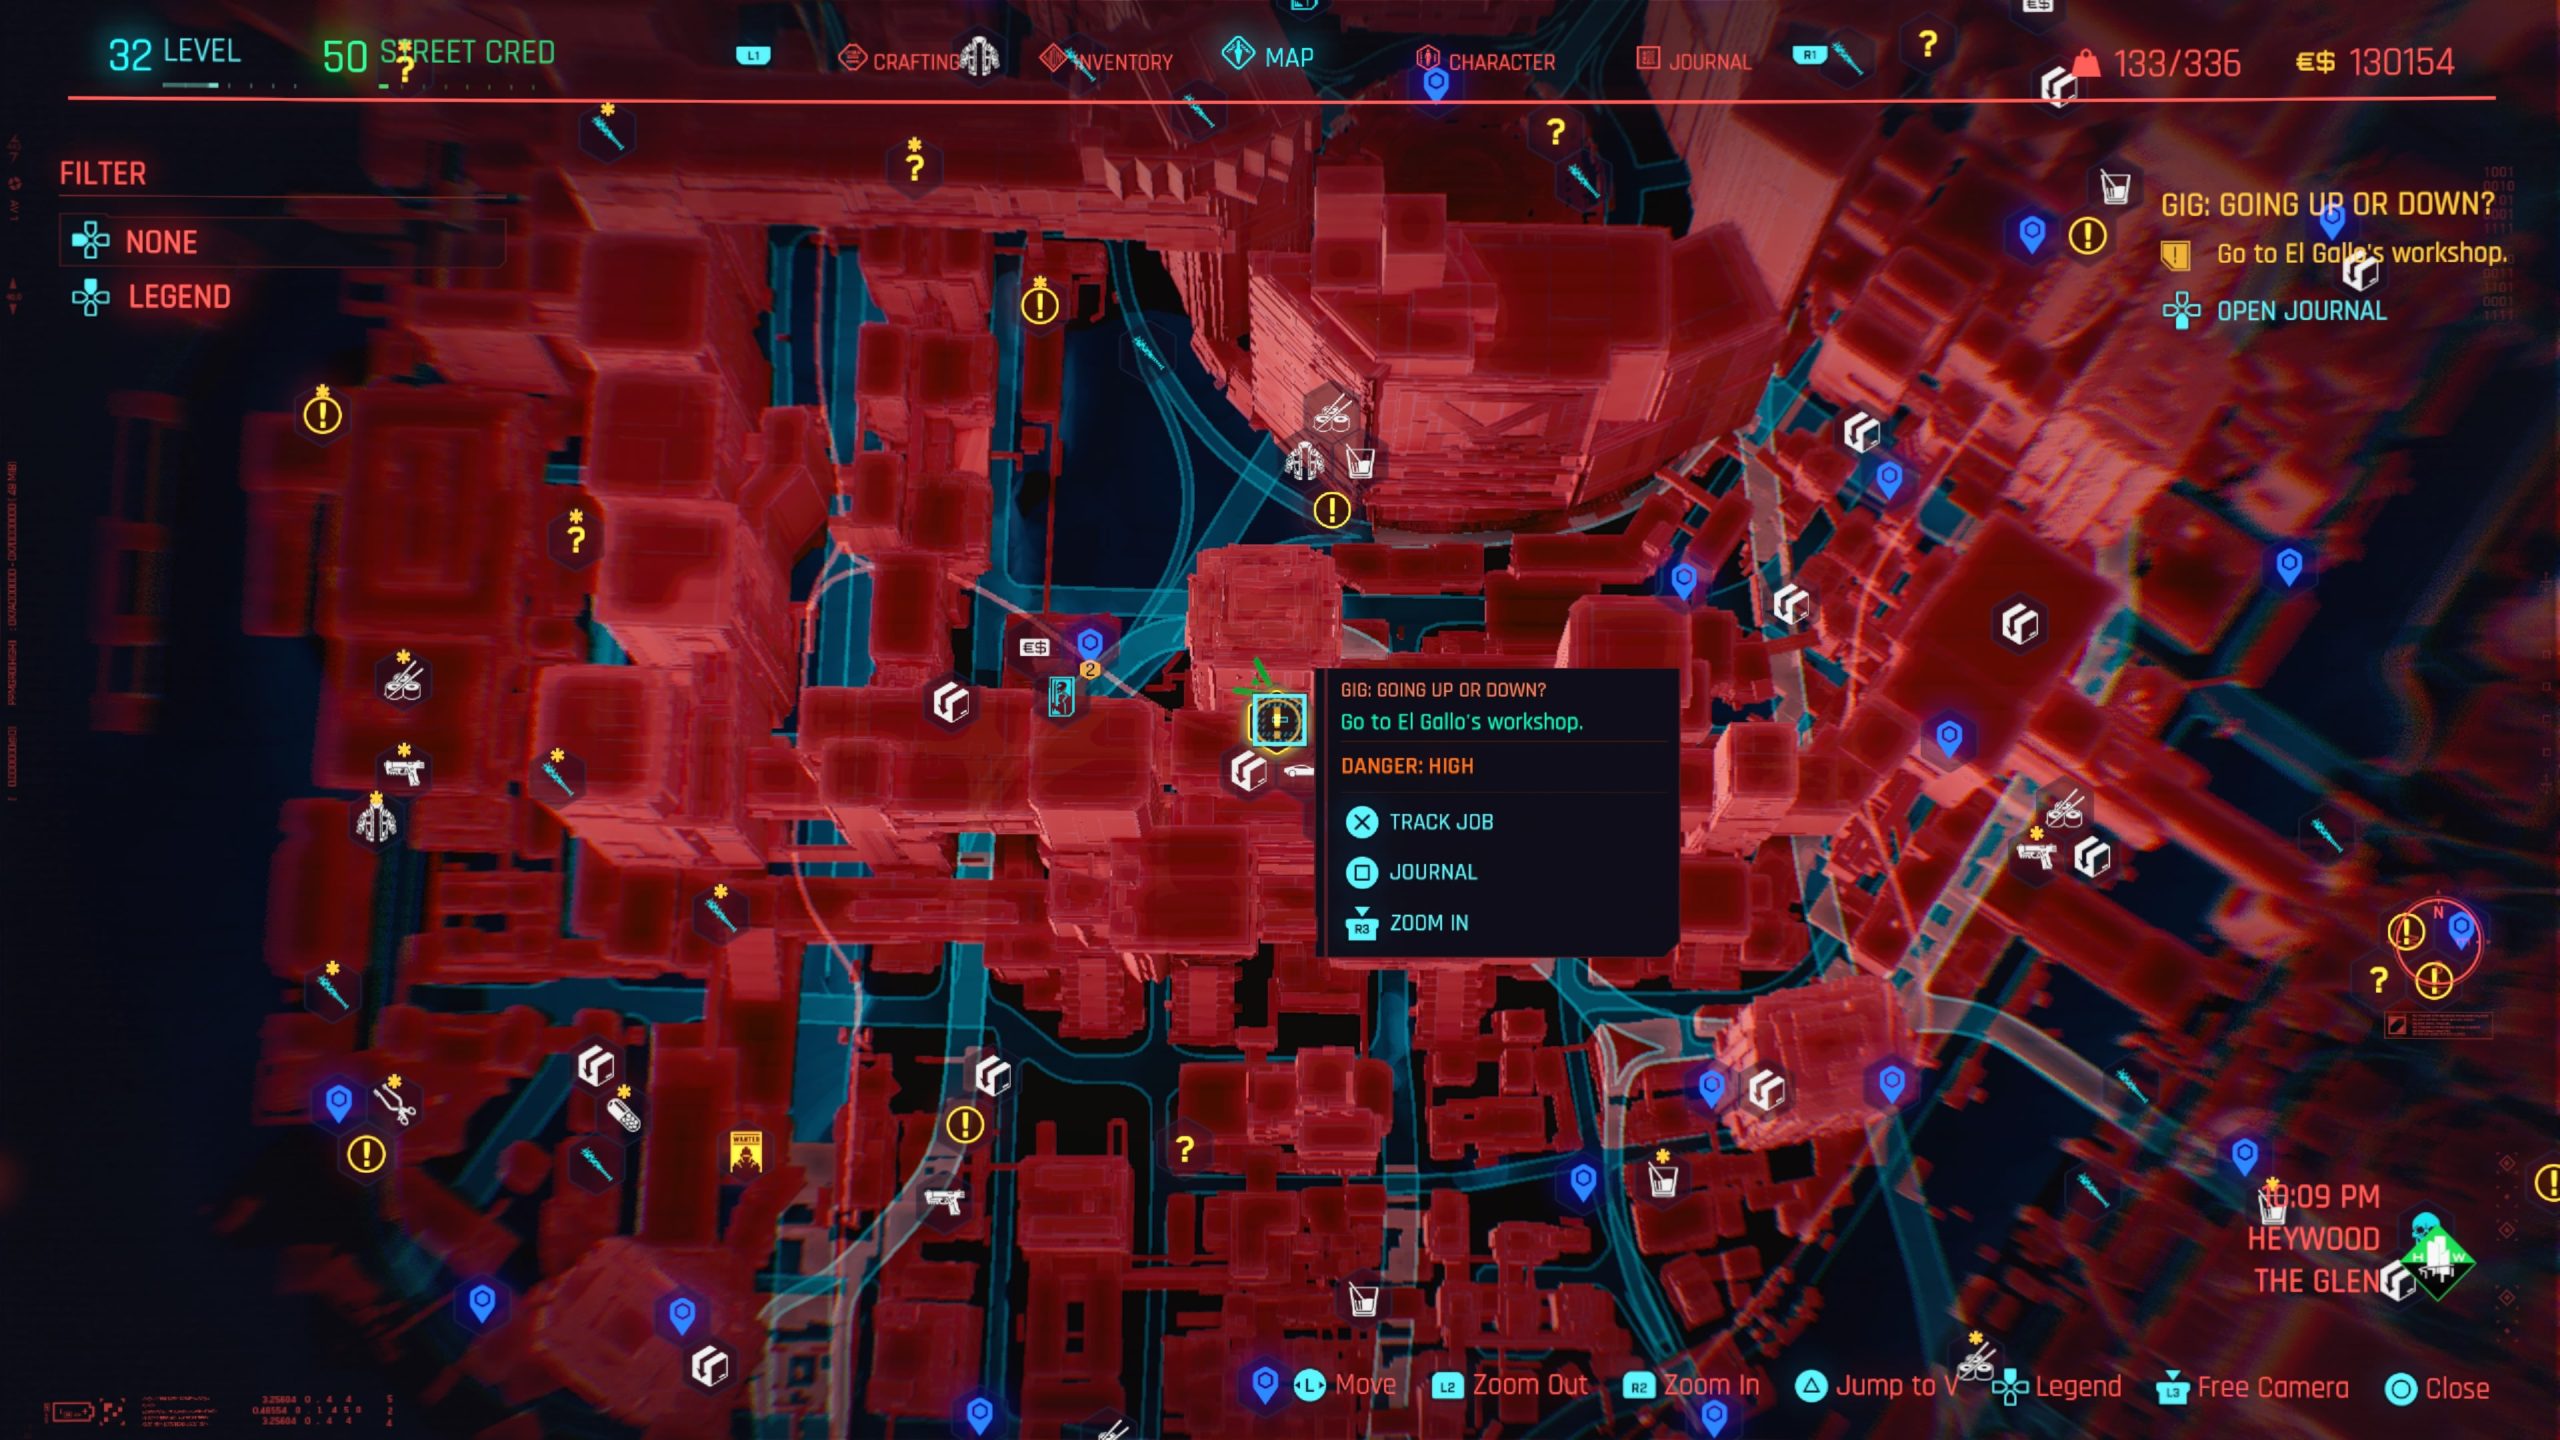
Going Up or Down?
Obtained: The Glen – Approach the objective northwest of the Metro: Glen North fast travel point
Objective: Go to El Gallo’s workshop
Follow the objective down the stairs and enter through the door to reach the workshop. Once inside, make your way down the stairs to the lower level and take out El Gallo. Head into the square structure in the middle of the room and loot the box to retrieve the Scandium Rods.
With the loot in hand, exit the building and follow the objective to the Drop Point to deposit them inside and complete the gig.
Hot Merchandise
Obtained: Wellsprings – Approach the objective south of Berkeley & Bay
Objective: Enter the electronics store

To enter Data Inc., head to the right side of the building and locate a shutter that can be forced open if you have a Body Value of 5. Alternatively, on the left side of the building, you can find a shutter that requires nothing to open. Your last option is to break into the store at the very back. You can force open the garage if you have a Body Value of 15 or the door next to it if you have a Technical Ability of 15.
Once you enter, head to the back to find a set of stairs leading down on the right side. Take the stairs to the basement then neutralize Rebecca Price and carry her body out of the store to the car waiting outside. This will complete the gig.
Life’s Work
Obtained: The Glen – Approach the gig location in the far southeastern corner of The Glen
Objective: Go to the auto shop
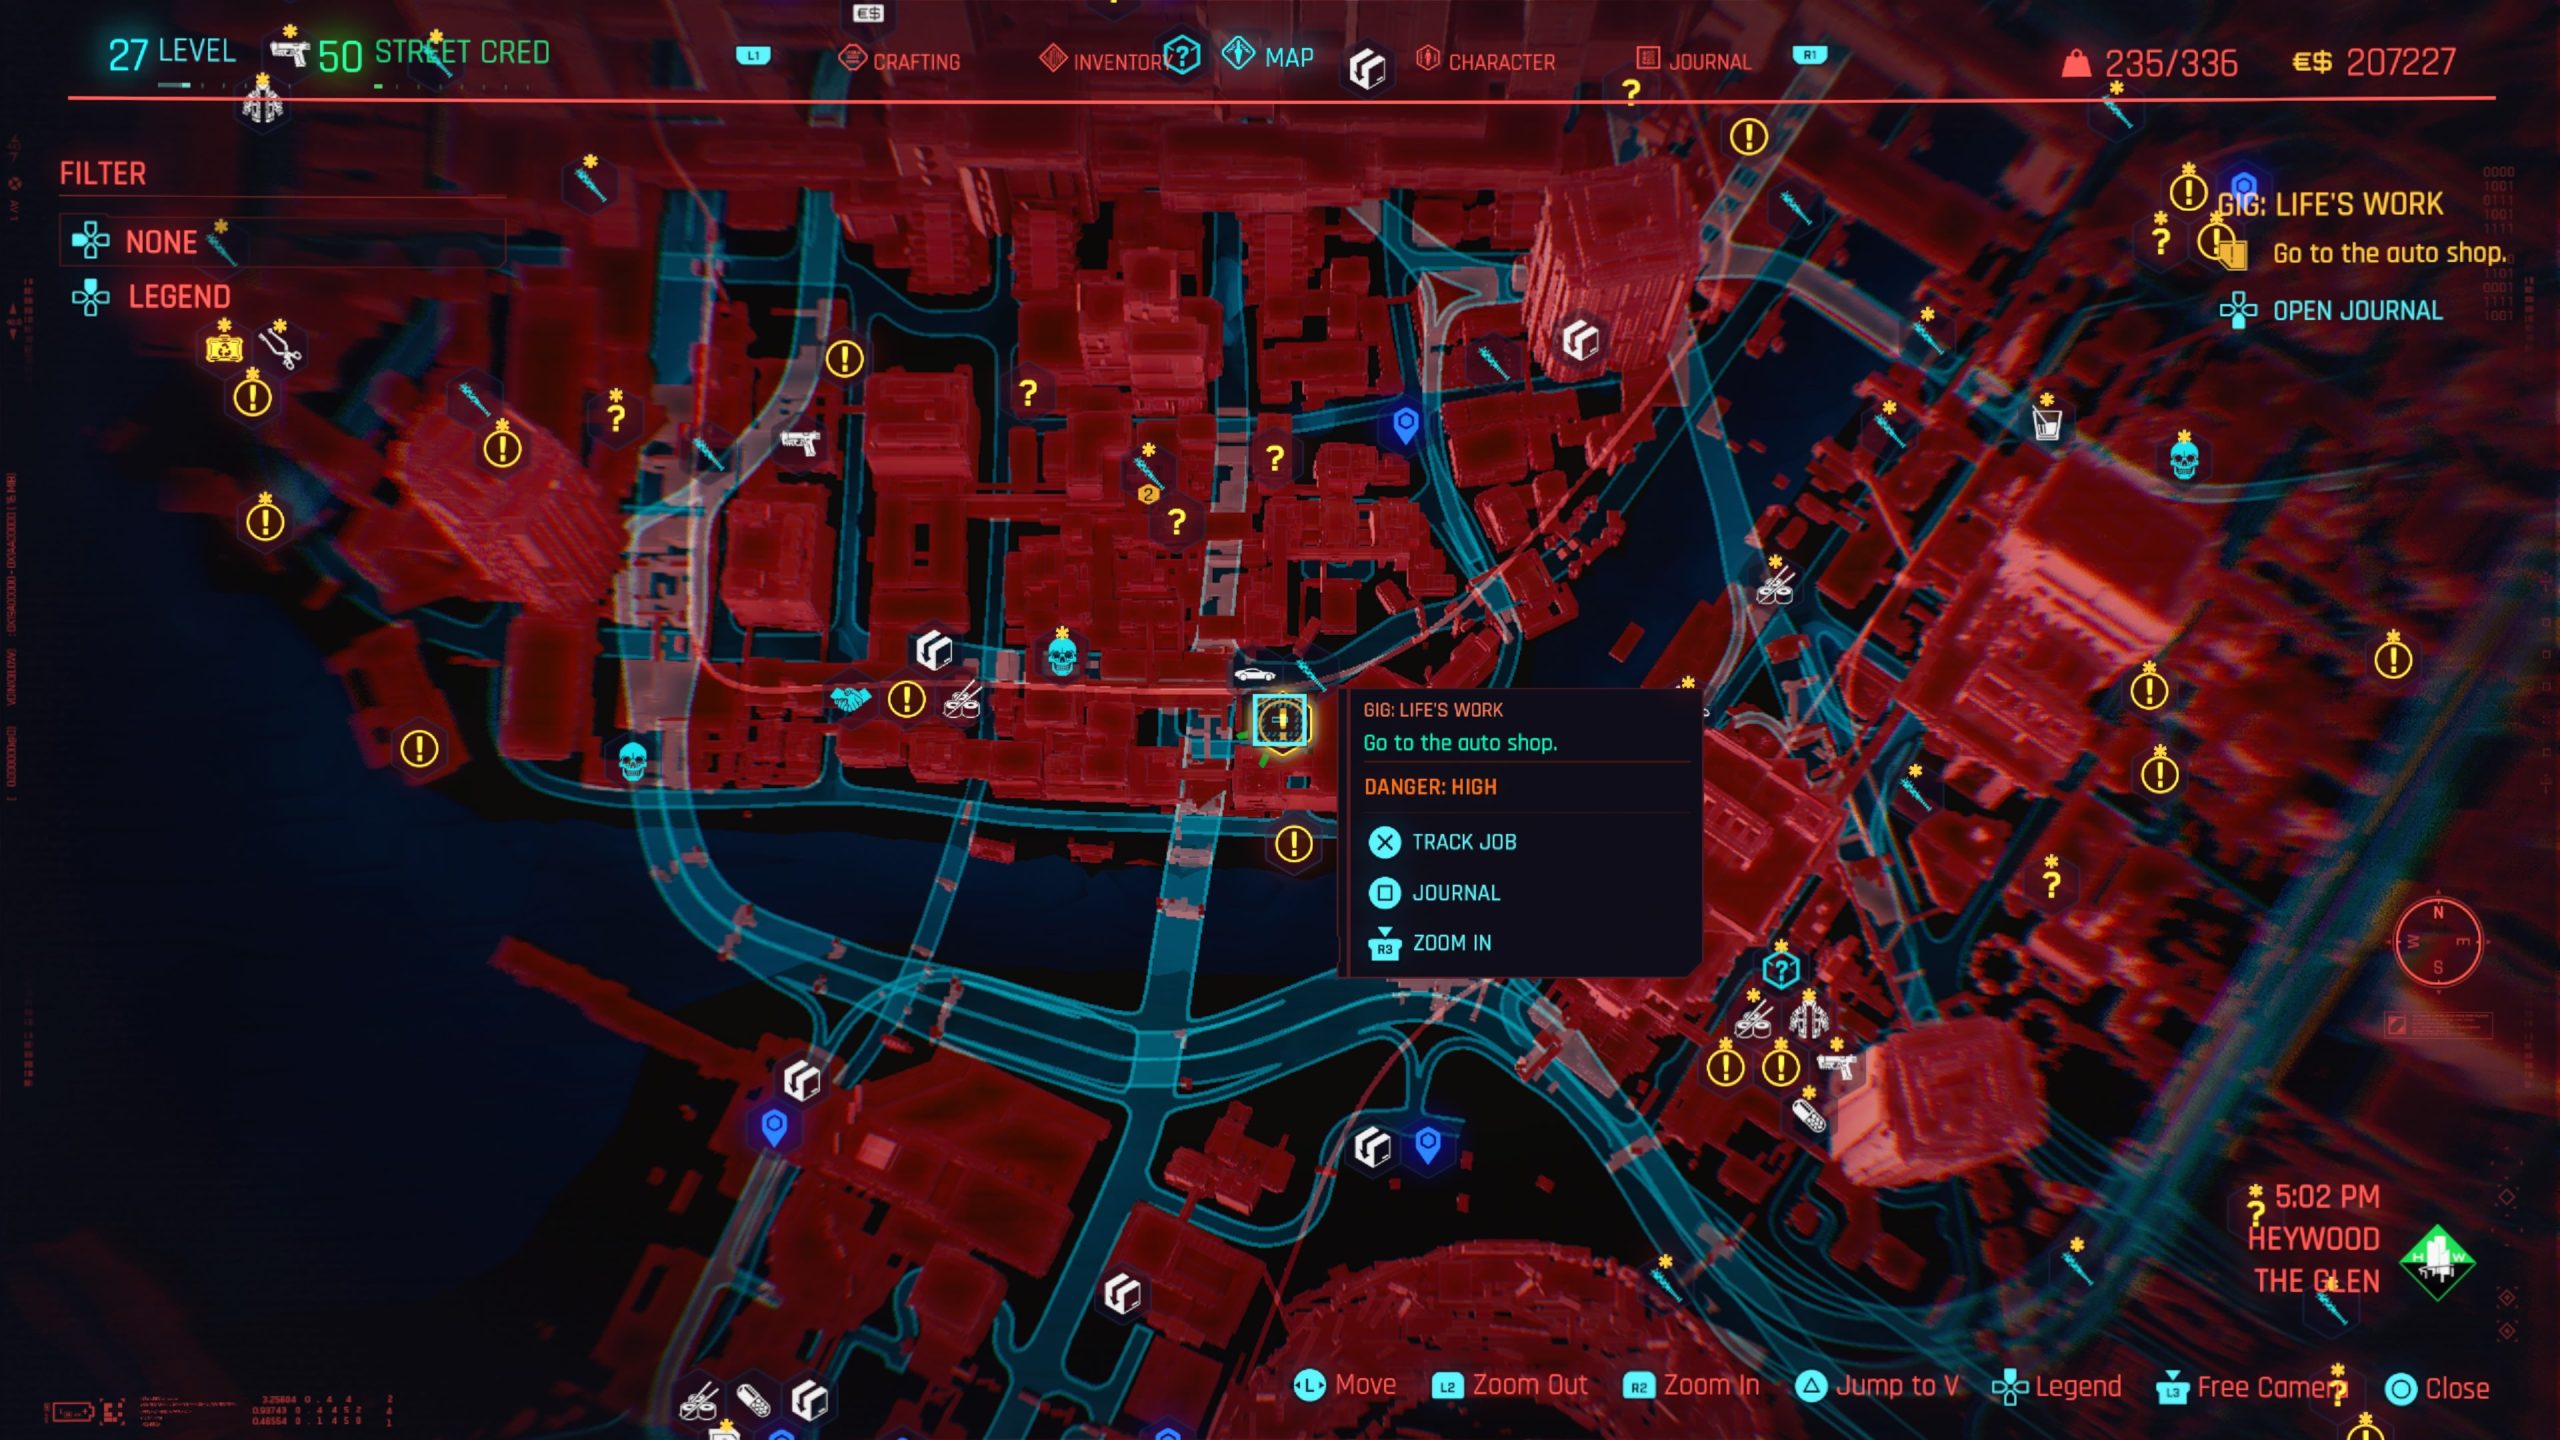
Follow the objective to Wicked Tires Autoshop and head inside. Work your way up to the second level, defeating the enemies as you go, and upload the software onto the computer in the room at the top of the stairs.
Afterwards, head back down the stairs and enter Jake’s car. Drive extremely carefully (so no scratches get onto the car) towards the objective and park it in the tiny garage. Exit the vehicle then speak with Jake Estevez. Leave the garage to complete the gig.
On a Tight Leash
Obtained: Wellsprings – Approach the gig location north of the Megabuilding H2 fast travel point
Objective: Go to the bus depot

Enter the area then make your way through the enemies up to the top floor of the building. Head into the office to find Jose. Take him out either lethally or nonlethally (your choice).
Before you leave, search the files on the laptop on the desk in this room to find out why the NCPD dropped the investigation.
If you killed him, you can just leave, but if you took him out non-lethally, you’ll need to carry his body outside the depot to a waiting vehicle.
Afterwards, call Padre. During the conversation, tell him it was Arasaka to earn the extra reward. After your call, follow the objective to collect your reward and complete the gig.
The Lord Giveth and Taketh Away
Obtained: Wellsprings – Approach the gig location west of the Pumping Station fast travel point
Objective: Go to the Valentinos’ auto shop

Sneak your way into the area. If you head around to the back of the building, you’ll find a container you can climb up onto next to a gate to get over the fence. You’ll be able to enter the building via the garage door if your Body Value is 14.
If not, head to the left of the building, passing the graffiti artist, to find a door on the right.
Once you enter the building, you can find the Miltech SUV in the middle of the room. Enter it then drive the vehicle to the nomads west of the Ventura & Skyline fast travel point. Park the vehicle in the garage then exit it and leave the area to complete the gig.
Related Cyberpunk 2077 Content
- Next Guide: Heywood Side Jobs
- Previous Guide: Heywood Rides
- Main Page: Cyberpunk 2077 Guides and Walkthroughs