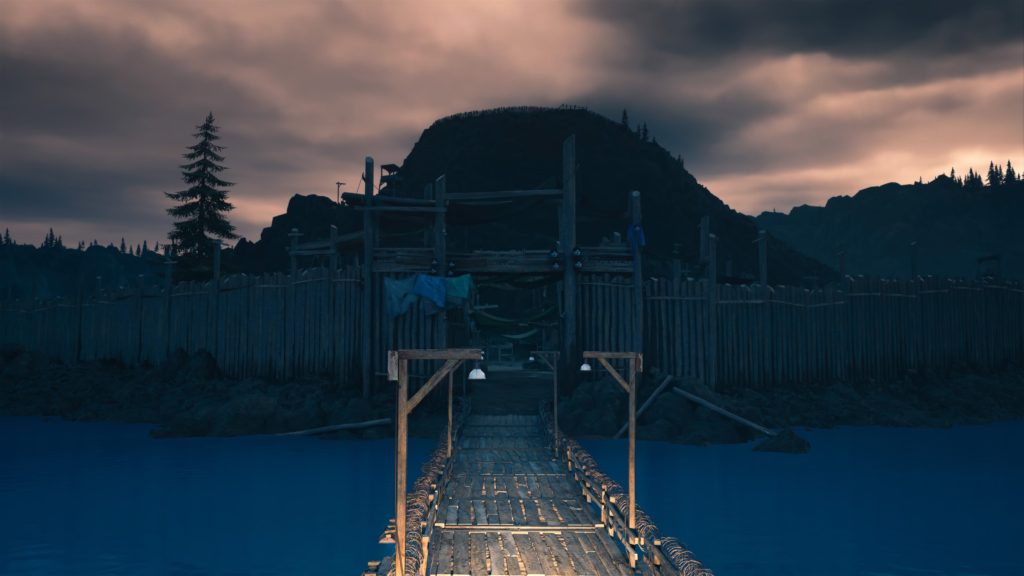
Days Gone – I Don’t Wanna Hang
A Days Gone guide on the I Don’t Wanna Hang mission.

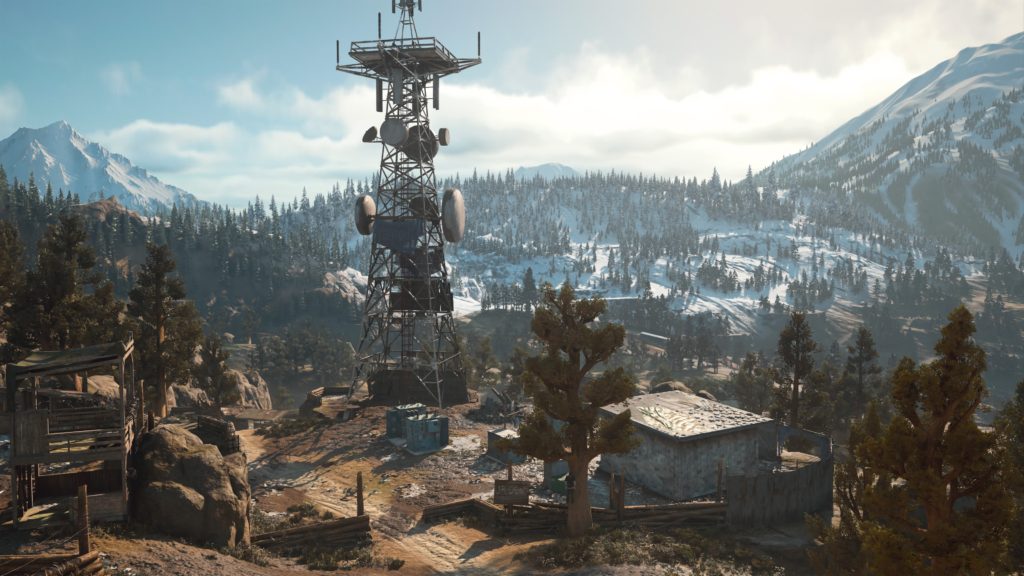
A Days Gone guide on the My Eyes Have Been Opened mission.
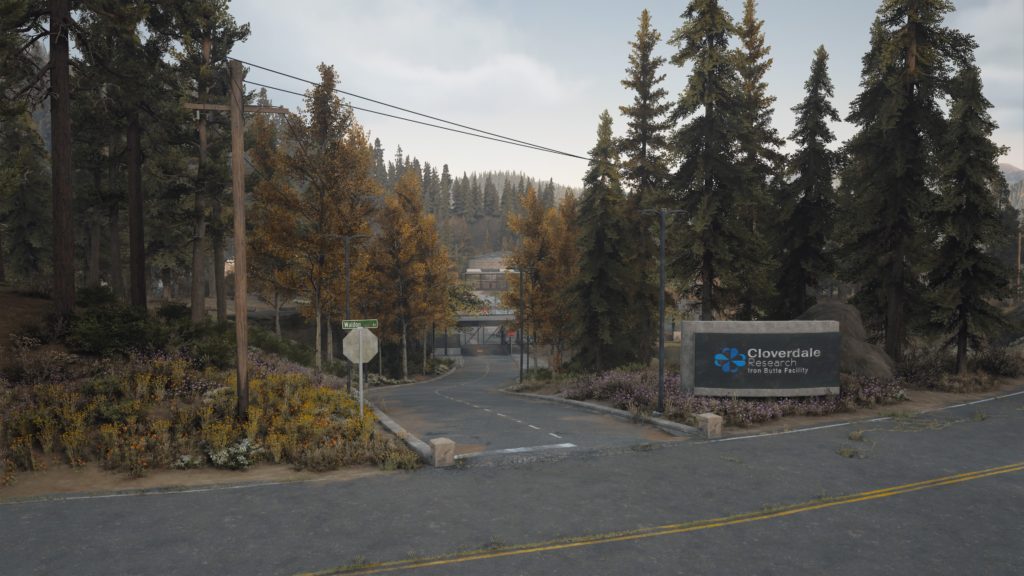
A Days Gone guide on the Throw Them Into The Furnace mission.
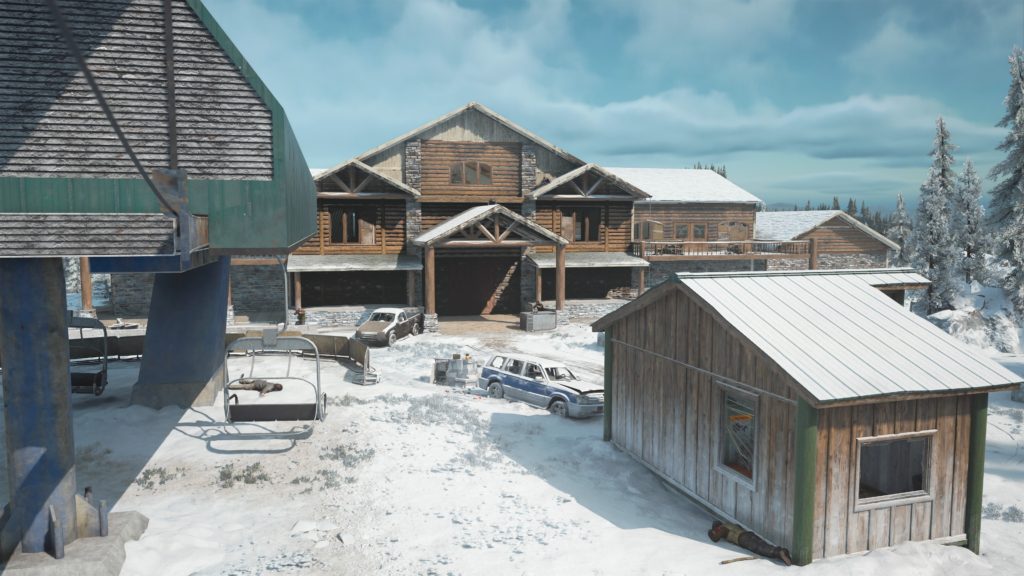
A Days Gone guide on the We Couldn’t Take The Risk mission.