Borderlands 3 – A Good Egg
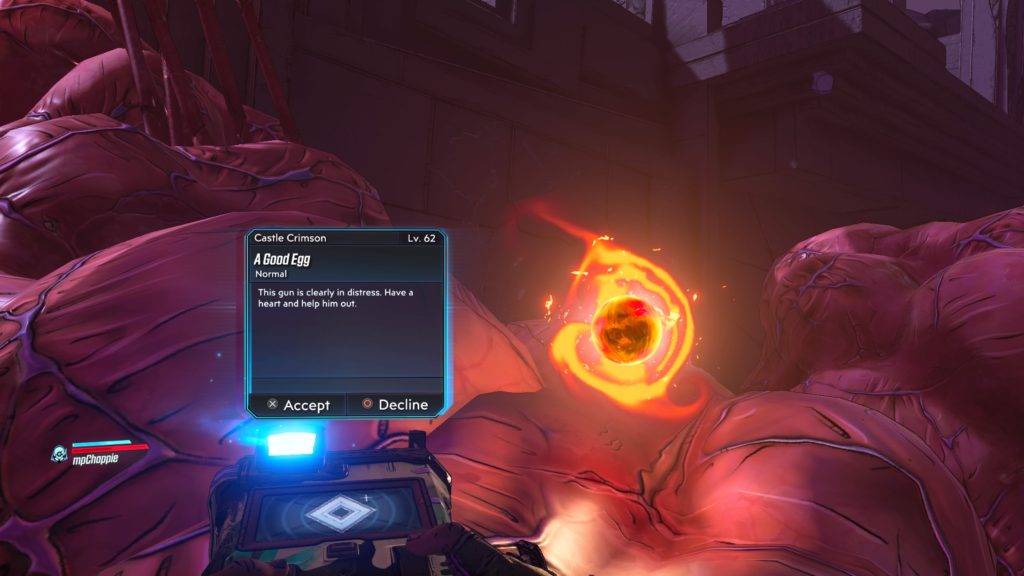
A guide on A Good Egg side mission in Borderlands 3: Psycho Krieg and the Fantastic Fustercluck.
A guide on A Good Egg side mission in Borderlands 3: Psycho Krieg and the Fantastic Fustercluck.
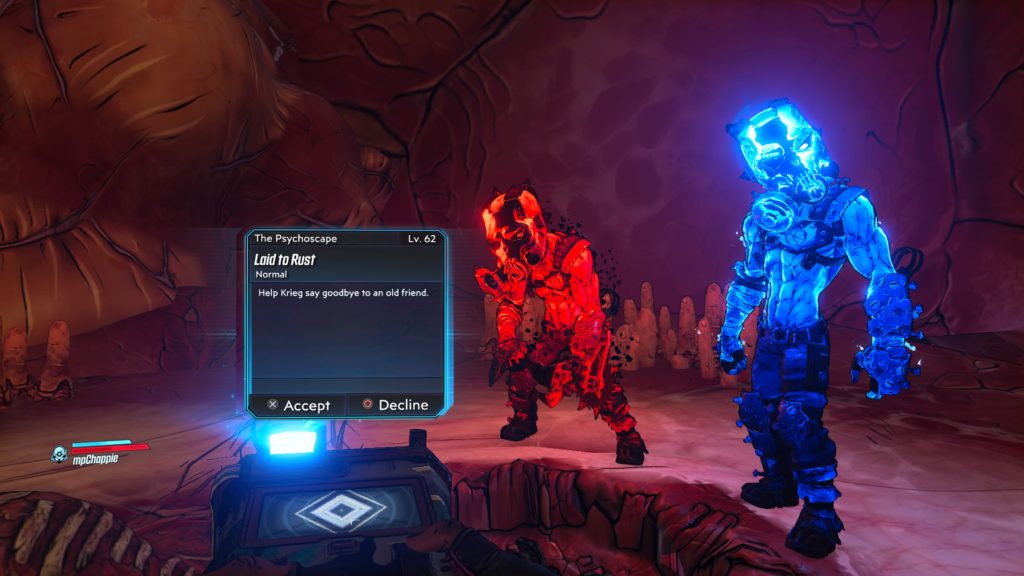
A guide on the Laid to Rust side mission in Borderlands 3: Psycho Krieg and the Fantastic Fustercluck.
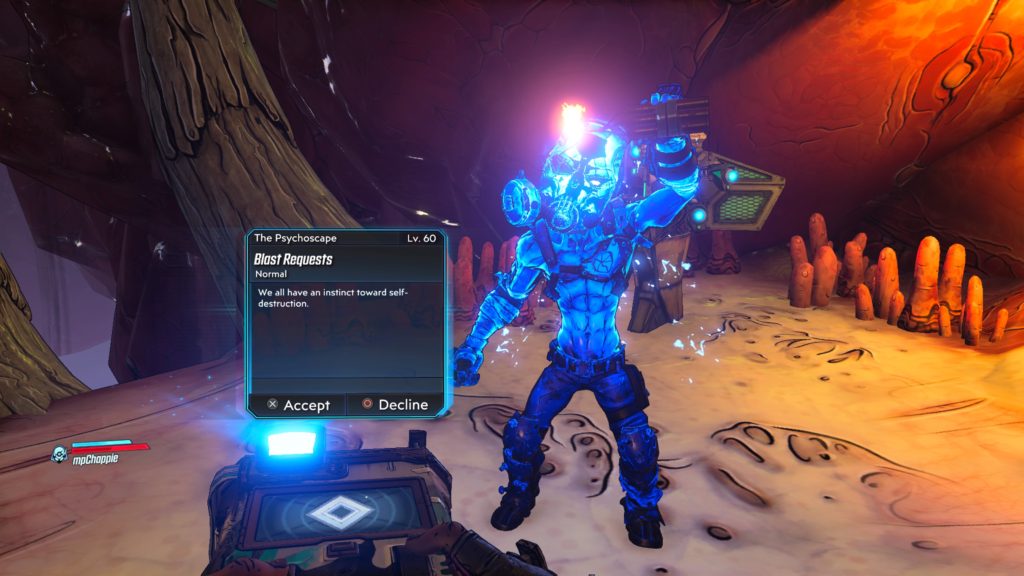
A guide on the Blast Requests side mission in Borderlands 3: Psycho Krieg and the Fantastic Fustercluck.
A guide on the Special P.E.T. Benefits trophy in The Outer Worlds: Peril on Gorgon.
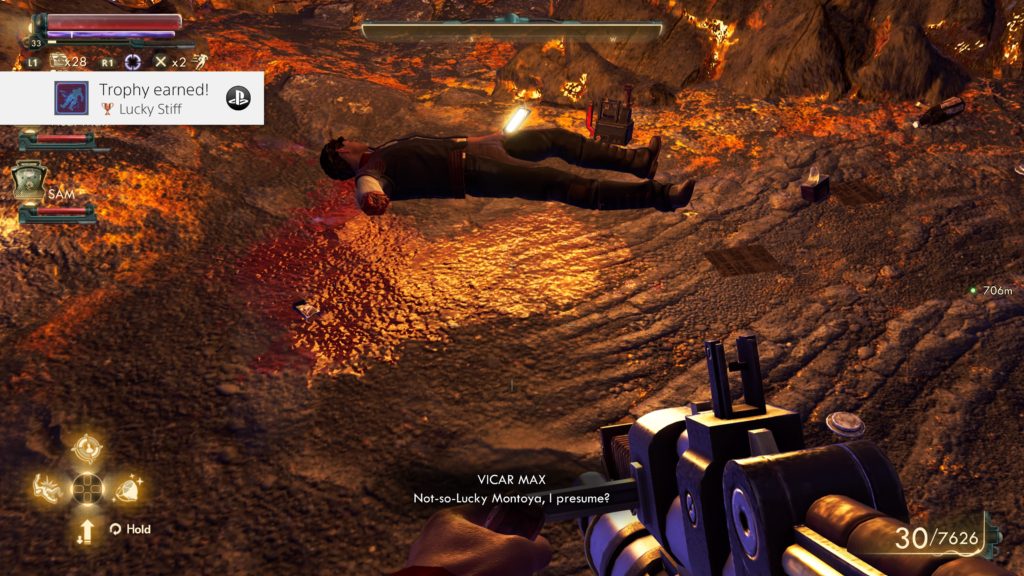
A guide on where to find Lucky Montoya for the Lucky Stiff trophy in The Outer Worlds: Peril on Gorgon.
A guide on where to find Lucien for The Postman trophy in The Outer Worlds: Peril on Gorgon.
A guide on the trophies in The Outer Worlds: Peril on Gorgon DLC.
A guide on the Rendezvous at Llama task in The Outer Worlds: Peril on Gorgon DLC.
A guide on A Dialog Between Dead Men side quest in The Outer Worlds: Peril on Gorgon DLC.
A guide on The Electric Fling side quest in The Outer Worlds: Peril on Gorgon DLC.