Pokemon Unite
Guides

Pokemon Unite – Snorlax Build

by NightlyGamingBinge in


Below are the build(s) we are using with Snorlax in Pokemon Unite. Please note that for the items below we upgraded them to level 20 to increase their effectiveness!


Hold the Line!

Battle Item: Eject Button
Held Item 1: Float Stone
Held Item 2: Focus Band
Held Item 3: Muscle Band
Move 1: Heavy Slam
Move 2: Block

With Snorlax, we wanted a bulky damage-tanking sponge, and with this build that’s exactly what you get. The moves we chose are Heavy Slam and Block. Heavy Slam does some decent damage and sends anything caught up in the mass that is Snorlax flying. Block has the big guy putting up a wall that enemies can’t pass through and stuns them temporarily if they make contact with it. This can be used to defend your points or fend off enemies allowing your allies to score. The held items paired with this build are the Float Stone, Focus Band and Muscle Band. The Float Stone helps Snorlax move around a little quicker while also providing a boost to its attacks, and the Muscle Band further increases attack along with attack speed. The big item for this build is the Focus Band. It increases both defense and special defense with the added effect of healing its wearer by a percentage of its maximum health when it gets low.  It especially helps in more drawn-out fights where you need just a little bit more HP. We recommend using this build to support your team as they score points or engage enemies. It works well on the top or bottom lanes.


Guides

Biomutant – Riddleroom Area Objectives

by NightlyGamingBinge in


Below are the area objectives at the Riddleroom in Biomutant.


Ultimate Meleeweapon x1

  • Head inside the cave then defeat the Surf Huggel. Afterwards, interact with the markings on the cave walls starting on the left and going clockwise. Next, pull out the sword on the island in the center of the cave.


Bravely Default 2
Guides

Bravely Default II – Chapter 4 Side Quests

by NightlyGamingBinge in


Below are the side quests obtained from Chapter 4 in Bravely Default II! You may need to complete certain side quests for others to show up.


Quest 000: Getting Hold of a Glintstone

Obtained: Automatically as part of the story in Halcyonia during Chapter 4

Conditions: Gather materials for a glintstone

Exit town and head for the giant rock to the northeast. Use you sword to cut the grass around the rock until you find 4 materials. Head back to the inn in town and speak with Gloria to report the quest.

Rewards: Glintstone x1


Quest 057: Cool Customer

Obtained: Speak with they guy in Enderno near the entrance of town during Chapter 4

Conditions: Collect some sugar rime x5

Exit Enderno and travel to the Frosty Forest in the northern part of the map. Collect 5 sugar rime from the forest then return to the guy. Speak with him to report the quest.

Reward: Large JP Orb x1


Quest 058: A Frosty Fable

Obtained: Speak with Elvis in the inn at Rimedhal during Chapter 4

Conditions: Search for some snow elk

Follow the objective northeast of Rimedhal to trigger a cutscene followed immediately by a battle with Eclipse. Defeat it to continue on with the cutscene. Afterwards, return to the inn at Rimedhal and speak with Elvis to complete the quest.

Reward: Booster Bun (Critical Chance) x2


Quest 059: The Big Brush-Off

Obtained: Speak with Adelle at the inn in Rimedhal during Chapter 4

Conditions: Collect some pigment x5

Follow the objectives north of Rimedhal to collect the pigment from the ground. Once you’ve picked up all 5, a brief cutscene will trigger. Afterwards, return to the inn for another cutscene. You’ll then need to head to the map transition in the northeastern part of town. Head east a short way to trigger another cutscene, which will complete the quest.

Reward: Spellblossom x8


Quest 060: The Mystery Couple

Obtained: Speak with Elvis after completing Quest 058: A Frosty Fable

Conditions: Look for the puppy’s owner

Head up the stairs and enter the weapon shop. After the cutscene, continue your search for the pup’s owner by heading up the stairs to the blacksmith. To find the runaway pup, head back down to the inn. Once the cutscene completes, the quest will complete.

Reward: Artic Wind x6


Quest 061: A Time to Forgive

Obtained: Speak with Galahad outside the first building near the entrance of Rimedhal during Chapter 4

Conditions: Head to the Hall of High Holies

Head to the Hall of High Holies in the northern part of town to run into Martha. After the cutscene, follow the objective to the northeastern part of town then exit to the open area. Head south a short way to find Galahad. Once the cutscene completes, return to Rimedhal and speak with the townsfolk marked by the objective. Afterwards, return to Galahad at the graveyard to complete the quest.

Reward: Mark of the Void x4


Quest 062: Stormin’ Jormun

Obtained: Speak with the man on the stairs near the inn in Rimedhal during Chapter 4 at night

Conditions: Defeat Jormungandr x1

Head to the map transition in the northeastern part of Rimedhal to find the Jormungandr near the graveyard. Good luck defeating it as its HP is about 300,000!

Reward: Mal Meadworth x1


Quest 063: Jewellery Heist

Obtained: Speak with the lady in Enderno near the mayor’s house during Chapter 4

Conditions: Recover the young woman’s earrings from the dagon shaman

Leave Enderno then head north to find the Dagon Shaman (fish with a pitchfork) wandering around on the map. Defeat them until the earrings drop then return to town and speak with the girl to report the quest.

Reward: Heiji’s Jitte x1


Quest 064: The Cold Soldier

Obtained: Speak with the lady in the first building near the entrance of Rimedhal during Chapter 4

Conditions: Defeat some goliaths x2

Head north of town to come across Goliaths (big pink and purple dudes). Defeat 2 of them then return to the lady in the first building near the entrance of Rimedhal. She will then need you to collect 4 warm furs from White Fangs in the Jaws of Judgement west of town. Return to the lady once more to report the quest.

Reward: Artemis’s Bow x1


Quest 065: Ant-Ipathy

Obtained: Speak to the boy near the ramp leading to the palace in Savalon at night during Chapter 4

Conditions: Defeat some killer ants

Exit Savalon and scour the desert in search of Killer Ants to slay. After you defeat 30, return to the boy to report the quest.

Reward: Brave Suit x1


Quest 066: The Power of Flowers

Obtained: Speak with the lady in the Savalon Gaming Hall near the stairs leading to the 2nd level during Chapter 4

Conditions: Collect spellblossoms from defeated triffids or other sources x2

The Triffids can be found on Crystalcap Mountain in Enderno. Defeat them until you get 2 spellblossoms then return to the lady to report the quest.

Rewards: Demon’s Rod x1


Quest 067: A Forgotten Sound

Obtained: Speak with the old woman near the Great Tree Hollow in Wiswald at night during Chapter 4

Conditions: Get ahold of some special wood from defeated coppices

Travel to Enderno then head to the top part of the map to reach the Frosty Forest. Take the teleport point to find the Coppice in a group of trees to immediately to the east. Defeat it in battle to receive the special wood then return to the old woman in Wiswald at night. Speak with her then head to the Wiswald inn to find the carpenter there. Talk with him then return to the old woman to report the quest.

Reward: Medium Experience Orbs x2


Quest 068: Undead and Unwelcome

Obtained: Speak with the researcher in the Institute of Magical Inquiry at Wiswald during Chapter 4

Conditions: Collect some sprigs of holly x3

Exit Wiswald then head to northeast of the city on the world map to locate the holly. You’ll need to chop up the trees with your sword to collect them. With all 3 in hand, return to the man in the Institute to report the quest.

Reward: Heiji’s Jitte


Yakuza Like a Dragon
Guides

Yakuza: Like a Dragon – Tianyou Zhao Bonding Events

by NightlyGamingBinge in


Level 1

Choices:

  • I’ve got your back either way. +20 Kindness
  • You’re not the type. +20 Passion
  • I try not to judge off looks. +20 Intellect


Level 2

Choices:

  • You should see me when I strip down. +20 Charisma
  • You’d know if they were a yakuza. +20 Style
  • People are more than meets the eye. +20 Intellect


Level 3

Choices:

  • Anybody’d be better by comparison. +20 Kindness
  • I dunno about that. +20 Passion
  • What-ifs don’t mean much. +20 Intellect


Level 4

Choices:

  • I don’t wanna kick a man while he’s down. +20 Kindness
  • Time to put the final nail in the coffin. +20 Passion
  • We shouldn’t underestimate him. +20 Intellect


Level 5

For this bonding event, you’ll need to defeat Mabuchi and his minions.


Guides

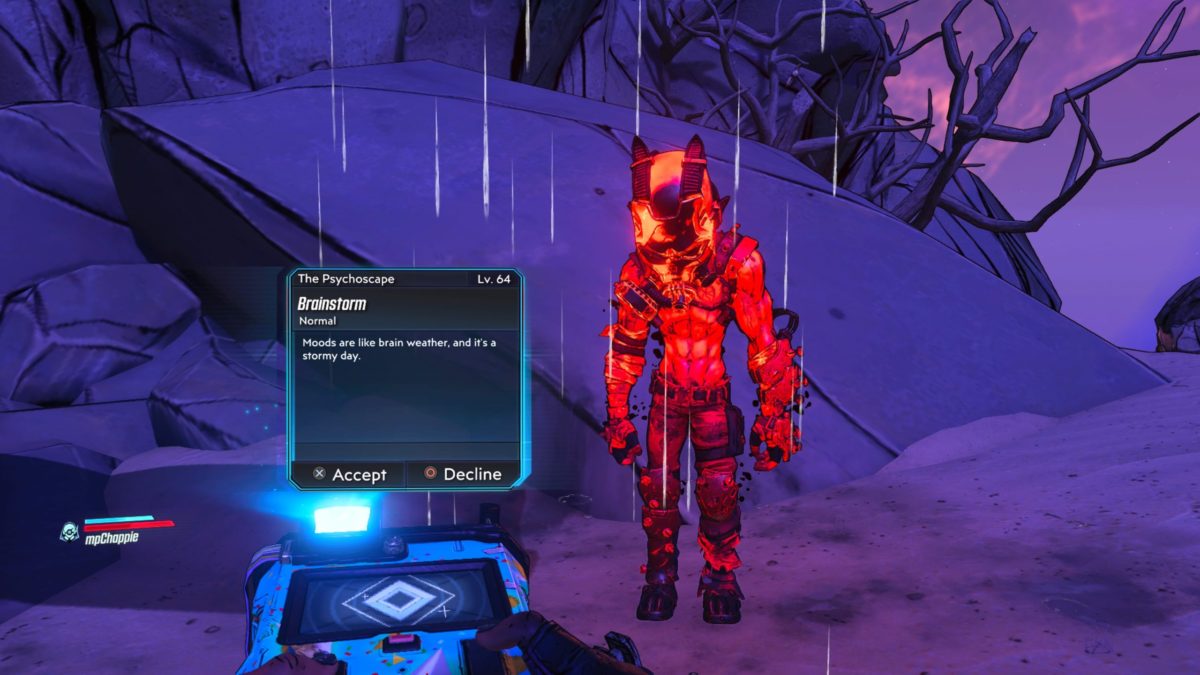
Borderlands 3 – Brainstorm

by NightlyGamingBinge in


Location: Sapphire’s Run

Obtained: Speak with Psycho Krieg


Find umbrella

Jump across the nearby debris to reach the umbrella on the floating rock.


Give umbrella

Head back to Krieg to hand it over.


Ghosts of Tsushima
Guides

Ghost of Tsushima – Kamiagata Bamboo Strike Locations

by NightlyGamingBinge in


Below is a guide on the locations of the Bamboo Strikes in Kamiagata. These Bamboo Strikes are required in order to receive the Body, Mind and Spirit Trophy. Also, Bamboo Strikes will increase your resolve.


Kin

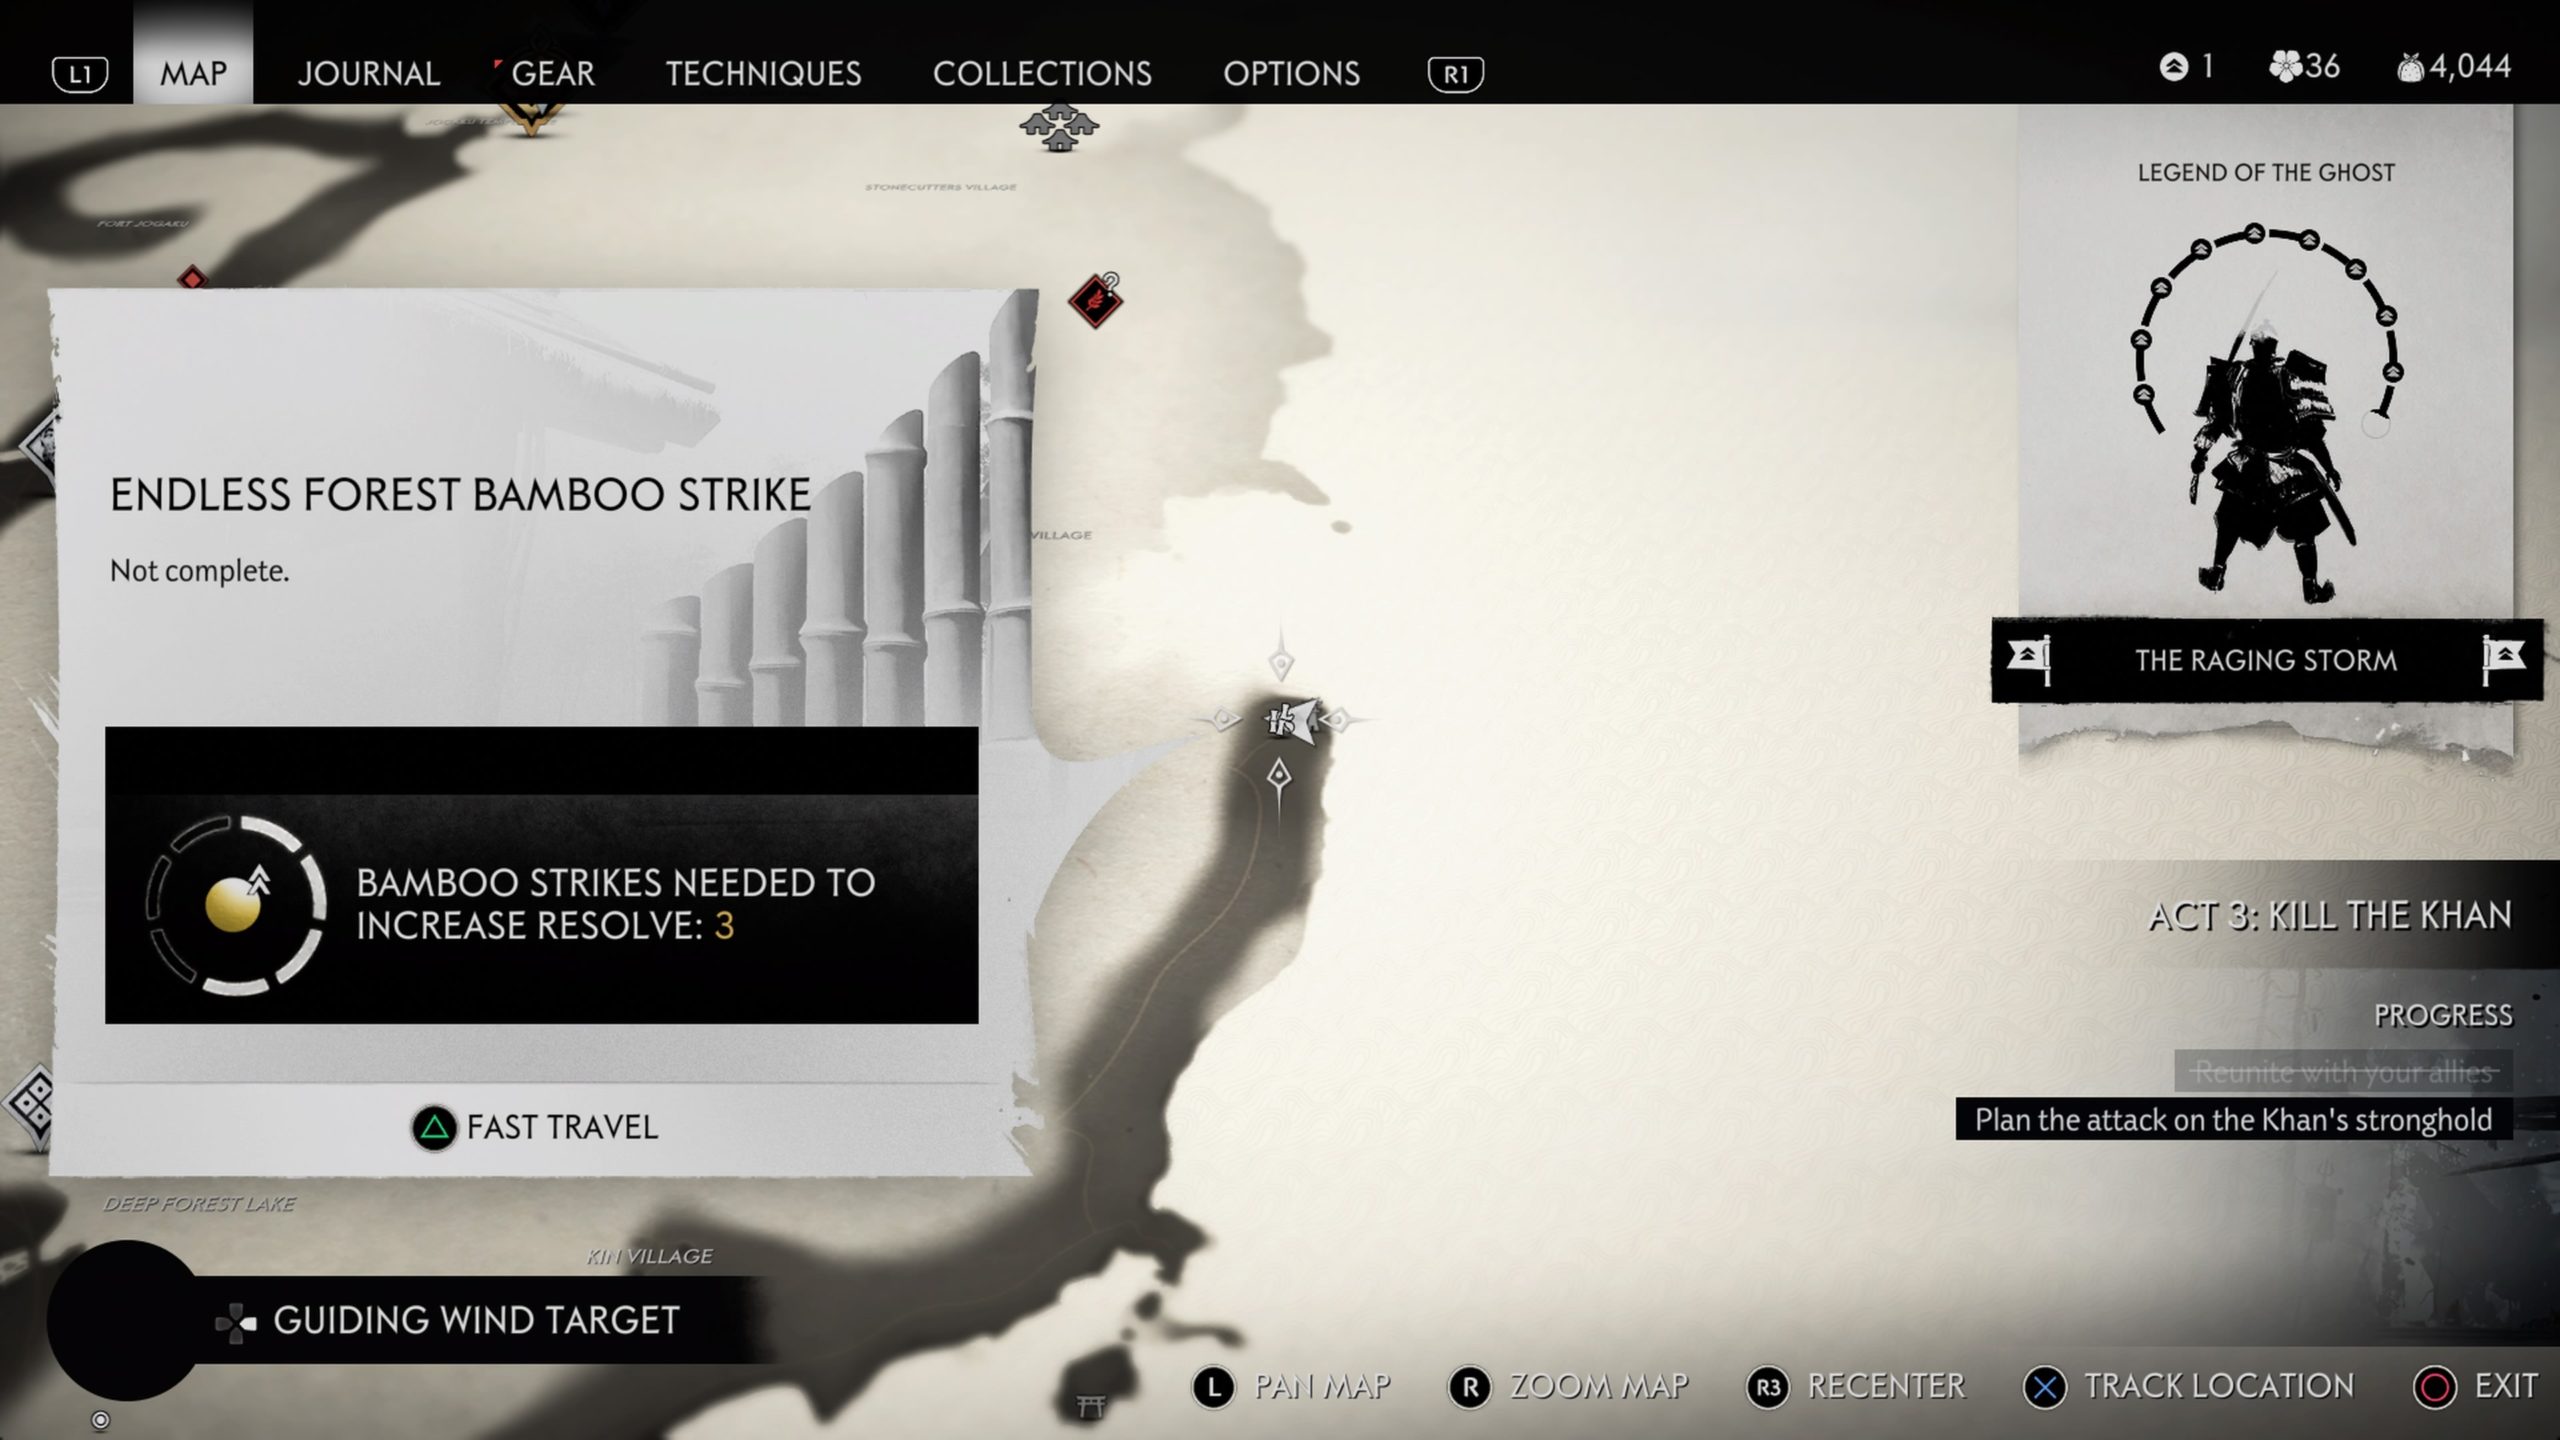
Endless Forest Bamboo Strike

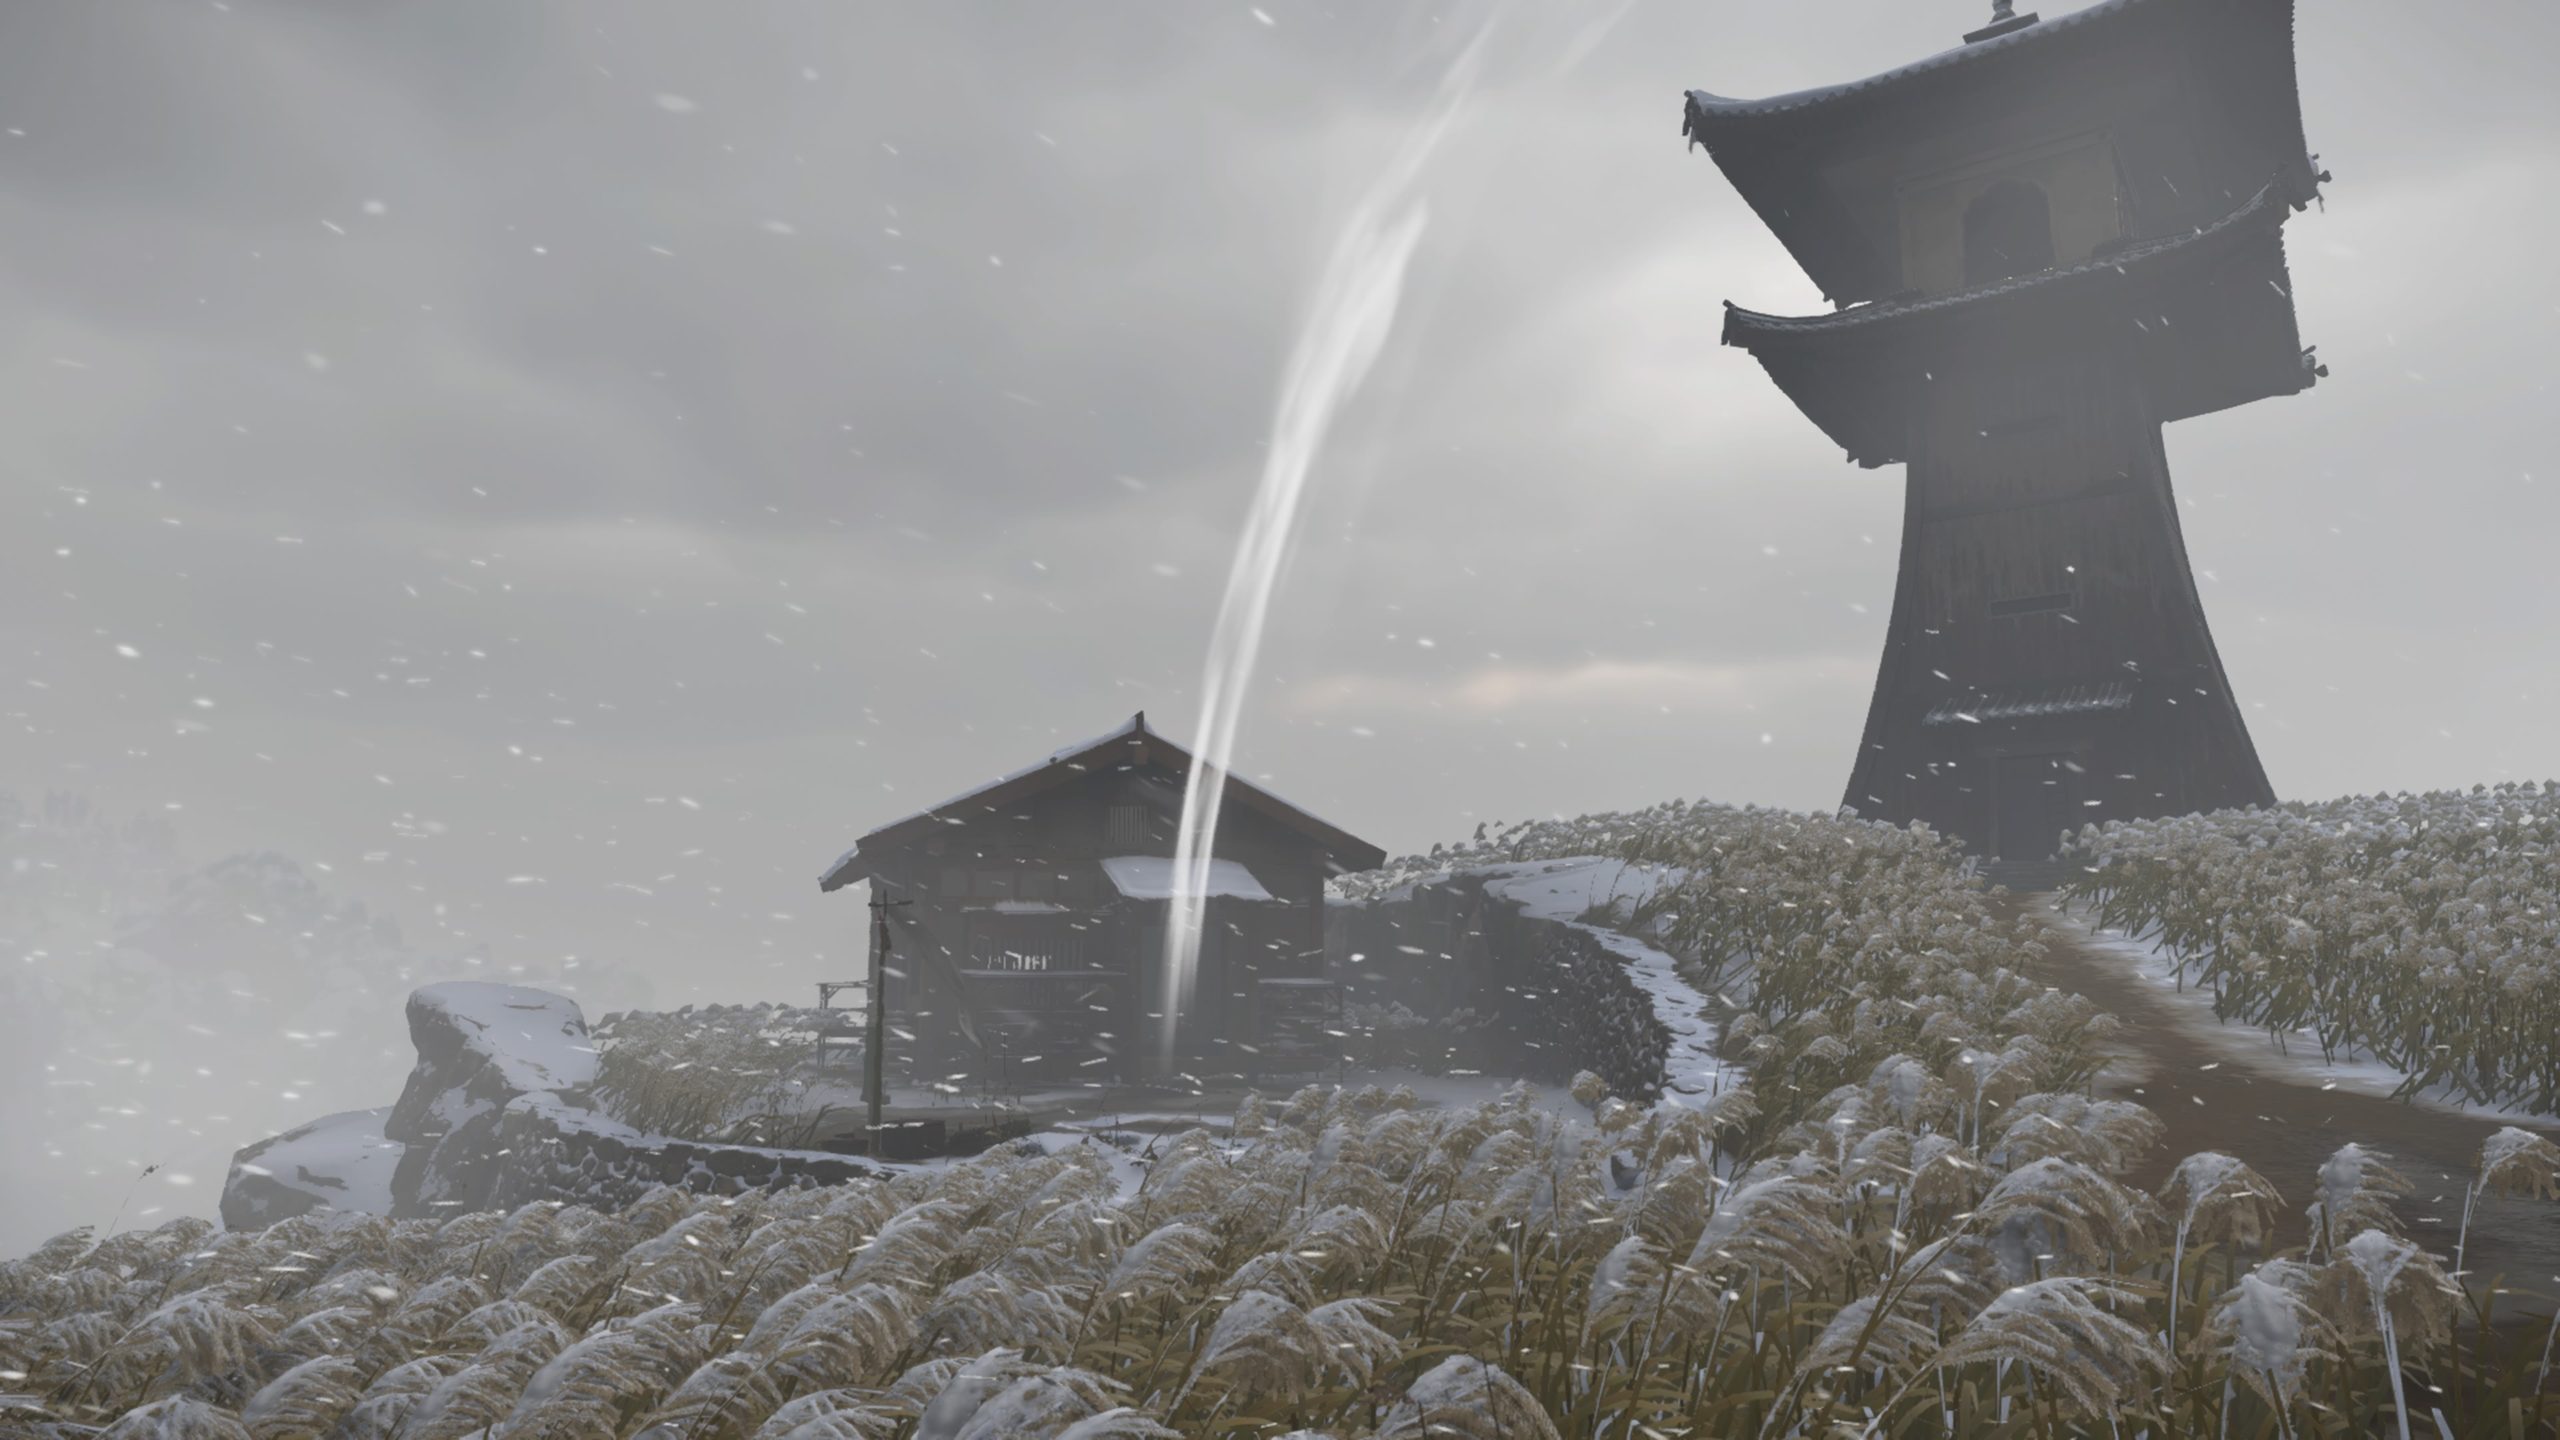
The Bamboo Strike can be found northeast of the Endless Forest along the coast next to the Kin Lighthouse.

Kin Bamboo Strike

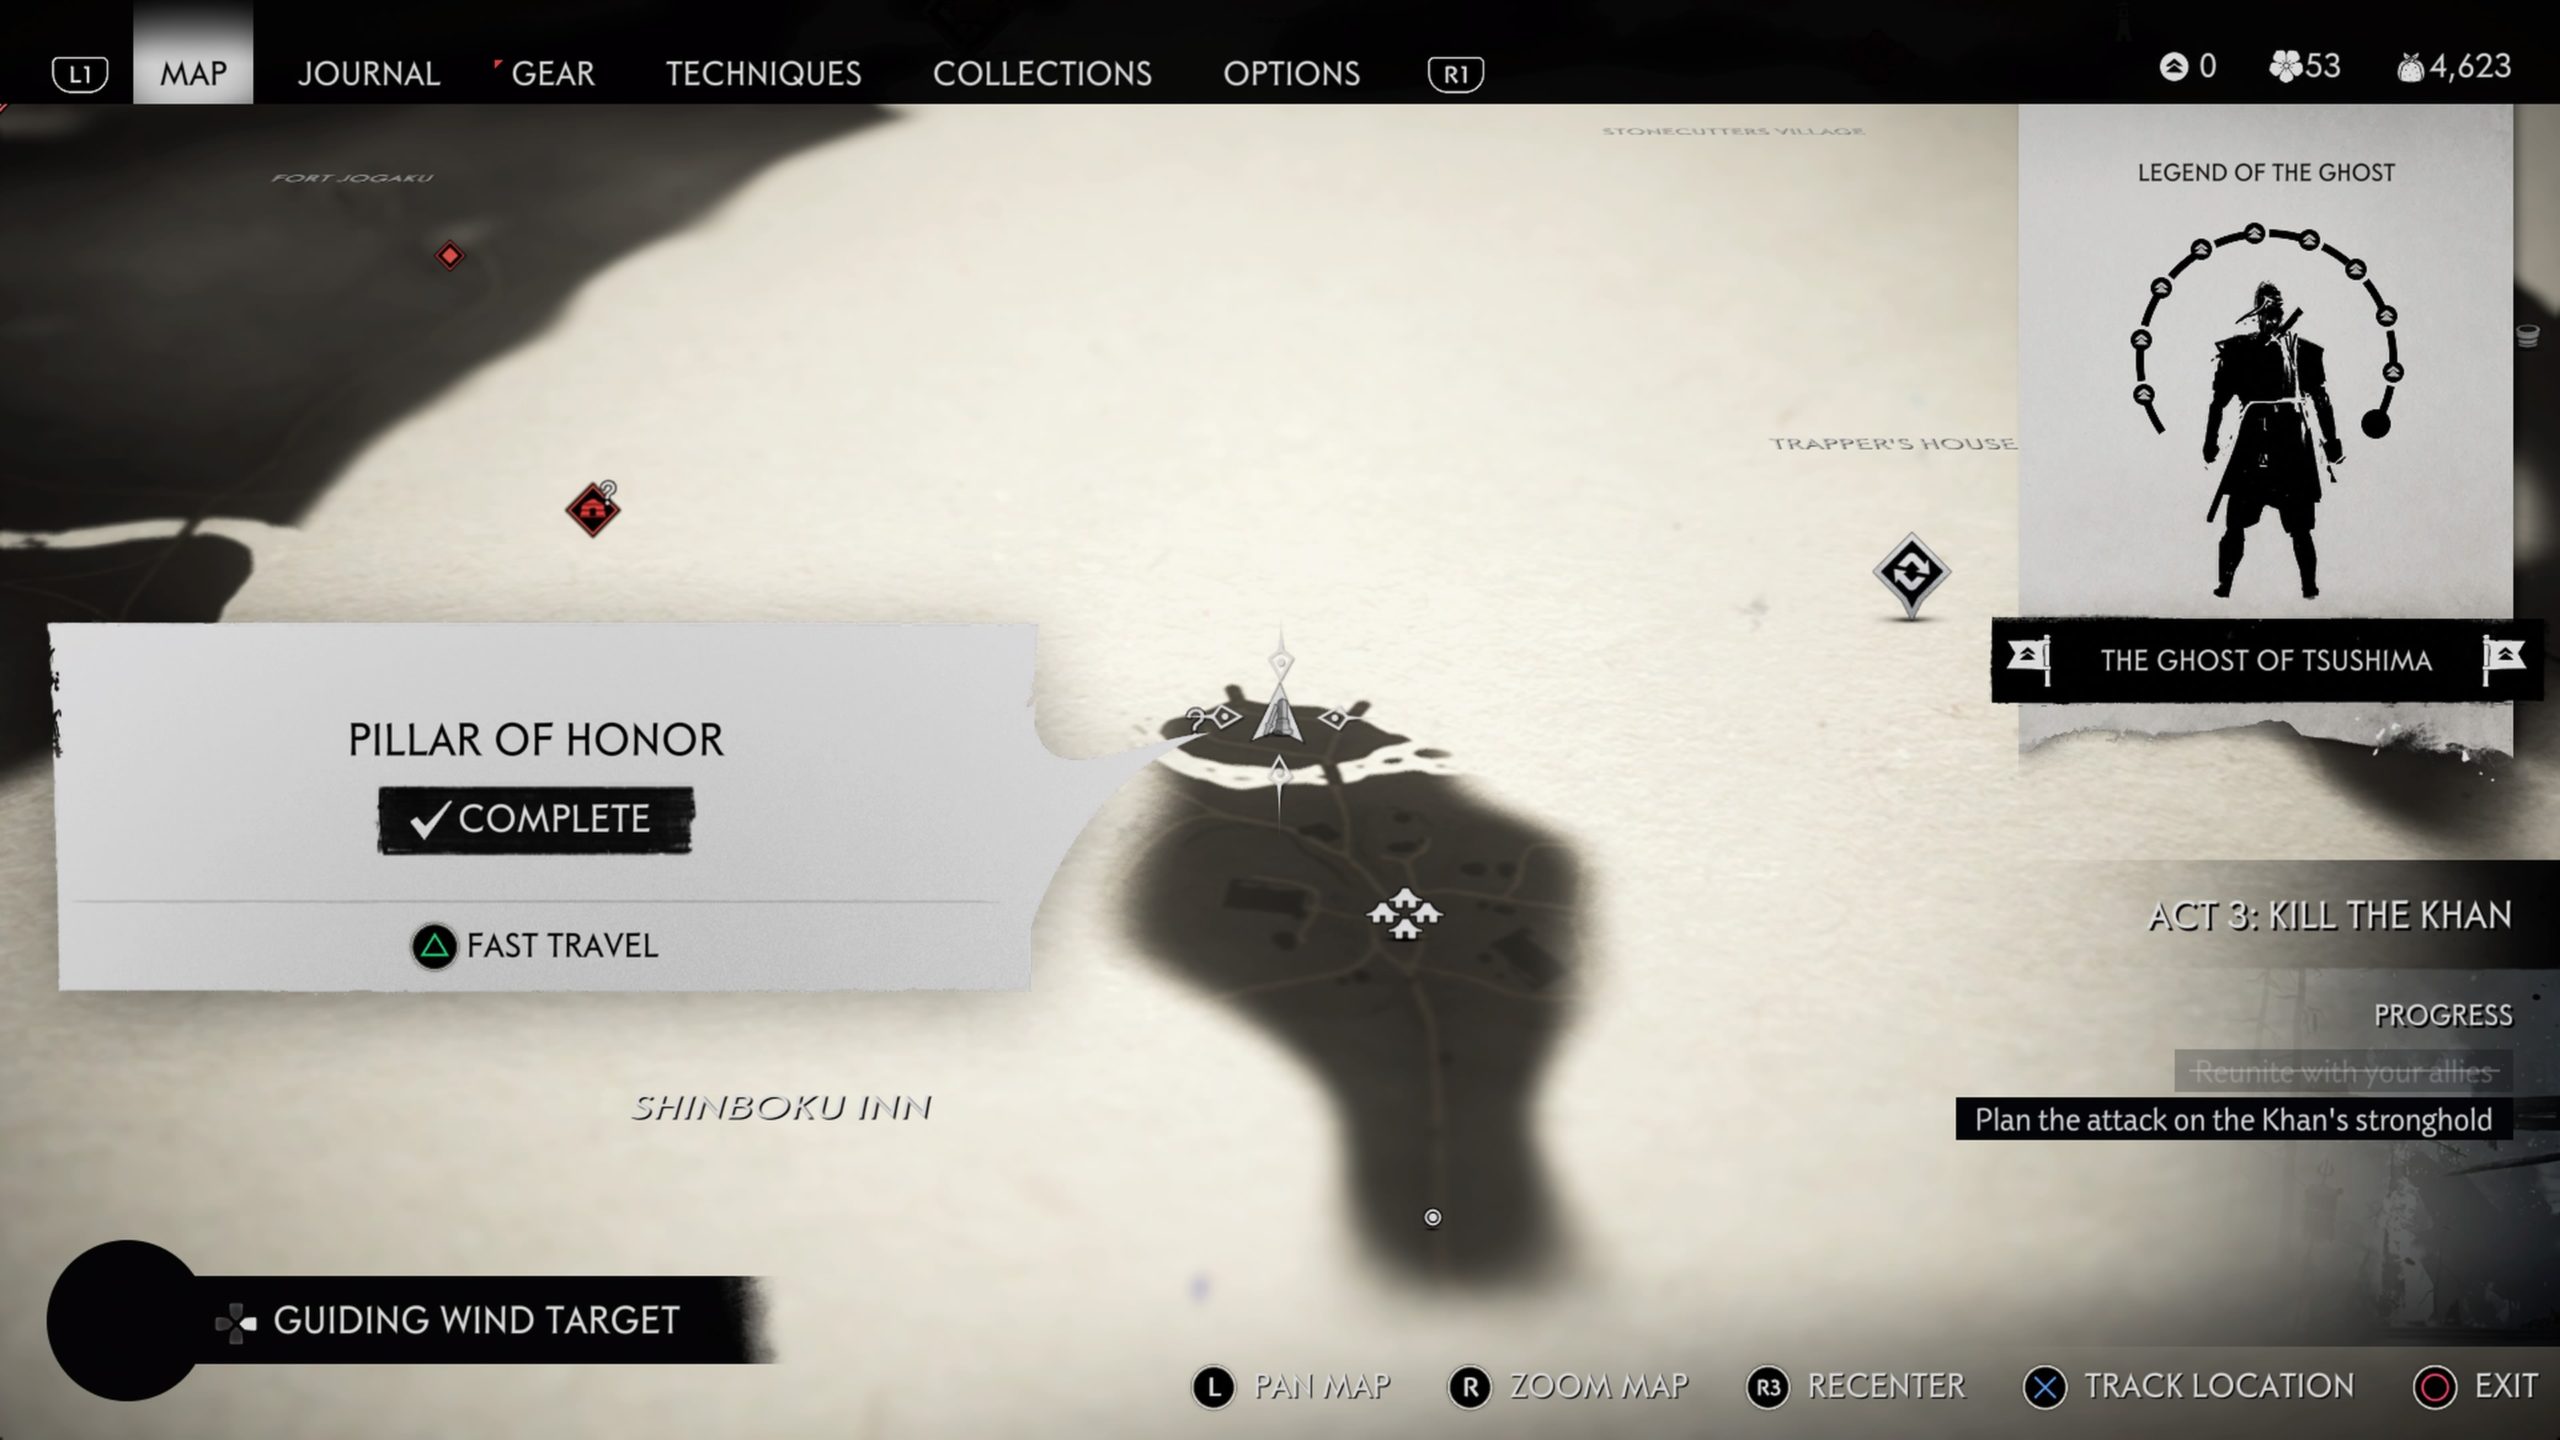
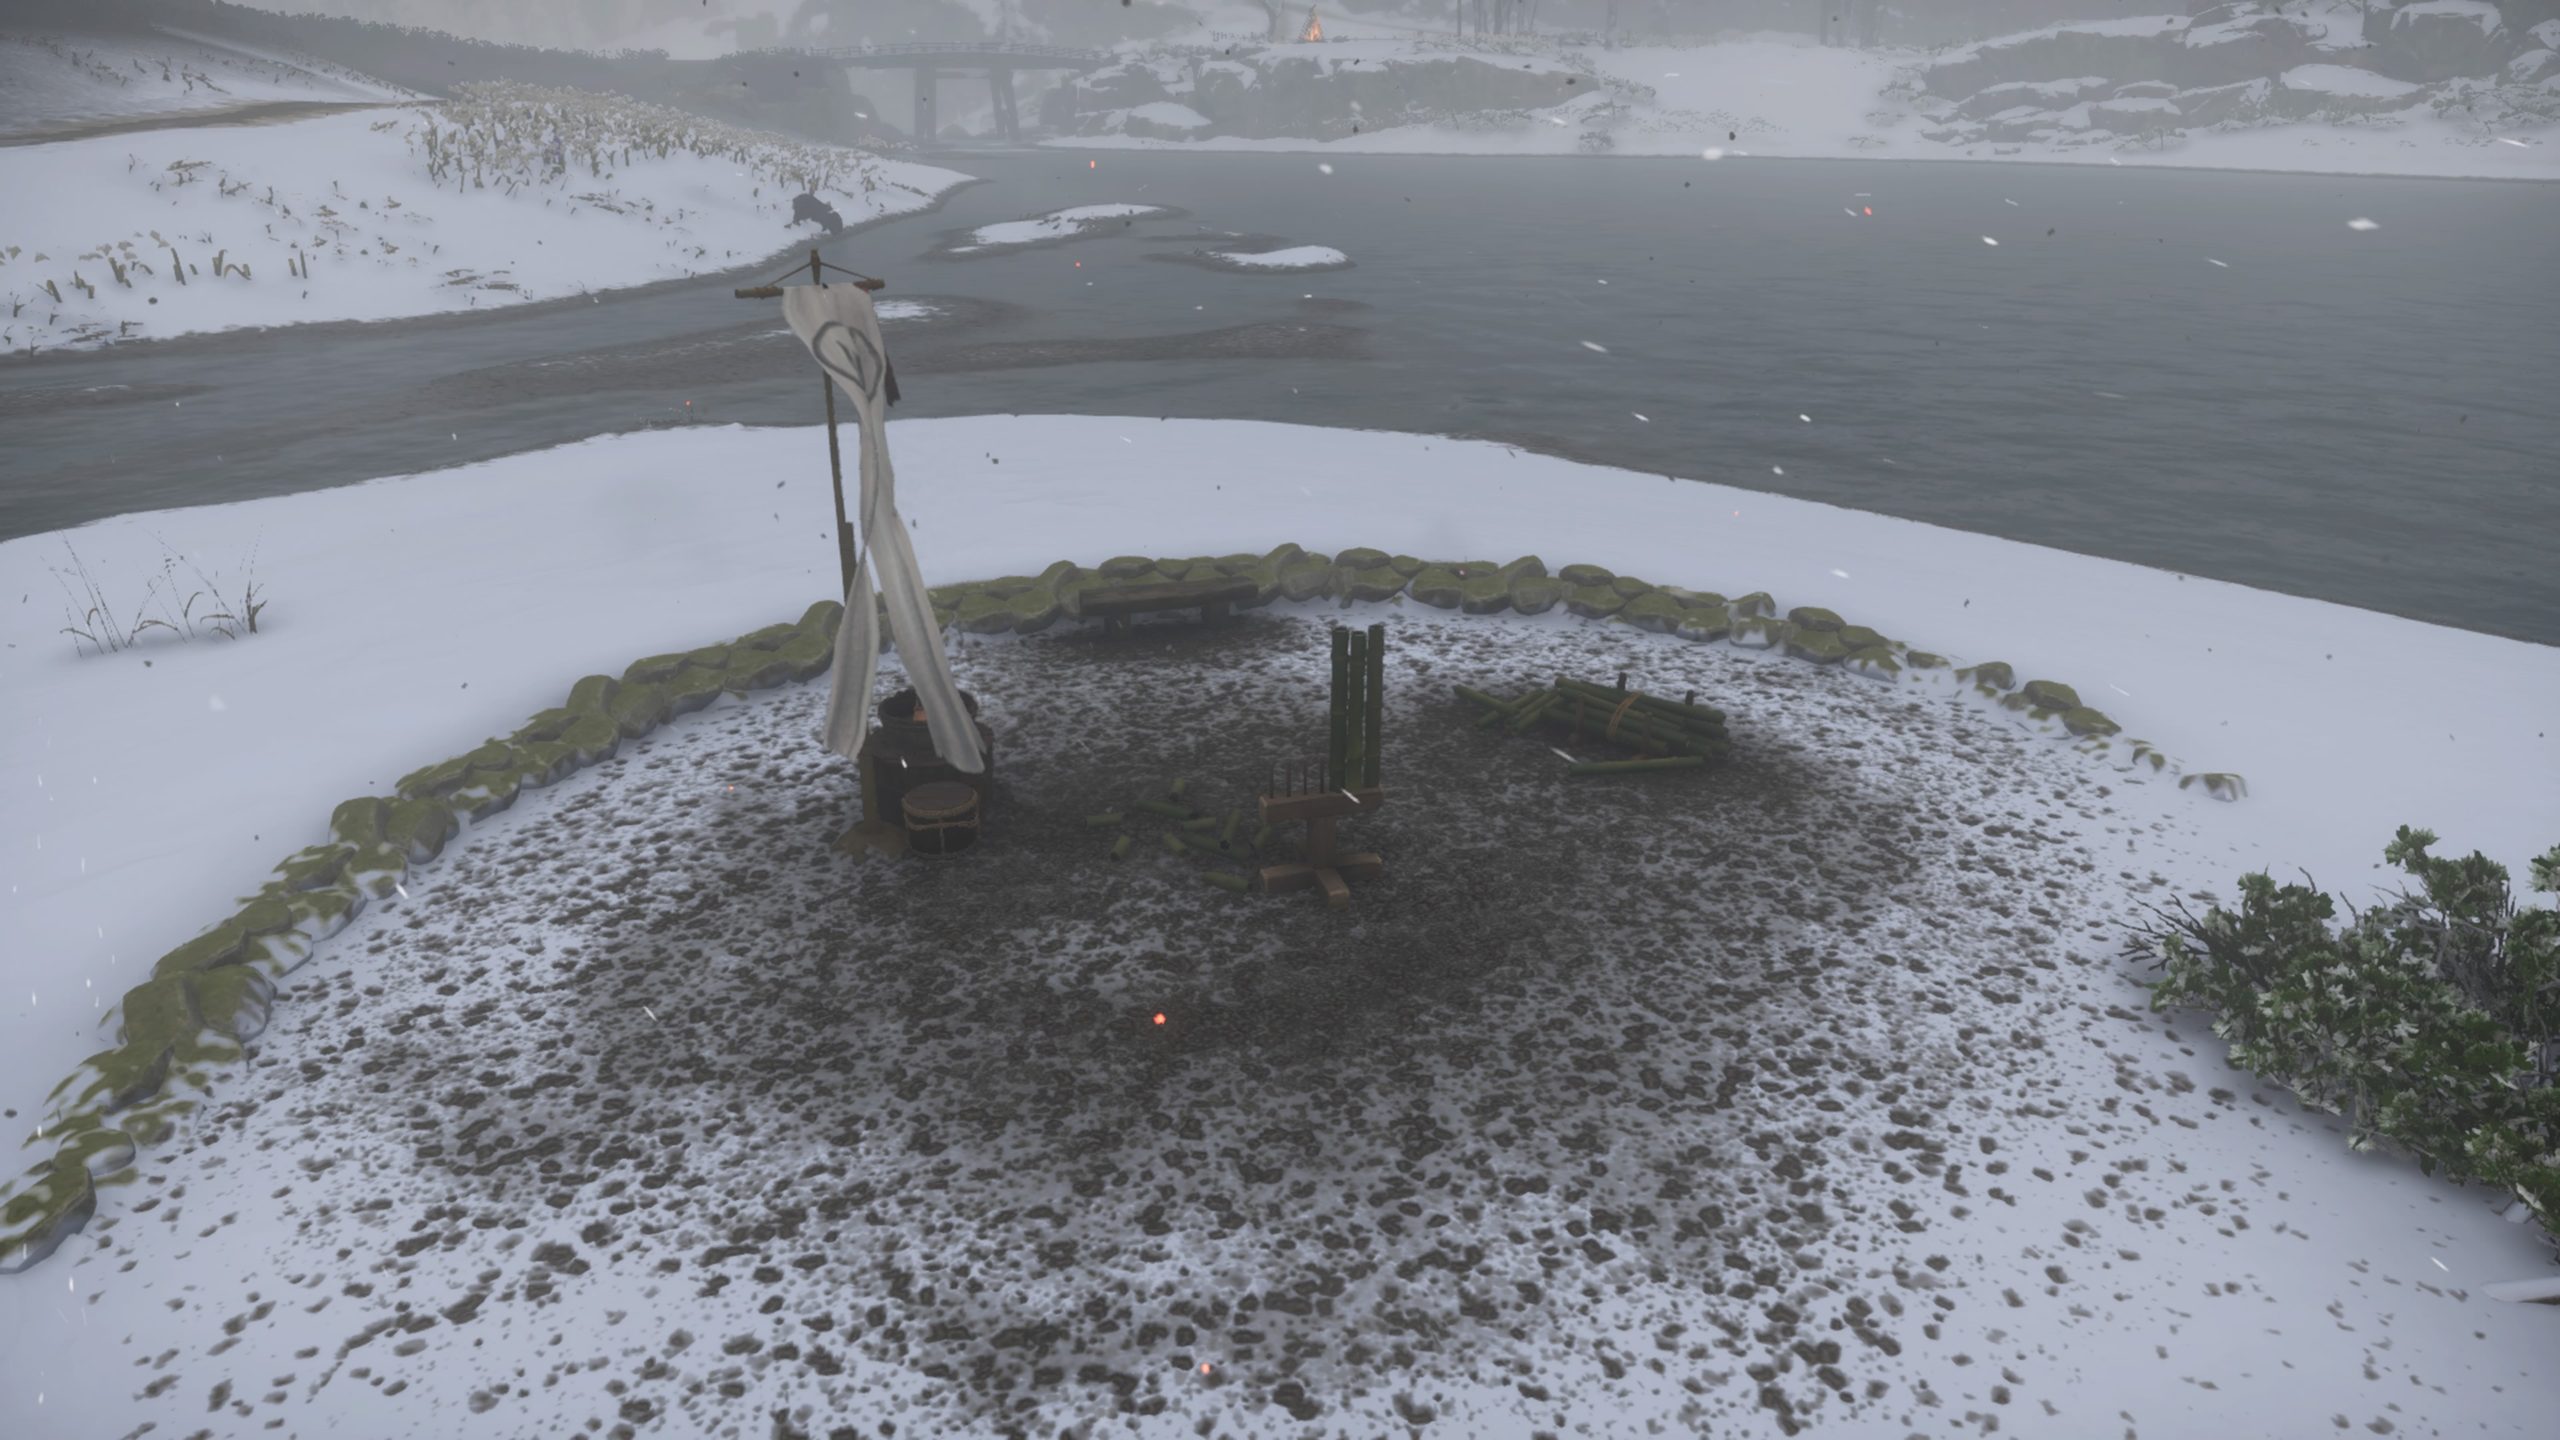
This Bamboo Strike can be found north of Kin Sanctuary on a small island. There is also a Pillar of Honor on this island.


Sago

Sago Bamboo Strike

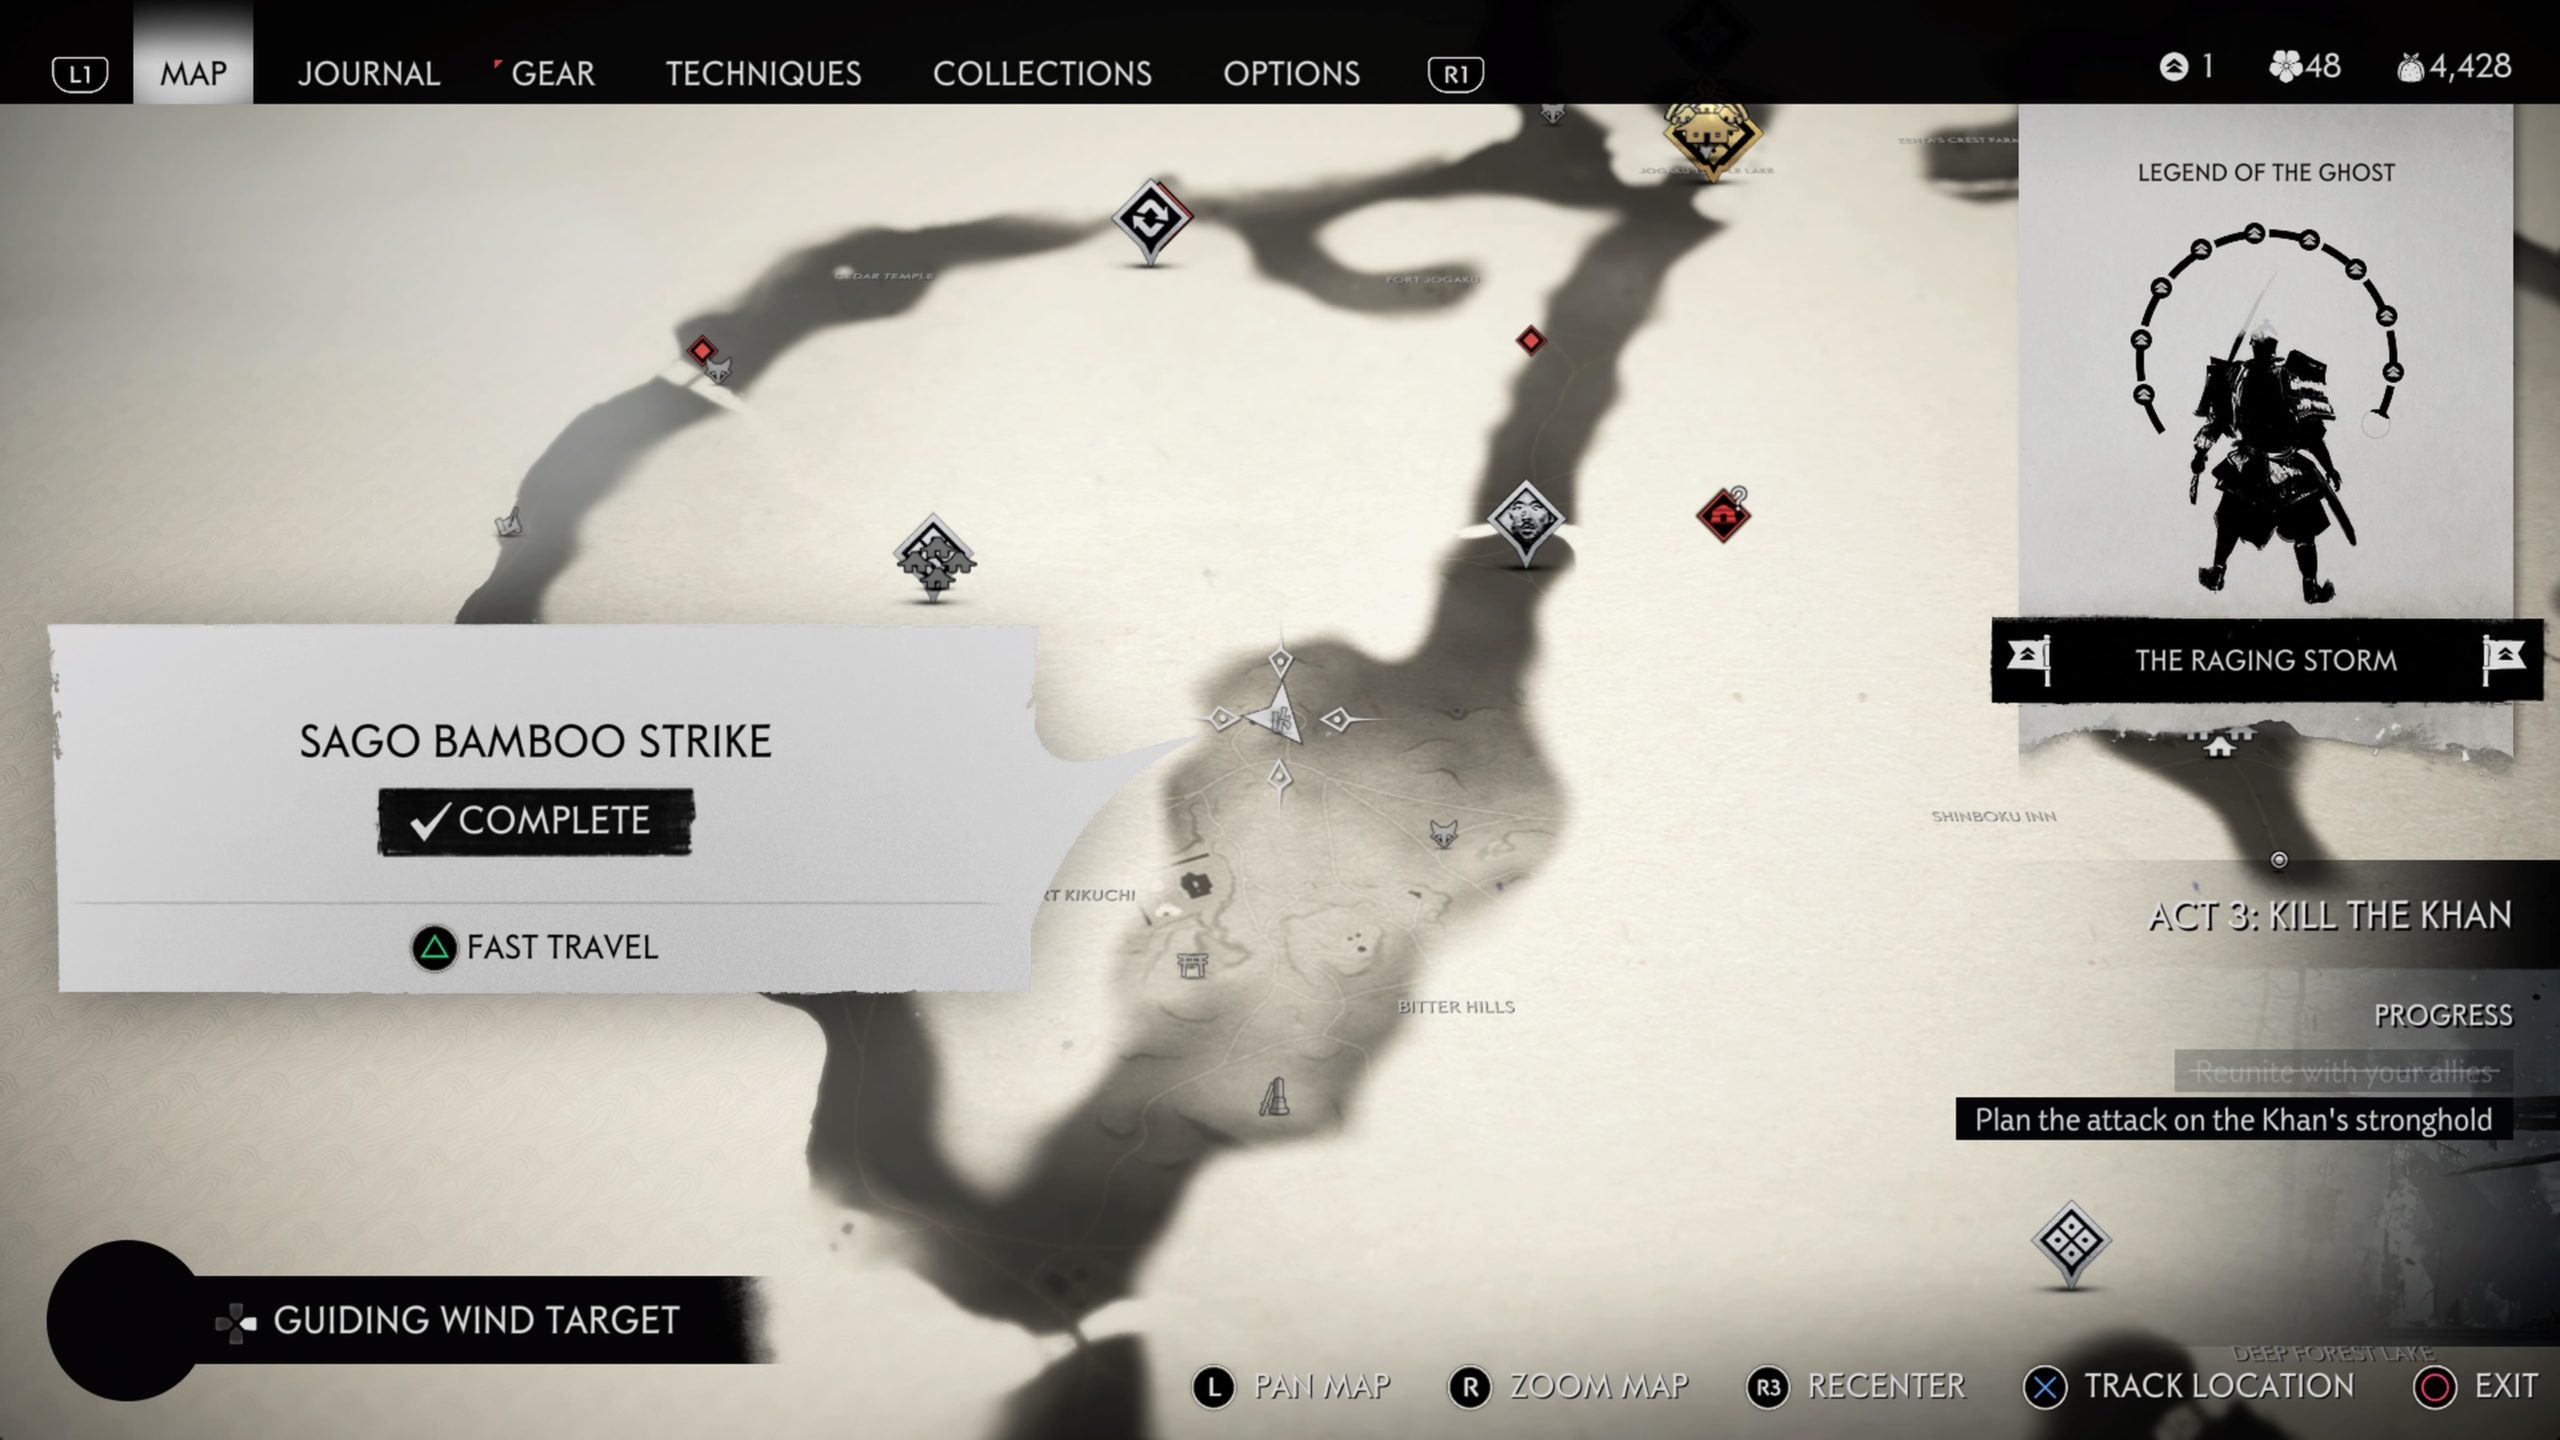
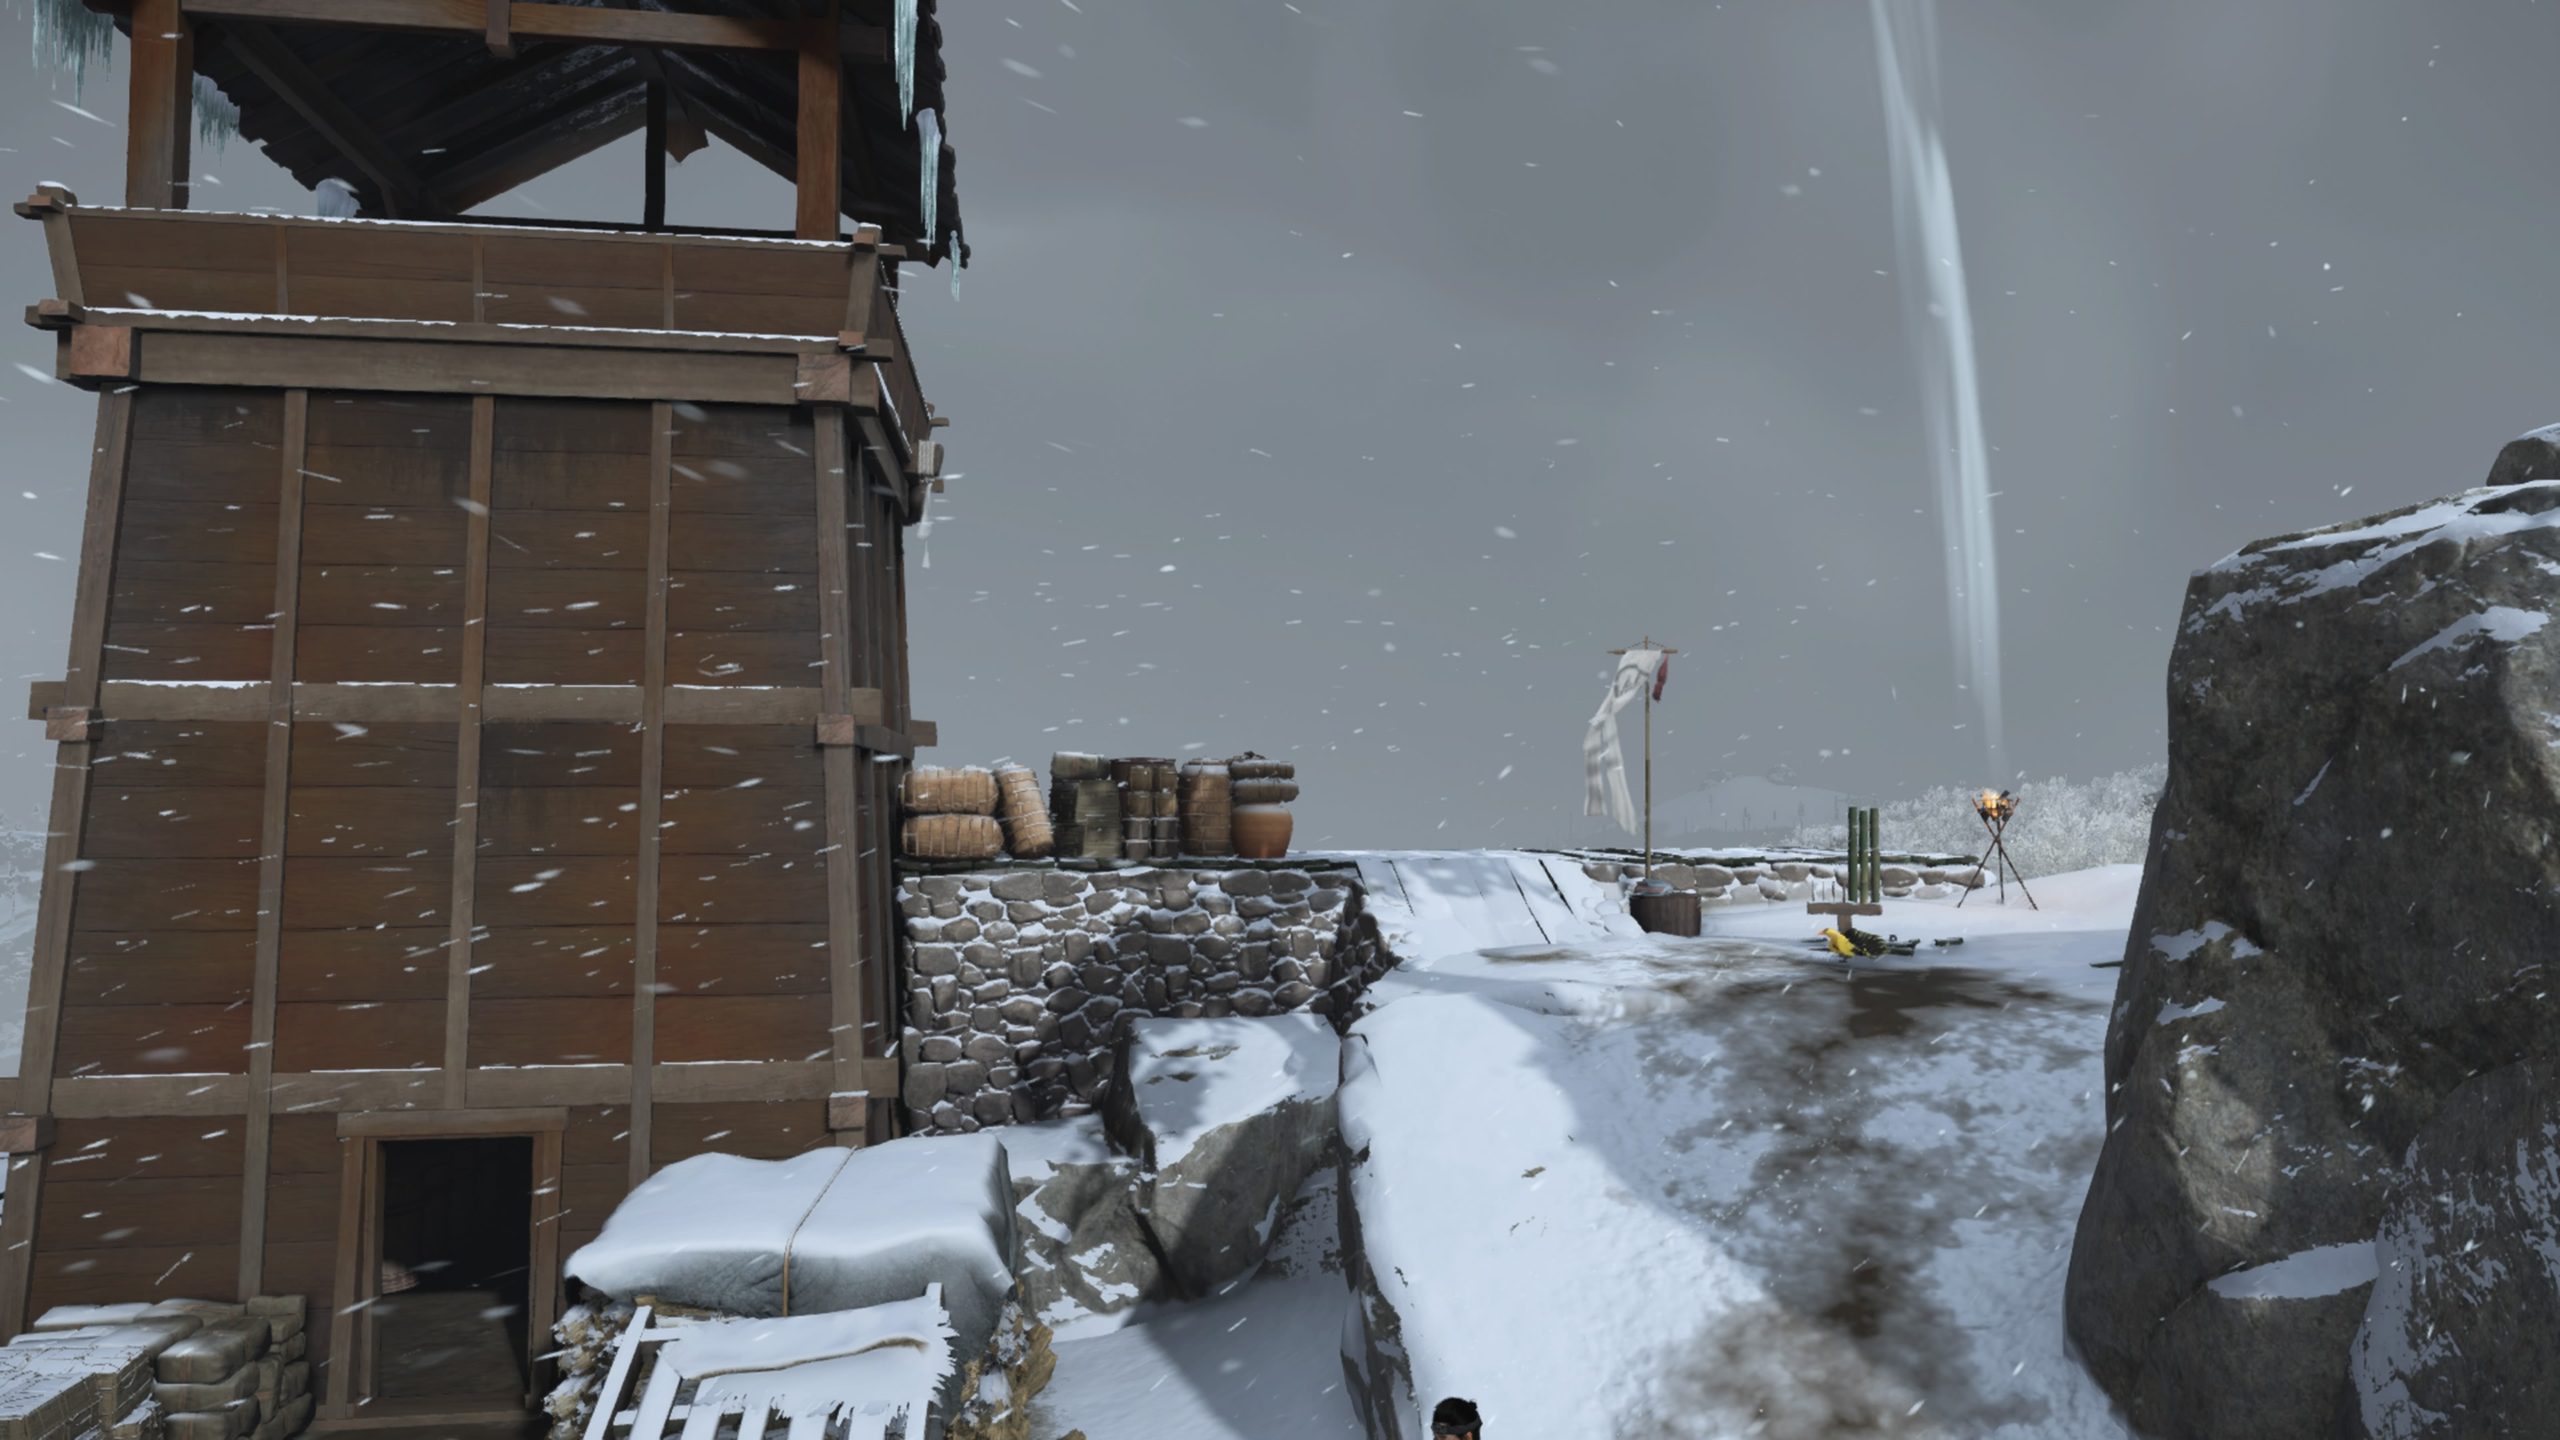
This Bamboo Strike can be found east of Sago Forest.


Final Fantasy VII Remake – Chapter 3 Side Quests

by NightlyGamingBinge in


Below are the side quests/odd jobs in Chapter 3 of Final Fantasy VII Remake! *NOTE: These side quests unlock after meeting Wymer for the first time!


Chadley’s Report

Obtained: Speak with Chadley in Sector 7 Slums: Residential Area

Objective: Gather Intel

Equip the Assess materia to gather intel on fiends. You will be able to use Assess on multiple enemies during the other side quests, so make sure to pick this one up before you start them. After you Assess the fiends, return to Chadley and speak with him to complete the quest.


Rat Problem

Obtained: Talk to the item store owner in Sector 7 Slums: Residential Area

Objective: Defeat the Doomrats

Follow the objective to the vacant lot in the northwestern part of the Residential Area (near Seventh Heaven) to find a gang of Wererats. Defeat them then return to the item store owner and speak with him to make the Doomrats spawn in the vacant lot. Head back to where the Wererats were and defeat the Doomrats that have now taken their places. Afterwards, return to the item store owner and report the good news to complete the quest.


Nuisance in the Factory

Obtained: Talk to the Junk Dealer in Sector 7 Slums: Residential Area

Objective: Defeat the Drakes

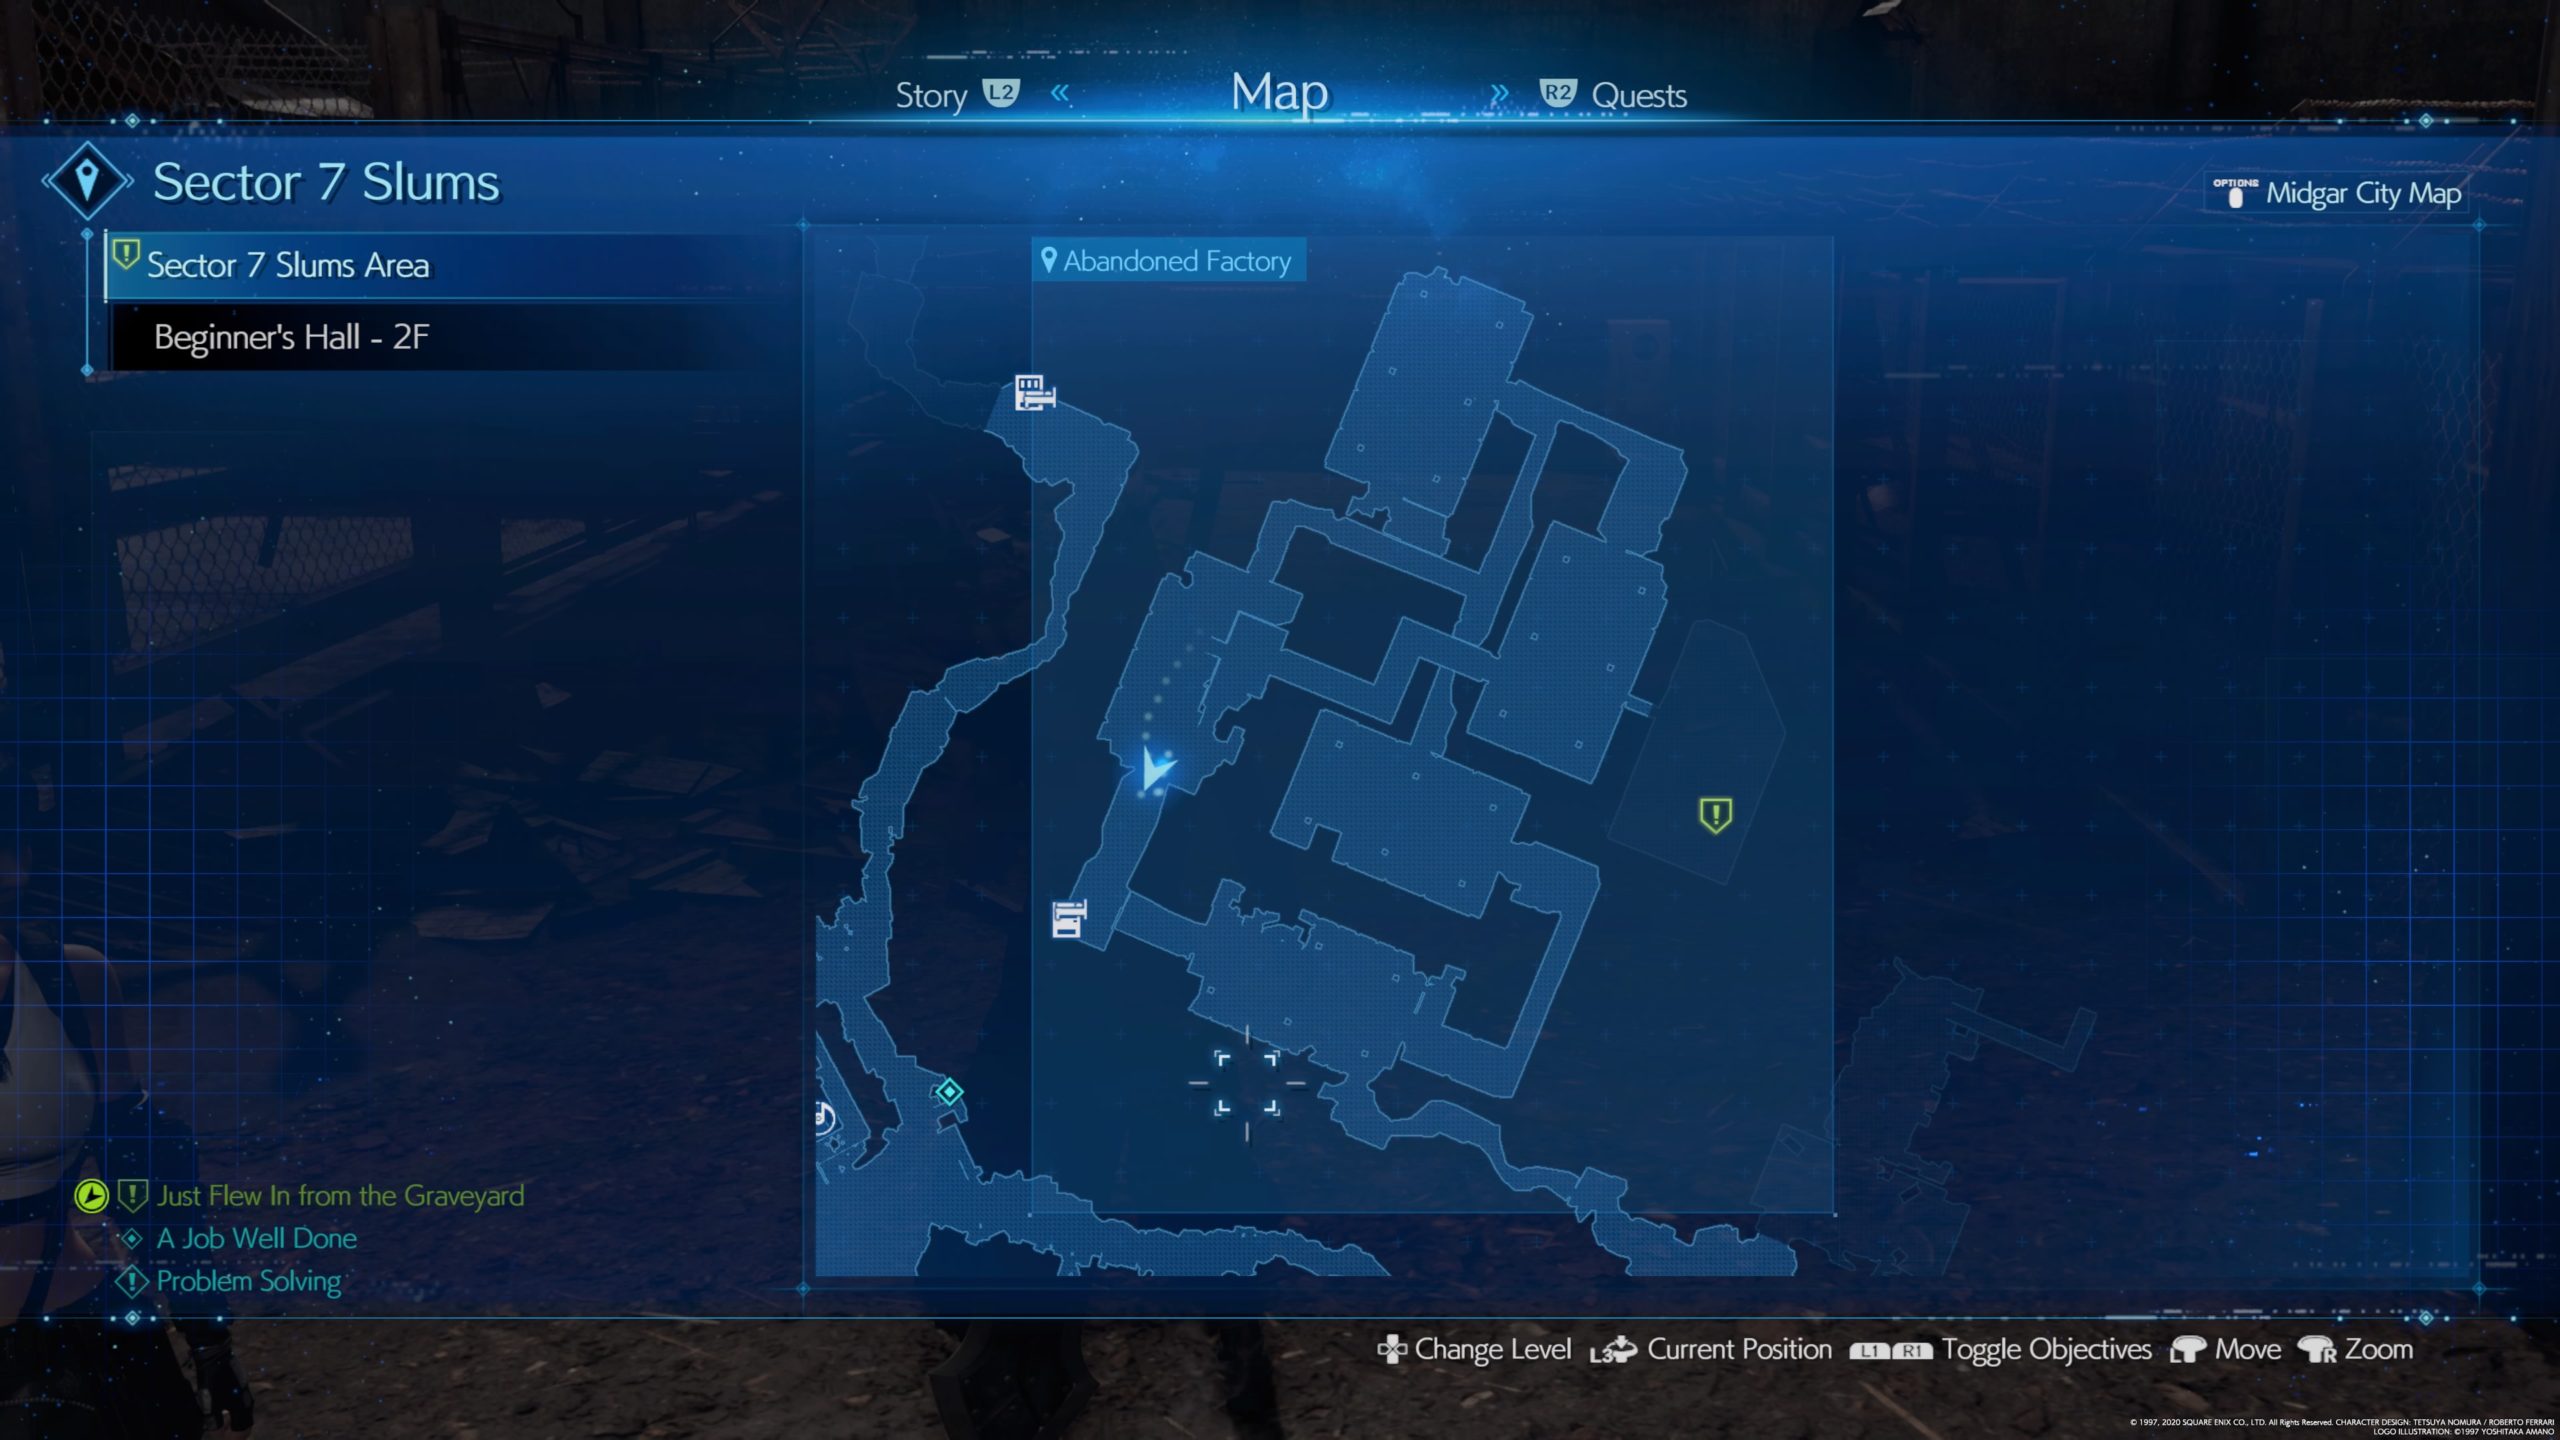
Head to Talagger Factory (Abandoned Factory on the map) located in Pillar Plaza east of the Residential Area and speak with Narjin who is standing near a gate to gain access to the factory. Work your way through the factory and defeat the two groups of the Lesser Drakes to complete the quest.


Lost Friends

Obtained: Talk to Betty in Sector 7 Slums: Residential Area

Objective: Find the missing cats

1. The first cat can be found on the porch of the Seventh Heaven bar. Interact with the cat.

2. The second cat can be found on the eastern side of the Residential Area near the path to Pillar Plaza. Once you find the cat, interact with it.

3. The third cat can be found west of the item shop. There will be a lady wearing a green sweater talking to a herd of cats. Speak with her to learn there is a cat on the other side of a short tunnel. Head through the tunnel and interact with the white cat. After interacting with all the cats, return to Betty to trigger a cutscene to complete the quest.


On the Prowl

Obtained: Speak to Wymer in Sector 7 Slums: Residential Area after completing the Rat Problem side quest

Objective: Slay Shinra Military Attack Dog

Head to Scrap Boulevard located west of the Residential Area and search the area for the Wrath Hound. After doing some damage to the hound, it will flee farther down the path. Chase after it to find Wymer. Speak with him to learn that he trapped the beast down a closed off path. Make your way there to finish it off (it’s weak to ice magic). Once it’s been defeated, return to Wymer and speak with him to complete the request.


Just Flew in from the Graveyard

Obtained: Complete the Nuisance in the Factory side quest then speak with the Junk Dealer

Objective: Defeat the Cerulean Drake

In order to enter the abandoned factory, you will need to obtain a watch security key from a wooden crate.

From the locked door, turn around and head across the room through a hallway to wind up on a concrete platform. Head down the stairs on the left and open the metal door in front of you if you haven’t already. The key will be in the crates on the other side of the door on the left just before the vending machine. After you find the key, head back to the sealed door then slay the Cerulean Drake. The drake is weak to wind materia like Aero which you can obtain from completing Battle Intel Report 2 for Chadley. After you defeat the drake, return to Gwen and speak with her to complete the quest.


Doom Eternal
Guides

Doom Eternal – Praetor Suit Perks

by NightlyGamingBinge in


Praetor Suit Points unlock the Praetor Suit Perks, which are needed in order to receive the platinum trophy in Doom Eternal. If you complete a Praetor Suit Perk category in a single save slot, you will unlock This One’s my Favorite trophy.  You can unlock They’re ALL my Favorite trophy by purchasing all Praetor Suit Perks in a single save slot. The guide below describes the locations of all the Praetor Suit Points!


Mission 3: Cultist Base

Praetor Suit Point 1

The first Praetor Suit Point is obtained through the story in the Fortress of Doom after completing the second mission.


Praetor Suit Point 2

During the mission, you will walk across a yellow bridge to arrive in a long hallway of death. Activate the terminal straight ahead to trigger a fight that introduces the Mancubus. After you defeat all the enemies, head to the end of the hallway where the cultist key is located and take a right to find a Sentinel holding the point.


Praetor Suit Point 3

As you progress through the story, you will eventually use a skull switch to unseal a gate, which will enable you to return to a previously visited courtyard. Defeat the enemies then stand on the green platform in the middle of the area to unseal the gate. Head inside then turn left down the tunnel. Just before the doorway there will be a cracked section of wall on the left side of the tunnel. Melee it then drop down into a room below containing the Praetor Suit Point.


Praetor Suit Point 4

During the objective to obtain the Super Shotgun, you’ll head into the next room with two moving columns. Enter the moving column on the left and take it down to the next level. Exit the column and follow the metal walkway until you reach a metal cube. Jump over the cube and continue along the walkway to reach the collectible.


Praetor Suit Point 5

During the story, you’ll pass through a guillotine hallway and enter a large circular room with a skull slab in the middle. Use the spin bars to reach the top then dash to the area that contains the Sentinel holding the Praetor Suit Point.


Praetor Suit Point 6

You can find this point near the entrance of the Terrordome.


Mission 4: Doom Hunter Base

Praetor Suit Point 7

The Praetor Suit Point is located on a ledge above the starting area. To reach it, head to the platform on the other side of the red barrier then jump towards the metal skull that shoots fire. Once on that platform, head to the other side and climb up the wall to reach another climbable wall on the other side of the room. At the top of the wall, take a left facing the entrance where you came from to spot a gold spin bar. Use the gold spin bar to reach the climbable wall on a bridge. At the top of the bridge, the sentinel holding the point will be straight ahead on the ledge to the right. You’ll need to use double jump and dash to reach it.


Praetor Suit Point 8

This point is located under the coffin that was unsealed (coffin in a sealed cylinder in middle of room). To reach it, exit the room and jump to a circular walkway then use the climbable walls to reach a top level where you can press the skull switch. From here jump to the cylinder and use the climbable wall to reach the top where you will be able to jump into the cylinder via a hole to find the point.


Praetor Suit Point 9

During the story, you’ll enter the red access door then follow the ramp down continuing through a hallway towards a stream of fire. Take the stairs at the end of the hallway up. At the top of the stairs, head through the right doorway with horizontal red laser beams. The Sentinel holding the point can be located in a shaft above the doorway. You can reach it by jumping on the nearby crates.


Praetor Suit Point 10

From the previous Praetor Suit Point, melee the crack in the wall then jump across the hanging climbable walls to reach a narrow ledge. Stay as far away from the lasers shooting along the wall as you can and defeat the enemies. The Sentinel holding the point will be at the end of the ledge near a climbable wall.


Mission 5: Super Gore Nest

Praetor Suit Point 11

*NOTE: In order to reach this point, you must first collect the extra life from the gunk covered pillar. From the Upper Area – Mixom Square fast travel point, head straight forward and take a right just before the gunk covered column. Proceed to the room at the end with a gunk covered pillar. Use the gold spin bar on the pillar to reach the second level. Look for a crack in the wall then melee the wall to reveal the extra life. Use double jump and dash to reach the extra life on the gunk covered column. When you land on the pillar, the pillar will go down, causing a door to open revealing the Sentinel holding the Praetor Suit Point.


Praetor Suit Point 12

From the Upper Area – Star Mall fast travel point, head to the center of the room with the moving gunk press. Head past the press and use the green portal to arrive in a gunk covered room. Head to the side of the room with three openings behind you. Take the left ramp up and turn left at the top to find the Sentinel holding the point.


Praetor Suit Point 13

From the Upper Area – Vorus Medical Plaza fast travel point, turn around heading into the green lit room and follow the hallway down a flight of stairs. Jump through the hole in the window straight ahead to land on a giant concrete slab with lava in the middle. Head to the square structure to find the Sentinel holding the point along the back of it.


Praetor Suit Point 14

From the Upper Area – Vorus Medical Plaza fast travel point, head forward through the teeth guarded doorway and follow the hallway to the end. Work your way through the toxic room using the climbable walls. When you go past the fire spinning chain, jump to the climbable wall just beyond it then head to the wall across the way and turn around to find the room with the Sentinel holding the point.


Praetor Suit Point 15

From the Lower Area – Toxin Refinery fast travel point, jump down into the green toxic liquid and follow the path right through a doorway to find the Sentinel holding the point at the end.


Mission 6: Arc Complex

Praetor Suit Point 16

From the Emerson fast travel point, head up the stairs past the flaming debris and follow the hallway to the end. When you reach the broken window, jump through it to reach the hotel lobby. Look for the Emerson logo behind the check-in desk. When you find it, head down the hallway to left of it. This will bring you to an open room with some couches and chairs scattered about and a UAC Spokesperson hologram near the a window. Facing the hologram, head to the left side of the room to find a hole in the floor leading to a lower level. Jump down this hole and the one in the next room to arrive in a hallway. Take the nearby steps down then swing right to find the point in front of an elevator.


Praetor Suit Point 17

From the start travel point, head down the hallway and through the door at the end. Pass the A9 Security room and head down the nearby stairs. Keeping heading passed the UAC Spokesperson hologram and into an elevator.  Take the elevator down and exit it into a hallway. Follow the hallway, jumping over the hole in the floor. Next, take a left through the hole in the wall near some burning debris followed by a right heading through the room. At the end of the room, take a right through a hole in the wall. On the other side of the hole, look to the right to spot the Praetor Suit Point.


Praetor Suit Point 18

From the Atrium Offices fast travel point, jump out the window to the building across the way. Once in the other building, turn left and jump over the fallen debris to find a cracked wall. Melee the wall then head up the stairs to find a hole in the middle of the stairwell. Go through the hole then turn right and break the boarded wall then head into the room beyond it. Go past the golden plane and head out the broken window to the left of the room, using a series of gold spin bars and climbable walls to reach the top level of the building. Once inside, follow the hallway taking a left through a broken wall into an elevator shaft. Climb up the elevator, exiting on the right near a UAC Spokesperson hologram. The Praetor Suit Point will be located in this room.


Praetor Suit Point 19

From the Moring Aeronautics fast travel point, head right into the interior portion of the building to locate a set of stairs. Head up two flights of stairs then take a left. Follow the hallway to the end then jump across the way to the other side to find the Praetor Suit Point.


Praetor Suit Point 20

From the Convention Parking fast travel area, turn around heading into the parking lot. Pass the bus on the right side and enter the room on the right to find the Praetor Suit Point.


Mission 7: Mars Core

Praetor Suit Point 20

From the Phobos – BGF-10000 Ventilation fast travel point, head forward through an opening near the tiny pistons. This will bring you to a room with four giant moving cylinders. Use the cylinders to reach the platform on the top left of the room to locate the Sentinel with the point.


Praetor Suit Point 21

From the UAC – UAC Outpost LD fast travel point, drop down onto the platform below and head to the walkway across from the portal near the edge of the platform. Drop down the hole under the walkway to locate the hallway leading further into the level. To left of it will be a wall with a crack in it. Melee the wall, but don’t head through yet. Look down to the right to see a doorway. Jump to the doorway to see the Sentinel with the point at the top of some stairs.


Praetor Suit Point 22

From the Meteor – Alpha Labs fast travel point, head for the stairs leading the monitors that say “SYSTEM CRITICAL”, but don’t go up them. Instead, drop down to lower level by the green light to the left of them. Take the first left in the hallway and use the lift pad to reach the room above. From there, head through the nearby hole in the wall then cross the room to the doorway on the other side.  Go through the doorway then take a left climbing up the fallen crate to reach the vent shaft. Climb up to the top to find the Sentinel with the point.


Praetor Suit Point 23

From the Meteor – UAC Transmission Tower fast travel point, head forward towards the three floating pillars with climbable walls. Jump to the floating rock just before them then use that rock to reach the third rock. The Sentinel will be at the top with the point.


Praetor Suit Point 24

From the Hell – Temple of Sin fast travel point, follow the path forward dropping down off the ledge at the end. Turn right then head down the nearby steps. Take a left and head to the end to find the Sentinel in a small room to the right.


Mission 8: Sentinel Prime

Praetor Suit Point 25

From the Training Hall fast travel point, take the stairs up to the top. Once there take a right and follow the walkway to the end. Across from you will be another walkway containing the Sentinel holding the point.


Mission 9: Taras Nabad

Praetor Suit Point 26

From the Atrium Plaza fast travel point, enter the doorway in front of you and take a left to find the Sentinel holding the point.


Praetor Suit Point 27

From the Slayer Creation Chamber fast travel point, turn around and head down the stairs. Once at the bottom of the stairs, head through the doorway on the right then take a right to follow the hallway to the end. The Sentinel holding the point will be on the left.


Praetor Suit Point 28

From the Fallen Titan fast travel point, head forward and climb over the titan’s legs to find the Sentinel holding the point to the left of the titan’s body.


Praetor Suit Point 29

From the Skyline fast travel point, head right and take the stairs up to find the Sentinel standing behind a column with a spin bar.


Praetor Suit Point 30

From the Throne Room fast travel point, drop down the hole in front of the throne. Head down the stairs then drop into another hole. The Sentinel will be located on the far side of this room.


Mission 10: Nekravol – Part I

Praetor Suit Point 31

From The Mill fast travel point, take a right and follow the path to the end to find the Sentinel holding the point.


Praetor Suit Point 32

From the above Praetor Suit Point, head left passing the green diamond and under a spiked ceiling. After the spiked ceiling, take a right up a flight of stairs then head through the doorway on the right side of the room to go up a flight of stairs. The Sentinel holding the point will be at the top.


Praetor Suit Point 33

From the Halls of Torment fast travel point, head to the other side of the room and turn around. Use the first gold spin bar to reach the higher gold spin bar. Use that spin bar to reach the ledge above the fast travel point with a green skull. Facing the skull, jump to the ledge on the left and work your way through the hall of presses and fire to find the Sentinel holding the point at the end.


Mission 11: Nekravol – Part II

Praetor Suit Point 34

From the Soul Ascent fast travel point, look to the left to locate a cracked wall underneath the sliding gate. Dash through the wall to reach the Sentinel holding the point.


Praetor Suit Point 35

From the Soul Converter fast travel point, head forward up the small flight of stairs and follow the path left or right to find the Sentinel holding the point.


Praetor Suit Point 36

From the Argent Transmitter fast travel point, turn around and jump down the long shaft backwards then dash forward to reach a hidden area containing the Sentinel holding the point.


Mission 12: Urdak

Praetor Suit Point 37

From the Abyss of Sanctuary fast travel point, head to the right side of the room past the open doorway. In the next room proceed through the door and head through a hallway to reach an outdoor area. Step on the green switch straight ahead to trigger the warp gates. Jump to the warp gate and follow the path right along the structure. You will need to use the outside stack on the right of the structure to reach the ledge on the inside containing the crackable wall. Melee the wall to reach the Sentinel holding the point.


Praetor Suit Point 38

From the Perse Harmonizer fast travel point, head into the structure to find the Sentinel holding the point behind the elevator.


Guides

Snack World – Chapter 6 Story Quests

by NightlyGamingBinge in


Chapter 6 of Snack World The Dungeon Crawl Gold contains 8 story quests with the ultimate goal of figuring out how to get into the sultan’s base. Below you will find guides for all the quests so grab your Jaras and get ready for a snack attack! Let the dungeon crawl begin!


Vanished Veggie

Quest Giver: Tomboy (Speak with her on the east side of town near the train station)

Grand Prize: Mirror Shield

Objective: Find the little girl’s pet!

This quest will take you to Butterscorch Barrens. Once there, make your way to the end of the map to find a pink star. When you pick up the object, the quest will complete.


Take on Me, Honeybun!

Quest Giver: Honeybun (Speak with her at Hotel Habanero)

Grand Prize: Pix-e Crystal Shield

Objective: Be Honeybun’s chaperone!

For this quest, you’ll head to Butterscorch Barrens to escort Honeybun all over the area. Follow the objective to the northern part of the map to find a group of enemies past the bridge and defeat them. Head to the southern part of the map to fight the Maskedmelon. Defeat him then head slightly north to defeat Gobson and complete the quest.


The Totes Annoying Curse

Quest Giver: Totes Rich Lady (Speak with her on the first floor of Baloneys after visiting the hotel)

Grand Prize: Pix-e Crystal Sword

Objective: Give the rich lich a licking!

This quest will bring you back to Gumbo Grotto where you will need to head deep inside to reach the Cavern of Calm. Enter through the doors to face the Rich Lich in battle. Defeat him to complete the quest.


Journey to Minestrone

Quest Giver: Mr. Wolfmann (Speak with him in the hotel after completing a Chapter 6 story quest)

Grand Prize: Floral Fragrance

Objective: Head for the mines!

For this quest, you will embark to Butterscorch Barrens. Once there, follow the marker to enter Minestrone Mines. After a cutscene, the quest will complete.


The Fangdango

Quest Giver: Mr. Wolfmann (Speak with after completing the Journey to Minestrone story quest)

Grand Prize: AristoCAT Shield

Objective: Prevail over Pie-Pie!

This quest takes you to Minestrone Mines in search of Vampier. Work your way to the Minecart Terminus and pass through the gate. Vampier runs around the arena using his claws to attack and occasionally tries to give you a big hug. He can also summon bats into battle and can transform into a group of them (they are capable of inflecting poison). Defeat Vampier to complete the quest.


Trademarrrk Move

Quest Giver: Purrate (Speak with him on the north side of town after completing the Journey to Minestrone story quest)

Grand Prize: Cat’s Claw

Objective: Defeat Madusa!

This quest takes you back to Gorgonzola Ruins to fight Madusa once again, but this time accompanied by Purrate. Work your way to the Madusa Gate and heal up before passing through it. You will be fighting Super Madusa (a powered up version of Madusa) who has the same move set as Madusa. Defeat her to complete the quest.


Antony and Cleopantra

Quest Giver: Cleopantra (Speak with her in the southern part of town near the sewer after completing the Journey to Minestrone story quest)

Grand Prize: PacLap Ti Lance

Objective: Find the workoholic Antony!

*NOTE: Your Style Gear needs to be the Vocational Look before you can start this quest.

This quest takes you to the Minestrone Mines in search of Antony. Head for the Minecart Terminus and pass through the gate. Antony is fight of a trio of Golems. Defeat them and their backup to complete the quest.


Shape Up for Ciderfella

Quest Giver: Cdr. Ciderfella (Speak with her in front of the Department Store after completing the Journey to Minestrone story quest)

Grand Prize: Dark Wand

Objective: Complete the special slipper camp!

This quest takes you to the Minestrone Mines accompanied by Ciderfella. Work your way to the Minecart Terminus then pass through the gate. You will be fighting Cdr. Ciderfella, Gladiatasour and Bat. Defeat them to complete the quest.