Below is our walkthrough for Chapter 3 – The Tale of the Ivory Maiden in the Voice of Cards: The Forsaken Maiden.
World Map
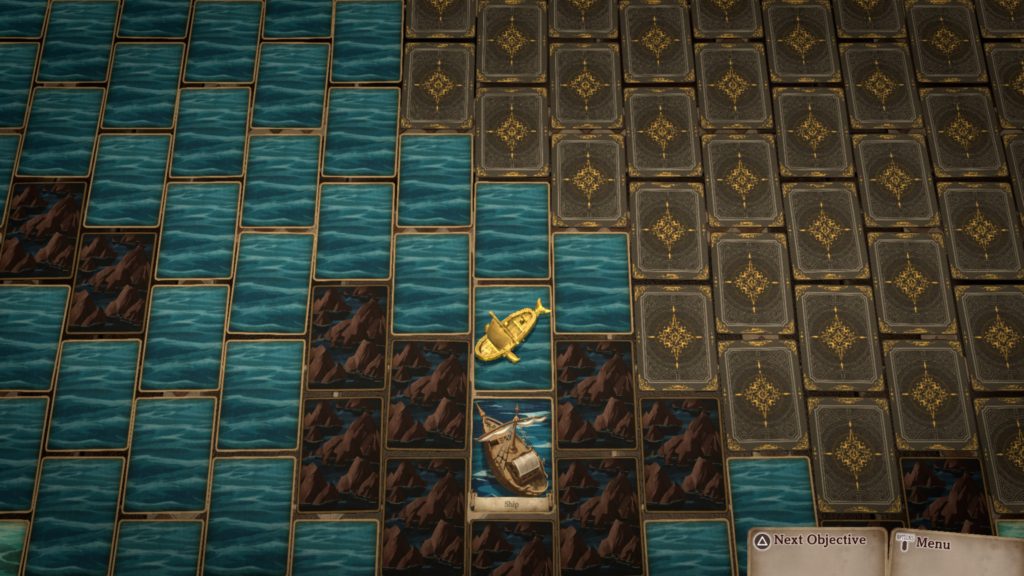
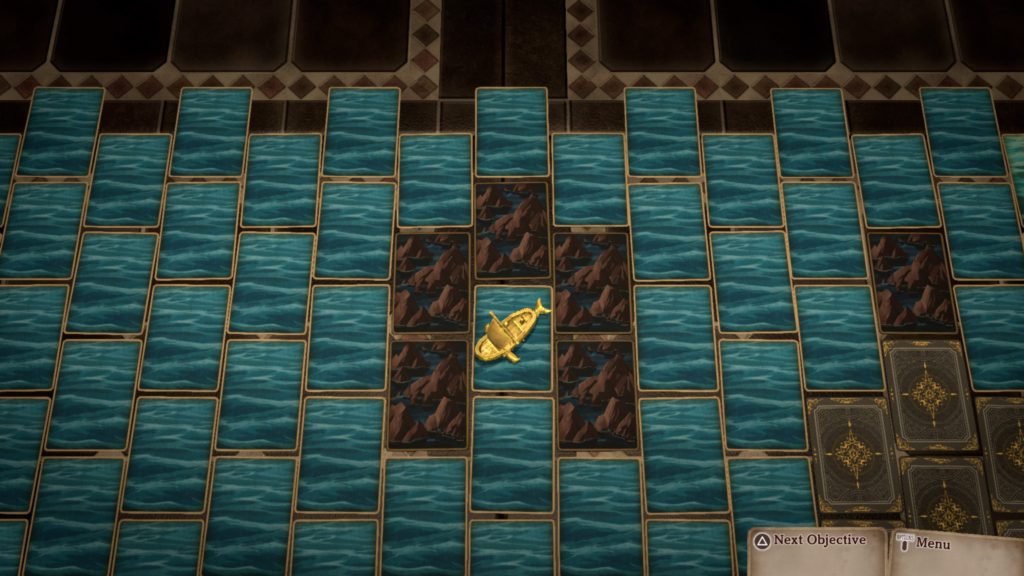
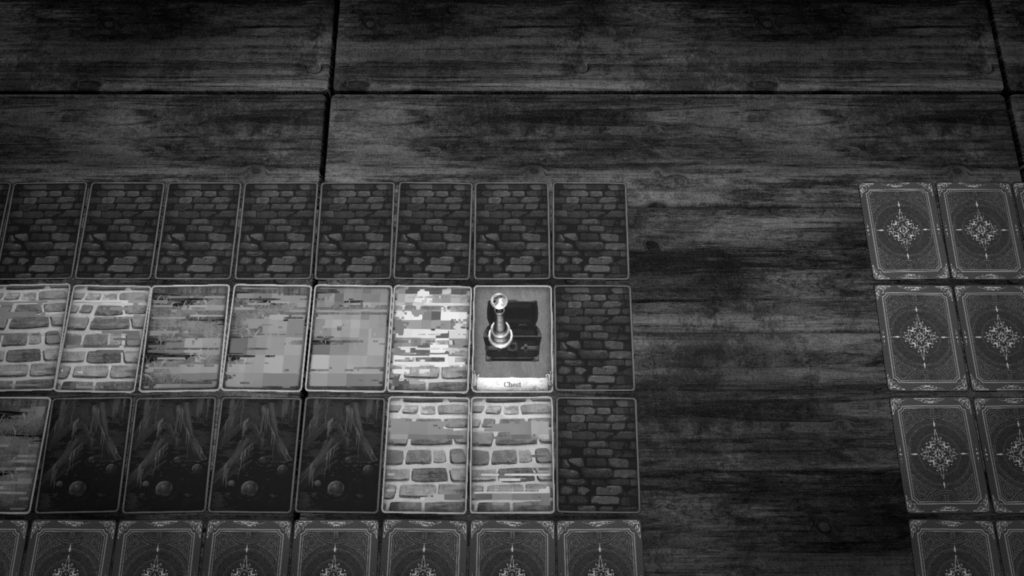
As you explore the northern sea to find the North Isle at the very top of the map, you can come across the below.
Events
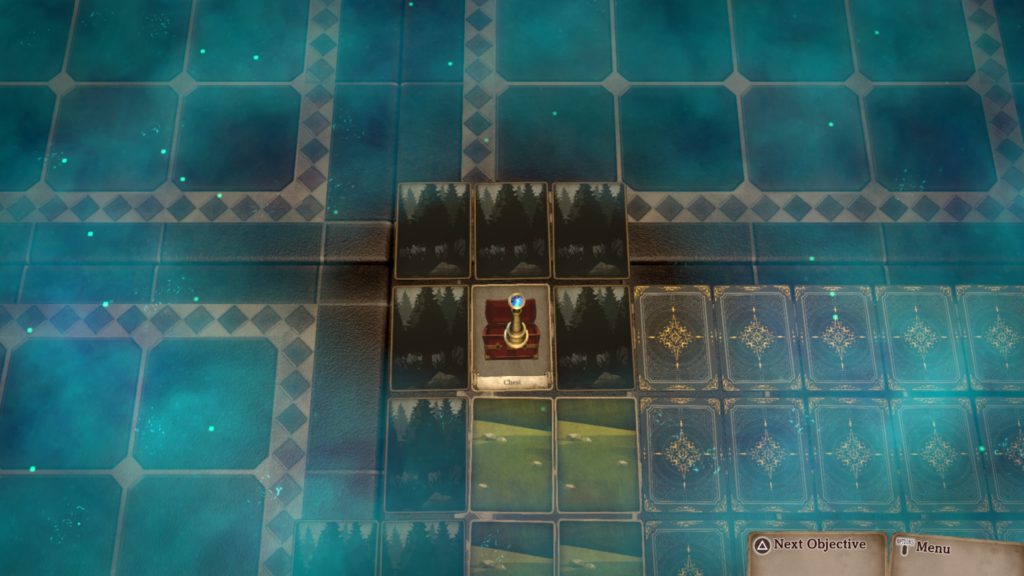
Chests floats by – Open it to receive 1,000G or get attacked by a monster… it’s all about your luck!
Ship surrounded by rocks in the northwestern part of the sea
Fisherman wants some Sea Grapes. You can obtain these grapes from a Woman with Twisted Ankle on North Isle. (see North Isle Event below). If you give him the Sea Grapes, you’ll receive a Bent Stick in return!
Treasure
When exploring the World Map, you’ll come across shipwrecks. Make sure to stop on these cards as they contain treasure!
2,000G – Northwestern area surrounded by rocks
North Isle
When you’re done exploring the sea, dock on the western part of the North Isle. You will be able to find the below!
Treasure
Supreme Inspirilixir – Just north of the dock
Return to the sea and set sail for the main dock of the North Isle. Continue exploring the North Isle to find the below.
Events
Woman with Twisted Ankle
We found her on the below card.
If you give the woman Salve, she’ll give you Sea Grapes!! You’ll be able to bring these grapes to the Fisherman at the Ship in the sea! (See the above World Map Event!) If you hand them over to the Fisherman, you’ll receive a Bent Stick in return.
As you approach Alabaster City in the north, a cutscene will trigger followed by a fight. Defeat the enemy that has 90 HP. Once you’re done exploring the North Isle, head on into the city.
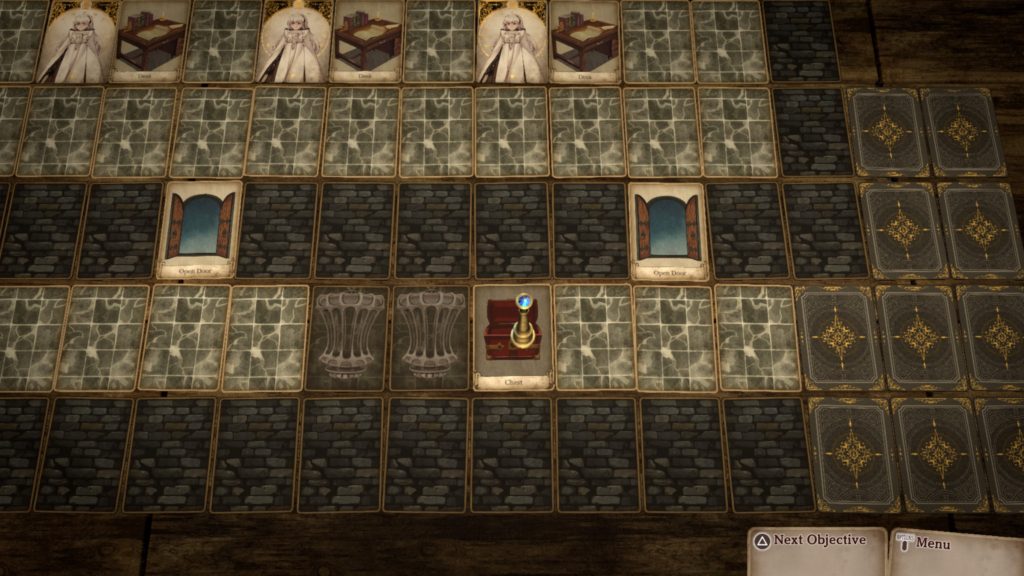
Alabaster City
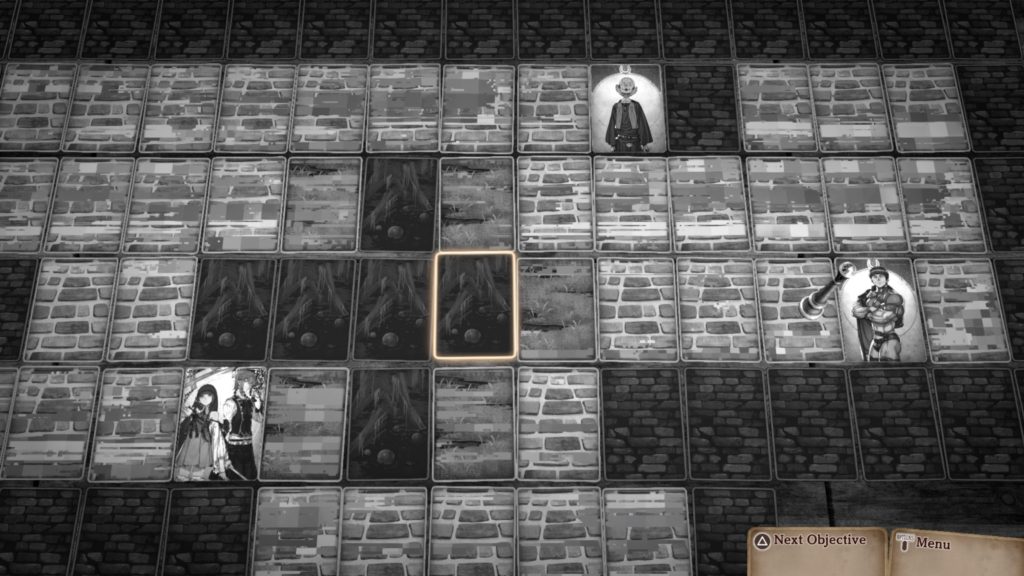
Upon entering the city, explore as you’d like to find the below.
People
Speak with the following citizens to obtain their flipside stories:
- Gatekeeper on the left side of the entrance – Solider in White’s flipside story
- City Watch on the southeastern side of the city – Knight in White’s flipside story
- Innocent Girl between the Inn and Accessory Shop – Girl in White’s flipside story
- Bored-Looking Youth in northern part of town – Boy in White’s flipside story
Event
Even if your not planning on upgrading, please make sure to stop in to the Armorer as an event will trigger. The Discerning Smith would like rare ore! You can receive this ore from the collector on the southeastern side of the sea, just south of the East Isle. Hand it over to the Armorer to receive the Emperor’s Glory and the Straw Millionaire Trophy!
Shops
From the Armorer, you can purchase the following wares:
- Explorer’s Shortsword – 200G
- Tracker’s Shortsword – 800G
- Knight’s Order Sword – 800G
- Simple Breastplate – 200G
- Steel Breastplate – 800G
- Knight’s Chainmail – 8000G
From the Item Shop, you can purchase the following wares:
- Salve – 20G
- Quality Salve – 100G
- Supreme Salve – 500G
- Omnisalve – 160G
- Quality Omnisalve – 500G
- Antidote – 40G
- Curative – 40G
- Defroster – 40G
- Unsealer – 60G
- Dispeller – 60G
- Pepper-Upper – 60G
- Serum – 60G
- Panacea – 280G
- Inspirilixir – 800G
- Invigorant – 180G
- Protectorant – 180G
- Soothstone – 1000G
- Zapsmoke – 200G
- Bellwether – 100G
- Smoke Bomb – 100G
From the southern Accessory Shop, you can purchase the following wares:
- Ring of Protection – 300G
- Poisonstay Ring – 900G
- Numbstay Ring – 900G
- Freezestay Ring – 900G
- Bindstay Ring – 900G
- Cursestay Ring – 900G
- Ring of Evasion – 3000G
From the northern Accessory Shop, you can purchase the following wares:
- Ring of Protection II – 5000G
- Firestay Ring II – 5000G
- Waterstay Ring II – 5000G
- Lightningstay Ring II – 5000G
- Windstay Ring II – 5000G
- Lightstay Ring II – 5000G
- Darkstay Ring II – 5000G
- Poisonstay Ring II – 5000G
- Numbstay Ring II – 5000G
- Freezestay Ring II – 5000G
- Bindstay Ring II – 5000G
- Cursestay Ring II – 5000G
When you’re ready to progress with the story, speak with the duo on the western side of town. Afterwards, exit the town then make your way to the Mystic Forest on the northwest side of North Isle.
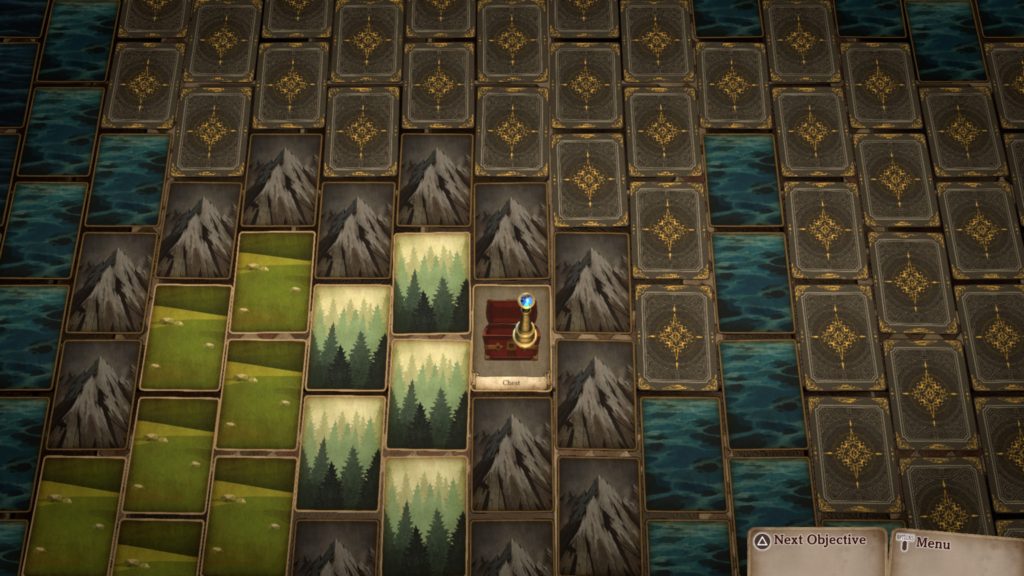
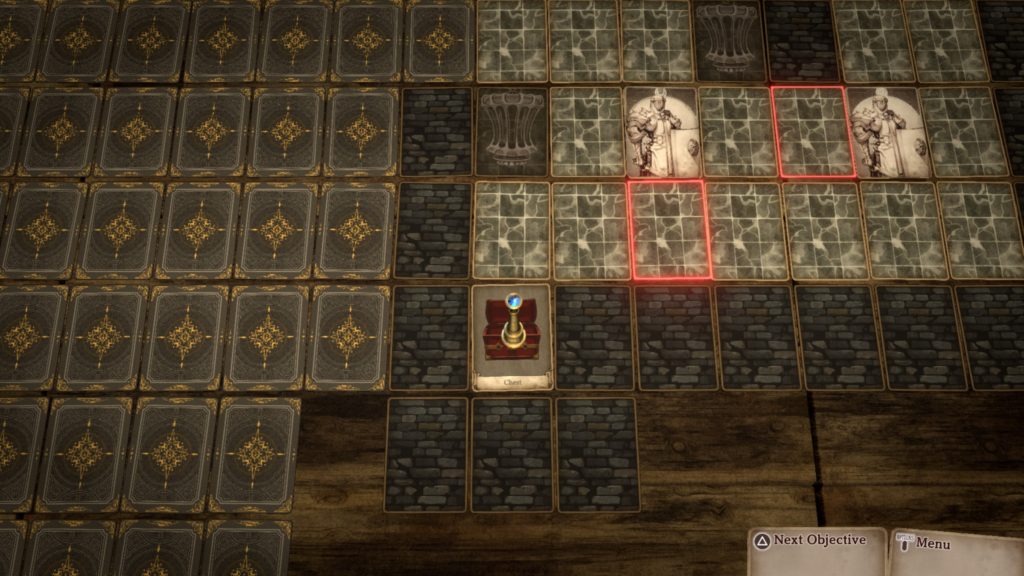
Mystic Forest
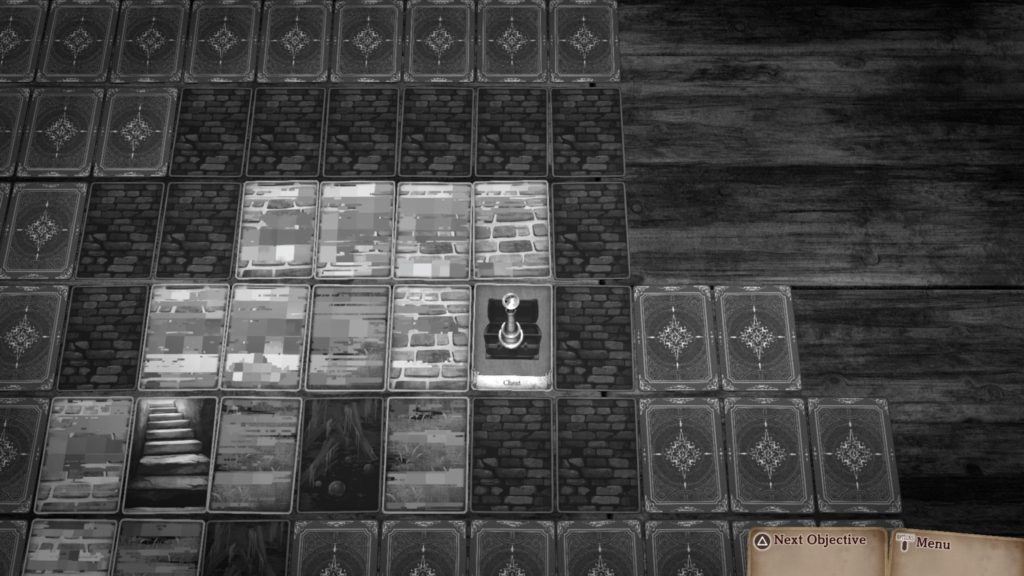
Enter the forest then head forward a short way to find a Tree Face card. Interact with the card to learn that healthy trees are rooted in honesty and frail trees in falsehood. Explore the forest to find the below.
Treasure
Panacea – Northwestern corner of the area
Poisonstay Ring – Southeastern corner of the area

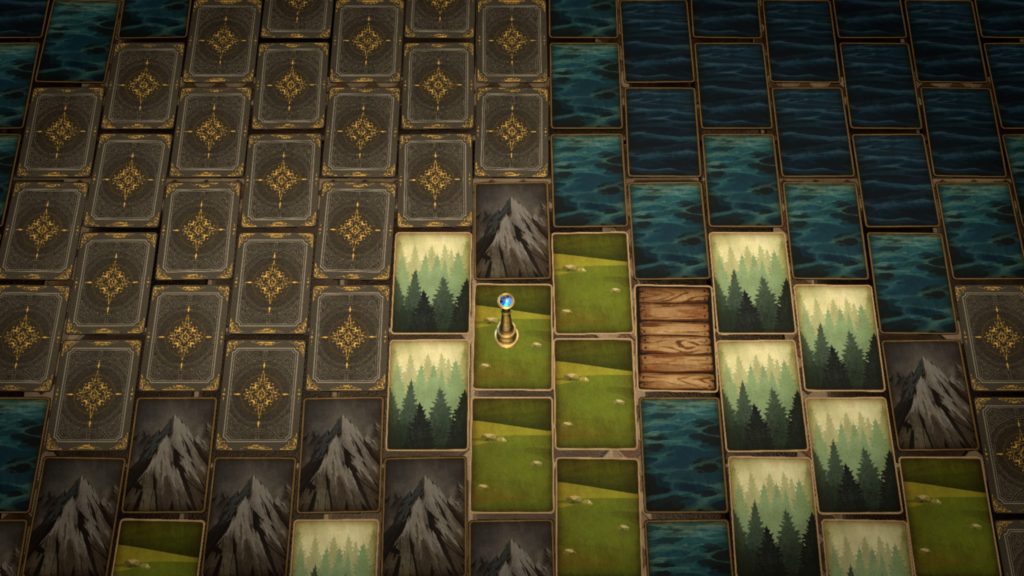
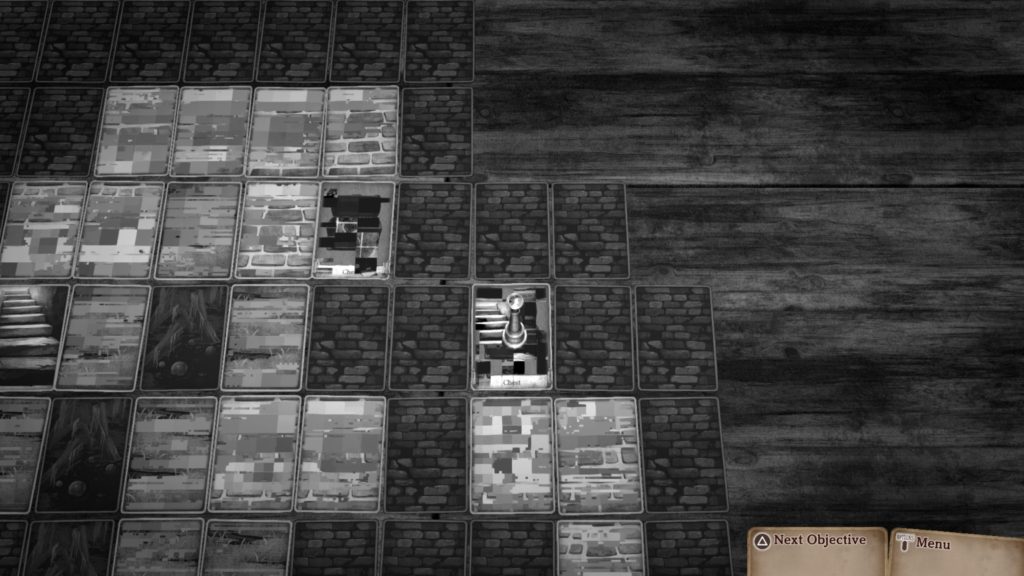
When you reach the two trees, speak with them then head north per the healthy tree’s instructions. If you head south and step on the grassy card, you’ll take damage. On the far northeastern side of the area, enter the Mystic Forest Depths. You can find the below in this area!
Treasure
Medium Gold Nugget – Eastern side of the area

Speak with the trees to learn that the way forward is on the western side. If you take the eastern path near the chest, you’ll be attacked by monsters and will have to fight them. The map will also revert back, so you’ll have to turn over all the cards again for the Depths area. Take the western path to avoid all the hassle then continue on. Avoid the grassy patch on the western side as you make your way through the area. You can find the below treasure in the Depths!
Treasure
Large Soothstone – North of the slumbering tree

On the east side, you’ll come across a slumbering tree. Wake it to open the path forward. Continue east then swing north when you reach the edge of the map. From there, make your way to the northwestern corner to find a mysterious card and interact with it. A fight with trigger. Defeat the enemy with 120 HP then exit the forest and return to your ship at the pier. Set sail for Omega Isle.
Omega Isle
Once on Omega Isle, head to the Spirit Spire to trigger a cutscene.
Heart’s Domain
Once in the dark heart of Laty, travel to the western town of Burdenburg.
Burdenburg
Make your way to the 3 people cards in the area.
Phila and Hyd’s card is up first near the central part of the area. Land on the card to speak with them. The Power-Hungry Old Man’s card is located in the north. For this one, you’ll have to select who is going to challenge him.
- Your character
- Laty
- Lac
For this decision, your character is the correct answer but you can select the others to hear their dialog. Afterwards, head on over to the Man Making a Friend in the east. For him, you’ll have to select who will be his friend. For this one, you’ll have to select between the following:
- Your character
- Lanca
- Cyrm
For this decision, your character is again the correct answer but you can select the others to hear their dialog. When you’re done, head over the the card with a glowing outline near the bog in the center of the map. After the brief scene, head down the stairs to enter Central Burdenburg. You’ll be able to find the below chests here!
Treasure
Darkstay Ring – Eastern part of Central Burdenburg
Quality Omnisalve – Eastern part of Central Burdenburg
Travel to the stairs in the northern part of the Central Burdenburg then head down them to find the below chest!
Treasure
Bindstay Ring – South of the stairs

Head back up to the stairs and return to Central Burdenburg. In the southern part of the area, you’ll find a little girl drowning in the marsh. For this one, you’ll have to select who to save her. You’re choices are as follows:
- Your character
- Lac
- Lanca
Your character is again the correct answer but you can select the others to hear their dialog. After you interact with her, her card will go away and a set of stairs will appear. Head down the stairs to enter Lower Burdenburg. Here you can find the below chests!
Treasure
Supreme Salve – Northeastern corner
When you’re ready, approach the mysterious card in the north.
After the cutscene, approach the shattered card to begin a fight with an enemy that has 180 HP! Defeat it! Afterwards, return to the second level of the Spirit Spire and interact with the altar. When you return from the Heart’s Domain, exit the spire and return to the North Isle.
North Isle
After meeting your welcoming party at the North Isle Pier, a cutscene will trigger followed by a fight. Defeat the 4 enemies then head to Alabaster City.
Alabaster City
Once in the city, head to the glowing card just in front of the guard at the Palace in the northern part of Alabaster City. After he turns you away, make your way to the Maiden’s Shrine on the west side of the city to find the Underground Passage and enter it.
The Foundation
When you emerge from the passage, you’ll be in The Foundation: Back. Head down the linear path to reach a set of stairs leading to The Foundation: B1. Examine the desk then head south to pass through a door. In this next room continue to reach yet another door. Again, head on through. In this room, speak with all the clones then head through the next door. Proceed rest to grab the below chest!
Treasure
Inspirilixir – Southeastern corner of The Foundation: B1
After you grab the chest, continue on to reach the stairs leading to The Foundation: B2. Continue north along the linear path. When you turn to the right, a tutorial will trigger. Avoid the guard as you proceed through the next room! This area will have 2 guards that you’ll have to dodge as you make your way to the east. Do so to reach the next area that has the below chest.
Treasure
Quality Omnisalve – Northeastern corner of The Foundation: B2

When you’re ready, head down the stairs near the above chest to descend to The Foundation: B3. Head straight across the hallway to reach the set of stairs leading to The Foundation: B4. In this area, you’ll have to avoid 5 guards! Make sure to grab the below chest.
Treasure
Foundation Key – South central part of The Foundation: B4
After you grab the key, you’ll have to go all the way to the far north of the chest to access the western side of the area. If you try a certain number of times to get past the guards on The Foundation: B4 but fail and have to restart, you’ll be prompted with an option to have help. If you select yes, a bell will toll and the amount of guards gets cut down to just 3! Waaaaay easier to make it through!
Once you’re though to the western side, unlock the first door you come across and interact with the southern girl’s card to obtain a Salve! Return through the door and continue west to find another door. Open it and speak with the girl on the southern side of the room to obtain a Salve! Exit the room and head north since you’re currently unable to open the door in the southwest. Open the next door you come across if you’d like to hear the dialog from the girls inside.
When you’re ready to progress with the story, head north and approach the door. Continue straight ahead and approach the mystery card to trigger a fight. Defeat the enemy that has 150 HP! She resists lightning and wind. After you defeat her, you’ll have to escape The Foundation. Before leaving this room, inspect the desk to receive the code for the door to the far south of this floor that you were previously unable to open. After you open the door, head inside and make your way to the east to find a staircase leading to Alabaster City.
Alabaster City
As you attempt to leave the city, you’ll be stopped by the guards. Defeat them! Afterwards, you’ll have to defeat 4 guards that all have 90 HP with just Lanca and Crym. Unfortunately, you won’t be able to do so and the duo perishes thus ending this chapter.