Welcome to NGB and our Unicorn Overlord guide on where to find Drakenhold Divine Shards!
Drakenhold Divine Shards
- Fort Herstann
- Fort Herstann #2
- Dreibaum Town
- Dreibaum Town #2
- Dreibaum Town #3
- Weszait Town
- Weszait Town #2
- Ganrafeldt Town
- Ganrafeldt Town #2
- Bandit's Keep
- Bandit's Keep #2
- Nestascheft Town
- Nestascheft Town #2
- Gaufa Town
- Gaufa Town #2
- Gaufa Town #3
- Walled City of Adopti
- Walled City of Adopti #2
- Fort Neumont
- Helmjan Town
- Helmjan Town #2
- Schaetze Town
- Schaetze Town #2
- Sechtrieve Town
- Fort Hossent
- Fort Neumont
- Vansberg Town
- Vansberg Town #2
- Vansberg Town #3
- Schwarthruse Town
- Schwarthruse Town #2
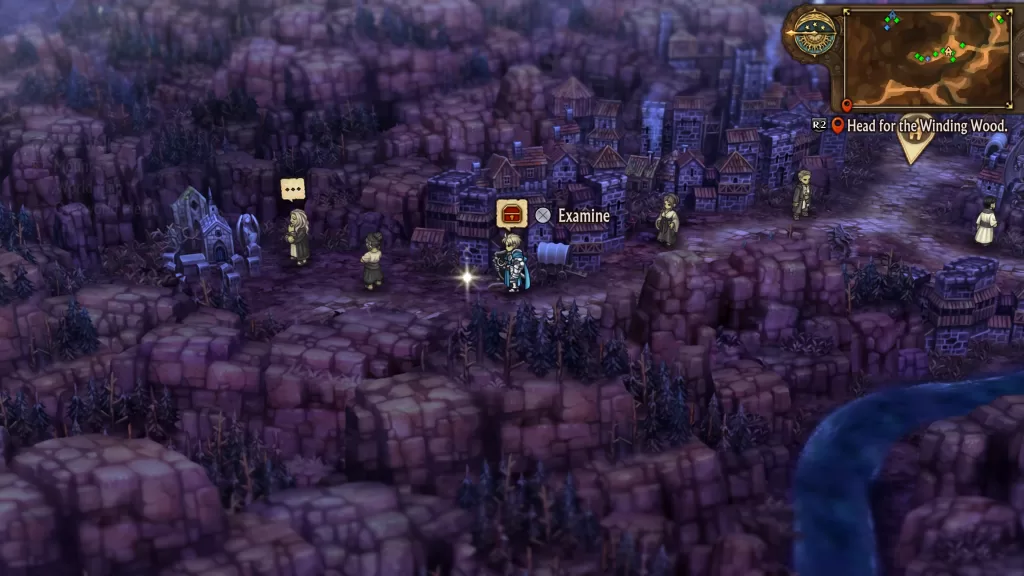
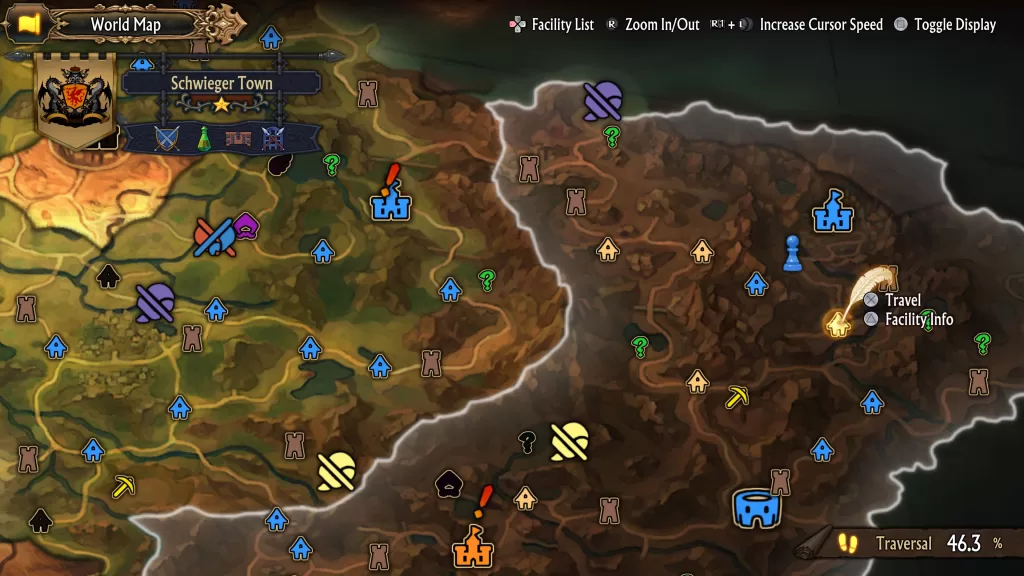
- Schwieger Town
- Schwieger Town #2
- Znova Town
- Pritzlasse Fortress
- Krannich Harbor
- Fort Asterweiss
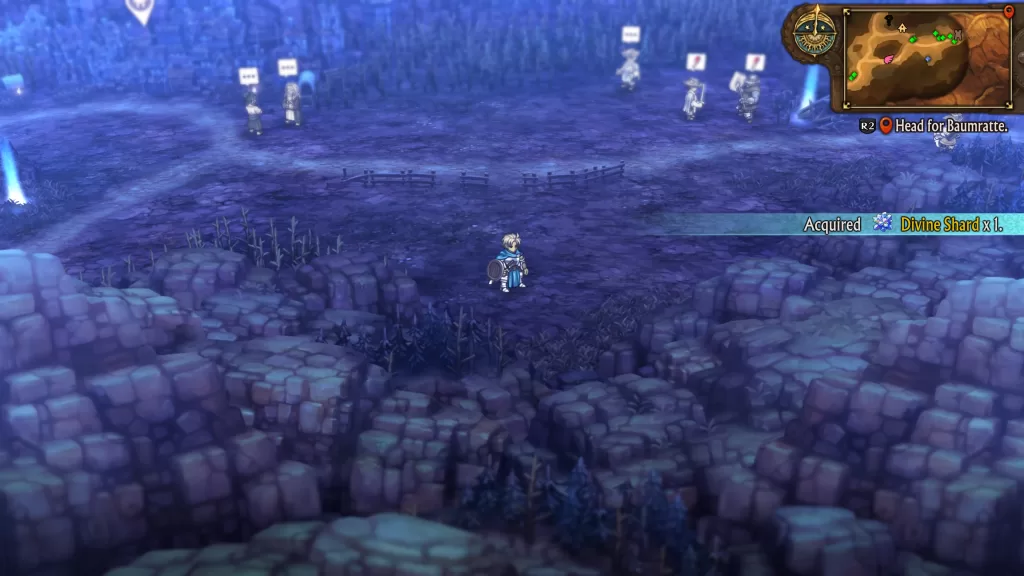
Fort Herstann
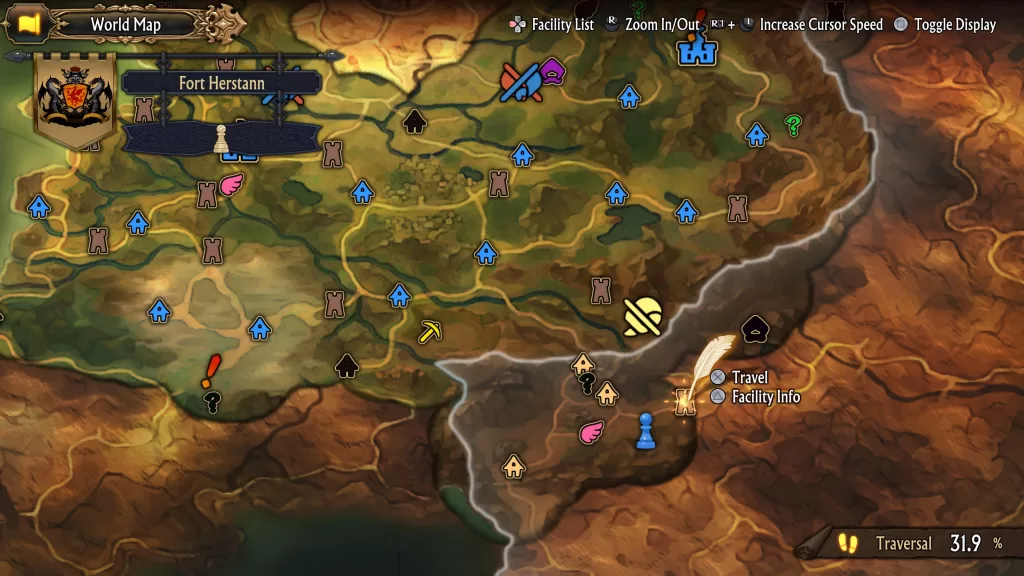
Head southwest from the fort along the cliffs to find the shard.
Fort Herstann #2
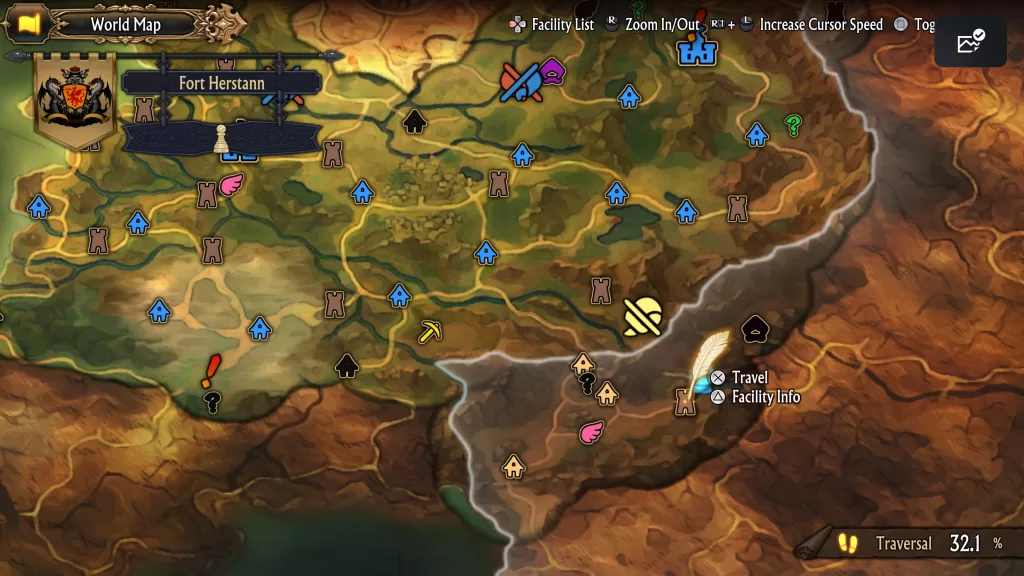
Northeast of the fort just before the gate
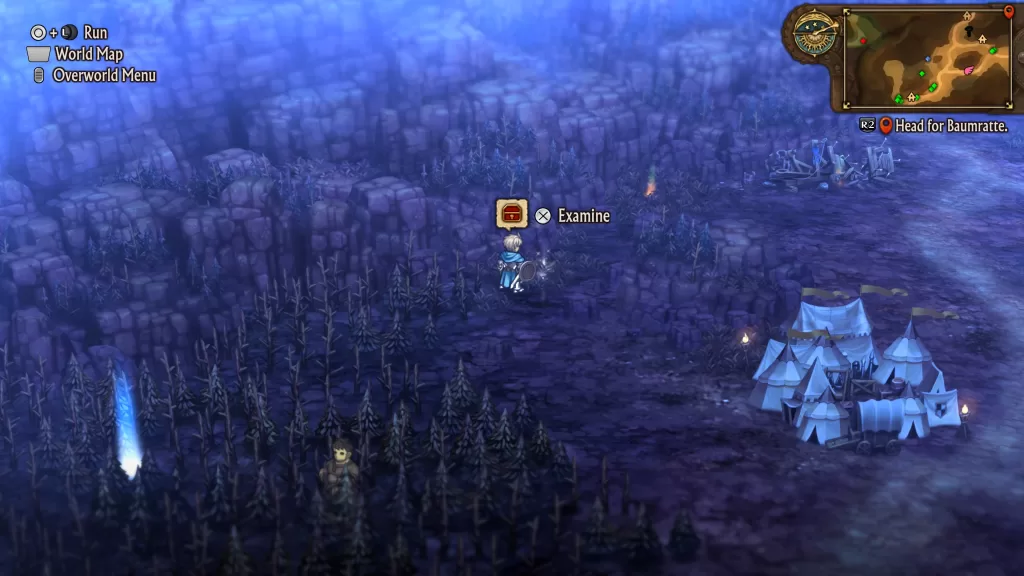
Dreibaum Town
In the woods north of town
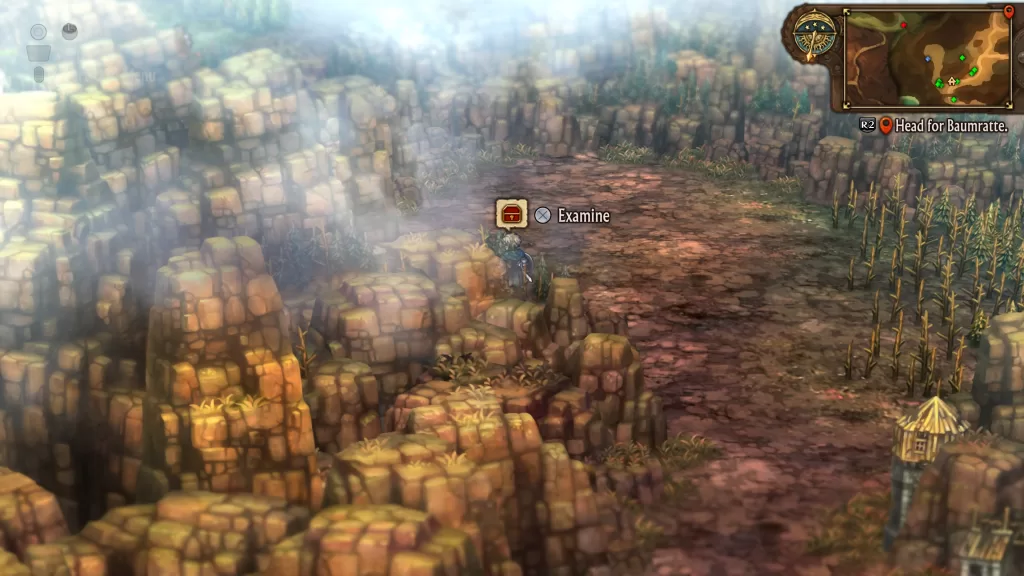
Dreibaum Town #2
From the above shard, head west to the cliffs to find this shard.
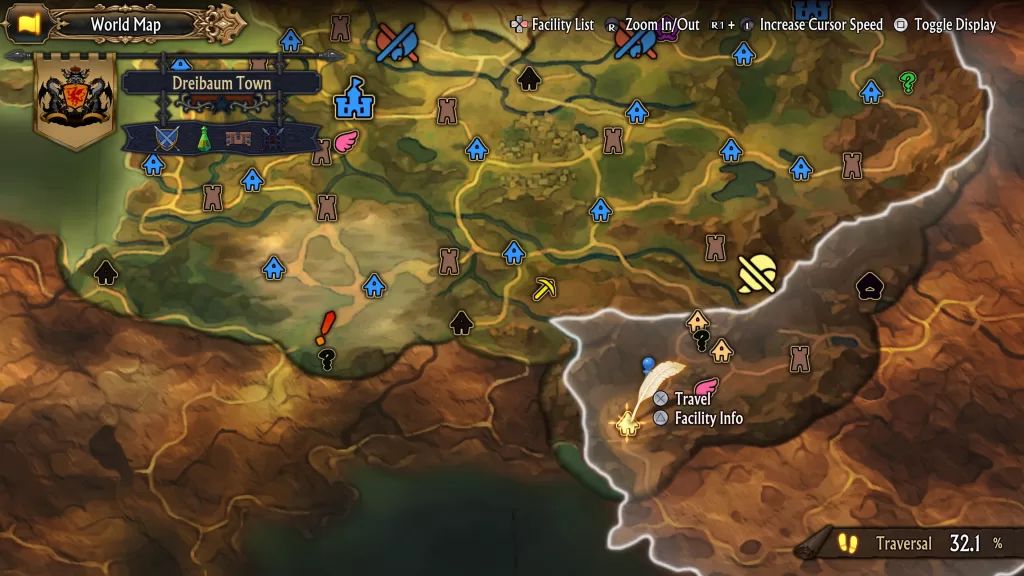
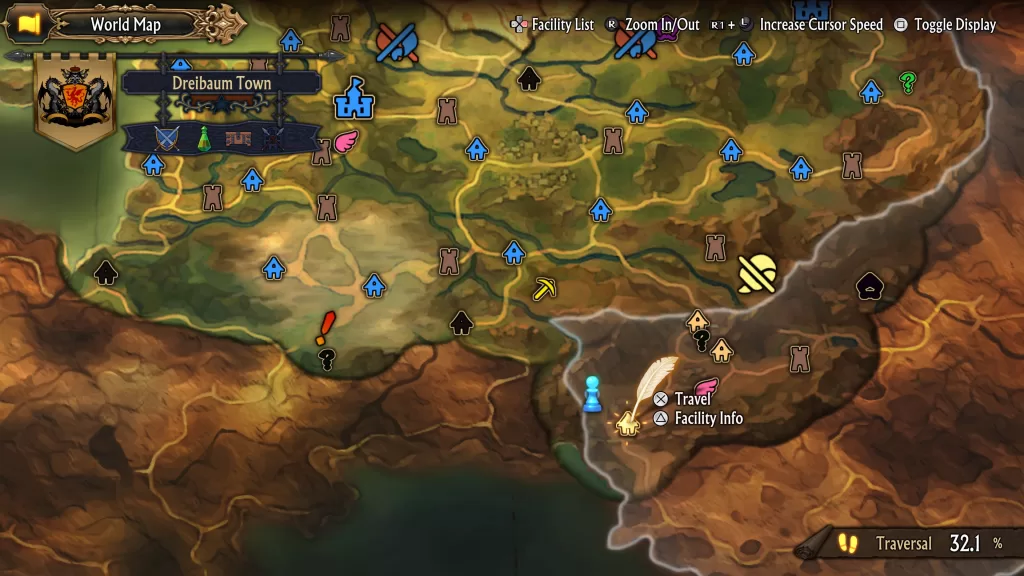
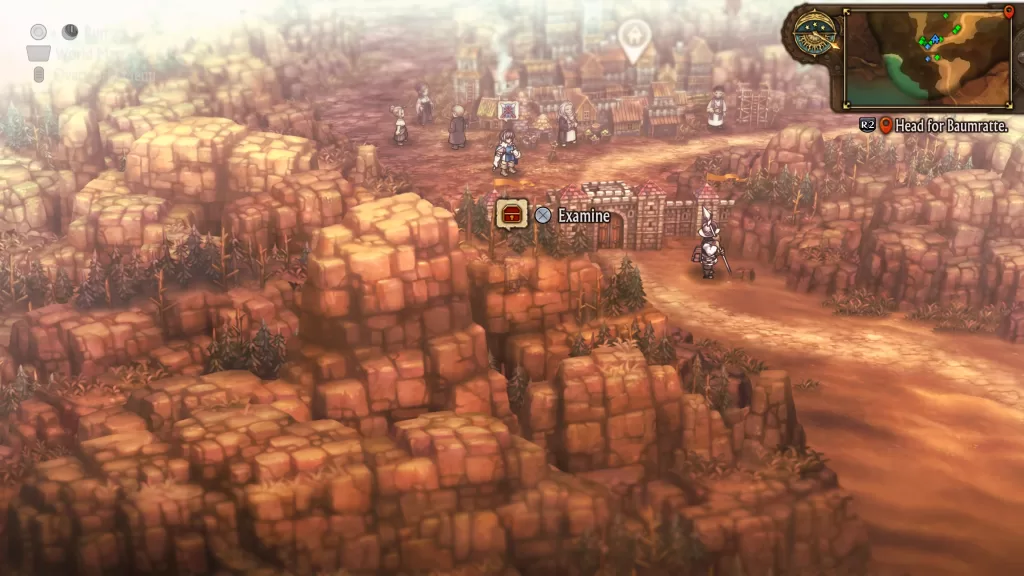
Dreibaum Town #3
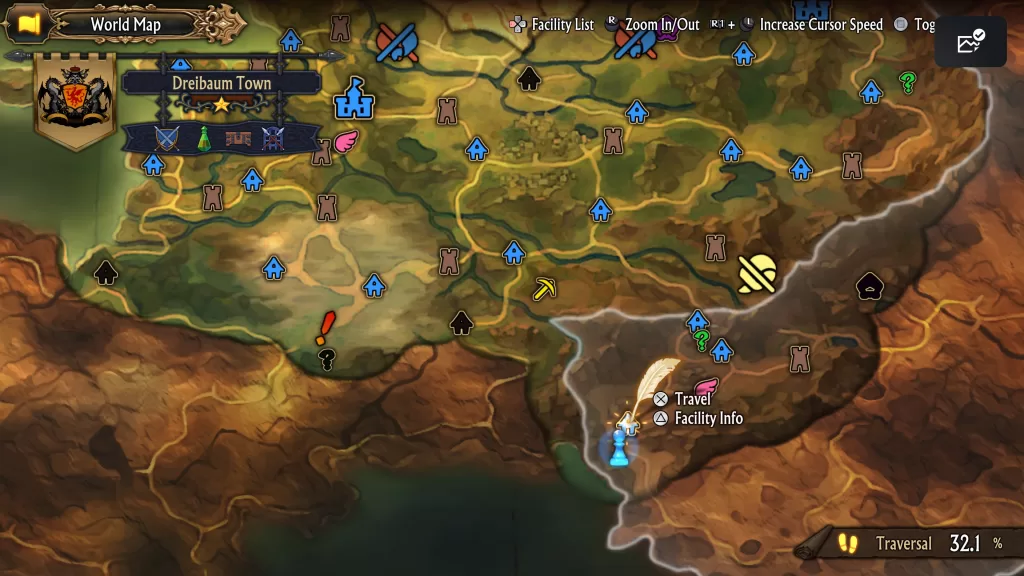
Exit the gates to the south of town then immediately head west to find this shard.
Weszait Town
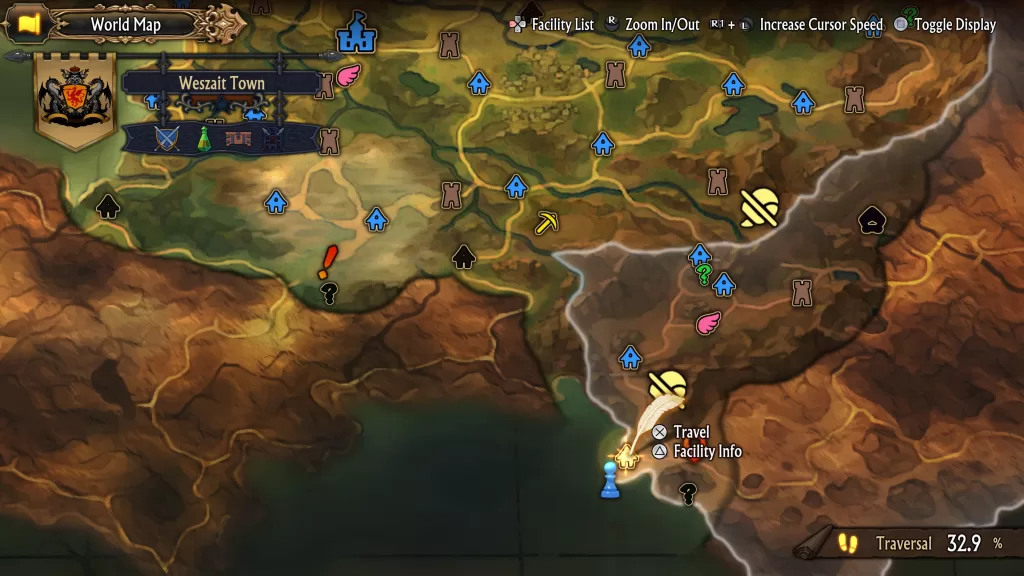
The shard can be found southwest of town on the beach.

Weszait Town #2
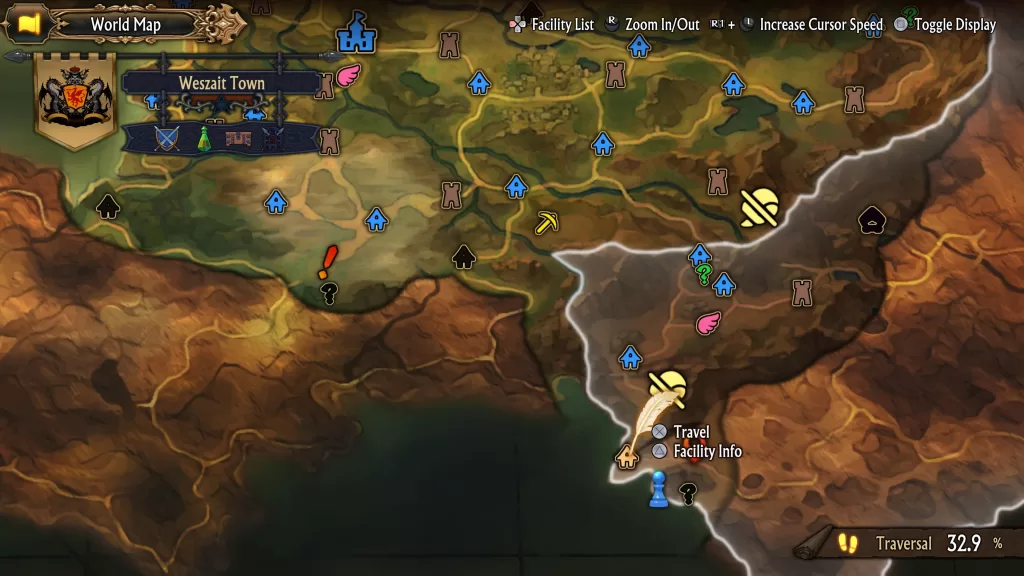
On the beach southeast of town
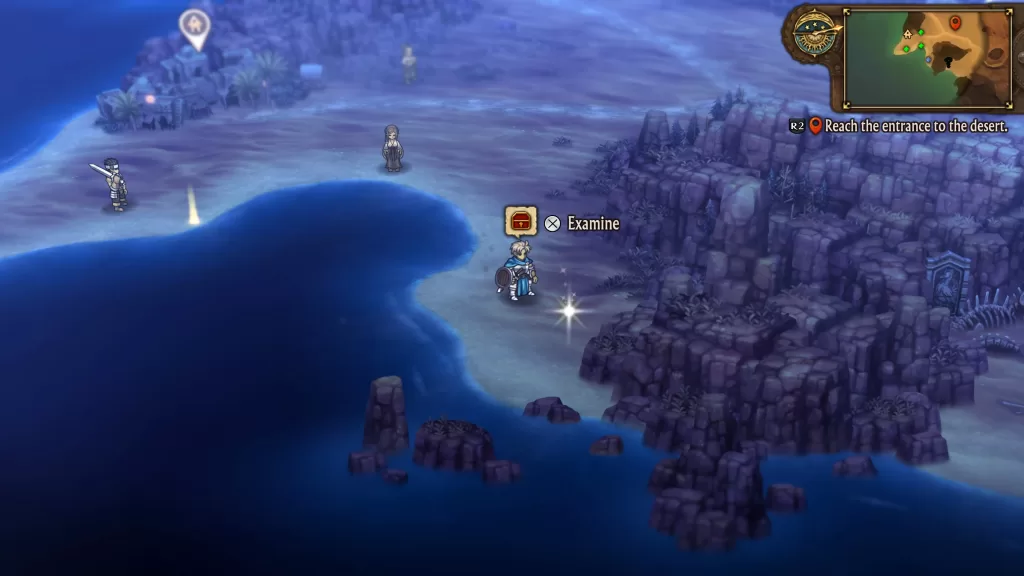
Ganrafeldt Town
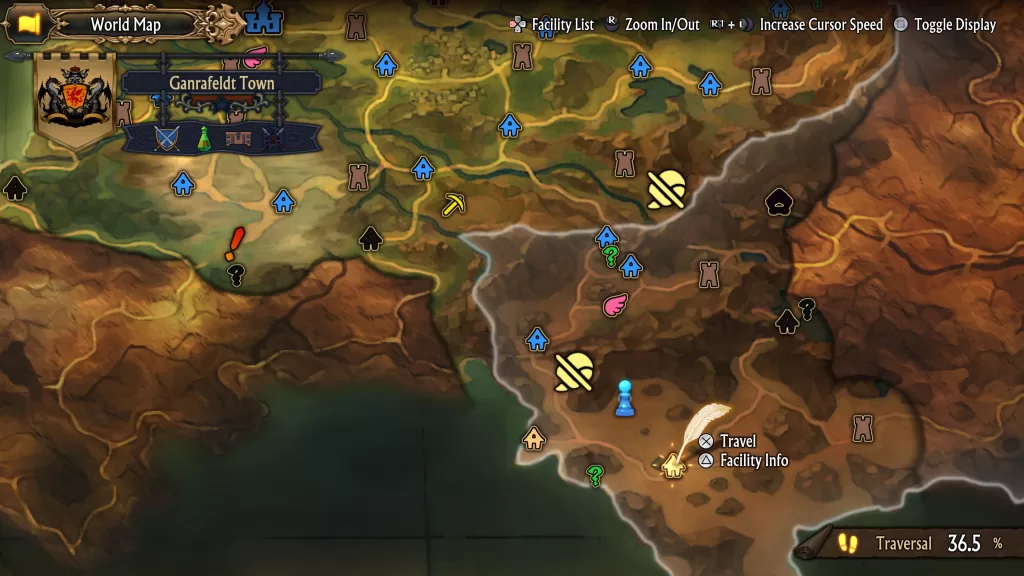
This shard can be found northwest of town along the cliff.
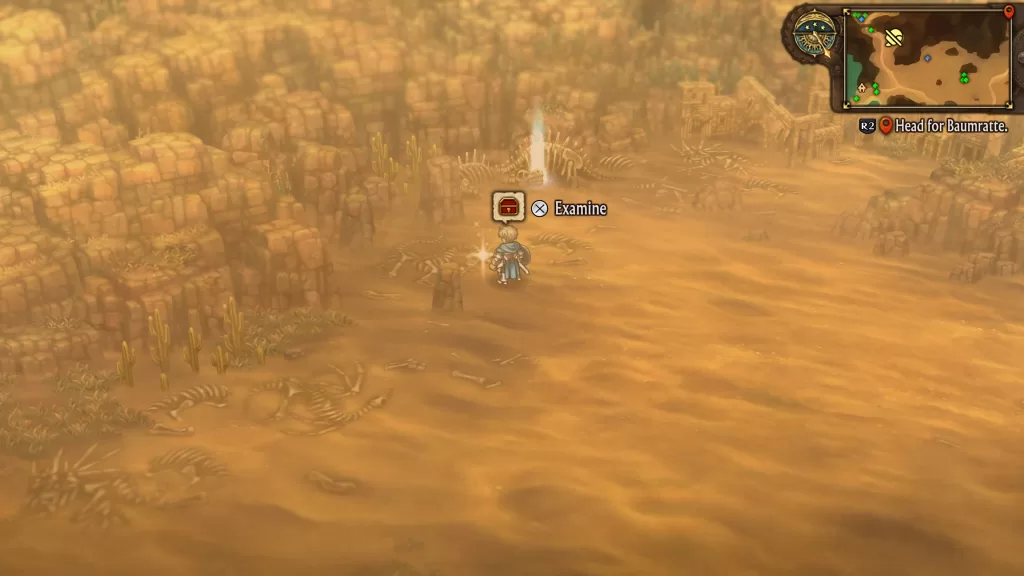
Ganrafeldt Town #2
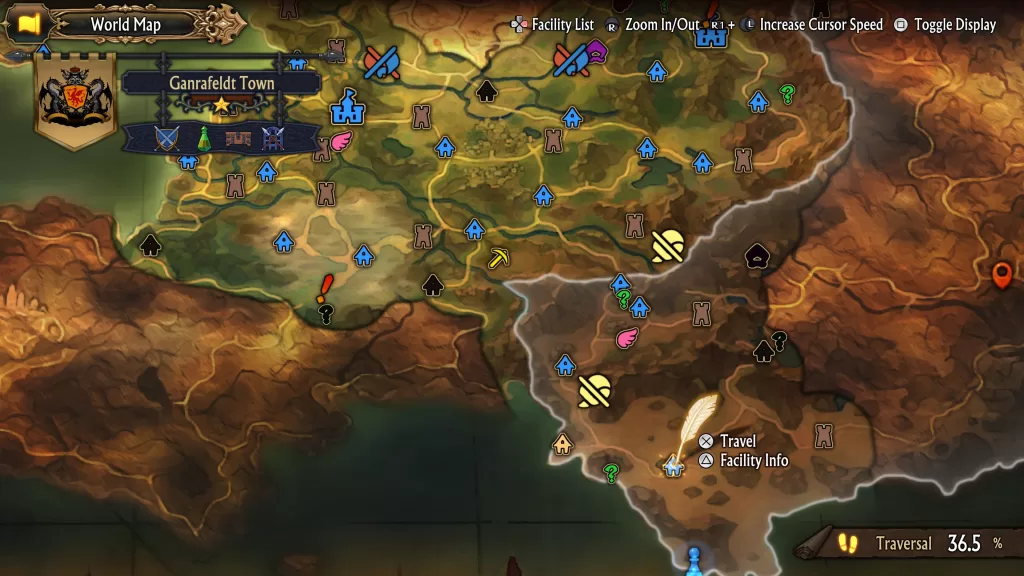
South of town along the beach
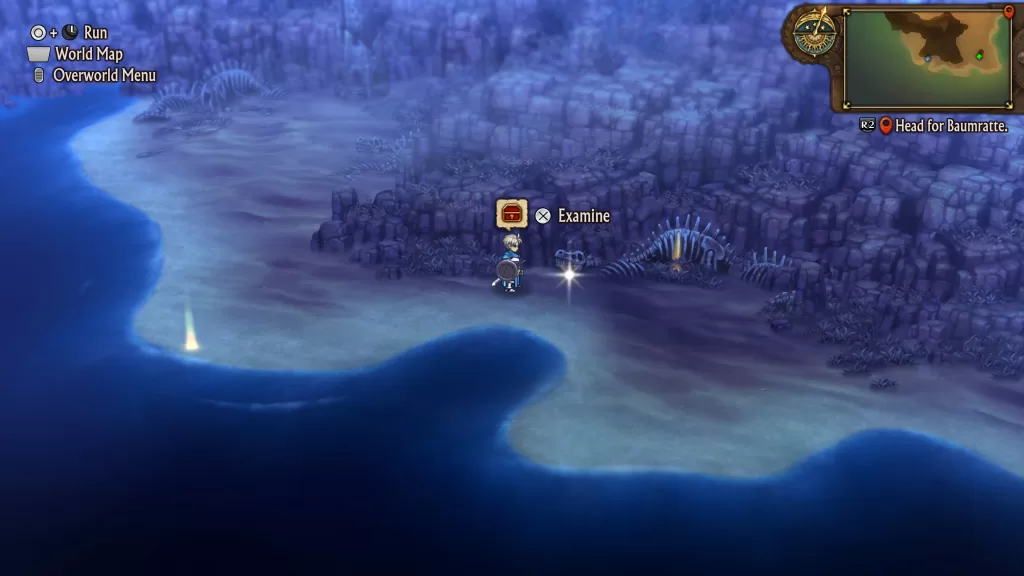
Bandit’s Keep
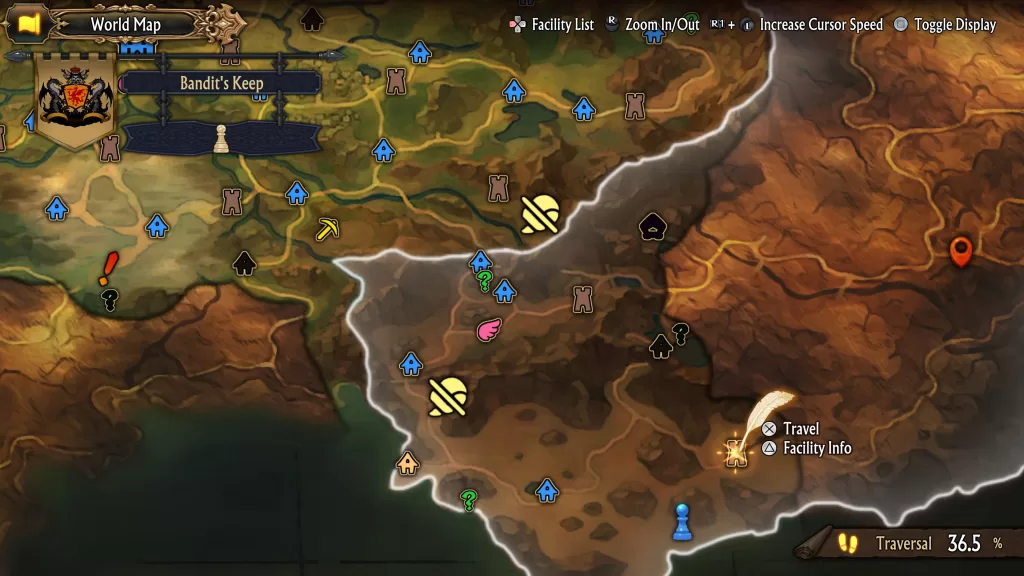
Southwest of the keep along the beach
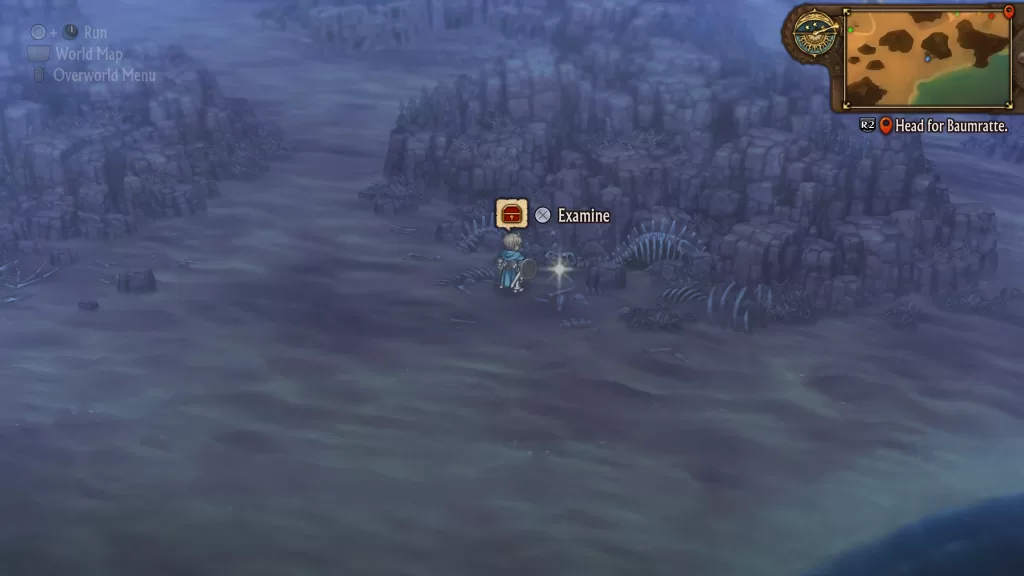
Bandit’s Keep #2
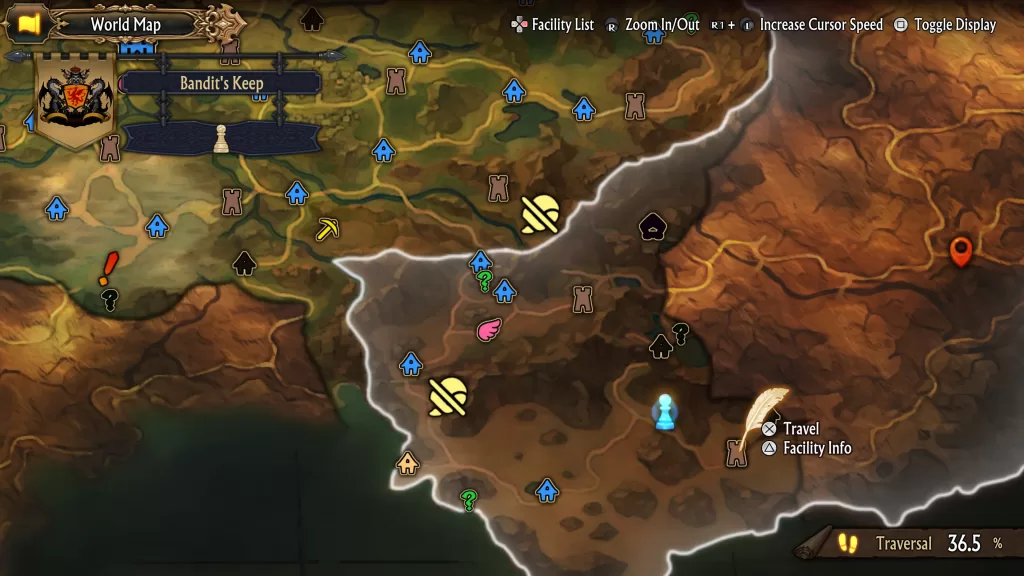
Head north of town to find it on the east side near a white tent
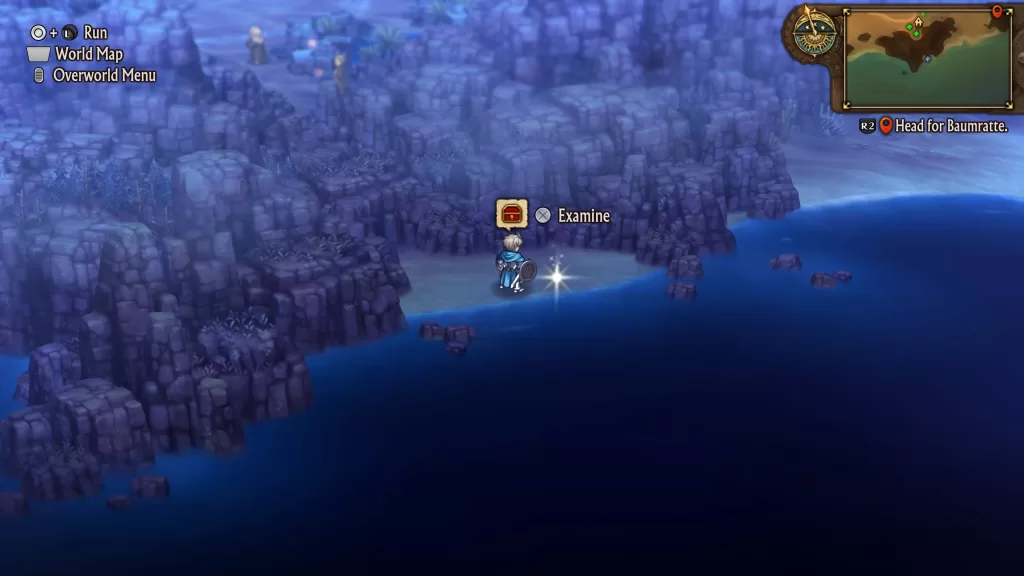
Nestascheft Town

Take the hidden path south of town to reach a beach.
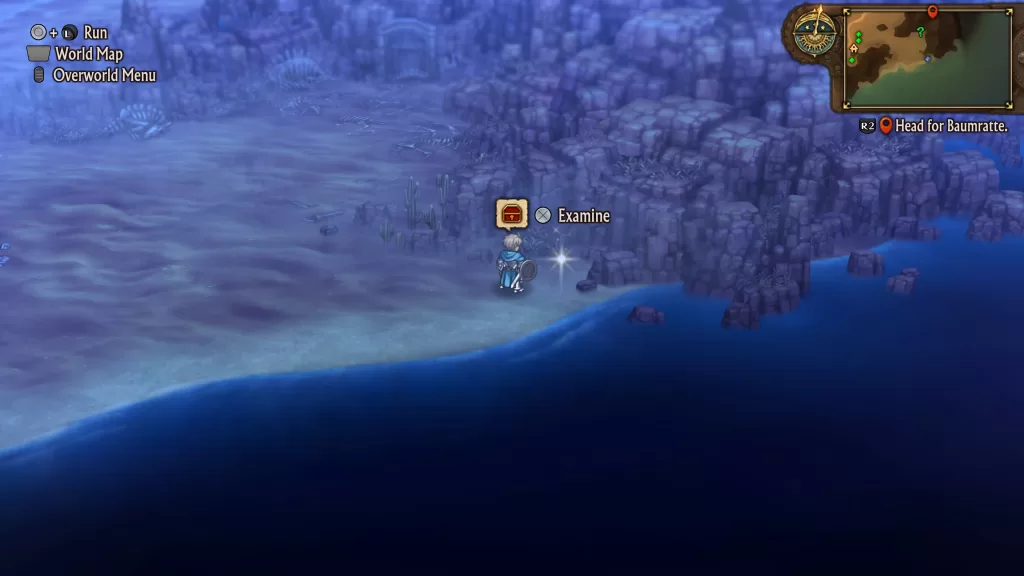
Nestascheft Town #2
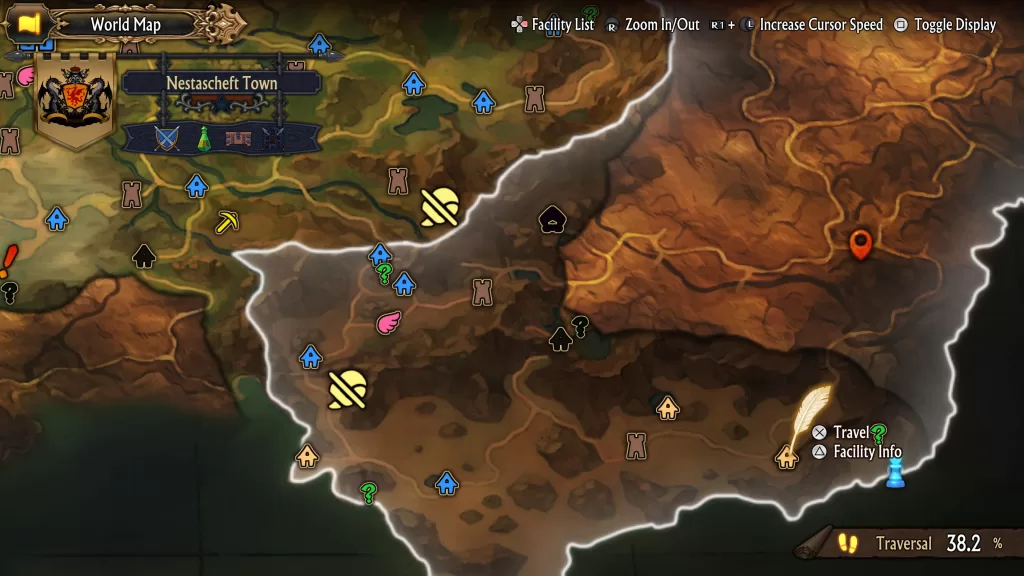
Southeast of town, south of the Monument to the Anemoi
Gaufa Town

Head south from town and pass through the gate then head immediately east.
Gaufa Town #2

Next to the southern entrance of the town.
Gaufa Town #3

Northeast of town near the beach.
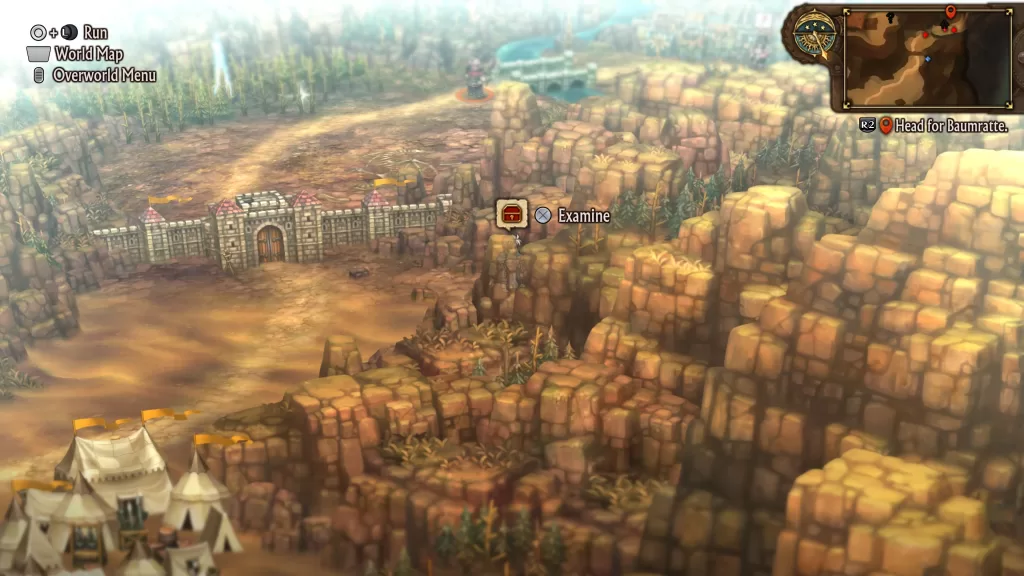
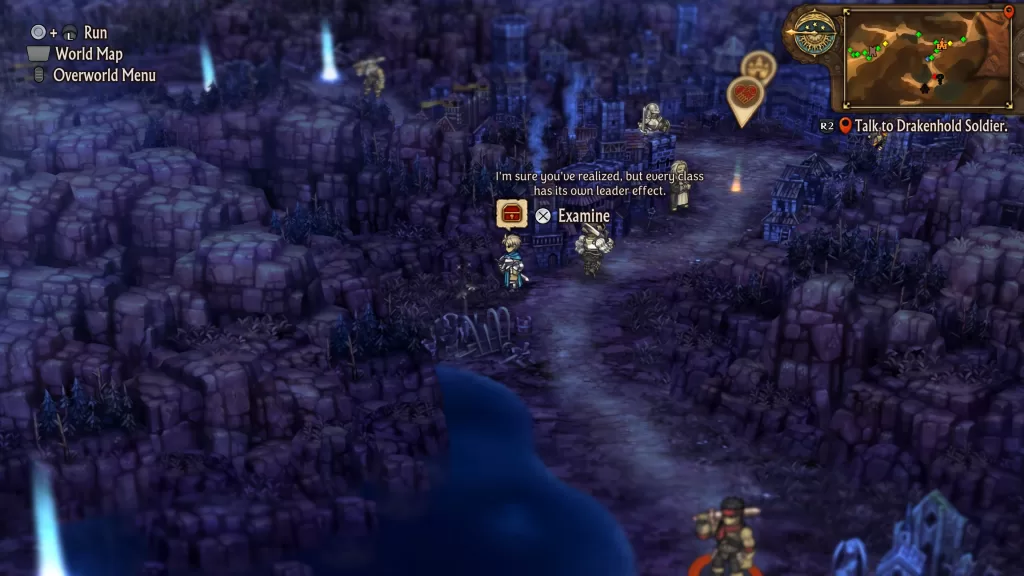
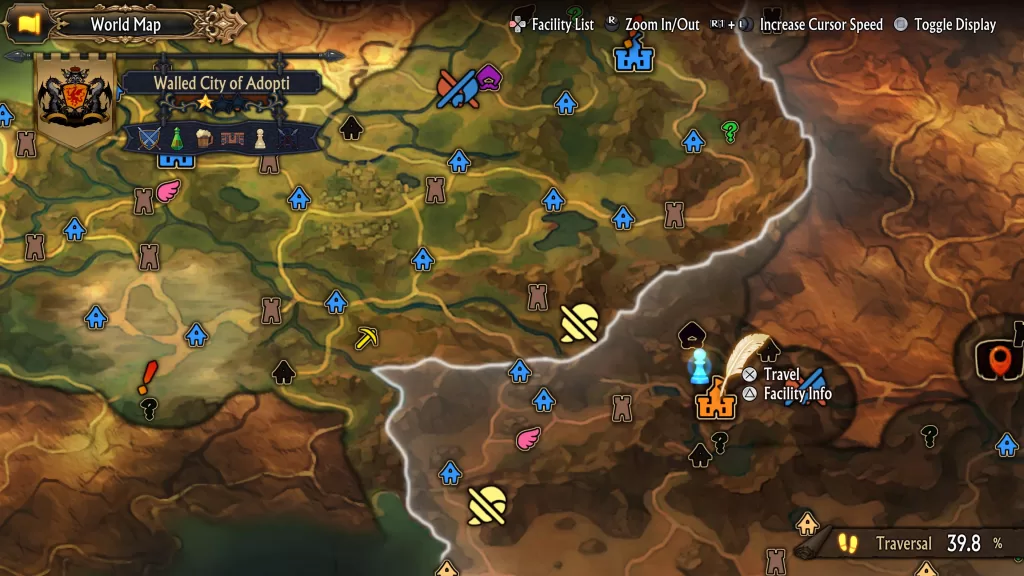
Walled City of Adopti
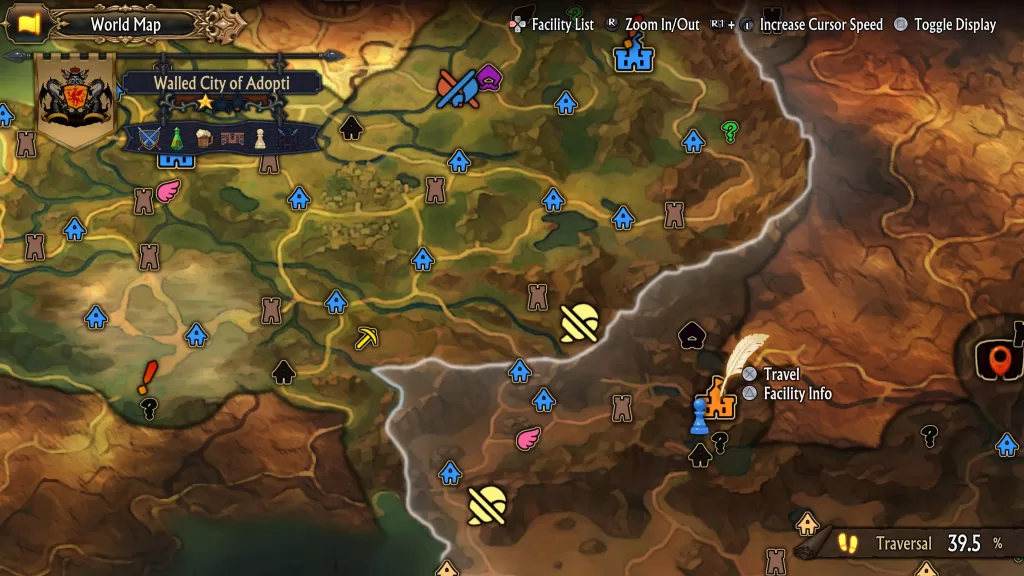
On the south side of the city
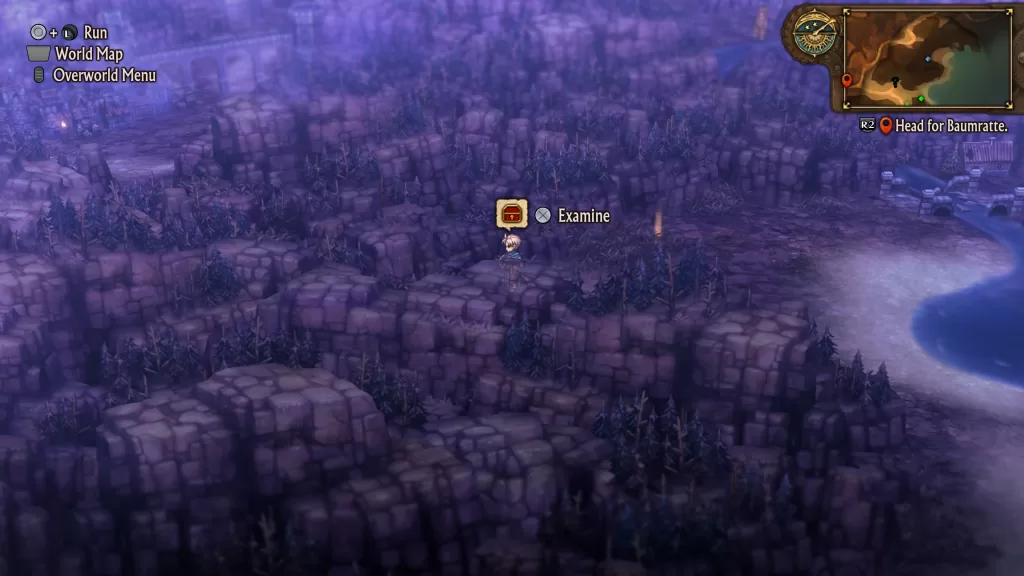
Walled City of Adopti #2
North of town near the Old Woman by the lake with the rotting bridge
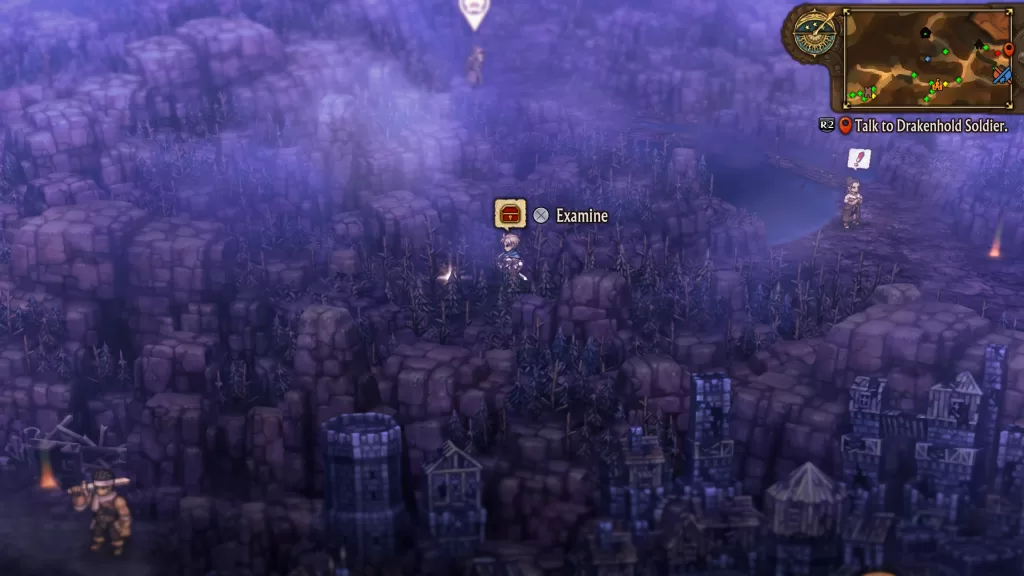
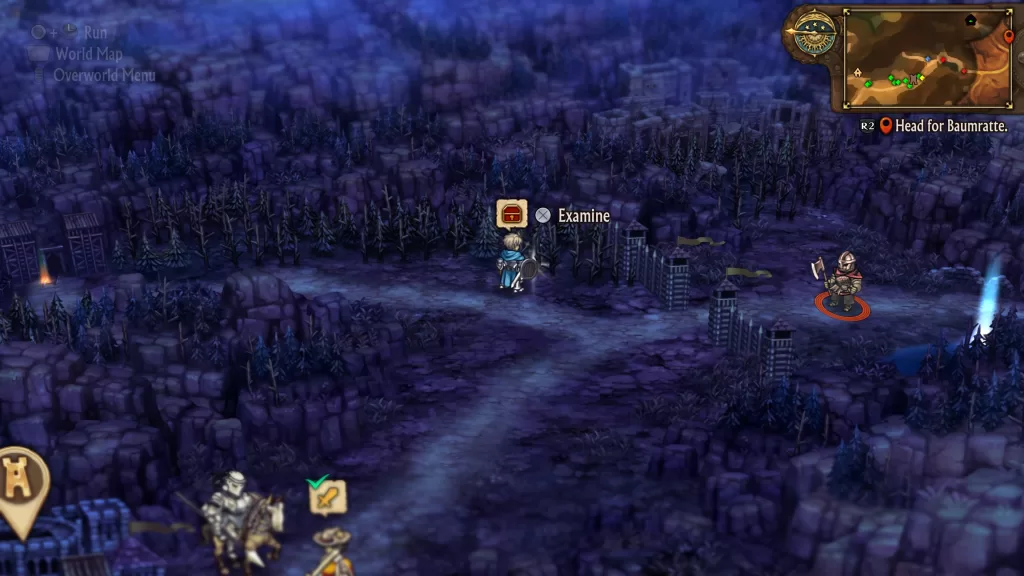
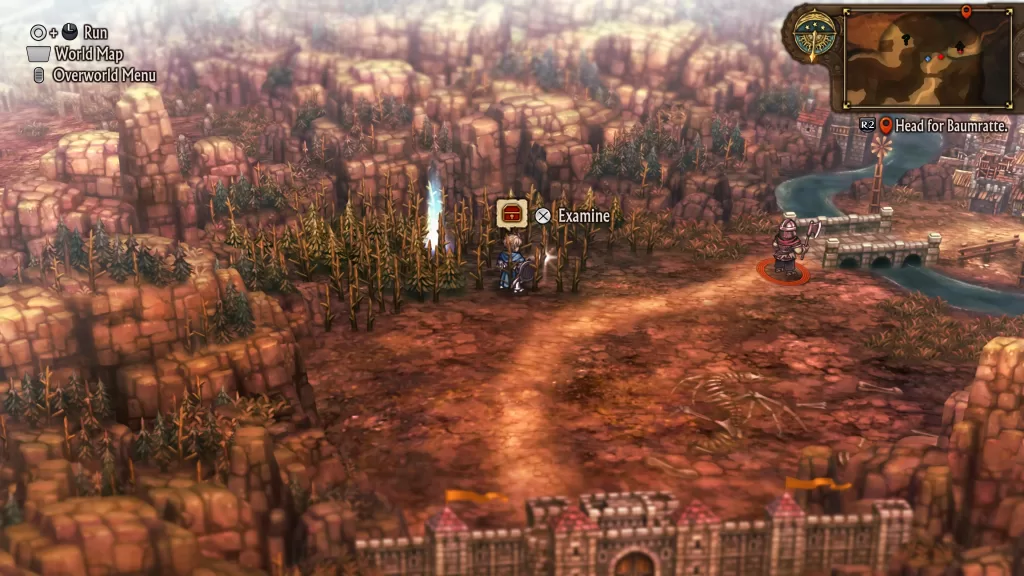
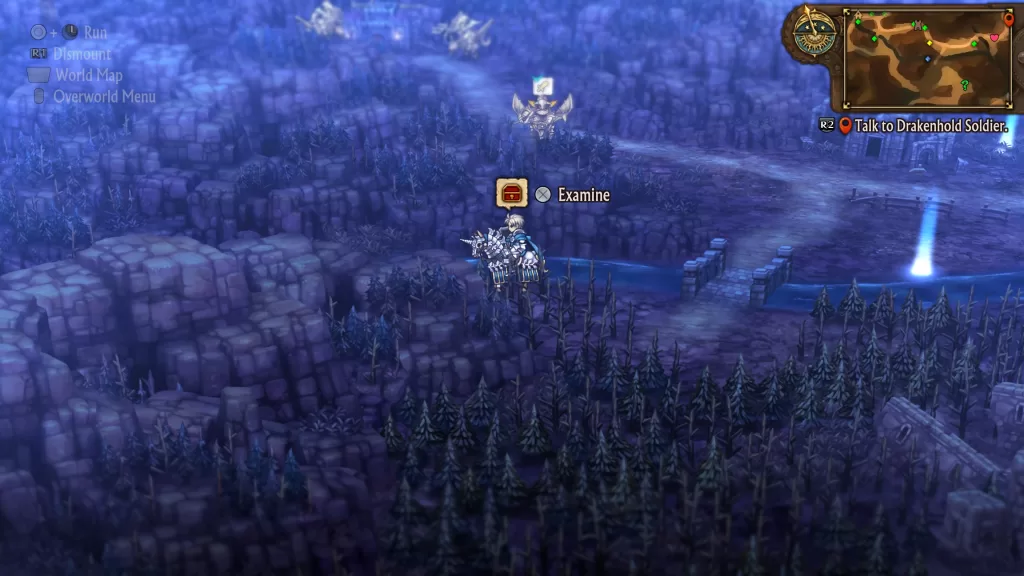
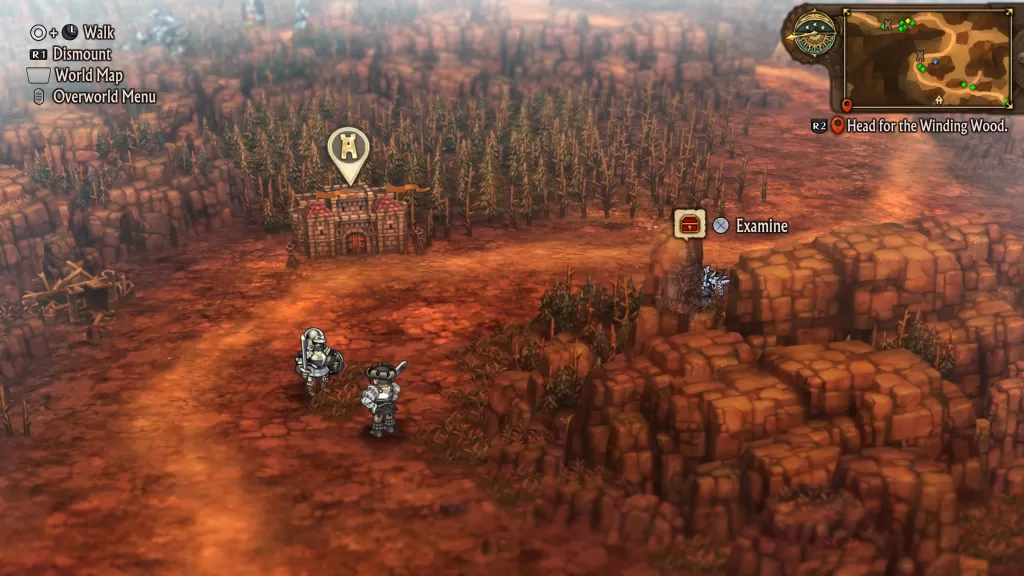
Fort Neumont
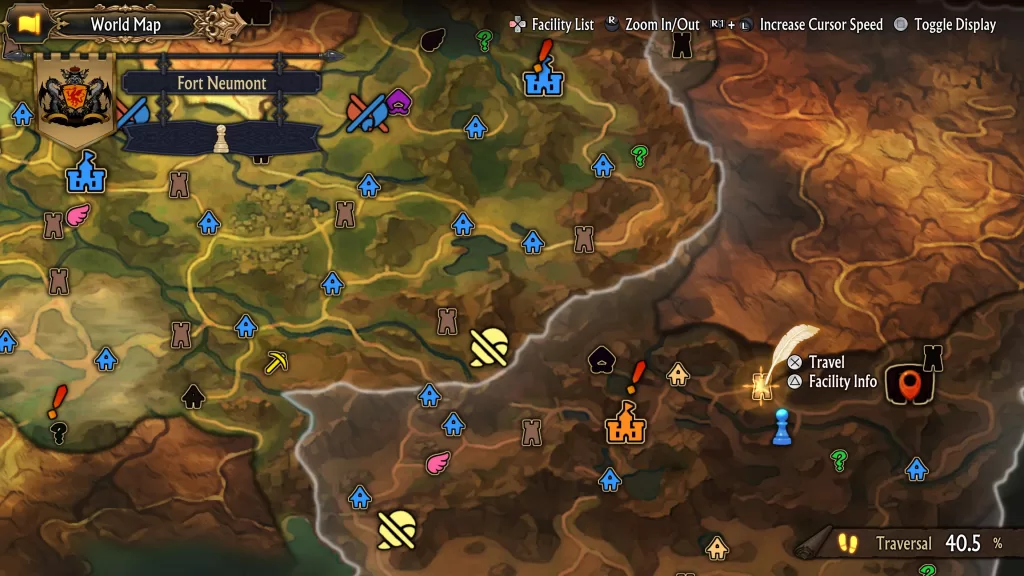
From the fort, head southeast along the road. When you reach the ruins, cross the bridge to find this Divine Shard immediately to the west.
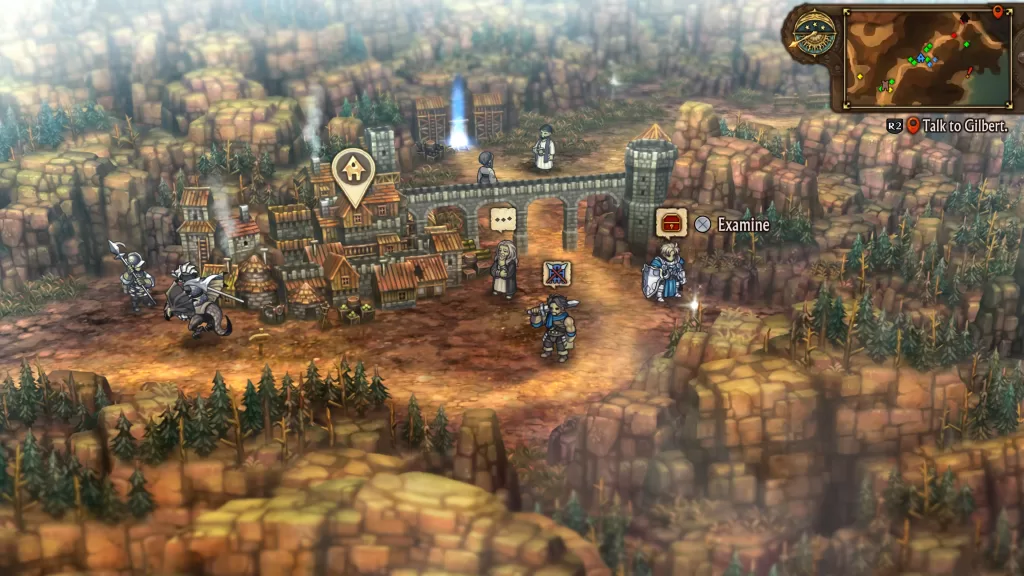
Helmjan Town
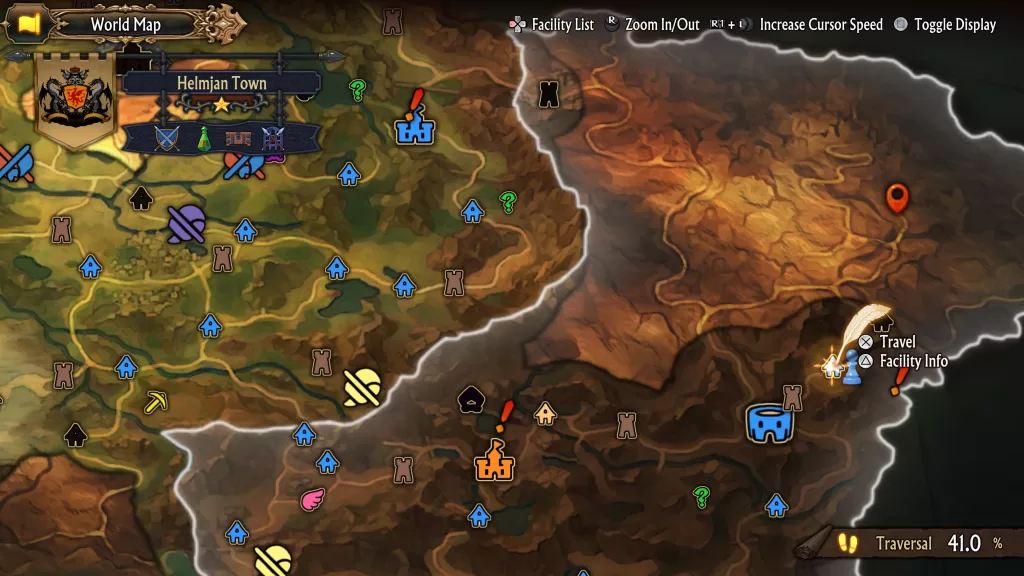
On the east side of town.
Helmjan Town #2
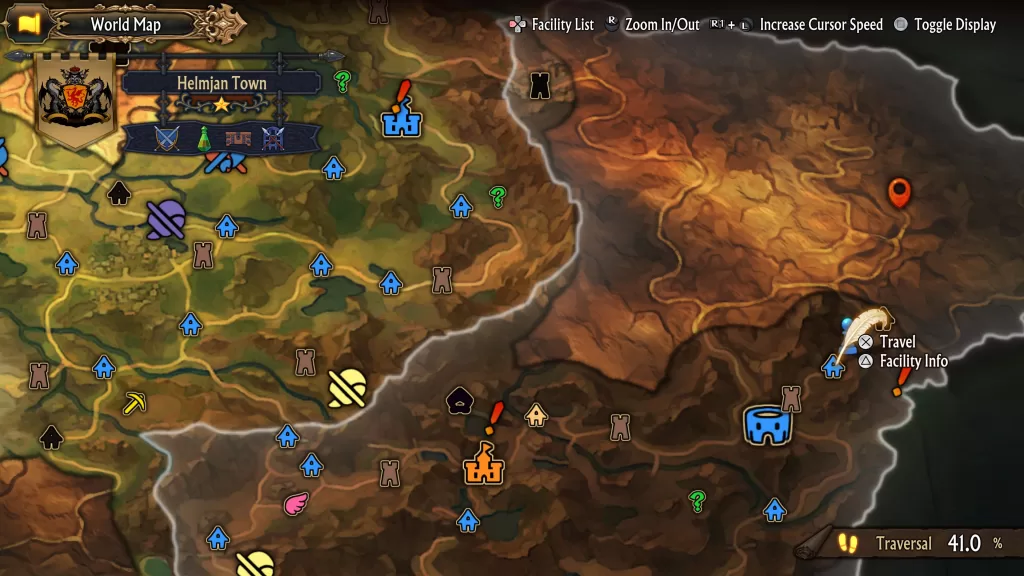
Northeast of town.
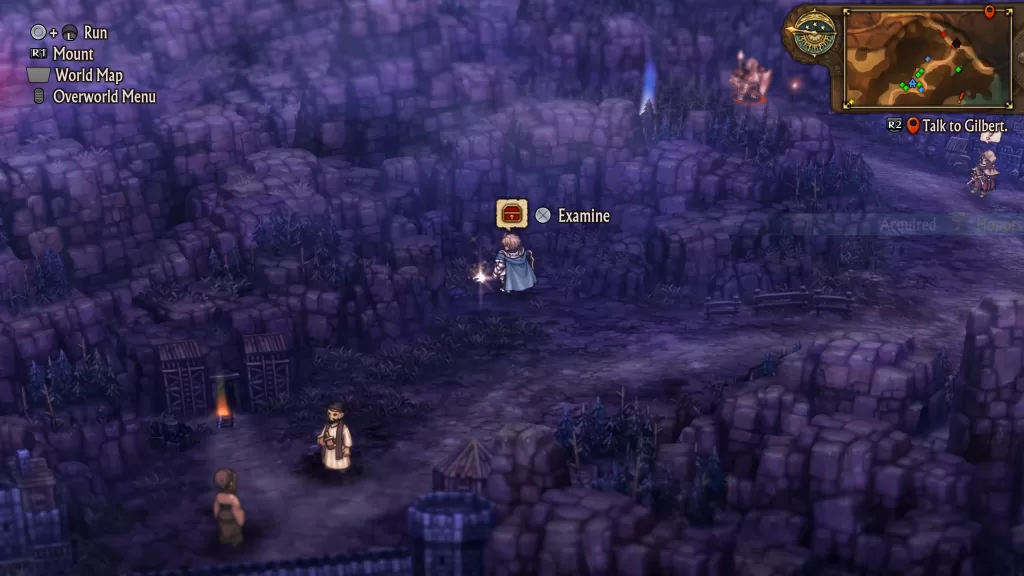
Schaetze Town
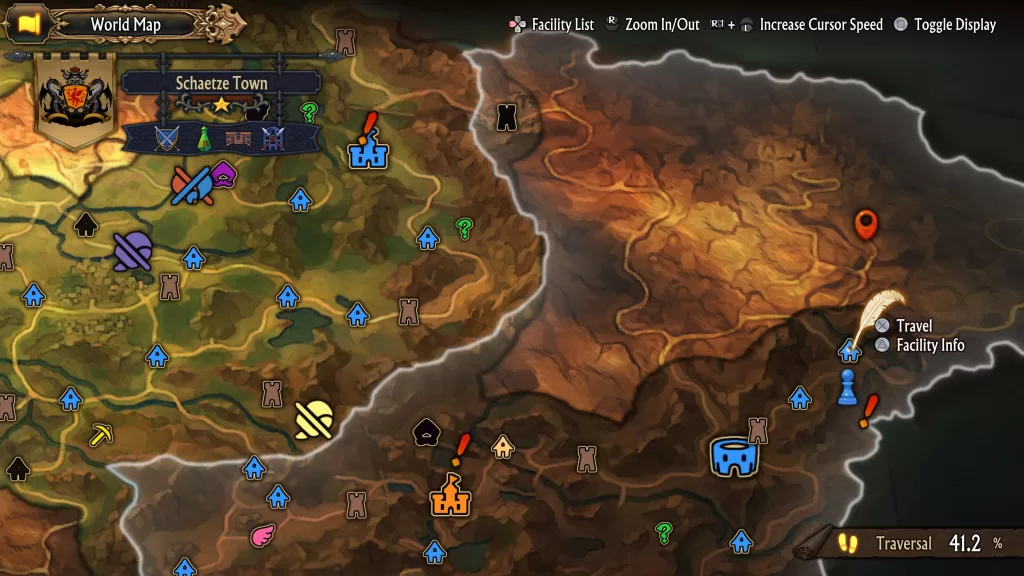
South of town.
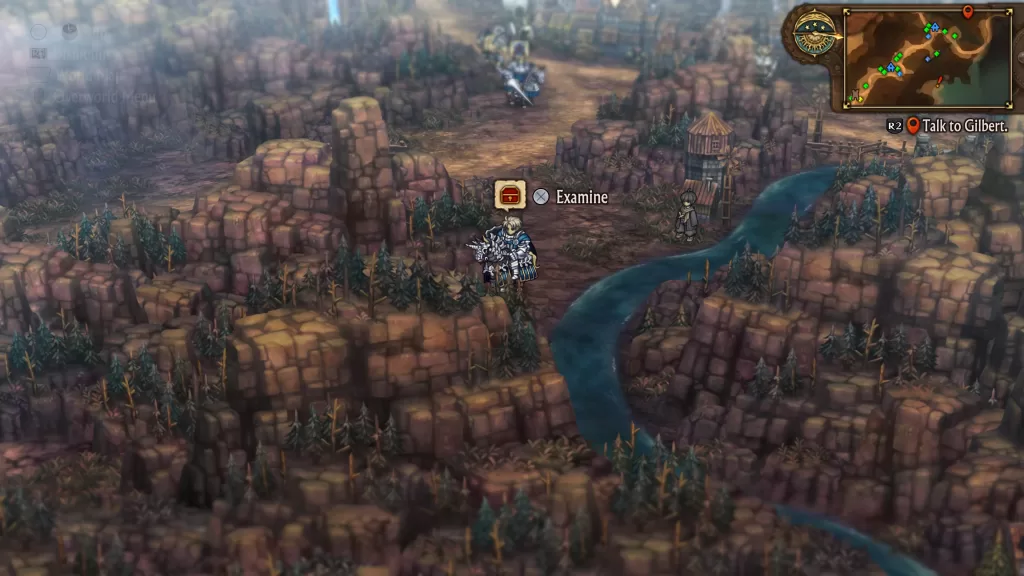
Schaetze Town #2
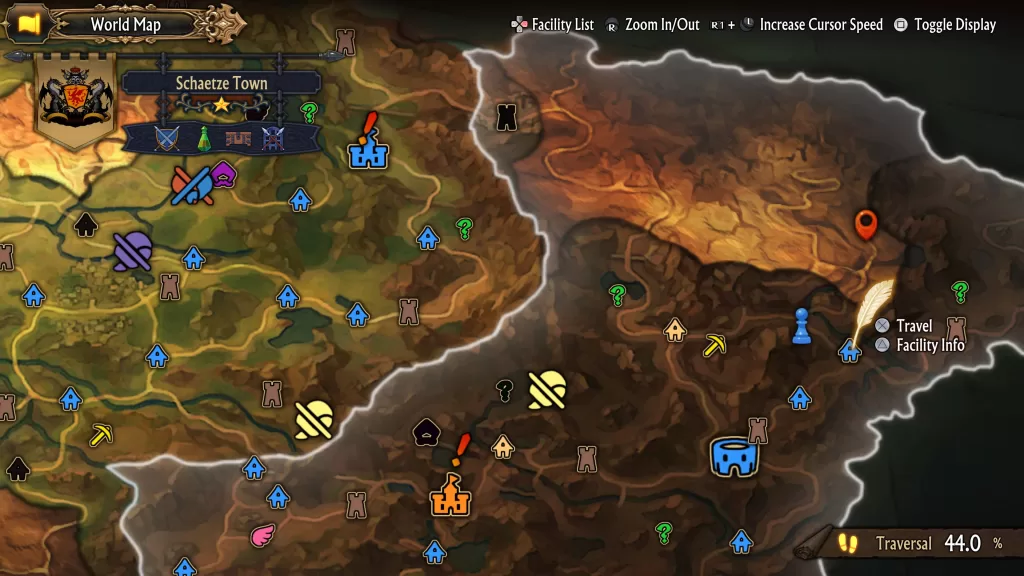
Just north of town.
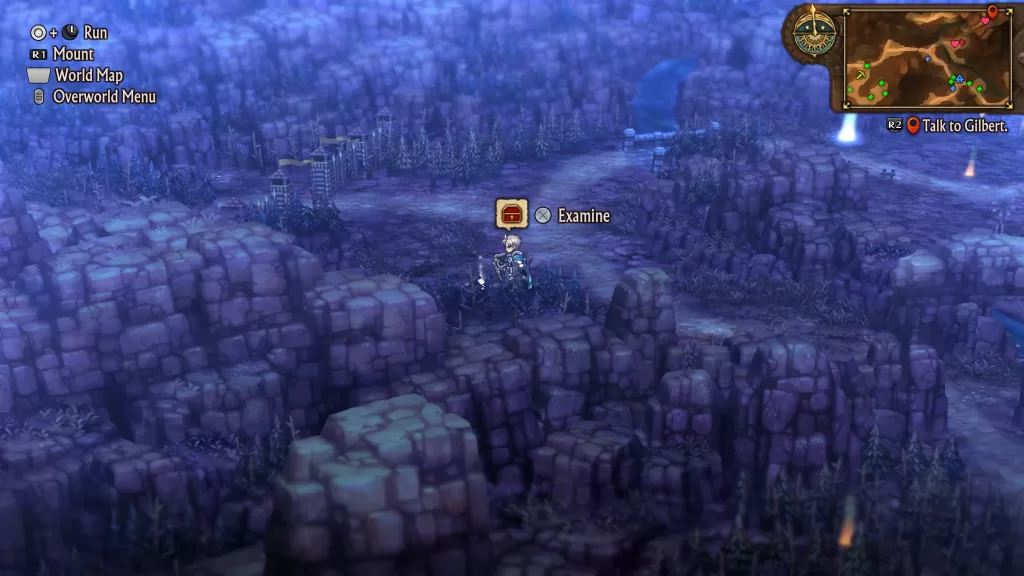
Sechtrieve Town
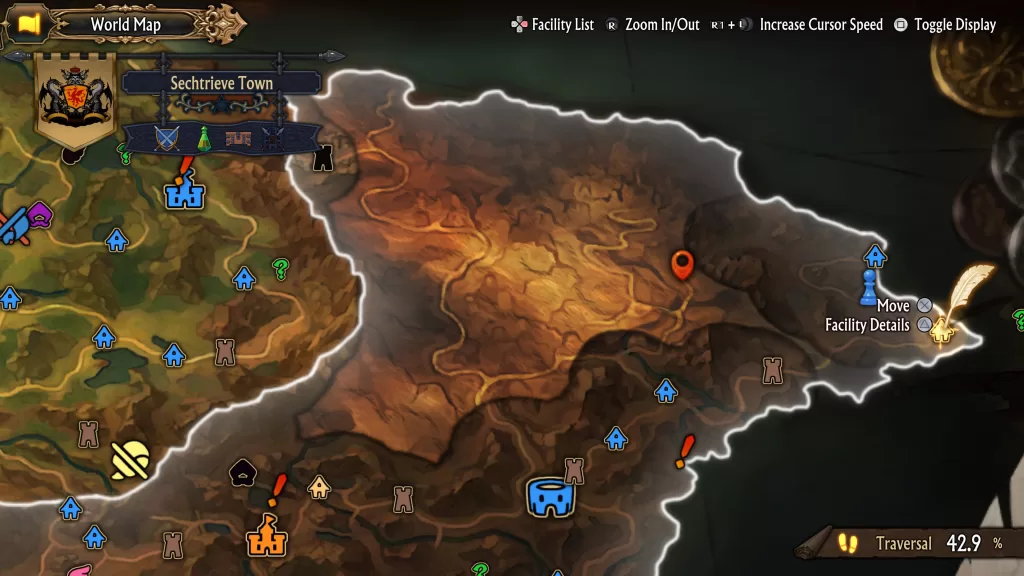
North of town in a pile of bones.
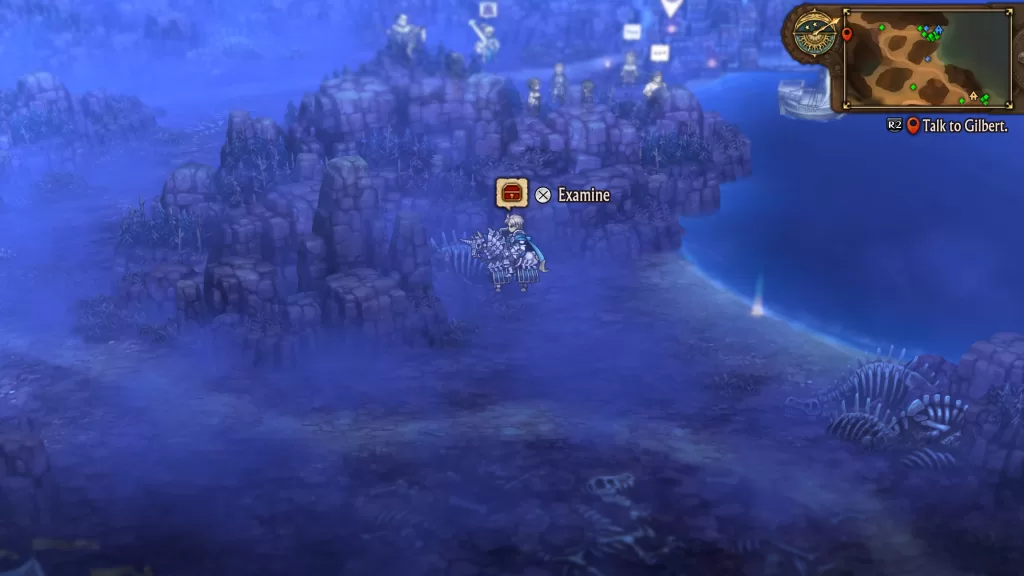
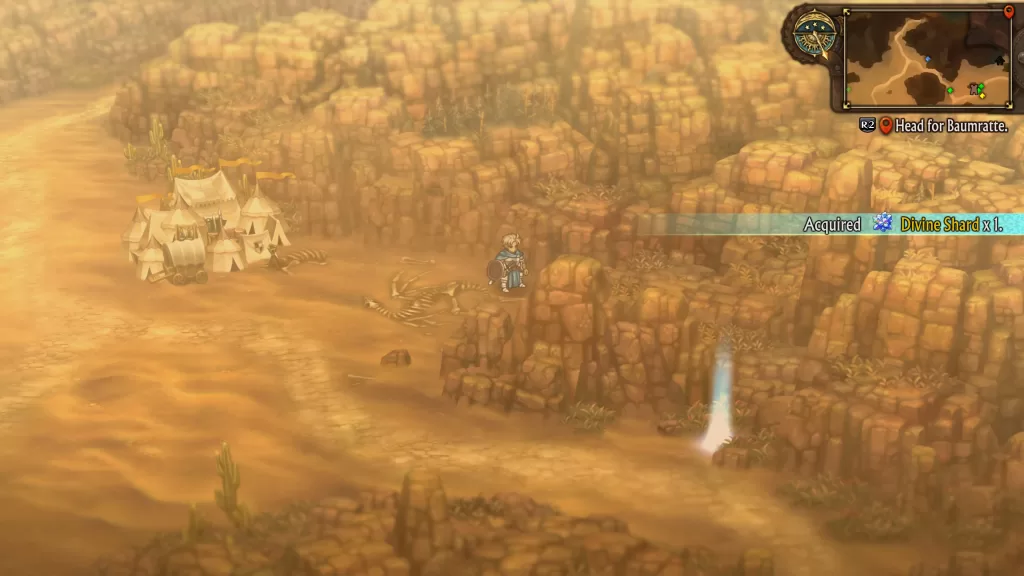
Fort Hossent

North of the fort in a pile of bones next to a lake with a waterfall.

Fort Neumont
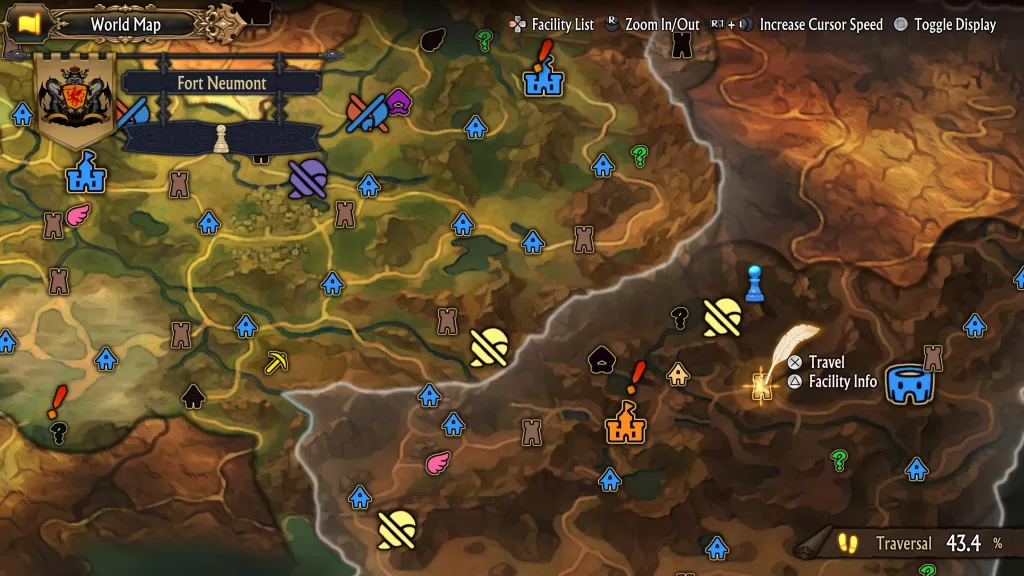
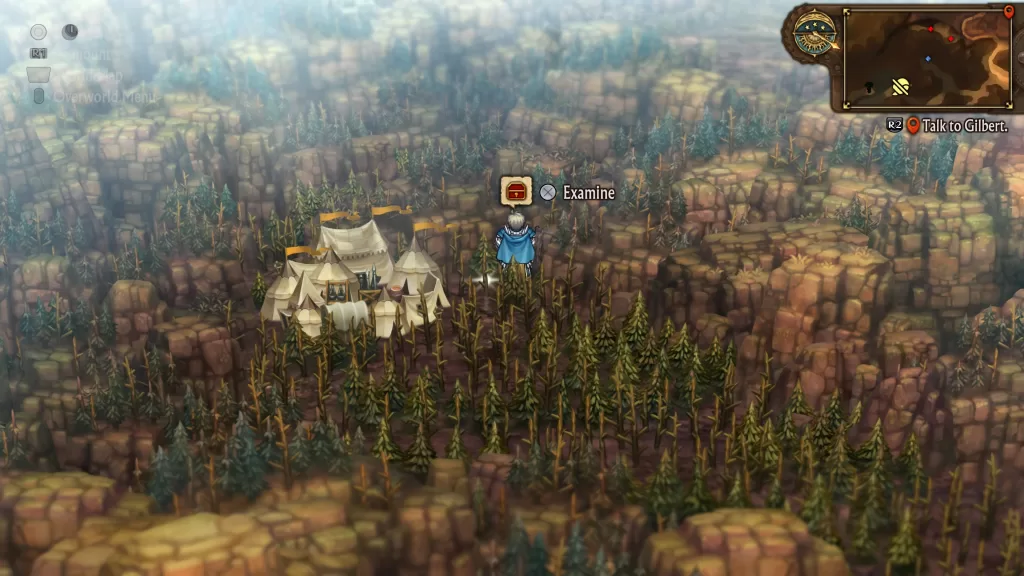
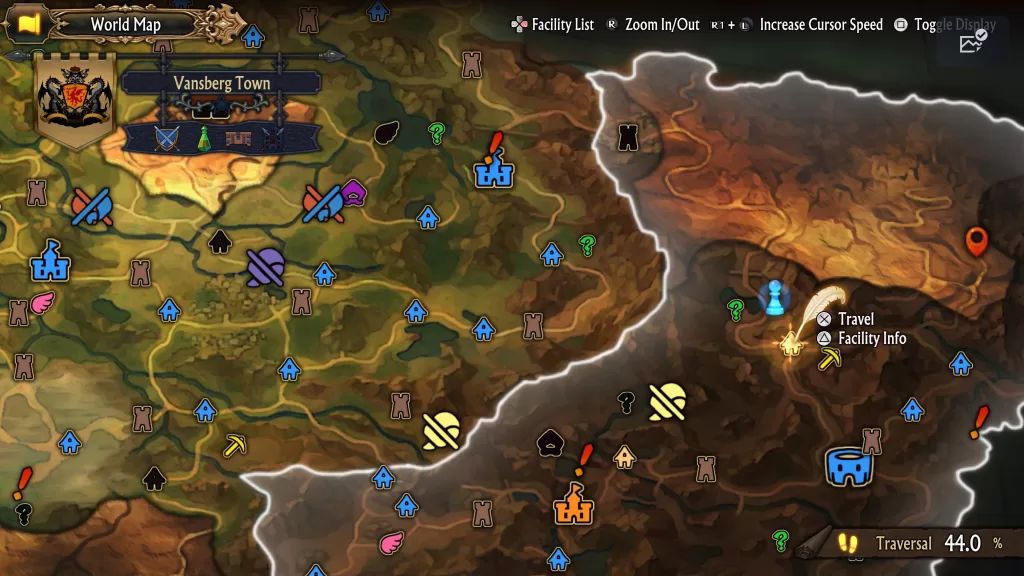
To the far north of the fort by an encampment in the heavily wooded area just northeast of The Sigil’s Trial, Moderate 2.
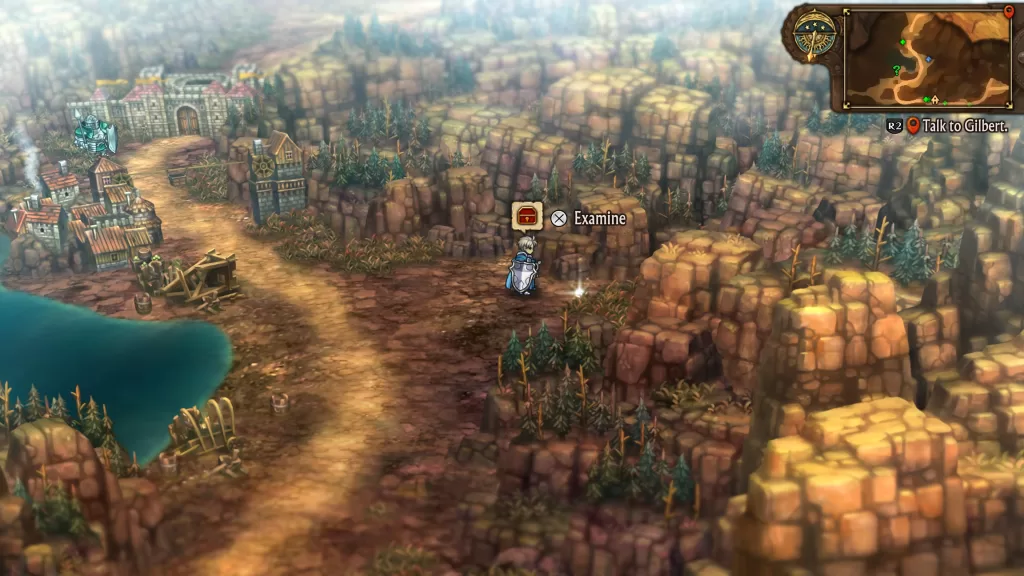
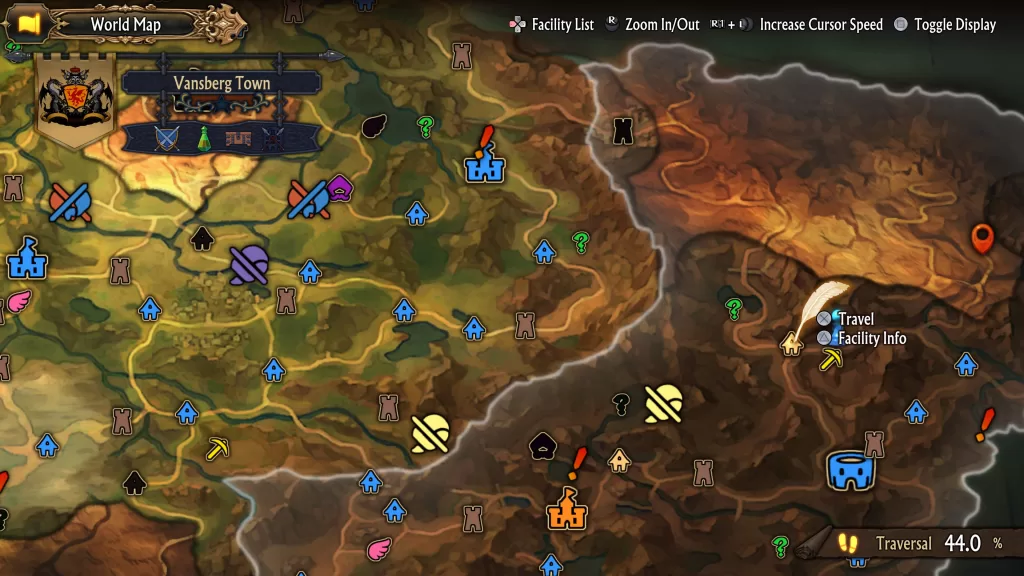
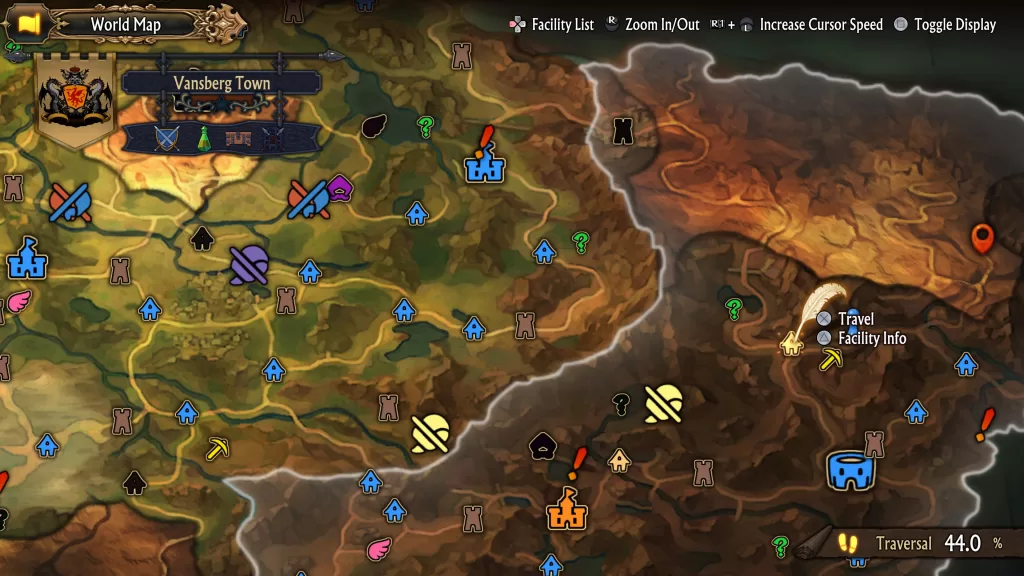
Vansberg Town
Take the road on the west side of town and follow it north. This shard will be across from the pond.
Vansberg Town #2
East of town in the patch of forest north of the quarry.
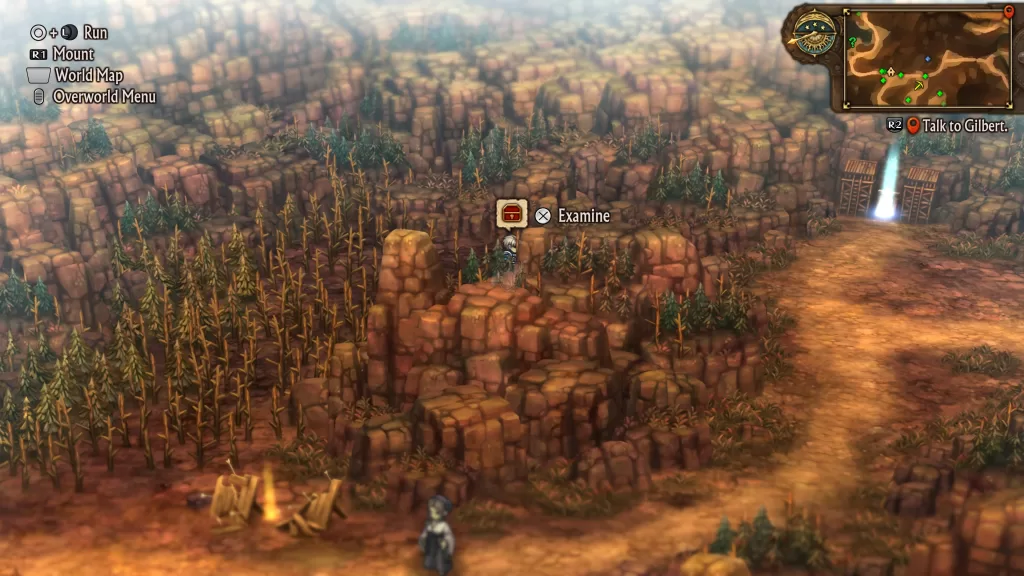
Vansberg Town #3
Next to the above shard on the east side by the road.
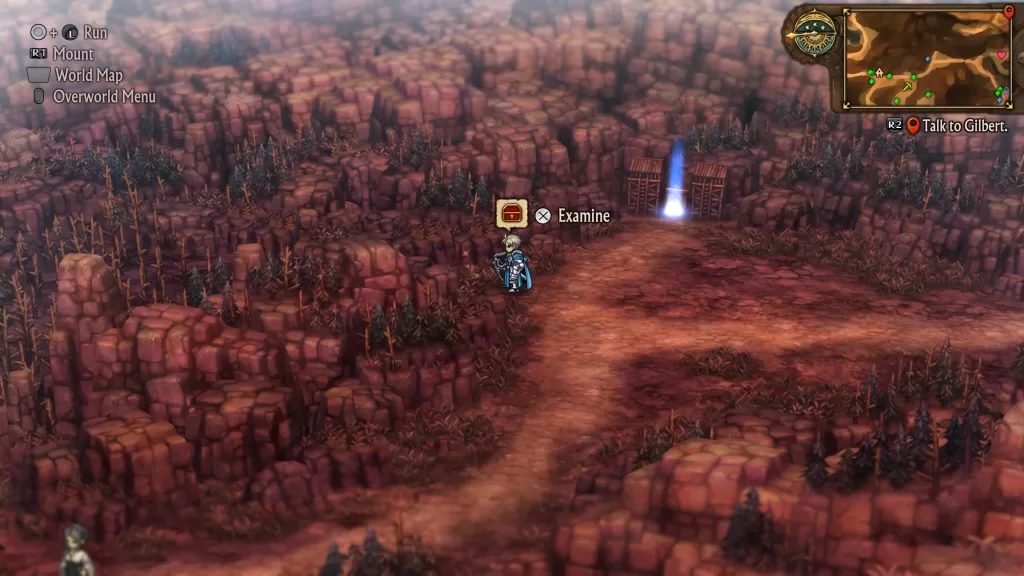
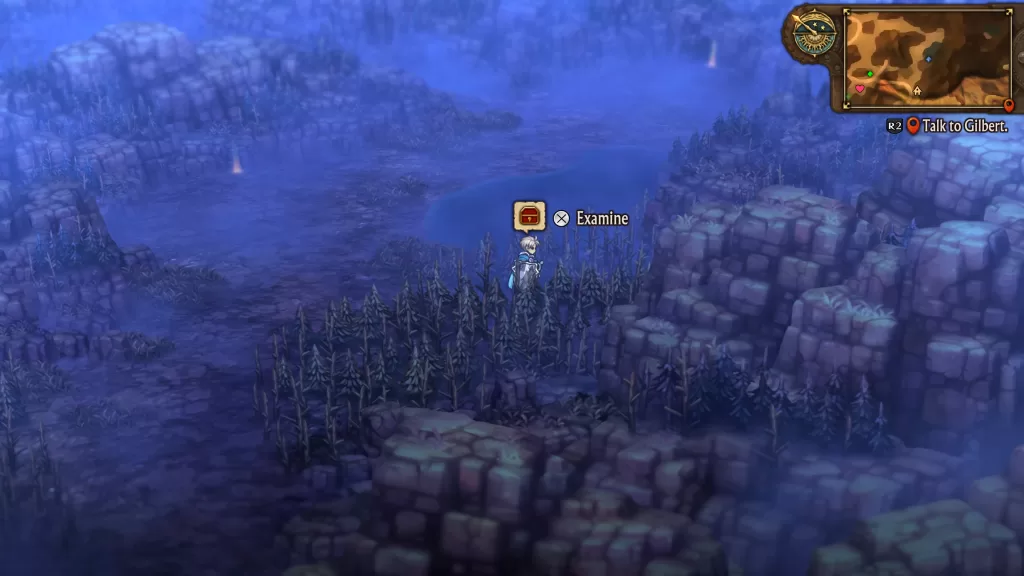
Schwarthruse Town
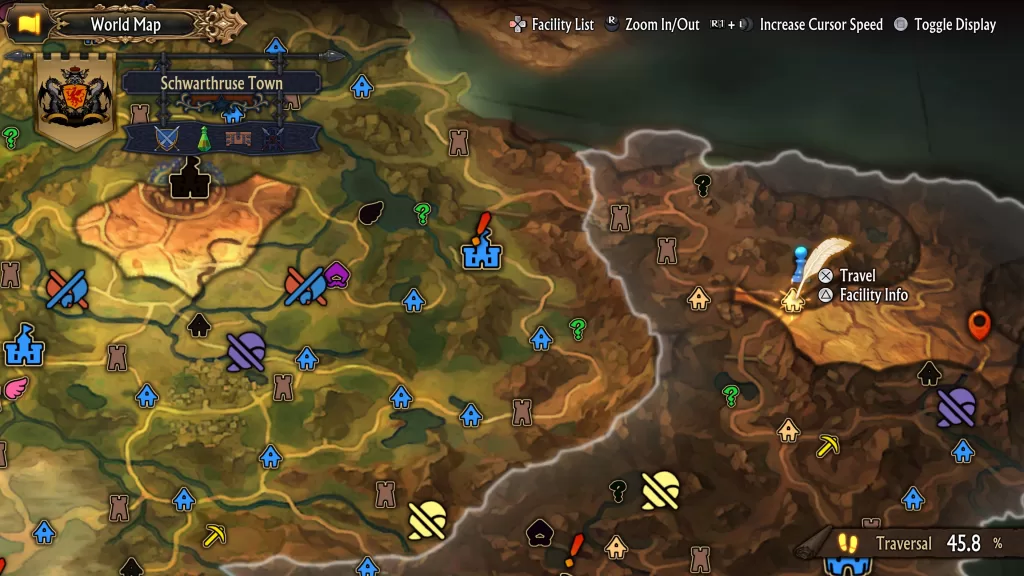
North of town
Schwarthruse Town #2
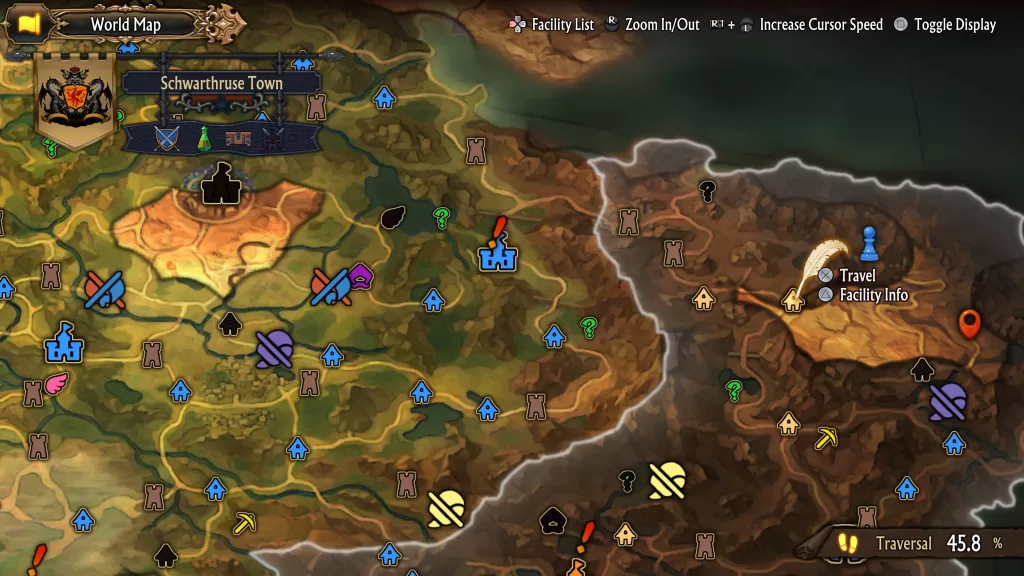
You’ll get FIVE divine shards for taking the hidden path to the east of the above shard through the mountains.
Schwieger Town
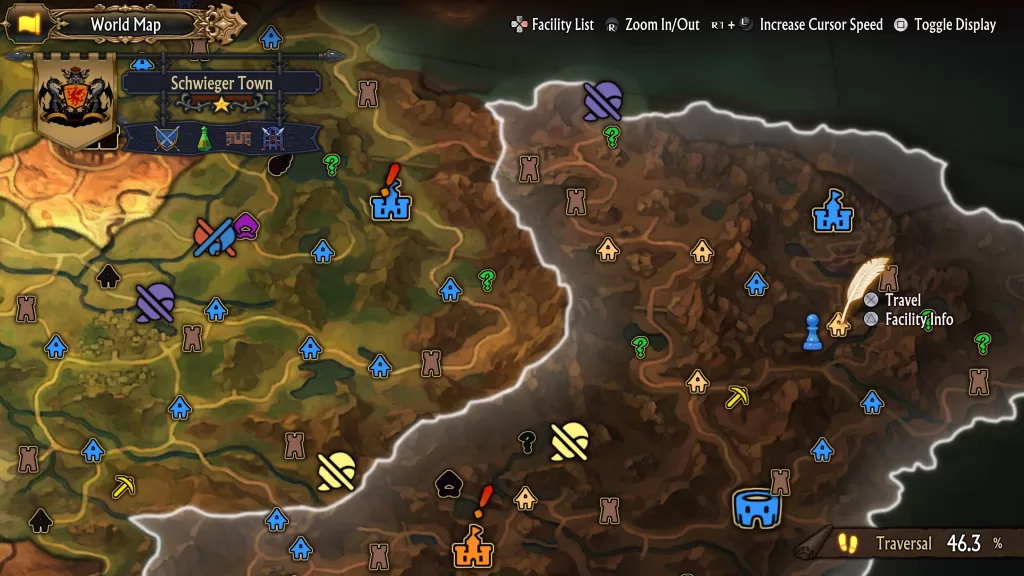
On the west side of town
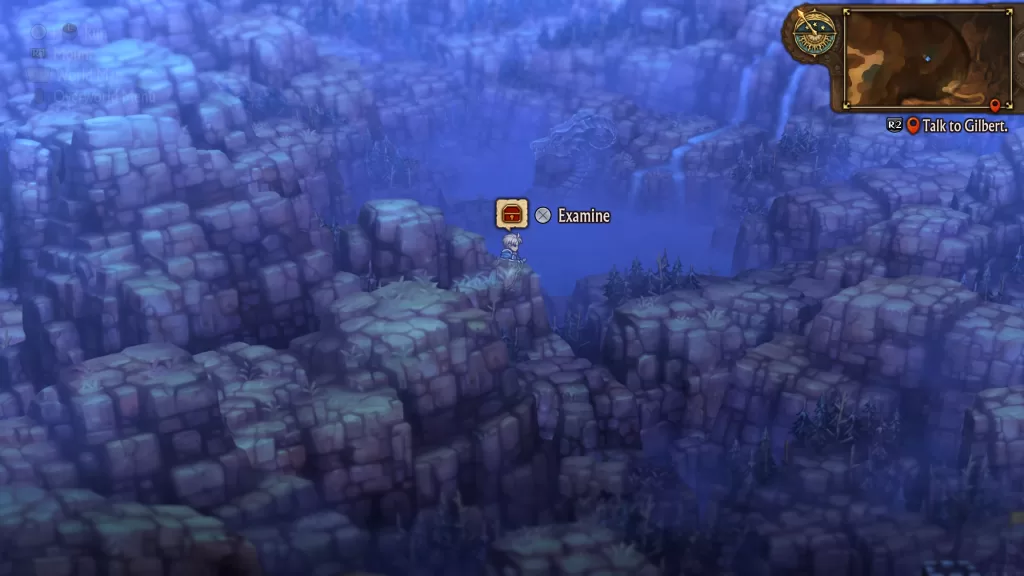
Schwieger Town #2
Three divine shards can be found north of town by the waterfall.
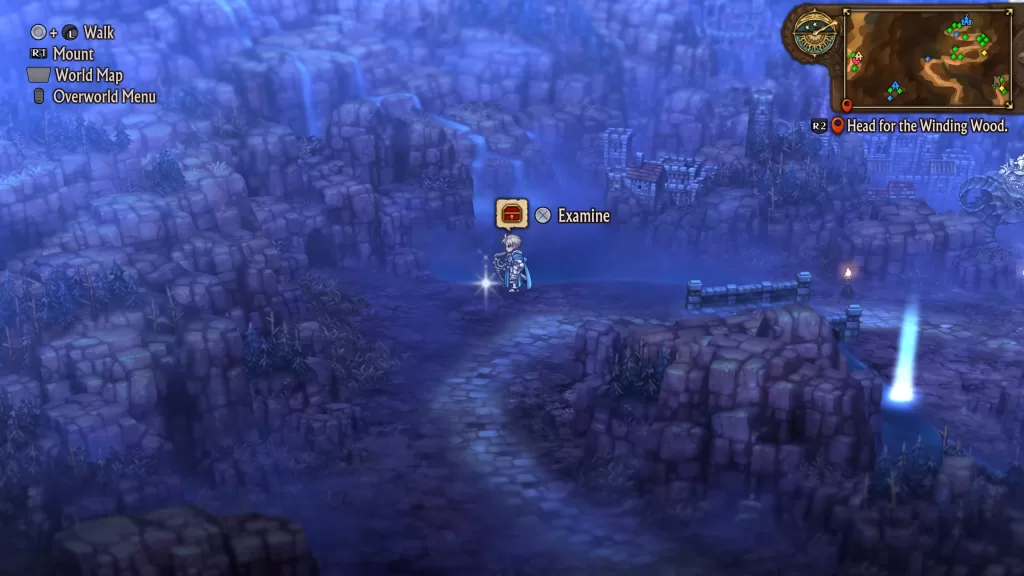
Znova Town
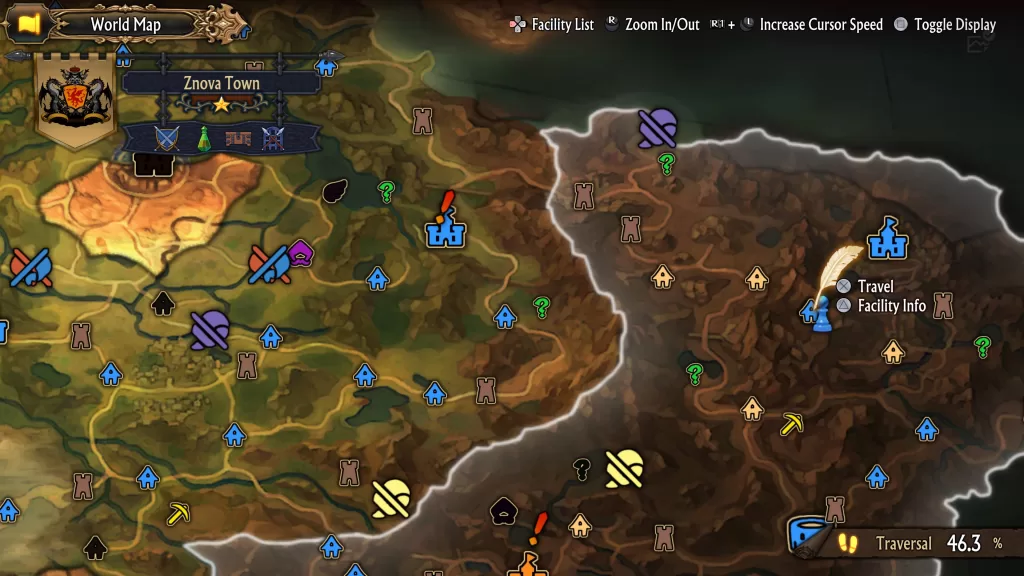
In town
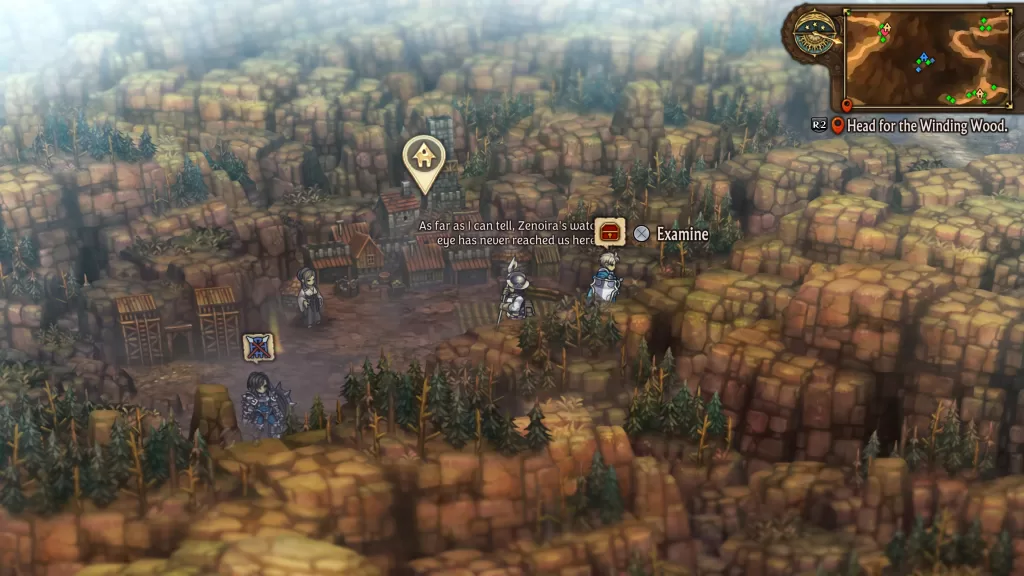
Pritzlasse Fortress
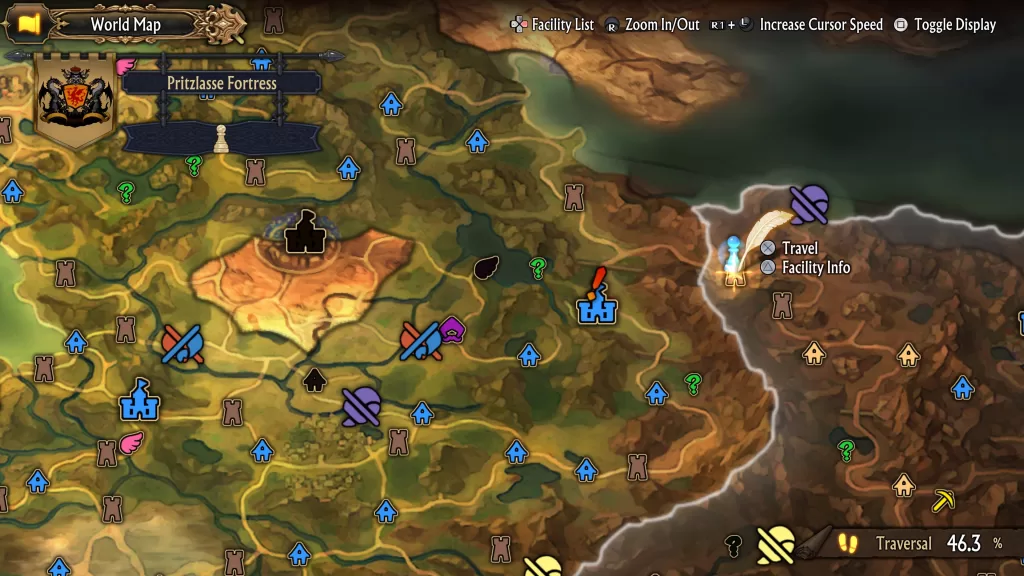
North side of the fortress.
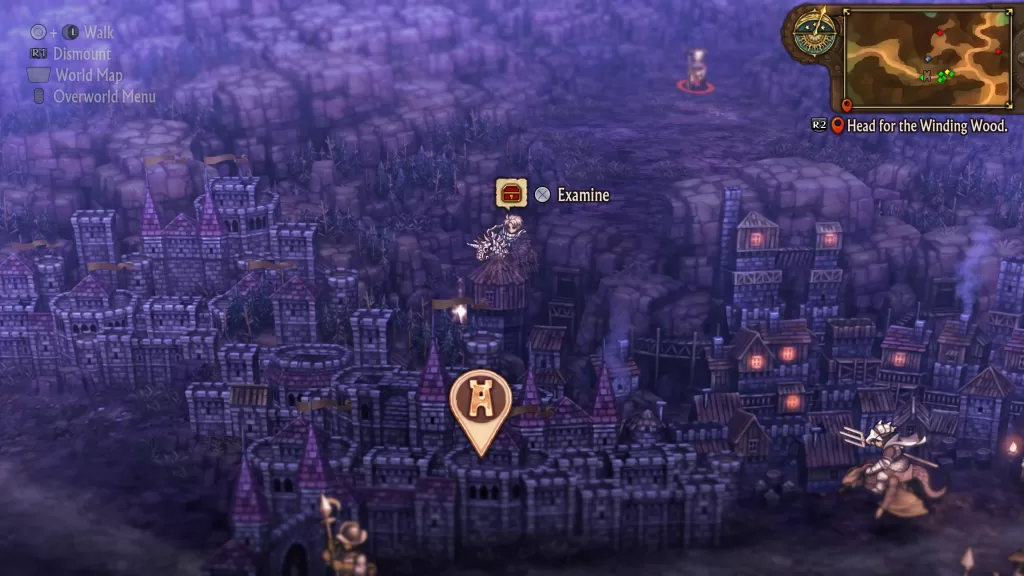
Krannich Harbor
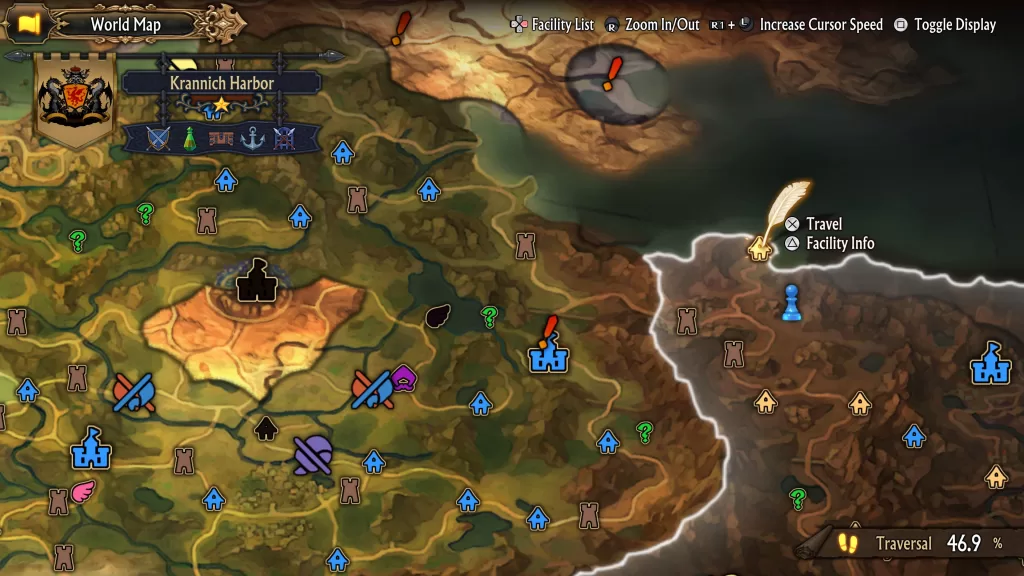
South of the harbor to the southeast of the cemetery
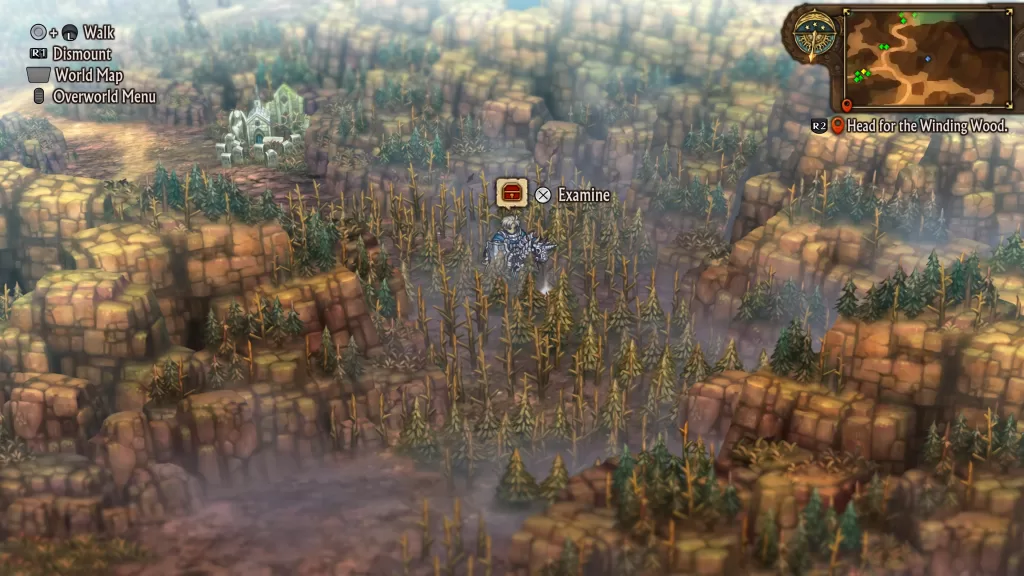
Fort Asterweiss
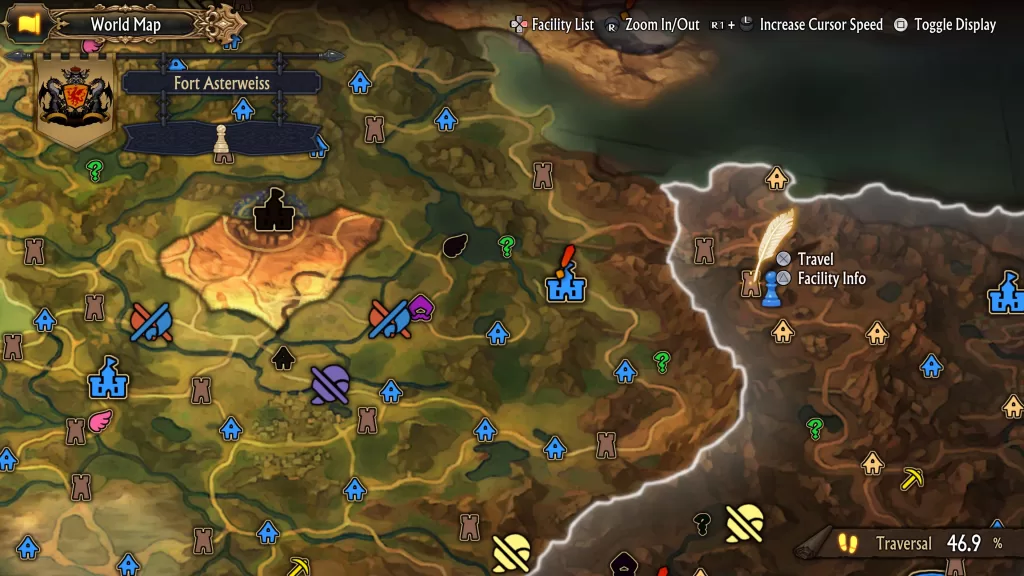
On the southeastern side along the rocks
Unicorn Overlord Guides and Walkthroughs
For more Unicorn Overlord guides and walkthroughs, click here!