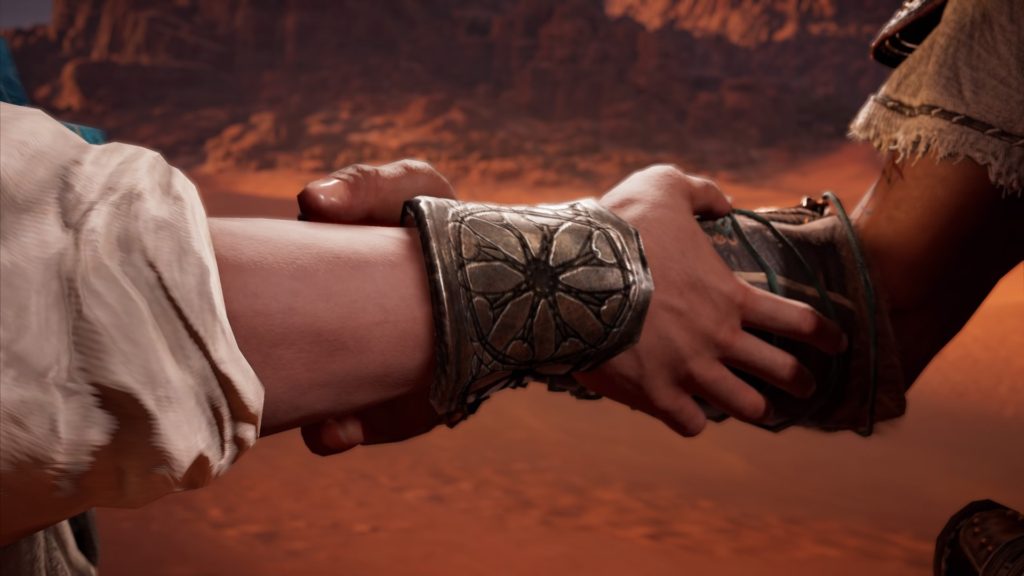
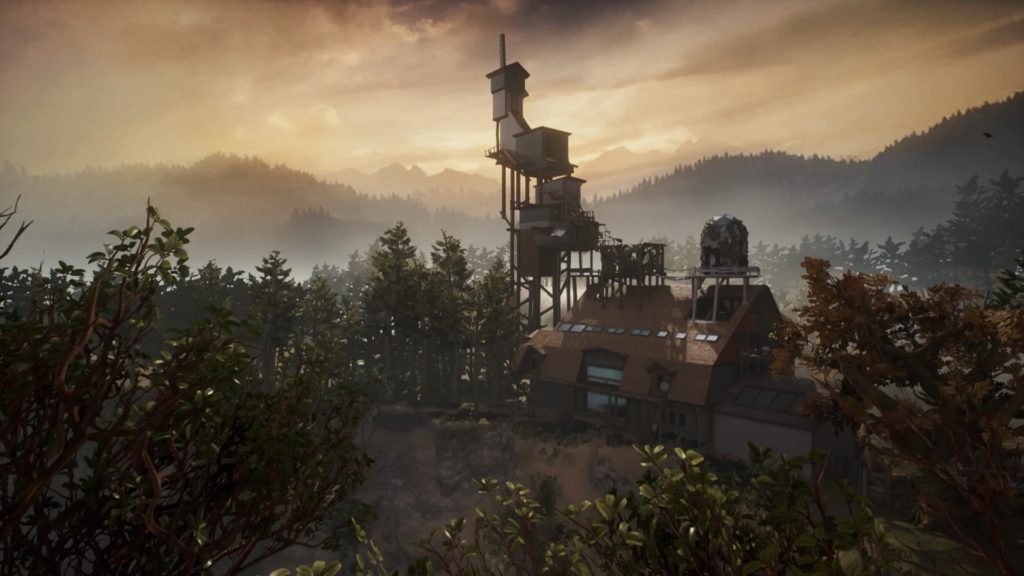
The Hidden Ones takes place four years after the main story of Assassin’s Creed Origins. The people of Sinai have begun revolting against the Romans. In one massacre, two agents of the Hidden Ones were killed protecting civilians caught up in the battle. Tahira, the leader of the Hidden Ones, blames herself for their deaths and is struggling to keep her Hidden Ones together in addition to forming an alliance with the leader of the local rebels. Tahira is in desperate need of Bayek’s council.
CONTENT
Sinai is a new location to explore filled with many mountains and of course lots of sand. It is broken up into four regions filled with treasure to find, animals to hunt, outpost to liberate and viewpoints to jump off of just like the main game. You can easily spend close to 5 hours alone just clearing out every location on the map. There are also a number of side quests spread around Sinai that offer Bayek the chance to help the locals and even recruit more members into the Hidden Ones. The level cap is increased to 45 and everything from the main game carries over into the new DLC. I’d like to mention that the first quest for the Hidden Ones recommends a level of 38 since most of the enemies will be levels 40 to 45. You can also find 2 more phylakes in the form of the Shadows of the Scarab who are both level 45. The Hidden Ones DLC also includes a new outfit, four new legendary weapons, new mounts and a couple new weapons to use that will be unlocked as you progress through the story. Speaking of story, there are only 8 main story quests in the DLC that took around 2 hours to complete. This brings the total time I spent on the Hidden Ones overall to around 7 hours.
OPINION
I really enjoyed my time with the Hidden One DLC. Combat was as fluid as it was in the main game, and I found myself going off the beaten path quite often to explore new places that I came across. It was really cool to see the origins of the assassin order and how some of their creed was created through the events in this new story. The only thing that really bothered me about the first expansion was the bugs. A couple of them prevented me from moving forward but was easily fixed by reloading the game. The major ones prevent trophies from popping up after the conditions for the trophy were met. After some research, the only way to get those trophies unlocked would be to create a new game, play through the DLC again, and hope the trophies would unlock the next time.
RECOMMENDATION
When everything is said and done, this DLC is a good excuse to get back into Assassin’s Creed Origins and I felt it was well worth the $10 asking price especially if you really like the main game.
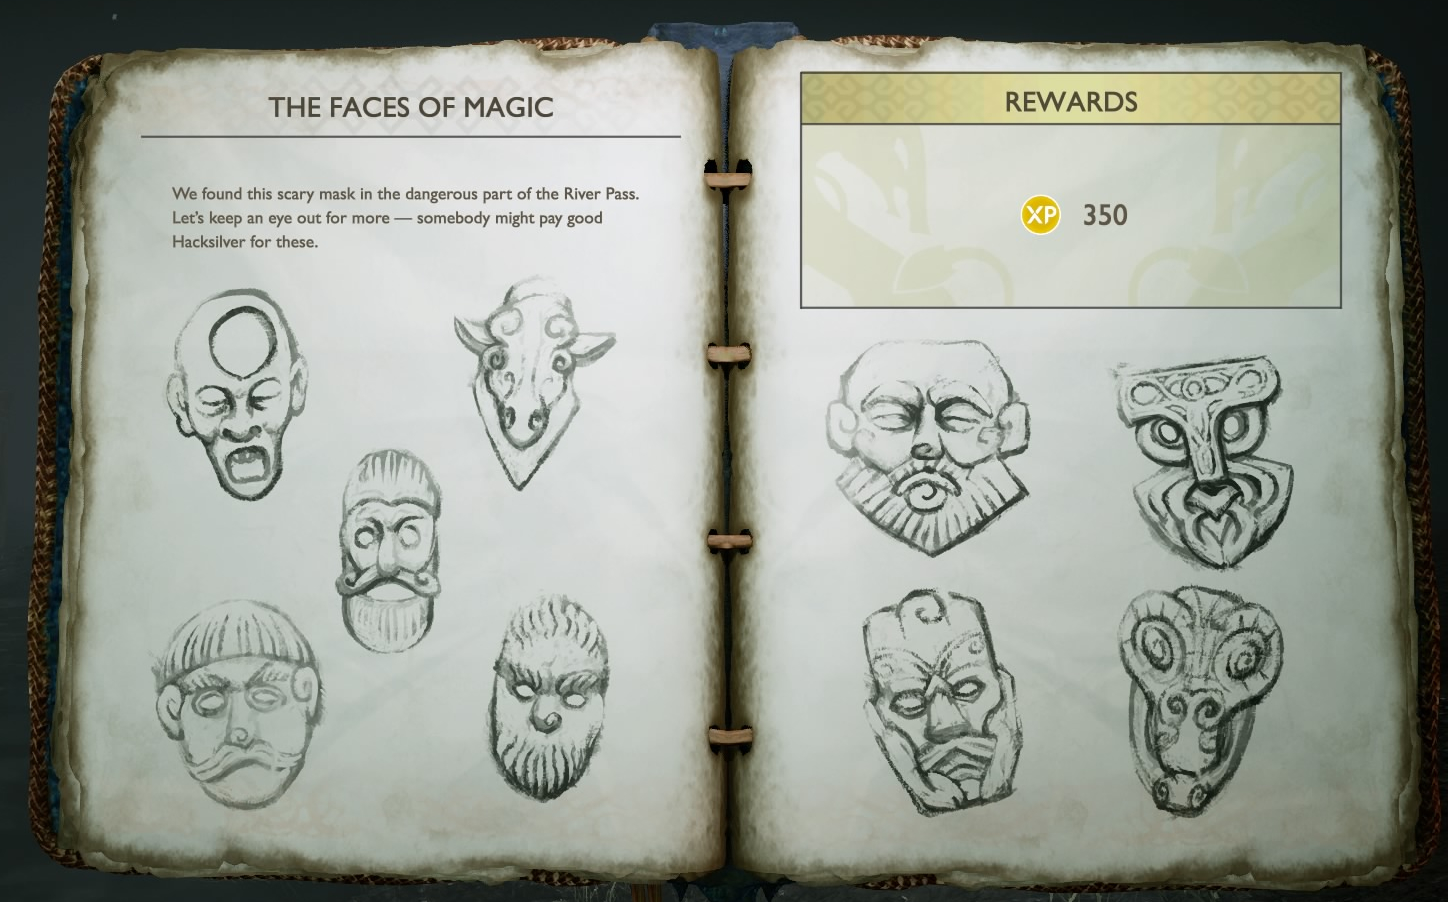
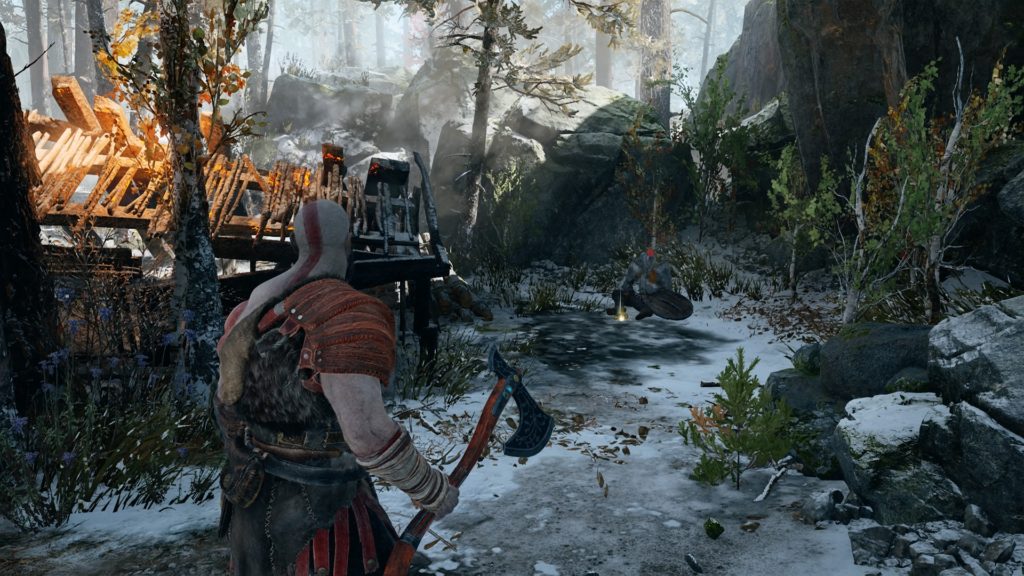
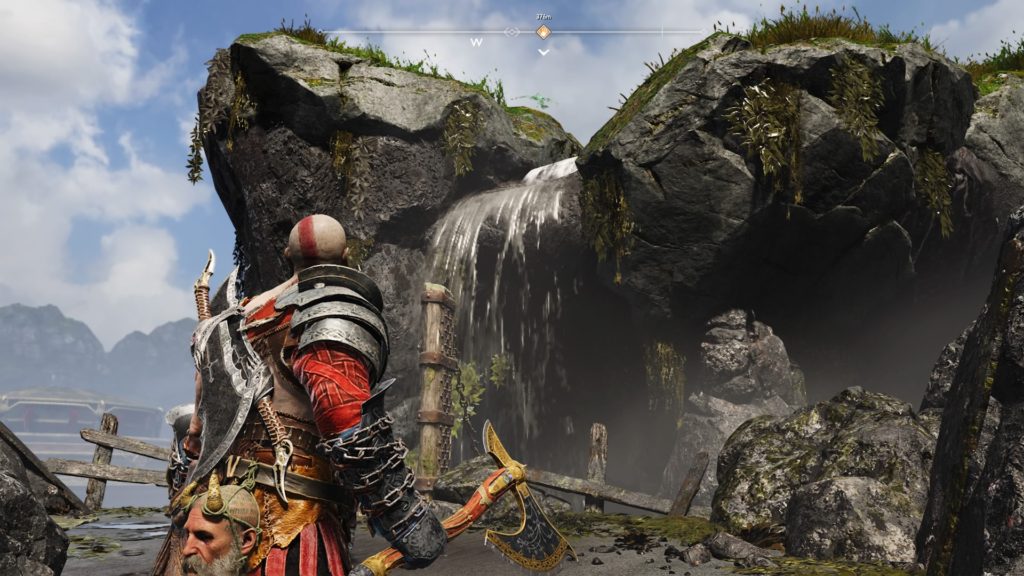
Travel to the Witch’s Cave Lower Level Mystic Gateway and head up the really slow elevator (feel free to grab a snack while you wait). Exit the elevator and take the second right (south). Jump to the lower area and swing to the left to arrive in an open part of the cave directly under the witch’s house. Directly in front of you (east), there will be a rock platform with a wind of hel container hanging on the roof with a corpse next to a torch on the ground. The mask is next to the corpse. To get it, head back to the previous room to the giant wood pallet filled will ore. Move the pallet towards the platform with the mask to push the pallet into the cave floor. Doing this will allow Kratos to jump from it to the platform to retrieve the mask.
Scary Mask 2
Head through the gates to the left of Brok’s shop in the River Pass and work your way past the spiked ceiling. Jump up the wall and head through the exit. The mask will be located next to a corpse near the edge of a cliff on the right side.
Scary Mask 3
Head through the gates to the left of Brok’s shop in the River Pass and work your way past the spiked ceiling. Jump up the wall and head through the exit. Keep move forward into the cave that was opened up by solving the family puzzle. The mask is located to the left of the cave in a room with a hole in the ceiling and a rope hanging down through it.
Scary Mask 4
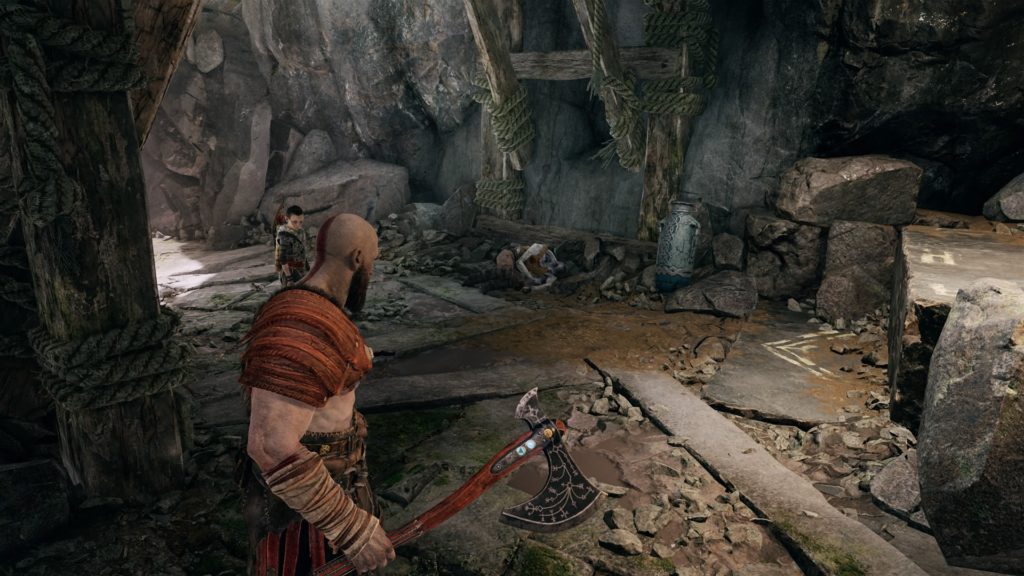
Head to the village ruins past the family cave puzzle. The mask is located next to the corpse of a knight behind a burning building.
Scary Mask 5
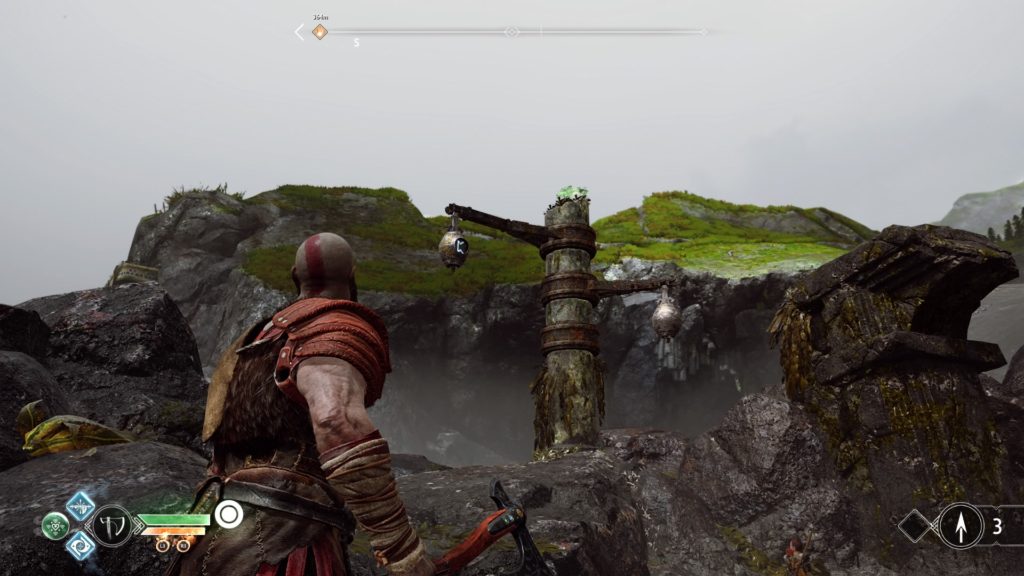
From the Witch’s Cave Lower Level Mystic Gate, take the very slow elevator to the top. Once you reach the top, take the first right heading west. At the end of the hallway, climb the wall to emerge from a well just outside the witch’s house. Head south down the hill and this mask will be located on the right before the log you can vault over.
Scary Mask 6
Facing Brok’s shop in the River Pass, go right and take the path to the left of the bridge with the flaming tree stumps. Turn right past the first group of trees and hop down to the ledge between the stone face and tree to find a fallen knight. The mask will be laying on the ground right next to him.
Scary Mask 7
Head through the gates to the left of Brok’s shop in the River Pass and work your way past the spiked ceiling. Jump up the wall and the mask will be on a corpse near the exit.
Scary Mask 8
From the Witch’s Cave Lower Level Mystic Gate, take the very slow elevator to the top. Once you reach the top, take the first right heading west. At the end of the hallway, climb the wall to emerge from a well just outside the witch’s house. Head south down the hill and vault over the log. Keep following that path until you see a climbable chain on the side of a cliff across from the witch’s house. Climb up that chain and head to the right to find this mask on the ground to the left near a corpse.
Scary Mask 9
Facing Brok’s shop in the River Pass, go right and head across the bridge with the flaming tree stumps. Keep following the path and you’ll wind up near a chain next to a doorway. Climb down the chain and follow the path to the end near the corpse of a knight. The mask will be located on the ground in front of the knight.
This raven is located on a crashed boat to the side of the Niflheim Tower.
Forgotten Caverns
This raven is on top of a post at the Forgotten Caverns.
To get this raven, dock at the Svartalfheim Tower and take the elevator up. Go through the doors of the tower and walk up to the edge. Look down to see the raven perched on a rock.
Alfheim Tower
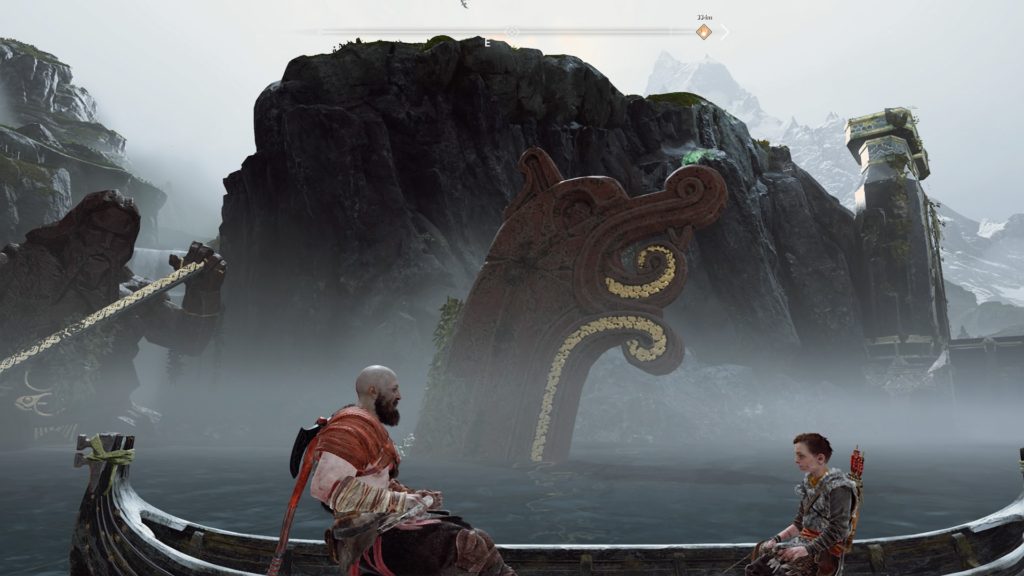
This raven is located on the figurehead of a sunken ship east of the Alfheim Tower. You will have to wait until the world serpent moves to get this raven.
Cliffs of the Ravens
After you dock on the shore, head to the left past the giant corpse. There will be a chain over a ledge that Atreus can drop down for Kratos. Climb the chain and head a little bit passed the chest on the left. North-west of the chest, the raven will be perched on a rock.
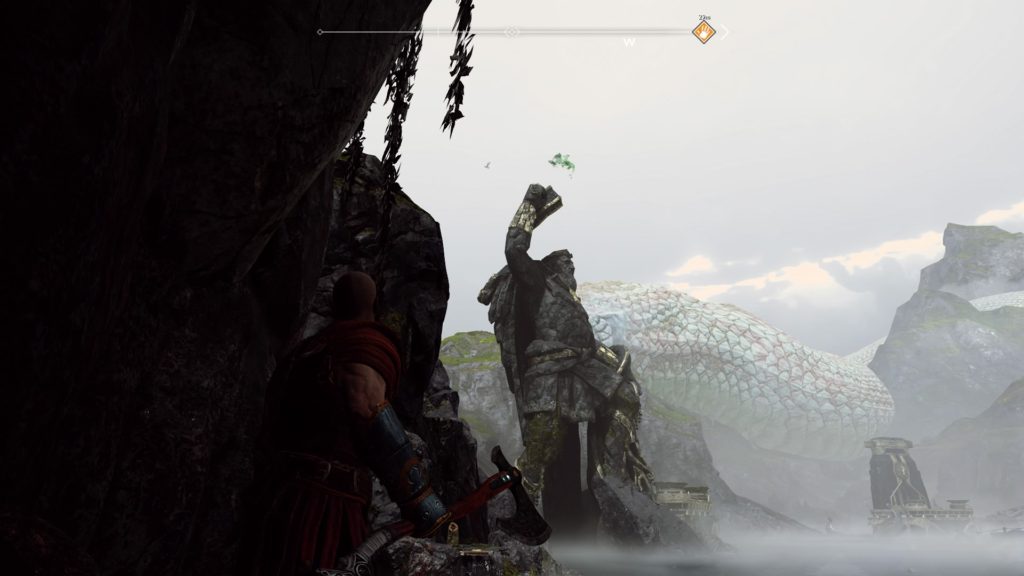
Lookout Tower
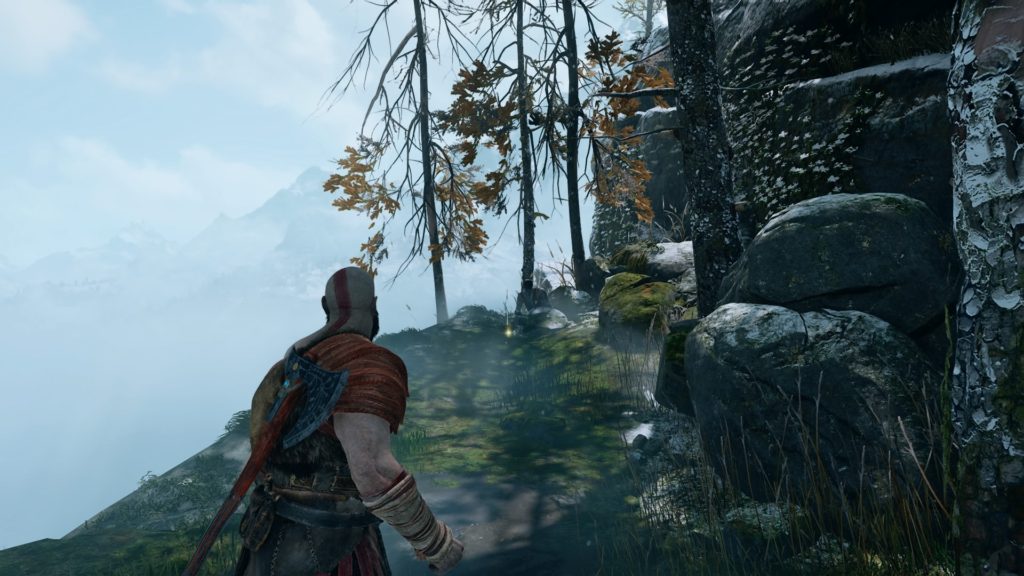
To find the raven at the lookout tower, you will need to first travel to Tyr’s Temple which is located right next to the tower. Head up to the bridge connected to the temple and follow it until you reach the end with the giant double doors. On the right, you will be next to the Lookout Tower and should see some rock ledges that Kratos can climb on. Look for the fire jug next to the rocks and throw the axe at it. This will clear the way to the Lookout Tower. Head down the elevator near your on the bridge and make your way to where the rocks where. A raven will be flying around in the sky there.
Stone Falls
Head to the gear that opens the big doors to Veithurgard at the Stone Falls. The raven is to the west on a rock above a waterfall.
Buri’s Storeroom
This raven is flying around a giant rock on the north side of the island.
Isle of Death
Dock the boat and head to the left. The raven will be located between two rocks and under a boat. You can’t get this map until the water in the Shores of Nine lowers a second time.
Iron Cove
To reach this raven you will need to dock at the Isle of Death and make your way to the very top. Once at the top, you will need to zipline down to the Iron Cove. Climb up the wall to reach an area with a broken ship. Head through the middle of the ship and turn right. Climb up the wood to reach the top part of the ship and look to the left (west) to see the raven flying around a rock.
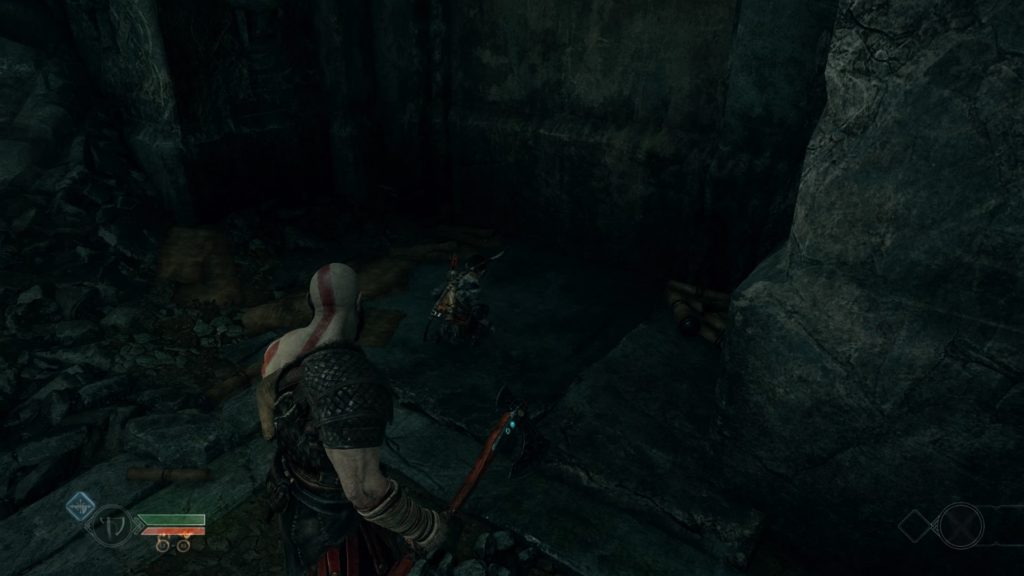
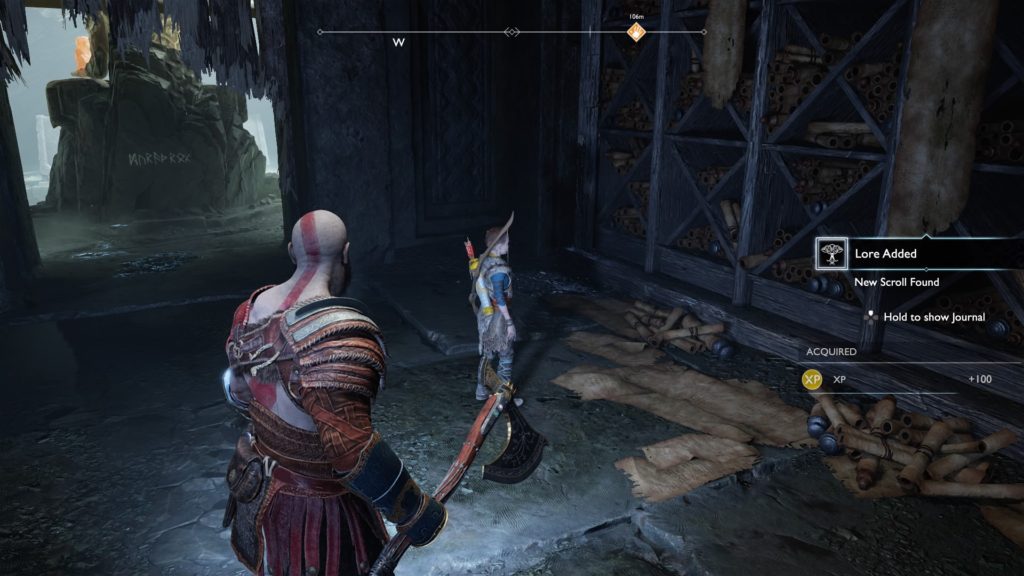
Facing Brok’s store in the River Pass, head directly left and jump down to the ledge between the two wooden pillars. Climb down the chain on that ledge and follow the path through the tunnel. Take an immediate right as you exit the tunnel towards the two bridges with a gap between them. Jump the gap and turn left climbing the wall that is right there. Stick to the right and you should be in the location of the hallway in the first image below. Head down the hallway and turn right. The scroll will be an item you can pick up on the ground like in the second picture.
Serpent Scroll (Thoe Mountain)
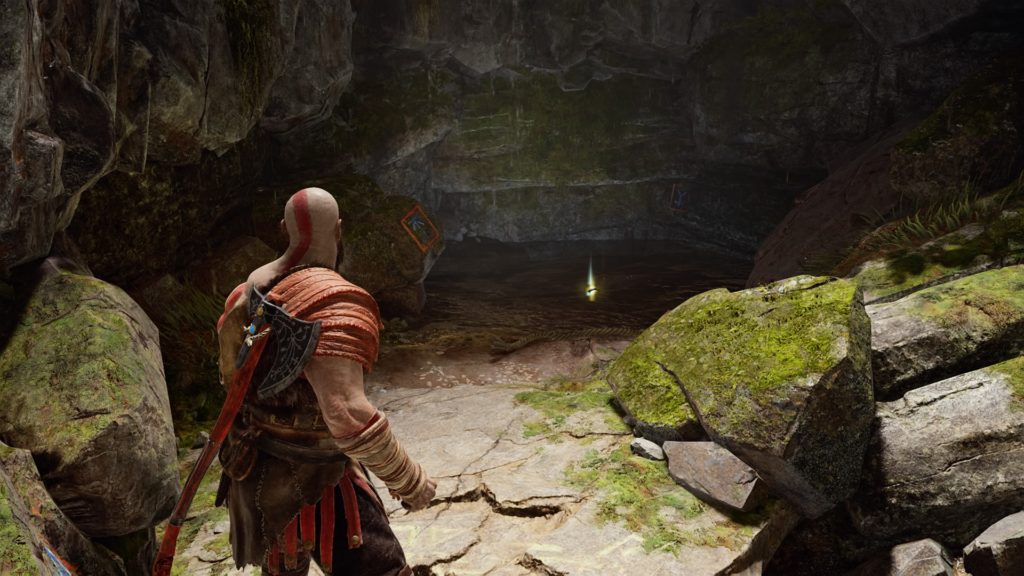
Head into the Mountain and take a right in the room with the stag sitting in a chair statue into a dark area. Light the crystal with Atreus if needed and jump down to the lower level. Turn right and vault over the rock wall continuing on the path to another crystal to light. Keep going following the path and eventually, you will reach a tunnel requiring you to crouch. Head through the tunnel follow the path forward. Lift up the rock to proceed further into the cave. Keep moving forward and vault up the wall leading you to a fork. Take the right path and light the crystal. To the north of the weak wall, follow the path to the next light on the wall. Keep heading down the path into a low cave filled with lots of dead corpses. When you emerge, head up the stairs to the right of the stag statue to break down the weak wall to find the scroll.
The Aesir’s Punishment (Isle of Death – Shores of Nine)
Dock at the Isle of Death and follow the path straight ahead. Take the first left and climb up the wall. Turn right and climb up part of a broken ship to find the scroll.
The Soul Eaters (Landsuther Mines – Near the River Pass)
Use the entry stone to gain access to the mine and head in. Follow the path, crouching under a rock to come to an open area with enemies. Head to the right and activate the lever to drop a climbable rock in the middle of the area. Climb up the rock and at the top, shoot the crystal hanging from the ceiling to break the floorboards. Climb down the hole and move forward toward the east to reach climbable wooden planks. At the top of the planks, destroy the red growth to press forward. Slide along the wall, heading deeper into the mines to come across a soul eater and traveler. Climb up the wooden planks next to the dead soul eater, jump the gap in the bridge and take a left jumping down. Move forward and climb up the small wall. Jump across the bridge and pull the lever to raise the platform. Take the zipline down and climb up to the level you just gained access to. Boost Atreus to lift the gate to proceed to the next room. The scroll will be on the left.
A Son’s Regret (Northri Stronghold)
See the Family Business guide for the location of this scroll.
What Remains of Edith Finch is a first-person story-based game where the player takes on the role of Edith Finch. Edith, being that last surviving member of the Finch line, returns to her family home to uncover the dark history surrounding her family. As you progress through the house via hidden passages, Edith talks about the history of the house and the family members that once occupied it.
Finch Family House
WORLD
The main goal of the game is to wander around the Finch house and learn about what happened to the various members of the Finch family. Each family member has their own unique room for Edith to explore that was sealed up upon their death. Each room is a time capsule focused on the interests of their owner and has a form of writing that triggers a flashback. It is here where the true creativity of the game shines as each family member’s flashback is tailored to their interests and shows the events leading up to their death. Gus, for example, was flying his kite during a storm. You control the kite, and must use it to locate the letters on the screen for the story to continue leading up to Gus’ untimely demise.
OPINION
I really enjoyed this game over the 2 hours it took me to complete it and obtain the platinum trophy. The story was able to keep my interest and was told in a very creative way. The characters were memorable and most of the flashbacks were really well done. The game was also really dark to the point of where even children couldn’t escape the cold embrace of death.
RECOMMENDATION
If you’re into story-based games or looking for something to play with a significant other, then this game is definitely worth a shot. It is currently listed for $19.99 on Steam, PSN, and the XBOX store so if $20 is too much for a 2 hour game, then hold out for a sale. I got my copy during a PSN sale for $10.
Chappie here coming at you with the second gamer’s log. I wanted to apologize for the lack of content over the last couple of weeks. There was a family emergency that needed my full attention, but that’s been taken care of so time to get back to the games! Since the last gamer’s log, I have finished both Ni No Kuni II and Far Cry 5 and reviews for both of those games are on the way. I did not write any guides for either game because I felt most, if not all, of the quests were pretty straightforward making any guides like that unnecessary. I decided to start the Witch and the Hundred Knight to play on the side while I go back and clean up some end game content on a couple of other games. The plan is to work on that until 4/20 when God of War comes out. I also got the MMO itch so I ended up starting The Elder Scrolls Online on PS4. With that, this gamer’s log comes to a close. Chappie signing off!
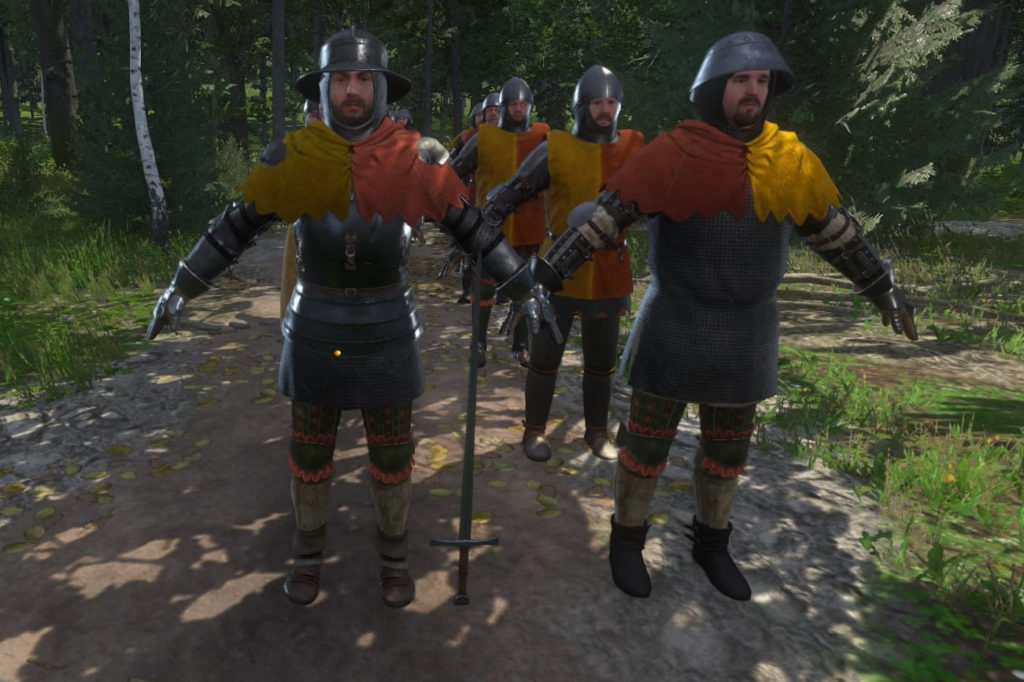
Kingdom Come Deliverance is an open-world action RPG that takes place in the country of Bohemia during the year 1403. You play as Henry, the son of a blacksmith. What starts out as any other day ends up turning Henry’s whole life upside down. This event, that happens early in the game, causes Henry to set out on a quest of vengeance to track down those who wronged him. During his quest, Henry will meet new and exciting people and partake in new experiences that will not only help him grow as a person but find his place in the world.
WORLD
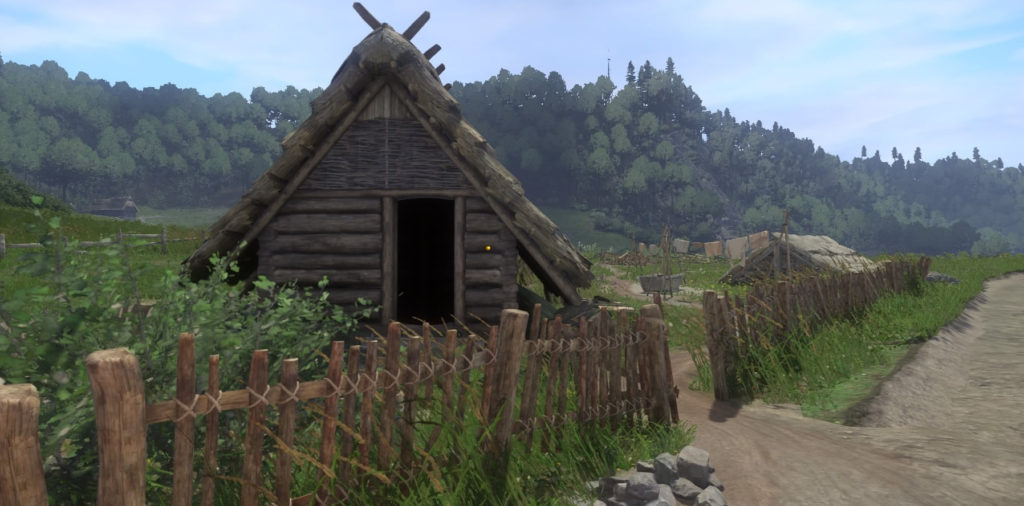
The world of Kingdom Come Deliverance looks quite gorgeous for not being a triple-A title. Each building throughout the various towns has a form of detail reminiscent of the buildings from the time period they are modeled after. The towns also contain various merchants that you would expect to see from back then such as a scribe and miller. Even the character models were made with the time period in mind. They live, work, dress, behave, and act similarly like the peasants, lords, and bandits of the olden days. The world also contains plants to harvest, animals to hunt, and some beautiful scenic areas. However, as you play the game, you will sometimes notice that buildings and objects do not load into the game correctly causing them to look distorted. It might even make you fall through the ground, trapping you, with reloading as your only escape option.
CONTENT
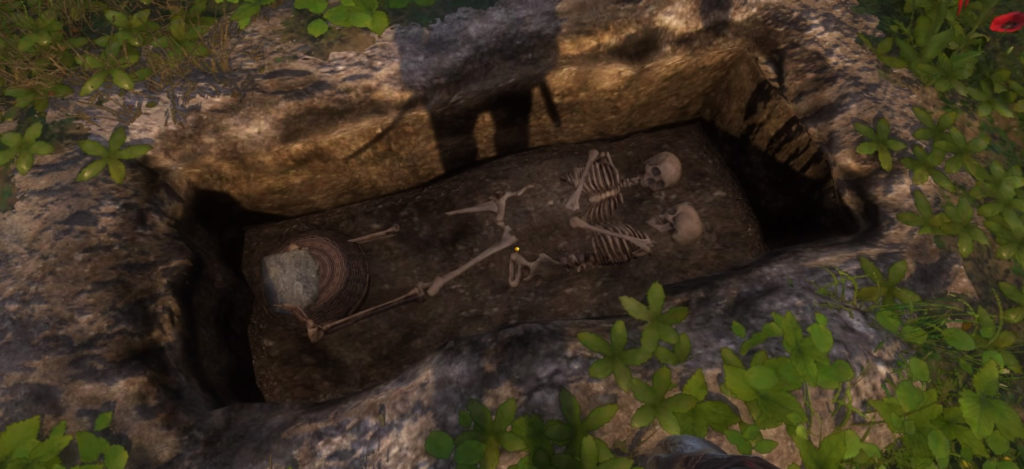
There is plenty to do in Kingdom Come Deliverance that will keep you busy for quite a while. There are many quests and activities to complete, gear to collect, locations to explore, and dice to win. The quests and activities are spread throughout the whole map and consist of objectives, such as finding someone or something, gathering information, hunting, stealing items, fighting, or killing bandits and Cumans. Each side quest also has its own unique story to follow, some of which can be really entertaining or really buggy. There were a couple of quests where bugs prevented me from completing them. The activities are more repetitive like hunting game or fist fighting for money. Gear is also plentiful in the game with both light and heavy armor that can impact the current task you are tackling. Light gear is less protective but doesn’t make as much noise which is perfect for stealthy situations. Heavy armor is more useful in battle and is able to absorb more hits from enemies causing Henry to take less damage. There are also many different weapons ranging from short swords, sabers, and longswords to axes, polearms, and spears to even maces, daggers, and bows. Each weapon also requires Henry to have certain stats like a specific amount of strength and agility to effectively wield it. Blade weapons like swords need to be sharpened and repaired to keep up the damage they do and prevent breakage. While working on quests and looking for the best gear, there are tons of hidden things just waiting to be explored such as graves, interesting locations, bird nests, accidents and bandit camps to name a few. Graves are locations where Henry can dig using a spade to find loot in the form of groschen, gear, or even books. Interesting locations can also have hidden loot or some unusual scene to gawk over. There are also nests located in high locations that require you to shoot them down with an arrow and can contain groschen, jewelry, or even gear for your horse. Accidents are often broken down carriages with loot nearby that can typically be found in a hidden in chest or barrel nearby. If the accident occurred on a slope, chances are the treasure container rolled down the hill. You can also come across bandit camps that can house a couple to a crap ton of bandits. These areas are good for collecting loot off the bandits to sell in towns to make a profit. When you’re ready to take a break from quests, looting, exploring, and fighting, you can take Henry to the local inn to try your luck at a game of dice, which is similar to Yahtzee.
HENRY
Now that we have gone over the world and content in Kingdom Come Deliverance, let’s talk about our favorite son of a blacksmith, Henry. When you get control of Henry, he is essentially a blank slate. This means that his skills are all level one, his gear is his peasant attire, and he doesn’t even know how to read. This puts you in a position to shape Henry to fit your play style. You can elect to focus on his speech over combat, make him the very definition of a knight, or even a stealthy rogue who takes what he pleases. A couple of skills to really pay attention to are speech, strength, reading, and alchemy. The higher Henry’s speech skill the more likely he can talk his way out of an unfavorable situation. A good example would be when you’re carrying stolen goods and get randomly searched by a city guard. With a high enough speech, you can convince the guard to let you go with your stolen goods. The strength skill not only allows Henry to wield better weapons but also determines how much weight he can carry. This is important because being able to carry more gear means you can explore more areas and carry more loot. There is also the mule skill in the strength tree that increases the amount of weight Henry can carry. The reading skill is really helpful for doing things like Alchemy where Henry has to read the recipe to make the potion or for reading skill books that help boost his skill level. Alchemy is an important skill because it allows Henry to make Savior Schnapps, a potion that allows you to save anywhere. This is huge because the only other ways to save the game are by sleeping in a bed or when the autosave triggers from a quest. Another important aspect to keep in mind is that Henry has to eat, sleep, and take a bath pretty regularly. If Henry gets too hungry, his max health and stamina bar with start to decrease, ultimately making him weaker in battle. Fortunately, the game provides plentiful food pots in town and at camps spread throughout the world to help. When Henry goes a couple days without sleep, he starts to get really tired, causing him to fall off his horse while riding or straight to the ground if walking. He can even be so exhausted he just passes out where he lands. Bathing is equally important because, over time, Henry will start to smell which enemies can detect when trying to sneak up on them. It also messes up his charisma when interacting with people, affects his ability to convince others with words, and causes them to comment on his appearance.
COMBAT
Fighting in Kingdom Come Deliverance comes in many forms such as using fists, melee weapons, and bows. Fistfights usually involve Henry and one other person going at it until one or the other has been knocked out. Melee combat is a bit more involved with a five-point star that has a circle in the middle of it which displays on enemy combatants. One of those six sections will be red to indicate that it is selected and each section represents a different part of the body to target. The top point of the star is an attack aimed at the enemy’s head while the top right is the right half of the torso, top left is the left half of the torso, bottom right is the right leg, bottom left is the left leg and the center circle is the stomach area. You can unlock weapon combos that help Henry break through enemy defenses such as a shield wielding enemy by using consecutive attacks and changing to different sections with each strike. Weapon type can also have an effect on combat with each weapon having their own unique combos to master. Blunt weapons such as a mace tend to be more effective against plate armor where swords do more damage to those wearing lighter armor. Melee combat can get quite difficult early on in the game when fighting more than one enemy, and the auto lock-on can be a little bit frustrating when 3 or more enemies are present. Bows are another type of weapon in the game and can be used to hunt game or attack enemies a distance. I find it easier to manage multiple enemies with a bow than with a melee weapon as you can buy different types of arrows to match the situation. I would like to mention that as of now, the bow can be a little hard to use. There are no crosshairs to aim an arrow with and it seems to not be very accurate. The best way I found to hit a target was to aim down and a little to the right of the target while I was getting a feel for the bow.
OPINION
I really enjoyed my time playing Kingdom Come Deliverance for the most part. Henry made a really cool main character to play and it was refreshing to control someone who was just an ordinary guy. The story was alright and kept me interested, but it was easy to put off doing story quests in favor of exploring the land and looking for side quests. The side quests are what really held my interest. They were mostly well done and enjoyable to complete with some really good content. However, there were at least seven quests that I could not complete because of bugs. I ended up losing hours of progress and had to keep reloading previous saves to try and progress to no avail. I also did do a no-kill playthrough and felt it took away from the game a bit. During some of the bigger required battles in the game, I had to sit off to the side while my allies did all the work. This caused the battle to take twice as long and wasn’t really fun. There was also the occasional instance where some of the buildings didn’t load all the way after a cutscene. It took a little bit of time to find my way out after all of the doors disappeared. Things, like traversing the world or working on quests, seemed to move really slowly, leading me to feel like I wasn’t making very much progress. I think this can be attributed to how spread out things are on the map. Different objectives on a quest could have you travel to distant locations just to talk to someone and then send you right back to where you were.
RECOMMENDATION
When everything is said and done, I would recommend giving this game a shot after a few more patches are released and the price comes down a bit. The main thing that really ruined the game for me was having to fight with game breaking bugs. I spent at least four hours trying to complete one quest and was unable to do so. This was a similar issue for the other quests that were also bugged. Once most of the issues are fixed, I would have no problem coming back to nab the platinum trophy.
Kingdom Come Deliverance Guides and Walkthroughs
For our Kingdom Come Deliverance guides and walkthroughs, click here!
Welcome to NGB and our Kingdom Come Deliverance walkthrough for The King’s Silver quest! Here you’ll find everything you’ll need to easily breeze through this quest.
The King’s Silver Overview
Quest Giver: Sir Radzig – Rattay
Summary: Henry checked in with Sir Radzig to see if there was anything he could help with. Sir Radzig told him that the Master Engineer needed someone to assess the damage to the Skalitz mine so he could get it up and running.
N/A – Head to the mine gallery first, all other objectives get updated
Examine the ore processing yard
Head to the marker on the map to inspect the area. A few bandits have set up camp here. You can either take them out or inspect the area and flee.
Examine the condition of the mineshaft
N/A – Head to the mine gallery first, all other objectives get updated
Examine the condition of the waterworks
N/A – Head to the mine gallery first, all other objectives get updated
Find the mine gallery mentioned by Master Feyfar
When you arrive at the mine gallery, a dialog will start with a miner keeping watch over it.
Examine the condition of the mine gallery
Walk past the miner and head into the mine gallery. Keep moving forward until a cutscene triggers. This updates the objectives to only escape from the mine.
Escape from the mine
After a cutscene, dialog with another miner occurs. He will then jump down from the landing he was on and attack Henry. You can kill him or knock him out. From this point on there will be multiple guards until you reach the exit. You can choose how to deal with them. For my playthrough, I’m going for the no-kill trophy so I fist fought with a couple and ran past the others until I found the exit.
Inform Tobias Feyfar
Tell Tobias that Nemoy and his gang were stealing silver from the mines. Finish the conversation with him and the quest will complete.
Kingdom Come Deliverance Guides and Walkthroughs
For more Kingdom Come Deliverance guides and walkthroughs, click here!
Welcome to NGB and our Kingdom Come Deliverance walkthrough for the The Sport of Kings quest and Talmberg Horse Race! Here you’ll find everything you’ll need to easily breeze through this quest.
The Sport of Kings Overview
Quest Giver: Zora – Neuhof
Summary: Zora of the Neuhof stables asks Henry to find out why Sir Divish stopped buying horses from her. Henry will then need to figure out some way to convince Sir Divish to start buying Zora’s horses again.
Hop on the dappled grey Zora mentioned to update the objective.
Bring the dappled grey to the Talmberg stables
Head to the Talmberg stables located in the Talmberg Keep. This is the area where Lady Stephanie let Henry sleep early in the main story.
Talk to Sir Divish
Head up into the castle to locate Sir Divish and talk to him. He quit buying horses from Zora because he didn’t think a woman could run the stables. You can then challenge him to a horse race to prove the Zora being a woman has nothing to do with the quality of the horses she breeds.
Talk to the stable master
Head down to talk to the stable master about the race. He will tell you to meet at the Talmberg gate around noon.
Go to the Talmberg gate at noon today on Zora’s dappled grey
Head to the Talmberg gate riding Zora’s dappled grey horse.
Wait for Sir Divish and the other riders
The race will commence when Sir Divish and the other riders show up. The quest will then change to Talmberg Horse Race.
Win the Race!
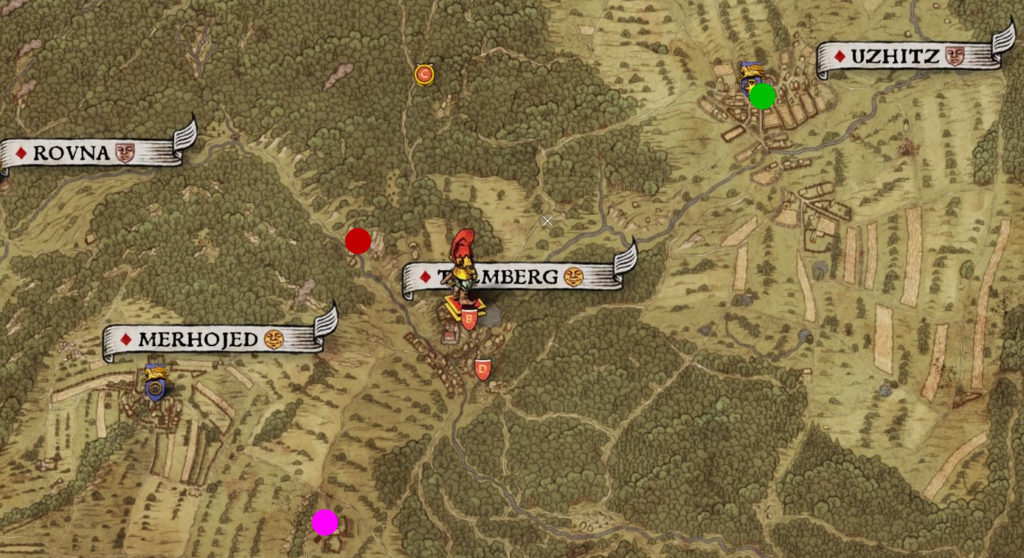
The goal here is to win the horse race so Sir Divish will start buying horses from Zora again. That is easier said than done. The other riders run a perfect race meaning that they waste no time heading to each point and take the optimal road path to get there. Make sure you use a Savior Schnapps so you can reload until you win. The easiest way to win is to mark each location on your map and head straight there running across fields and through forests to reach each location. This should give you enough of an edge to pull out the win. Winning the race also unlocks a Trophy/Achievement. On the image below, the green circle (Uzhitz Church) is the first location, the pink circle (Merhojed Mill) is the second location, and the red circle (Talmberg Quarry) is the third location. Then you will head back to the starting line by the Talmberg gate to finish the race.
Speak to Divish
After winning the race, speak to Sir Divish, and he will again resume buying horses from Zora.
Tell Zora how the race ended
Head back to Neuhof and tell Zora that you won the race and that Sir Divish will start buying horses from her again. She will be pleased and reward you.
*Note: One of the rewards is supposed to be one of the finest saddles around. The quest glitched, and I never received the saddle. This seems to be the case for others out there as well.
Kingdom Come Deliverance Guides and Walkthroughs
For more Kingdom Come Deliverance guides and walkthroughs, click here!
Welcome to NGB and our Kingdom Come Deliverance walkthrough for the Mightier than the Sword quest! Here you’ll find everything you’ll need to easily breeze through this quest.
How to Start Mightier Than the Sword
In order to start Mightier Than the Sword, travel to the Apothecary in Rattay and speak with him. Select the option “Who can teach me to read?” to which the Apothecary will direct Henry to a scribe in Uzhitz.
Mightier than the Sword Overview
Quest Giver: Rattay Priest / Rattay Bailiff
Summary: After asking around in Rattay, Henry hears that there is a scribe in Uzhitz who can teach him how to read.
Follow the quest objective to Uzhitz to find the scribe and talk to him. The scribe agrees to teach Henry to read for 50 groschen and tells Henry that it will take a couple of days to train him. Give the scribe the 50 groschen to begin the training.
Read the book
Henry’s first task will be to read a book about a goose that lays golden eggs. When your done reading the book, head back to the scribe and speak with him.
Go back to the scribe
The scribe will ask you what the book is about. The correct dialog option is Being greedy doesn’t pay. Time will pass and the scribe will tell Henry to read another book in Latin.
Read the book
Sit down at the table and interact with the book to read it. Unless you know Latin, the book will not make sense to you. Head back to the scribe and speak to him.
Go back to the scribe
He will ask you what you just read. The correct answer is the one that doesn’t have any English words in it, so it’s the middle dialog option. This completes the Mightier than the Swordquest, and Henry will unlock the reading skill.
Kingdom Come Deliverance Guides and Walkthroughs
For more Kingdom Come Deliverance guides and walkthroughs, click here!
Search
This site uses cookies. By continuing to use this website, you are giving consent to cookies being used. For more information on cookies, view our Privacy Policy.OkPrivacy Policy