This is a guide on how to acquire all the Words of Power for the following trophies in Marvel’s Midnight Suns:
Oshtur’s Gift Trophy – Acquire the “Open” Word of Power
Atum’s Call Trophy – Acquire the “Reveal” Word of Power
Hyppus’ Aid Trophy – Acquire the “Purify” Word of Power
Set’s Favor Trophy – Acquire the “Break” Word of Power
Open Word of Power
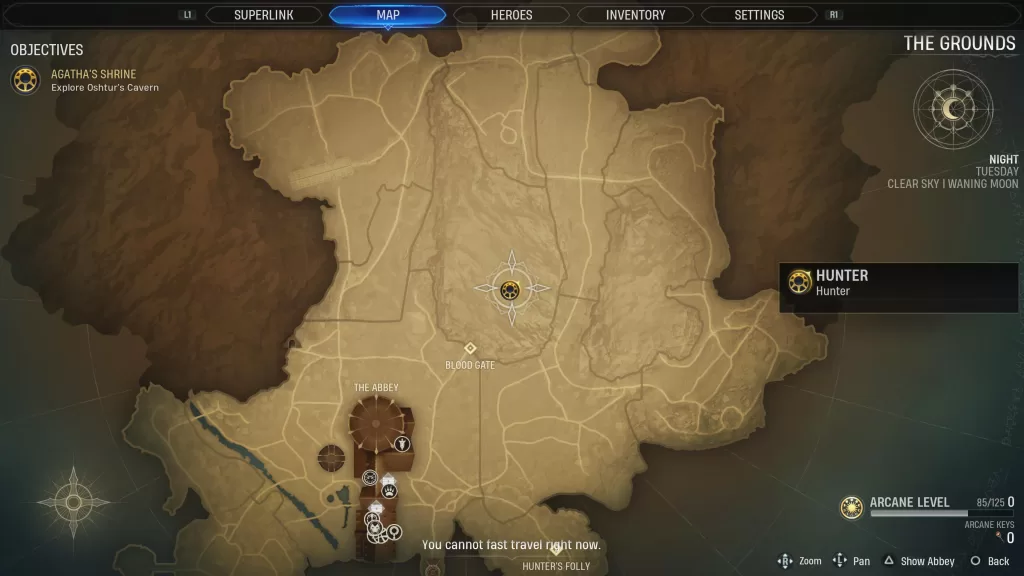
Complete the Trial of the Elder Gods: Oshtur Challenge Mission, which you’ll do as part of the story on the second night. This will give you access to Oshtur’s cavern. In the cavern, take the Moon Seal and place it on the statue before Oshtur. This action will reward you with the “Open” Word of Power.
Reveal Word of Power
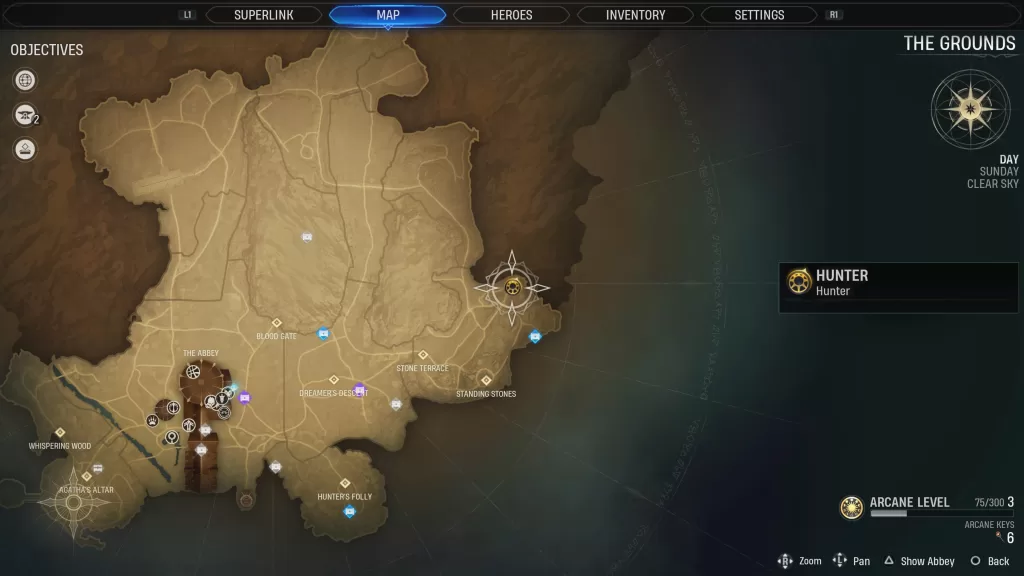
You’ll first need to complete the Agatha’s Altar mystery to obtain a Moon Stone. Afterwards, make your way to the area far north of the Standing Stones to find the Trial of the Elder Gods: Atum.
Please note this is a Level 8 challenge mission during which you’ll have to defeat 16 enemies within 4 turns using just Hunter and Charlie. Upon victory, head into the Elder Atum Shrine and place the Moon Seal on the altar before the statue to learn the “Reveal” Word of Power.
Purify Word of Power
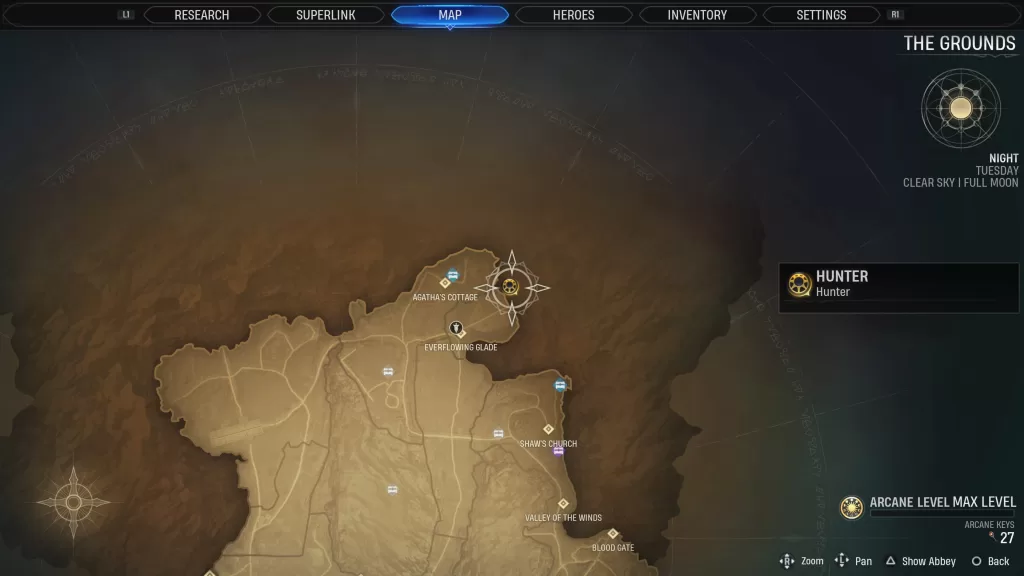
You’ll first need to complete Hiram Shaw’s Church Mystery to obtain a Moon Stone. Afterwards, make your way to the area east of Agatha’s Cottage to find the Trial of the Elder Gods: Hyppus.
Please note this is a Level 12 challenge mission during which you’ll have to defeat 16 Lilin within 4 turns using just Hunter and Charlie. The trick to winning this one is to force the Dark Legion enemy to copy itself or other enemies by attacking them but not outright killing them. If you don’t copy them, there will not be enough enemies for you to defeat per the challenge’s objectives! Upon victory, head into the shrine and place the Moon Seal on the pedestal to learn the “Purify” Word of Power.
Break Word of Power
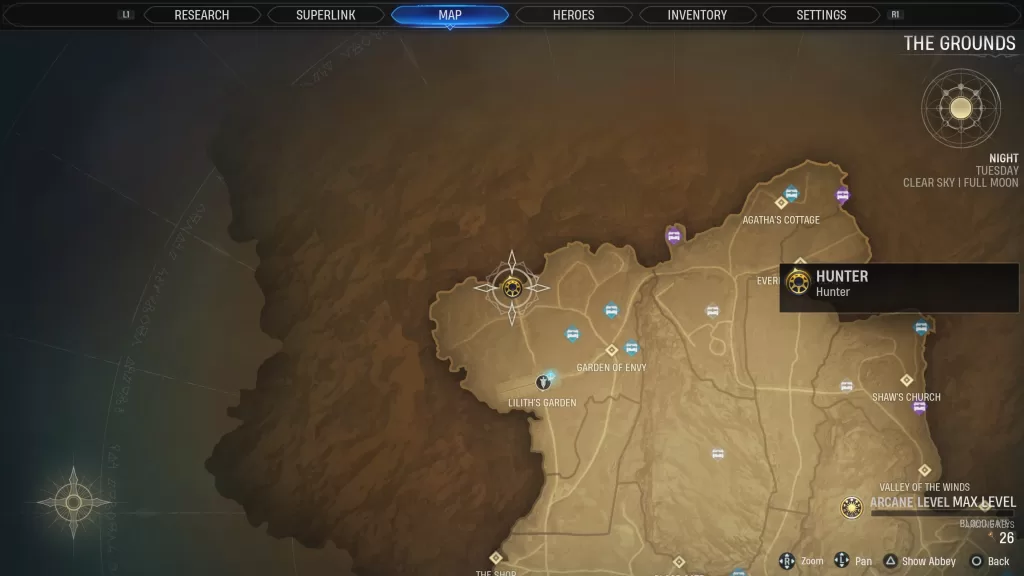
You’ll first need to complete Lilith’s Garden Mystery to obtain a Moon Stone. Afterwards, make your way north of Lilith’s Garden to find the Trial of the Elder Gods: Set.
Please note this is a Level 16 challenge mission during which you’ll have to defeat 16 Lilin within 4 turns using just Hunter and Charlie. Upon victory, head inside the shrine and place the Moon Seal on the pedestal to learn the “Break” Word of Power. If you use this Word of Power on the giant Set statue in the shrine, it will reveal an Arcane Chest!
For more guides on Marvel’s Midnight Suns, click here!
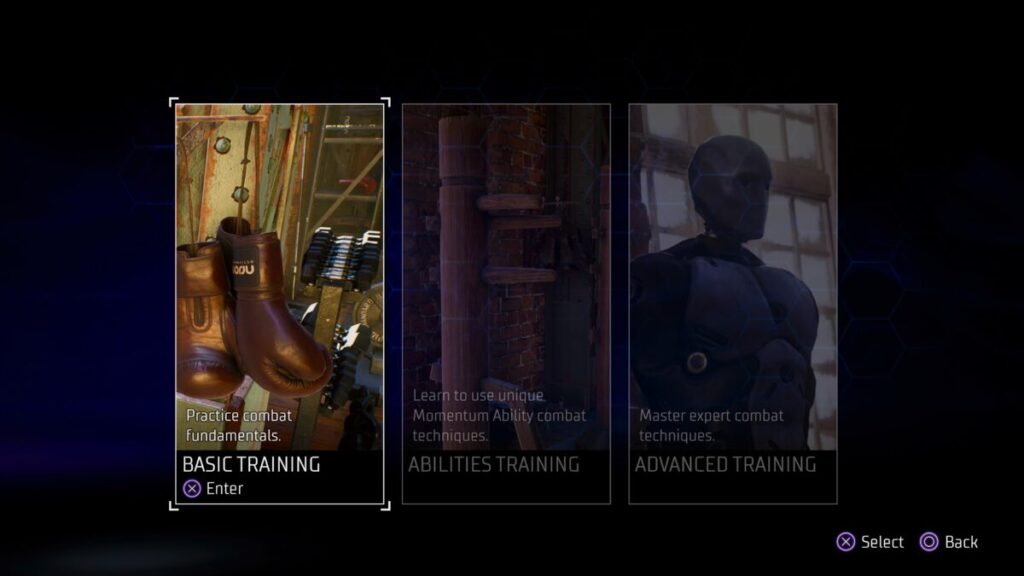
The Practice Makes Perfect trophy/achievement in Gotham Knights can be obtained by completing all of the training missions at the Training Area in the Belfry. Each of these training sessions focuses on a different aspect of combat for you to master. Only a set amount of these are available at the start of the game. You can unlock more by progressing the story. Below is a list of the training missions and which category they fit into.
Basic Training
Interrogation
Grabbing Enemies
Stealth
Combos
Guard Break
Ranged Attacks
Smoke Bombs
Abilities Training
Momentum
Momentum Abilities: Guard Break
Momentum Abilities: Piercing
Advanced Training
Perfect Evade
Timed Strikes
Attack Chains
For more guides on Gotham Knights check our main guide page here!
Below is a guide on the collectibles and trophies/achievements found during Chapter I: Under a New Sun of A Plague Tale: Requiem.
Perfect Shot Achievement/Trophy
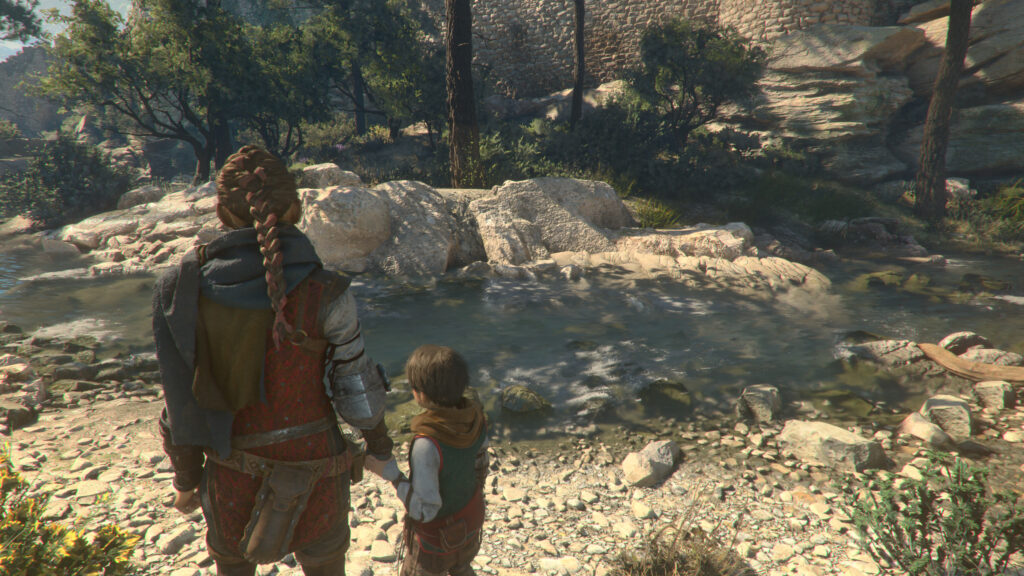
During the Reach the Castle objective, Hugo will lead you to a river.
During this objective, he’ll mention that enemy ships are coming and that they’re going to attack. You’ll have to use your sling to shoot the “ships” (aka pinecones) Hugo throws into the water. Get them all before the cutscene triggers where the kid throws the large rock into the water to earn the Perfect Shot achievement/trophy!
The A Little Chatty trophy in Stray is extremely easy to obtain. Just press O 100 times to meow. You can grind this out right at the beginning of the game or slowly do it as you play.
Below are the gigs that can be found at Watson in Cyberpunk 2077! Please note that the gigs are listed in alphabetical order for ease of searching.
Backs Against the Wall
Obtained: Little China – Approach the gig east of the Afterlife fast travel point
Objective: Go to the indicated residence
Head into the building and proceed to the 4th floor where you’ll find a double door that requires Technical Ability 7 to open. If your ability is not high enough, look to your left to find an open window leading to a fire escape. Jump through then jump across the gap onto a balcony attached to a room you can enter. Once on the other side make your way to the last room on the right where part of the ceiling has fallen in creating a ramp up to the next level. Traverse up the ramp then head down the short hallway and enter the door on the left. Cpl. Hare will start speaking with you. If you wish to avoid killing him, select the following options:
Fixer sent me.
If it doesn’t work, give it to me.
For the next selection you have a bit of a choice. If your Body Value is 10 you can select the following options:
You’re a soldier, not a terrorist.
I understand your anger.
If it’s not high enough, select the following options:
His death would change nothing.
Either of the next two options: “Other politicians will make use of his death.” or “They’ll say you’re a psycho.”
Once you’ve either calmed or killed him, retrieve the stolen medication from the cabinet on the wall to your right. Exit the apartment building and follow the objective to deposit the medicine in the Drop Point. You’ll receive a call from Regina to close out the gig.
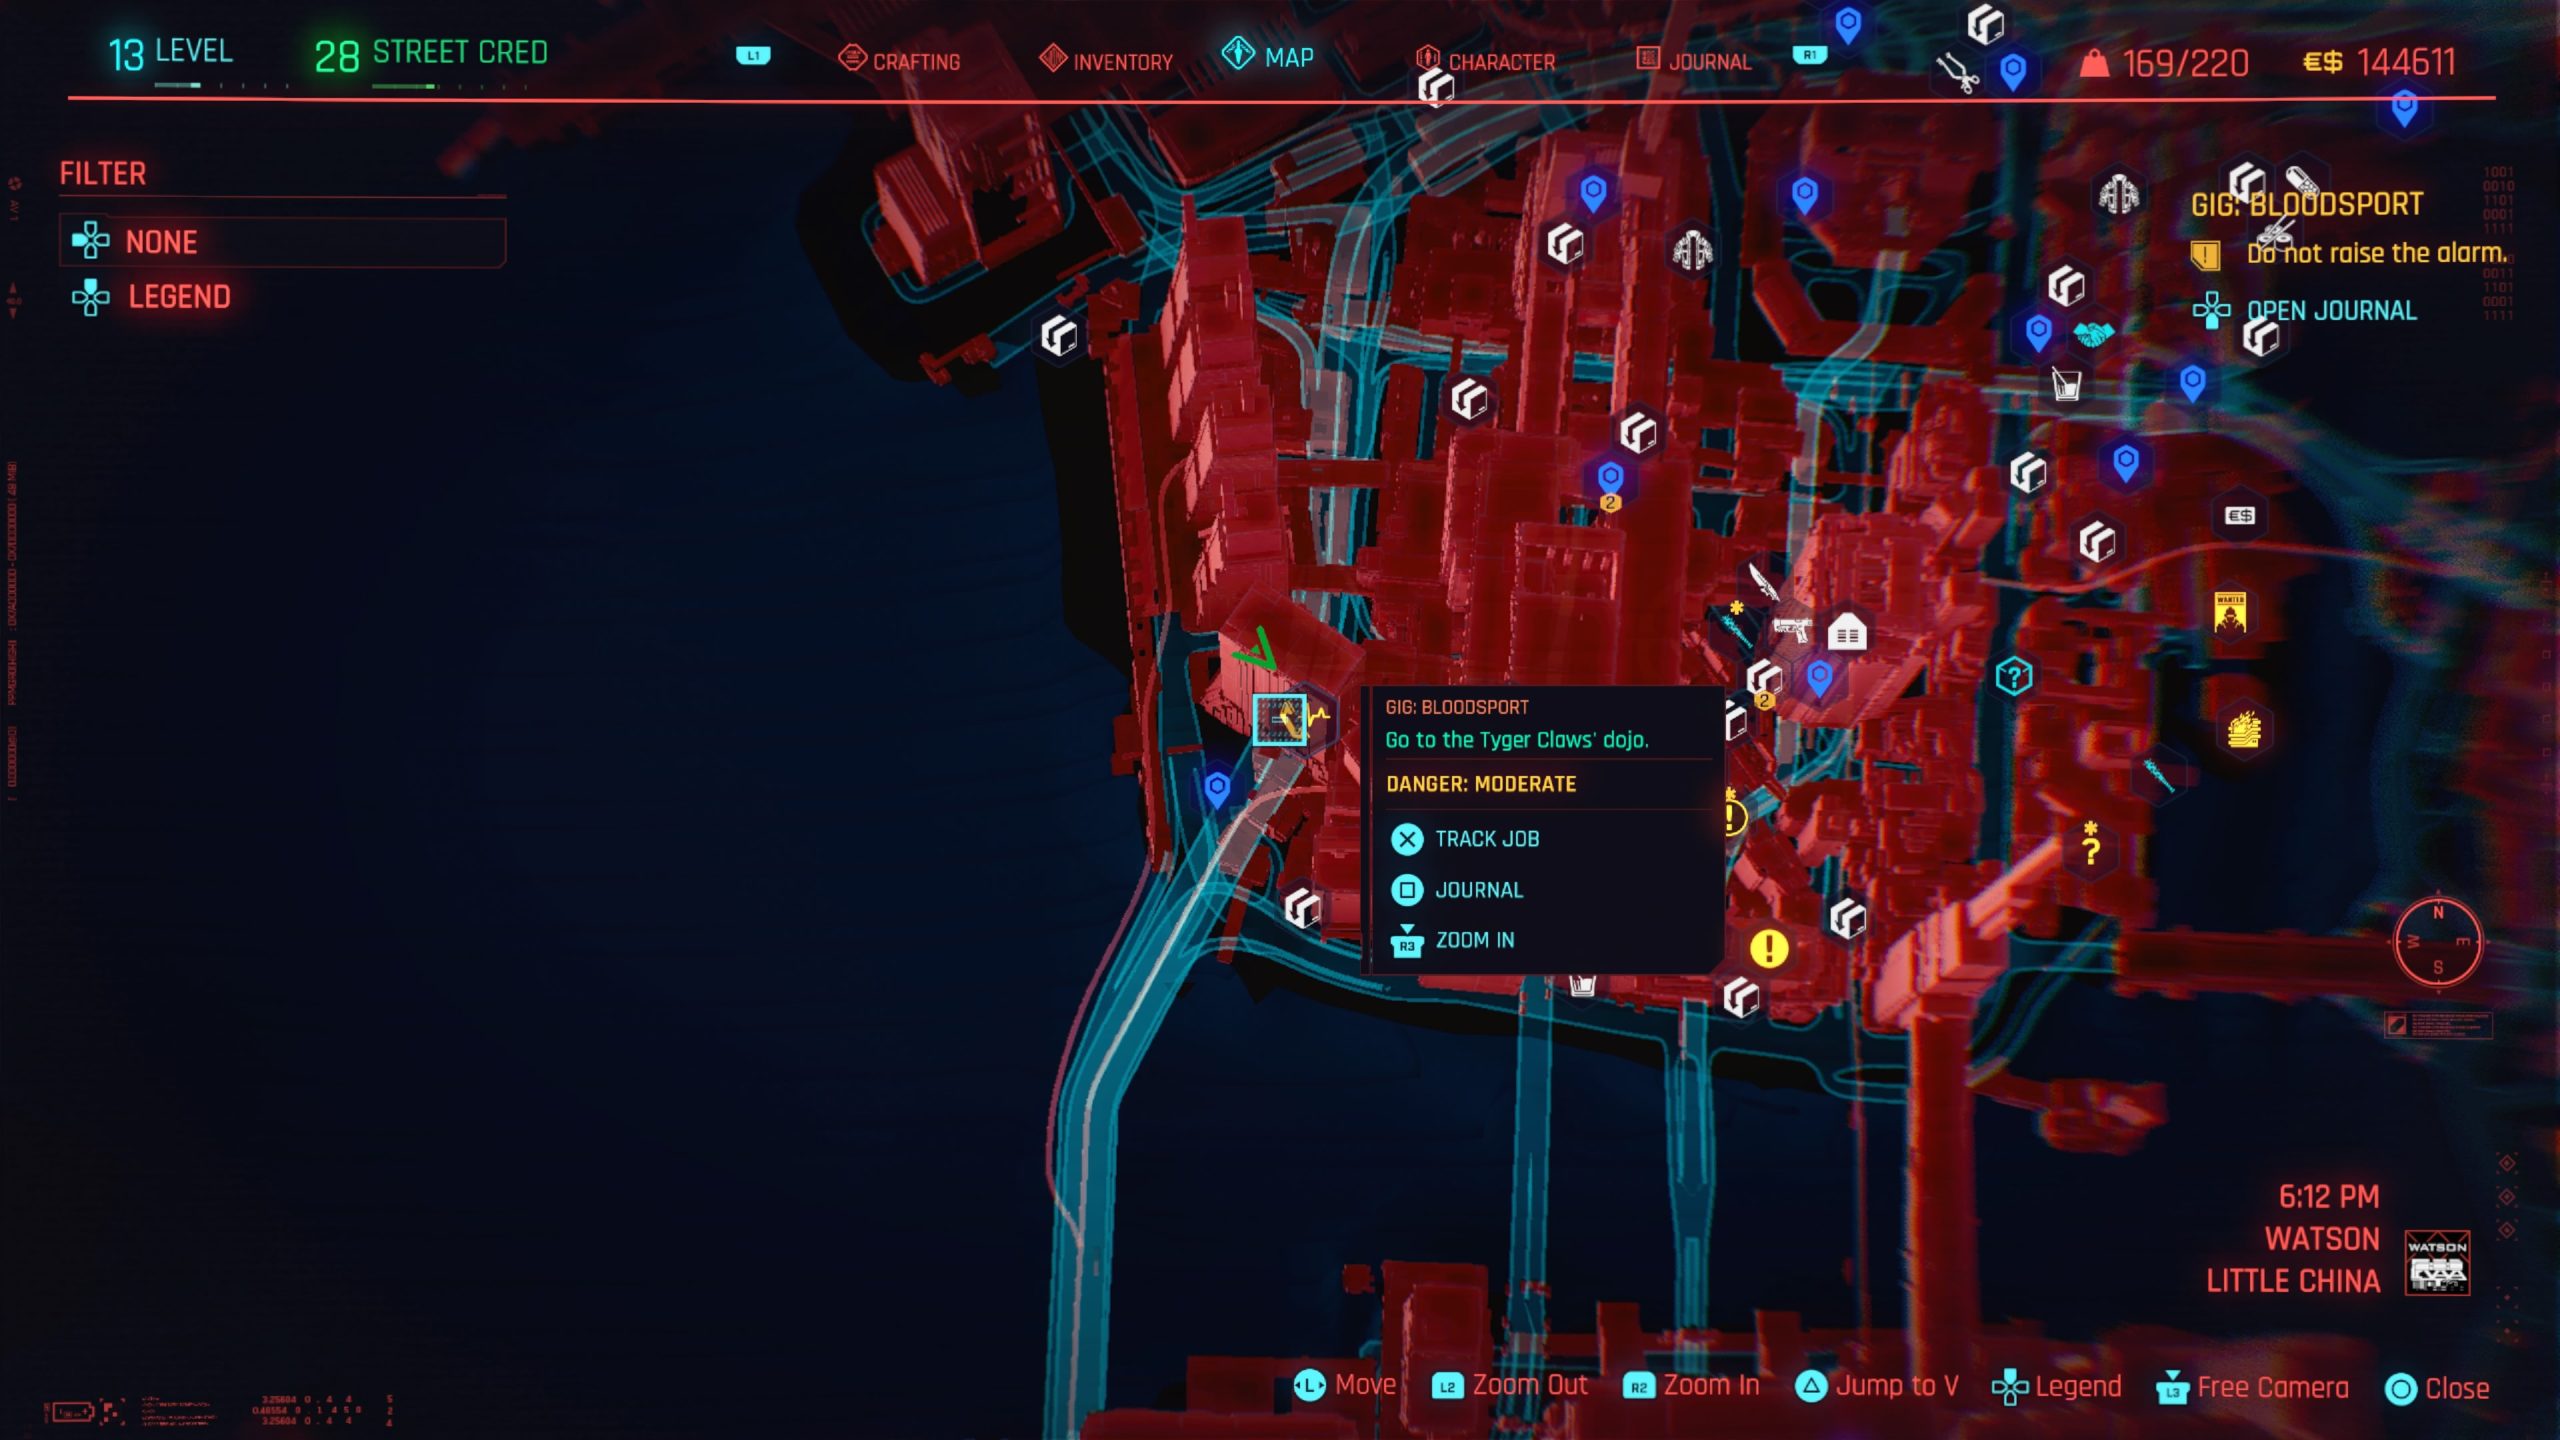
Bloodsport
Obtained: Little China – Approach the gig location slightly northeast of Clarenoon St fast travel point
Objective: Go to the Tyger Claws’ dojo
This gig comes with the optional choice to not raise any alarms. This is the option the client prefers since he doesn’t want his coach’s death to weigh on his conscience. This means that you must sneak through the dojo without anyone seeing you! Distract the enemy guarding the front door of the dojo then take them out stealthily. Facing the main entrance to the dojo, take a left and follow the building around until you reach a dead end where there is a door you can force open on your left (need Body Value 8). Open this door then head down the stairs to the basement. Once at the bottom of the stairs, take out the camera down the hall on the left. Proceed towards that camera then take a right to head down another hallway. The coach is being held in the room on your left. Open the door to that room then distract the enemy inside so you can take him out stealthily. Next, speak with the man sitting on the chair then escort him outside without raising the alarm. If you backtrack the way you came in, you won’t have any problems as the camera and enemies will still be down. When you make it to the street, turn right and head towards the car Regina has waiting outside. Speak with Roh when he makes it to the car. You can either choose to tell him that Macidew was the culprit or not. The decision does not matter. If you make it through this gig without raising the alarm, Regina will give you a bonus when she calls you. Follow the objective to collect your reward and complete the gig.
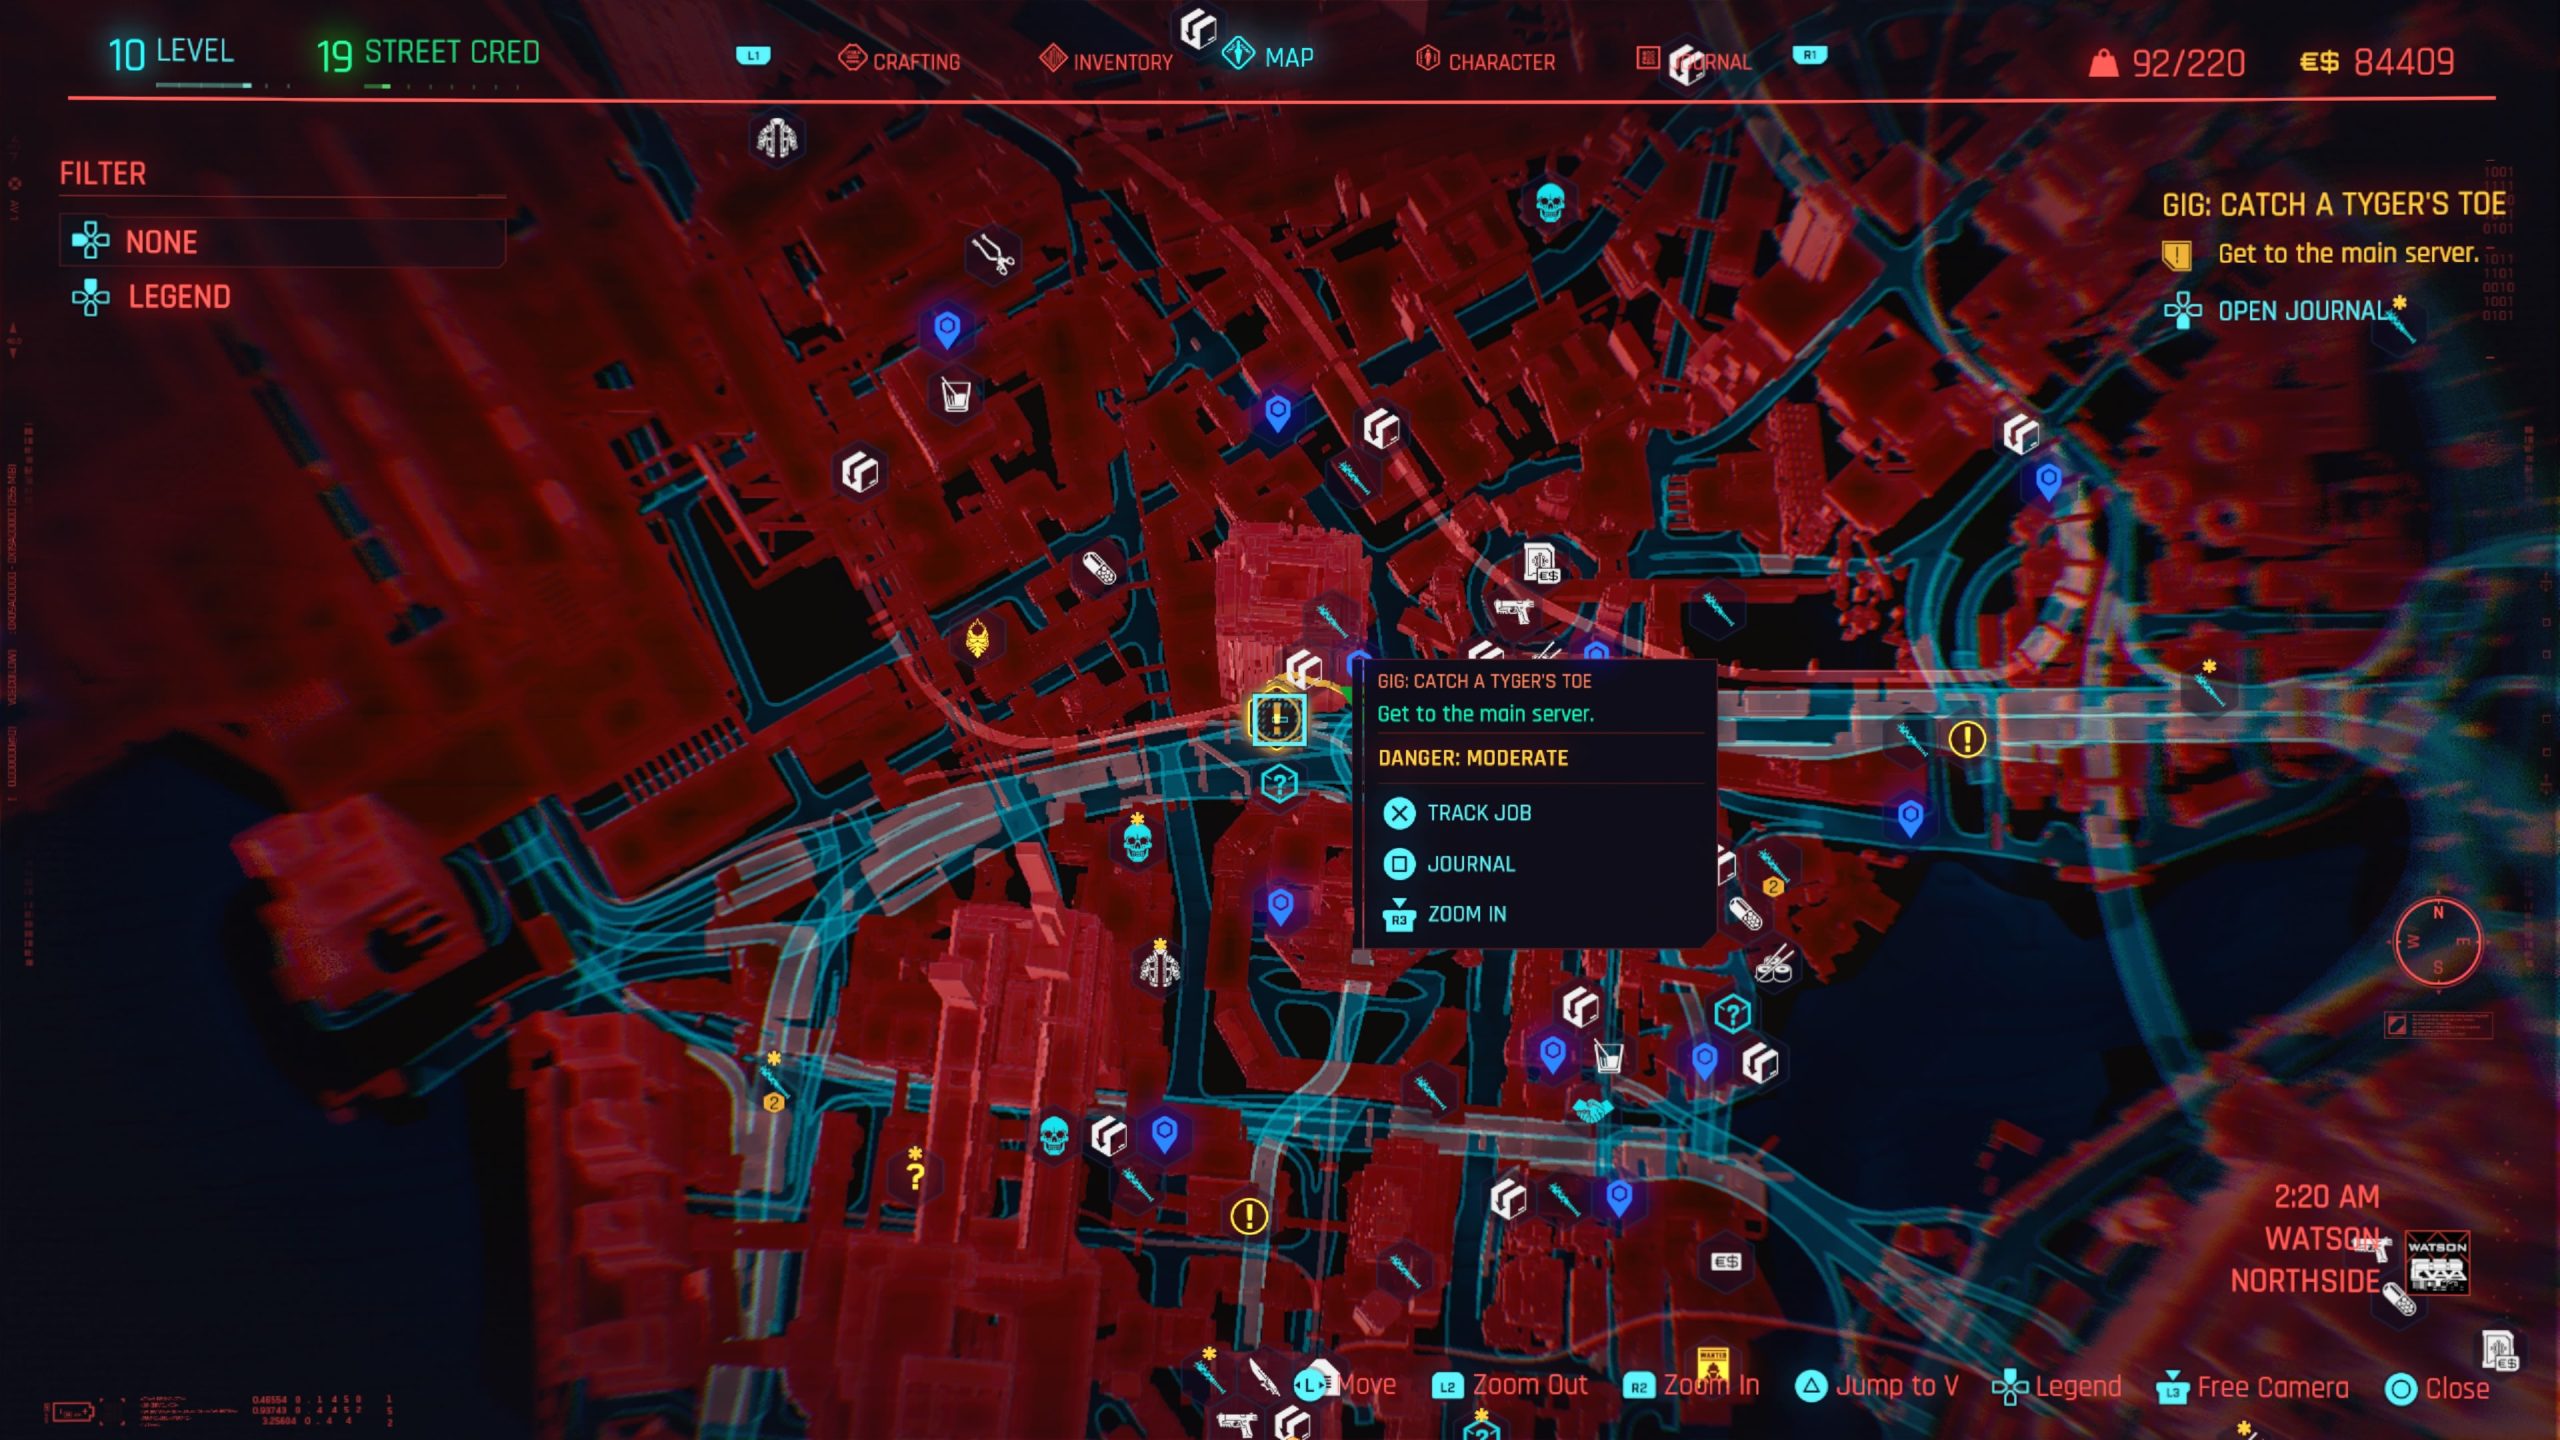
Catch a Tyger’s Toe
Obtained: Northside – Approach the gig location west of Megabuilding H10 fast travel point
Objective: Get to the main server
Head into the building then use the elevator to reach the 5th floor which contains the Server Room. Eliminate the enemies then head to a side room in the Server Room to upload the malware onto the computer. Afterwards, exit the Server Room and use the elevator to ascend to the Ground Floor. When you exit the elevator, Regina will call you to close the gig.
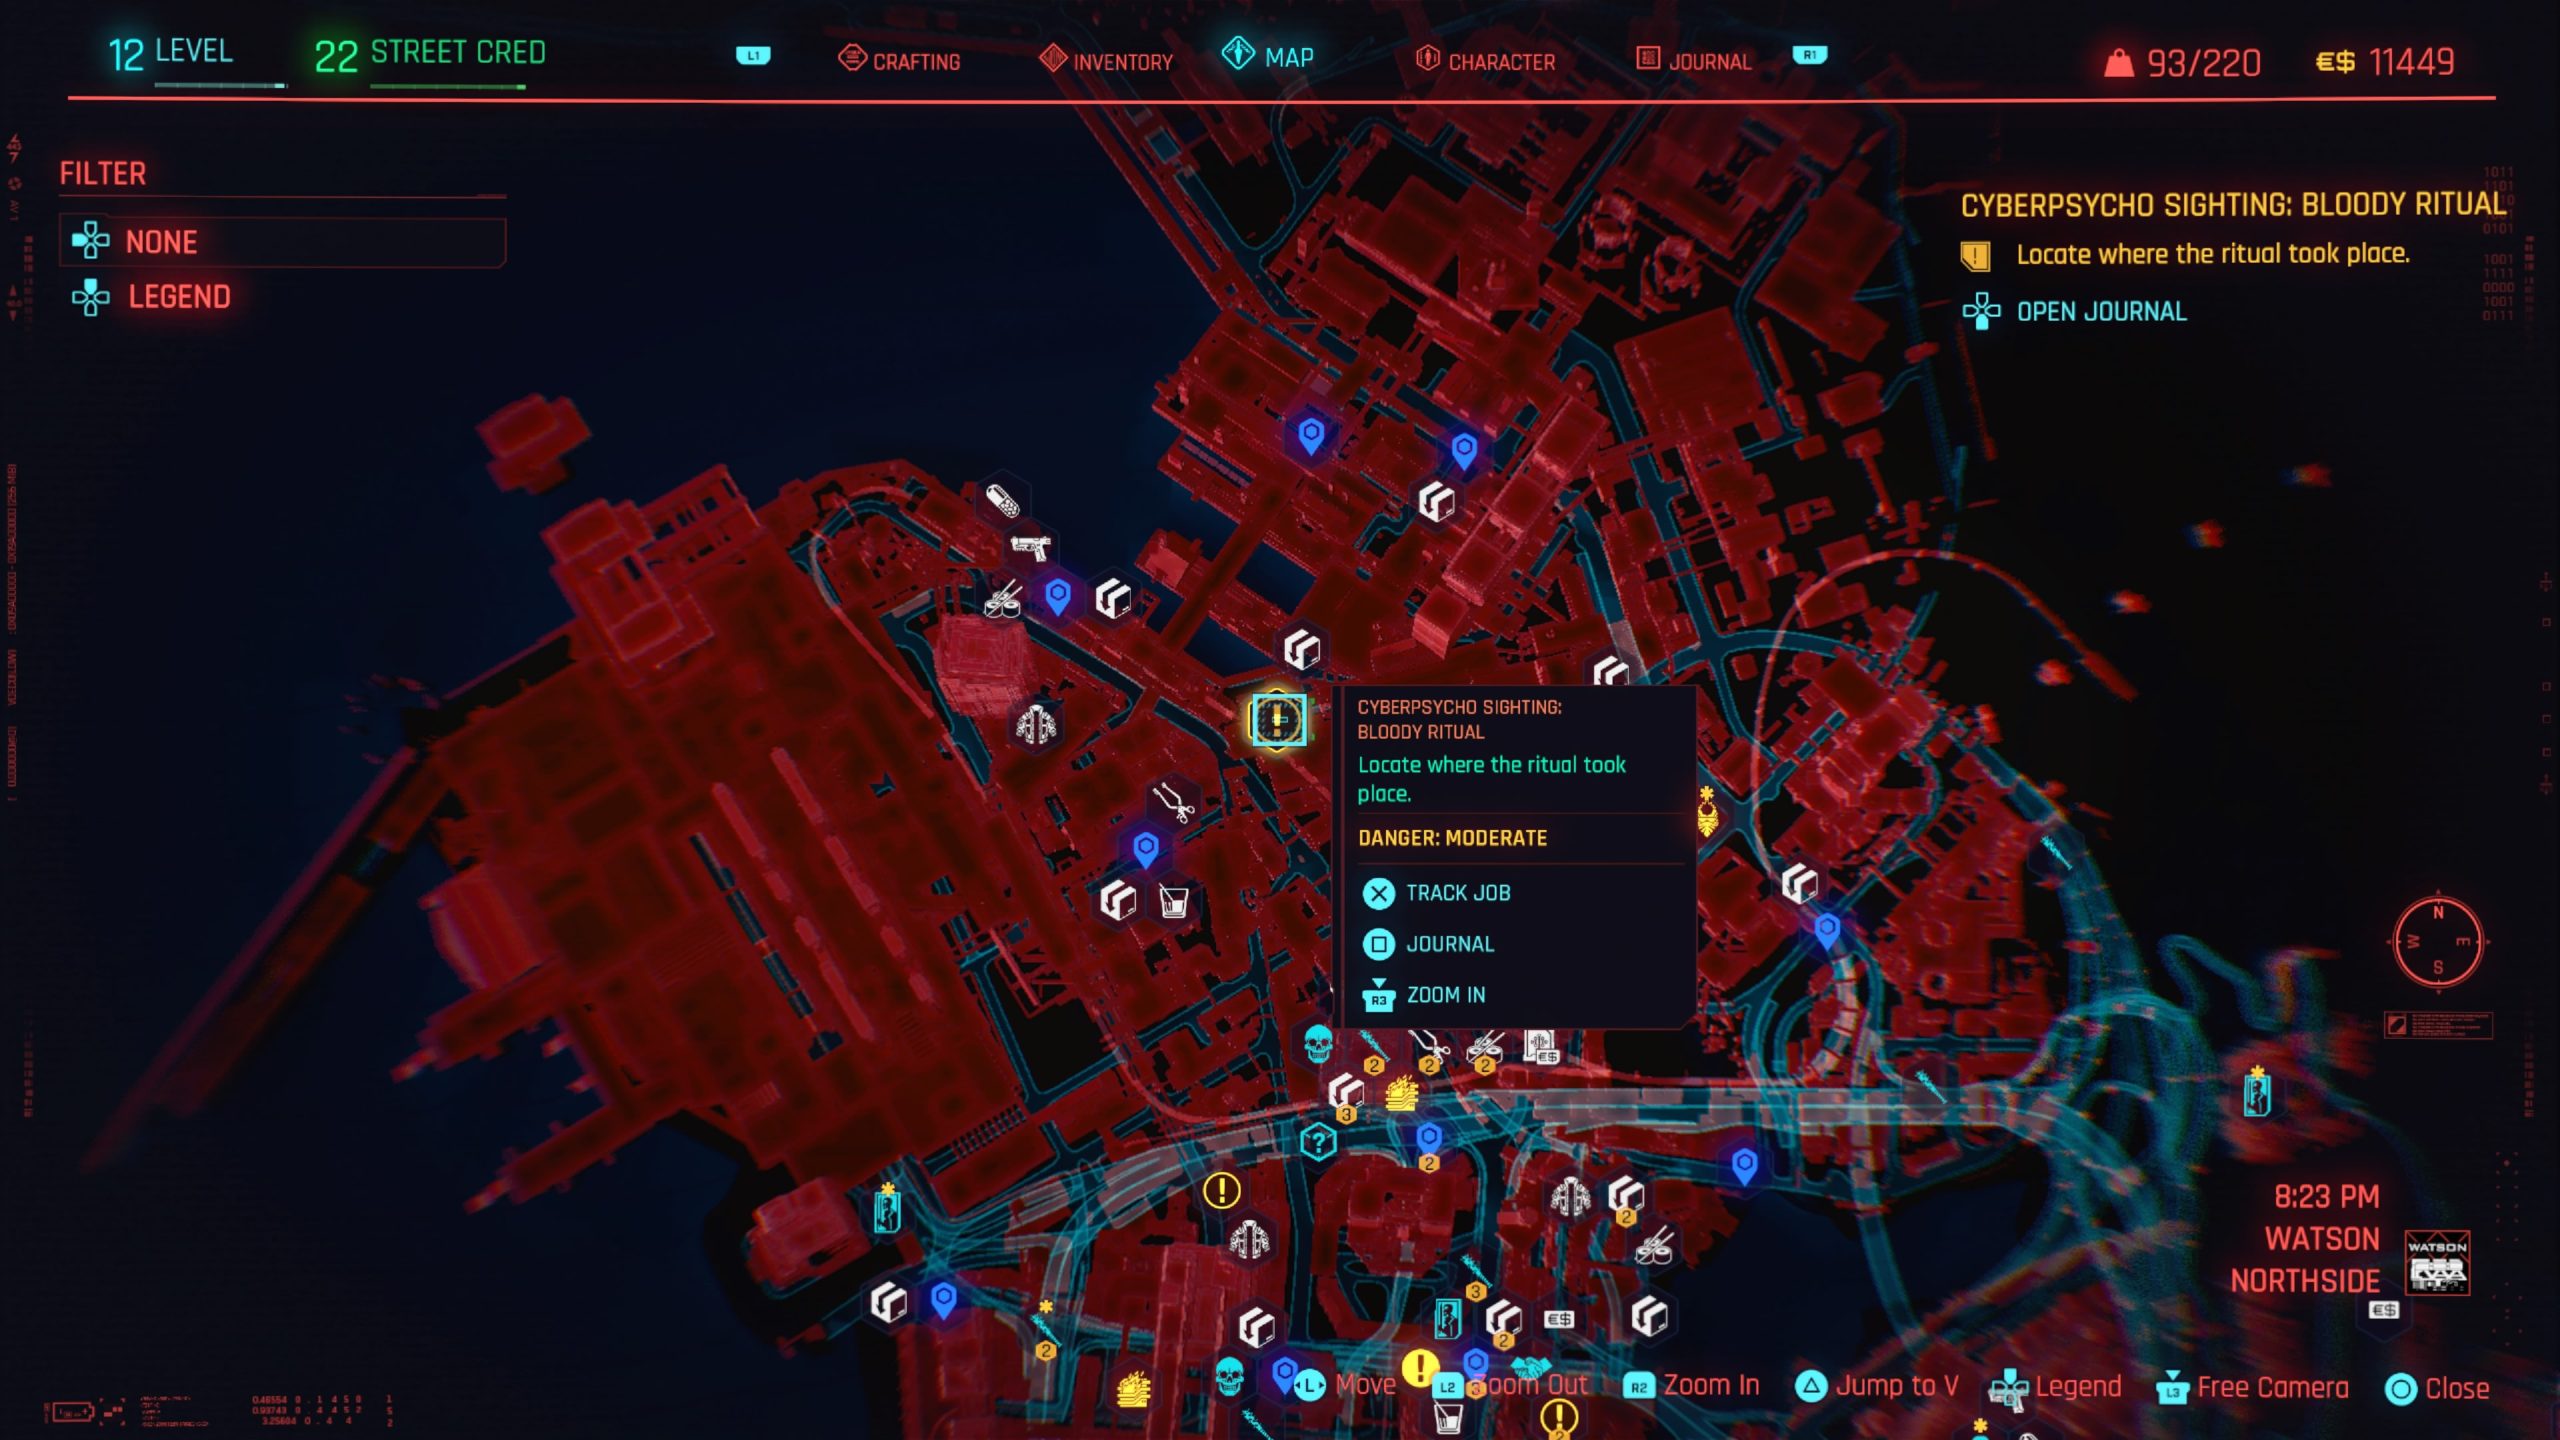
Cyberpsycho Sighting: Bloody Ritual
Obtained: Northside – Approach the gig location southeast of the Docks fast travel point
Objective: Neutralize the Cyberpsycho
Head into the ritual area and speak to the survivor. Afterwards, inspect his body to obtain a shard. Head to the shard menu and find It’s Time then crack it. Afterwards, continue examining the area. If your having trouble finding all of the information, look behind a nearby Militech crate to discover another body that needs to be examined. Once you have examined everything, Zaria Hughes makes her appearance. Defeat her (without killing her) then examine her body to find a shard. Read it, then text Regina to complete the gig.
Cyberpsycho Sighting: Demons of War
Obtained: Kabuki – Approach the gig location slightly northeast of Charter St fast travel point
Objective: Investigate the area by the bridge
As you make your way across the bridge, you’ll be attacked by Matt Liaw. Defeat him then search the open blue shipping container with a bed in it to find a laptop. Look at the messages on the laptop to find PTSD Shield – Policy Lapsed. Read that message then send it to Regina via text to complete the gig.
CyberPsycho Sighting: Lt. Mower
Obtained: Kabuki – Approach the gig location southwest of Creek Loop fast travel point
Objective: Find the cyberpsycho
As you arrive on the scene, Regina tells V to track down the cyberpsycho. Jump over the red tape and make your way to the body on the ground. Inspect the item on the ground next to him then head down the stairway for a boss fight. The Mower zips around the fighting area and attacks using her fists. After doing enough damage, she will start using an electric attack that will damage you while standing in the water making up a majority of the area. After defeating her, use your phone to send the data to Regina to complete the gig.
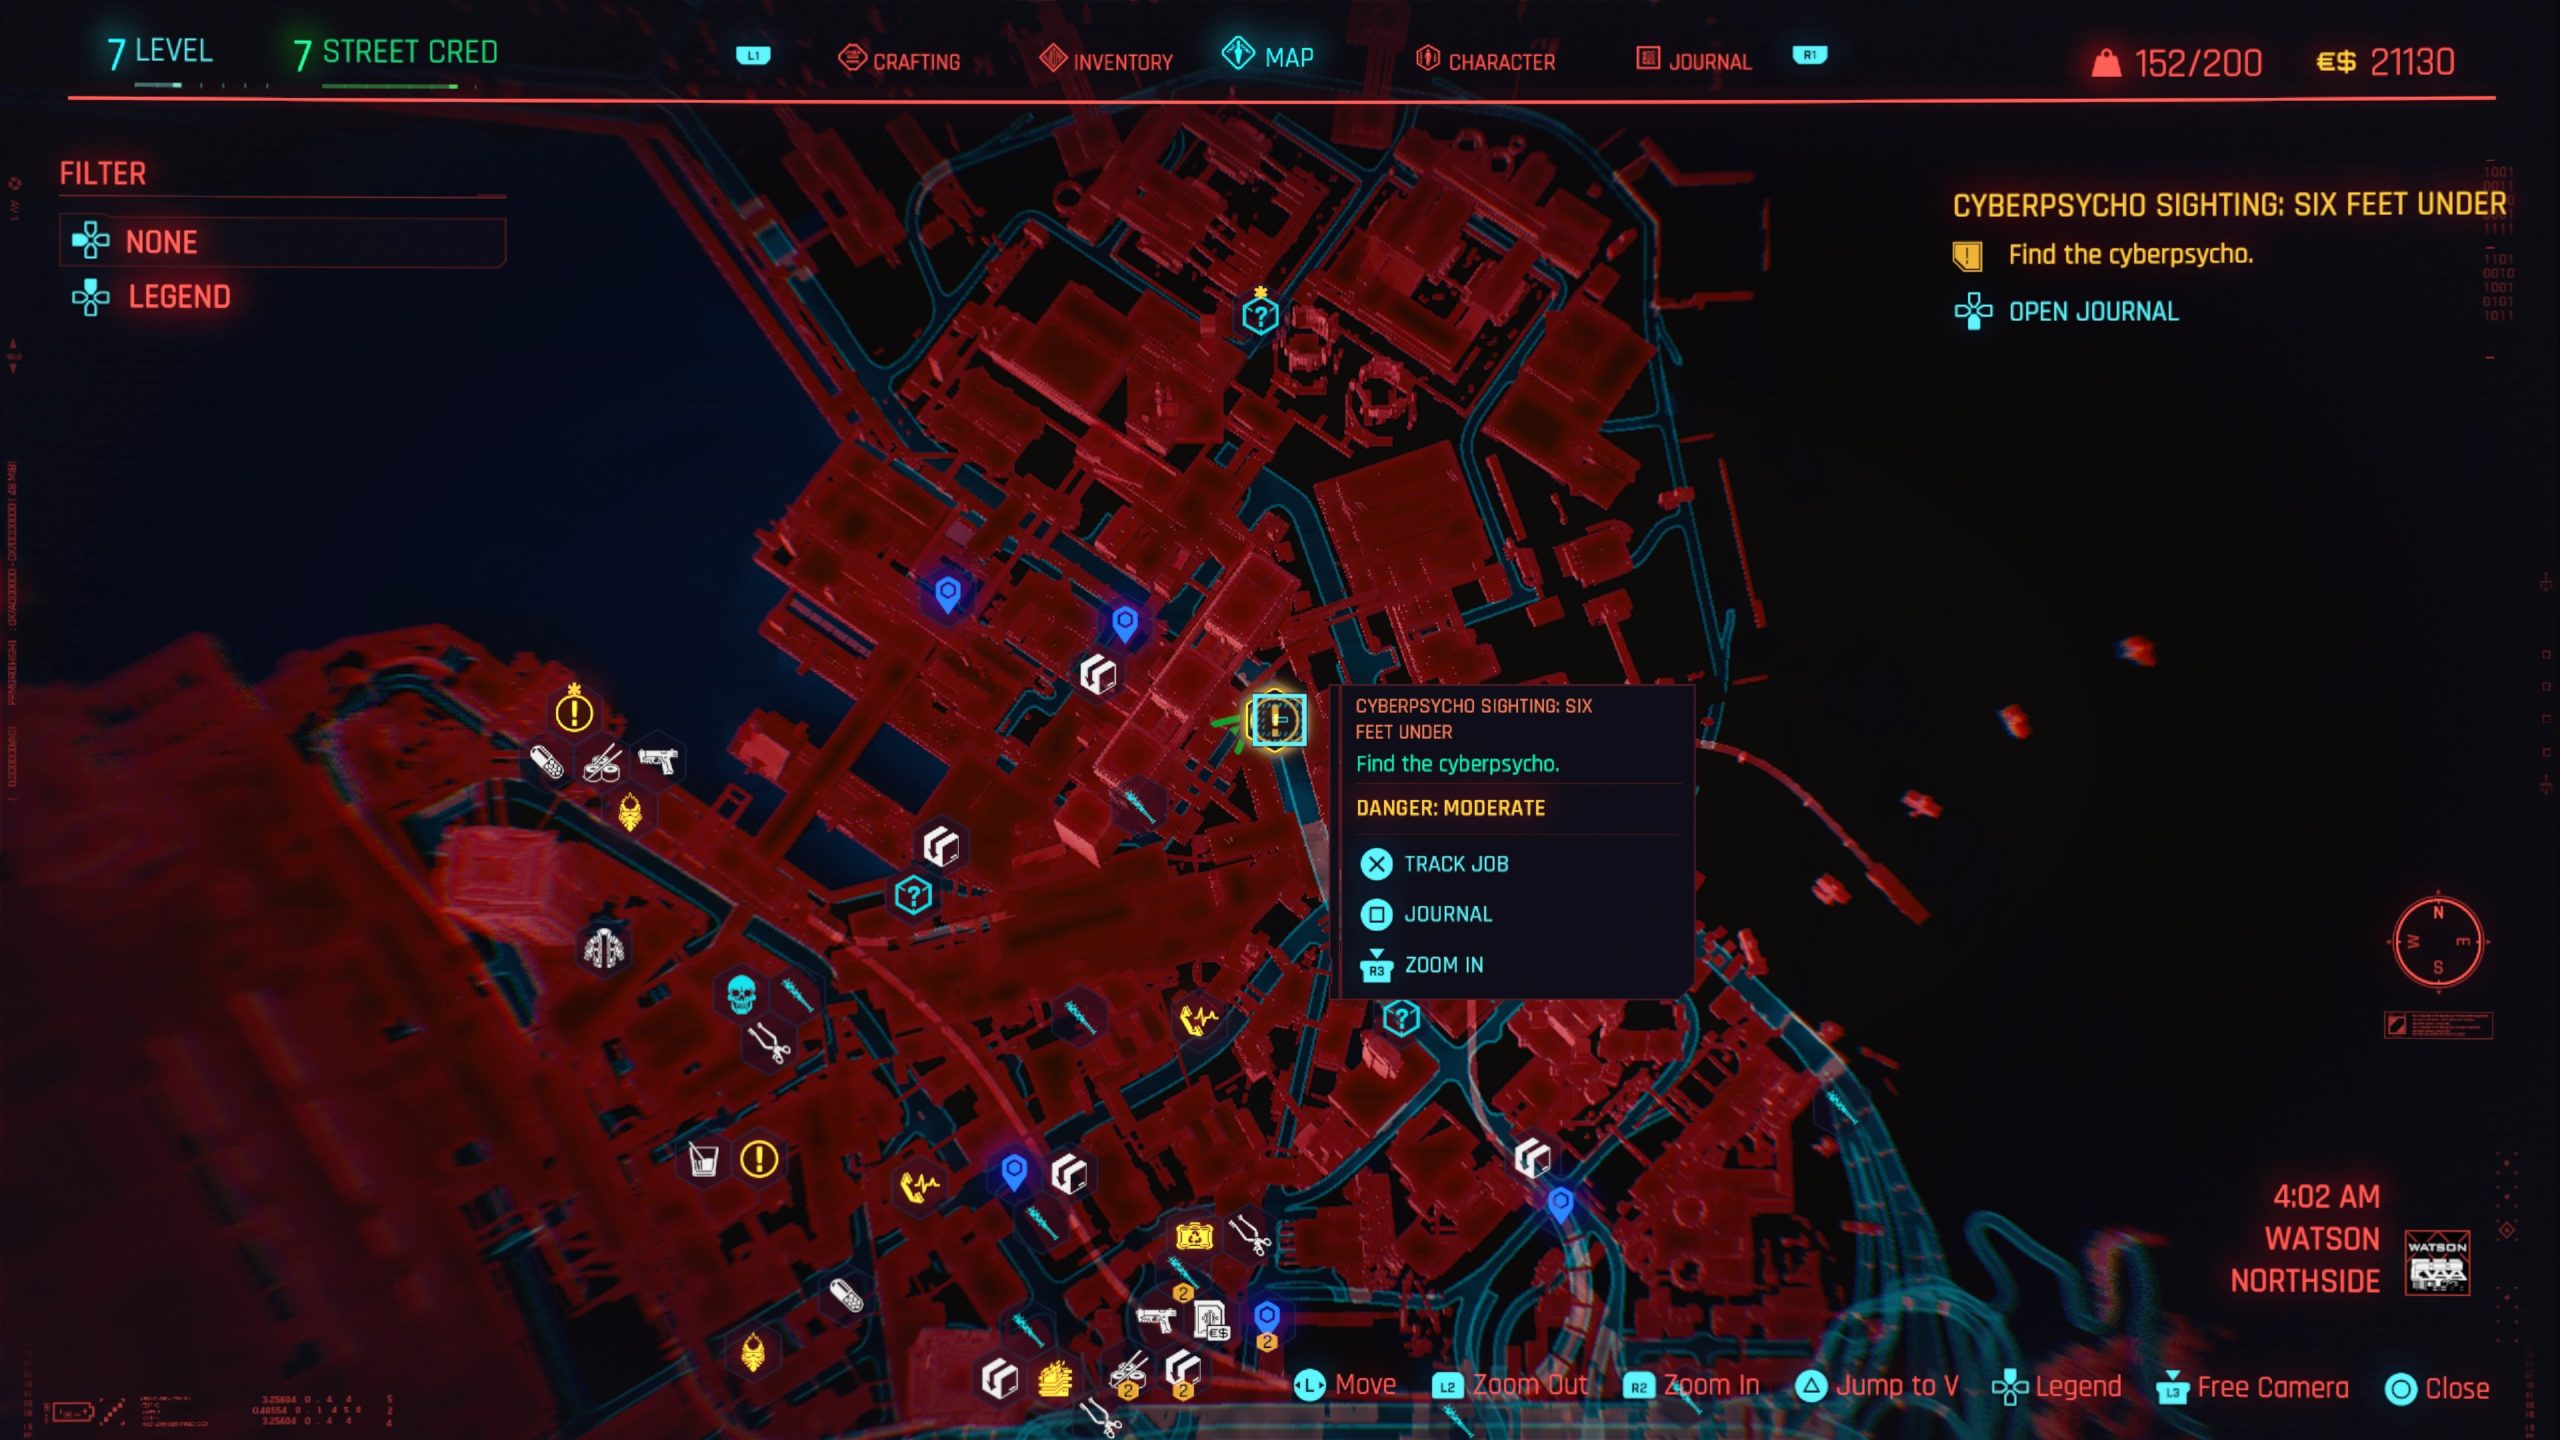
Cyberpsycho Sighting: Six Feet Under
Obtained: Kabuki – Approach the gig location north of Kabuki Market fast travel point
Objective: Find the cyberpsycho
When you arrive underneath the freeway, you’ll see Lely Hein shoot the last person alive in the area. Engage in combat with him. Be careful of his shotgun as it can do a lot of damage. If you don’t kill him quickly enough, he’ll run into the nearby building. Chase after him to unload more bullets into him. After defeating Lely, loot the body to obtain the Farewell shard then read it. To read the shard, press the touchpad then move over to Journal but don’t click it. Instead, head down to Shards and select that option. You’ll then need to scroll to the bottom to find the Farewell shard. Afterwards, send a text to Regina to complete the gig.
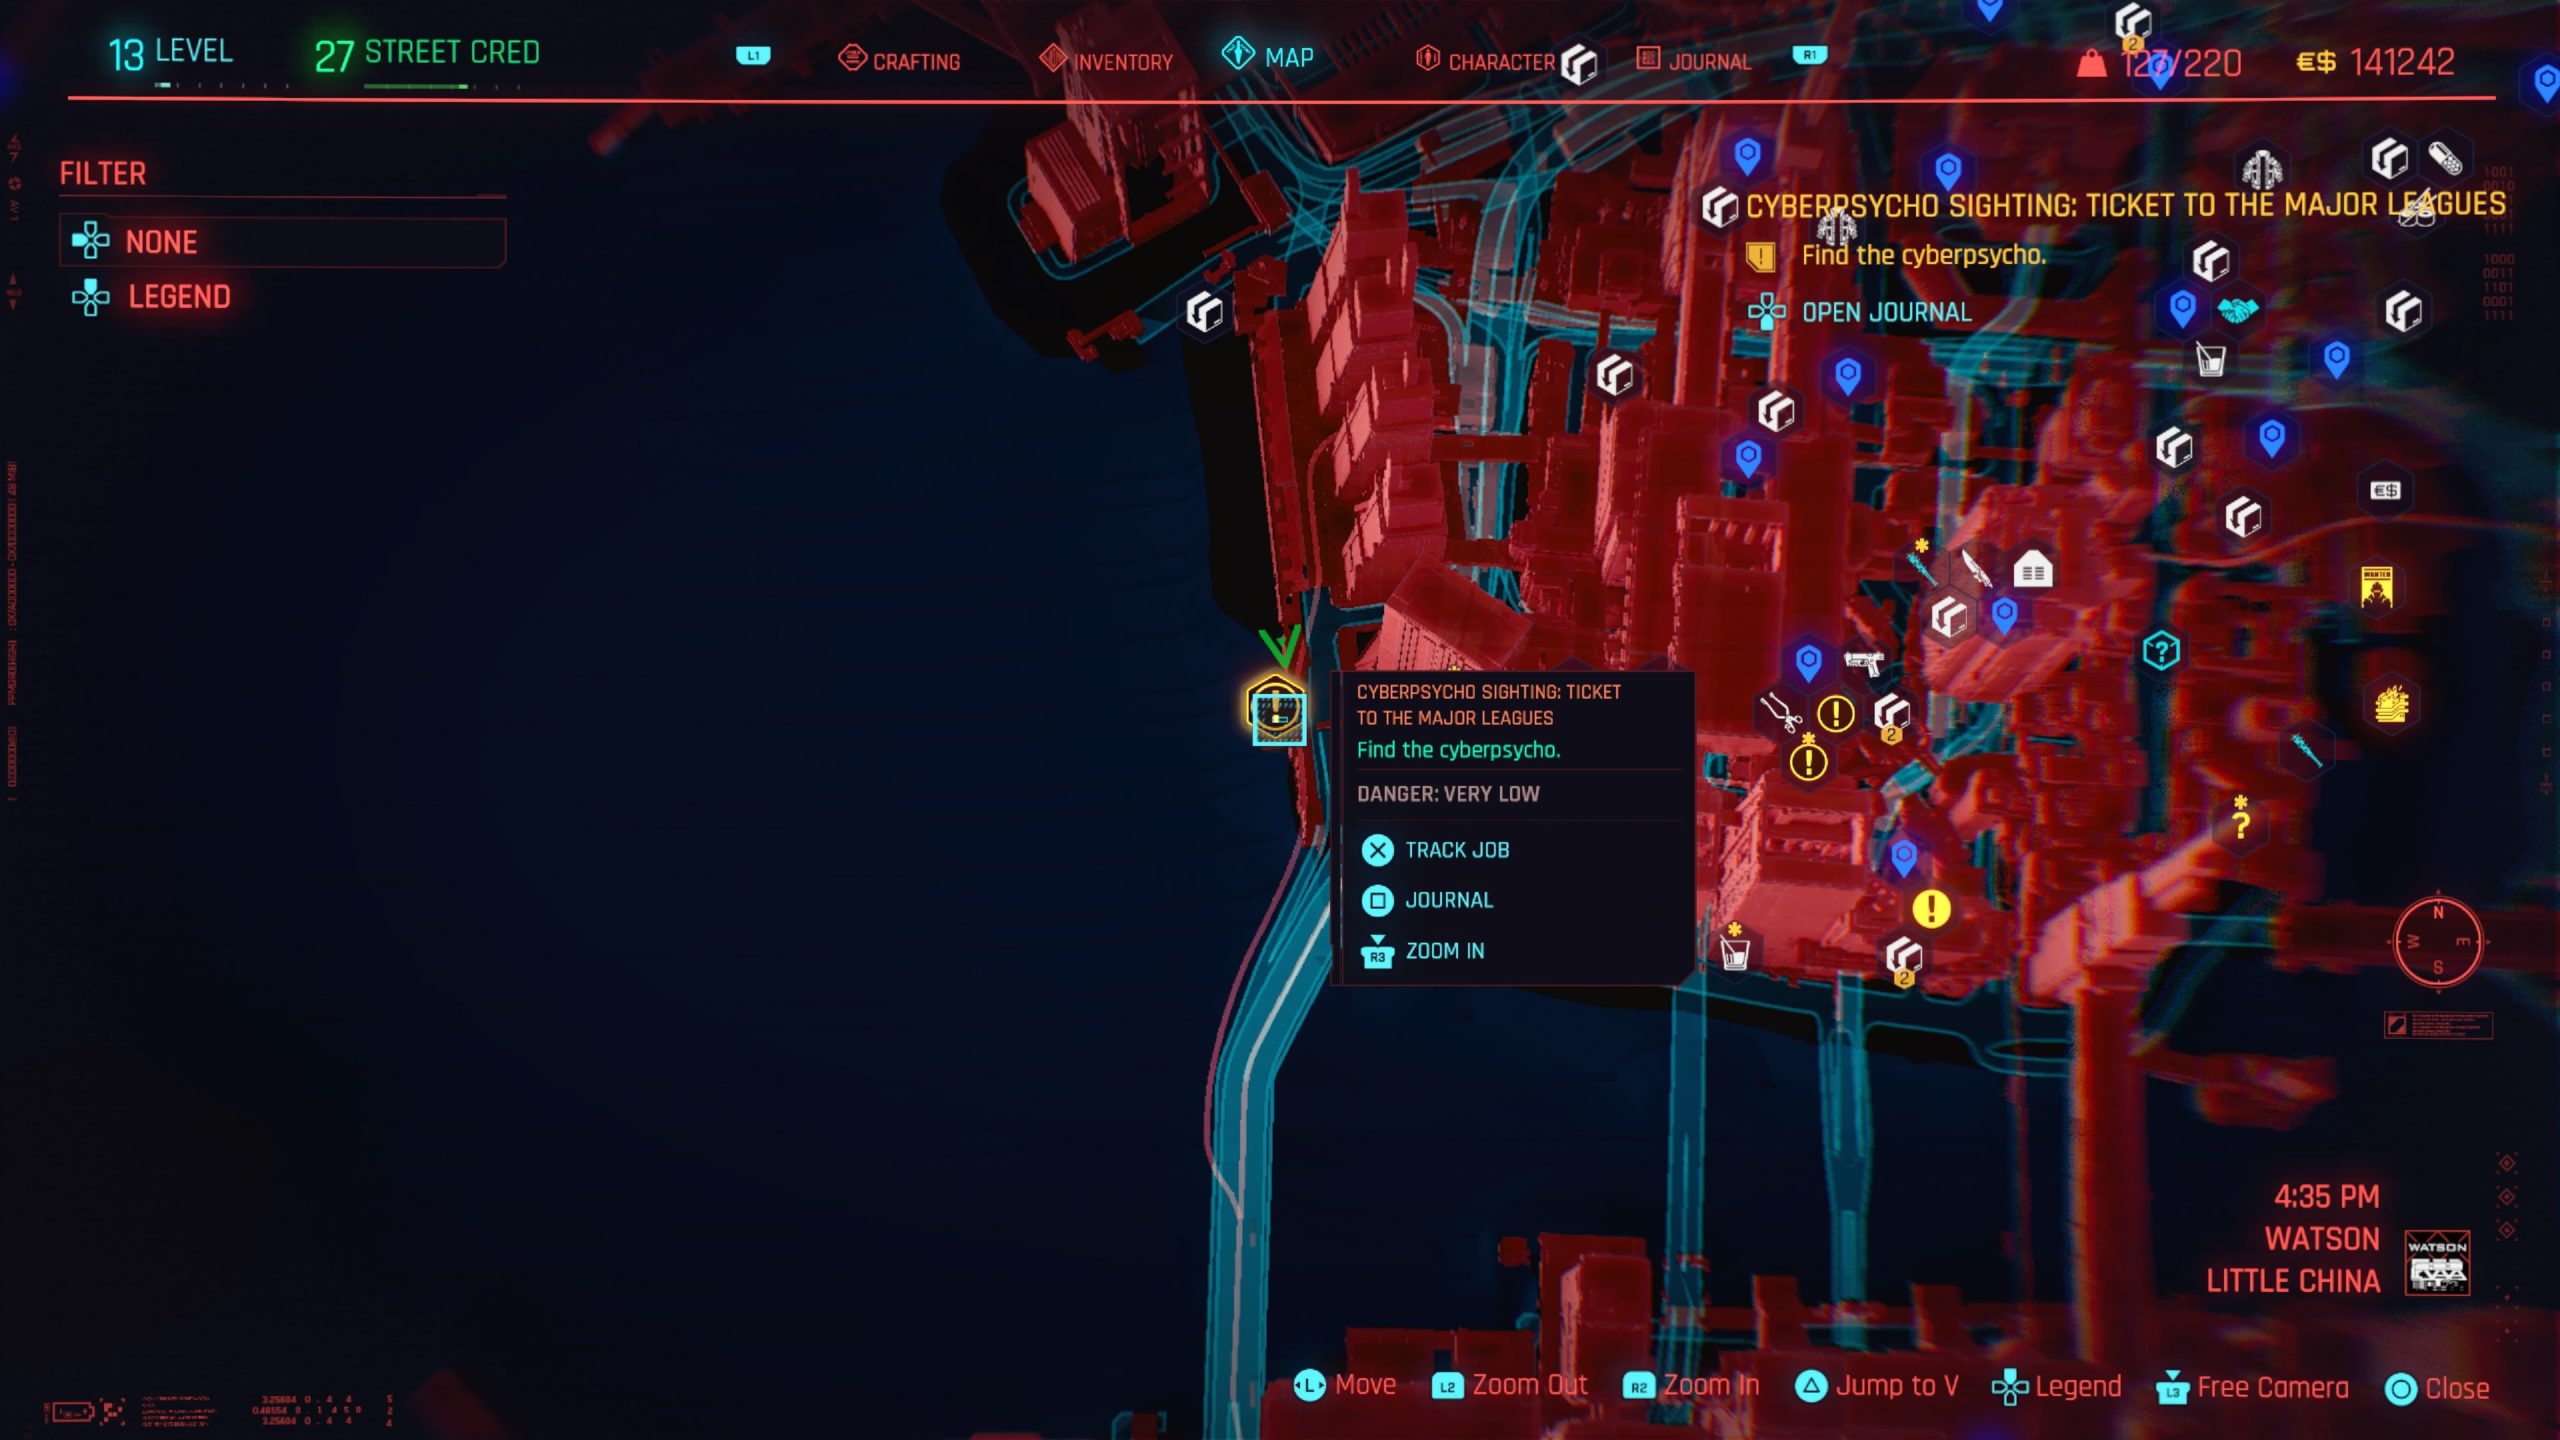
Cyberpsycho Sighting: Ticket to the Major Leagues
Obtained: Little China – Approach the objective west of Bradbury & Buran fast travel point near the water
Objective: Find the cyberpsycho
Defeat Alec Johnson then loot his body to collect a message about Glitter. Text this information to Regina to complete the gig.
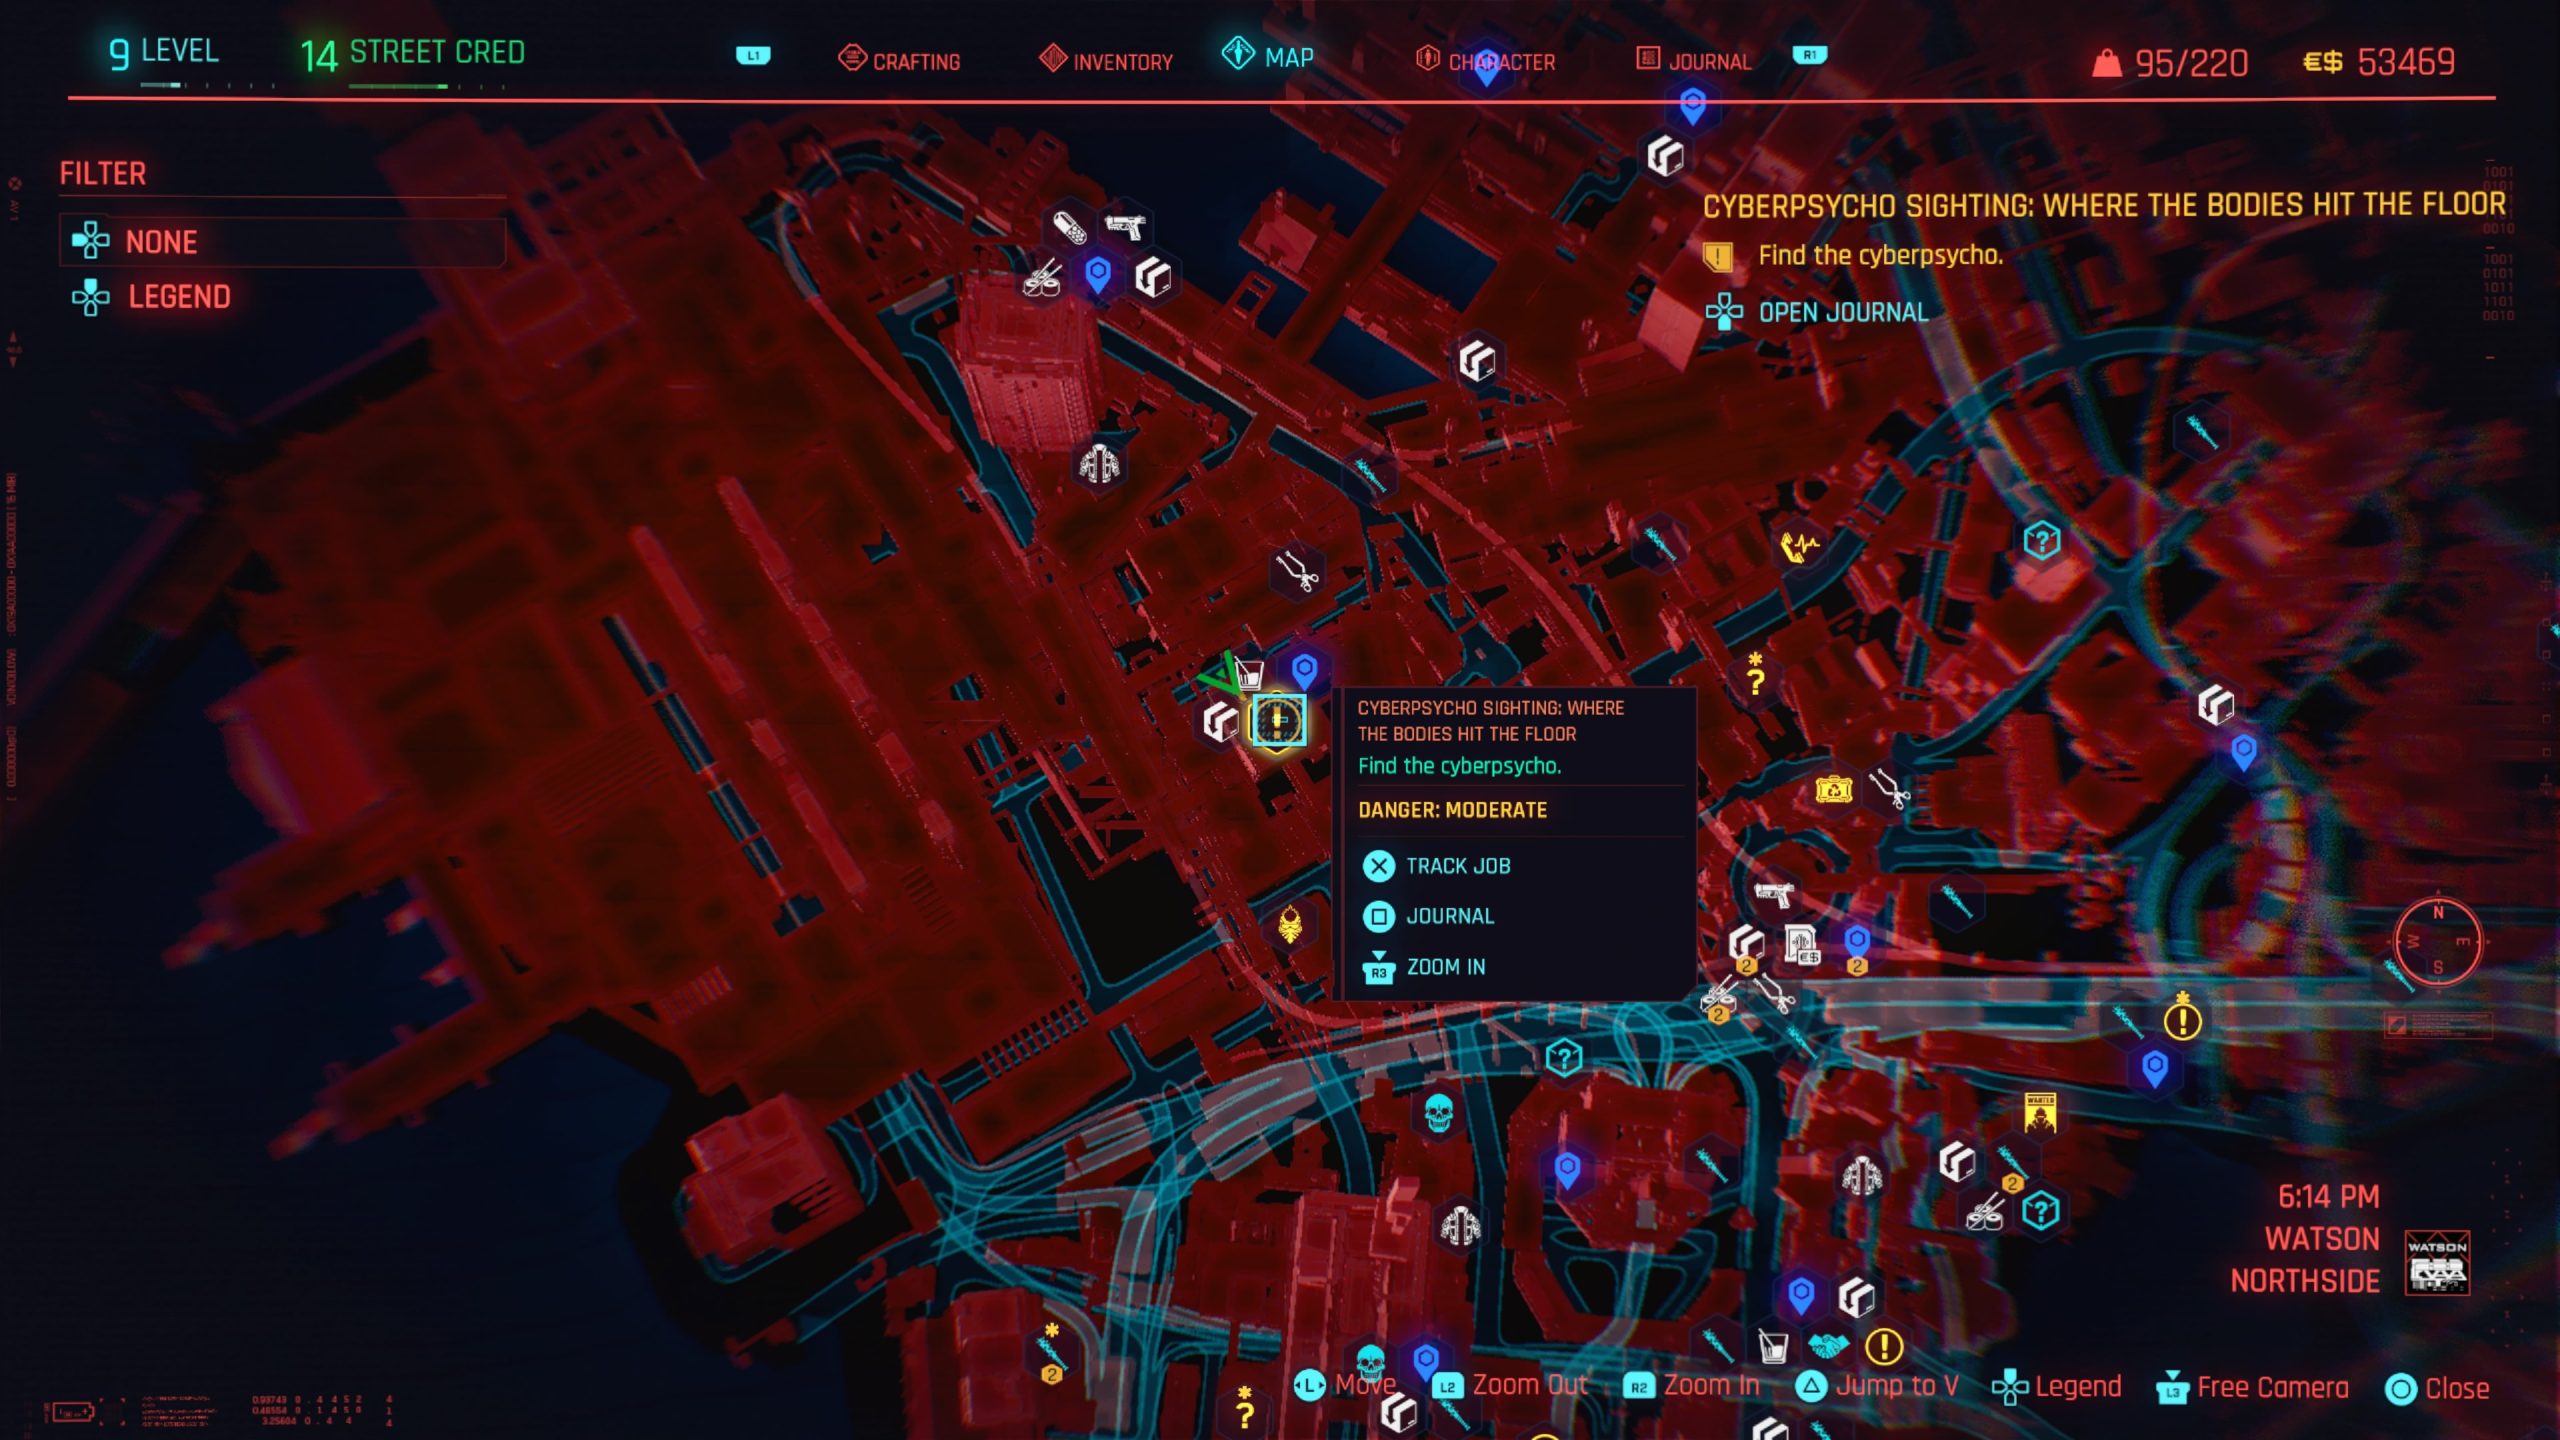
Cyberpsycho Sighting: Where the Bodies Hit the Floor
Obtained: Northside – Approach the objective just south of Pershing St fast travel point
Objective: Find the cyberpsycho
Head to the nook behind the skyscraper to find Ellis Carter waiting for you behind a large container and a pile of trash bags on fire. He’ll attack you with a melee weapon. Defeat him then head back behind the skyscraper to find a shard next to a body. Pick up the Archived Conversation: Brick and Ellis shard then read it. Afterwards, send a text to Regina to complete the gig.
Dirty Biz
Obtained: Northside – Approach the gig location at the Docks fast travel point
Objective: Get the raw BD
After you make your way past the yellow barricade. Enter the small building on the right to locate a PC. Use it to disable all of the security around the docks then exit the room and head up the nearby stairs. Take a left moving past the pallet of cinder blocks and enter the doorway. Take the stairs in the back of the room to the top then pass through another door on the left. This should put you in an archive room. Go to the back of the room and enter the server room where you will find two guys sitting in some chairs. Speak with them to make them hand over the BD or you find it yourself on a shelf in the back of the room. With the BD in hand, exit the area and drop it off in a drop point a little ways down the road. Regina will call you completing the gig.
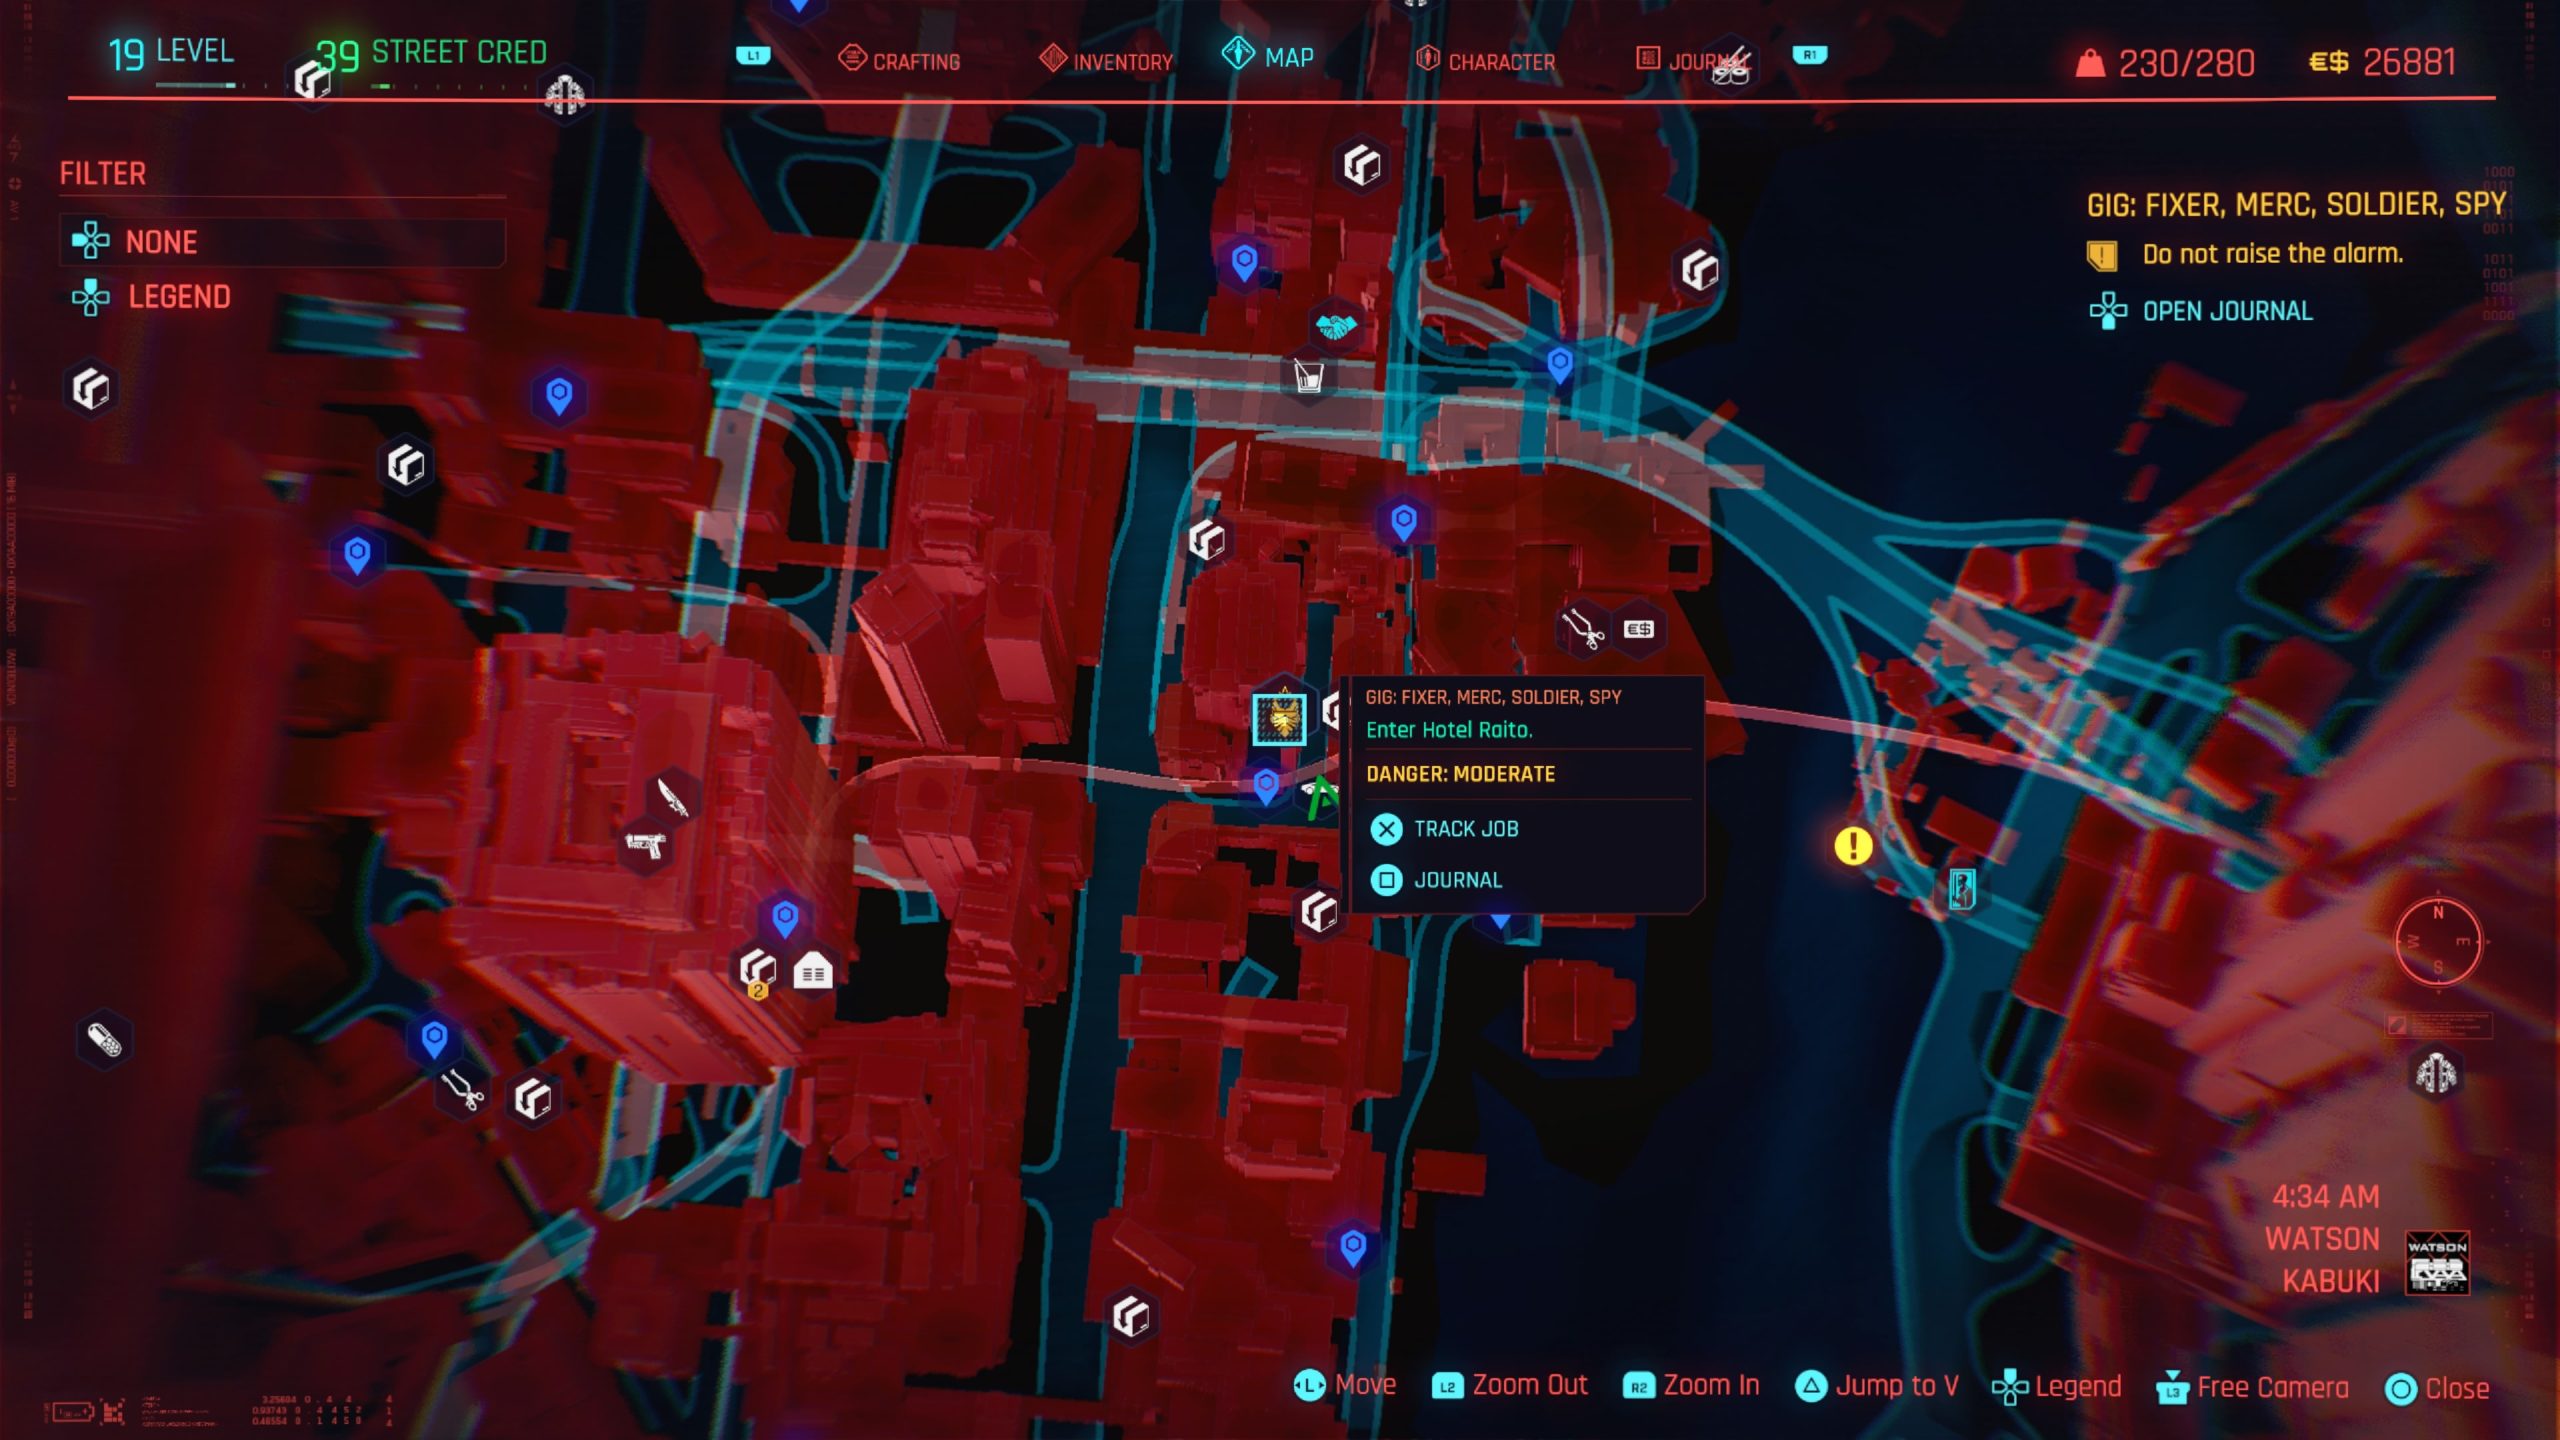
Fixer, Merc, Soldier, Spy
Obtained: Kabuki – Approach the gig just north of Kabuki: Central fast travel point
Objective: Enter Hotel Raito
This is another gig that needs to be done sneakily to get the best outcome. Disable the camera inside the entrance then walk right in and speak with the receptionist who thinks your a customer. Tell him that you need a room then select the option to distract him so you can grab the elevator access card that is on his desk. Quickly walk to the elevators before he turns back around. Enter the elevator then head up to Floor 21: Apartments. When you exit the elevator, head right and proceed through the double doors on the right. Take the stairs up.
At the top, you have 2 options. You can either open the double doors on the left that require Technical Ability 9 to open then head down the hallway to the left. If you open the last door on the right, you’ll enter Mikhail Akulov’s penthouse. Alternatively, enter the door across from the set of double doors requiring the ability to find yourself on the roof. Turn left to find equipment. Stand on the equipment then activate it to raise you up. Jump onto the balcony then enter the conference room. When you leave this room, take a left to enter the upper level of the penthouse.
The datashard is located on a table underneath the TV in the living room. Akulov and his assistant will be in this room. You’ll need to distract both of them then choke them out. Grab the datashard then loot the penthouse for a penthouse access key. Leave the room via the door near the stairs leading up and head diagonally for the elevator. Call it up then head down to the first floor. To leave the hotel, simply walk out. Once your outside, you’ll receive a call from Regina. Tell her your on your way then follow the objective southwest to meet with Regina’s client. When you approach their car, hand over the datashard. Afterwards, you’ll receive another call from Regina. Follow the objective to the Drop Point to collect your reward and complete the gig.
Flight of the Cheetah
Obtained: Northside – Approach the gig west of Martin St fast travel point
Objective: Find Hwangbo
Near the entrance to the parking lot outside of the motel area, you’ll need to enter the door next to a Nicola vending machine. To open this door, you will need Body Value of 5. In this room, activate the terminal and search the Files for the Guest List. On this list, scroll down through the names to come across an anonymous guest staying in room 1237. Exit the computer the proceed through the next door, which could require you to have the Technical Ability 5 to open it. Once inside, make your way through the rooms to exit the building into a courtyard. Once in this area, begin your search for room 1237, which is on the western side of the complex on the second level. Head inside and speak with Hwangbo. When Hwangbo leaves the room, enemies spawn. You’ll then be given the option to take Hwangbo’s car. If you choose to take the car, head south down the walkway and shut off the camera at the end. At the end, turn right to find a set of stairs and take them down. At the bottom you’ll encounter the enemies. You can either engage in combat with them or sneak past them to the door behind the stairs, which will require you to have a Body Value of 6. Once you make it through the door, head across the street to Hwangbo’s car and hop in! Follow the objective to the meeting place then exit the car once you’ve arrived. Approach the meeting spot then speak with Hwangbo to calm his nerves. Afterwards, Regina will call you and close the gig.
Freedom of the Press
Obtained: Northside – Approach the gig location west of Pershing St fast travel point
Objective: Enter the TV studio building
To enter the building through the front door you’ll need Technical Ability 8. Alternatively, jump up onto the dumpster near the front door to reach the roof then jump down through the ceiling. Once inside, head through the lobby to enter a hallway. Crouch under the laser in the hallway. Once you turn the corner, take an immediate right to avoid the turret at the other side of the room. From here, follow the path then head up the ladder and drop down into the cluster of mannequins. Be careful of the turret in the room to the right of you. You’ll need to sprint into this room towards the left side to avoid its fire! Jump over the laser (or disarm it if you have Technical Ability 5) then run straight ahead. Head up the stairs then enter through the door at the end of the walkway. Head through the next door on the right to encounter Max. Select “Nope, I’m not.” so he doesn’t shoot himself. Next, select the following options to convince him to speak with Regina: “Regina was your mentor?”, “You dying wouldn’t change a thing.” and “She deserves a chance. Just talk to her.” When he agrees, Regina will text you that the car is waiting outside. Head through the door across the way and follow the path down a flight of yellow stairs to the car. Max will automatically follow you. Once he gets in the car, leave the area then head to the nearby drop box to collect your reward and complete the gig.
Hippocratic Oath
Obtained: Northside – Approach the gig northeast of Martin St fast travel point
Objective: Go to the Clean Cut building
Head into the building and defeat the enemies inside. Afterwards, search for Lucy who is in the northwestern room working on a patient. Speak with her and persuade her to leave. While talking with her an option to scan the patient will quickly pop up. Do this otherwise she’ll be mad at you and accuse you of killing him. If you choose to scan him, she’ll say that he’s going into shock and ask you to grab the Synthetic Blood on the table to the left of you. Do so and apply it to the patient. After a brief chat with her, escort Lucy to the car waiting outside to receive a call and complete the gig.
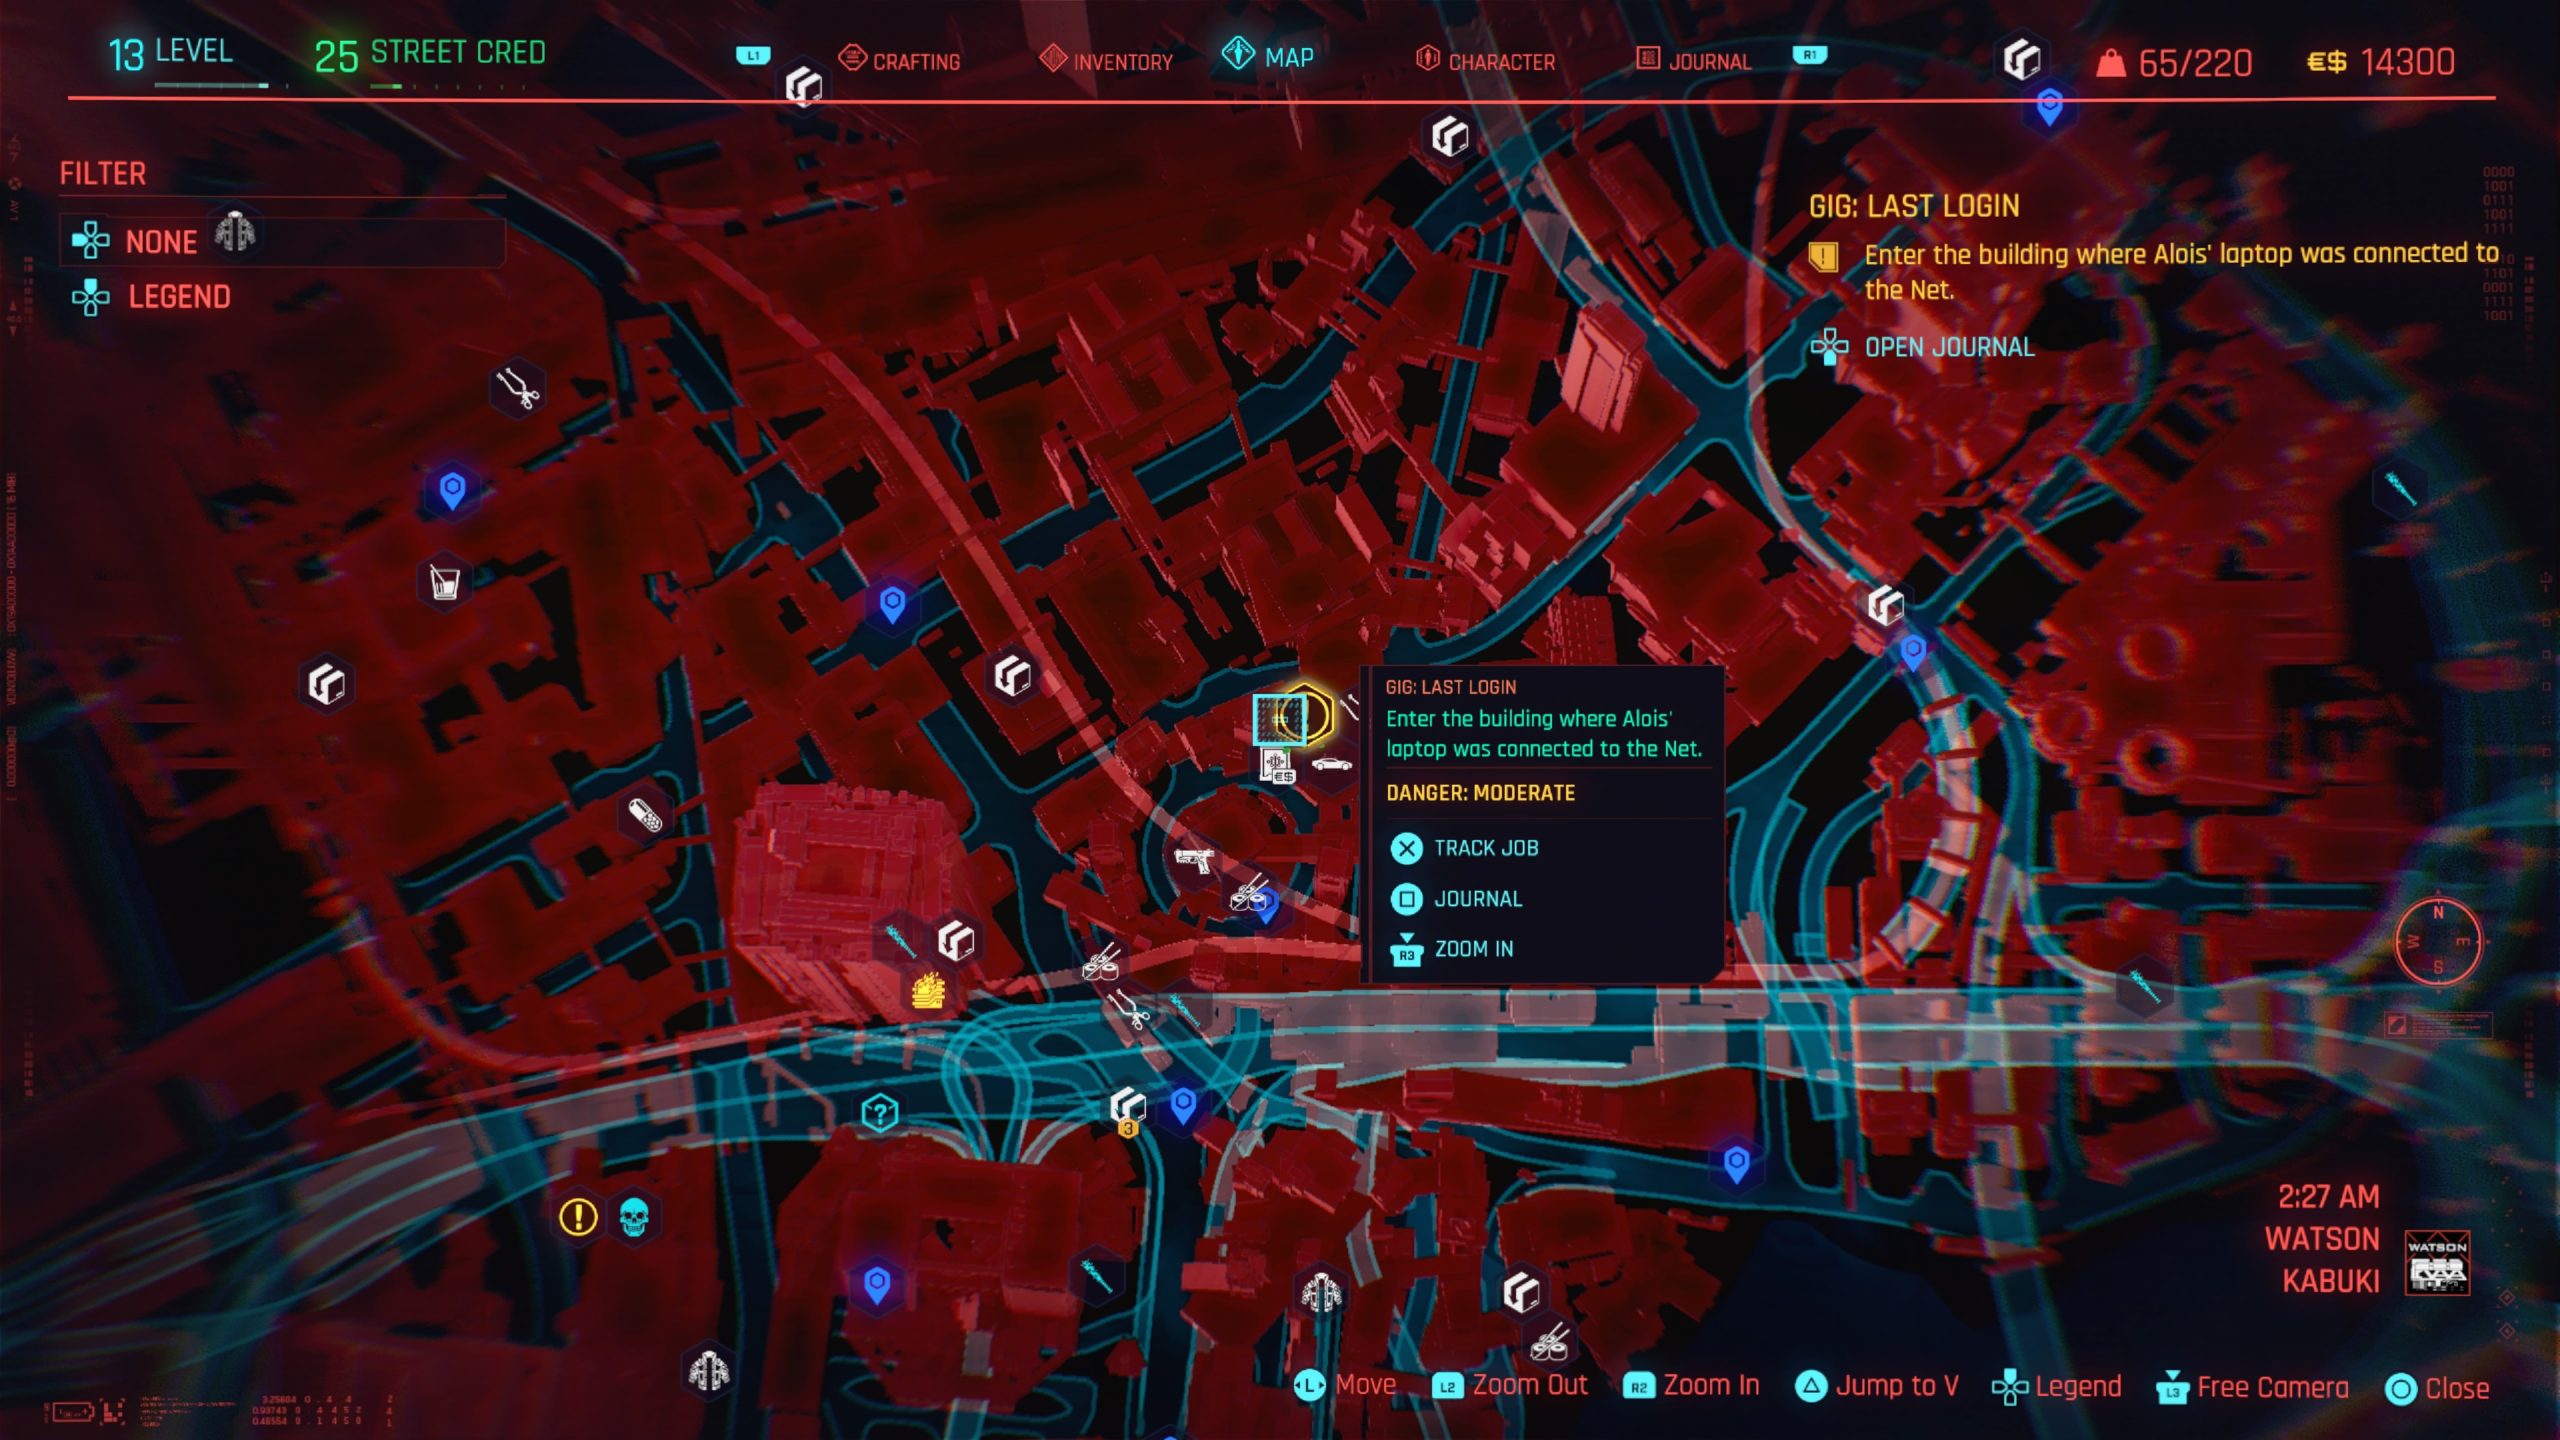
Last Login
Obtained:Kabuki – Approach the gig north of Kabuki Market fast travel point
Objective: Enter the building where Alois’ laptop was connected to the Net
Enter the building where indicated by the objective then take out the enemies inside. Next, you’ll need to find Alois’ laptop, which is downstairs on a table next to a gurney with a body on it. Once you get the laptop, head outside and drop it off in the Drop Point. You’ll receive a call from Regina then the gig will complete.
Lousy Kleppers
Obtained: Northside – Approach the gig location south of Offshore St fast travel point
Objective: Get inside the Maelstrom warehouse
When you reach the warehouse, it’ll be strongly guarded by enemies and surveillance cameras. Defeat the enemies then work your way into the large warehouse building. Inside you’ll find a van in the middle. Search the table next to the van to find the shard that you need. Once you snag it, leave the area then deposit the databank in the Drop Point just north of the warehouse to complete the gig.
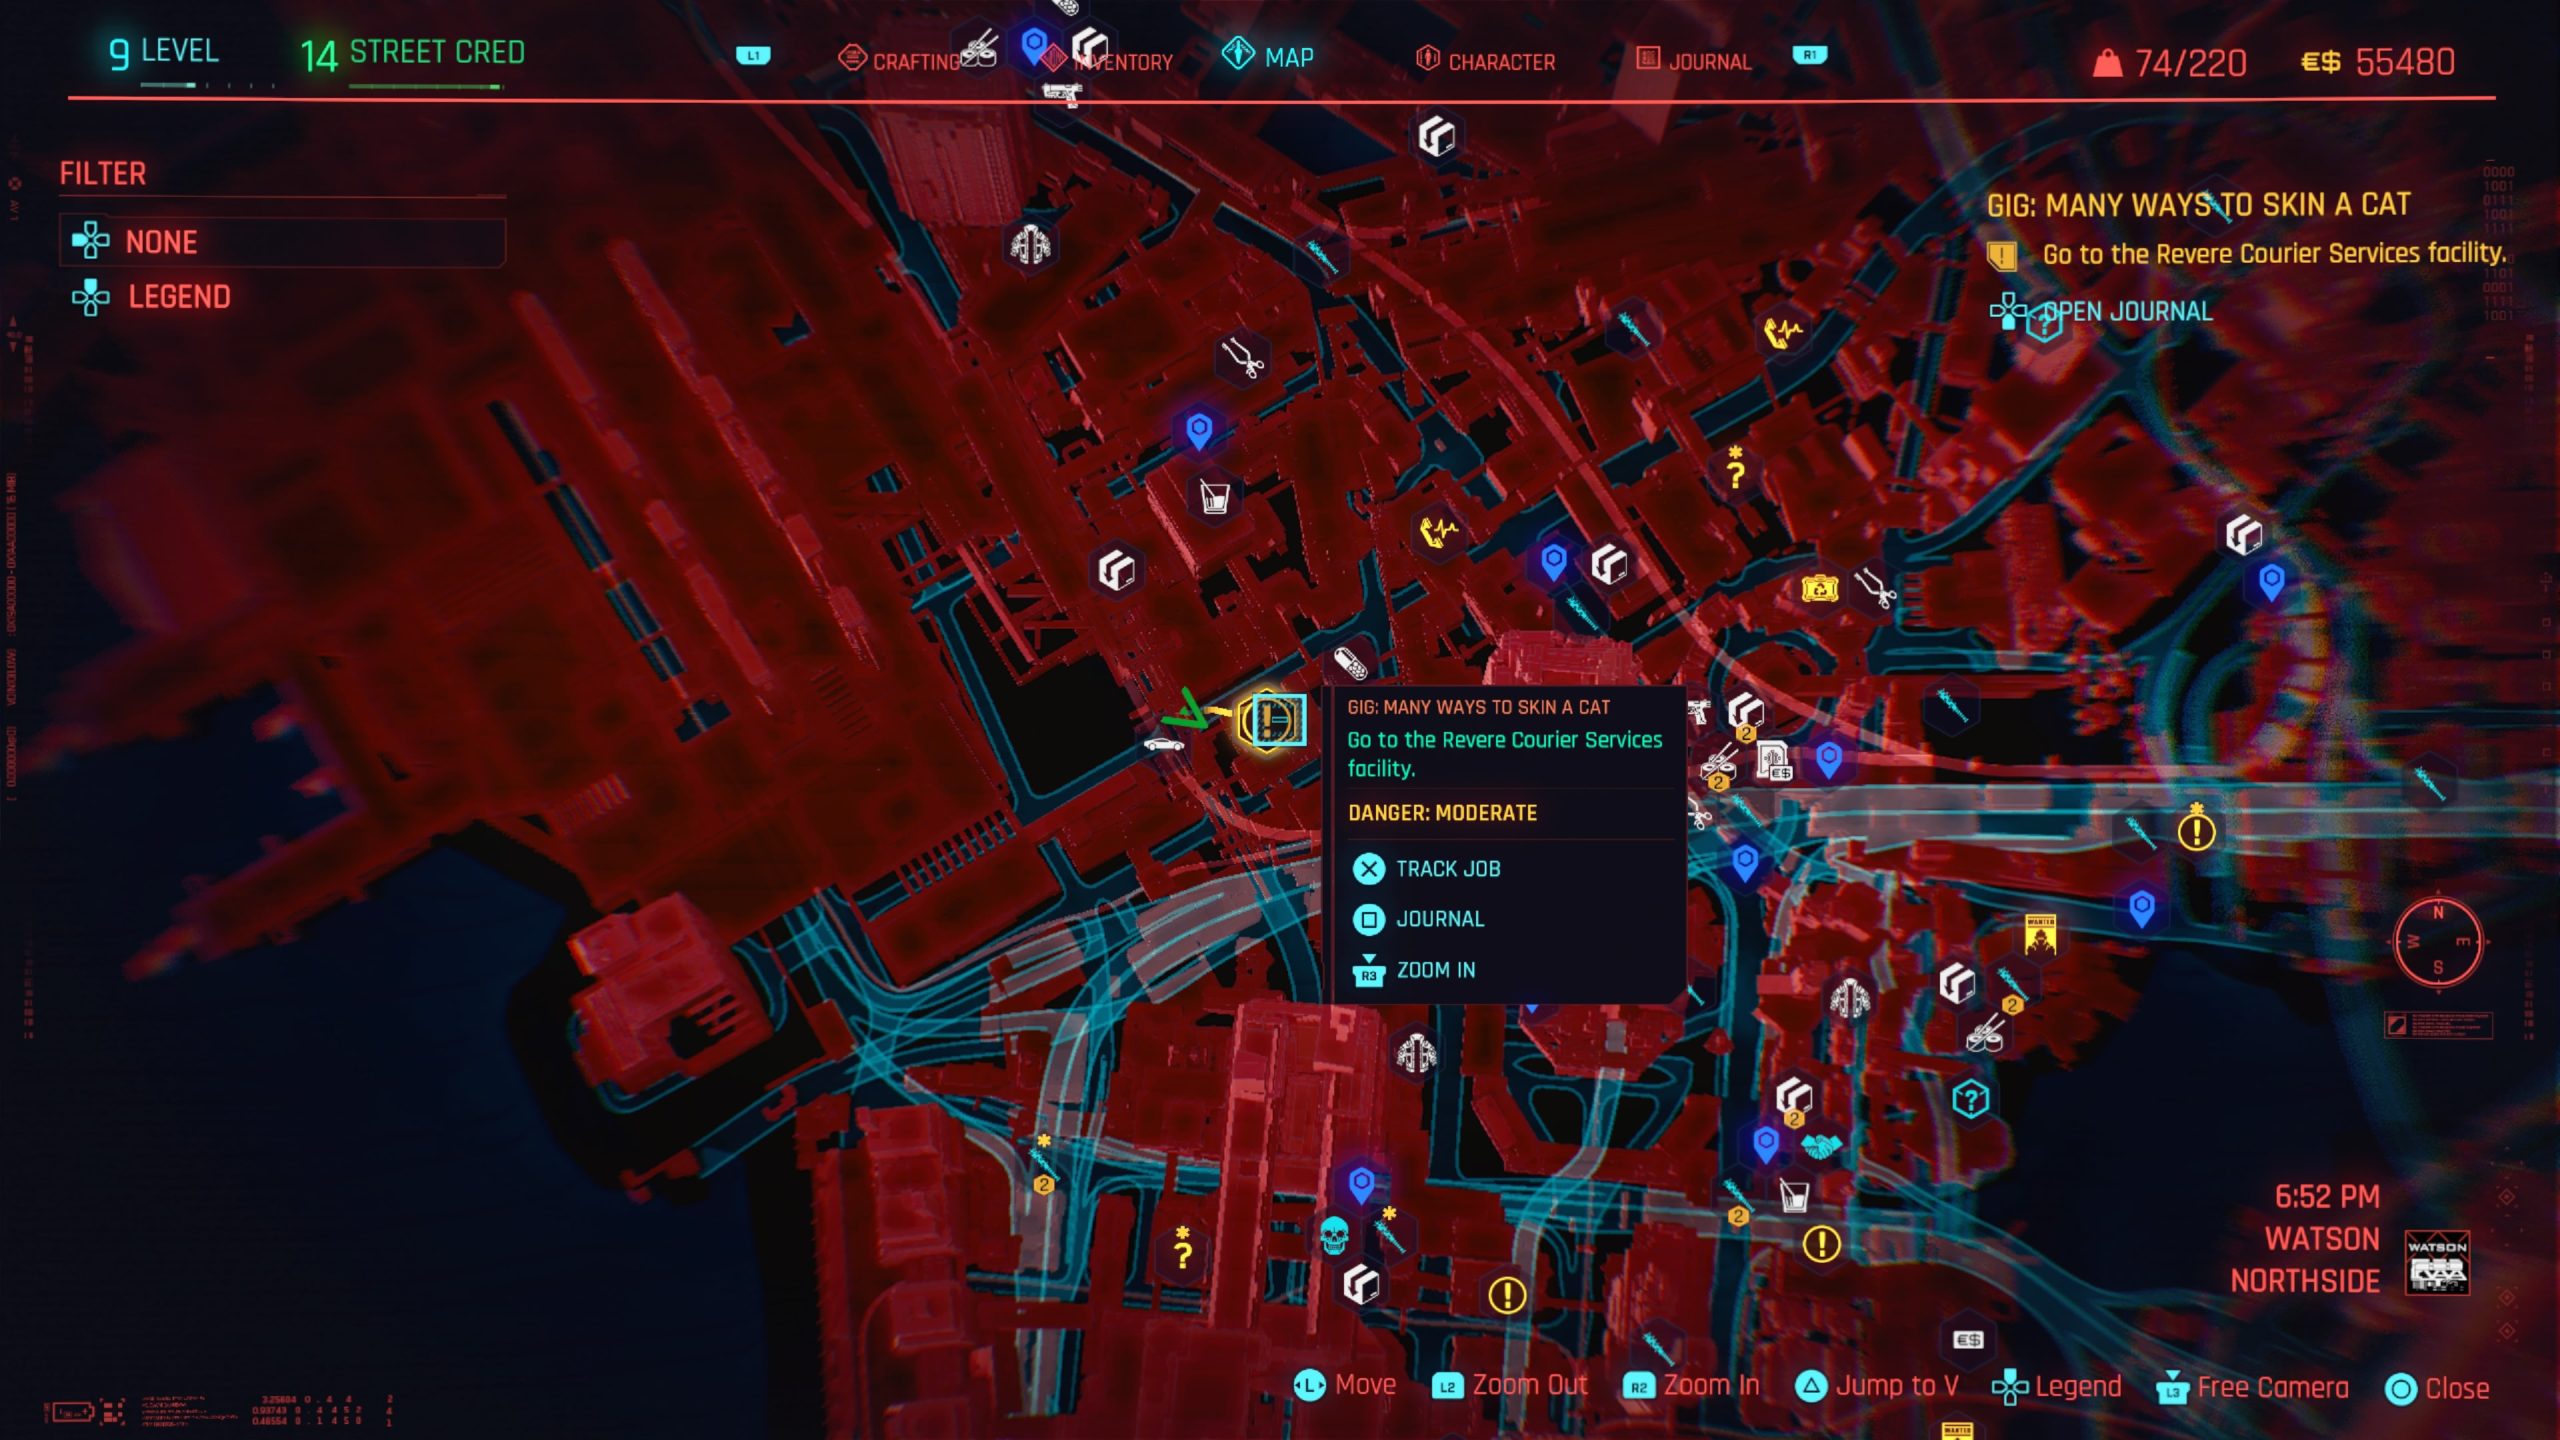
Many Ways to Skin a Cat
Obtained: Northside – Approach the gig location west of Martin St fast travel point
Objective: Steal the van filled with leather jackets
Head to the Revere Courier Services facility and find a way inside. If you have a Technical Ability 5, you can waltz in through the front door, otherwise, you can find a broken section of gate to sneak through on the east side of the facility. Once you reach the courtyard of the facility, take care of the enemies then make your way into the building. Head up to the second floor to enter the computer room on the back left side of the building. Once inside interact with the PC to “authorize via personal link” then make your way to the ground floor of the warehouse. Enter the van and follow the objective northeast of Martin St. to park it in the garage. Exit the van to complete the gig.
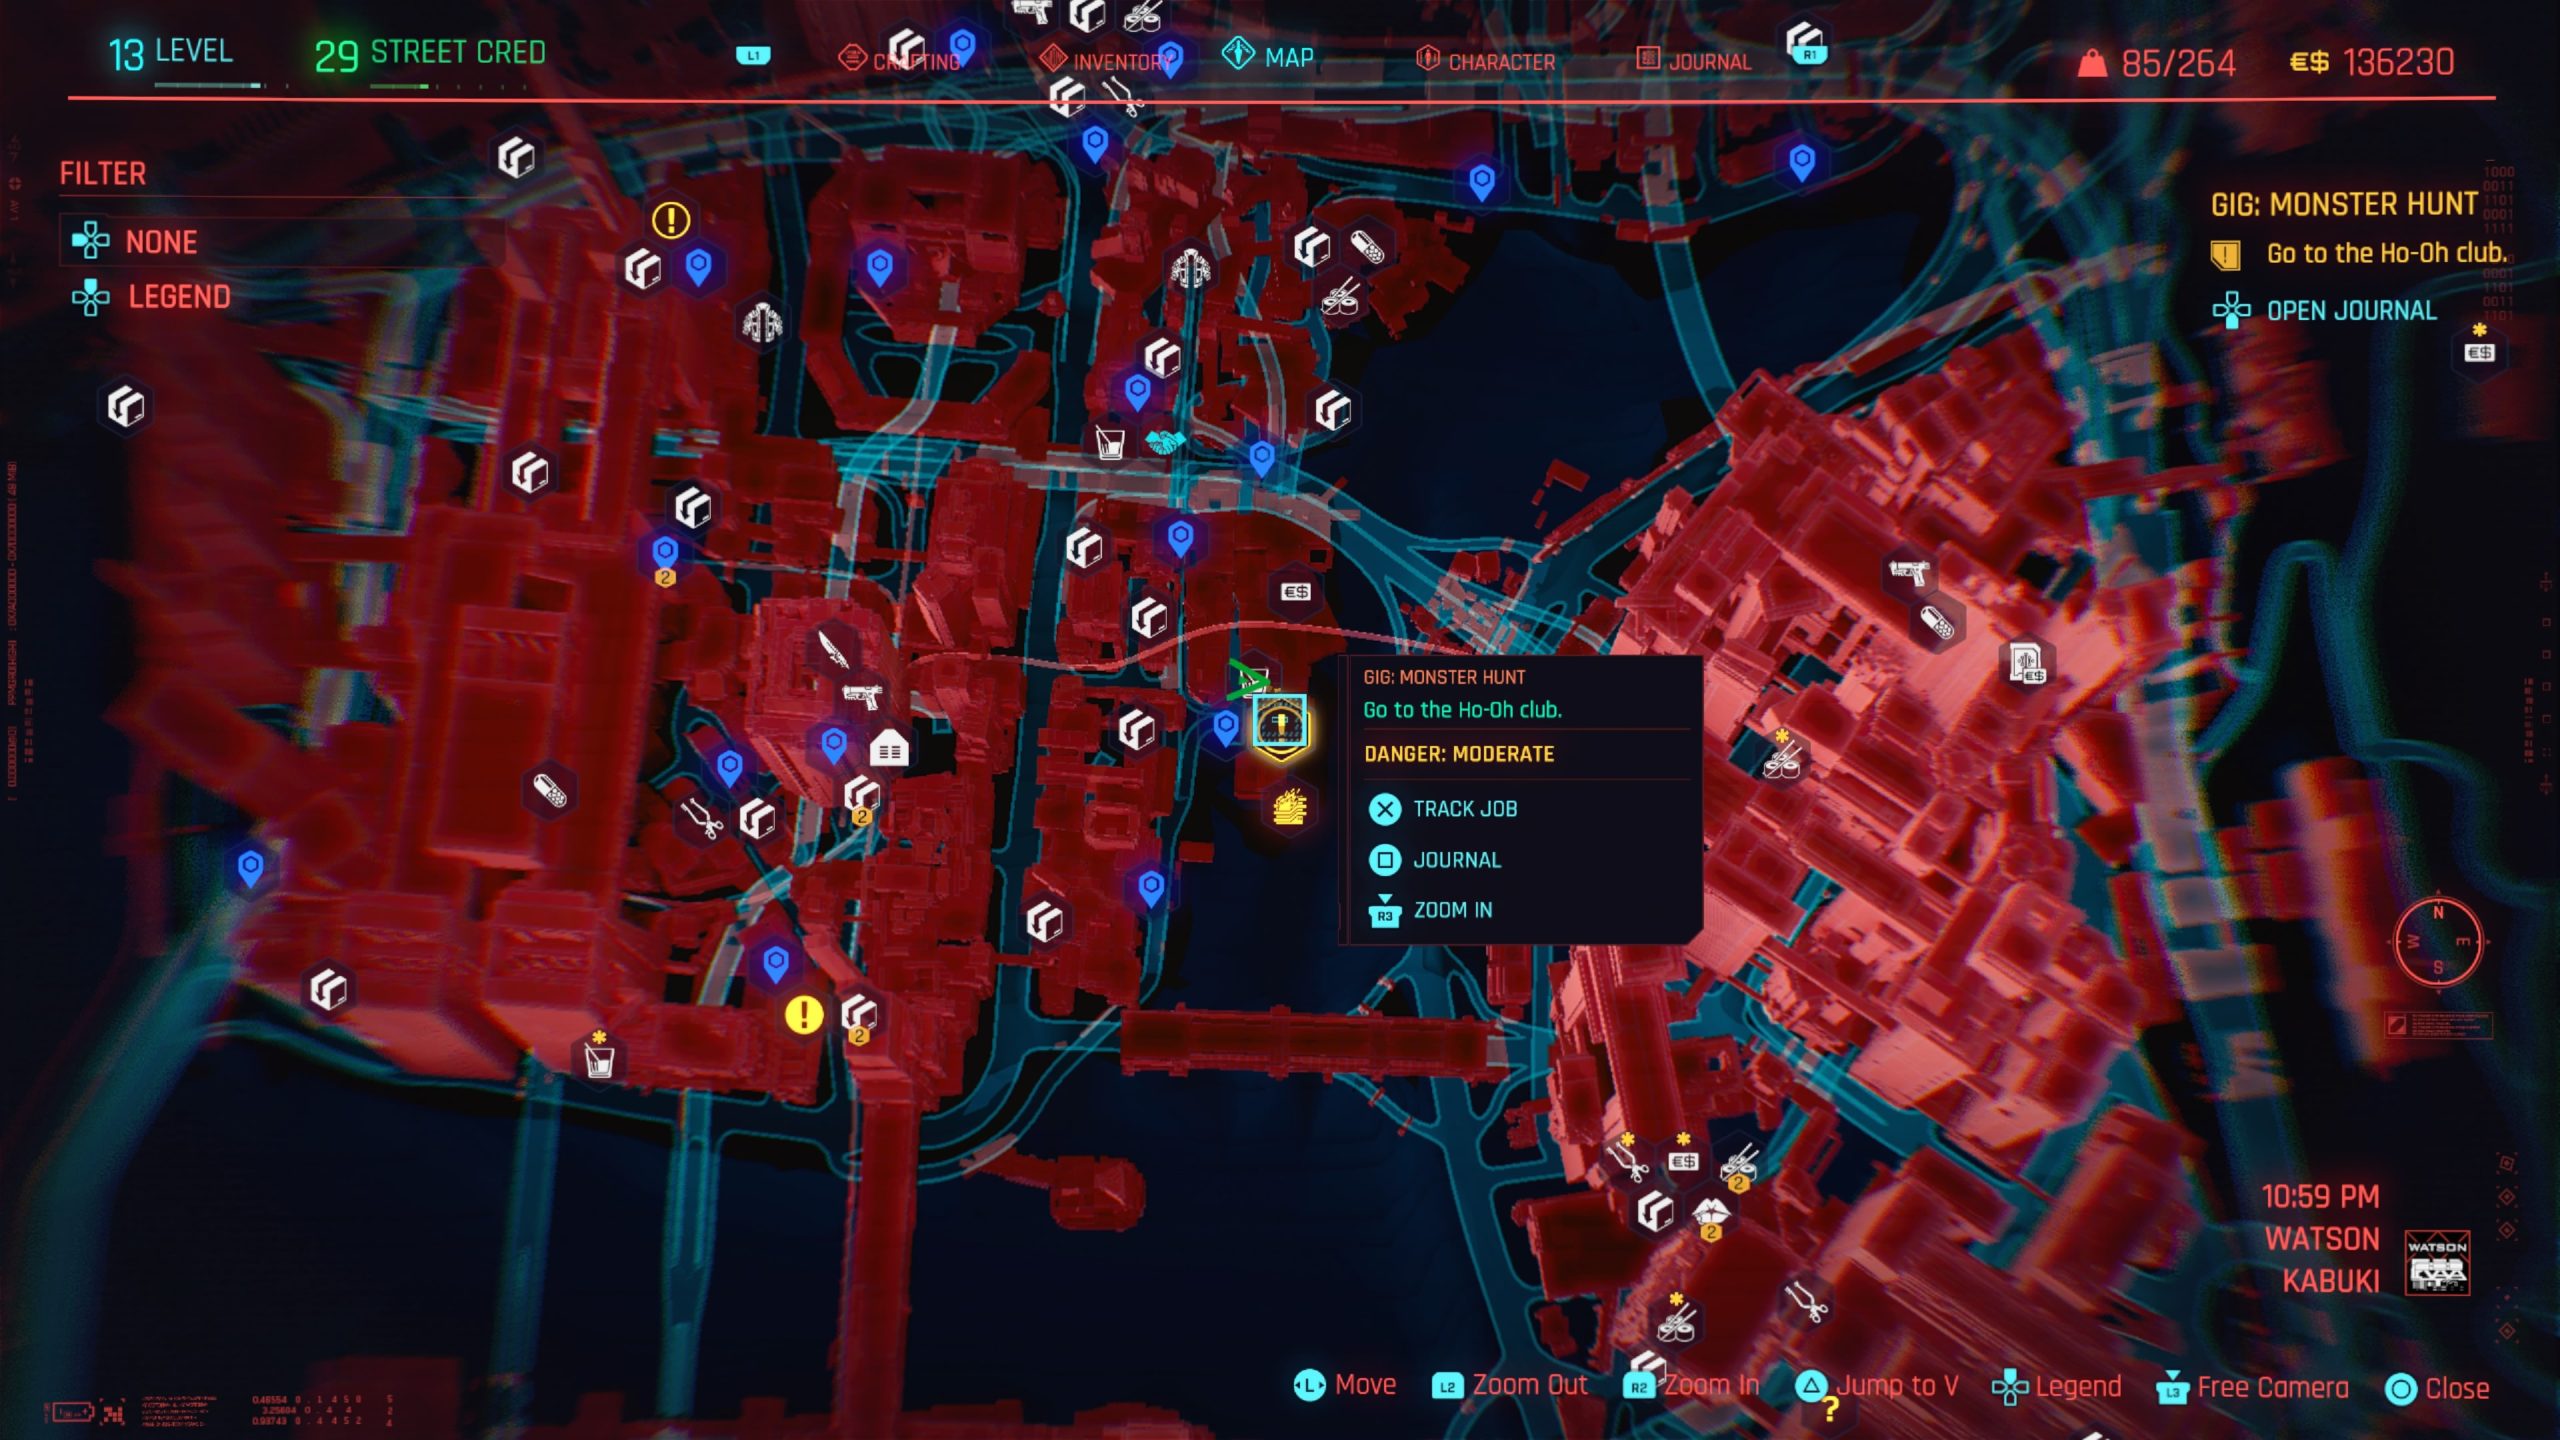
Monster Hunt
Obtained: Kabuki – Approach the gig location just east of Allen St South fast travel point
Objective: Go to the Ho-Oh club
Once inside the club take out the enemies then head through the beads to the back room. Follow the path up the stairs the turn immediately to your left to find a door/gate that requires Technical Ability 7 to open. If you have this, open the door then go forward a short way to find a set of stairs leading up on your left. Take them to the top then turn left and follow the path to reach an open doorway on the right. Head inside and eliminate the enemies including Jotaro. Once the task has been completed, take Jotaro’s body and head outside to the fixer’s transport. Dump the body in the trunk to receive a call from Regina who shuts the gig.
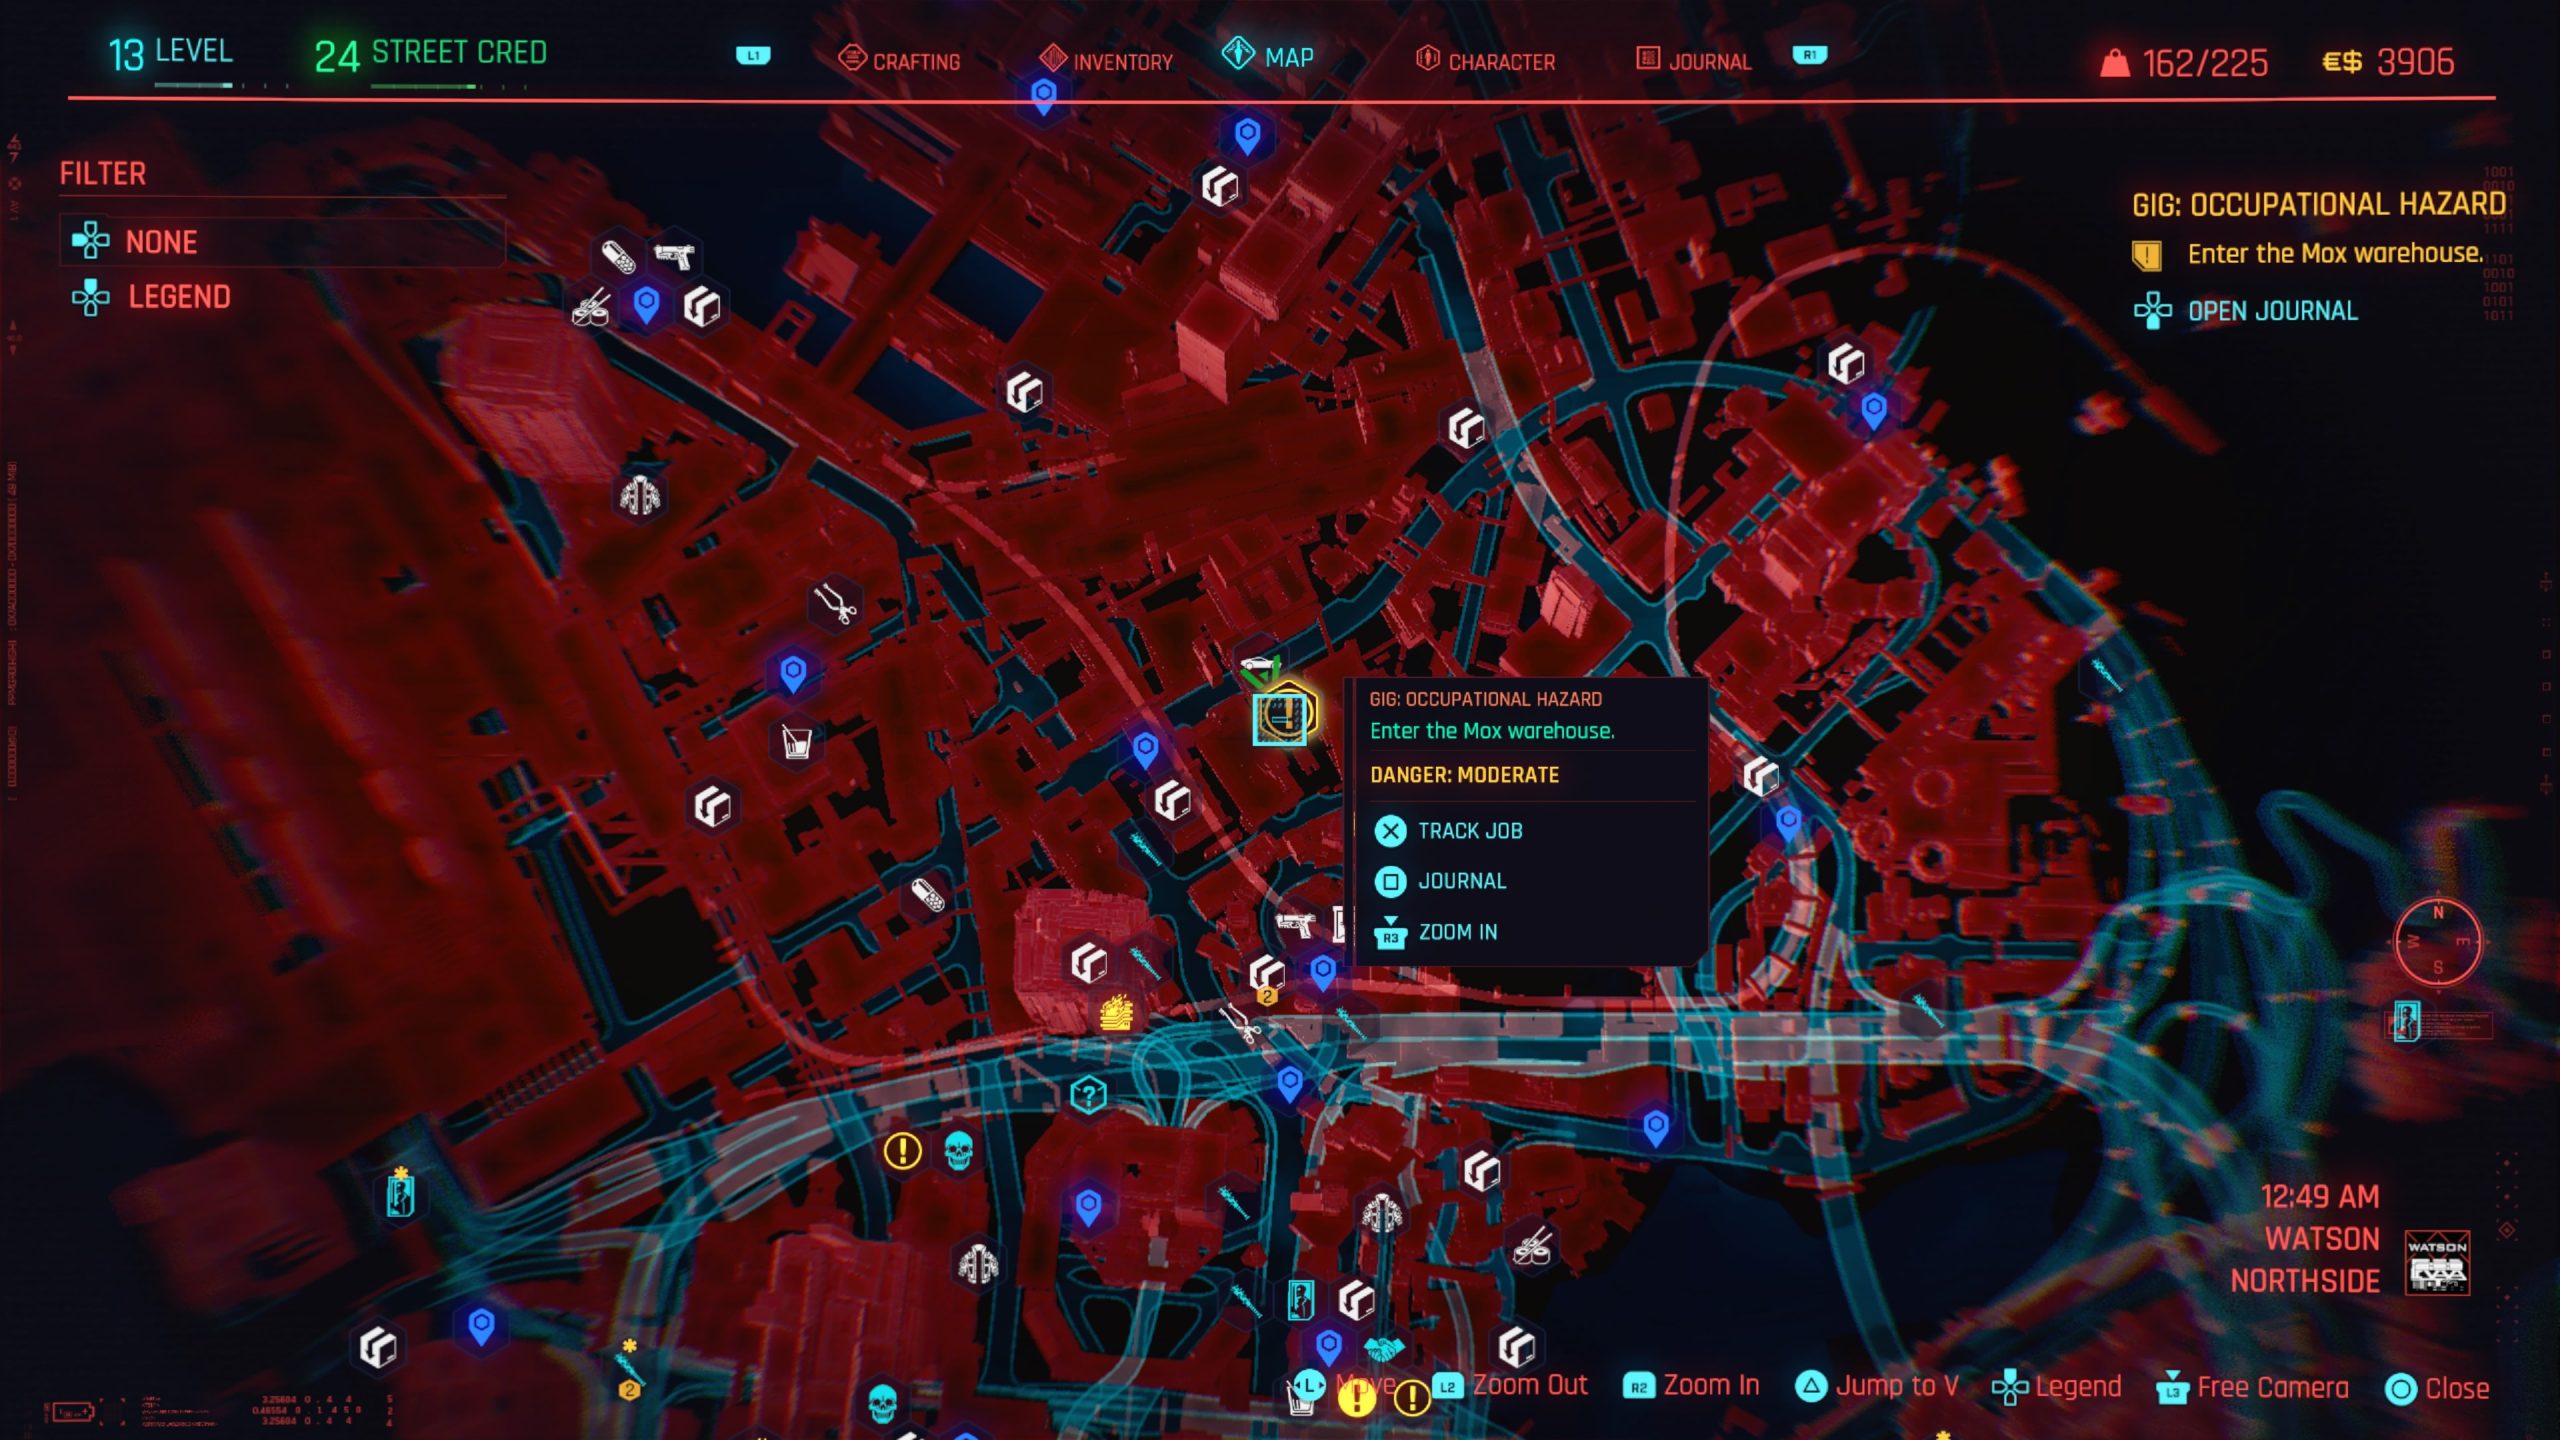
Occupational Hazard
Obtained: Northside – Approach the gig location east of Martin St fast travel point
Objective: Enter the Mox warehouse
Enter the building where indicated by the objective then proceed through the next door. Please note that you’ll need Technical Ability 5 to enter through this door. Once inside the next room, head through the silver door on the left to find the cyberpsycho named Anna Nox yelling and screaming. Defeat her then knock on the blue shipping container to speak with Hal Cantos to tell him that it’s safe to come out. Afterwards, Regina will call you to close the gig. For additional dialog, you can head upstairs near the blue shipping container and speak with the girl sitting on the chair in the small room.
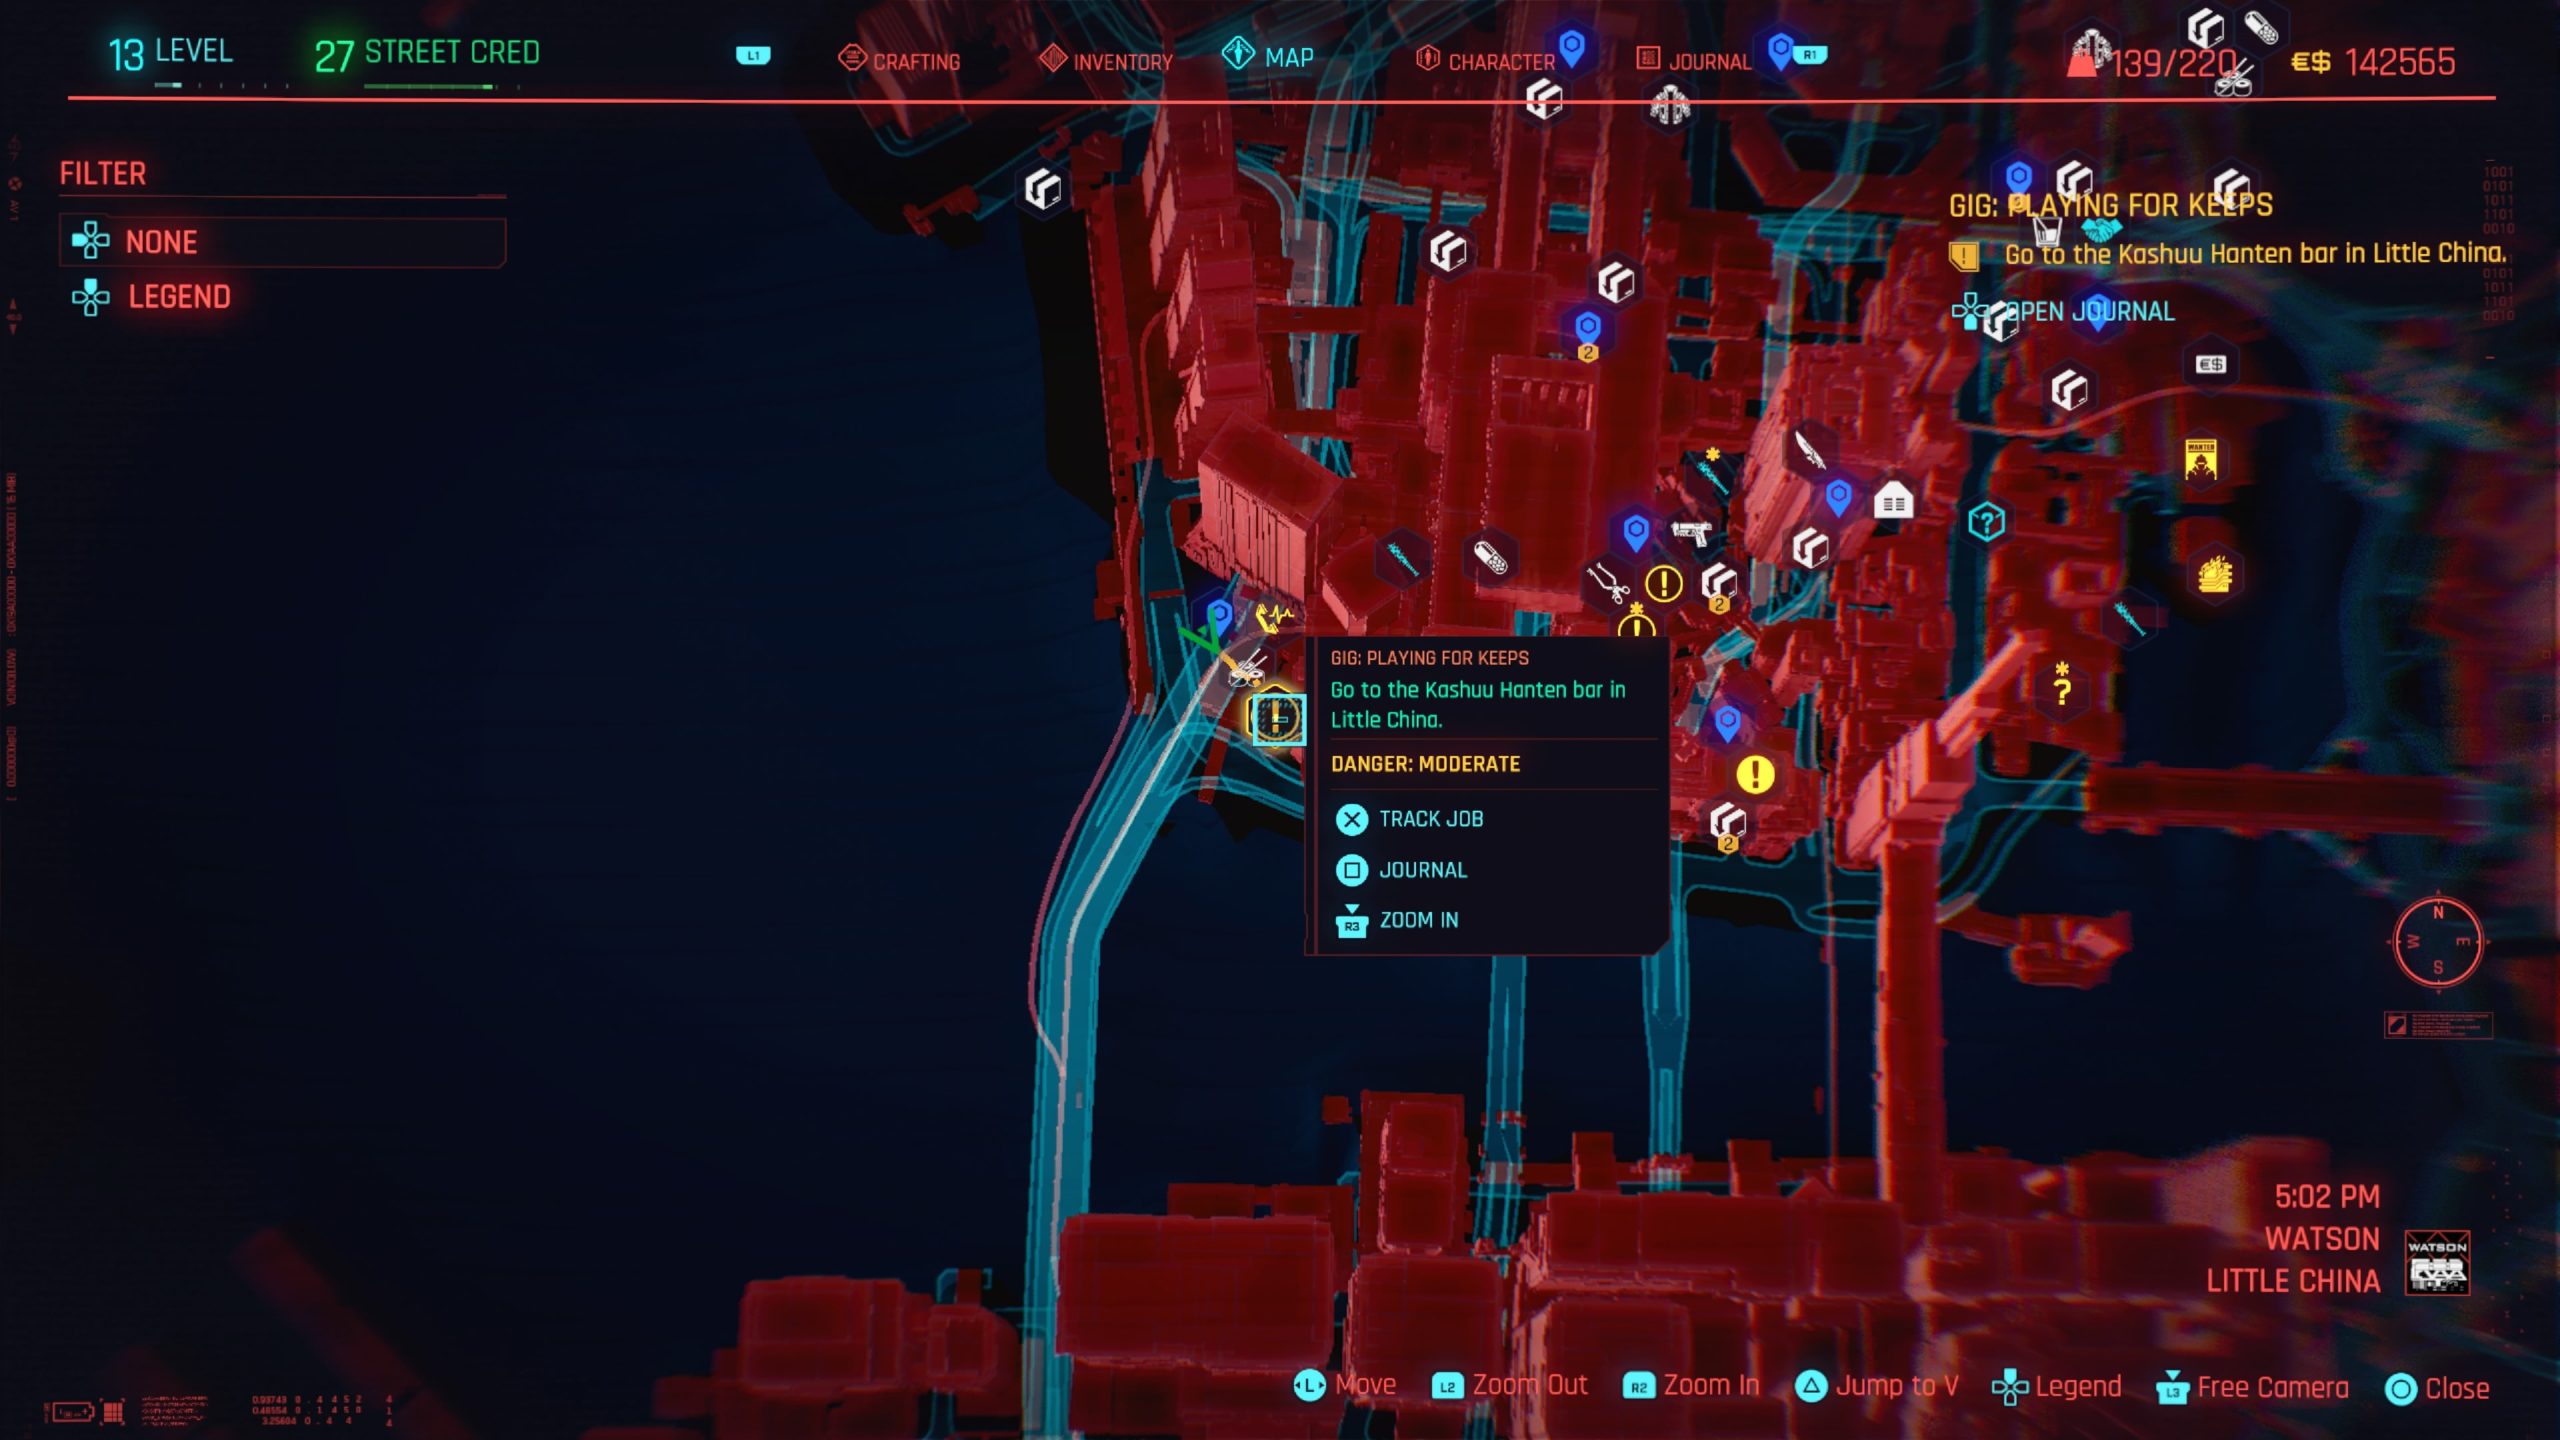
Playing for Keeps
Obtained: Little China – Approach the gig location south of Clarenoon St fast travel point
Objective: Go to the Kashuu Hanten bar in Little China
When facing the entrance of the bar, take a right down the alley. Distract the guard at the end of the alley using the vending machine then take him out. Enter the building on the left. Be mindful of the lady in here. You’ll need to distract her using the freezer then sneak up behind her and take her out as well. Open the door next to the freezer using Body Value 4 or look for the keycard on a table across from a bulletin board. Once inside that room grab the implant in a jar on the shelf. Once you take the implant, exit the building and follow the objective to the Drop Point. Deposit the item to complete the gig.
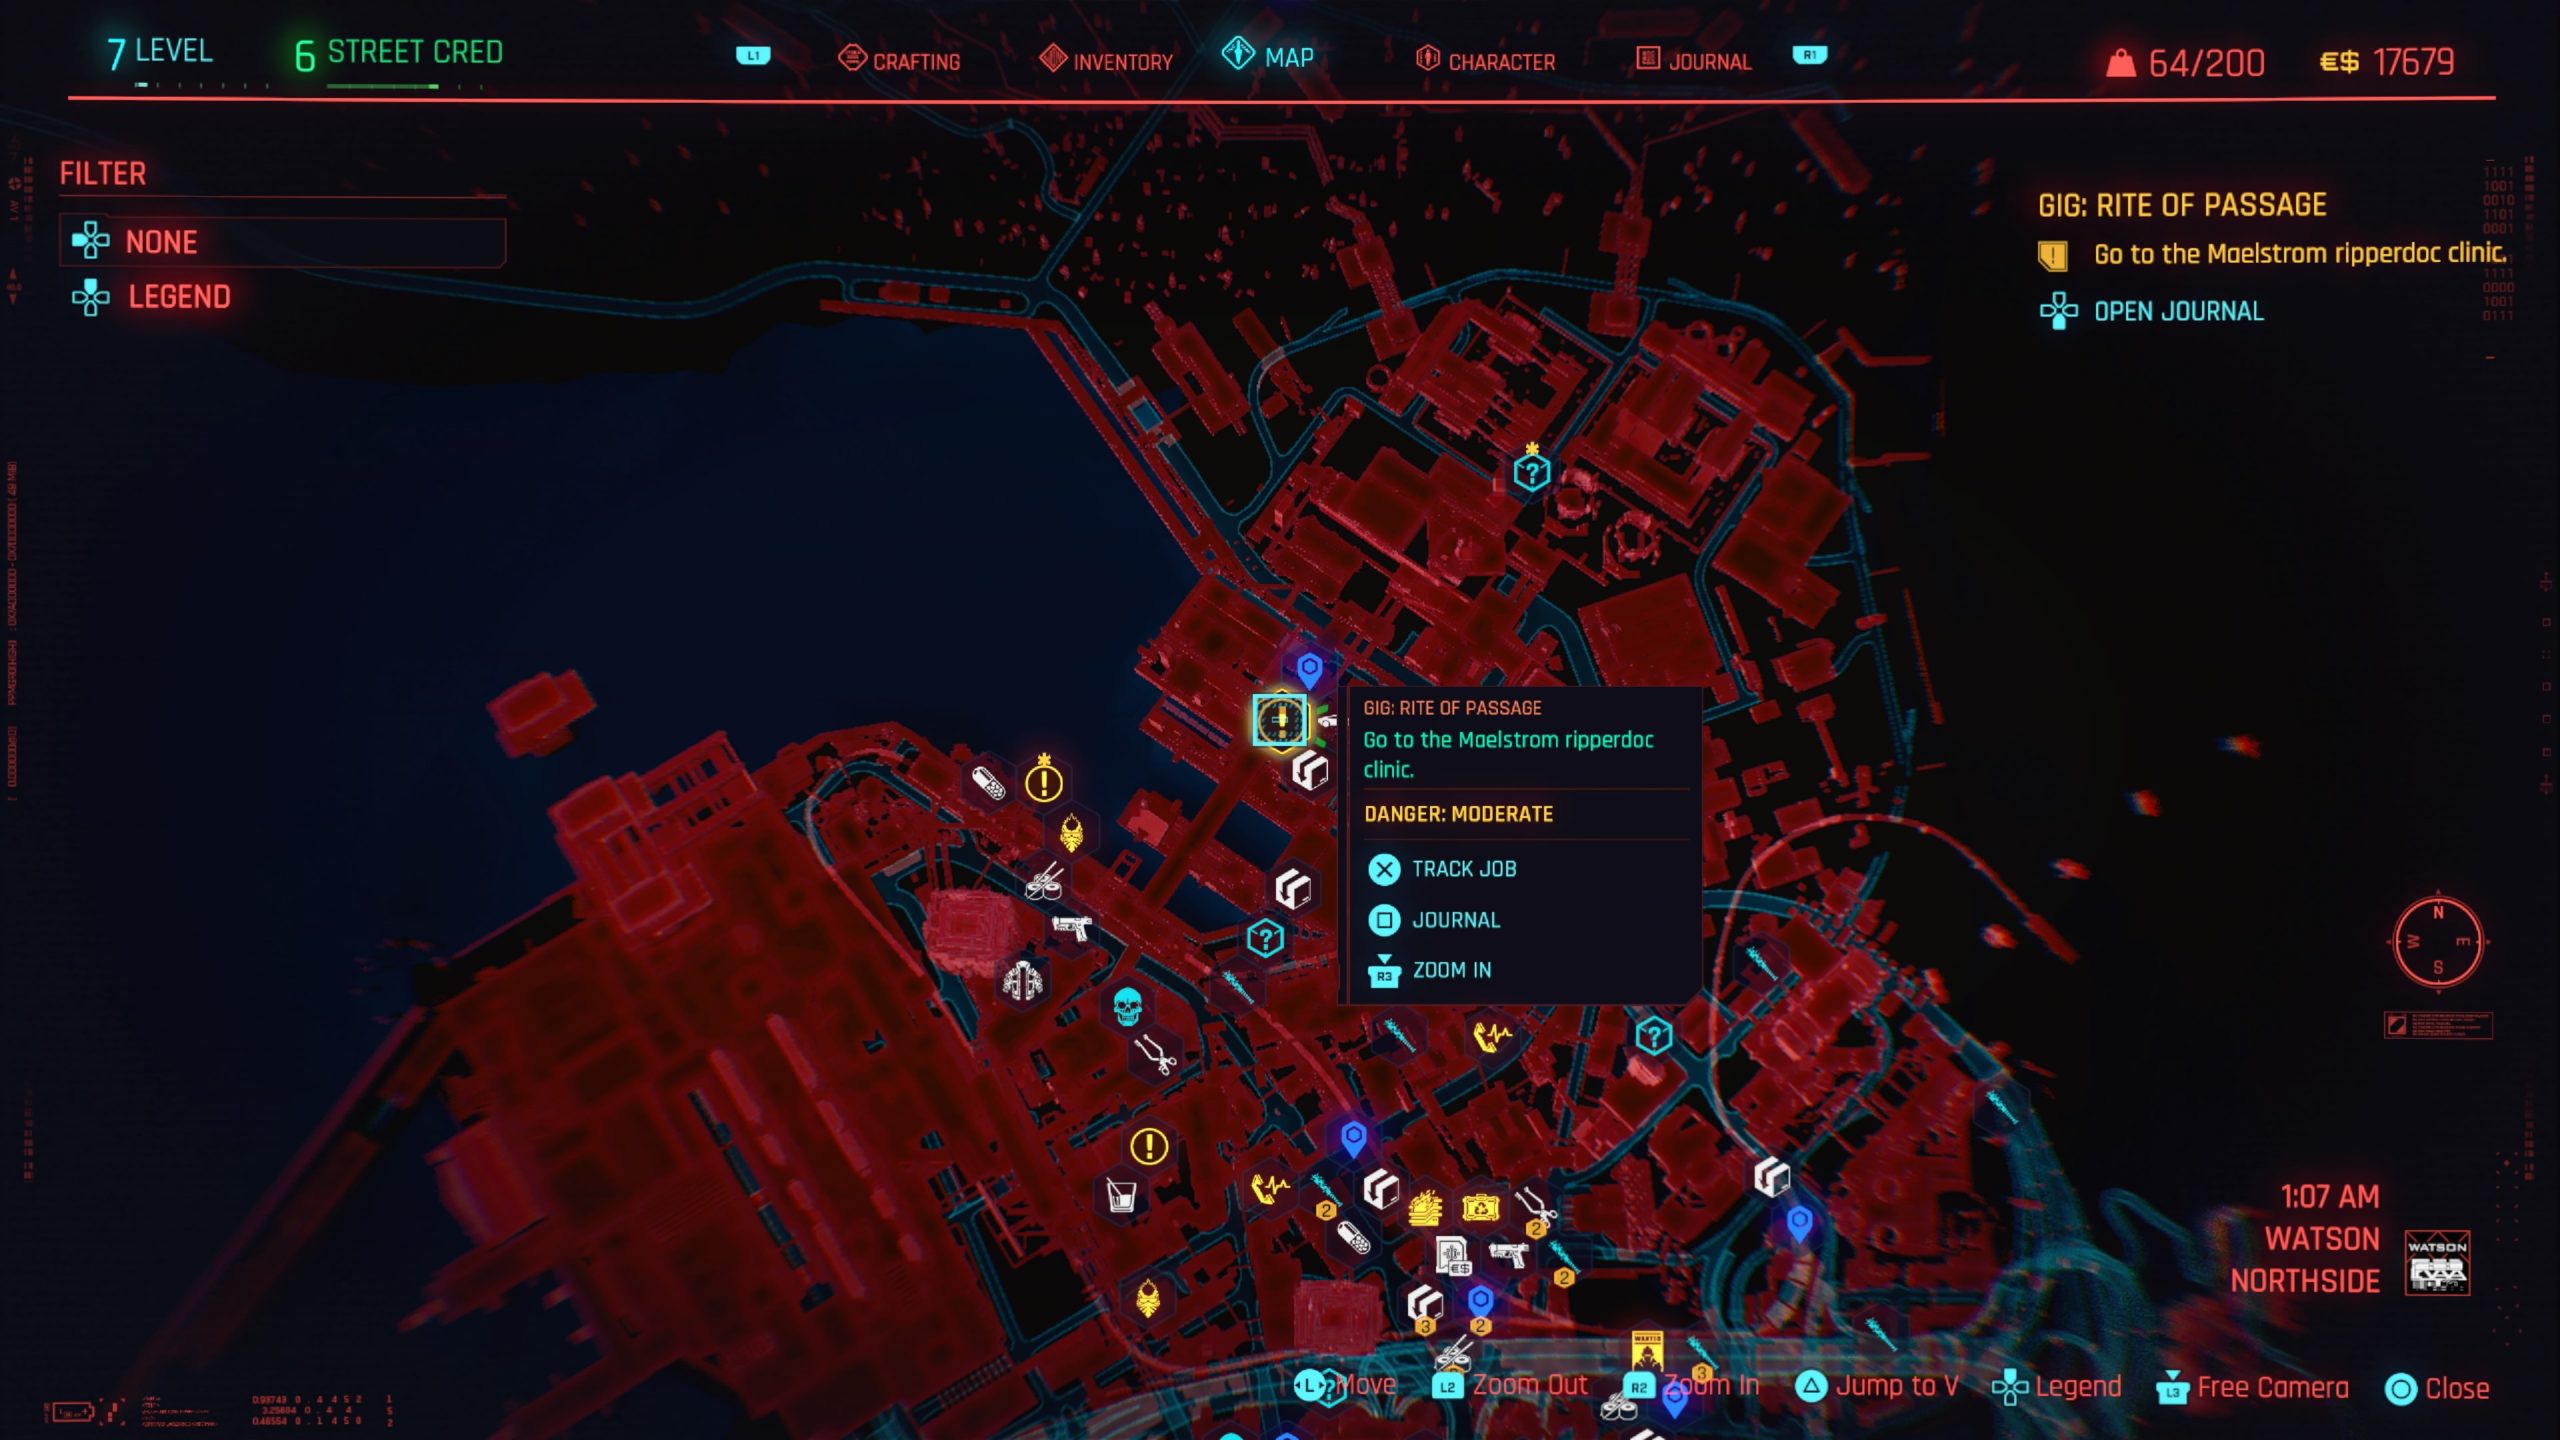
Rite of Passage
Obtained: Northside – Approach the gig location at the Ebunike Docks fast travel point
Objective: Obtain the initiation footage
Head into the Maelstrom ripperdoc clinic and make your way to the second level. You can find the stairs in the back right side of the clinic past all of the operating tables. Please note that there are a couple of optional rooms/shortcuts that require either a Technical Ability value of 5 or Body value of 11 to open. Once you reach the second level, head through the open doorway on the left to enter a locker room. Head through the other door in here and then proceed through the right side of the next room to end up in the server room. If you have a Body value of 7, you can just force open the sealed door at the top of the stairs to reach the server room. Search the area for a paper laying on top a container near a DANGER Electrical Hazard sign. It will mention a surgery recoding that is saved on a nearby PC, so head to the terminal to steal the data. Once you take the data, more enemies will show up to try and stop you. Fight your way out of the clinic and flee the area to receive a call from Regina completing the gig.
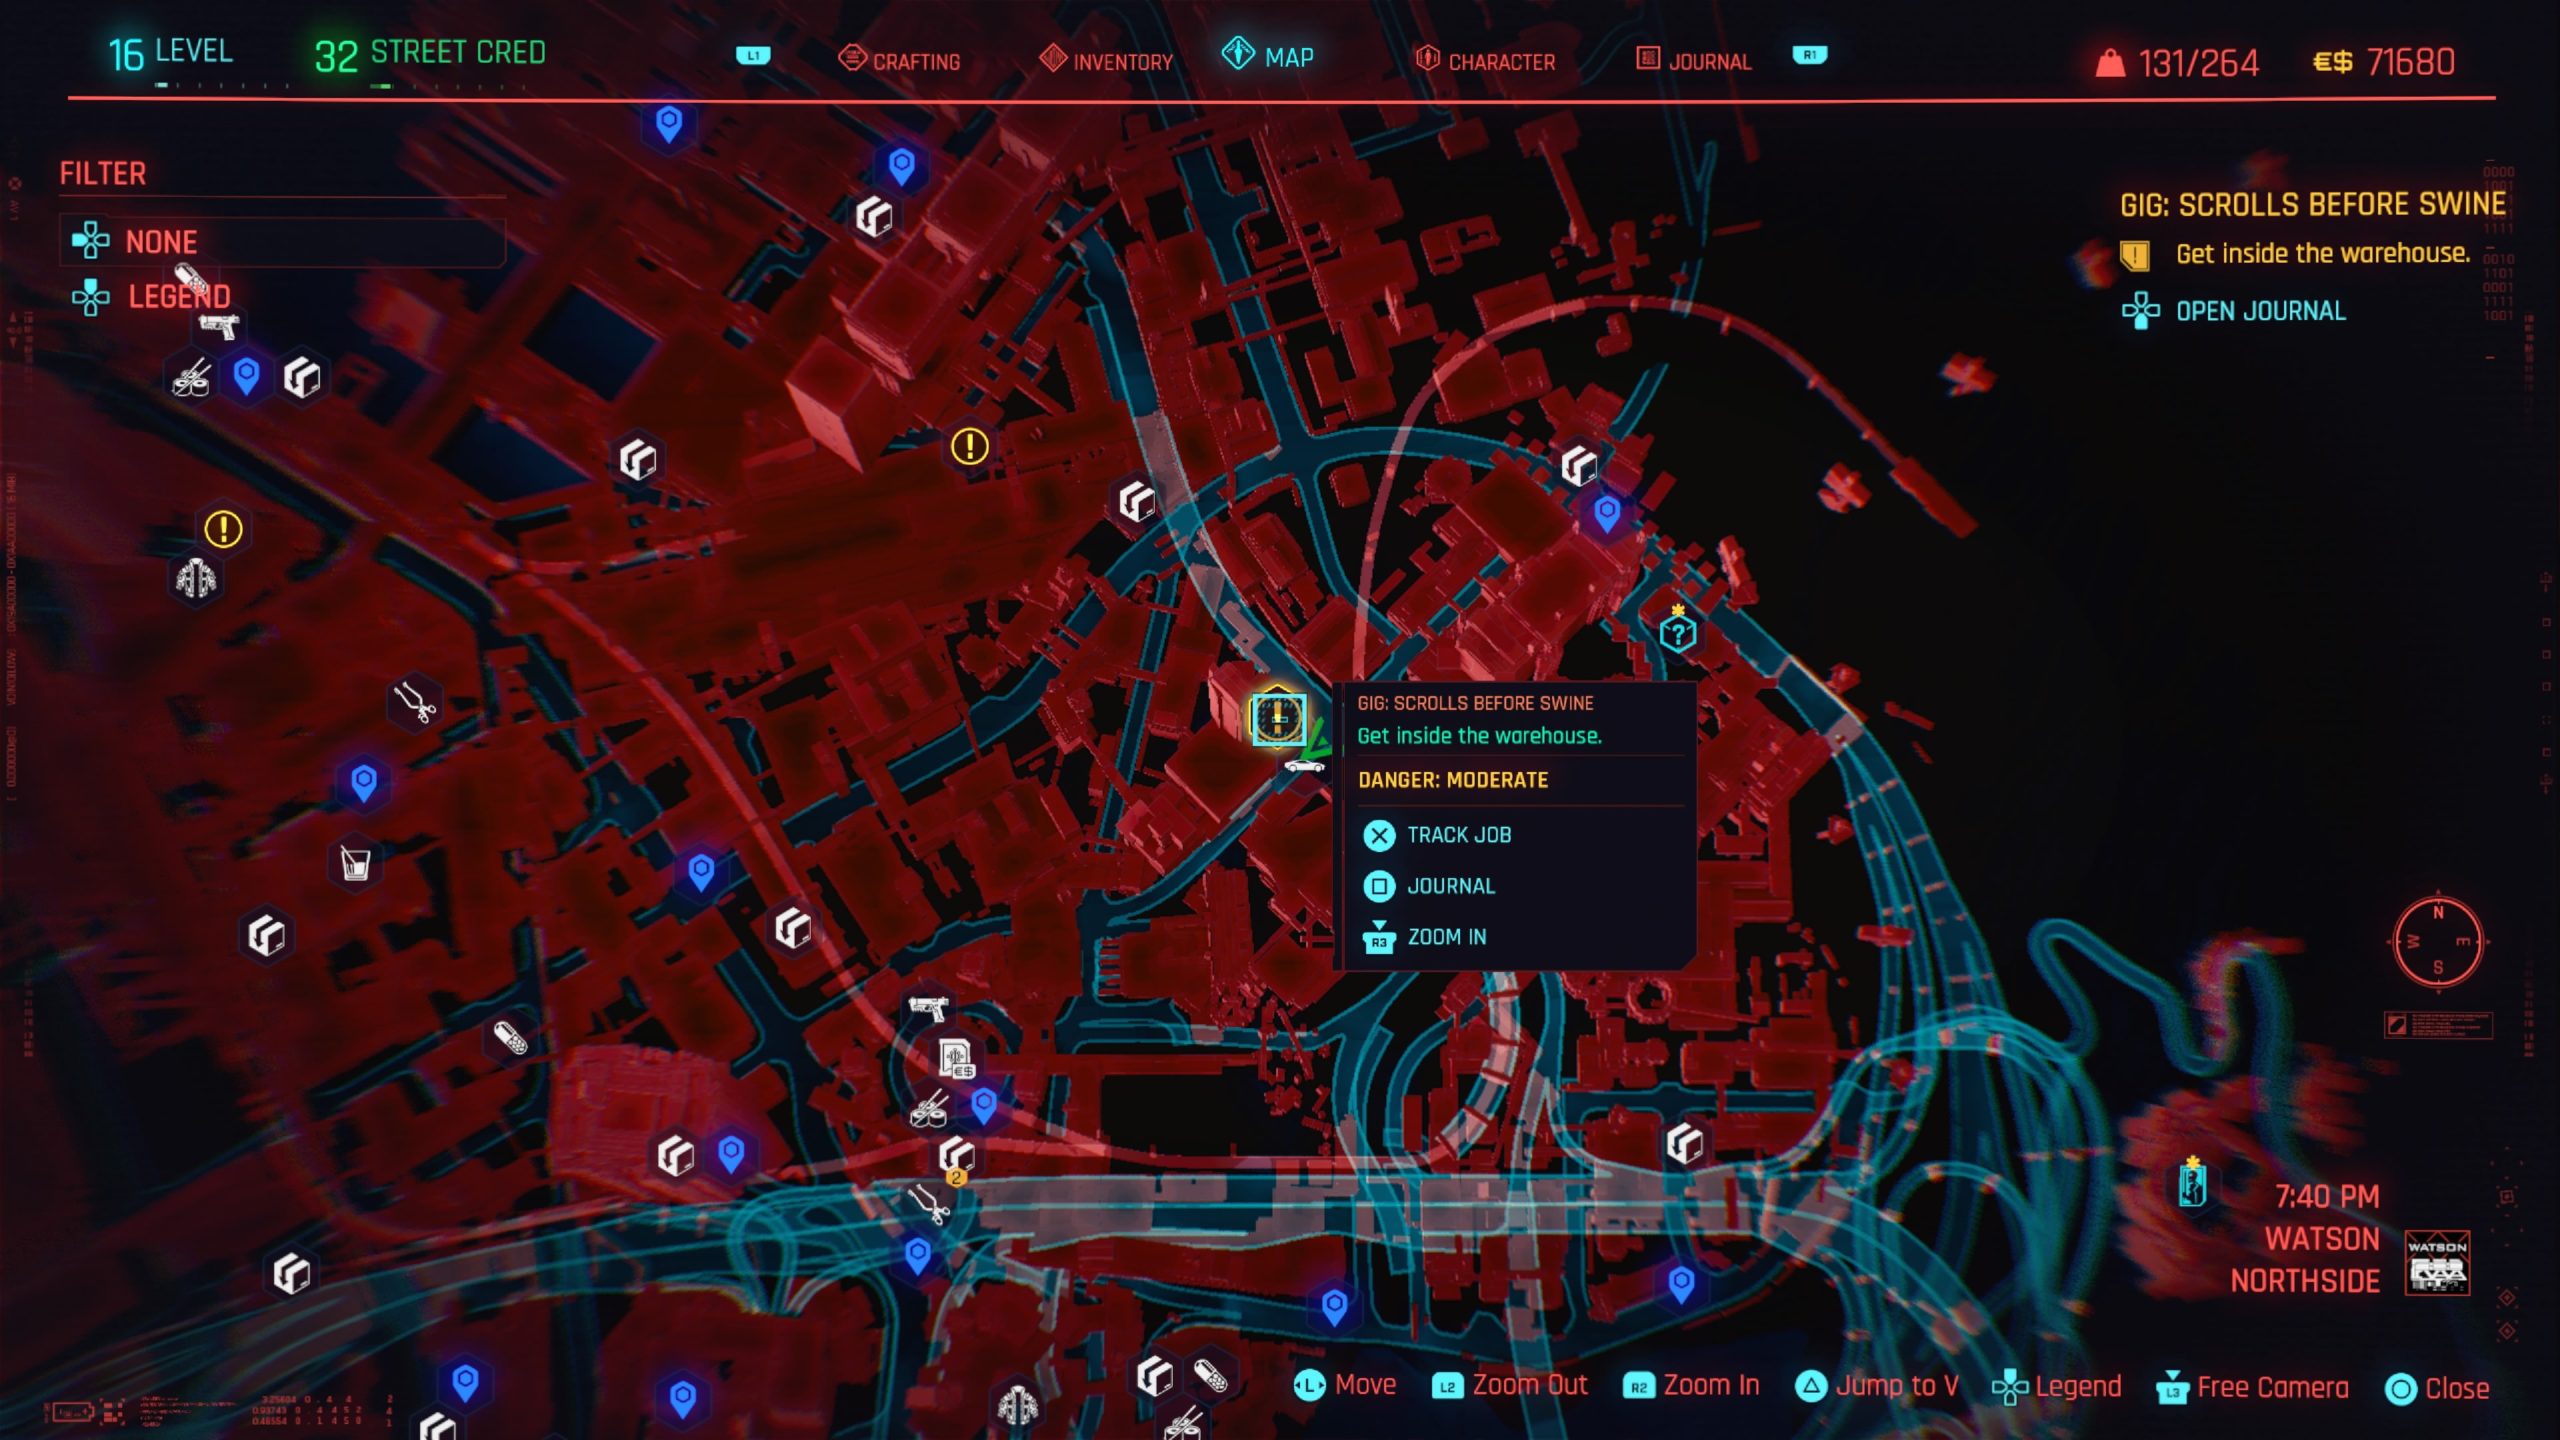
Scrolls Before Swine
Obtained: Northside – Approach the location north of All Food Plant fast travel point
Objective: Steal the security cam footage from the warehouse
Enter the lot of the warehouse using the main entrance past the barricade, an open gate in the back or sneak in through a side gate if your Body Value is 8. Neutralize the enemies then make your way into the warehouse. Head to the computer on the second floor and interact with the PC to steal the footage then exit the warehouse. Follow the objective to a building near the Longshore North fast travel point. There you will head to the second floor to find Aaron. To appease Johnny, you can tell Aaron that you’ve watched them and that he needs to be behind bars. This will lead to a fight where you kill him. Alternatively, you can just hand over the footage. When you’re done with Aaron, exit the building to complete the gig.
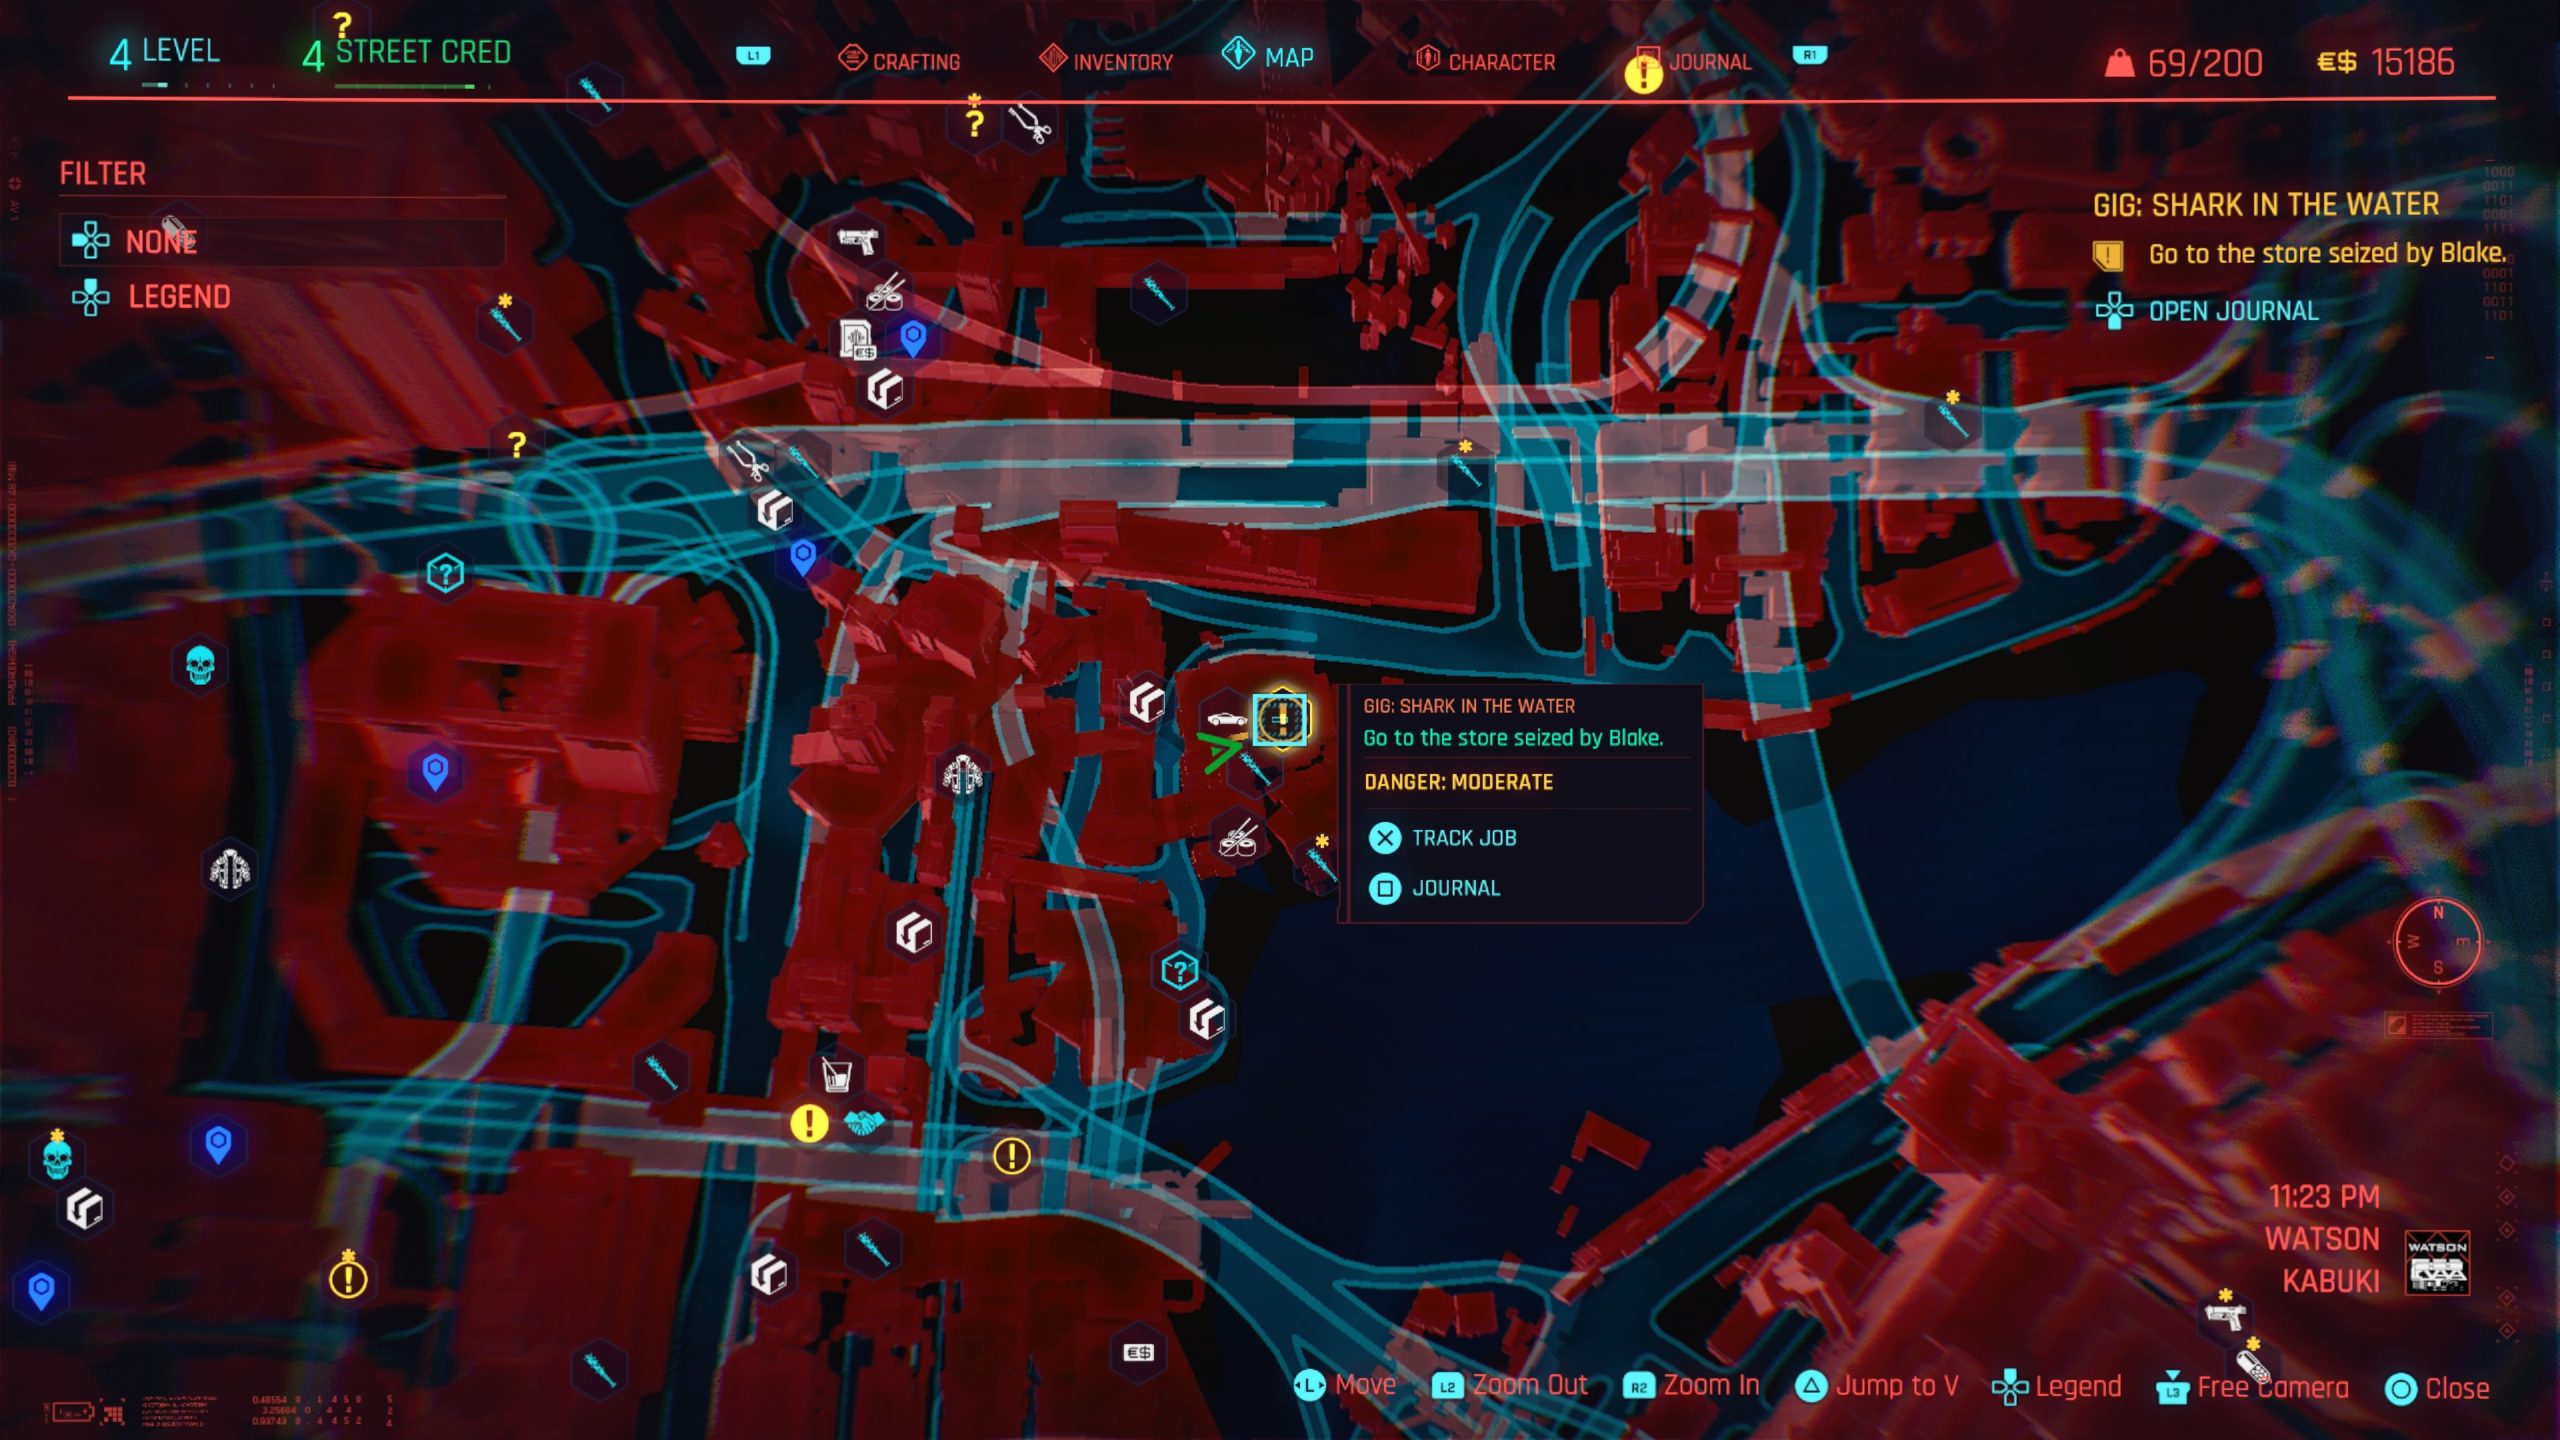
Shark in the Water
Obtained: Kabuki – Approach the gig location southeast of Kabuki Market fast travel point
Objective: Deal with Blake Croyle
Regina will task V with taking care of a Blake Croyle who has seized a pharmaceuticals store. For this one, head into the store and deal with Blake and his men. Regina will then call in a transport car to put Blake’s body in. Place the body in the trunk then answer the call from Regina to complete the gig.
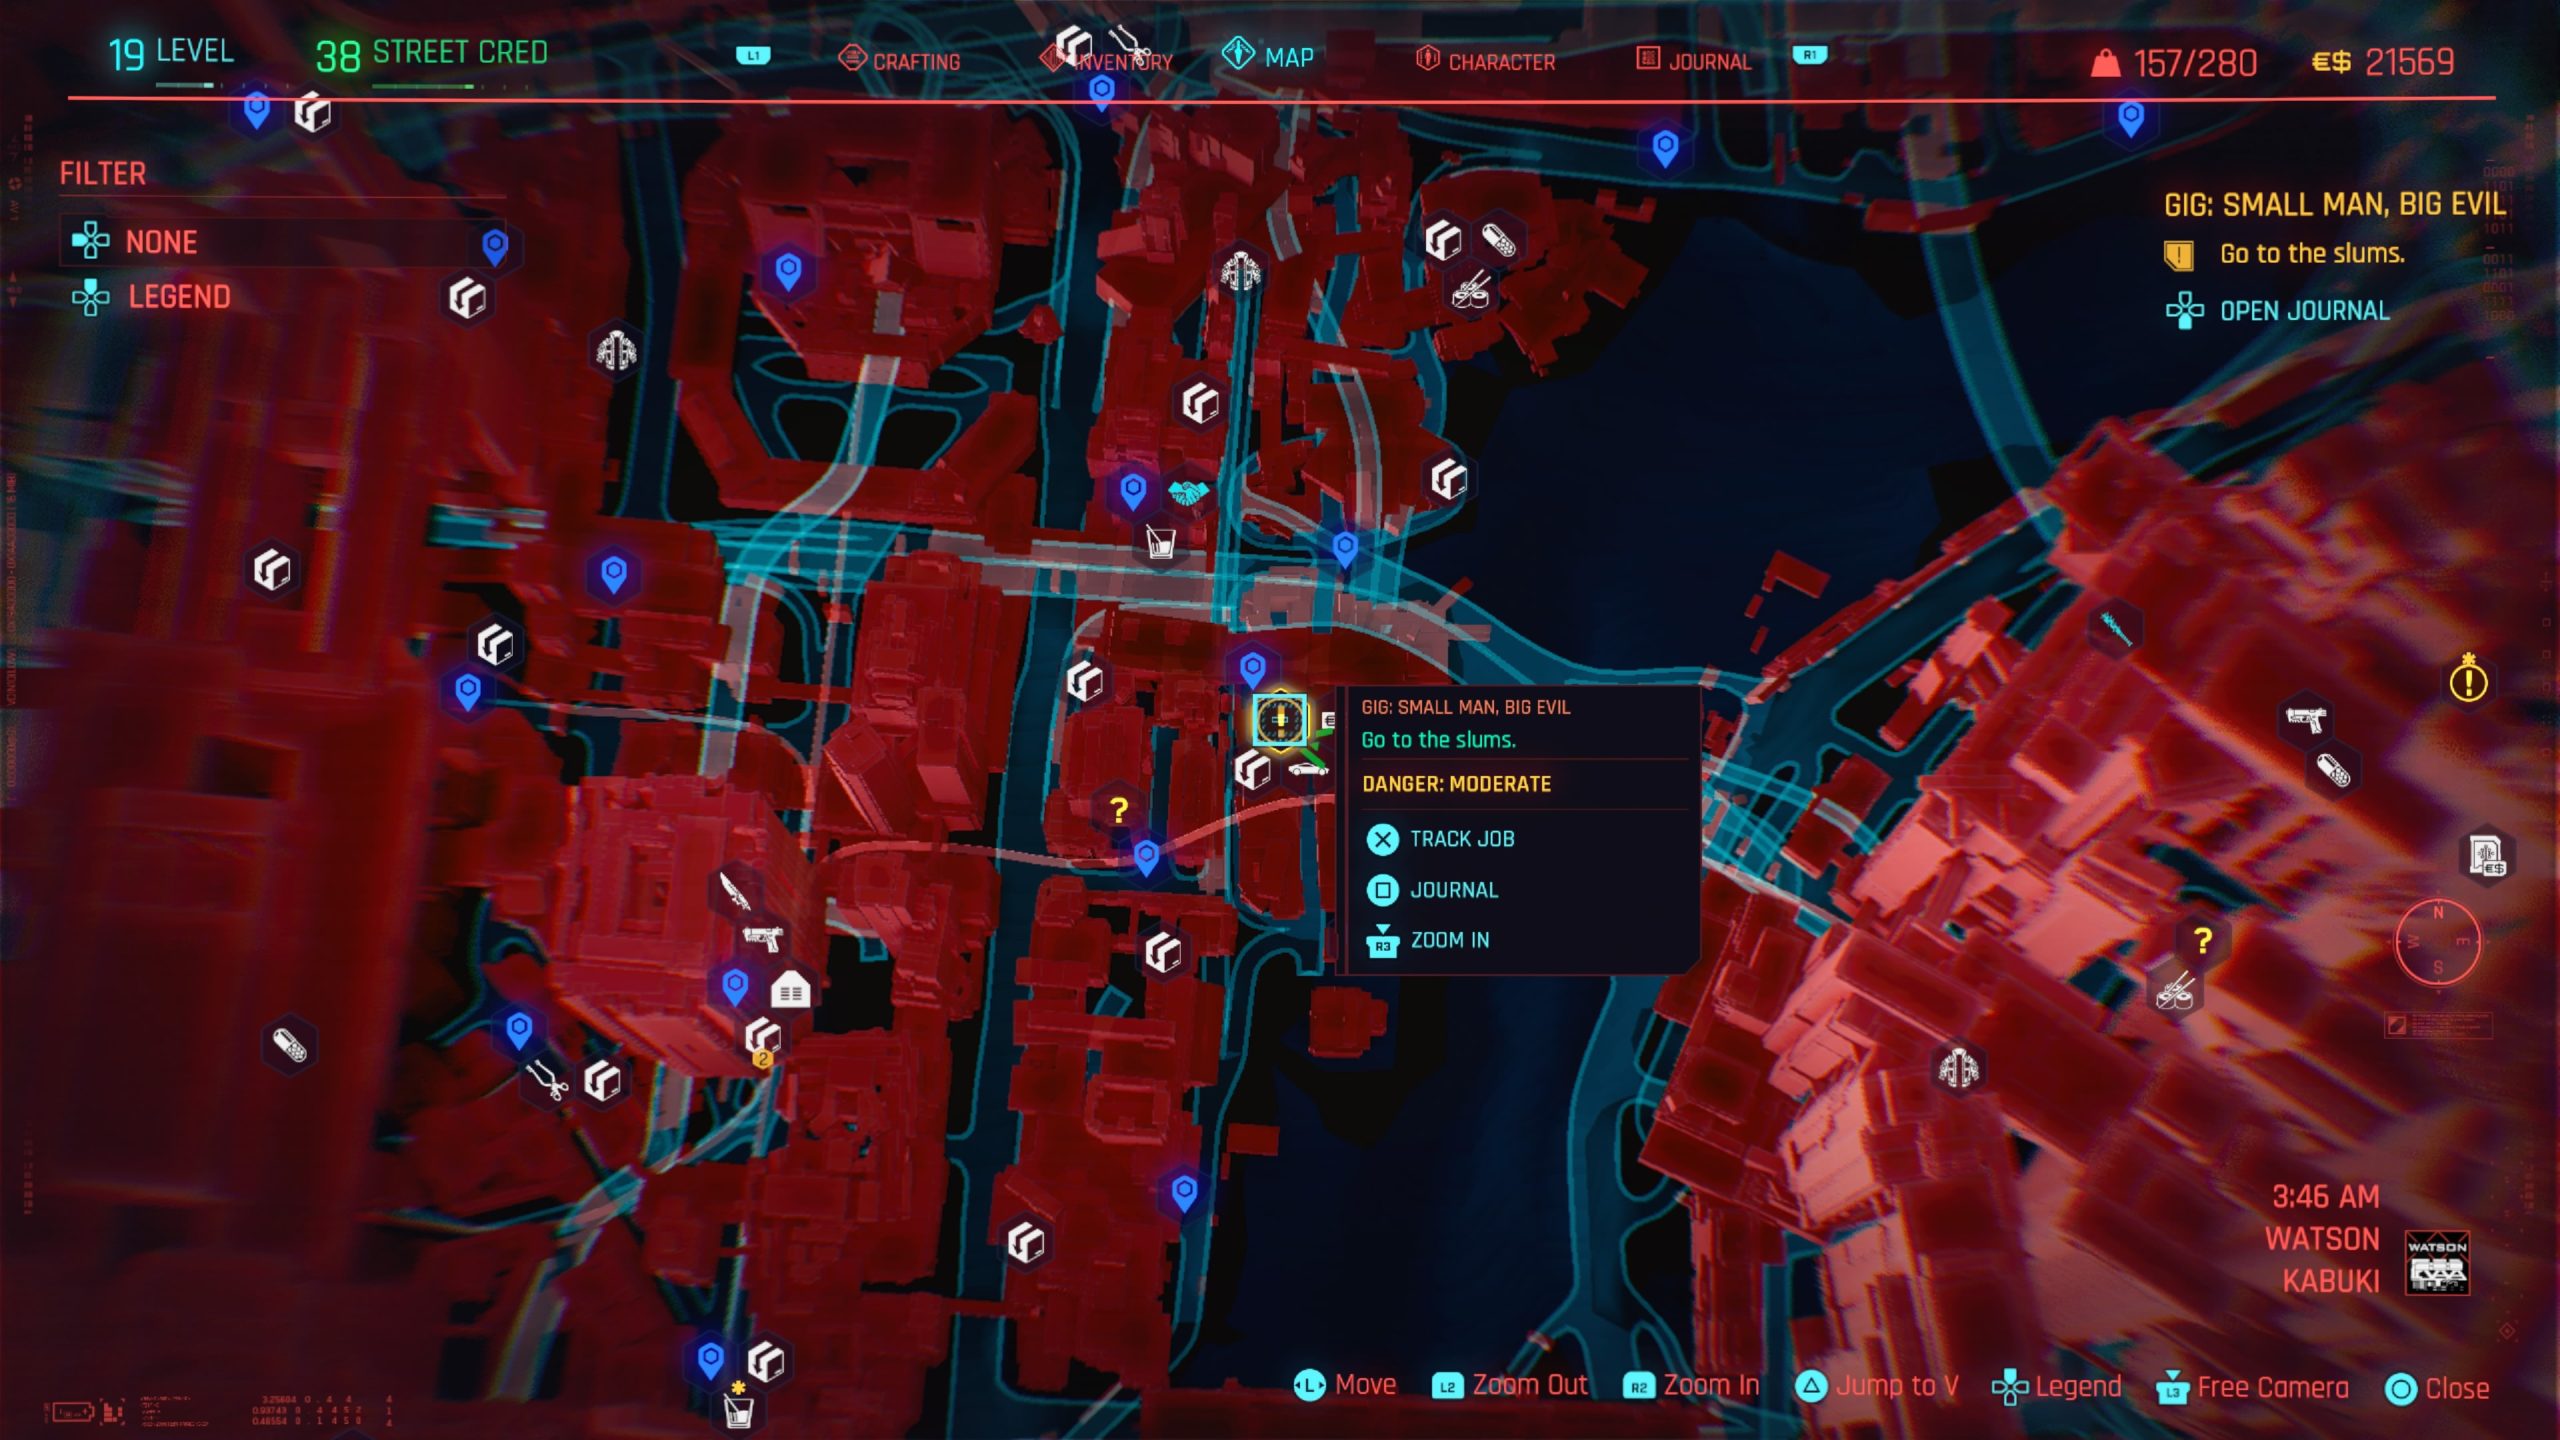
Small Man, Big Evil
Obtained: Little China – Approach the objective slightly southeast of Bellevue Overwalk fast travel point
Objective: Go to the slums
Follow the objective up the stairs to arrive in the slums then defeat all the enemies. Afterwards, leave the area. Regina will call you to close out the gig.
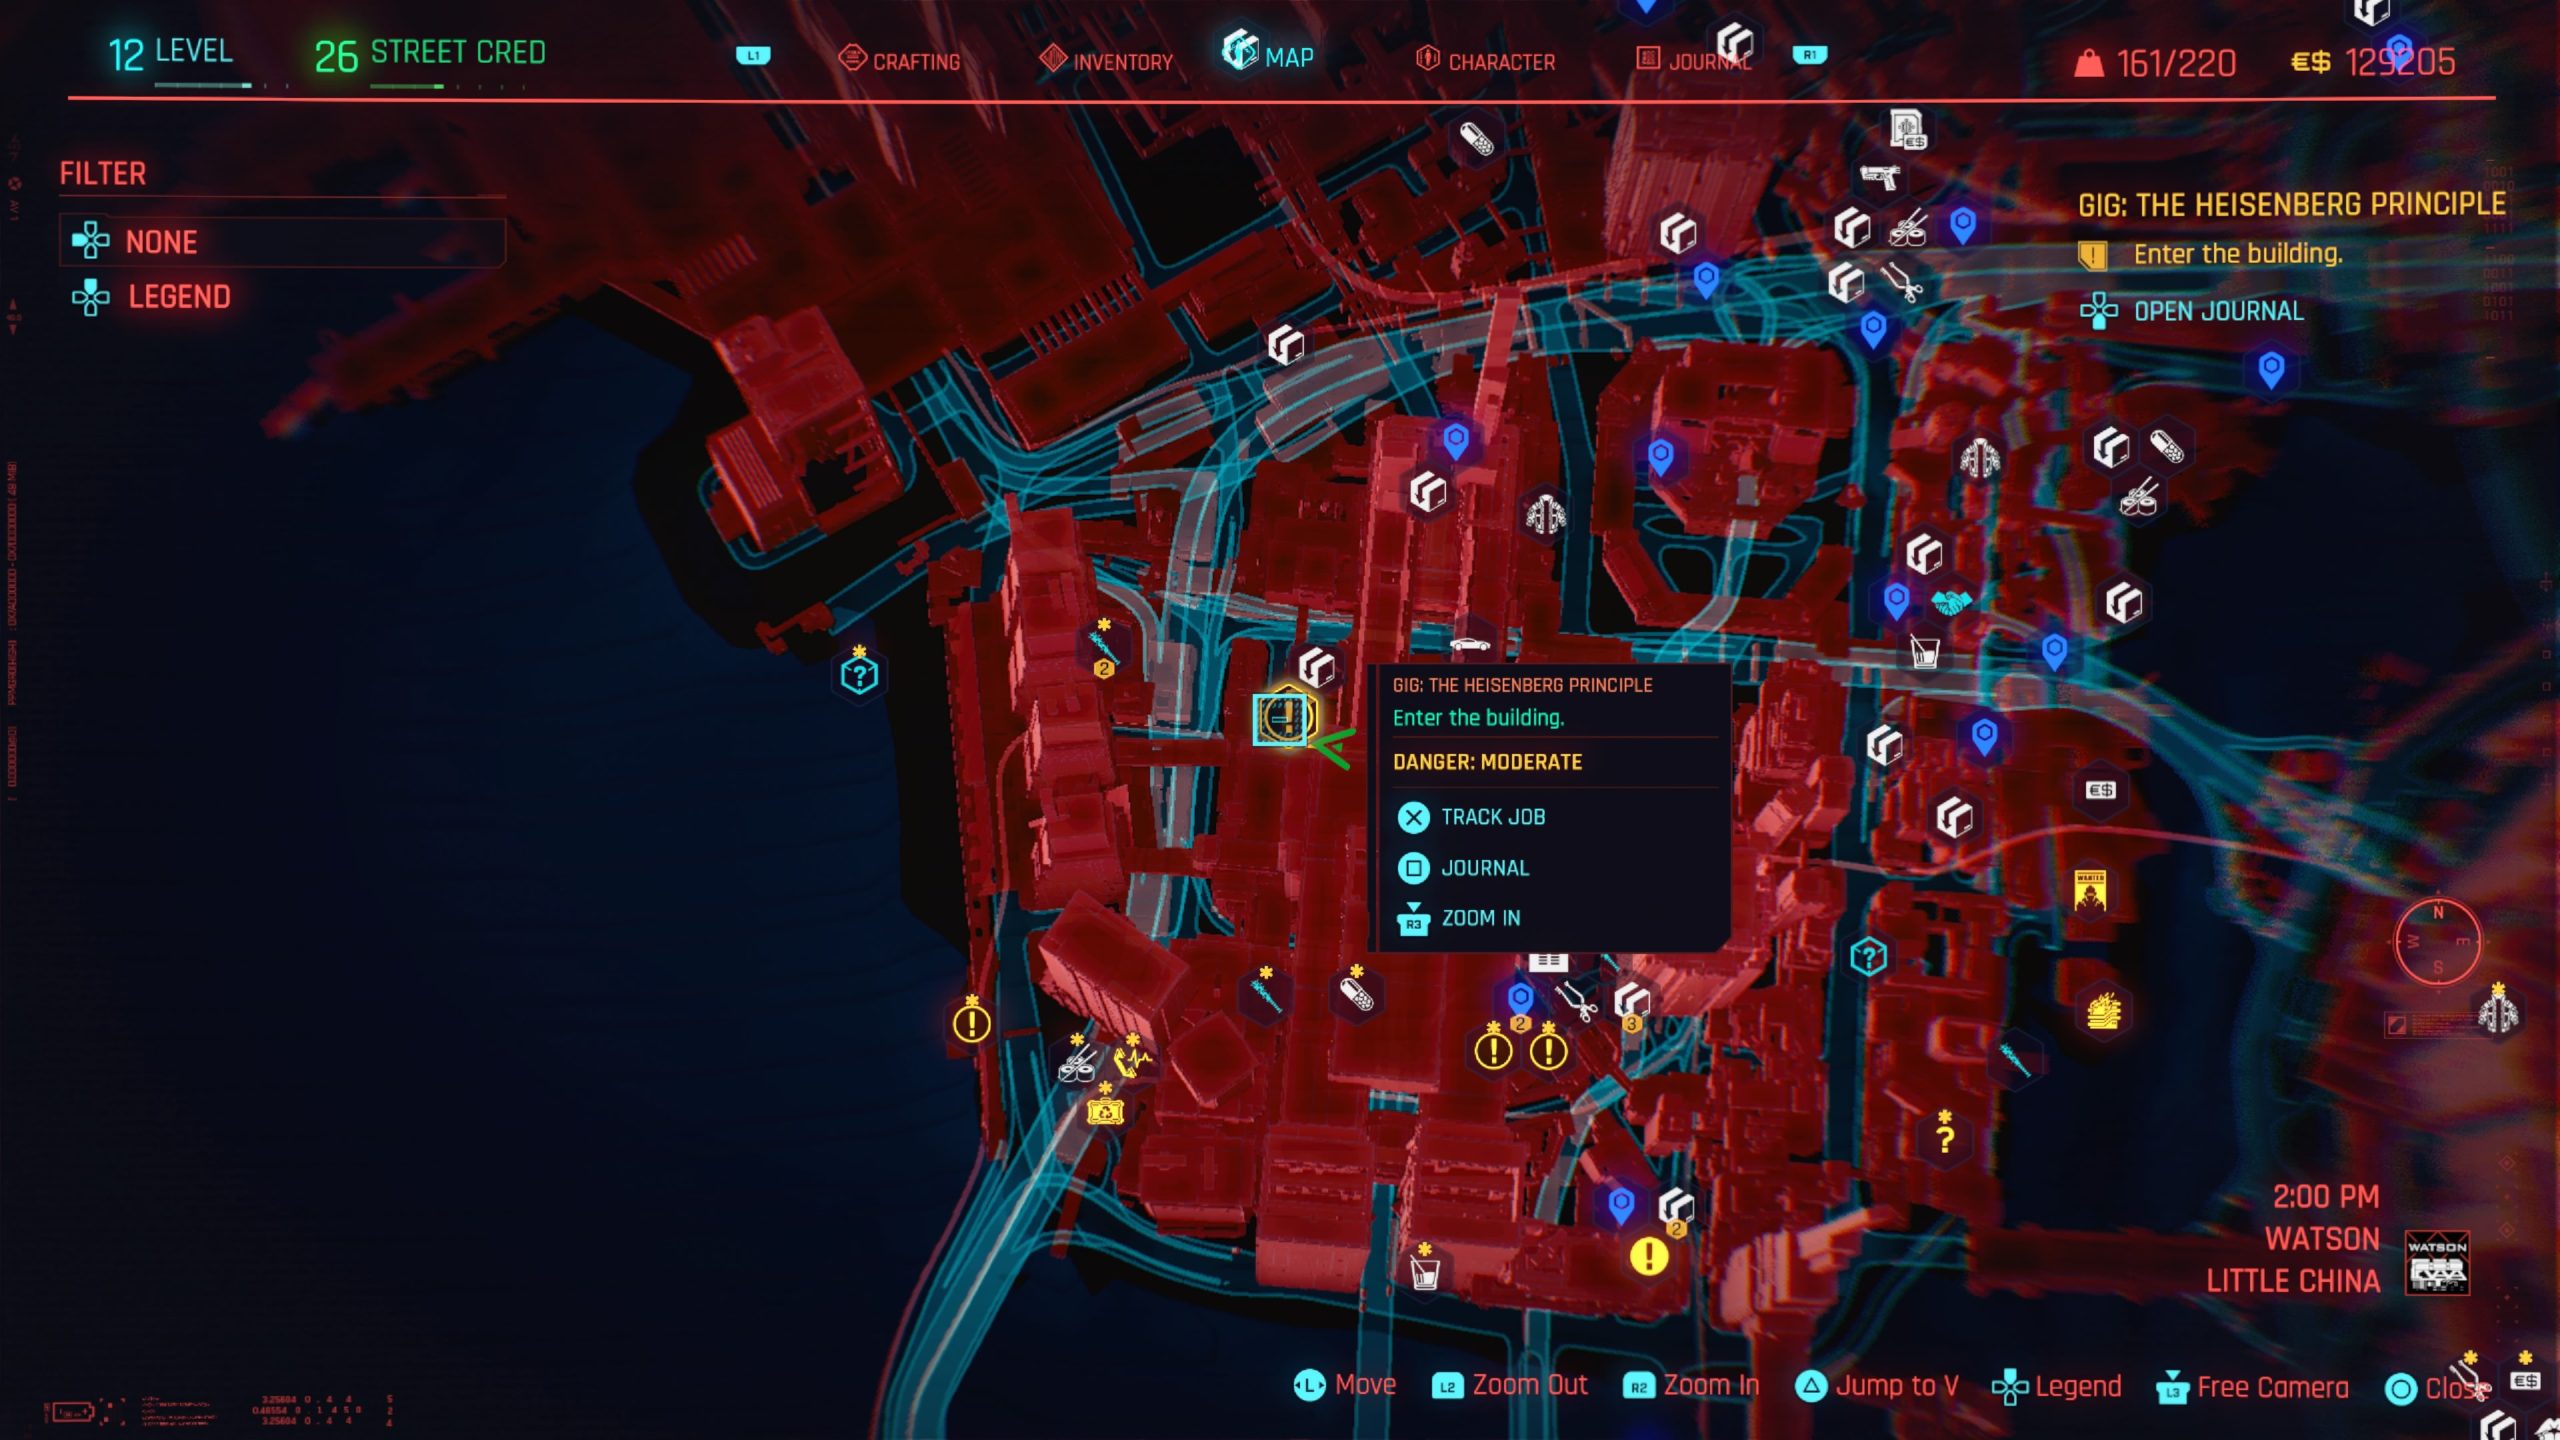
The Heisenberg Principle
Obtained: Little China – Approach the objective west of Goldsmith St fast travel point
Objective: Enter the building
Enter the building then head to the basement via the door to the left of the Taste the Love vending machine that your able to jack into. Once your downstairs, you’ll need to locate the lab. The objective will want you to take a shortcut through a door that requires Technical Ability 8. If you don’t have this value, you’ll need to work your way through the whole basement to reach the lab. Once inside, destroy the equipment used to make glitter by shooting them. Afterwards, leave the area to receive a call from Regina which completes the gig.
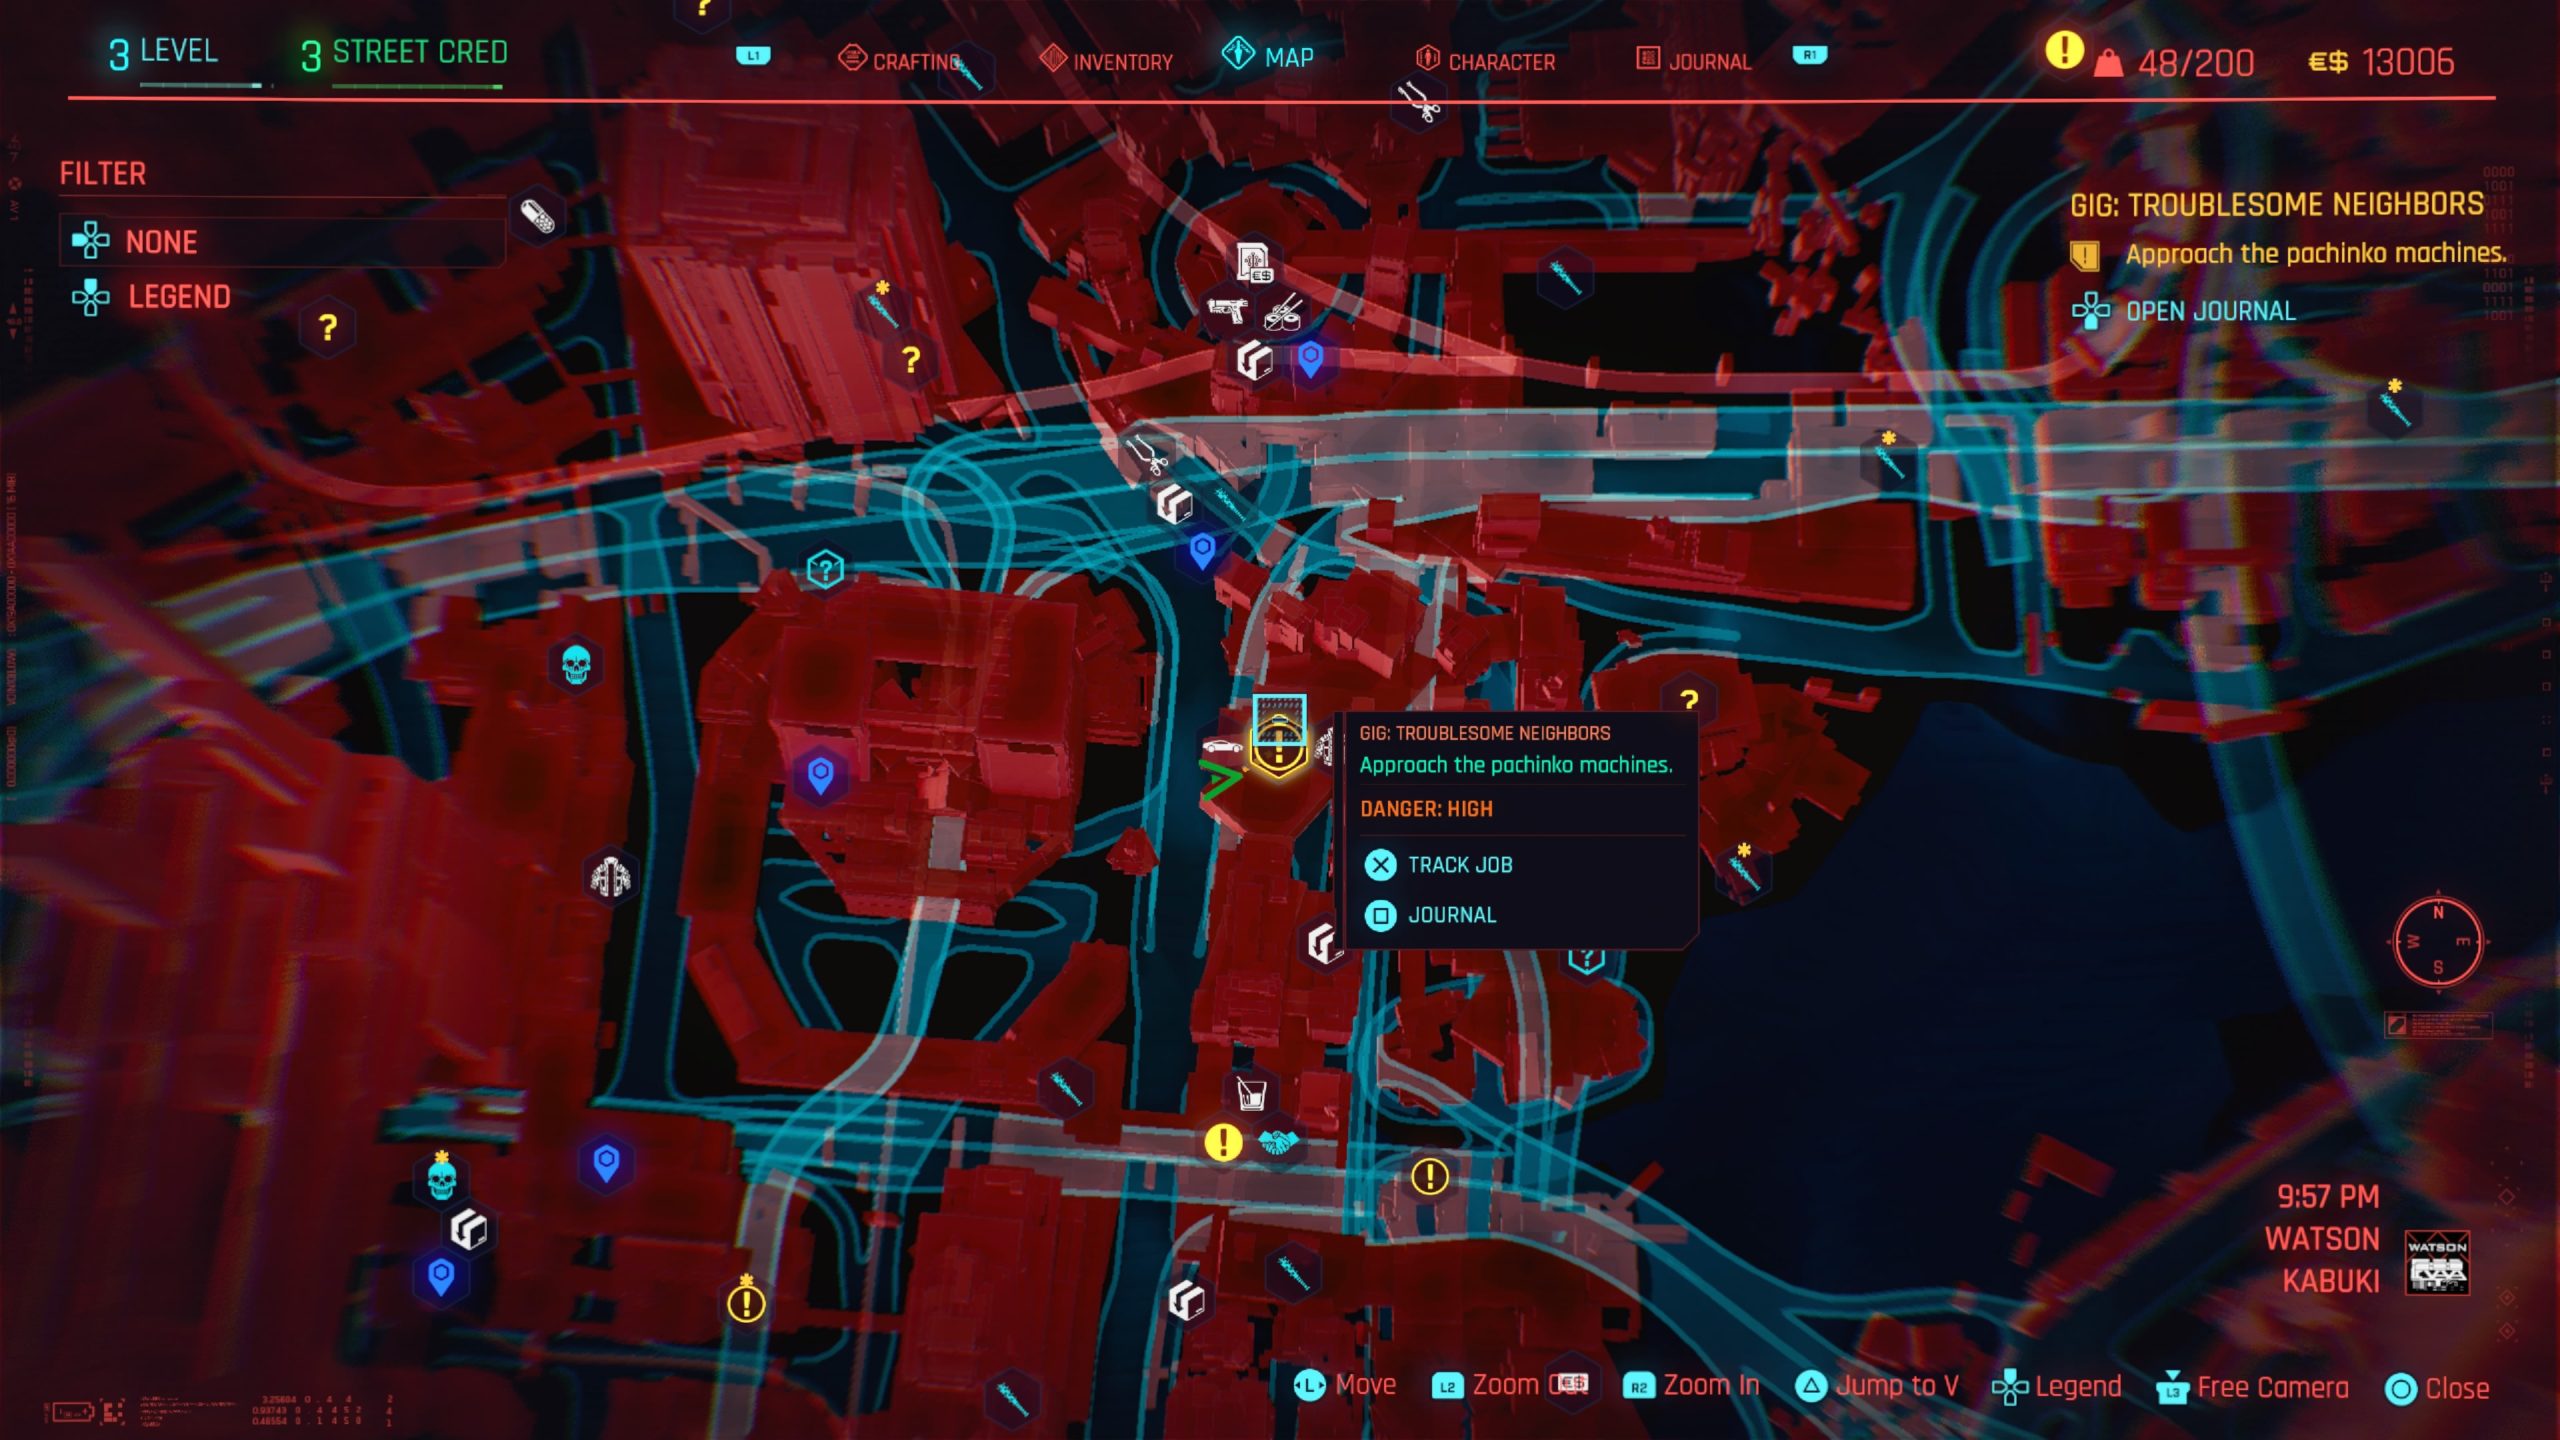
Troublesome Neighbors
Obtained: Kabuki – Approach the gig location south of Kennedy North fast travel point
Objective: Deal with Taki Kenmochi
Regina Jones will call up you up as you approach the gig location and tasks you with taking care of a Tyger named Taki Kenmochi who is running a pachinko parlor. Enter Motel Hell and take a right following the hallway to the end. Take a left passing Tom’s Diner to reach the gate leading on the left to the pachinko machines. As you approach the gate, the guard will turn hostel prompting you to fight a hand full of thugs (including Taki). Defeat them all to receive a call from Regina completing the gig.
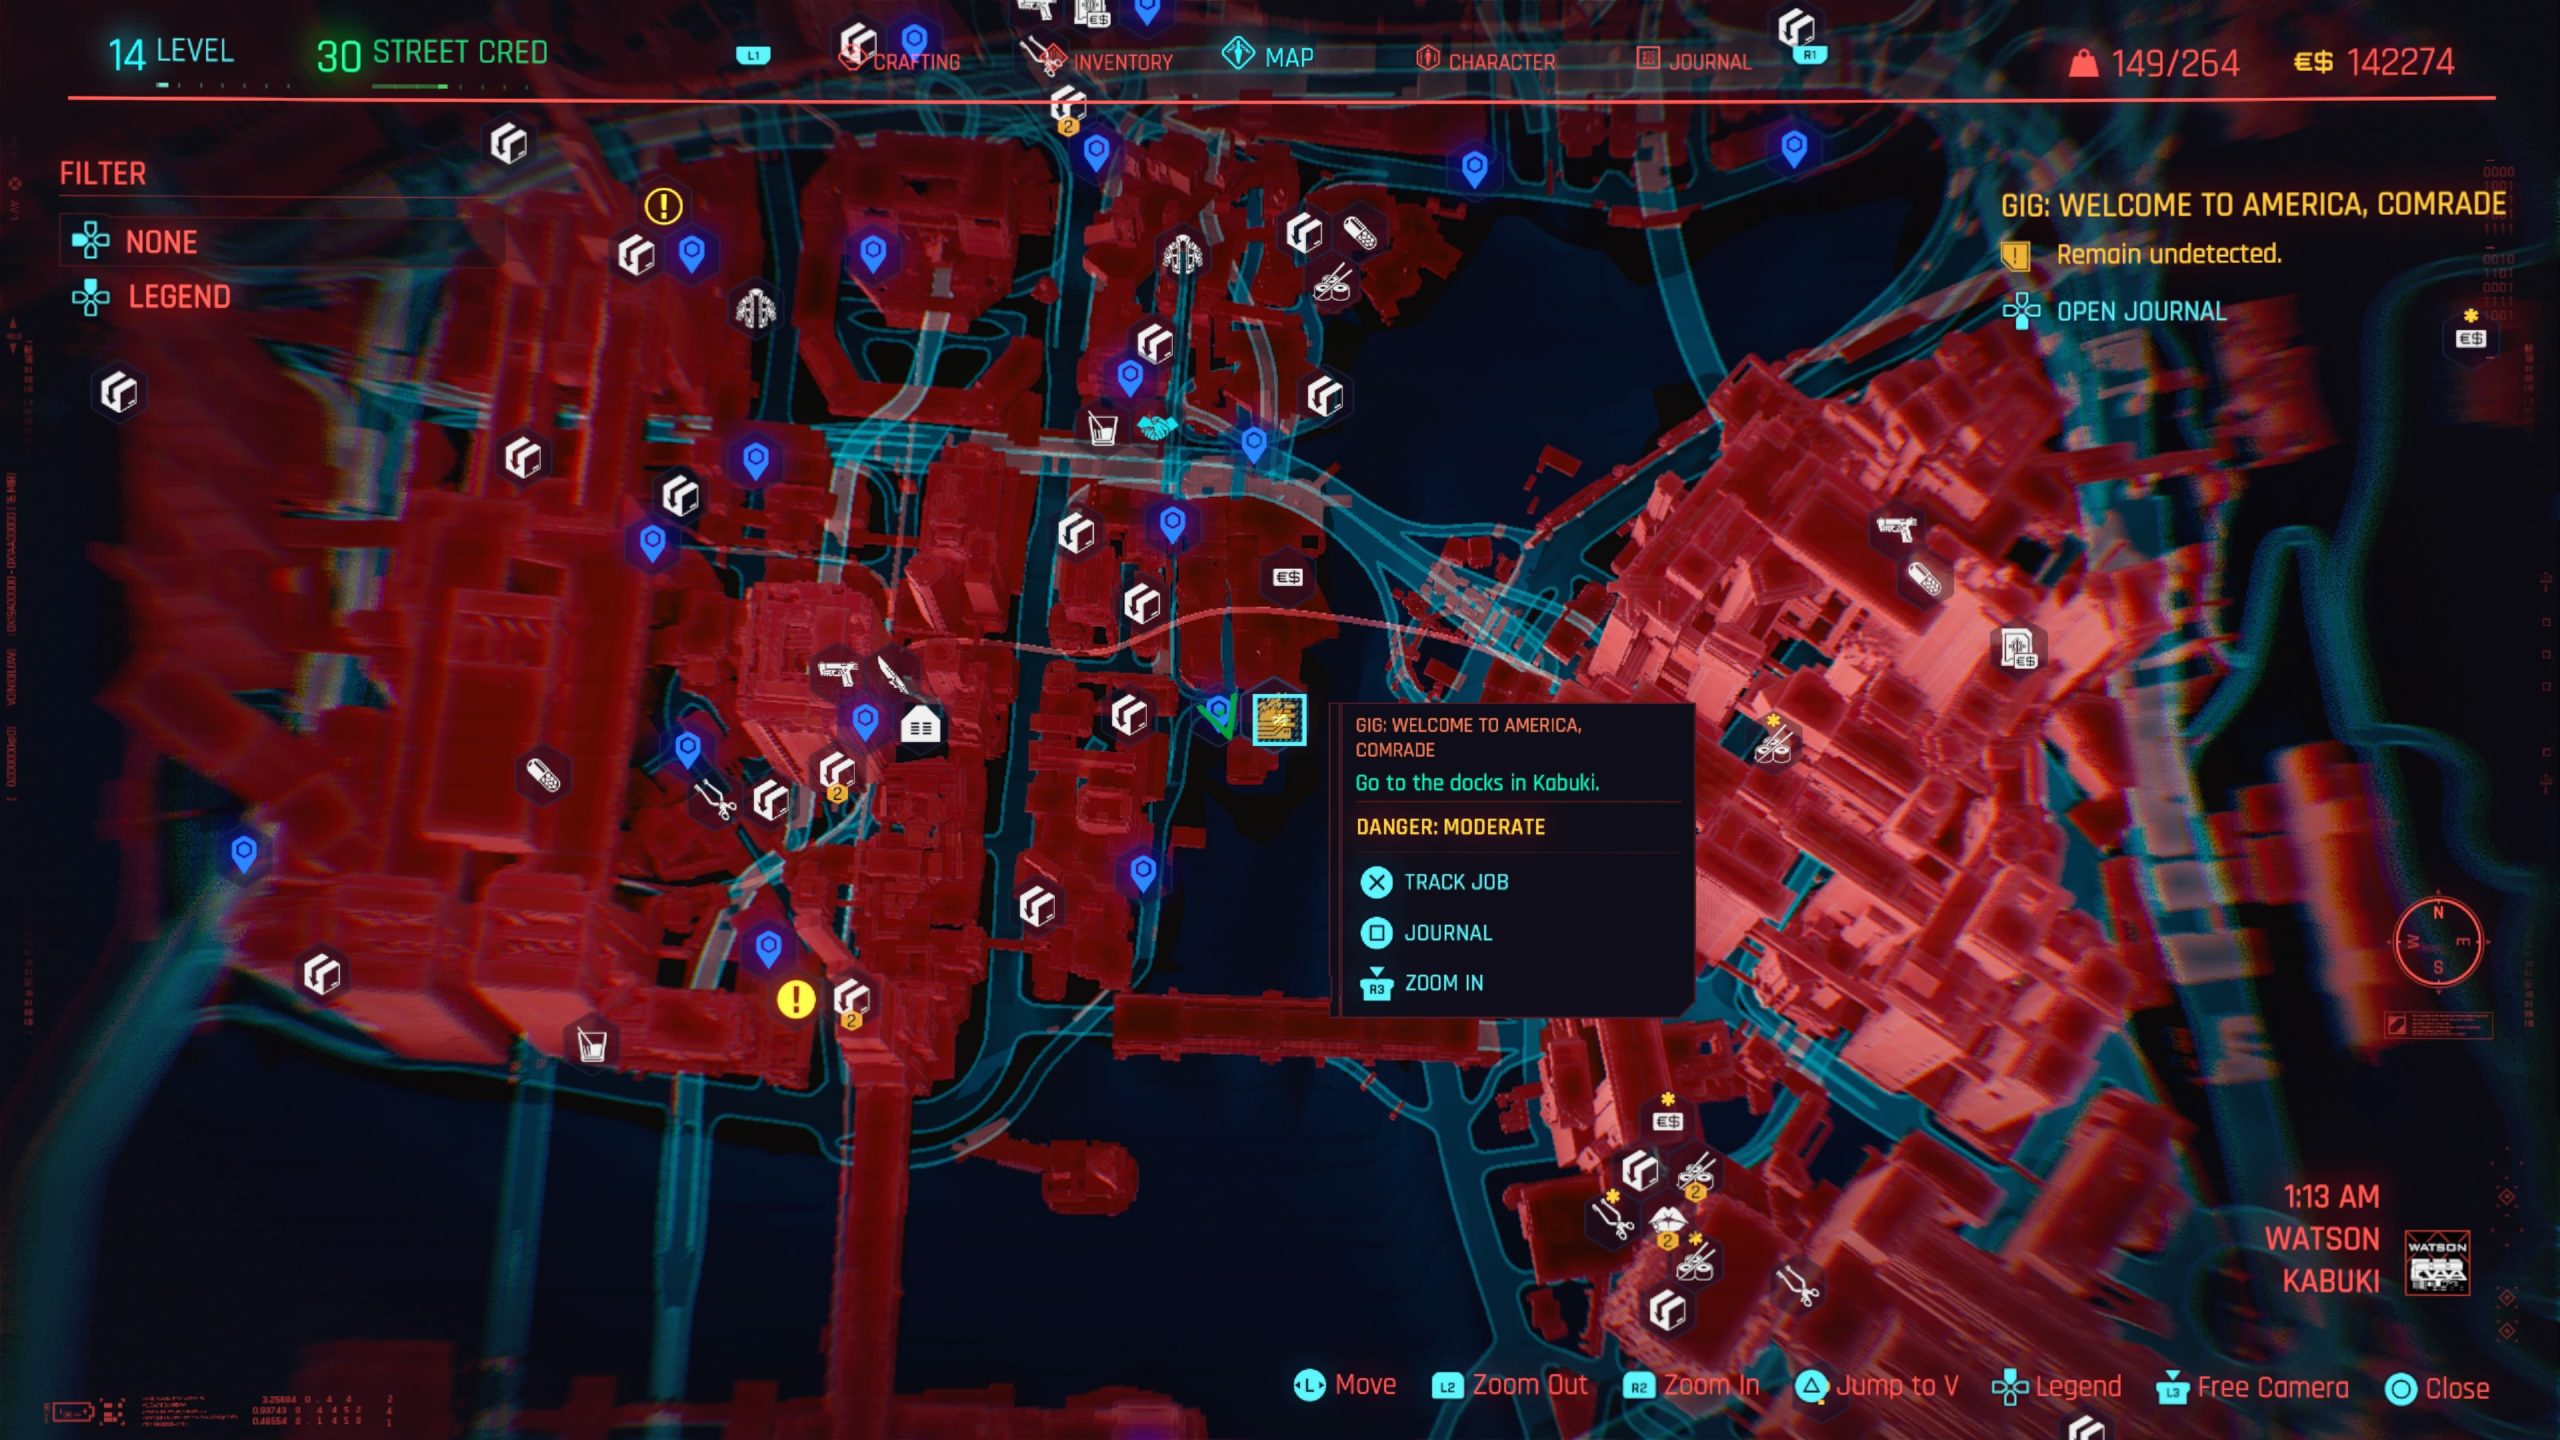
Welcome to America, Comrade
Obtained: Kabuki – Approach the gig location just east of the Allen St South fast travel point
Objective: Go to the docks in Kabuki
This is another gig that needs to be done sneakily to get the best outcome. Sneak your way through the barricade on the far left at the entrance then take a left and go behind the shipping containers. Keep following that path as close to the gate as you can get, avoiding all the enemies and cameras until you reach a living room set up with 2 couches and a TV. The car your looking for is in an open blue shipping container to the right of this area. Mount the device to the car then leave the area undetected. After Regina calls you, head to the Drop Point to collect your reward.
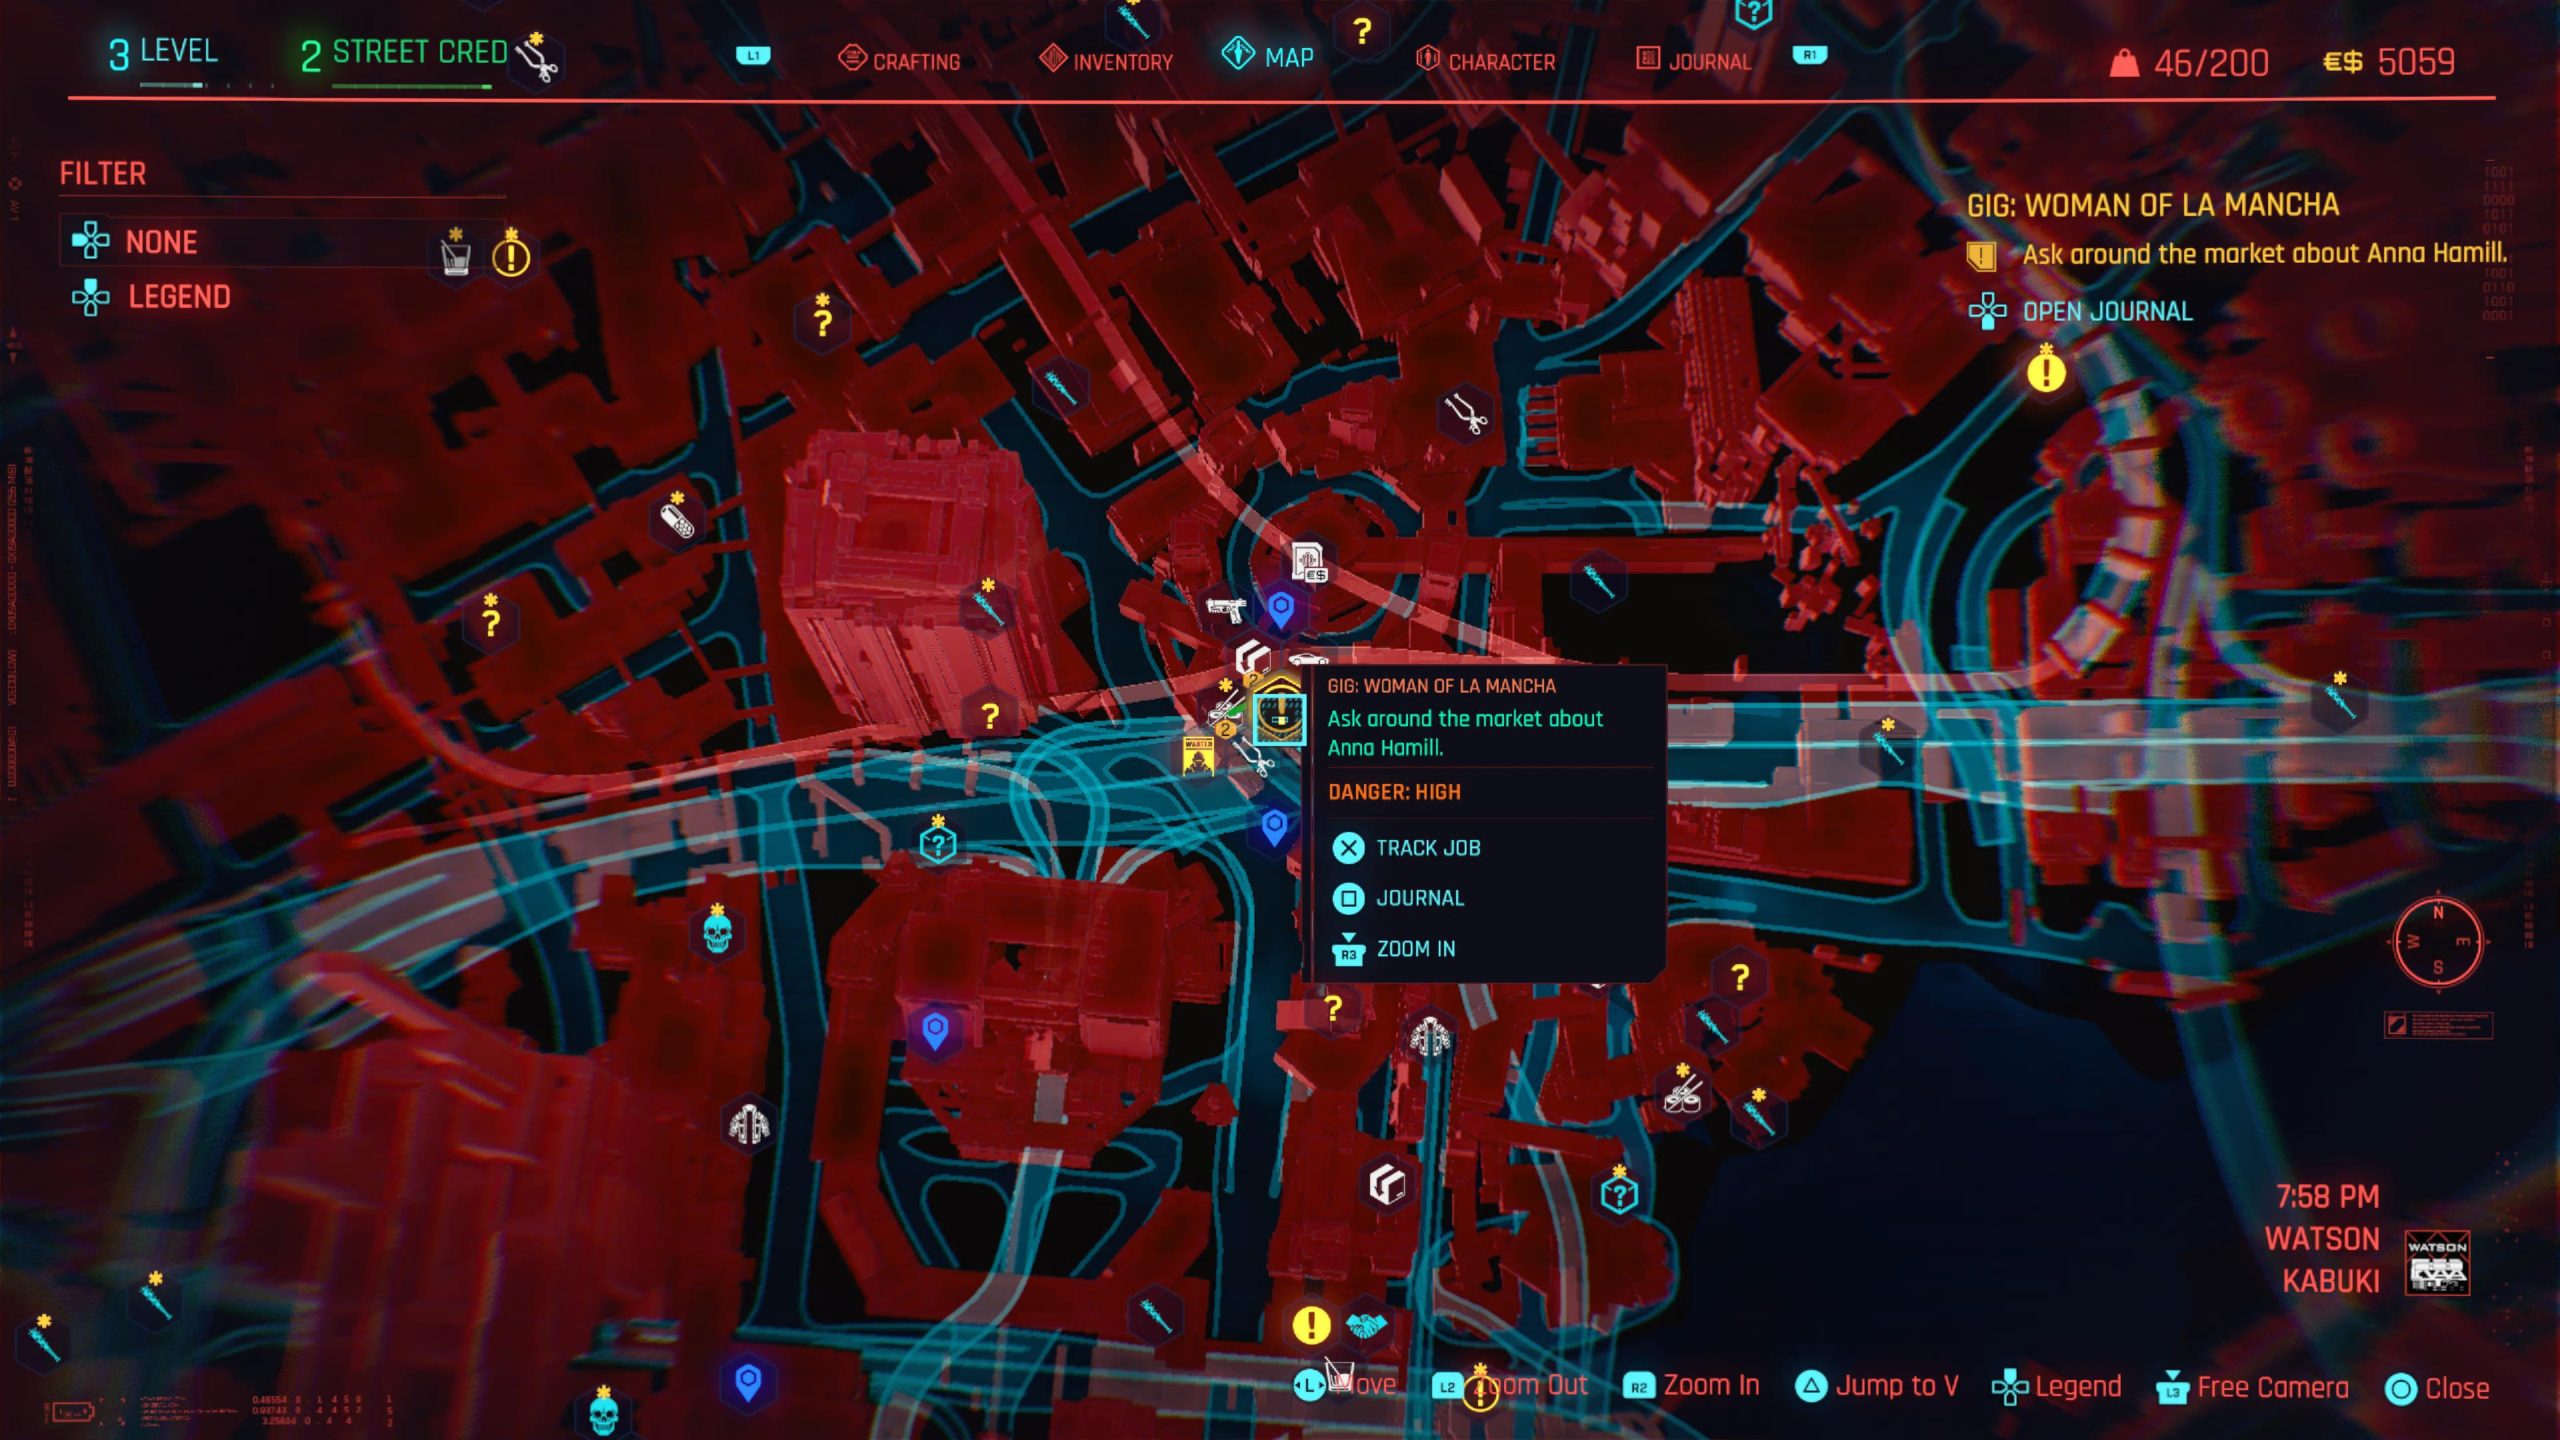
Woman of La Mancha
Obtained: Kabuki – Approach the gig location southwest of the Kabuki Market fast travel point
Objective: Force Anna Hamill to drop her police investigation
As you approach the location of the gig, you’ll get a call from Regina Jones tasking you with stopping the investigation of Anna Hamill who is looking into the Kabuki Market. Follow the objective to reach the bazar where you’ll need to try and gather intel on Anna. If you head down the stairs near the entrance to the bazar and hug the left wall, you’ll come across Eve leaning on an AC unit. Show her the picture of Anna then tell her you’re not a cop (if you say you are, she will stop talking to you). She will then ask for 600 eddies to tell you what she knows. The other option is to stop by the first stall on the right side of the bazar where a food vendor and a guy named Imad are bartering. After their business has concluded, you’ll get the option to show the food vendor the picture. This is a fruitless endeavor as she refuses to answer any questions. Instead head after Imad to find him sitting on a chair further in the bazar. Speak with him and show him the picture of Anna. He will then tell you what he knows for 600 eddies. If you’re a Nomad, he’ll tell you the information for free! Both Eve and Imad will tell you that Anna is staying in room 303 of the hotel on the right (east) side of the bazar, however, you can find her in the hotel on your own if you don’t want to spend the eddies.
There are a couple of ways to confront Anna in the hotel. The first is to hack the door on the 1st floor then head up the stairs in the building to reach room 303 on the third floor. Please note that if your Technical Ability is at least level 4 you can hack into a room on the 1st floor and investigate the files on a PC to learn about Anna. If you’re unable to hack the door on the 1st floor to get into the hotel, you also have the option of paying to enter by selecting the option on the keypad to the left of the door. If you chose to pay, you’ll receive a text with a room number in it which is 203. In order to enter Anna’s room from the 3rd floor, you’ll need to have a Technical Ability of 6. The 2nd way to reach her room is by getting into room 203 on the 2nd floor. If your Technical Ability is level 4, you can hack the door, you can enter the room and use the balcony to climb onto some AC units. From there you can climb onto the balcony of room 303. If your Technical Ability is not high enough, you can head to the building just north of the hotel by opening a door. This will gain you access to a stairwell you can take to the third level where you can jump on to an AC unit and use it to reach the balcony of room 303.
As you enter the room, Anna will stop you and demand to know who sent you. By choosing the options “Here to warn you”, “Just wanna help you” and “Your buddies at the NCPD”, I was able to convince her to leave town. One wrong choice will turn her hostel resulting in you having to flatline her. After dealing with Anna, leave the area to get a call from Regina completing the gig.
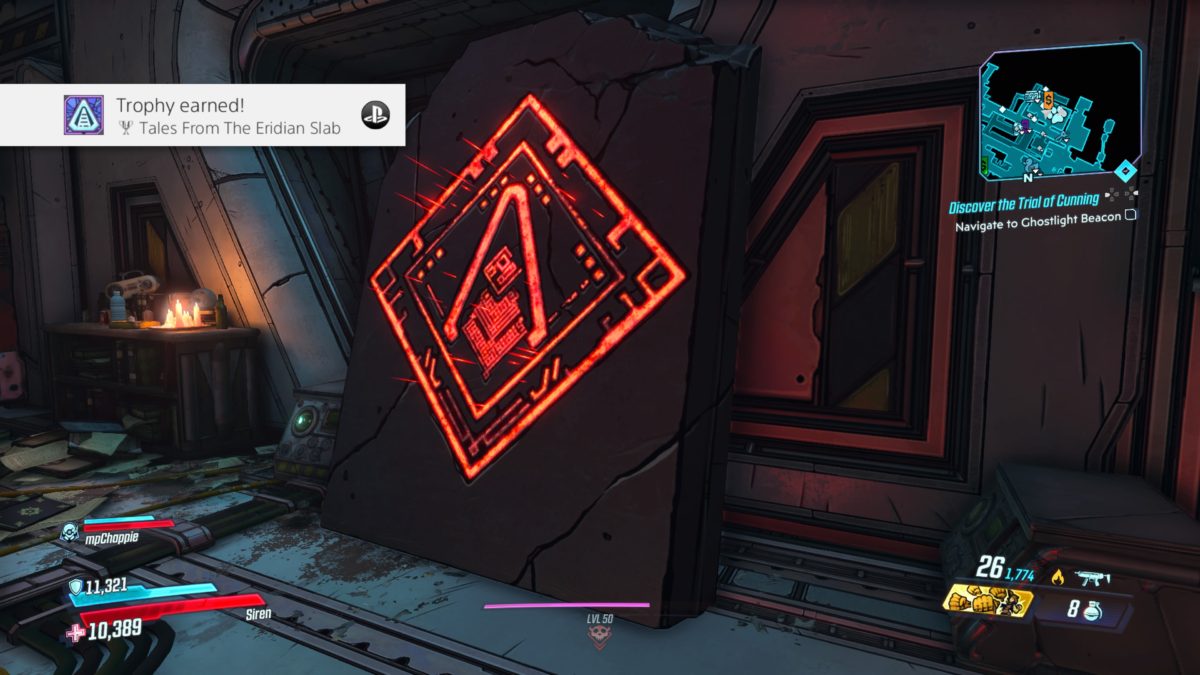
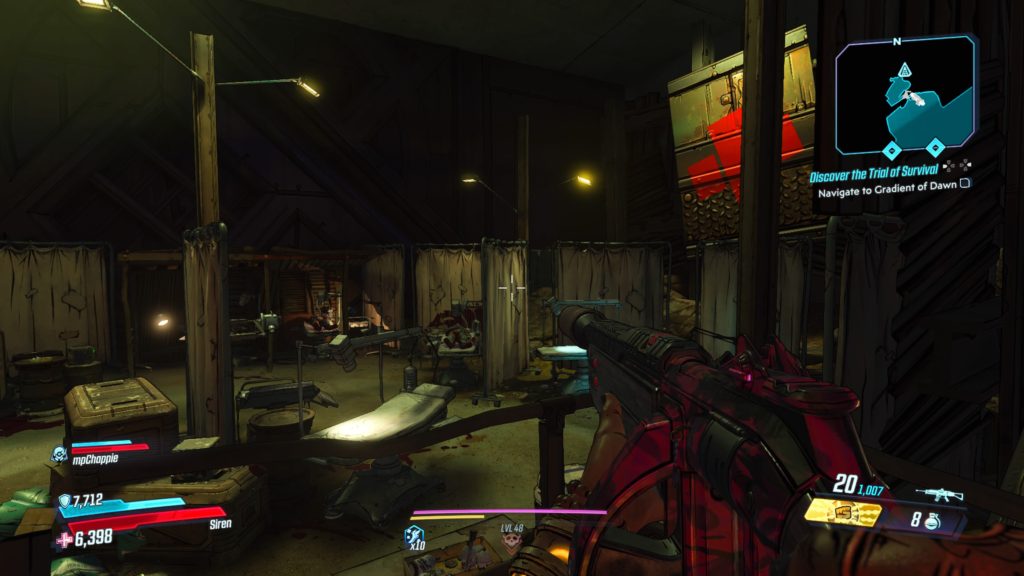
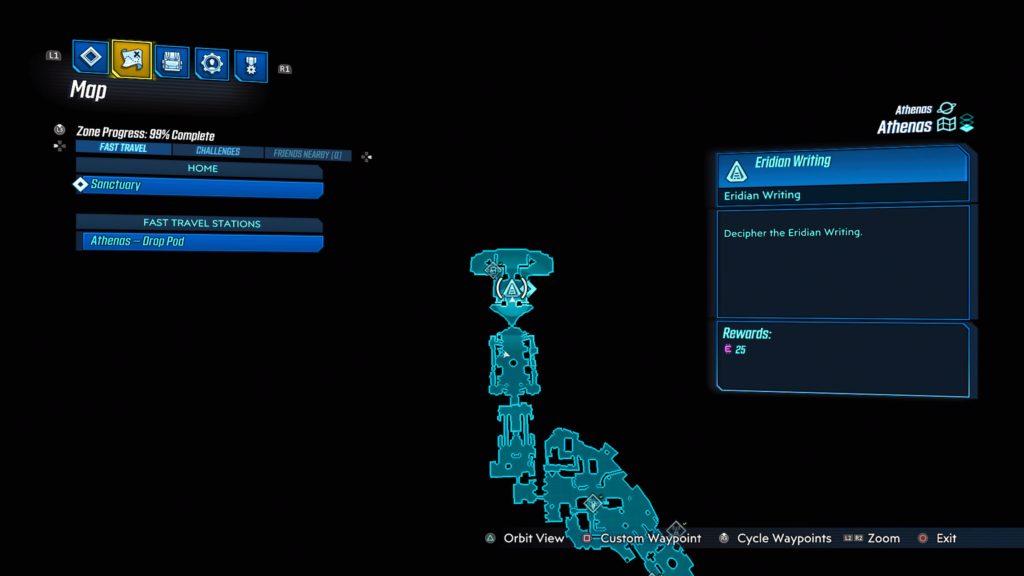
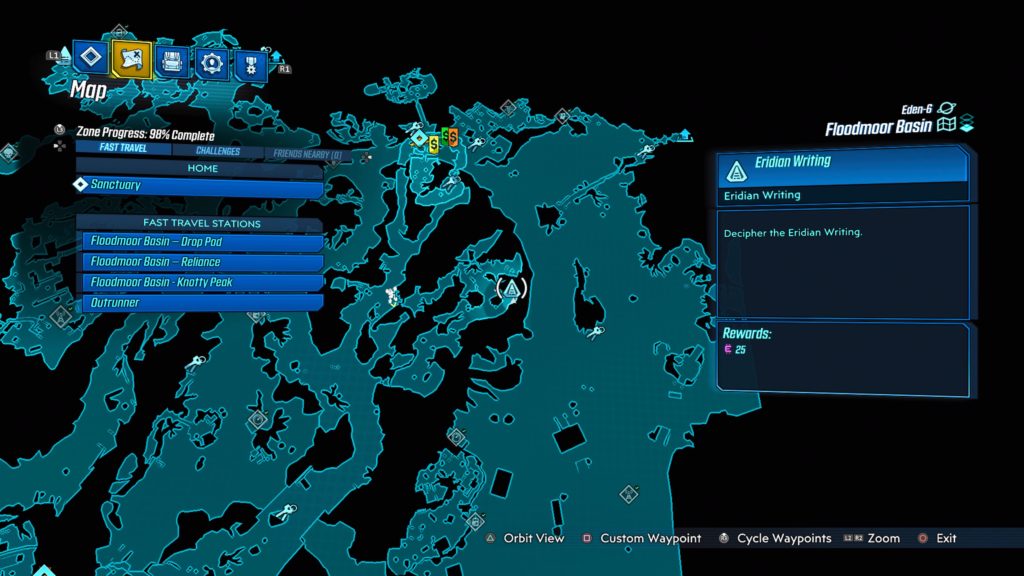
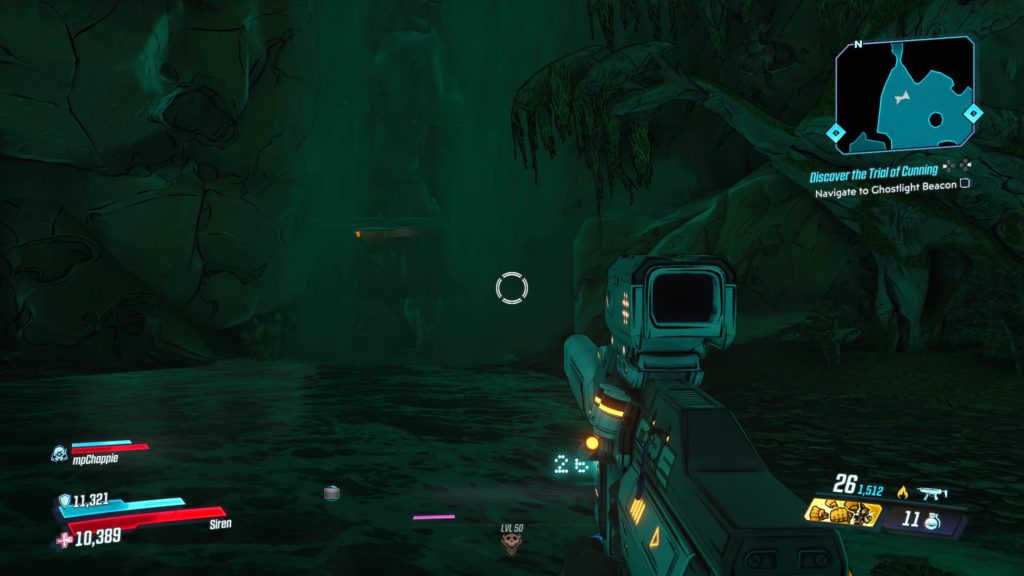
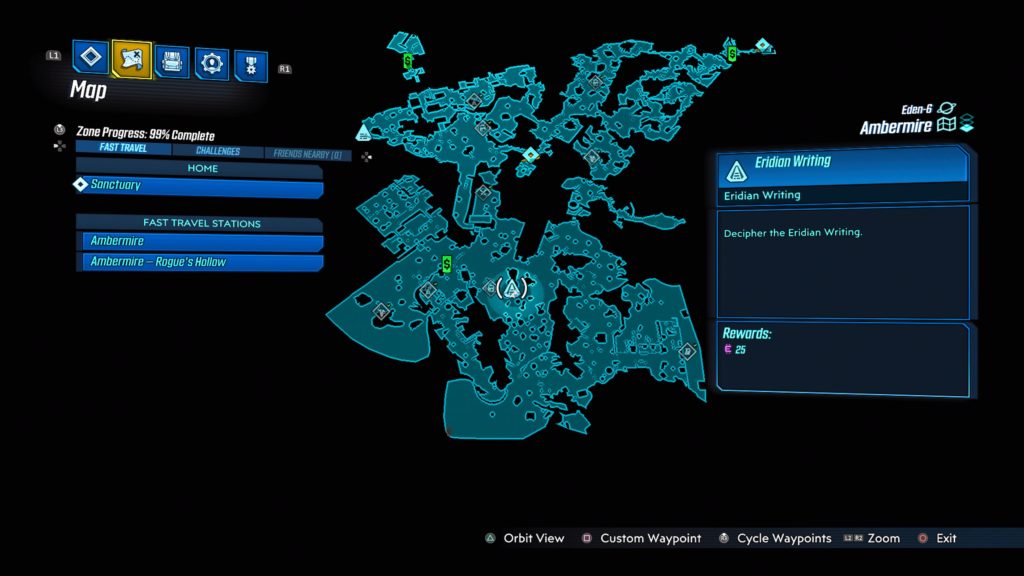
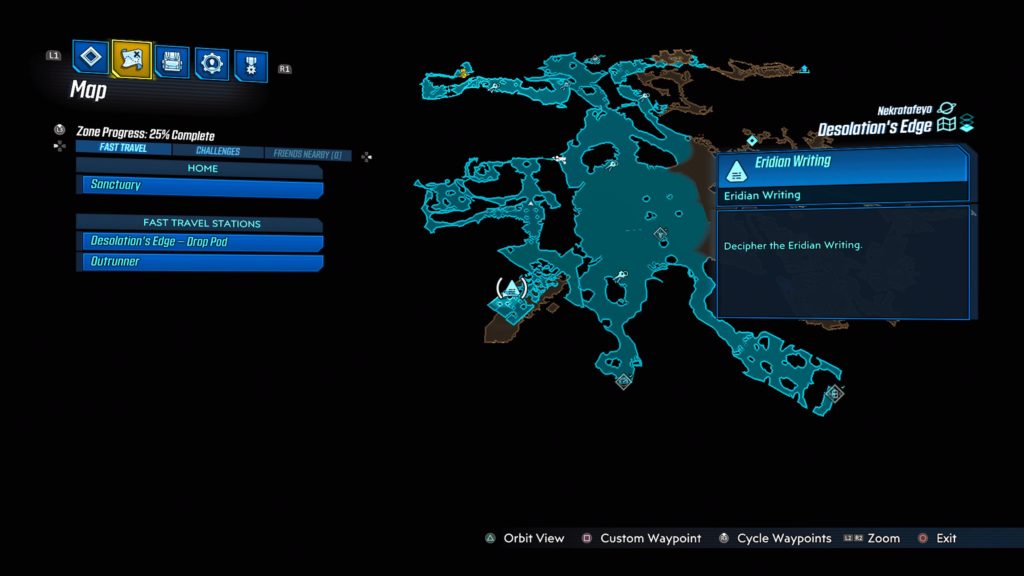
*NOTE: If you did not receive The Tales From The Eridian Slab trophy, head back to the infirmary at Sanctuary and keep translating the Eridian writing until the trophy triggers. (We inspected it approximately six times.)
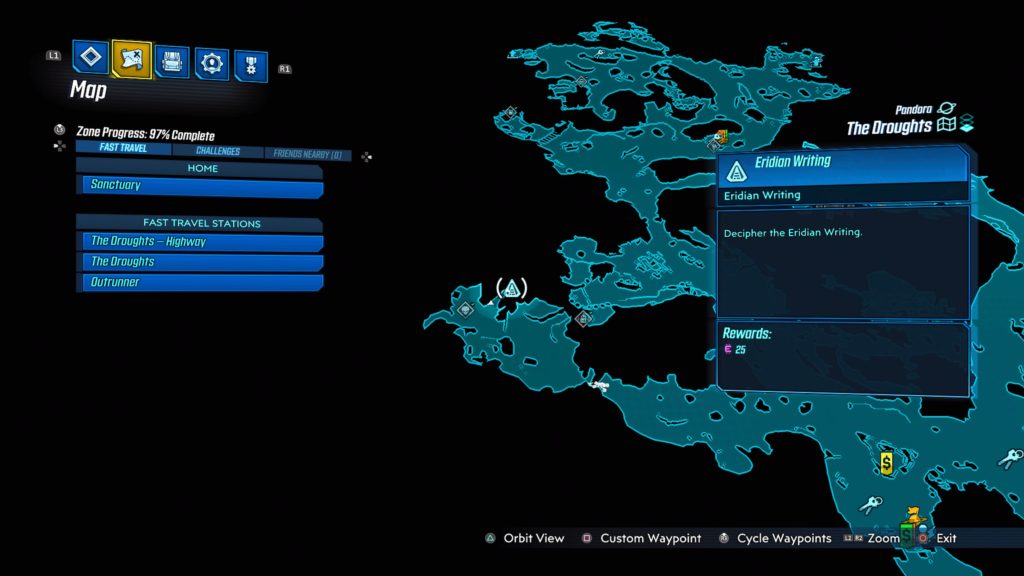
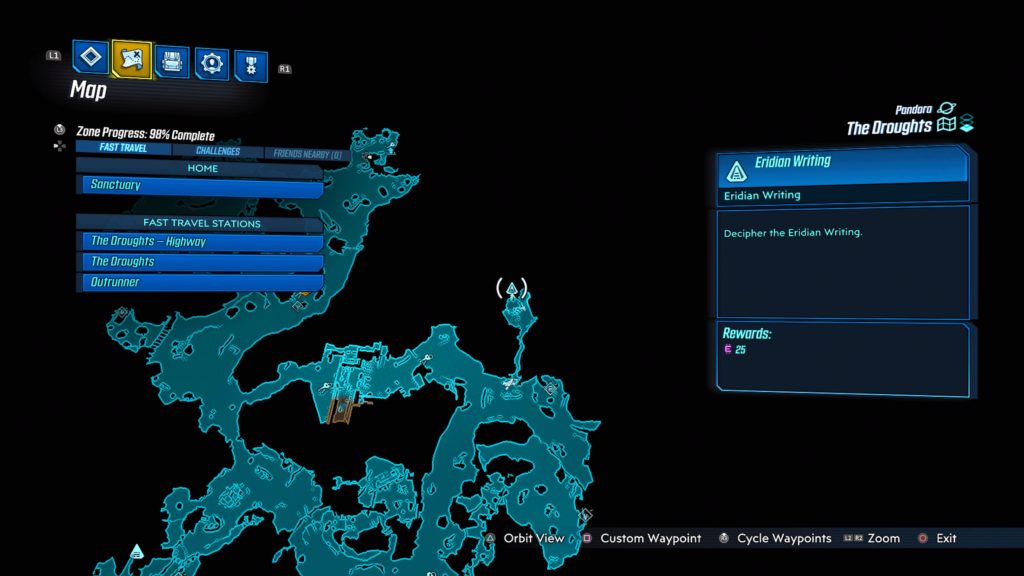
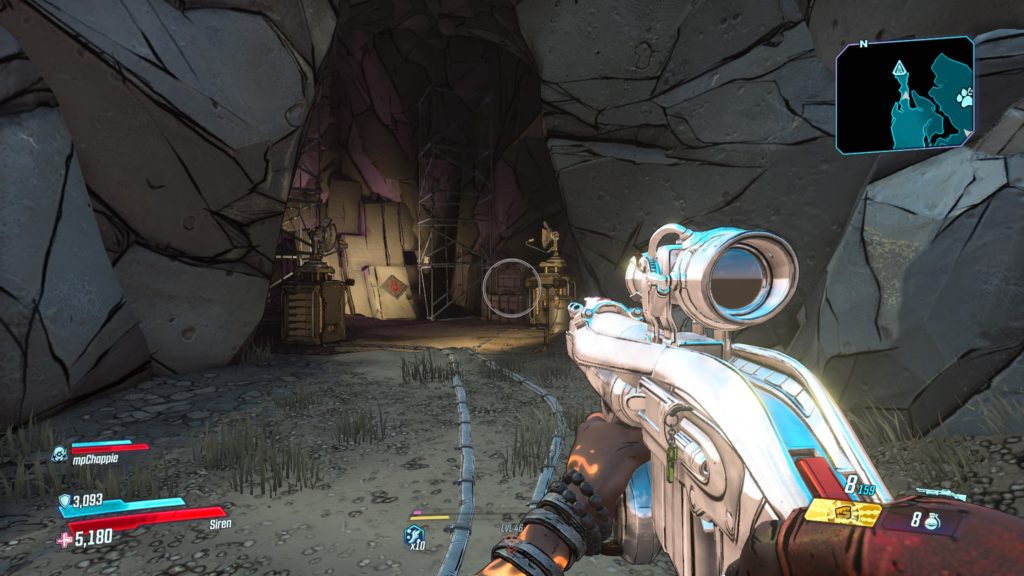
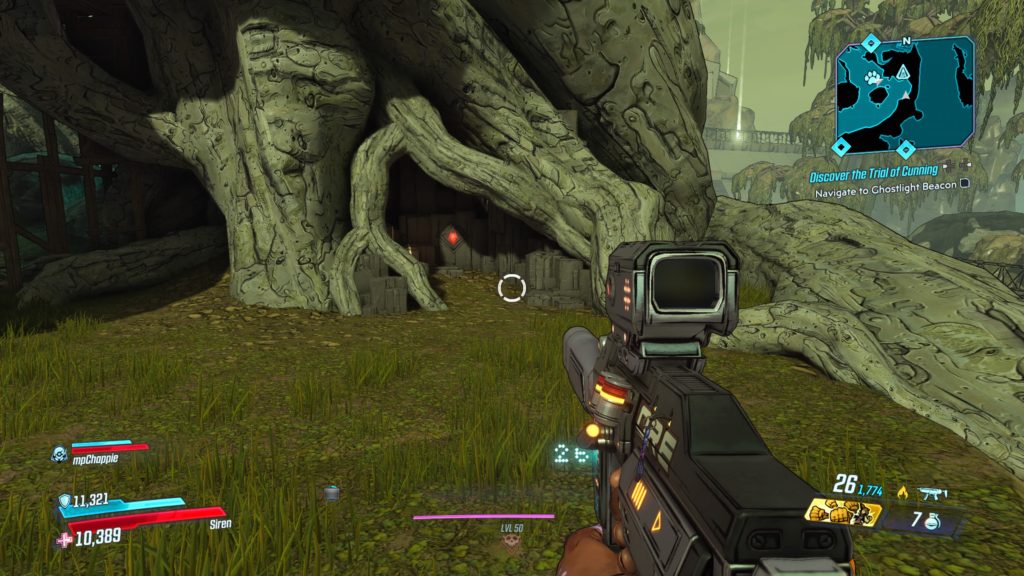
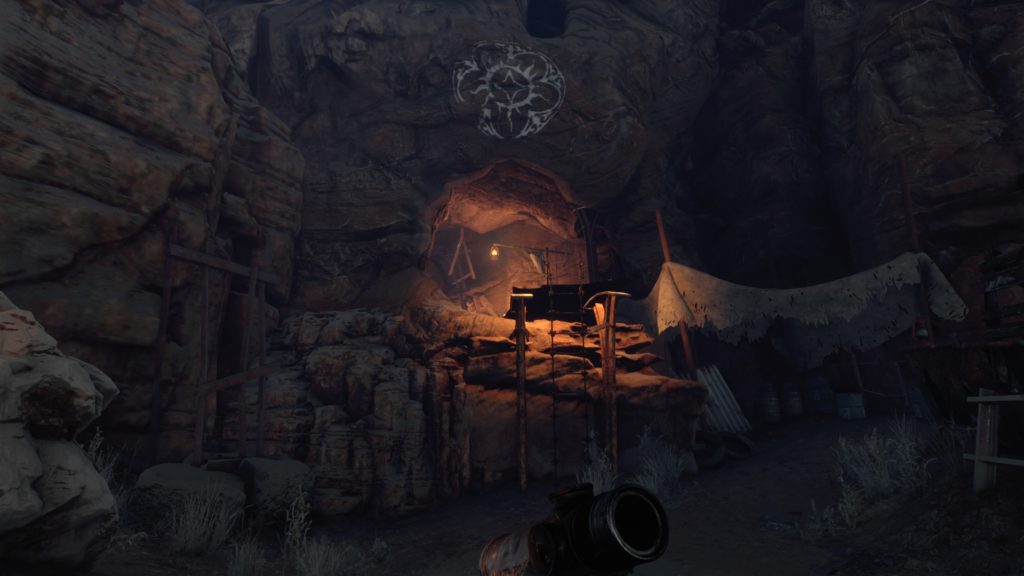
This writing is located in the back of the Eridian Dig Site in a cave next to some scaffolding.
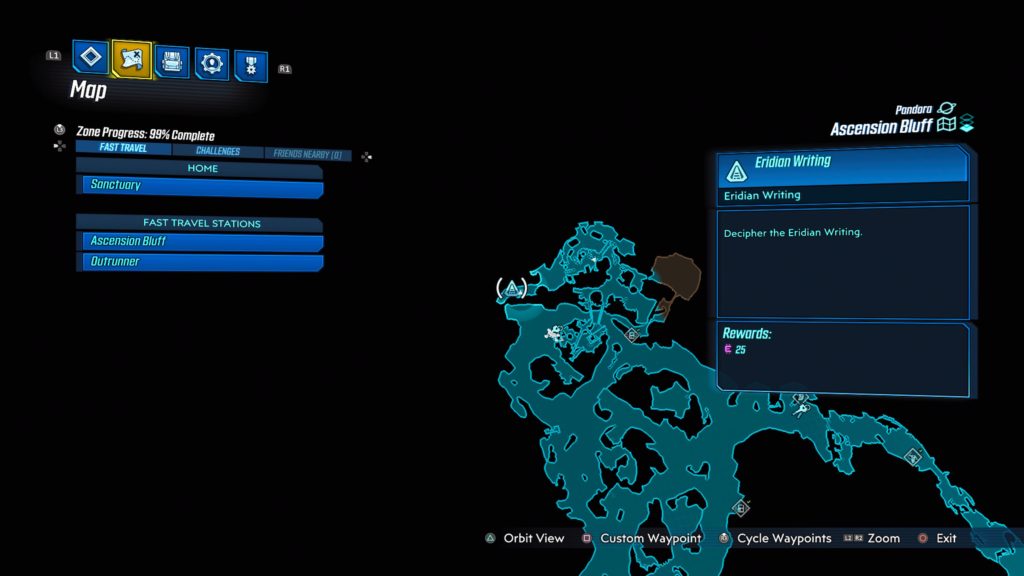
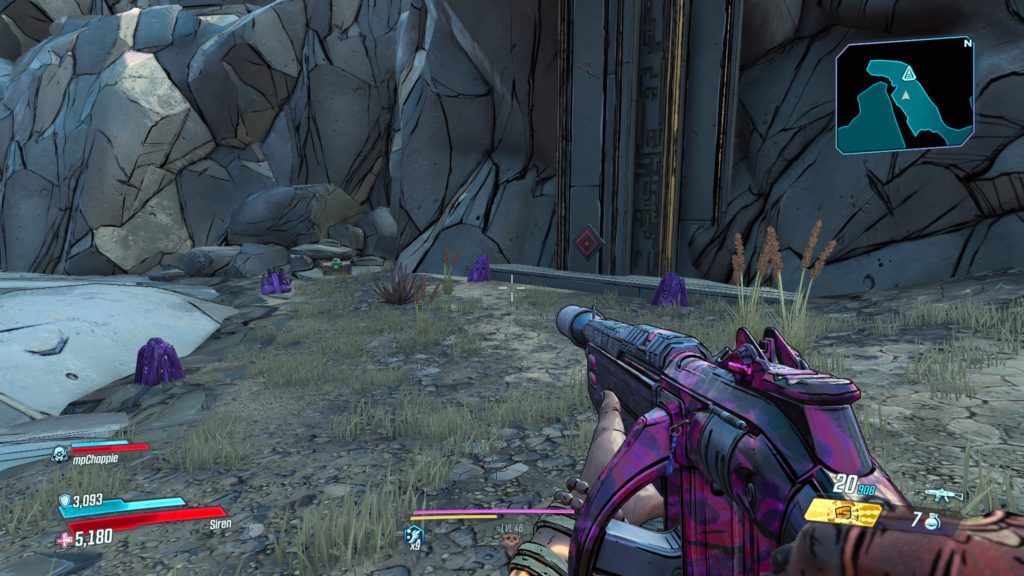
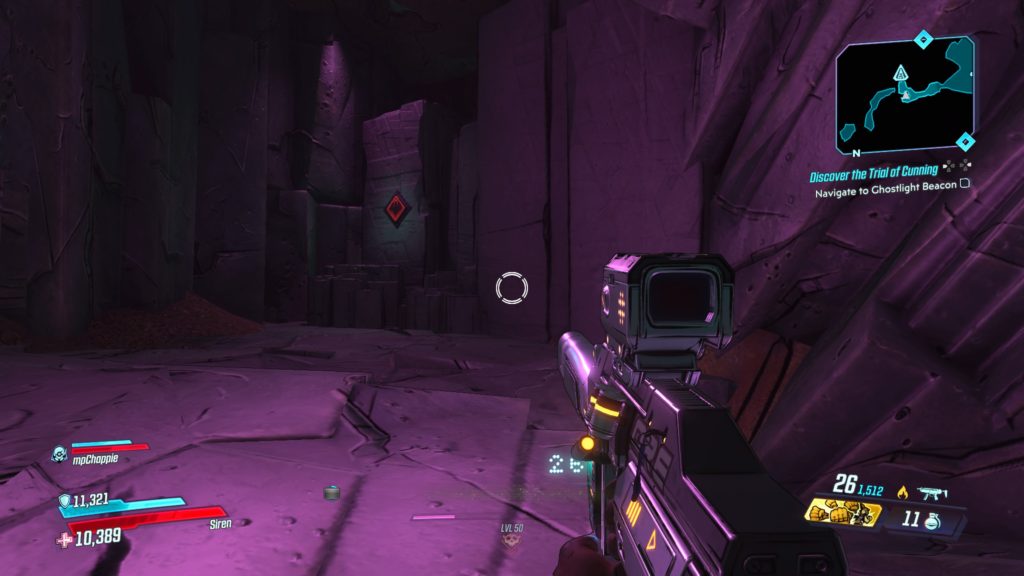
Ascension Bluff
This writing is located in the most northern part of the map, north of the most northern Catch-A-Ride. We previously came here during the Golden Calves side mission.
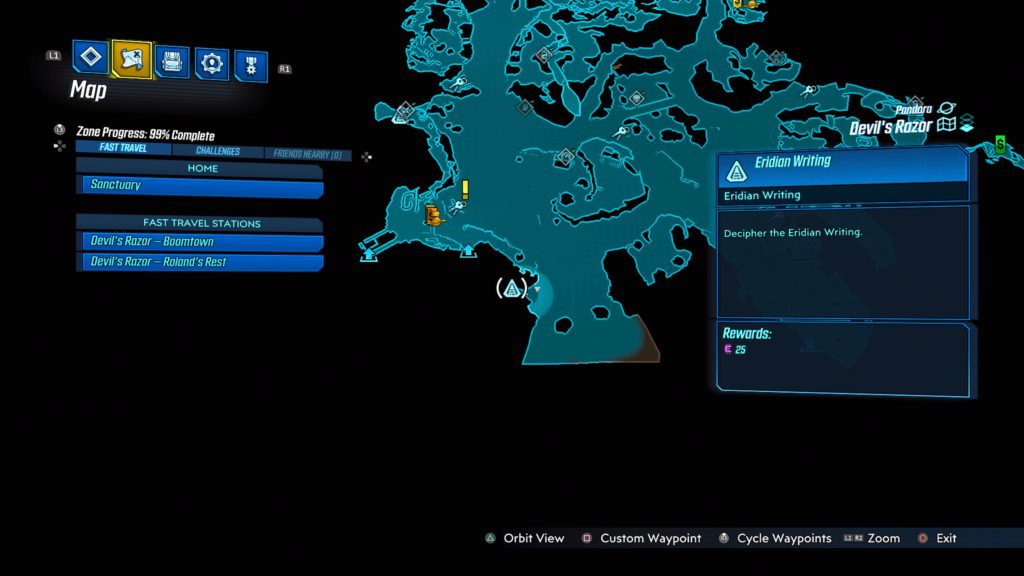
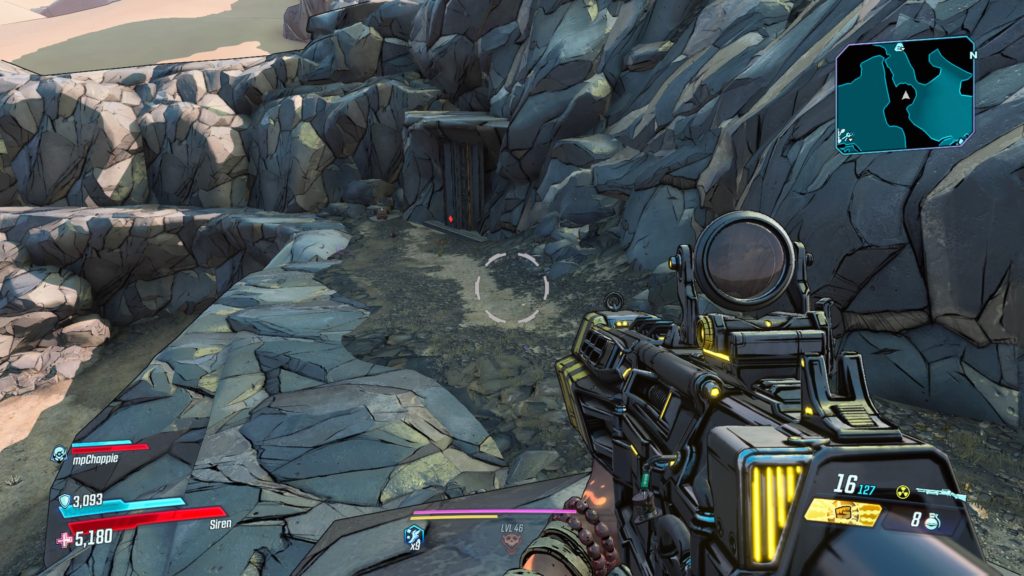
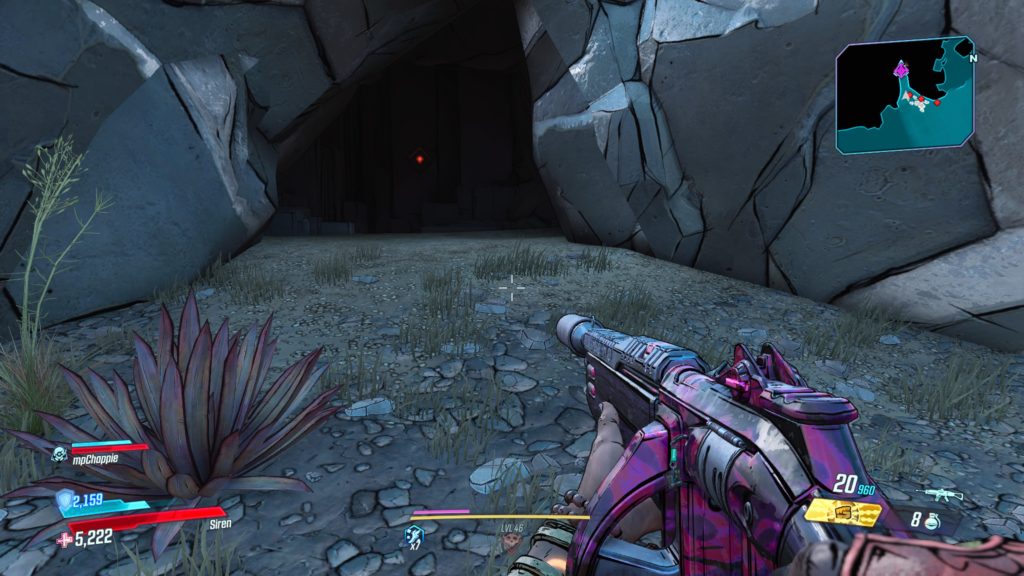
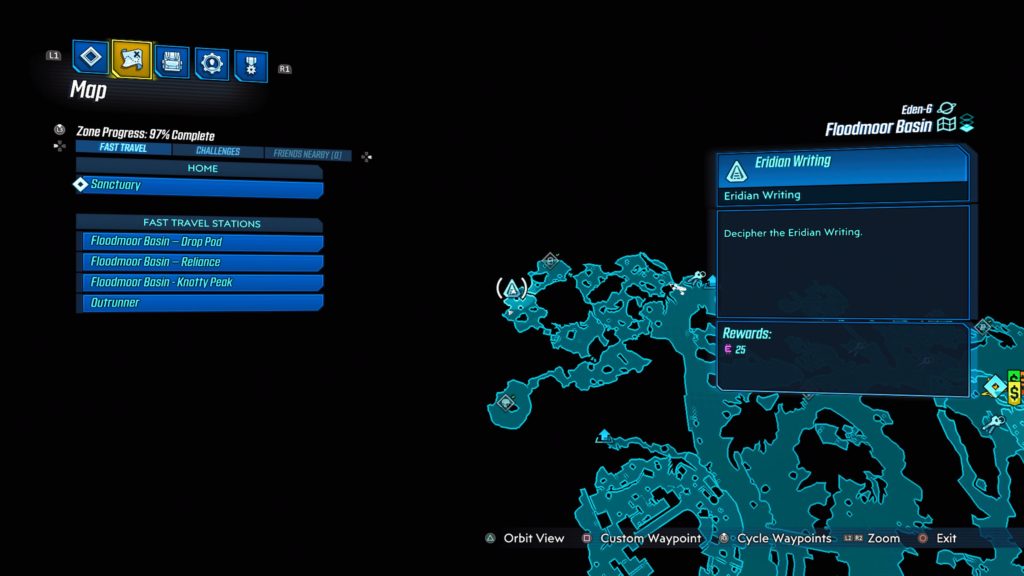
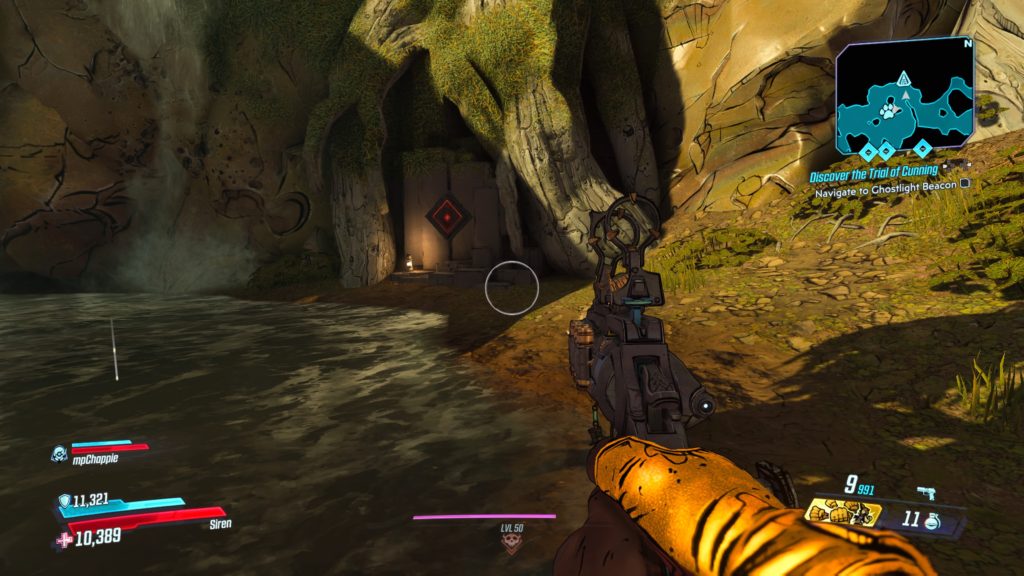
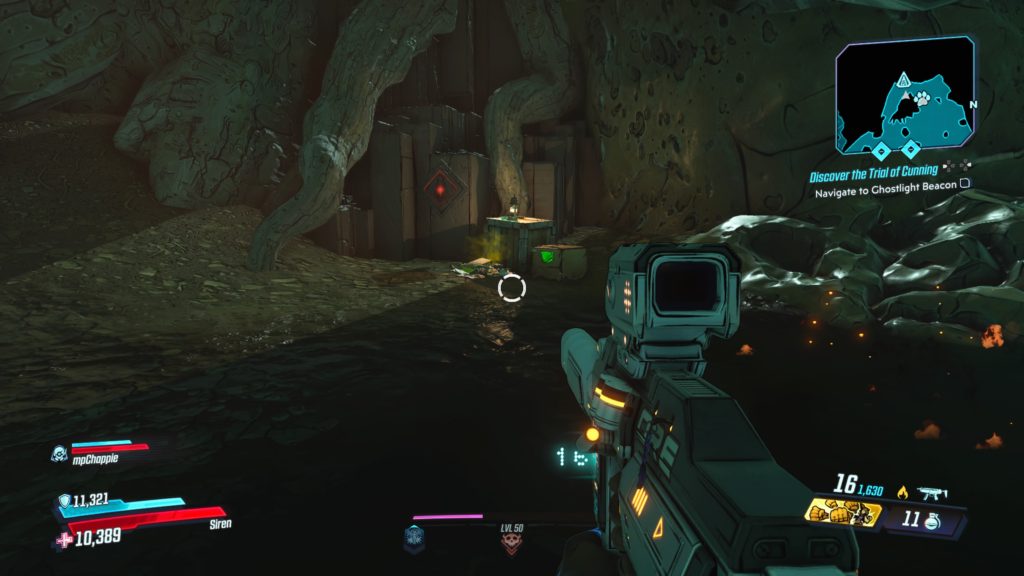
Devil’s Razor
This writing is located in a small cave south of Roland’s Rest. You will need to shoot the boards off to enter the cave.
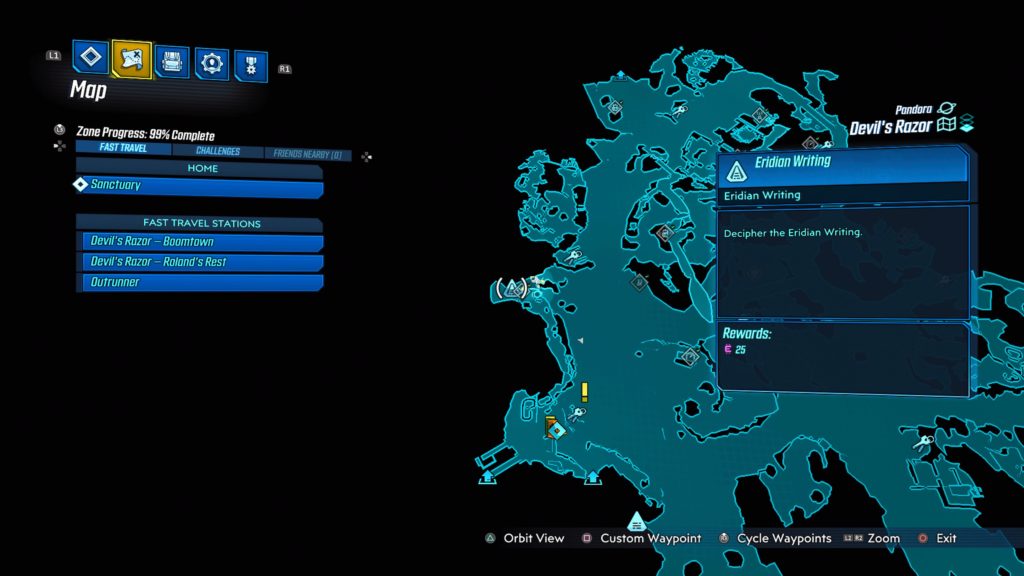
Devil’s Razor
This writing is located on a rock face overlooking a canyon north of Roland’s Rest.
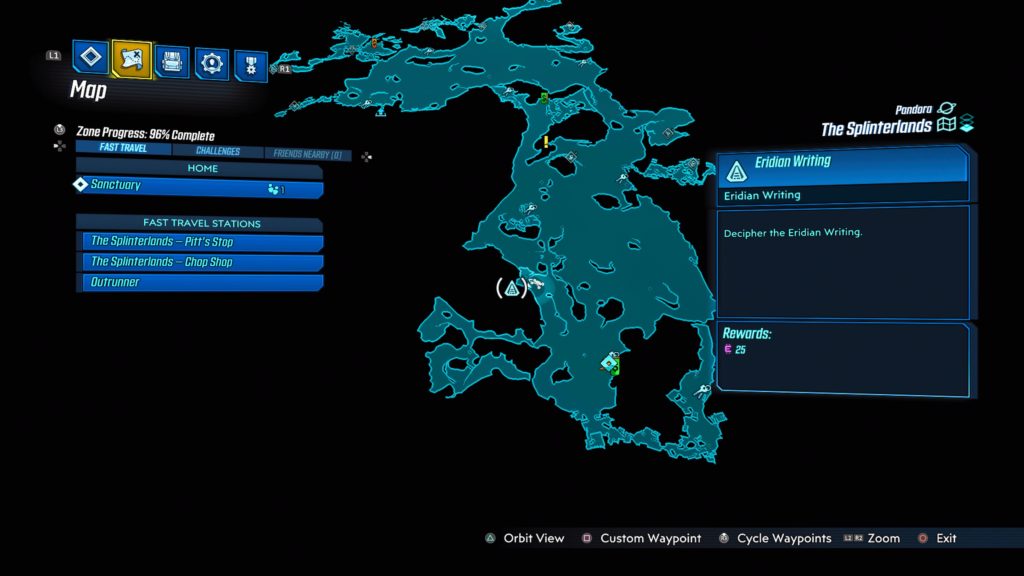
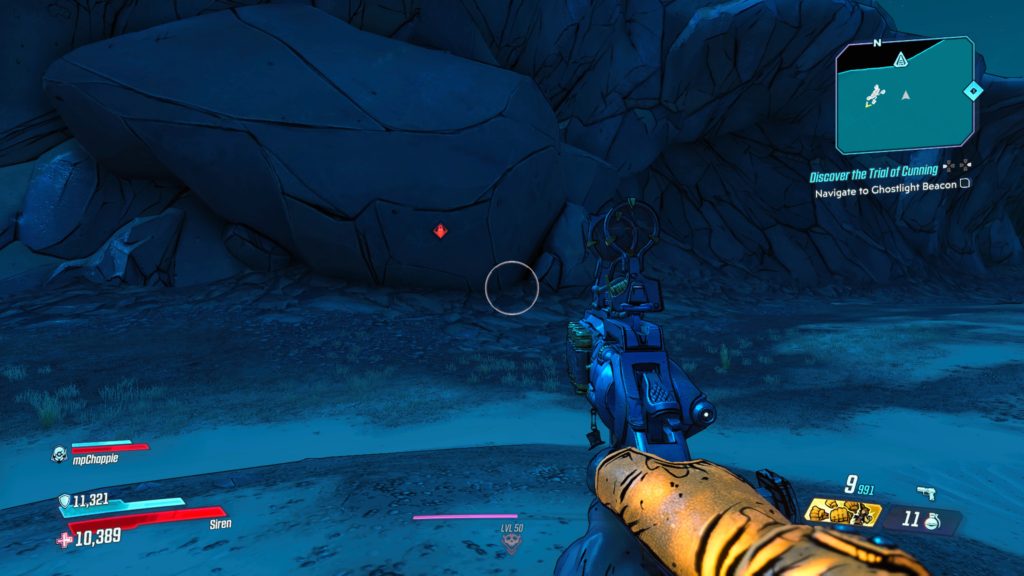
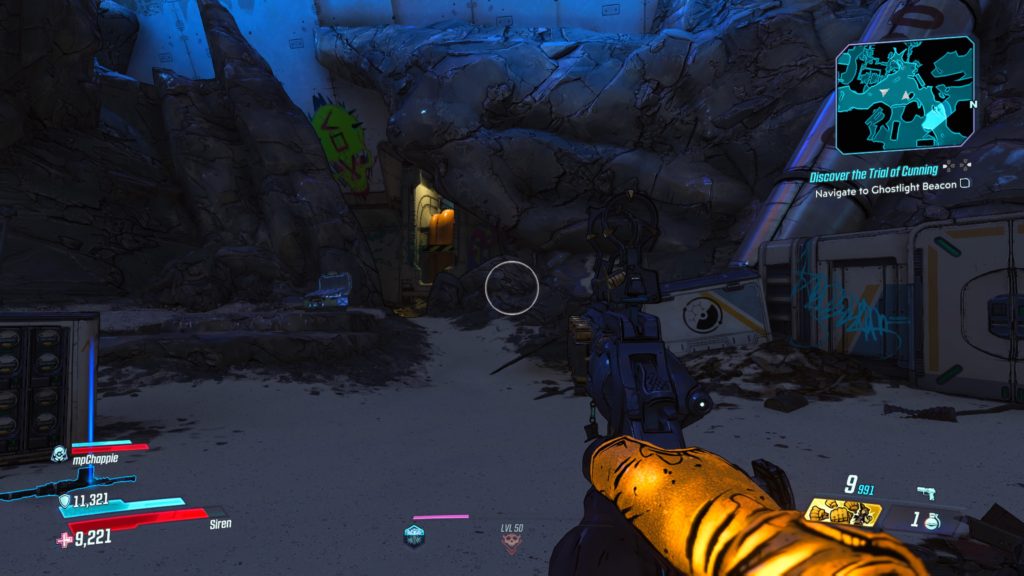
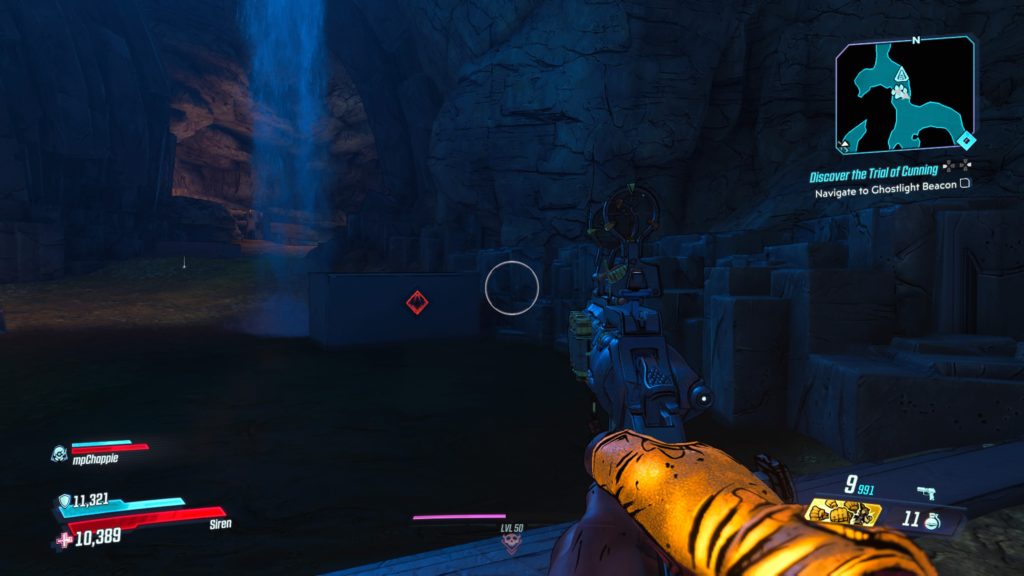
The Splinterlands
This writing is located in a small cave northwest of the Chop Shop, past The Homestead.
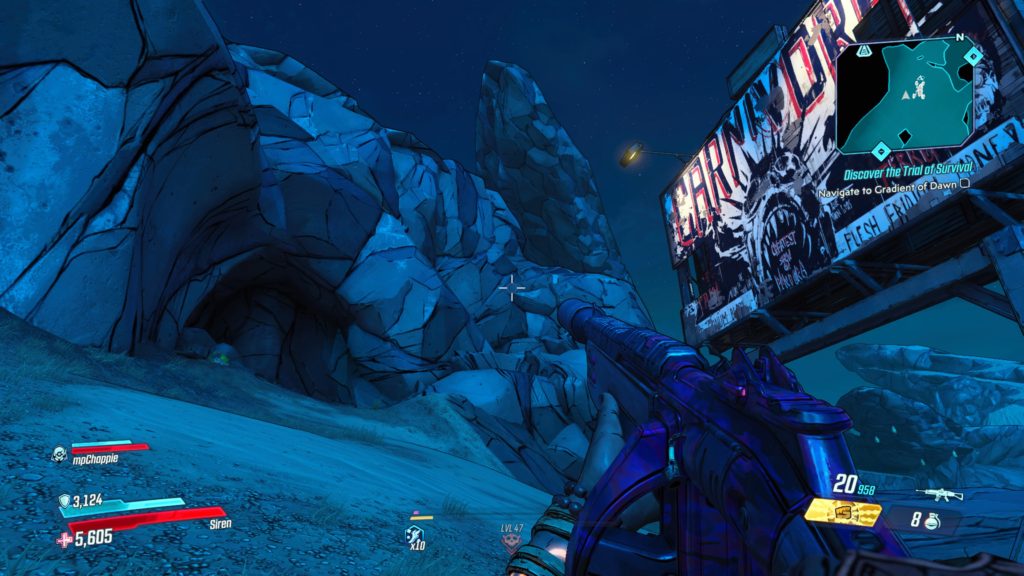
Carnivora
This writing is located on a rock face next to the Azlan’s Stash Typhon Log in the north-central area.
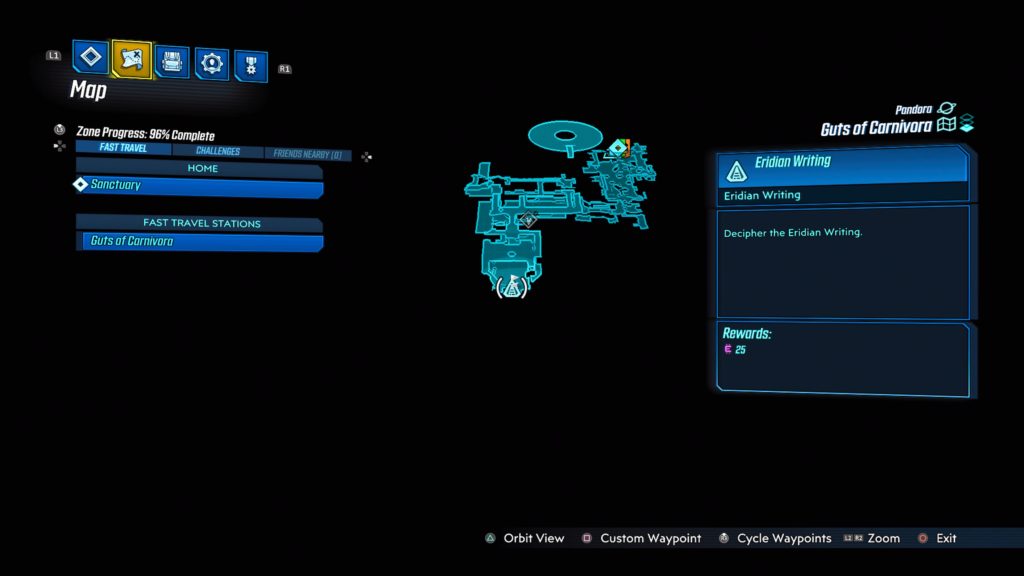
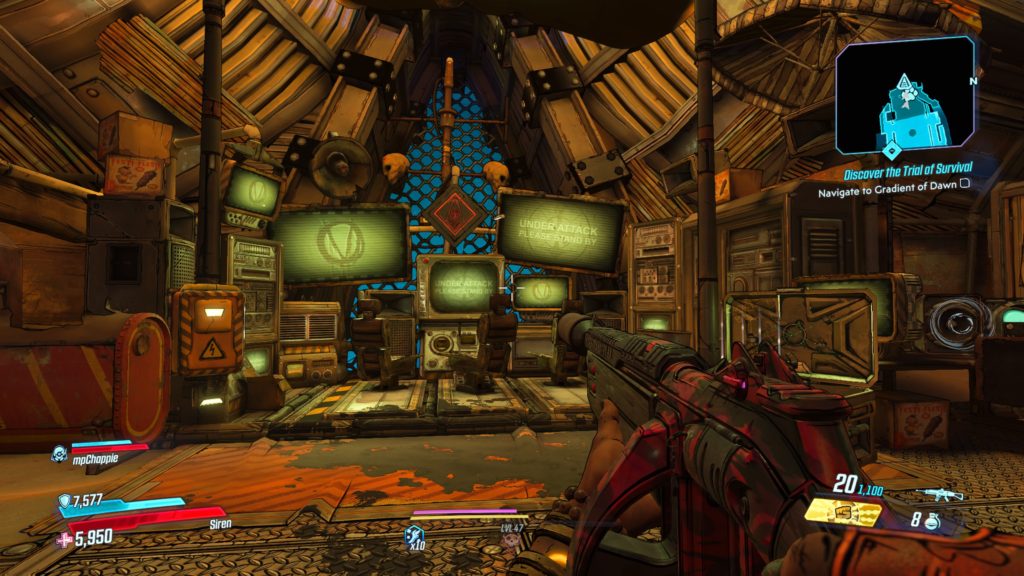
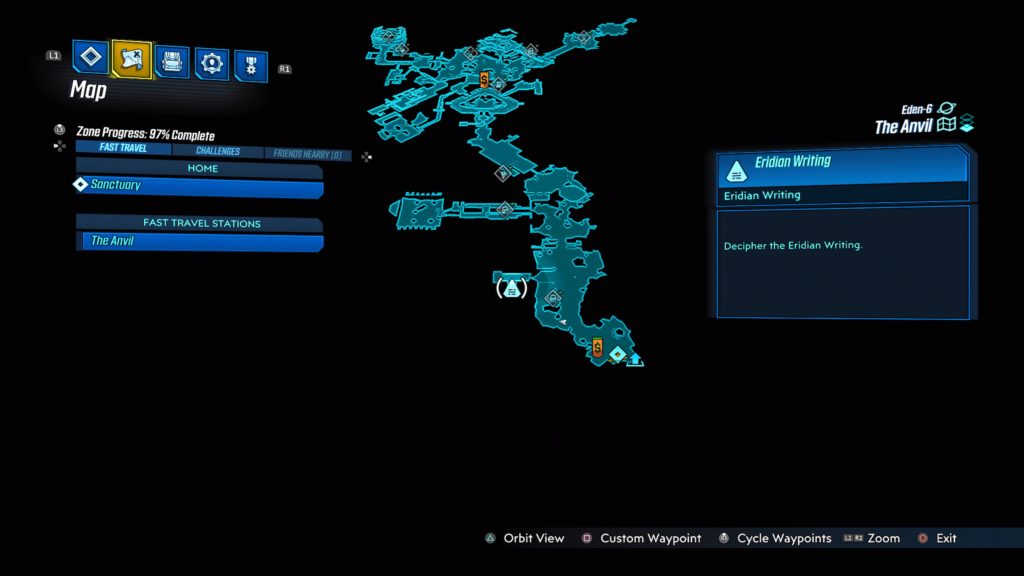
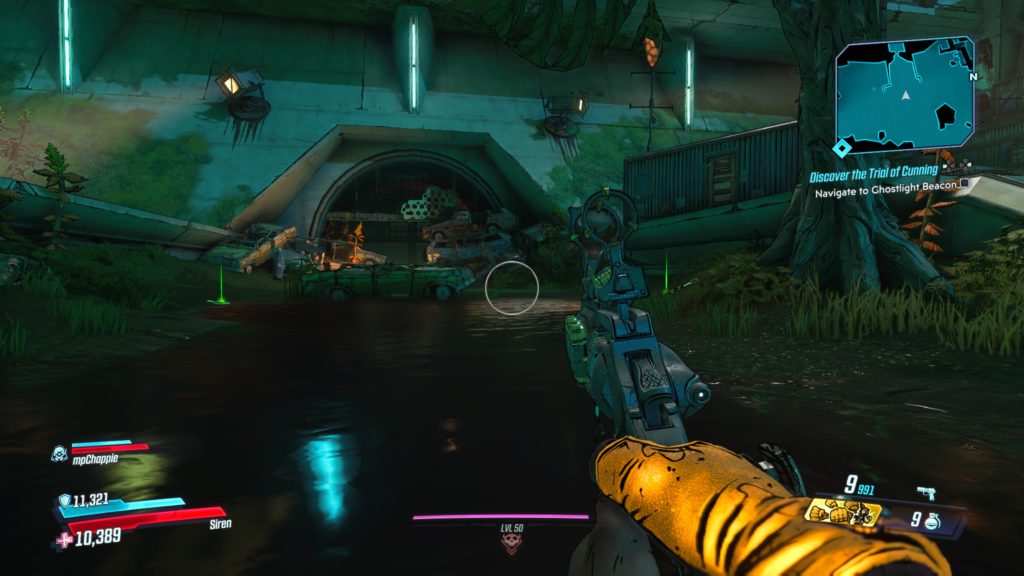
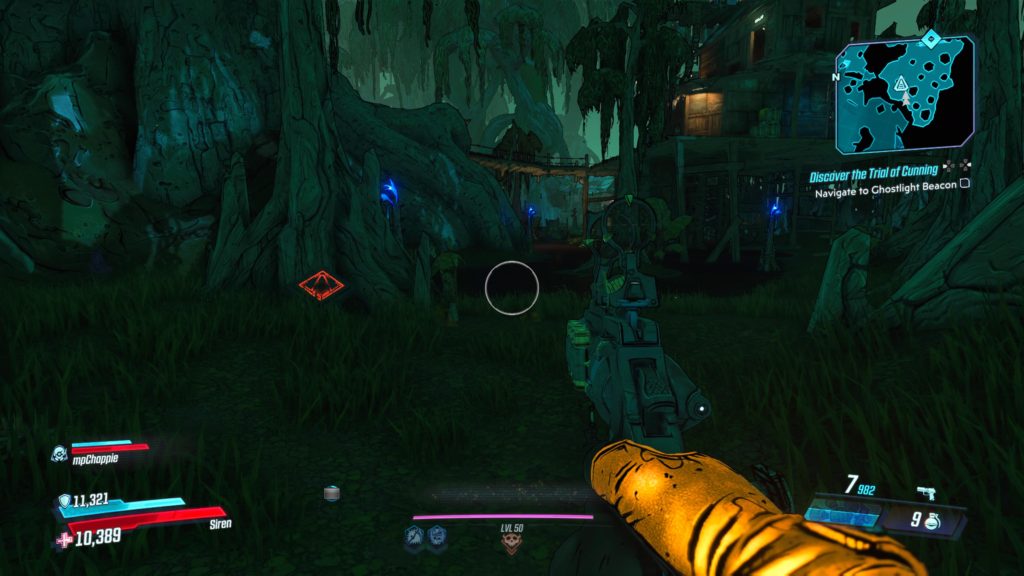
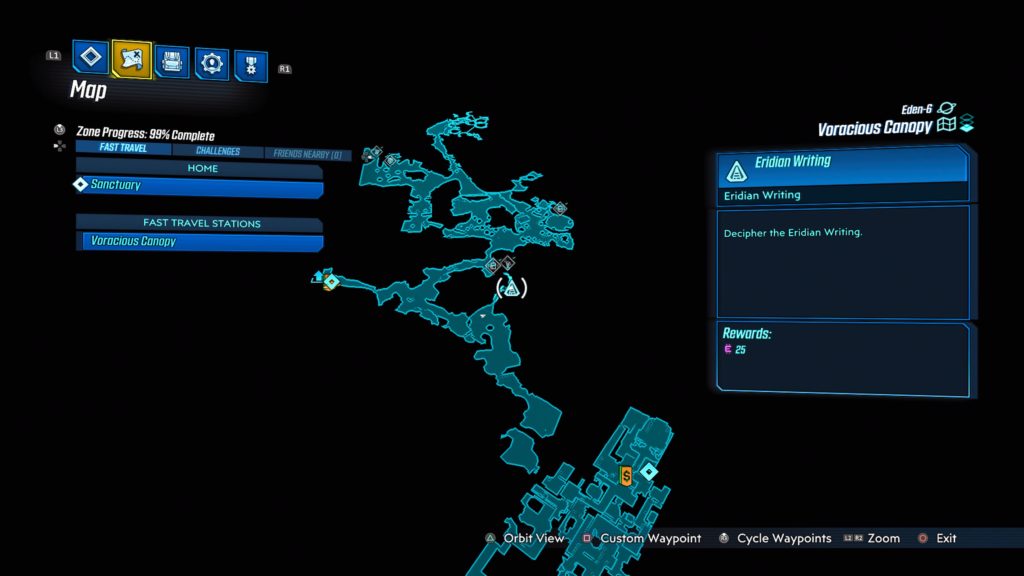
Guts of Carnivora
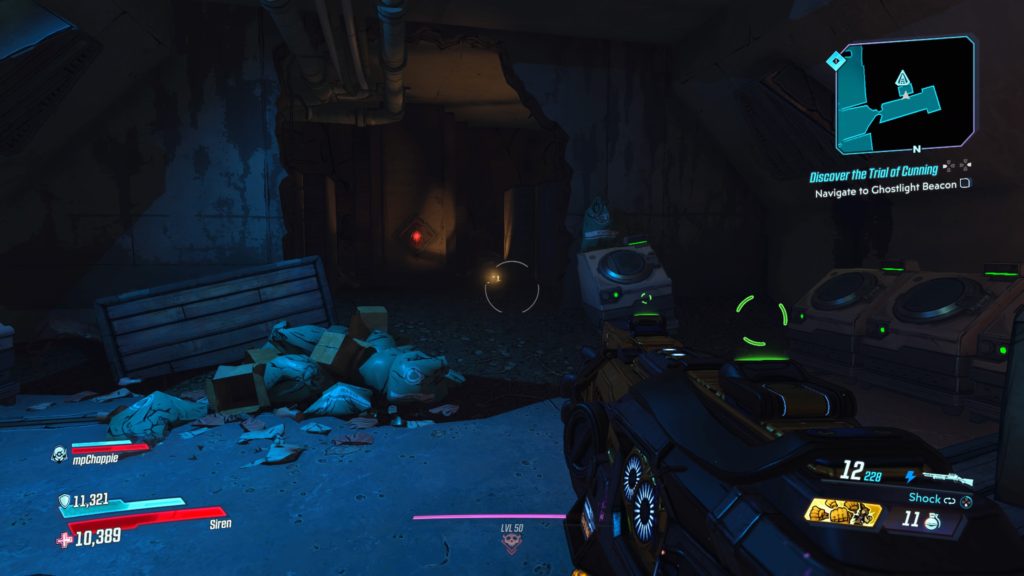
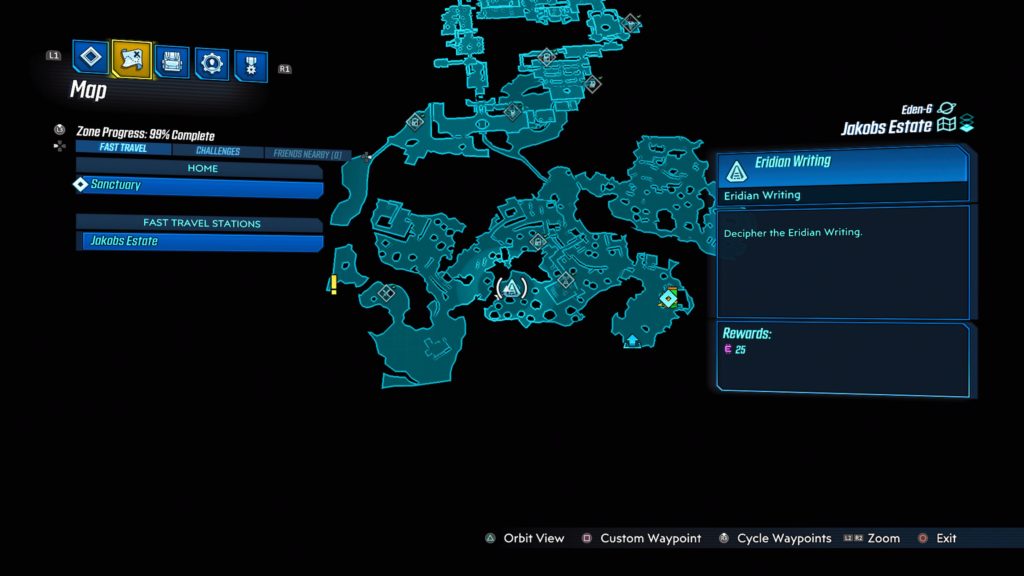
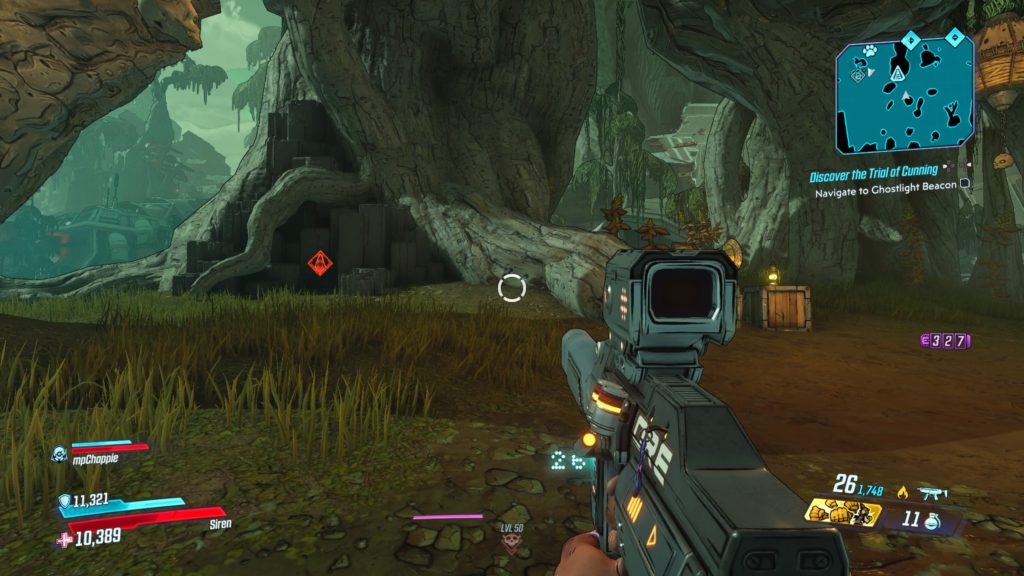
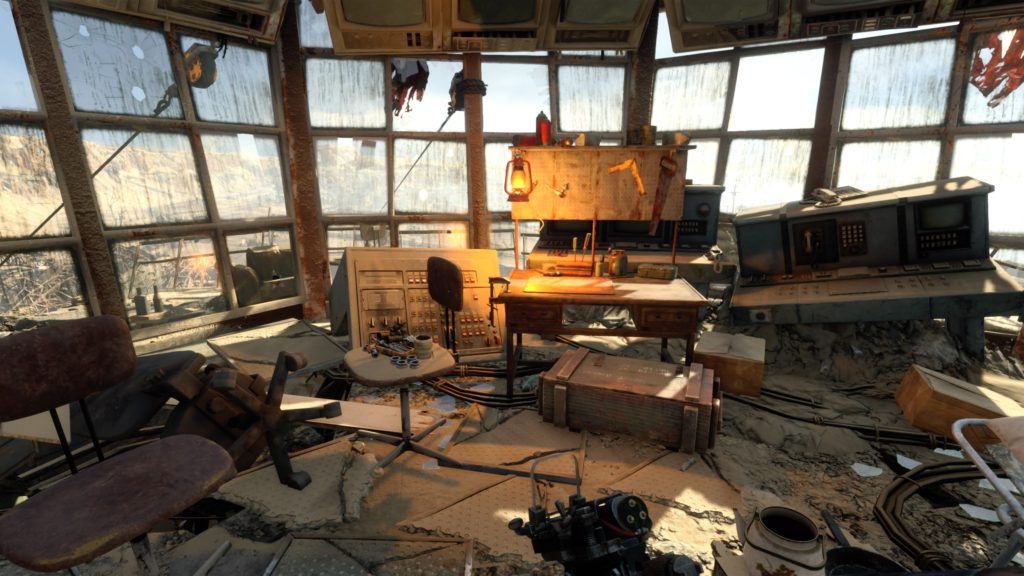
This writing is located in the back of Mack’s Head Room near some computer monitors.
Konrad’s Hold
This writing is located in the These are No Mines area in the northern part of the map. You will need to start The Demon in the Dark side mission reach it.
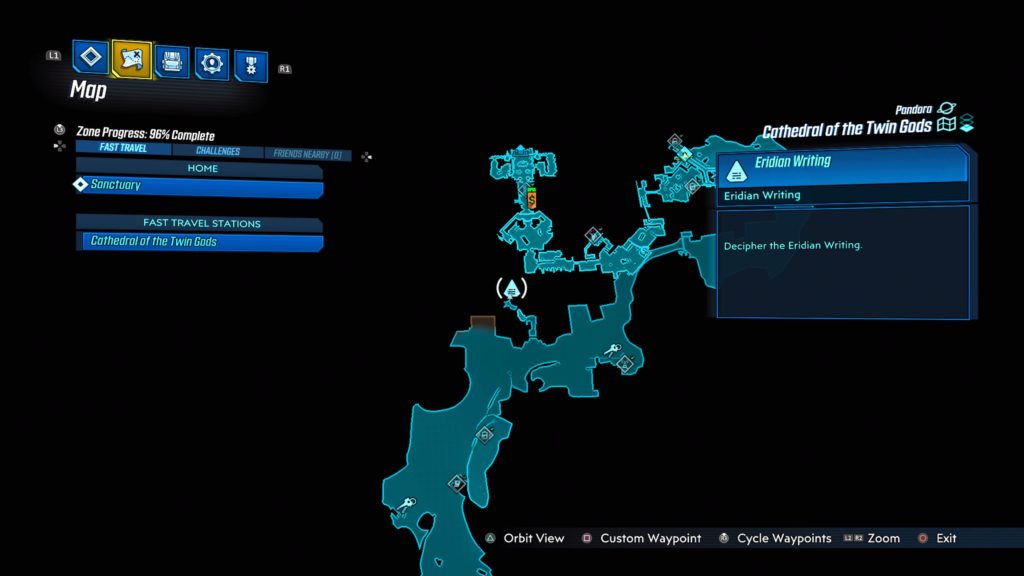
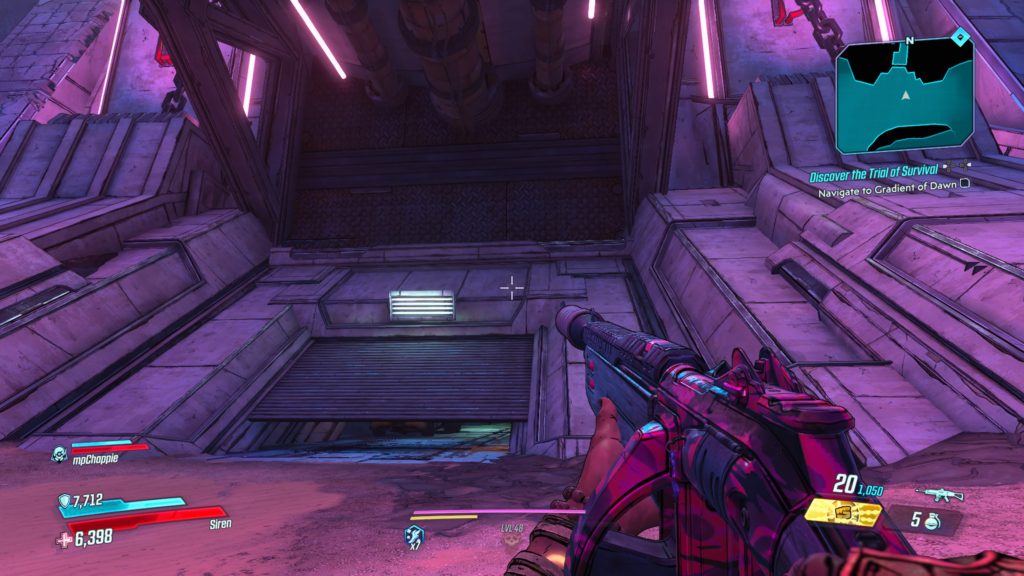
Cathedral of the Twin Gods
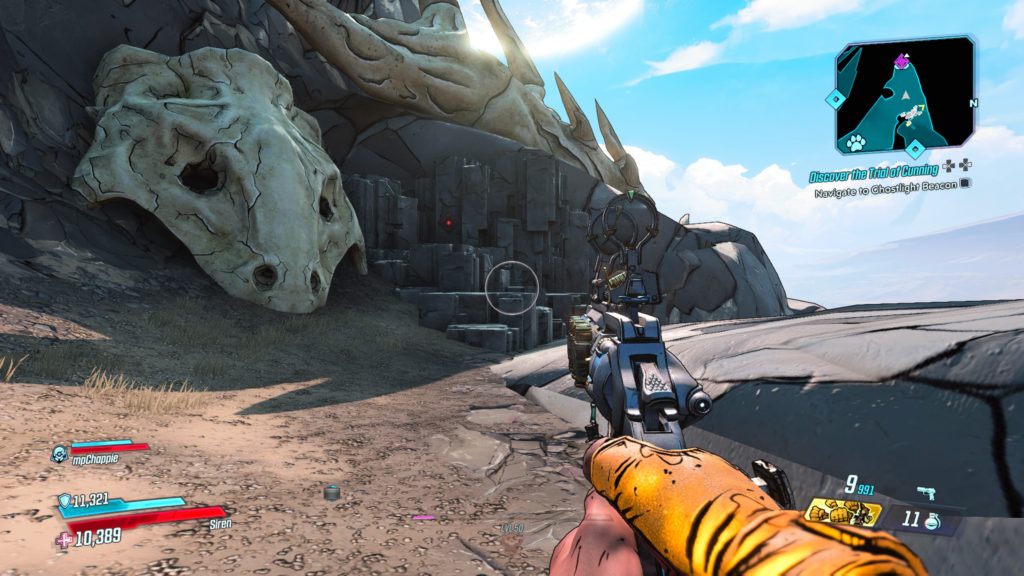
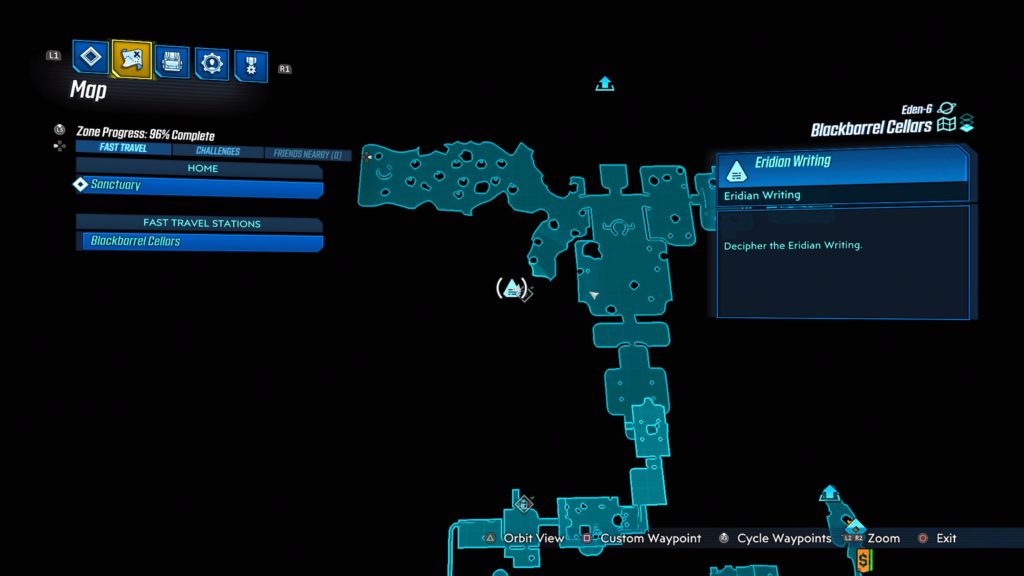
This writing is located under the giant skull with a bridge coming out of its mouth. You will have to crouch walk under the partially opened gate then locate the hole in the back of the room and pass through. Follow the tunnel to the end where the writing can be found in the back wall.
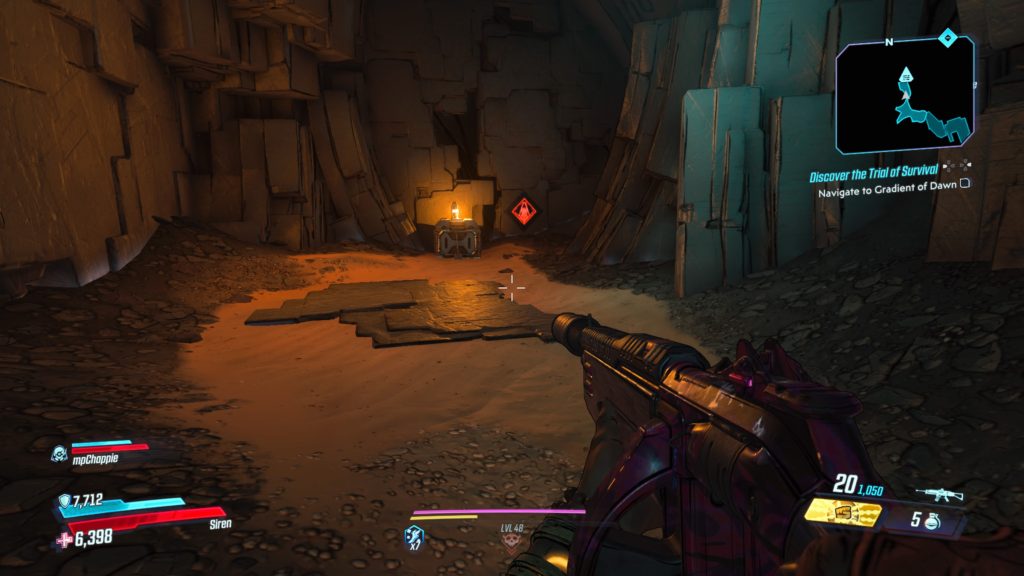
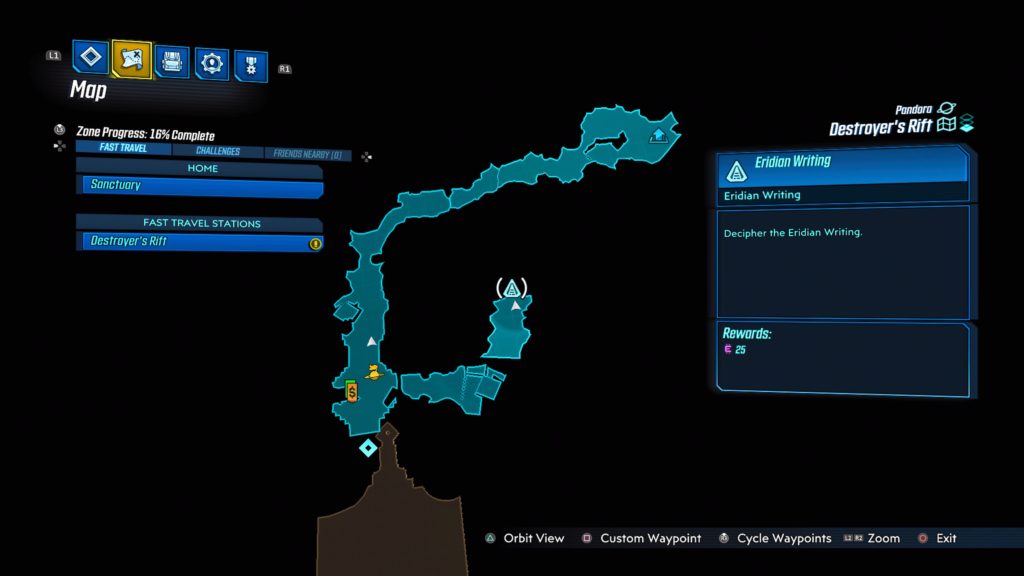
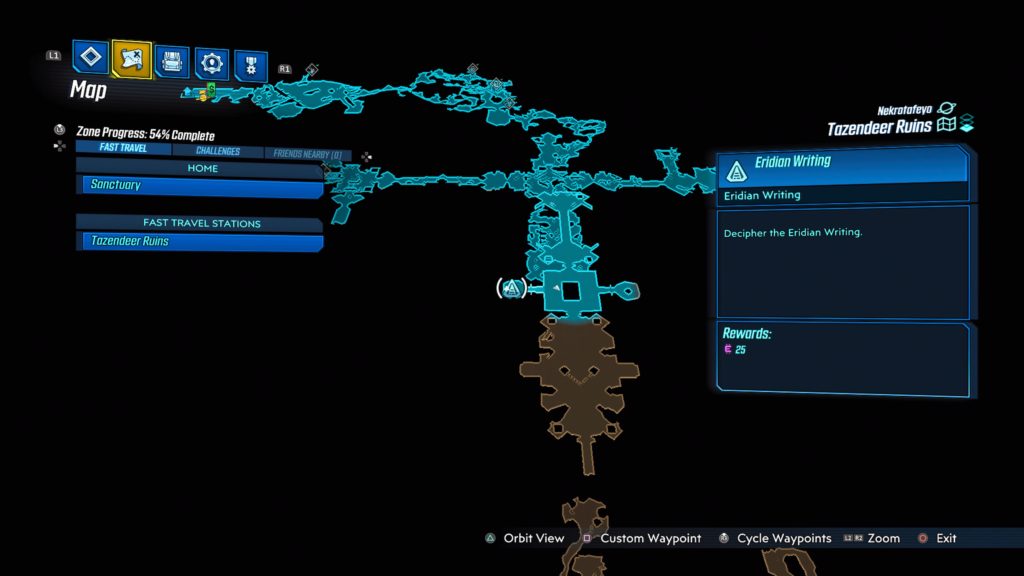
Destroyer’s Rift
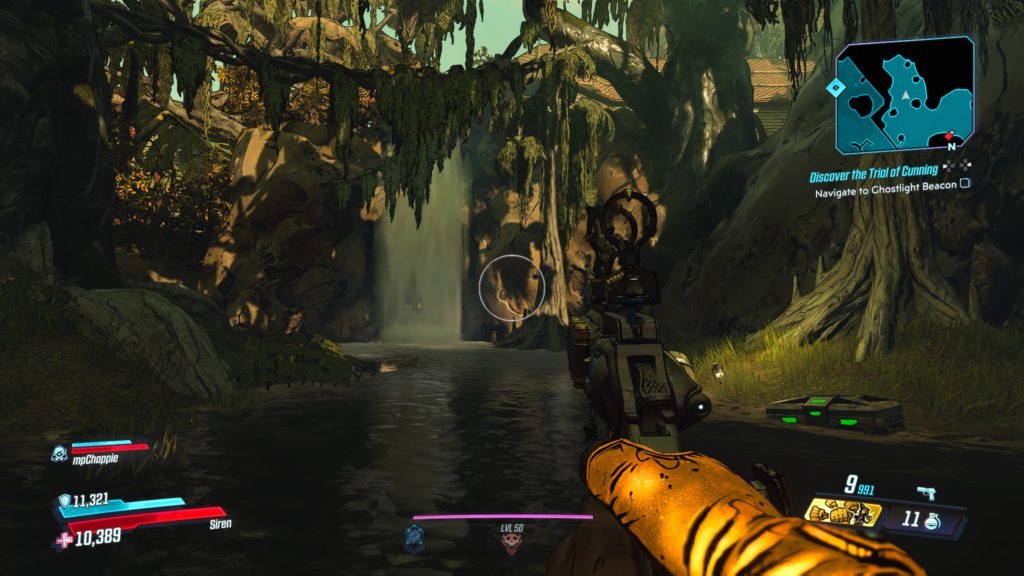
This writing is located in the Treacherous Path. Take the path left of the fast travel station before boss fight to find it.
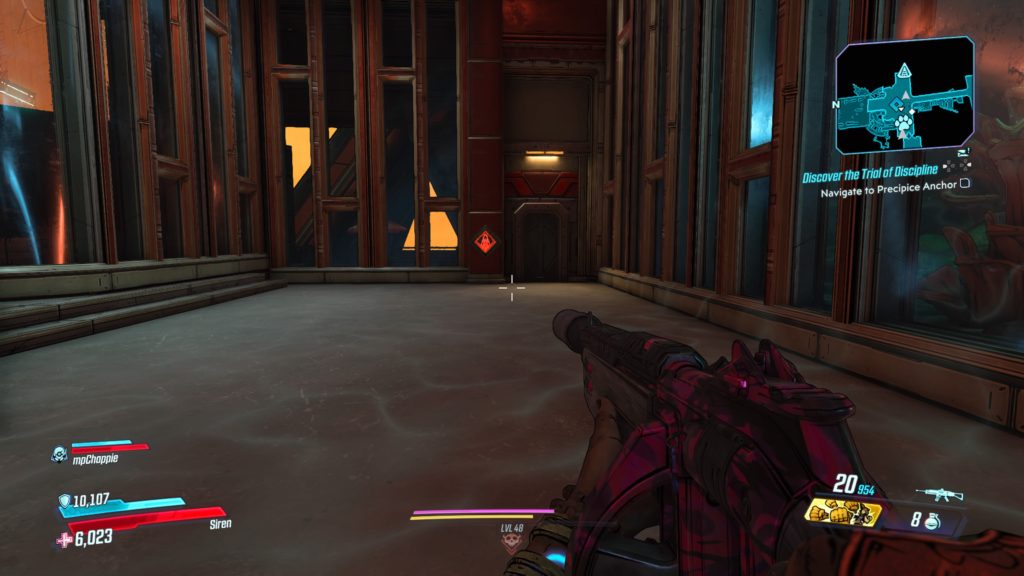
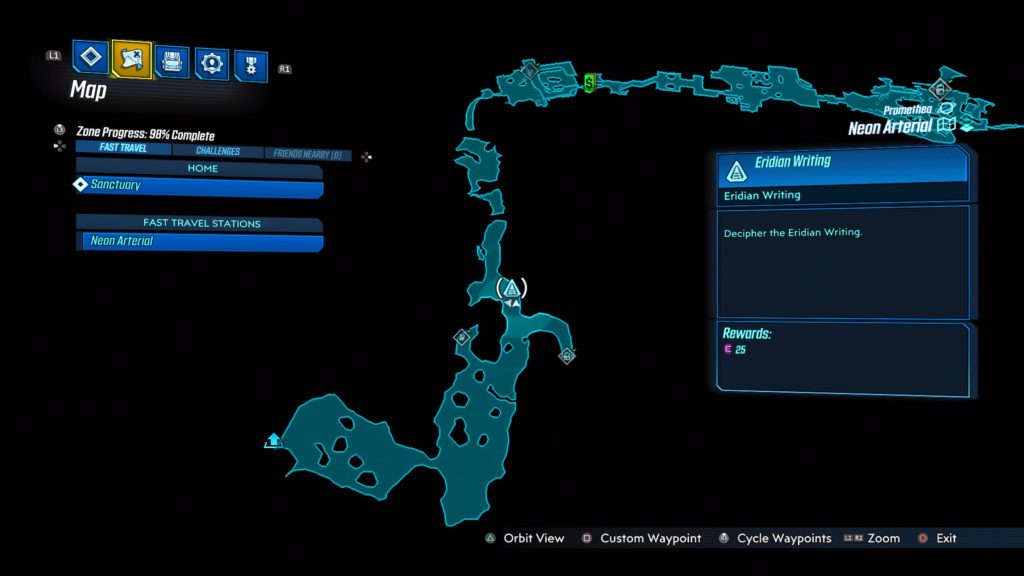
Promethea
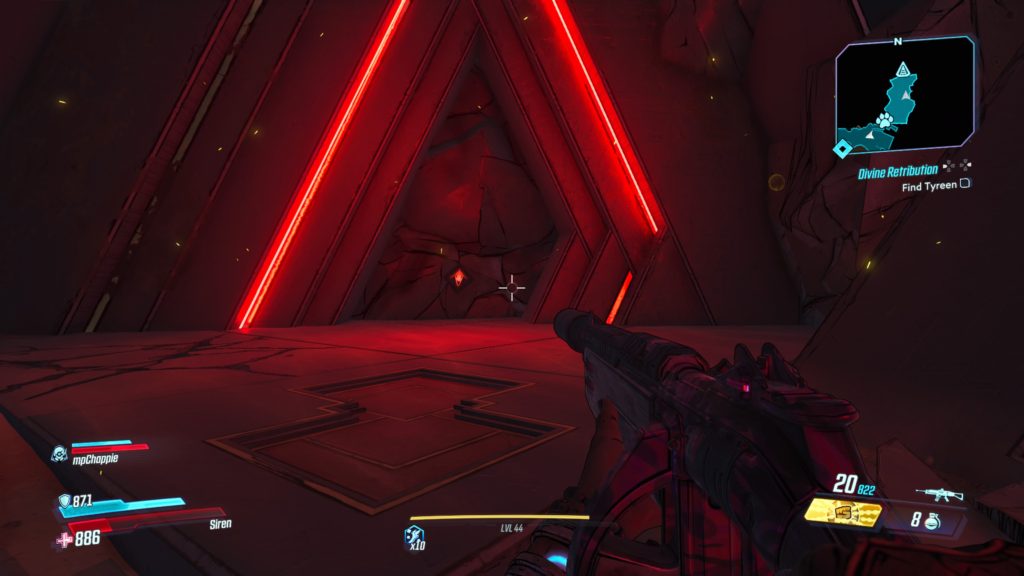
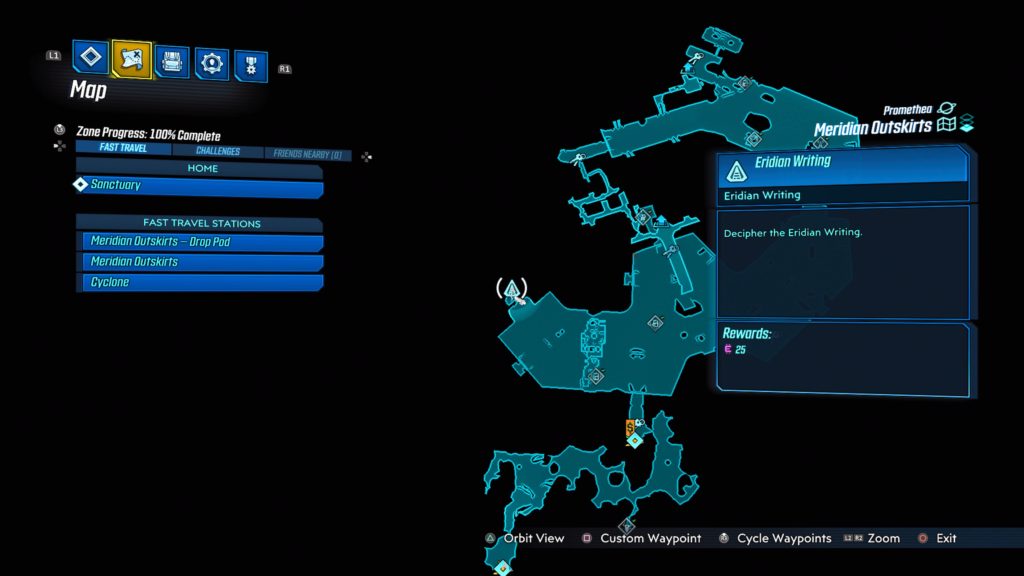
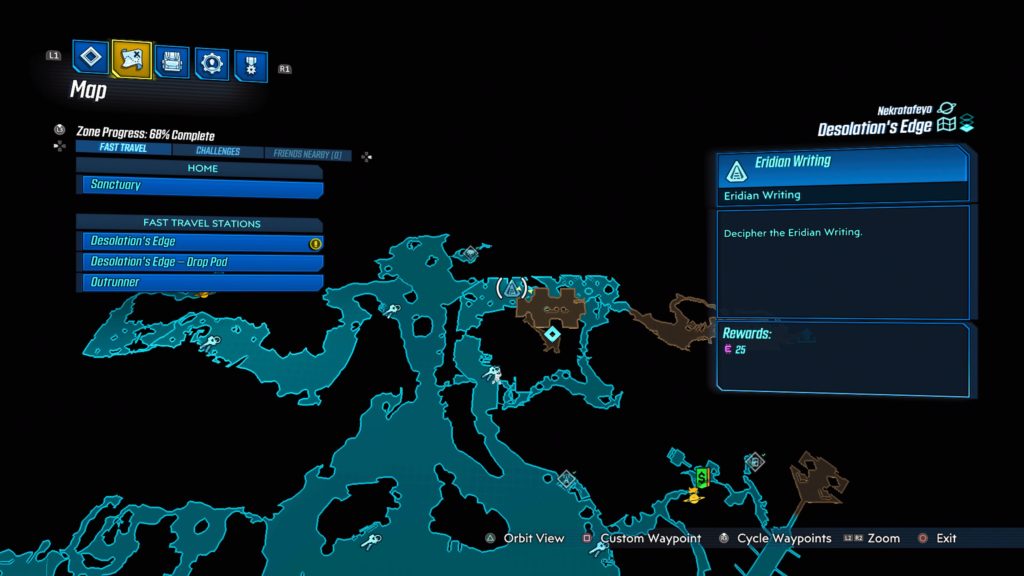
Meridian Outskirts
This writing is can be found in Mt. Schuler Recovery Center located in the northwestern part of the Spillways on a rock behind the gurneys and privacy curtains.
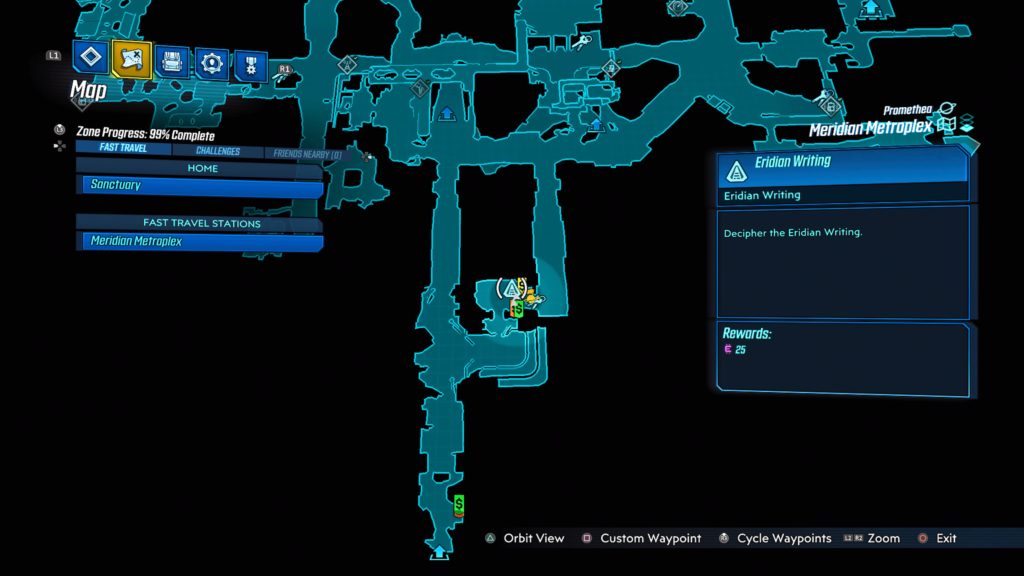
Meridian Metroplex
This writing is located in Watershed Base on a post across from the fast travel station.
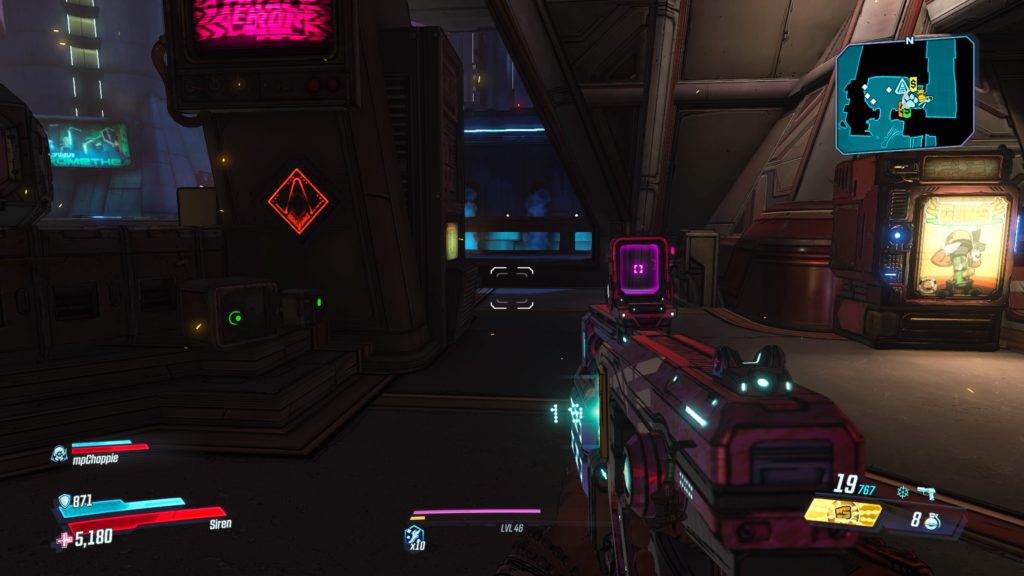
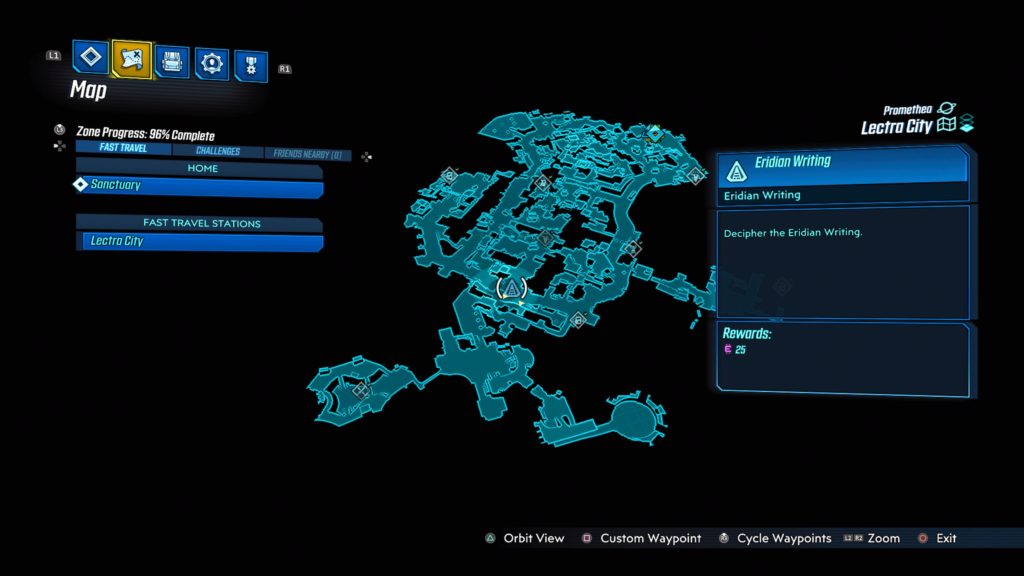
Lectra City
This writing is located in the tunnel that runs underneath Downtown Square.
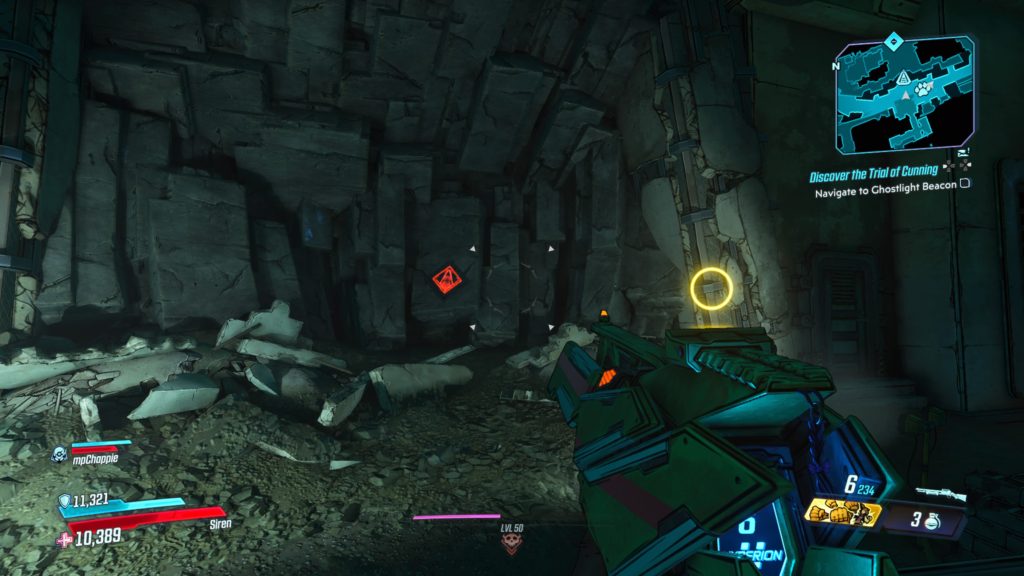
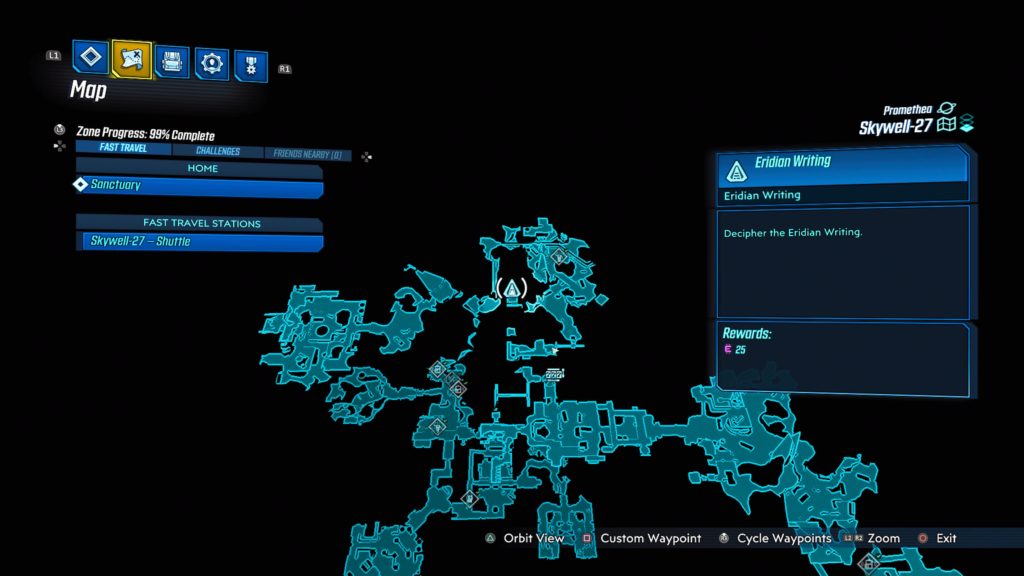
Skywell-27
This writing is located on a wall a little southwest of the dead claptrap with an antenna just before the Tritanium Refinery area.
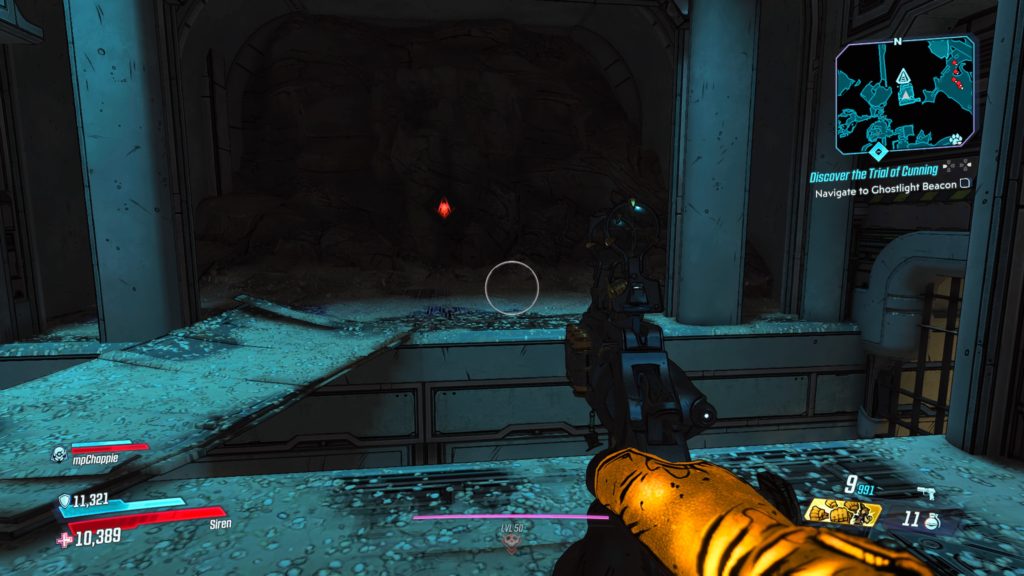
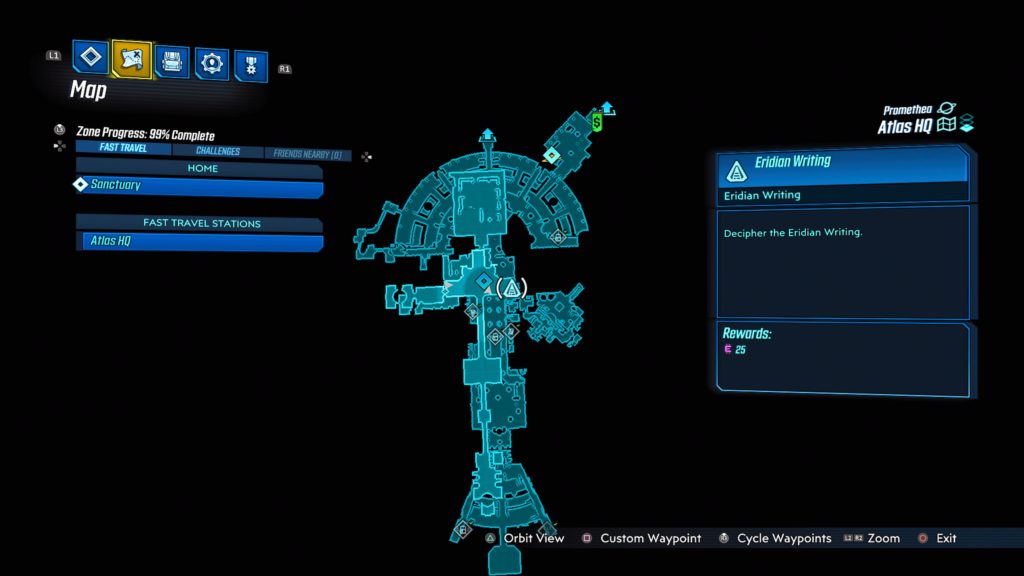
Atlas HQ
This writing is located on the wall in the CEO’s office near a door on the left side.
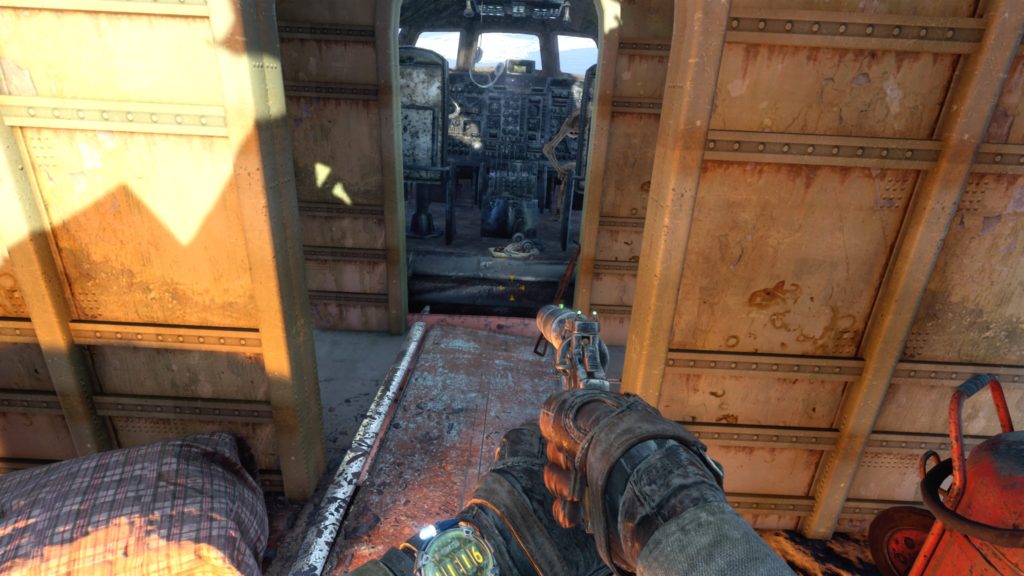
After almost being eaten by the giant water monster, Duke will pull you out of the water. Head to the plane he mentioned behind him and work your way up towards the cockpit. The upgrade will be between the two pilot chairs.
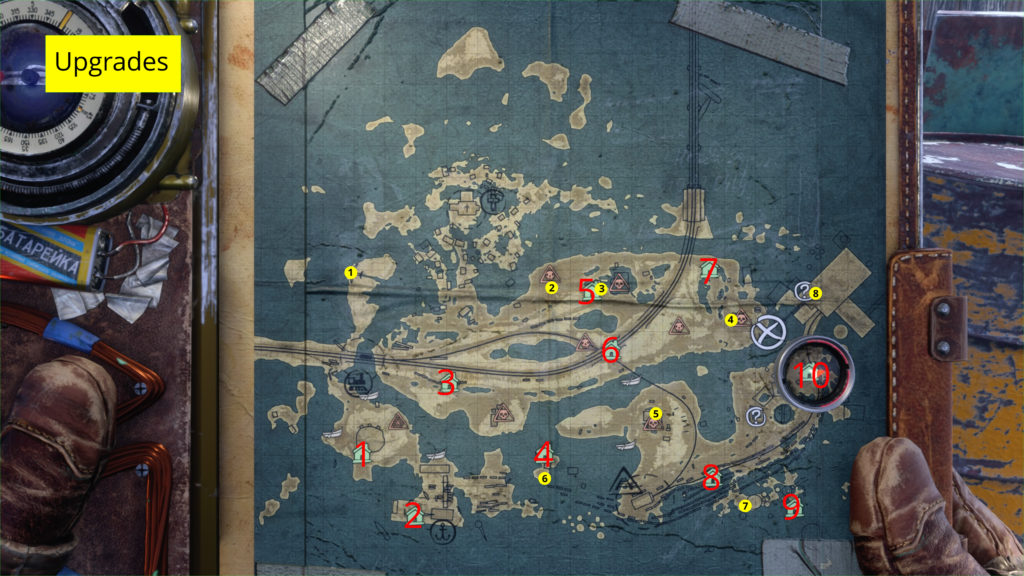
Extended Filter (Upgrade 2)
Locate a red shipping crate north of the train tracks in the center of the map slightly west of Safe House 5. The upgrade will be located in the very back of the crate.
Ammo Pouches (Upgrade 3)
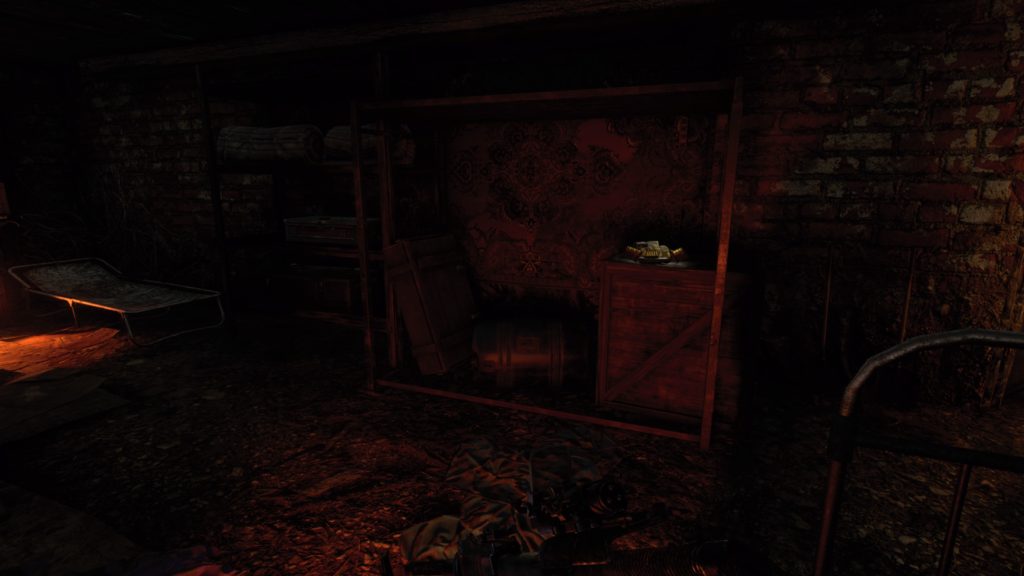
Locate a fortified structure slightly east of Safe House 5. From the gated entrance of the building, head up the metal stairs. Enter a hole in the wall on the left. Be mindful of the hanging cans used to alert the bandits. Take the stairs on the left down and turn right at the bottom of the stairs. Keep heading straight until you reach the upgrade sitting on a crate on the right side of a room filled with beds.
Throwing Weapons Harness (Upgrade 4)
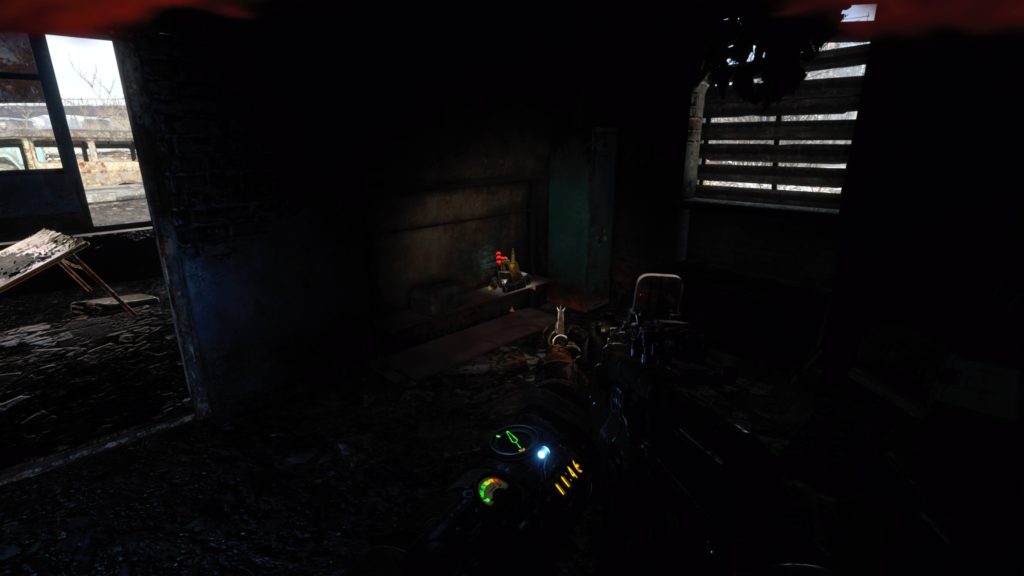
Head to the gas station on the east side of the central land mass. From the front entrance head into the gas station and look for a locked door. Shoot the lock off the door and head through it to reach a dark room. The upgrade is in the back left of the room on a metal shelf next to a locker.
Reinforced Helmet (Upgrade 5)
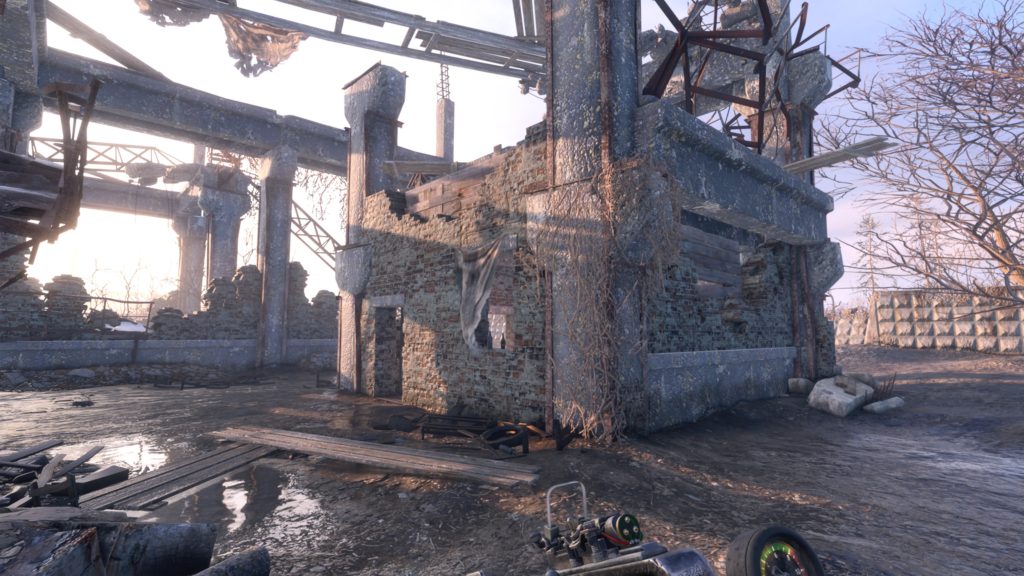
From Safe House 6, head southeast towards the water. Cross the water using the submerged tracks to the left of a boat dock. Once on the other side, turn right towards the ruins of a large structure. Head past the blue truck and into a small room on the right side of the structure to find this upgrade.
Battery Charge Controller (Upgrade 6)
From Safe House 4, head south to the small shed past the central structure to find a generator. To start the generator, you will need to retrieve the gas can behind the shed. Once started, head into the central structure and work your way through the building until you locate a person lying on a table who was being electrocuted. The upgrade is located on the body of this person.
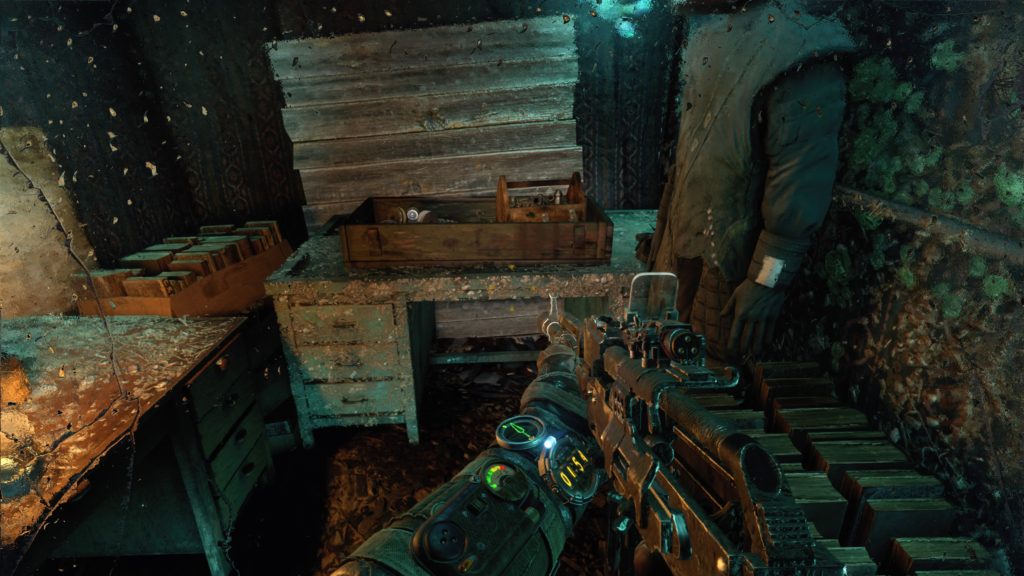
Metal Detector (Upgrade 7)
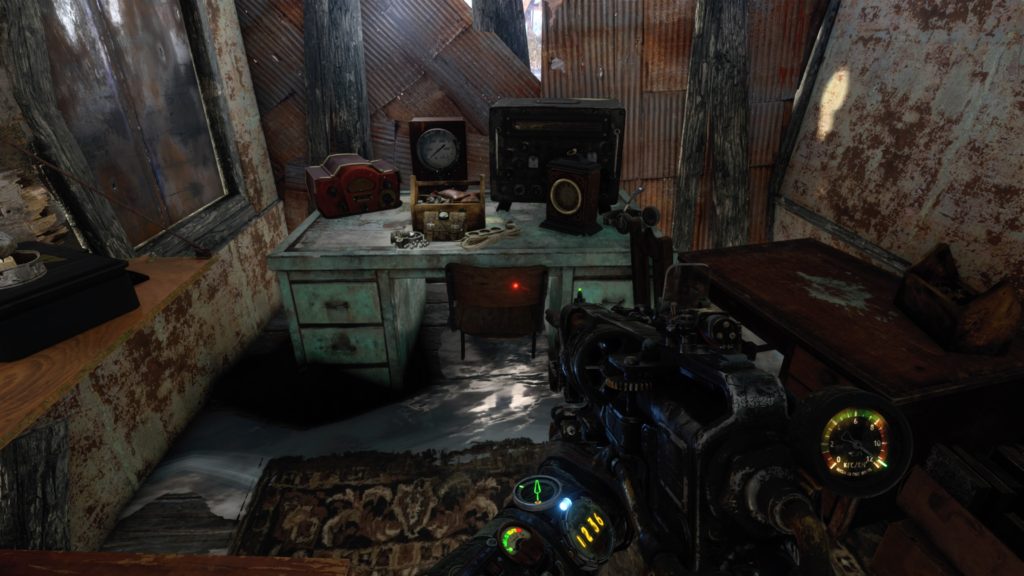
This upgrade is located on the large island in the southeast corner of the map. From the giant cylinder where the teddy bear was, head west until you come across a small shack. The upgrade is located inside on a desk to the left.
Night Vision (Upgrade 8)
Located in the large warehouse to the northeast. To enter the building you will need to find the boat a short ways to the south at a dock and sail to the building through a broken section of the wall accessible via water. After you dock the boat in the building follow the path forward until you reach a set of metal stairs leading to an arched wooden door. You will need the key obtained from saving some cultists at a bandit camp (which was located in the fortified structure with a gate in the northeast slightly east of a safe house where you received the Folded Letter and Ammo Pouches) to unlock the door. The upgrade is located on an altar on the right side of the room.
The Caspian
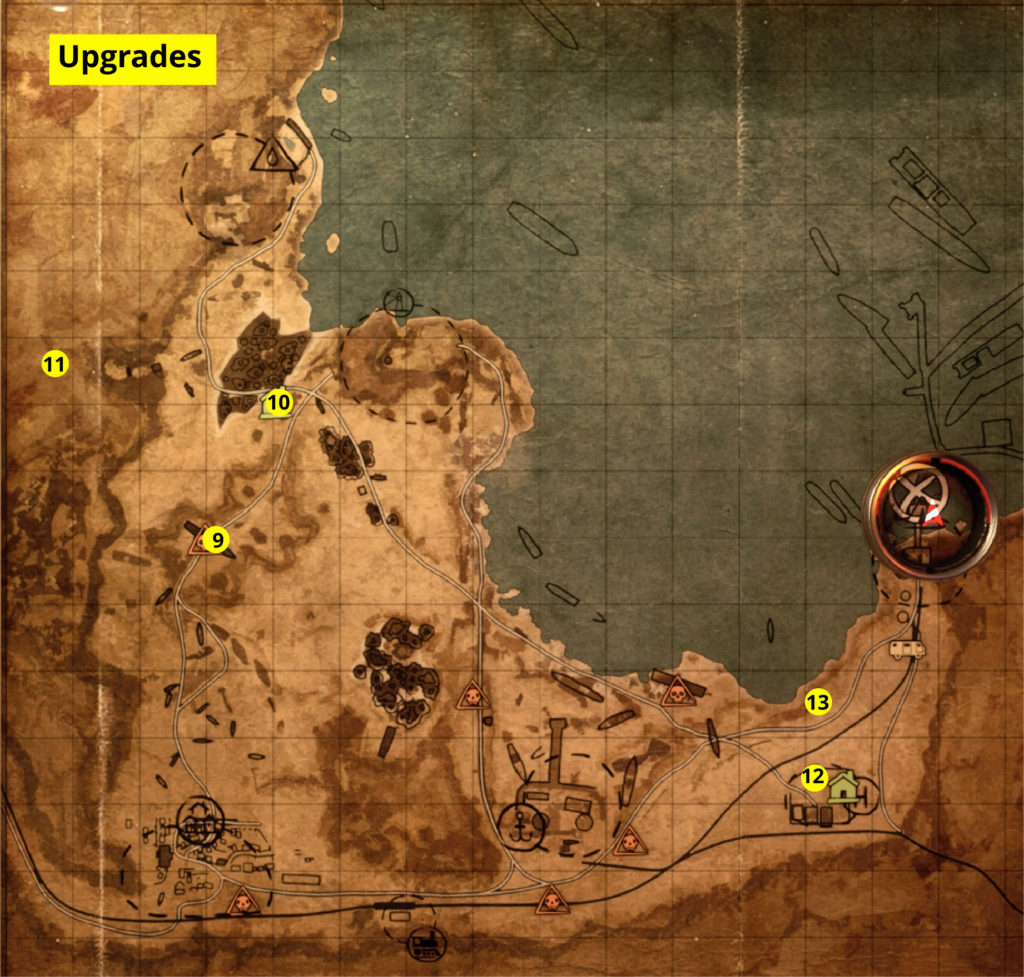
Motion Scanner (Upgrade 9)
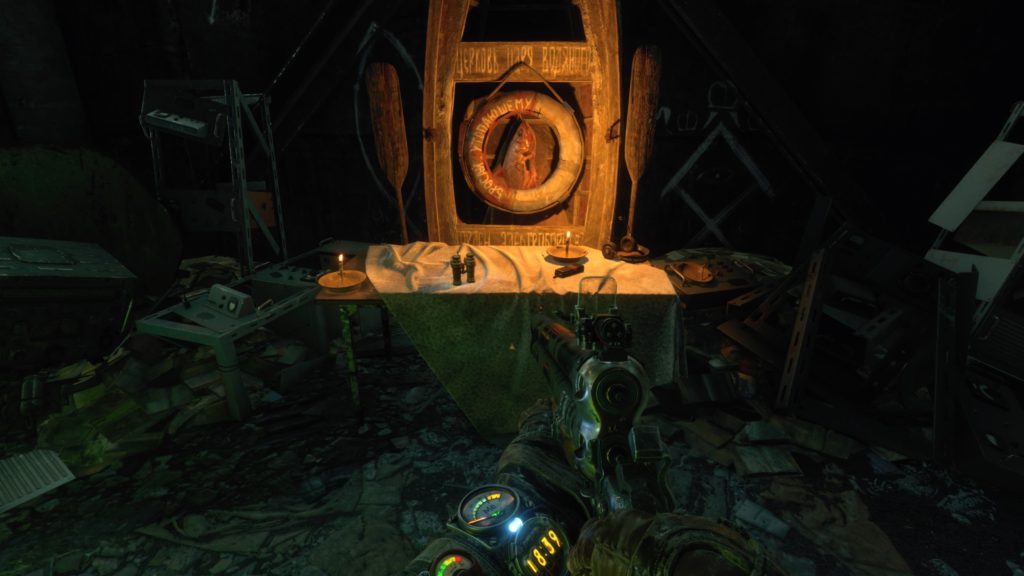
Enter a makeshift stronghold in a giant boat via an entrance on the right (east) side of the road and head straight through slave quarters. Keep working your way through the second level slave quarters. When you reach the end, take a yellow ladder up to reach the deck of the ship with some shipping containers. Head through the doorway straight ahead and take the ladder on the left side of the room to reach a higher ledge in the room (there will be three enemies in this room). Follow the ledge into the next room and keep moving forward. Head up the yellow ladder at the other end of the room and go into the room slightly to the left. The upgrade will be located on a wooden table on the right side of the room.
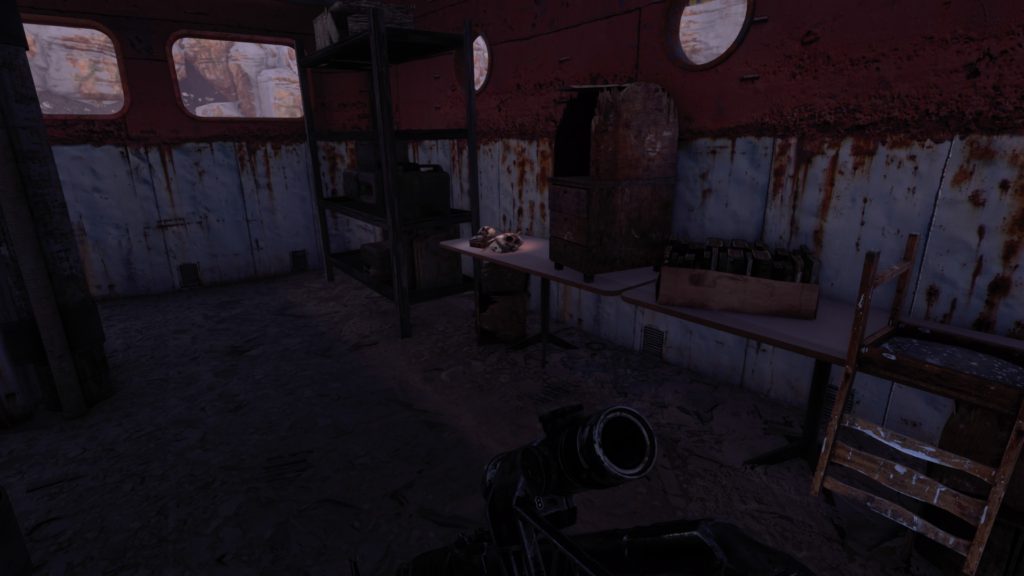
Extra Bright Flashlight (Upgrade 10)
This upgrade is located in a boat safe house near the rock tunnel entrance to the lighthouse in the northwest corner of the map. When you enter the boat, note that there is a tripwire just before the upgrade. The upgrade is on a crate to the left of the cot.
Armored Glass (Upgrade 11)
Head into the bandit hideout located west of the northernmost safe house via the ravine. Kill all the enemies in the ravine and the rope ladder leading up into the cliff will drop. Climb up this ladder and the upgrade will be to the right on a wooden crate.
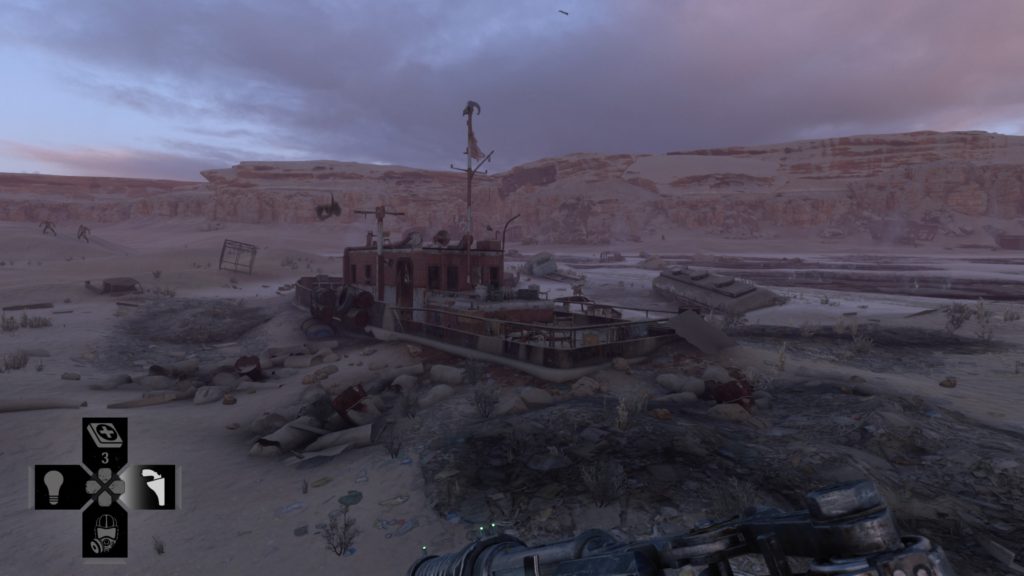
NVD Amplifier (Upgrade 12)
Enter the airfield in the southeastern part of the map and head to the main building with a Demon nest attached to the front of it. Work your way all the way up to the top, fighting Humanimals as you go. This upgrade will be located on a chair in the safe house right next to the workbench.
Consumables Carrier (Upgrade 13)
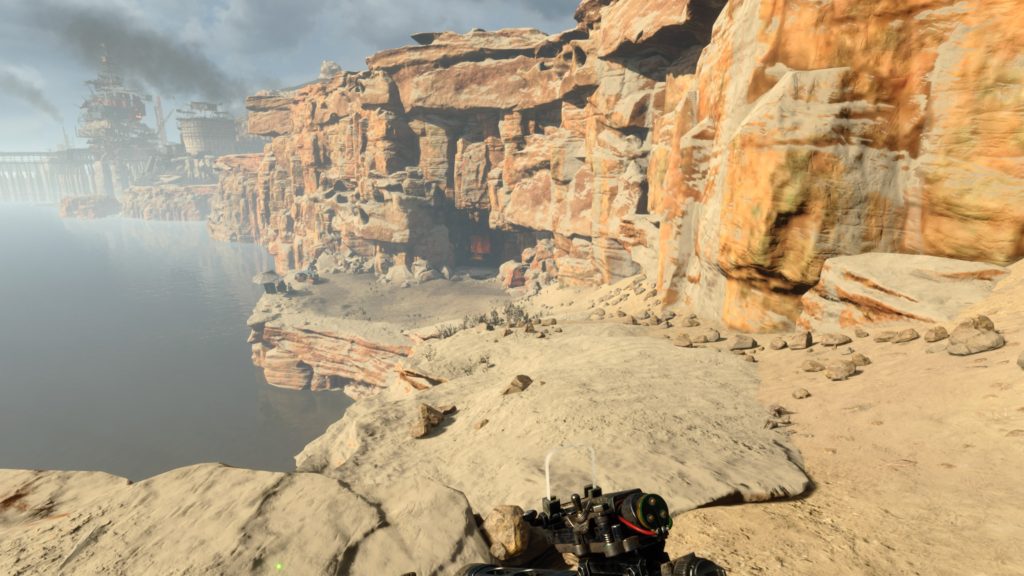
Located north of the airfield safe house in a cave along the water. The cave will be down the slope to the right of a man claiming to be the Baron. The upgrade is to the right of the workbench.
Search
This site uses cookies. By continuing to use this website, you are giving consent to cookies being used. For more information on cookies, view our Privacy Policy.OkPrivacy Policy