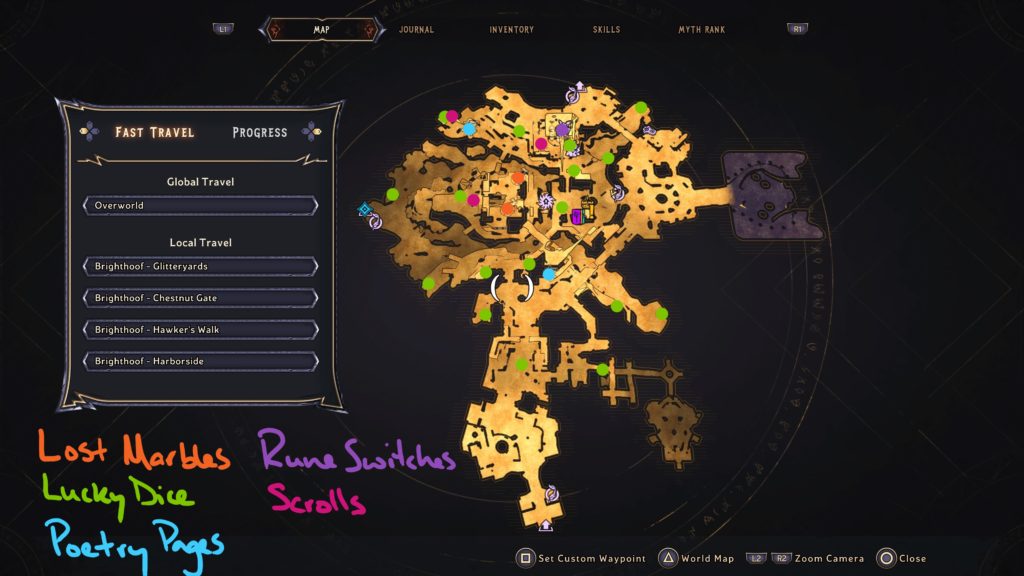
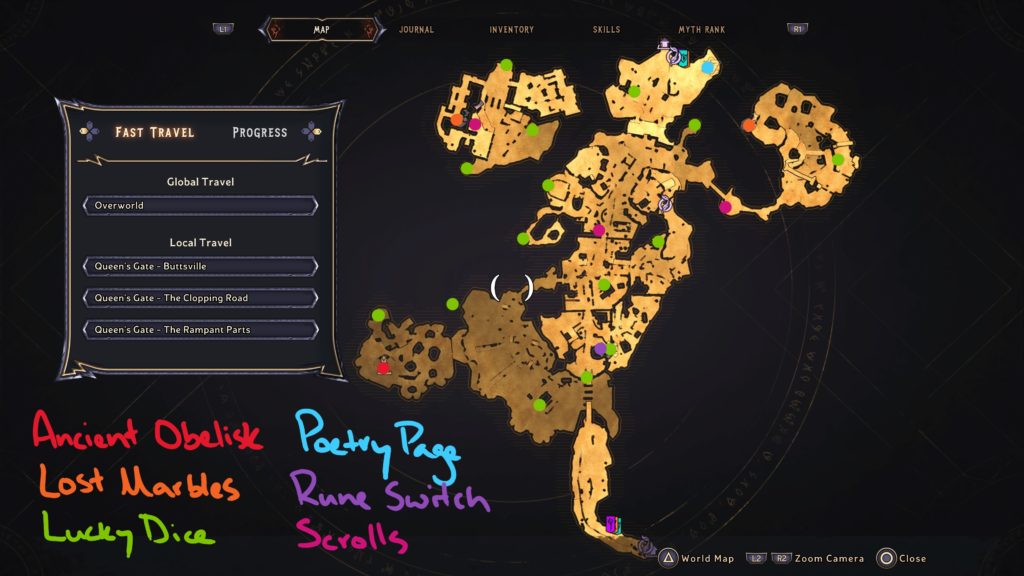
Below are the collectibles and campaign challenges found at Mount Craw in Tiny Tina’s Wonderlands.
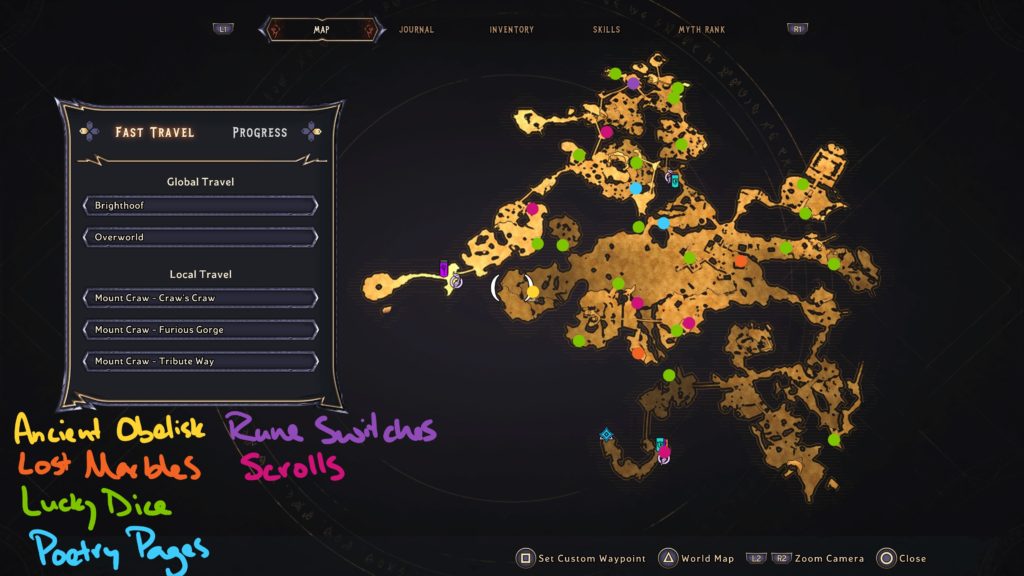
- Ancient Obelisk: 1
- Lost Marbles: 2
- Lucky Dice: 19
- Poetry Page: 2
- Rune Switch: 1
- Scrolls: 5
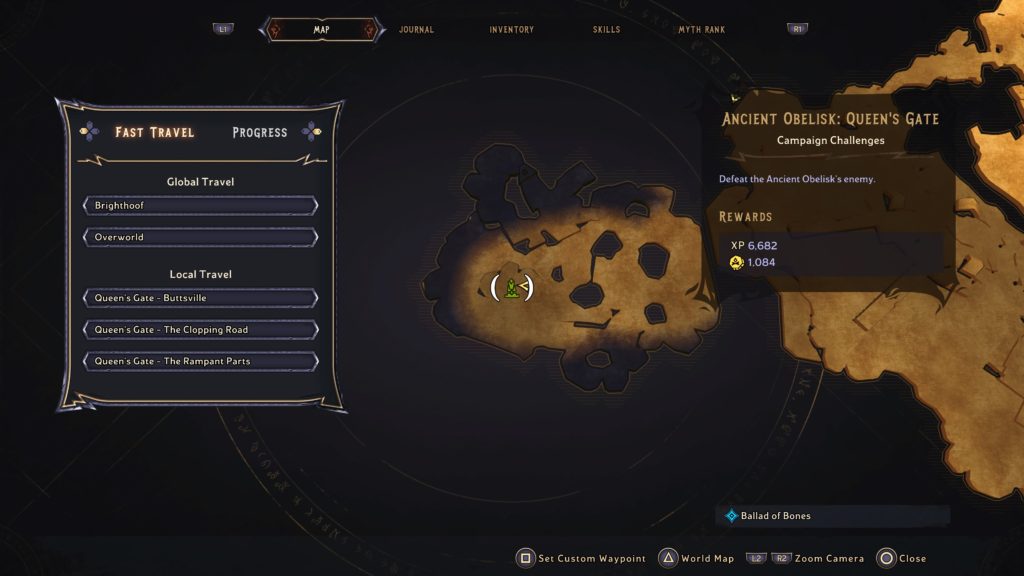
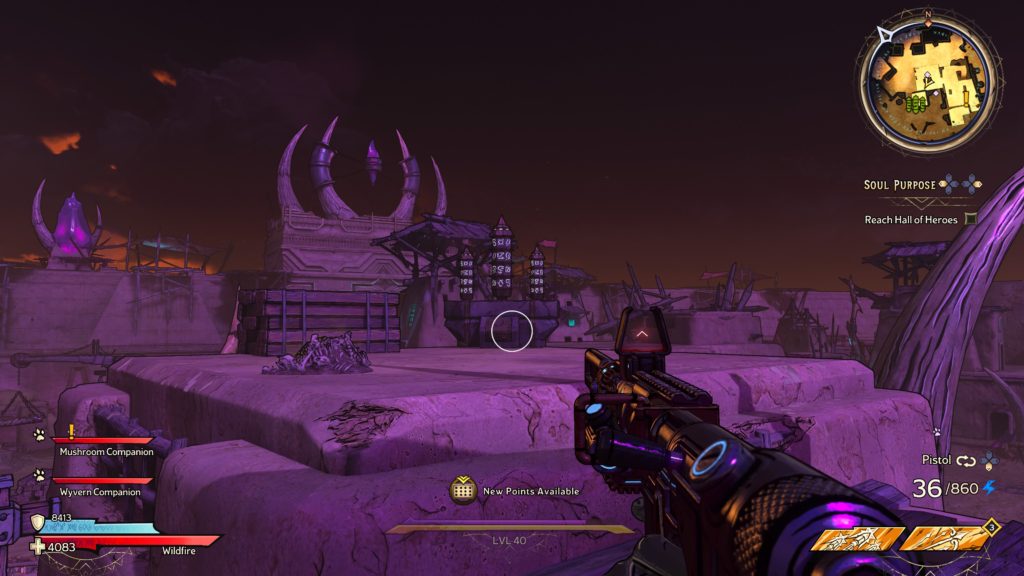
Ancient Obelisk
Ancient Obelisk: Mount Craw
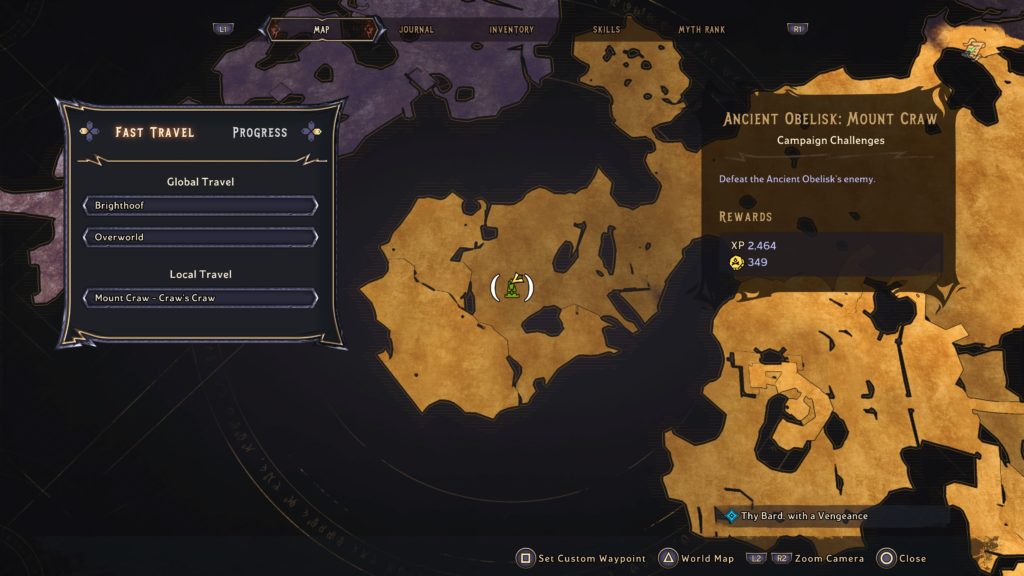
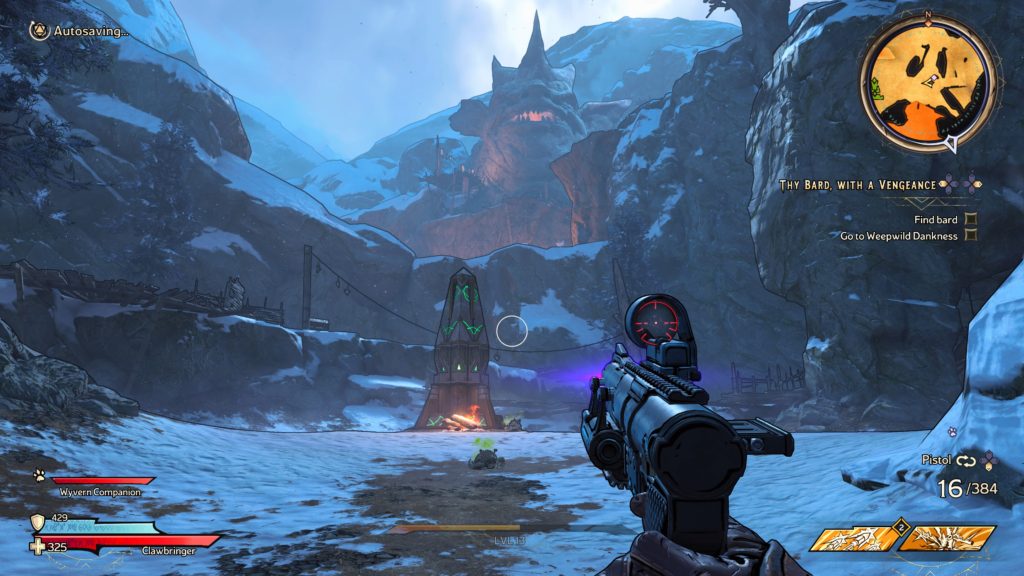
This ancient obelisk can be found on the west side of the large frozen lake in the central part of the area. When you activate it, you’ll have to fight off waves of enemies! Defeat them to complete the campaign challenge.
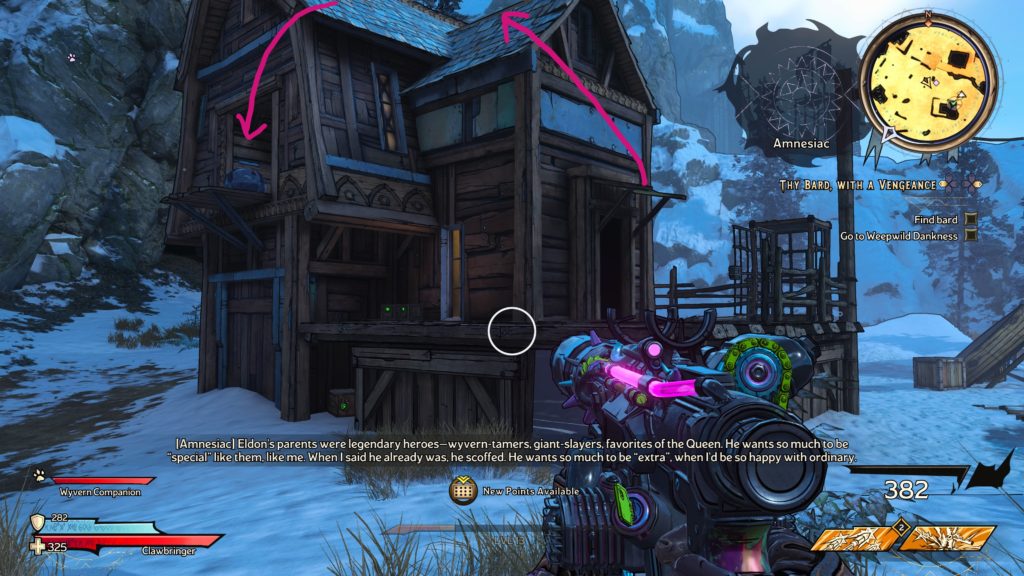
Lost Marbles
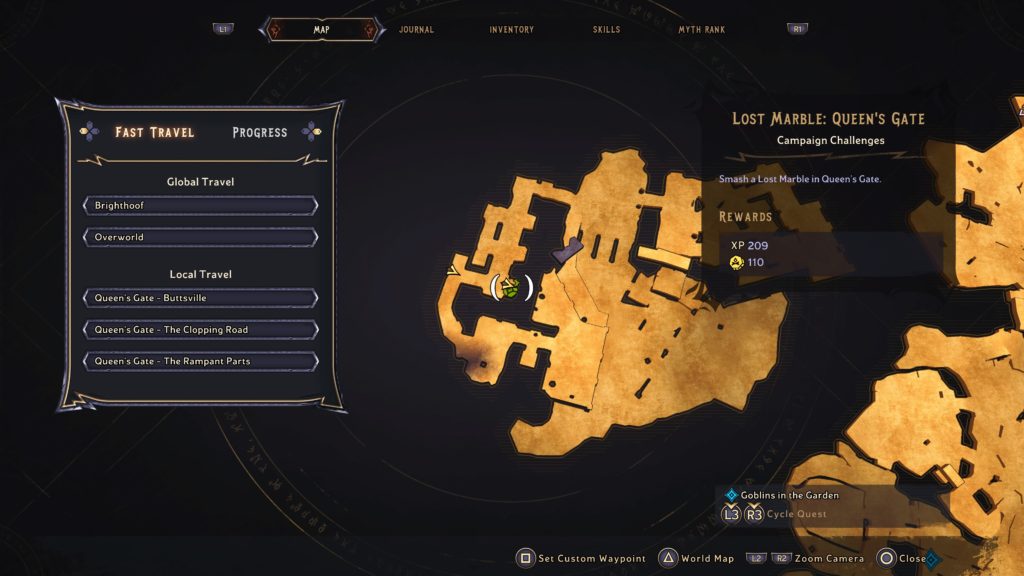
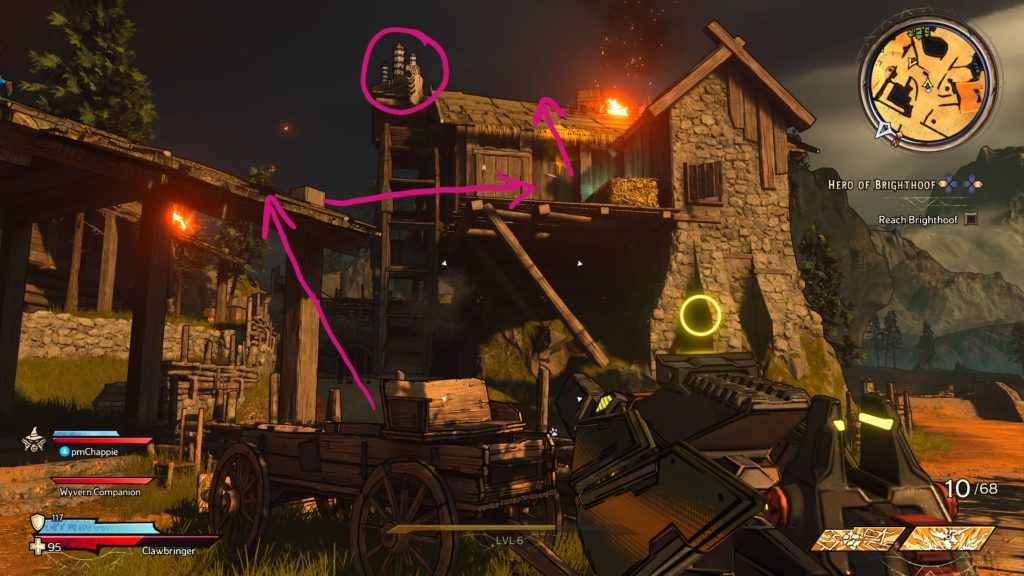
Lost Marbles 1


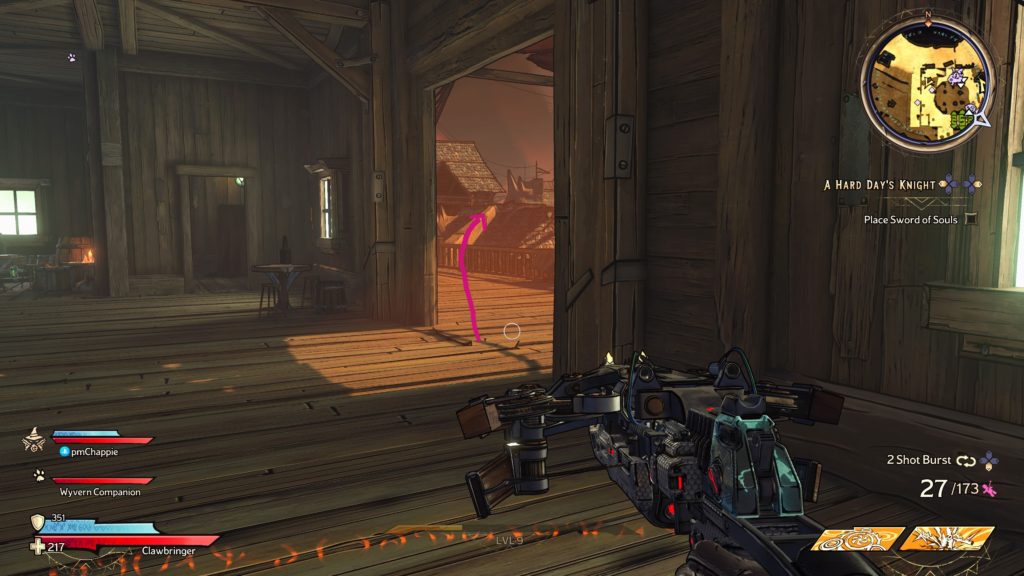
This marble can be found on a second level of a house. To reach it, climb up the awning on the house then use that to reach the roof. Drop down onto the wooden ledge jutting out in front of the marble.
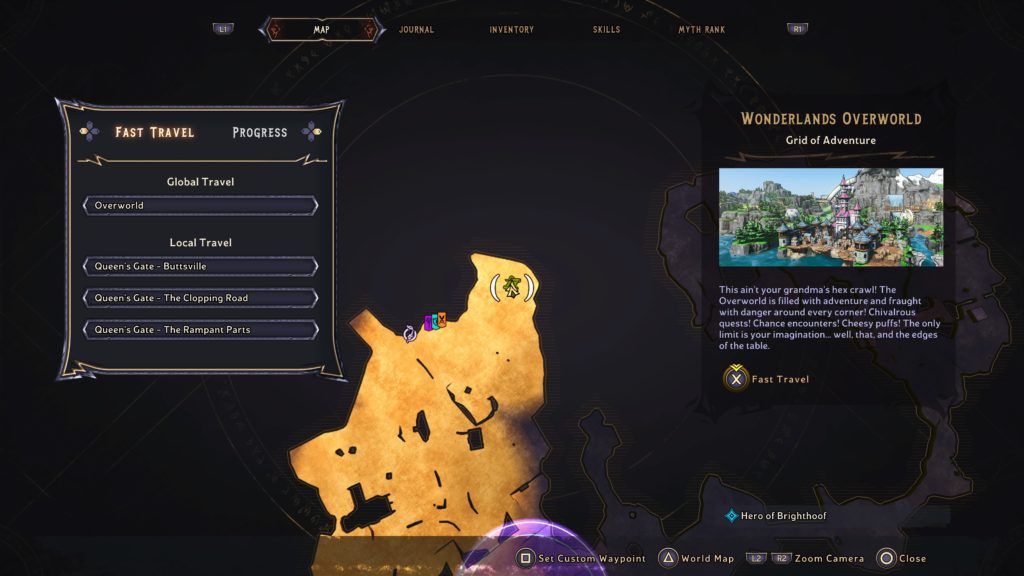
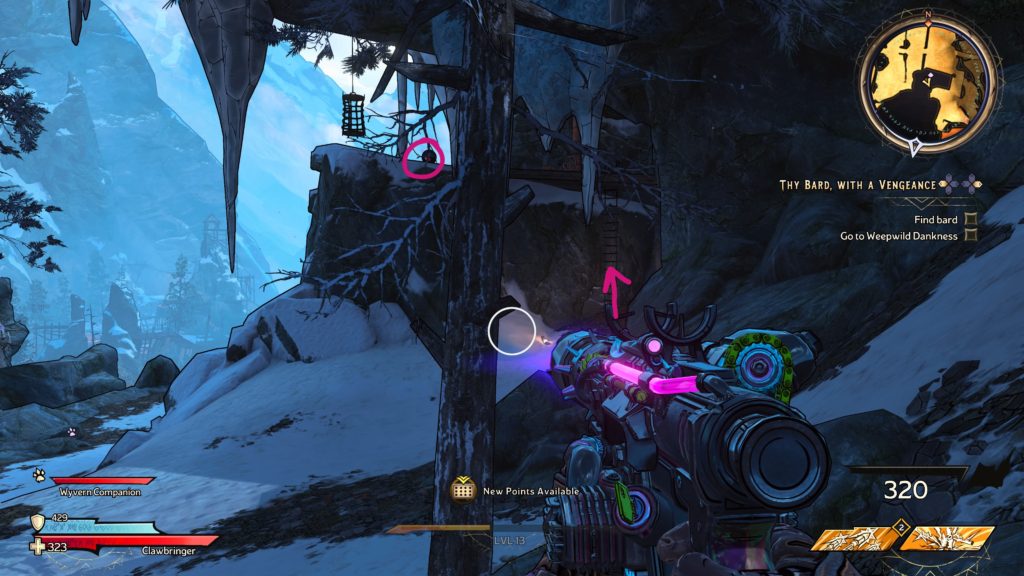
Lost Marbles 2

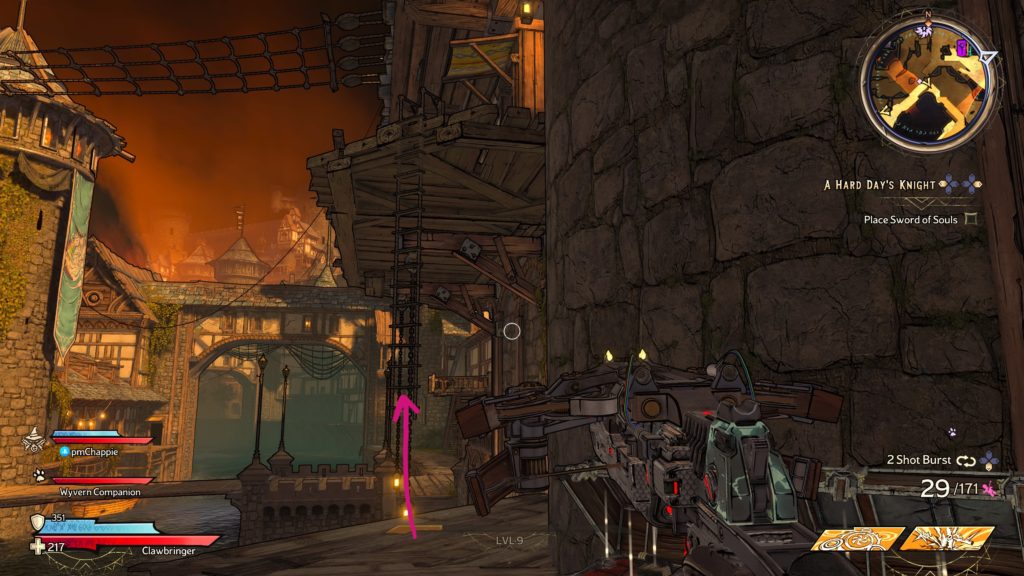
This marble can be found on a cliff ledge directly north of the Mount Craw – Craw’s Craw. To reach it, climb up the nearby ladder then watch out for the air blower as you make your way to the marble.
Lucky Dice
For a guide on all the Lucky Dice found at Mount Craw, click here!
Poetry Pages
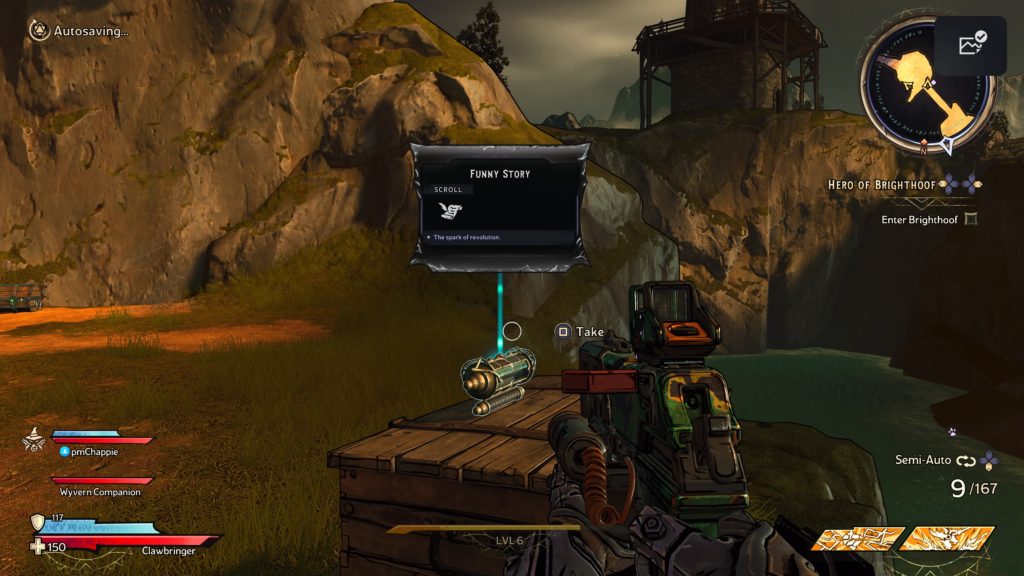
Poetry Page 1

This page can be found on a wooden crate inside of a shallow cave in the center of the map.
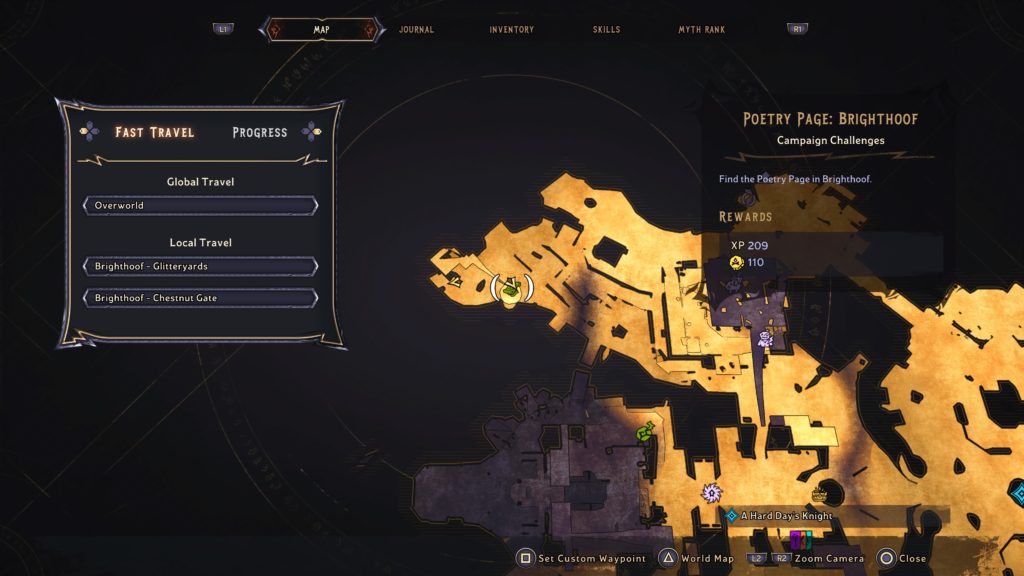
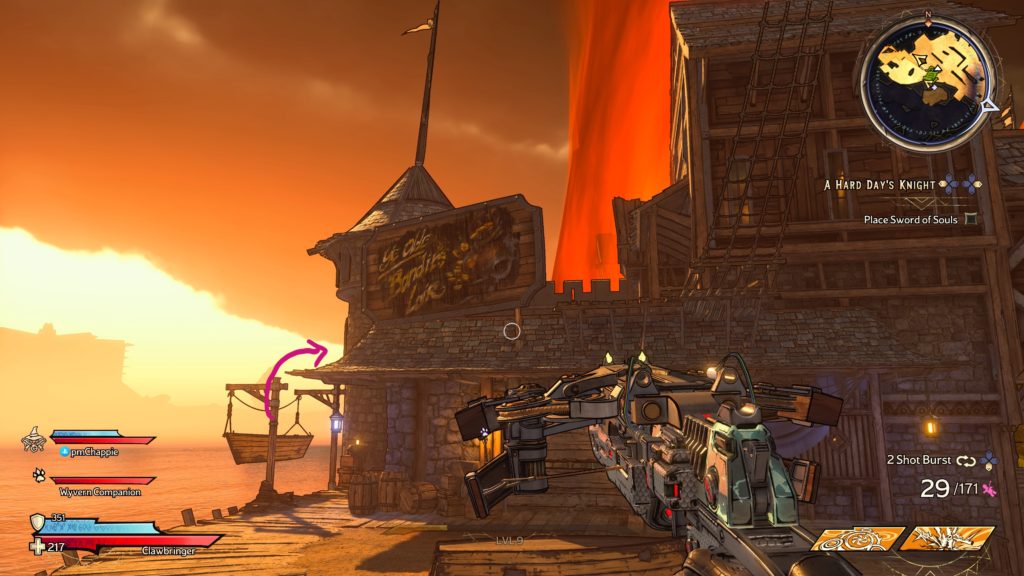
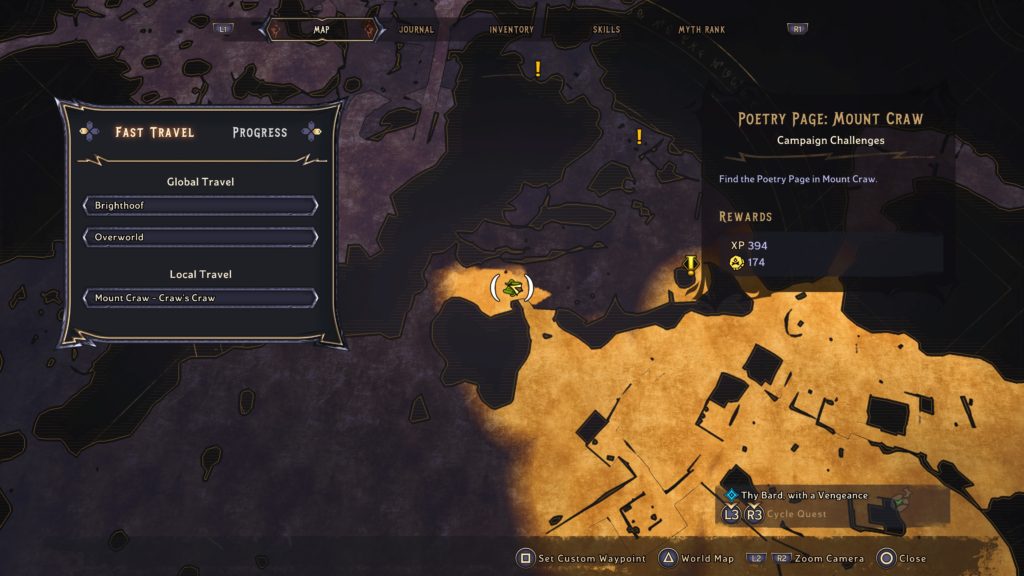
Poetry Page 2

This page can be found slightly southwest of the Mount Craw – Furious Gorge fast travel point.
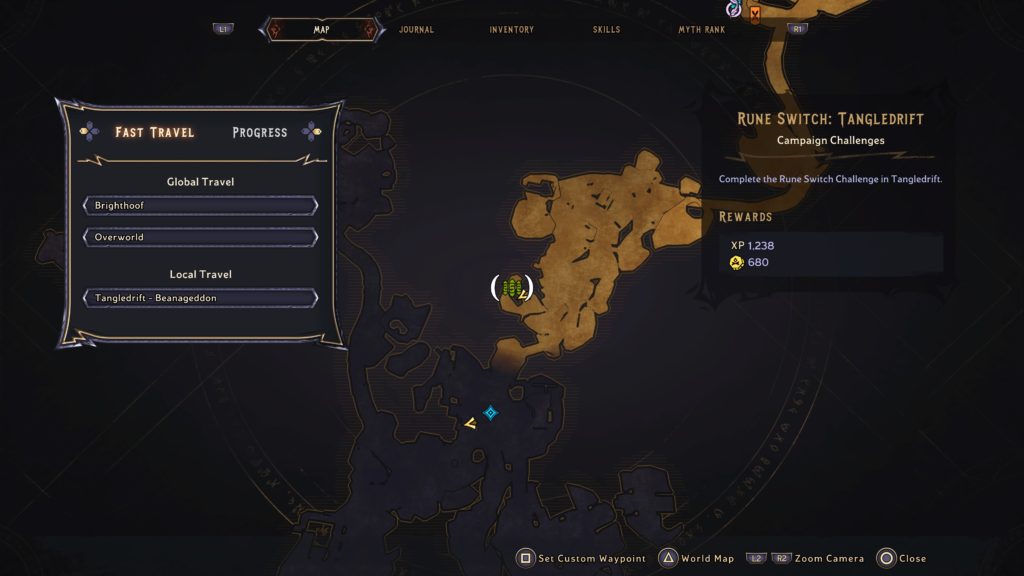
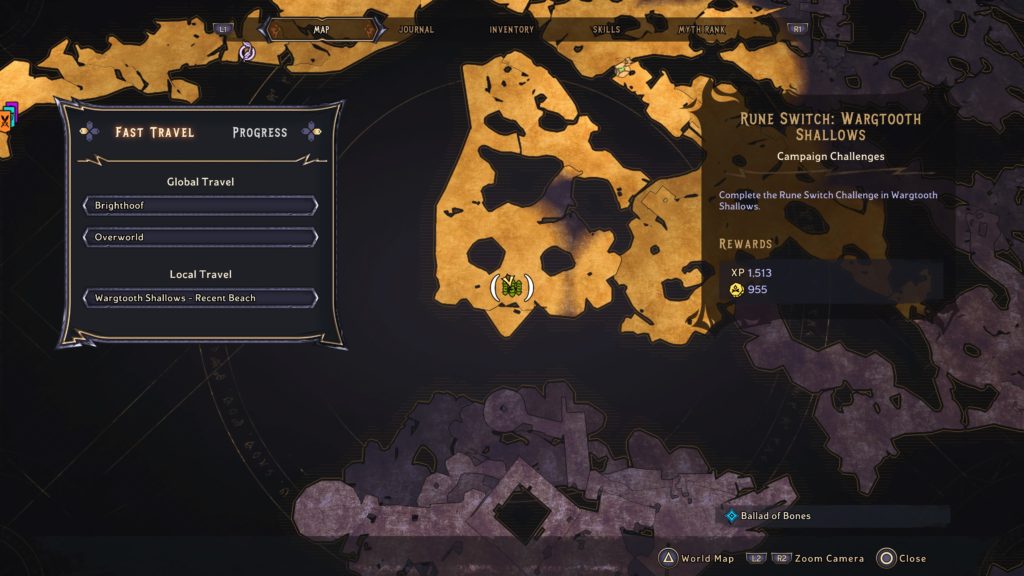
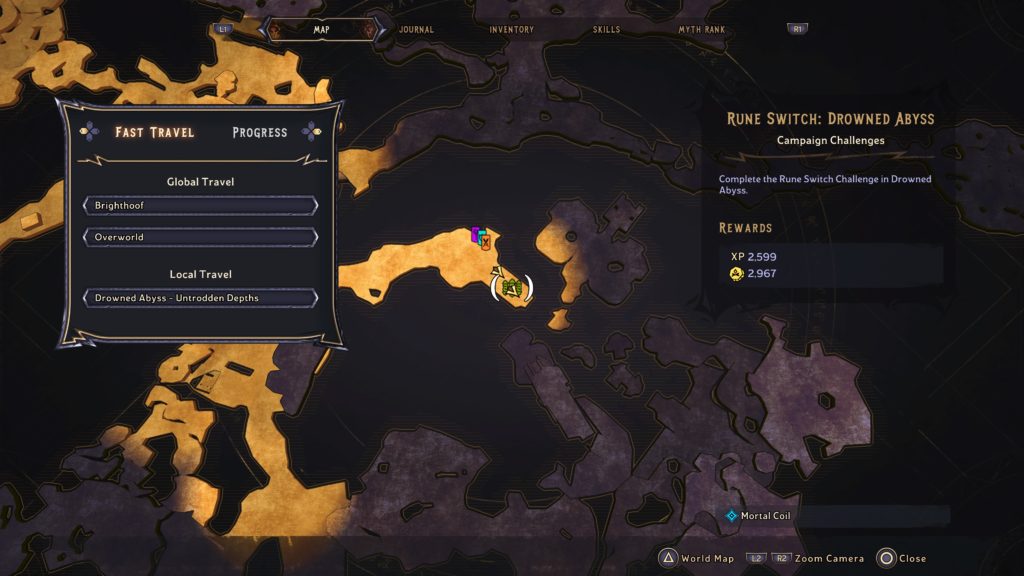
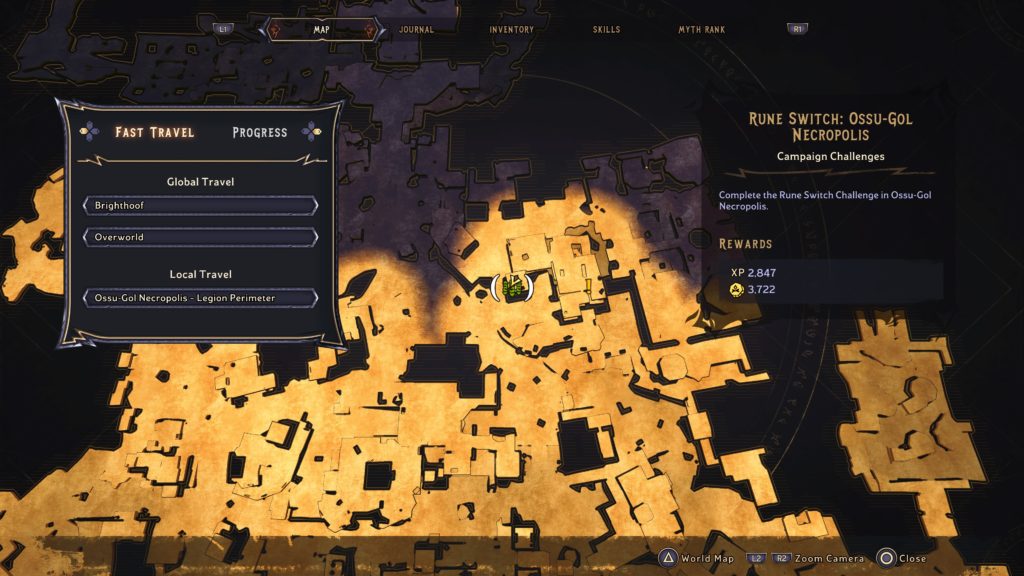
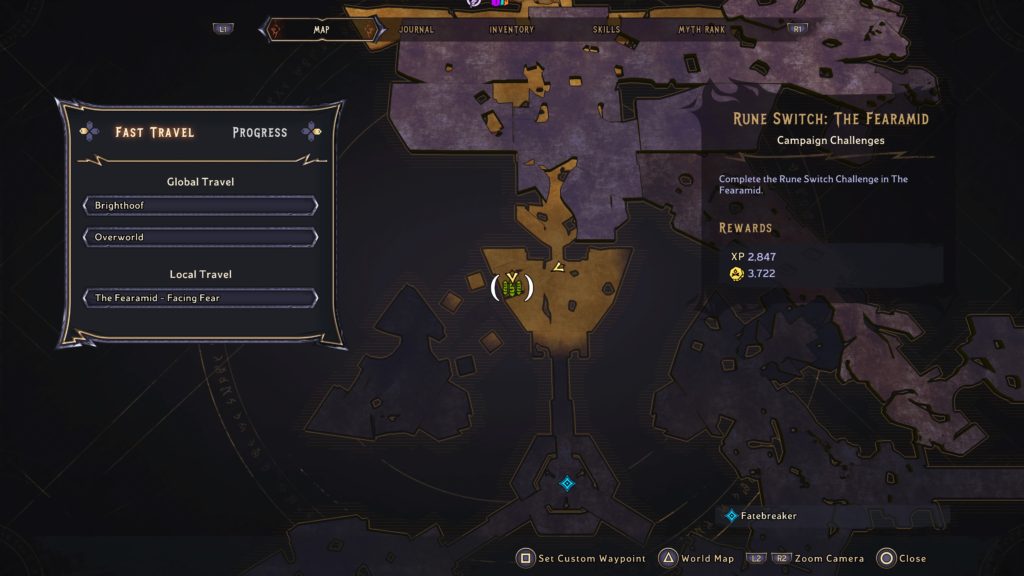
Rune Switch
Rune Switch: Mount Craw
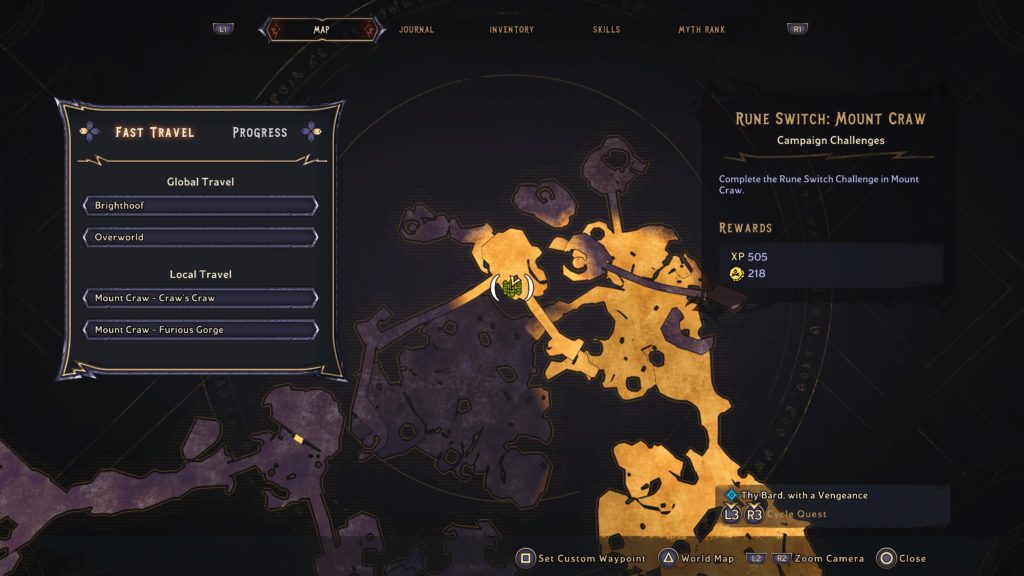
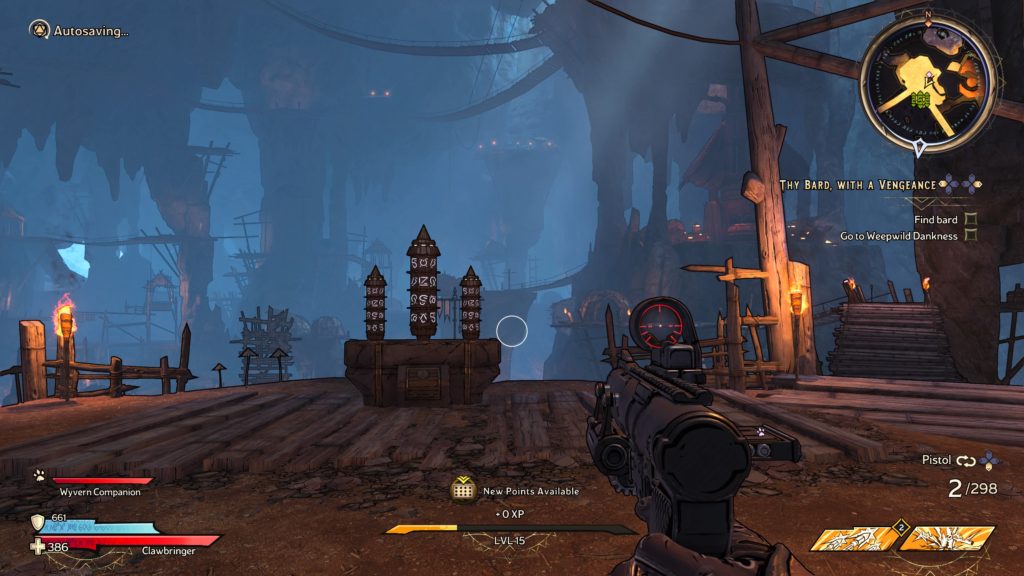
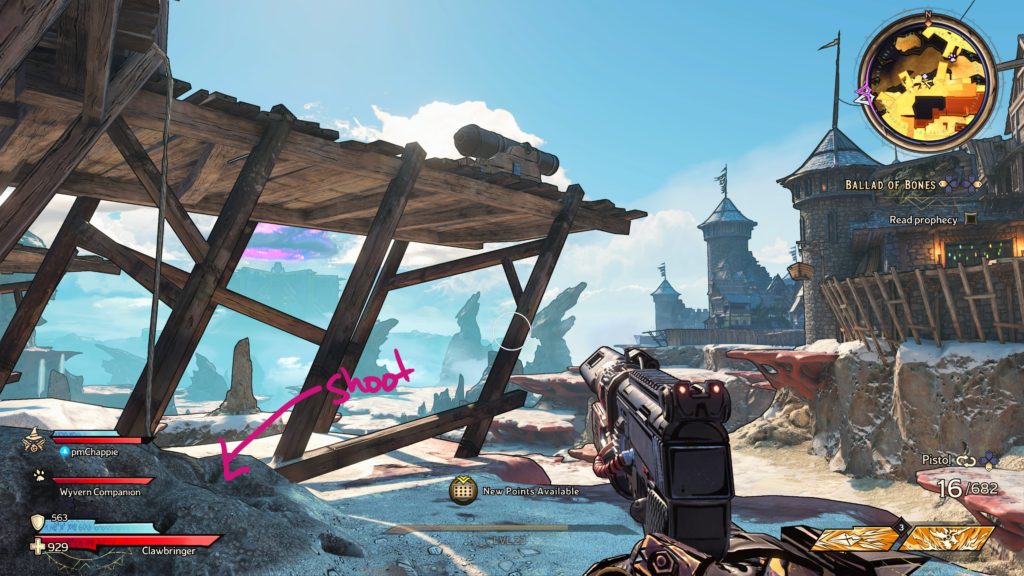
This rune switch can be found on a high up perch northwest of the Mount Craw – Furious Gorge fast travel point.
Scrolls
A Jar
This scroll can be found on the right side of the vending machines at the Mount Craw – Craw’s Craw fast travel point.
Fleedom


This scroll can be found inside a house with a basement on the south side of the large frozen lake.
Get the Freak Out


This scroll can be found on a wooden platform overlooking the frozen lake in the central part of the area. It is across from Baaldaar the Ghaastly’s tower with a windmill on top.
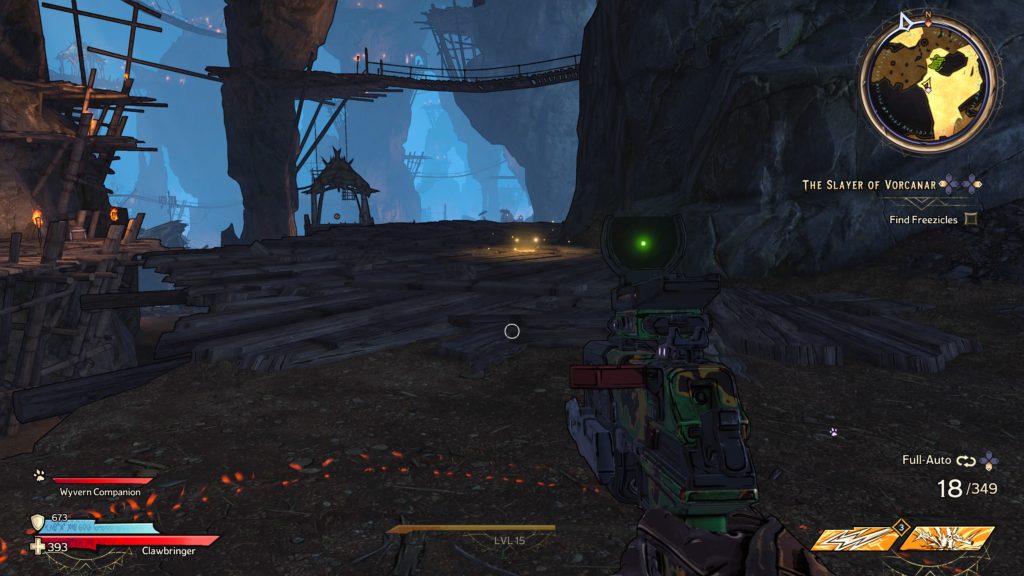
It’s a Nose Ring Thing

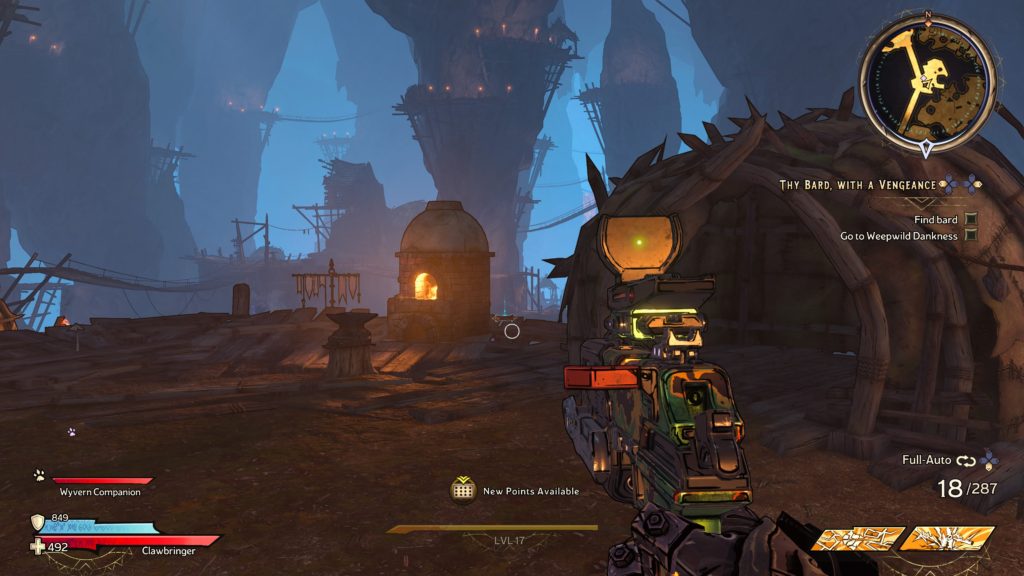
This scroll can be found behind a small forge near where Freezicles was during The Slayer of Vorcanar side quest. It’ll be located on a landing between 2 bridges.
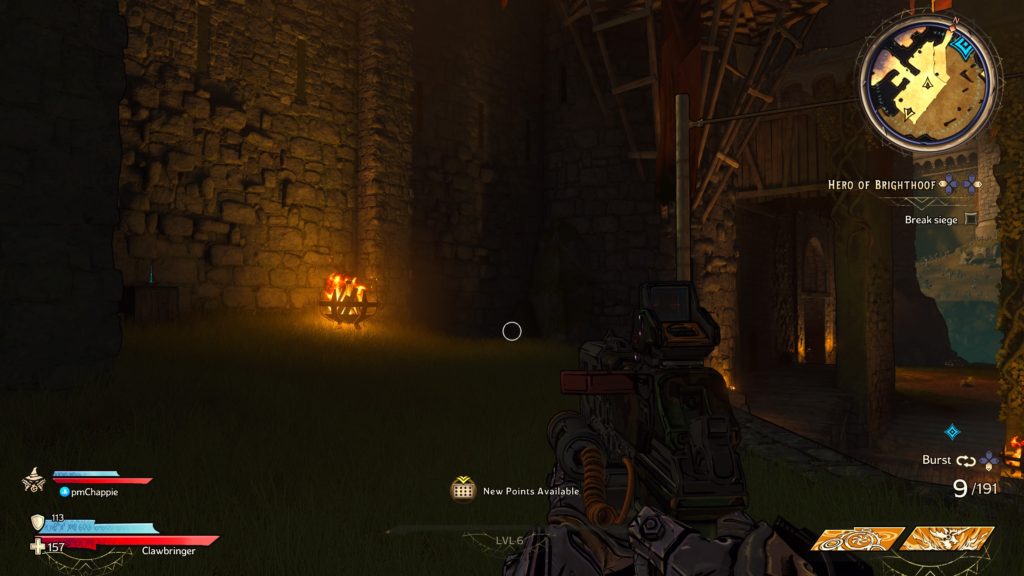
Expeditious Entreat
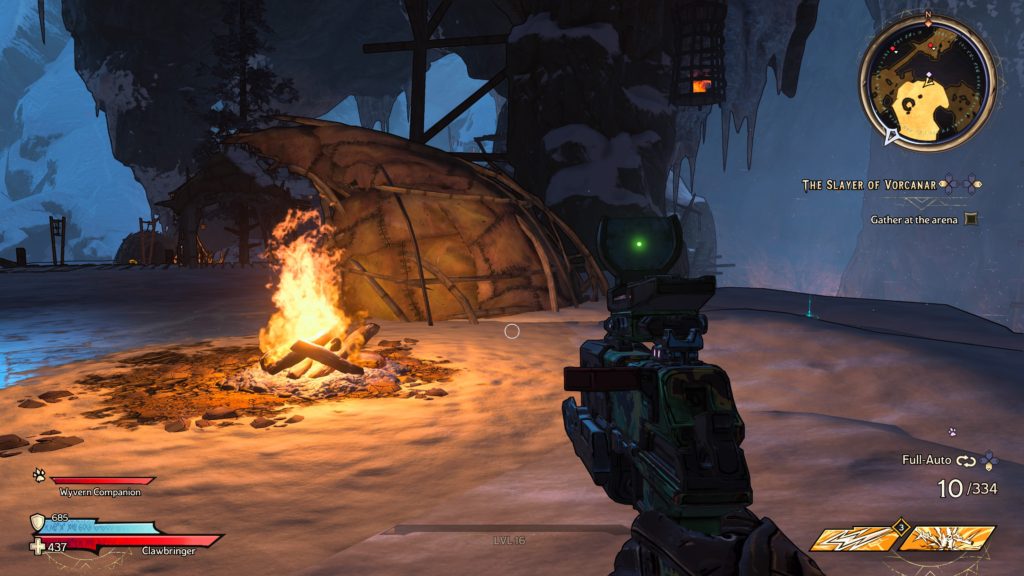
This scroll can be found behind a hut next to a campfire in Tribute Way on the southwestern side of the map.