Below is a guide on where to find the Heart Orbs in Chapter 6 of Eastward.
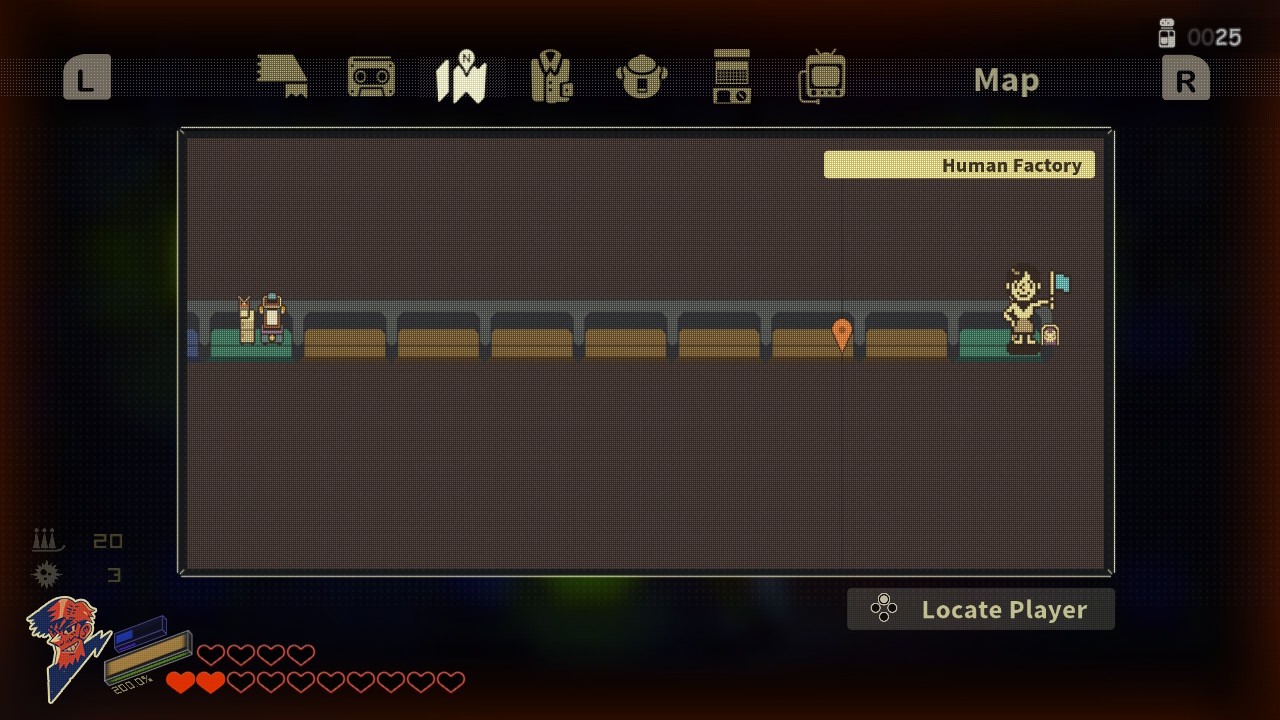
Human Factory
This Heart Orb can be obtained from a chest in the third to last car during the Solomon quest.
Below is a guide on where to find the Heart Orbs in Chapter 6 of Eastward.
This Heart Orb can be obtained from a chest in the third to last car during the Solomon quest.

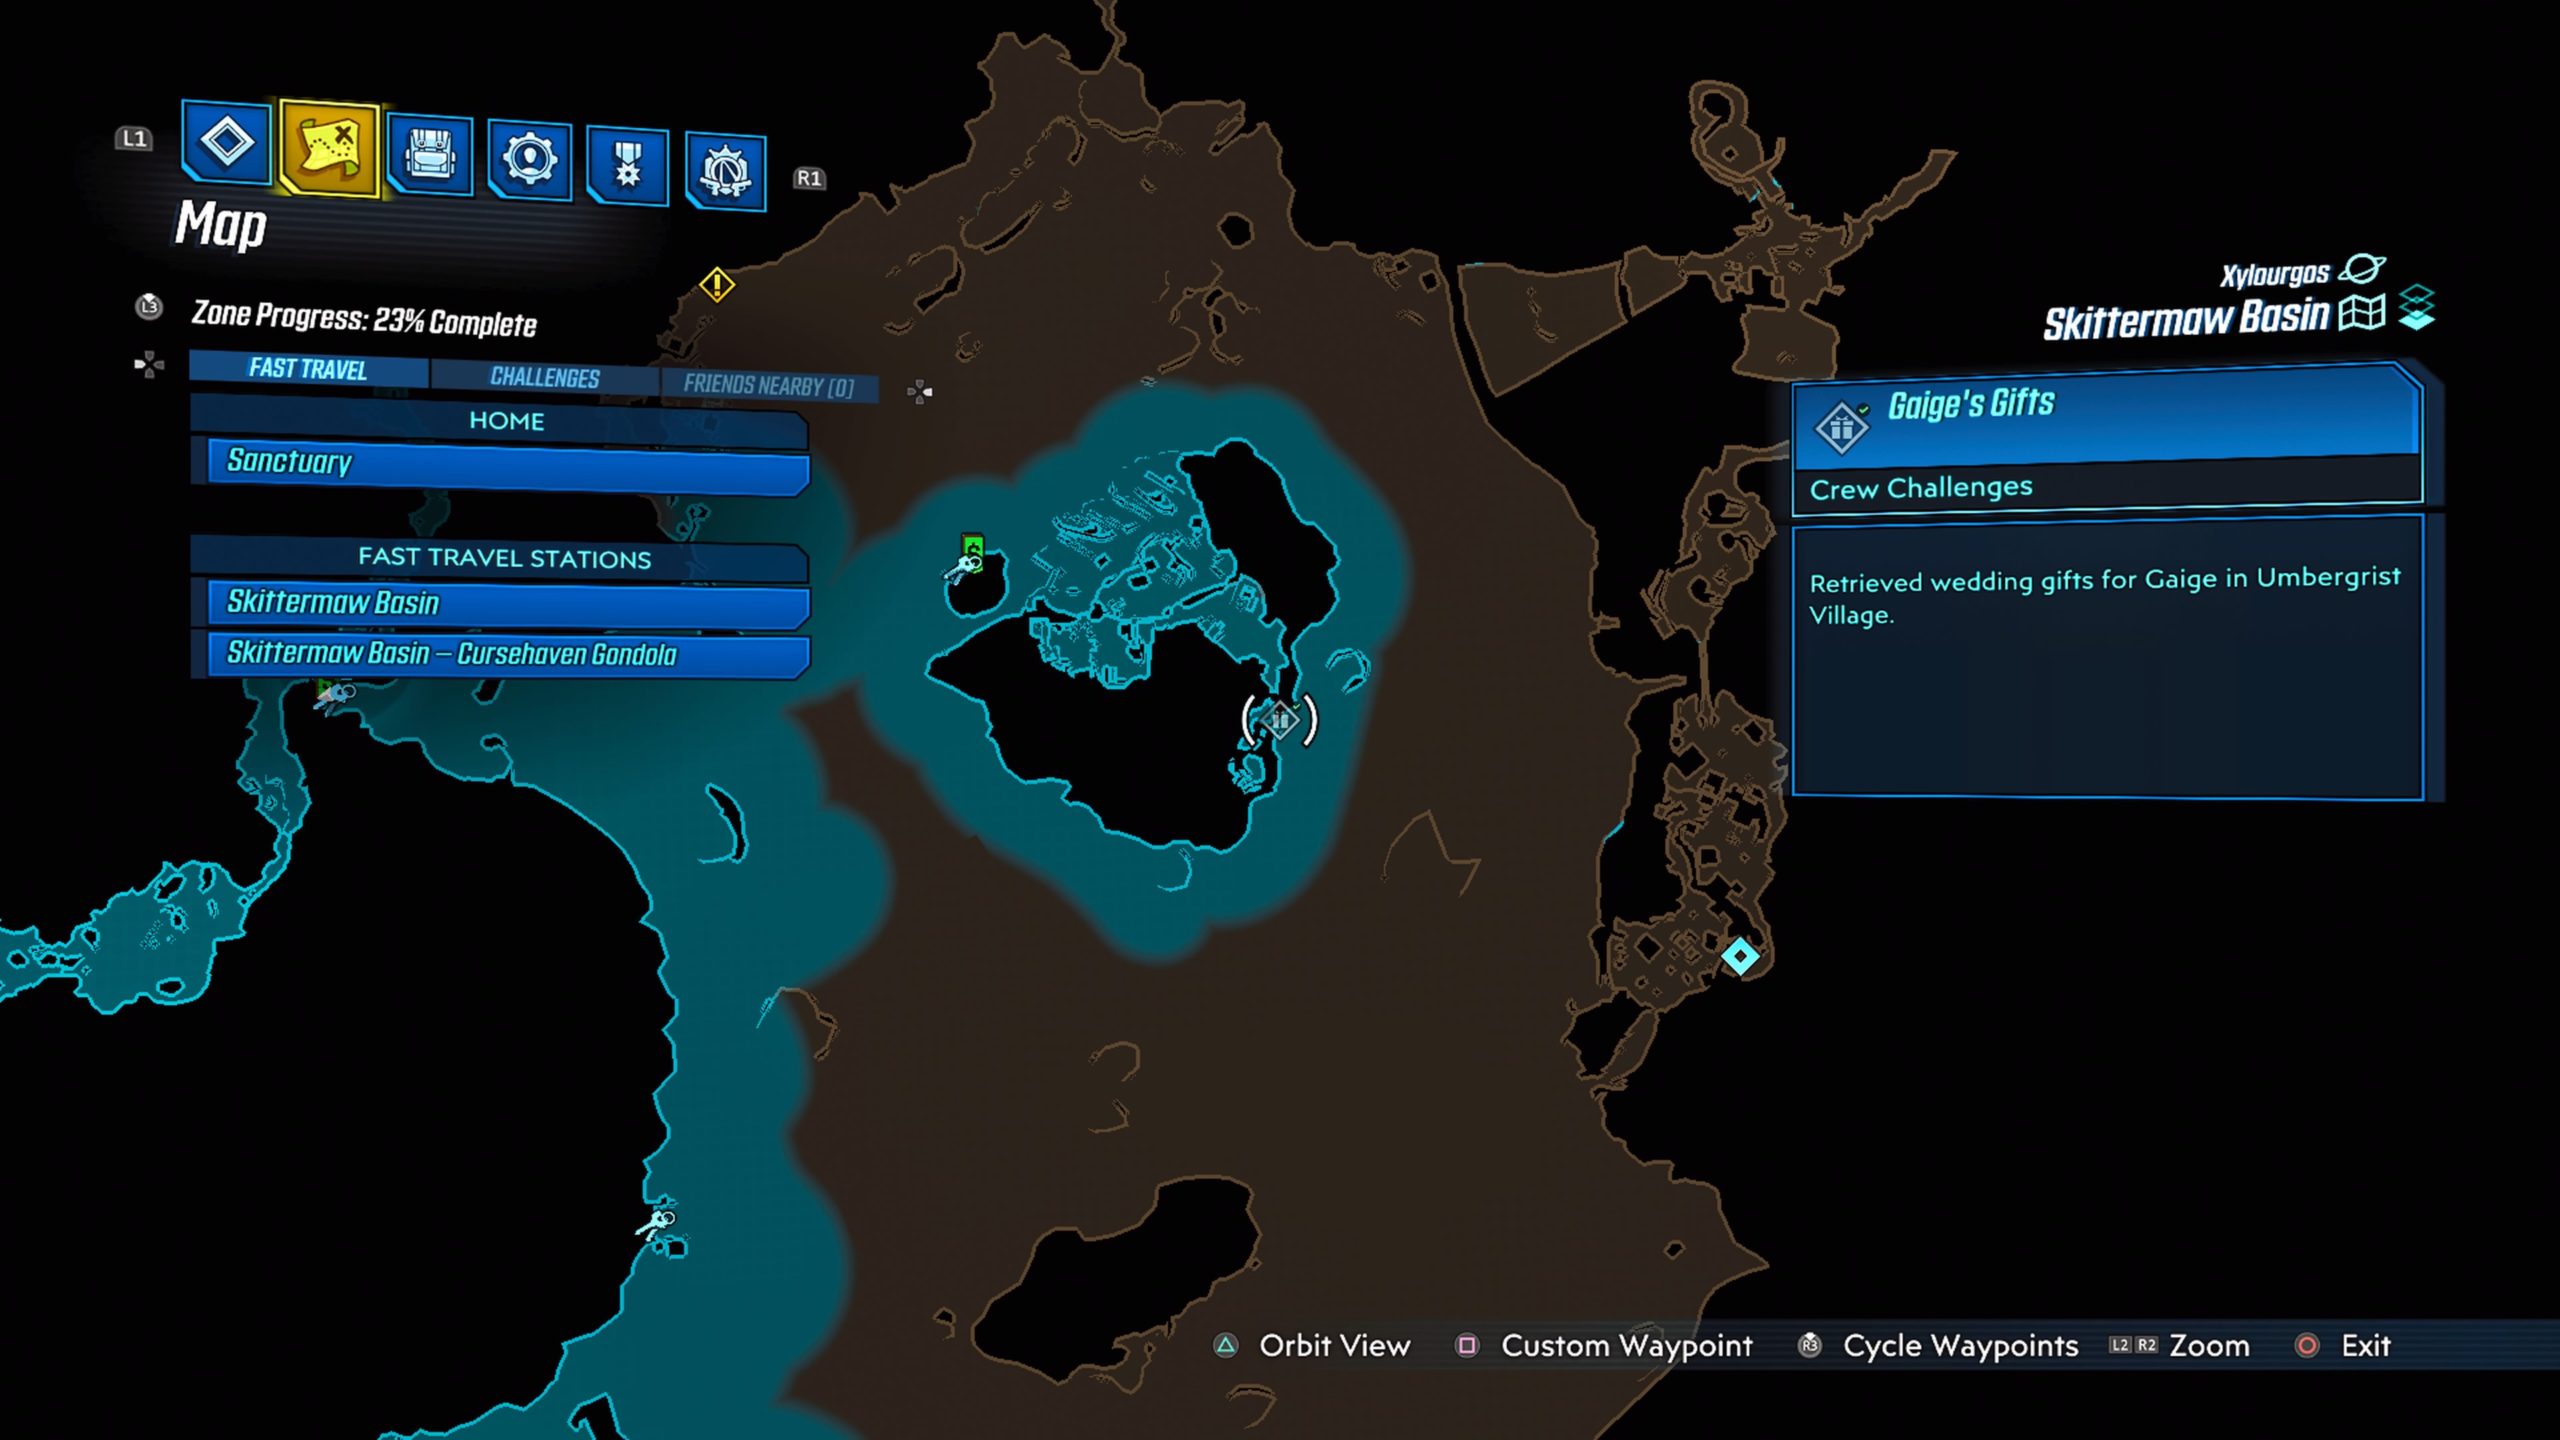
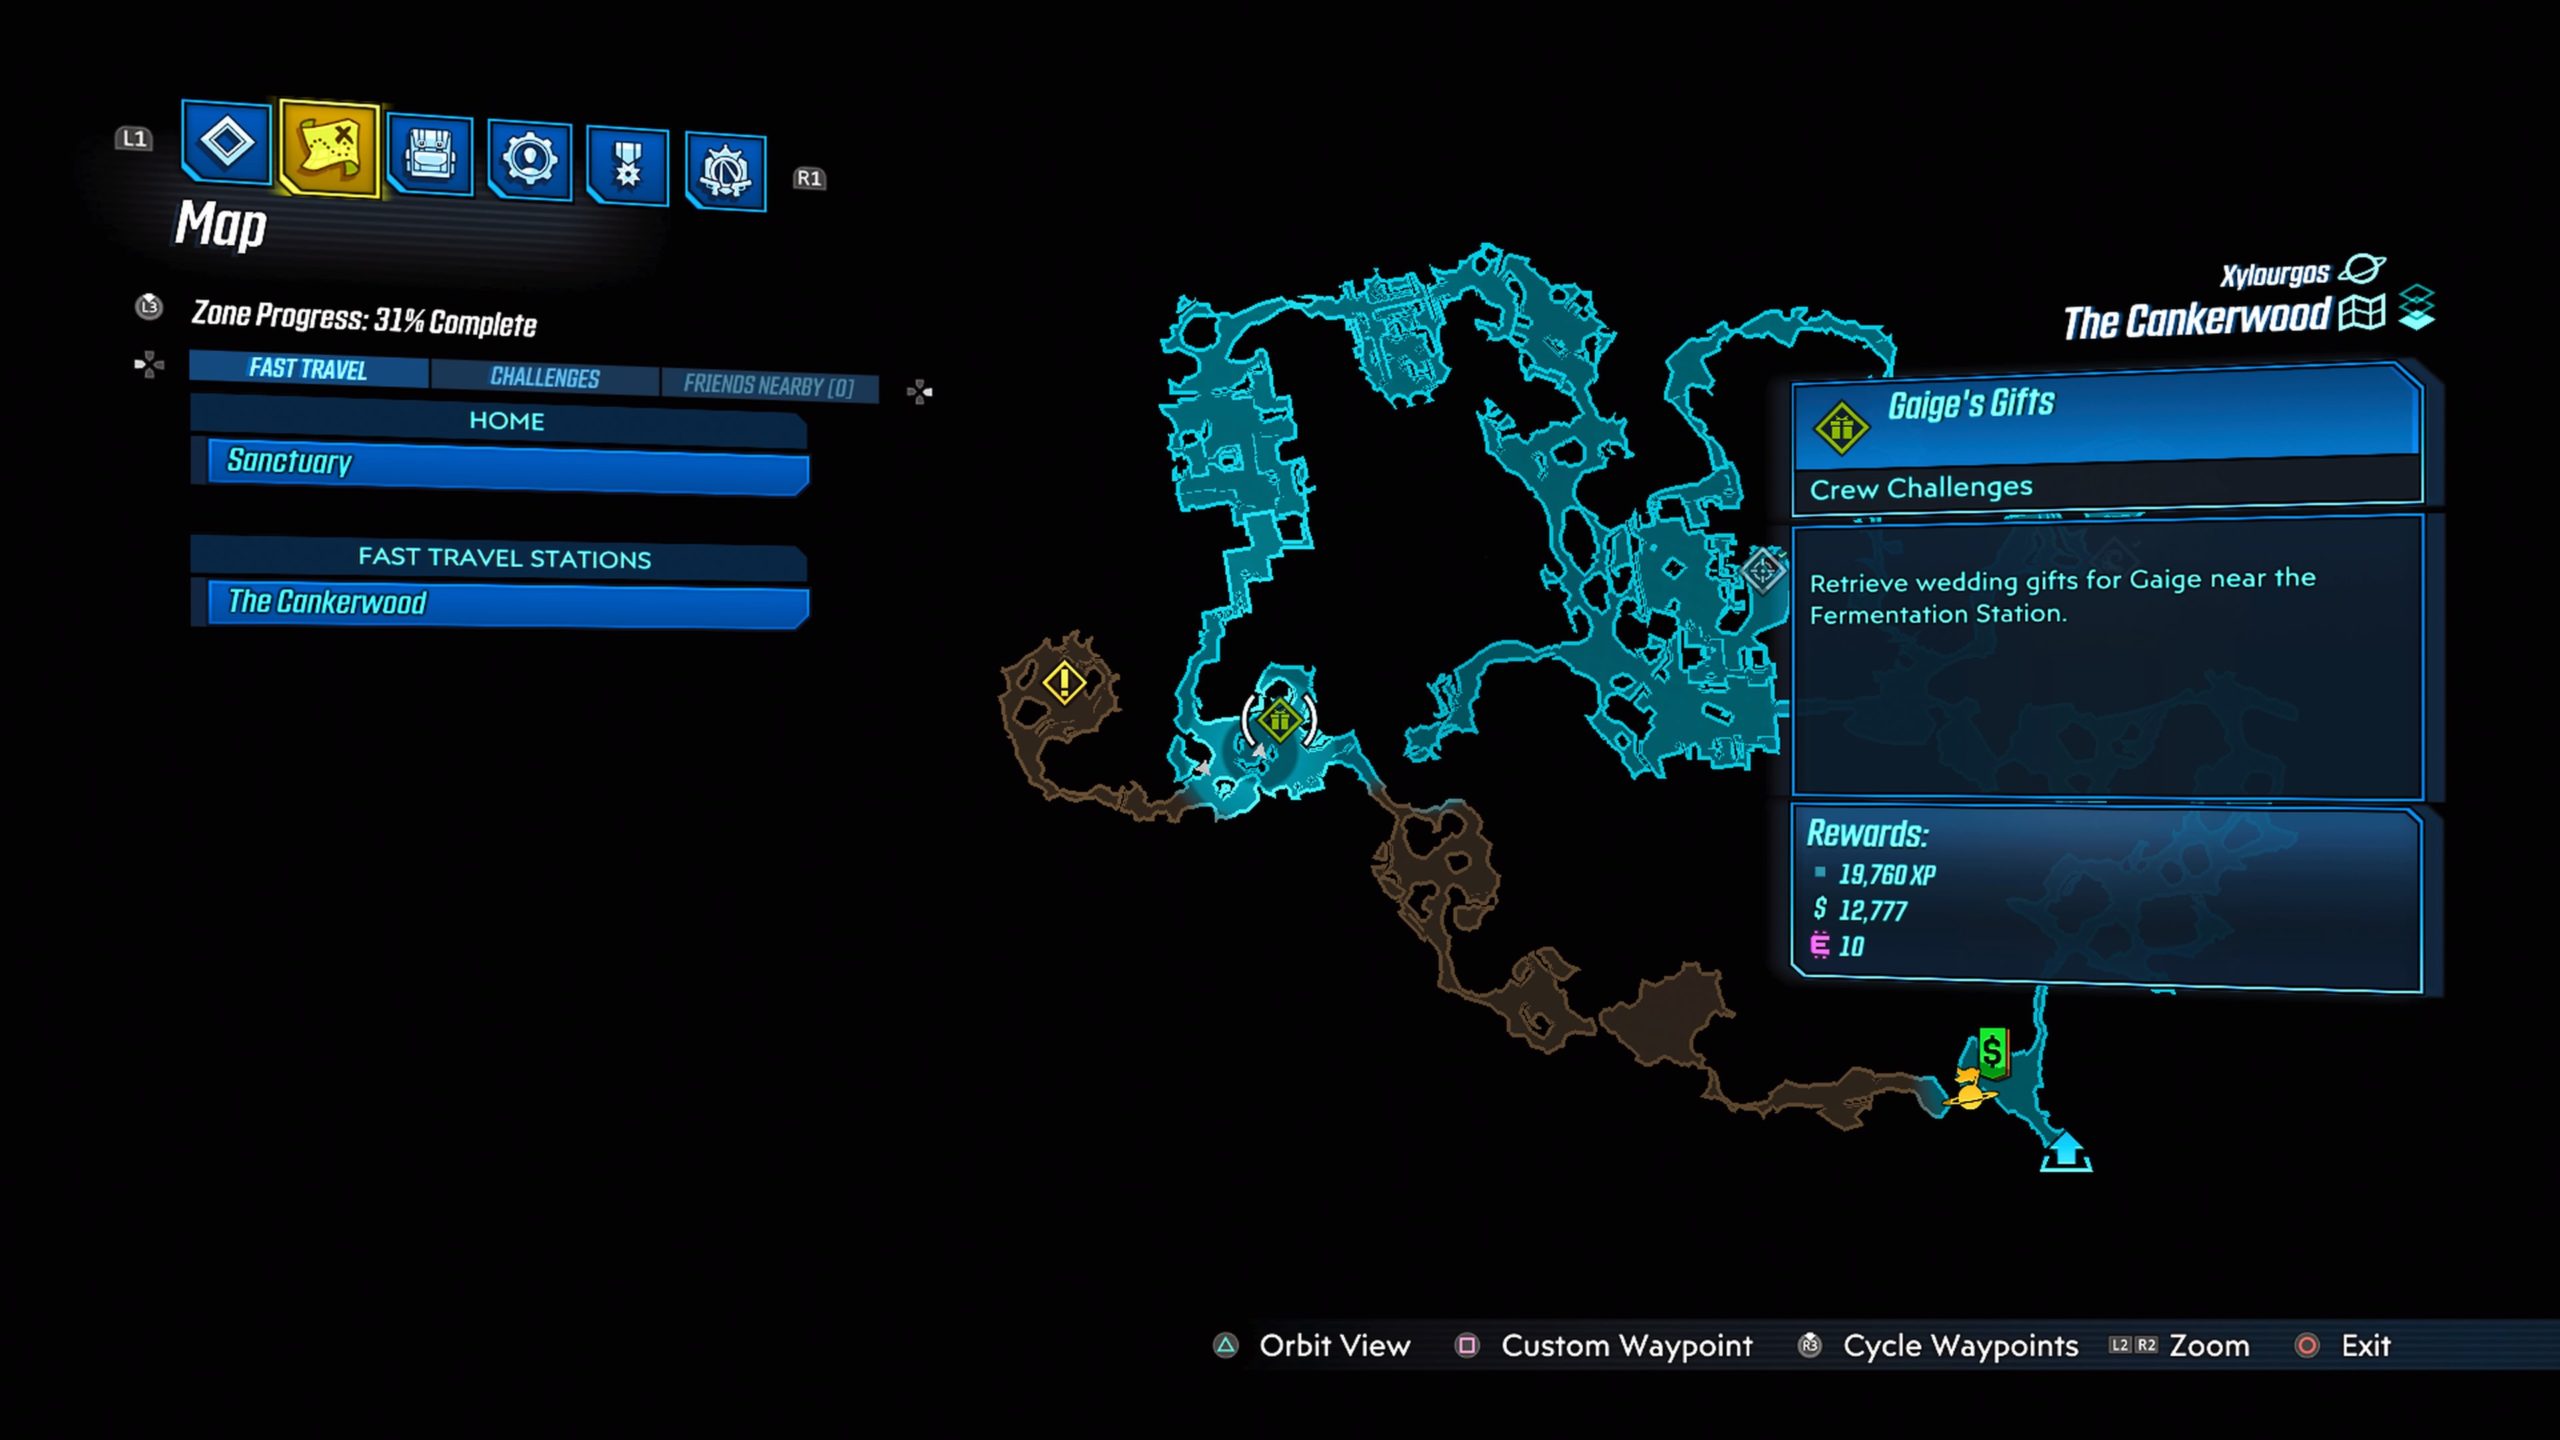
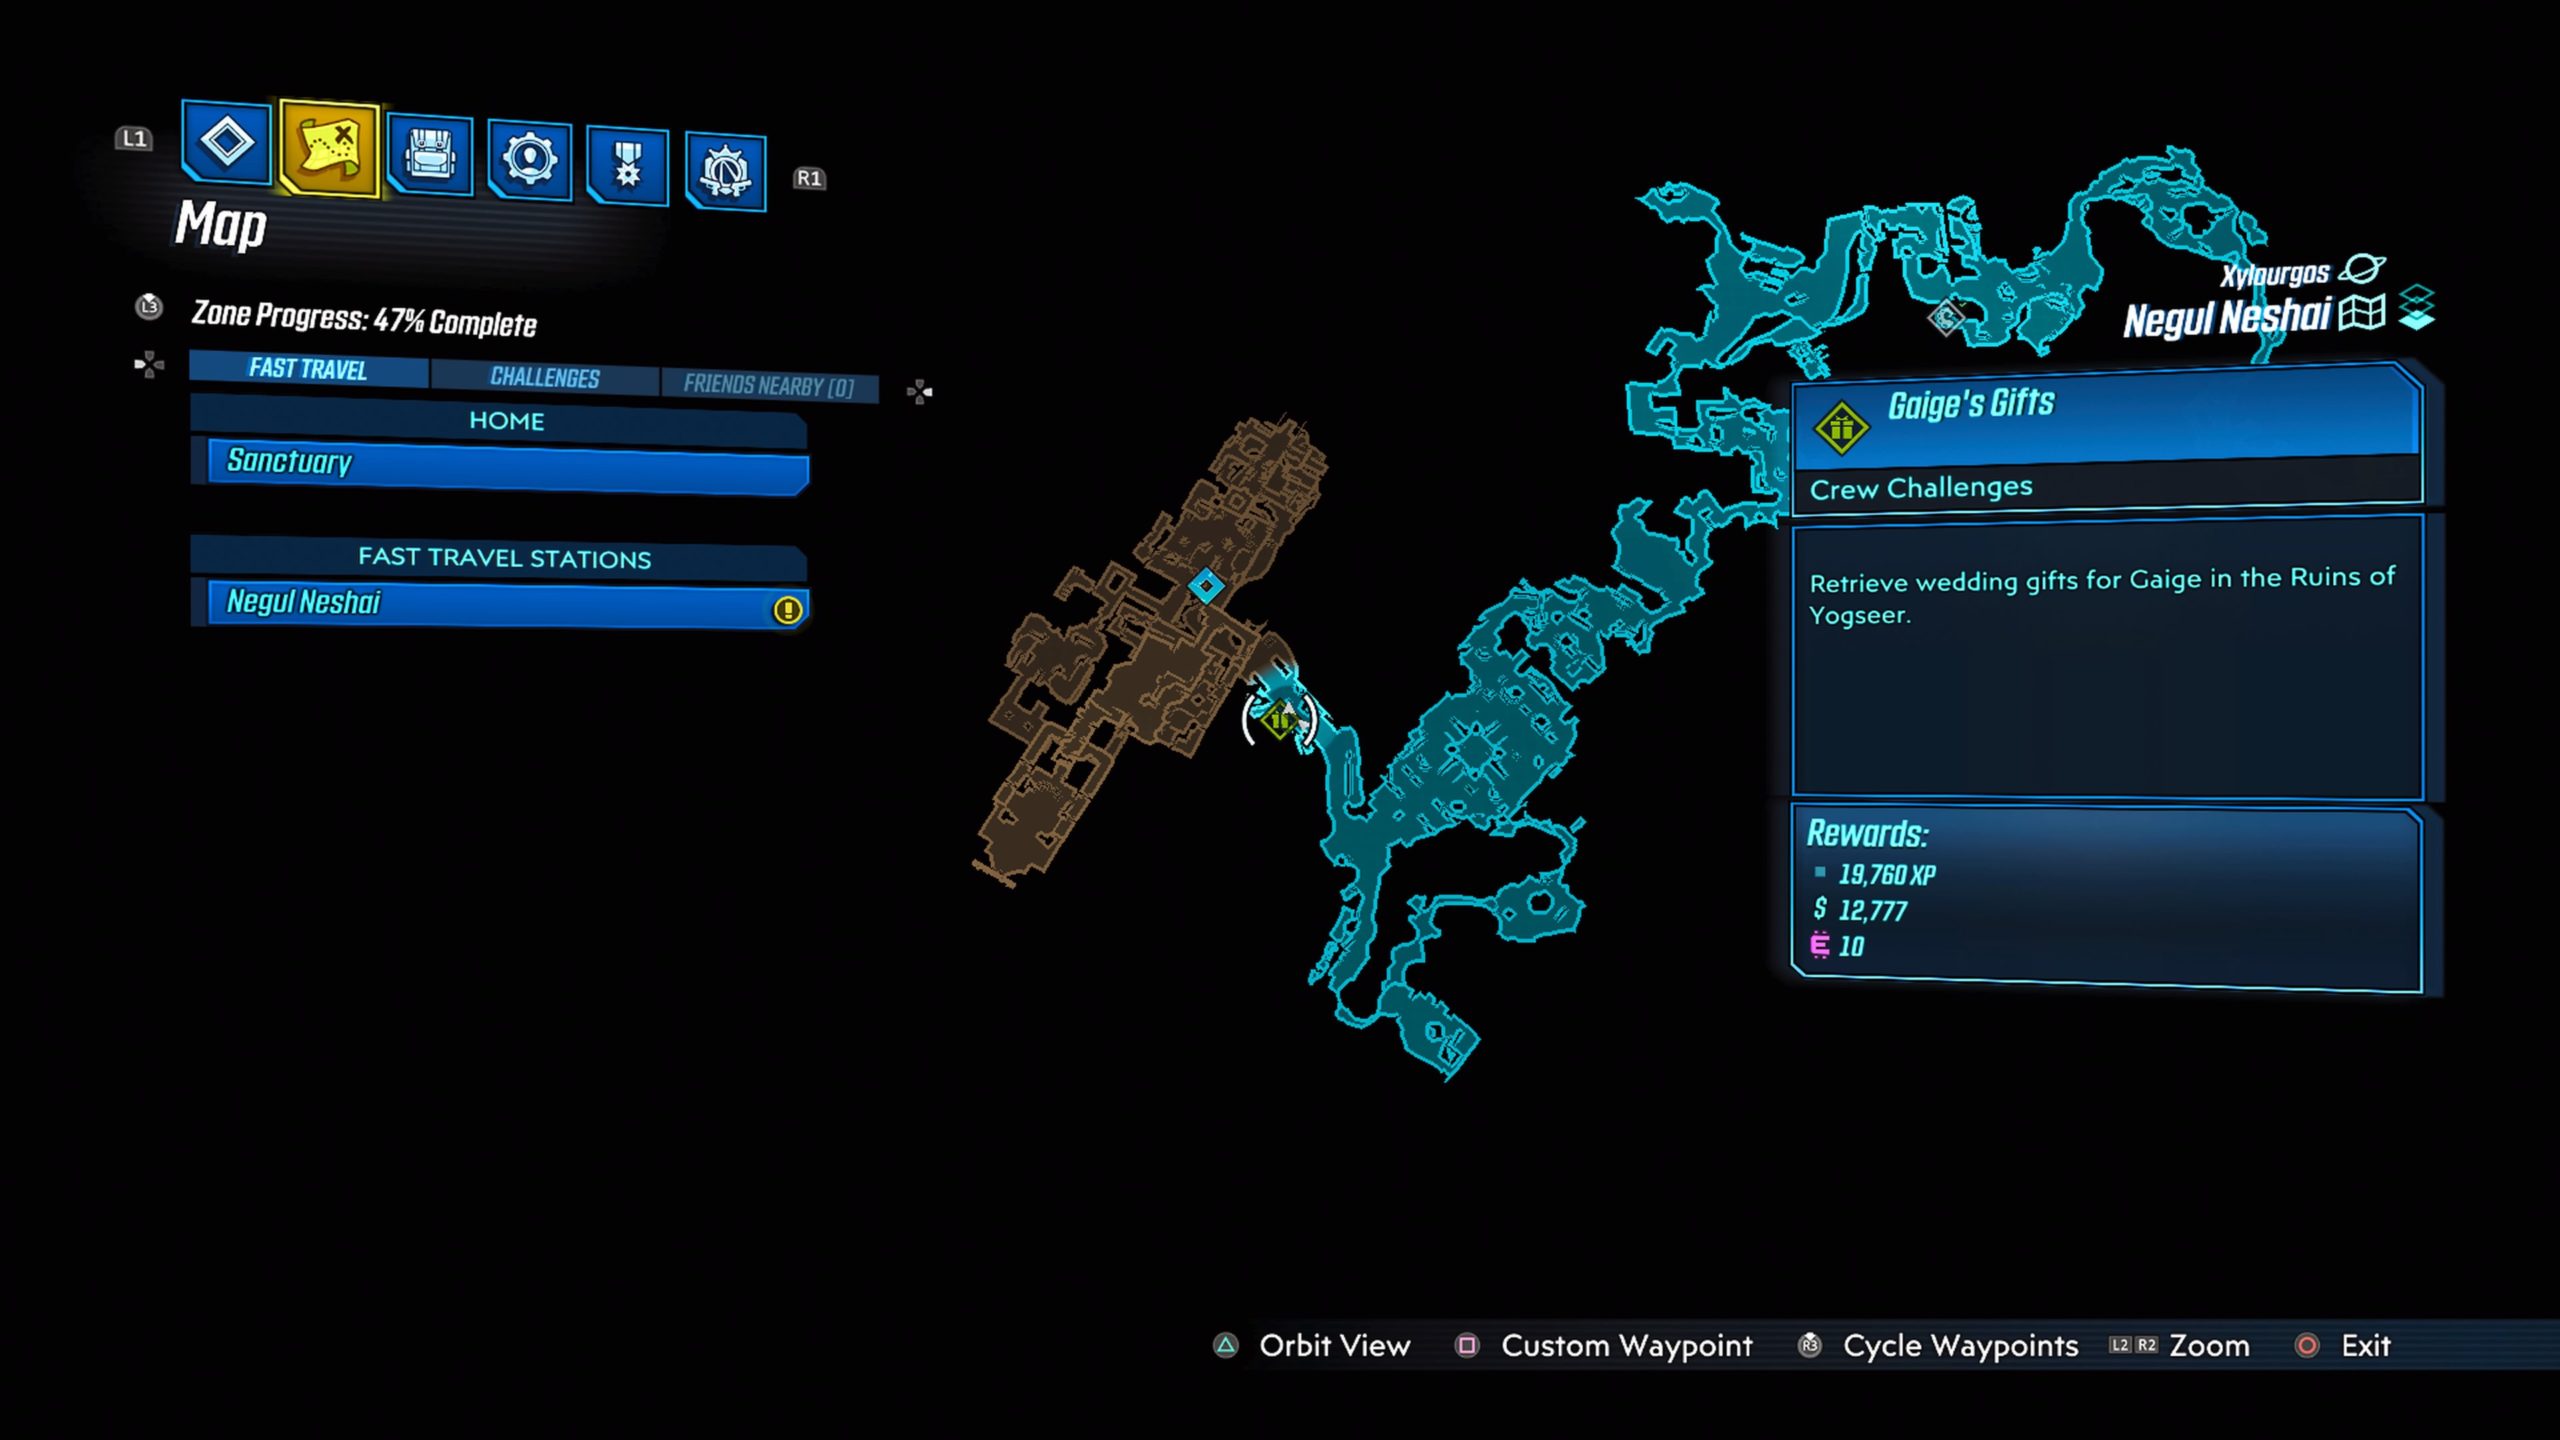
This gift is located on a roof in the center of the town. As you near the gift, Gaige will ask you to retrieve the wedding gifts that spilled out during her rough landing.
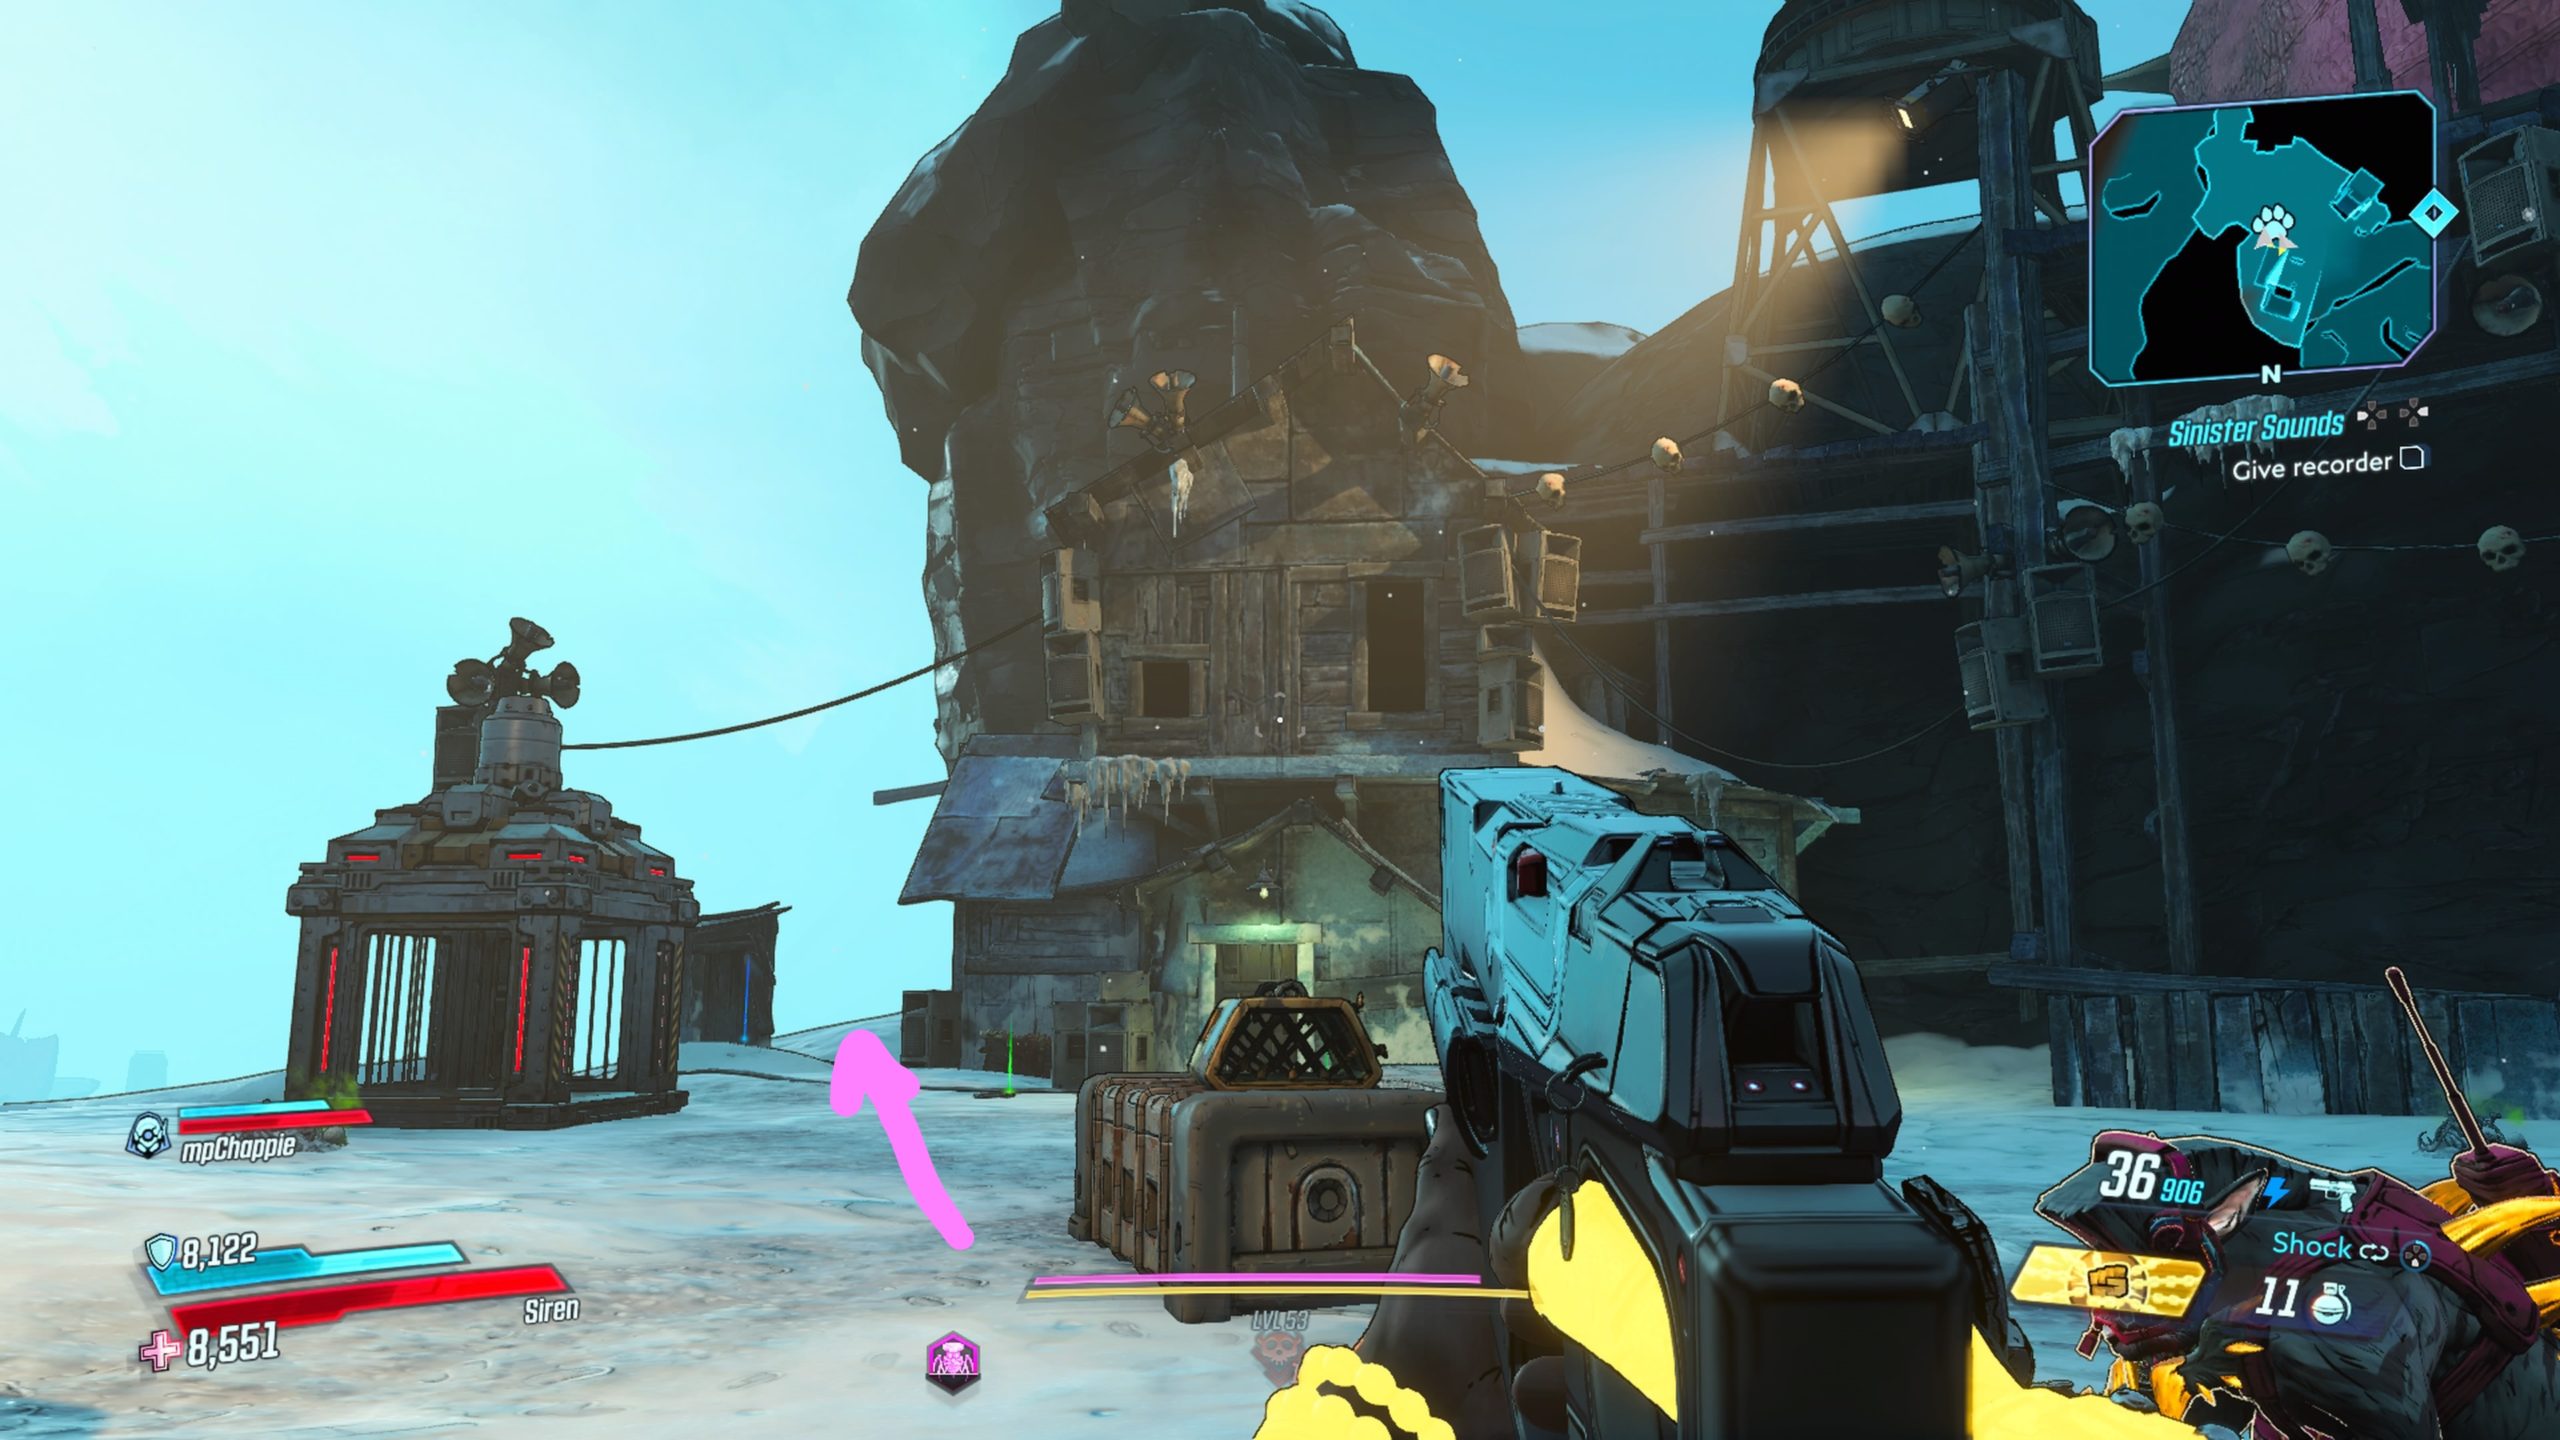
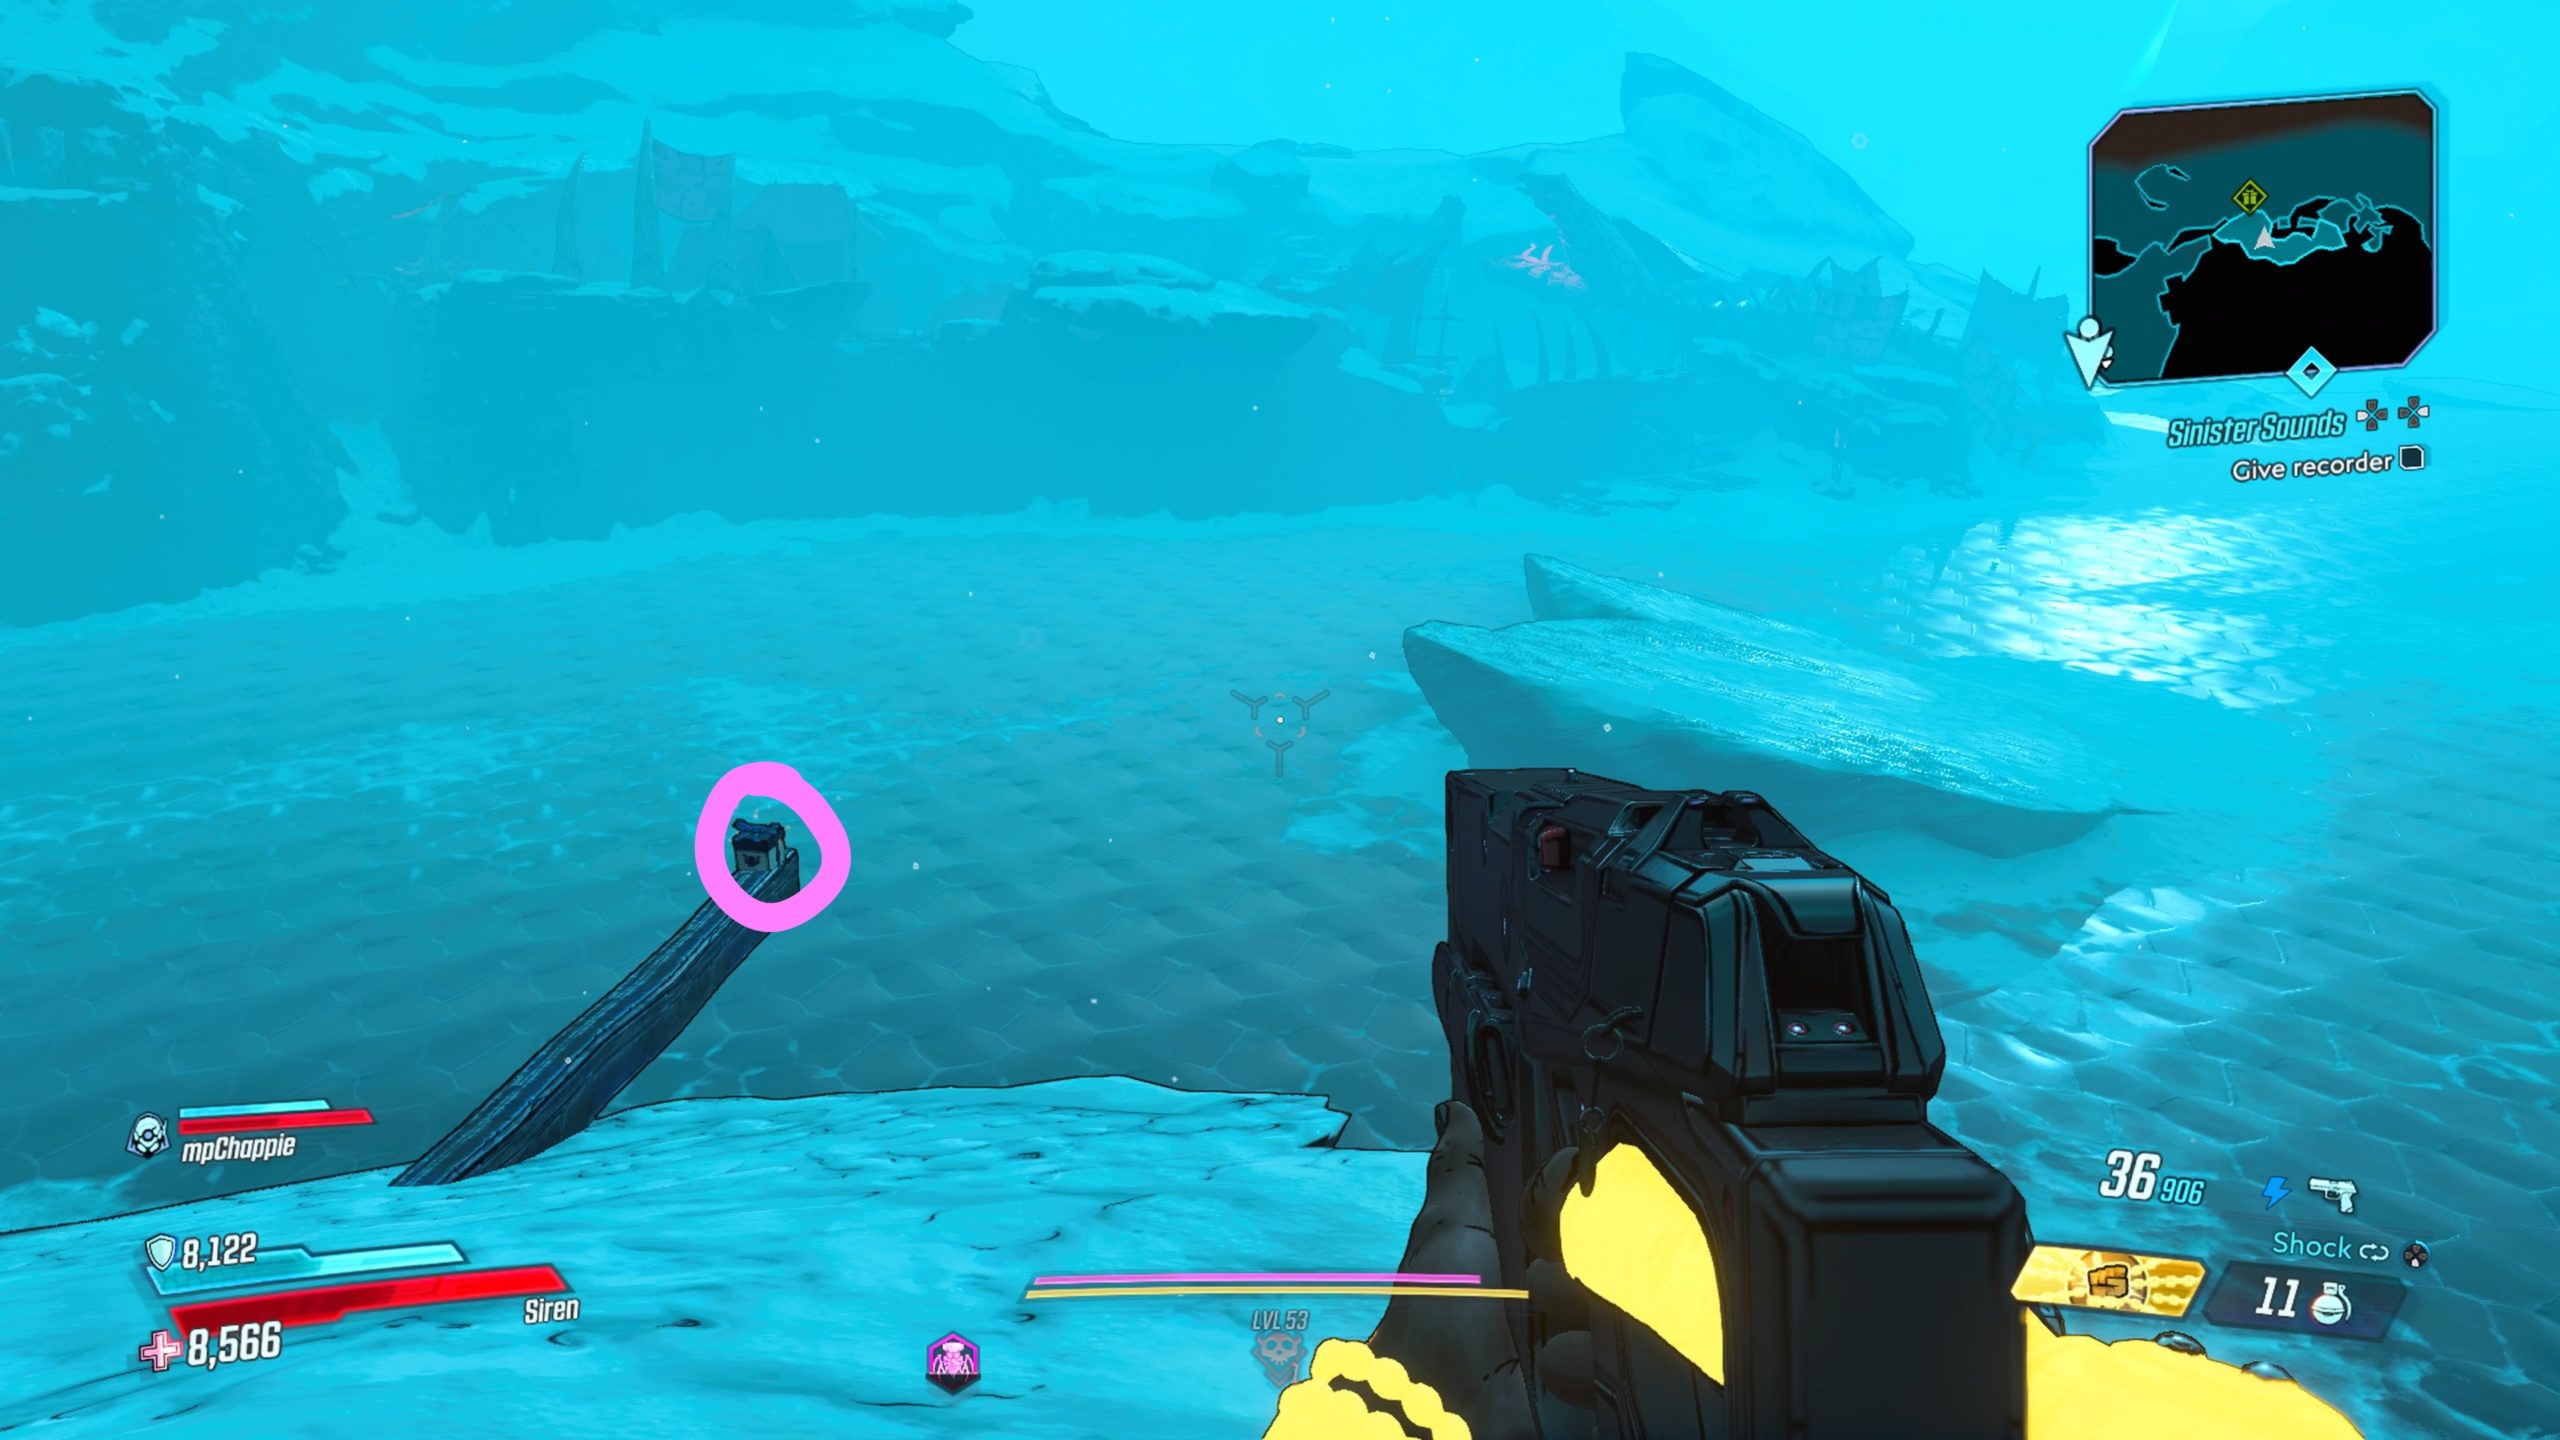
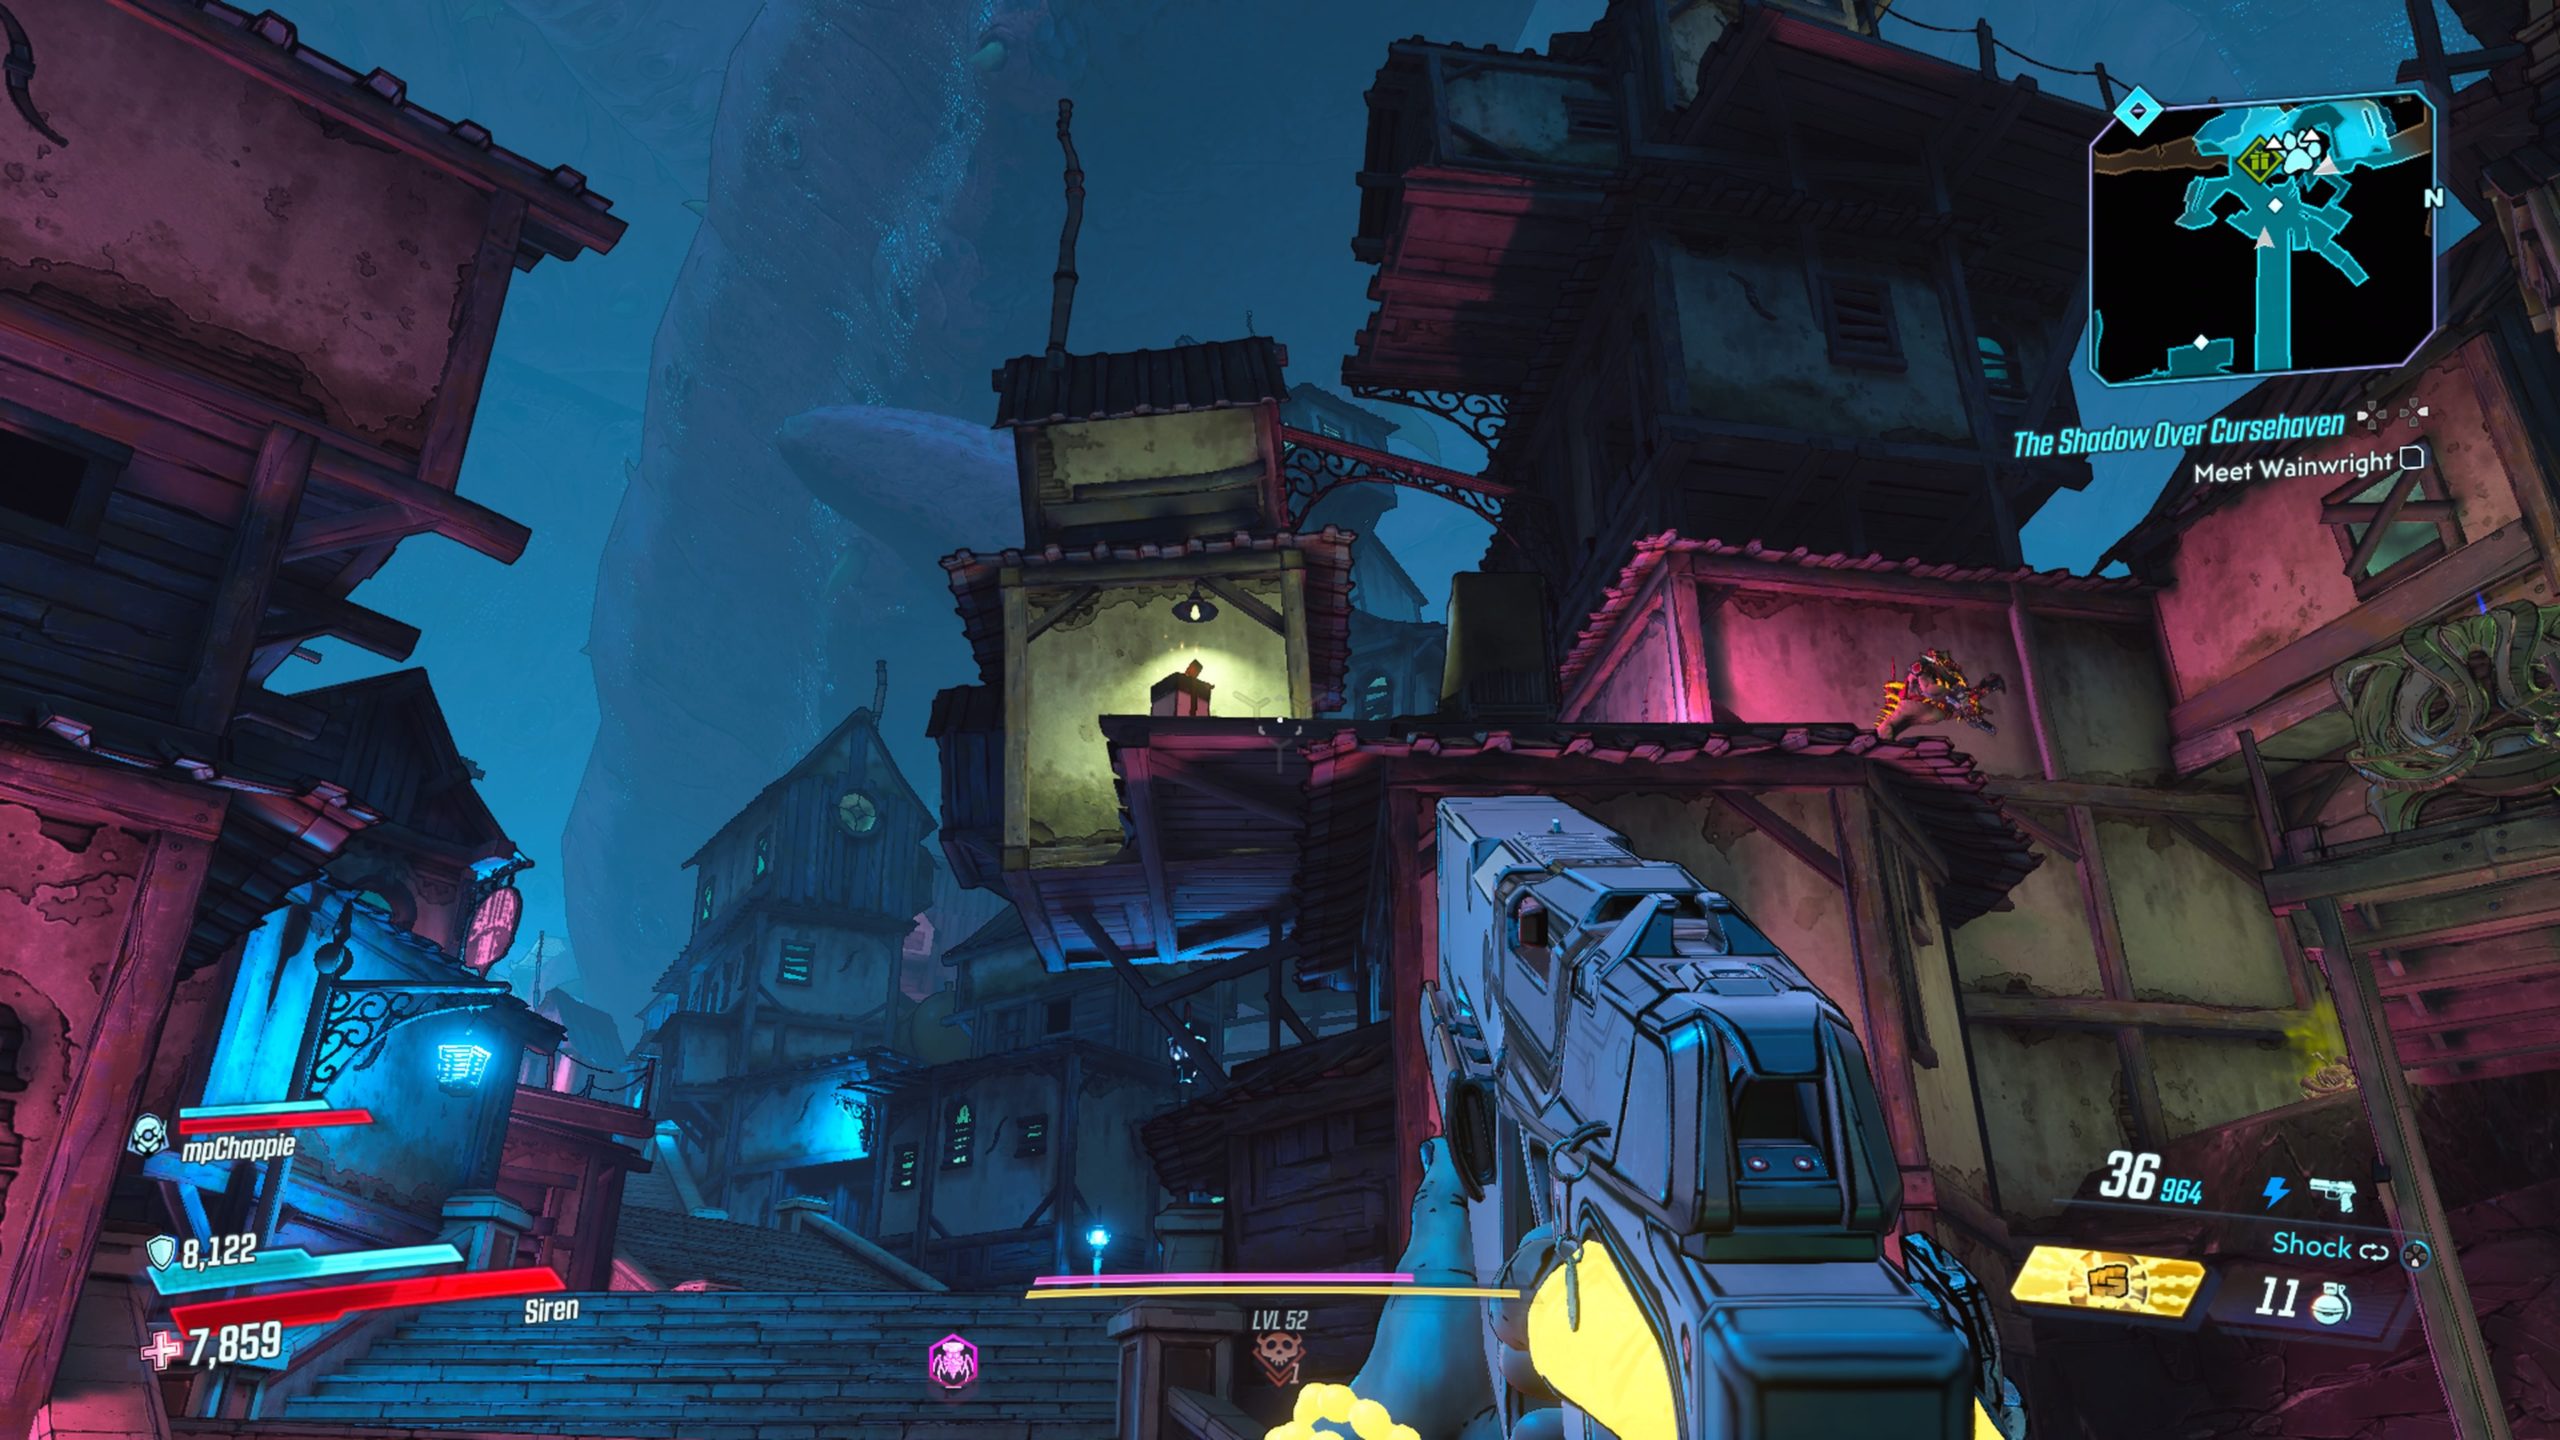
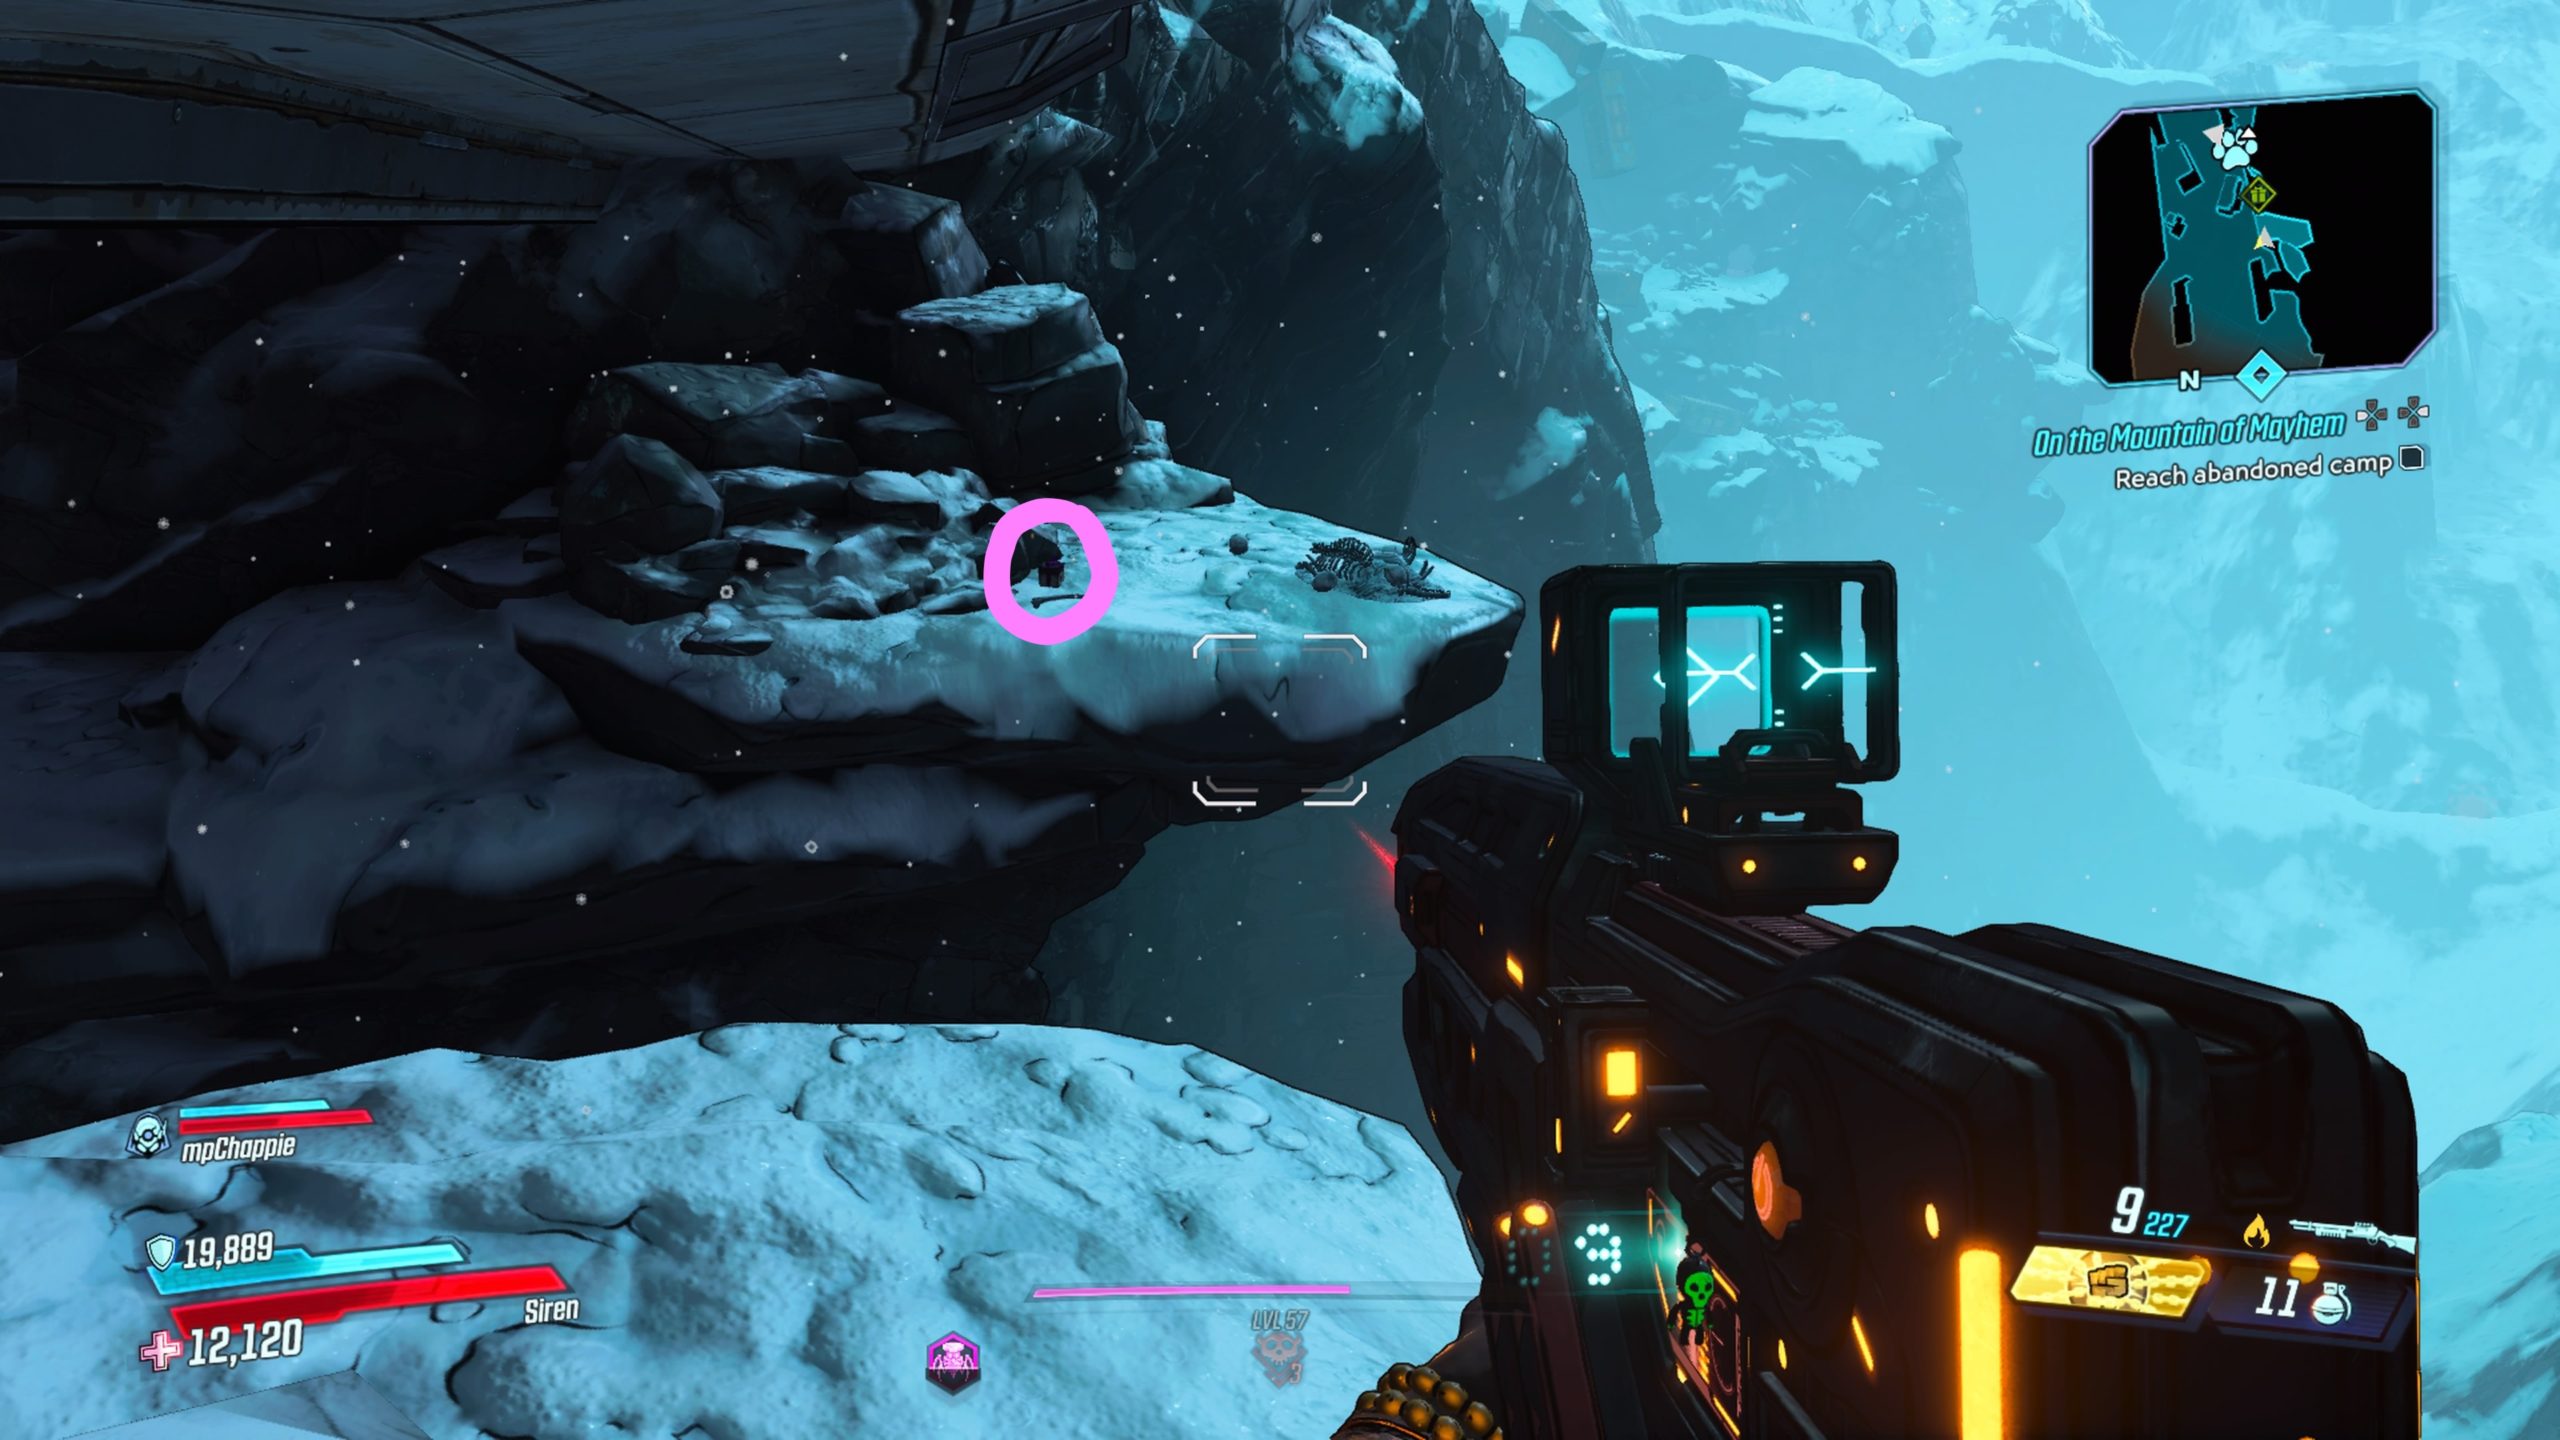
This gift can be found near where you killed DJ Spinsmouth during the Sinister Sounds side mission. To reach it, follow the left side of the cliff towards an outhouse and jump on the wooden platform along the edge of the cliff. Jump to the ladder on another platform and climb up it. Keep following the path around the mountain to reach the gift on a wooden beam sticking out over the frozen lake.

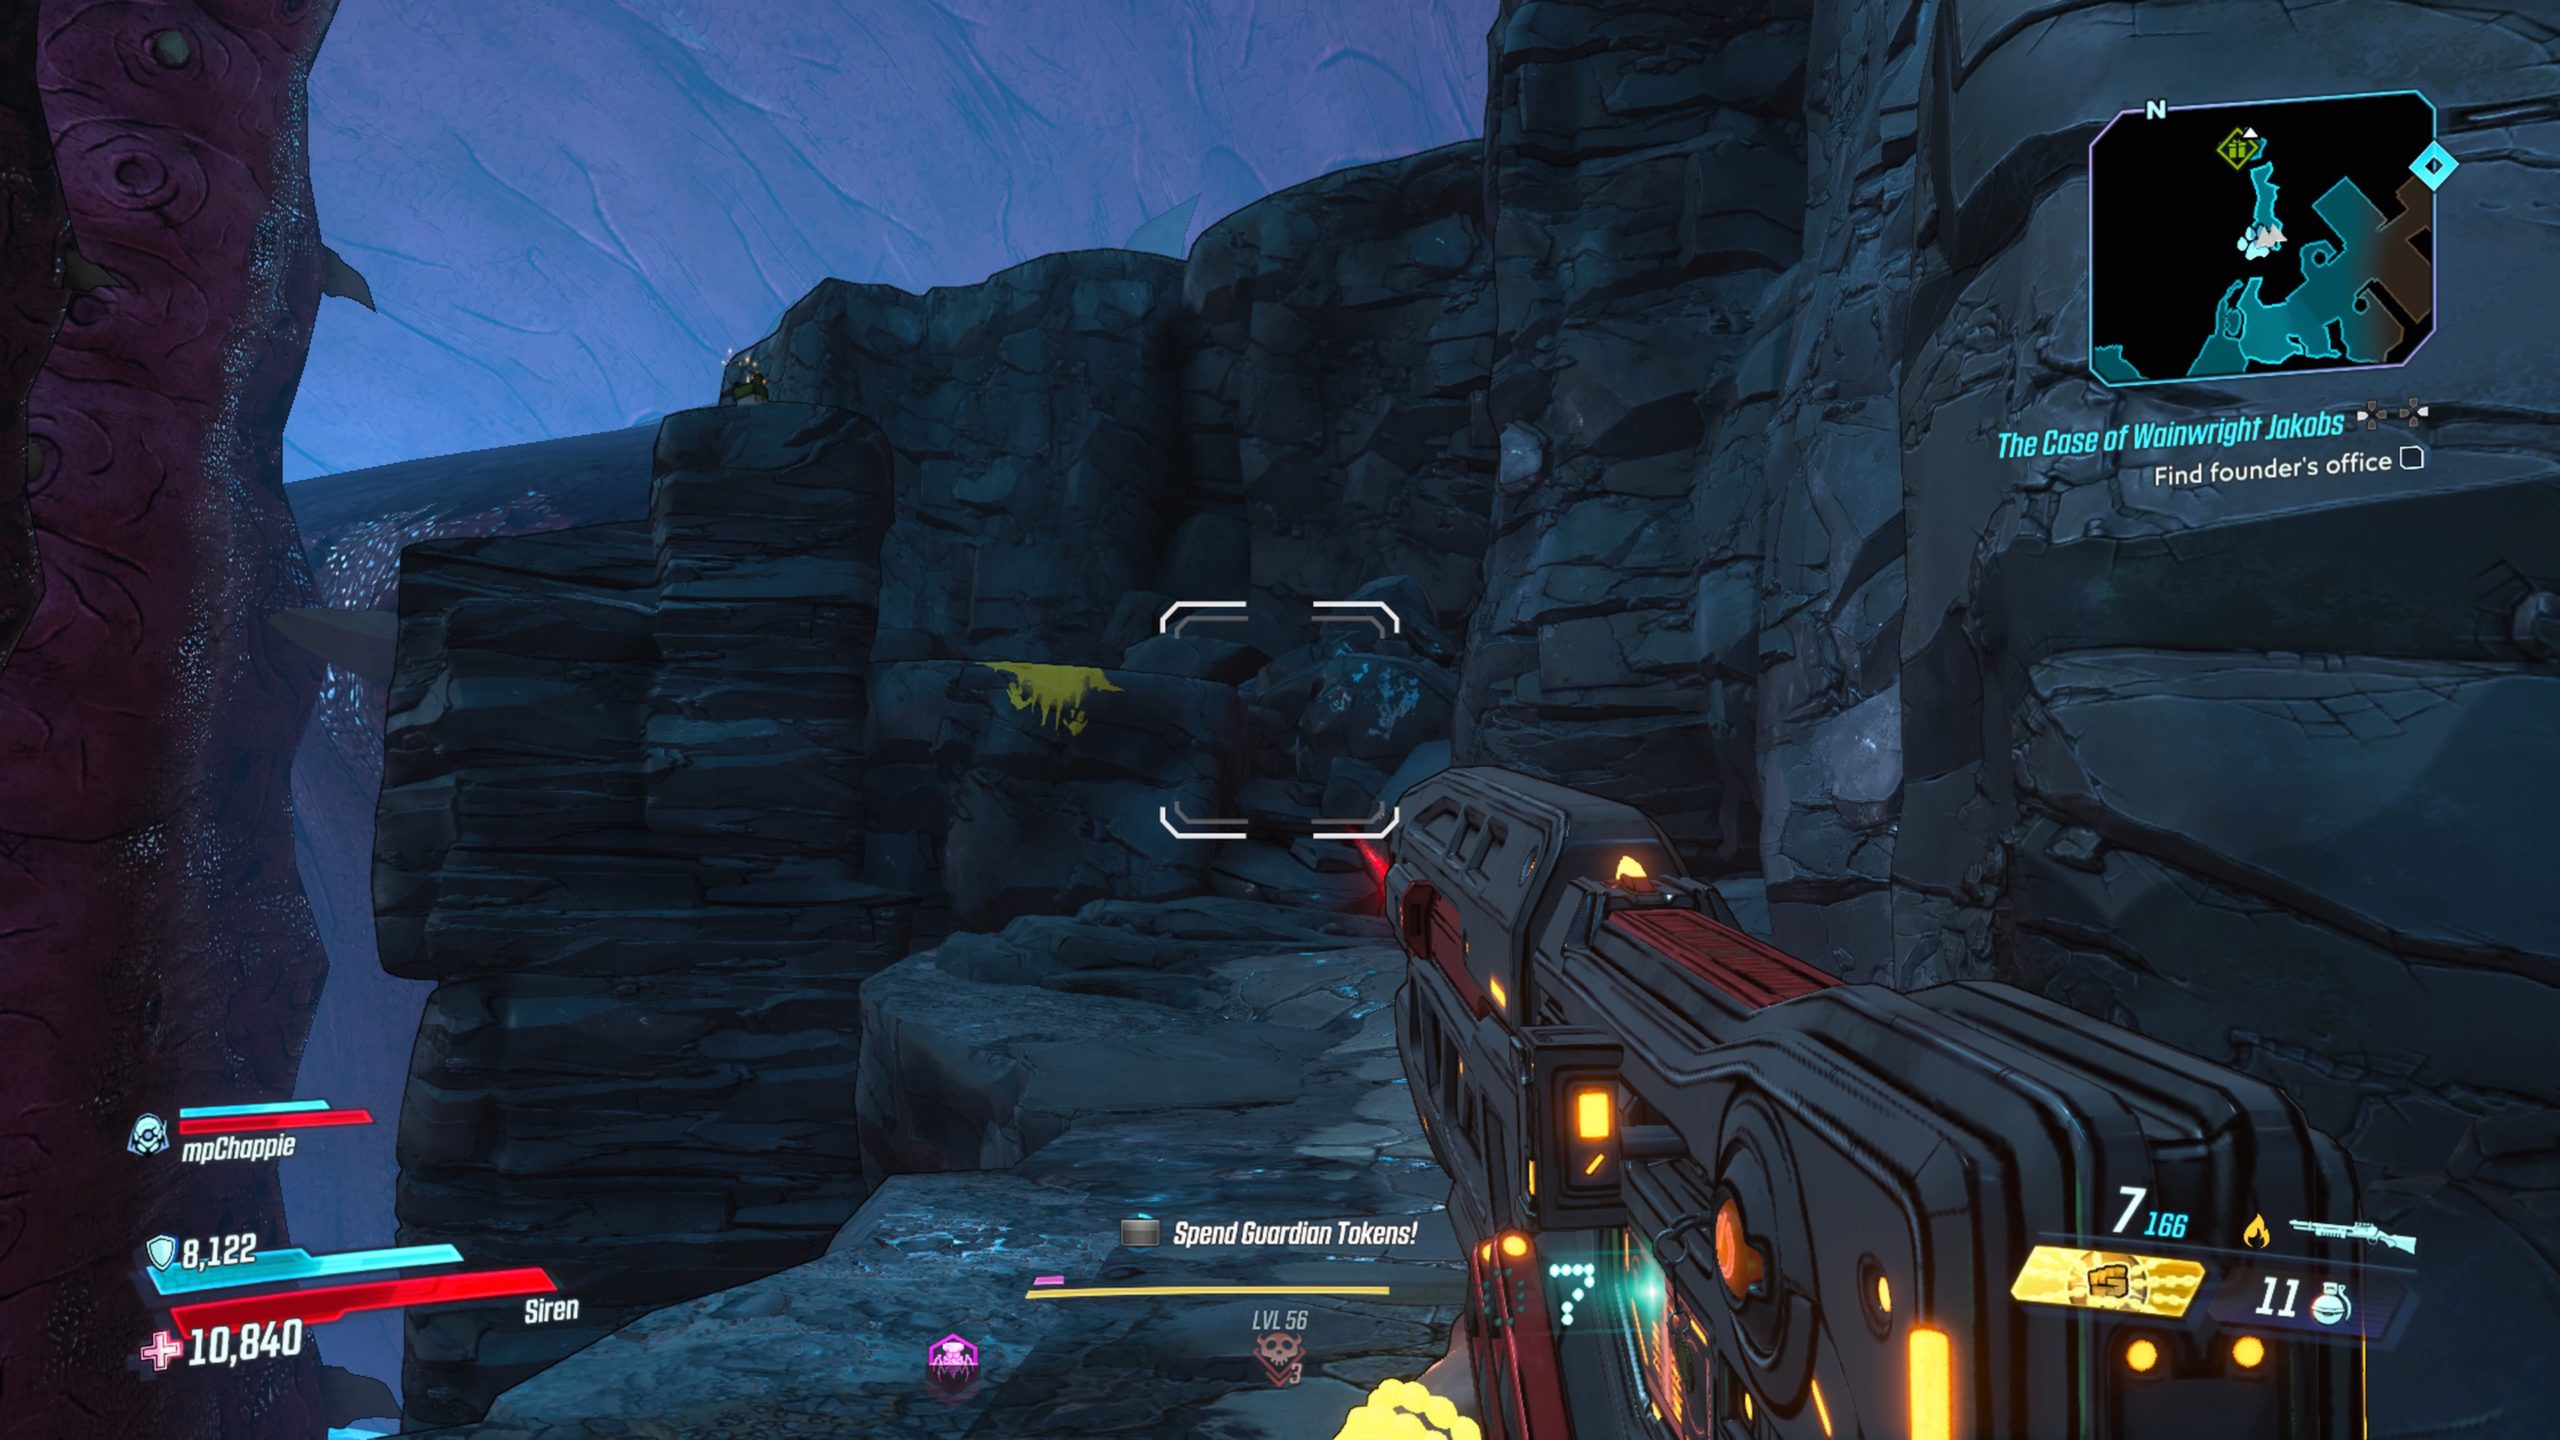
The gift is located just before the Founder’s Office in the northeastern corner of the area. To reach it, you will need to jump to the rock ledge then climb up where indicated by the yellow paint.

This gift is located on a rock ledge overlooking the square. You can reach it by climbing up the rock “stairs” just south of the gift.
This gift is located underneath the middle of the bridge on a ledge. It’s small, hard to see and easy to miss. To reach it, jump down to the small ledge on the left after the shipping container then work your way across the rock ledges until you reach the gift.

Codex: The Story of Earth – Cultist Base
From the starting point, take an immediate right and head into a room past two columns to locate this codex.
Toy: Gargoyle

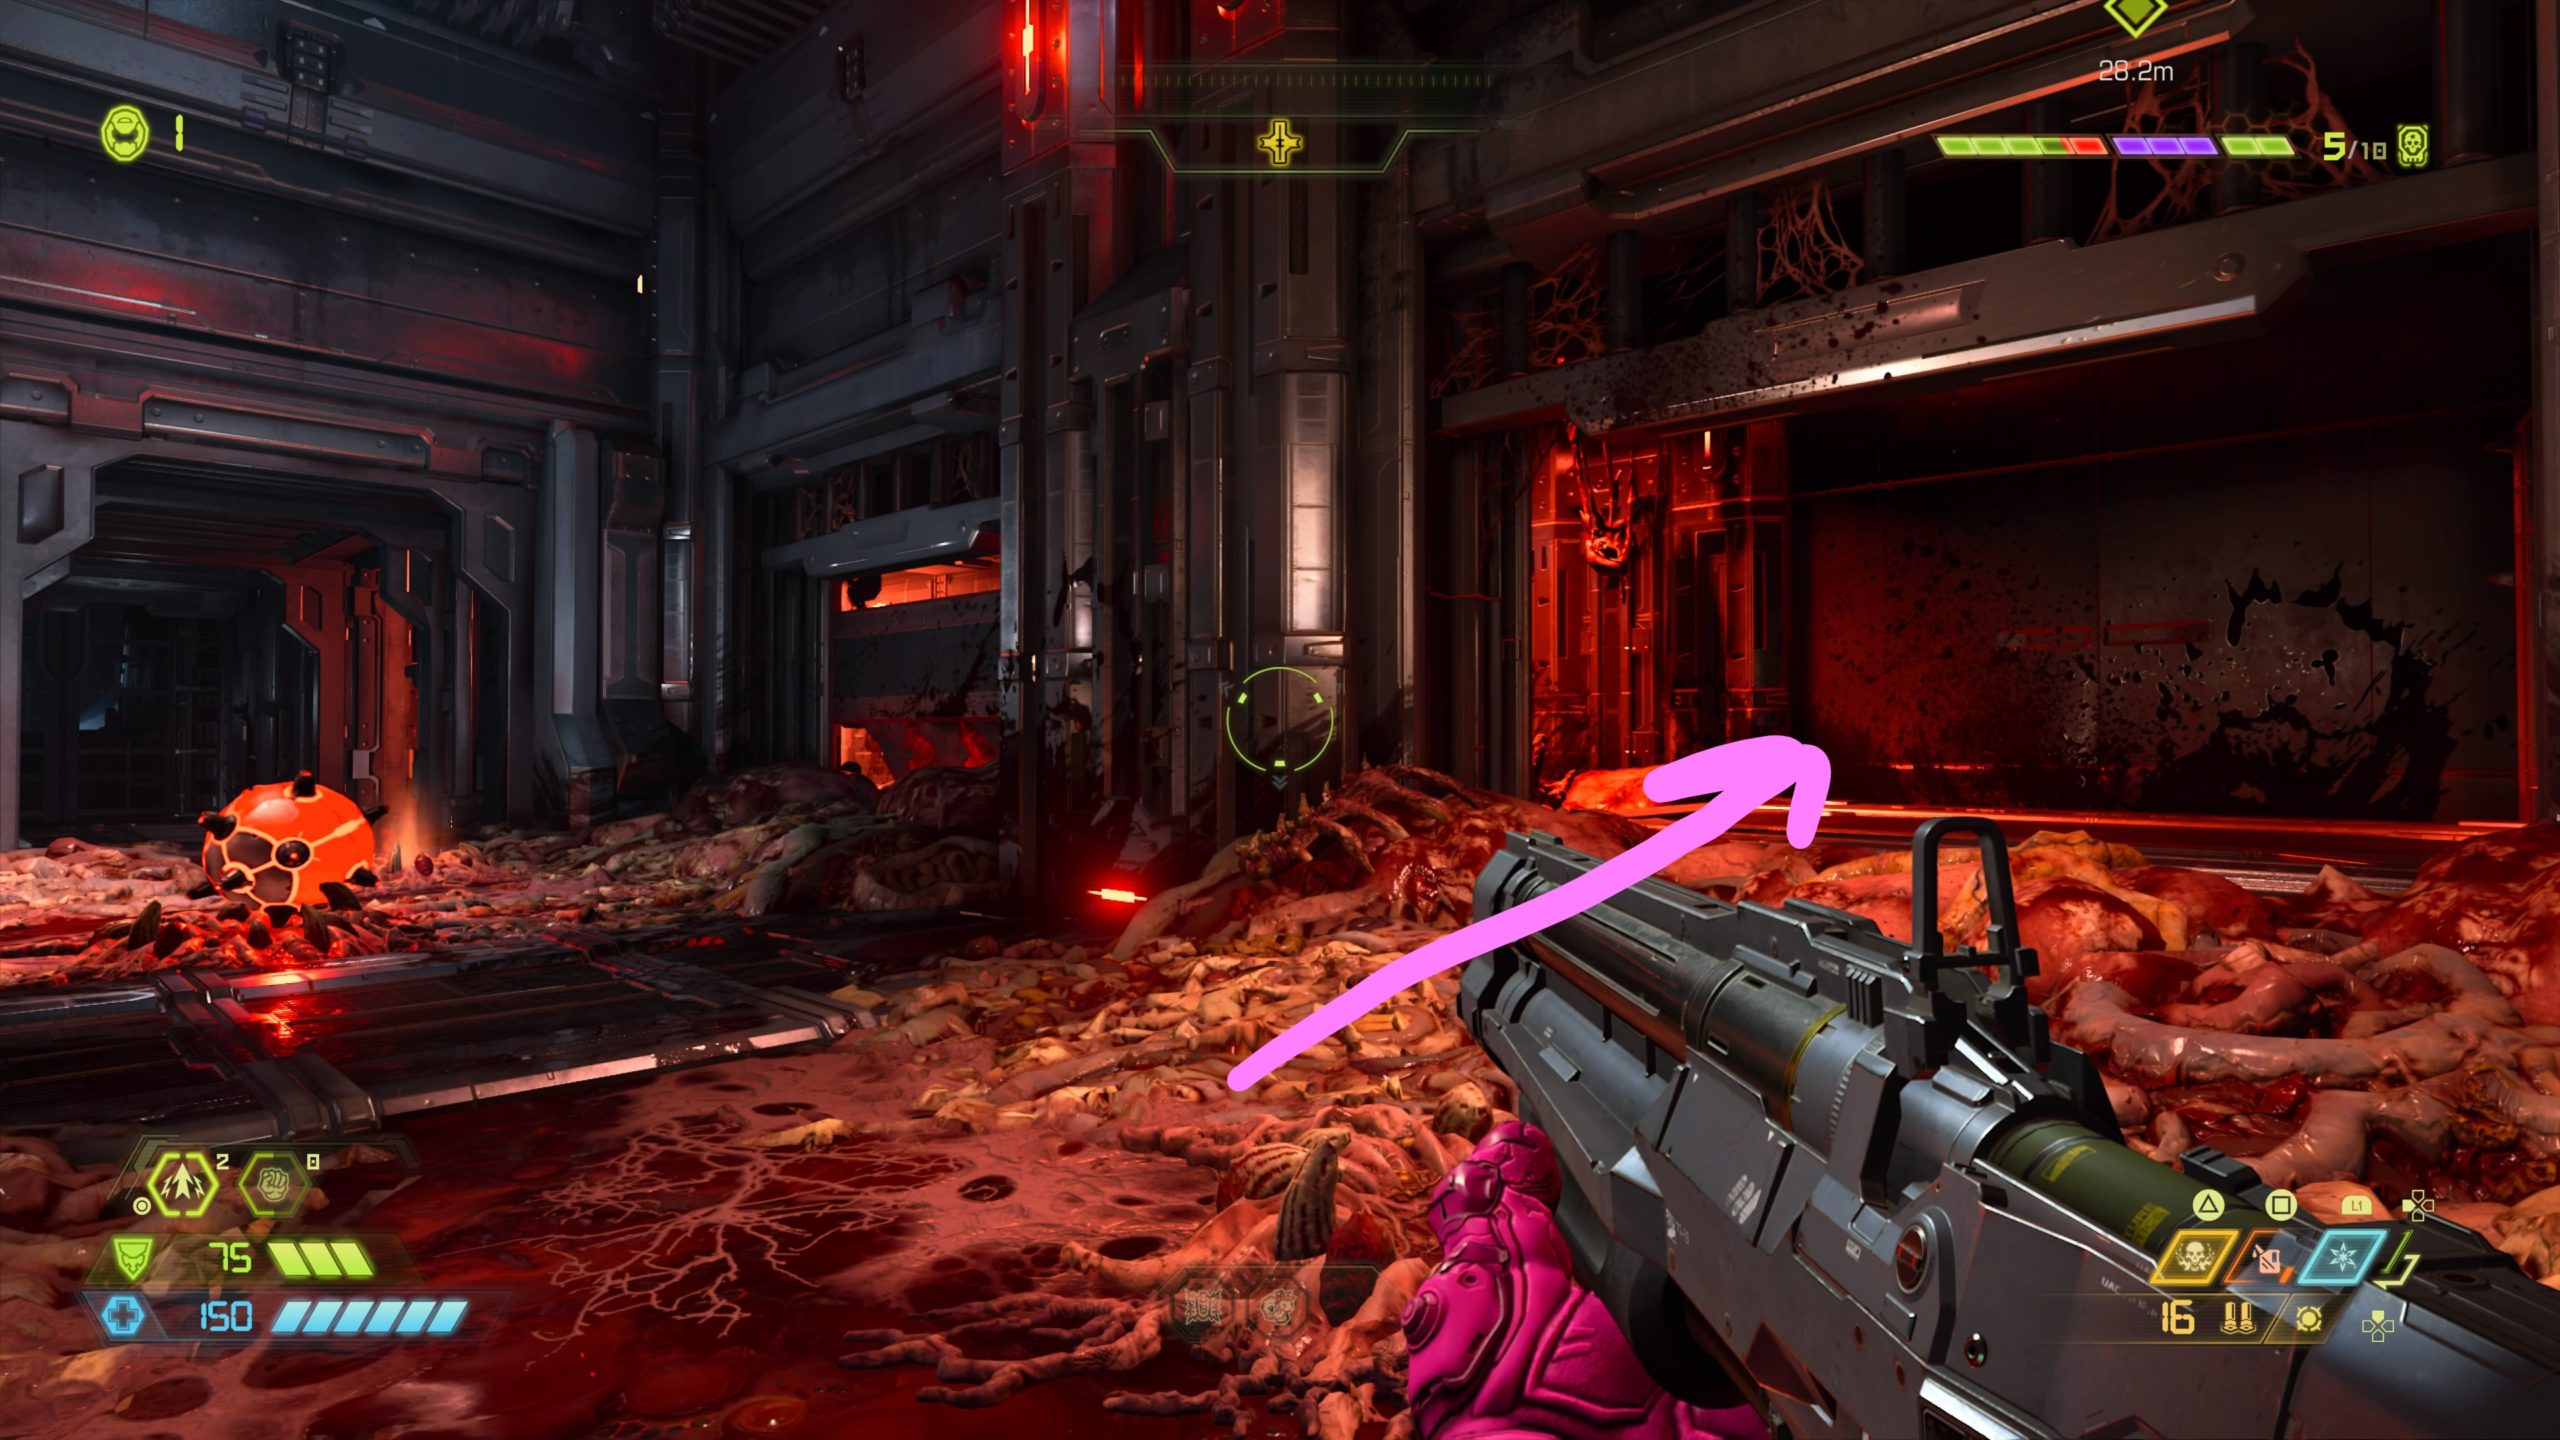
From the starting point, proceed deeper into the level until you come to a chasm. You will need to jump to a climbable wall in the chasm then use that to reach a doorway. Head through the doorway to find a rib cage jutting out over a cliff side. If you look to your left, you will see a skull suspended by a crane. The collectible is located on top of this skull. To reach it walk to the edge of the rib cage then jump towards the stream of air. When you fly up in air, dash to the climbable wall then look right to find another climbable wall with red damage dealing orbs underneath a doorway. Once you reach the top, turn left through a small tunnel to find a cracked wall at the end. Melee the wall then jump through the hole to reach the skull.
Sentinel Battery
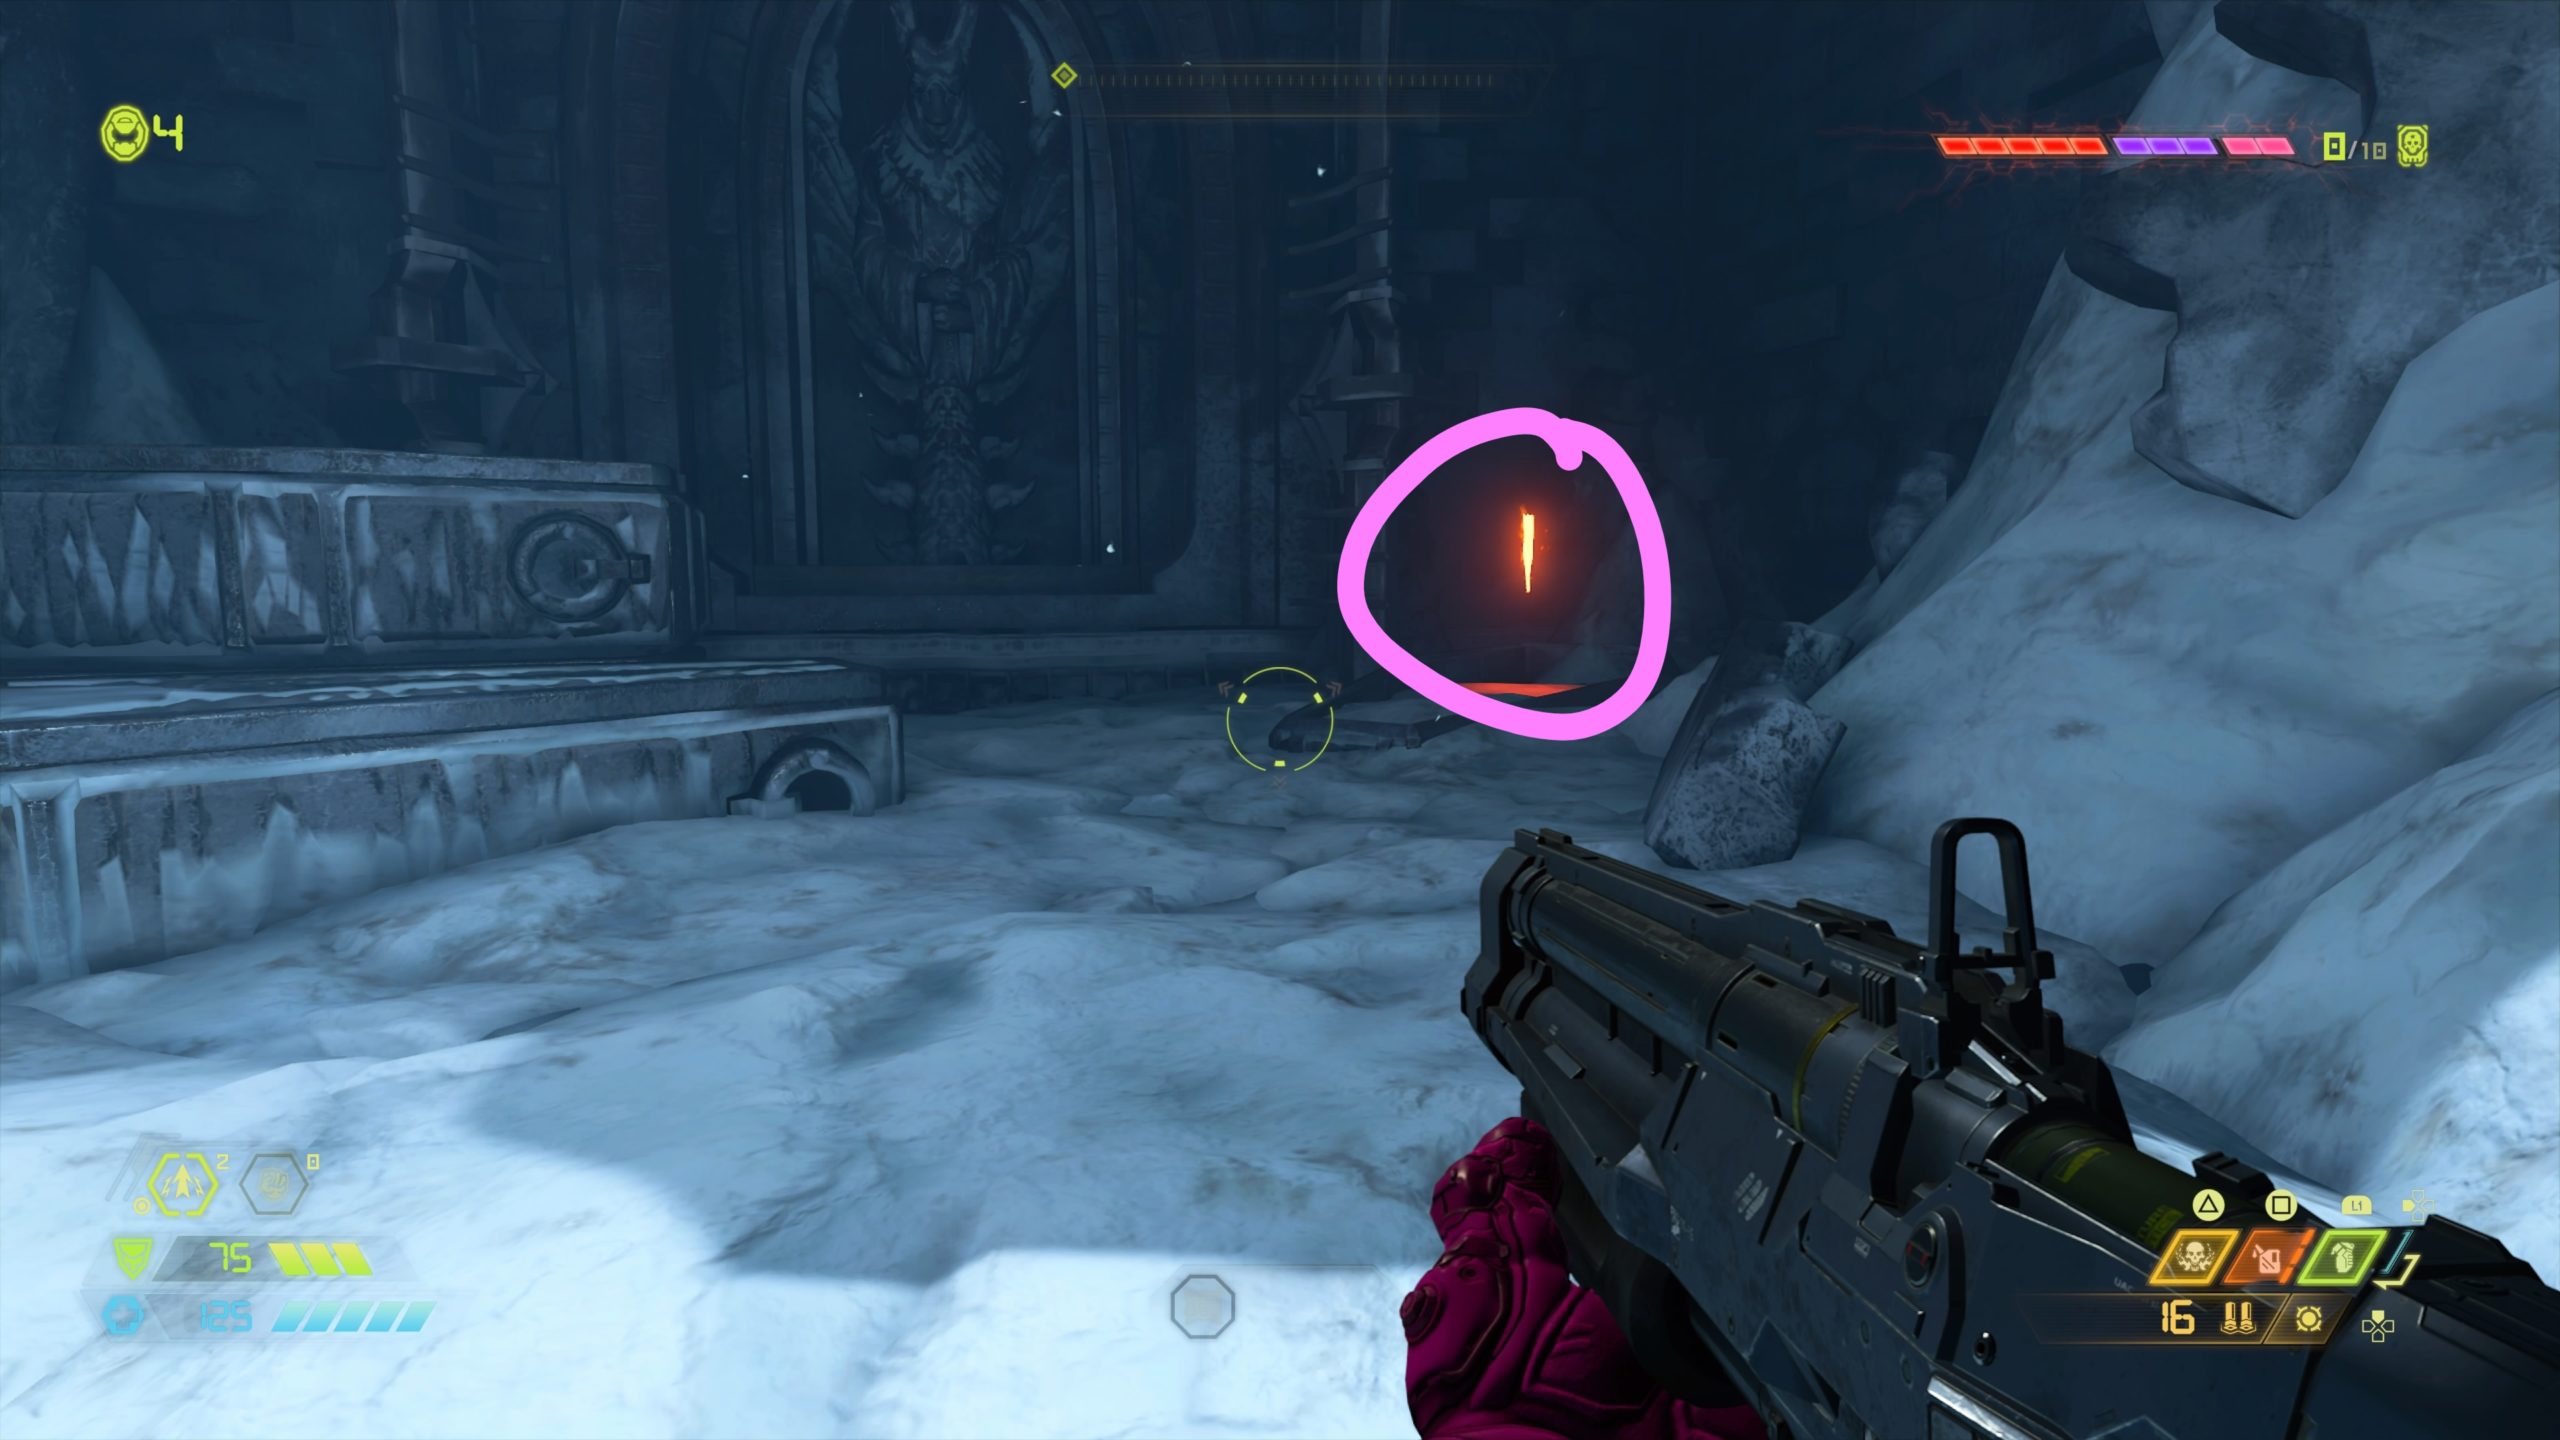
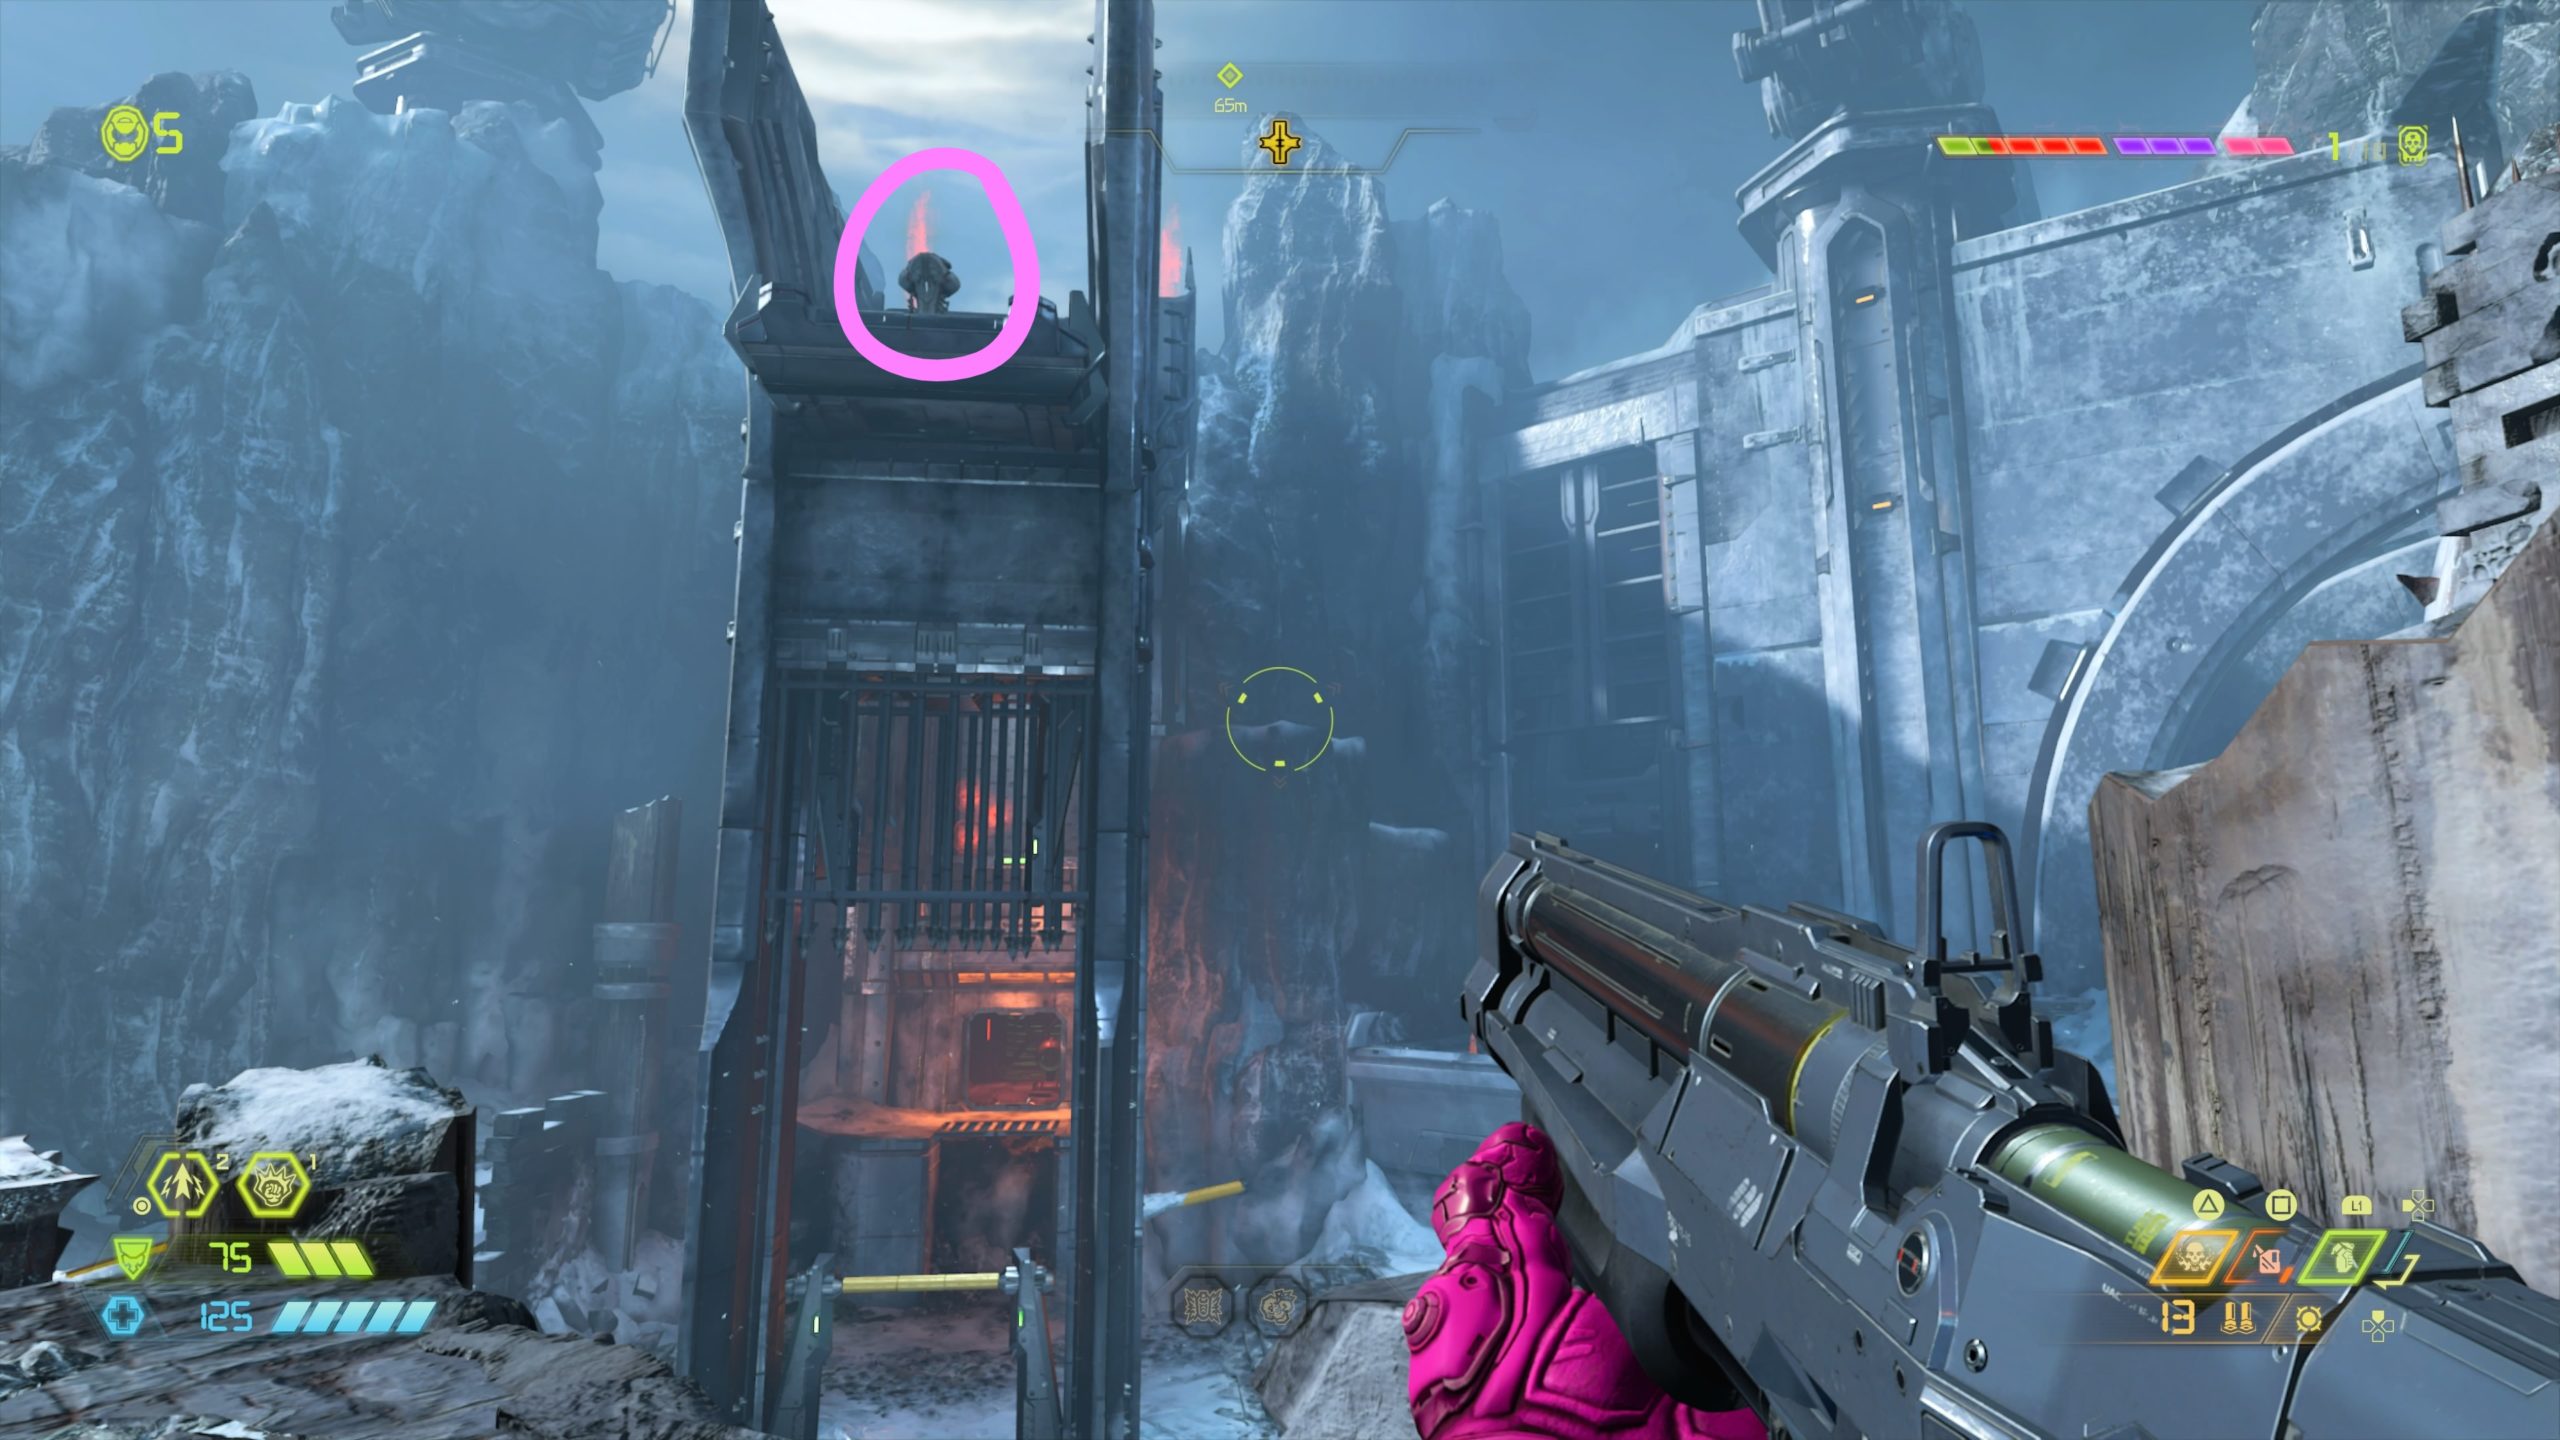
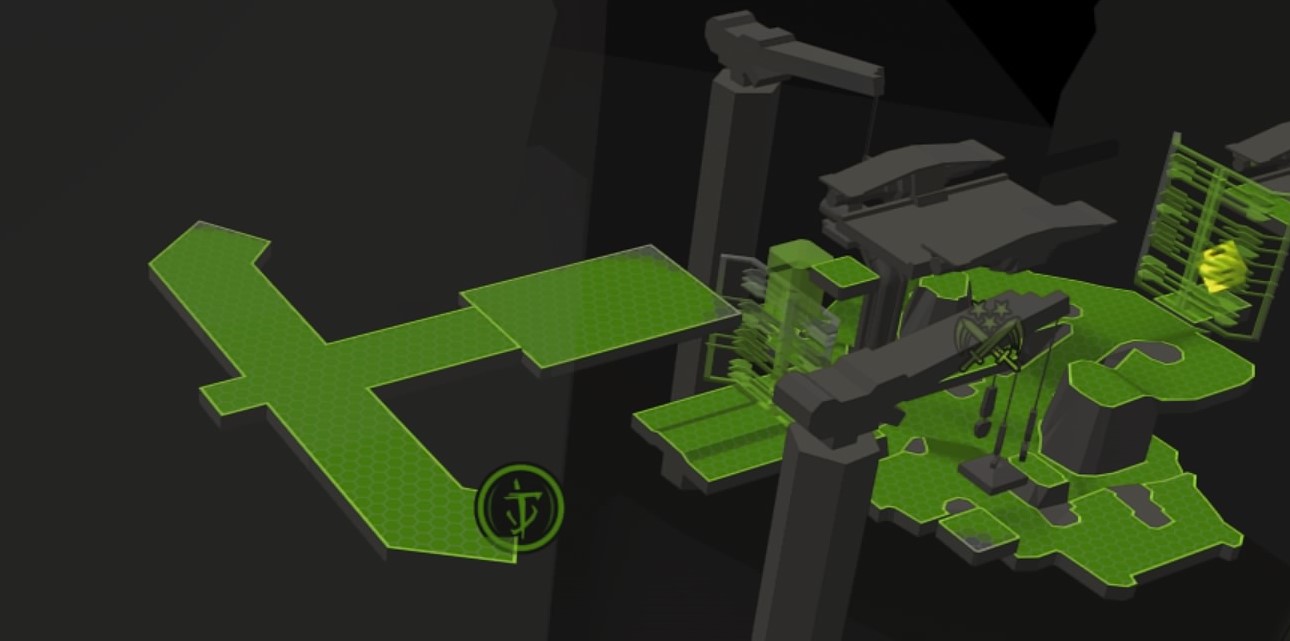
From the previous collectible, backtrack to the tunnel and at the end take a left and melee the cracked wall. This will bring you to an open area in the mountains filled with enemies fighting. Drop down to the lower level then take a right facing some icebergs floating in the water. To the right, there will be a ledge along the cliff reachable by jumping (see picture above). Double jump to the ledge then melee the barrier and the switch located behind it to open a gate. Turn back around and jump back to the ledge you came from. Follow the ledge right, passing by the blue air stream, to arrive under the platform. Take a left to reach a blue air stream that will shoot you up into the air where you can then reach the battery.
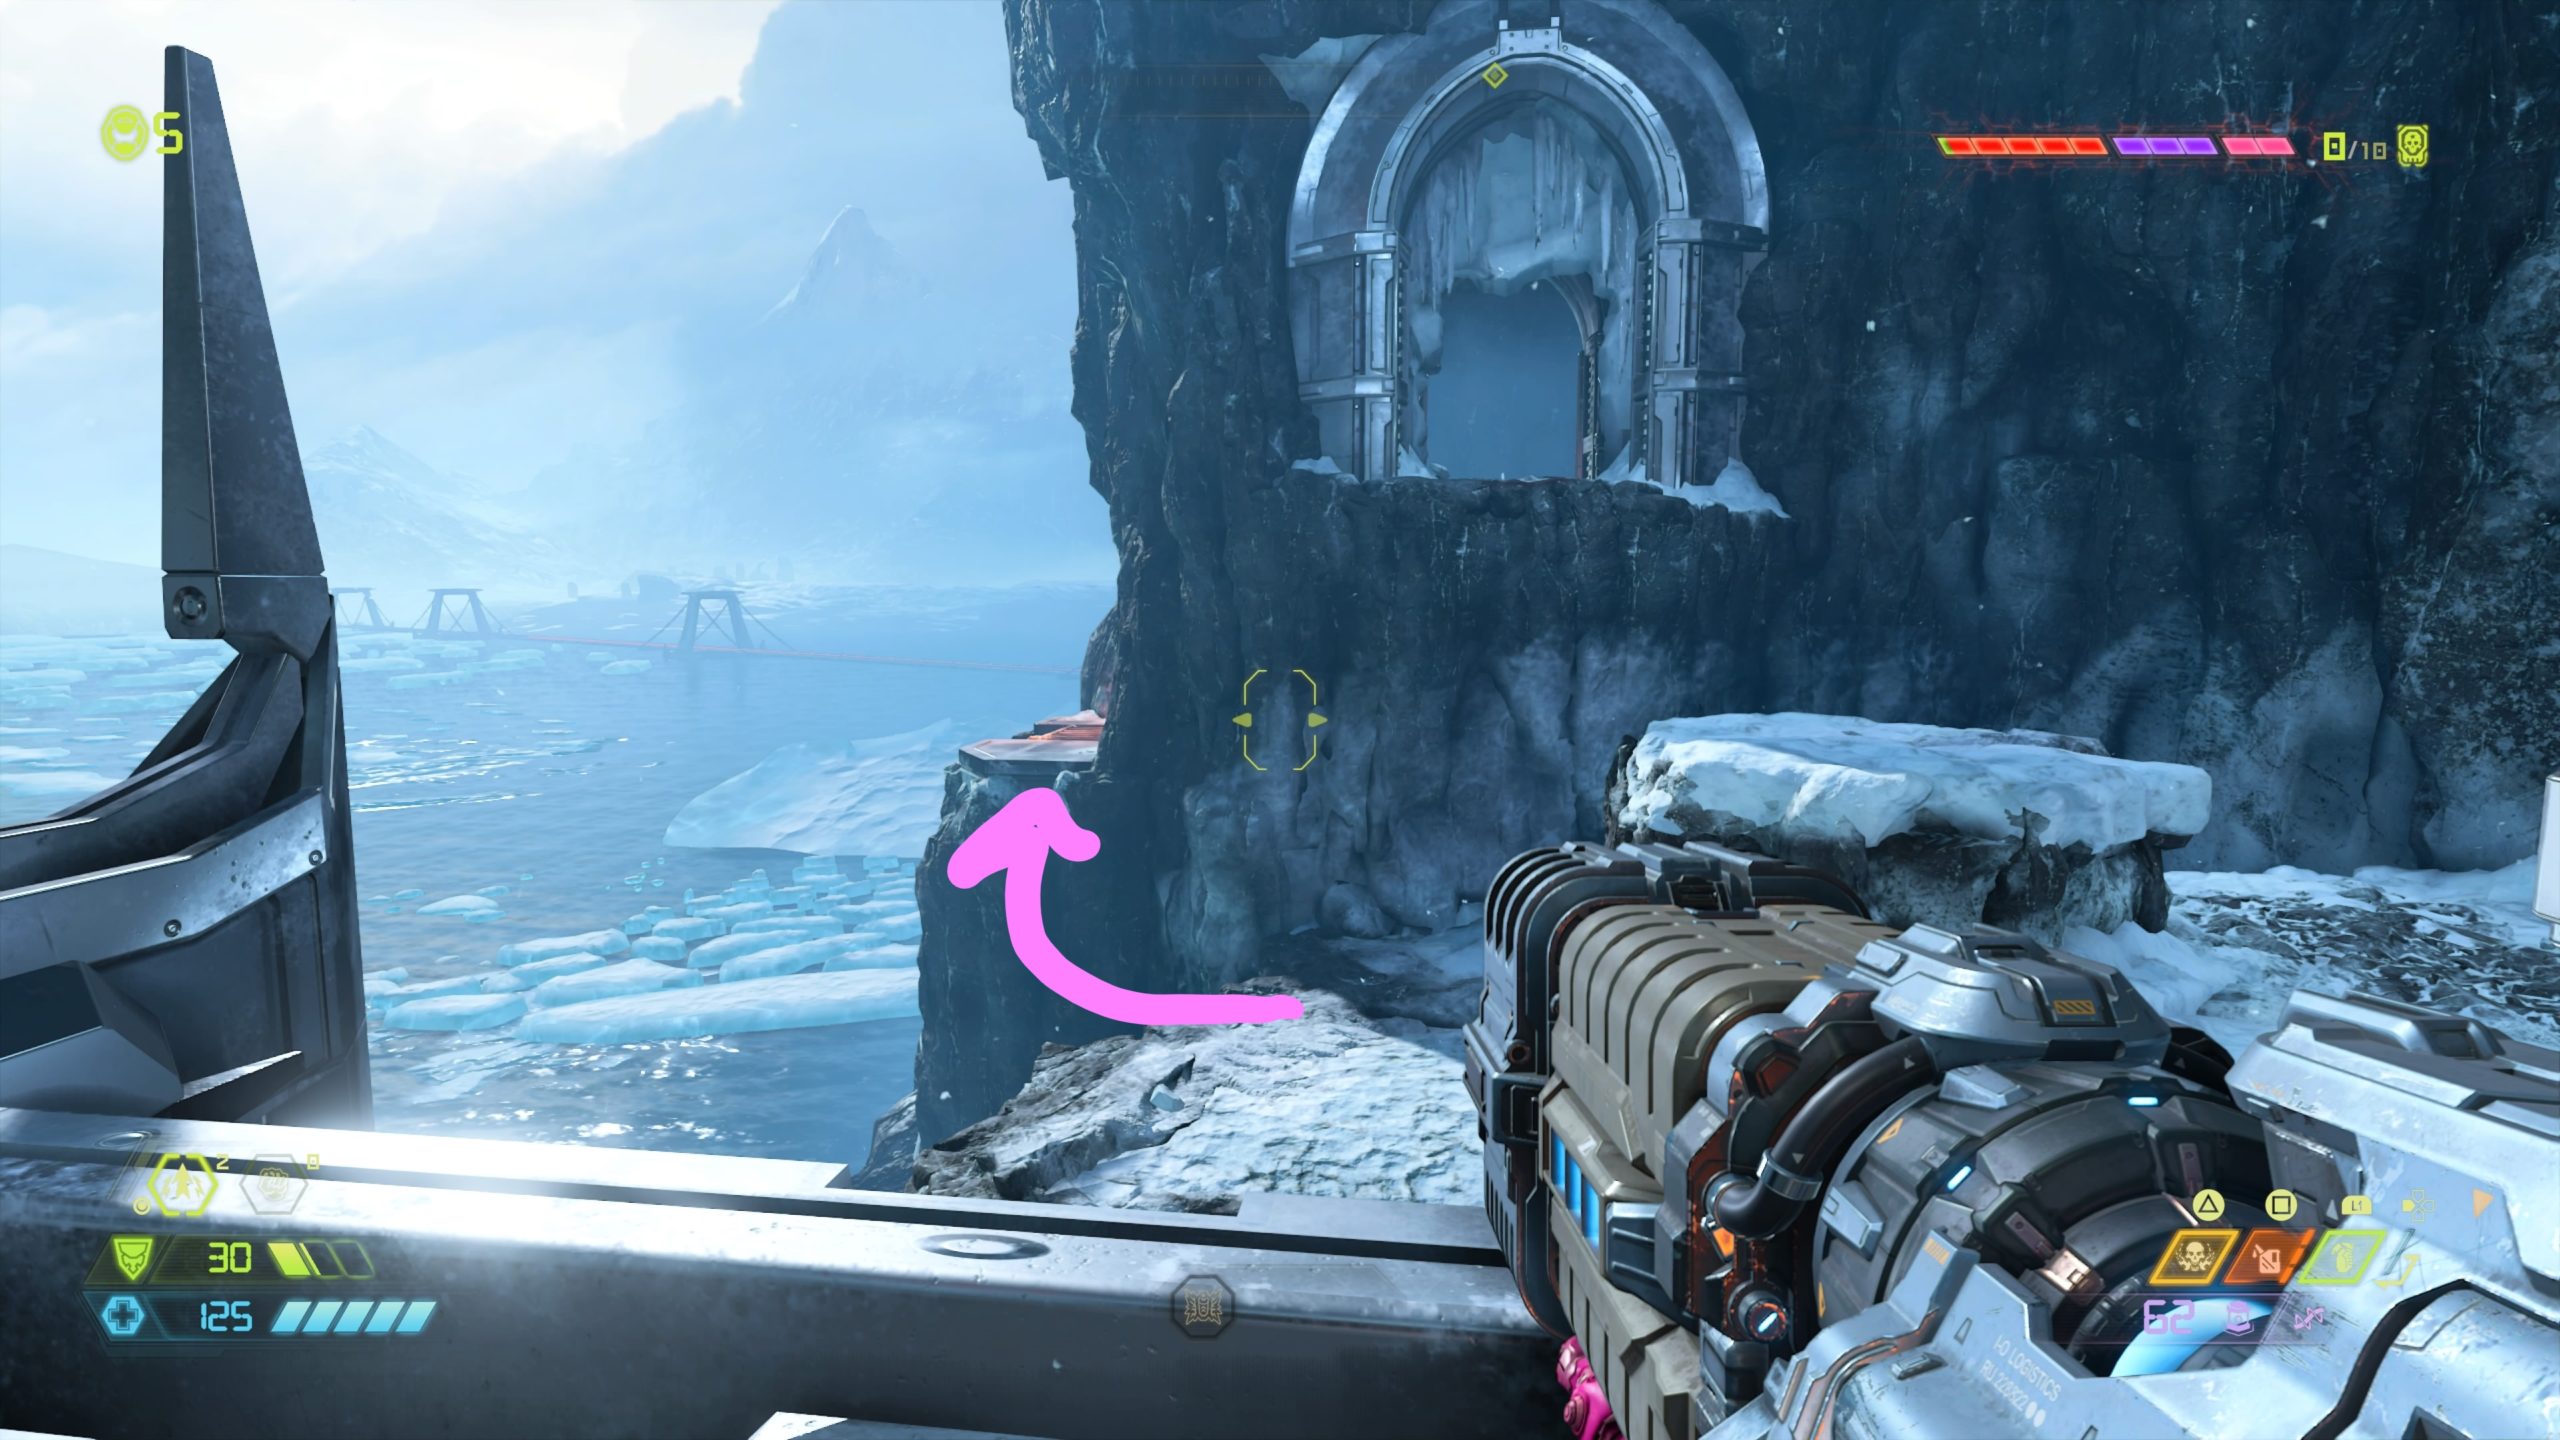
Praetor Suit Point
From the previous collectible, jump out of the cave the battery was in then head through the doorway beneath it and walk across a yellow bridge. You will arrive in a long hallway of death. Activate the terminal straight ahead to trigger a fight that introduces the Mancubus. After you defeat all the enemies, head to the end of the hallway where the cultist key is located and take a right to find a sentinel holding the point.
Rune
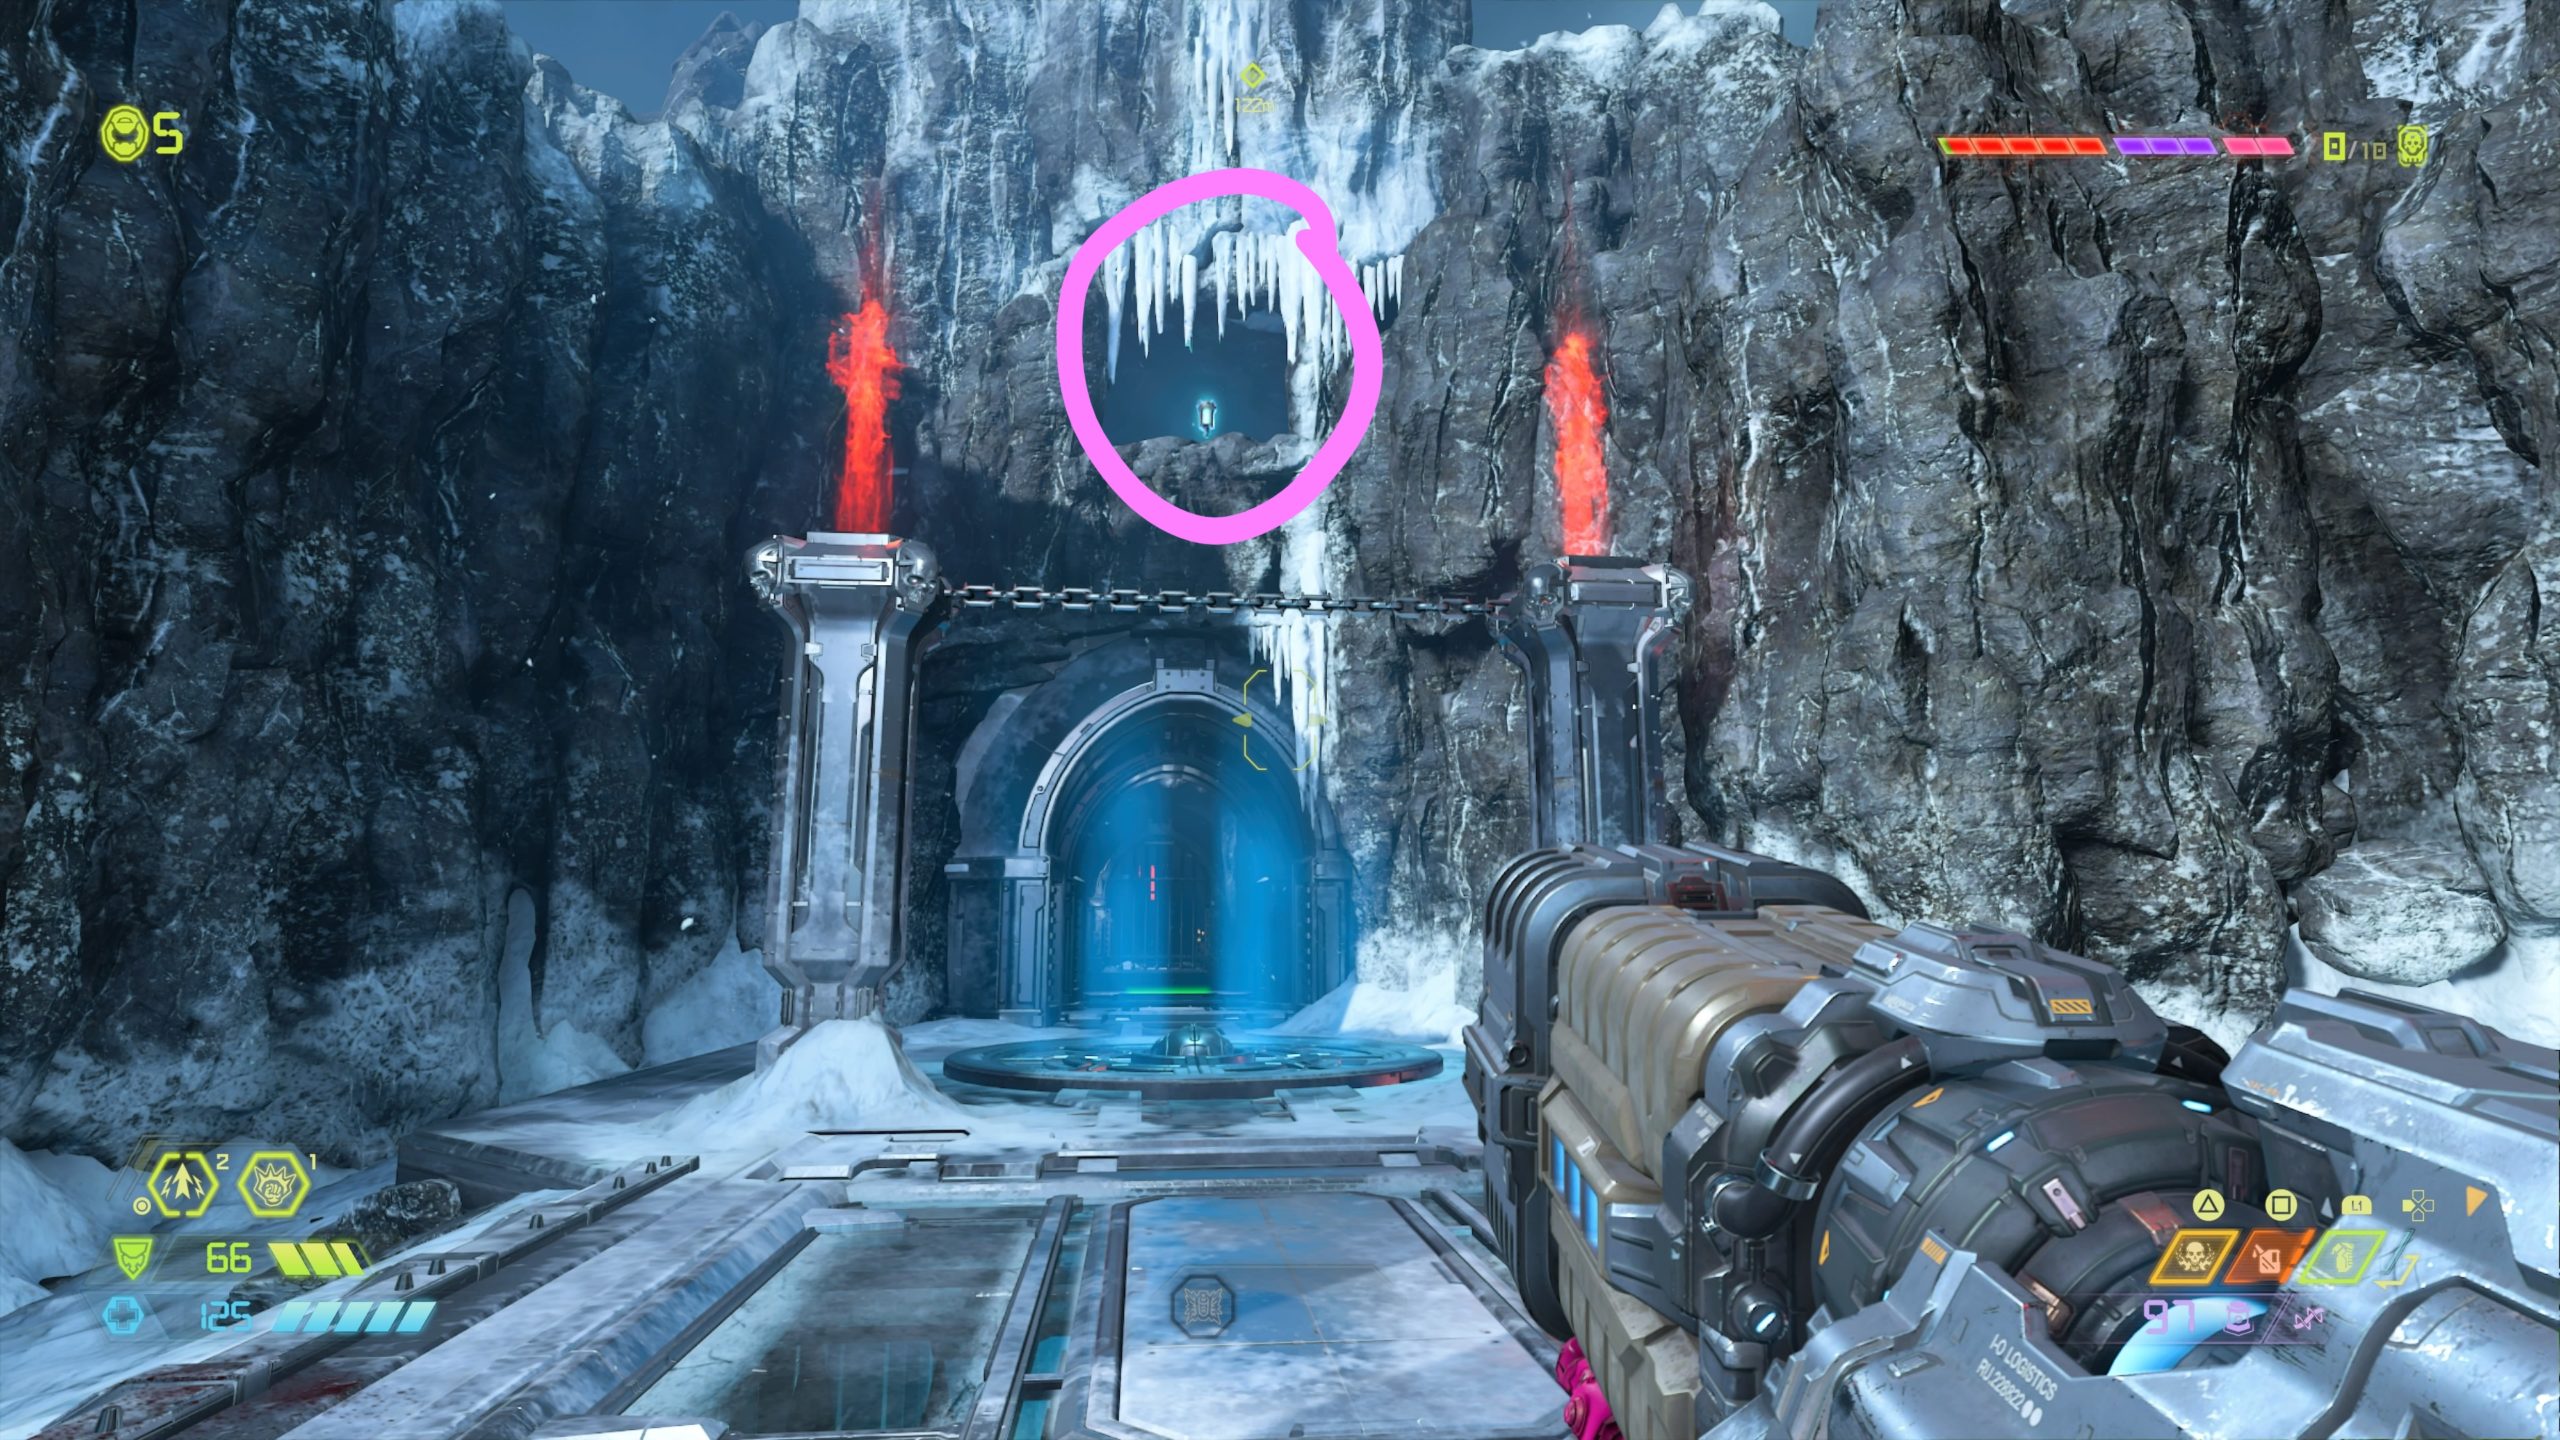
This rune can be found near the location of the rocket launcher during the part in the story where you have to activate a terminal behind a sealed metal gate. The rune is located at the very top of the tower. To reach it, enter the small room at the base of the tower to melee the switch. This raises a gold spin bar behind you. Use the bar to access a climbable wall above the room with the switch. Climb up the wall to access the platform containing the rune.
Modbot

From the previous collectible, proceed forward in the story using the skull switch to unseal the gate. This will enable you to return to a previous courtyard area. Defeat the enemies then stand on the green platform in the middle of the area to unseal the gate. Head inside to obtain the collectible.
Praetor Suit Point

Facing the previous collectible, head left down the tunnel. Just before the doorway, there will be a cracked section of wall on the left side of the tunnel. Melee it then drop down into a room below containing the Praetor Suit Point.
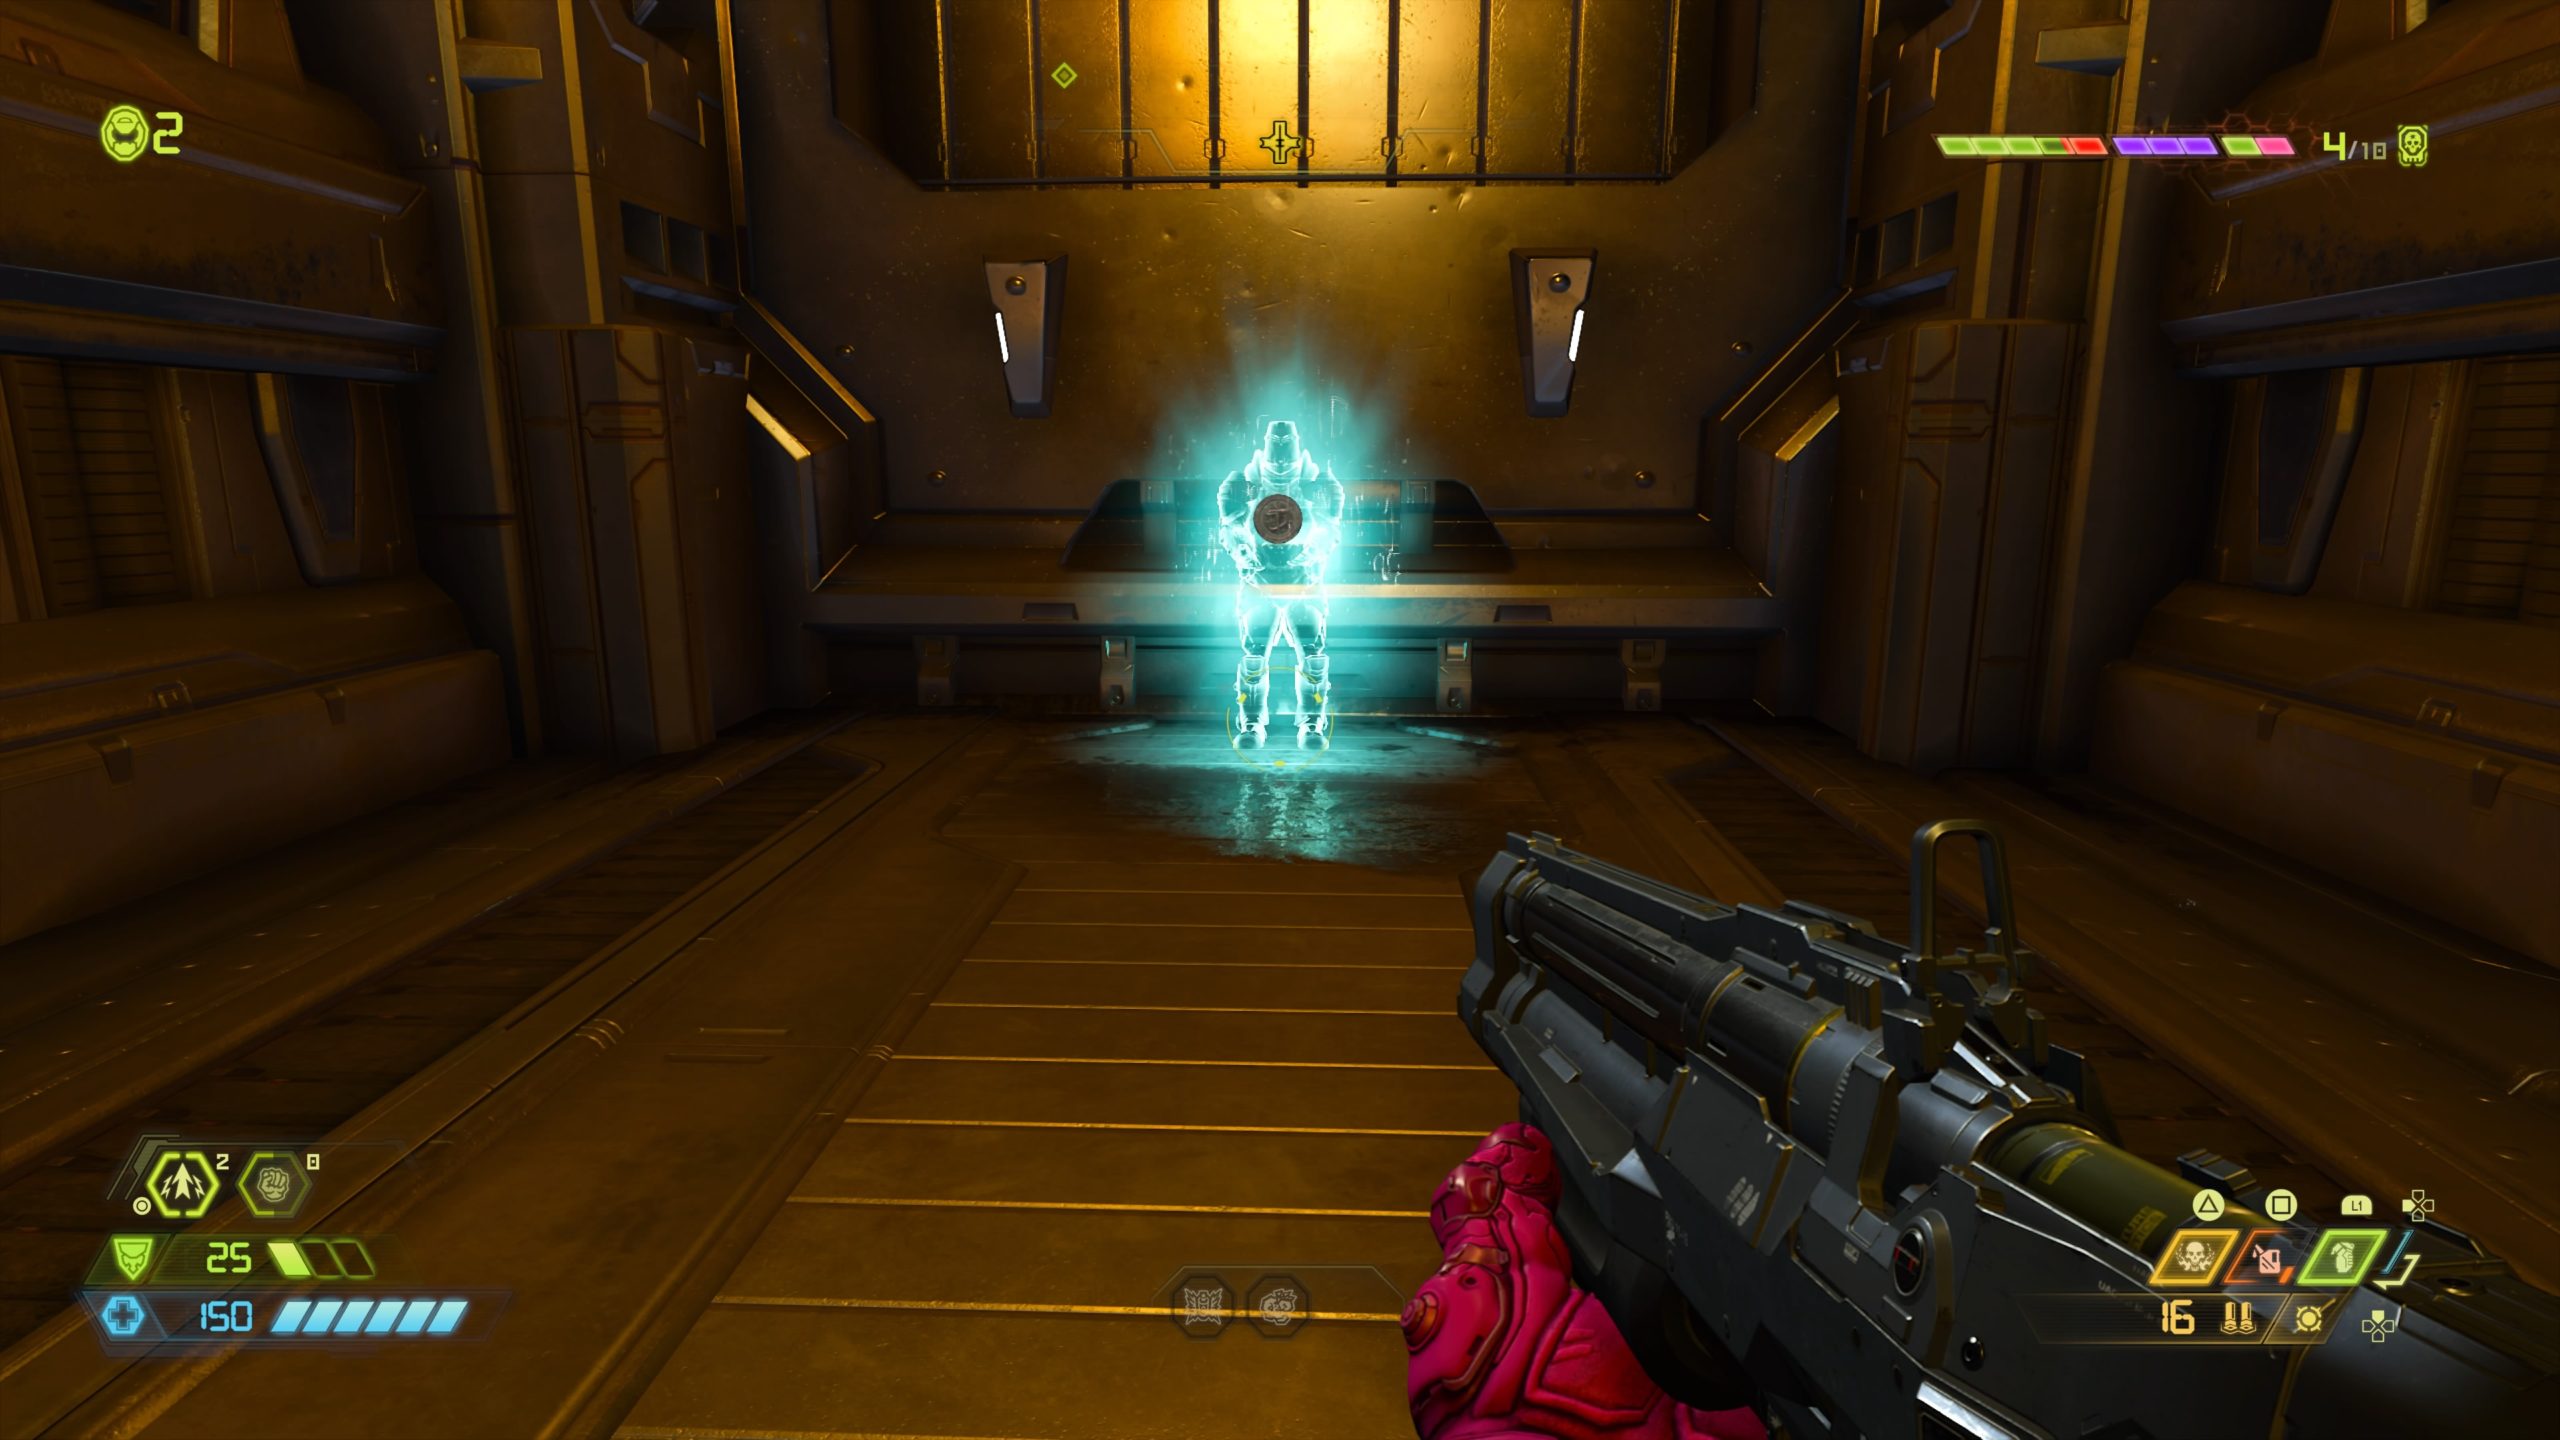
Sentinel Battery
After you defeat a group of enemies, a large gate will drop allowing you to move on to the next area. Head up the gate then swing left to find the battery.
Sentinel Crystal

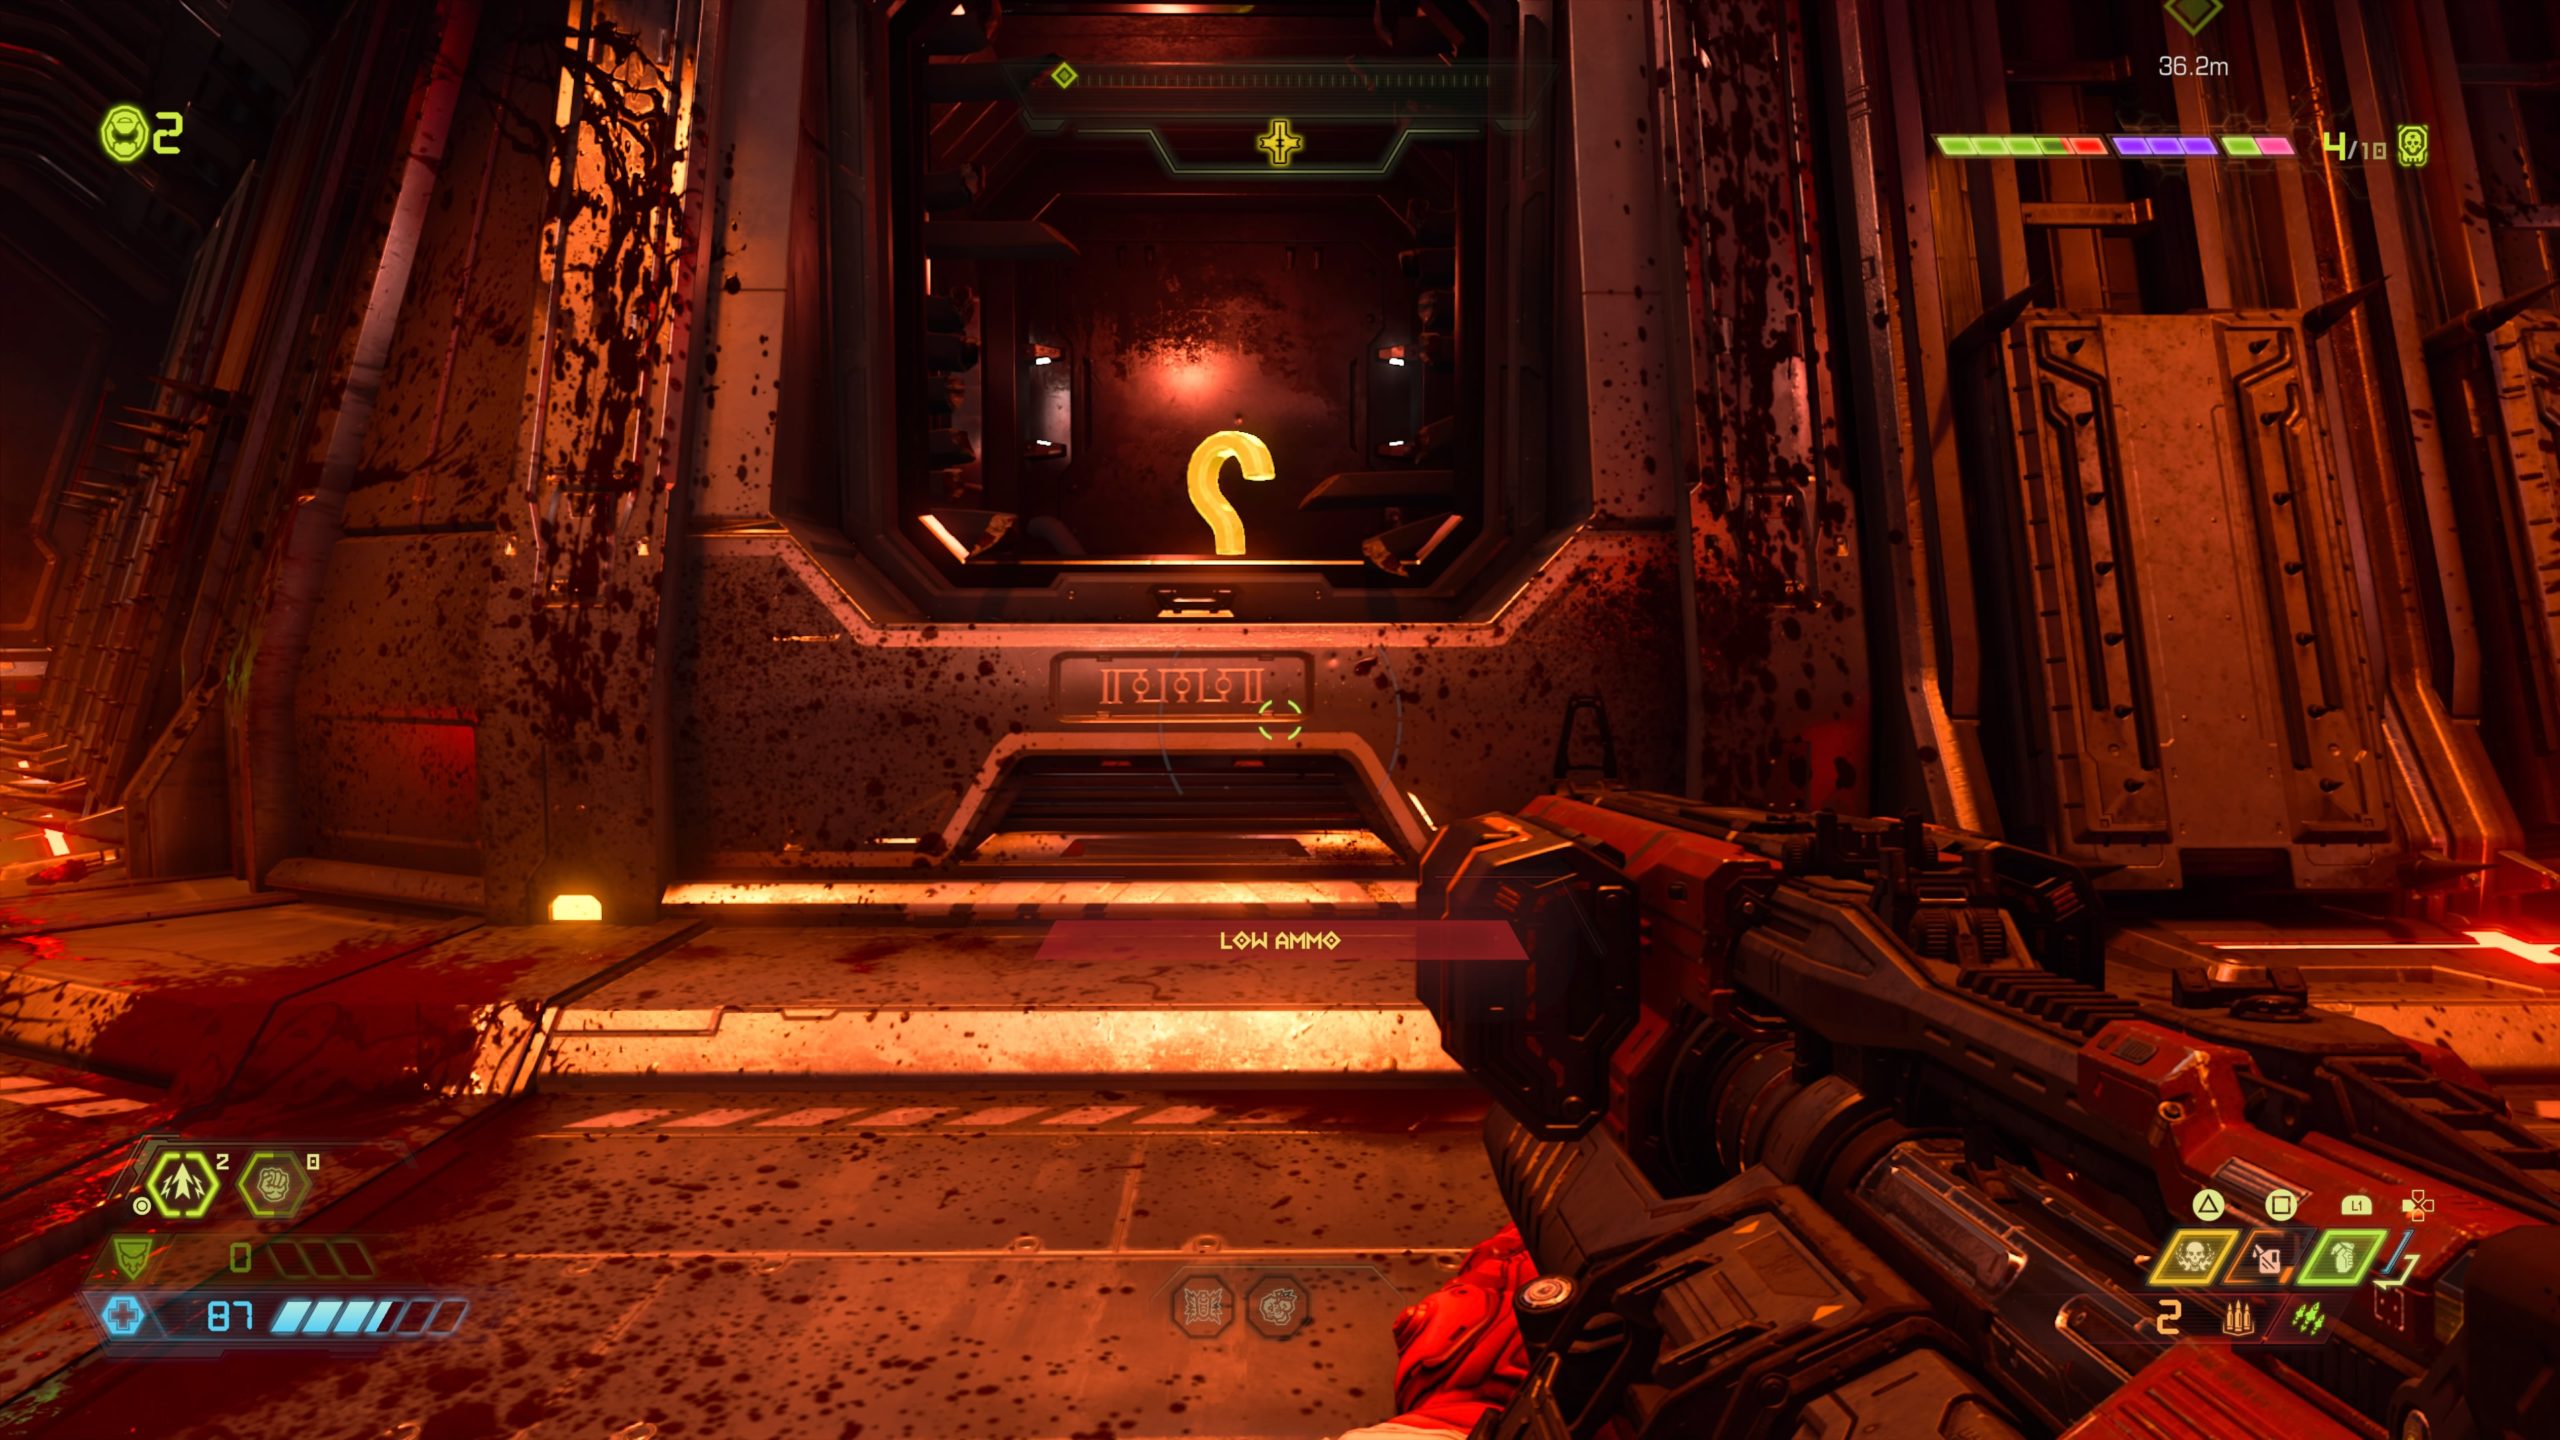
You’ll come across this collectible during the Obtain your Super Shotgun objective. It will be sealed in the middle of a bloody room. To reach it, you will need to look for the room with the Automap Station to find a moat of red stuff. Wall jump through the moat without touching the red then climb up the wall at the end to reach a metal platform containing a skull switch. Use the switch to gain access to the crystal.
Praetor Suit Point

From the previous collectible in the blood soaked room, head into the next room with two moving columns. Enter the moving column on the left and take it down to the next level. Exit the column and follow the metal walkway until you reach a metal cube. Jump over the cube and continue along the walkway to reach the collectible.
Sentinel Battery

From the previous collectible, jump over the crate and turn left into a small room. Punch the switch then shoot the green diamond on the wall in front of you. After doing that, use the gold spin bar to reach a climbable wall. From there, jump into the right moving platform behind you. Take the moving column up to the next left then follow the hallway and take the column at the end. Exit the column then drop down to the area that contains the battery.

Cheat Code
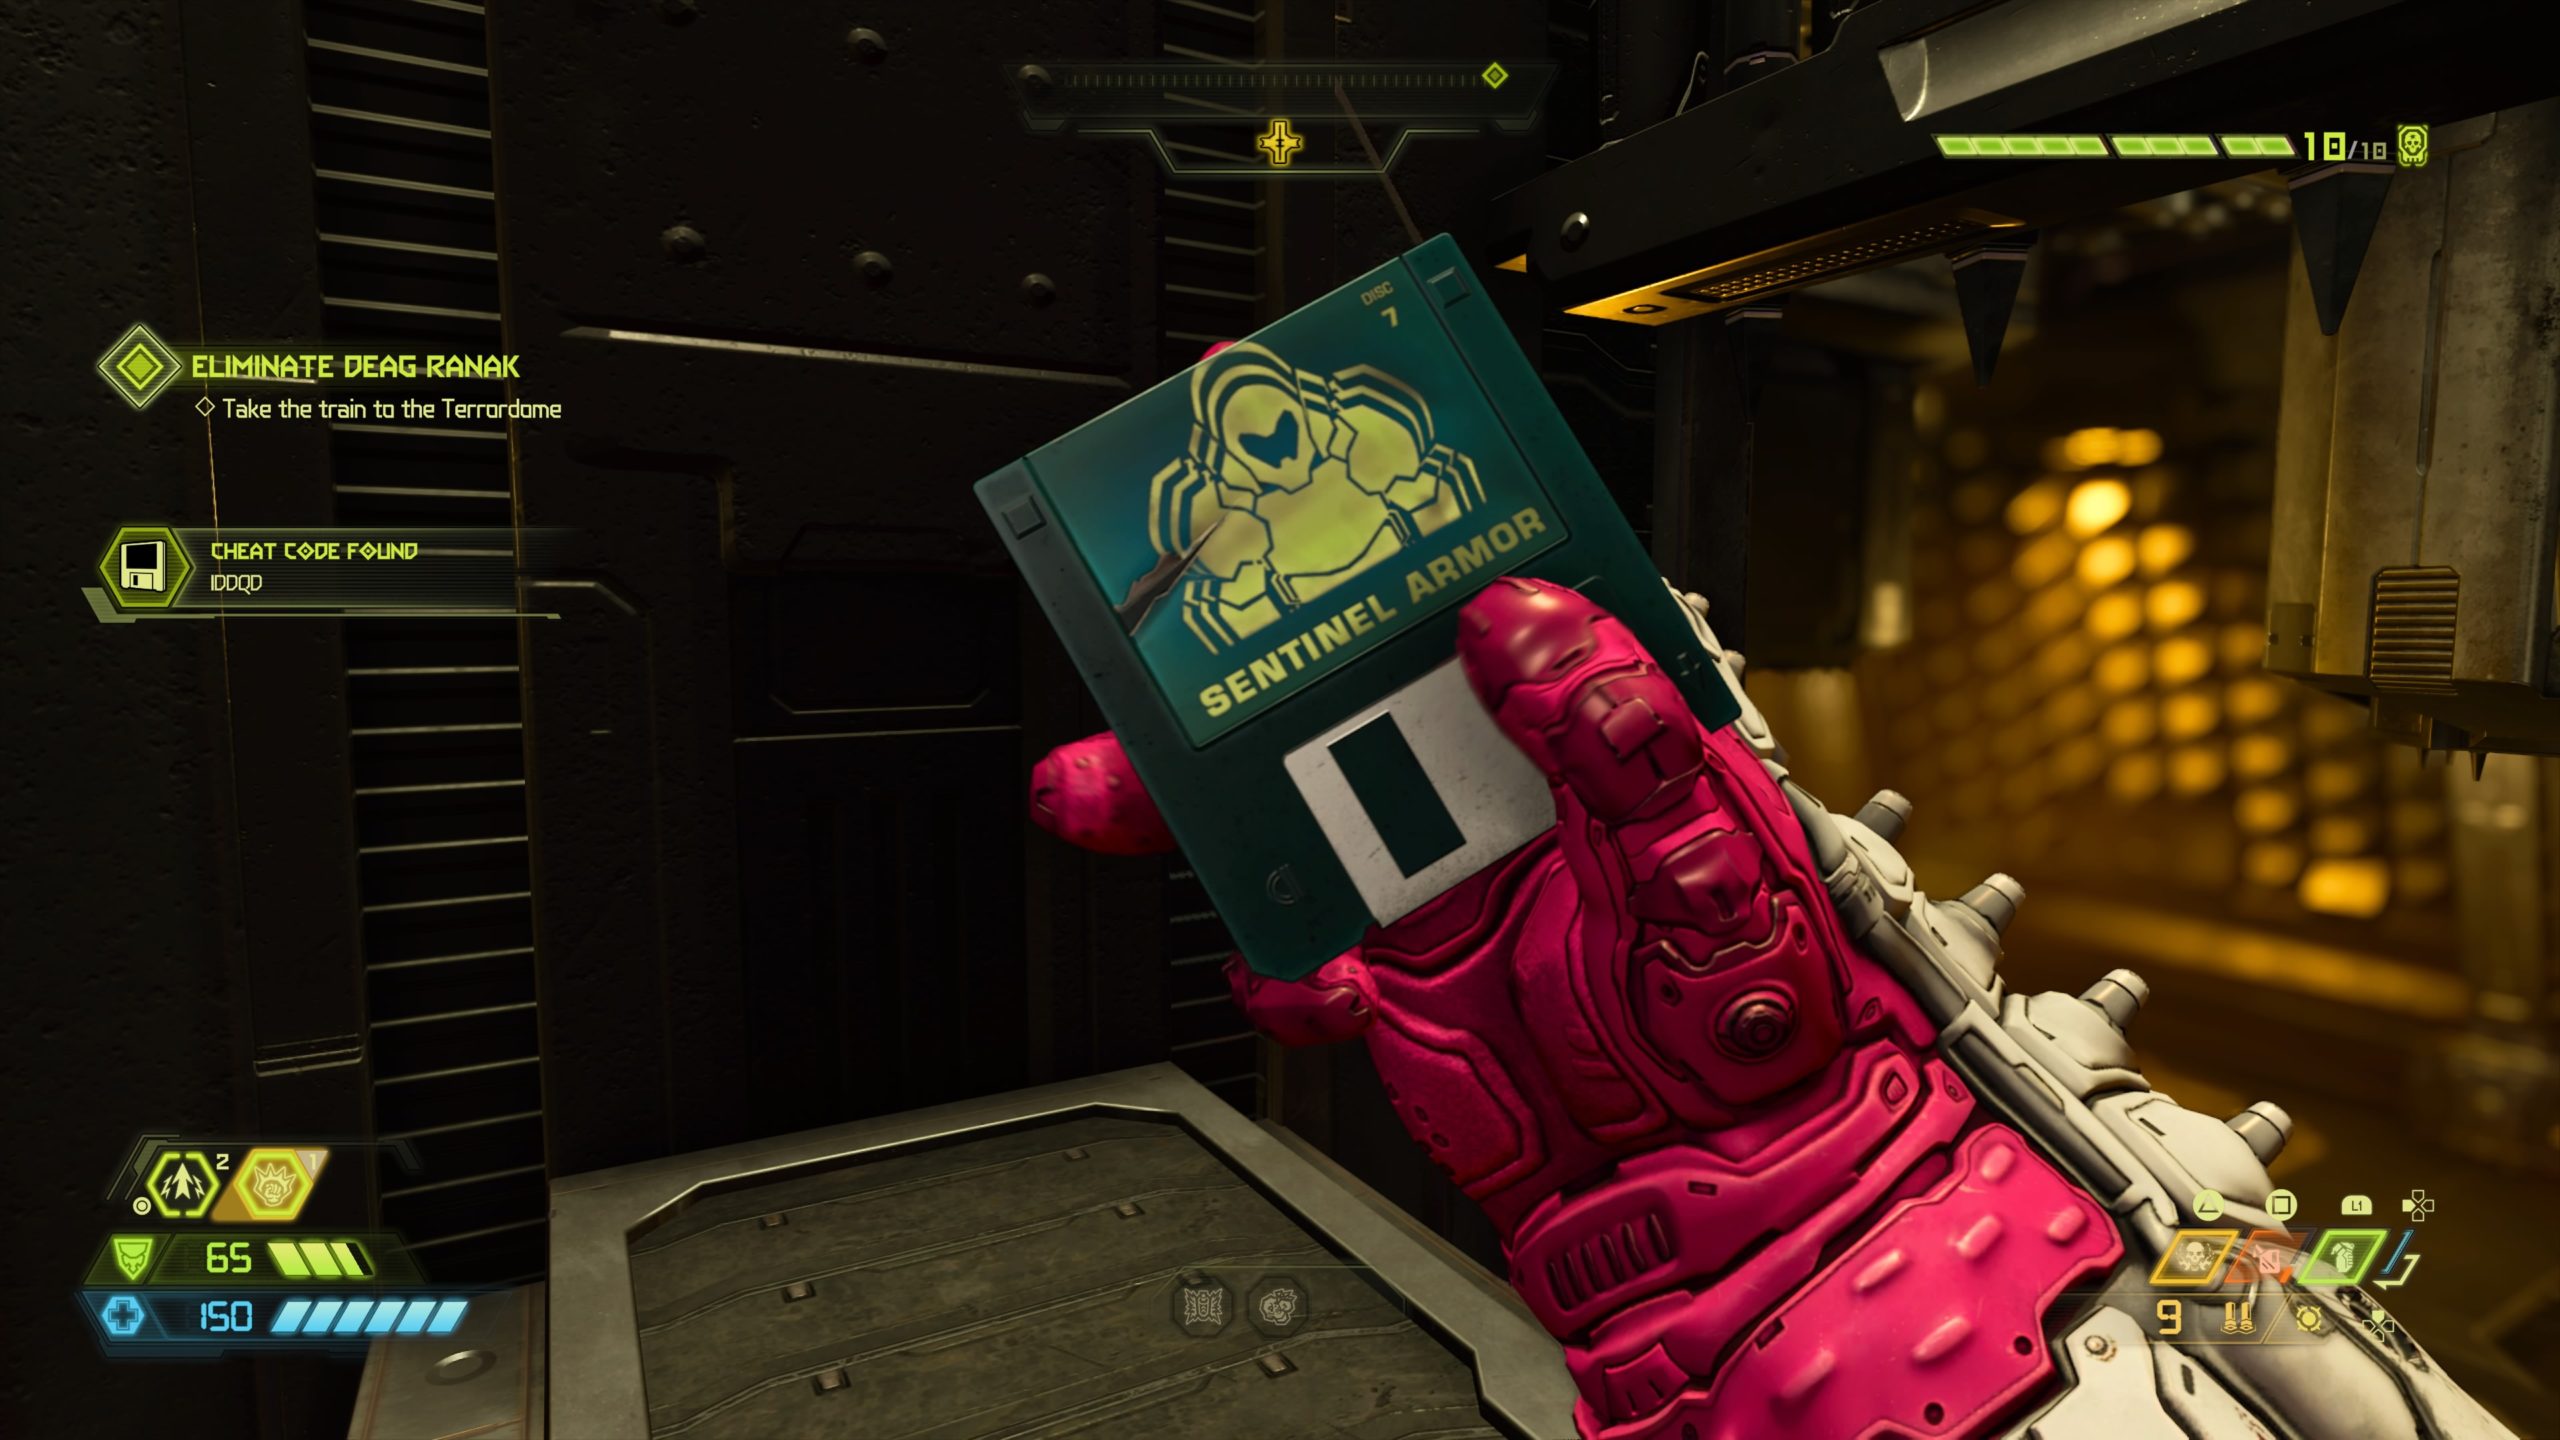
Travel to the Forge of Transfiguration. The cheat code will be in the center column. Use the gold spin bar on the side then dash into the small compartment to reach the cheat code.
Toy: Soldier (Blaster)
In the long hallway with guillotines dropping from the ceiling, there will be a crack in the wall on the right side. Melee the wall to find the toy.
Praetor Suit Point
After you safely make it through the guillotine hallway, you’ll enter a large circular room with a skull slab in the middle. Use the spin bars to reach the top then dash to the area that contains the sentinel holding the Praetor Suit Point.
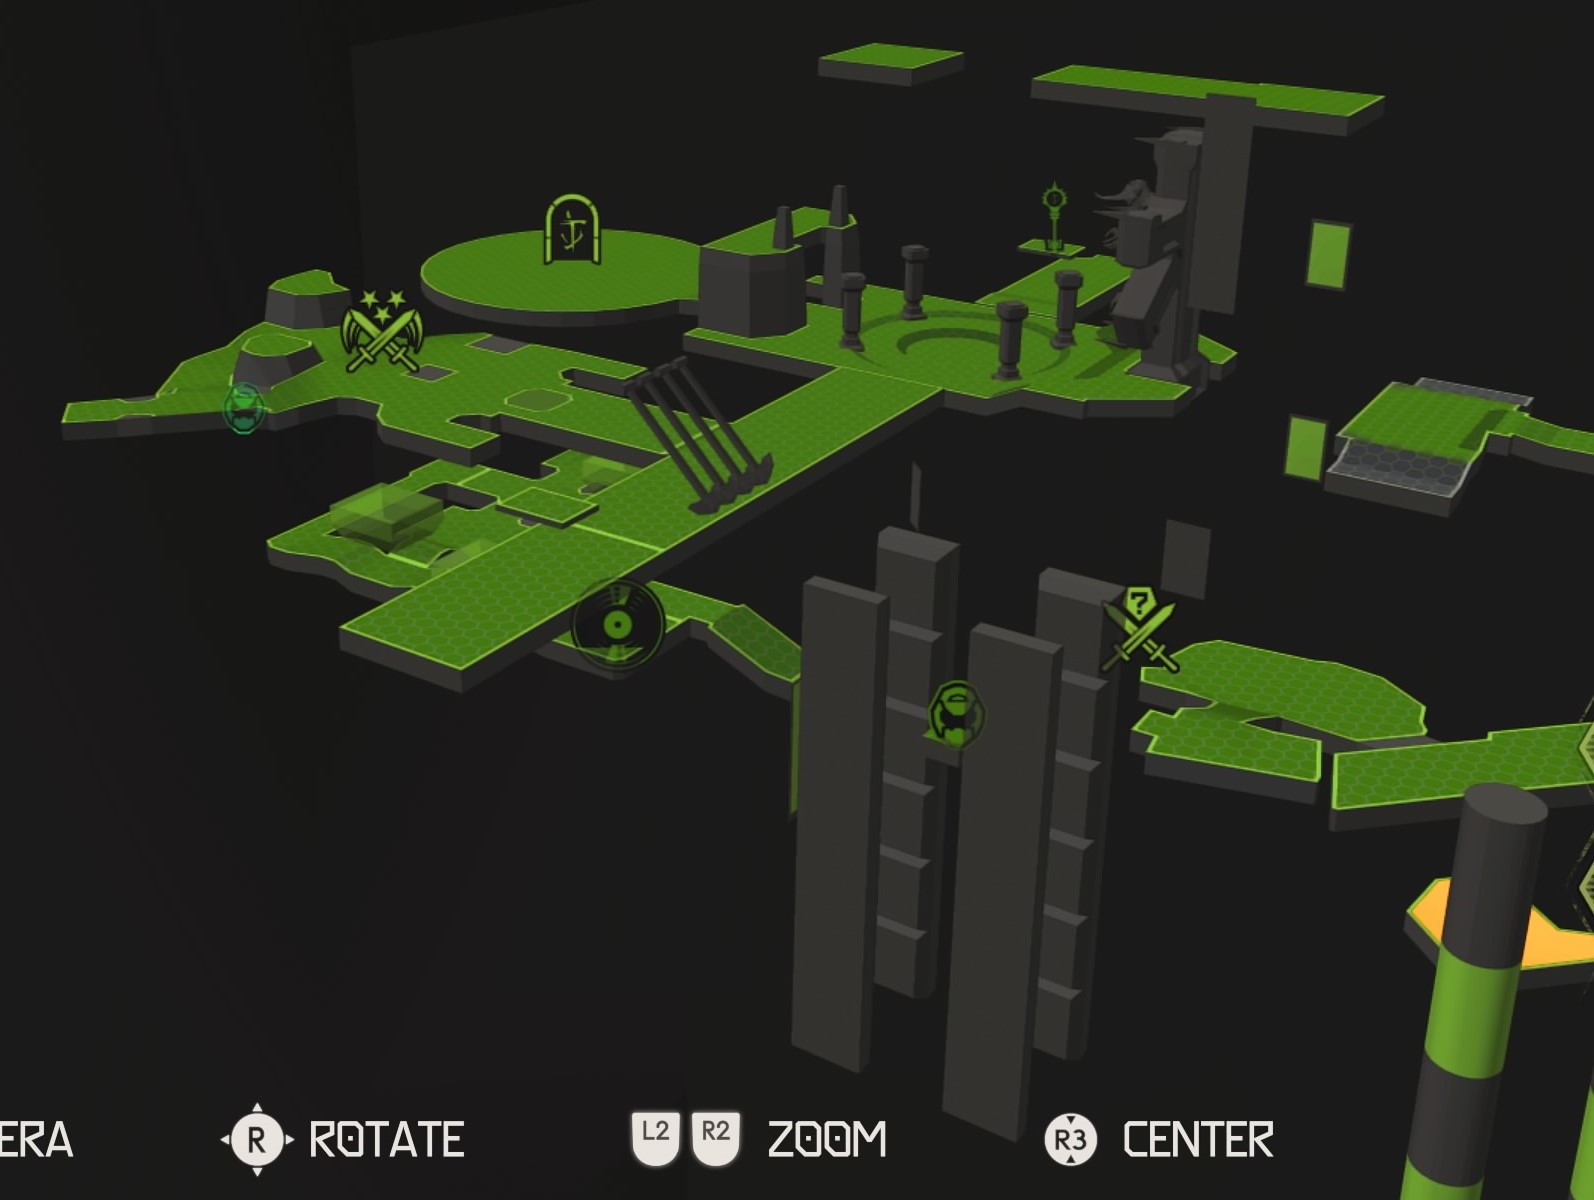
Album: Doom II – Into Sandy’s City

This album is located in the meat grinding room just past the area with the spiky walls that crush you. To reach it, you will need to wait for the grinder to reach the bottom then jump on top of it. Follow the path to find the album at the end.
Praetor Suit Point
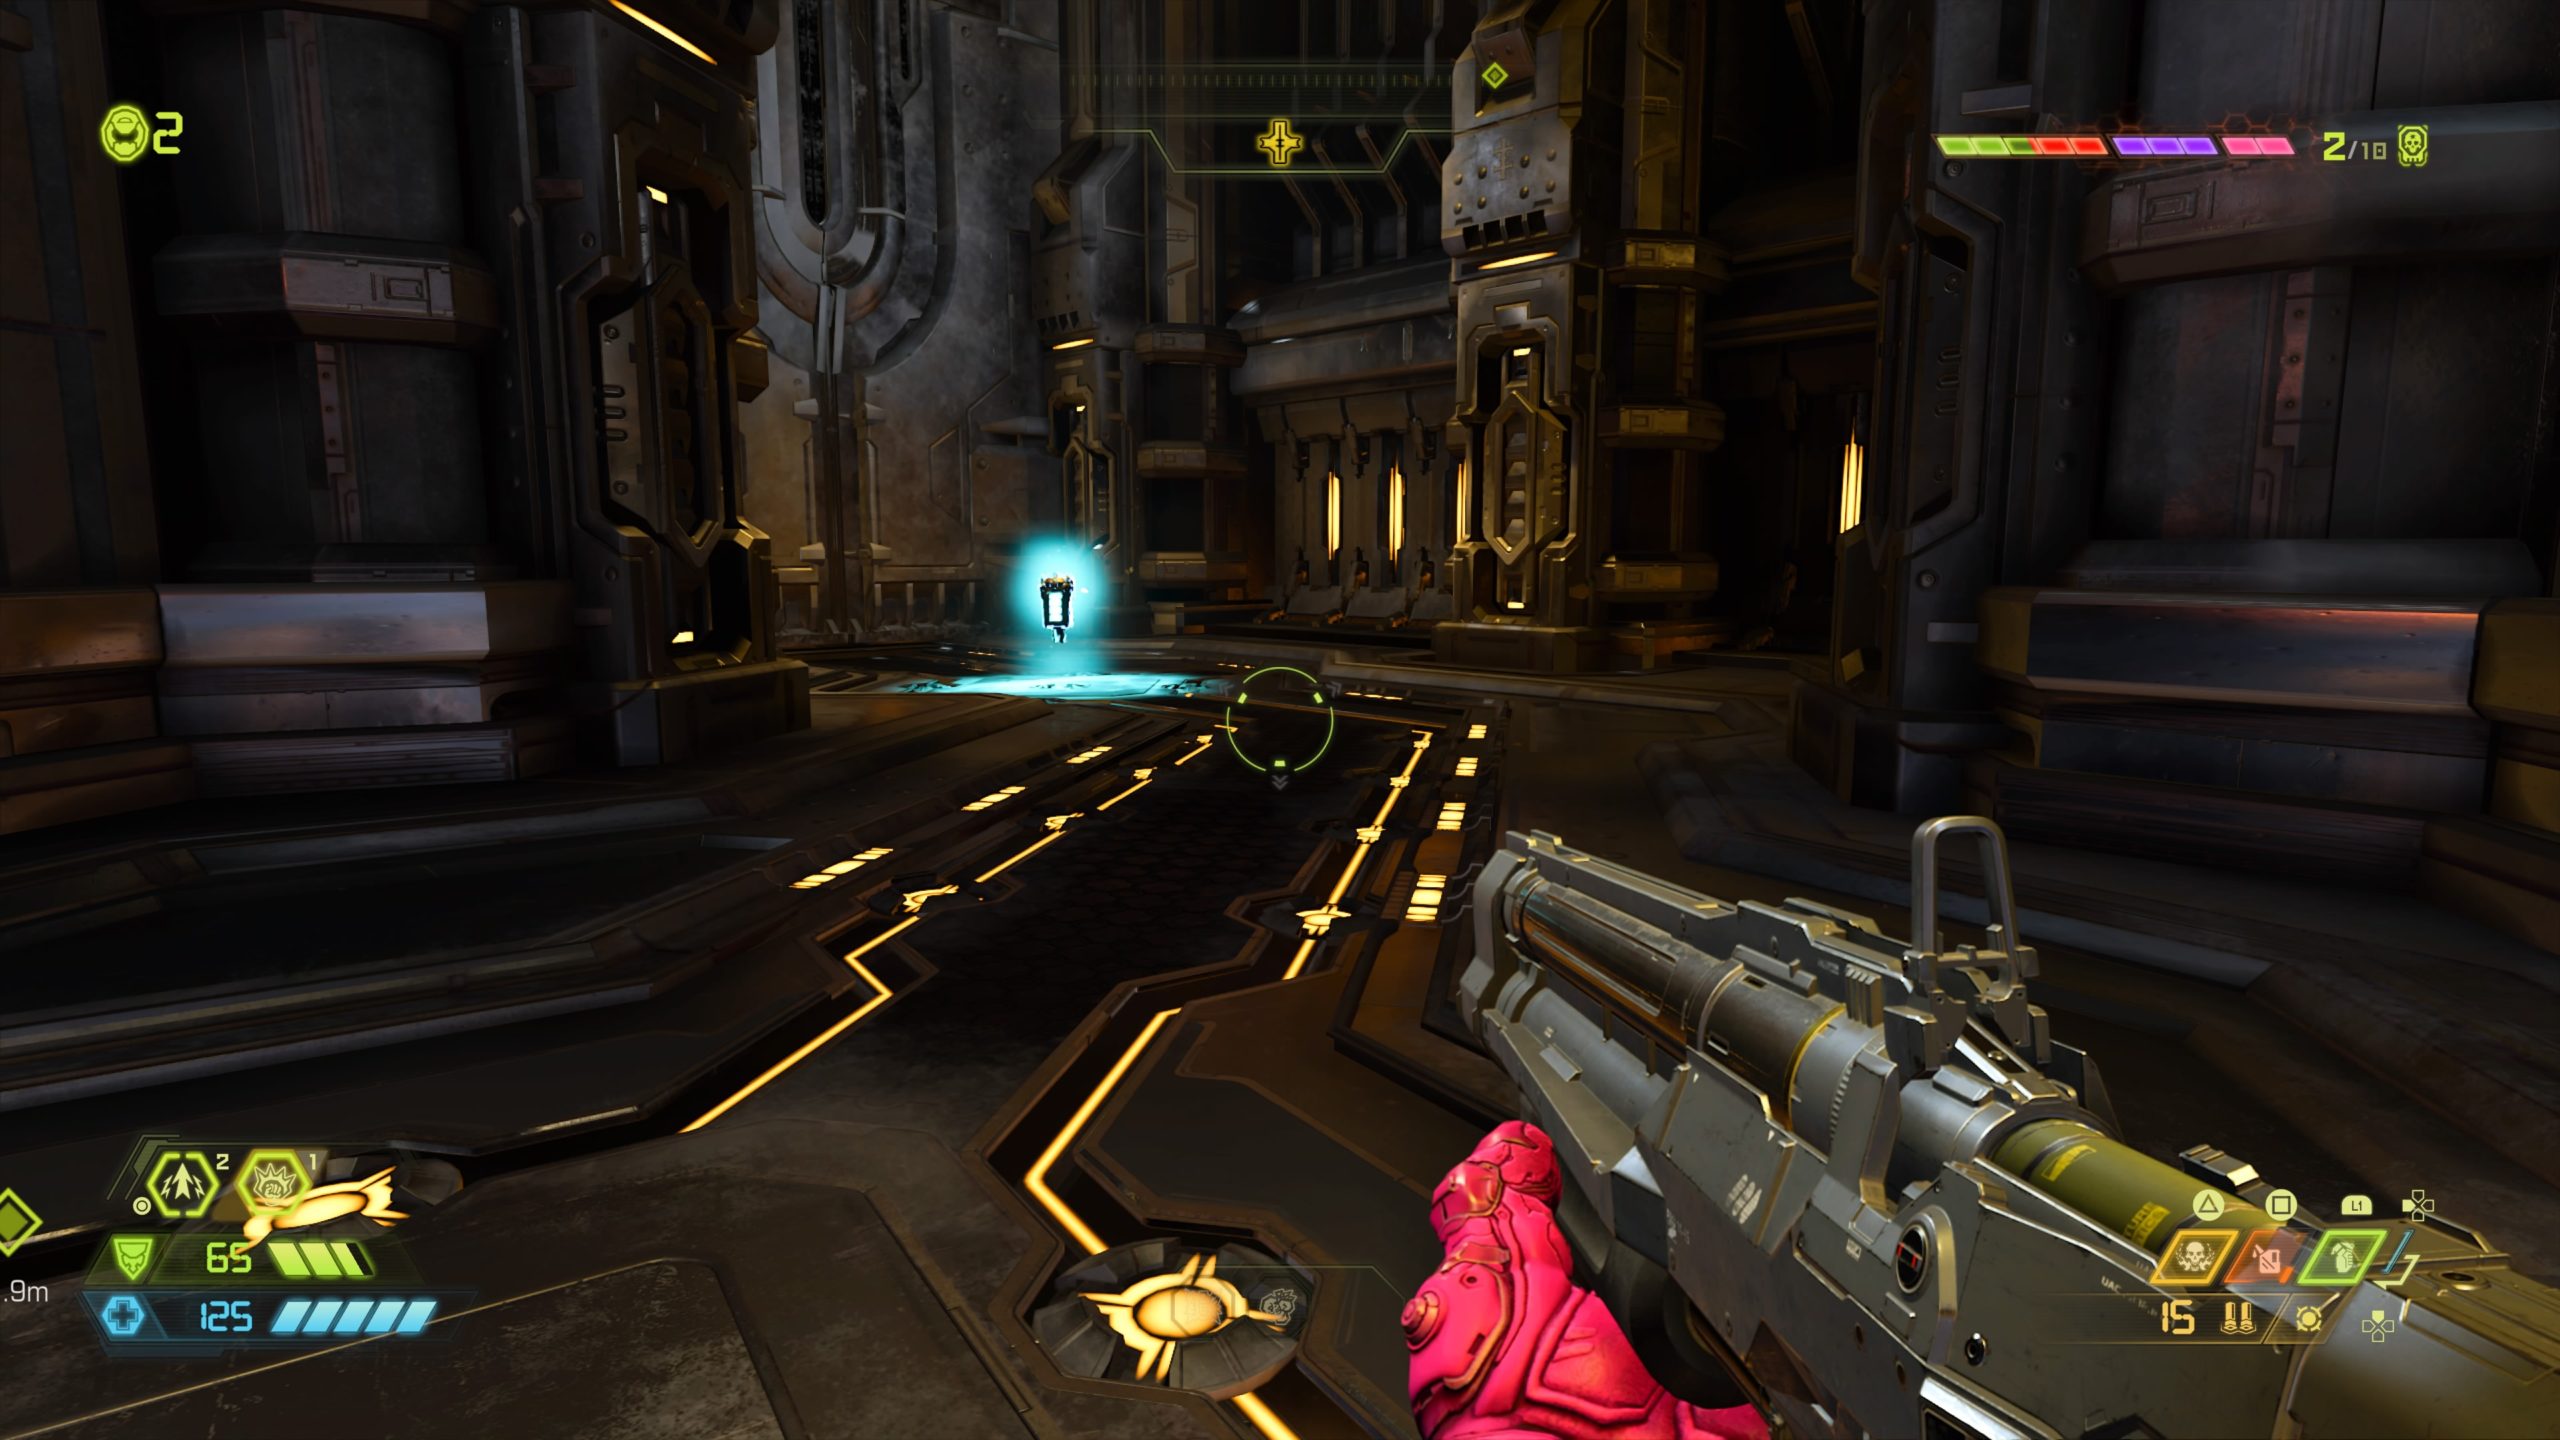
This point is located near the entrance of the Terrordome.

You will need to use all six Empyrean Keys to activate the Maykr Device in the Fortress of Doom, which unlocks the Unmayker.
The keys are awarded for completing Slayer Gates in the following locations:
Item(s)
Item(s)
Pokemon
Item(s)
Pokemon
Pokemon
Trainer(s)
Item(s)
Pokemon
Trainer(s)
Item(s)
Trainer(s)
Item(s)
Trainer(s)
Item(s)
Pokemon
Trainer(s)
Item(s)
Trainer(s)
Trade(s)