For the Spirit Photographer trophy/achievement from the Spider’s Thread update in Ghostwire: Tokyo, you’ll need to complete all newly added side missions revolving around spirit photographs. To do this, complete both of the below side missions!
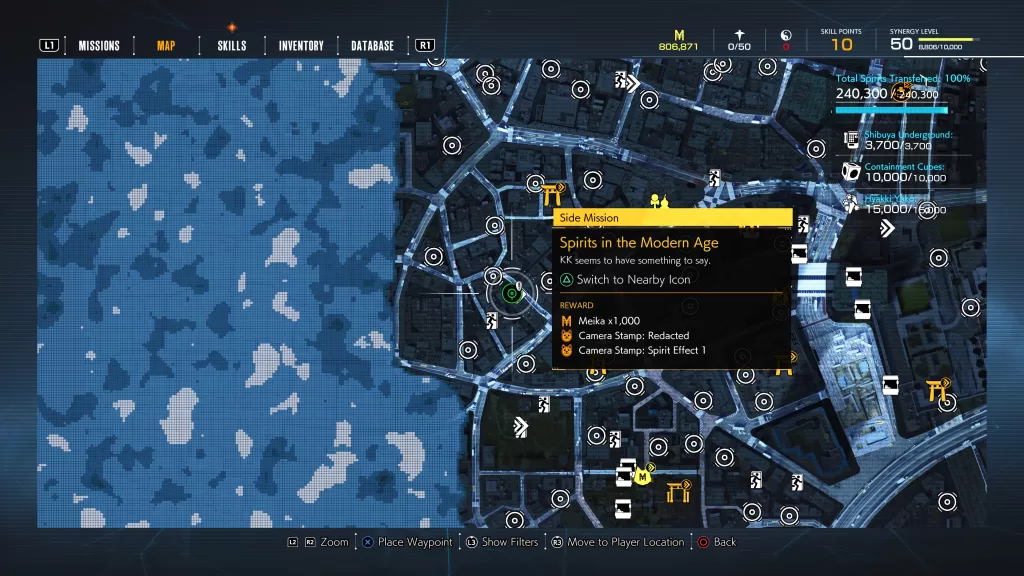
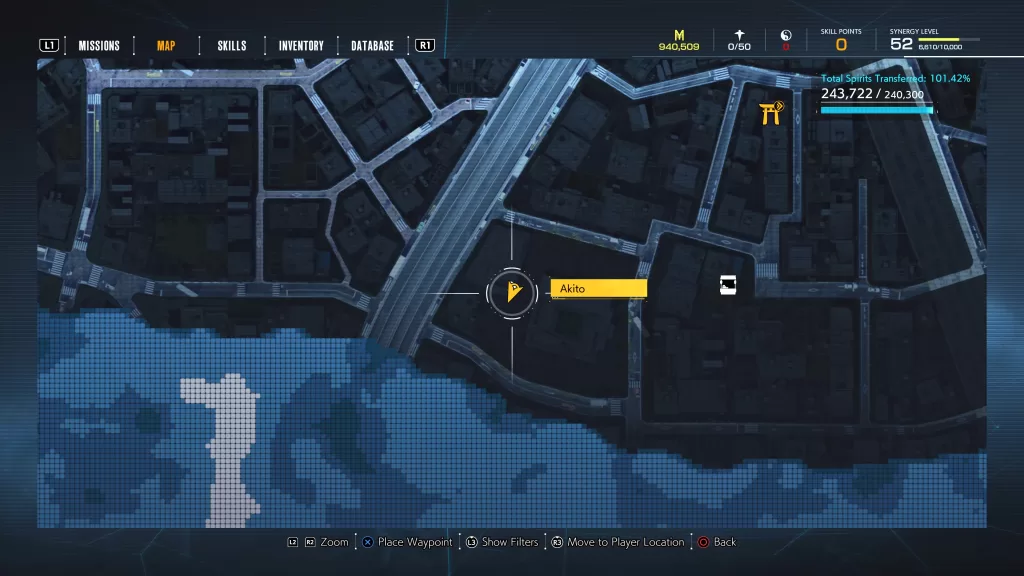
The Spirits in the Modern Age side mission in Ghostwire: Tokyo was added during The Spider’s Thread update. To obtain this side mission, fast travel to KK’s Safehouse in the Akisawa Shrine area.
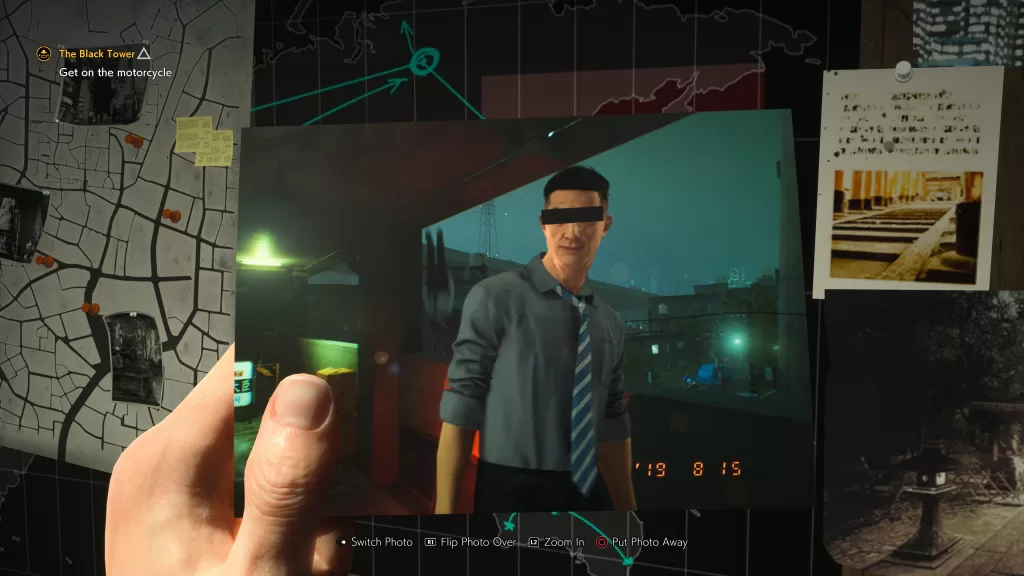
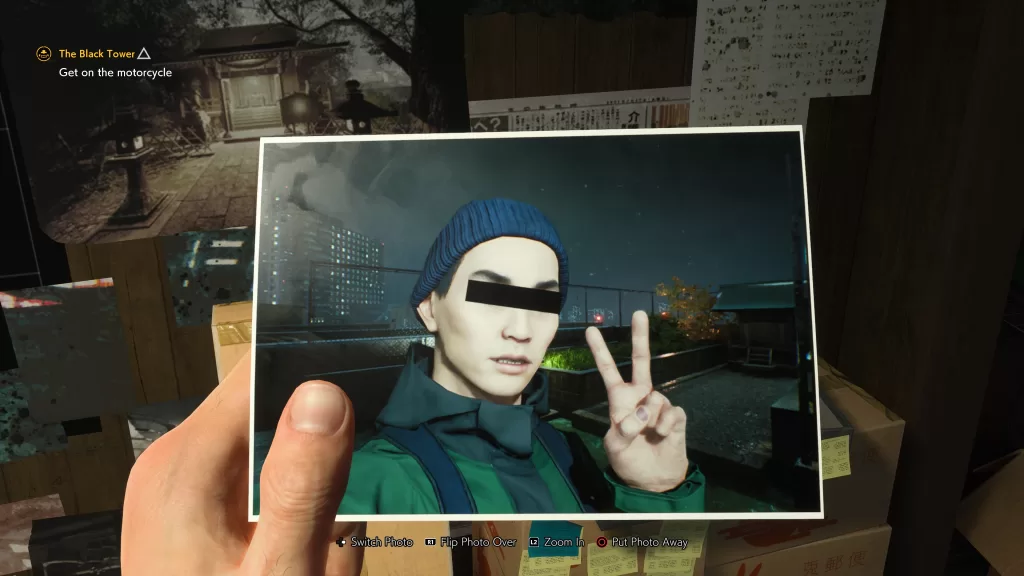
Once inside the safehouse, examine the box of photographs. KK will want your help cleansing the photos.
Heart of Shibuya
Location: Northeast of Morite Shrine
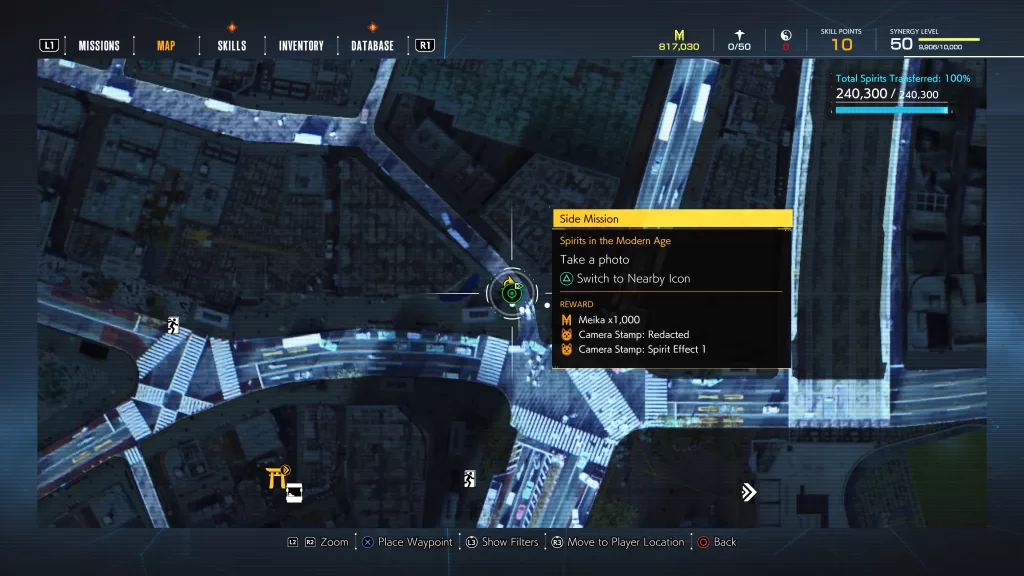
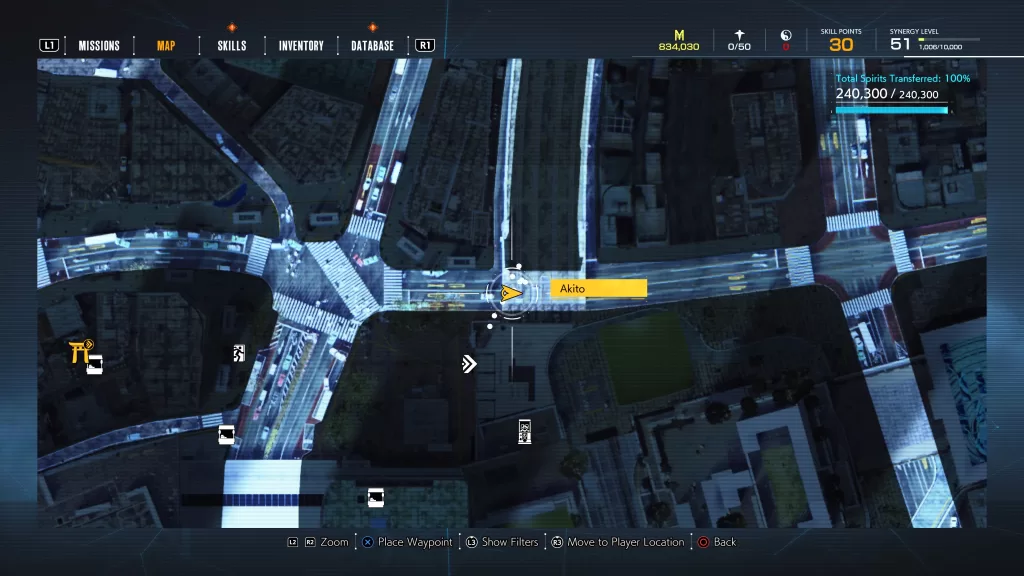
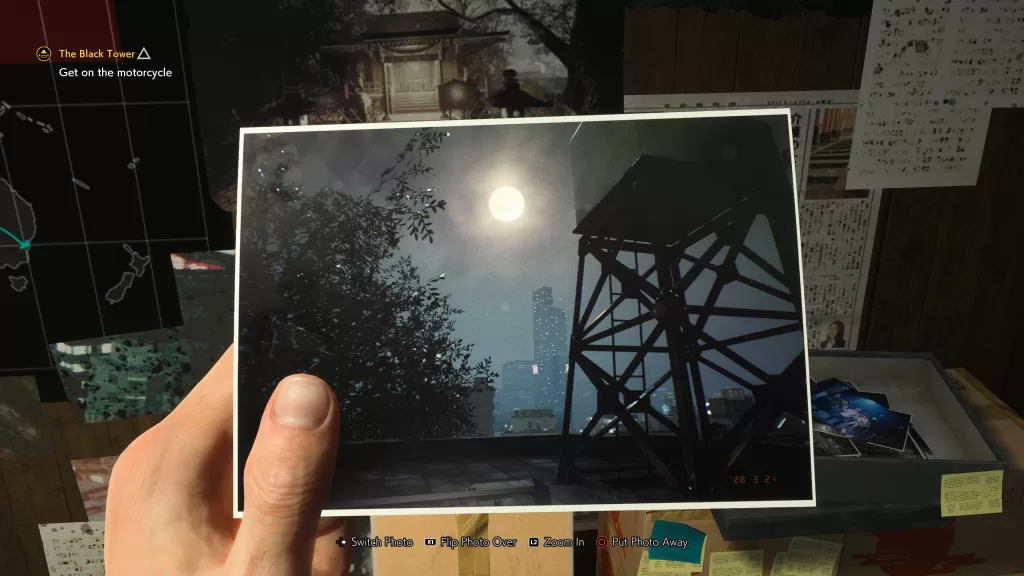
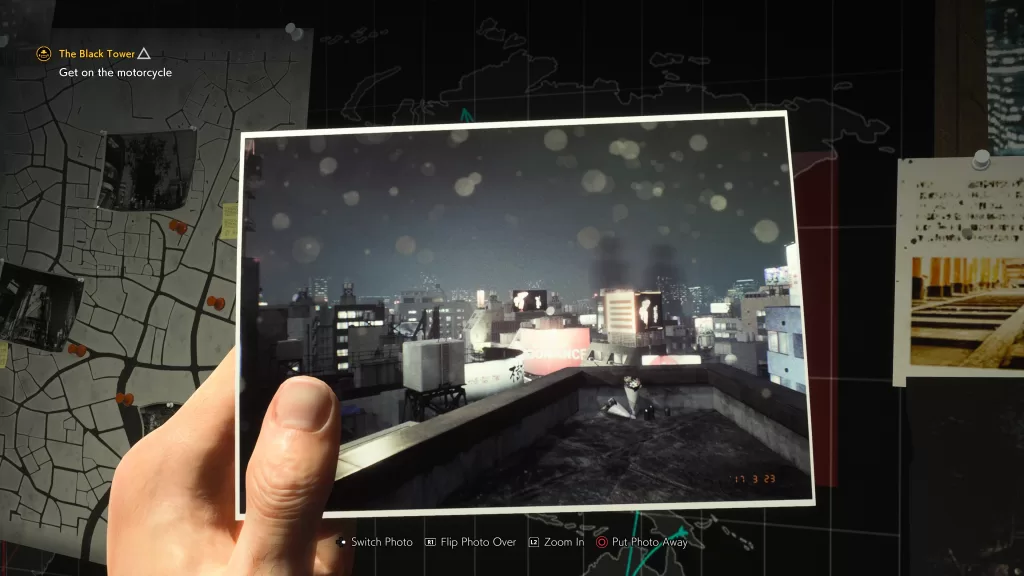
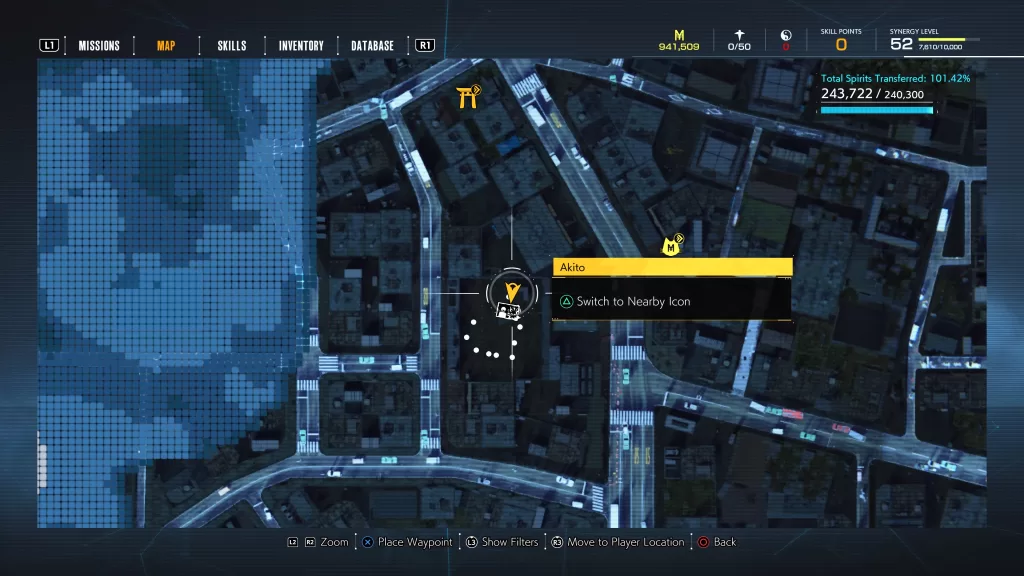
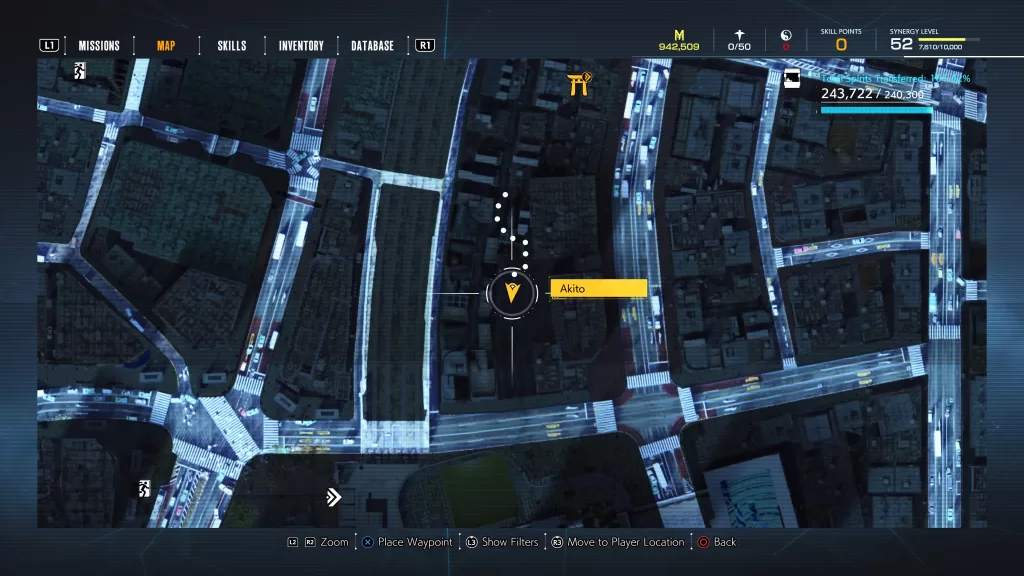
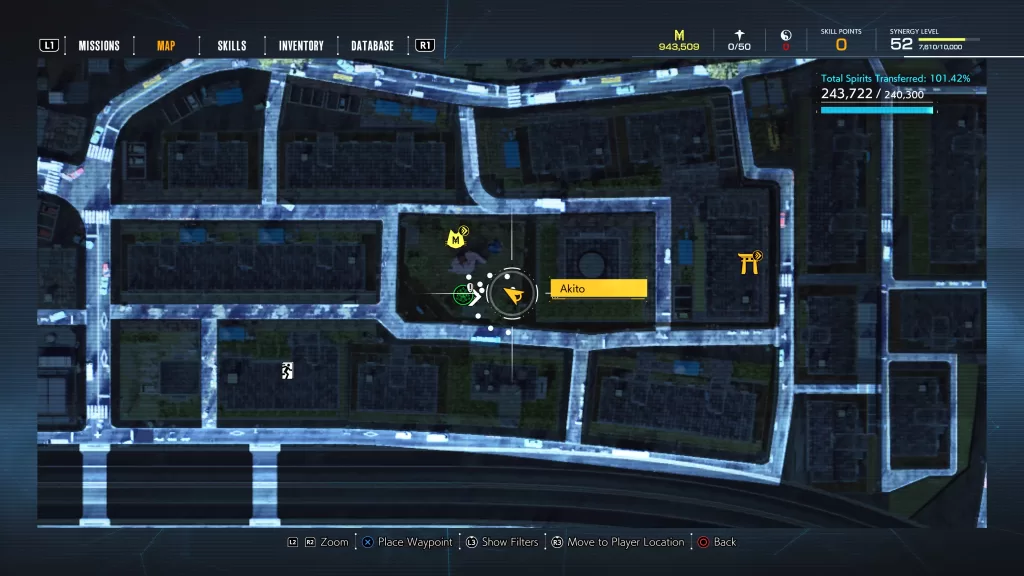
For the first spirit photo, travel to the location shown in the image below.
Once you arrive, you’ll be prompted to examine the area. Face the 429 building and take a photo of it to reveal a specter. Use the hand seal to purge it!
Admiring the Fireworks
Location: East of Shiroyama Shrine
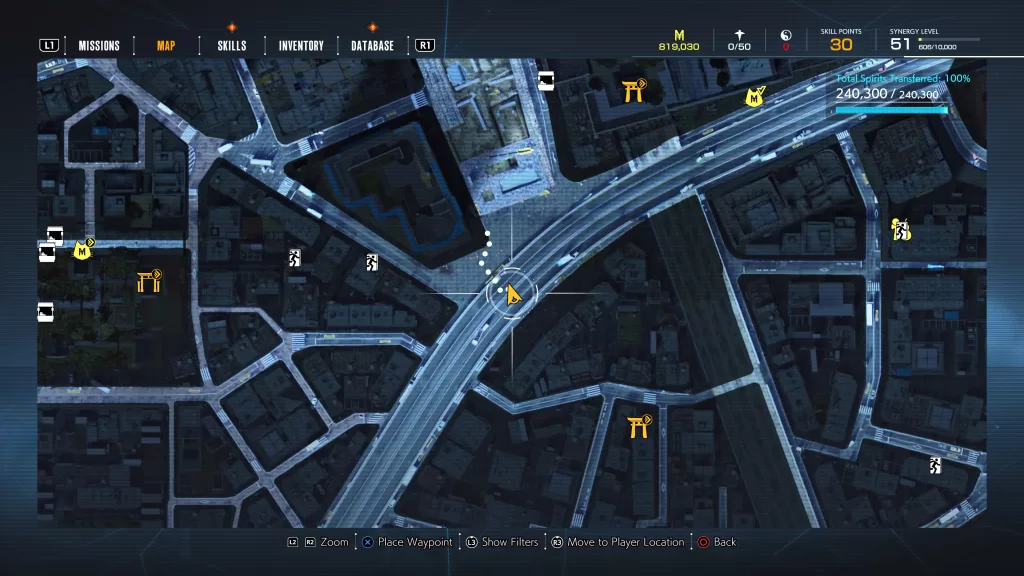
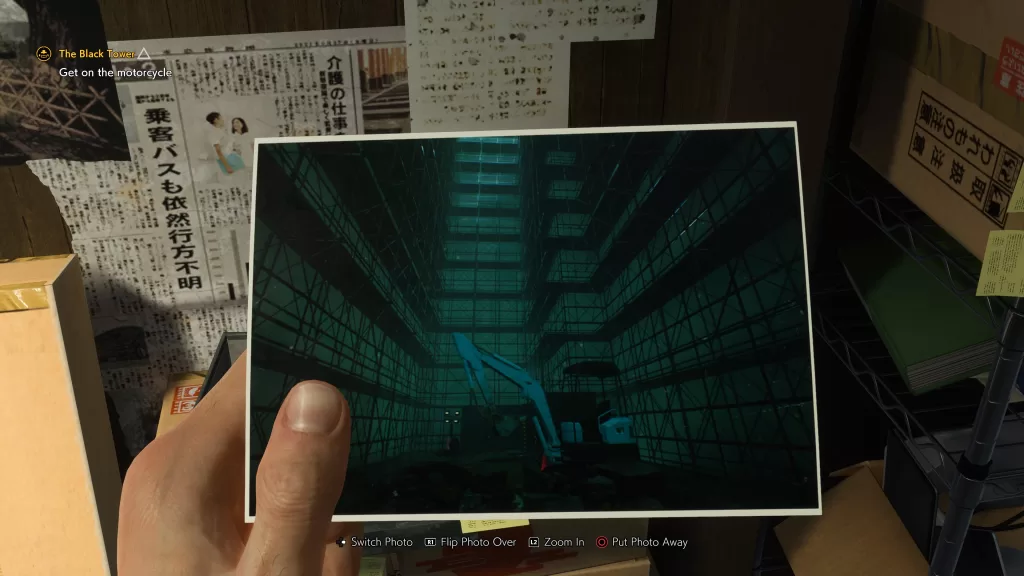
For the second spirit photo, travel to the location shown in the image below.
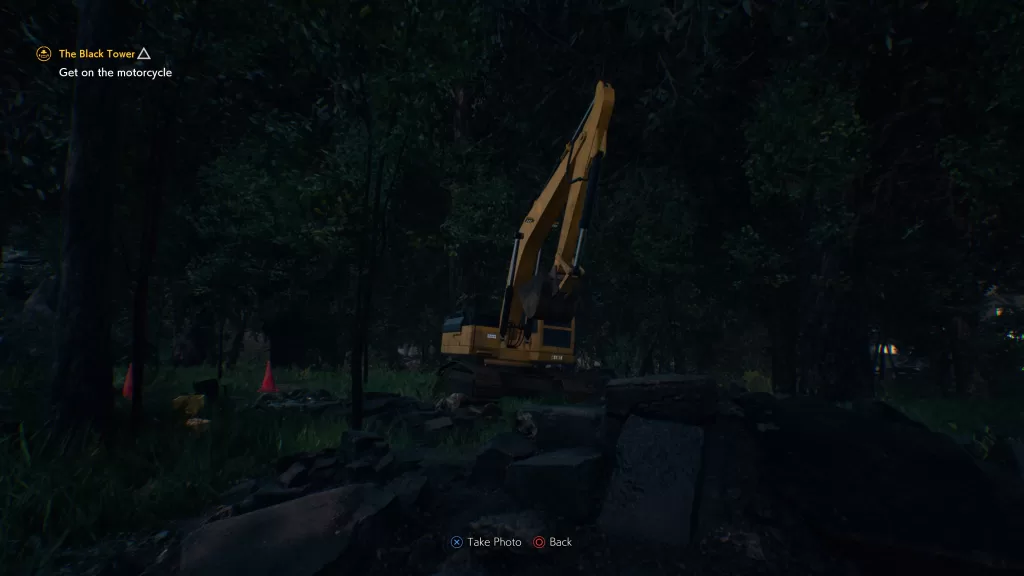
Once you arrive, examine the area then face northwest towards a building under construction with a crane next to it. Take a photo to reveal a specter then purge it with your hand seal.
Grudge on the Tracks
Location: East of Morite Shrine
For the third spirit photo, travel to the location shown in the image below.
Once you arrive, examine the area then face the train while standing on the platform. Take a photo to reveal a specter then purge it with your hand seal.
Paper Lanterns
Location: Southwest of Shiroyama Shrine near the map’s edge
For the fourth spirit photo, travel to the location shown in the image below.
Once you arrive, examine the area then face the street while standing on the sidewalk. Take a photo to reveal a specter then purge it with your hand seal.
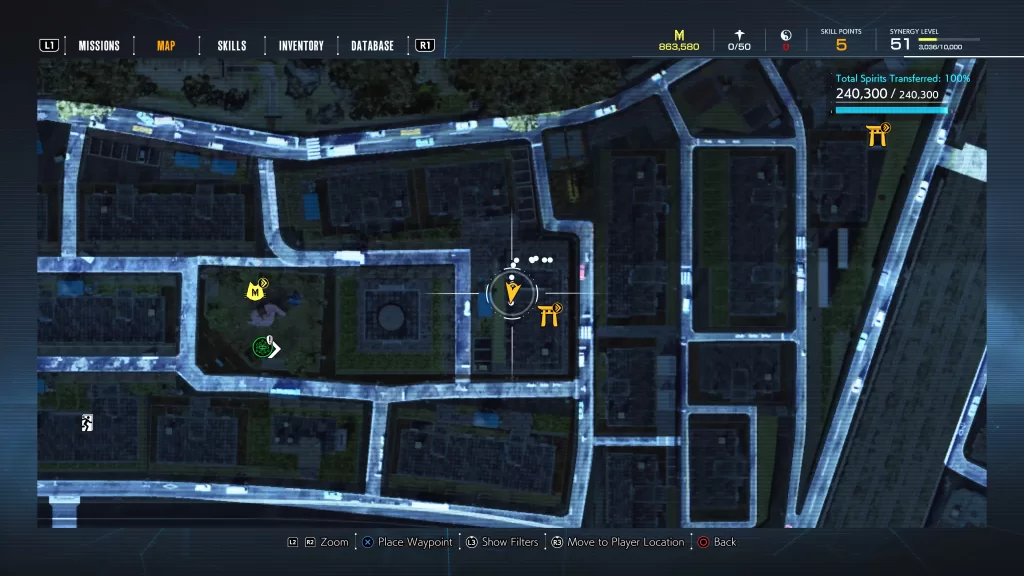
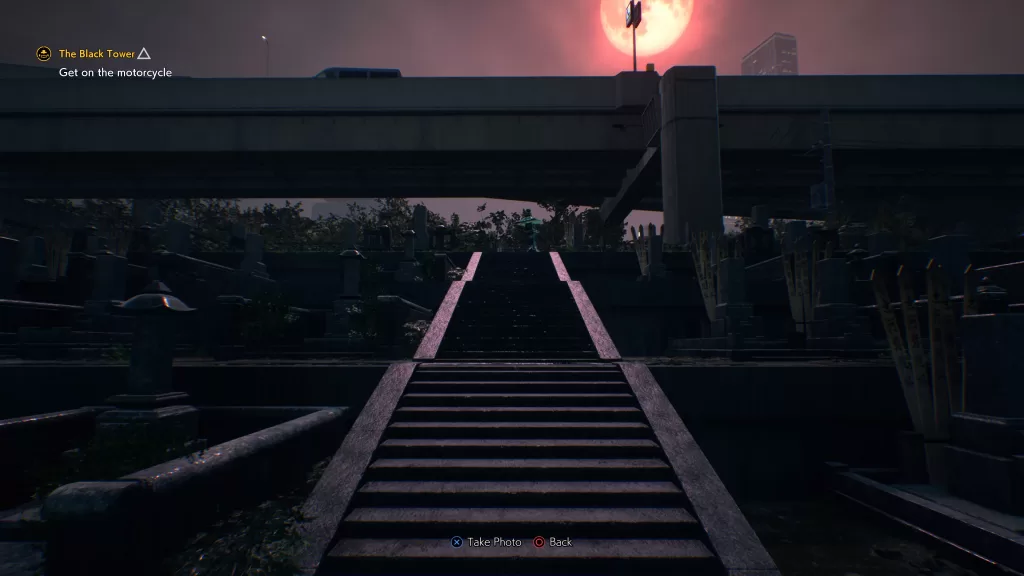
Among the Graves
Location: Northwest of the Morite Shrine
For the fifth spirit photo, travel to the location shown in the image below.
Once you arrive, examine the area then face the graveyard while standing at the gap in the stone fence. Take a photo to reveal a specter then purge it with your hand seal.
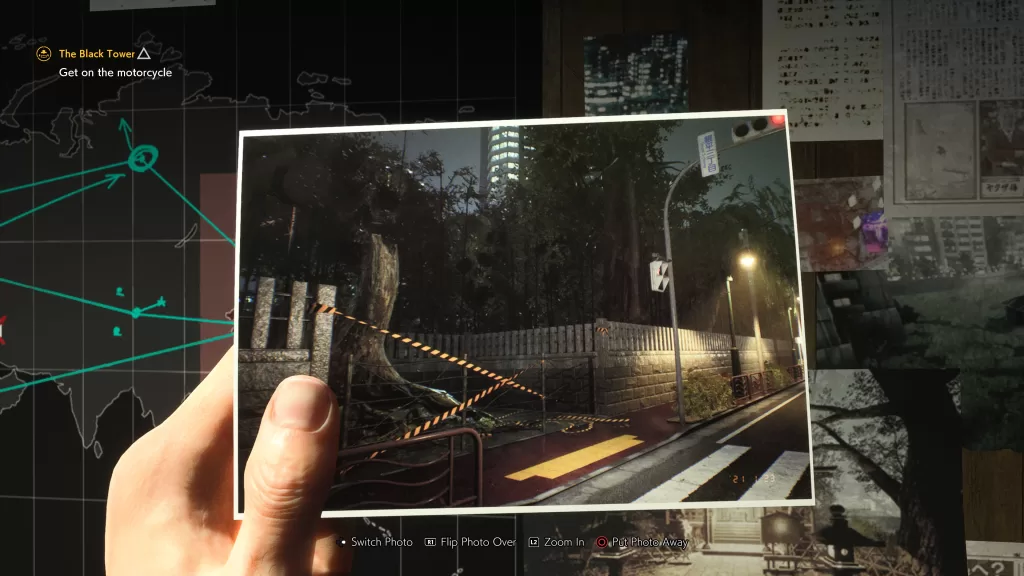
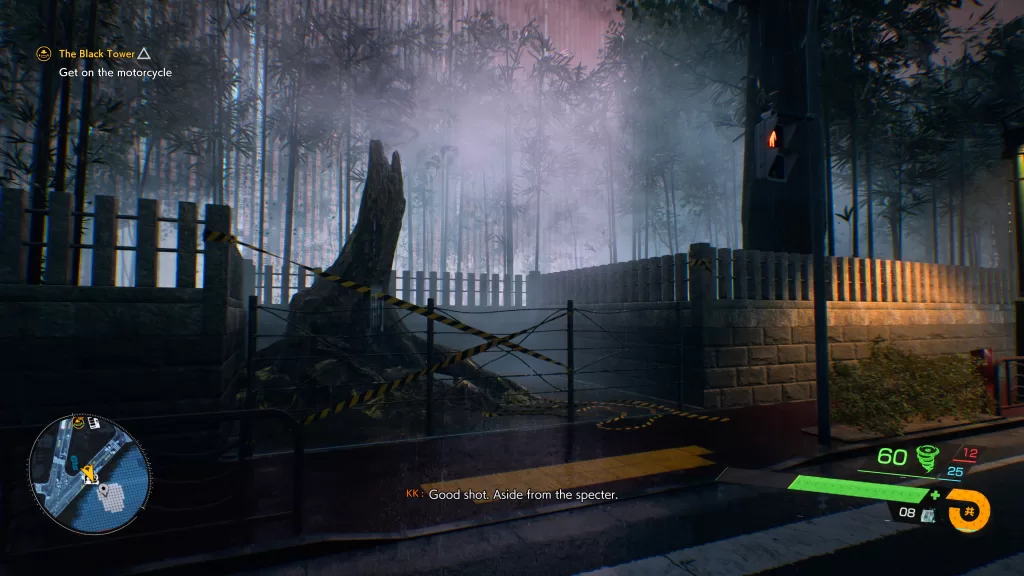
The Eyes of the Drunk
Location: Underneath the Yamaki Shrine
For the sixth spirit photo, fast travel to the Yamaki Shrine. Once you arrive, turn to the right then head through the left door. Go down a flight of stairs and follow the path until you find the area to examine.
Face the highway and take a photo to reveal a specter then purge it with your hand seal.
Hoarders and Their Houses
Location: Northeast of Namihara Shrine along the road leading to the Hatsuike Shrine
For the seventh spirit photo, travel to the location shown in the image below.
Once you arrive, examine the area then face the hoarder’s house. Take a photo to reveal a specter then purge it with your hand seal.
In Search of Rooftop Shrines
Location: West of Mikubo Shrine on the roof of a tall skyscraper
For the eighth spirit photo, travel to the location shown in the image below.
Once you arrive, examine the area then face the gap between the stairs and the metal fence on the left side of the shrine. Take a photo to reveal a specter then purge it with your hand seal.
The Turbo Granny
Location: Southeast of Hitani Shrine on the highway
For the ninth spirit photo, travel to the location shown in the image below.
Once you arrive, examine the area then face the taxi. Take a photo to reveal a specter then purge it with your hand seal.
Something in the Distance
Location: Northeast of Shiratsuki Shrine on the roof of the southern apartment building
For the tenth spirit photo, travel to the location shown in the image below.
Once you arrive, examine the area then face the left side of the tower. Take a photo to reveal a specter then purge it with your hand seal.
Work Party
Location: On the highest roof of Shibuya Central Hospital in the Akisawa Shrine area
For the eleventh spirit photo, travel to the location shown in the image below.
Once you arrive, examine the area then face the metal fence on the eastern side. Take a photo to reveal a specter then purge it with your hand seal.
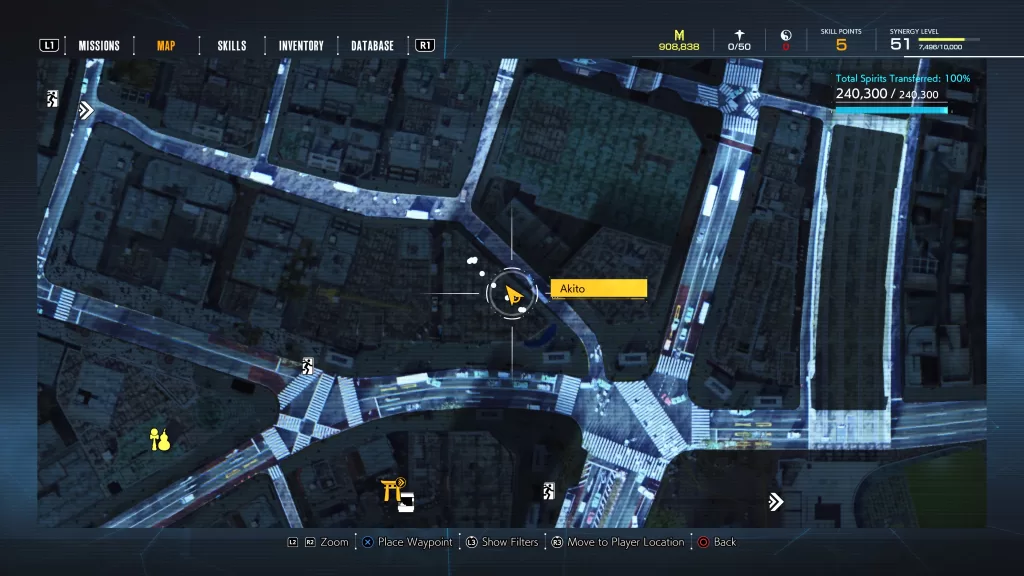
Lingering Regrets
Location: Northeast of Morite Shrine on the roof of a building
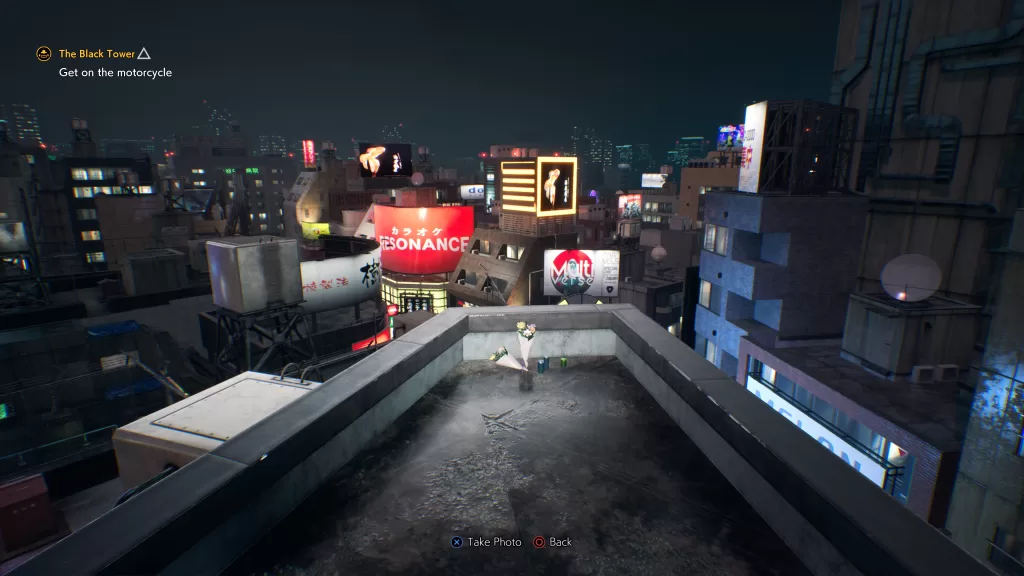
For the twelfth spirit photo, travel to the location shown in the image below.
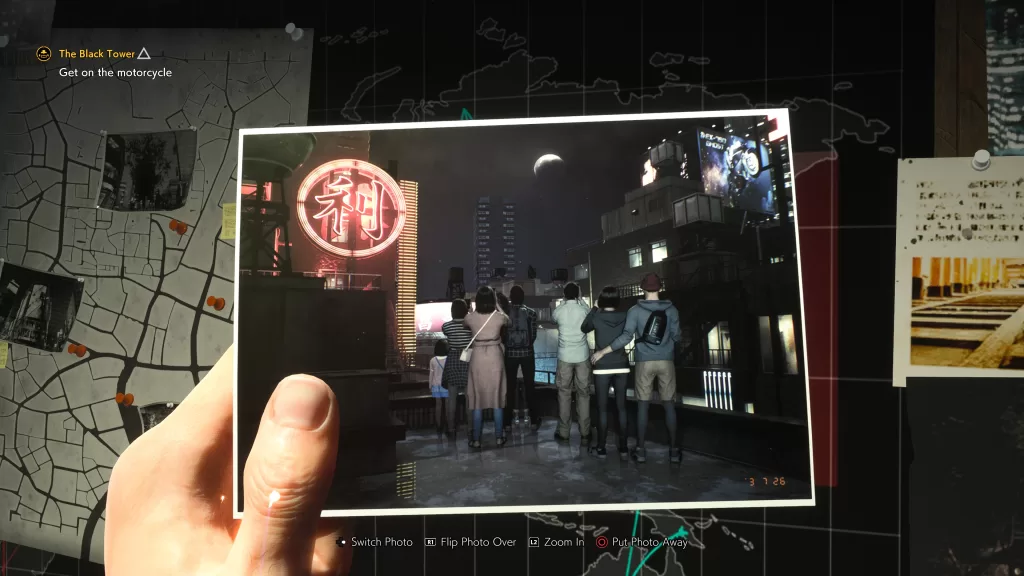
Once you arrive, examine the area on the roof of the building next to a bouquet of flowers. This will be just before some metal scaffolding. Take a photo to reveal a specter then purge it with your hand seal.
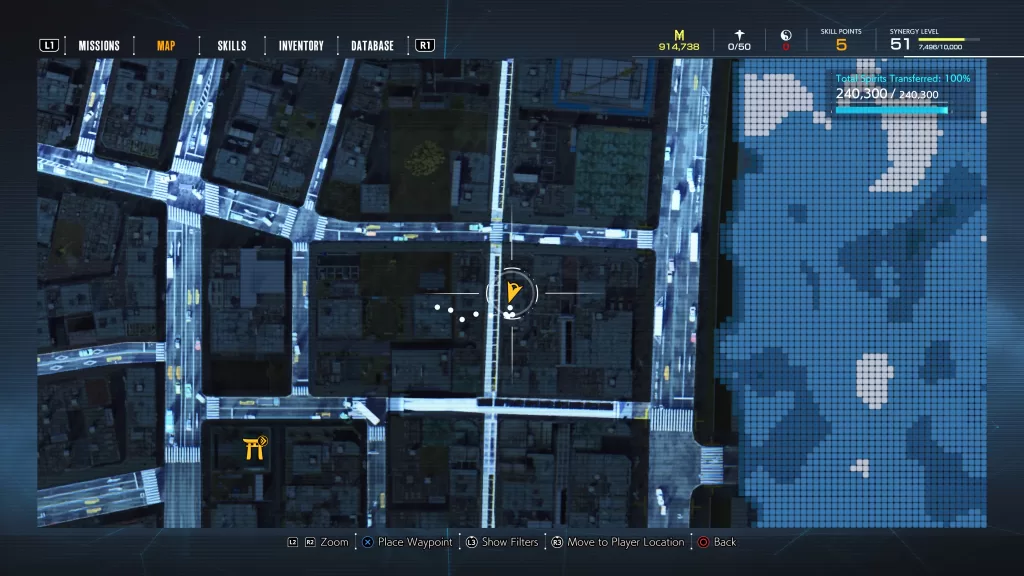
Lunar Eclipse
Location: Northeast of the Sakano Shrine
For the thirteenth spirit photo, travel to the location shown in the image below.
Once you arrive, head to the rooftop of the building then face the Japanese symbol and examine the area. Take a photo to reveal a specter then purge it with your hand seal.
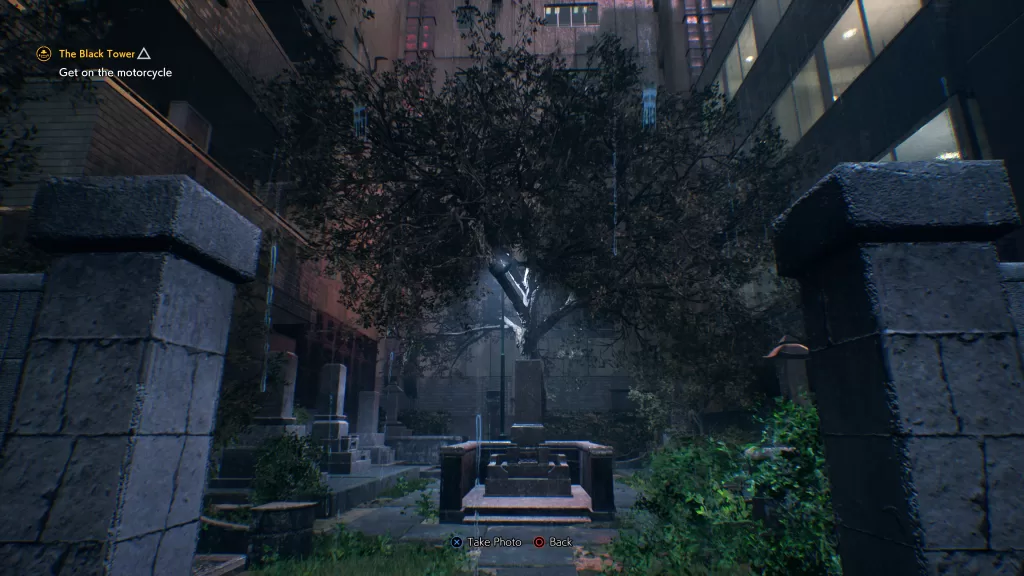
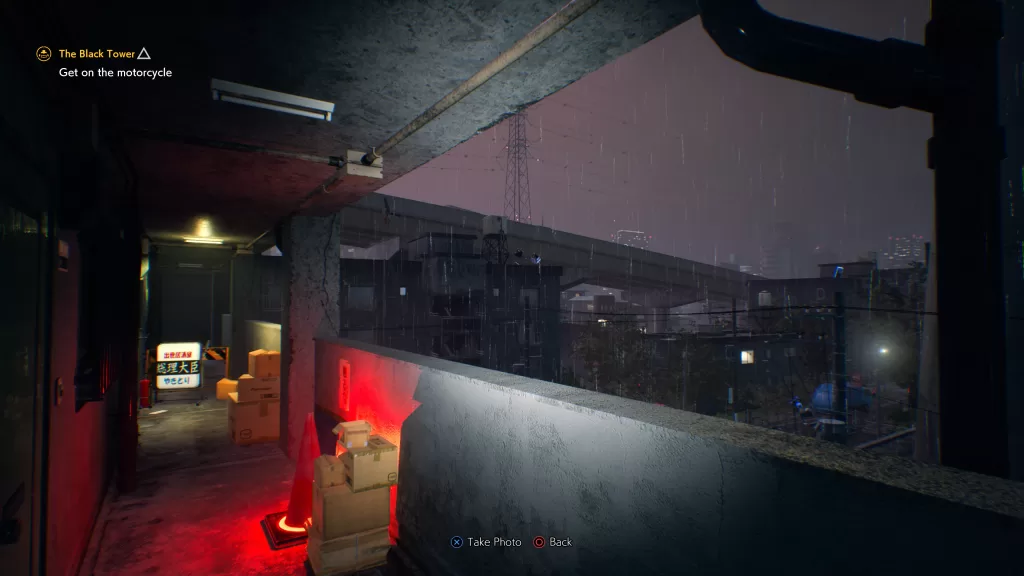
Accurate Signage
Location: Northwest of the Namihara Shrine
For the fourteenth spirit photo, travel to the location shown in the image below.
Once you arrive, head into the alley and clear the corrupted tree. Examine the area just before the stairs and take a photo to reveal a specter. Purge it with your hand seal.
Extreme Editing
Location: Southwest of Mikubo Shrine
For the 15th spirit photo, travel to the location shown in the image below.
Once you arrive, examine the area near all the traffic cones and snap a photo to reveal the specter then purge it with your hand seal.
Rhinoceros Beetle on a Tree
Location: Northeast of Hatsuike Shrine
For the 16th spirit photo, travel to the location shown in the image below.
Once you arrive, examine the area and snap a photo facing the yellow crane to reveal the specter. Purge it with your hand seal.
Looking Down from the Overpass
Location: Follow the road north of the Akitsu Shrine east until the T
For the 17th spirit photo, travel to the location shown in the image below.
Once you arrive, examine the area and snap a photo facing the row of bikes while standing on the street to reveal the specter. Purge it with your hand seal.
Test of Courage
Location: East of Tatsui Shrine in the graveyard
For the 18th spirit photo, travel to the location shown in the image below.
Once you arrive, examine the area and snap a photo on the stairs leading up to reveal the specter. Purge it with your hand seal.
Fading Away
Location: Southwest of Akitsu Shrine
For the 19th spirit photo, travel to the location shown in the image below.
Once you arrive, head up the metal staircase on the outside of the skyscraper. At the top of the staircase, examine the area and snap a picture facing the top of the staircase to find the specter. Purge it with your hand seal.
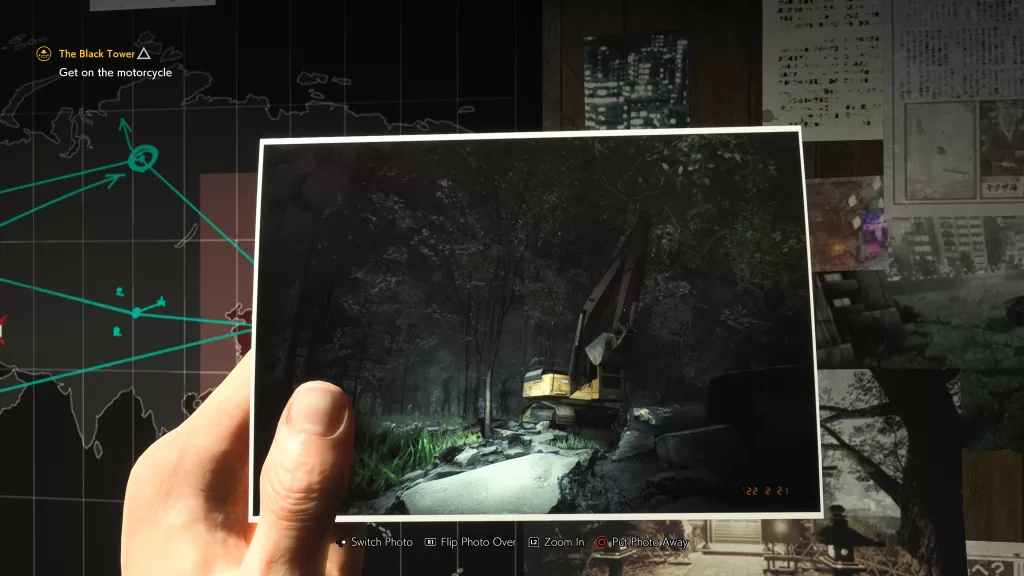
Construction Site
Location: South of Namihara Shrine
For the 20th spirit photo, travel to the location shown in the image below.
Once you arrive, examine the area in the center of the construction site. Take a photo facing the blue digger to reveal the specter and purge it with your hand seal.
Riding in Tandem
Location: South of Mikubo Shrine
For the 21st photo, travel to the location shown in the image below.
Once you arrive, examine the area in all the bikes and take a photo to reveal the specter then purge it.
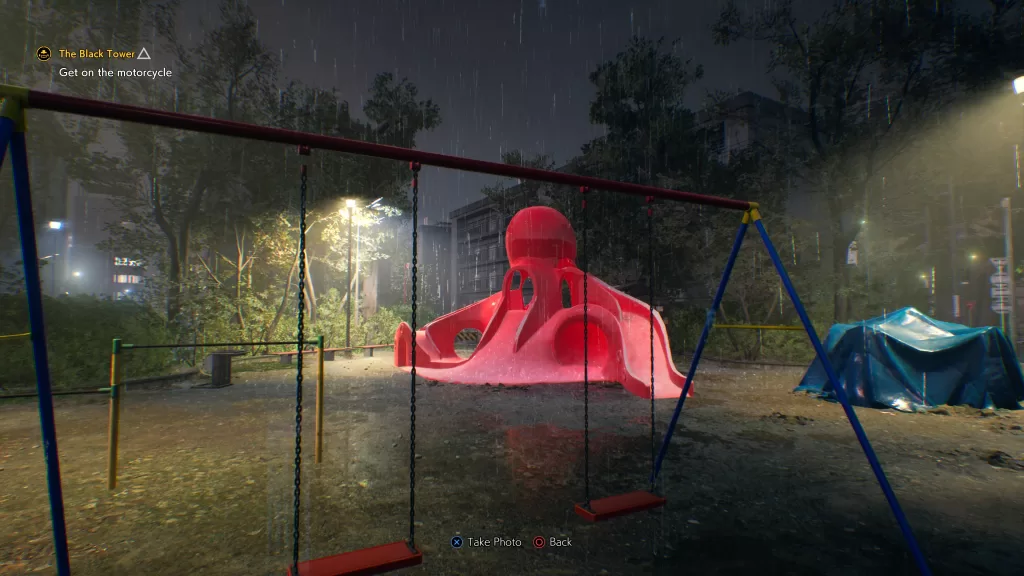
Swing Set
Location: West of Yamaki Shrine
For the 22nd photo, travel to the location shown in the image below.
Once you arrive, examine the area. Stand behind the swingset and face the slide. Take the photo to reveal the specter then purge it.
Restricted for a Reason
Location: Southwest of Kamio Shrine
For the 23rd photo, travel to the location shown in the image below.
Once you arrive, examine the area facing the blocked-off tree stump. Take the photo to reveal the specter then purge it.
Forest Gathering
Location: Directly north of the Kirigaoka Shrine
For the 24th photo, travel to the location shown in the image below.
Once you arrive, examine the area facing the front of the yellow digger. Take the photo to reveal the specter then purge it.
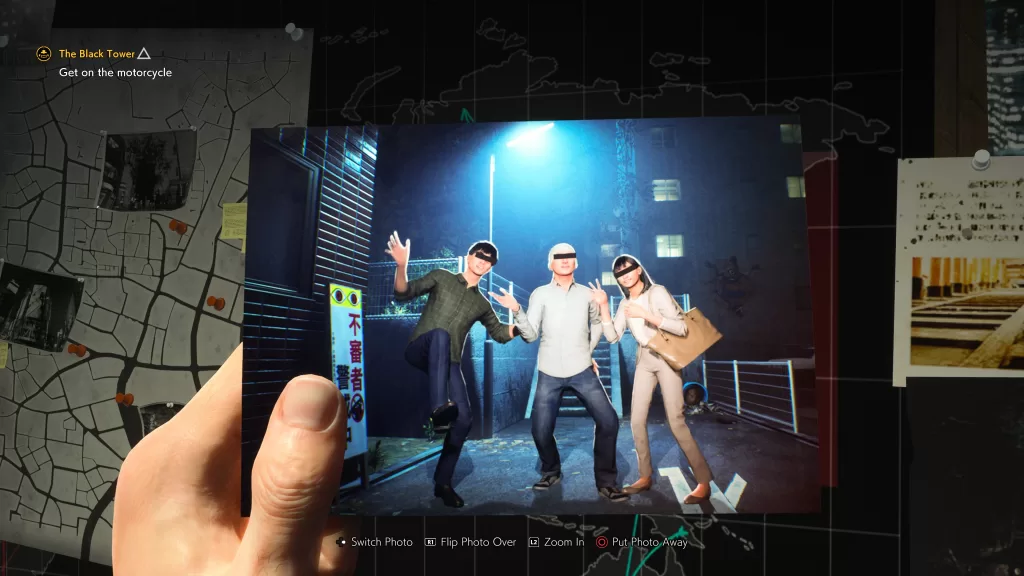
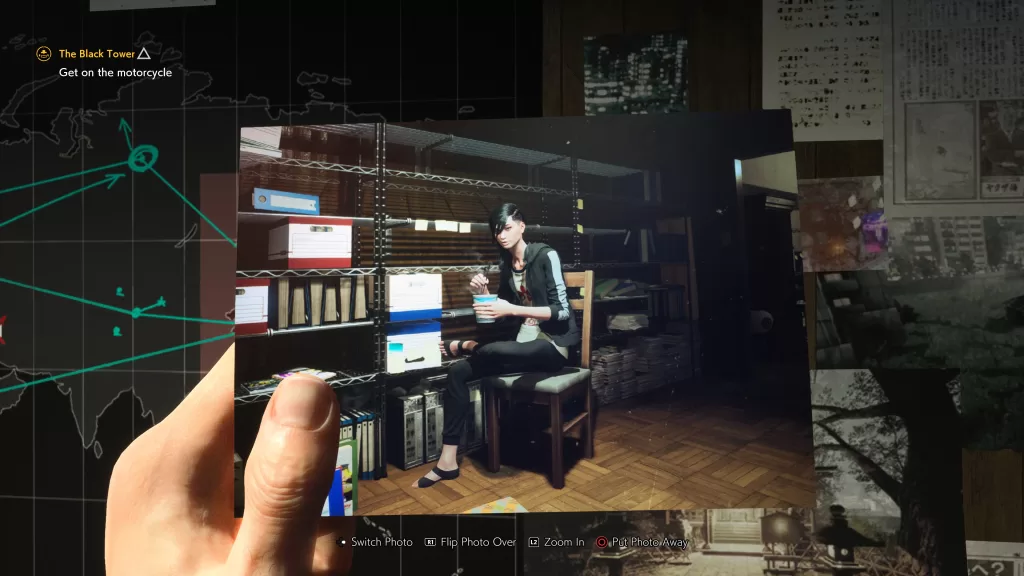
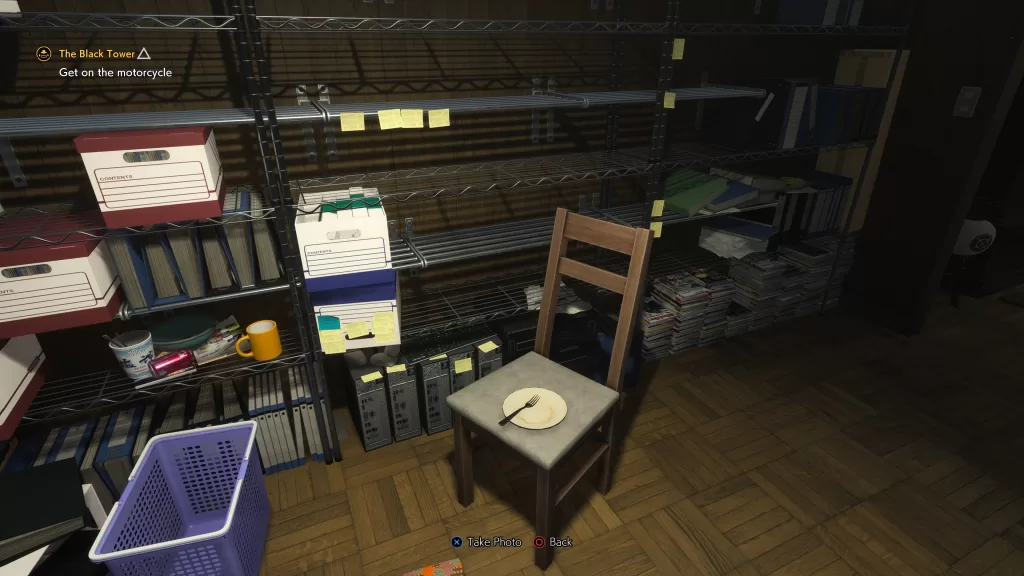
Safehouse Memories
Location: KK’s Safehouse
For the last photo, travel to KK’s Safehouse. Once you arrive, face the chair with a fork and plate then examine the area. Take the photo to reveal the specter then purge it.
Below is a walkthrough for The Boss Tanuki side mission in Ghostwire: Tokyo. You’ll automatically obtain this quest after finding all the Tanuki. For guides on where these Tanuki can be found, check out our guides for each area here!
Speak to the boss tanuki at Kirigaoka Shrine
Travel to the objective at Kirigaoka Shrine and speak with the boss tanuki to complete the mission.
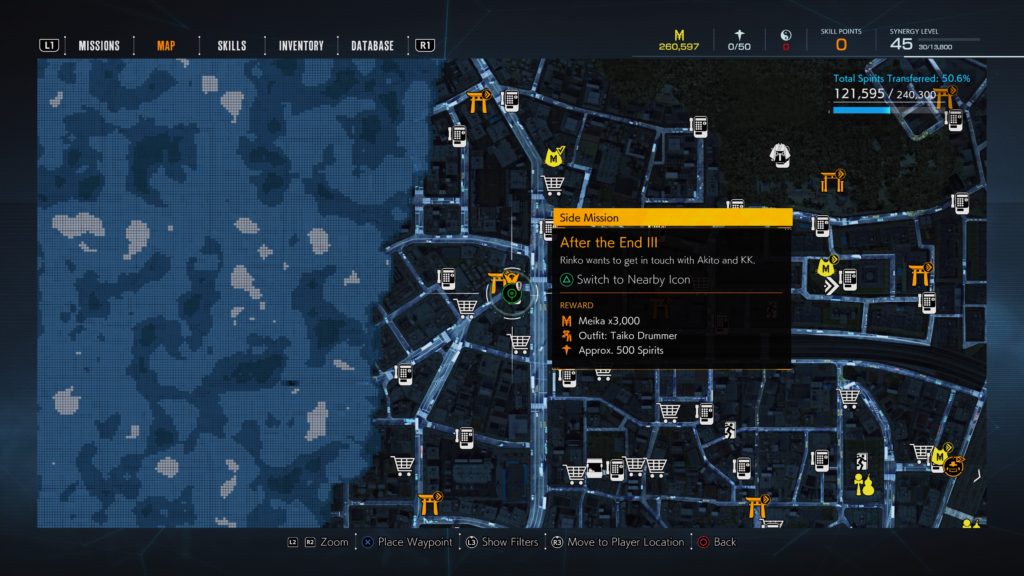
Below is a walkthrough for the After the End III side mission in Ghostwire: Tokyo. To obtain this quest, you must first complete the After the End II side mission then travel to Toyoi Shrine. Answer the pay phone ringing nearby to begin the quest!
Head to the location specified by KK
Follow the road south to find Erika next to the fence overlooking the highway below.
Follow Erika’s psychic trail
Use your Spectral Vision (press square) to follow her. Eventually, she’ll lead you to a building. Enter it!
Search the area
Examine the keychain on the desk then defeat the enemies that spawn.
Tell Rinko what you found
Exit the spirit world then follow the objective to the pay phone and answer it. Afterwards, the quest will complete.
Below is a walkthrough for the After the End II side mission in Ghostwire: Tokyo. To accept this quest, answer the payphone east of Morite Shrine after completing theAfter the Endside mission and The Black Tower main mission.
Check out the roof of 429
Head west to find 429 Shibuya (has big sign on front of building) then make your way up to the roof to find the spirit.
Follow Erika’s psychic trail
Use your Spectral Vision to follow her.
Defeat the enemies
Defeat the enemies then pick up the voice recorder.
Speak with Rinko
Head to the pay phone and answer the call to complete the quest.
Below is a walkthrough for the Hide and Seek III side quest in Ghostwire: Tokyo. This quest will automatically appear on your map after completing the Hide and Seek II side quest.
Find the 7-story apartment building
Head south down the road until you find the FujiyaMart at the intersection. Enter the wooden doors to the right of the FujiyaMart to reach the apartment building.
Search inside the apartment building
Enter the elevator and ride it to 8F.
Find Yosuke
Follow the path through the forest. When you reach the lake, head left to find Yosuke in the shack. To get inside, open the door. After the cutscene, you’ll have to find Yosuke again.
From the shack, backtrack on the path you came from. Yosuke should be straight ahead on a wooden platform in a tree. To reach it, climb up on the rocks behind the tree to glide to a smaller wooden platform. From there, you’ll be able to reach the platform containing Yosuke. Once you find him, Yosuke will again disappear.
Jump off the platform at the corner where Yosuke was then follow the path to the right at the lake. This will take you past a fallen tree. You can find him sitting on the ground hiding behind a tree.
When he disappears, return to the wooden shack. To get inside, head to the wooden platform next to a spirit and glide to the roof of the shack. After getting inside, speak with Yosuke then exit the building to complete the quest.
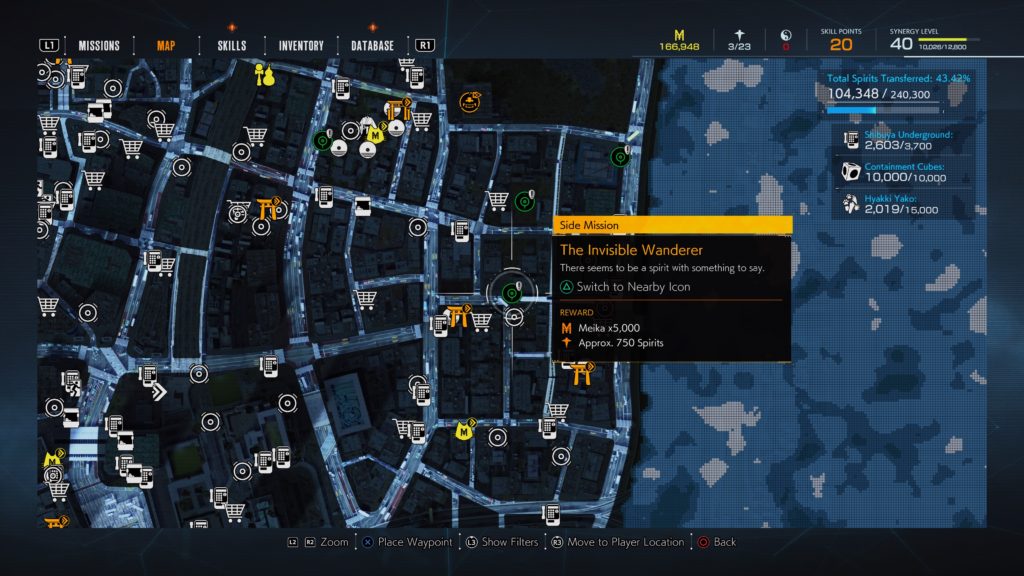
Below is a walkthrough for The Invisible Wanderer side mission in Ghostwire: Tokyo. To obtain this quest, speak with the spirit northeast of Sakano Shrine.
Search the shopping arcade
Head down the street to the objective then use your Spectral Vision (press square) to find a set of footprints.
Follow the Tapper’s footprint
Go ahead and follow the footprints, using your Spectral Vision as needed when the blue orb appears. They will lead you to a roof. Once on the roof, follow the footprints until a portal appears. Head inside then keep following the footprints until you reach an elevator. Ride it up to 6F then keep after the footprints. When you reach the large gap with a moving platform, glide to the platform then glide across the way to span the gap. Keep making your way forward until you reach a corrupted tree. Approach it to trigger a cutscene then clear the corruption. Speak with the spirit.
Seal the hole
Use your hand seal on the portal to seal it up! Afterwards, the quest will complete.
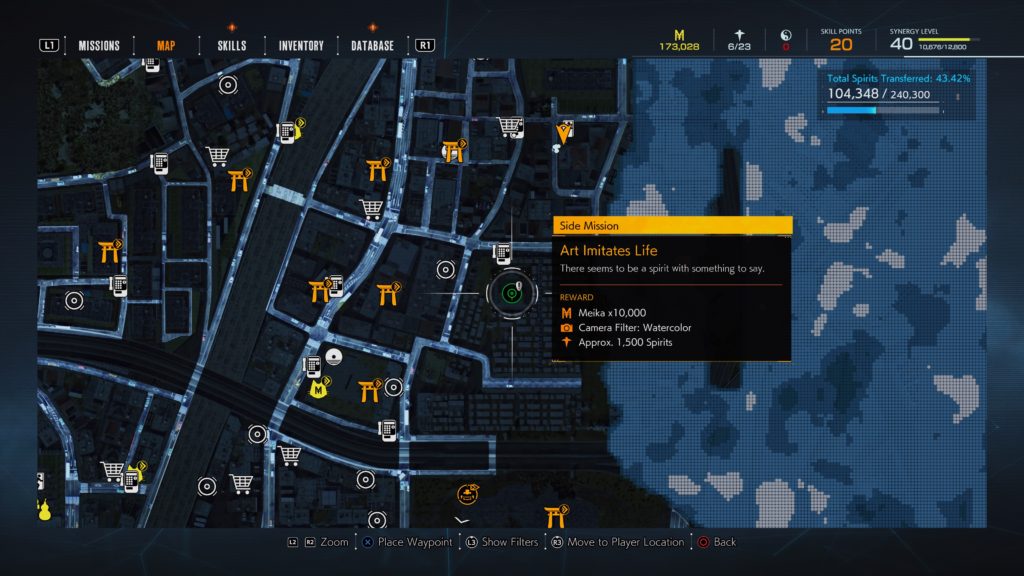
Below is a walkthrough for the Art Imitates Life side mission in Ghostwire: Tokyo. To obtain this mission, speak with spirit east of the Momokane Building Rooftop Torii Gate.
Find the runaway dragon
Head east towards the objective to find a dragon slithering on the ground. Follow it to a cemetery then use your hand seal.
Track down the dragon
Head further into the cemetery to pick up its trail and follow it to another dragon den. Again, seal the den using the hand seal. Afterwards, continue following the dragon across the path and up the stairs to find the den on an upper level of the cemetery. Seal it then travel to the main road on the eastern part of the search area to find the next den. Defeat all the enemies that spawn then use the hand seal on the dragon.
Tell the priest what happened
Return to the spirit you acquired the quest from and speak with him to complete the quest.
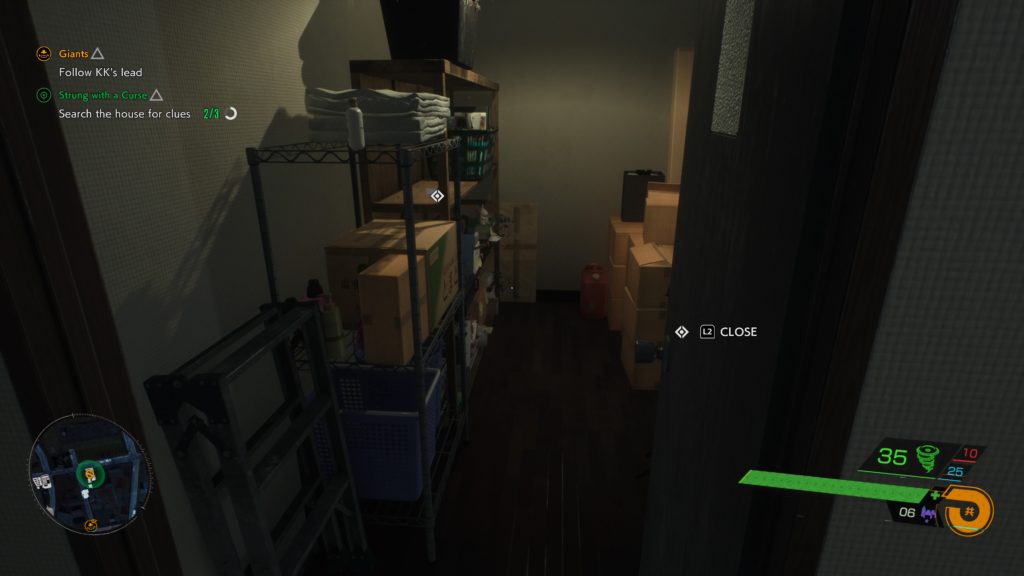
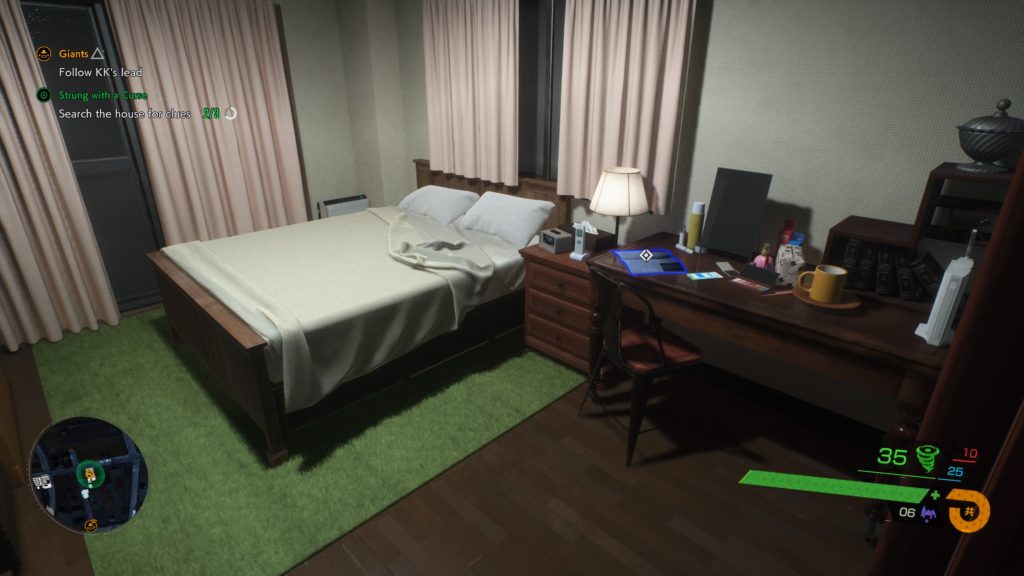
Below is a walkthrough for the Strung with a Curse side mission in Ghostwire: Tokyo. To obtain this quest, speak with the spirit at Shiratsuki Shrine.
Find the piano school
Head down the street east into the search area to hear a piano playing. Make your way to the objective to find the school. As you approach, enemies will spawn. Defeat them!
Search the house for clues
Enter the piano school then search for the below clues.
Clue 1 – Journal – In the upstairs closet
Clue 2 – Delivery Slip – On a shelf in the storage room
Clue 3 – Major and Minor Prodigies – On the desk in a bedroom
Go to room with the piano
Head downstairs and enter the room with the piano. Speak with the spirit at the piano.
Find the source of the music’s corruption
Examine the portrait on the wall and select Giovanni. Next select that he must be jealous of the girl. After the startling event, purge Giovanni using the hand seal.
Speak with the girl
Speak with the spirit at the piano to complete the quest.
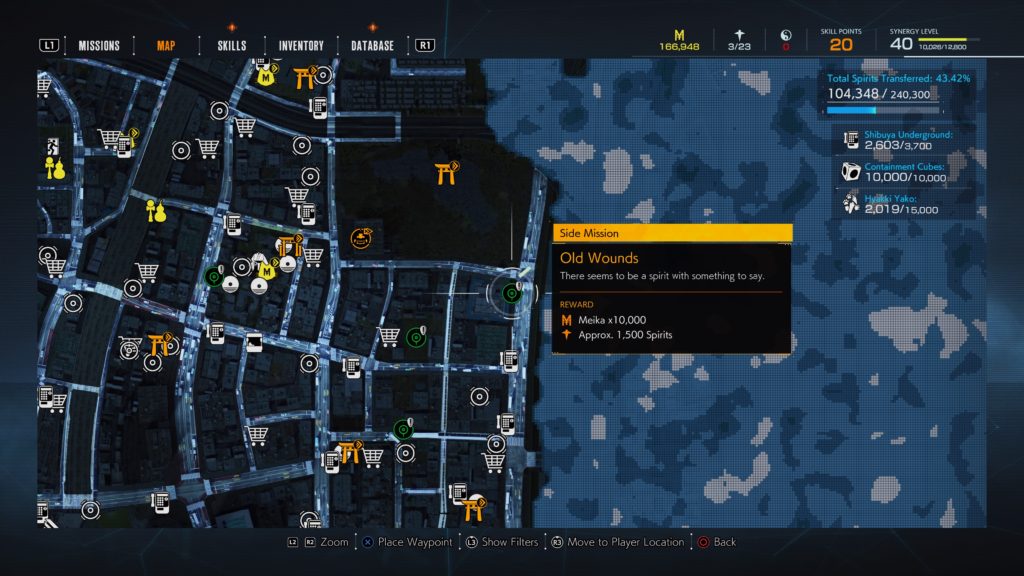
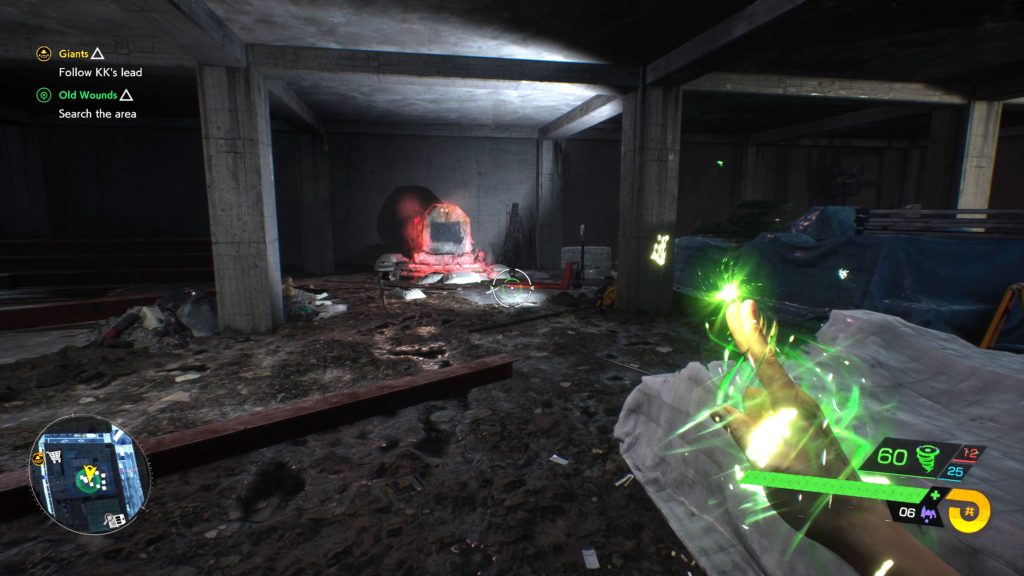
Below is a walkthrough for the Old Wounds side mission in Ghostwire: Tokyo. To obtain this quest, speak with the spirit southeast of Kappagaike Torii Gate.
Investigate the construction site
Travel to the basement to spot a large rock glowing red and examine it.
Investigate the manor
Head into the courtyard to begin a fight.
Defeat the shiromuku
Defeat the large enemy!
Purge the lord’s specter
Use your hand seal on the specter to complete the quest.
Rewards
Meika x10,000
Approx. 1,500 Spirits
Search
This site uses cookies. By continuing to use this website, you are giving consent to cookies being used. For more information on cookies, view our Privacy Policy.OkPrivacy Policy