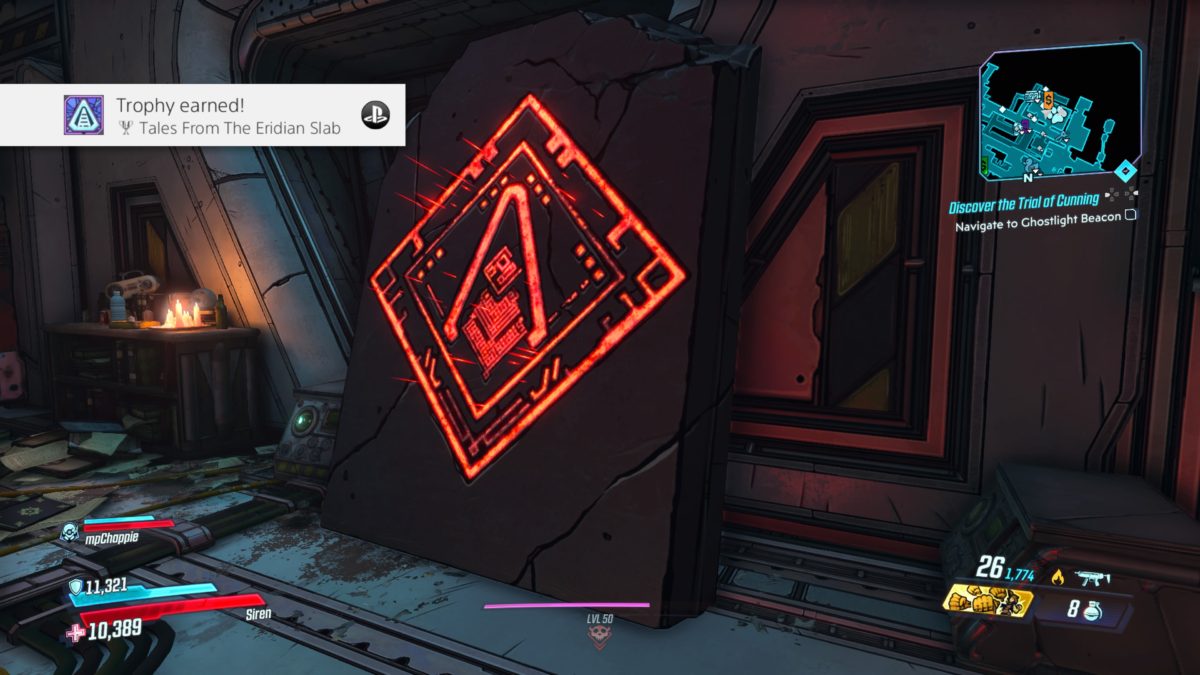
*NOTE: If you did not receive The Tales From The Eridian Slab trophy, head back to the infirmary at Sanctuary and keep translating the Eridian writing until the trophy triggers. (We inspected it approximately six times.)
Pandora
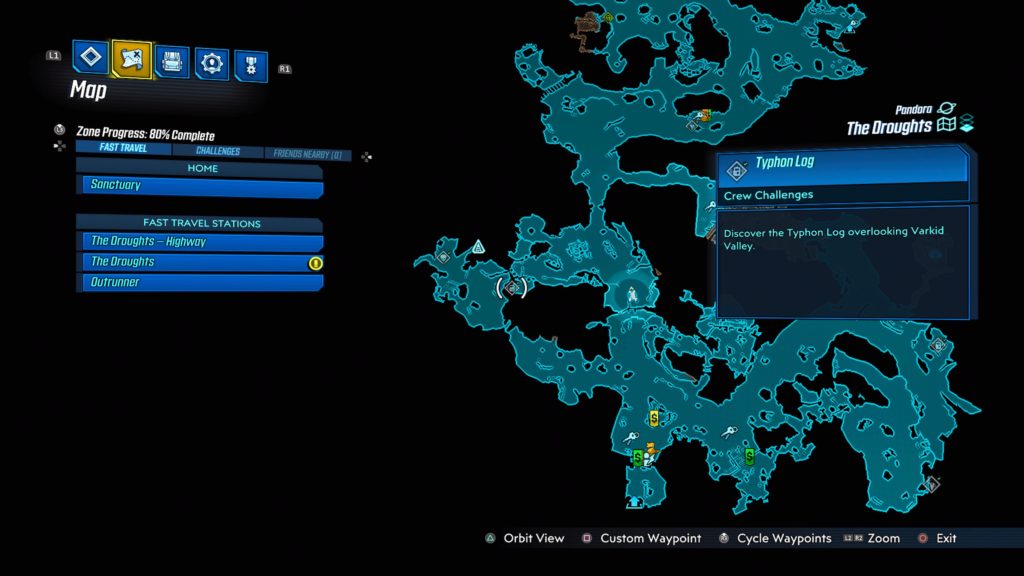
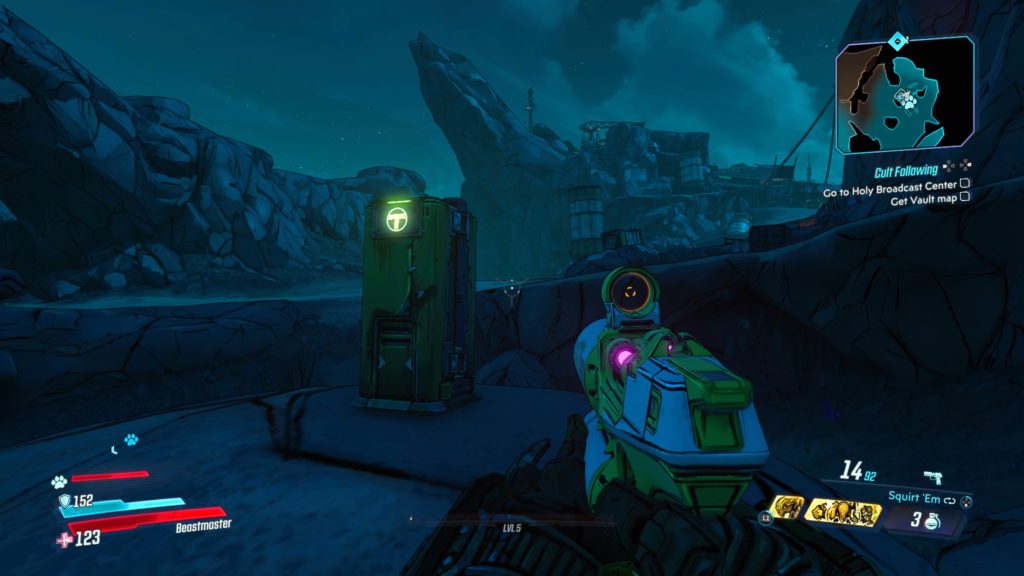
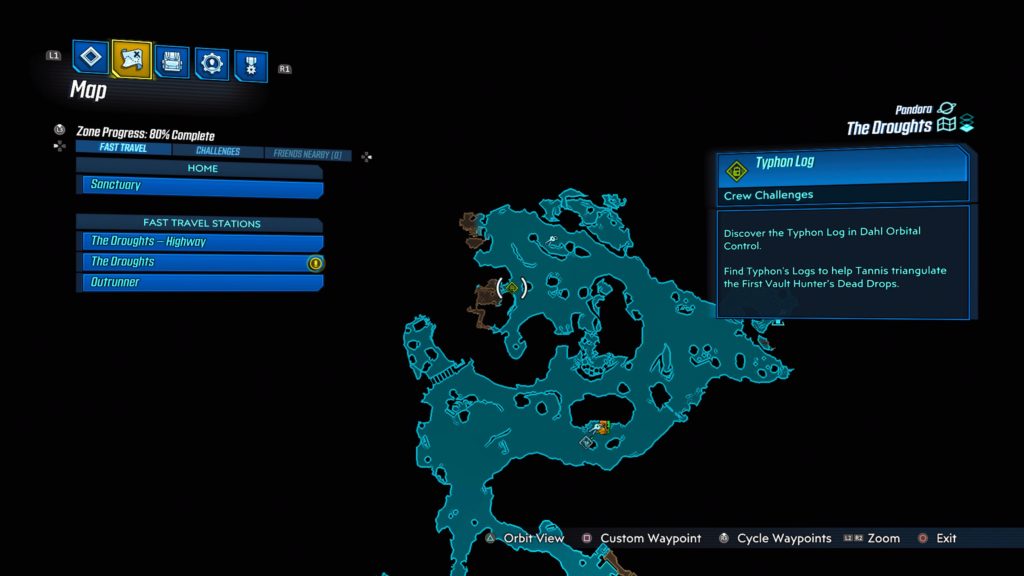
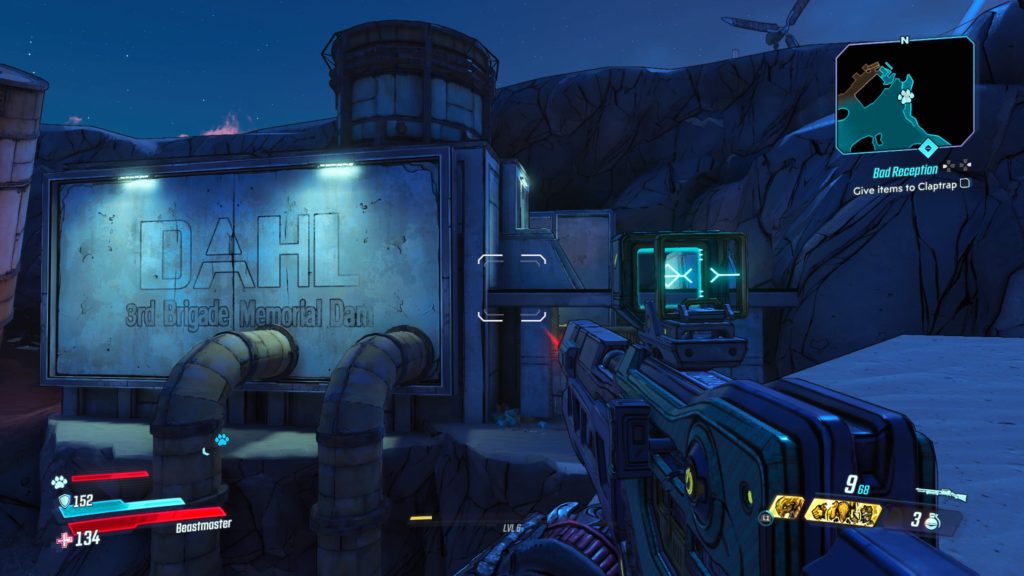
The Droughts
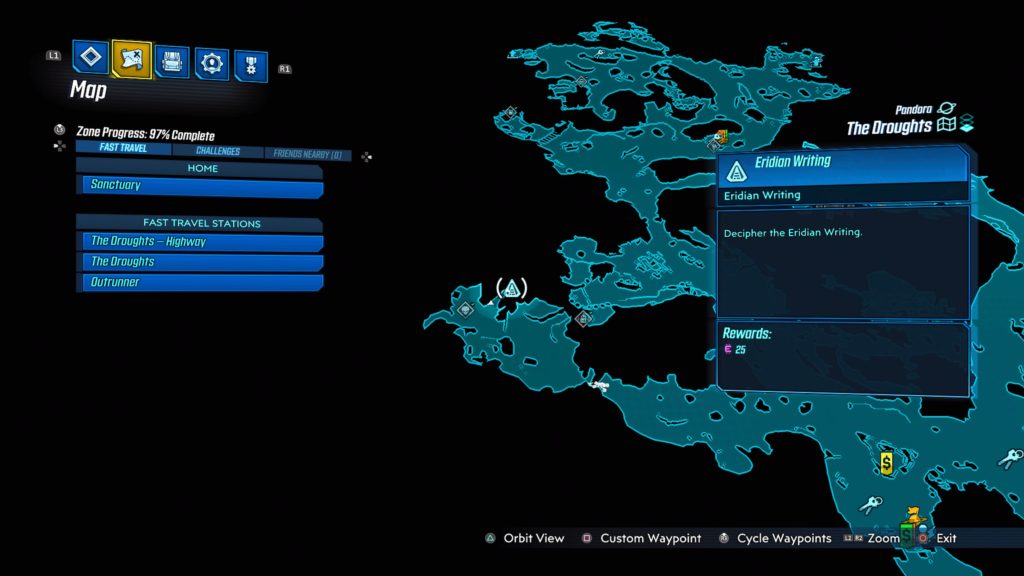

This writing is located on the east side of Varkid Valley in a cave near the Lavender Crawly Legendary Hunt.
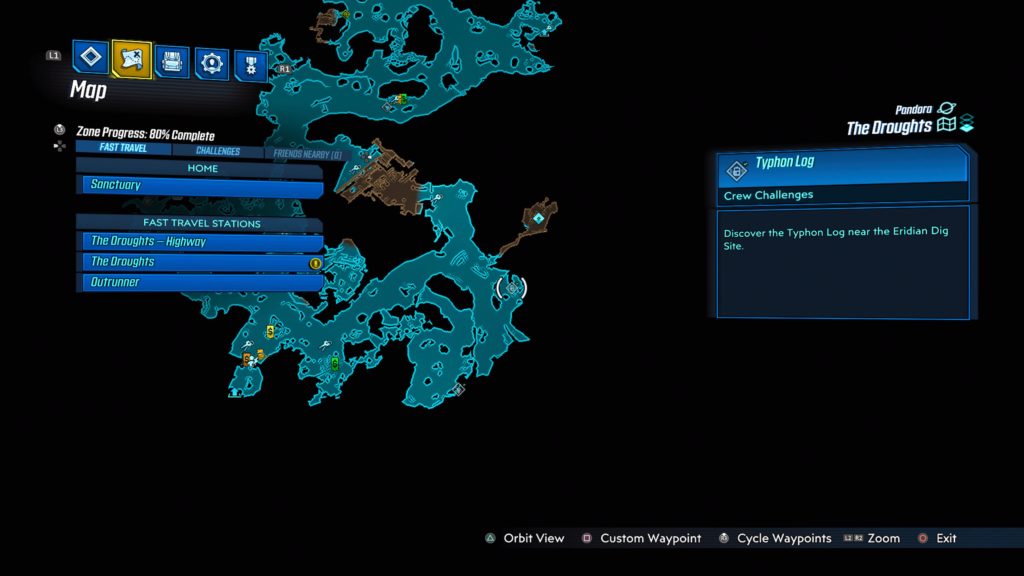
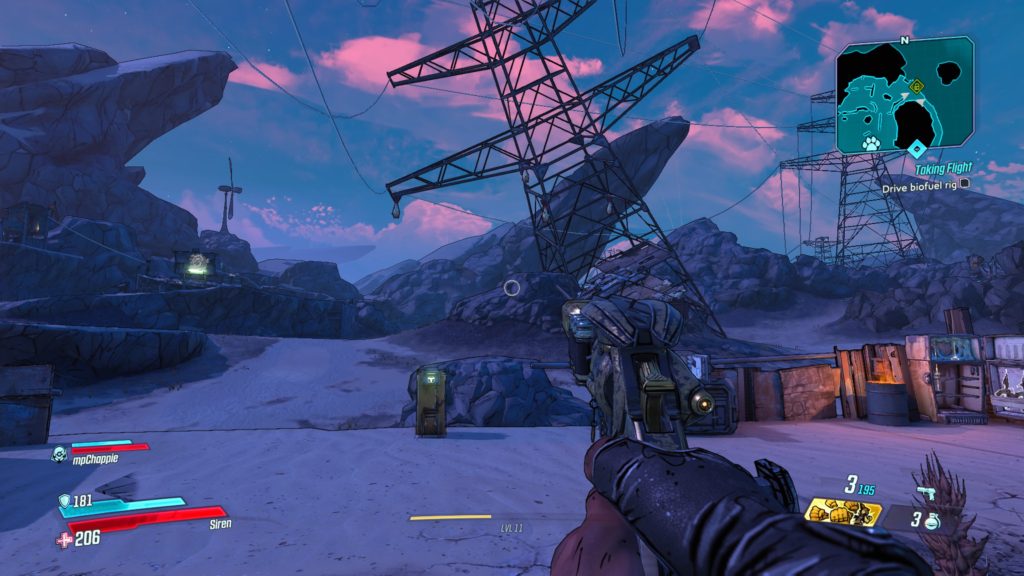
The Droughts
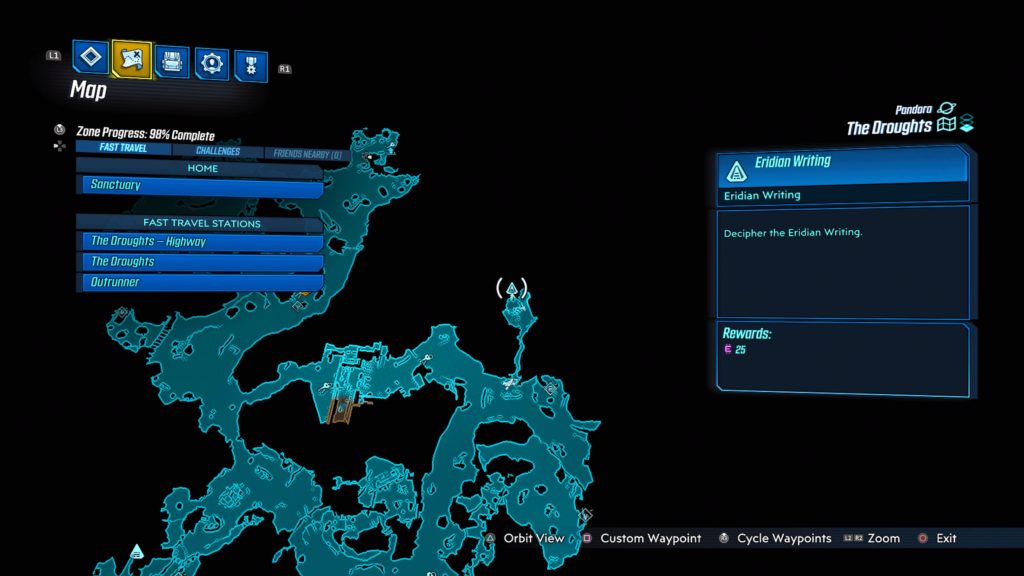
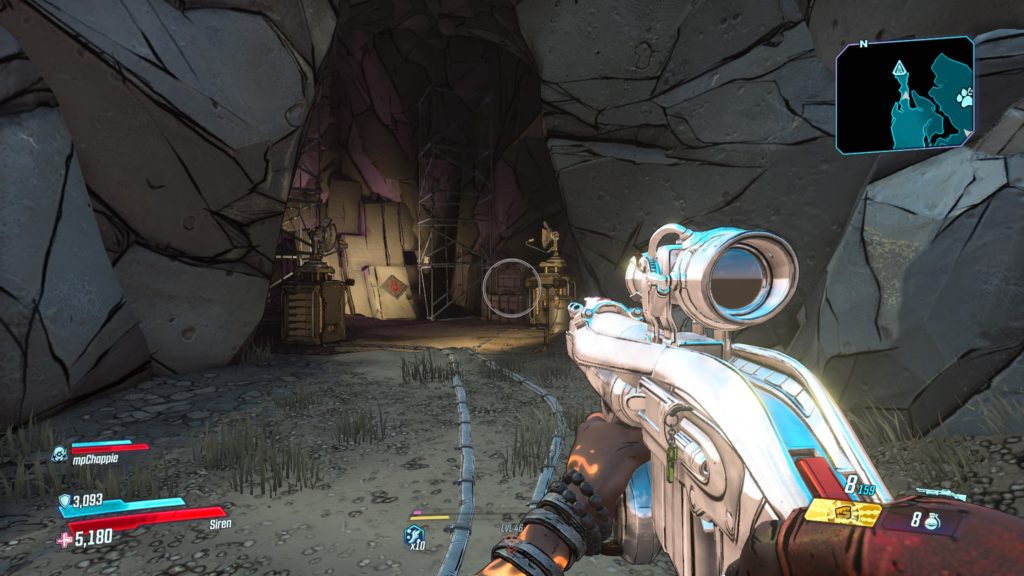
This writing is located in the back of the Eridian Dig Site in a cave next to some scaffolding.
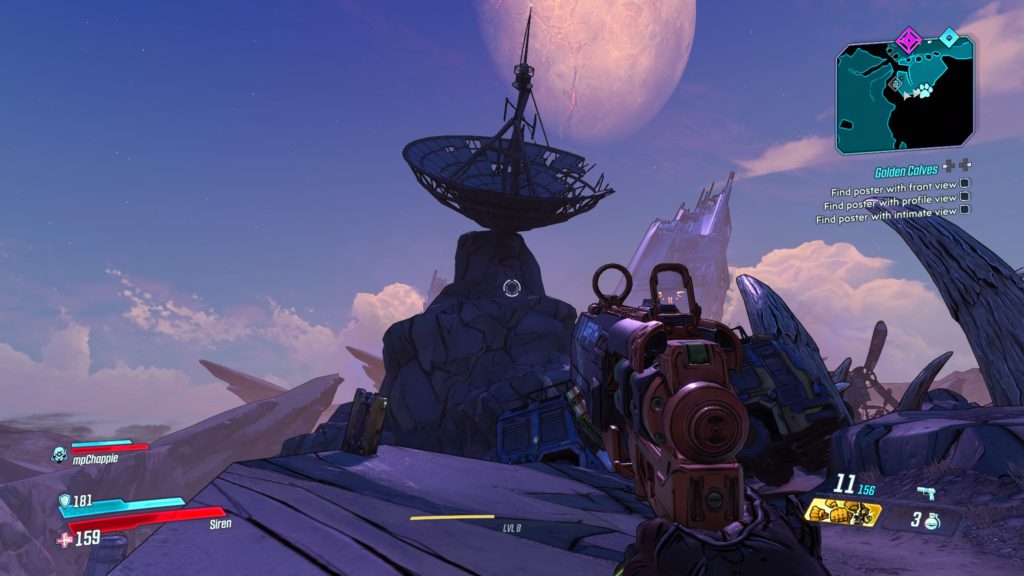
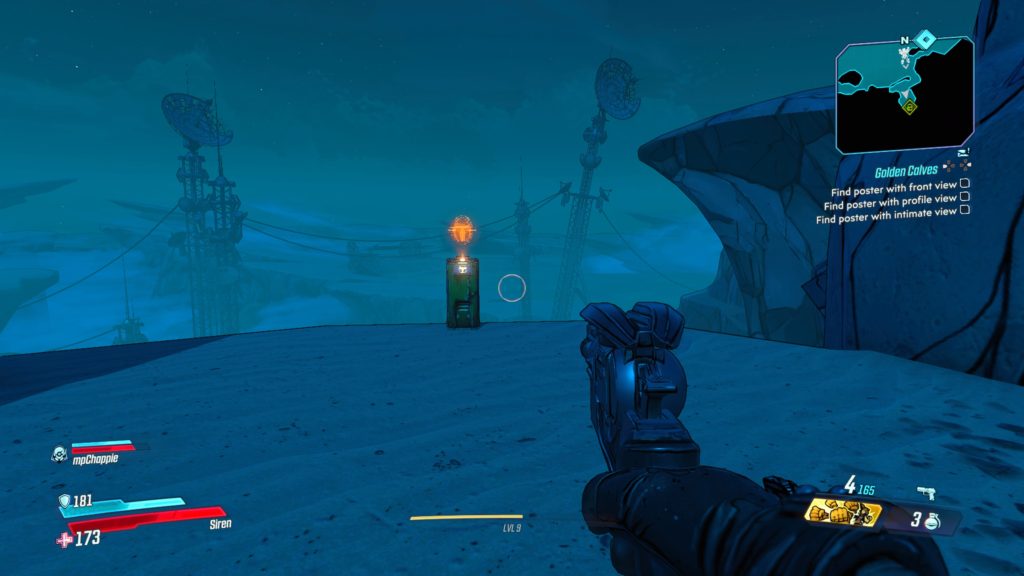
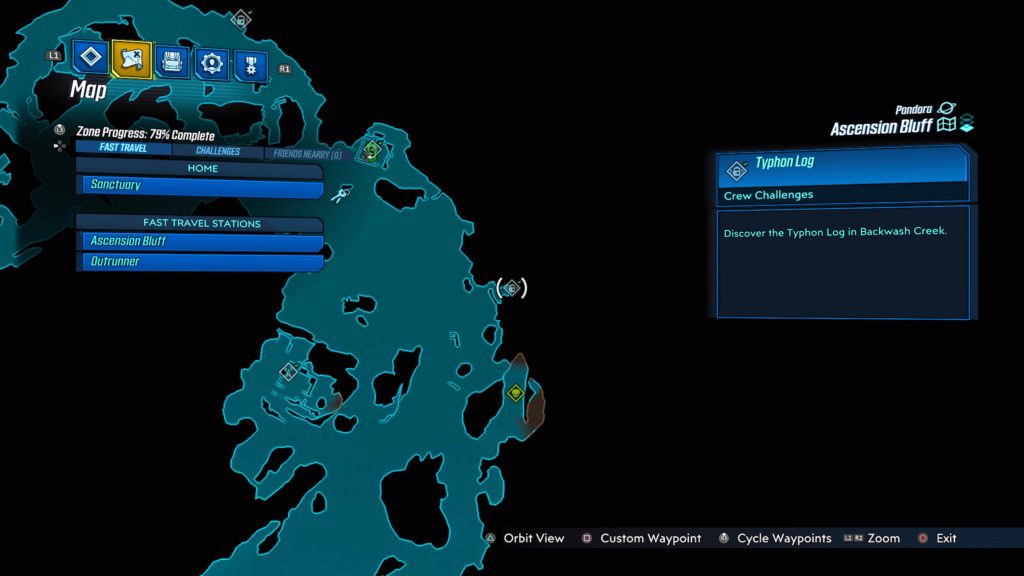
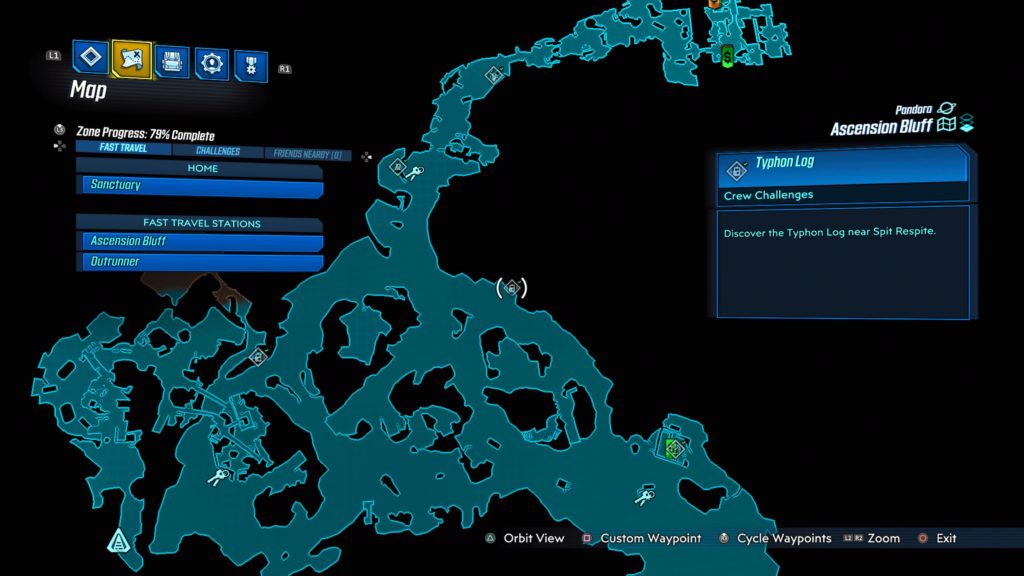
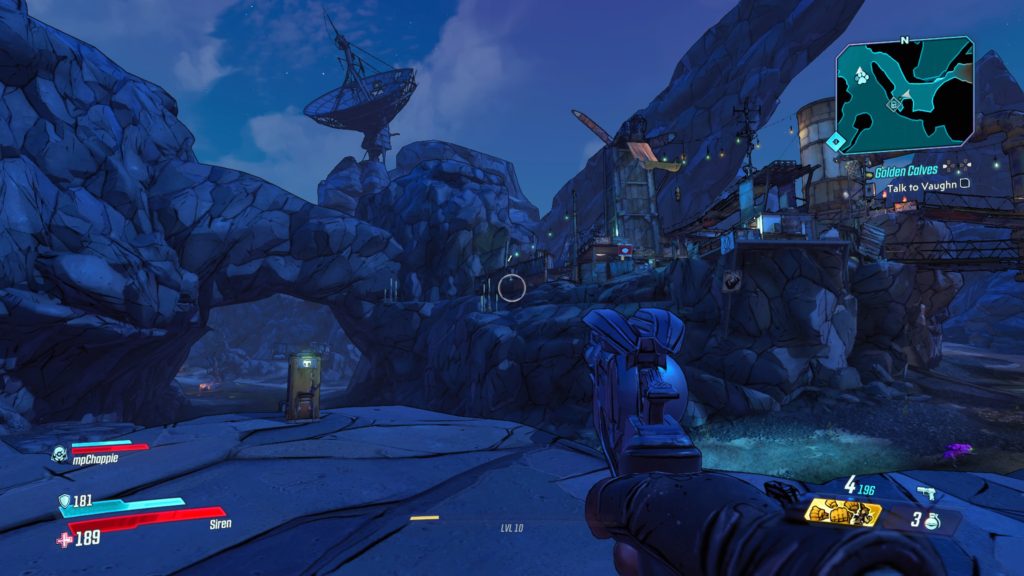
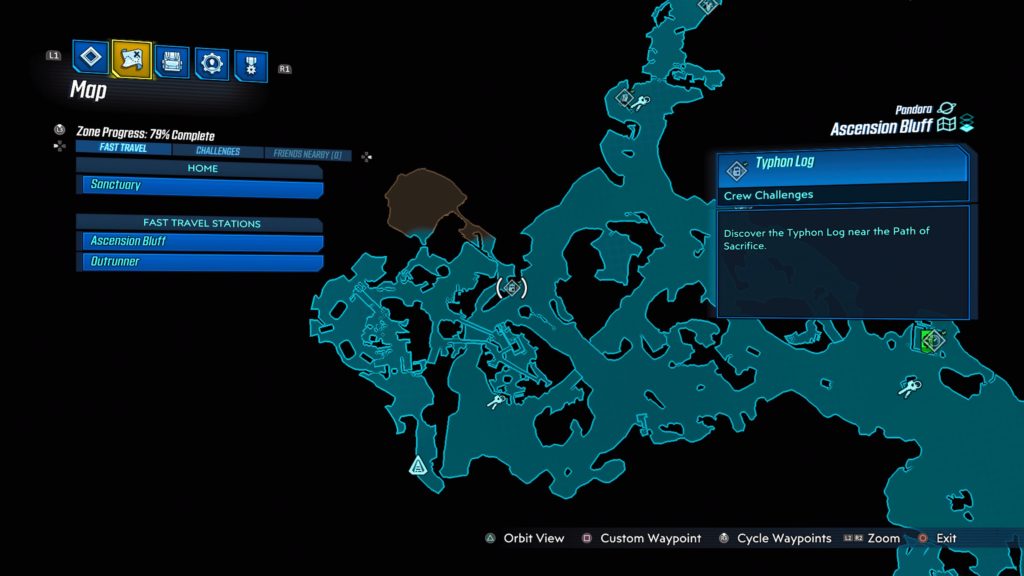
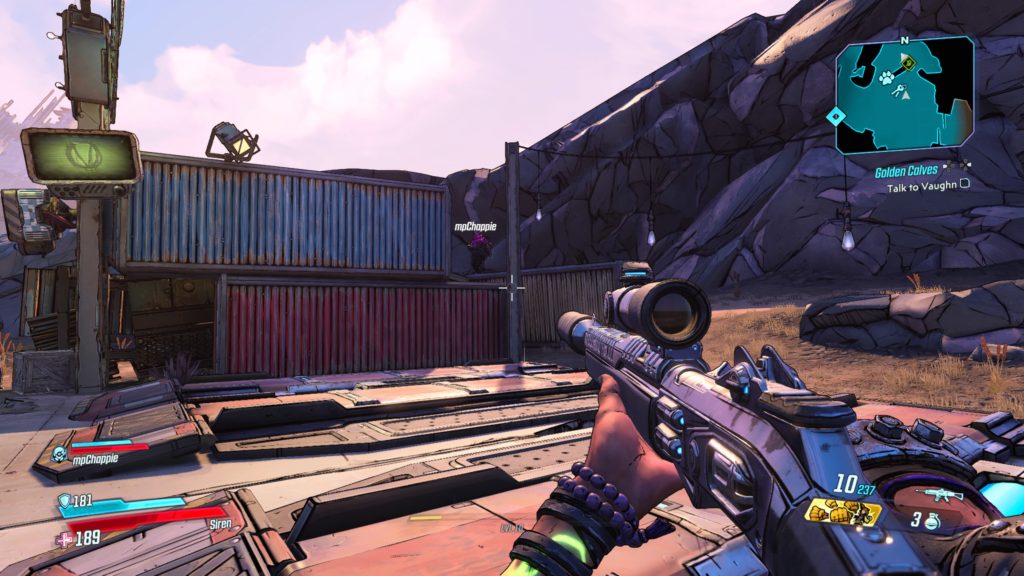
Ascension Bluff
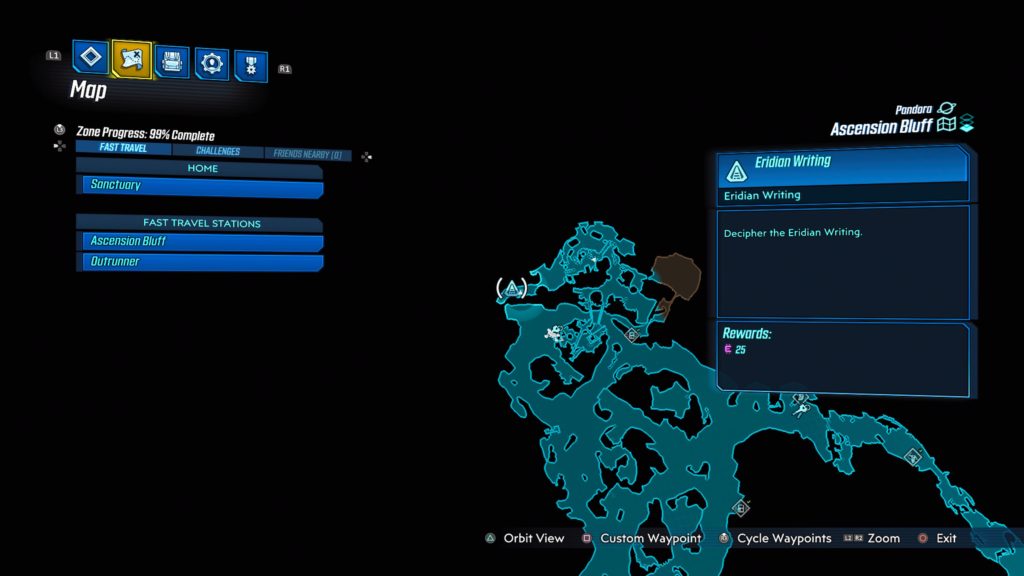
This writing is located in the most northern part of the map, north of the most northern Catch-A-Ride. We previously came here during the Golden Calves side mission.
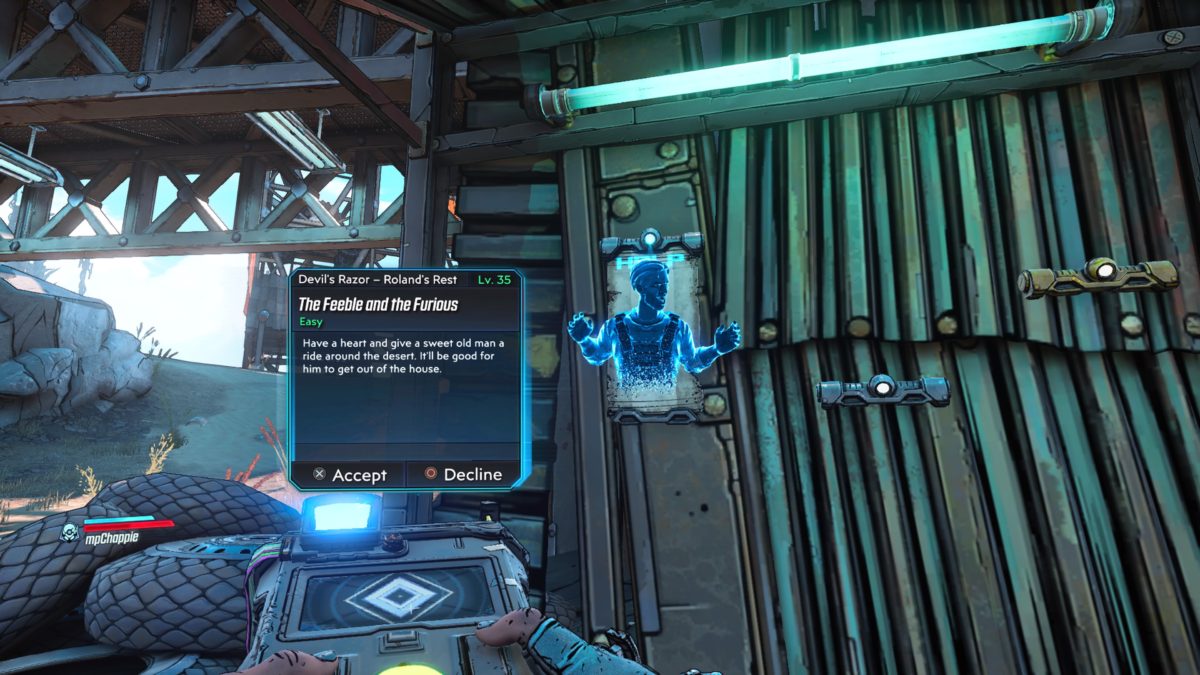
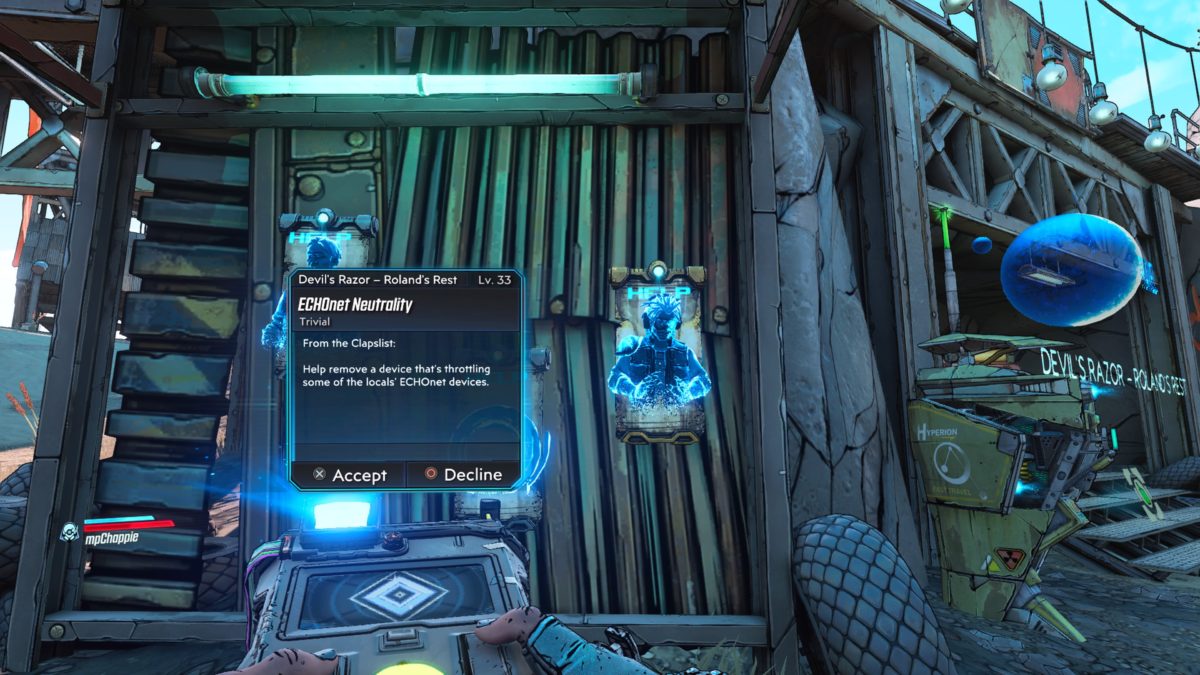
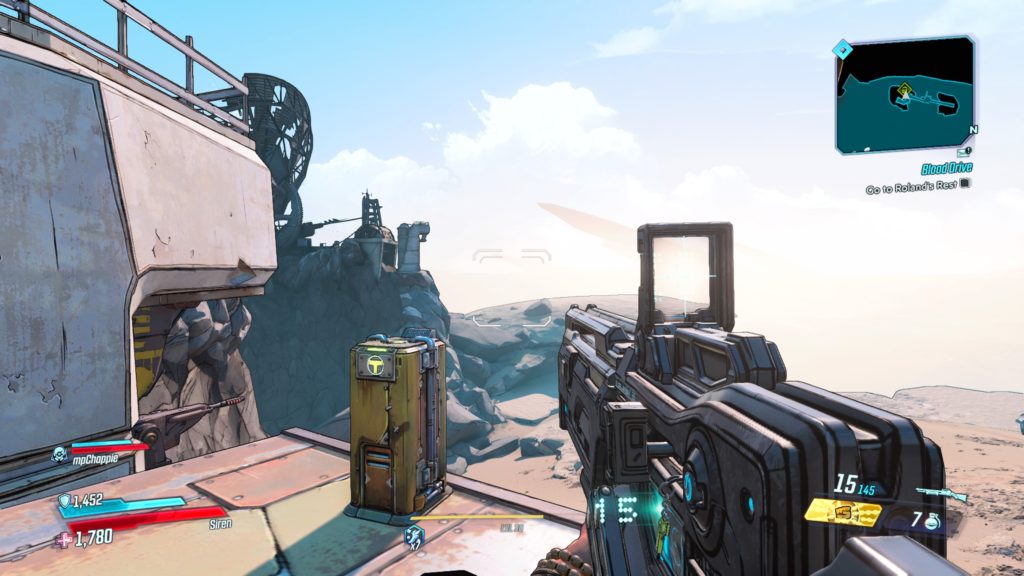
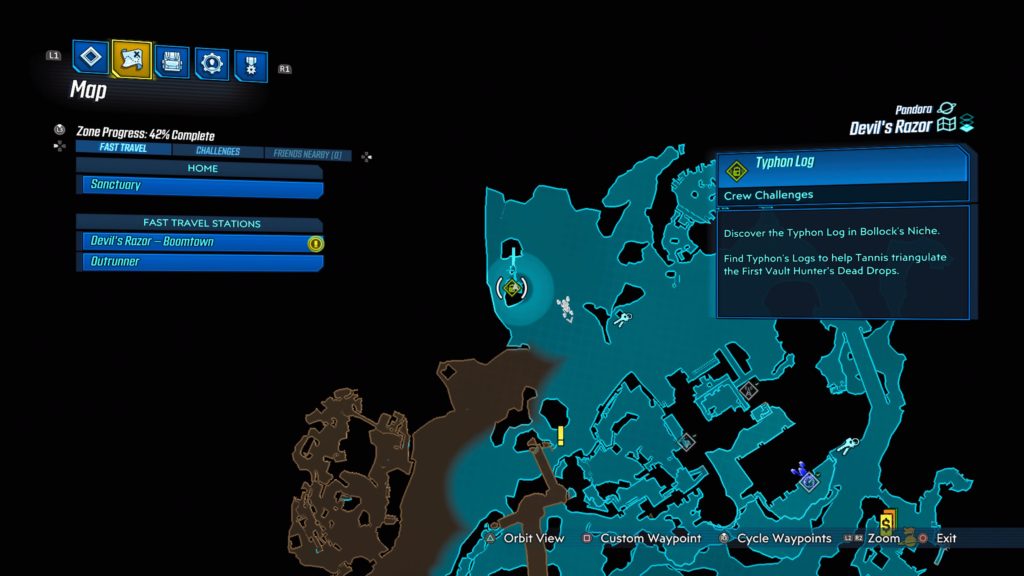
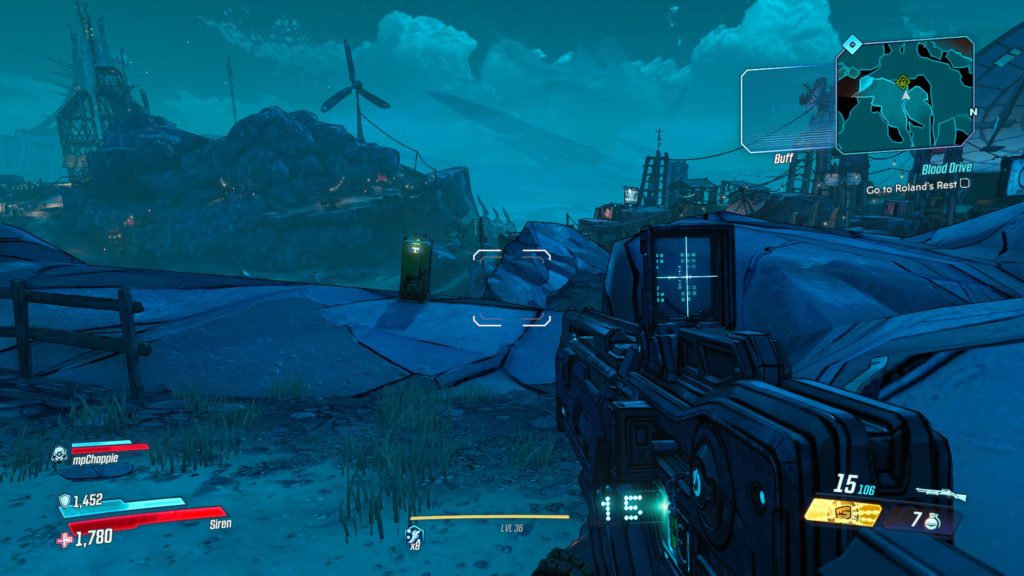
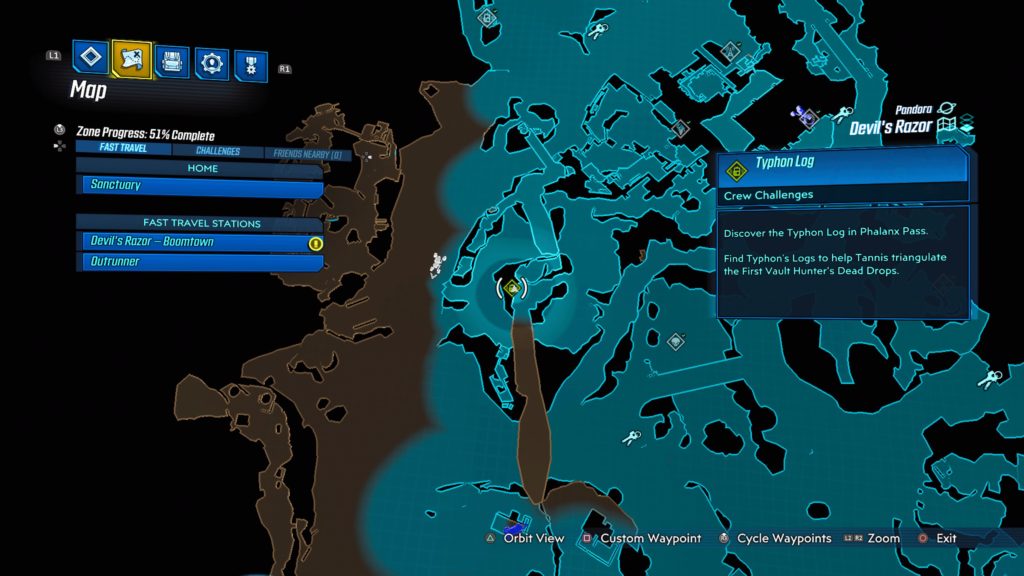
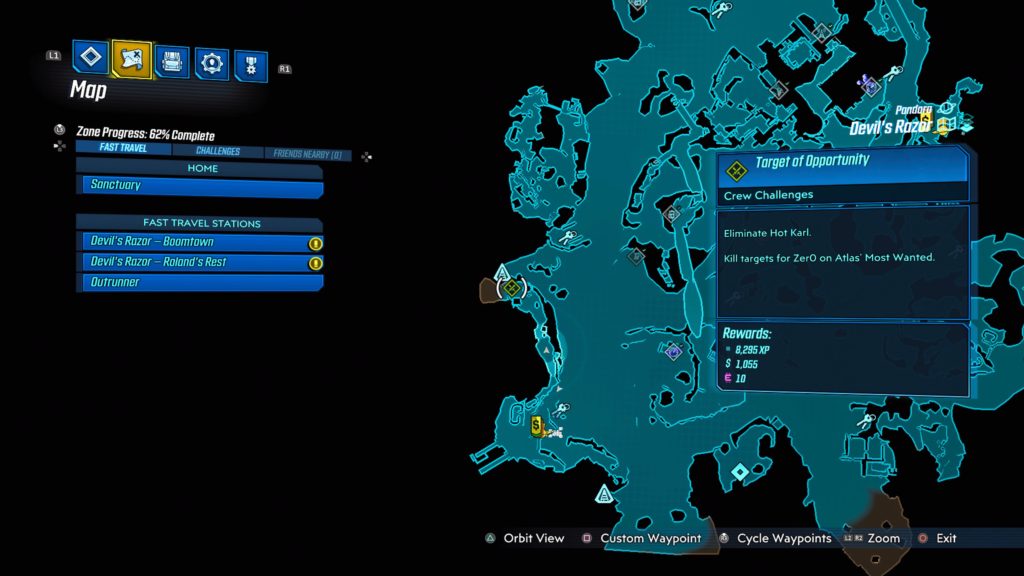
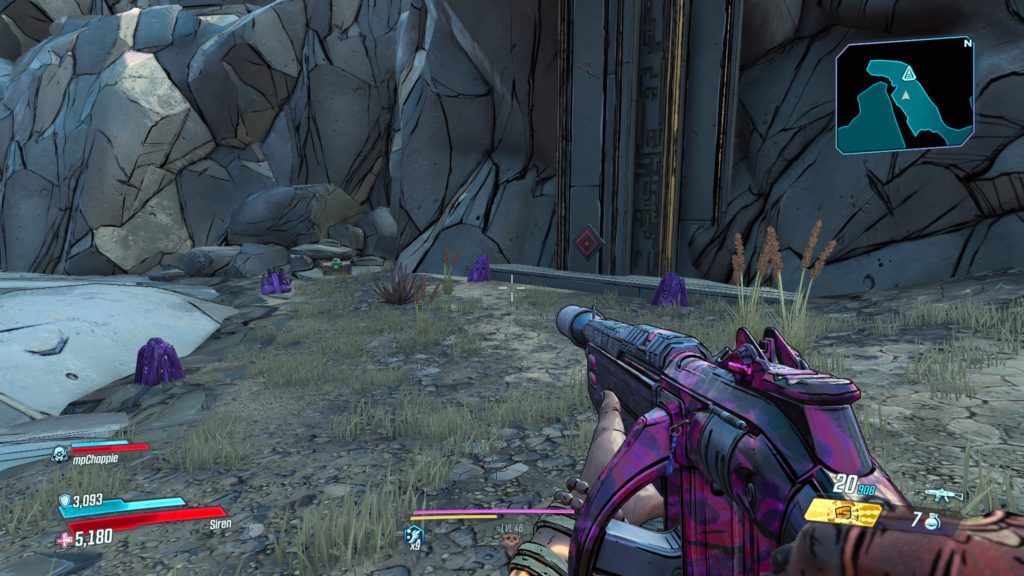
Devil’s Razor
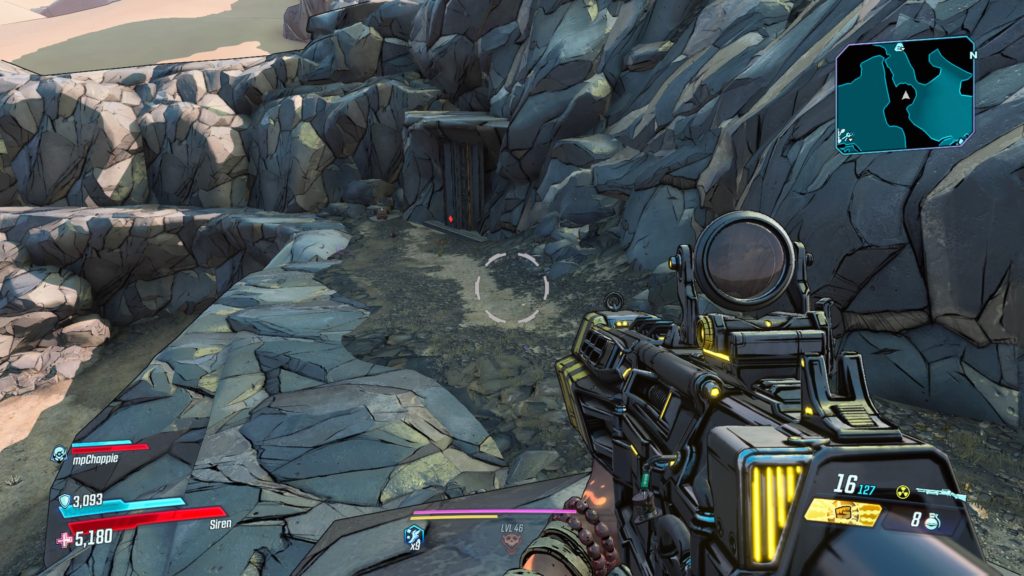
This writing is located in a small cave south of Roland’s Rest. You will need to shoot the boards off to enter the cave.
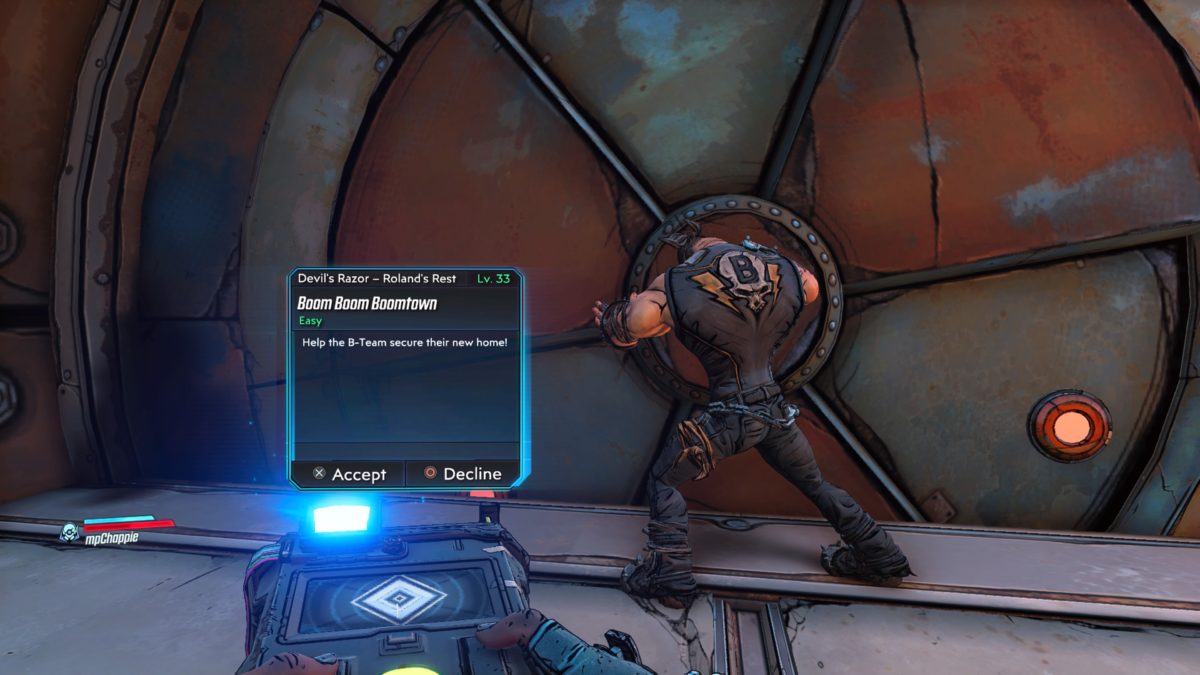
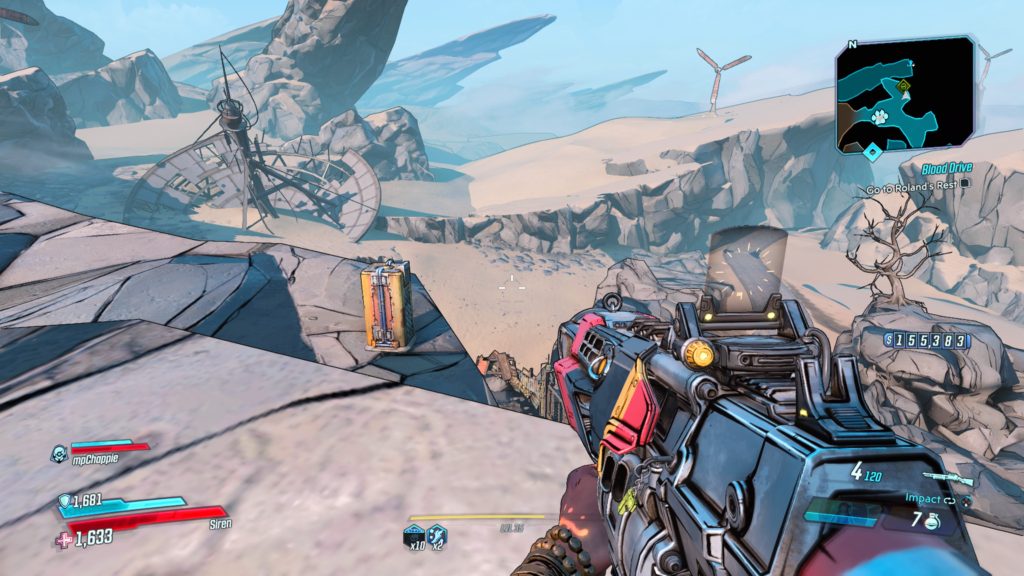
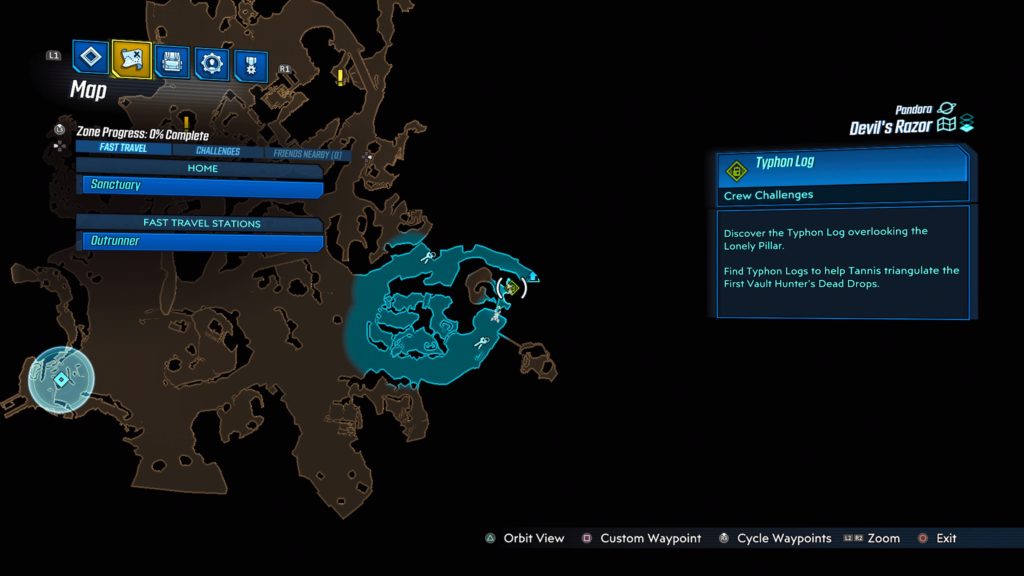
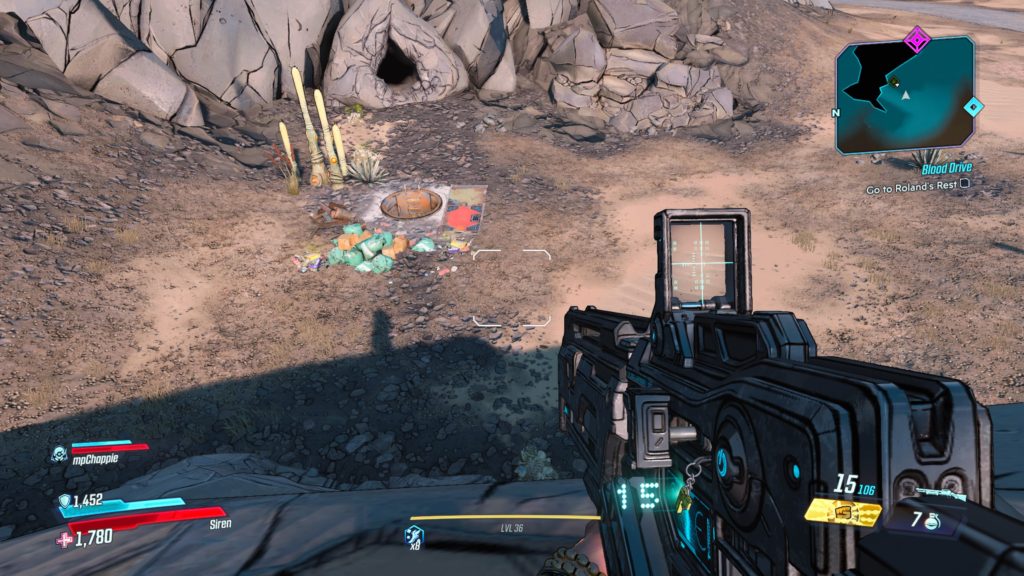
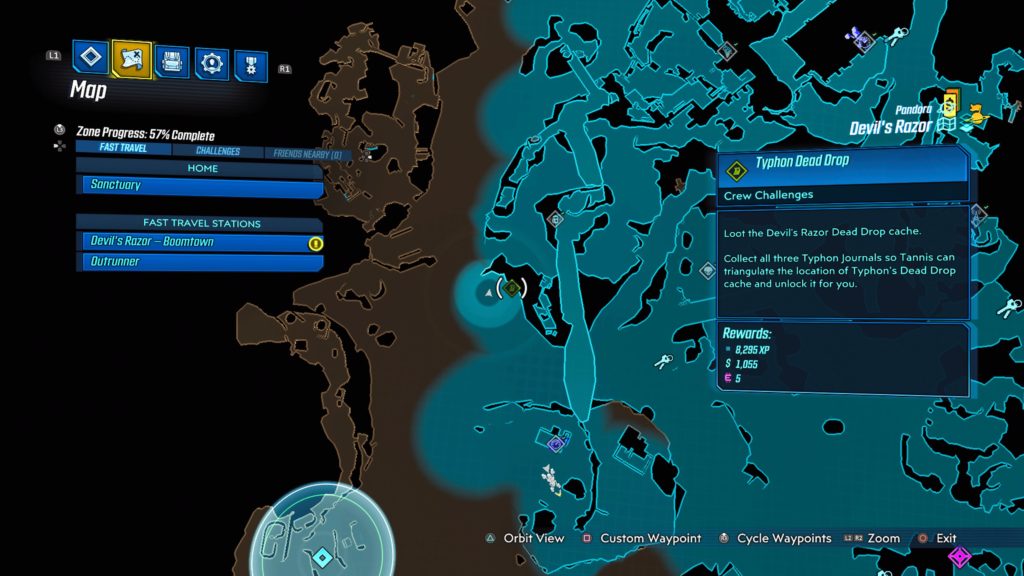
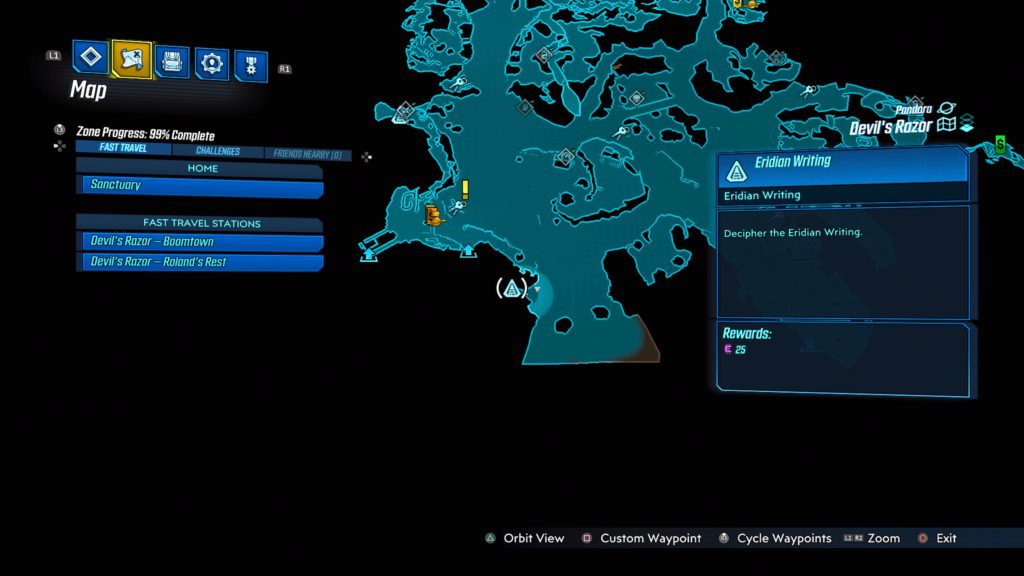
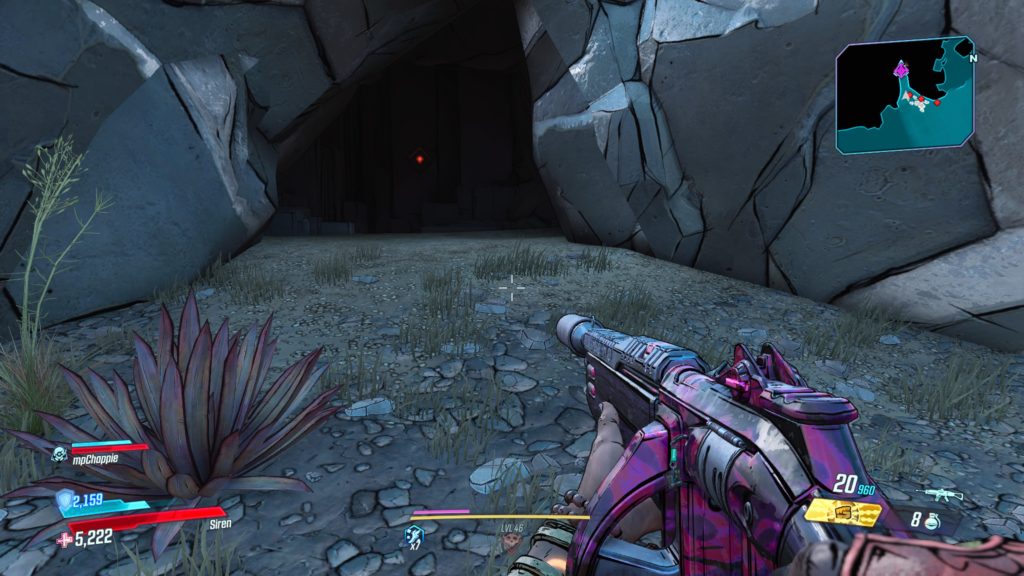
Devil’s Razor
This writing is located on a rock face overlooking a canyon north of Roland’s Rest.
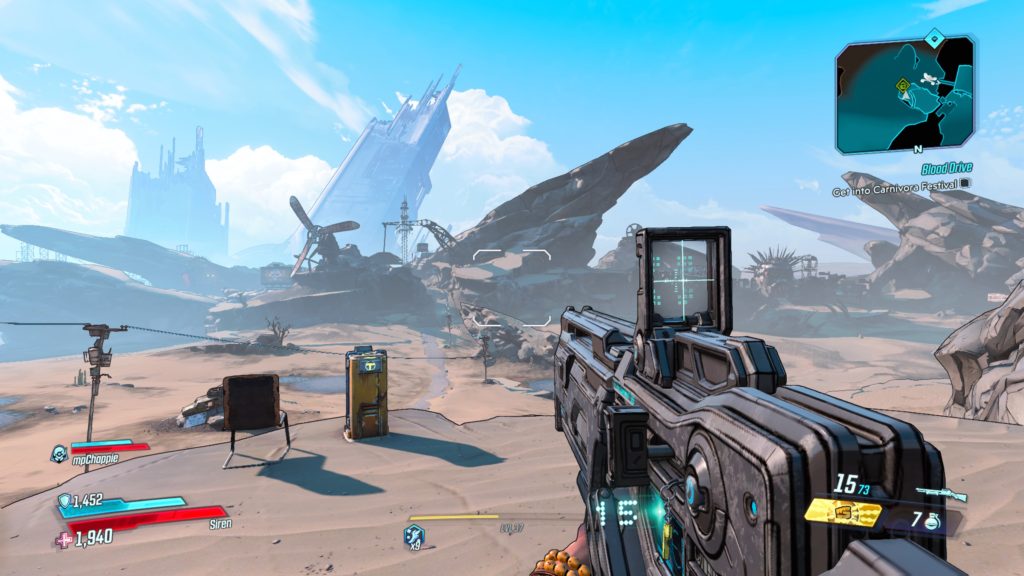
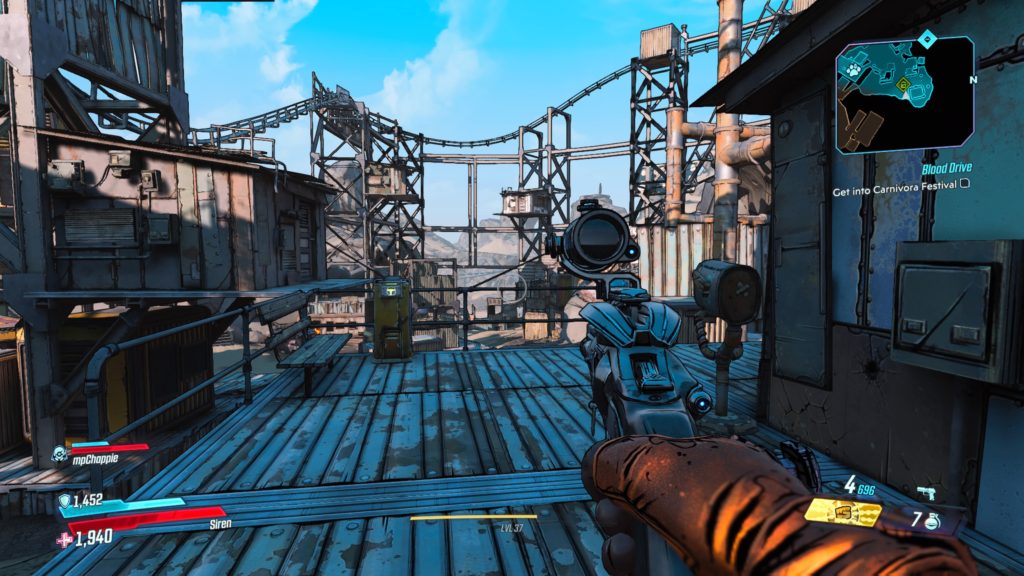
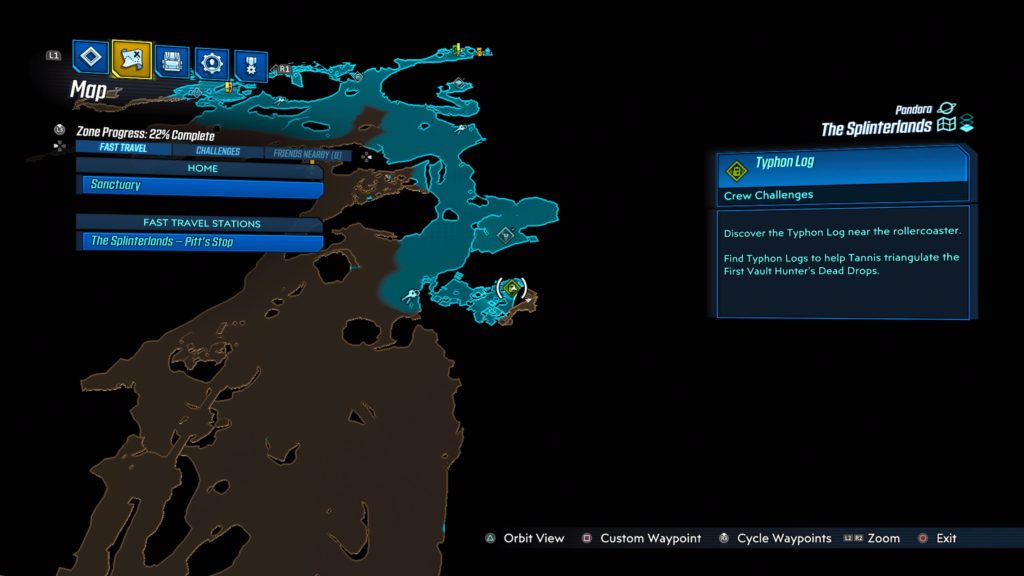
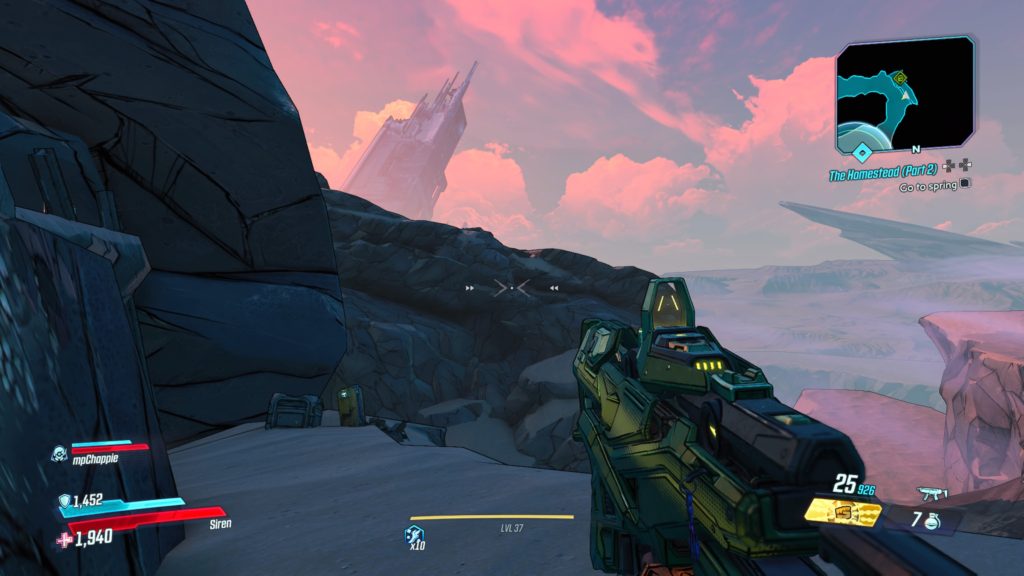
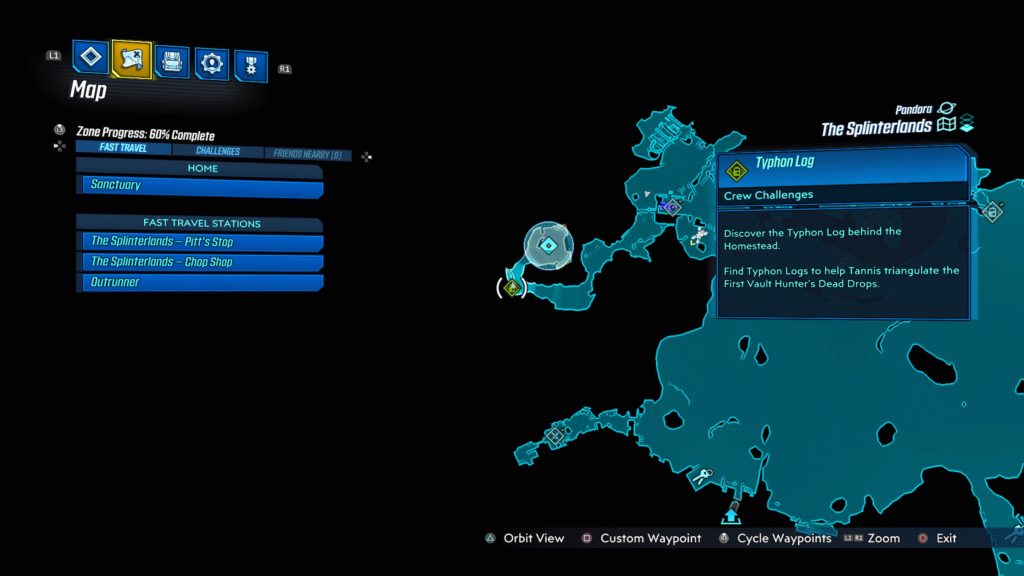
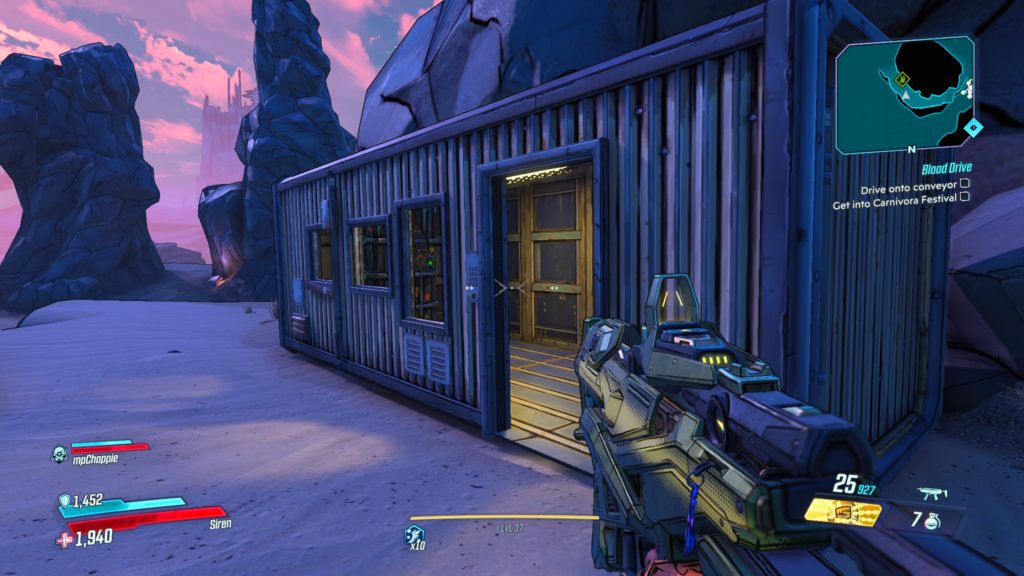
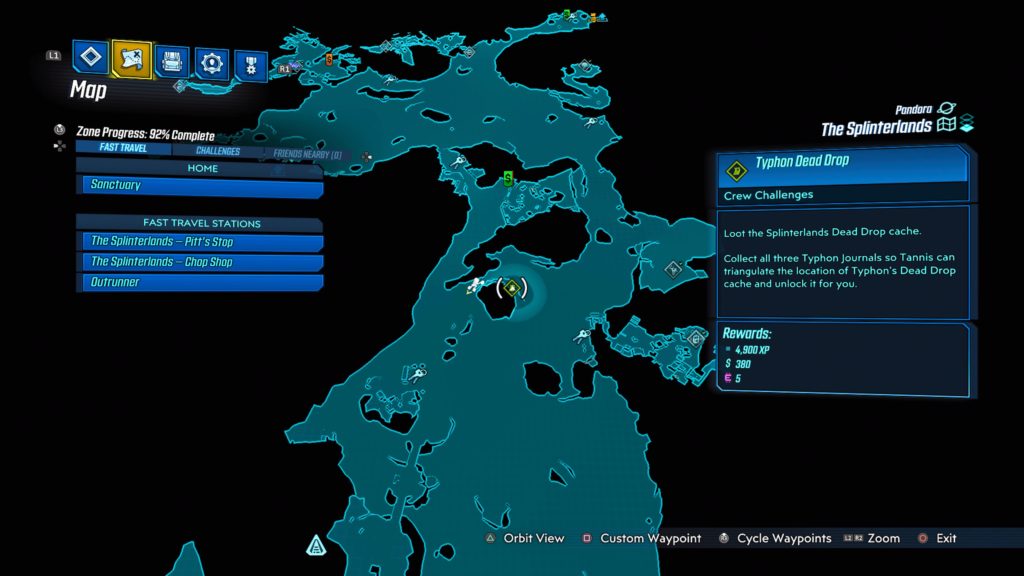
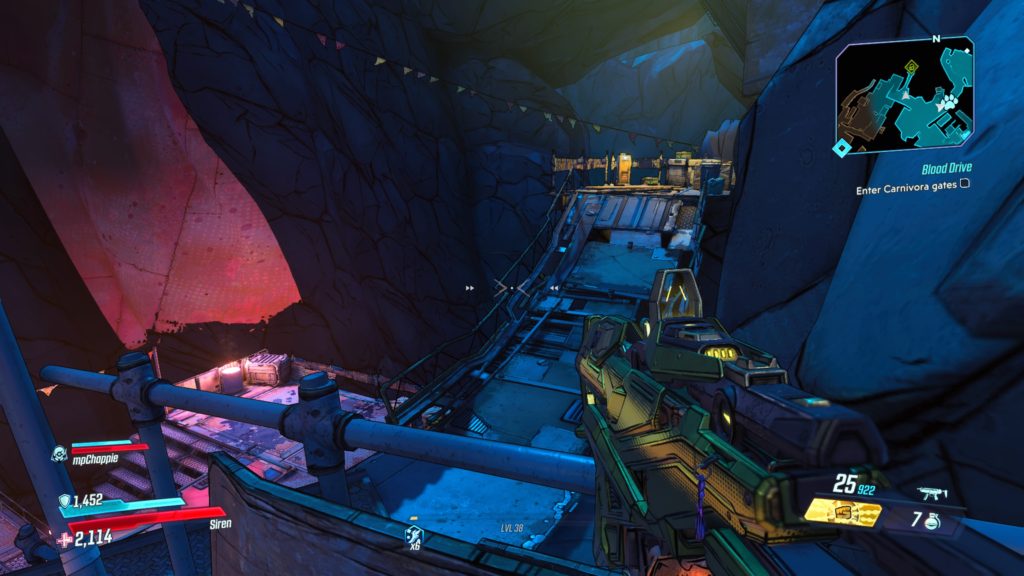
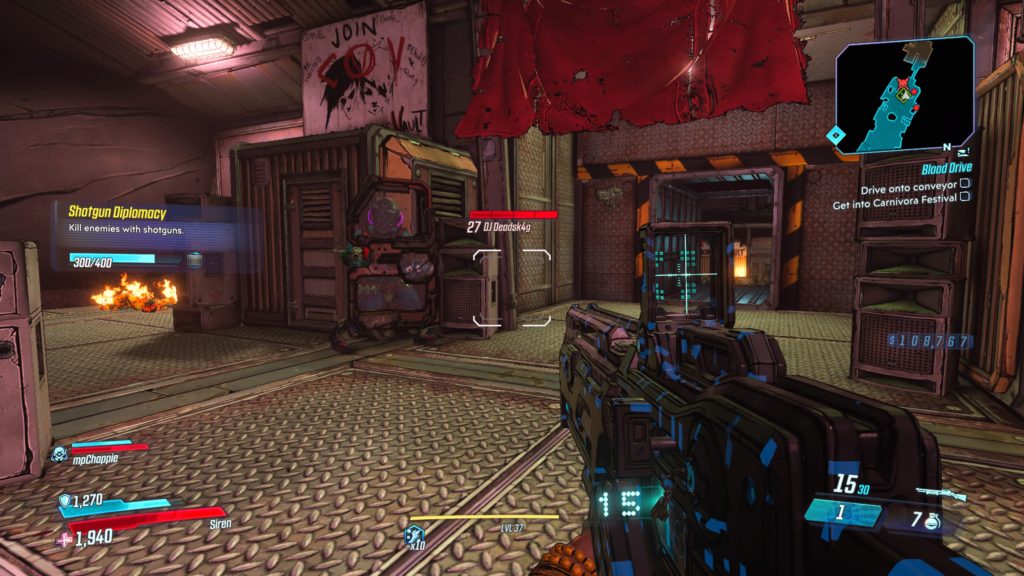
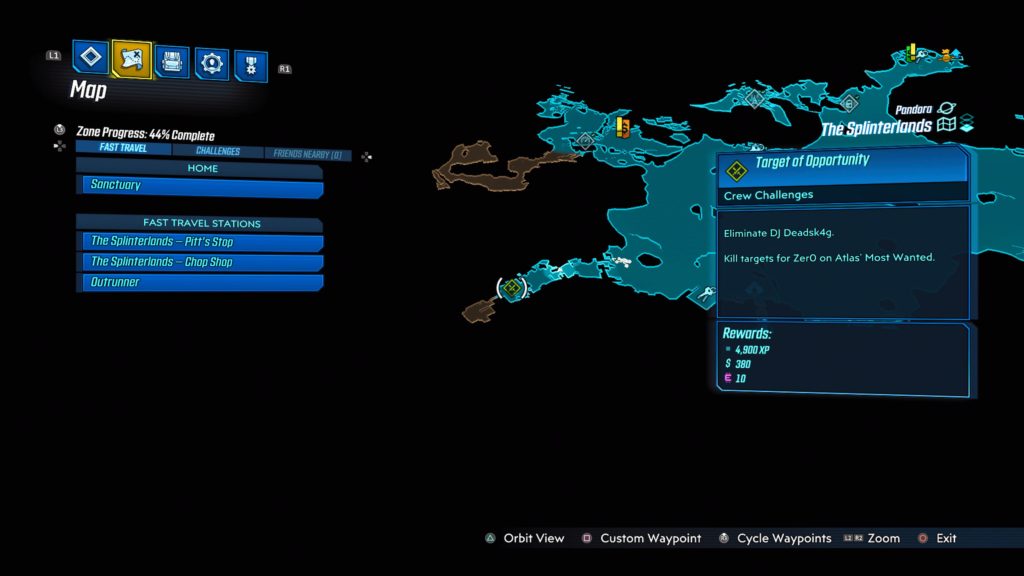
The Splinterlands
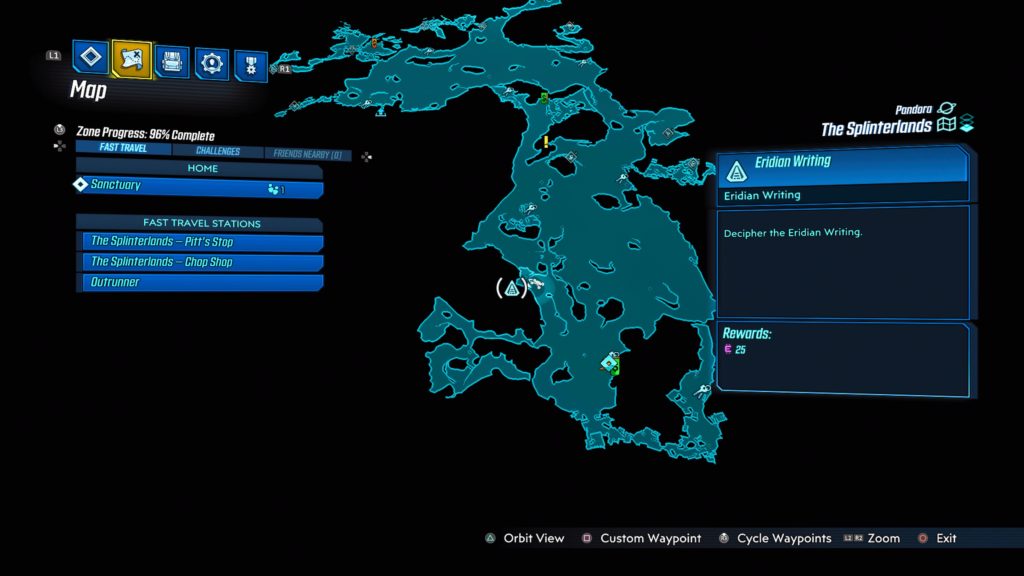
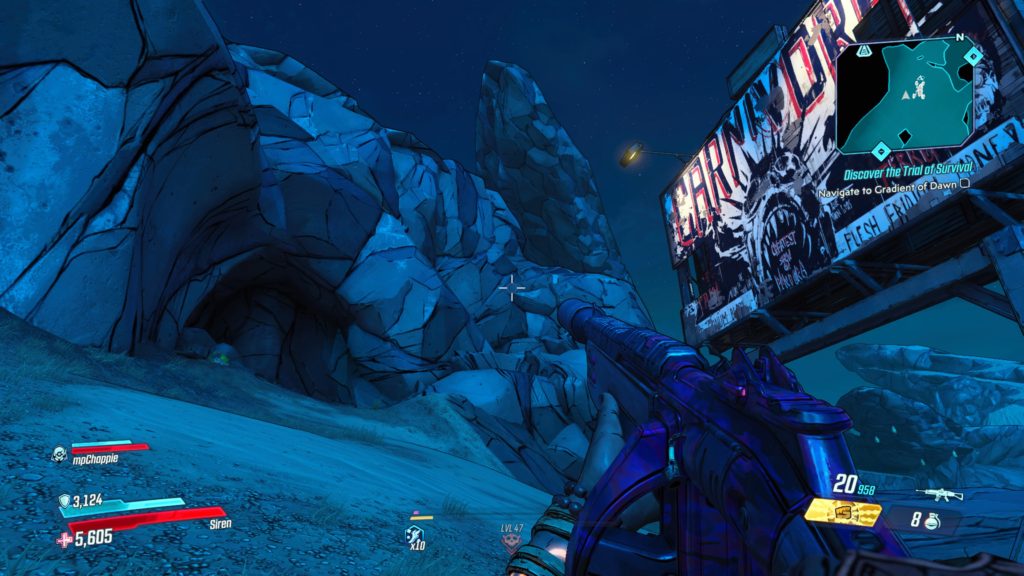
This writing is located in a small cave northwest of the Chop Shop, past The Homestead.
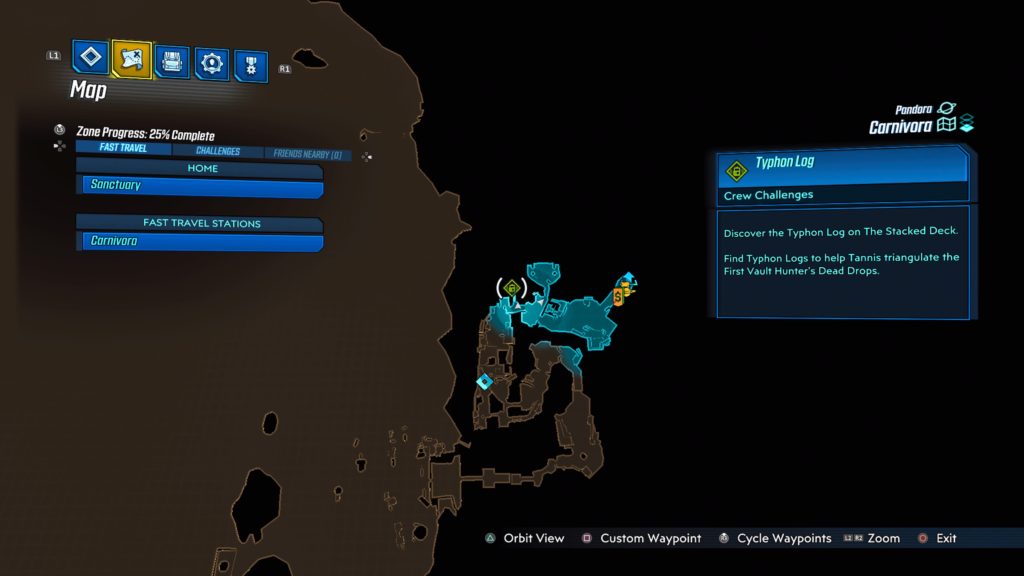
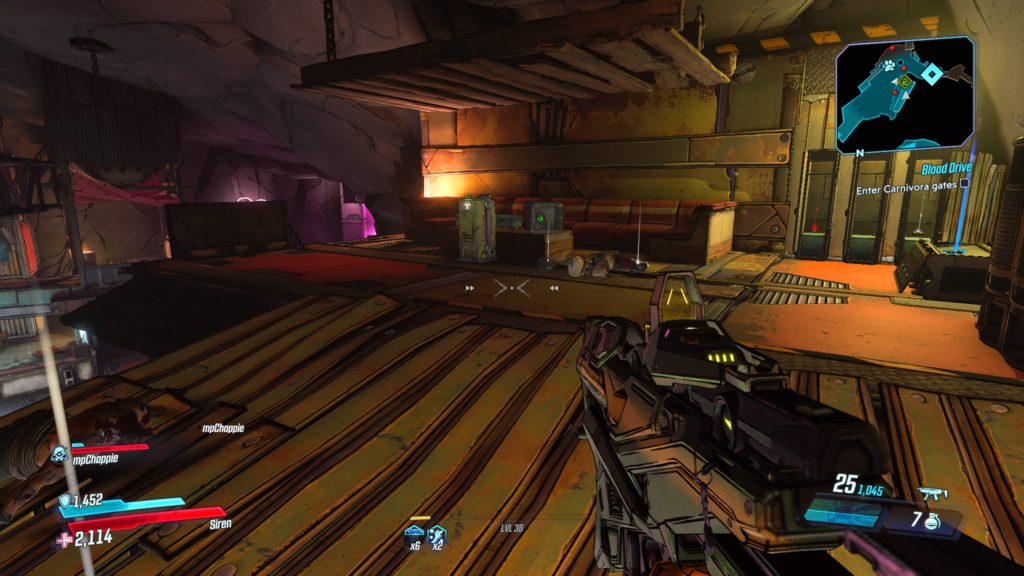
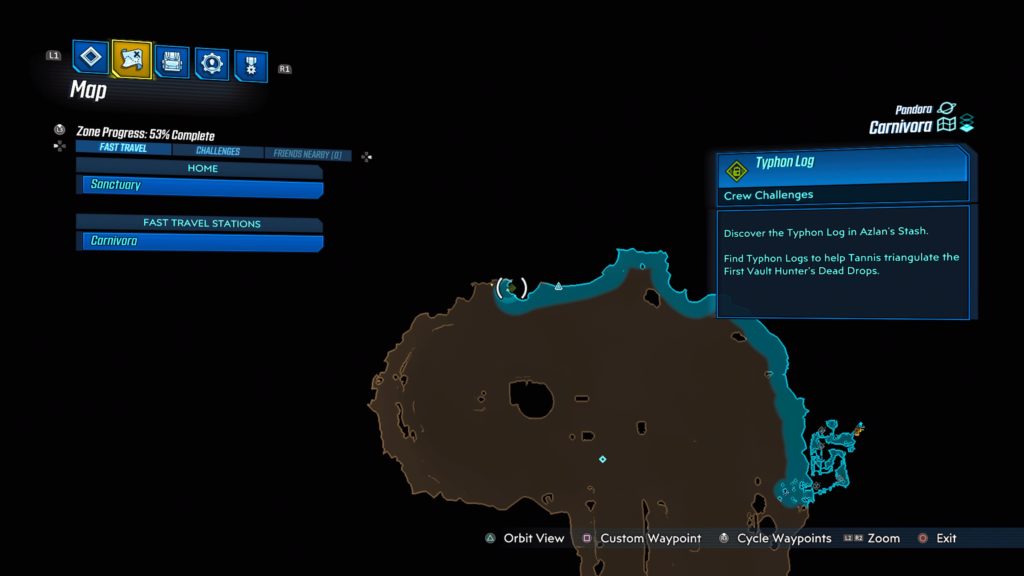
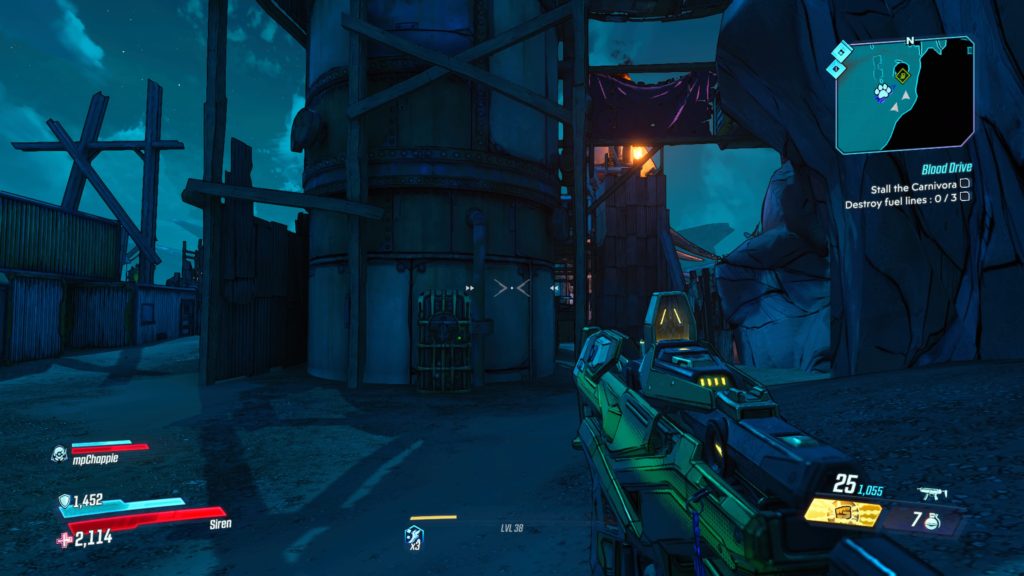
Carnivora

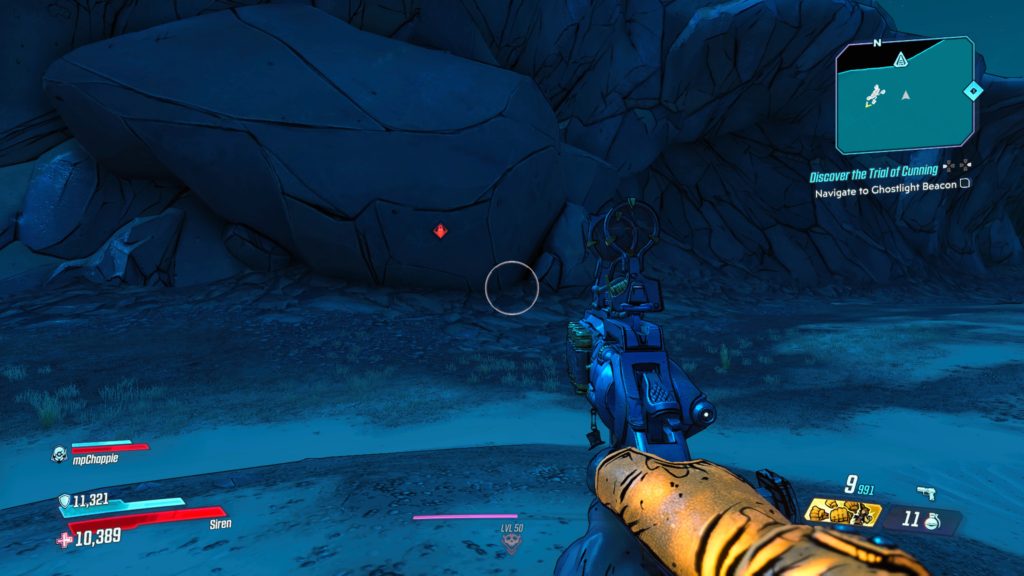
This writing is located on a rock face next to the Azlan’s Stash Typhon Log in the north-central area.
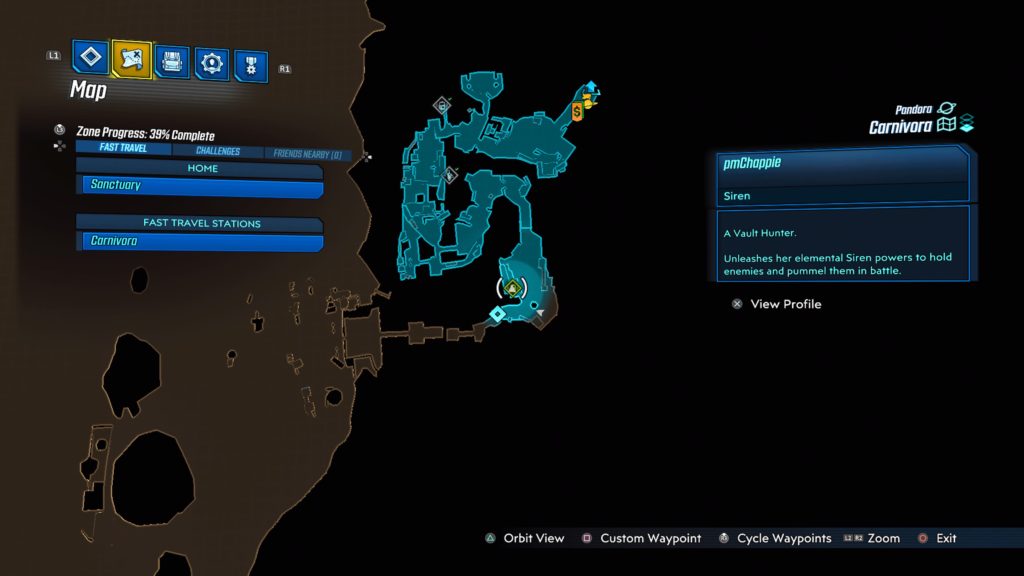
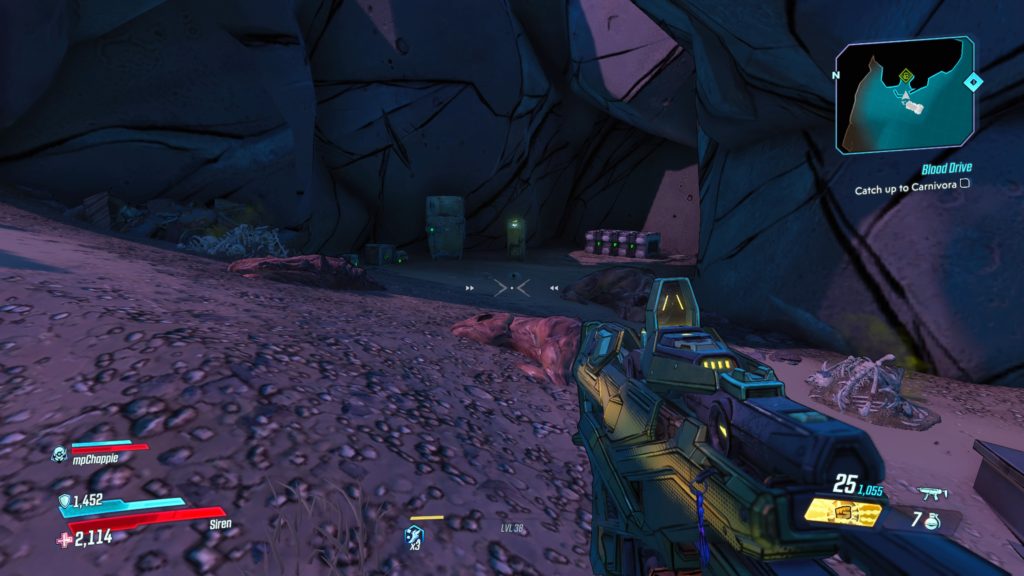
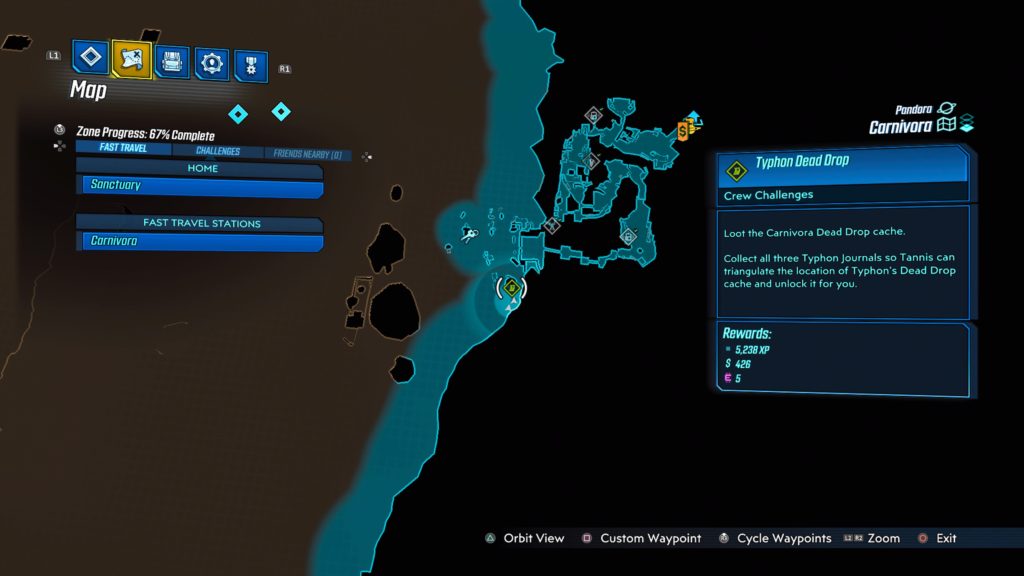
Guts of Carnivora
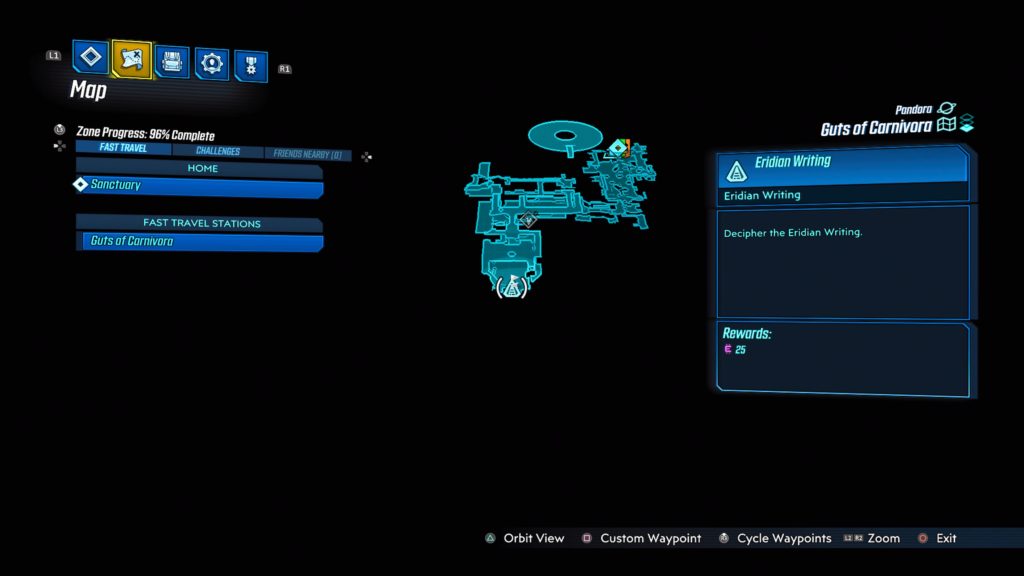
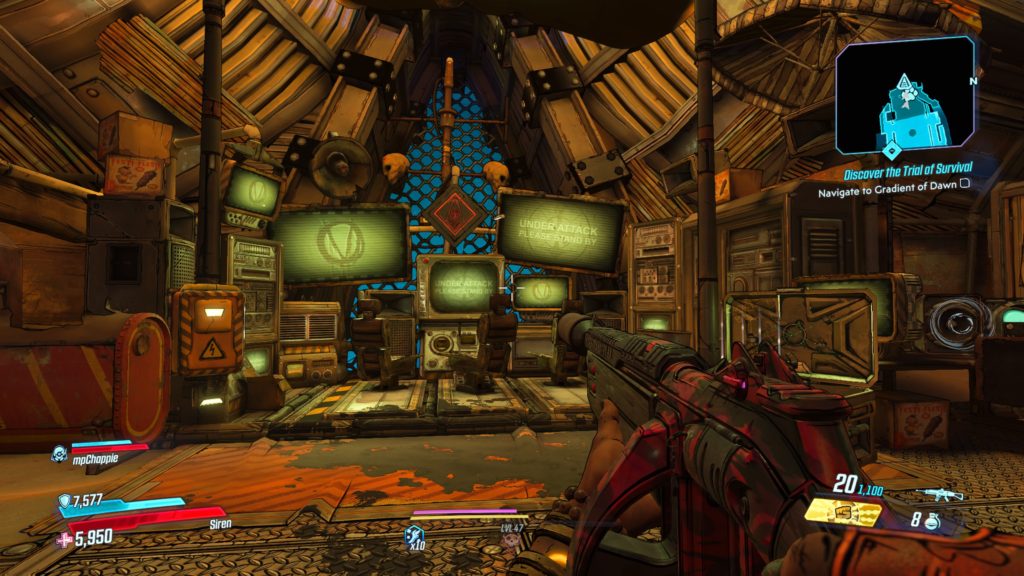
This writing is located in the back of Mack’s Head Room near some computer monitors.
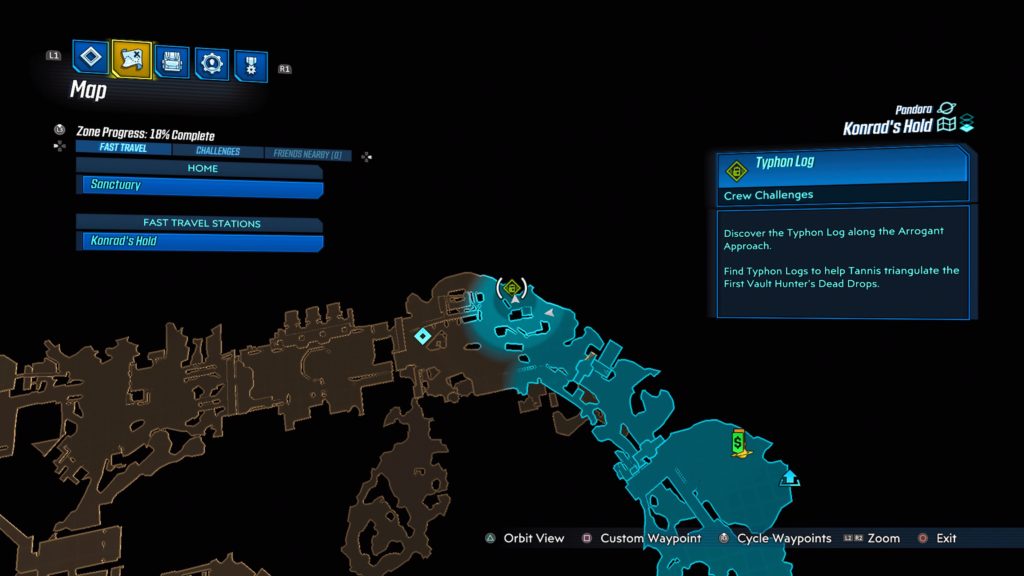
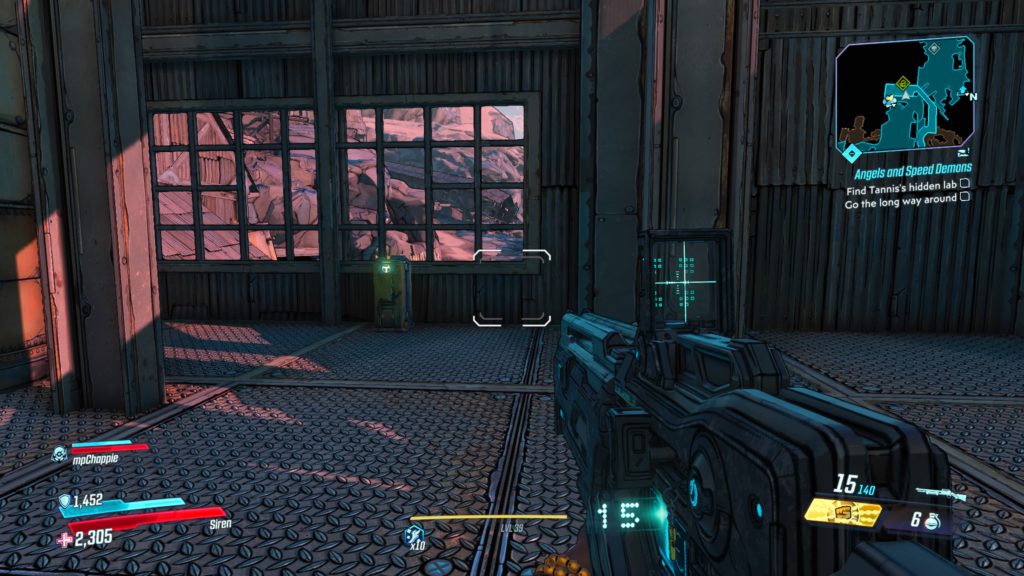
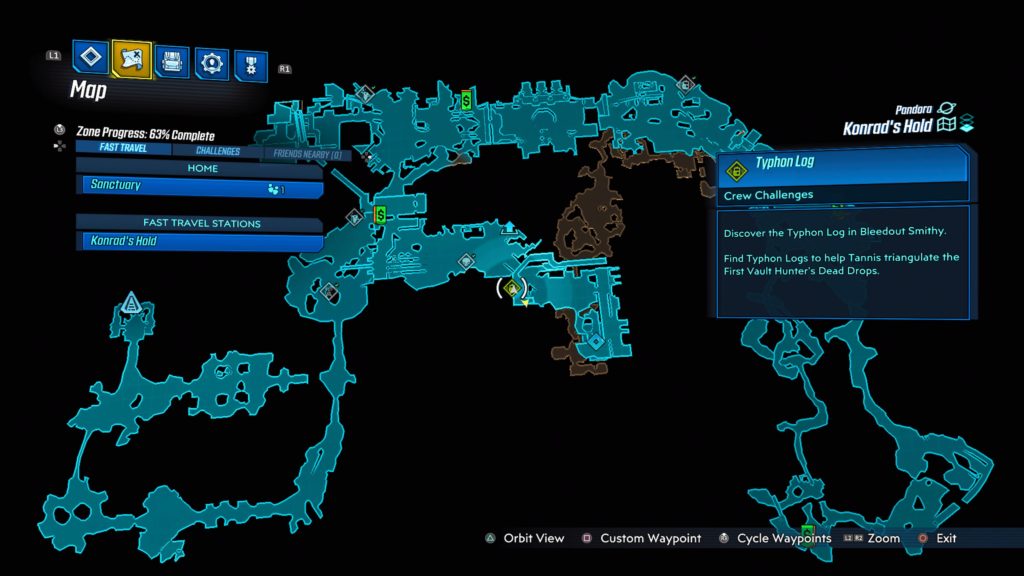
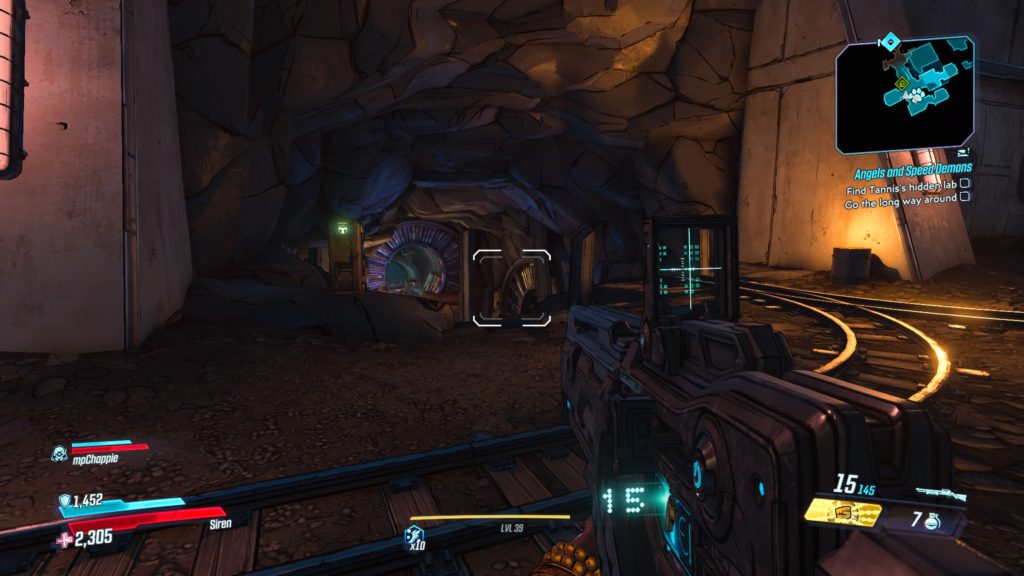
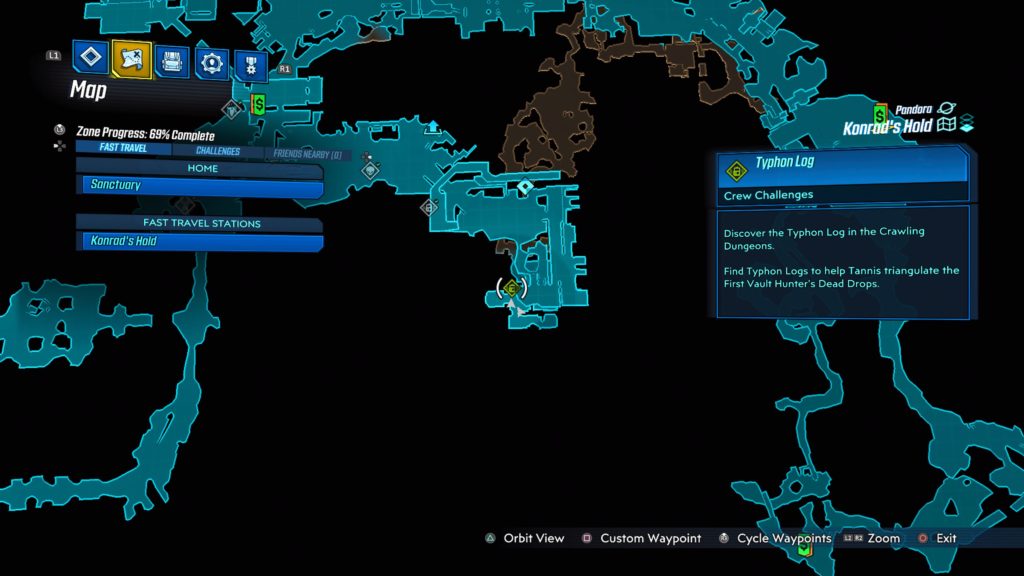
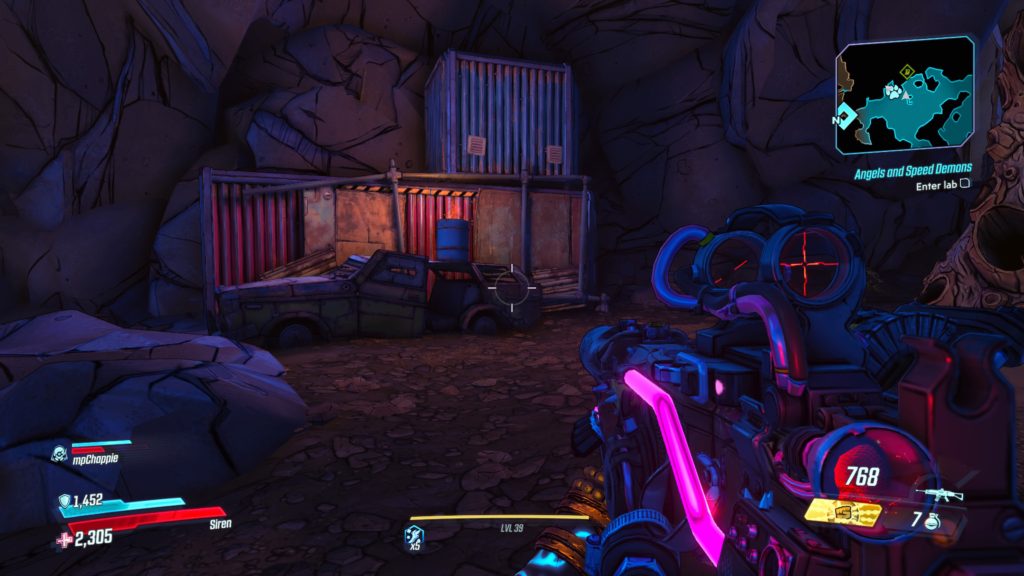
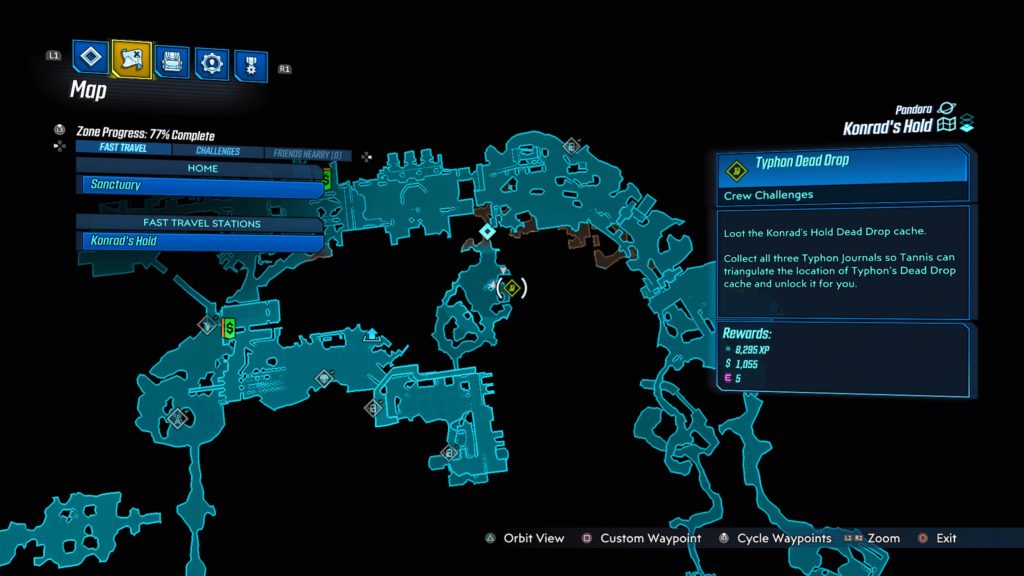
Konrad’s Hold


This writing is located in the These are No Mines area in the northern part of the map. You will need to start The Demon in the Dark side mission reach it.
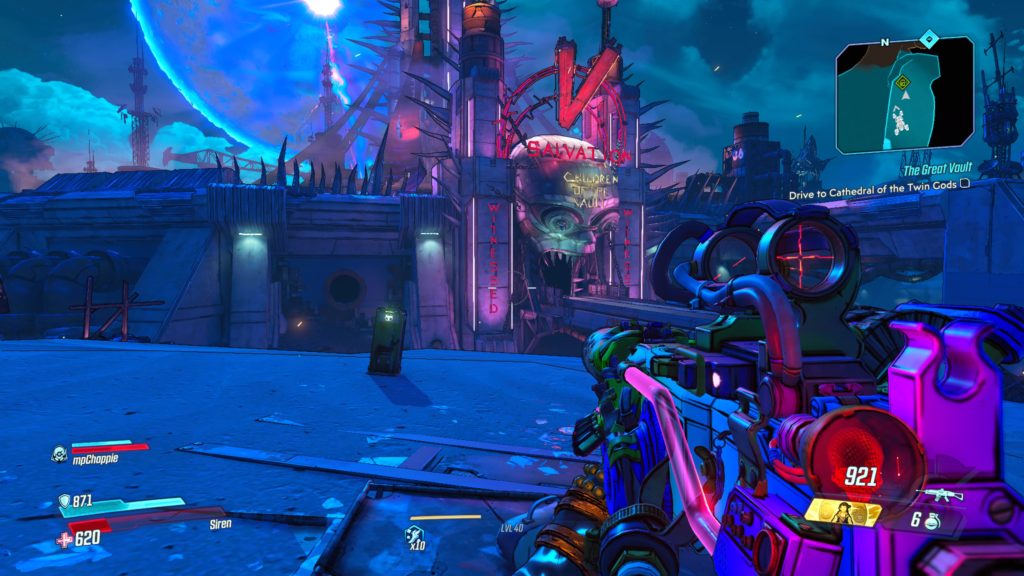
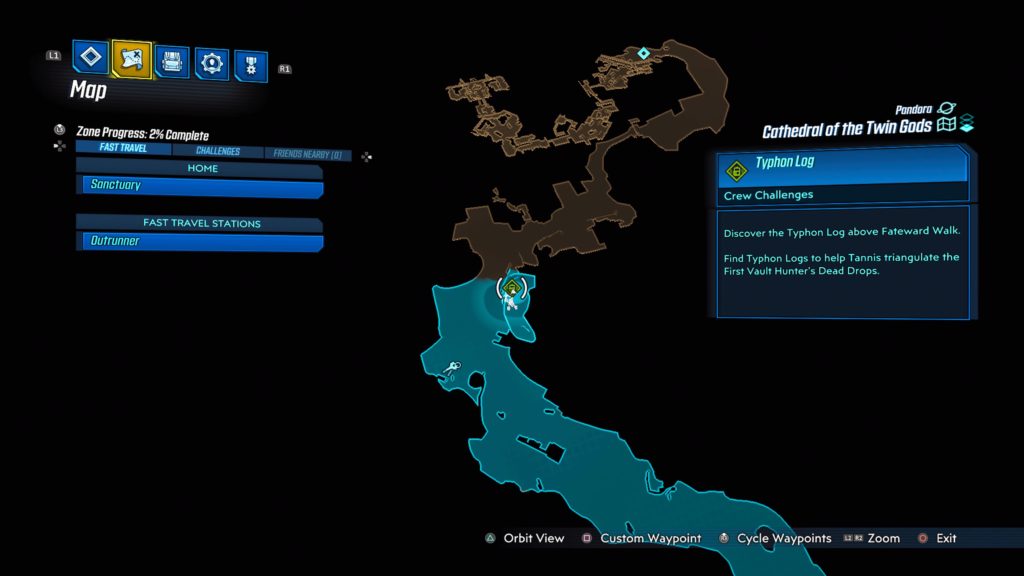
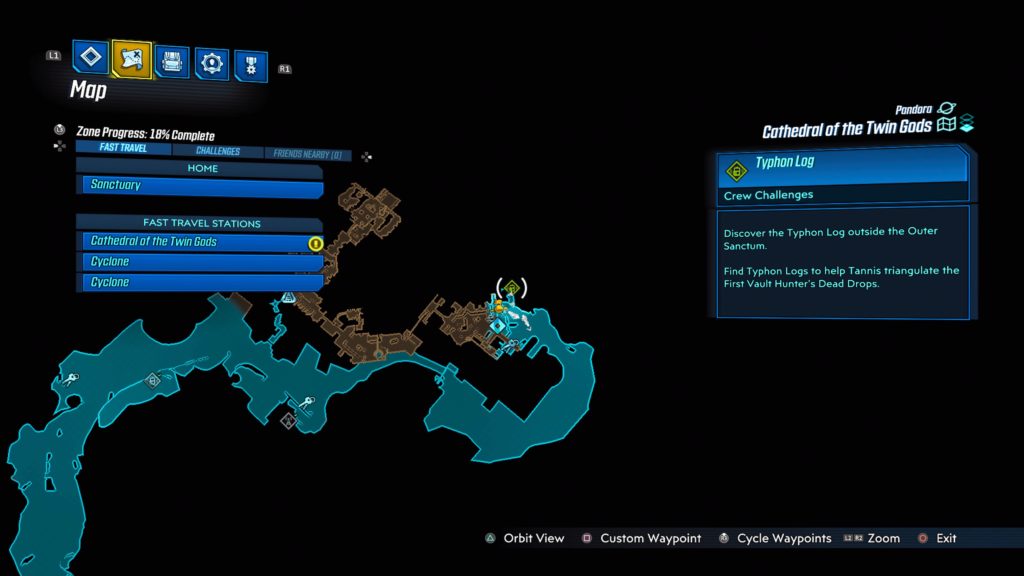
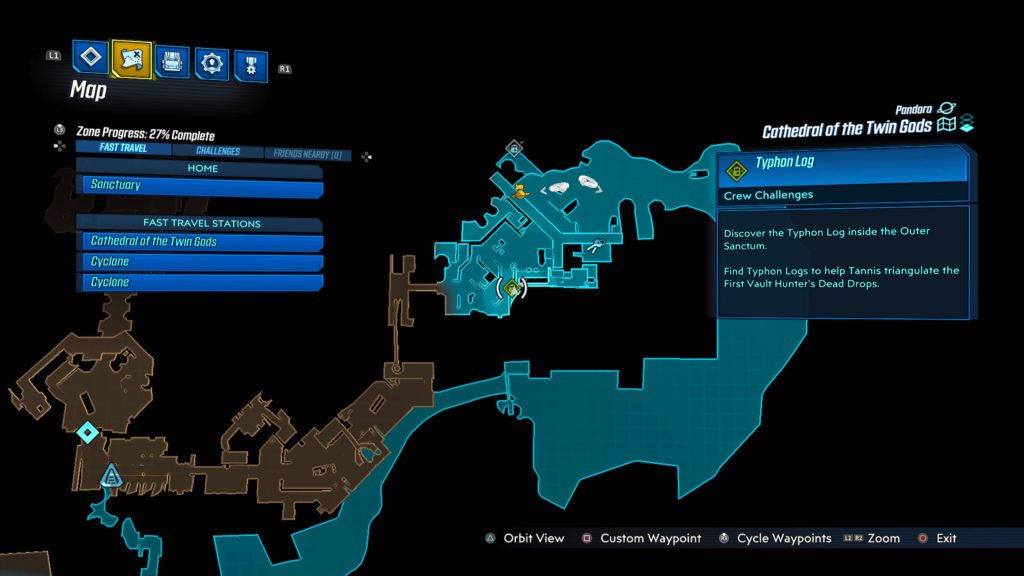
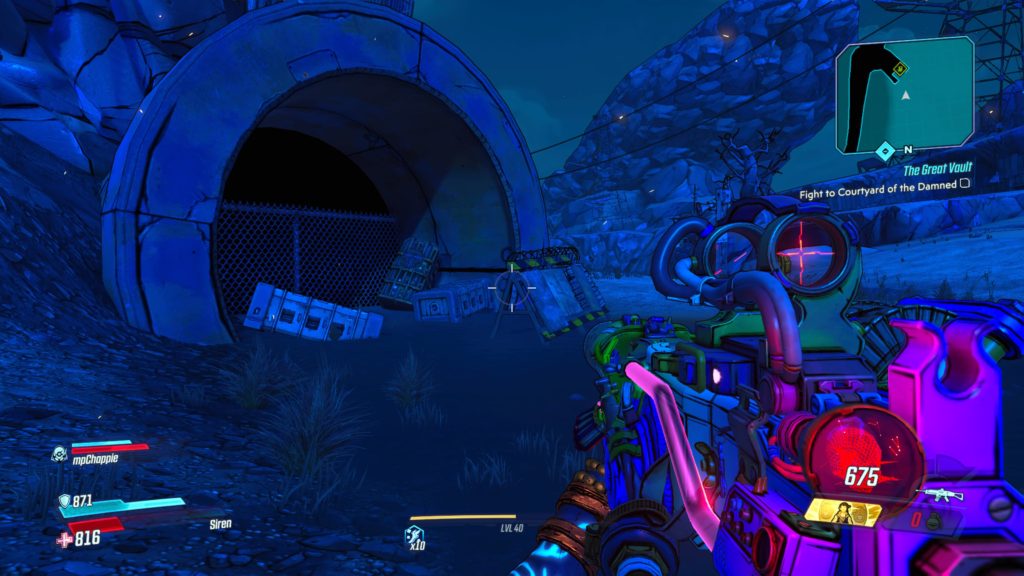
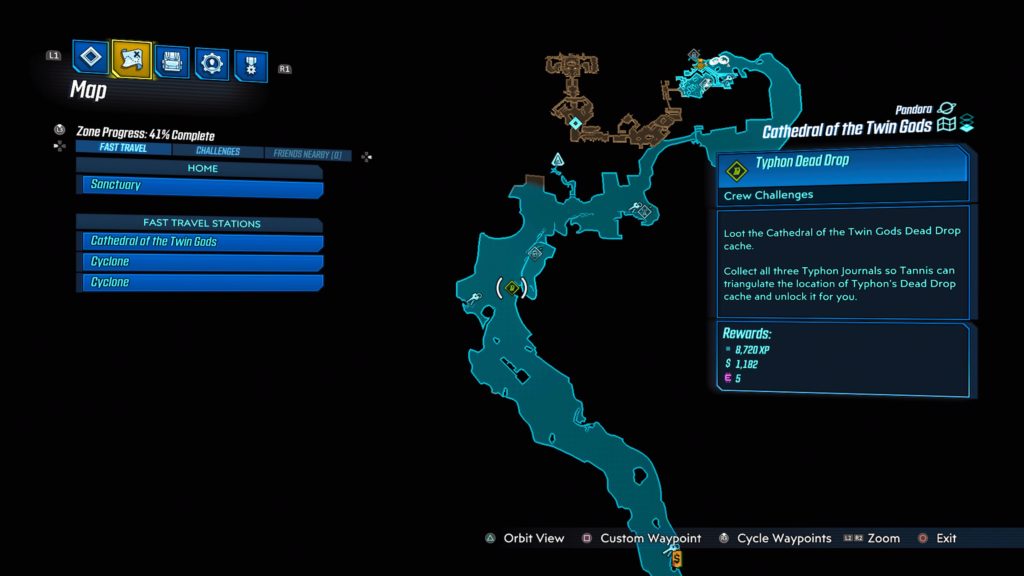
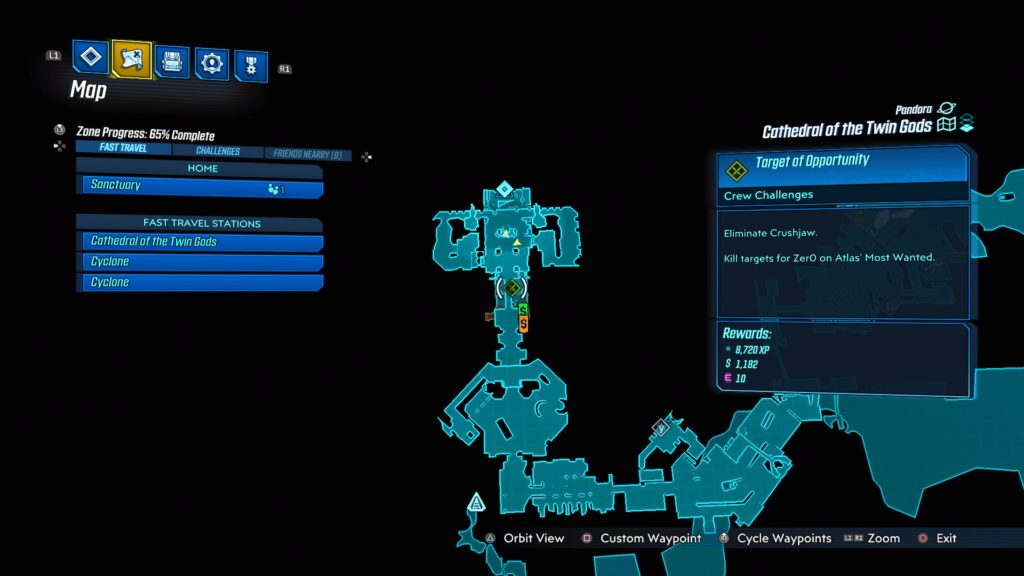
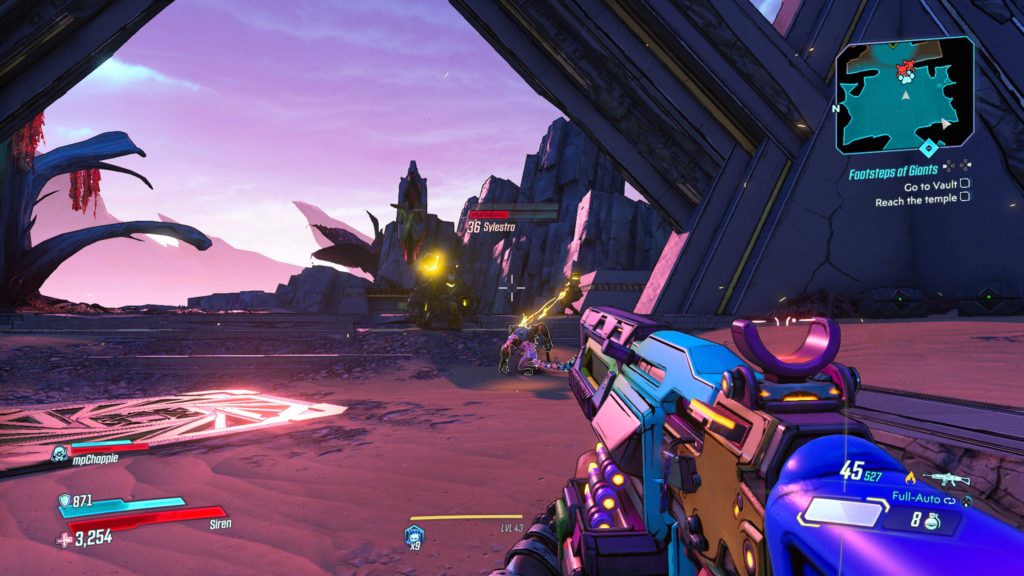
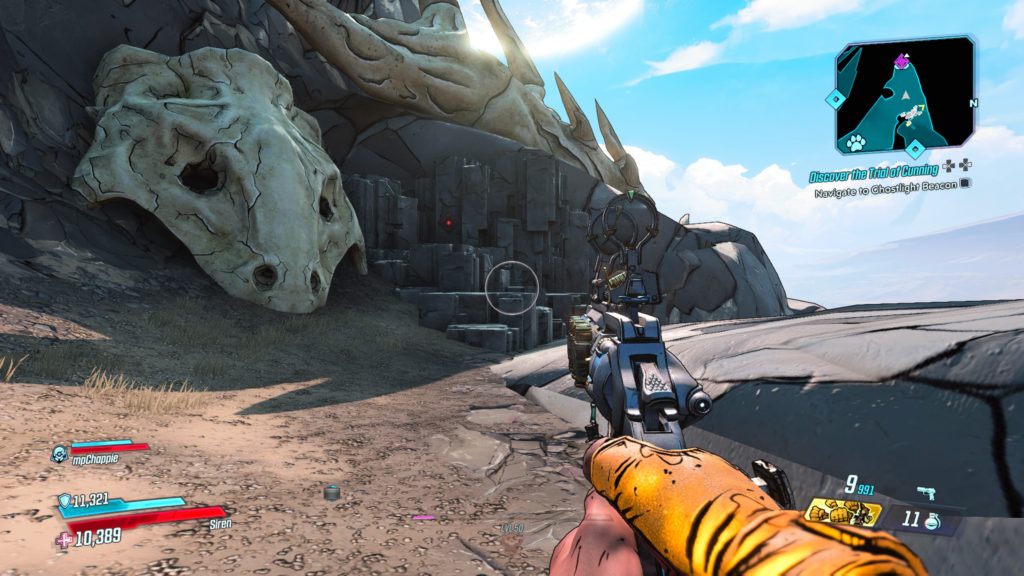
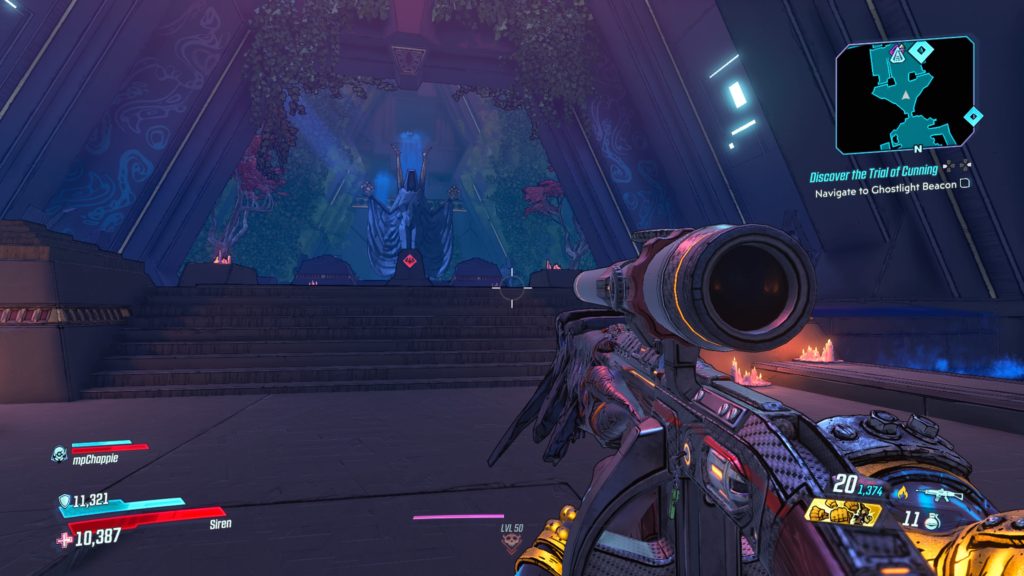
Cathedral of the Twin Gods
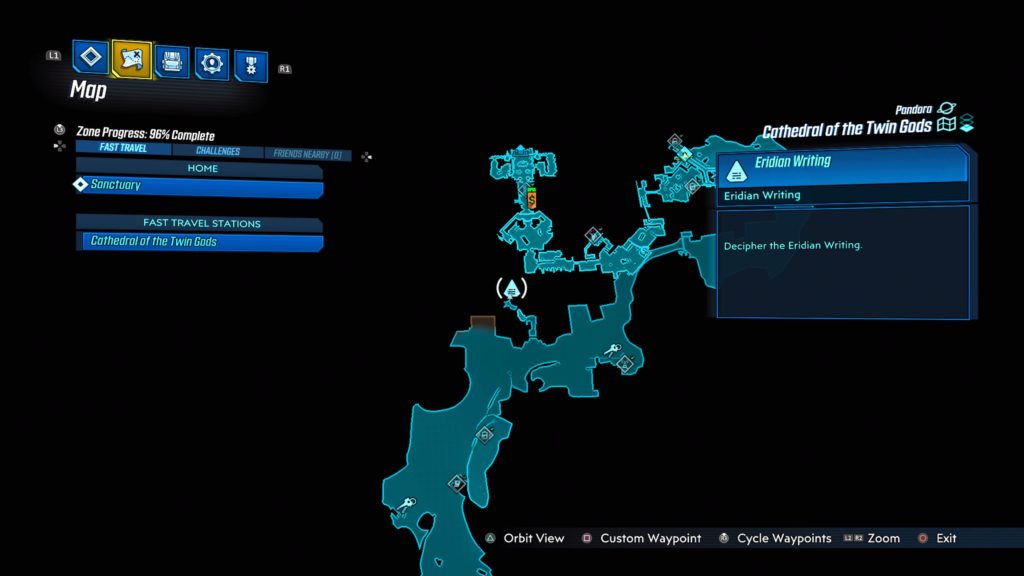
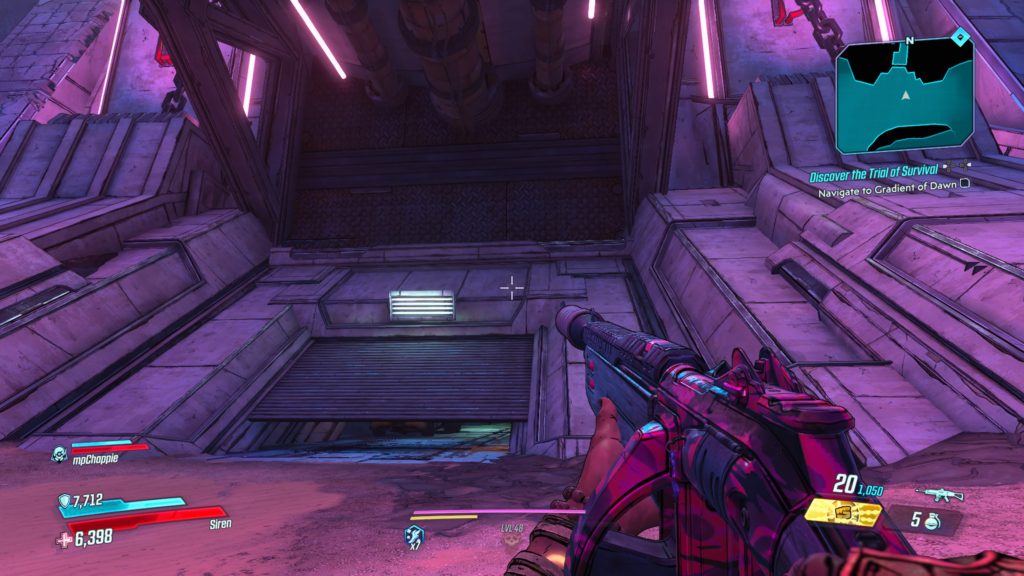
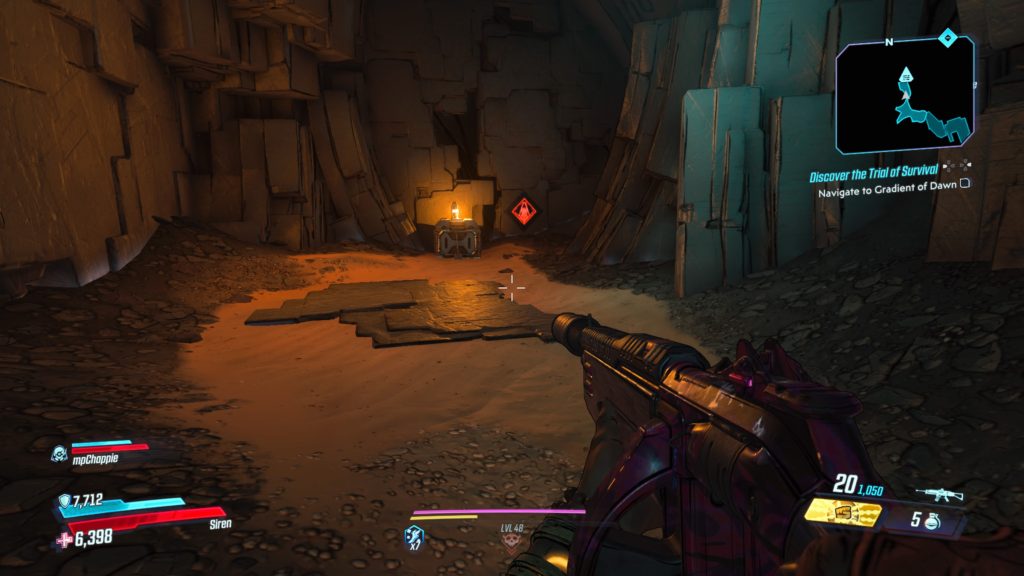
This writing is located under the giant skull with a bridge coming out of its mouth. You will have to crouch walk under the partially opened gate then locate the hole in the back of the room and pass through. Follow the tunnel to the end where the writing can be found in the back wall.
Destroyer’s Rift
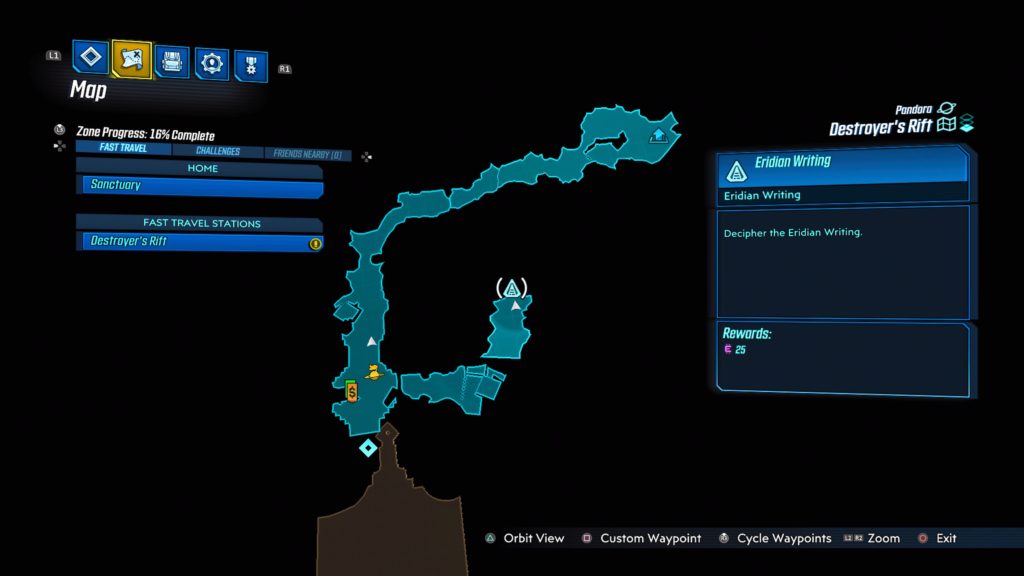
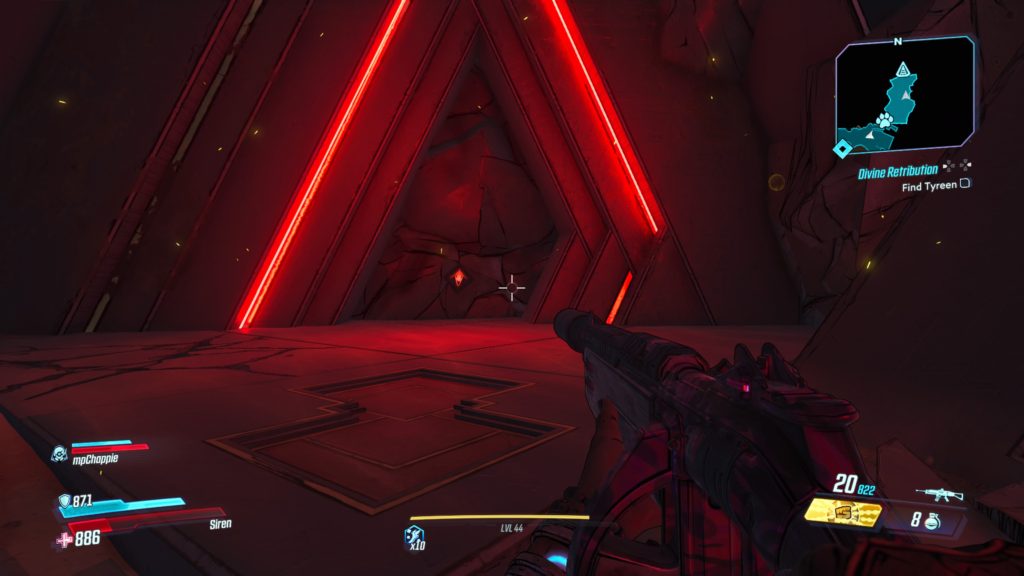
This writing is located in the Treacherous Path. Take the path left of the fast travel station before boss fight to find it.
Promethea
Meridian Outskirts
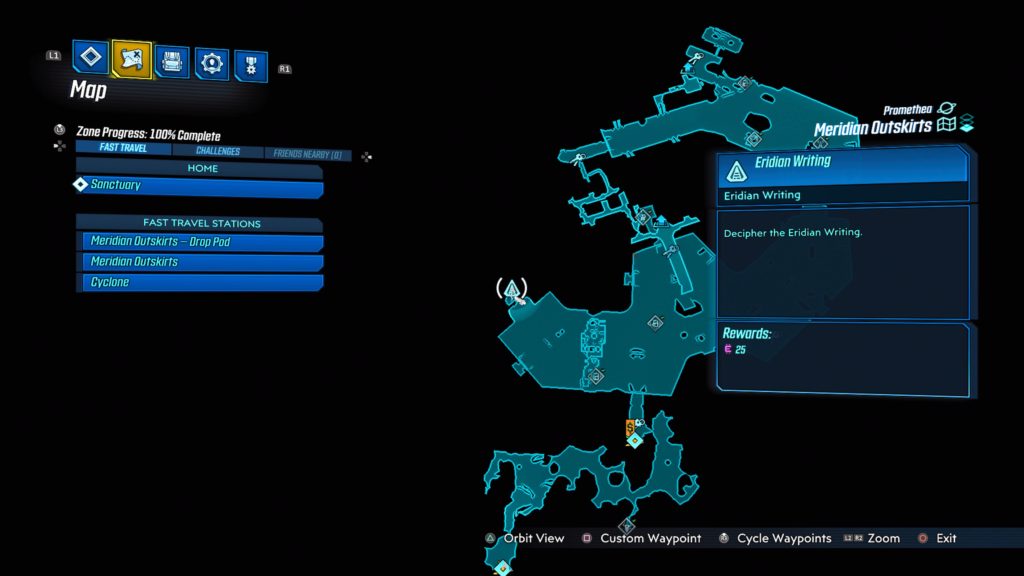
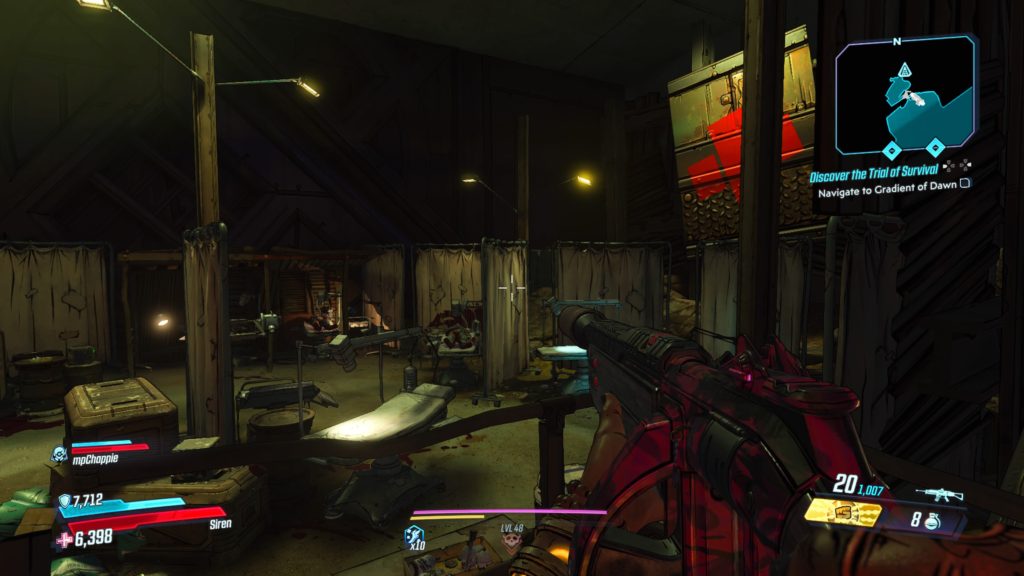
This writing is can be found in Mt. Schuler Recovery Center located in the northwestern part of the Spillways on a rock behind the gurneys and privacy curtains.
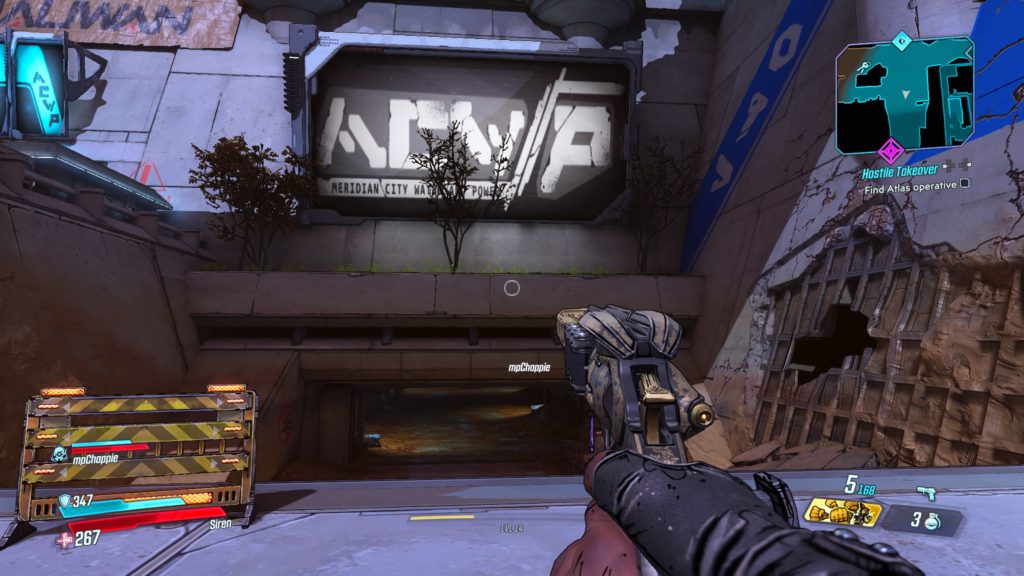
Meridian Metroplex
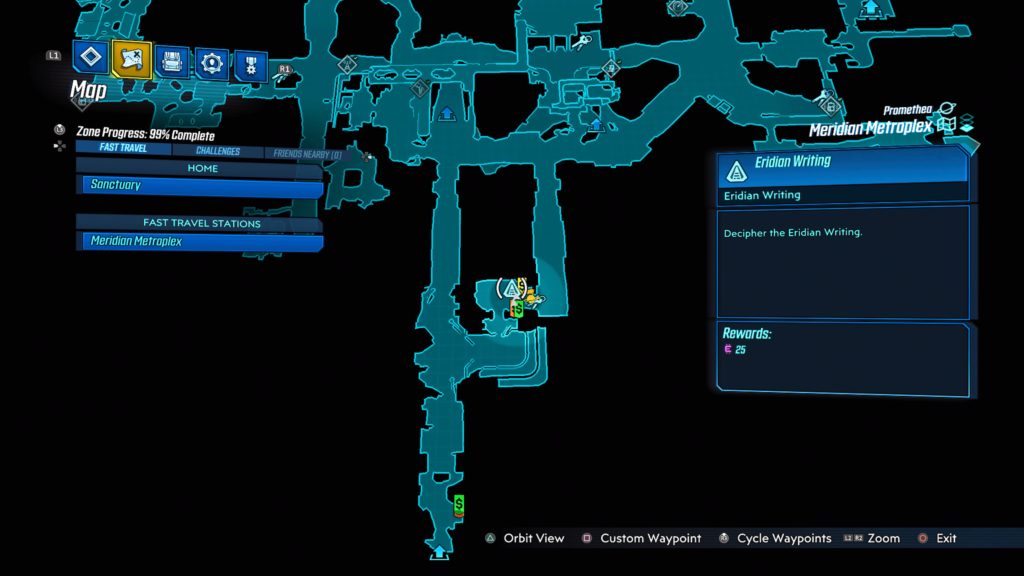
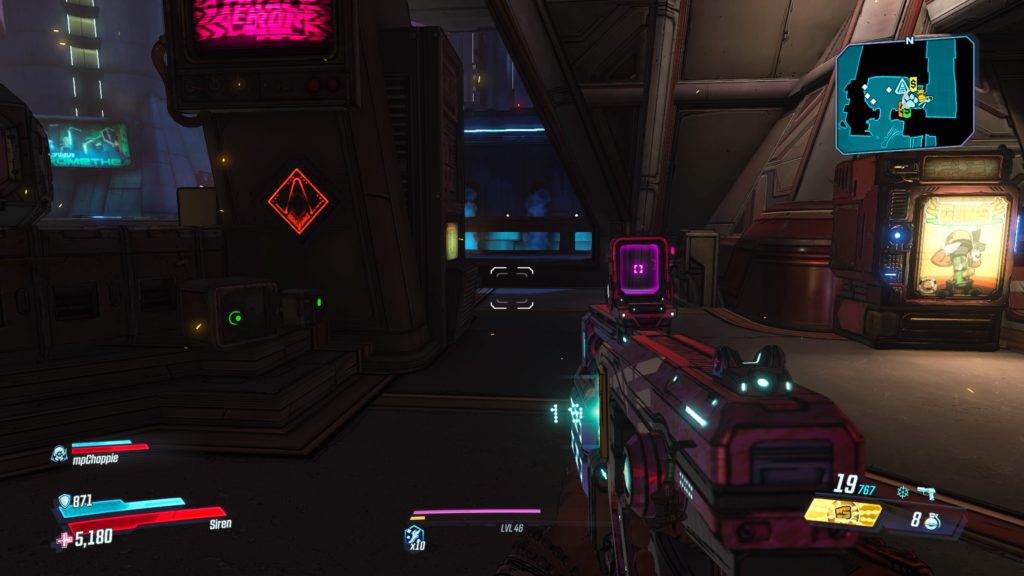
This writing is located in Watershed Base on a post across from the fast travel station.
Lectra City
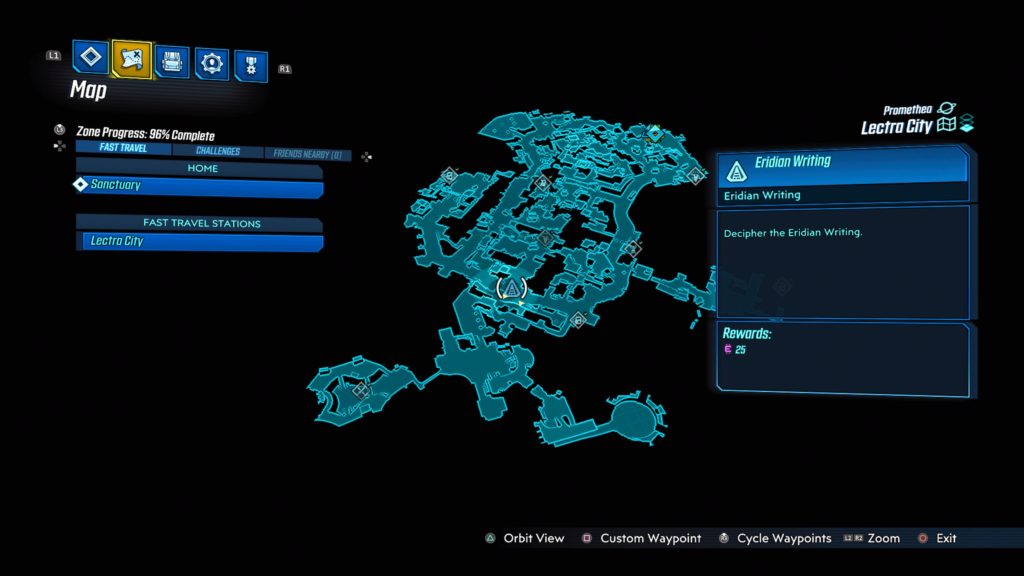
This writing is located in the tunnel that runs underneath Downtown Square.
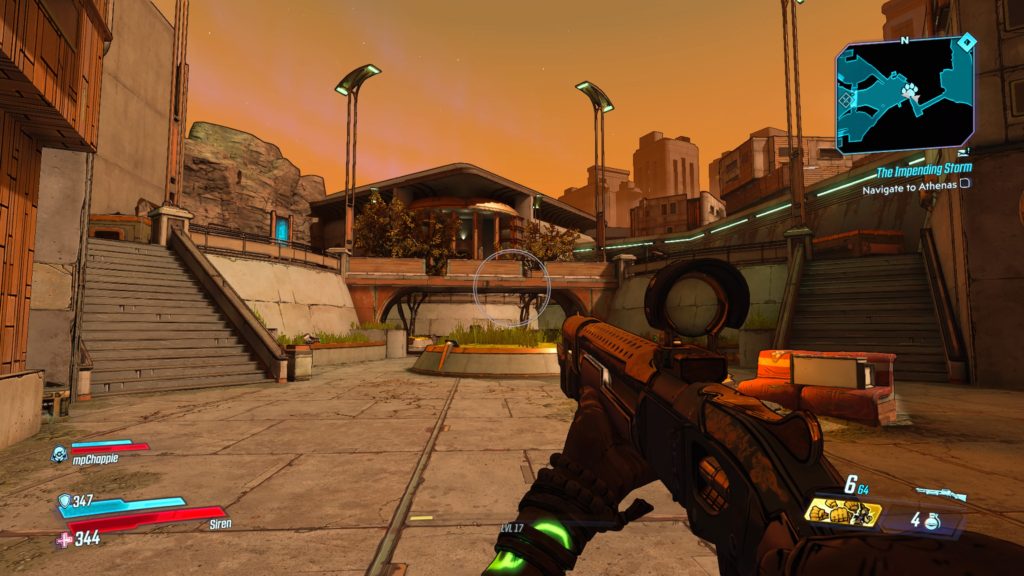
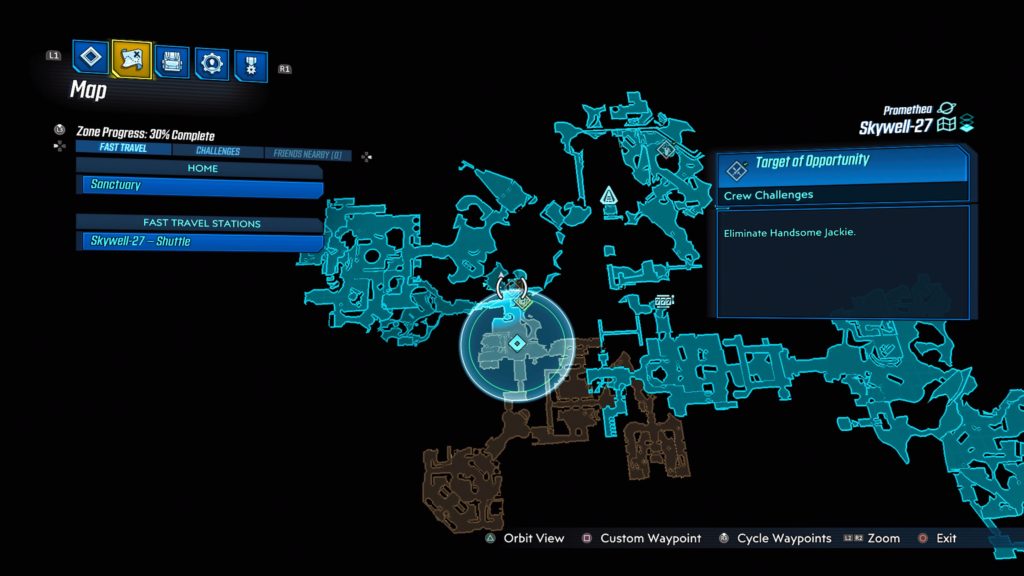
Skywell-27
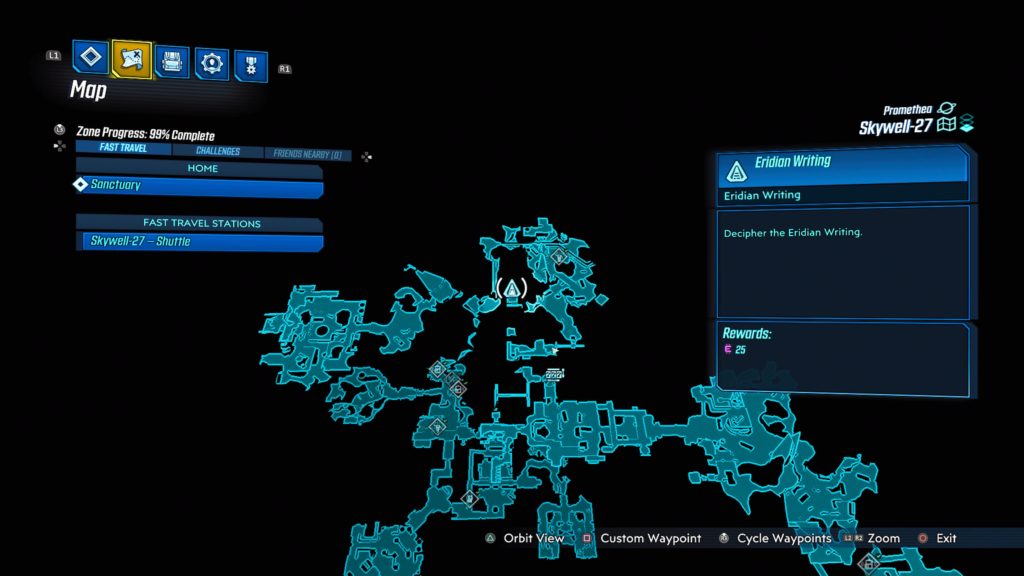
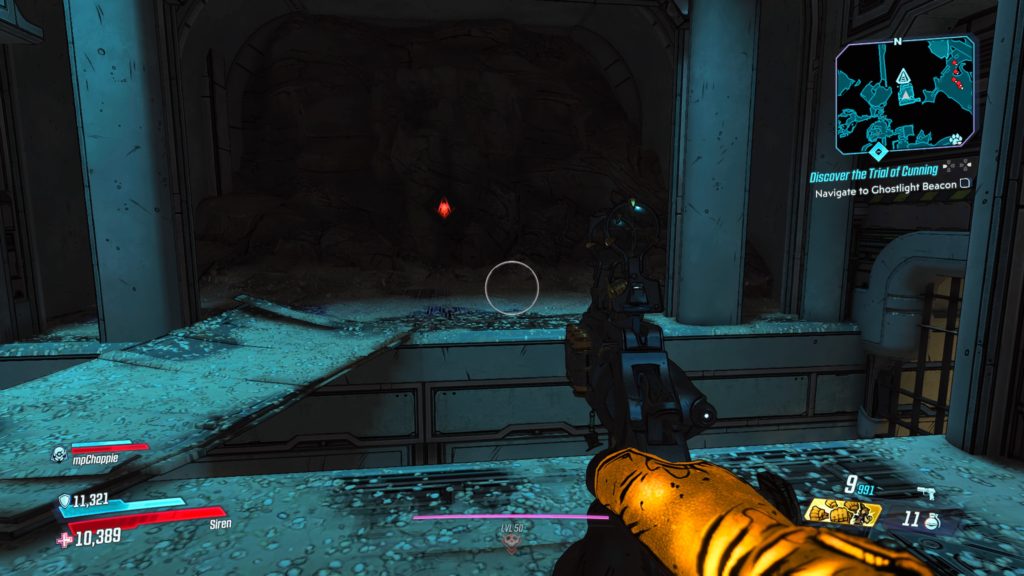
This writing is located on a wall a little southwest of the dead claptrap with an antenna just before the Tritanium Refinery area.
Atlas HQ
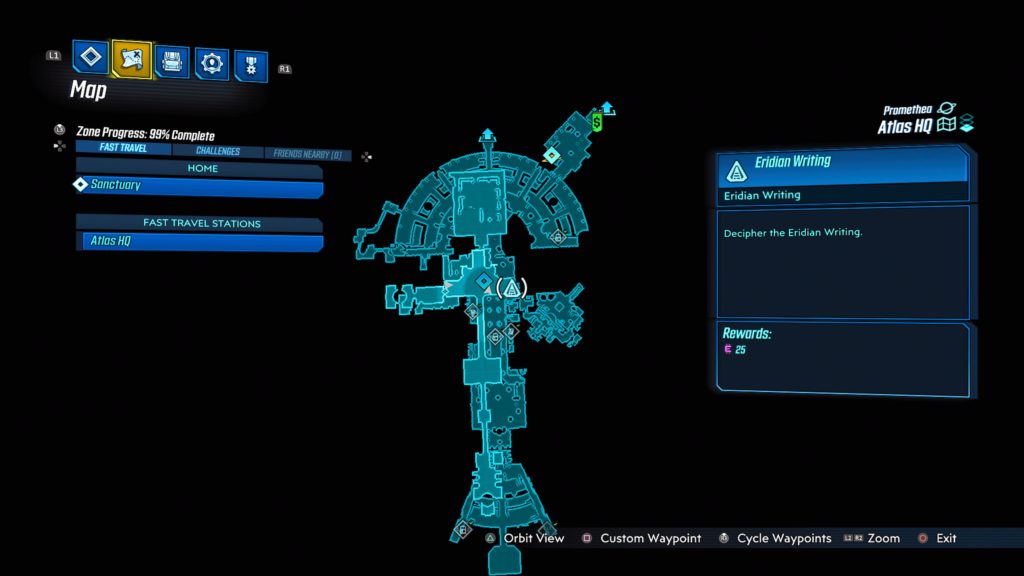
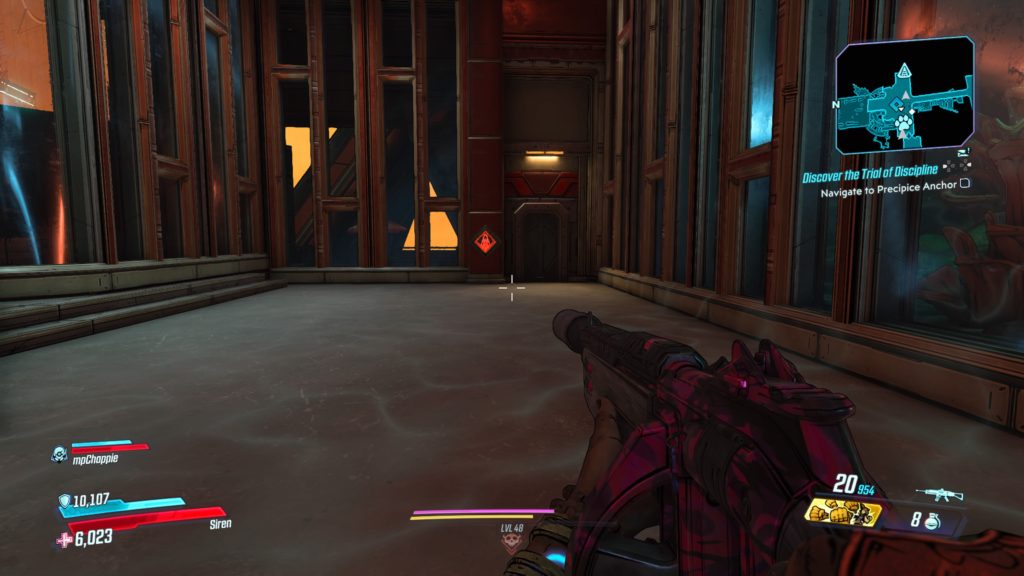
This writing is located on the wall in the CEO’s office near a door on the left side.
Neon Arterial
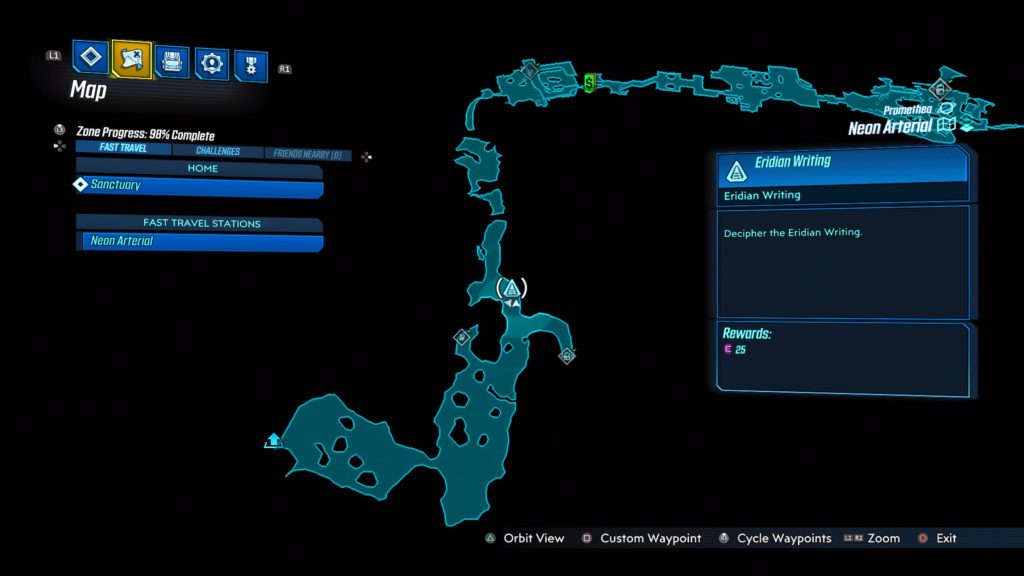
This writing is located just north of the Restricted Catacombs Typhon Log.
Athenas
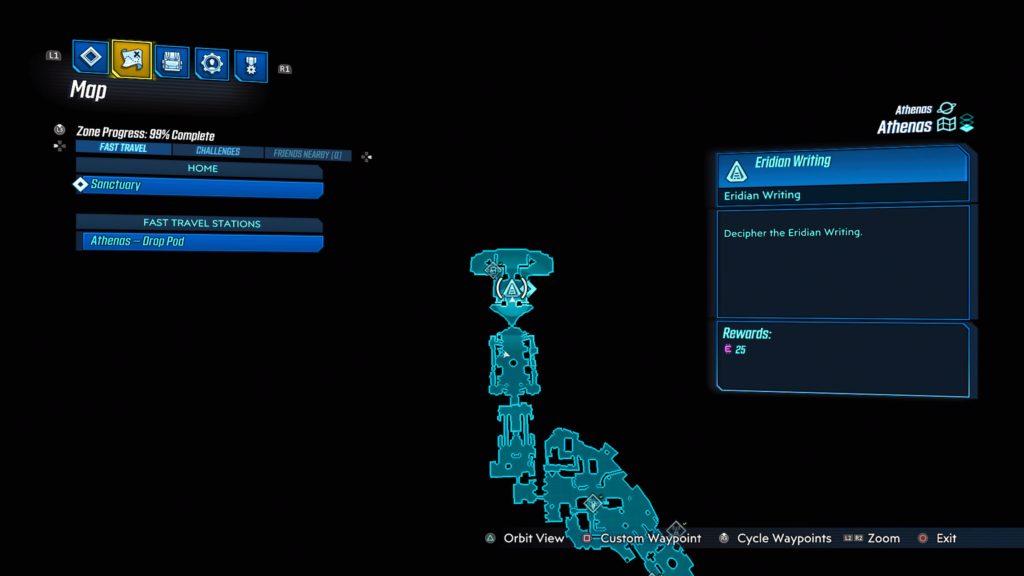
This writing is located in Anchorhold in the room just after the boss fight with Captain Traunt.
Eden-6
Floodmoor Basin
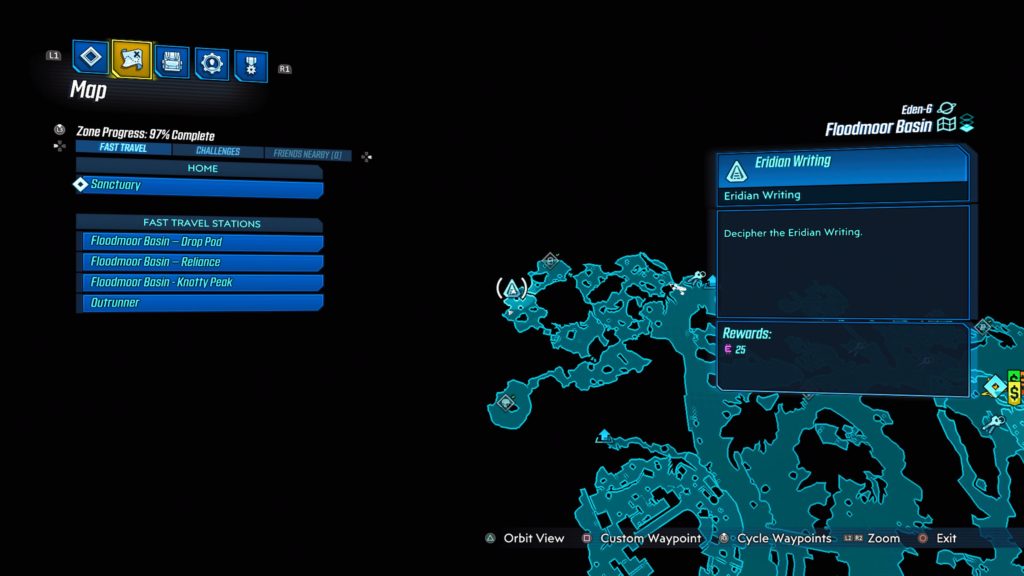
This writing is located in the Primeval Grotto in the northwest section of the map near the Primeval Preserve Typhon Log.
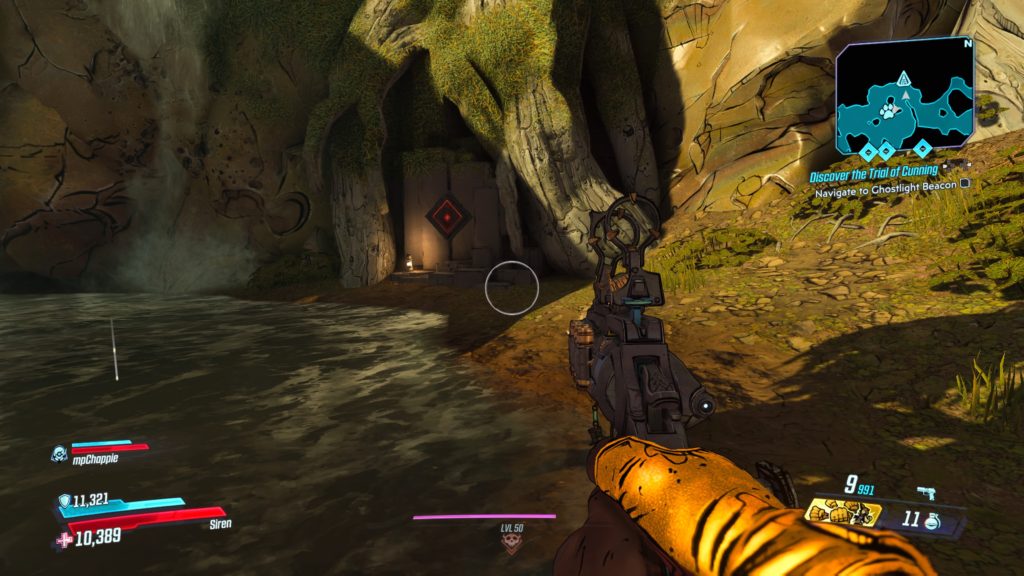
Floodmoor Basin
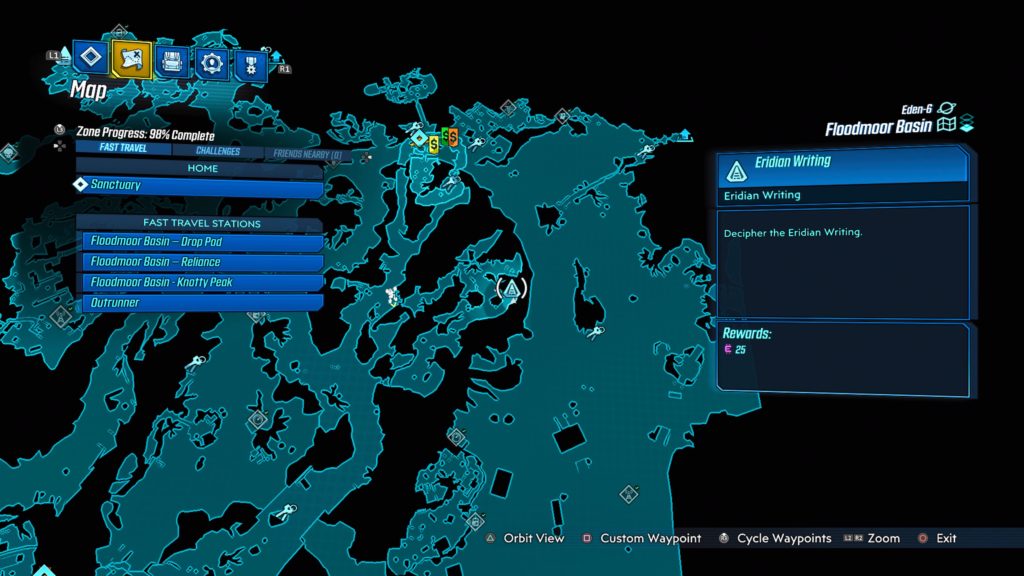
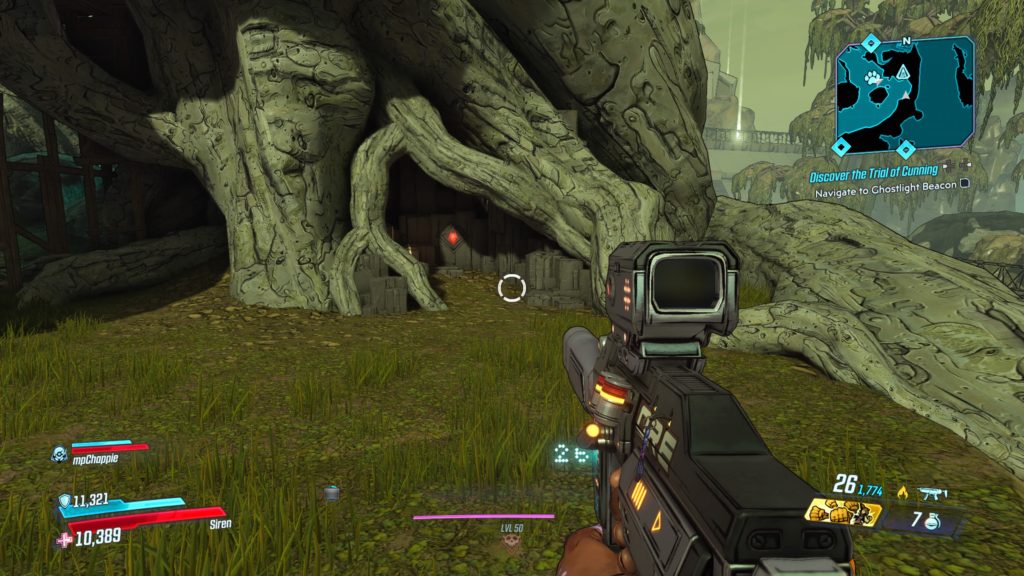
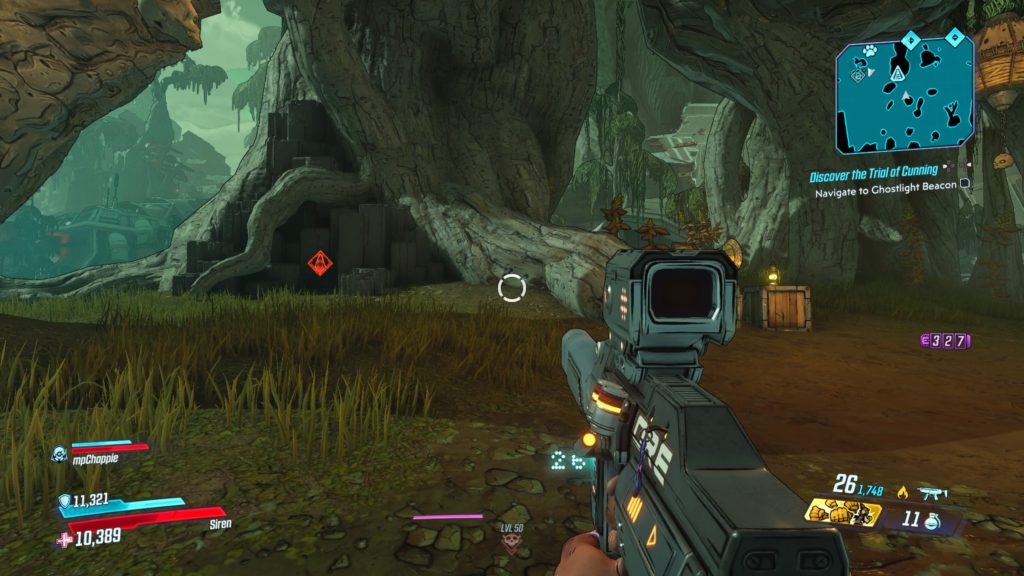
This writing is located on a rock face at the base of a tree next to a lantern southeast of Knotty Peak.
The Anvil
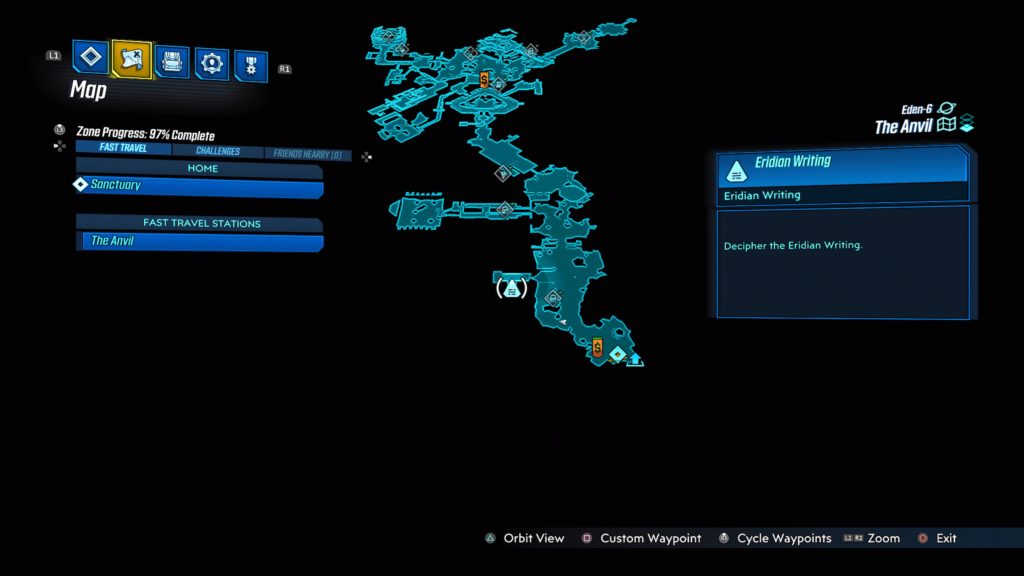
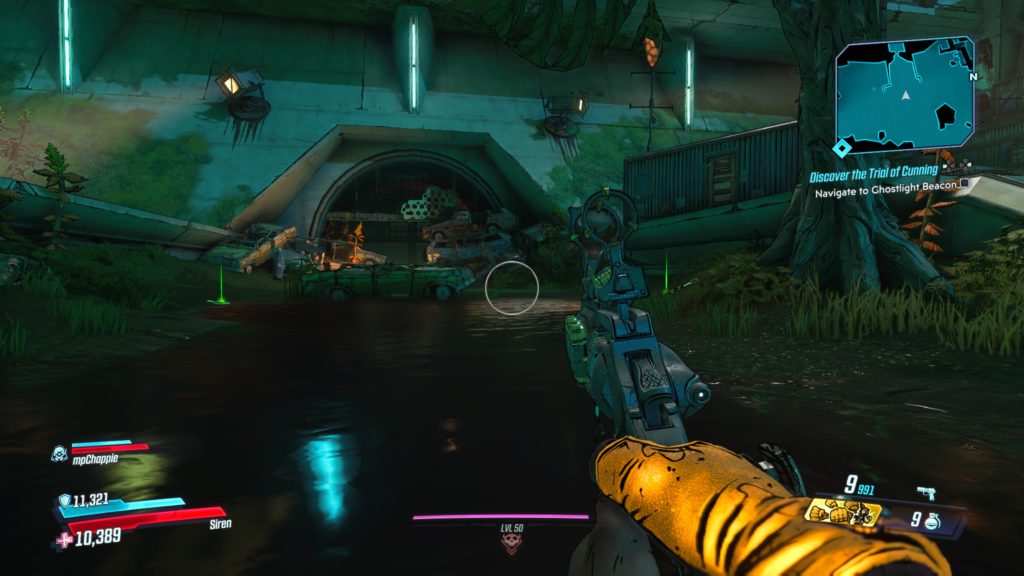
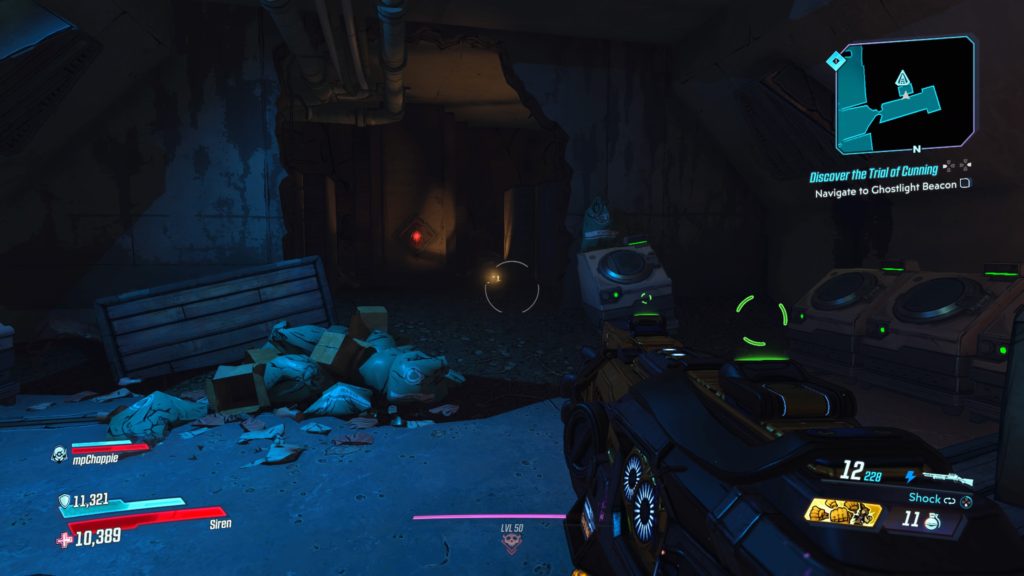
This writing is located in a sewer tunnel just past the Hector’s Lament Typhon Log on the left.
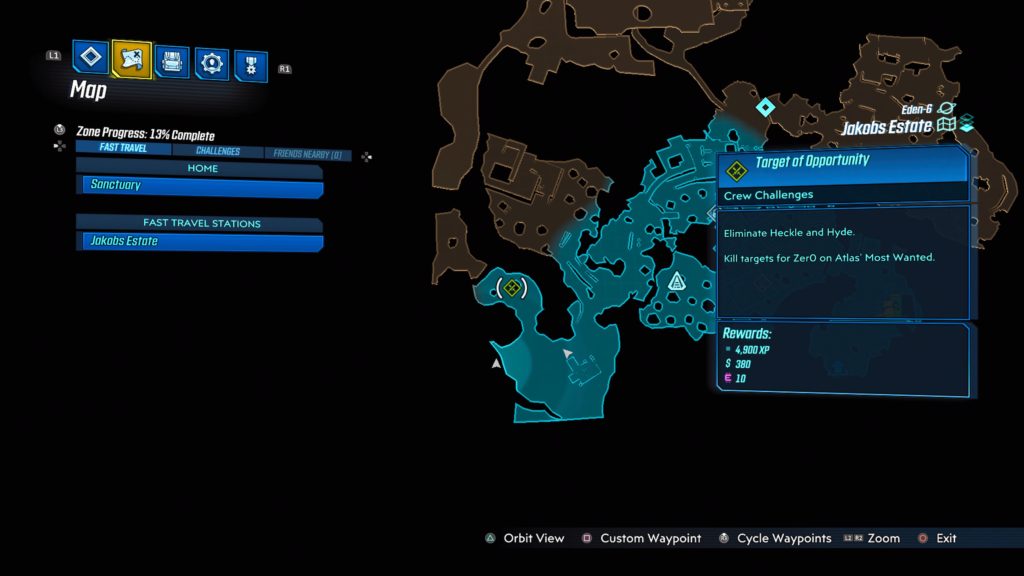
Jakobs Estate
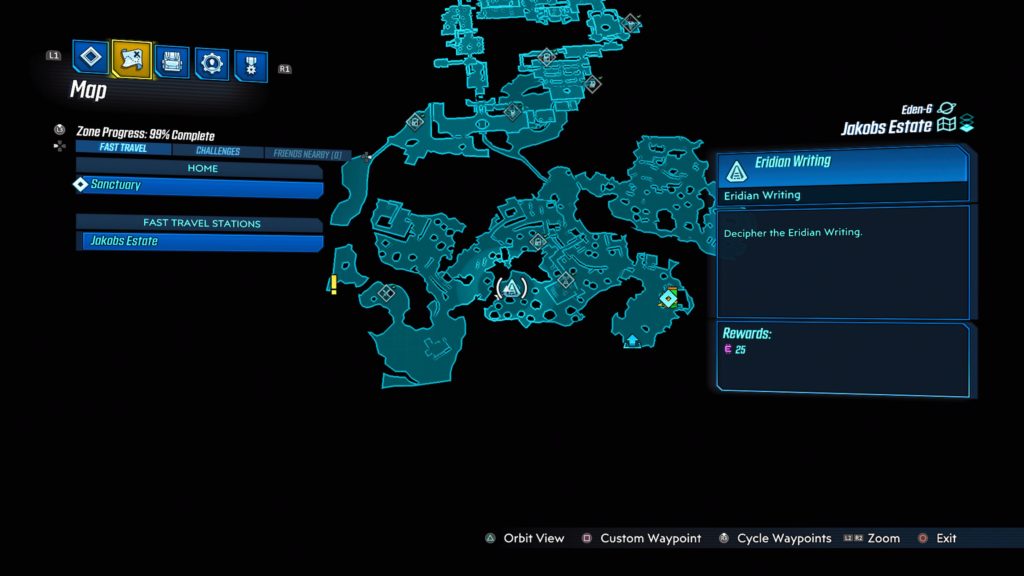
This writing is located in the Leery Hamlet at the base of a tree.
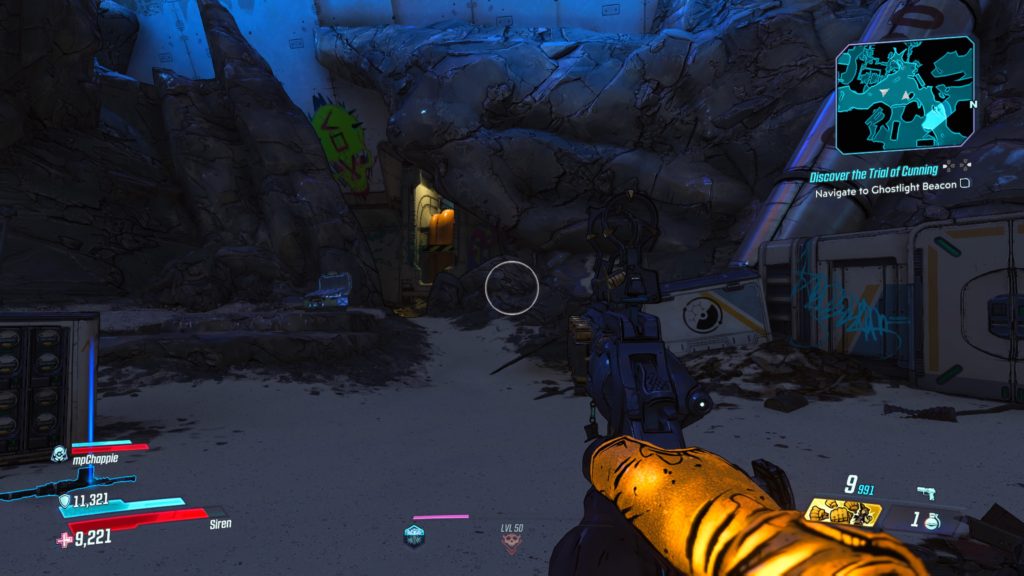
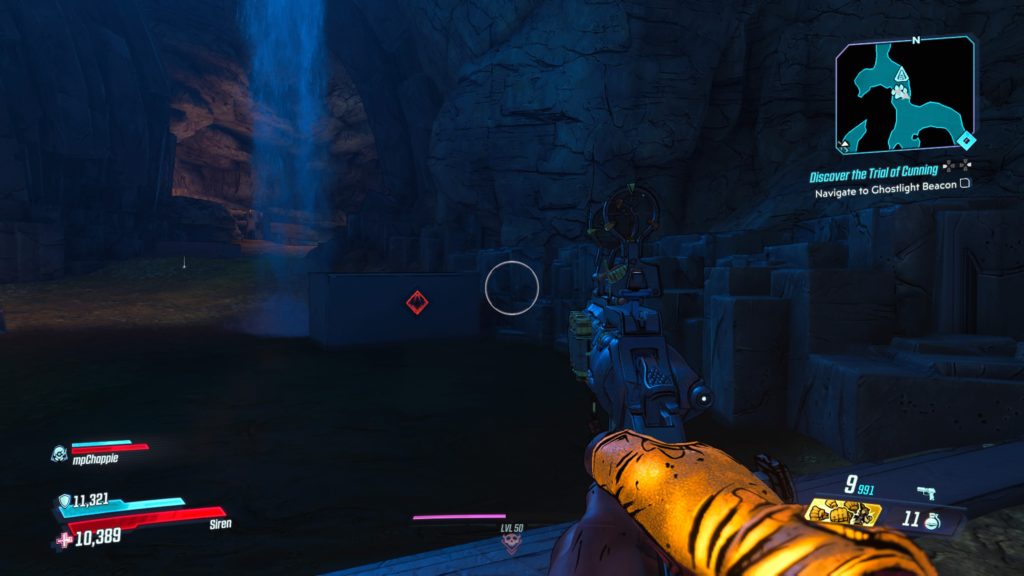
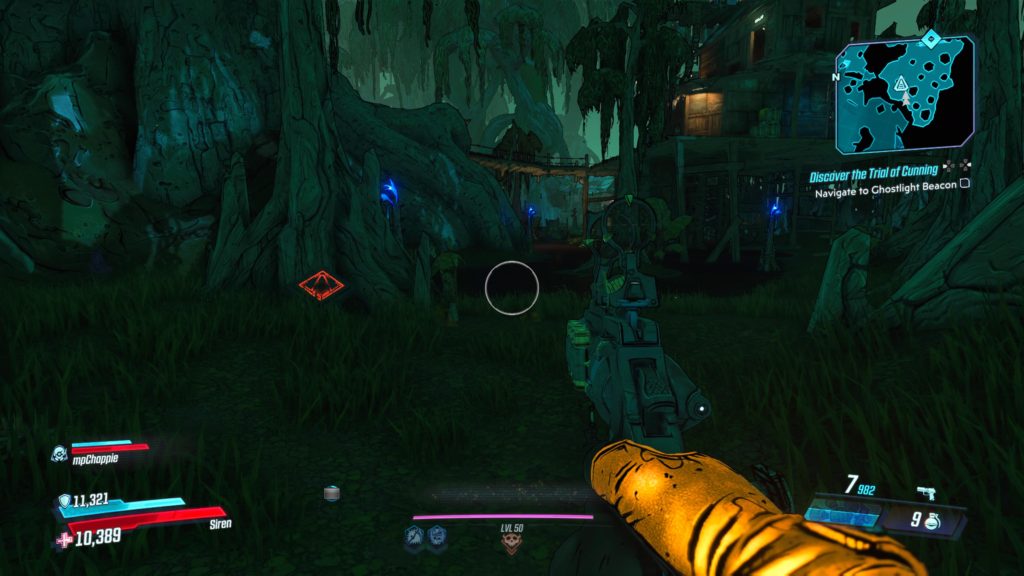
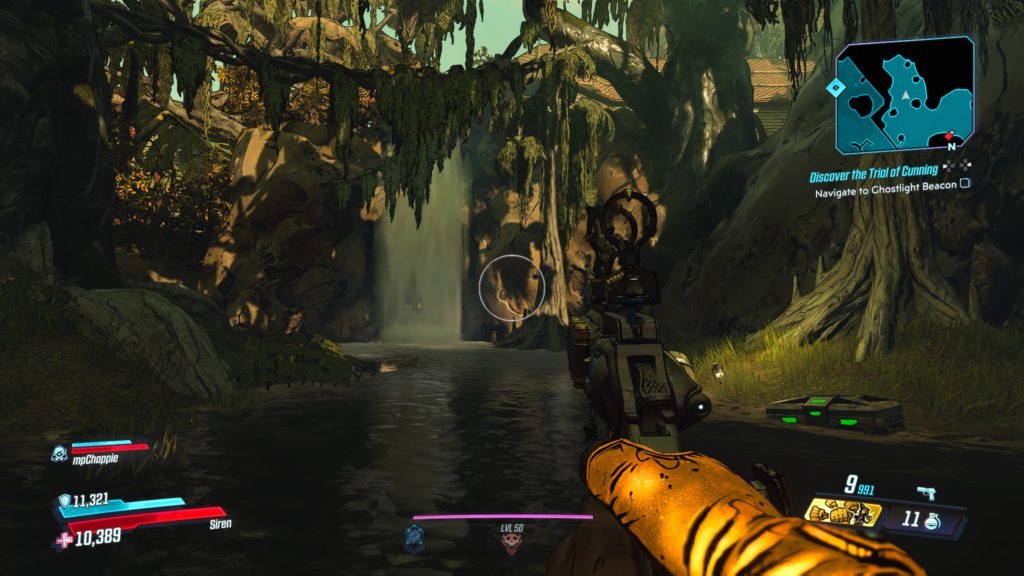
Voracious Canopy
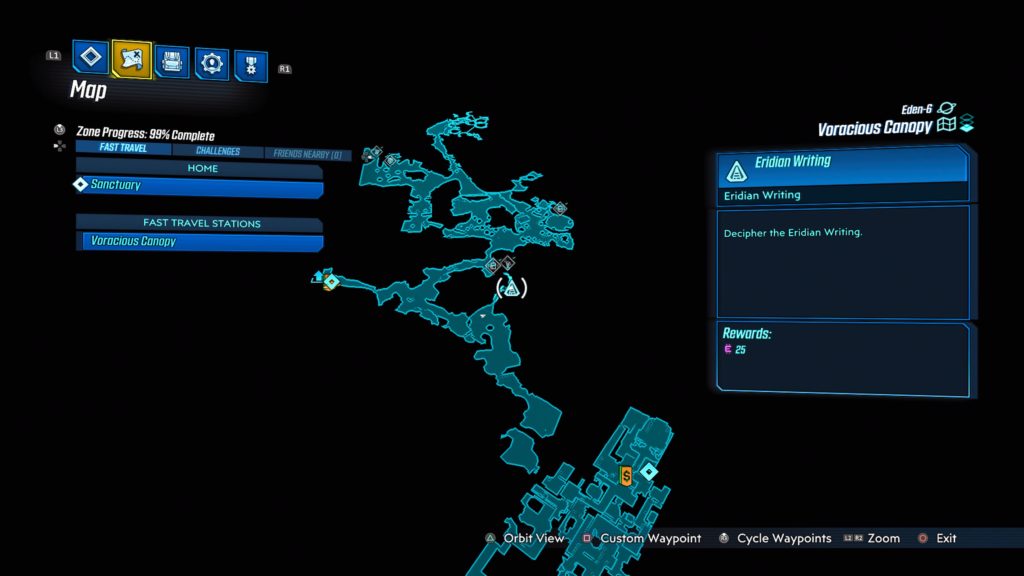
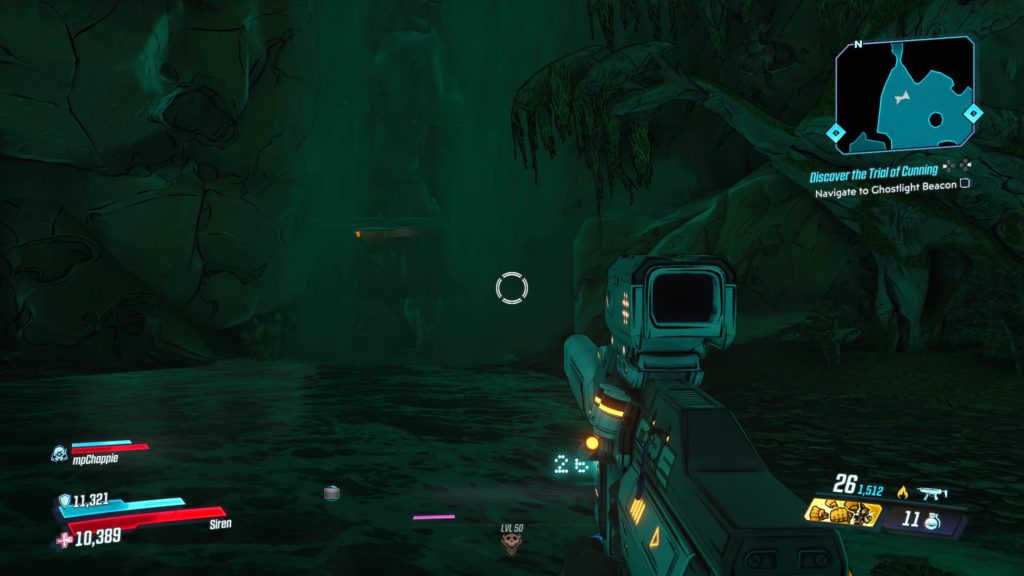
This writing is located behind a waterfall in the Green Labyrinth on the path to the Family Jewel.
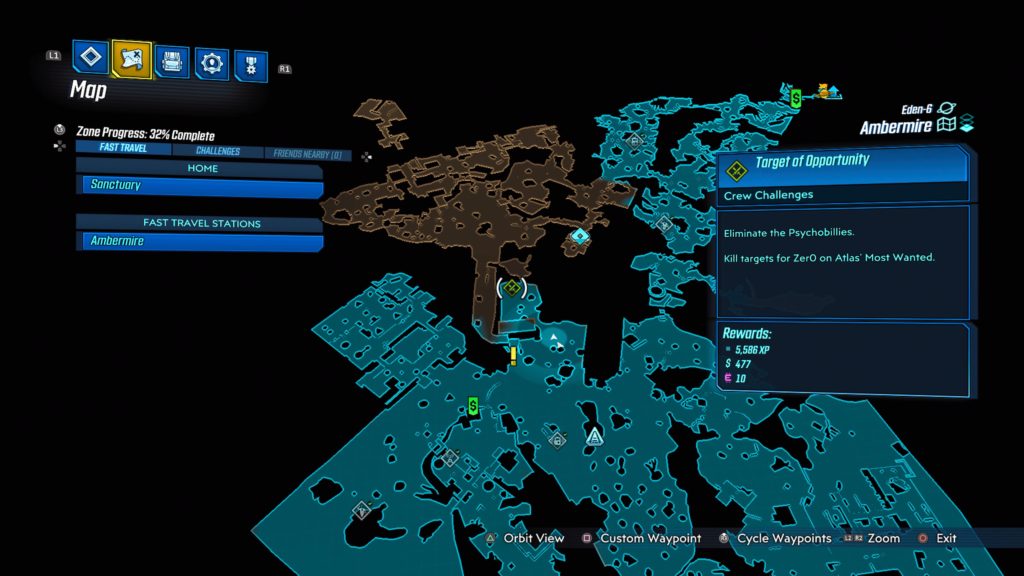
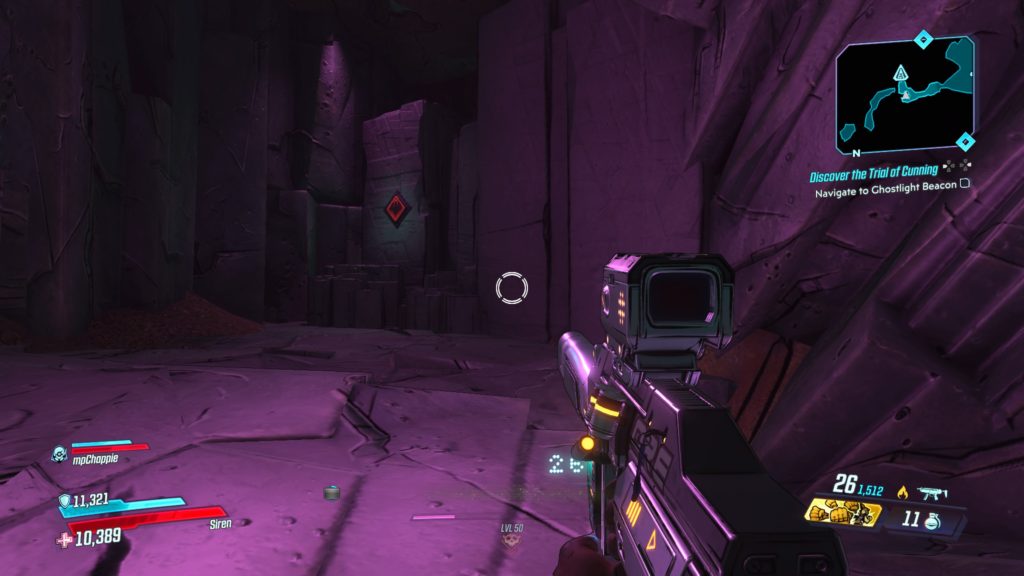
Ambermire
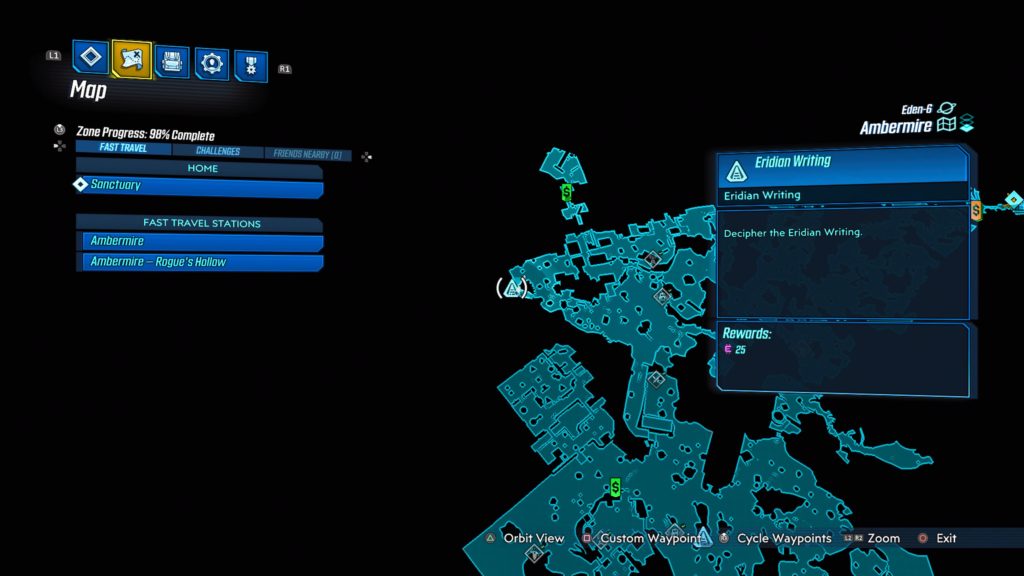
This writing is located near the Soggybog Rigs on the northwestern side of the map next to a crate with a light.
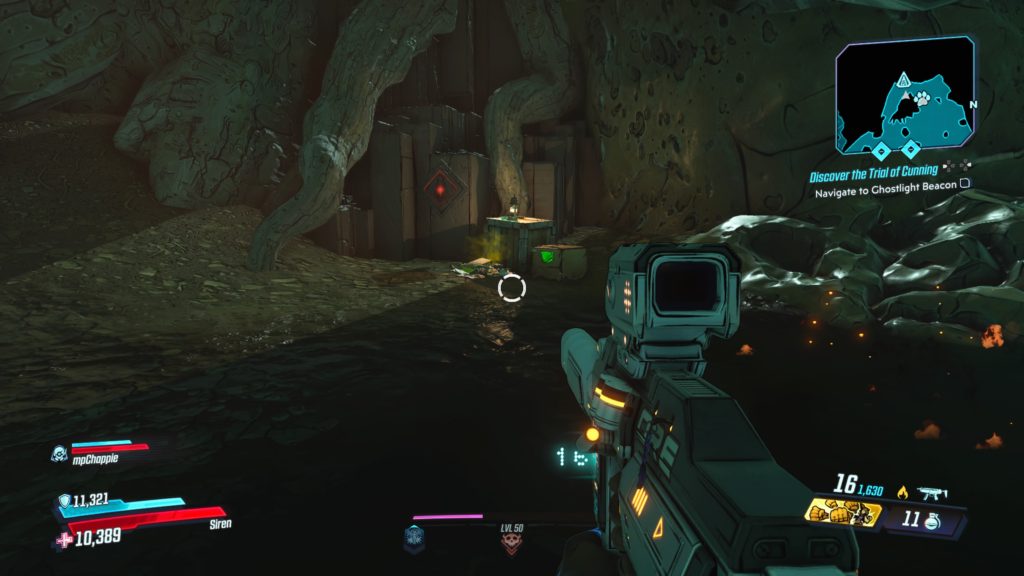
Ambermire
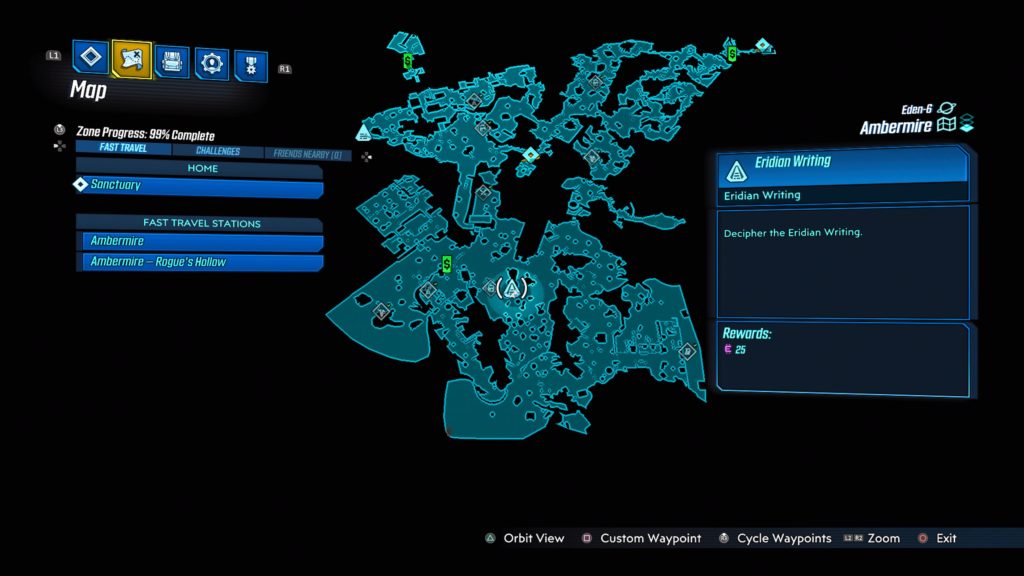
This writing is located at the base of a tree near the Tig’s Big Rig Typhon Log.
Blackbarrel Cellars
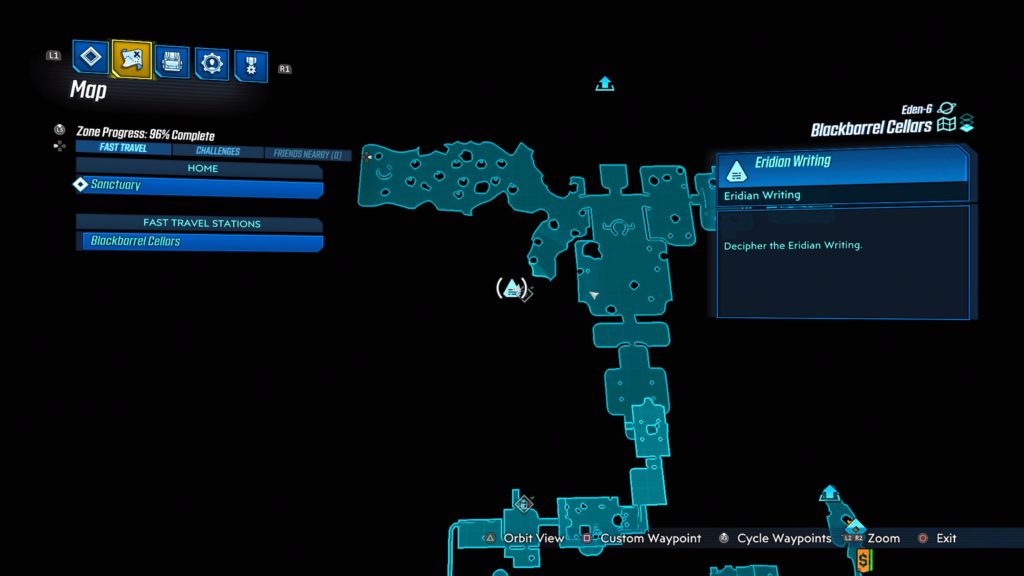
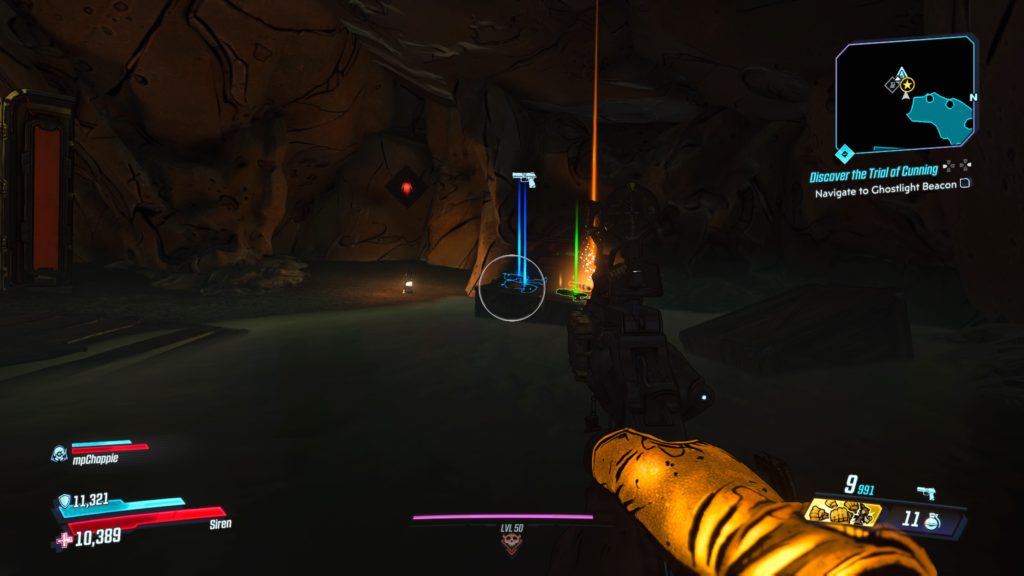
This writing is located next to a Typhon cache on a rock wall in a cave behind a waterfall in the Estate Gardens.
Nekrotafeyo
Desolation’s Edge
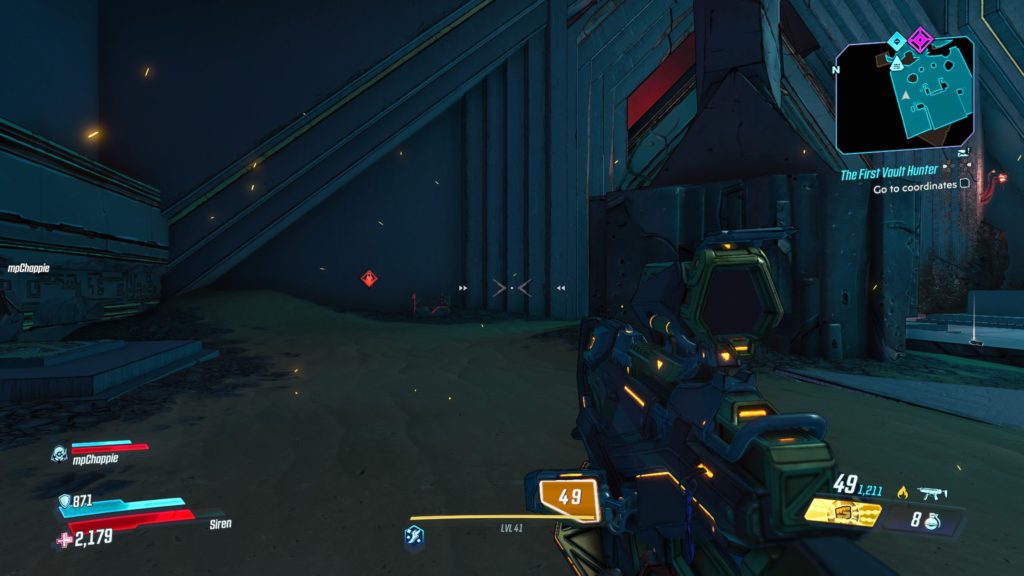
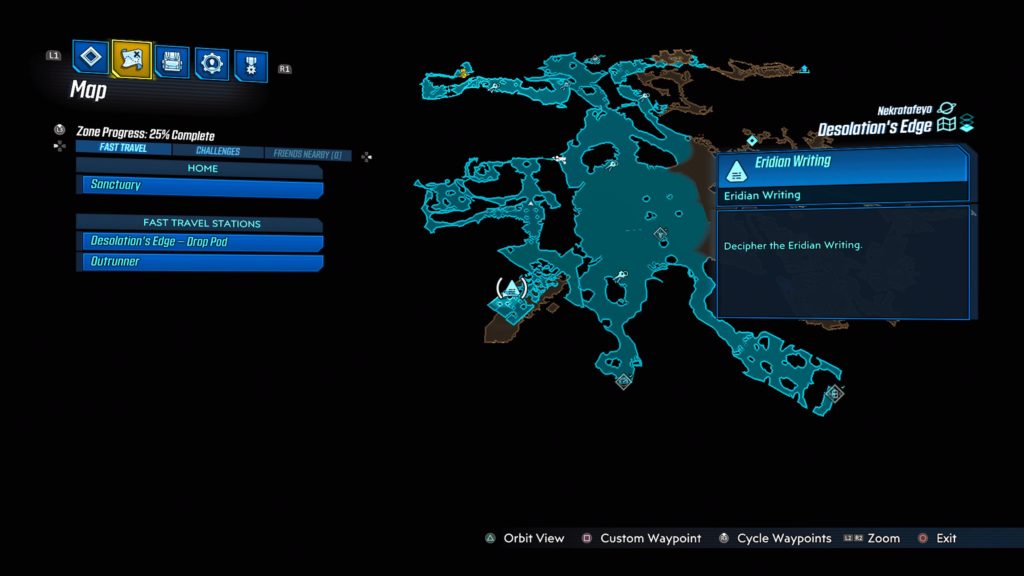
This writing is located in the Twilight Arcade in the southwest. See the map below for the exact location.
Desolation’s Edge
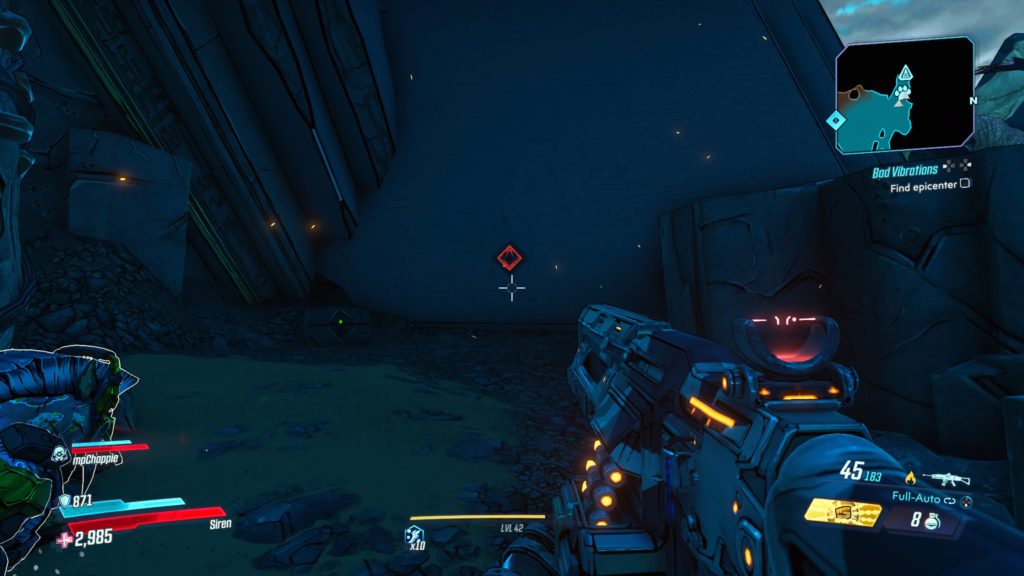
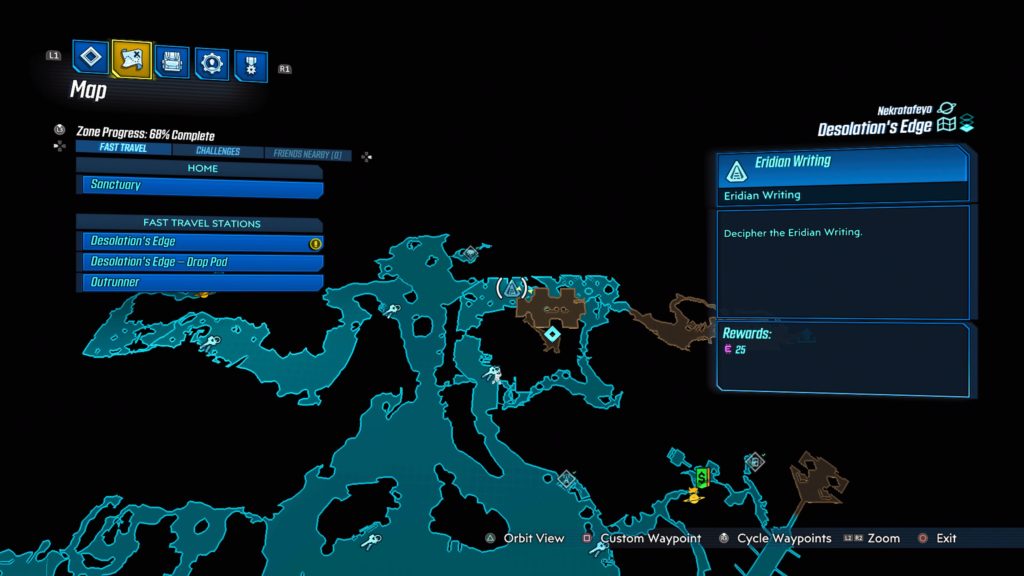
This writing is located in the Chancellor’s Throat where the Bad Vibrations side mission took place. See the map below for the exact location.
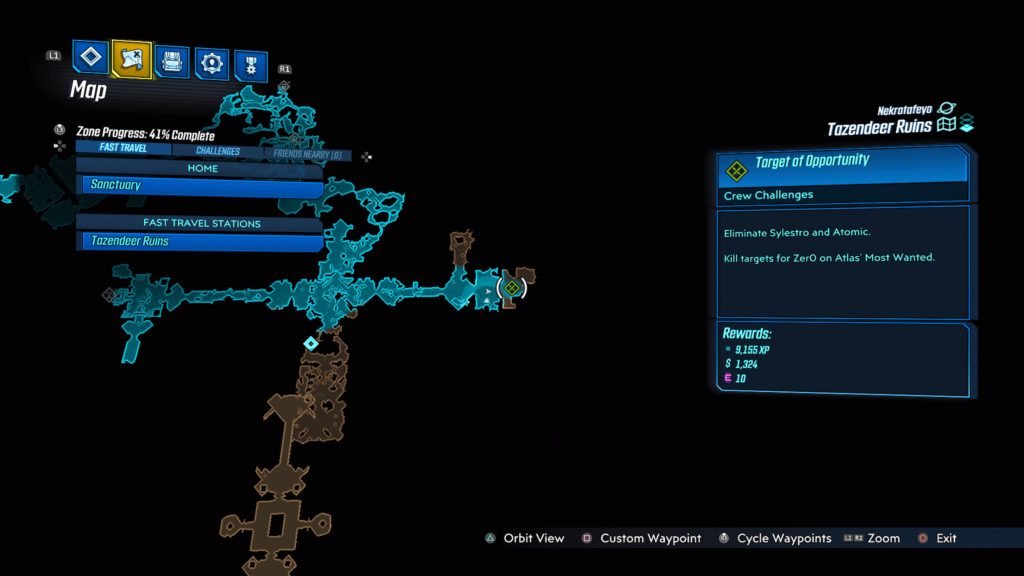
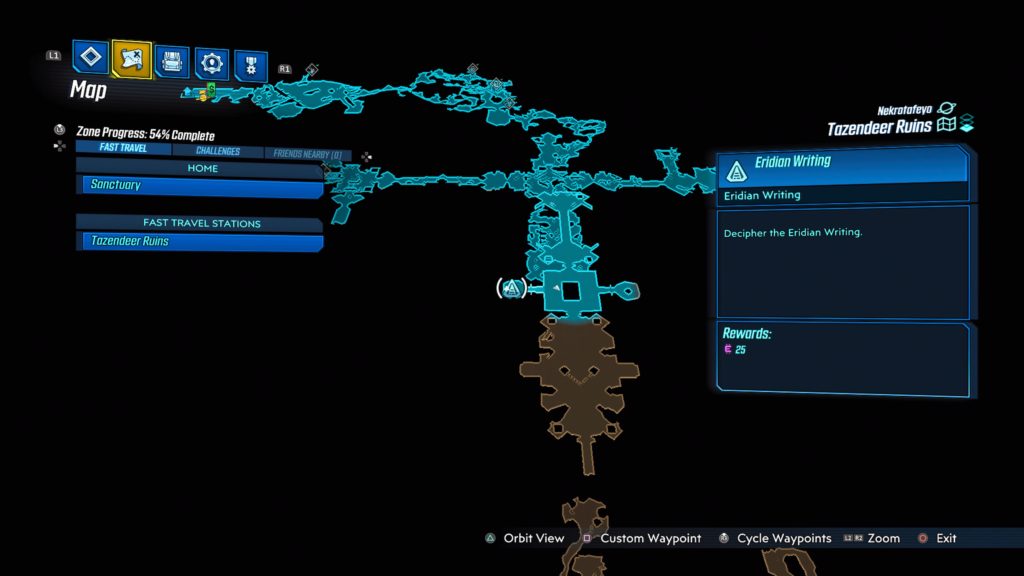
Tazendeer Ruins
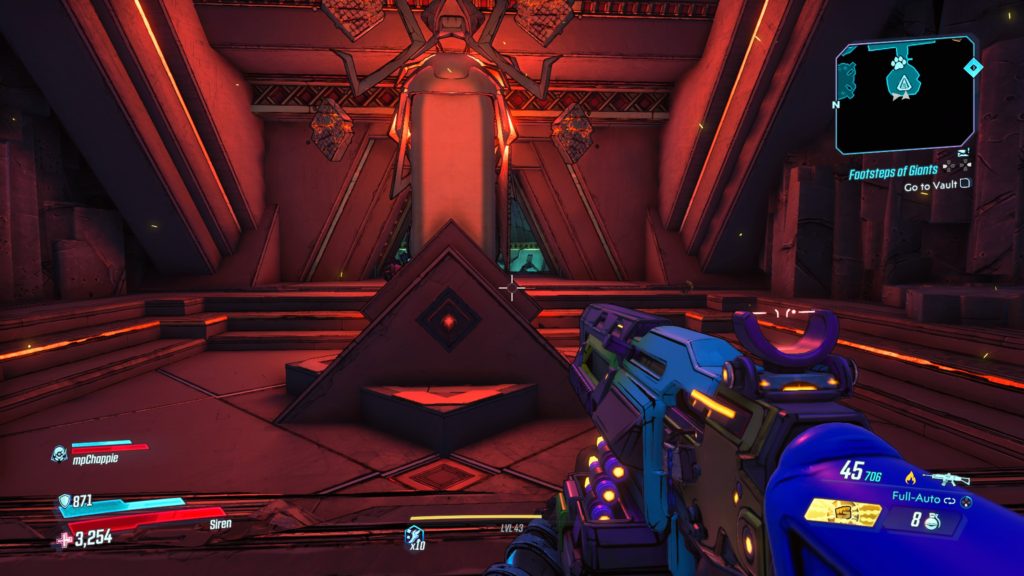
This writing is located in Pertinence and Light near the elevator in the vault. See the map below for the exact location.
The Pyre of Stars
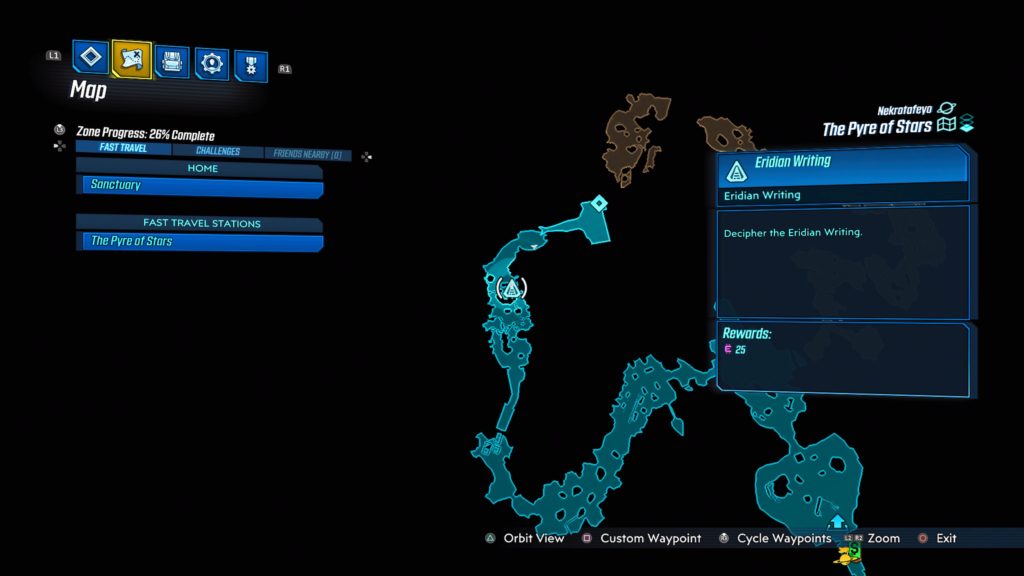
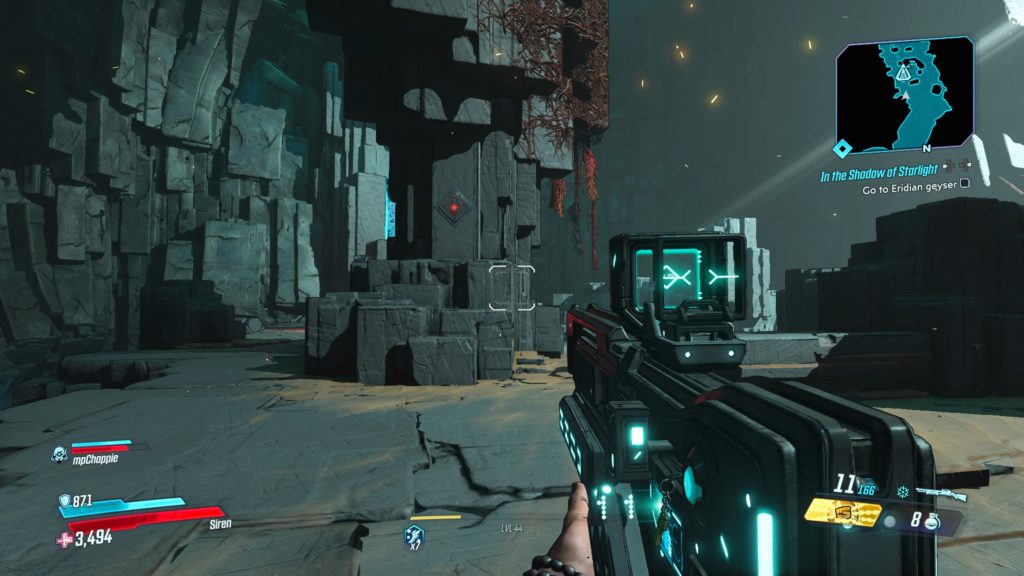
This writing is located in Hallowed Shame near the steam to Eden-6 Pedestal.