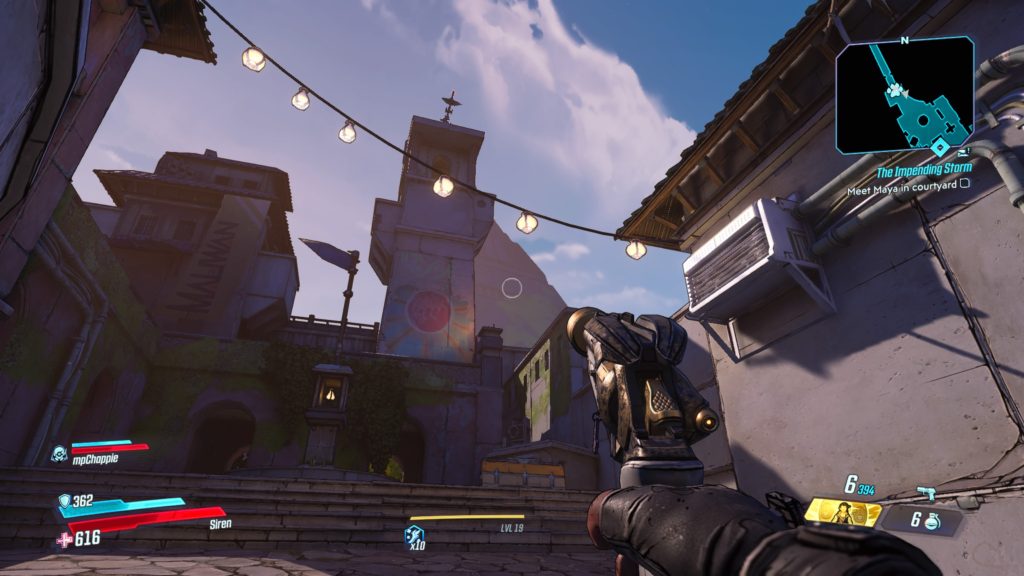
This broadcast tower is located on the top of the building in the image above near the entrance of the Anchorhold. See the below map for the exact location. You can reach the top of the building by climbing up the shed with a speaker on top of it to the right of the building. From there, jump across to the concrete platforms with the two crates and climb up to the top of them. Next, jump onto the cornerstone with the yellow paint. Then jump onto the roof and make your way to the crate in the middle of the roof. Climb up the crate and jump onto the railing. From the railing, jump to the section of the building sticking out of the wall with a hole in it. Climb up to a higher rooftop and then head up two metal containers stacked on top of each other to reach yet another rooftop. From here, jump across to the concrete platform connected to the tower with the satellite on the top. Climb up two ladders to reach the terminal at the top of the broadcast tower. Sabotage it to complete this challenge.
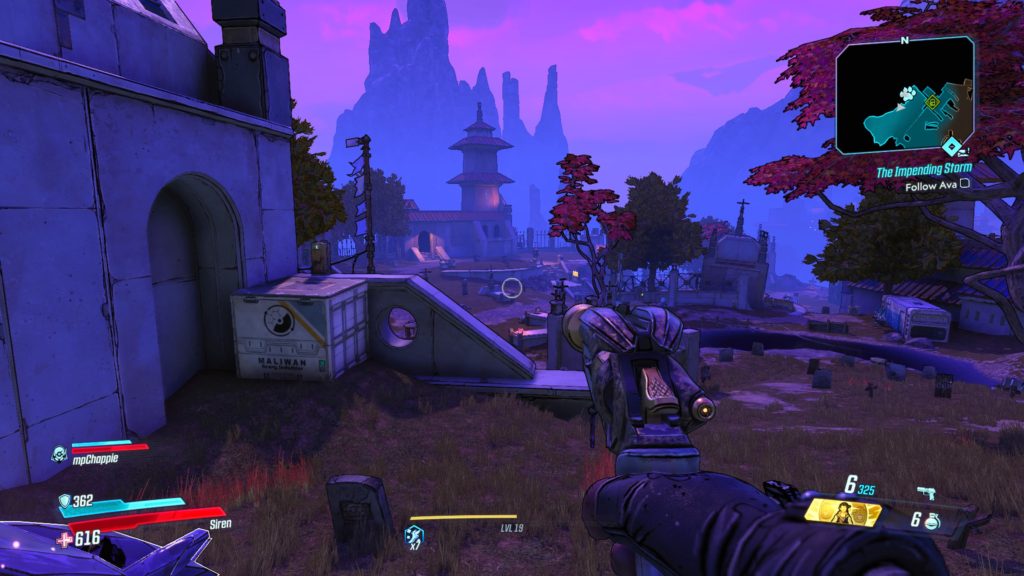
This log is located on a concrete platform connected to the tall clay-colored building with a spinning satellite dish on the top of it near where you first meet Maya. See the map below for the exact location. To reach it, stand in front of the giant bell facing west. Climb up the building on the right using the dumpster to access its roof. Jump up to the highest part of the roof then jump across to a concrete platform connected to the clay-colored building to find the log.
Dido’s Remorse
This log is located on a church wall in the back of the Dido’s Remorse cemetery at the northeastern section of the map. See the map below for the exact location.
Outside Anchorhold
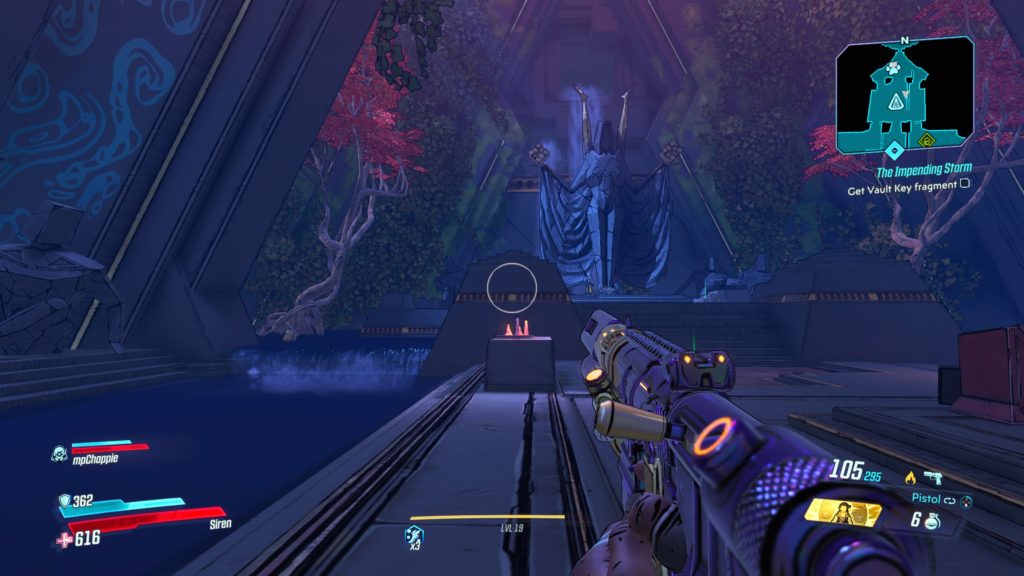
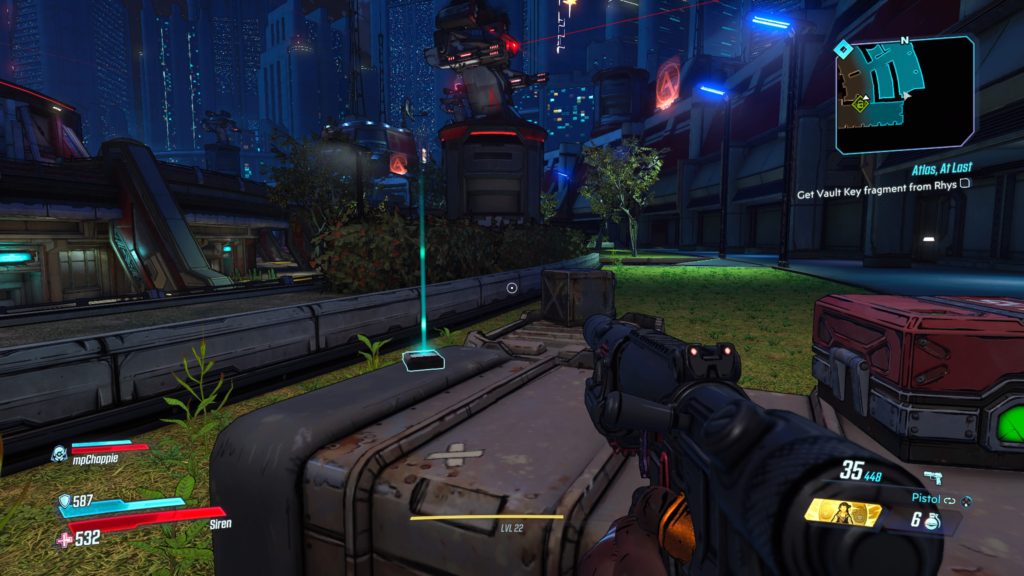
This log is located in the water on the left side of the shrine-like area after the Captain Traunt boss fight where you get the Vault Key Fragment. See the map below for the exact location.
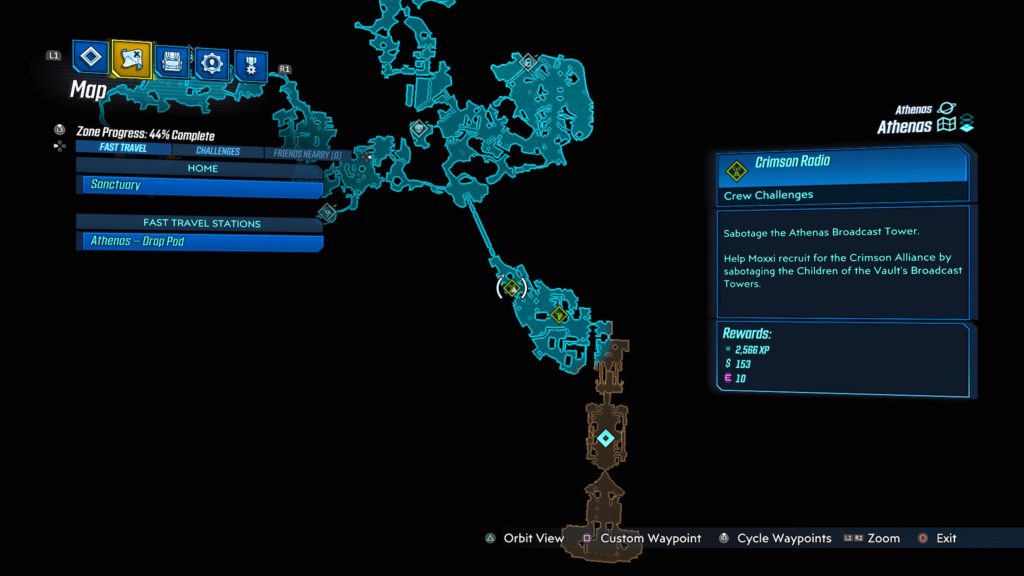
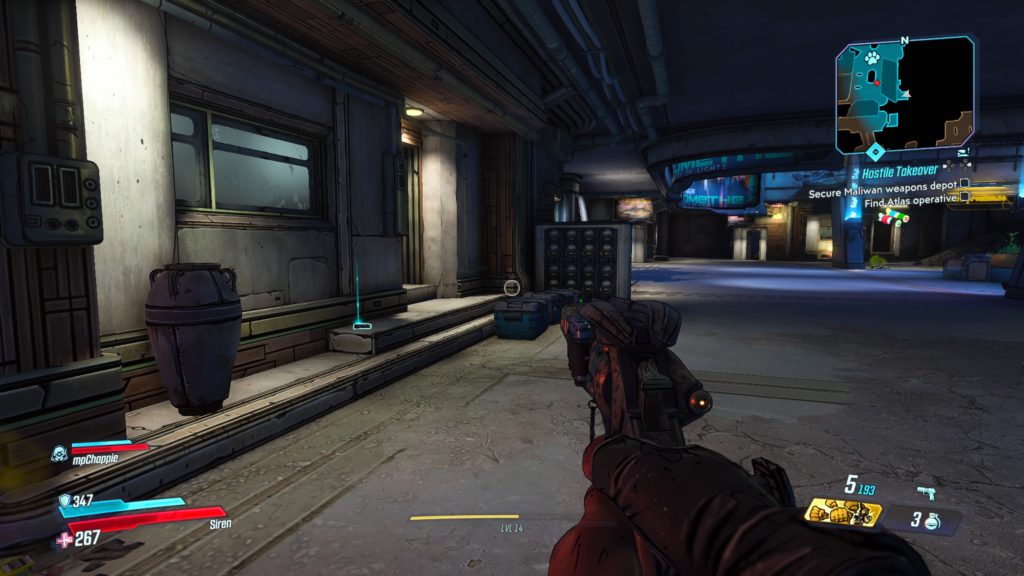
Athenas Dead Drop Cache
This cache is located in the Anchorhold near the entrance to the left of the bridge when facing south. After you pass over the bridge, head through the courtyard with the fountain in the middle and through the doorway into an open area. Go down the small flight of steps and take a left (east) following the walkway around the building you just exited to come to a gated doorway with a crate near it. Climb on the crate and jump over the doorway to reach the area containing the cache.
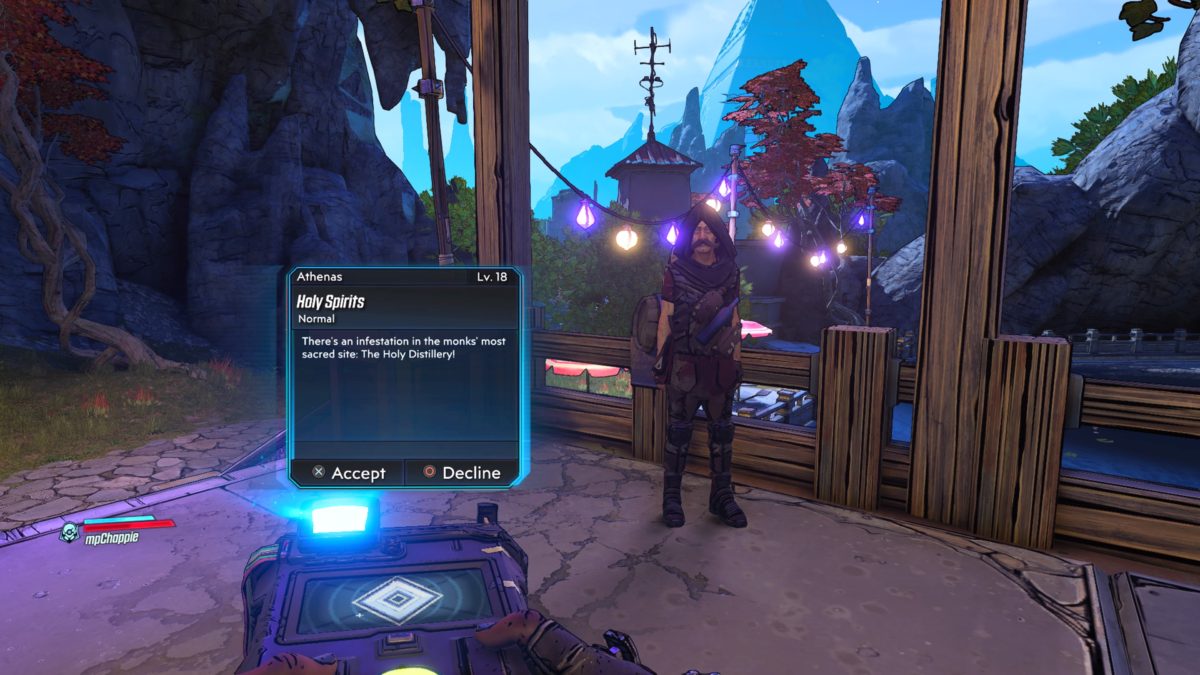
Obtained:Talk to Brother Mendel at Storm Brewin located in the northern central area of the map.
Objective(s):
Follow Brother Mendel
Enter Cellar
Clear Ratch Gunk
Kill Ratch Broodmothers
Harvest Intoxicated Livers (Optional)
Destroy Ratch Nest
Take Bell Striker
Repair Bell
Ring Bell
Place Intoxicated Ratch Livers (Optional)
Return to Mendel
Follow Brother Mendel
Follow behind Brother Mendel as he leads you into the brewery.
Enter Cellar
Head into the cellar (Holy Distillery) and follow the stairs to the bottom.
Clear Ratch Gunk
At the bottom of the stairs, shoot the stopper off the barrel. Head through the doorway to enter an underground cavern. The second ratch gunk is located in a doorway leading to the last room of the cavern. The final ratch gunk is located in the final room of the cavern in the back.
Kill Ratch Broodmothers
Work your way through the tunnels killing the three broodmothers that call it home.
Harvest Intoxicated Livers (Optional)
Collect the five intoxicated livers from large dead ratches laying around the cavern.
Destroy Ratch Nest
After passing through the doorway blocked by the second ratch gunk, destroy the Ratch Nest in this room.
Take Bell Striker
Collect the bell striker that the Ratch Nest dropped.
Repair Bell
Attach the bell striker on the ropes near the bell to repair it.
Ring Bell
With the bell repaired, ring it.
Place Intoxicated Ratch Livers (Optional)
Head through the door and place the livers you collected into the barrel.
Return to Mendel
Head back to Mendel and talk with him to complete the mission.
Obtained: Talk to Ava on Sanctuary after completing the Impending Storm main mission
Objective(s):
Go to Athenas
Retrieve Stuff
Retrieve More of Ava’s Stuff
Get Diary
Find Beans
Seriously, Find Beans
Not Kidding, Find Bean, It’s Super Important
Kill Beans
Find Hide-a-Key
Open Weapons Cache
Return to Sanctuary
Go to Ava’s Room
Return Ava’s Belongings
Talk to Ava
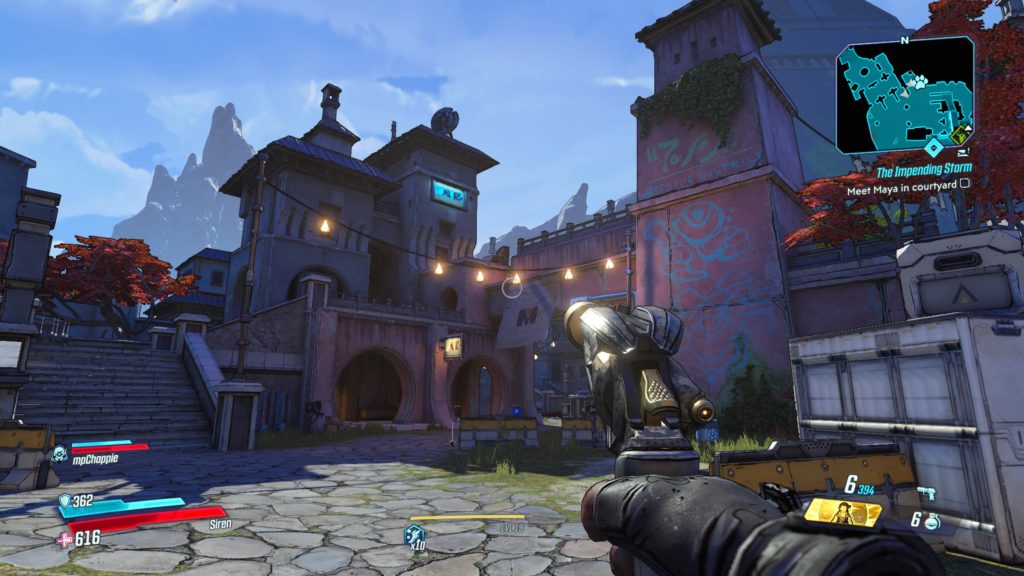
Go to Athenas
Head to Athenas to update the objective.
Retrieve Stuff
Follow the path forward to enter Stormhaven Square until you come to the first structure with vending machines in it. Collect Ava’s stuff from the trash pile.
Retrieve More of Ava’s Stuff
Keep following the path north to until you reach the first set of buildings leading into a small village. Collect Ava’s stuff that is lying on the ground.
Get Diary
Head through the village, dealing with the Maliwan soldiers as you go. Pass the bell to enter Windward Plaza and head up the small set of stairs. At the top, take a right and open the safe under a tree.
Find Beans
Keep following the path forward heading through another village filled with enemies. Pass another bell exiting the town to arrive in a search area. Look for a ripped page from Ava’s diary sitting on a couch and pick it up.
Seriously, Find Beans
Keep working your way down the path until you come to the part of Windward Plaza with a giant pipe running through it and part of the plaza will be submerged by water. Head through the water to reach the other side and up a flight of stairs. At the top of the stairs, take a right to find a really embarrassing page from Ava’s diary on a picnic table with a pink umbrella.
Not Kidding, Find Bean, It’s Super Important
Head to the Storm Brewin brewery located in the north-central area of the map. The next diary page is located on a table across from the bar counter.
Kill Beans
Go to the cemetery in Dido’s Remorse located east of the brewery to find Beans then take him out.
Find Hide-a-Key
Collect the key located on the east side of the cemetery next to an old run-down building along a fence.
Open Weapons Cache
Head south following the fence until you reach a lit wooden sign pointing to the Academic District. Head behind the sign and follow the rocky path to reach the cache. Open the cache.
Return to Sanctuary
Fast travel back to Sanctuary.
Go to Ava’s Room
Once at Sanctuary, head to Ava’s room near the bridge of the ship.
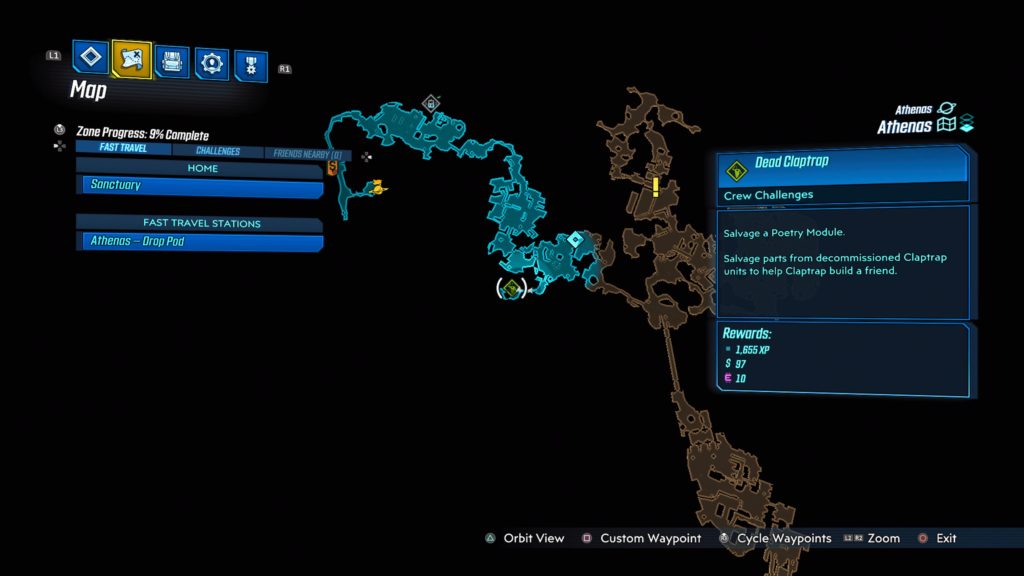
This dead claptrap is located on a couch in front of a white building sitting on a small island. It is connected to the southern part of Windward Plaza by a bridge. See the map below for the exact location.
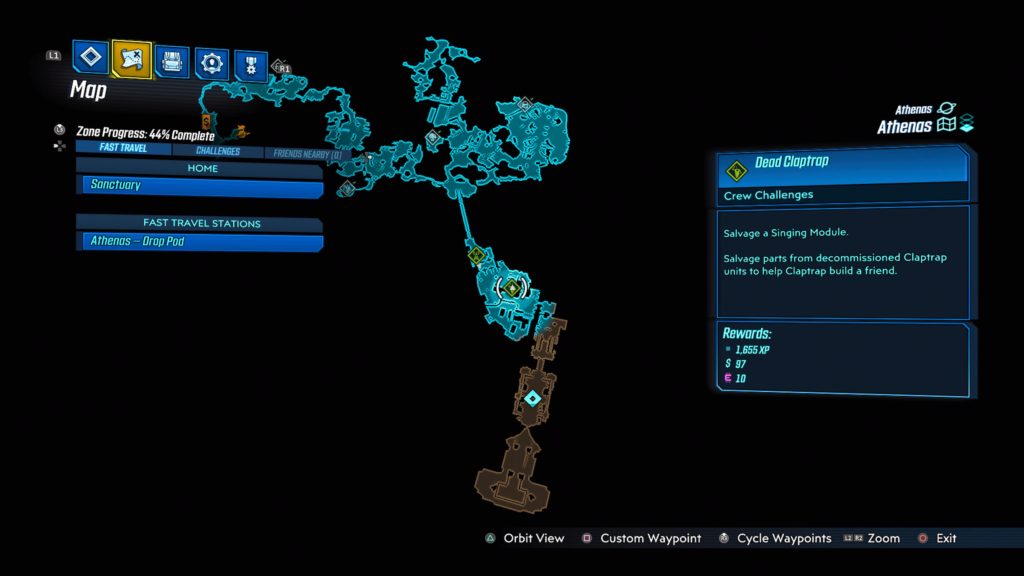
The Anchorhold (Singing Module)
This dead claptrap is located on the second level of building in the image above laying in front of a piano. See the map below for the exact location.
This dead claptrap is located in a cave between Meridian Outskirts drop pad and the Meridian Outskirts fast travel station.
Meridian Metroplex
Stairwell (Stair-Climbing Update)
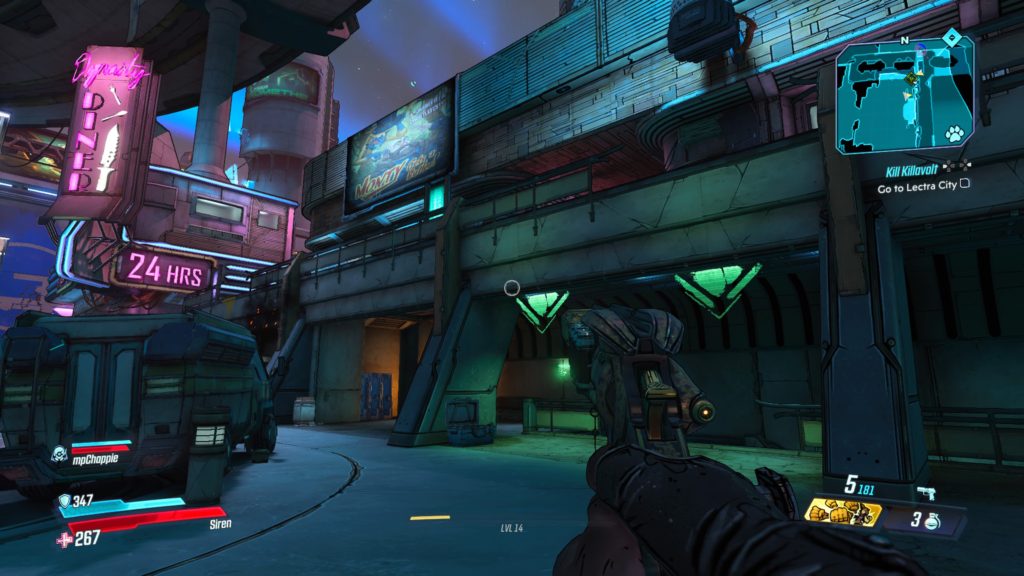
This dead claptrap is located in a stairwell to the right of Dynasty Diner (near the center of the map). Head below the green arrows in the image above to enter the stairwell containing the claptrap.
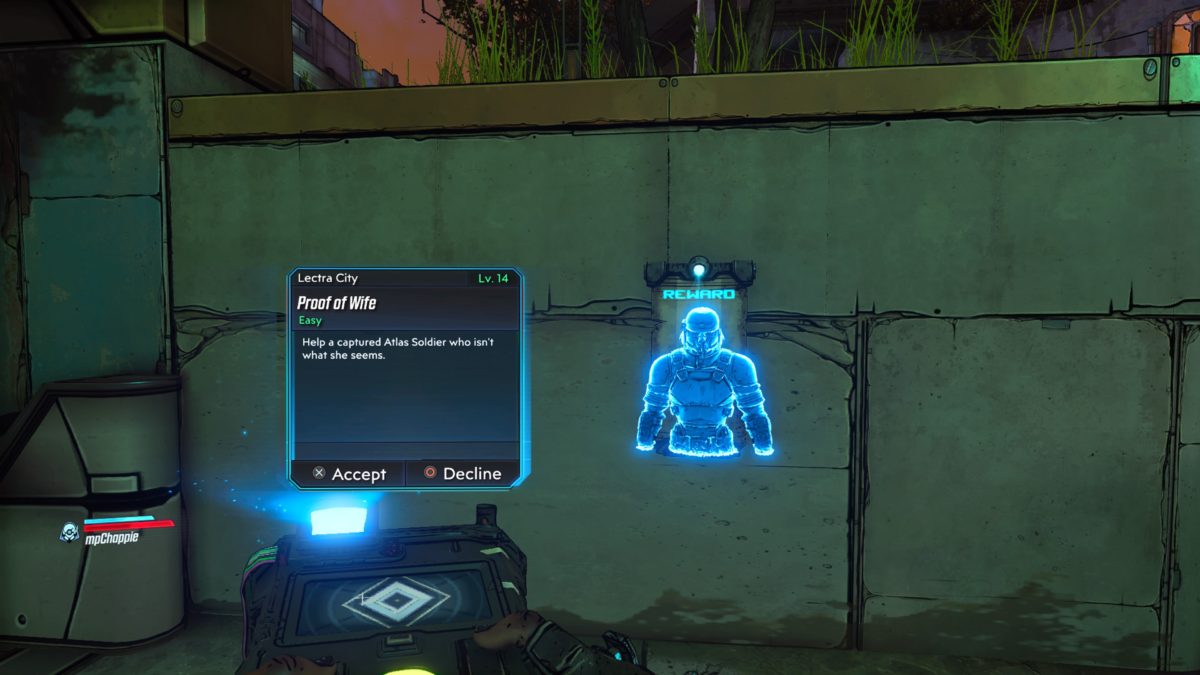
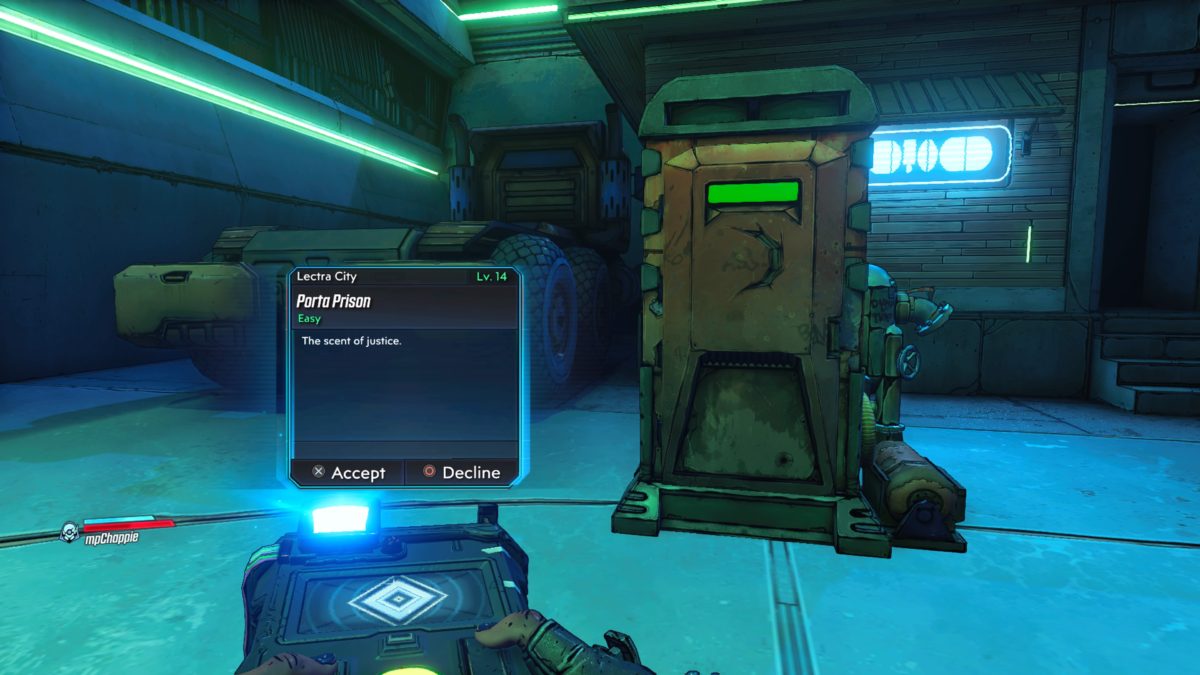
Lectra City
Downtown Square (8th Gen Emotive Resonator)
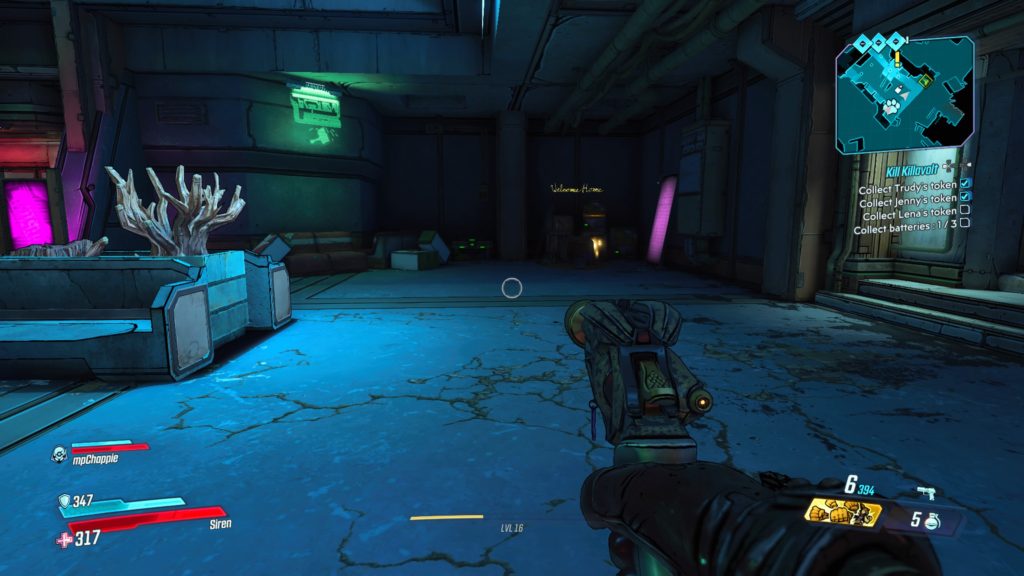
This dead claptrap is located under the Welcome Home neon sign in the Underpass in south-central Lectra City. To reach it, take the big concrete stairs in Downtown Square down to the area where you fight Jenny during the Kill Killavolt side mission. The dead claptrap is located in this room in the back corner.
Market Quarter (Eye Rotor)
This dead claptrap is located directly south of the Lectra City fast travel station on the roof of a shack overlooking the docks.
Skywell-27
Sector 2 (Antenna)
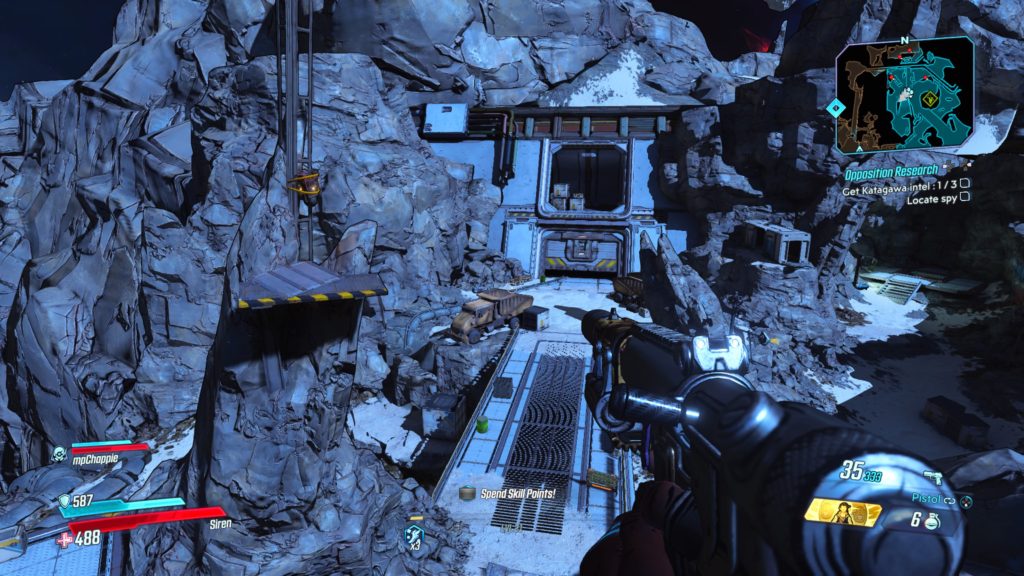
This dead claptrap is located in Sector 2 of the Maliwan base. This is after passing the large elevator that leads to the laser and climbing through the vents leading back outside. Claptrap will be tied to a metal radio tower connected to a rock just past a bridge in the middle of the path. You will need to climb up the big rock across from the tower to jump over to it.
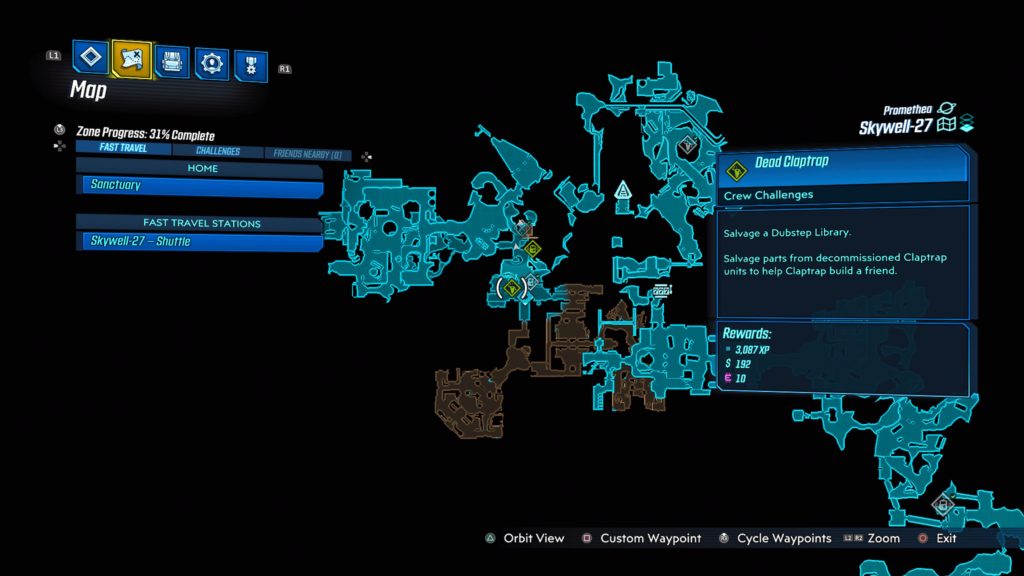
Observation Deck (Dubstep Library)
This claptrap is on the second level of a building in the Observation Deck. See the image below for the exact location. To reach it, you will need to jump down the long chute in Sector 4. This will place you in Fuel Processing. Exit through the door to enter a room containing a cylinder with a blue sphere in the middle of it. Take a right and follow the walkway down a couple of steps. Take another right and enter the building there. Climb up the two flights of stairs then jump through the open section of the wall to locate it.
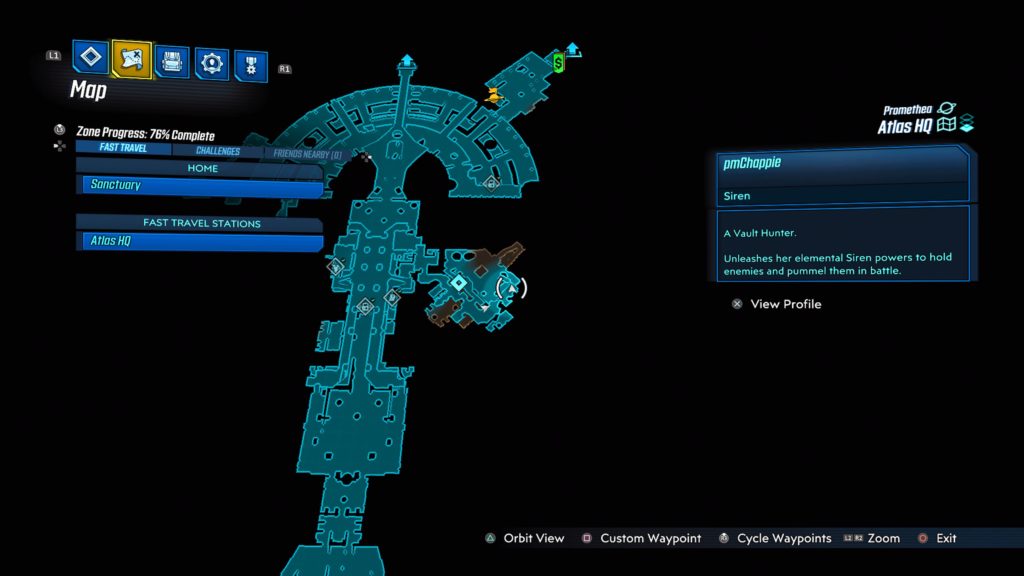
Atlas HQ
Lobby of Self-Actualization (Claptrap-VPN)
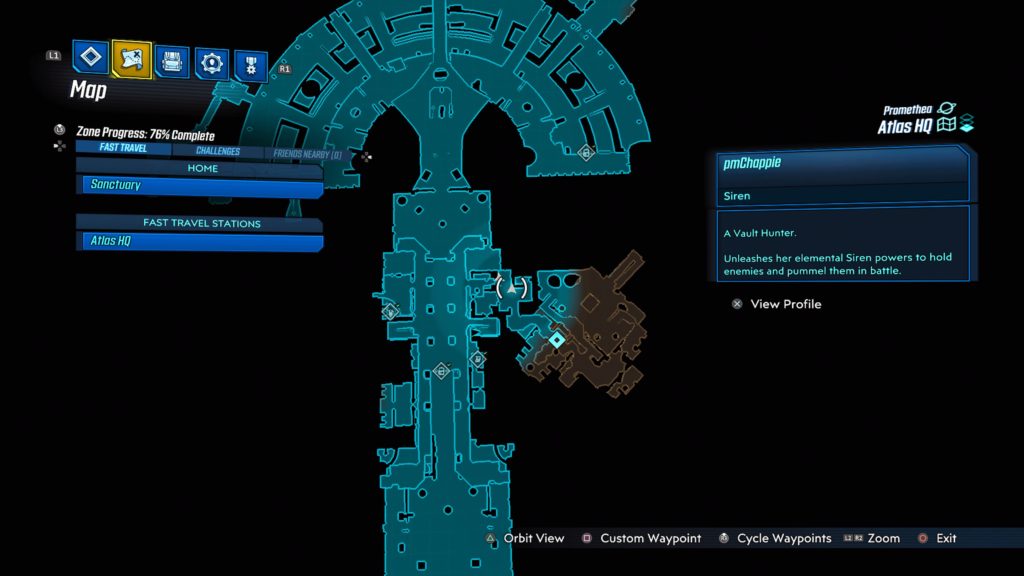
This dead claptrap is located in Atlas Tower behind a bar on the second floor. Enter Atlas and head forward, past the spinning gold ball, then under the red ATLAS sign in the middle of the walkway. Follow the walkway forward until you reach a set of double doors. Instead of heading through them, take the flight of stairs up on the left or right side of the doors to reach the second level in the Lobby of Self-Actualization. The bar will be in the room on the northeastern side of the walkway.
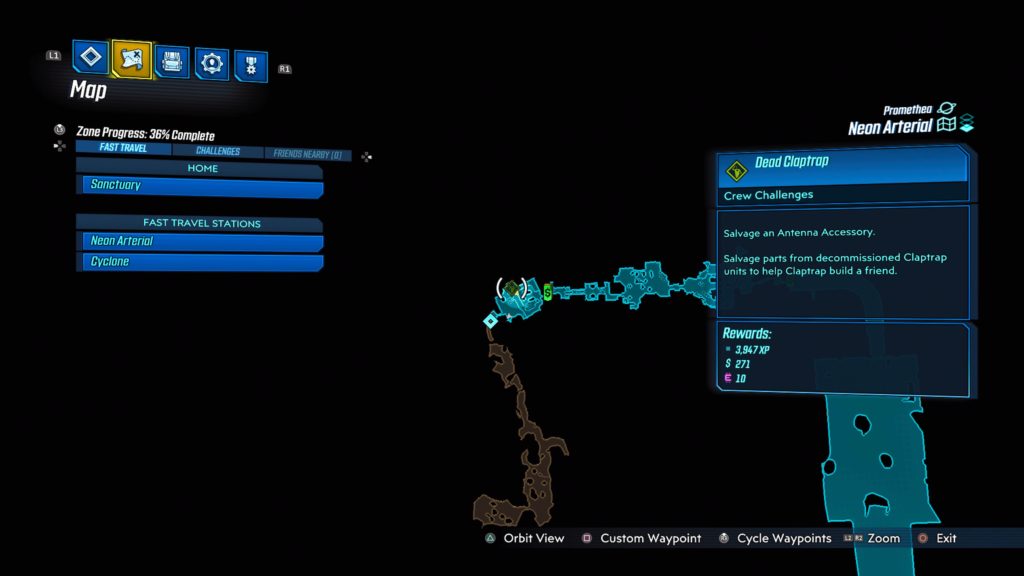
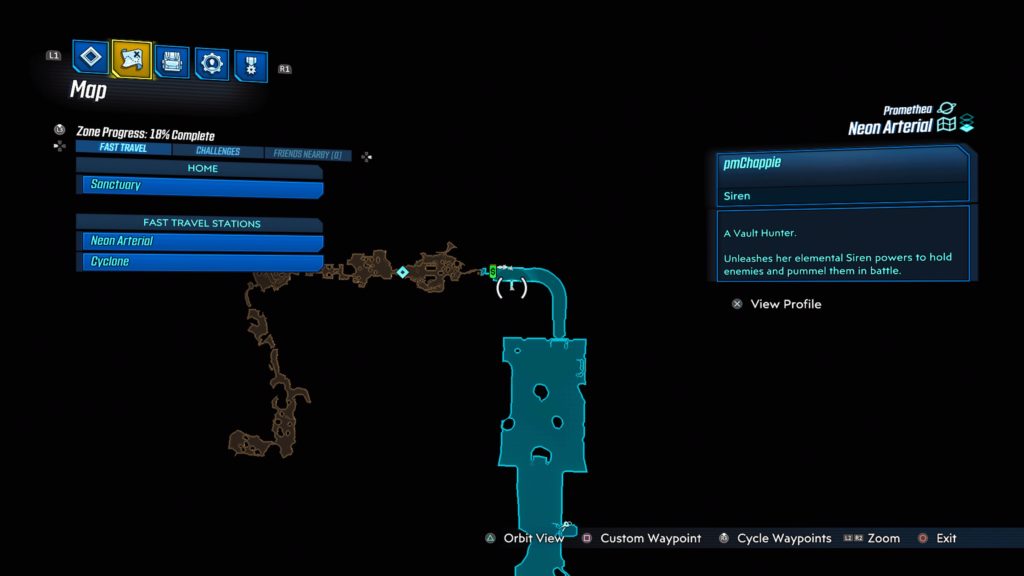
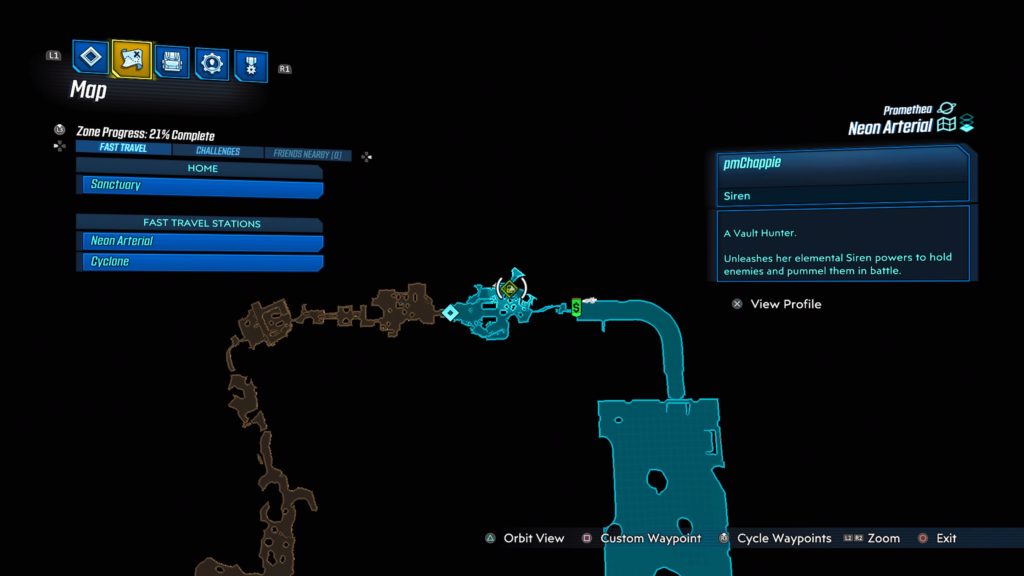
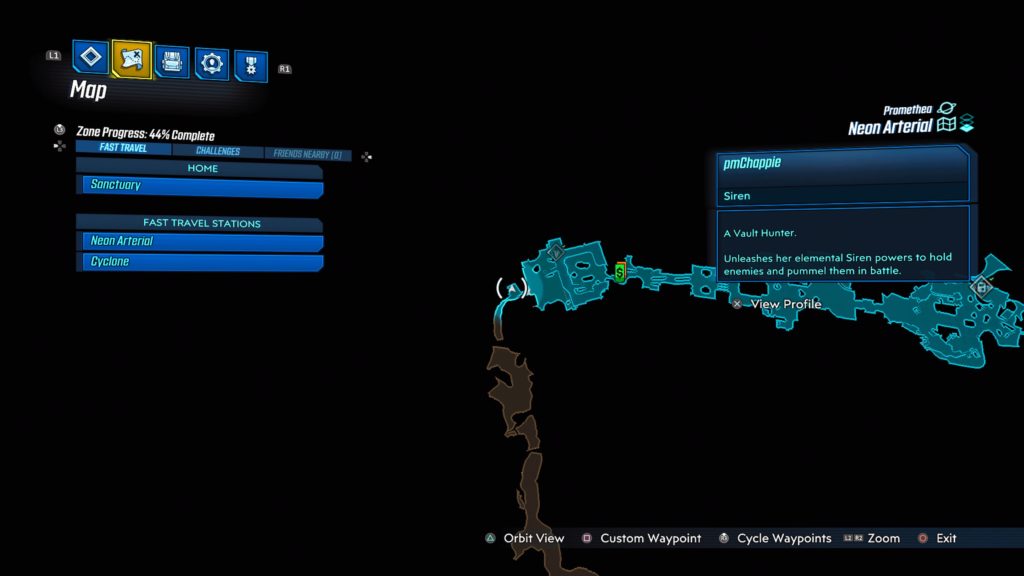
Neon Arterial
Green Diamond Platform (Antenna Accessory)
This dead claptrap is located on the train track in the middle of the Green Diamond Platform. See the map below for the exact location.
This log is located on the lower floor on a table in a small room near Marcus. From Marcus’ location, turn around and head into a hallway, taking a left through a door. Once through the door, take the first right to find the small room containing the log.
Reborn
This log is located on a table in Moxxxi’s bar.
Get In Line
This log is located on the top floor of the ship above the golden chest. See the map below for the exact location.
Morning Tea
The log is located on the south side of the ship in a storage room connected to the stairway leading to the cargo bay. See the map below for the exact location.
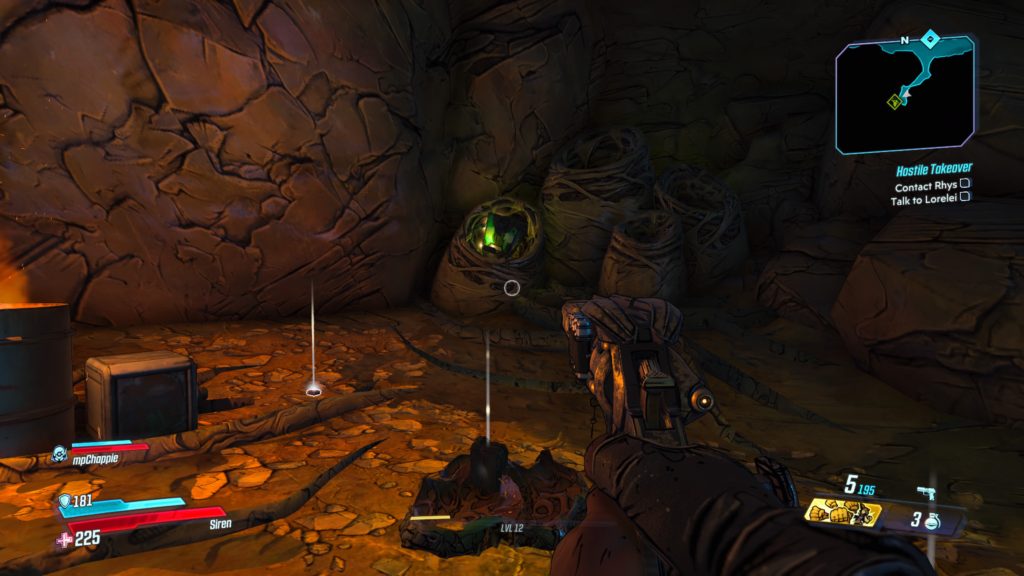
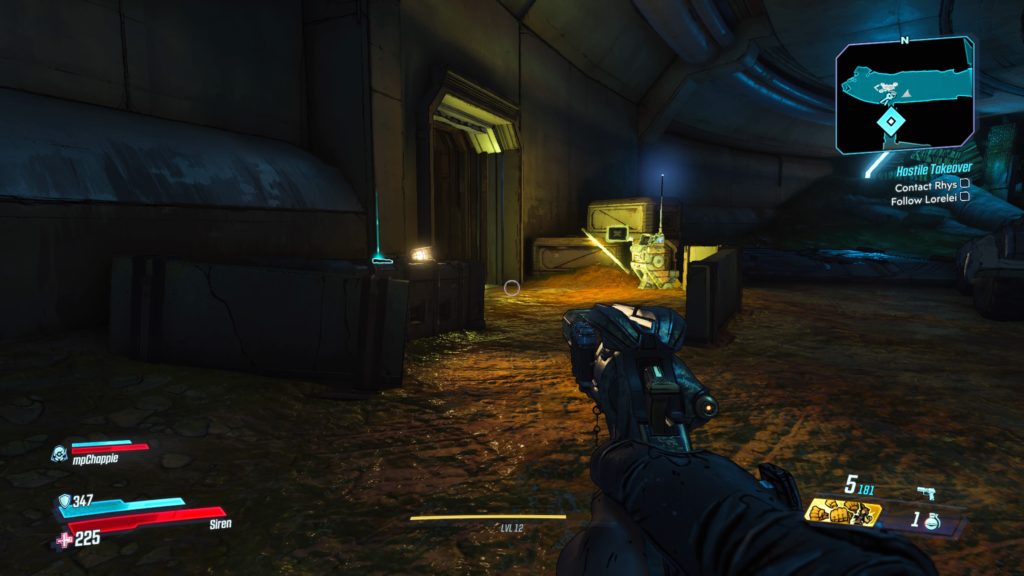
This log is located on a metal crate just before the civilian camp that Lorelei takes you to during the Hostile Takeover main mission (near a Catch-A-Ride).
Marcus Munitions (Part 1)
Located in a tunnel across (north) of Fort Pissoff (contains the Meridian Outskirts fast travel station) on a metal crate near the elevator leading to the top of the bridge. You can reach it after completing the Hostile Takeover main mission.
Occupational Hazard
This log is located on a cot behind Ziff in the area just before the Meridian Metroplex map transition.
Meridian Metroplex
Sitrep
This log is located near some steps next to a door in the middle of a bunch of buildings directly north of the Meridian Metroplex fast travel station.
Morning Meridian
This log is located on the ground in front of a building with a billboard advertising Vault Hunters The Motion Picture. The building is on a bridge near the center of the map close to where you find Beau during the Dynasty Dinerside mission.
Daily Grind
This log is located on the ground next to a door just before the Maliwan Weapons Depot in Meridian Mercantile on the western side of the map, which you access during the Hostile Takeover main mission.
Lectra City
Lashley (Part 1)
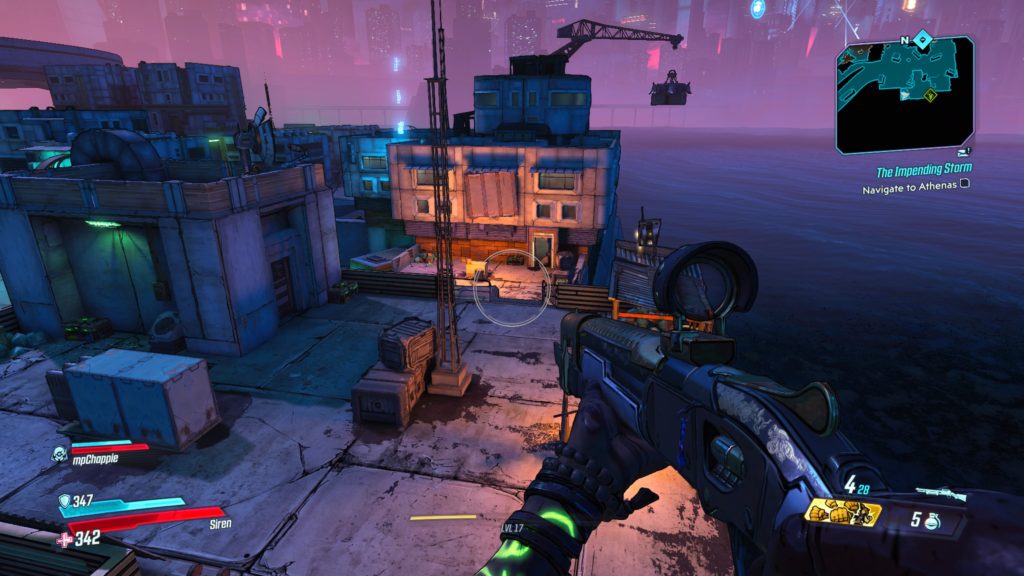
This log is located near the center of the map on a platform near the top of a bridge support. See the map below for the exact location. To reach it, you will have to climb up to the roof of an adjacent building to jump across to it. This is close to where you fought Trudy during the Kill Killavolt side mission.
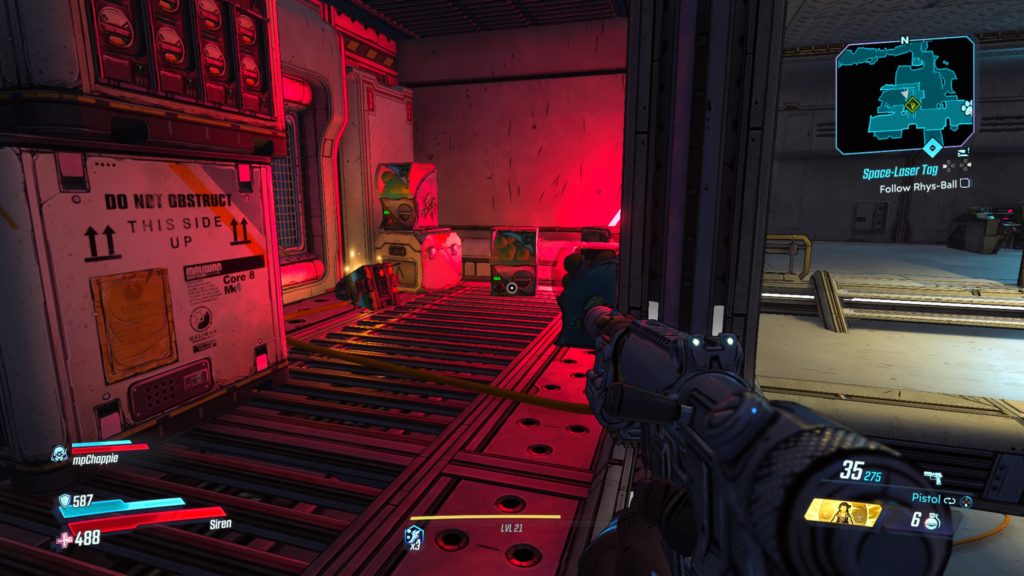
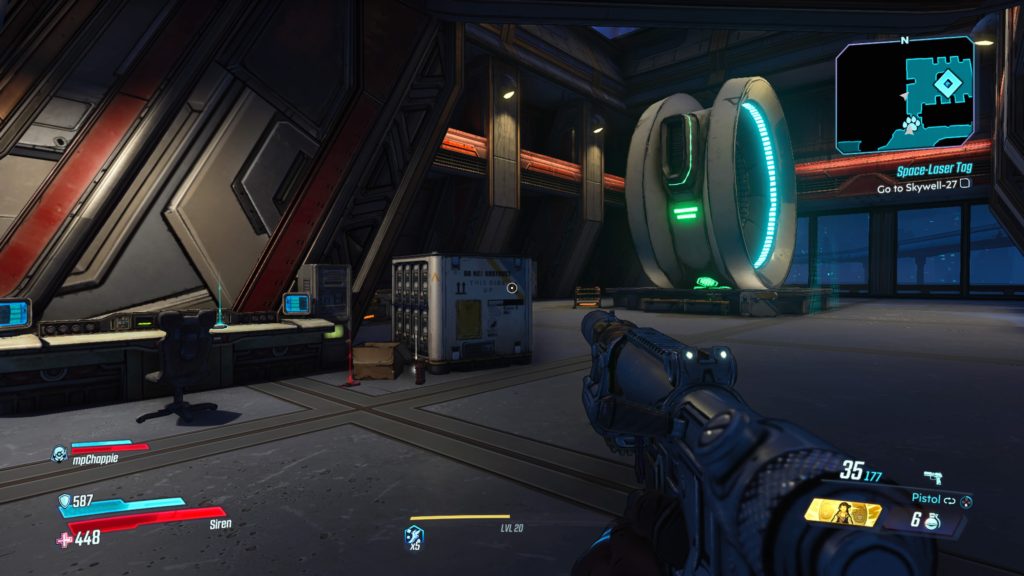
This log is located in the most northeastern building on the map where you borrow the Maliwan shuttle during the Space-Laser Tag main mission (at the Skywell-27 map transition) on a desk near the entrance. See the map below for the exact location.
Laser Technician
This log is located past the giant circular door in Sector 1 that leads to the elevator in the Maliwan facility. See map below for the exact location. To reach it, jump on top of the light located on the right side of the room next to a dump truck under a bridge. Jump on top of the bridge and head left to find the log laying on a table in a small room.
Atlas HQ
Bloodbath on the Zanara
This log is located near the entrance to the Courtyard of Innovation coming from the Atlas Campus. You will walk up a flight of stairs to arrive in the courtyard with giant turrets. Take a left (heading south) at the top of the stairs and follow the wall to the end. The log will be located on a metal crate.
Friends in Invisible Places
This log is located in Atlas Tower. Enter Atlas and head forward, past the spinning gold ball, then under the red ATLAS sign in the middle of the walkway. Enter the first room on the right to find this log on a desk in the back of the room.
Terry’s Science Dairy (Part 1)
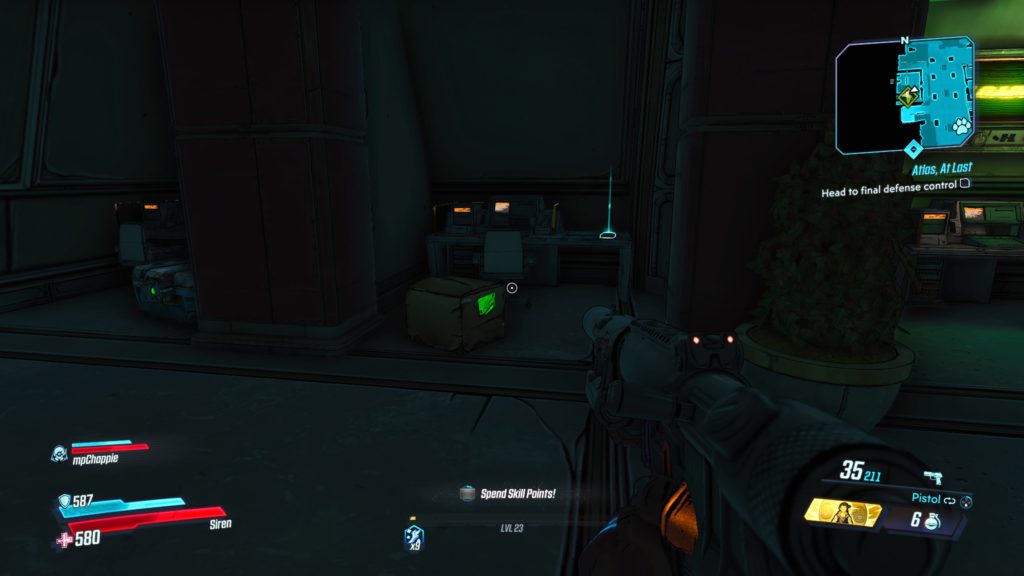
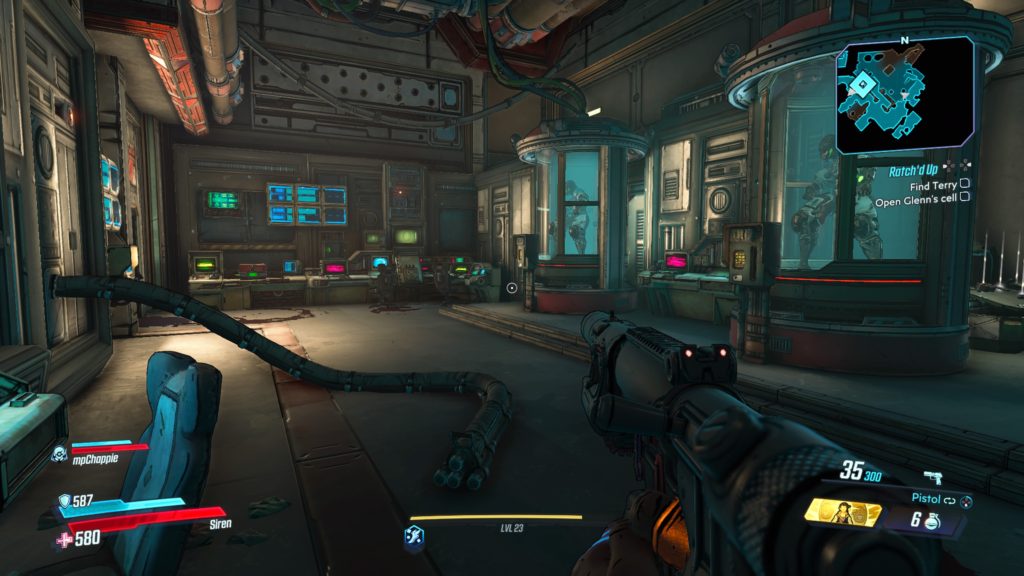
This log is located in the Skunkworks Lab. You can find it during the Ratch’d Up side mission on a cushioned bench. See map below for the exact location.
Terry’s Science Dairy (Part 2)
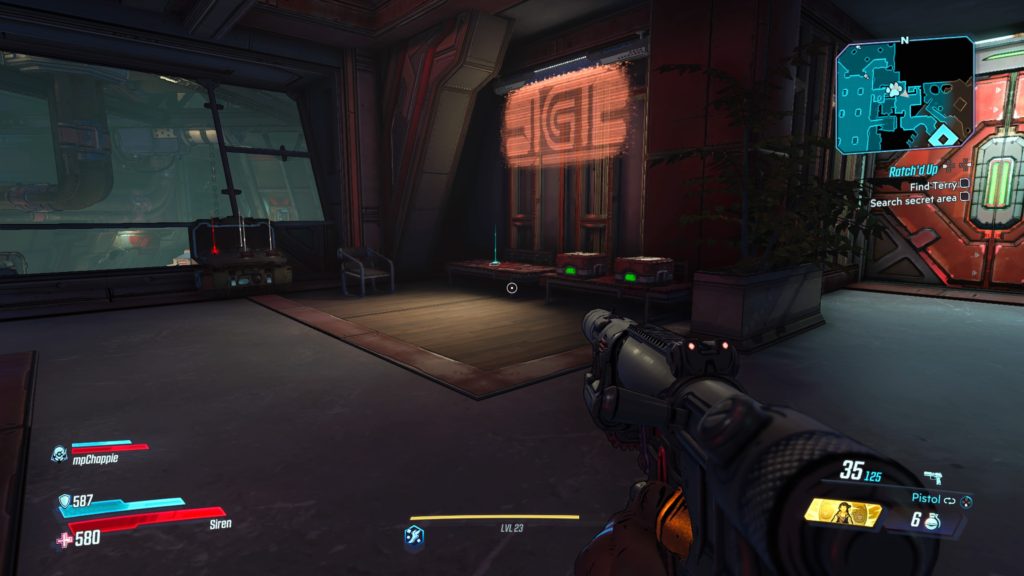
This log is located in the Skunkworks Lab. You can find it during the Ratch’d Up side mission laying on a console in a room with the two cylinder tanks. See map below for the exact location.
Neon Arterial
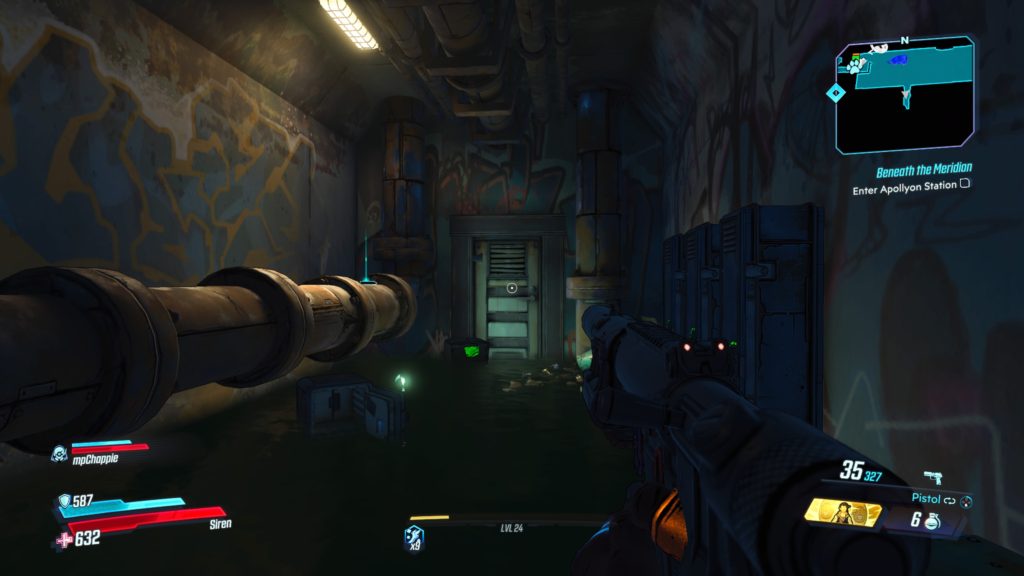
Below (Part 1)
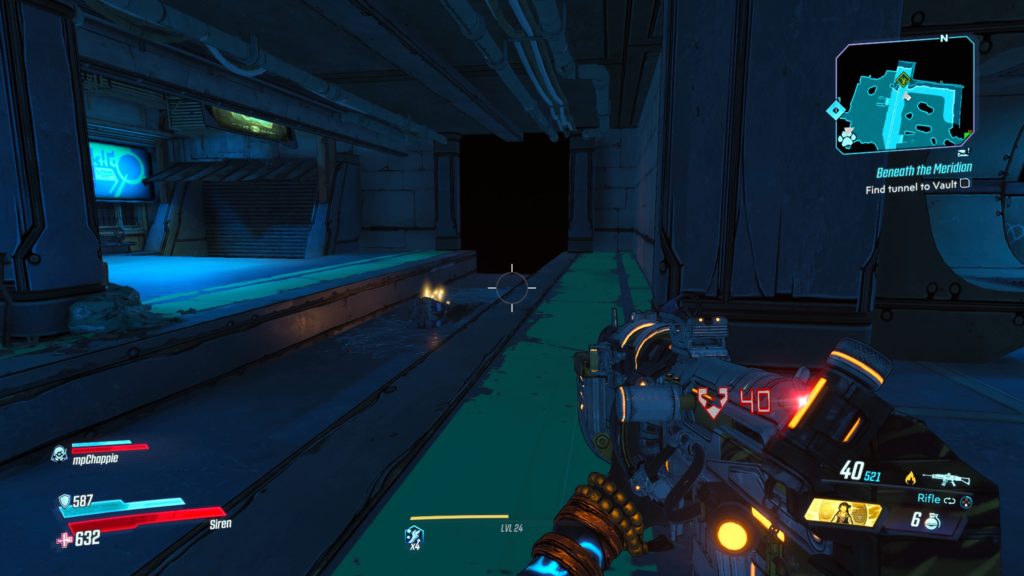
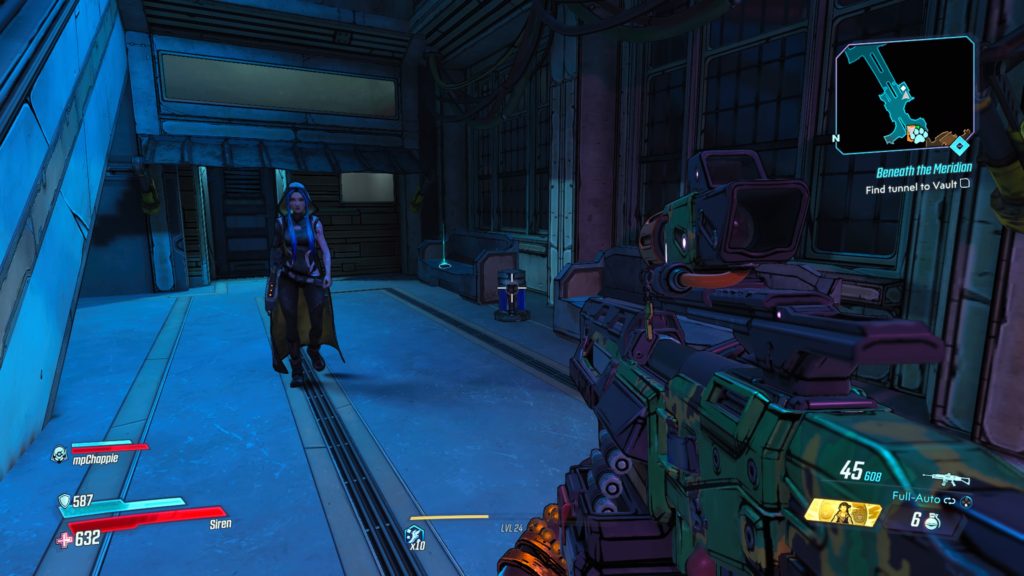
This log is located on a pipe in a tunnel with a dead end just before Apollyon Station. You will come here during the Beneath the Meridian main mission. See the map below for the exact location.
Below (Part 2)
This log is in Apollyon Station on a couch next to some stairs just before the vending machines and Green Diamond Platform. See the map below for the exact location.
Below (Part 3)
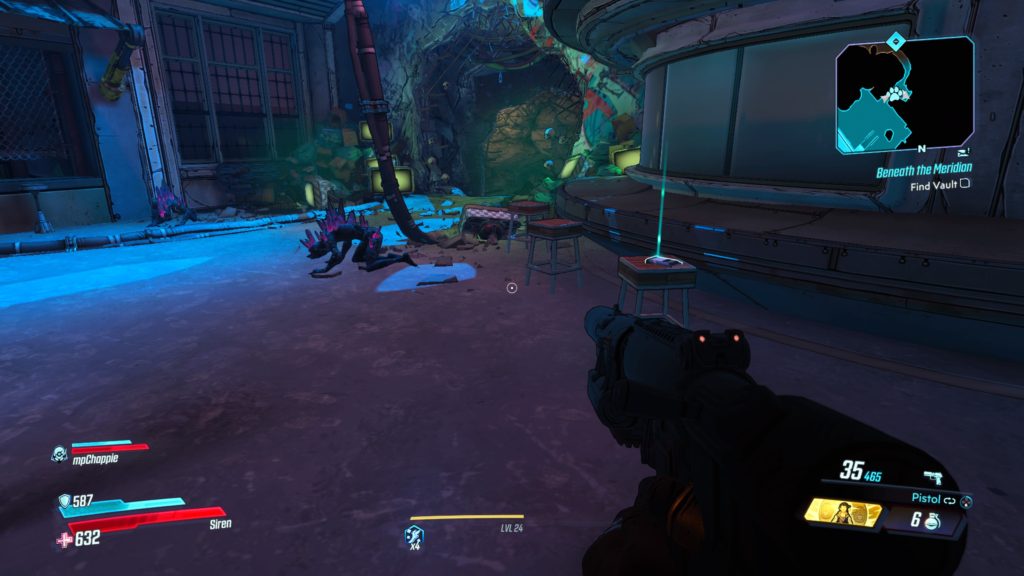
This is log is located on a barstool just before the tunnel leading to the vault in the Green Diamond Platform. See the map below for the exact location.
Obtained: Talk to the guy trapped in the porter potty in the northern area of the map, west from the Lectra City fast travel station
Objective(s):
Speak to Trashmouth’s Crew
Kill Traitors
Get Spray Paint
Spray Graffiti
Destroy Dirty Cop Bot
Collect AI Chip
Install AI Chip
Destroy Dirty Cop Bots
Break Septic Tank
Destroy Recycler Bot
Collect AI Chip
Install AI Chip
Find Trashmouth
Destroy Trashmouth’s Technical
Collect Illegal Weapon
Speak to Trashmouth’s Crew
Follow the objective southwest a short way passed a police station and down a flight of stairs to arrive in an underground tunnel.
Kill Traitors
Defeat the enemies to update the objective.
Get Spray Paint
Pick up the spray paint on a metal crate in front of a shipping container next to a burn barrel.
Spray Graffiti
Head back to the porter potty and jump onto the second level of the nearby building to spray graffiti all over it.
Destroy Dirty Cop Bot
Head over to the Police Station and defeat the Sheriff Bot.
Collect AI Chip
Grab the AI chip from the bot.
Install AI Chip
With the chip in hand, head back to the porter potty and install the chip into the circuit behind it.
Destroy Dirty Cop Bots
Take out the attacking dirty cop bots.
Break Septic Tank
Will all of the bots defeat, head back to the porter potty and melee the septic tank.
Destroy Recycler Bot
Eliminate the Recycler Bot.
Collect AI Chip
Collect the AI chip dropped by the Recycler Bot.
Install AI Chip
With the chip in hand, head back to the porter potty and install the chip into the circuit behind it.
Find Trashmouth
Head to the Meridian Outskirts fast travel station and exit Fort Pissoff into the Spillways to locate Trashmouth.
Destroy Trashmouth’s Technical
Destroy Trashmouth’s vehicle to cause him to drop the weapon.
Collect Illegal Weapon
Pick up the weapon to complete the mission.
Search
This site uses cookies. By continuing to use this website, you are giving consent to cookies being used. For more information on cookies, view our Privacy Policy.OkPrivacy Policy