While exploring Waford in One Piece Odyssey, you’re going to need a steady flow of Berriesi to fund your expedition. That’s where Bounty Hunts come in. You can accept bounties from Bounty Boards in taverns. Bounty Hunts are unlocked in Chapter 2 after completing the Mediator Marzin’s Quest side story at Spice Bean Plaza in Nanohana.
Alabasta
Antlion Moyas
Target Location: Desert Near Alubarna
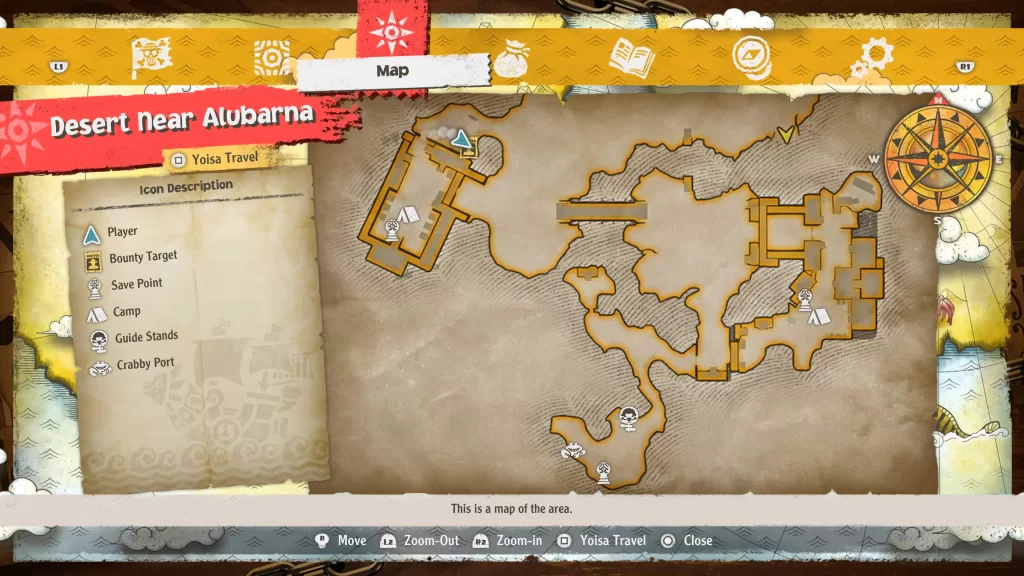
This bounty unlocks during Chapter 5. The target can be found on the northern side of The Rebel Army Camp. Speak with the man wearing a housecoat to begin the fight against enemies using the following types of attacks: 1 power and 3 technique. Defeat them all to claim the bounty.
Reward: 130,000 Berries
Beast Tamer Mooji
Target Location: Ravine of No Return
After accepting the bounty in the Spice Bean tavern, make your way to the save point at the end of the Ravine of No Return. From there, follow the southeastern path until you reach the mine and are in the room with a statue in the center of it. Next, just keep heading east through two rooms to reach the area with Mooji. Clear out the pirates guarding him then speak to the pirate to start the fight. You’ll have to deal with Mooji and his two Rock Pandas. All three of the use power-based attacks, so Robin and Zoro will do extra damage here.
Reward: 38,000 Berries
Evil Bulbro
Target Location: Eastern Highway

After accepting the bounty, head to the eastern highway which is directly east of Spice Bean to find the targets in an alleyway. Speak with them to kick off the fight. Both of the brothers use technique-based attacks so Nami and Usopp will deal additional damage to them. Once you defeat them, the mediator will show up and the bounty hunt will be completed.
Reward: 30,000 Berries
Garuda Pirate Gardar
Target Location: Bone Bridge Canyon

After accepting the bounty, travel to the Great Sandy Desert then head for Bone Bridge Canyon which can be found in the western part of the region. Please note, that you’ll first need to retrieve your stolen food and water as part of the main episode here before you can reach the bounty. When you reach the area, look for the unattended cart. Interact with it to start the fight. You’ll face Gardar and his crew. 5 of them use technique-based attacks and the last one uses power-based attacks. Usopp and Nami will deal extra damage in this fight against the technique users. After bringing down all 6 of the Garuda Pirates, you’ll complete the bounty.
Reward: 30,000 Berries
Godspeed Fasti
Target Location: Alubarna Ravine
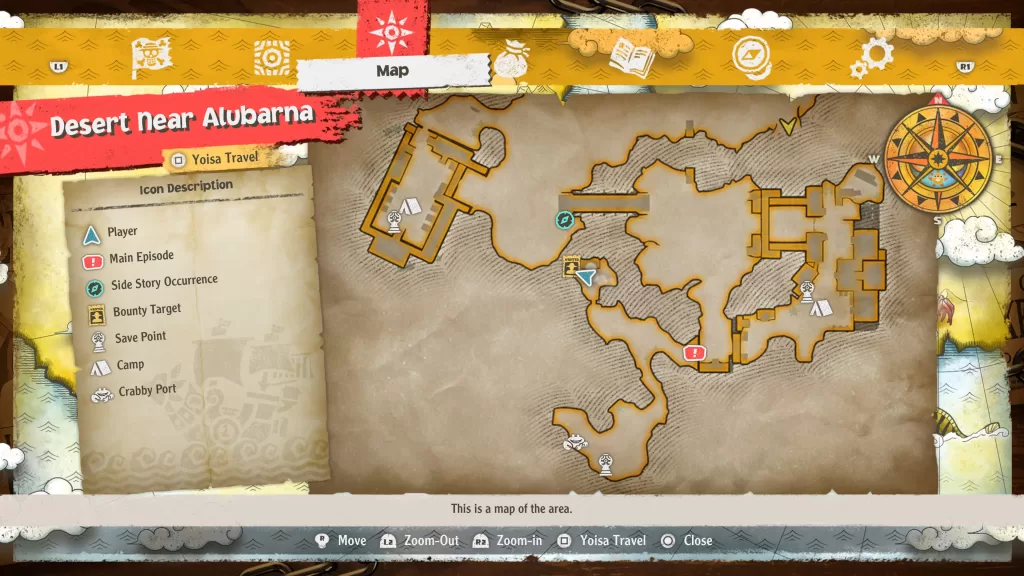
After accepting the bounty, progress in the game until you cross the sand river on the giant crab. This will bring you to the Desert Near Alubarna. Follow the path heading past the southern save point. When you reach the split, head left then use Chopper to head through the small gap in the boarded door. Look for the left to find Fasti. Speak with him to start the fight. You’ll have to face 2 technique-based, 1 power-based and 1 speed-based enemy. Defeat them to complete the bounty.
Reward: 33,000 Berries
Harbinger Vigo
Target Location: Great Sandy Desert
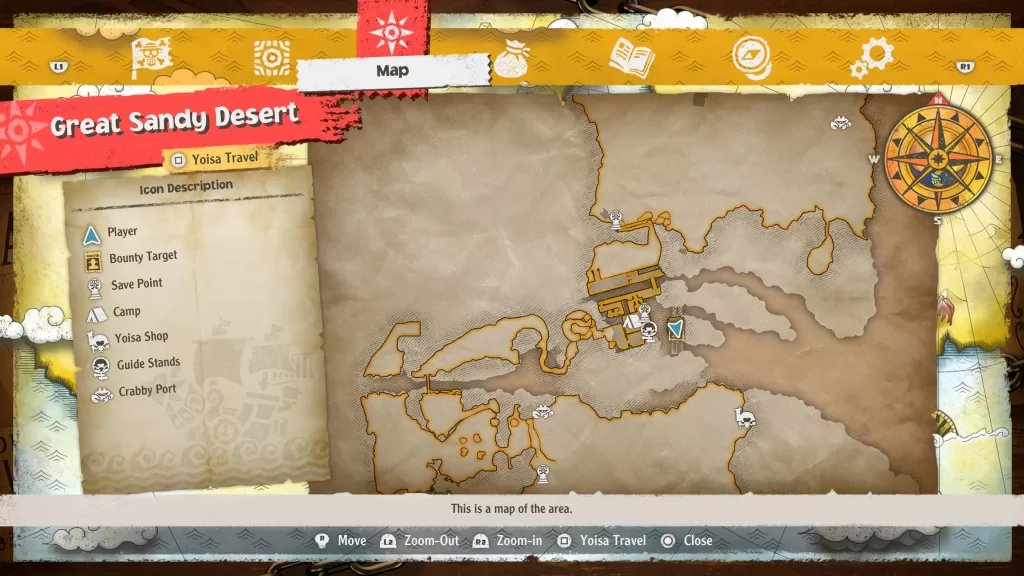
This bounty unlocks during Chapter 5. This target can be found in the Sandy Ruins of the Great Sandy Desert. From the Sandy Ruins Yoisa Travel Sign, head west backtracking towards the tunnel. Do not enter the tunnel! There will be a rock that you can break just before the entrance of the tunnel revealing a path. Use Chopper to head inside where the target awaits. Interact with the man wearing an orange shirt to trigger the fight. You’ll be up against 1 technique, 1 power and 2 speed attackers. Defeat them all to complete the bounty.
Reward: 150,000 Berries
Illusionist Ginger
Target Location: Great Sandy Desert
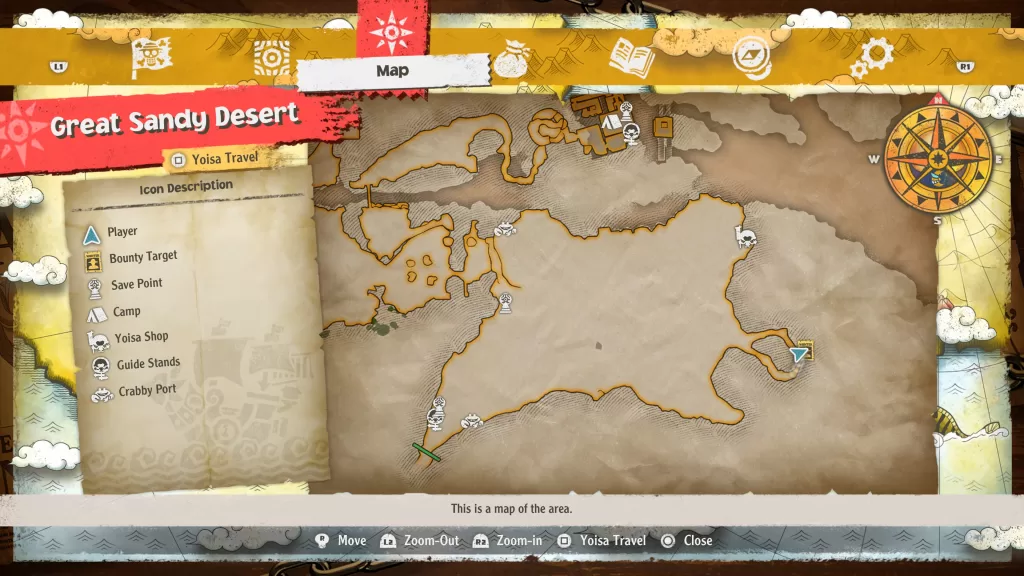
This bounty unlocks during Chapter 5. Travel to the Donut Canyon in the Great Sandy Desert to find a lady in a pink dress. Speak with her to begin the fight. You’ll be up against enemies that use the following attacks: 1 power, 1 technique and 1 speed. Defeat them all to complete the bounty.
Reward: 200,000 Berries
“Land Karage” Rikaon
Target Location: Plaza in Front of Royal Mausoleum
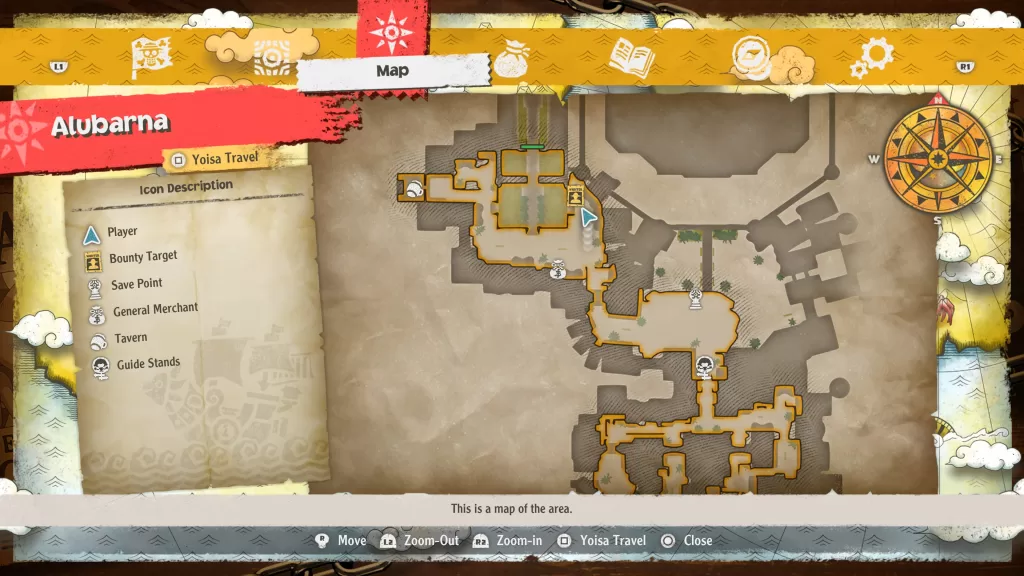
This bounty becomes available at bounty boards after returning to Alabasta in chapter 3. Rikaon can be found in the city of Alubarna near the entrance to the mausoleum. Speak with him to start the fight against him and his 3 Kung Fu Dugongs. Defeat them to claim the bounty.
Reward: 40,000 Berries
Mad the Bounty Hunter
Target Location: Alubarna

This bounty unlocks during Chapter 5. This target can be found on the eastern side of town in the Market District Front Gate Path. Speak with the man wearing a blue plaid shirt that is opened with a brown shirt underneath it to begin the fight. You’ll be fighting enemies with the following attack types: 1 speed and 3 techniques. Defeat them all to claim the bounty!
Reward: 300,000 Berries
“Sniper Genius” Sniper Killer
Target Location: Desert Cave Upper Level

After accepting the bounty, travel to the Desert Cave. Near the entrance, there will be two people taking off to the right. Just past them are some vines you can use to drop down to a lower level. It is here that you will find the Sniper Killer. Interact with him to start a fight with his crew. Two of them will use technique-based attacks and the Sniper Killer uses speed-based attacks. Defeat them to complete the bounty.
Reward: 30,000 Berries
Dressrosa
Anarchy Pirate Zenran
Target Location: Dressrosa City Area
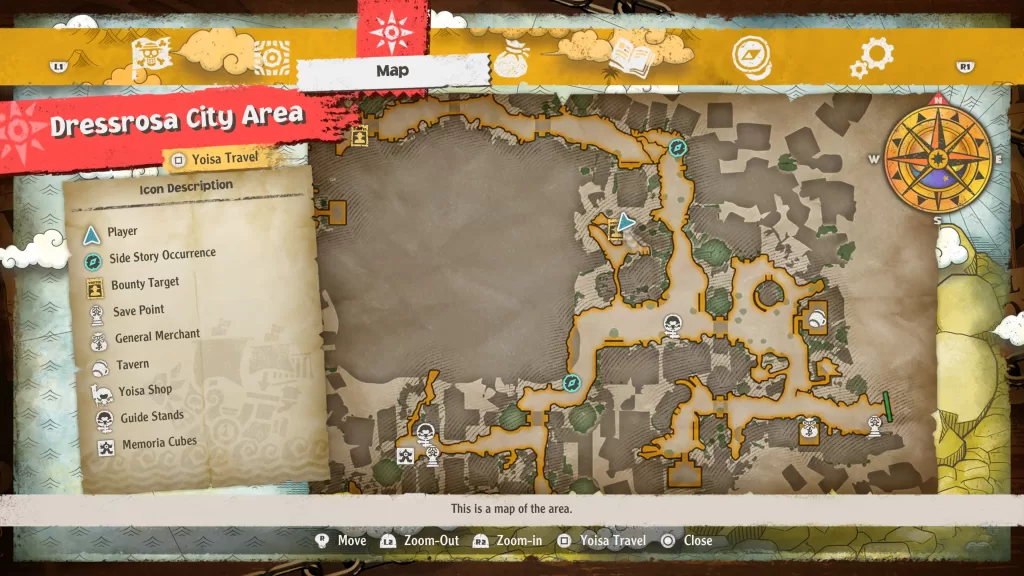
This target can be found in the Dressrosa City Old Residential District. Speak with him to begin the fight against enemies using the following types of attacks: 2 Power and 2 Technique. Defeat them all to claim the bounty.
Reward: 600,000 Berries
Deathless Biezom
Target Location: Dressrosa City Area
This target can be found east of the Coliseum Path Yoisa Sign. Speak with him to kick off a fight against 1 technique, 1 power and 1 speed. Defeat them all to claim the bounty.
Reward: 300,00 Berries
Devil Marin the Witch
Target Location: Dressrosa City Area
Travel to the Old Royal Plateau Area, which is north of the Coliseum Path Yoisa Sign. This will begin the fight with 3 speed and 2 technique-based attackers. Defeat them to claim the bounty!
Reward: 480,000 Berries
Dicing Vence
Target Location: Dressrosa City Area
This target can be found next to the savepoint near the Coliseum. Speak with the man to kick off a fight against attackers using 1 power, 2 techniques and 1 speed.
Reward: 400,000 Berries
Fickle Milena
Target Location: Dressrosa City Area
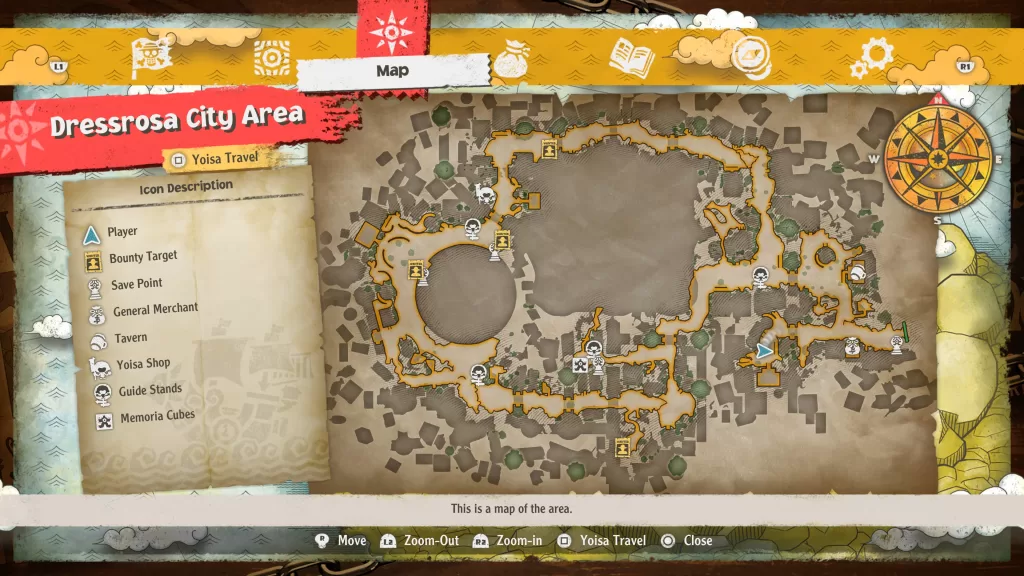
You can find Fickle Milena on the southeastern side of Dressrosa City Area in the Foot of New Royal Plateau area. Speak with her to begin the fight against enemies using the following types of attacks: 2 Techniques and 1 Speed. Defeat them all to claim the bounty.
Reward: 780,000 Berries
Ultimate Evil Bulbro
Target Location: Dressrosa City Area
This duo can be found surrounded by rubble east of the Square, At Fountain Yoisa sign. Speak with them to kick off a fight. They both use technique-based attacks. Defeat them to collect the bounty.
Reward: 200,000 Berries
Weapon Maniac Ganot
Target Location: New Royal Plateau: Bottom
This target can be found down the path west of the N.R.P. 1F Camp standing on some rubble. Speak with the guy holding a sword to kick off a fight against 4 speed and 1 power. Defeat them all to collect the bounty.
Reward: 420,000 Berries
Water Seven
Bandit Nine Gillian
Target Location: Water Seven Lower Coast

This bounty becomes available during Chapter 5. This target can be found on a rock path overlooking the eastern beach. Speak with the man wearing the maroon t-shirt to begin the fight against enemies using the following types of attacks: 1 power, 1 speed and 1 technique. Defeat them all to claim the bounty.
Reward: 300,000 Berries
Dance-Dance Creez
Target Location: Water Seven City Area
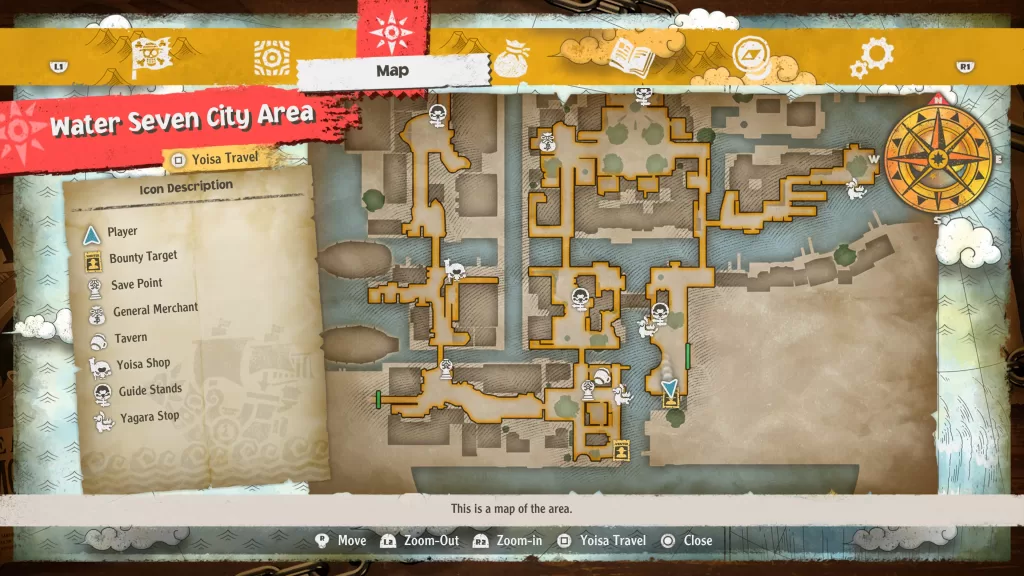
This bounty becomes available after beating the story for the Water Seven City Area. Travel to the Gallery-La Company Dock One, which is in the southeastern corner, and speak with the lady wearing a yellow shirt to begin a fight against Creez and her minions. Two use technique-based attacks and one uses speed-based attacks. Defeat them to collect the bounty!
Reward: 120,000 Berries
Furious Medicine Dwanger
Target Location: Water Seven City Area
This bounty becomes available after beating the story for the Water Seven City Area and some of the bounties. This target can be found in Main Street, which is on the west side of the area. Speak with the man wearing a purple shirt and vest to begin the fight. There will be 3 speed attackers and 1 power attacker. Defeat them all to claim the bounty!
Reward: 500,000 Berries
Mistaken Bentag
Target Location: Sewer
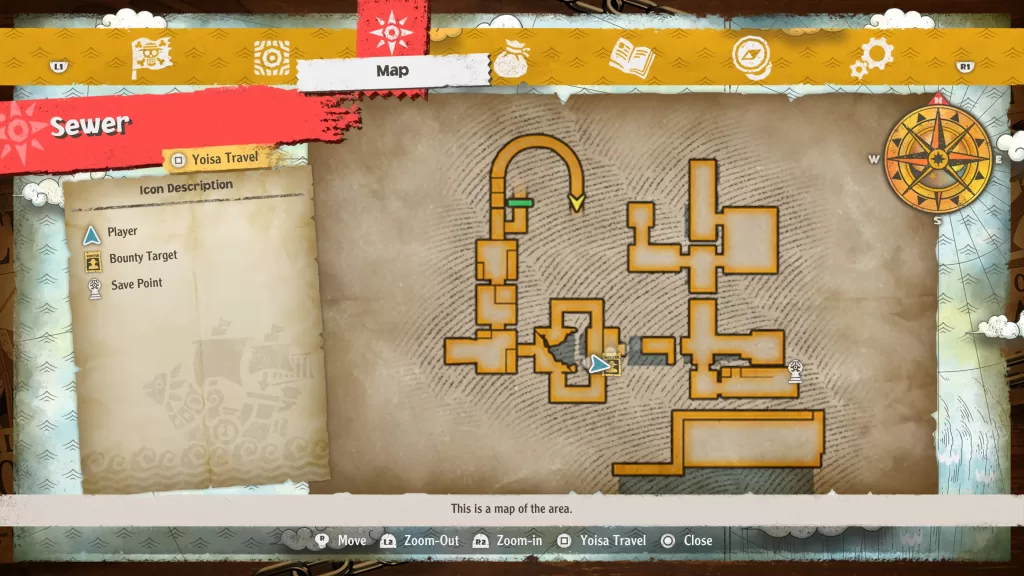
This bounty becomes available after beating the story for the Water Seven City Area. Travel to the Sewer entrance and head deeper in towards Frankie’s hideout. As you make your way, the bounty will appear on the map in the center of Old Sewer. Once you reach the target, speak with the man wearing a green shirt to trigger the fight. The attackers use speed, power and technique attacks. Defeat them to obtain the bounty!
Reward: 90,000 Berries
Mysterious Baritone Lazarus
Target Location: Dock One

This bounty becomes available after beating the story for the Water Seven City Area and some of the bounties. Travel to the Material Depot in the southern part of Dock One near the crane. Once there, speak with the man wearing the blue shirt to start the fight with Mysterious Baritone Lazarus and his minions. 2 use technique attacks and 1 uses speed. Defeat them to claim the bounty!
Rewards: 375,000 Berries
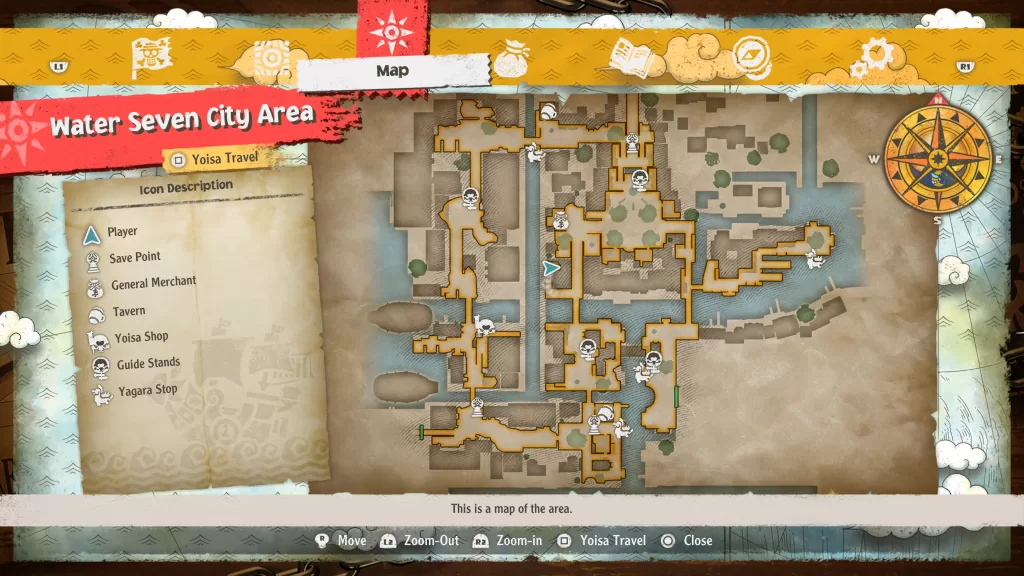
Pepper Pot Terrance
Target Location: Water Seven City Area

This bounty becomes available after beating the story for the Water Seven City Area. Travel to the Elevator-Top Floor, which is southeast of the save point. Once there, speak with the man all in red to trigger a fight against Pepper Pot Terrance and his minions. All are technique-based! Defeat them to claim the bounty!
Reward: 105,000 Berries
Sweet Poison Portnoy
Target Location: Water Seven City Area
This bounty becomes available during Chapter 9. Travel to the Mayoral Residence Plaza Yoisa sign then make your way to the guy standing outside the Red Bird Apparel. Speak with the man wearing purple to kick off the fight. There are 2 speed and 1 technique-based attackers. Defeat them all to claim the bounty!
Reward: 700,000 Berries
Super Evil Bulbro
Target Location: Dock One
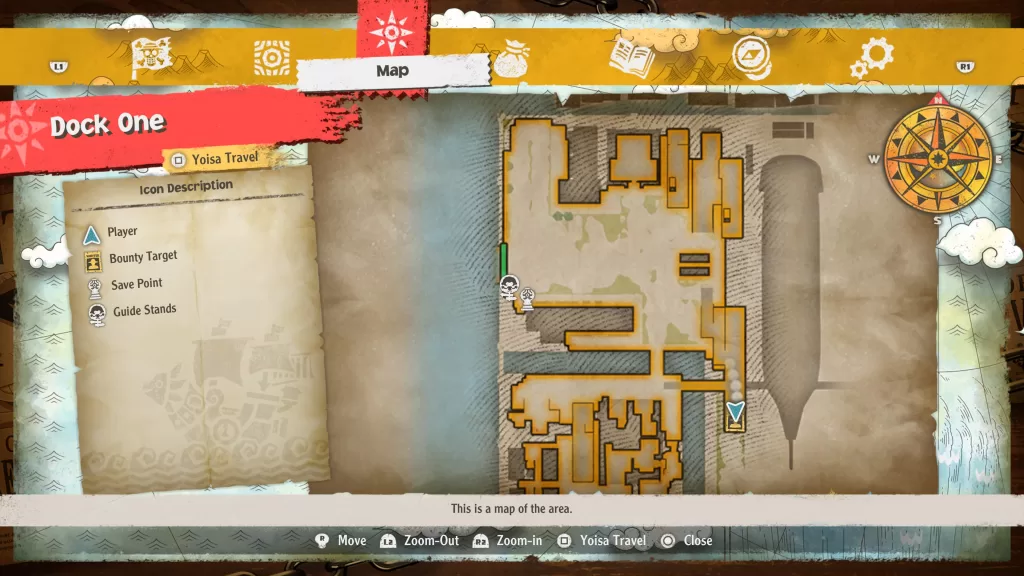
This bounty becomes available after beating the story for the Water Seven City Area. Travel to the Shipbuilding Scaffolding in the eastern part of Dock One. Once there, head up to the top of the scaffolding then speak with the two men wearing striped shirts. This will trigger a fight against them. Both are technique attackers. Take them down to claim the bounty!
Reward: 50,000 Berries
Talkative Idor
Target Location: Water Seven City Area

This bounty becomes available after beating the story for the Water Seven City Area. Travel to the Employee Public Bath in the northwestern corner of Water Seven City Area and speak with the man wearing a striped shirt. This will lead to a fight against Idor and his minions. One uses technique-based attacks and the other two use power-based attacks. Defeat them to complete the bounty!
Reward: 90,000 Berries
Whistling Paylin
Target Location: Sewer

This bounty becomes available after beating the story for the Water Seven City Area. Travel to the Sewer and head to the western side to find the bounty. Speak with him to start the fight against three enemies. One uses technique-based attacks while the other two use speed-based attacks. Defeat them to complete the bounty!
Reward: 165,000 Berries