Welcome to NGB and our Baldur’s Gate III walkthrough for the Find the Nightsong quest! This guide will cover everything you need to know so you can easily complete the quest.
If you need help with a specific objective, please refer to our Quick Links section for quick access to the information you need!
BG3 Quick Links
How to Begin the Find the Nightsong Quest
Speak with Aradin in the Druids’ Grove to pick up this quest. He’ll tell you about a job his mercenary group took and even give you the contract. You can also loot the contract off his corpse if he died during the initial battle against the goblins at the grove. Aradin will mention that another of his group, Brian the dwarf, has a map leading to the relic they were supposed to retrieve, but he was killed by goblins. Luckily, we don’t need it!
Find the Nightsong Walkthrough
Investigate the temple ruins
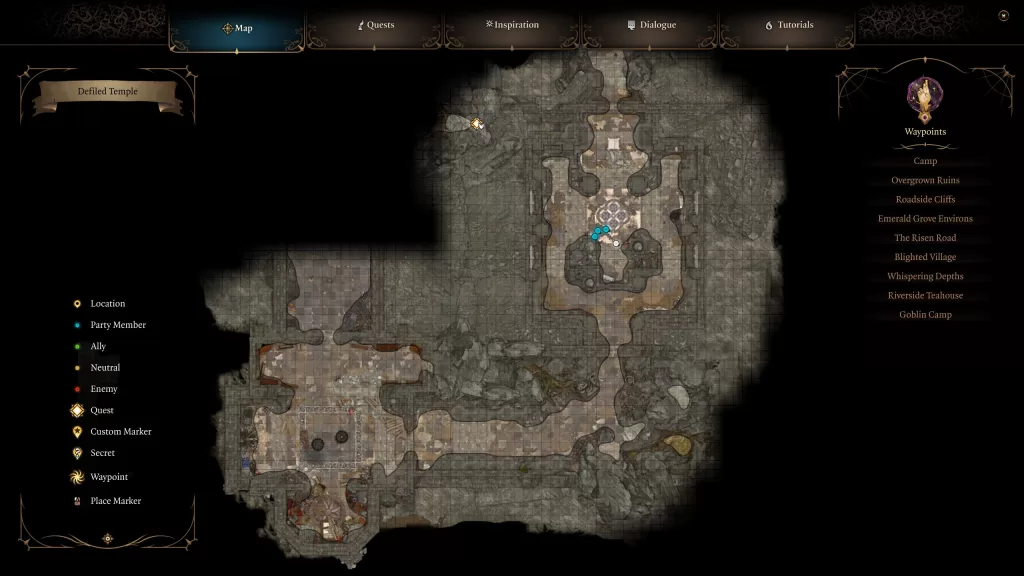
Make your way to the Goblin Camp and enter the old temple. Once inside, head for the priestess room west of the statue in the southern part of the area. In her room on the right side, there will be a locked door. Pick the lock and head inside to reach the defiled temple.
This area is guarded by the ogre Polma, who is the bodyguard of the High Priestess. If you want to skip her, you can climb a ladder near the door and jump into a hallway when she isn’t looking. If she sees you, you can try and persuade her that you should be there; otherwise, you’ll need to take her out.

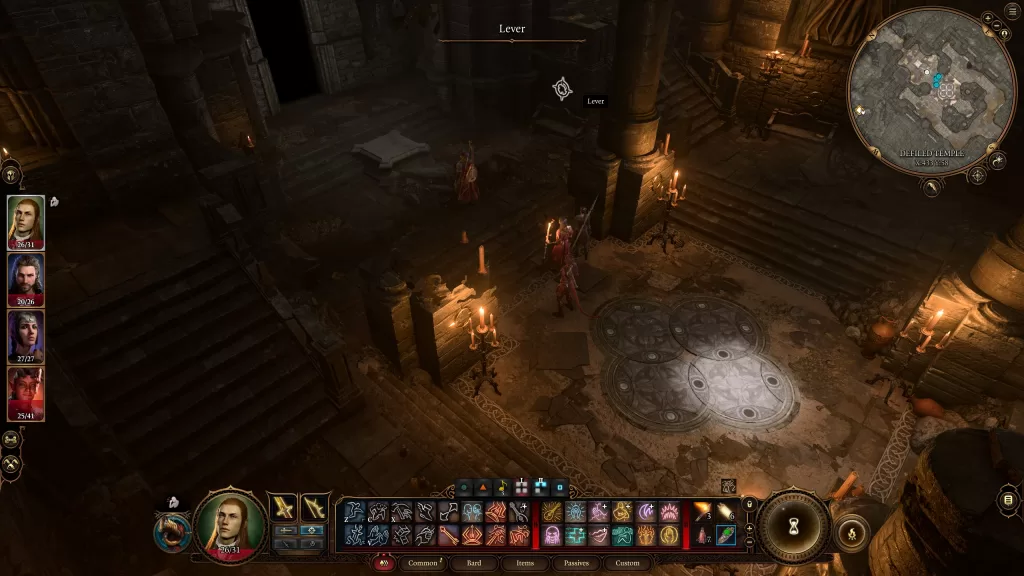
Continue down the hallway until you reach the Stone Disc puzzle in the middle of a dead-end room. Move the discs so they match the picture below to reveal a hidden path.

Alternatively, there is a lever you can try to lockpick that will also open the way forward. Proceed through the new path and follow it to reach the Selunite Outpost in the Underdark. Please note that doing so will move you onto Act II, so make sure you finish up any other activities before traveling to the Underdark.
You’ll need to wait until Act II to progress this quest!
Explore the Underdark
During the main story quest objective, Infiltrate the Cult of the Absolute, Disciple Z’rell will ask you to back up Balthazar in the Mausoleum.
If you use the key to enter Balthazar’s room, you can head over to the bookshelf and look for the Protruding Book on the bottom right. Interact with it to unlock the altar to the right of the bookshelf.
Next, loot the corpse in the room or Viscera’s pile of flesh for a heart, then interact with the altar and combine the heart with it. This will open a secret door behind the bookshelf. Head inside and read the Research Notes. This will tell you that Balthazar was sent to the Mausoleum to find the Nightsong.
To push forward in this quest, you must complete the Chosen of Shar objective for Shadowheart’s Daughter of Darkness companion quest. For this content, please check out our Daughter of Darkness Walkthrough!
You’ll need to wait until Act III to progress this quest!
Find and meet Lorroakan
When you reach Lower City in Baldur’s Gate, travel to Sorcerous Sundries in the city’s central-eastern part. Once there, head inside and then up the stairs in the back to find Lorroakan’s Projection between a green and orange portal. Speak with it, then enter the white/black portal next to the plague stating, “The Nightsong is an immortal being, the child of a deity.” to be transported to Ramazith’s Tower.
When you reach the tower, a cutscene will trigger a dialog with him. He’ll then mention that Nightsong isn’t with you and ask where why you didn’t bring it. You can then respond by stating that you know her and have been to Shar’s. He’ll then show you an item he has to force her into his service and a binding to keep her bound forever, leaving you with a choice to make.
Decided what to do about nightsong and Lorroakan
Choose any options you like for this dialog event with Lorroaka, but anything mentioning turning in the Nightsong will be met with disapproval from quite a bit of the party. Follow the conversation, travel back to Socerrous Sundries, and then your camp from there. Head over and speak with Dame Aylin, telling her about the Lorroakan. She will then leave to meet you at his tower. Return to the shop and use the same portal as before to trigger another cutscene where Lorroakan will tell Nightsong that he has discovered a spell, allowing her to share her gift of immortality and ask for help. This request will be met with her ire as she has just been freed from that same magic. You’ll then have to make a choice on whether to fight alongside Nightsong or team up with Lorroakan to take her down.
Defeat Nightsong
If you sided with Lorroakan, then Dame Aylin would be pissed and summon three Moonlight Slivers to aid her in battle, who will also cast a barrier on her. You will have Lorroakan, his elemental Myrmidons, and Rolan to help you. The slivers will also cast Silvered Bulwark on Nightsong, making her and those around her invulnerable to taking damage. You’ll want to break their concentration to bring it down, which can be tough because of their high defense. Once she is defeated, Lorroakan will do his thing, making Dame Aylin a prisoner once more. You’ll be rewarded with a bag of gold for your troubles, and Lorroakan pledges his support for the battle. You will lose Dame Aylin as an ally and that of Isobel if she is still around.
Defeat Lorroakan
Reading the section means you decided to side with Dame Aylin (as you should!) to take down Lorroakan. He’ll be joined in battle by his halfling helper, Krank, and four elemental myrmidons. However, you’ll get to fight side by side with Dame Aylin and Rolan will help you too (if he is still around). When the battle starts, your four party members will be grouped up near the portal so you’ll want to spread them out a little bit. Lorroakan and his elementals like to use AOE attacks that can hit the whole party, so spreading them out will lower his damage output. You’ll also want to focus on taking care of his followers before focusing on the wizard. Attacking him while the elementals are alive will results in a elemental counterattack that will deal some solid damage. We dealt with the halfling and Krank first then focused on the elementals and finally Lorroakan. Make sure to watch Roland’s health throughout the fight. For us, he kept attacking Lorroakan resulting in him taking massive damage from the counter attacks.
Once the fight is over, a cutscene will trigger where the Dame shows us what happens when you mess with her. This will finally complete the Find the Nightsong quest. Both Dame Aylin and Isobel will recommit themselves to your cause as will Roland along with his new tower.
Loot the Tower
Before leaving, make sure to explore the tower. You can jump down in to the level below to find several Weave Buttons. Cast the See Invisibilty spell on yourself to reveal some plaques on the ground. You’ll want to press the Weave Button behind the plaque that reads as “Below”. This will take you to the next level down where two items are protected by a magic barrier. With the spell still active, you should now see a lever in front of each one. You’ll need to interact with each barrier and pass an Arcana 20 check to disable the barrier. This will allow you to collect a legendary staff and a very rare clothing fit for a wizard.
Additional Baldur’s Gate III Guides and Walkthroughs
For more content on Baldur’s Gate III, be sure to check out our Baldur’s Gate III Guides and Walkthroughs page.

