Welcome to NGB and our walkthrough for the Vanquishing the Vexing Vapors side quest in The Outer Worlds 2. During this mission, you’ll set out to locate and fix a dangerous gas leak that’s threatening the safety of a local facility. Our guide will show you how to start the quest, find the source of the leak, and seal it before it causes any more trouble.
Quick Links
Vanquishing the Vexing Vapors Side Quest Guide
How to Start the Vanquishing the Vexing Vapors Side Quest
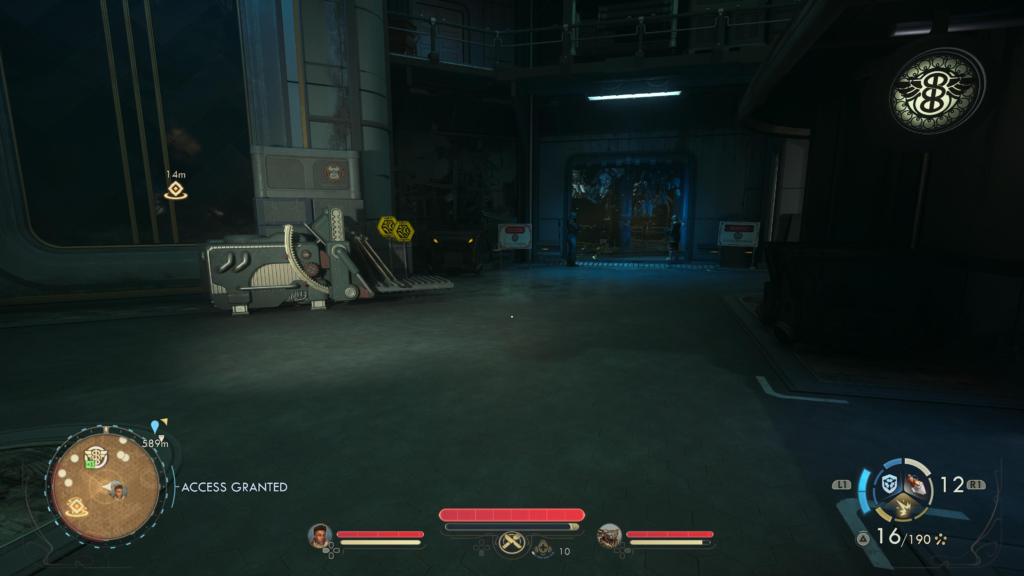
To begin the Vanquishing the Vexing Vapors side quest, you’ll need to travel to the Euphoria Coast Automech Repair Center in the eastern part of Eden’s Paradise Island.
Once there, you’ll need to gain access to the facility and complete the An Aegis Against the Miasma side quest. After doing that, speak with Marshal Donelson, who will then task you with purging the zyranium gas, starting this quest.
Vanquishing the Vexing Vapors Walkthrough
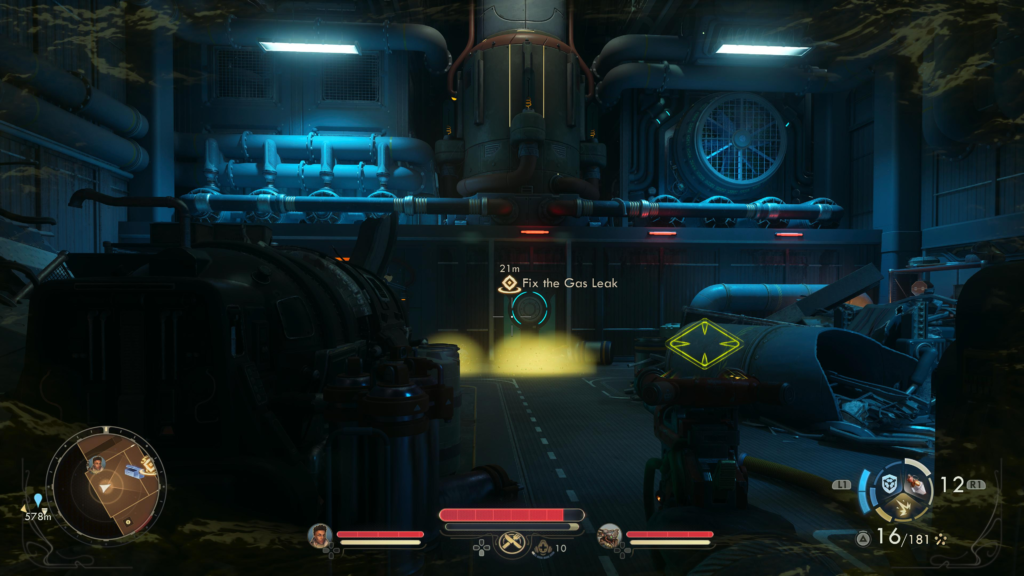
Fix the Gas Leak
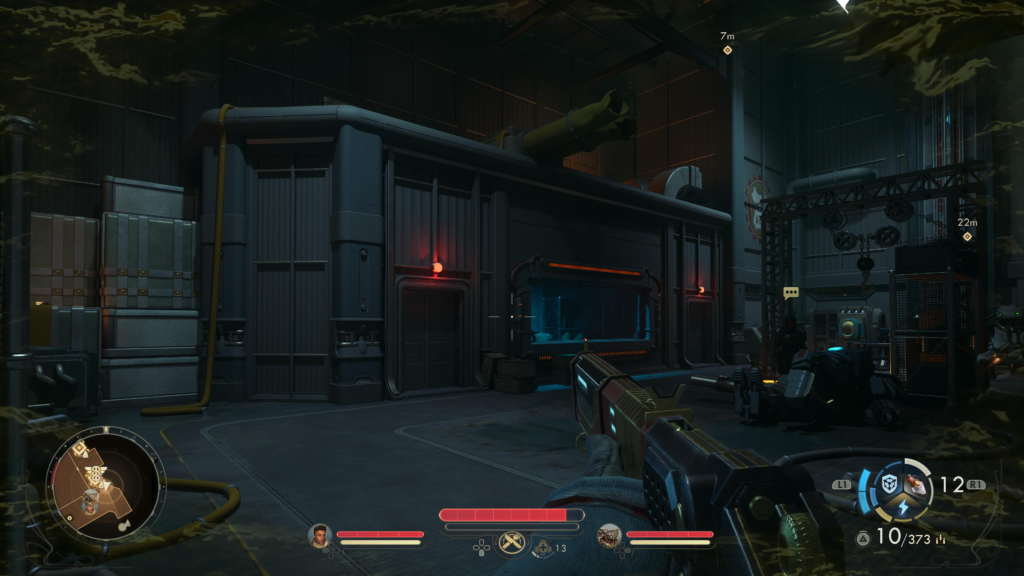
Activate your brand-new shield and enter the repair hangar past the clinic. Make sure to quickly head through the zyranium, as it will deplete the shield.
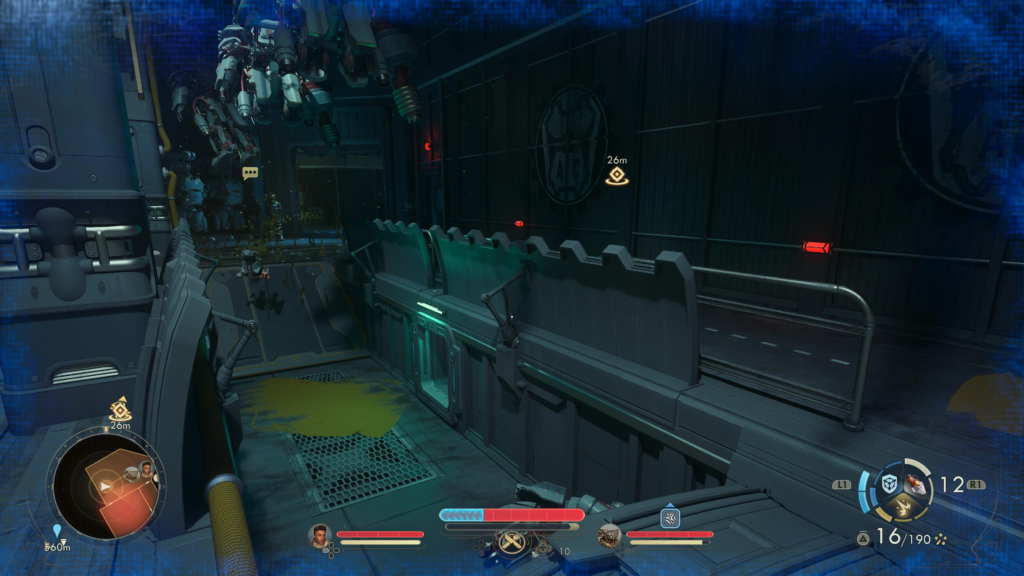
You’ll then want to head down the ramp and use the vent shaft there to reach the room with the hangar controls. There will be a couple of drones in the room that you’ll need to deal with first.
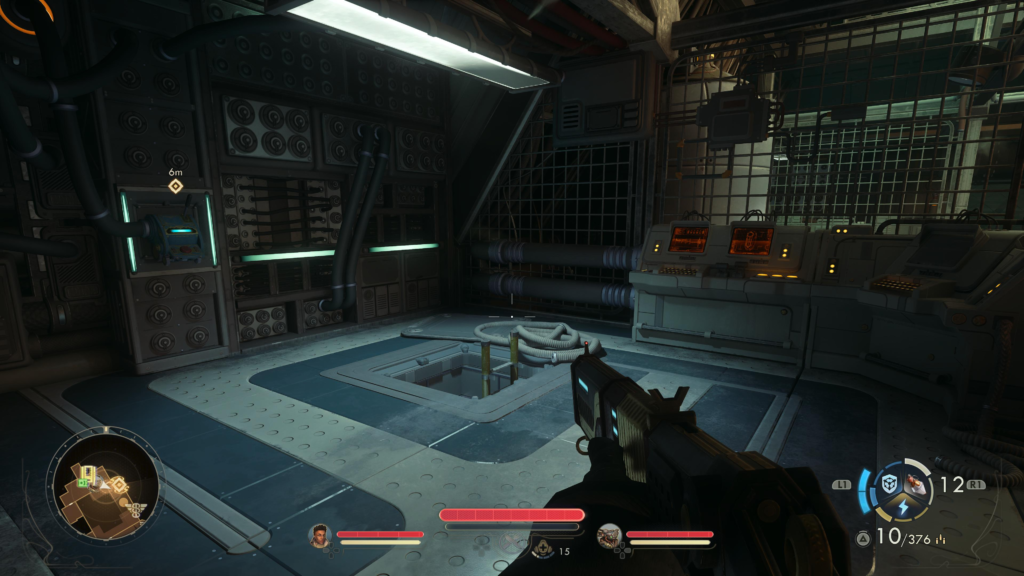
Once they are taken care of, make sure to grab the High Security Lockbox from the shelving unit next to where you emerged from the vent.
When you are ready, head through the doorway and interact with the terminal. Select the Seal Room & Vent gas option. Next, select Initiate Zyranium Flow Shutdown then Query Conduit Locations. Before you can perform the shutdown of the zyranium flow, you’ll need to physically close both of the intake conduits first.
If you are here at the request of Acquisitions Officer Kaur to disable the facility, you’ll want to choose the Override Safety Measures and Perform Shutdown option. This will damage the facility as requested by Kaur. You can then return to Marshal Donelson and tell him that it just happened to complete the quest.
Close the Intake Conduits
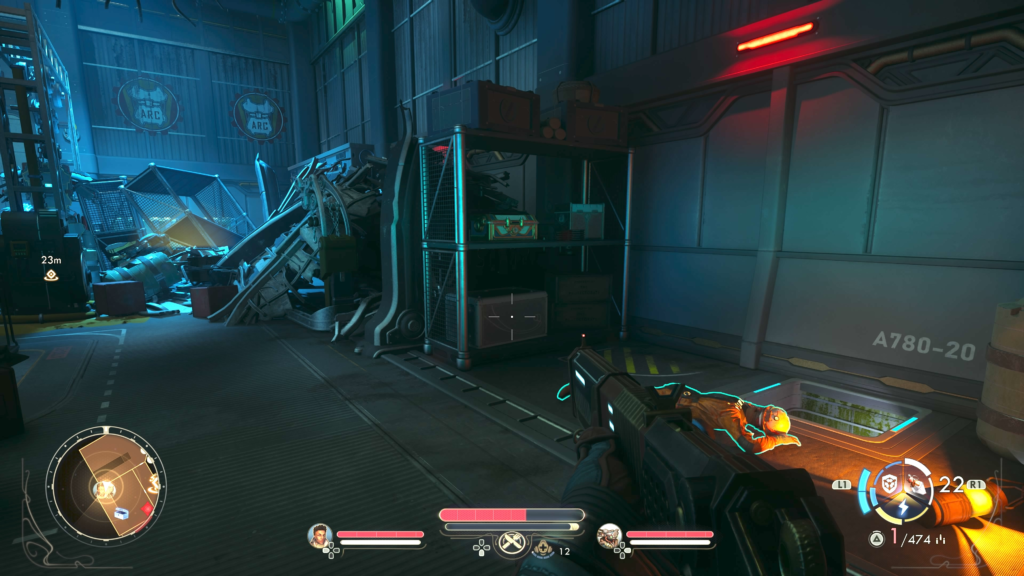
To reach the conduits, head through the door on the southeast side of the room (to the right when facing the terminal). You’ll need to take down a Dragoon in this next room.
Once that’s taken care of, you’ll need to head to the upper floors. If you have Engineering 4, you can repair the lift in the back of the room and ride it up to the top. If not, then you’ll need to use the crates on the southeast side of the room to reach the roof of a small room. From there, you can jump across the broken yellow pipes to reach a ladder that will get you to the upper level.
On the top level, head through the door and take a right. You’ll spot Intake Conduit 02 on the wall in front of you. Head over and interact with it to seal the conduit.
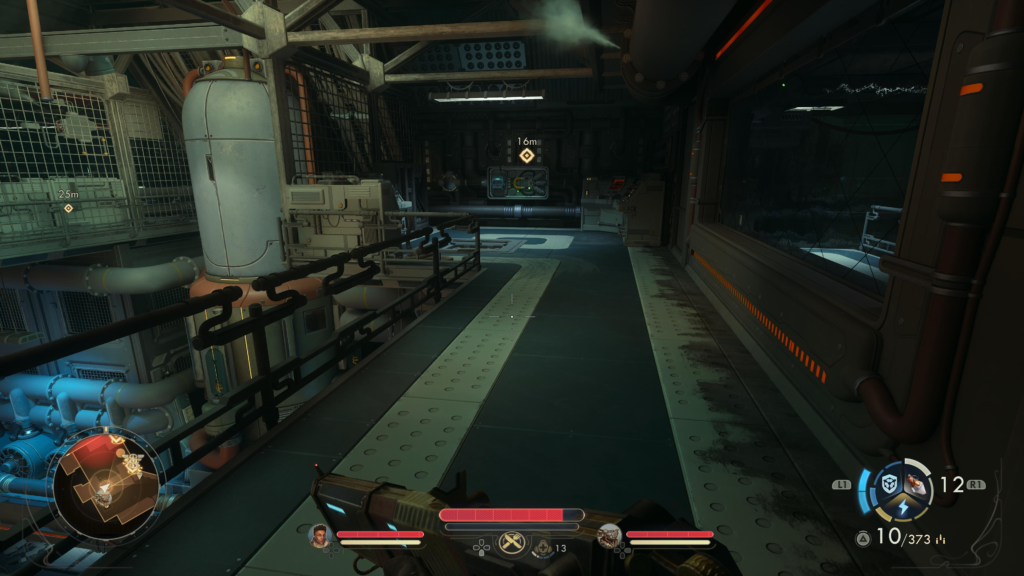
To reach the next conduit, head through the door on the western side of the room to emerge outside. You’ll need to climb up the crates, following the path around to find a way back into the repair hangar, on the other side of the room of Intake Conduit 02. There will be another dragoon there that you’ll need to deal with.
After it’s taken care of, you’ll have a clear shot at Intake Conduit 01. Interact with it to seal the conduit.
With both conduits sealed, take the nearby ladder down to reach the main terminal. Interact with it to initiate the Zyranium Flow Shutdown process and successfully stop the gas.
Report Back to Marshal Donelson
Return to the Marshal in his office and deliver the good news, resulting in the completion of the quest. You’ll be rewarded with EXP, bits, Repeating Rife Explosive Rounds, a recipe for the rounds, and the Dose unique helmet, which increases your crit chance when standing in a Zyraninu cloud while also lowering the poisoning rate.
Related The Outer Worlds 2 Content
Looking for more The Outer Worlds 2 content? Use the links below to keep exploring our guides:
- Main Page: Visit our The Outer Worlds 2 Guides and Walkthroughs hub for all our latest content!
- Official Website: Check out the official The Outer Worlds 2 website for news and updates!