Welcome to NGB! In this guide, we’ll be diving deep into the Vampire Asterisk from Bravely Default Flying Fairy HD Remaster. This dark and powerful job unlocks unique skills tied to blood magic and monster abilities, making it a standout choice for players looking to add a sinister edge to their party. We’ll walk you through how to unlock the Vampire Asterisk, including where to find all of the keystones, how to defeat their dragon guardians, and provide some tips for facing the lord vampire himself!
Quick Links
- Vampire Asterisk Guide
- Additional Bravely Default Flying Fairy Guides and Walkthroughs
Vampire Asterisk Guide
How to Start the Vampire Asterisk Sub-Scenario
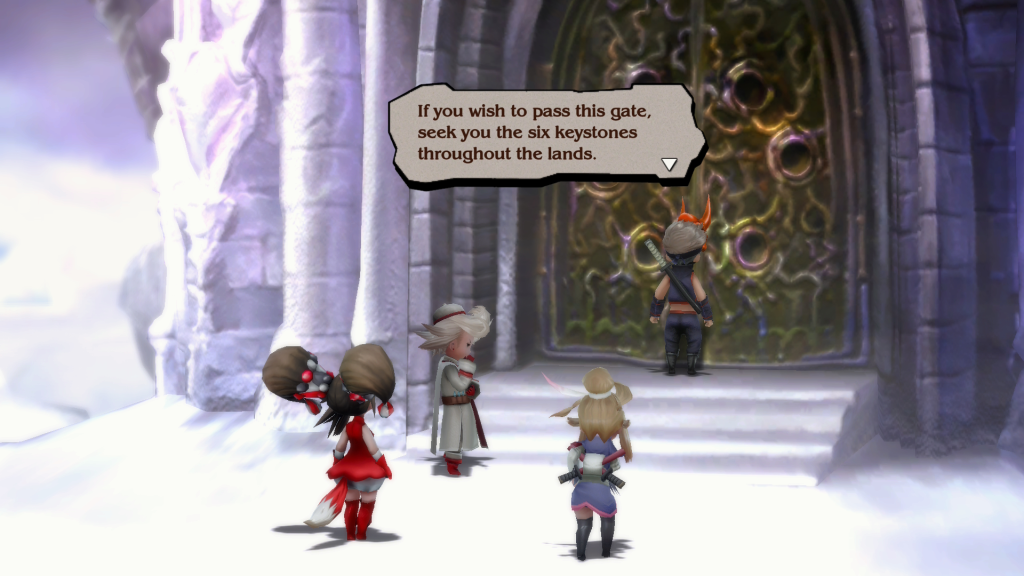
To start the Vampire sub-scenario, you’ll need to progress through Chapter 4 until after you defeat the Grand Marshal. Once you’ve done that, travel to Vampire Castle west of the Central Command building. This will trigger a cutscene where the party will learn that if they wish to access the castle, they will need to locate six keystones, hidden throughout the lands.
Vampire Sub-Scenario Guide
Collect the Keystones
To enter Vampire Castle, you’ll need to travel the land, searching far and wide to locate the six keystones required to unlock the front door. The catch is that each keystone is protected by an elemental dragon that you’ll need to defeat. Each dragon will have 99,999 HP and be weak to a specific element.
They also share the same attack patterns. Each dragon will have a skill that makes the party weak to their element. They also have a multi-target attack that will hit the whole part with their element. Some dragons will also be able to inflict a status ailment on the party during said attack. For filler, they will occasionally attack a single party member using their Bite attack.
Strategy for Facing the Dragons
The easiest way to defeat the dragons requires that you level up the Ninja job to level 4 for each character, unlocking the Utsusemi skill, along with leveling the Red Mage up to level 4 to learn the Turn Tables ability. You’ll then want to set the Ninja as the Job Command for each party member, with the basic strategy being that you use Utsusemi every turn, which causes you to dodge a physical attack.
Since all of the attacks used by the dragons are considered physical, this will make it so that you don’t get hit. Also, make sure that each party member has the Turn Tables ability equipped. This will allow you to gain 1 BP every time you dodge an enemy attack, helping you to attack more often.
With this setup, you’ll be able to dodge all of the dragon’s attacks while dealing damage of your own back. This also frees you to change the equipped jobs to deal with each dragon. The setup we used was a White Mage as a healer, the Hunter to deal extra damage with its dragon skill, a caster to hit the dragon’s weak point, and the Templar for extra defenses.
Dark Keystone
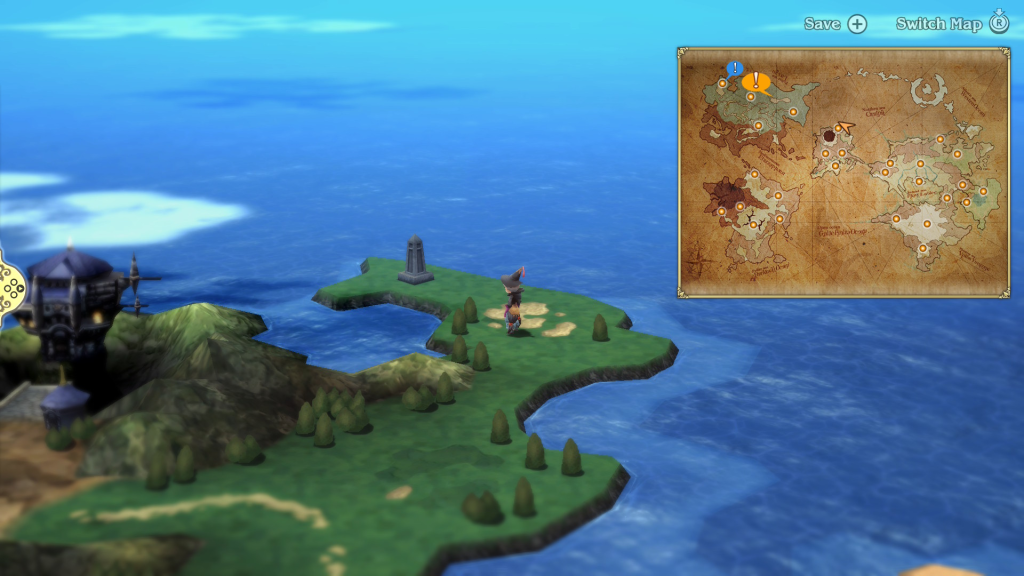
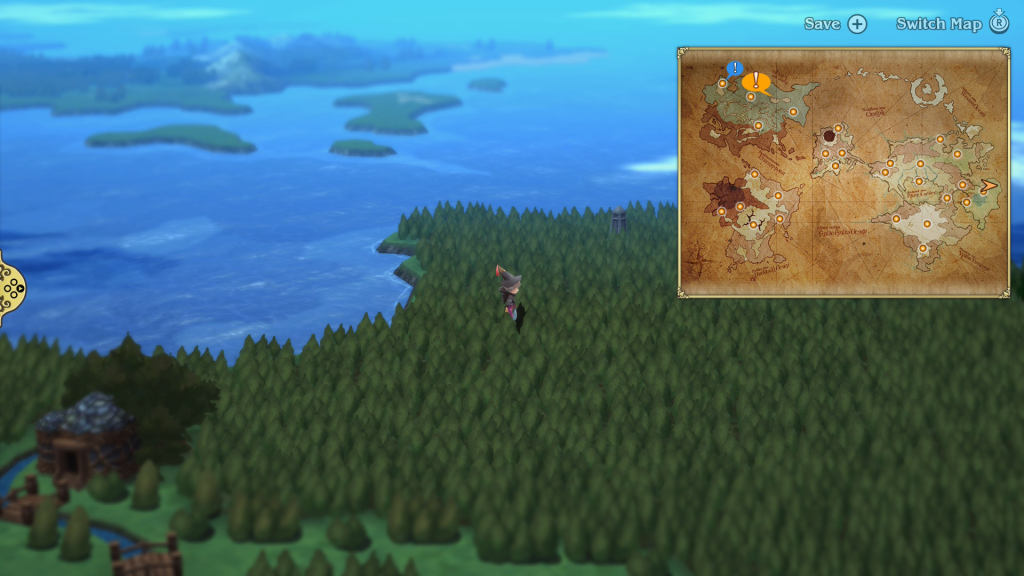
The Dark Keystone is located on the same continent as Caldisla, in the north, just past Lontano Villa. Interact with the pillar to initiate battle with the Jabberwock, the Dark Dragon. This one is weak to light, so keep that in mind when preparing for the fight.
Earth Keystone
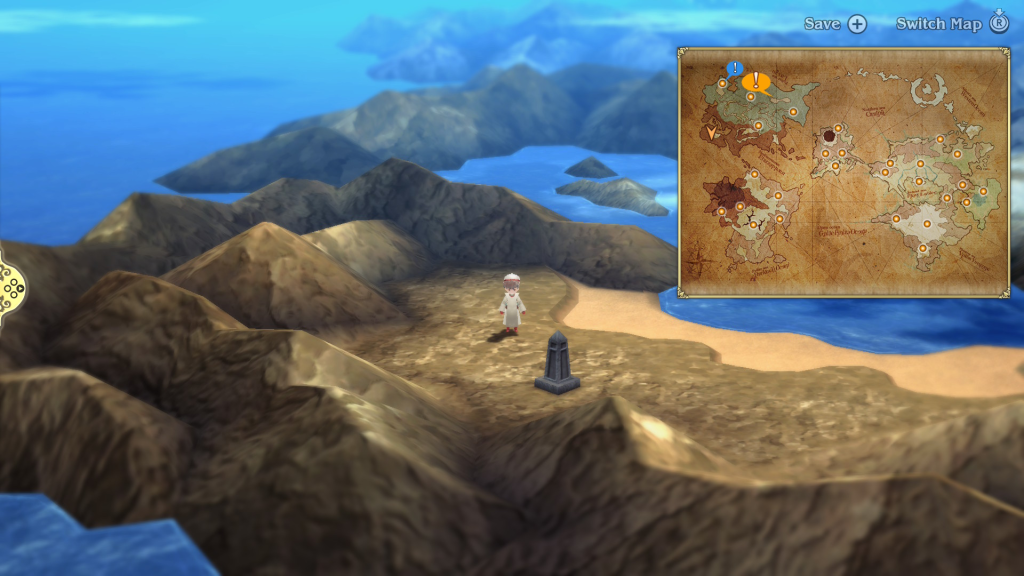
You can find the Earth Keystone in the southeastern section of the continent where Eternia is found. To reach it, you’ll need to fly there on your airship. The thing you are looking for is a stone pillar on the ground in the world map. Approach the pillar and interact with it to begin a boss fight with Ladon, the Earth Dragon. It’s weak to wind attacks like Aero, so keep that in mind when preparing to face it.
Fire Keystone
You can find the Fire Keystone on the same continent as Hartschild, in the northeastern section between Eisen Bridge and Starkfort. It will be on the east side, near the ocean. Interact with the stone pillar to initiate combat with Salamander, the Fire Dragon. The beast is weak to water, so make sure to take that into account when planning your party.
Light Keystone
To reach the Light Keystone, travel northeast of the Yulyana Woods Needleworks on the eastern part of the world. Interact with the pillar there to initiate battle with Shinryu, the Light Dragon. It’s weak to dark and will occasionally attack multiple times per turn.
Water Keystone
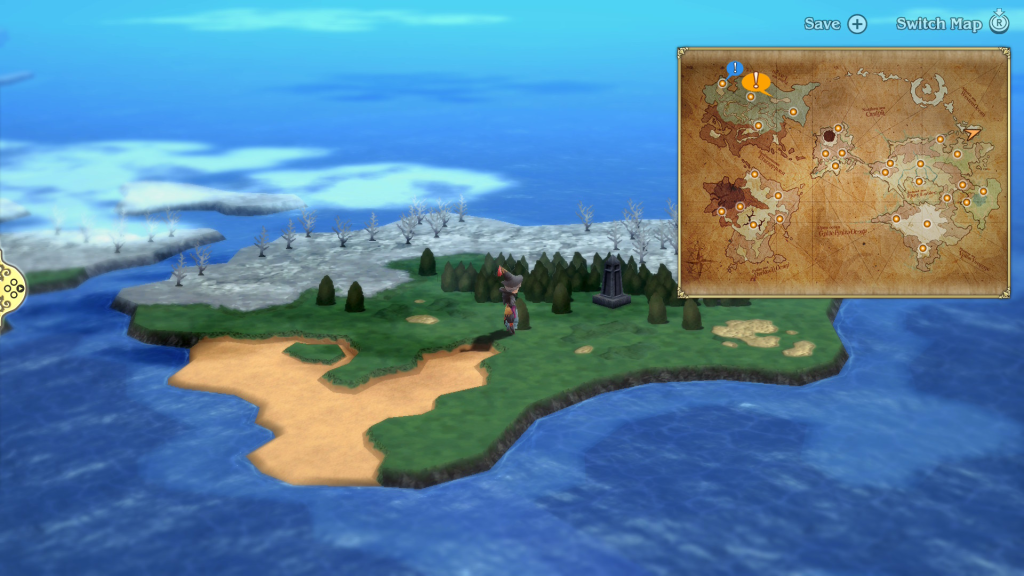
You can reach the Water Keystone by flying northwest of Florem. It will be on an island, partly covered by snow. Interact with the pillar to begin fighting the Mizuchi, the Water Dragon. The beast is weak to electric skills and spells, so make sure to bring some form of that to deal weak point damage.
Wind Keystone
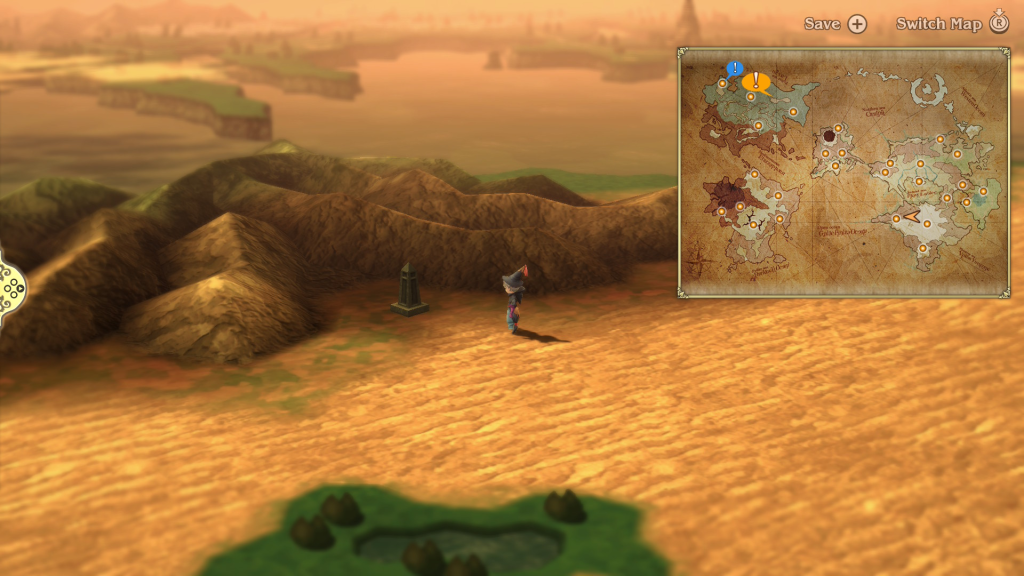
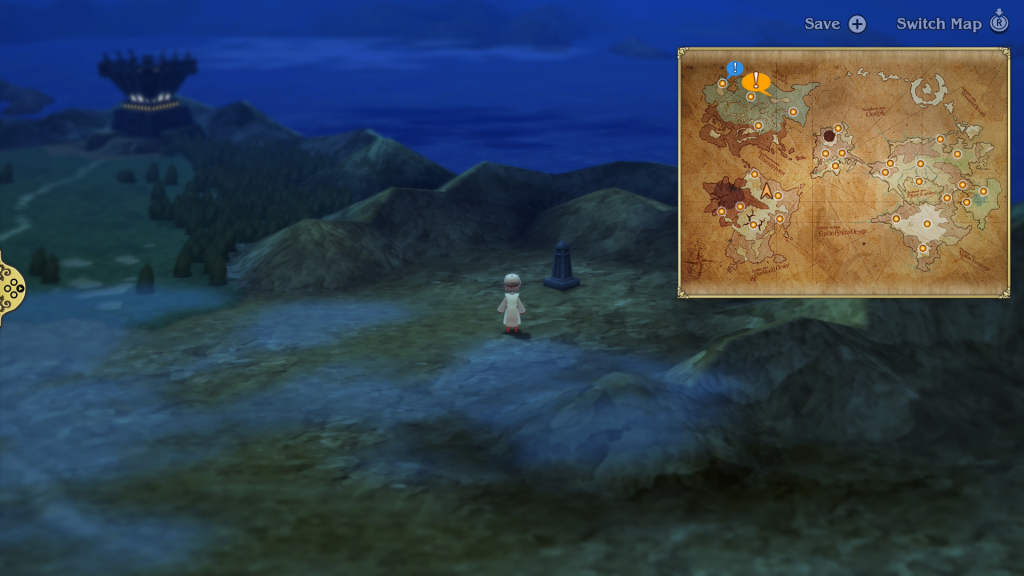
The Wind Keystone can be found on the same continent as Ancheim, west of the city, to the north of the Oasis. Interact with the pillar to initiate a battle against Wyvern, the Wind Dragon. It’s weak to fire damage, so keep that in mind when getting prepared.
Enter and Ascend Vampire Castle
The recommended level for Vampire Castle is level 60. You may or may not be close to that depending on where you are in the game.
Once you have all six of the keystones, return to Vampire Castle to trigger an event where the party will place them into the slots, unlocking the door. You’ll then want to head inside, where another event will trigger. When you regain control of the party, you’ll be on Vampire Castle 1F.
To reach Lord DeRosso, you’ll need to make your way up to the 7th floor, where he awaits. Make sure to explore each level as you head up to loot all of the chests. You’ll also want to examine each big painting towards the end of each floor. Doing so will trigger an event in which DeRosso will appear and explain the painting to the party, revealing some information about past events. Below you’ll find the layout along with the items obtainable from each chest.
Vampire Castle – 1F
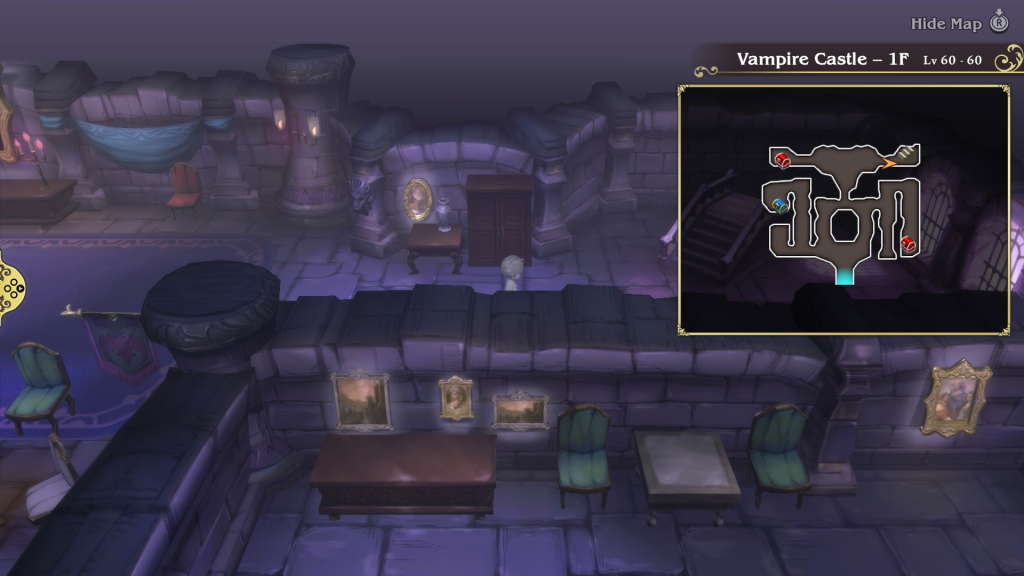
- Dragon Fang
- Safety Ring
Vampire Castle – 2F

- Hermes Shoes
- Black Belt
Vampire Castle – 3F
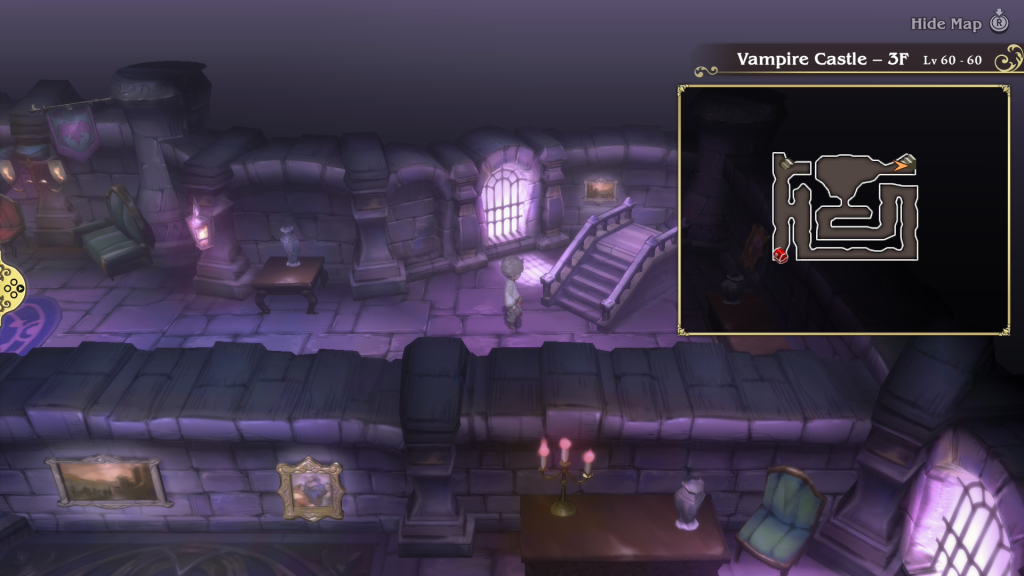
- Soul of Thamasa
Vampire Castle – 4F

- Dwarven Gloves
- Hyper Bracers
Vampire Castle – 5F
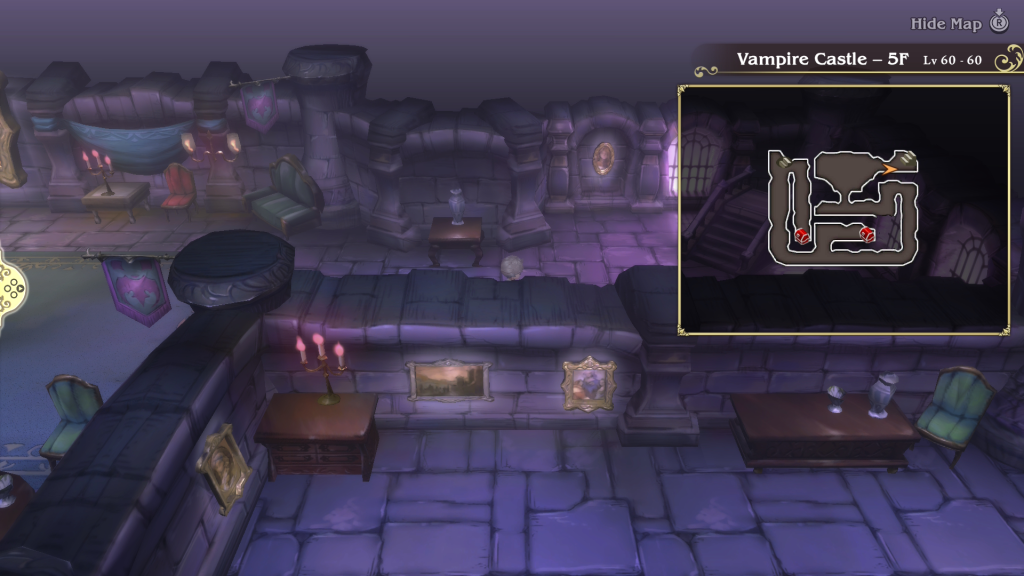
- Magic Armlets
- Lamia’s Tiara
Vampire Castle – 6F
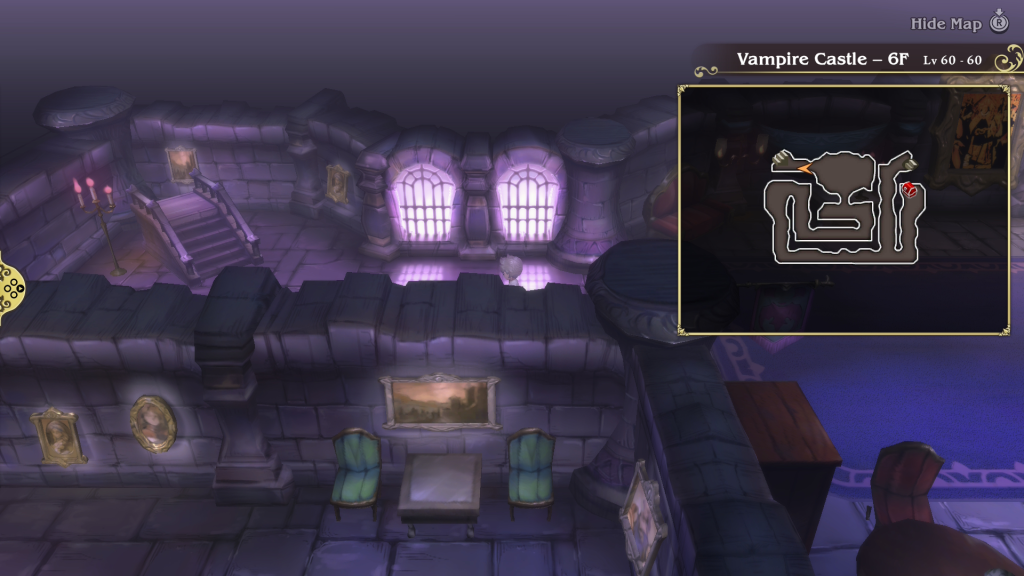
- Megalixir
Vampire Castle – 7F
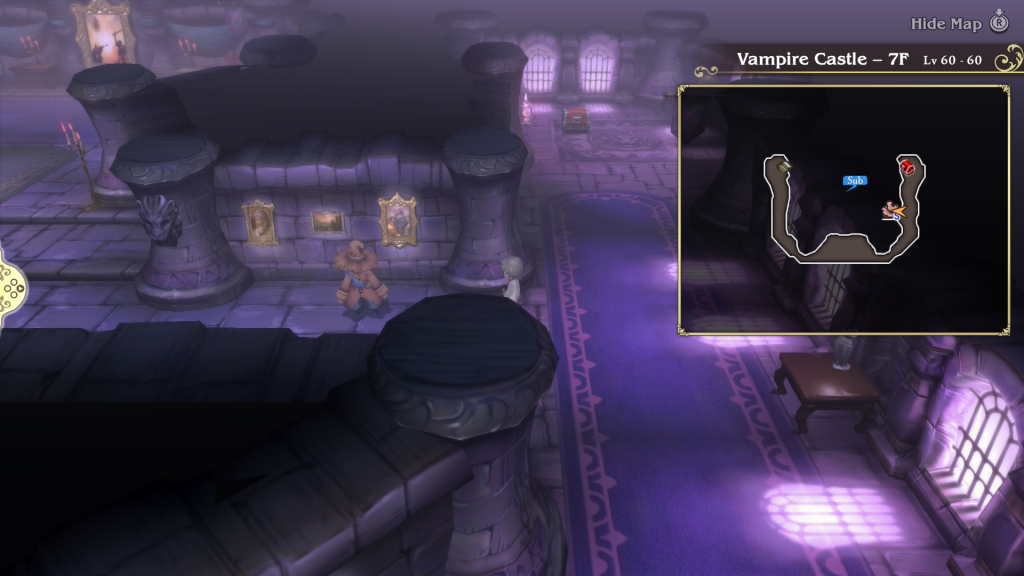
- Lilith’s Rod
Boss Fight: Lord DeRosso
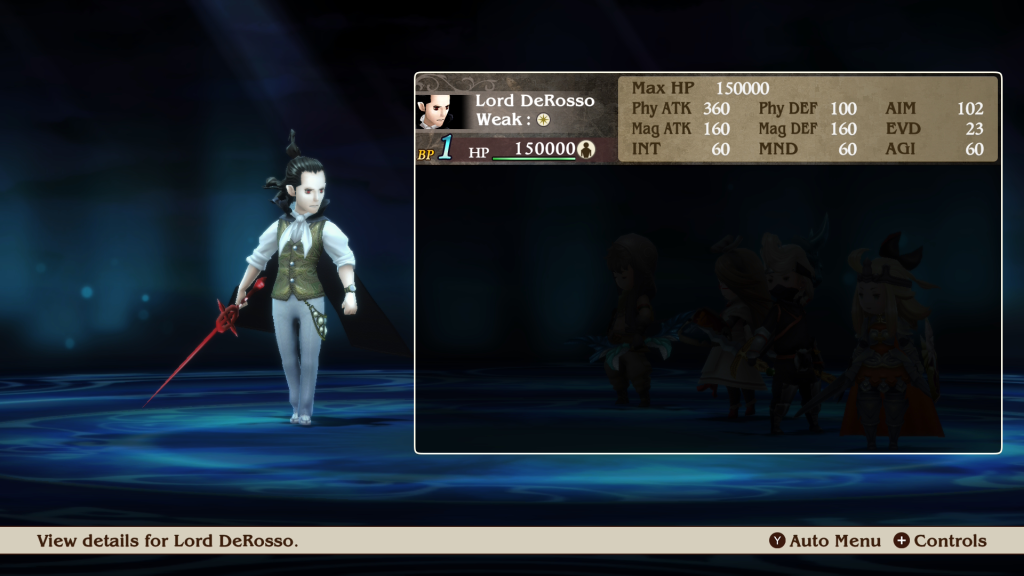
When you reach the 7th floor, you’ll find a man in red who you can use to save and heal. Once you’re ready, head left past him and approach Lord DeRosso on his throne to trigger an event. This will lead to a battle where he’ll want to face the party to see if they are worthy.
During this fight, Lord DeRosso will have 150,000 HP and is weak to light skills and spells. One thing we noticed was that the attacks and patterns he uses seem to be based on the party you bring. The ones we saw are listed below:
- Energy Burst – Multi-target attack that will hit the whole party for massive damage
- Battle Thirst – Absorbs 1 BP from the target
- Bone Rush – Single-target attack that deals more damage based on how much HP has been lost
- Graviga – Deals 75% damage of your max HP
While facing DeRosso, he mainly used his Energy Burst attack against us, which we were able to easily counter using the Templar job’s Rampart skill. We also had a Ninja, White Mage, and Monk. Each one of them also had the Ninja set as the Job Command so they would have access to Utsusemi to dodge all of the vampire’s physical attacks. The White Mage focused on supporting the party and healing up any damage that got past our defenses while the Ninja and Monk dealt constant damage to DeRosso.
Once you manage to defeat him, you’ll be rewarded with the Vampire Asterisk, unlocking the Vampire job. You’ll also be treated to a cutscene revealing more information about the prophecy, concluding the Vampire Asterisk sub-scenario.
Additional Bravely Default Flying Fairy Guides and Walkthroughs
For additional guides and walkthroughs on Bravely Default Flying Fairy, be sure to check out our Bravely Default Flying Fairy HD Remaster main page!