Welcome to NGB and our Dragon Age: The Veilguard walkthrough for the Treviso Canals area. This guide will cover all the collectibles and quests you can obtain while exploring this area.
If you need help with a specific section, please refer to our quick links section to quickly reach the information you’re looking for!
Quick Links
Treviso Canals Overview
To 100% complete the Treviso Canals area, you’ll need to find the following collectibles:
- 13 Chests
- 2 Timelost Hoards
- 1 Fen’Harel Altars
You’ll need to visit this area multiple times throughout the story as new areas will unlock, allowing you to retrieve more collectibles!
| Area | Unlocks |
|---|---|
| Crow’s Road Rooftops | Upon entering Treviso Canals |
| Dellamorte Estates | Upon entering Treviso Canals |
| Heart and Central | Upon entering Treviso Canals |
| Streets of Coin Financials | Upon entering Treviso Canals |
| Grande Markets | Upon entering Treviso Canals |
| The Drowned District | Upon entering Treviso Canals |
| Antaam Garrison | During the A Slow Poison quest |
As you explore the Treviso Canals, you’ll come across the following quests:
- A Slow Poison
- Lethal Devotion
- Partners in a Dangerous Crime
- Spies Among Us
- Statuary, Fine Art, and Antaam
- Statuary, Fine Art, and Antaam #2
Treviso Canals Collectibles
Chests
Chest #1 – Heart and Central
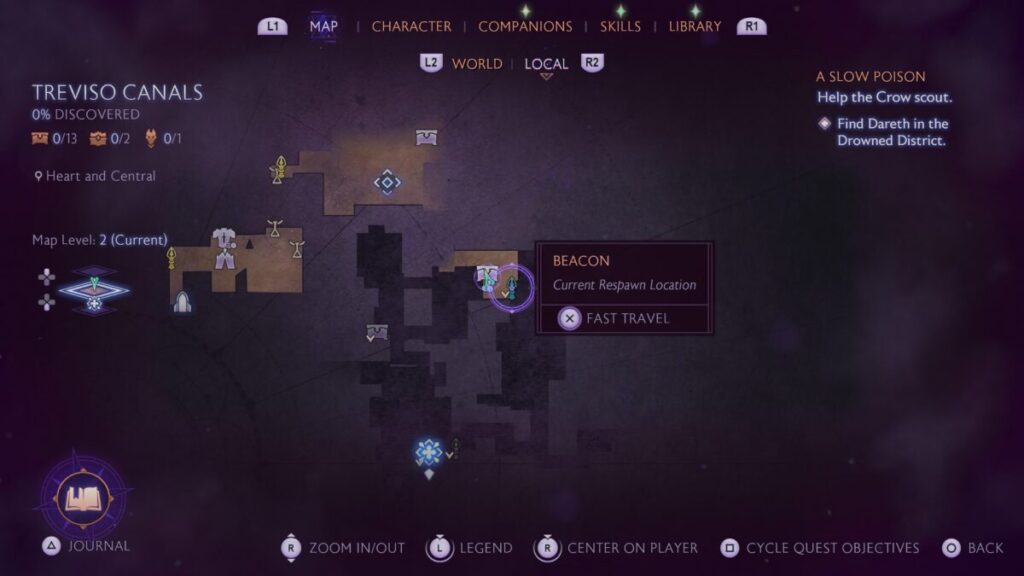
From the Heart and Central Beacon, climb up the trellis next to it and follow the roof north to find a ladder.
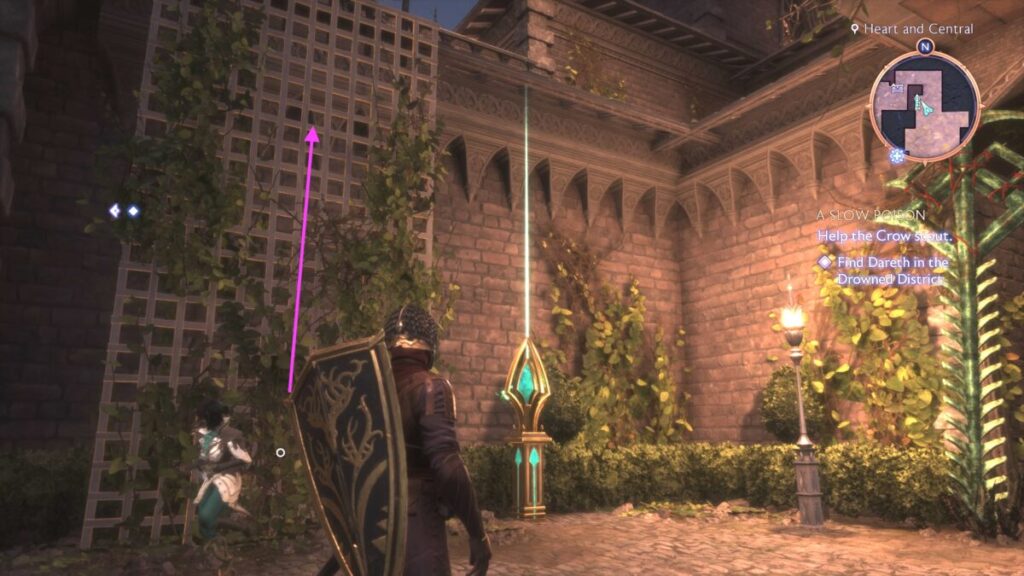
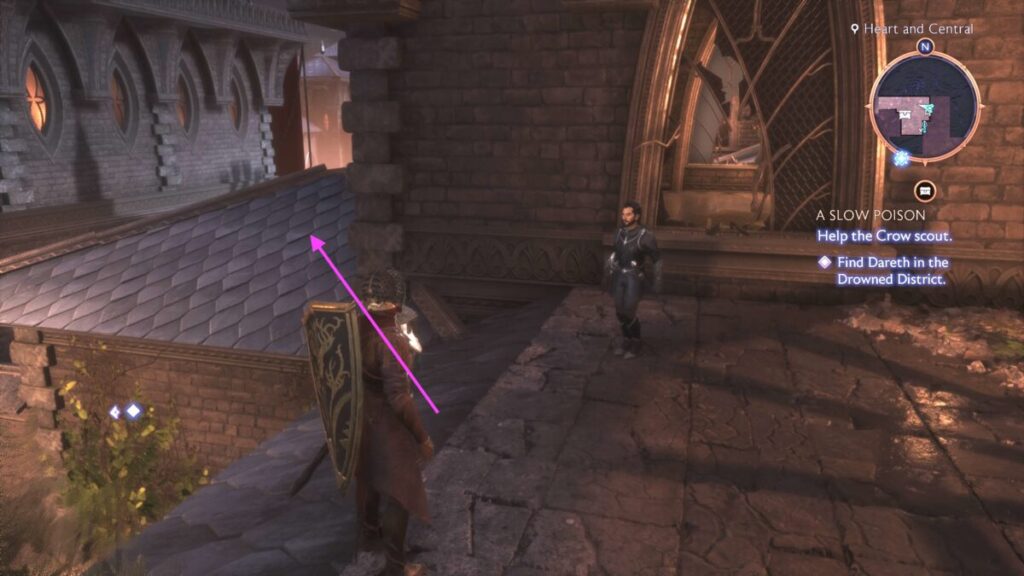
At the top, look left to find a broken window. Head toward it, but do not go through. Instead, follow the wall left and jump down to a lower roof, leading you to a balcony with a chest.
Chest #2 – Streets of Coin Financials
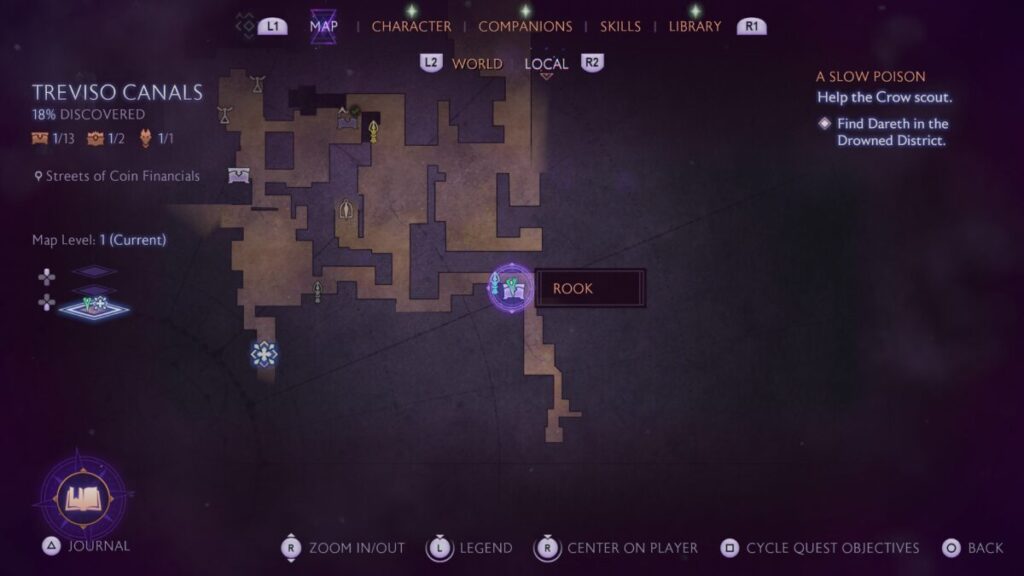
From the Streets of Coin Financials Beacon, head east and enter through the first door on the right. Take out the barrels inside to reveal the chest.
Chest #3 – Streets of Coin Financials
Head to the southern part of the area to find a giant gold statue of a rabbit-like creature (with a long tail). Look in the water to find a prompt, then use the Eternal Hymn to raise stones out of the water.
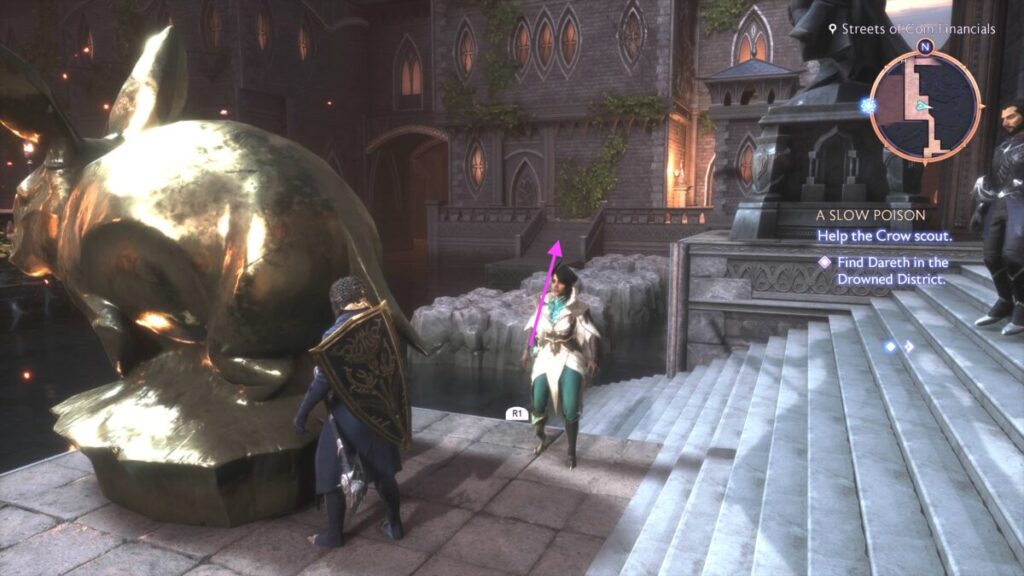
When you reach the other side, enter the building to find a chest.
Chest #4 – Streets of Coin Financials
Enter the building on the eastern side of the Streets of Coin Financials with the two statues in front.
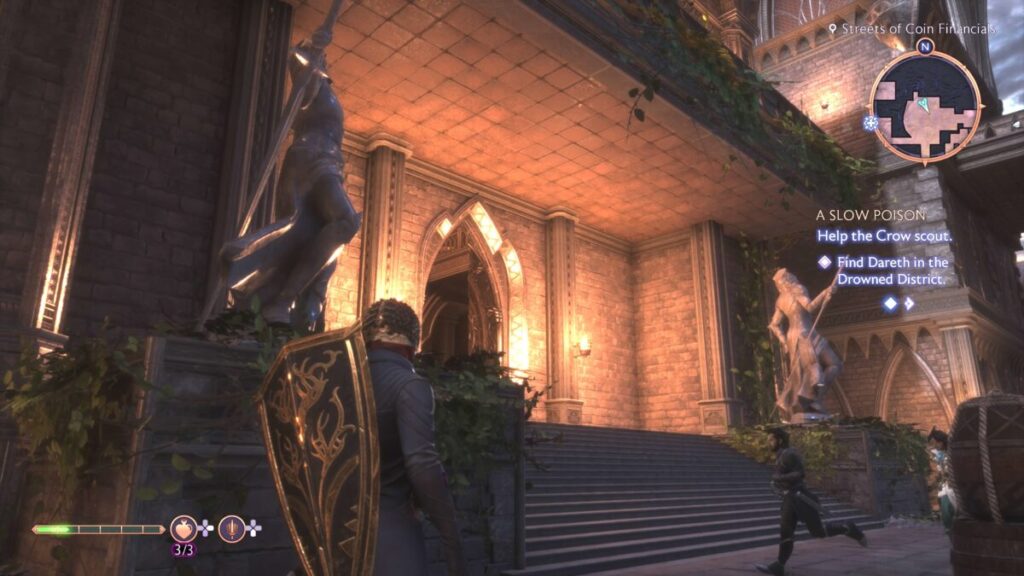
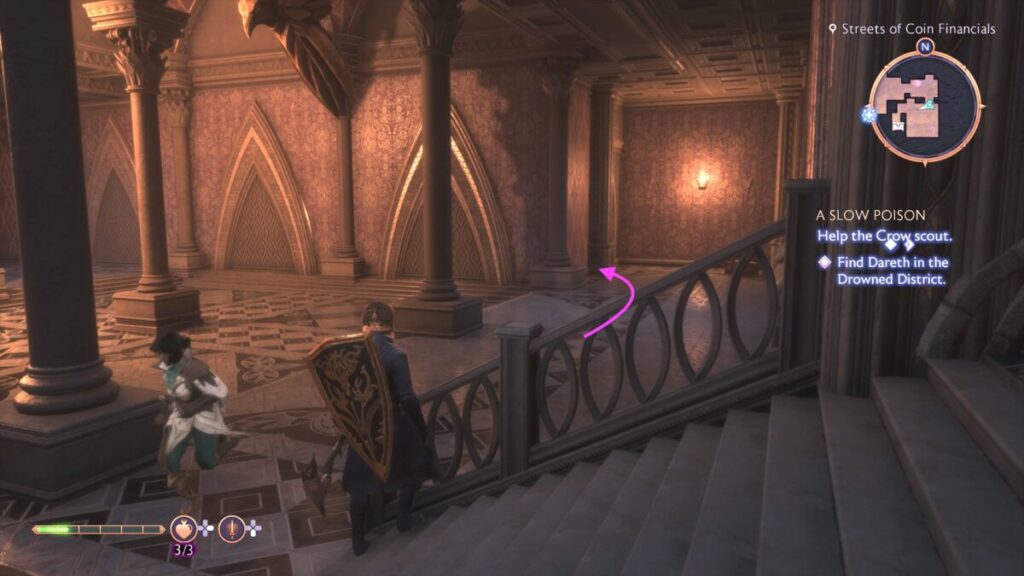
In the back room, with the statue in the center of it, face the statue and head right to the wall. Activate this wall to reveal a hidden doorway. Head on through then defeat the Flame-Touched Sentinel. Afterwards, head to the west side of the room to find a chest in the small room.
Chest #5 – The Drowned District
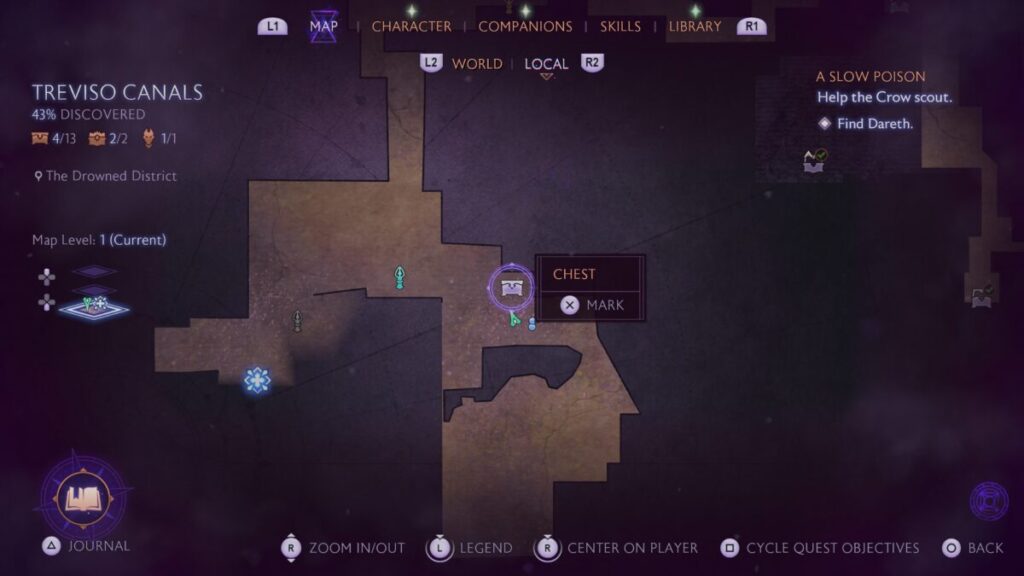
From The Drowned District Beacon, head east through a doorway under a red banner and go down two flights of stairs. At the bottom, a brazier will be on the left. Head past it under an overhang and enter the doorway to find a chest.
Chest #6 – Streets of Coin Financials
From the bartender in the southern part of the Streets of Coin Financials, go down to the dock near this bar.
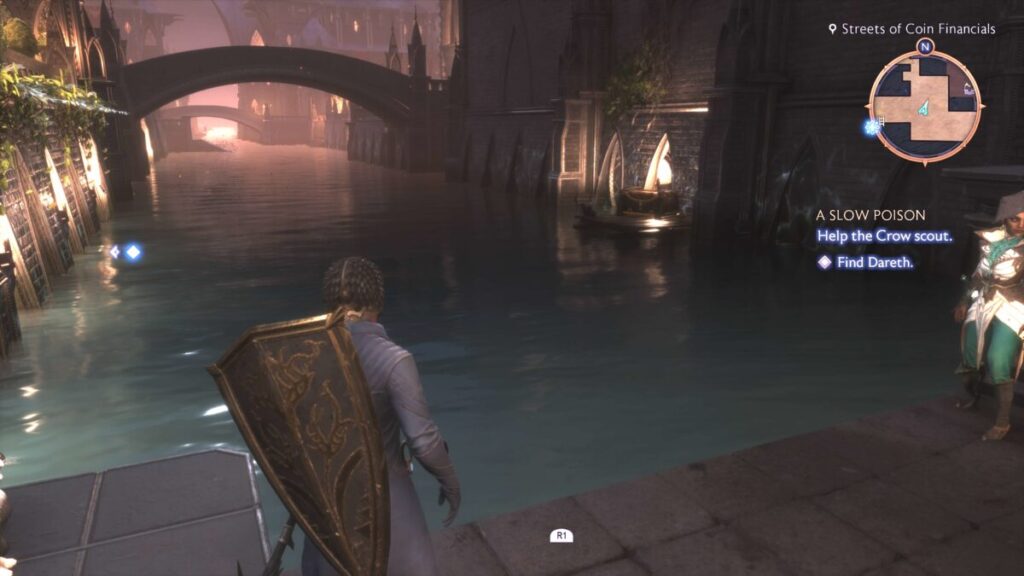
Use the Eternal Hymn in the water to raise some platforms to jump across to reach this chest.
Chest #7 – Streets of Coin Financials
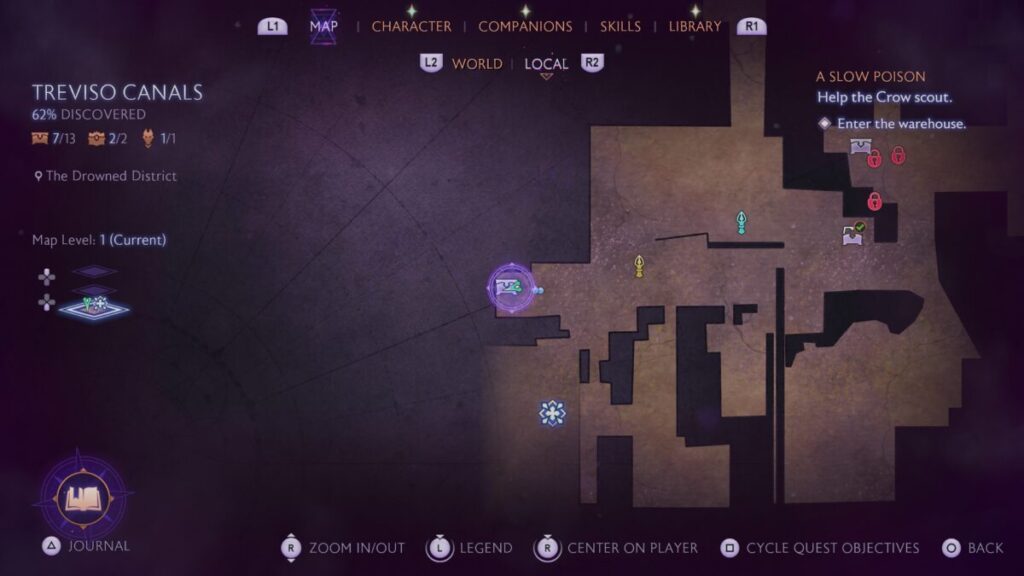
From the above chest, head up the stairs from the dock and take a left then follow the walkway to the end. Past the railing, there will be a rift that you can use to summon Spite’s Reach.
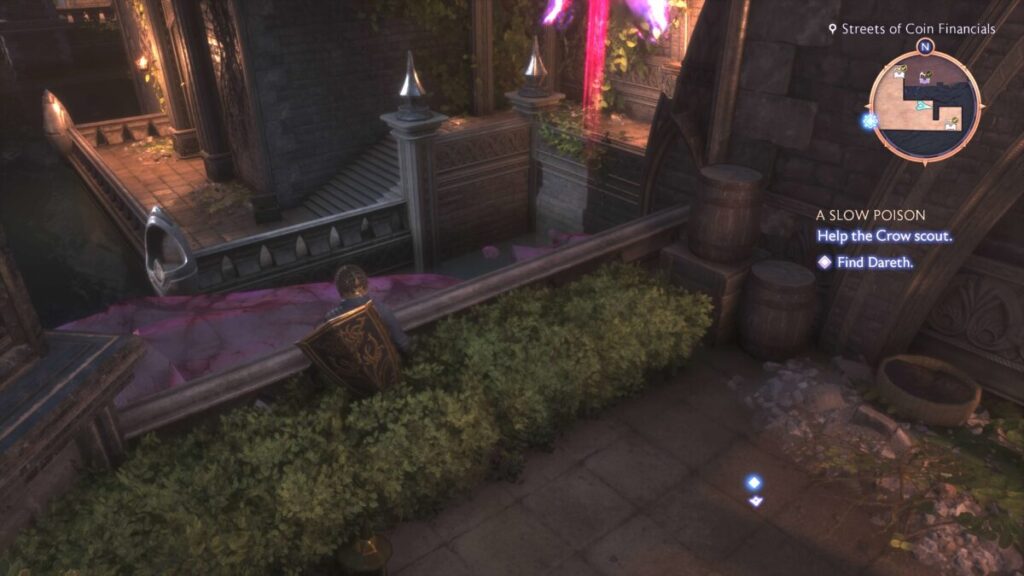
Jump on the hand and follow the path around the walkway to reach the chest in a small room.
Chest #8 – The Drowned District
From the western The Drowned District Beacon, climb up the ladder next to it. Afterwards, climb up the wooden ledge and head through the opening to reach a market area. Head straight and take a left after passing the first stall. Enter the doorway and head to the other side of the room, and take the first right. Destroy the boards blocking an entryway then head inside and climb up the ladder to reach the chest.
Chest #9 – Heart and Central
To reach the chest behind the closed gate in Heart and Central, face the gate and head right up the stairs. Climb up the trellis just past the statue then take a left and walk across the narrow ledge to drop down into the room containing the chest.
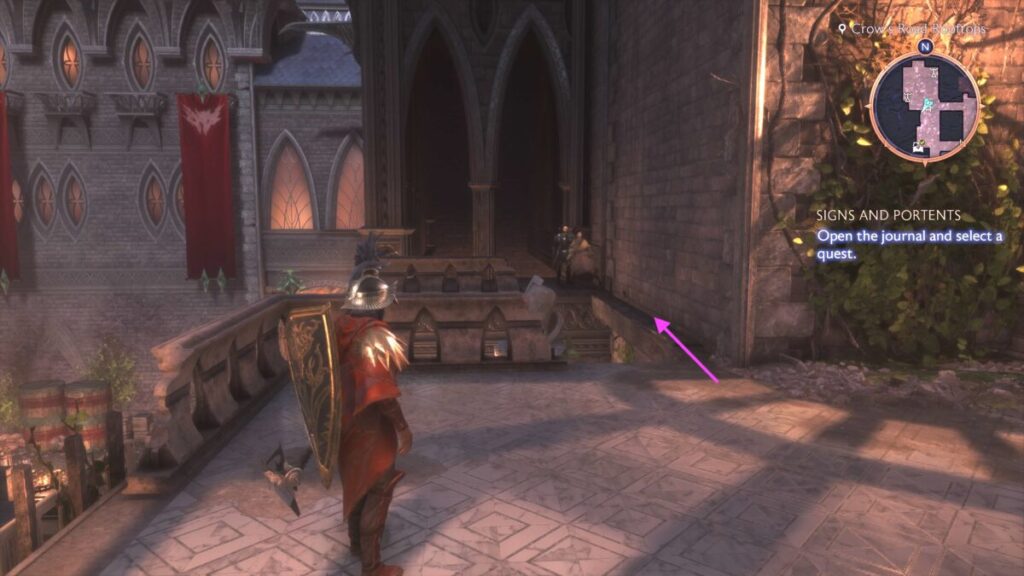
Chest #10 – Heart and Central
You can access this area during the Statuary, Fine Art, and Antaam quest.
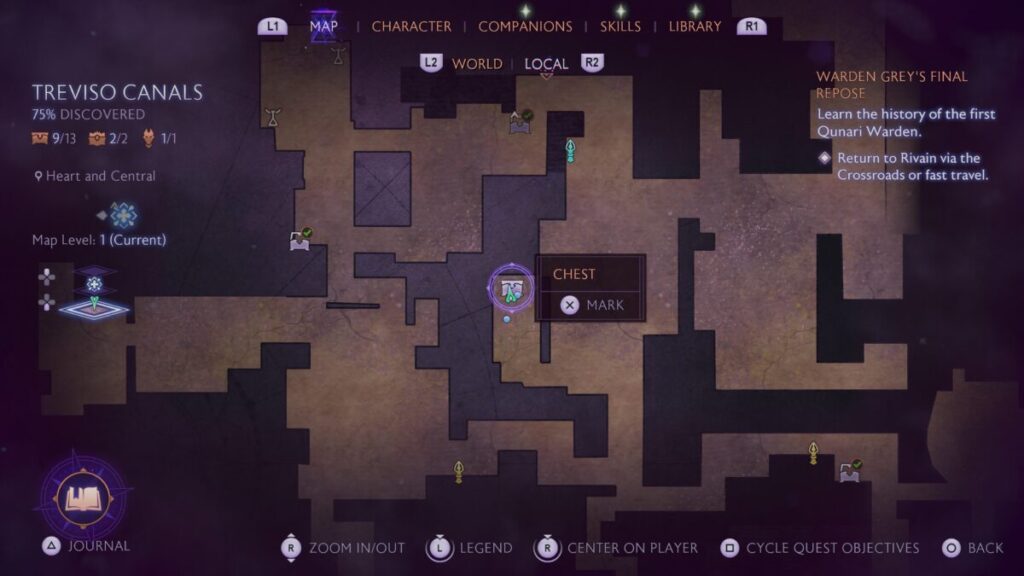
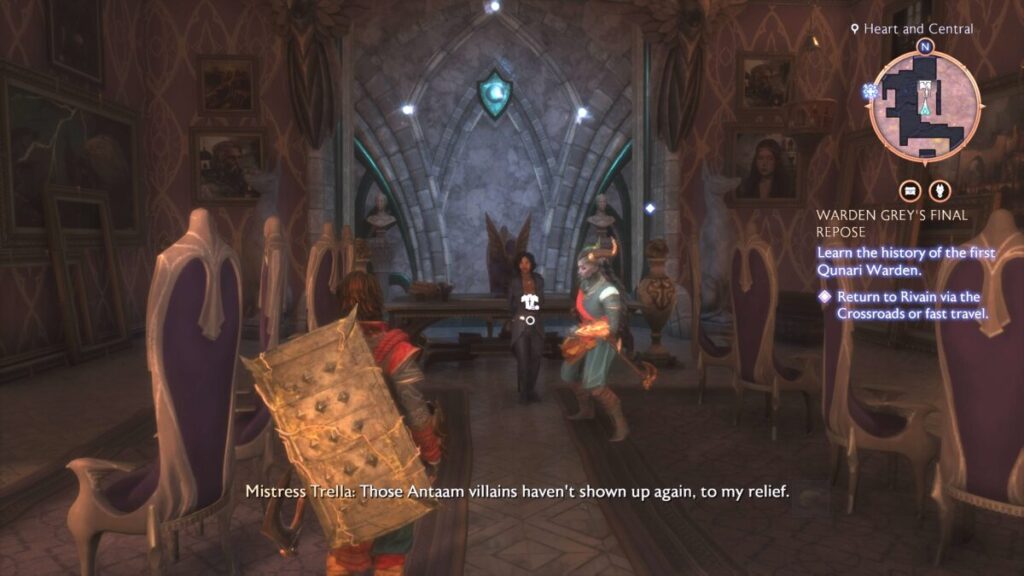
This chest can be found hidden behind a wall in the room with Mistress Trella.
Chest #11 – The Drowned District
This chest becomes accessible after unlocking Taash as a companion.
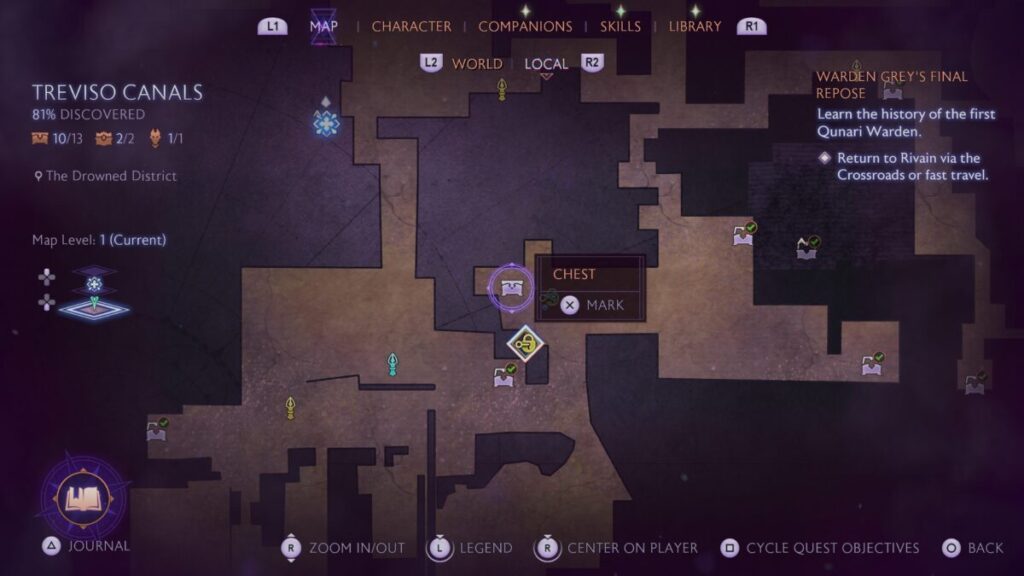
To access this chest, you’ll need to use Taash to light 4 braziers. The first one can be found to the left of the gate.
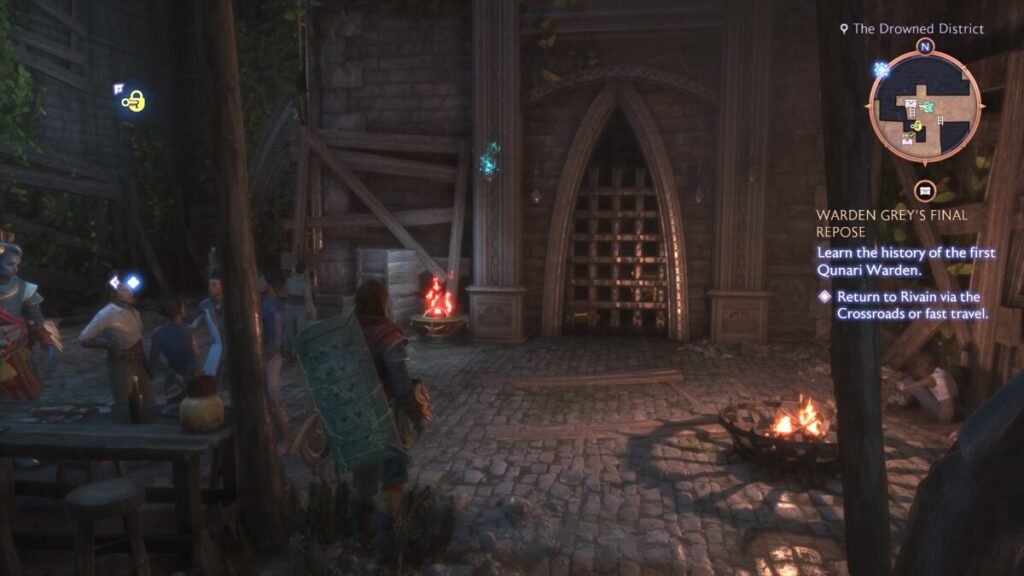
Face the braizer, then head left, looking to the right to find a trellis you can climb. At the top, enter the room on the left and break the boxes and barrels in the corner to reveal the brazier.
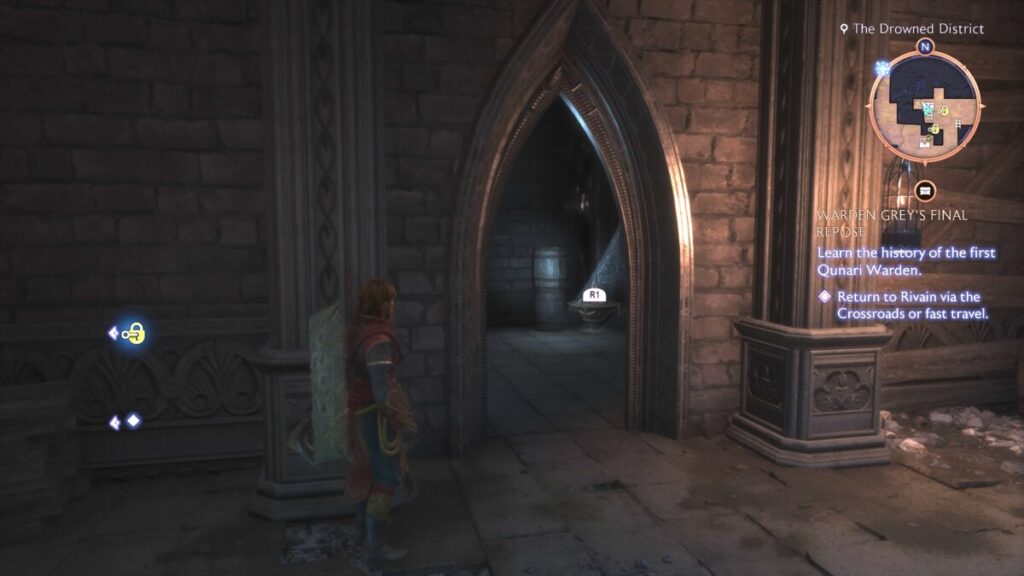
Exit the room and follow the walkway left to reach a wooden platform with the next brazier.
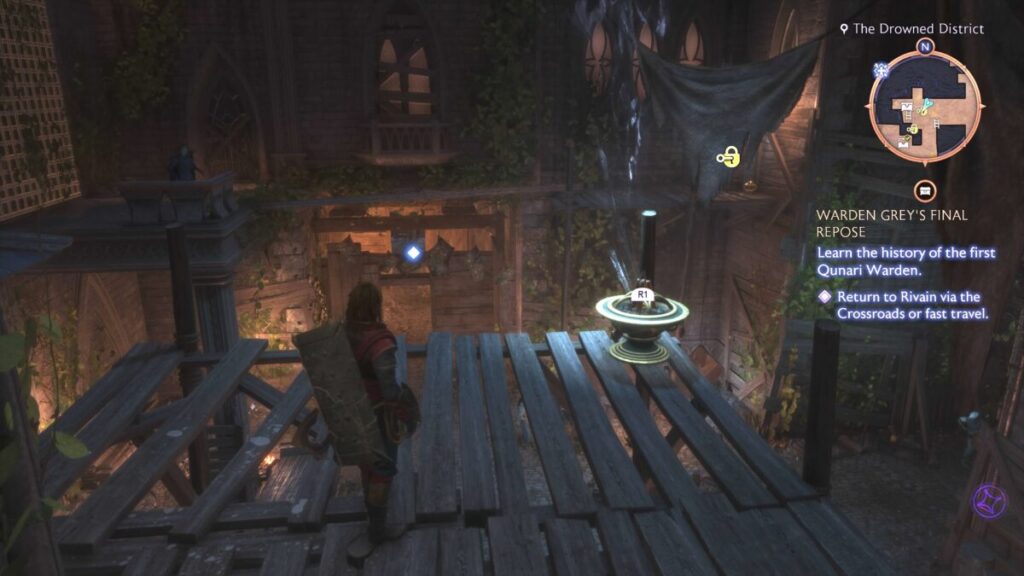
Look to the left and jump onto the overhang. Use this to reach an adjacent balcony. Walk the plank to reach some scaffolding. Destroy the boxes to ignite the last brazier.
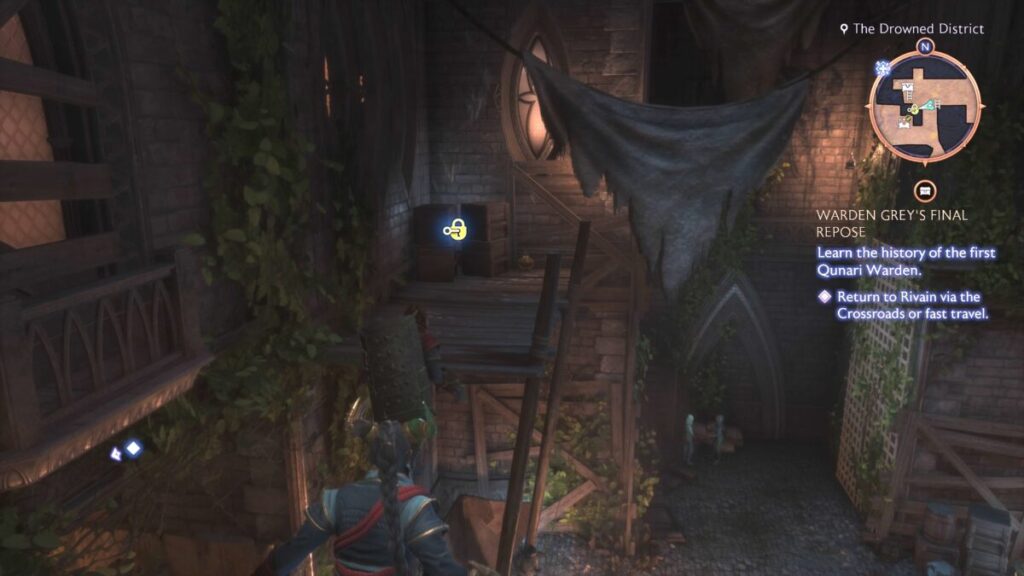
Now that all the braziers have been lit, the gate will open and you can loot the chest!
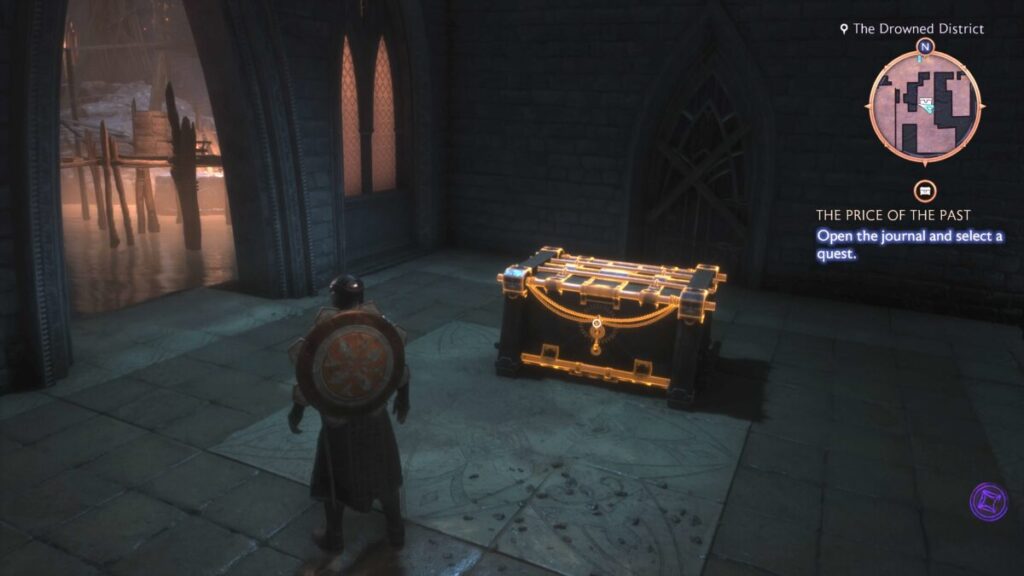
Chest #12 – The Drowned District
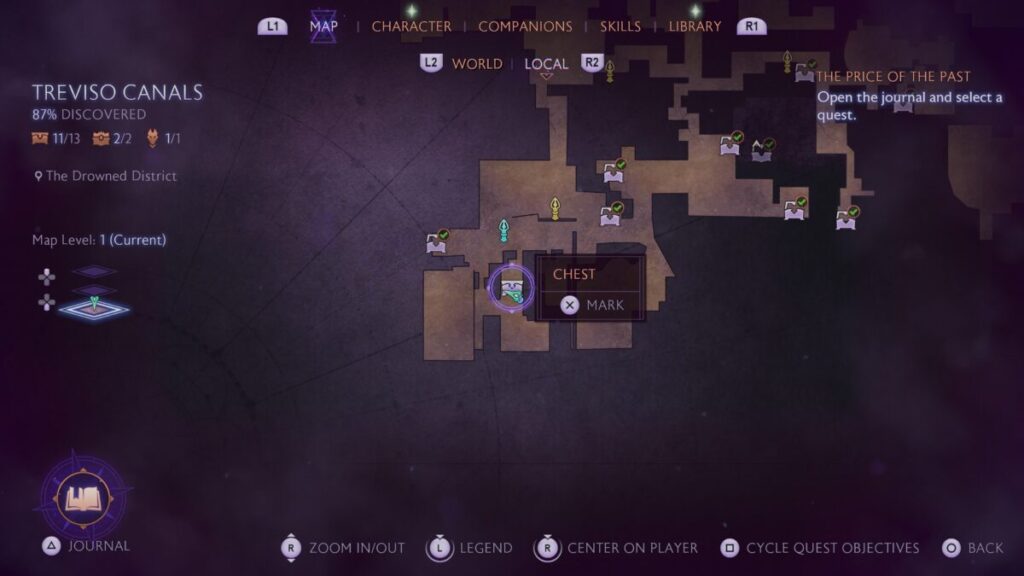
This chest can be found in a building on the docks. To reach it, climb up to the rooftop to the east of this building. From there you’ll be able to use Lucanis’ ability on the rift.
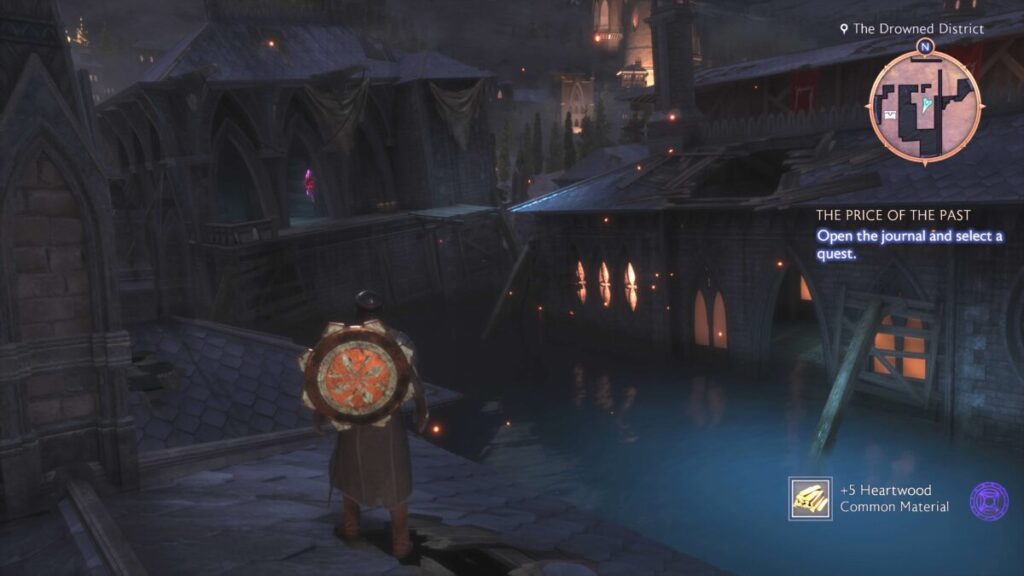
Follow the path to then reach the chest.
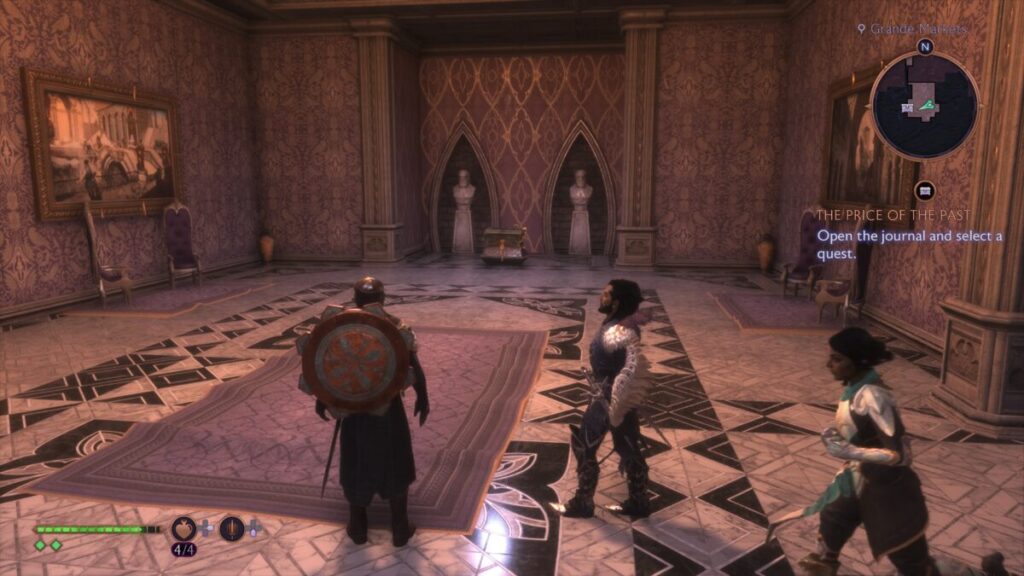
Chest #13 – Grande Markets
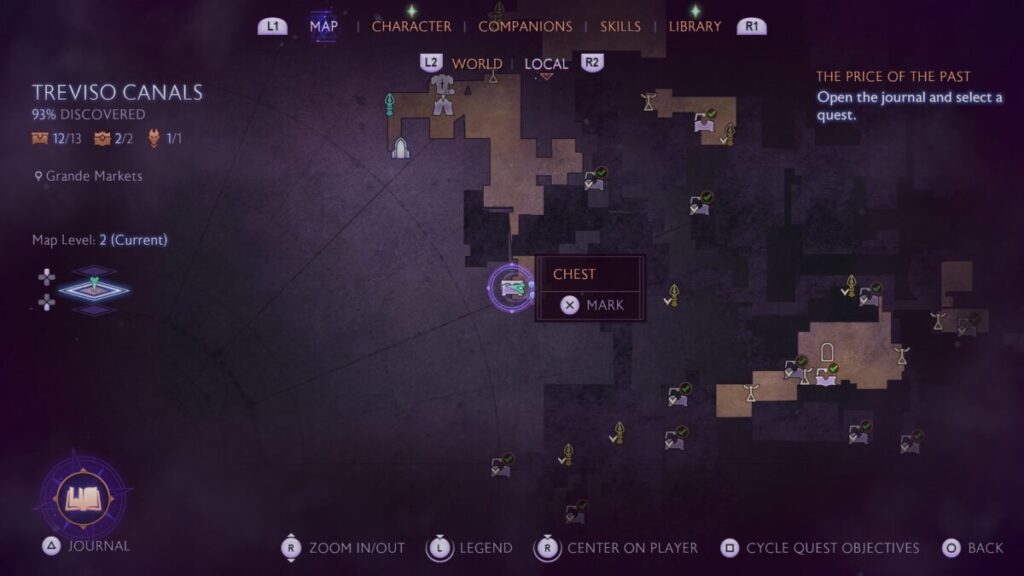
This chest can be found in a fancy room south of the Cantori Diamond. From the Cantori Diamond, head south and drop down then head through the building to reach the room containing this chest.
Timelost Hoards
Timelost Hoards #1 – Dellamorte Estates
When you reach the Dellamorte Estates puzzle, you’ll need to flip some levers. Start by flipping the lever behind the giant crow statue on the east side of the area.
There will be two levers on the smaller crow statues in the middle of the area that you’ll need to flip as well. This should open the northern gate allowing you to access the statue behind it.
Approach the statue and activate the rift using Spite’s Reach to cause a statue to appear, pointing in a specific direction. You’ll need to make the statue match by having it point in the same direction. There will be three more statues to move. Each one will have its own rift to show which direction to point them. They will be in the northeastern, northwestern, and central western parts of the area. Once they are all pointed to the locked gate, the gate will open, so go inside and loot the chest.
Timelost Hoards #2 – Streets of Coin Financials
From the Streets of Coin Financials Beacon, head east. At the end of the walkway, turn right to find a trellis. Climb up this trellis to find a ladder that will take you to the roof of the building. Turn to the right to see some crates that you can climb up on the left side allowing you to reach the ledge on the adjacent building.
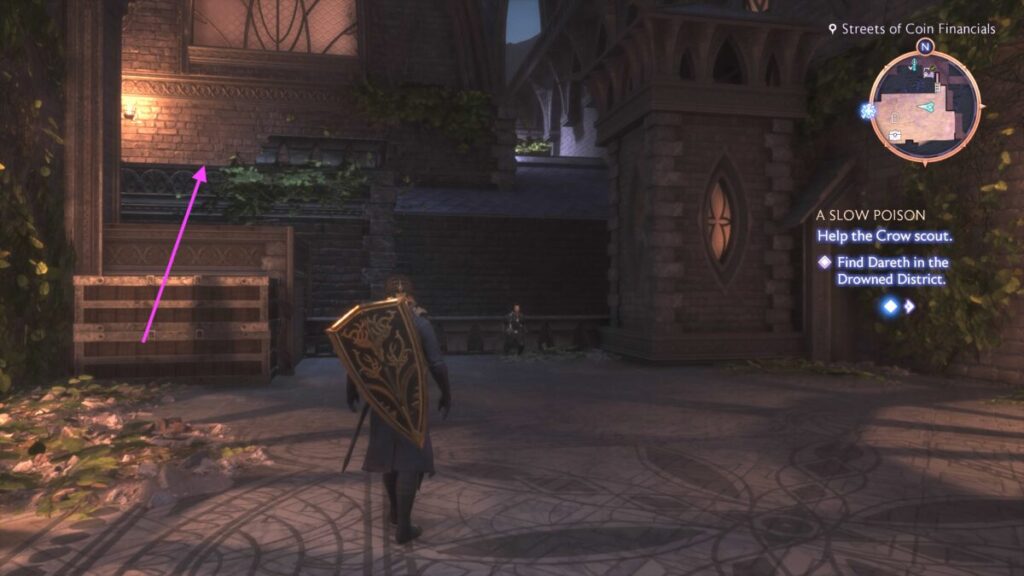
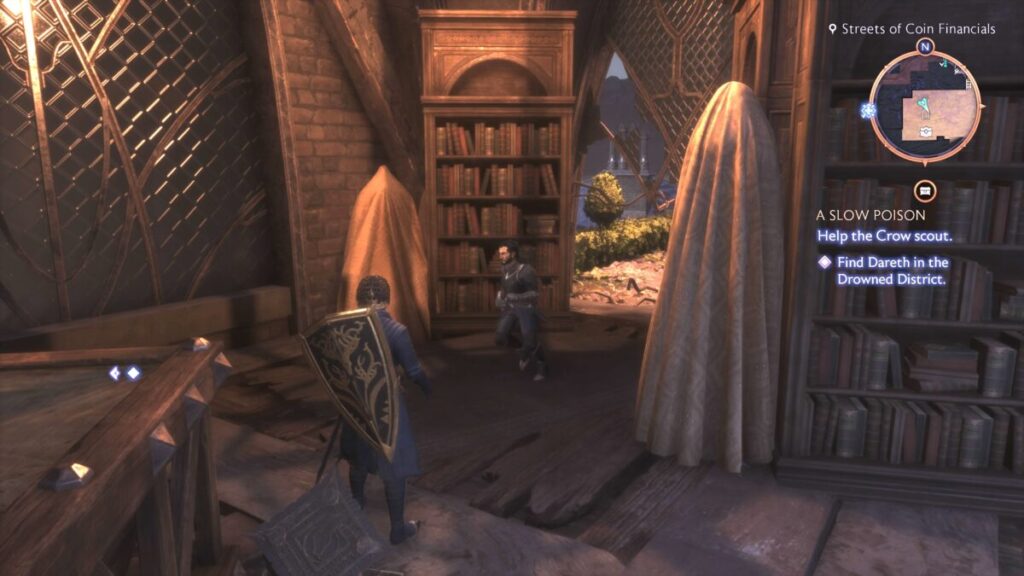
Take a right, then jump over the railing and follow the roof left. Climb through the window to enter an attic. Take a left, heading past the first bookshelf, and interact with the two bookshelves to reveal a hidden path leading to a chest.
Fen’Harel Altars
Fen’Harel Altar #1 – Heart and Central
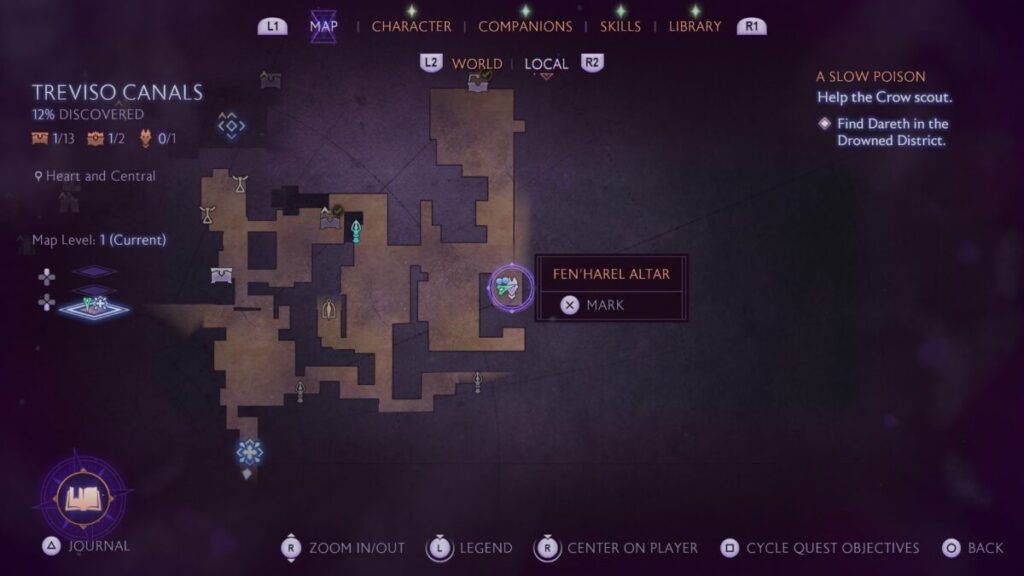
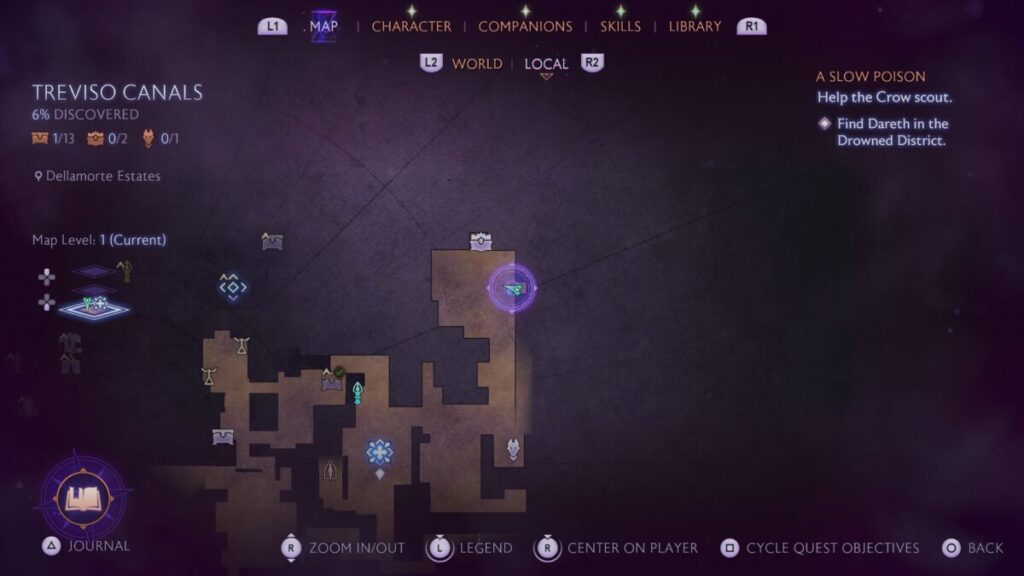
This altar can be found on the eastern side of the Heart and Central area. After interacting with the statue, head north and take a left just before the archway. Go under the overhang, and then destroy the barrels to reveal the wolf statuette.
More Dragon Age: The Veilguard Guides
For more information, check out our Dragon Age The Veilguard Guides and Walkthroughs main page! There you’ll find all our guides!

