Welcome to NGB and our The Outer Worlds 2 – The Saboteur of Paradise Main Quest guide. In this pivotal chapter, you’ll uncover the truth behind the unrest brewing on Paradise Island. As alliances crumble and hidden agendas surface, your decisions will determine the fate of one of the colony’s most idyllic — and most fragile — settlements. This walkthrough covers every objective, branching choice, and reward to help you navigate the chaos and shape the colony’s future.
Quick Links
The Saboteur of Paradise Main Quest Walkthrough
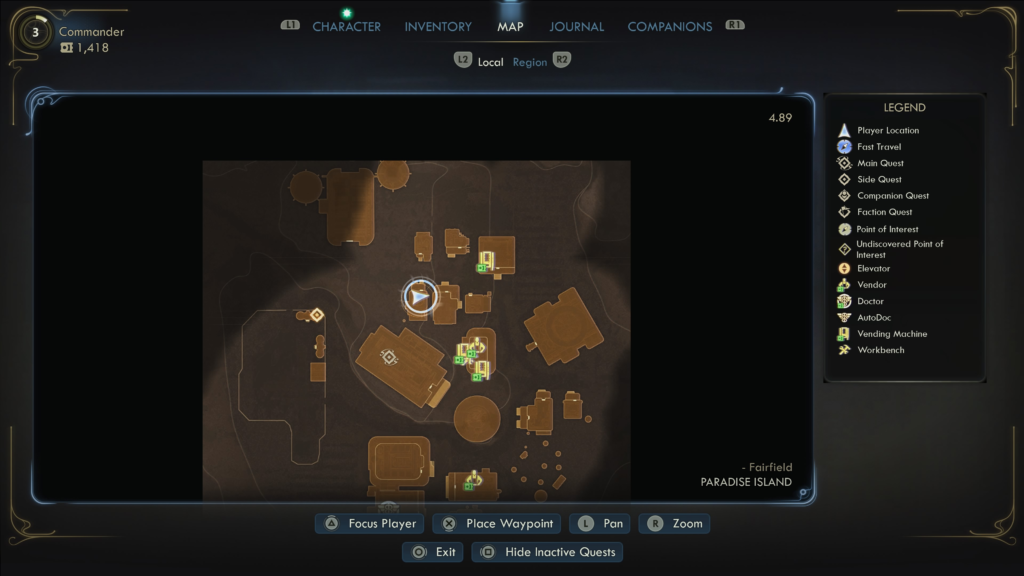
Find Information on de Vries in Fairfield
Explore Fairfield
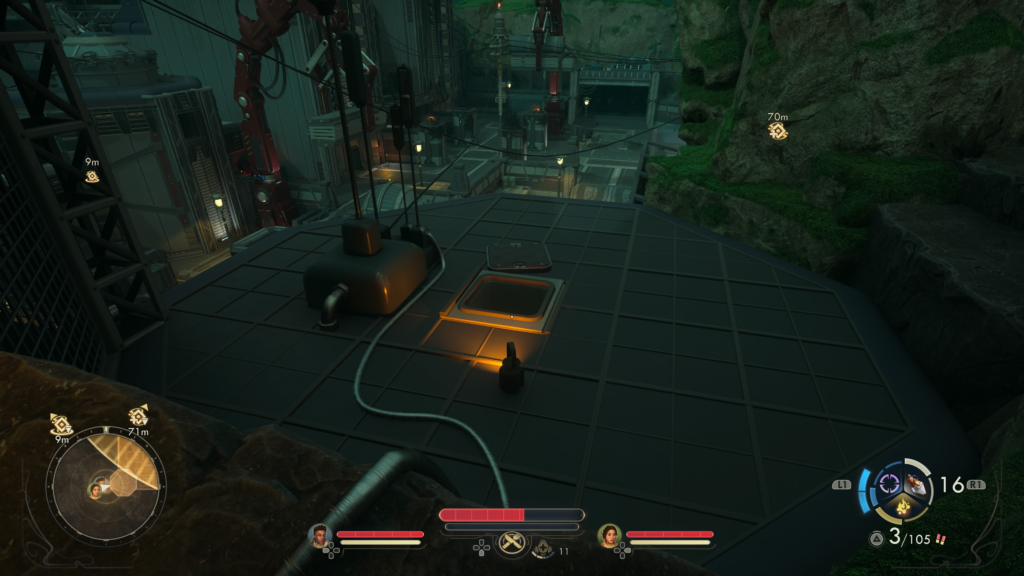
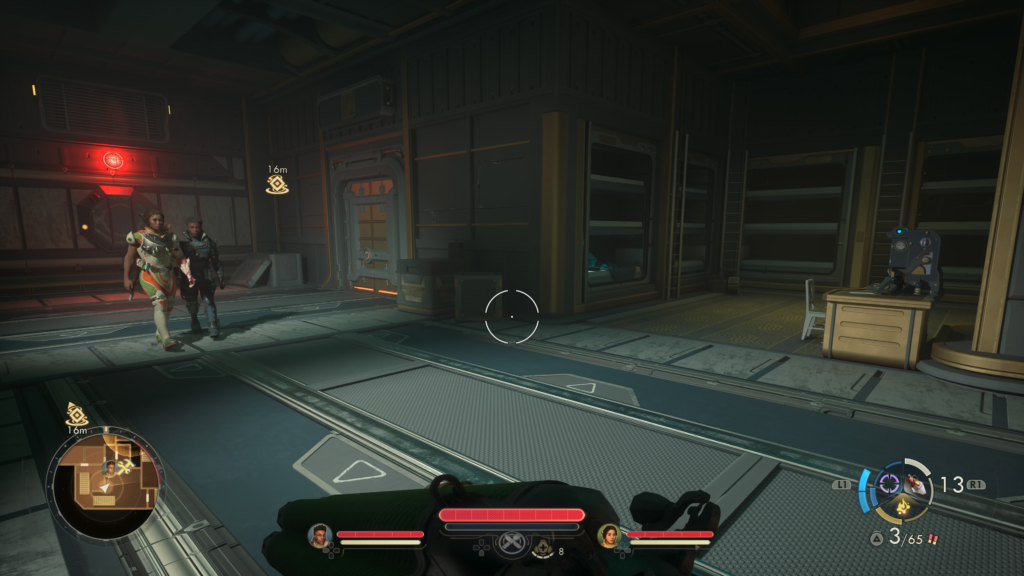
Proceed to Fairfield by following the tracks northwest from the landing pad. Along the way, you’ll come across some dead Corporate Troops on the ground.
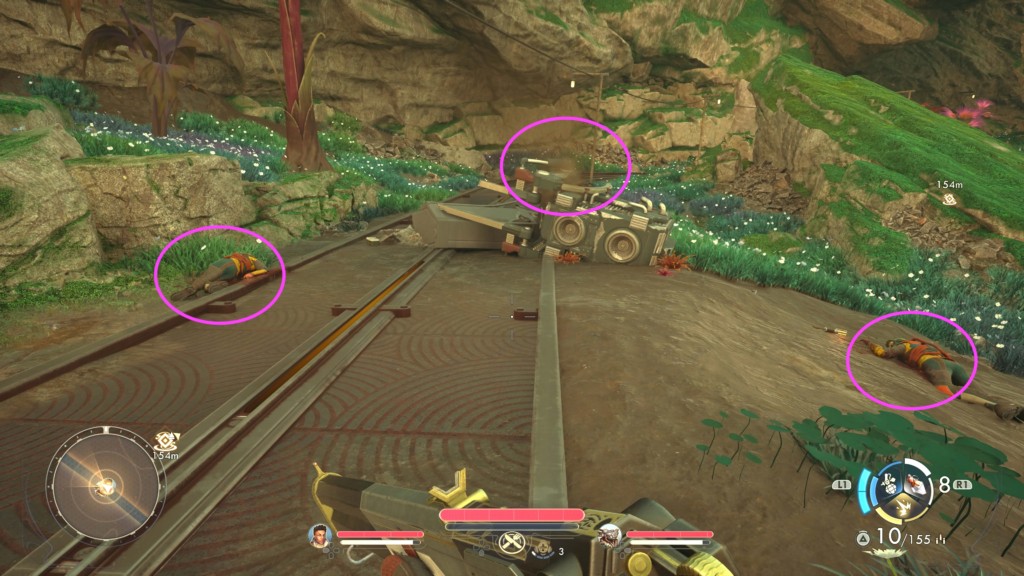
Loot them all to receive a Commemorative Tossball and Extra Holster. From those troops, if you head northeast towards the beach, you’ll find another dead trooper with a Triple Barrel Shotgun.
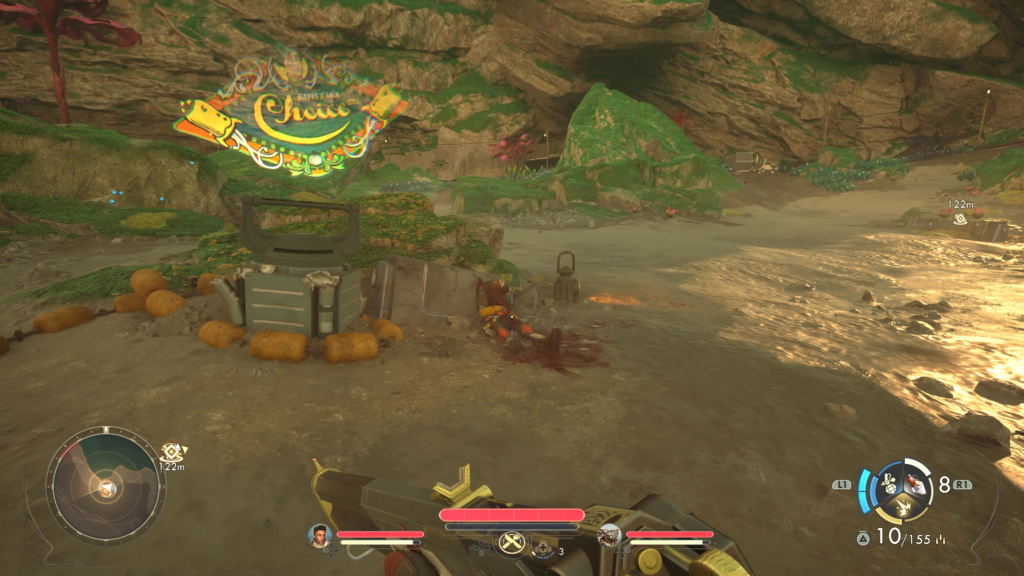
From the beach, head north to arrive at the southern entrance of Fairfield.
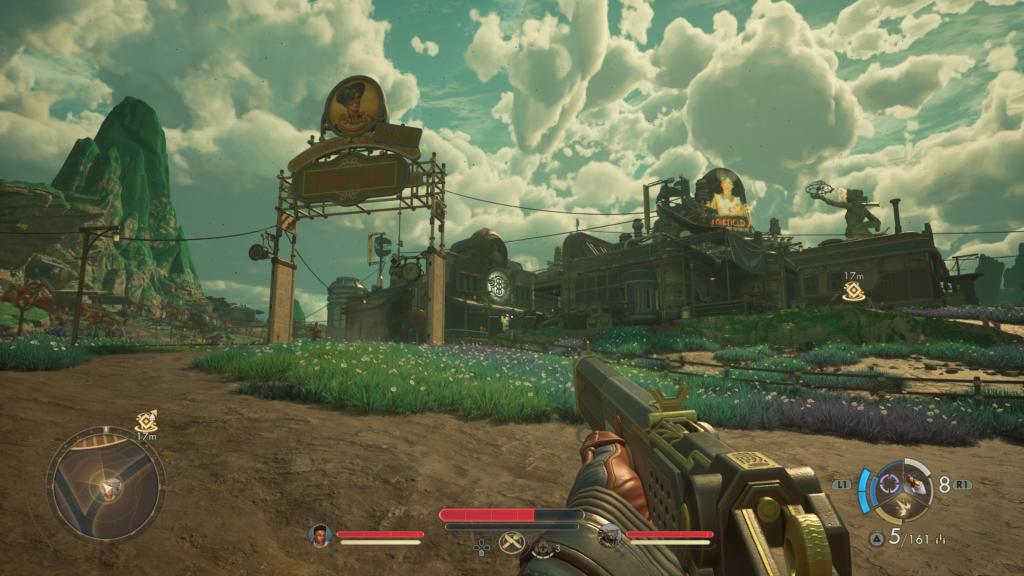
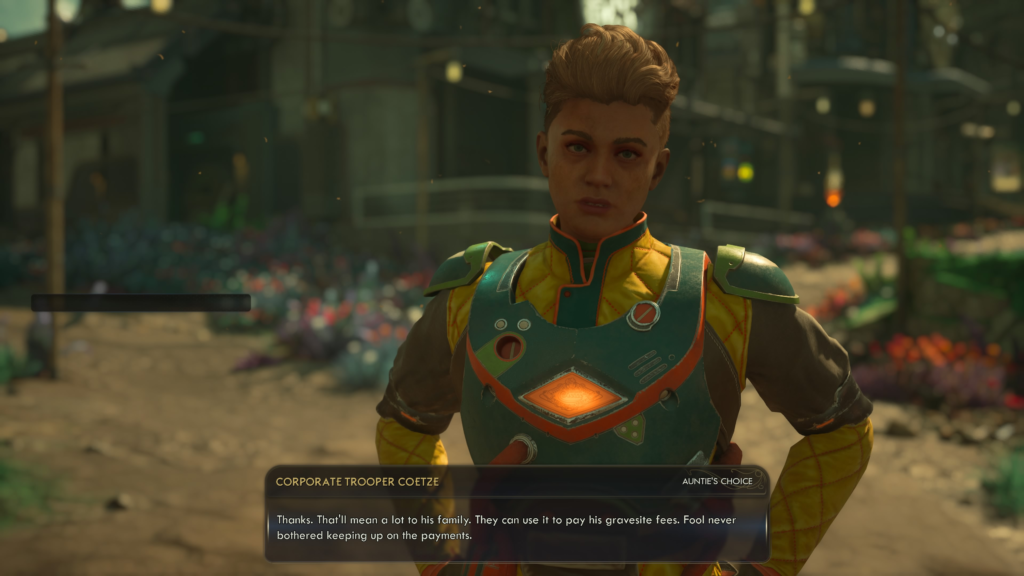
Approach the gate to be stopped by Corporate Trooper Coetze. Speak with her and exhaust all of her dialogue options. This will result in her telling the commander that Minister Milverstreet at the town hall may have some information on de Vries.
When you speak with her about the “Is it normal to get shot at by automechanicals on the way to town? Or are we just special?” option, she’ll ask if you saw any signs of the overdue convoy.
We told her that we found evidence of a battle, and it didn’t look too good. She’ll then say that she had a friend on that detail and ask if you found his keepsake. Hand over the Commemorative Tossball to increase your Auntie’s Choice rep.
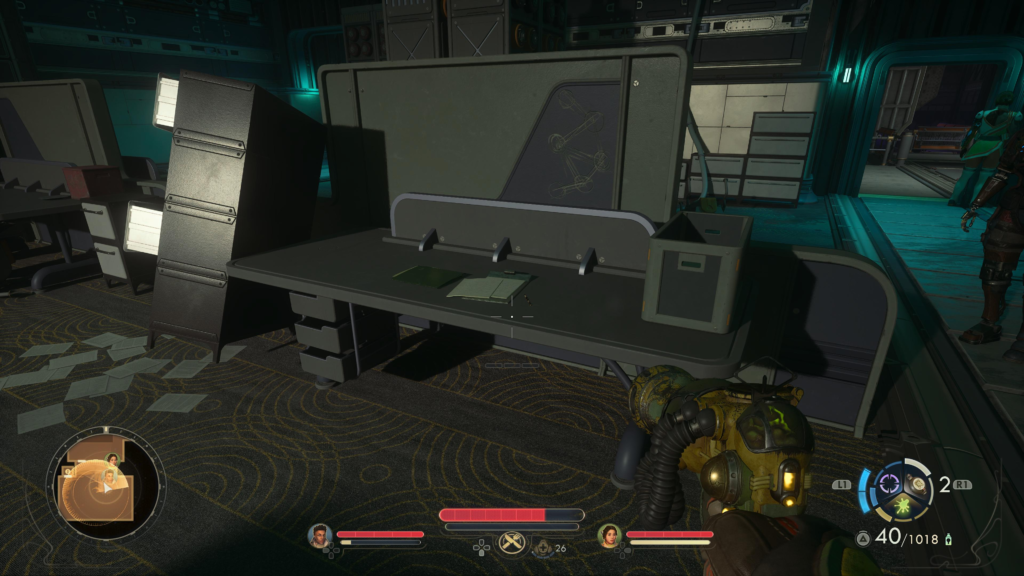
Head to the building near the center of town (town hall) with the giant Auntie Cleo image on it, then go inside. Enter the room on the right and interact with the device on the table to learn that de Vries was assigned a house with red trim and rounded windows.
Exit the room and then head to the back of the room, where Auntie Cleo is on the giant monitors, to trigger a cutscene.
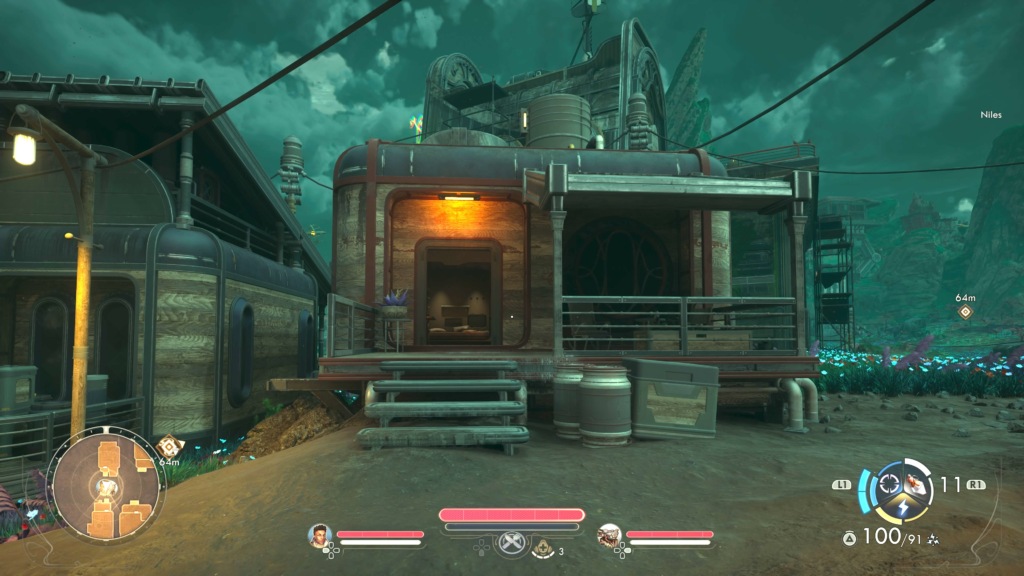
Locate de Vries’ House
De Vries’ house can be found on the north side of Fairfield, just north of the town hall.
When you’ve located her house, interact with the terminal inside and exhaust all the options. Next, pull the lever next to the toilet to reveal a hidden room!
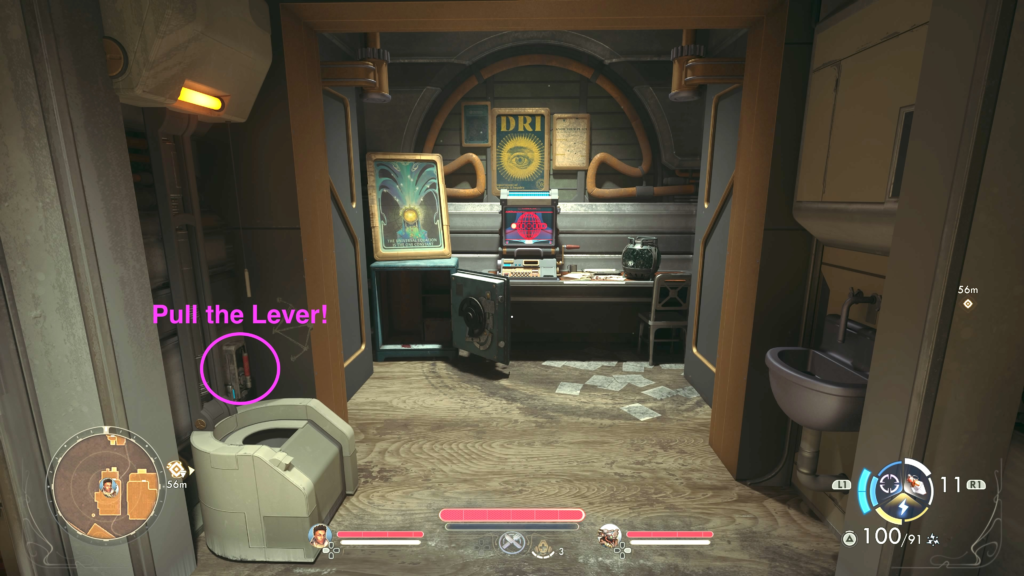
On the table, interact with the canister to find de Vries’ submerged tracker.
Before leaving, make sure to also use the terminal on the table in the hidden room and exhaust all the dialog options. This will trigger the Stalking an Associate of Angry Ascendance task! Talking to Savannah may yield more information about de Vries’s whereabouts or aid your infiltration of the Vox Relay Station!
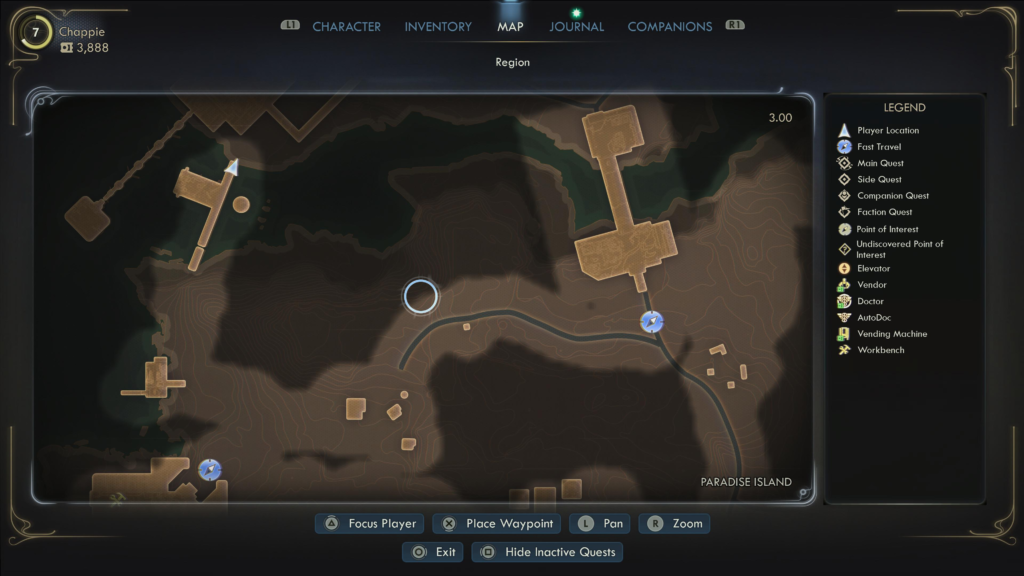
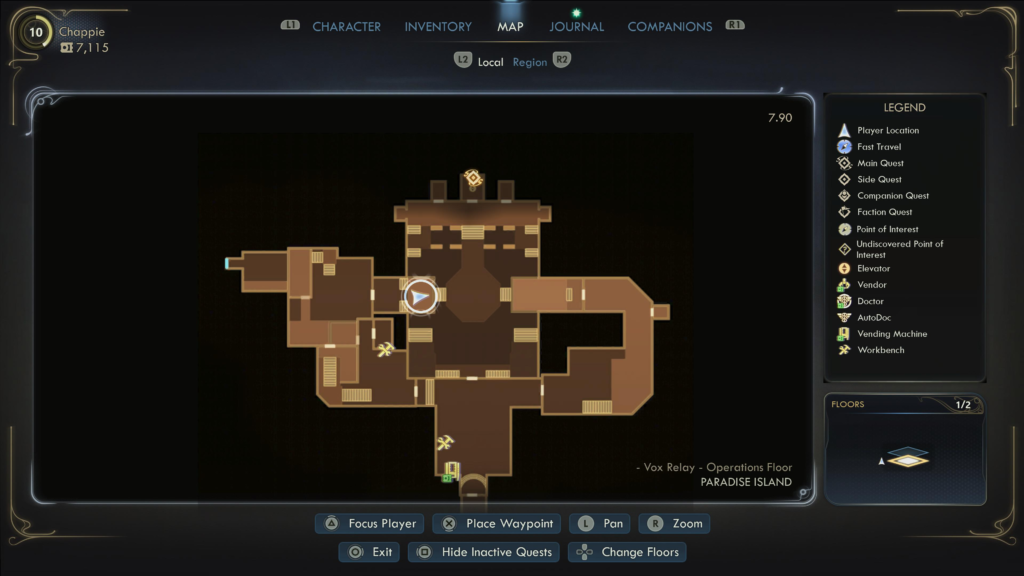
Infiltrate the Vox Relay Station
Seek Assistance in Infiltrating the Vox Relay Station
To get assistance infiltrating the Vox Relay Station, you have two options: work with Minister Milverstreet or with Acquisitions Officer Kaur. Choosing to help one will lock you out of helping the other, and both can be found in the town hall.
Minister Milverstreet will ask that you move the residents of Westport to Fairfield permanently, while Officer Kaur will want you to disable the Euphoria Coast Automech Repair Center permanently. There are also several other options listed below that you can take to infiltrate the Vox Relay Station.
Aiding Minister Milverstreet
Choosing to help out Minister Milverstreet means that you’ll be locked out of helping Commander Kaur, and he’ll give you The Brain Benders of Auntie’s Choice side quest. Complete that and you’ll gain his support in crossing the bridge.
Helping Acquisitions Officer Kaur
Choosing to help out Kaur means that you’ll be locked out of helping Minister Milverstreet. Speak with her in her office at City Hall, and she’ll give you the Above and Beyond Repair side quest. Complete that and you’ll gain her support in crossing the bridge.
Convincing Commander Torres to Assault the Bridge
Another option is to speak with Commander Torres at the forward operating base. If you complete the A Sprat to Die For task quest, you could persuade Torres to help you assault the bridge, saying that Kaur only cares about results, so if you take the bridge, then he wouldn’t get in trouble. You will need to have Speech 3 to convince him to support this plan.
Assist Vigilant Hogarth in Westport
If you travel to Westport, located northeast of Fairfield, you can speak with Vigilant Hogarth there, who is looking for help to get the townspeople back on their feet. If you agree to help him by completing the Saga of the Malfunctioning Mechanicals side quest, then he will tell you how to sneak past the bridge into the Vox Relay by using the crashed ship north of Westport.
Upon finishing the quest, he’ll also give you a Writ of Conscription. While it won’t get you past the bridge, you can present it to Sentry Second Class Lehman to get into the Vox Relay Station. Once inside, you’ll need to speak with Marshal Corbin (if you didn’t previously kill him!).
Strike a Deal with Senior Warden Weintraut
Travel to the Bridge of the Reverent and speak with Senior Warden Weintraut guarding the bridge. You could strike up a deal with her to allow passage across the bridge by completing the For Whom the Bridge Tolls side quest.
Use the Gas-Energy Deflection Apparatus
If you complete the An Aegis Against the Miasma side quest at the Euphoria Coast Automech Repair Center, you’ll receive the Gas-Energy Deflection Apparatus. This shield allows you to pass through zyranium safely and can be utilized to sneak through another bridge west of the Bridge of the Reverent without having to pick a side.
Infiltrate Vox Relay
Now that you’ve likely made your choice, it’s time to head for the Vox Relay. If you’re going to utilize the forward operating base, then head there and speak with Commander Torres to begin the operation.
Alternatively, if you worked out a deal with Senior Warden Weintraut, you can walk across. There are also the side routes if that’s what you’re feeling.
Once you’re on the north side of Paradise Island, there is a detour you’ll want to take. If you sided with Officer Kaur in Fairfield, she will give you a side quest, Ascent in the Howling Tower, that has the commander scaling the tower to send a power surge to the Vox Relay, damaging some of its defenses. Doing that will make it a little easier to infiltrate the Vox Relay.
If you didn’t side with Officer Kaur, you can still run through the steps of the Ascent in the Howling Tower side quest to damage the Vox Relay’s defenses. It just won’t be an actual quest!
When you’re ready to head to the relay, there are a couple of ways you can go about doing so:
- Speaking with Sentry Second Class Lehman at the southern entrance, using the Writ and Speech 3
- Heading in through the sewer
- Via the path on the western side
Speaking with Sentry Second Class Lehman at the southern entrance, using the Writ and Speech 3
This is by far the easiest way to infiltrate the Vox Relay Station!
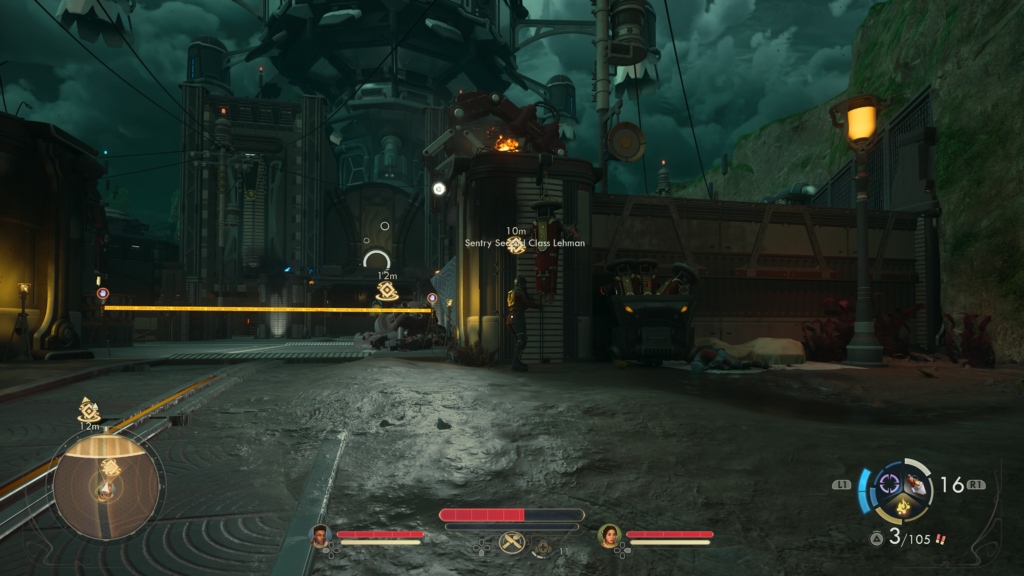
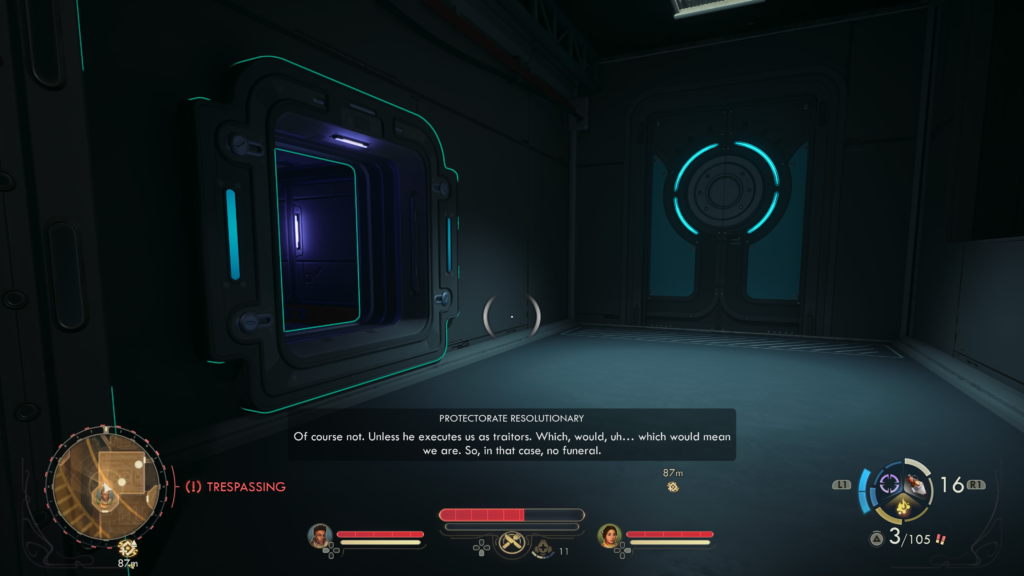
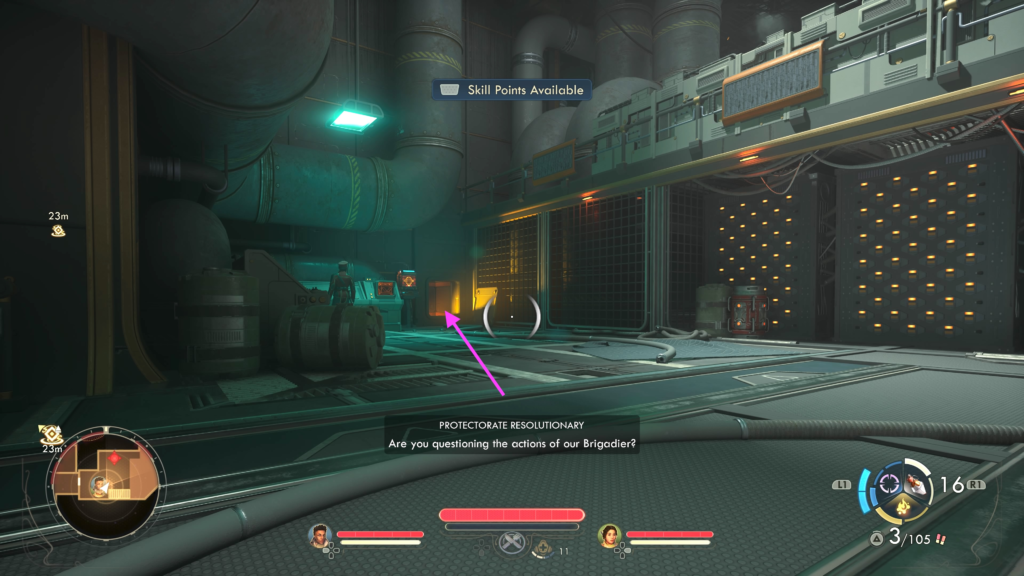
As you approach the southern gate, you’ll find Sentry Second Class Lehman tinkering with one of the hanging prisons. Speak with her using the Writ of Conscription option. You’ll then need to use the Speech 3 option to convince her to let you in. Afterwards, exhaust her options!

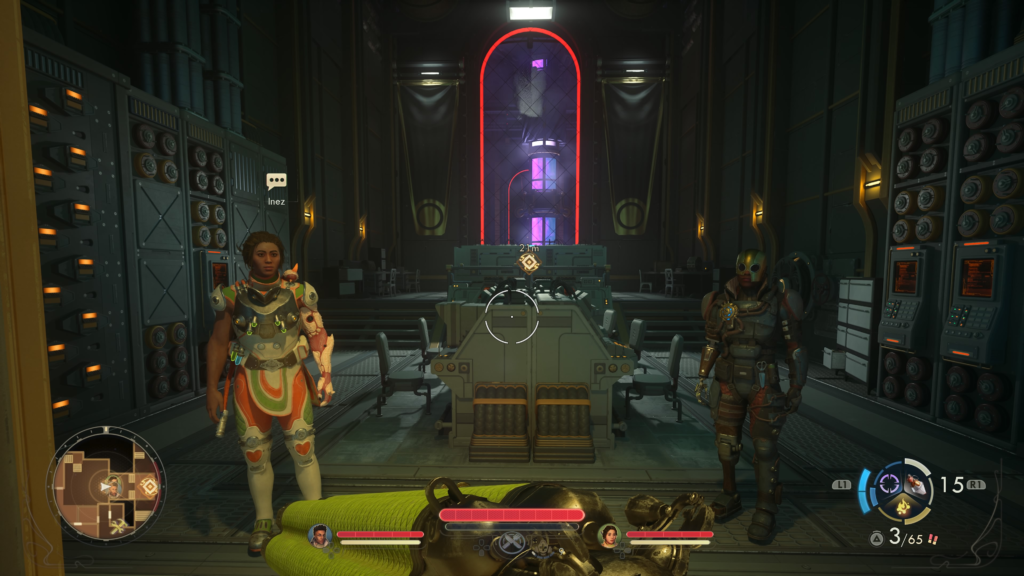
Once you find yourself inside, head straight through the doors and continue straight ahead to find Marshal Corbin (or not if you killed him!). As you approach the windows, you’ll witness Brigadier Montelli carry out a sentence.
Heading in Through the Sewer
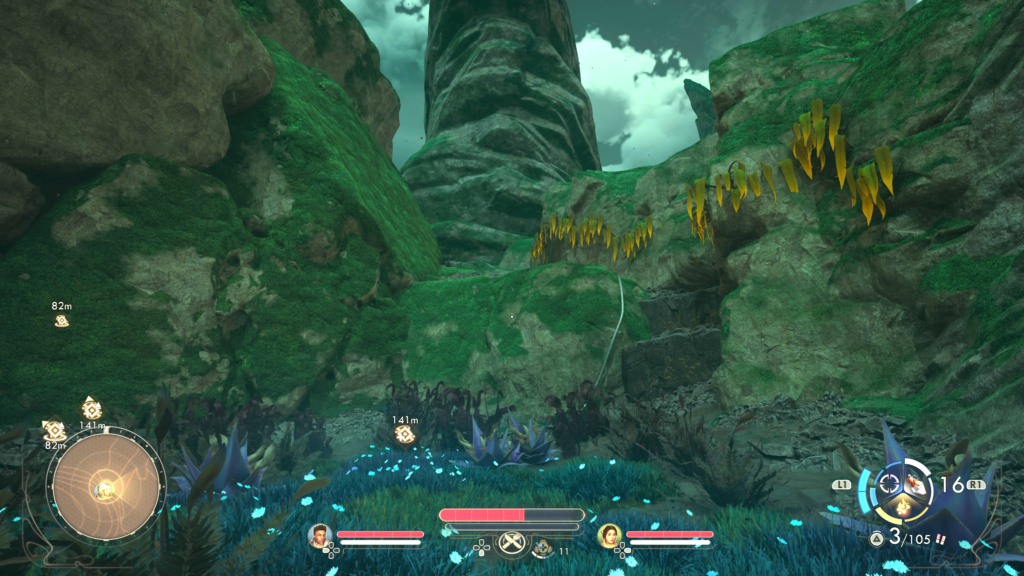
The other way you can enter the Vox Relay is through the sewers. To access them, you’ll need to head to the deepest part of the Raptidon Den in the northern part of Paradise Island. You’ll find the access point just past where the Raptidon Matriarch was.
Head through the pipe and you’ll run into Cadet Warden Atarah in the Vox’s sewer. Speak with her, and she’ll be freaking out about what is happening in the relay. If your Speech skill is at Level 3, you can convince her to leave through the sewers, saying that you took care of the raptidons. She will then reward you with a Vox Armory Key.
From there, head up the nearby ladder and follow the walkway to reach another ladder. Take it up and you’ll be inside the Vox Relay on the western side. Then, you’ll want to head through the nearby door and deal with the enemies. Once they are cleared, take the stairs in the room up and follow the path leading towards the center of the facility.
Once you reach the area with all of the beds, turn left towards the beds to find the locked armory door. You can use the key if you got it from Atarah to unlock it, revealing some gear and a workbench. Continue heading east to reach Marshal Corbin near some windows, watching the Brigadier General execute some of his comrades.
Via the Path on the Western Side
If you choose to sneak in via the western side of the Vox Relay Station, start with your back to the station’s southern main entrance and follow the road as it curves to the right. Just past the checkpoint, take a right and hug the cliffs.
Along this cliff, you’ll spot a thick cord.
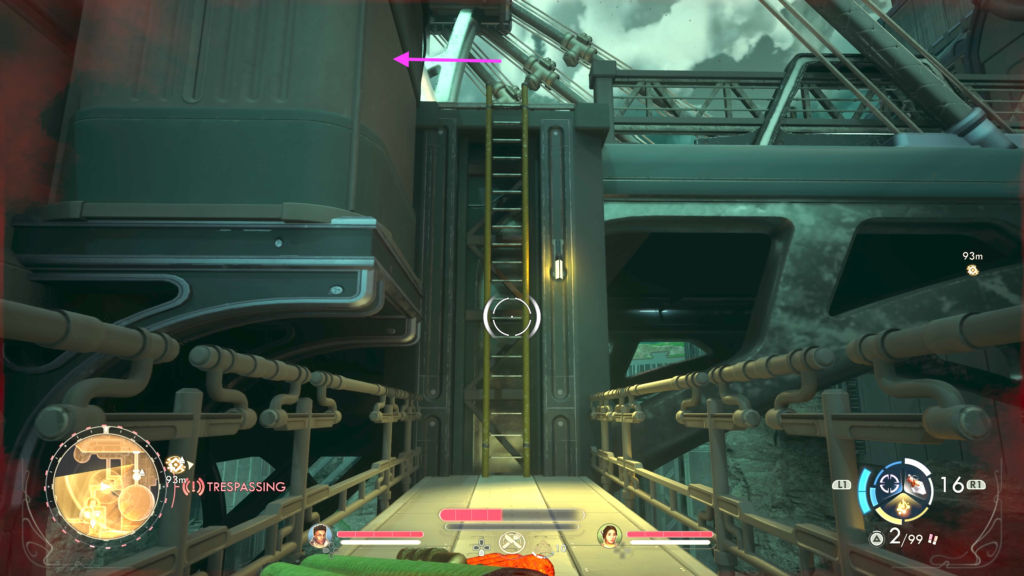
Follow it up into the cliffs and follow the cord to reach an open hatch in the roof on the western side of the Vox Relay.
Head inside and climb down the ladder. No one will be in this part of the building. Once you open the door, however, all the guards outside will be hostile. You’ll find yourself in the station to the west of the southern entrance.
Head straight ahead to the locked door and open it using Lockpick 3 and a Magpick. Next, head down the stairs, go through a doorway, and take a left into a vent.
Follow it to reach a maintenance room filled with enemies. You’ll need to head across the room and use the door to reach an outdoor metal walkway. There will be one enemy here that you’ll need to sneak around. Keep following the path and take the ladder up.
Be careful of the enemies at the top and take a left, heading through the door into Vox Relay.
Once you find yourself inside, head straight through the doors and continue straight ahead to find Marshal Corbin (or not if you killed him!). As you approach the windows, you’ll witness Brigadier Montelli carry out a sentence.
Explore the Vox Relay Station
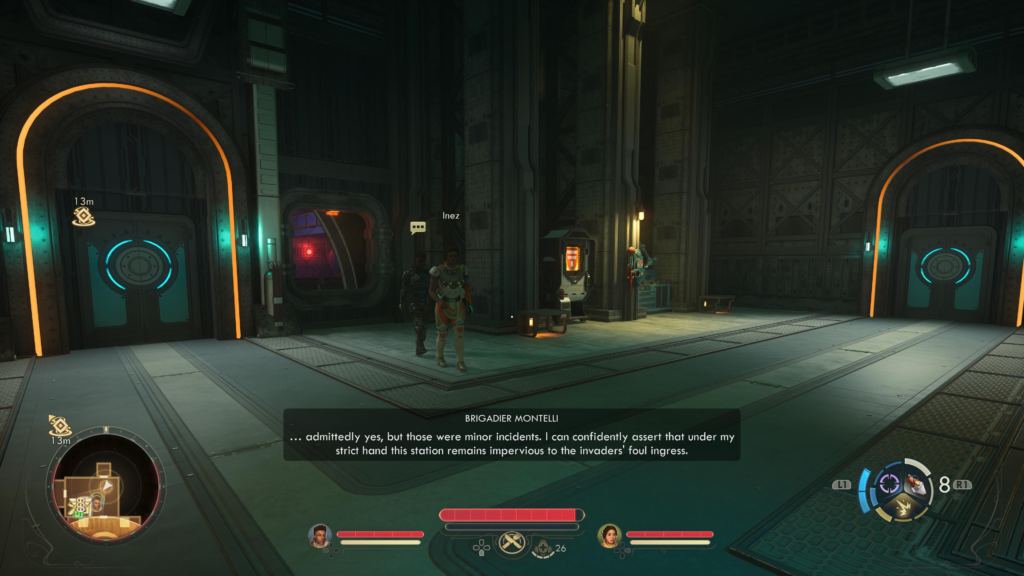
Speak with Warden Corbin (Or Don’t)
Corbin will only appear here if you helped him in the first mission to erase his record. If he’s not there, then you’ll still need to get the keycard to access the command floor, and you’ll end up confronting Montelli with just your immediate party.
If you speak with Corbin using the writ option, he’ll task you with checking out Montelli’s terminal upstairs and say he wants to try talking Montelli down. As you continue your conversation, you can convince him to obey Hogarth and kill Montelli instead if you have Speech 3.
Find Montelli’s Terminal
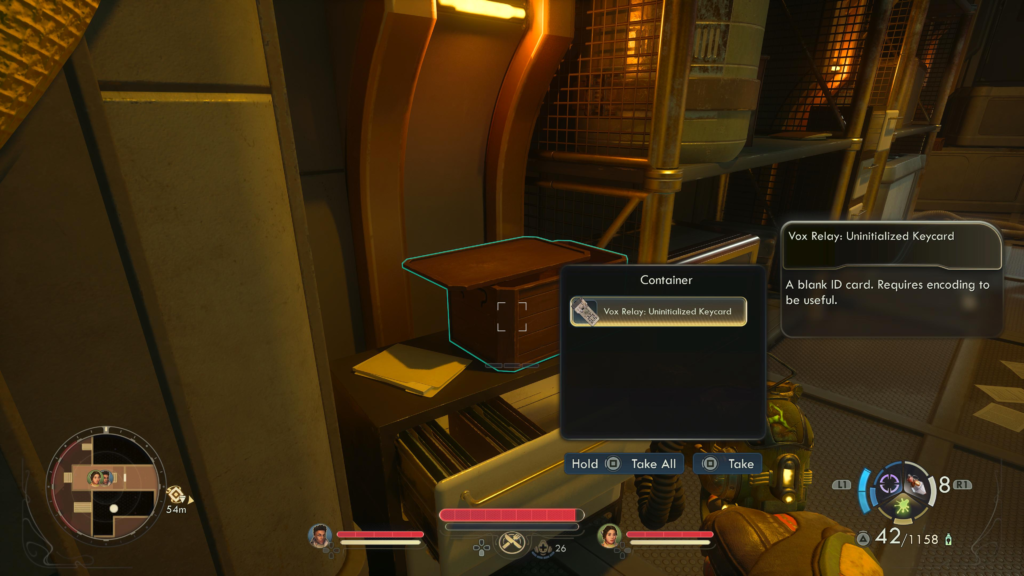
To reach it, you’ll need to find a blank keycard in the contraband room, then take it to the security offices and use the terminal there to encode it with the proper access.
To reach the contraband room, head east from Corbin and follow the path to the end.
If you wish to sneak past the enemies, use the vents!
Once you arrive, head up the small flight of stairs and take a left. The Vox Relay: Uninitialized Keycard will be in the container on a filing cabinet.
Before heading to the security offices, head right down the same aisle as the container to find a lockbox.
Now it’s time to head to the security offices. There are two ways to reach this room and which way you’ll get to take depends on how you entered the facility!
If you snuck in through the entrance in the Raptidon Den and unbarred the door in the quarters that lead to Corbin, then backtrack the way you came and simply head through the door west of where Corbin was to reach the quarters. From there, head up the stairs and enter the room at the top.
If you did not sneak in through the Raptidon Den, you will need to hop in the vent above the container with the keycard. In this vent on the right side, you’ll encounter a terminal. If you have Hack 4 and a Bypass Shunt, you can deploy drones on the enemies in the room below!
When you emerge from the vent, you’ll spot a set of stairs going down. Ignore that for now! Instead, head into the room to the right.
If you previously cleared out the Raptidon Den during the Better than Nature companion mission, enter the room on the northwestern side of this room and take the ladder down to reach the sewer, where you’ll find Cadet Warden Atarah.
Speak with her and convince her to leave, saying that you already cleared out the raptidons. As a thanks, she’ll reward you with the Vox Armory Key.
You can bring this key down the stairs next to where you had emerged from the vent. There, you’ll find some quarters. Use this key on the locked door to open it, revealing a bunch of goodies inside, along with a workbench!
In the room across from this room, you’ll find a clinic with an AutoDoc on the wall.
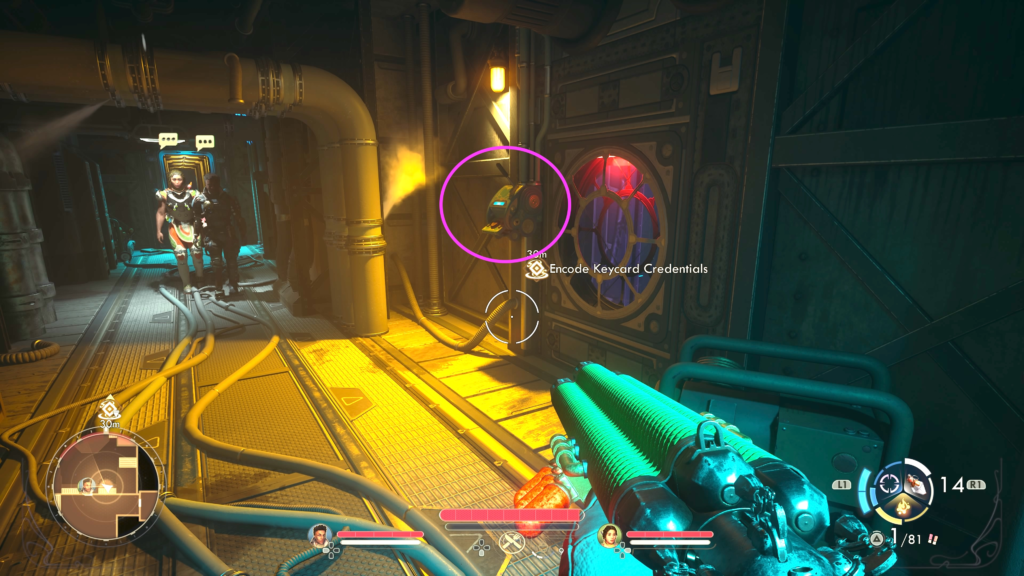
No matter which way you take, you’ll arrive in the same room just before the security office. When you are ready to proceed, enter the security office and use the terminal in the back of the room to encode the keycard.
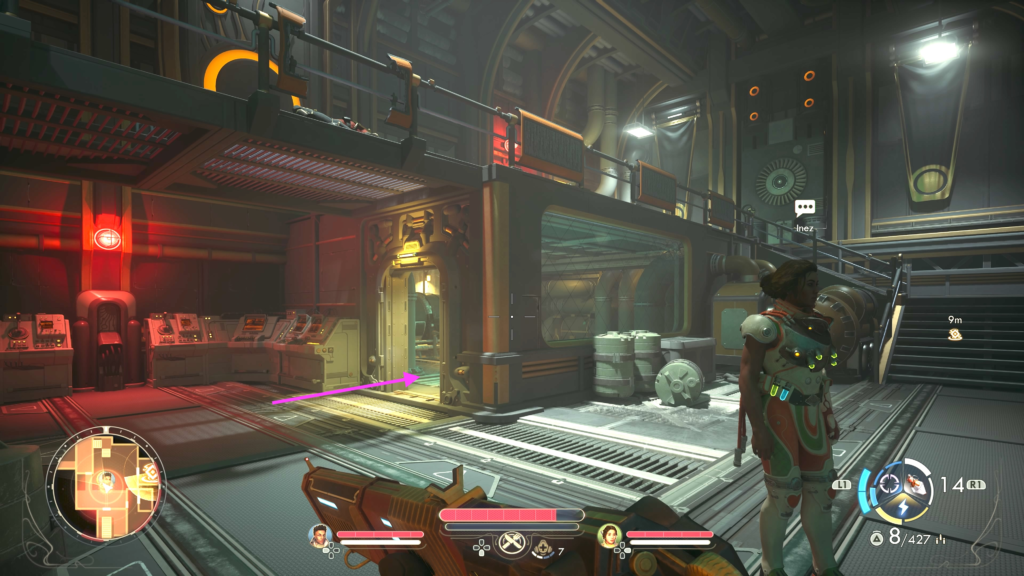
With the encoded keycard in hand, return to the area where Corbin was and head through the northern door. This will bring you into a large, open room filled with many guards and mechanicals. You’ll want to head to the lift in the northern part of the area and take it up to the Command Floor. You can either sneak past all of the enemies or take them out before using the lift.
When you reach the command floor, head through the door on the western side to reach Brigadier General Montelli’s office.
Interact with the terminal and check both his messages and private entries. If you previously agreed to Corbin’s plan, you’ll have the option to “Send Corbin’s Official Notice of Relieving Montelli of Command”.
Once you’re finished, return to the room by the lift and head through the southern door to face Montelli. As soon as you open the door, Corbin will appear (if you helped him), and you’ll confront Montelli.
If you want to follow Corbin’s plan by making him see reason, you will need one of the following:
- Leadership 5
- Speech 5
If you cannot or will not talk Montelli down and have Speech 4, you will attack him with Speech Attack: Enrage.
Make sure to grab the Chainspark Cannon unique weapon! If you fought Montelli, loot it from his corpse. If you did not kill Montelli, you’ll find it leaning against the console he was standing in front of.
Find de Vries’ Safe
After the Brigadier General has been dealt with, head to the room on the south side of the command floor. Look for the desk with a familiar symbol carved on the back and pick up the White Chocolate Gummies on it to receive De Vries’ Rootkit. Use the rootkit on the device at the back of the room, and select the Open Saferoom option.
Mosey on over the eastern side of the room to find the hidden room. Go inside the room and loot the container to get some bits, a Trauma Kit, and 2 Advanced Decryption Keys, among other things.
Interact with the terminal next using de Vries’ Agent Code from the Stalking An Associate of Angry Ascendance side quest. You’ll then want to read all of the messages. As soon as you exit the terminal, de Vries will message you that she is launching the station, and it will take several minutes to reach its target, Fairfield!
Interact with the terminal at the back of the room to be presented with a choice. You can let the station hit Fairfield, which will wipe out the town, or you can set the destination to be Westport. If you have a Hack skill of 4 and a Bypass Shunt or the Lucky trait, then you can prevent either town from being destroyed!
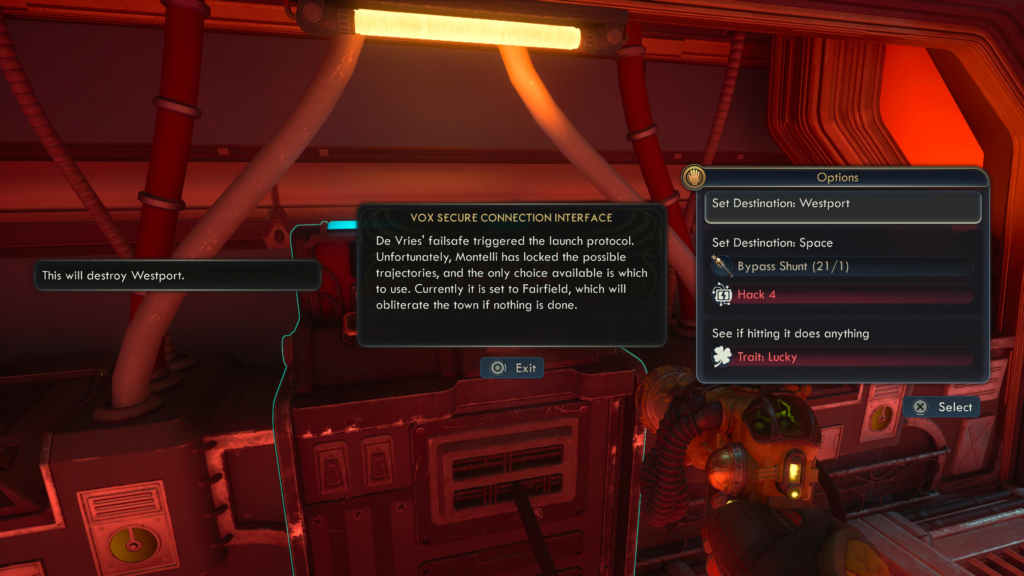
After making your choice, use the elevator in the corner of the room to make your escape. Outside, a cutscene will trigger showing the results of your choice, completing the main quest!
Related The Outer Worlds 2 Content
Looking for more The Outer Worlds 2 content? Use the links below to keep exploring our guides:
- Main Page: Visit our The Outer Worlds 2 Guides and Walkthroughs hub for all our latest content!
- Official Website: Check out the official The Outer Worlds 2 website for news and updates!