Welcome to NGB and our walkthrough for The Last Voyage of the ACS Free Market in The Outer Worlds 2. This quest sends you to investigate what caused the crash of the ACS Free Market. Our guide will walk you through all the objectives, highlight the best strategies, and make sure you don’t miss any rewards.
Quick Links
The Last Voyage of the ACS Free Market Side Quest Guide
How to Start the Last Voyage of the ACS Free Market Side Quest
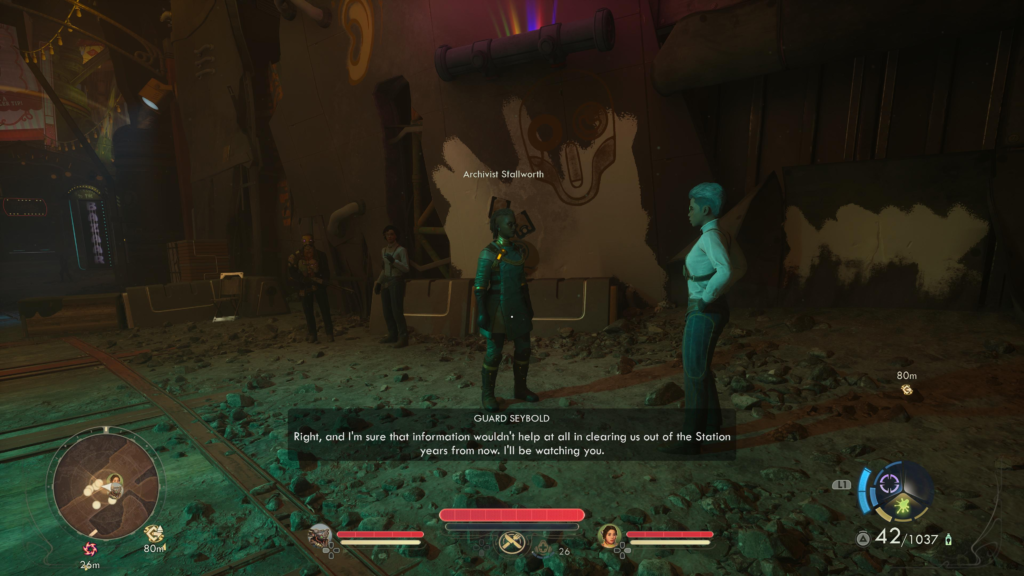
To start The Last Voyage of the ACS Free Market side quest, you’ll need to travel to Free Market Station. Once you arrive, pass under the ACS Free Market sign to hear two people arguing. Approach them and speak with Archivist Stallworth afterward. She’ll ask you to help uncover the events that led to the scuttling of the ACS Free Market.
The Last Voyage of the ACS Free Market Walkthrough
Search for Clues
Acquire Prospero’s Information
To find some clues on the Last Voyage of the ACS Free Market, head to The 2nd Choice saloon and speak with Prospero Paolo. Ask him about the ACS, and he’ll say that you’ve come to the right person. He’ll also say that, to give you the info you’re looking for, he needs a little favor first.
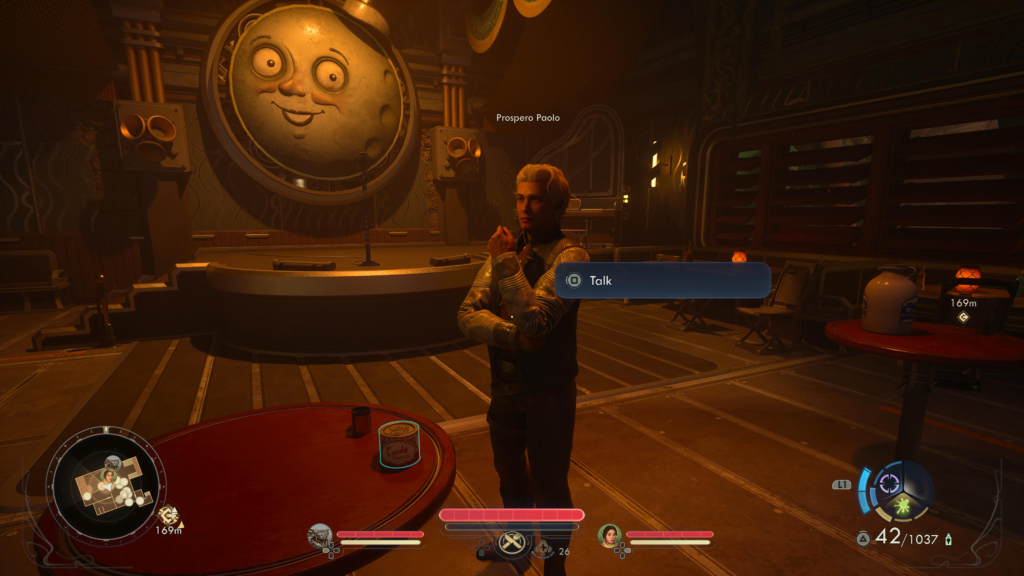
Paolo has learned that an old flame of his is attending his next show, and he’s so distracted by it that he is fixating on the most minor issues. Agree to lend him a hand and ask what he needs. To fix the problem, he needs some liquid courage—Iceberg Aged Whiskey, a super-rare brand!
Travel to the west side of the market to find Chef de Mecanique’s liquor shop. Speak with the mech to inquire about the fancy drink. He’ll say that he has some reserved for Prospero Paolo and that he cannot give it to you because you aren’t Paolo.
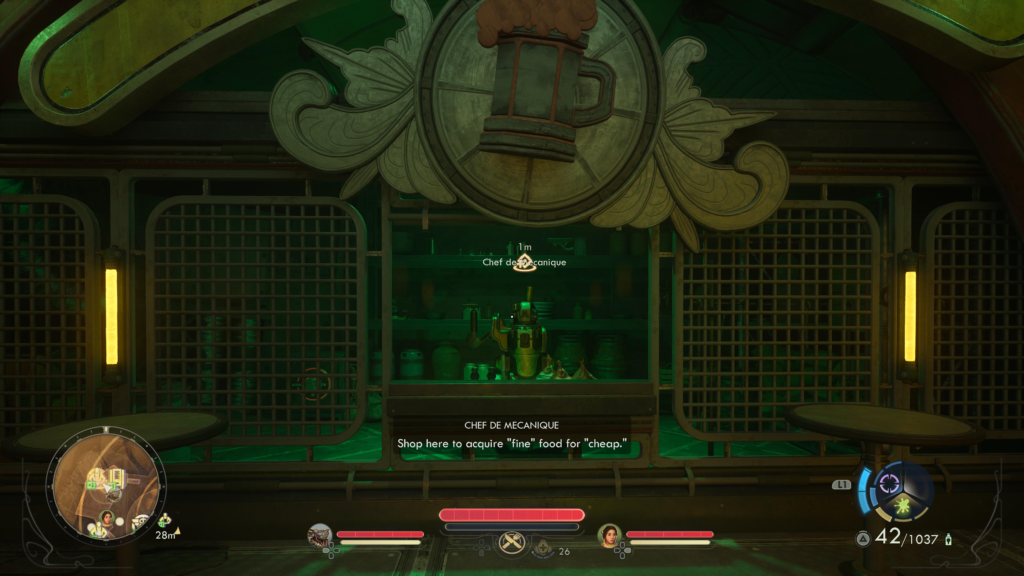
If you have the Innovative Trait or Hack 3, Chef will just hand over the whiskey.
If not, then you’ll need to head to the right towards Miguel Funetes’ shop to find an opening between the two. Take it to reach the area behind the chef’s counter. You’ll find a safe there that requires Lockpick 5 and 1 Mag-Pick to open. Pick the lock to collect the whiskey.
Return to Paolo to deliver the adult beverage. He’ll then spin quite the tale about the ACS Free Market.
Acquire the Insurance Policy Info
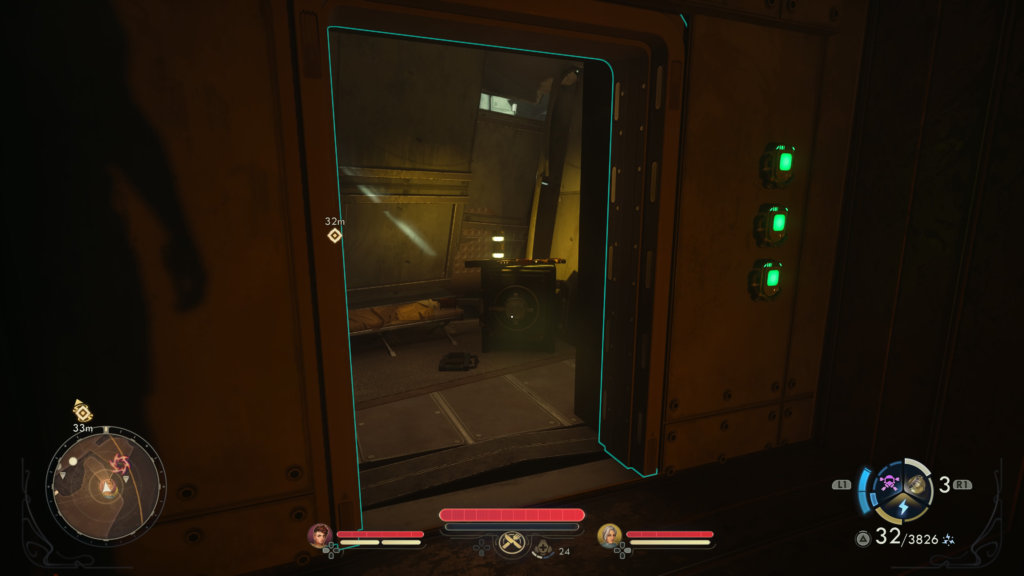
While still in the saloon, enter the bathroom and open the vent above the crates.
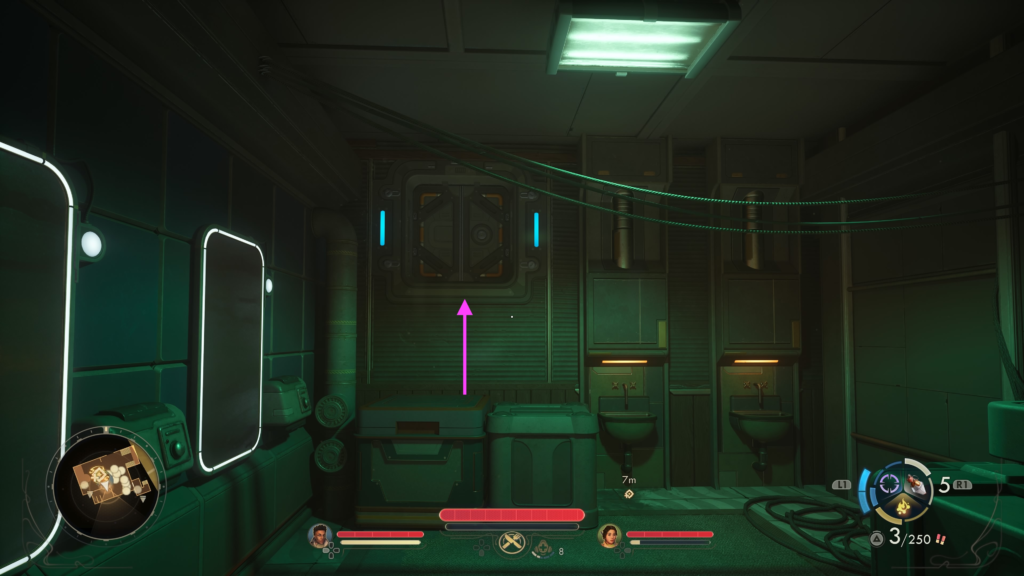
Follow along the shaft, then head down the stairs to reach a small room at the end. There will be a guy sleeping next to a terminal.
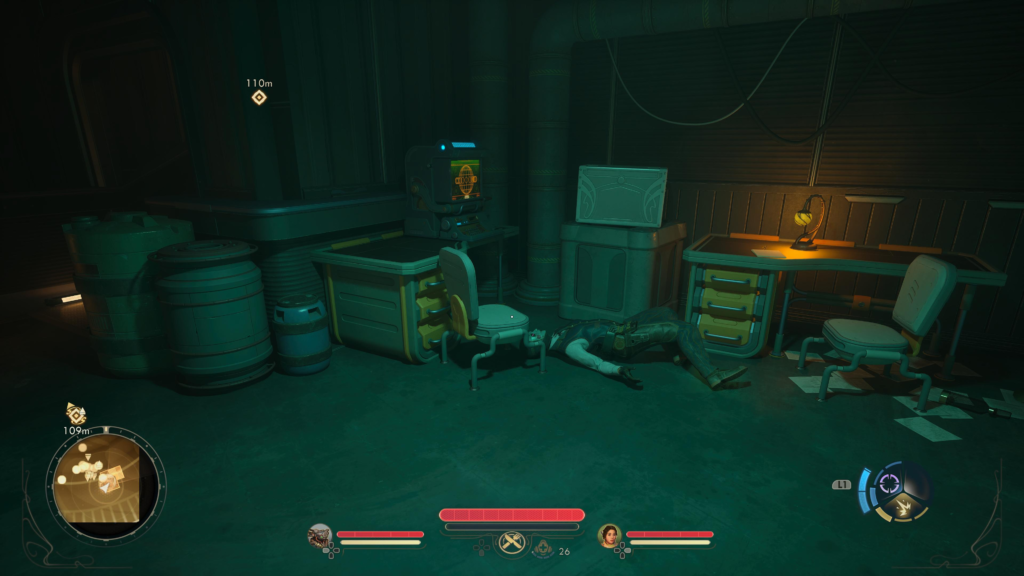
If you have the pickpocket perk, you can steal the Reminder Note from him that contains the terminal’s passcode. If you don’t have that perk, then take him out and loot the note. Make sure to read the note, then open the terminal and use it to access the files.
Acquire Otto’s Information
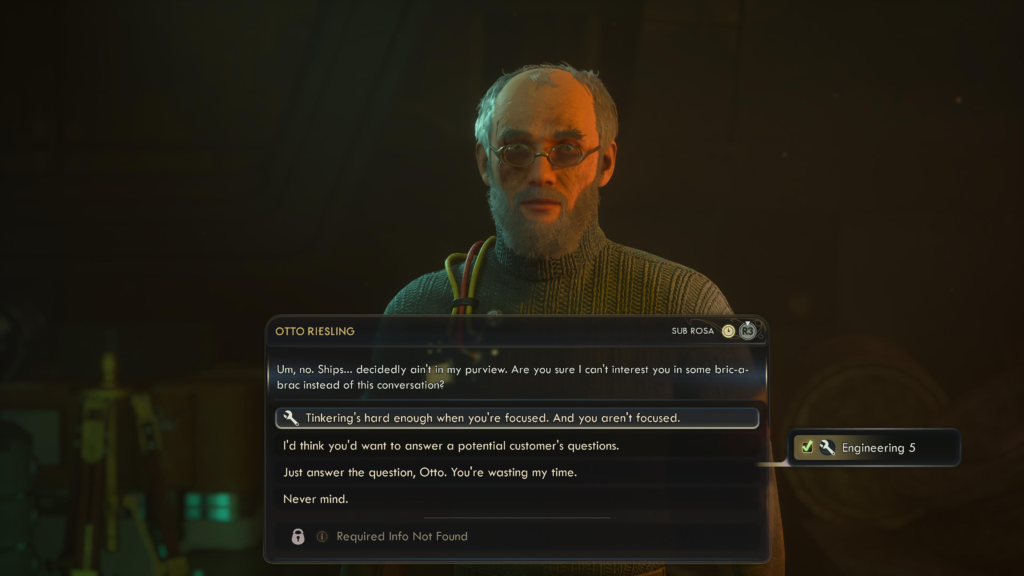
Next up, visit Otto Riesling at his shop, Oddments and Gubbin, on the north side of the market. Speak with him and inquire about the crash of the ACS Free Market.
To get him to talk, you’ll need to use Engineering 5, find his Soot-Smeared Journal, or buy a few items from his shop.
If you want to find the journal, you’ll need to head to the area with the rift just behind the ACS Free Market sign.

Once there, crouch walk through the opening just before the rift.

From there, hug the left side to reach a ladder. Take it up to find Otto’s 11 lock puzzle. You’ll need to flip the switches in a specific order to activate all three locks and open the door.
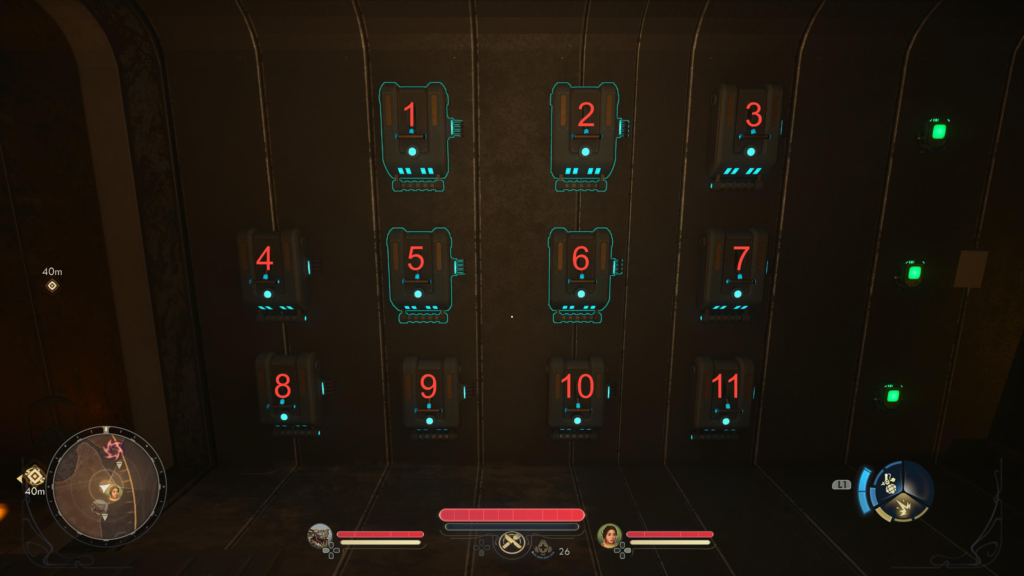
For this to work, you’ll need to acquire the N-Ray Scanner during the Discrete Mathematics main quest!
Following the key in the above image, flip the switches in the order mentioned below for each lock:
- 3, 2, 5, 8
- 7, 6, 1
- 11, 10, 9, 4
Once the door to the left of the switches is open, head inside and read the Soot-Smeared Journal.
Be sure to loot the Advanced Decryption Key from the chest in this room before leaving!
More Info
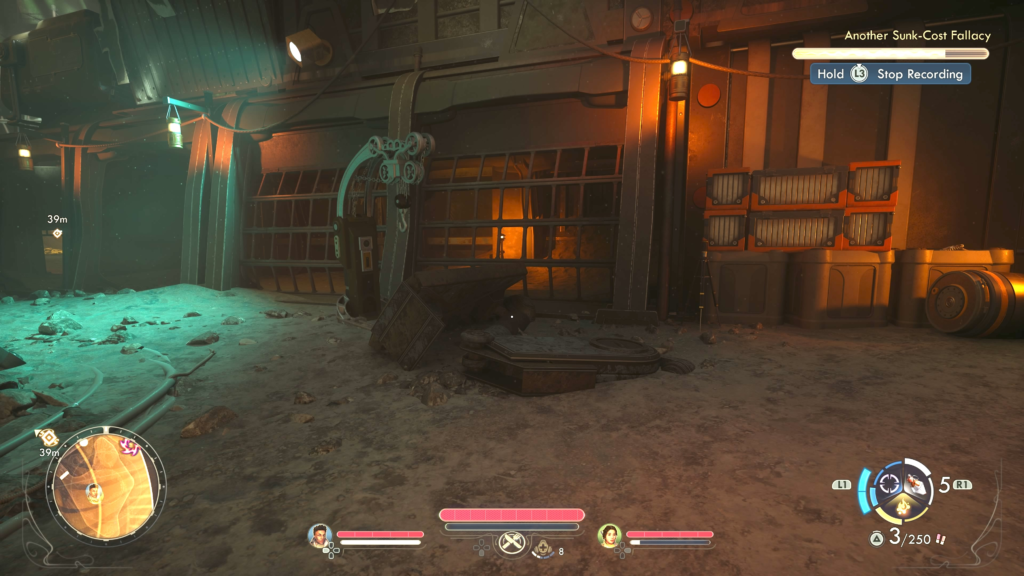
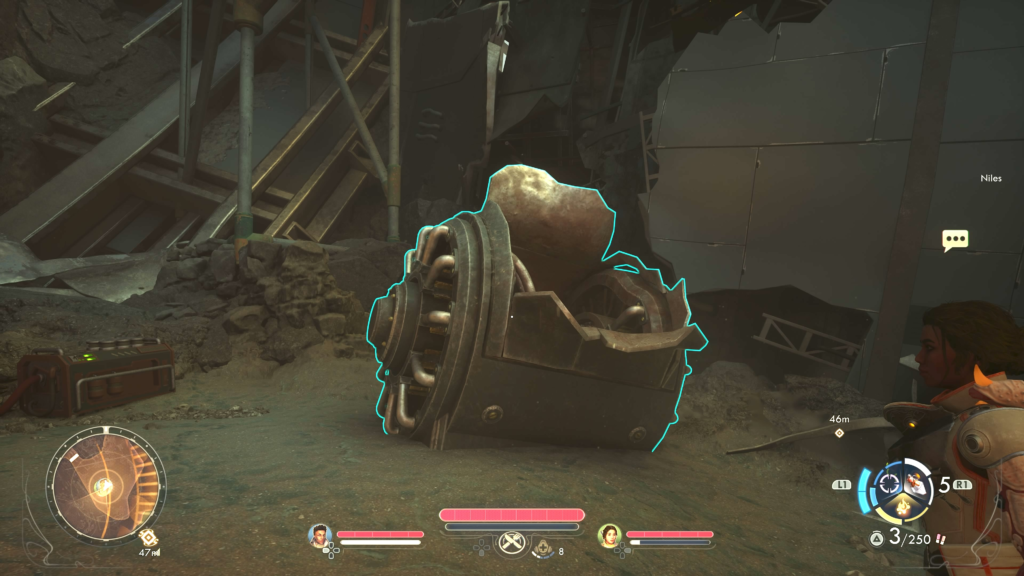
Just past the ACS Free Market sign leading to the bazaar, there will be a side area on the left you can take that has a rift. On the right before the rift is a small hole in the wall you can crouch through.
The items listed below can be found in this area:
- Buried Audio Log: Another Sunk-Cost Fallacy – Requires Brawny trait or Sneak 5
- Engine Debris – Requires Engineering 8
Return to Archivist Stallworth
After you’ve found everything you care to, return to Archivist Stallworth to tell her what you discovered. As a reward for completing her quest, you’ll receive credits and XP.
Related The Outer Worlds 2 Content
Looking for more The Outer Worlds 2 content? Use the links below to keep exploring our guides:
- Main Page: Visit our The Outer Worlds 2 Guides and Walkthroughs hub for all our latest content!
- Official Website: Check out the official The Outer Worlds 2 website for news and updates!