In Borderlands 4, the Kairos Job side mission puts you in the middle of a high-stakes heist. Team up with your new crew to pull off a daring theft and crack open a heavily guarded safe. What you find inside, however, might not be what you expected.
Quick Links
The Kairos Job Walkthrough
How to Start The Kairos Job Quest

To begin The Kairos Job side mission in Borderlands 4, speak with Shim at The Launchpad in The Howl during the Rush the Gate main mission.

How to Complete The Kairos Job Quest
A heist in this economy? Absolutely. Everyone knows the hardest part of any heist is having a good enough crew. Well, that and a foolproof plan. And a wild card crazy enough to pull it off. Wow, they’re lucky you showed up!
Take walk with Shim
Follow Shim around to the back of the building and speak with him to begin the Soundrel Roundup: Kilo mission. Speak with him again to begin the Scoundrel Roundup: Glitch mission.
Recruit Kilo
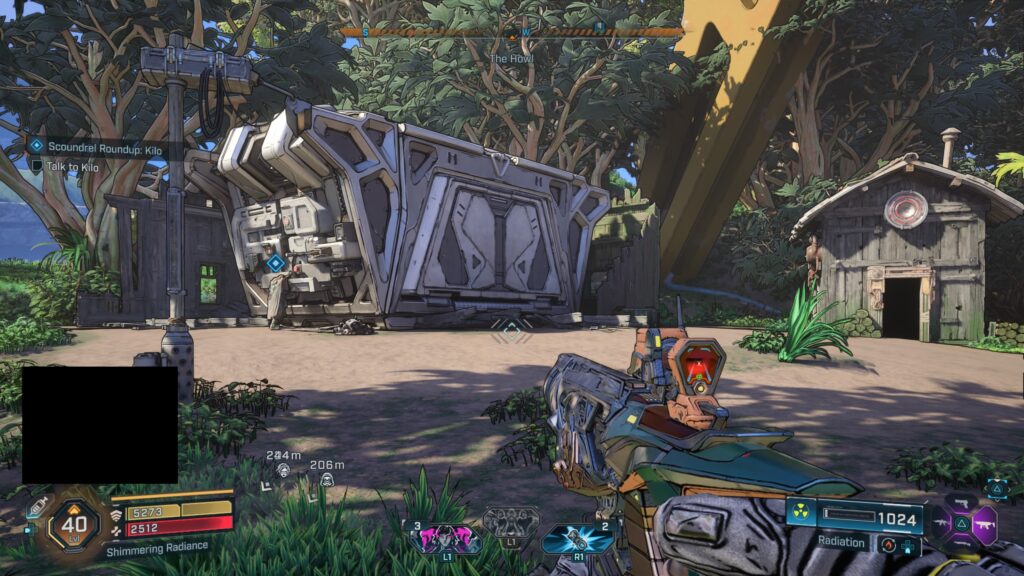
From The Launchpad, head just northwest to find Kilo and speak with her. Get ready to play a version of Bop It! For this game, you’ll need to follow her instructions. She’ll either have you smack the button by meleeing it, flip the switch, pull the lever, or shoot the panel.
After successfully opening the container, she’ll agree to join.
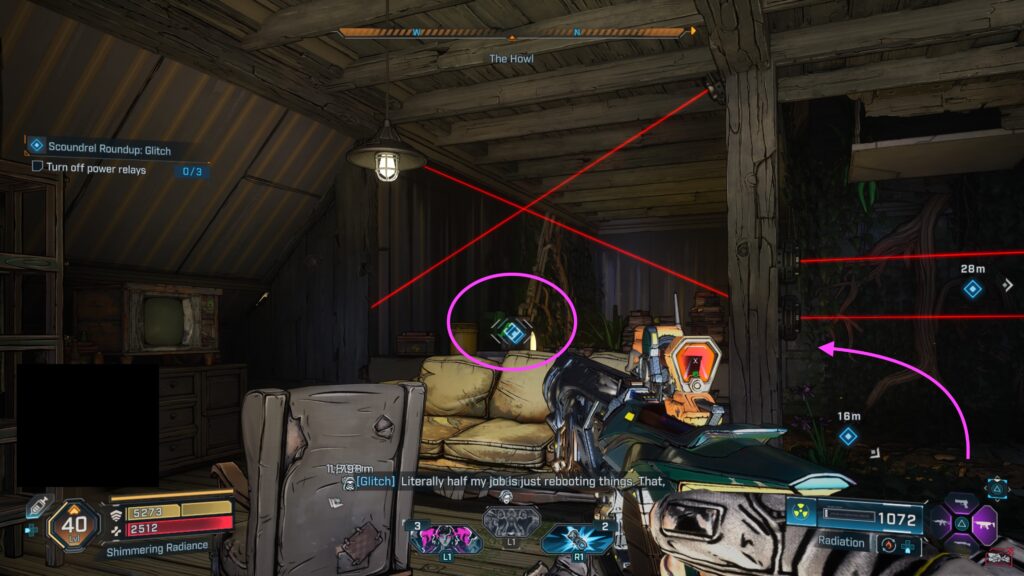
Recruit Glitch
Next, travel northwest to the Rootdown Estates fast travel station, where you’ll find Glitch. Speak with him! To prove your usefulness, you’ll need to turn off three power relays. Head inside the house to find a bunch of lasers. Start with the one on the left. You’ll need to crouch under the laser beam to reach the lever.
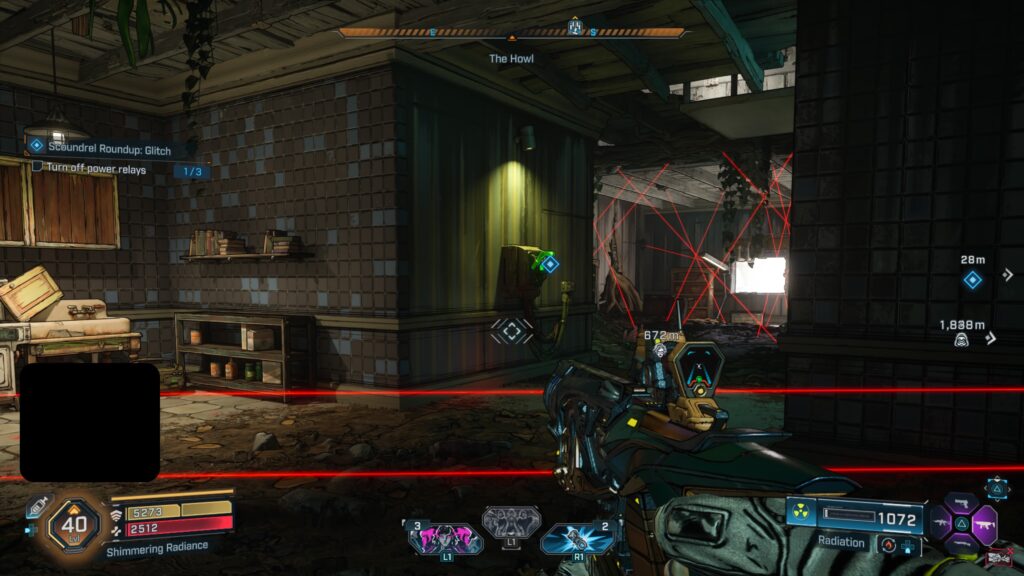
After you pull the lever, hug the left side of the house and maneuver through the lasers until you spot the second switch just past the kitchen.
Facing the above switch, look to the right across the room to spot the last switch. We just crouched through the crossed lasers and made it!
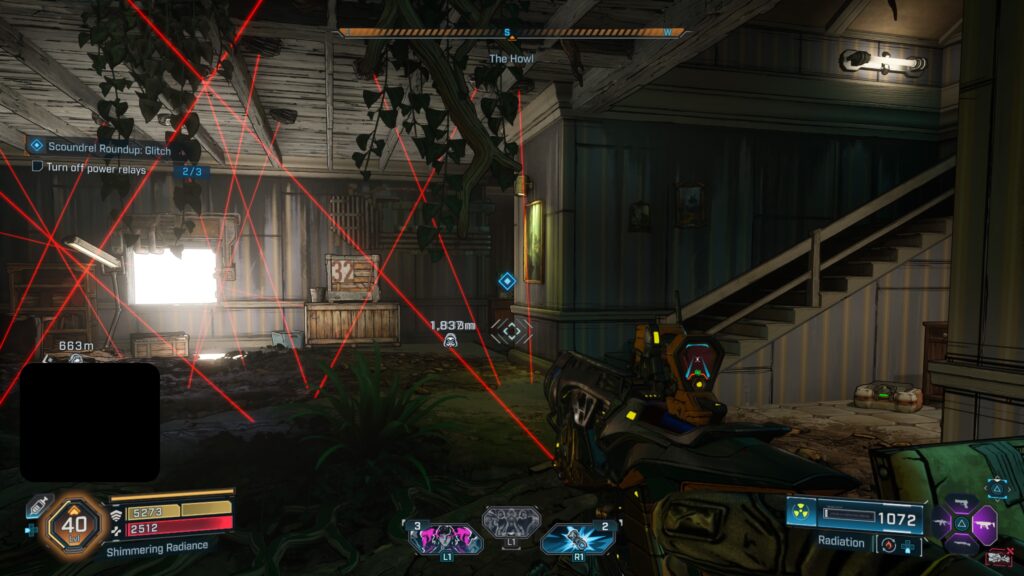
After successfully completing his task, he’ll agree to join.
Return to Shim
With everyone on board, return to Shim and head inside the newly opened door to hear the plan.
Rendezvous with crew
To rendezvous with the crew, travel just south of The Debilitory in the Hungering Plain. Once there, enter the building and head up to the second floor.
Get on warehouse roof
Grab the electro charges from Glitch then head to the east side of the building to find a ramp that you can use with your bike to reach the roof.
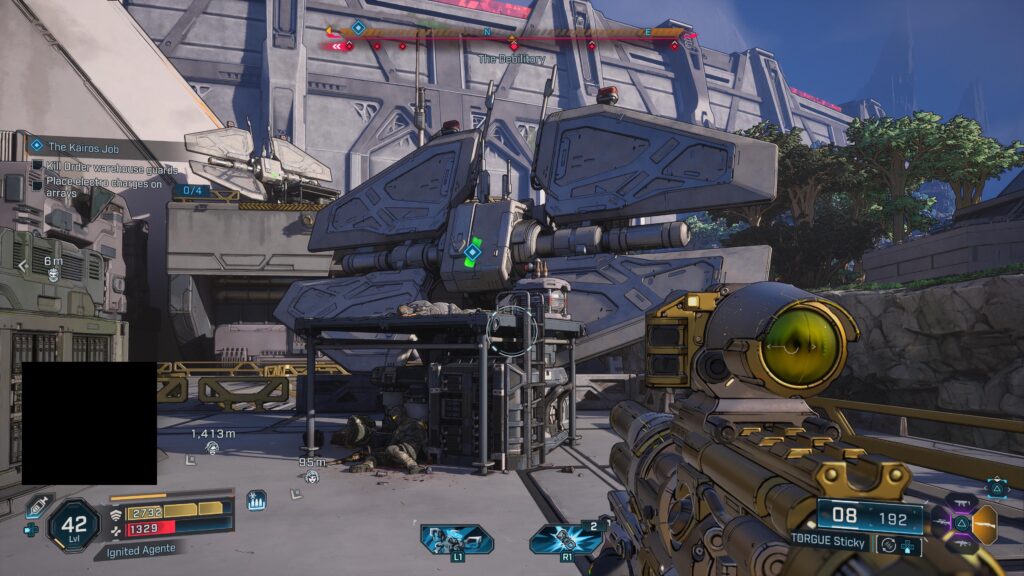
Place 4 electro charges on arrays
While you are killing the Order, you must place four electro charges on the arrays. Two can be found on the west side, and two can be found on the east side.
Find door controls
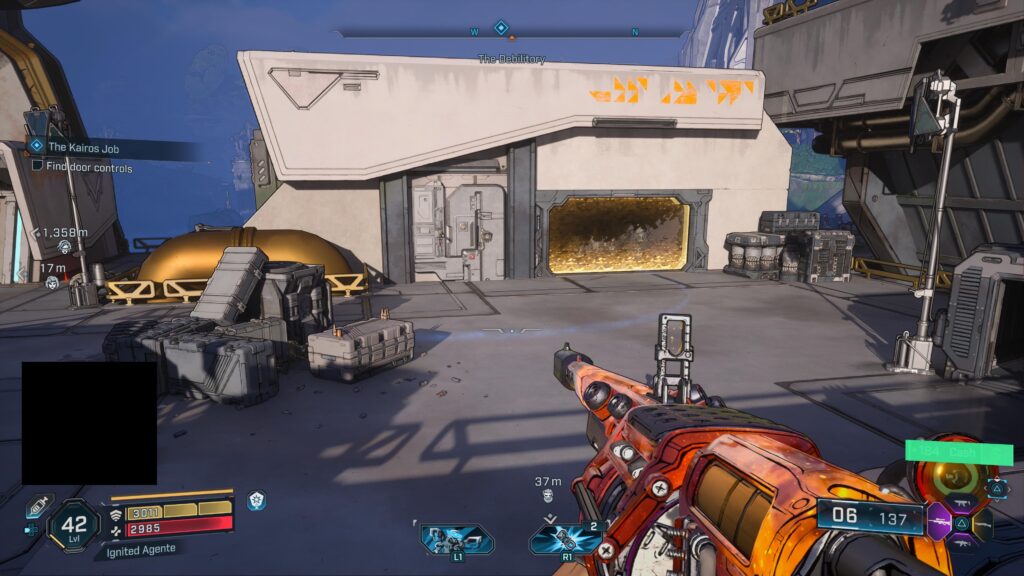
You’ll find the door on the western side of the map. Listen to Kilo’s instructions to open it then kill the guards that spawn in.
Meet up with crew
Next, return to Shim on the west side of the roof. Shoot the explosives on the ground near where he was standing then jump in the hole.
Turn off three power relays
As you make your way around to the power relays in the next room, avoid the lasers. If you happen to trigger one, a bunch of enemies will spawn and you’ll need to take care of them.
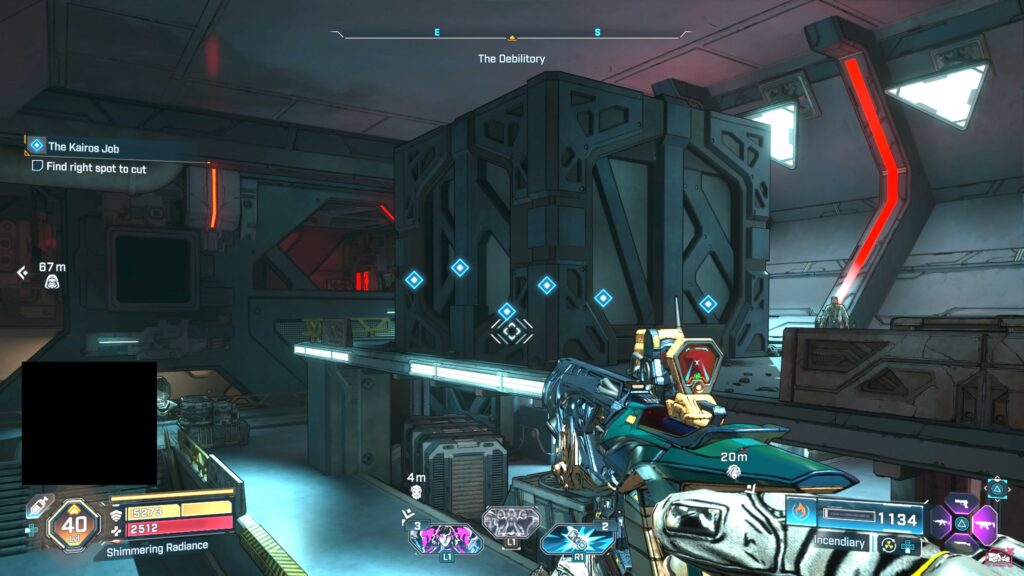
Find right spot to cut
Melee the objectives on the giant cube until you find the right spot.
Kill Order security forces
Afterward, kill the fire suppression forces and pick up the three drone rockets that drop. When you have the rockets, place them on the safe then tell Glitch to launch.
Travel to safe’s new location
Next, travel all the way to the southeastern side of Smackwater in Lopside. When you arrive, kill the Order security forces.
Open safe
Once you are ready, interact with the wheel on the safe to open it. You’ll then find the unexpected treasure inside and the quest will complete. Be sure to head inside the safe before you leave to loot the chest.
Related Borderlands 4 Content
Looking for more Borderlands 4 content? Use the links below to keep exploring our guides:
- Next Guide: Continue with Borderlands 4 Side Missions Guide for complete walkthroughs on every quest!
- Main Page: Visit our Borderlands 4 Guides and Walkthroughs hub for all our latest content!
- Official Website: Check out the official Borderlands 4 website for news and updates!