Stellar Blade Logo
Guides

Stellar Blade Oblivion Mission

by NightlyGamingBinge in

Welcome to NGB and our Stellar Blade walkthrough for the Oblivion mission! Here we’ll cover everything you’ll need to easily breeze through this quest!

How to Start the Oblivion Mission

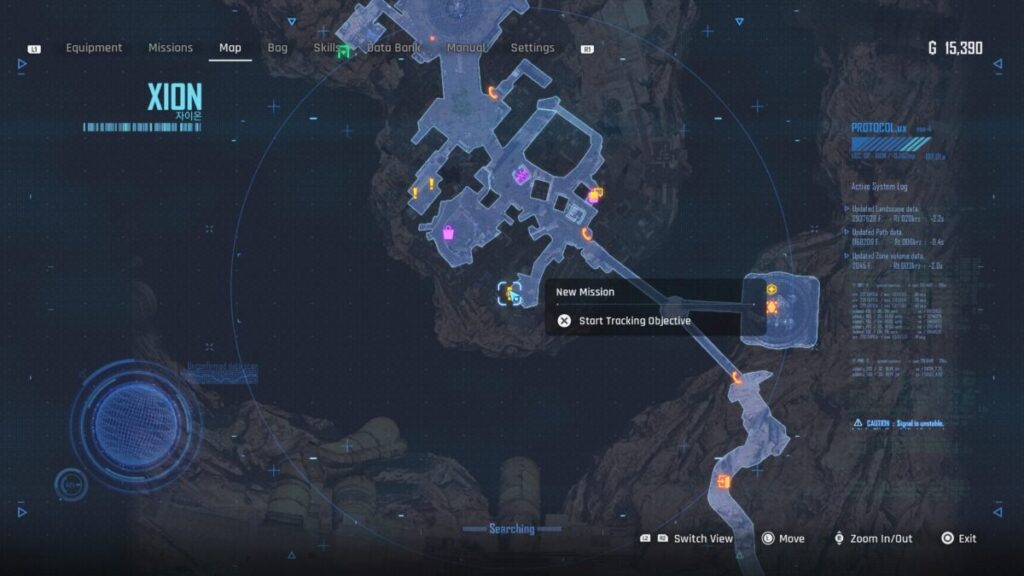
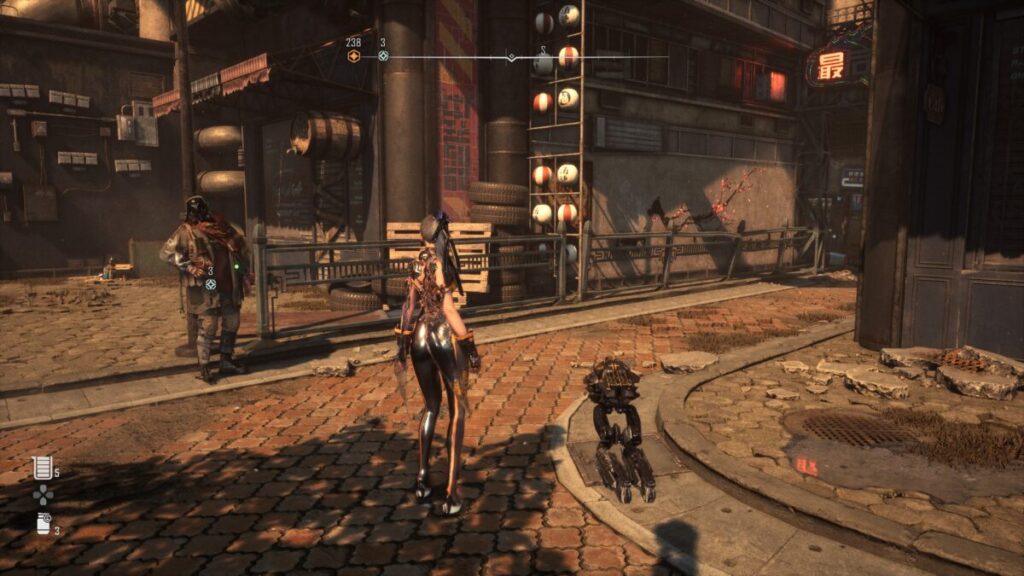
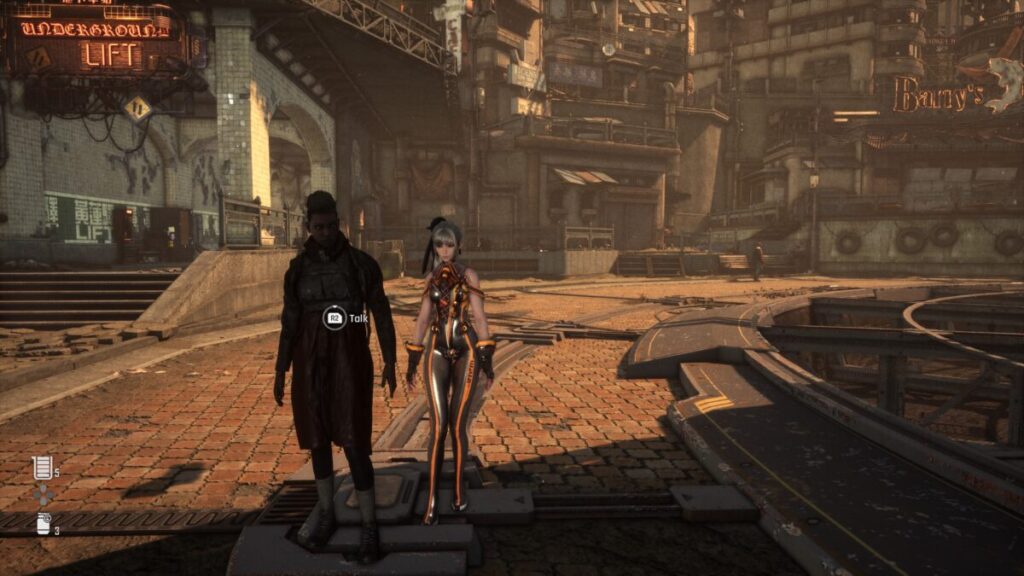
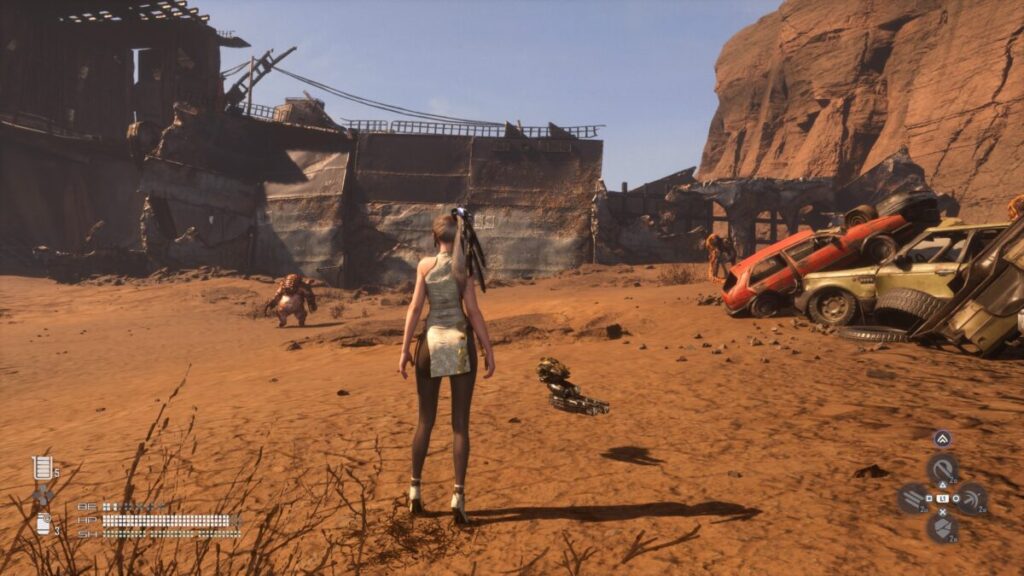
To begin the Oblivion mission in Stellar Blade, speak with the girl in a secret hideout under the bridge leading to Xion just outside of the city gate after beginning the Light of Hope main quest.

HWher to start the Stellar Blade Oblivion Mission

How to Complete the Oblivion Mission

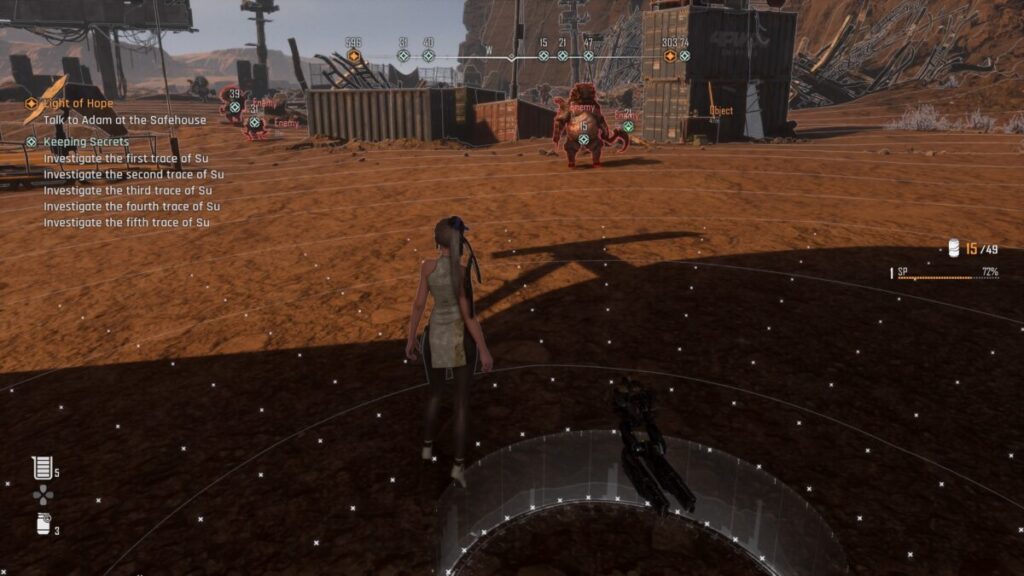
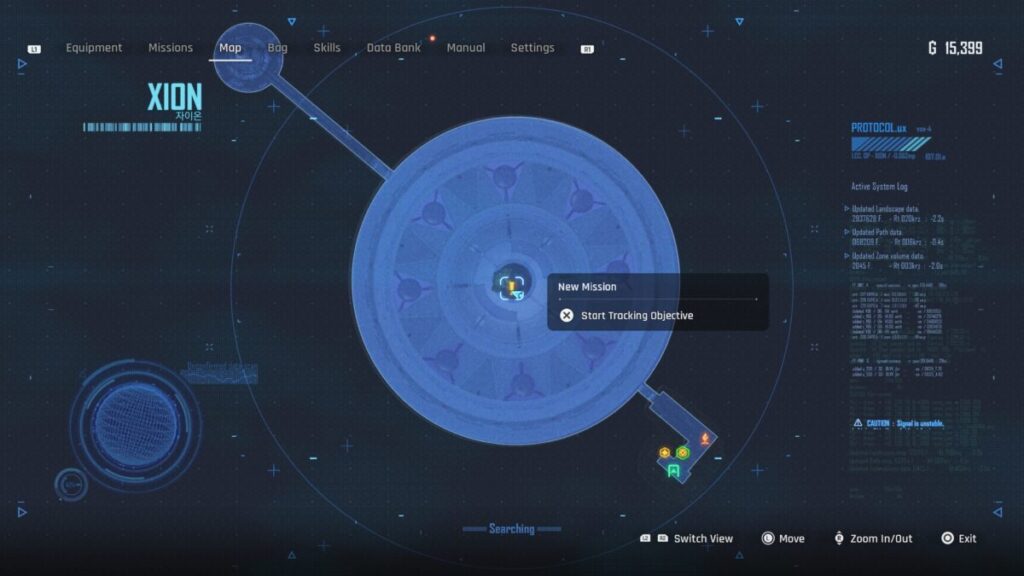
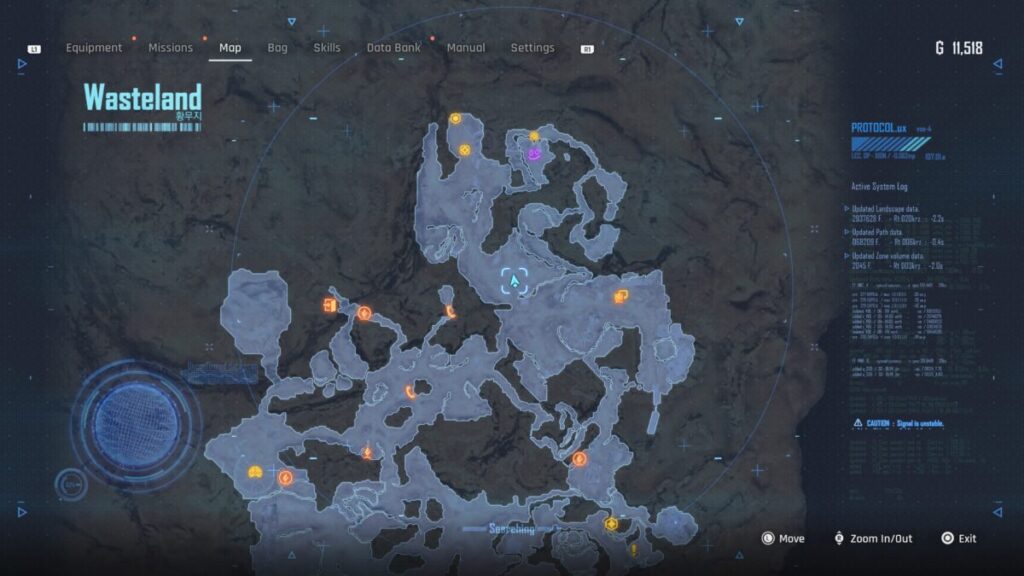
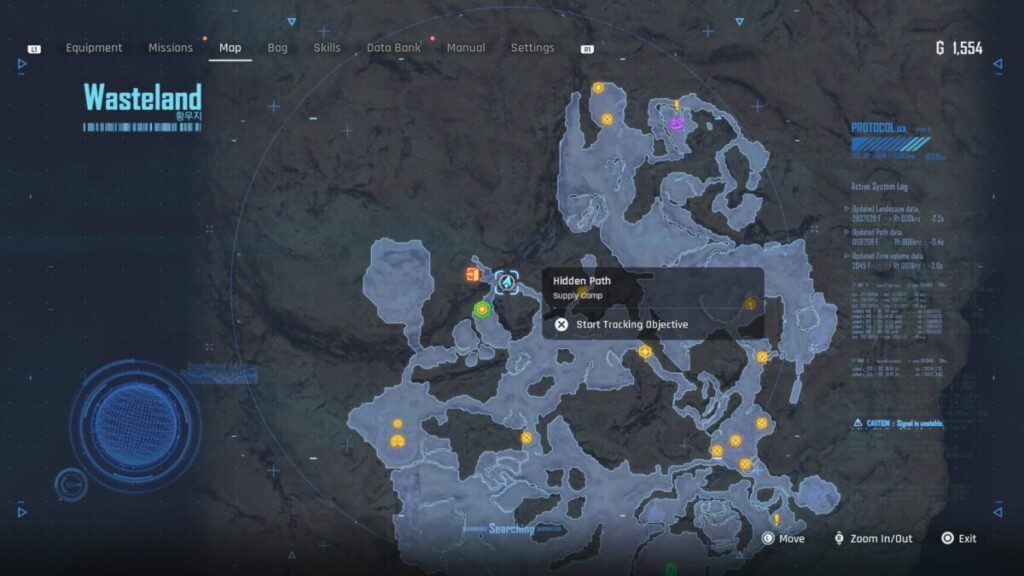
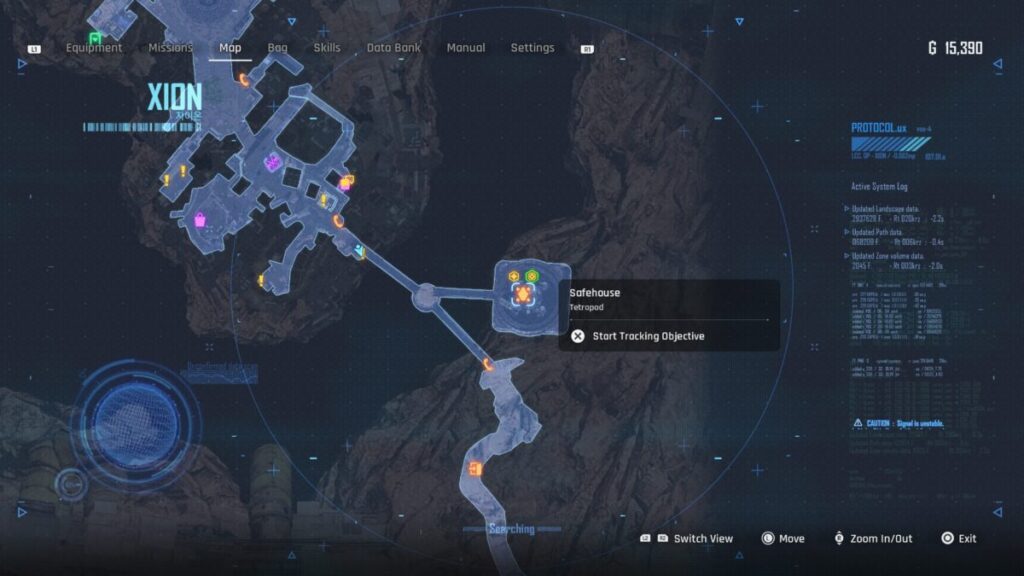
The girl will hand EVE a Request Letter from an unknown benefactor who will request that she look into Warehouse 77 at Petelos Plaza in Eidos 7. He’ll also include a recovery program EVE can use to lower the water out of the plaza to reach it. Head back to the safehouse and speak with Adam to travel to Eidos 7. Once you’ve landed, interact with the nearby phone booth and select to travel to the Abandoned Station. Go to the terminal next to the track and interact with it to summon the lift then hop inside. This will take you to Petelos Plaza.

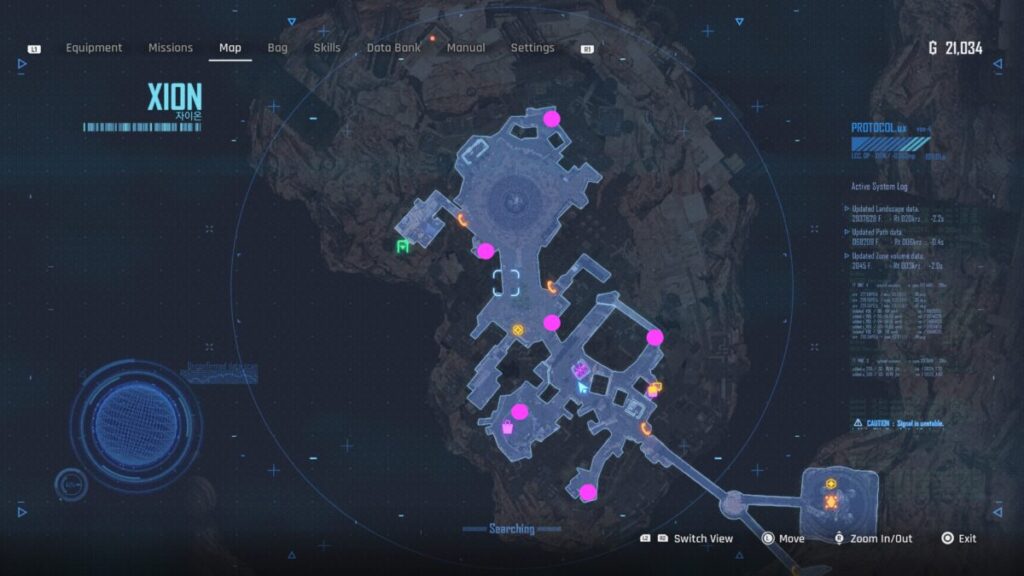
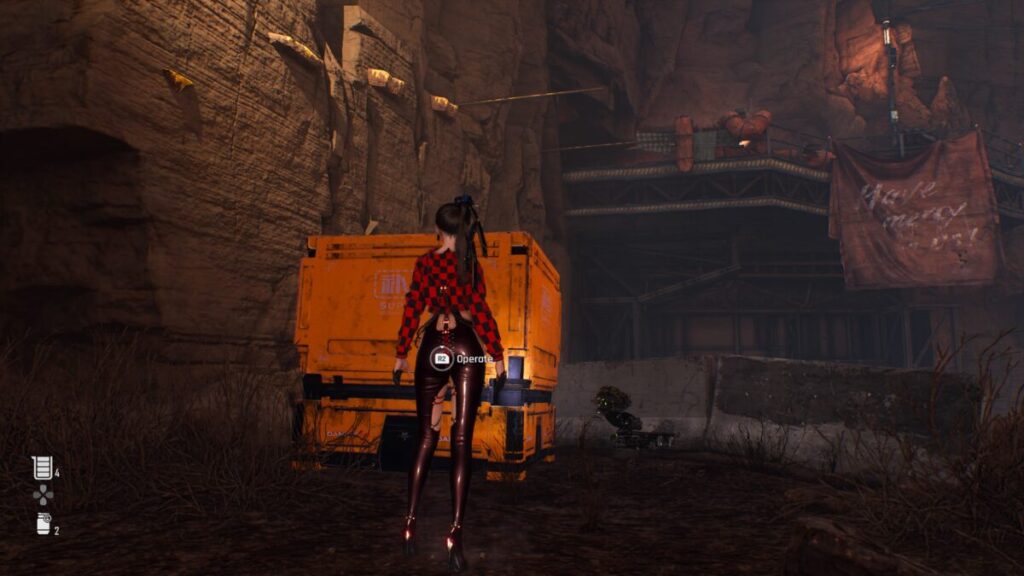
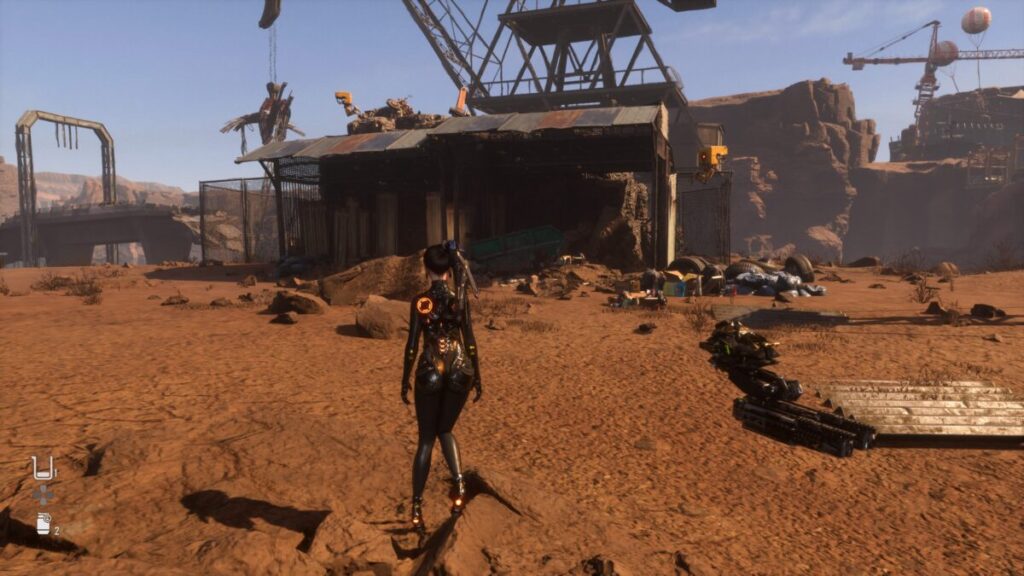
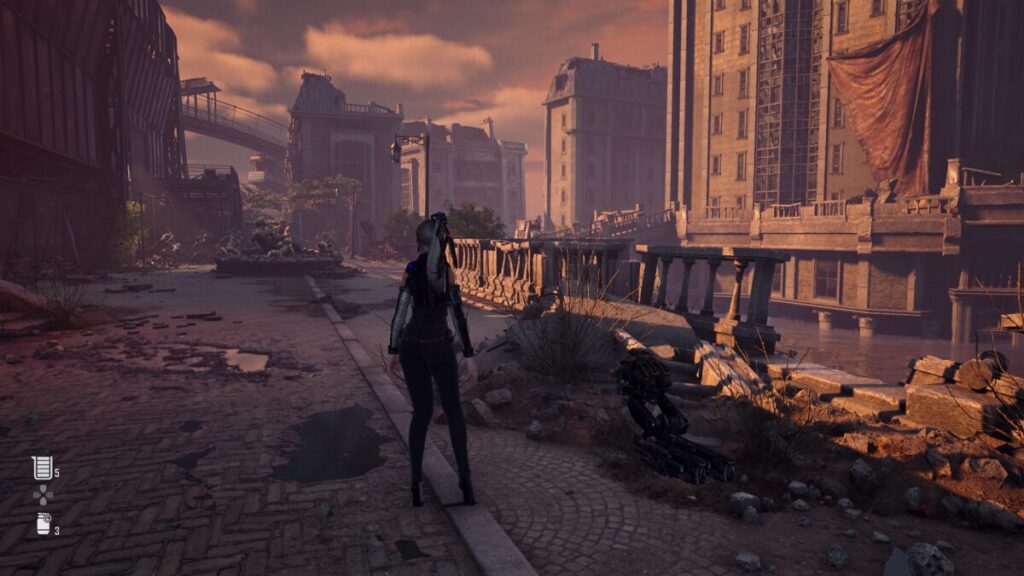
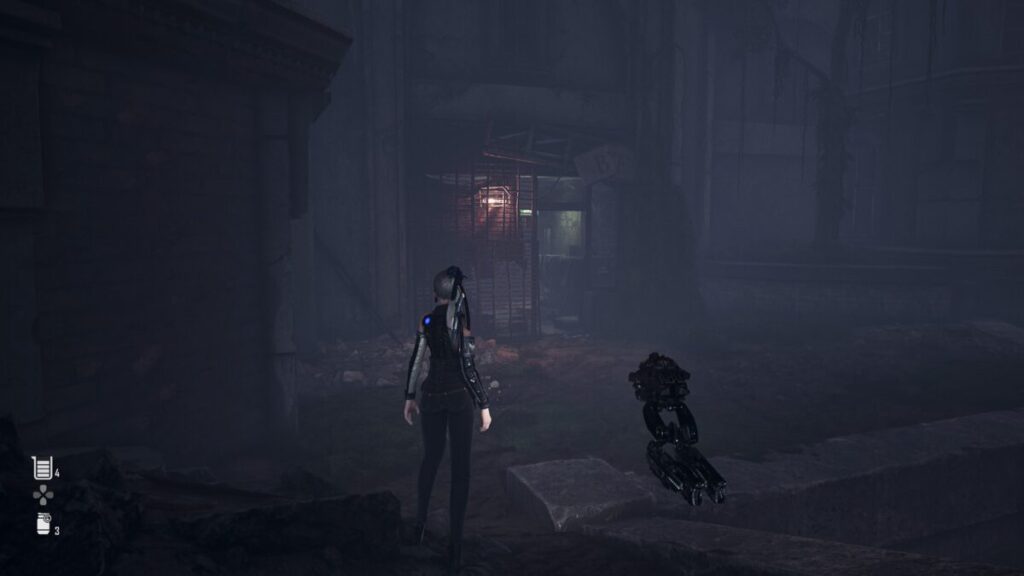
Exit the station by heading down the stairs then follow the walkway past the supply camp towards the other end of the station. Once you reach the steps to the station, take a right across the walkway approaching the building with a red tarp hanging off of it.

Stellar Blade Oblivion Mission Petelos Plaza Red Tarp Building

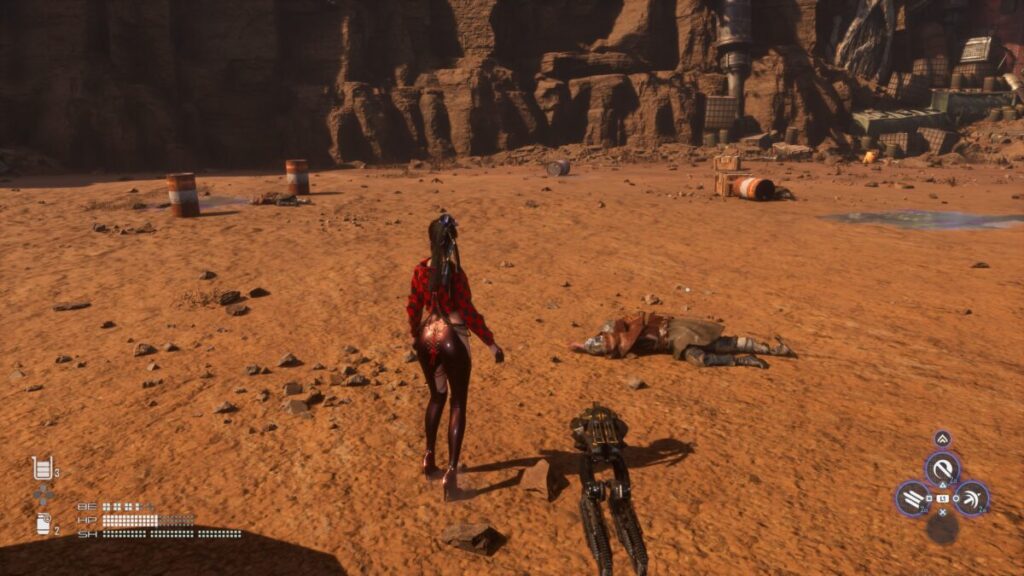
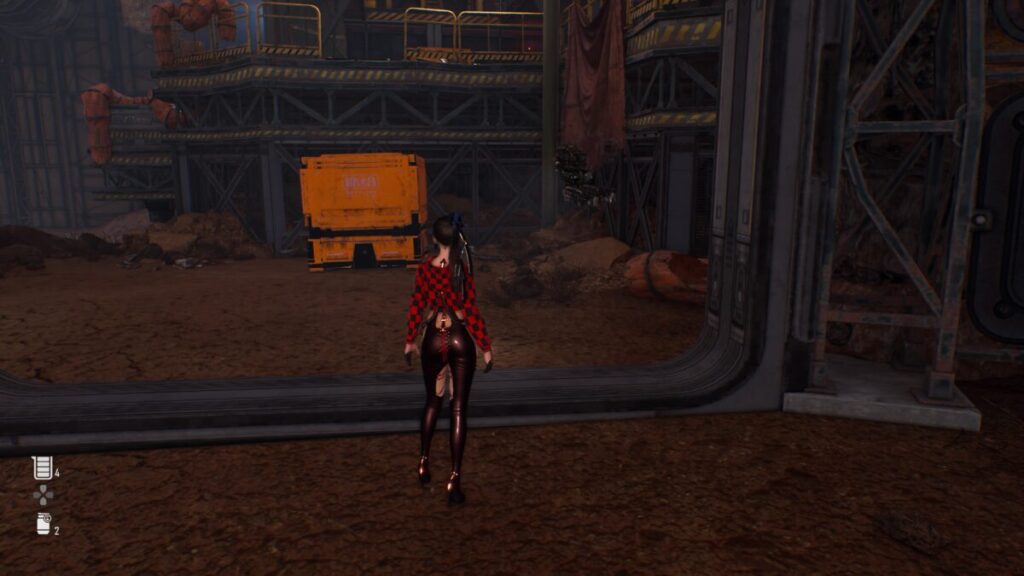
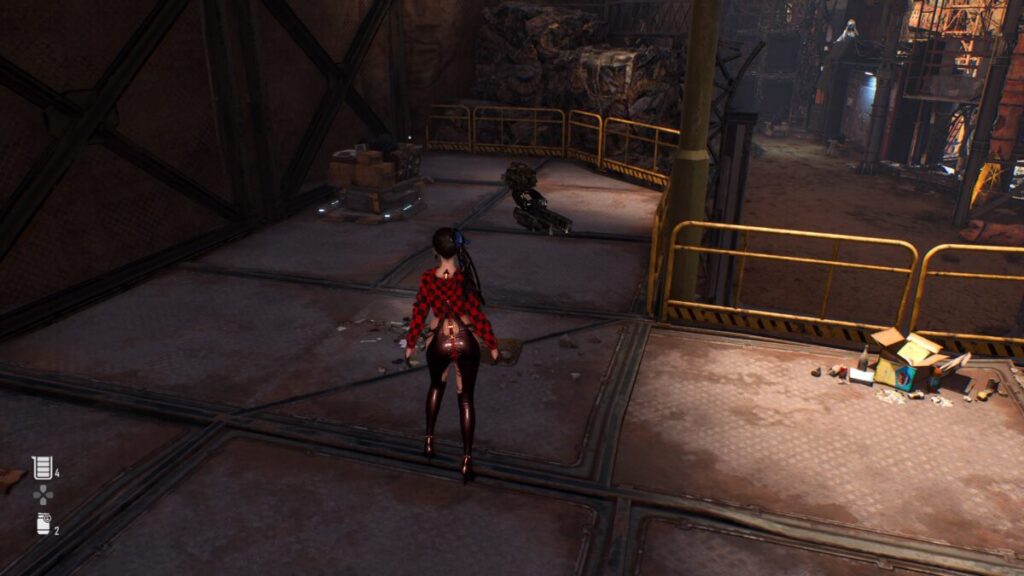
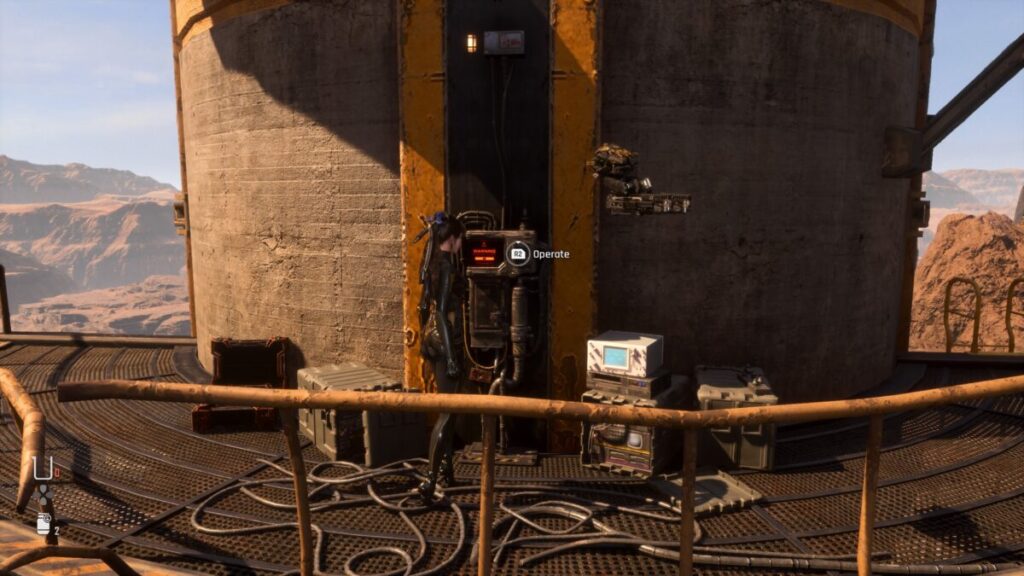
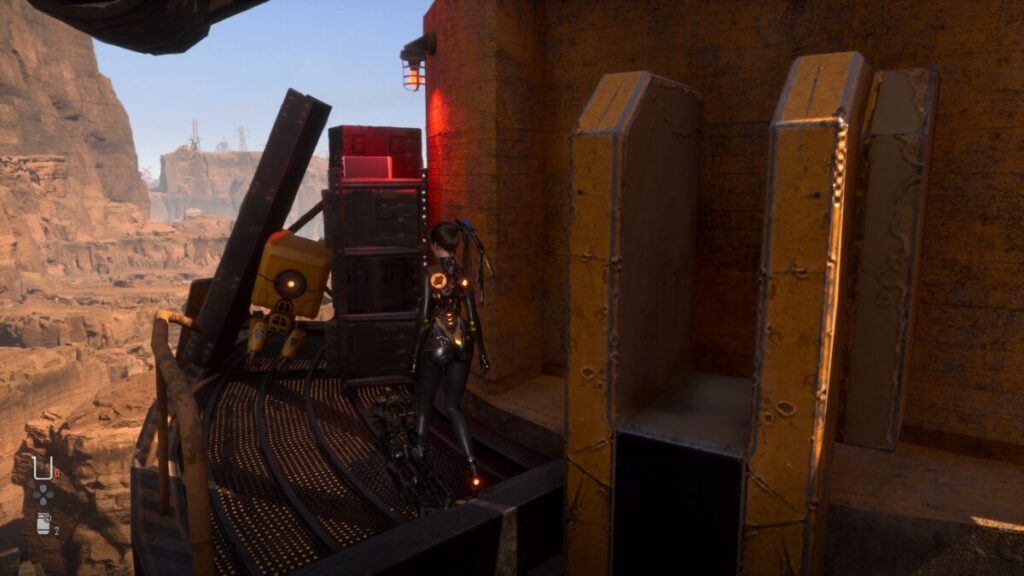
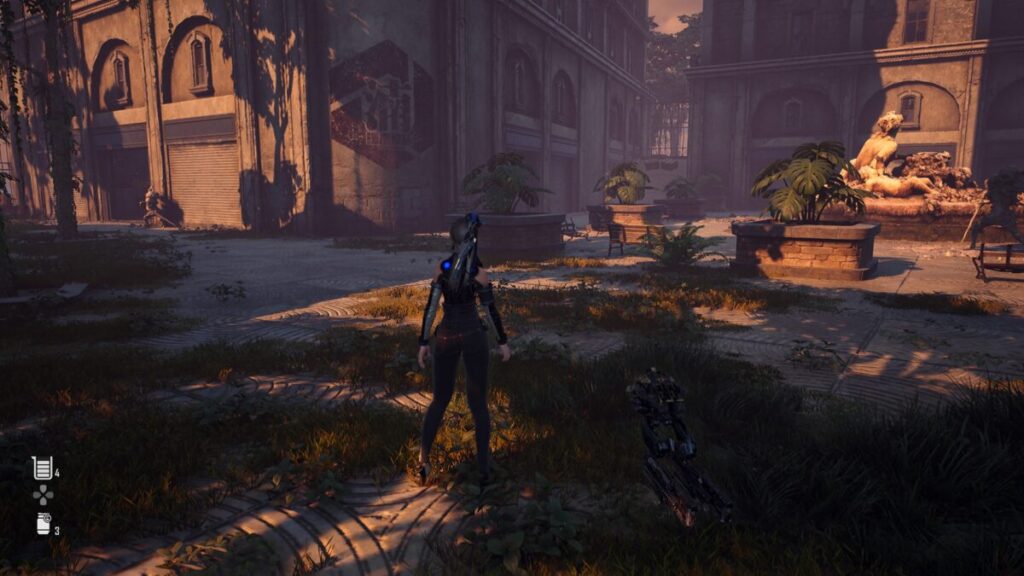
Head around the left side of the building and drop down on the ledge there just past the railing. Follow it left to reach a grassy ledge. Climb up the side of the wall there then deal with the Mutated Hydra nearby. Locate that statue in the center of the courtyard and while facing it, you want to go left to spot an open garage door. Head inside and interact with the console to pump the water out of the plaza. Also be aware that doing this will cause the enemies in the area to respawn.

Stellar Blade Oblivion Mission Garage with the Console inside

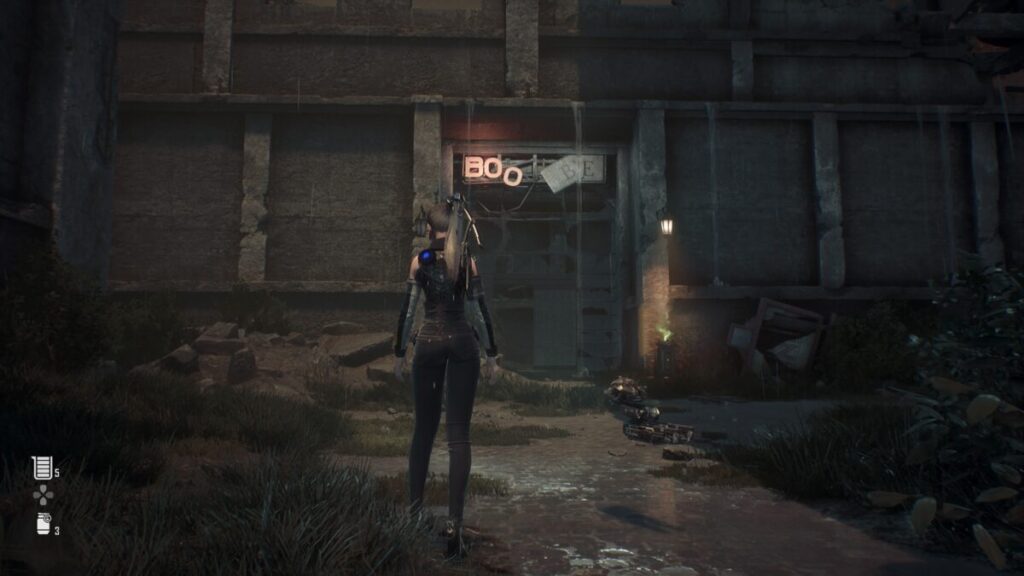
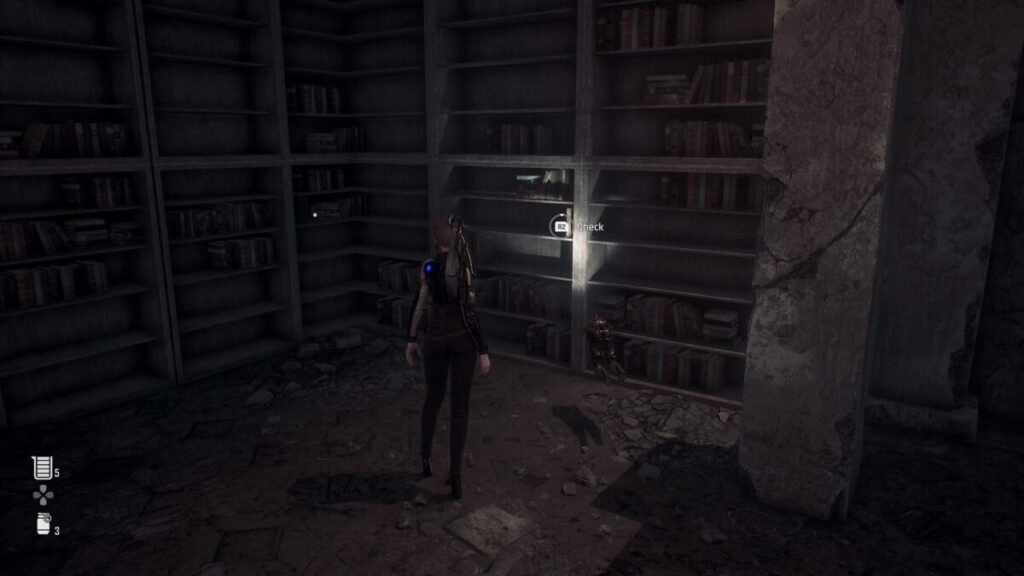
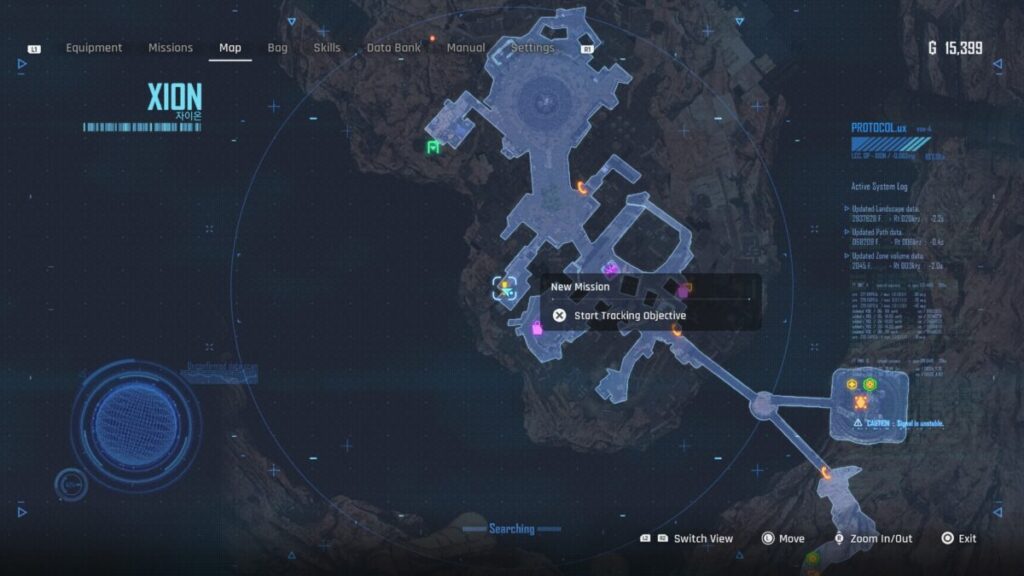
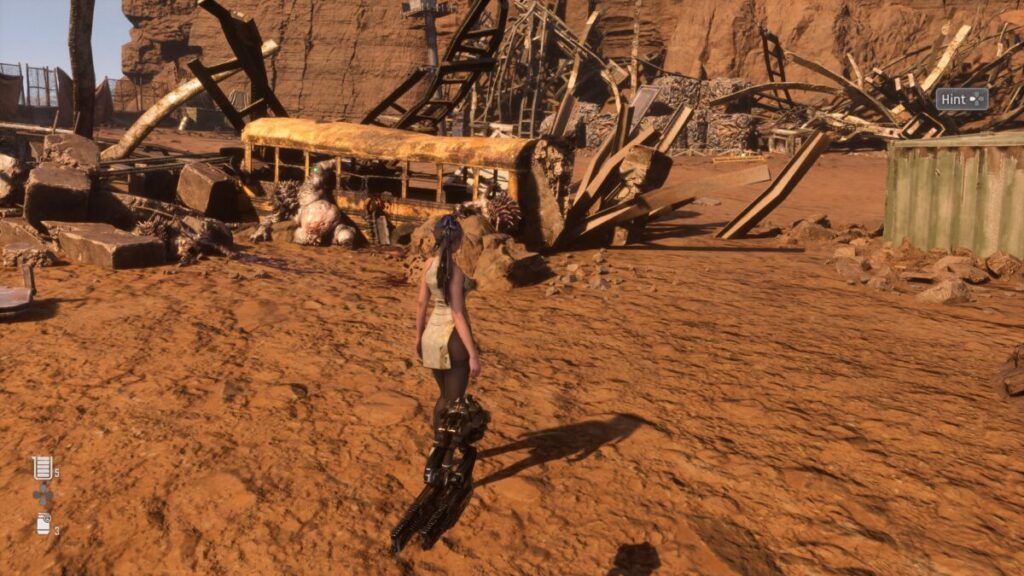
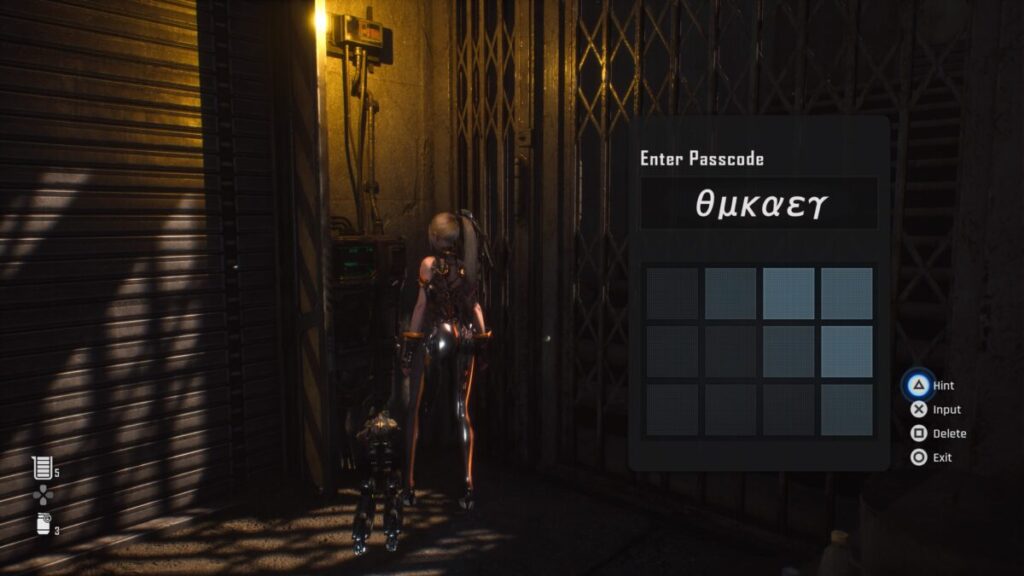
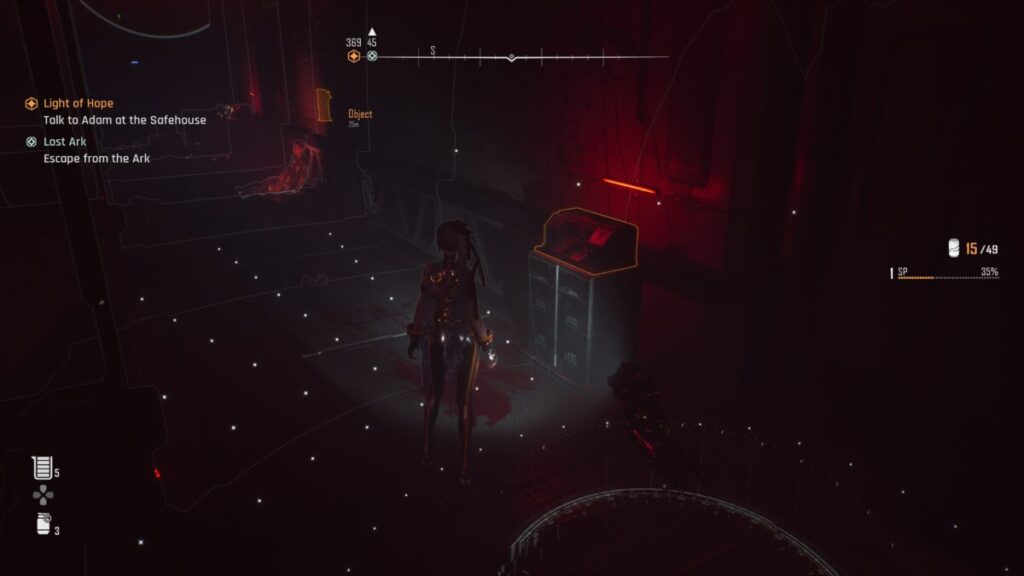
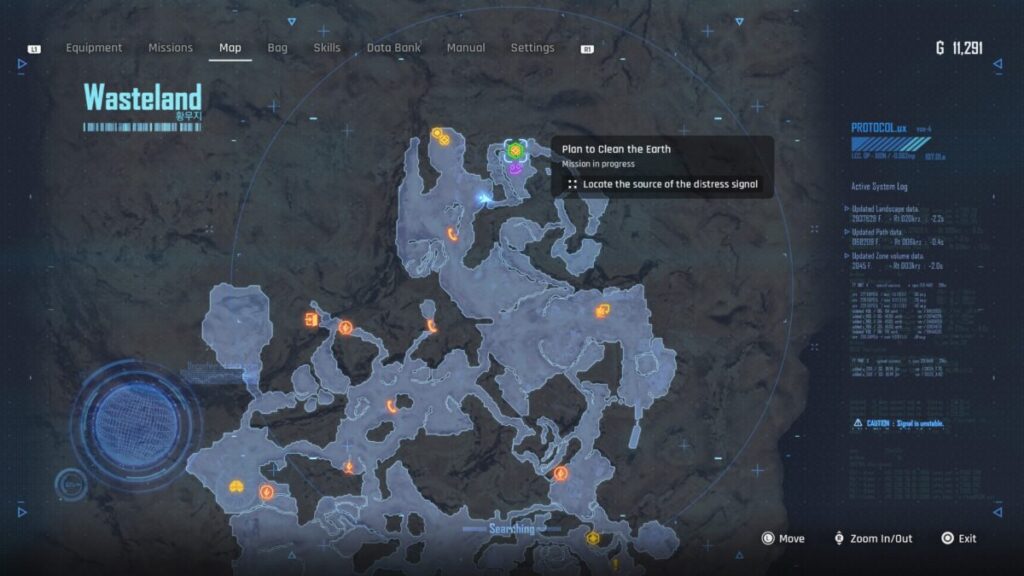
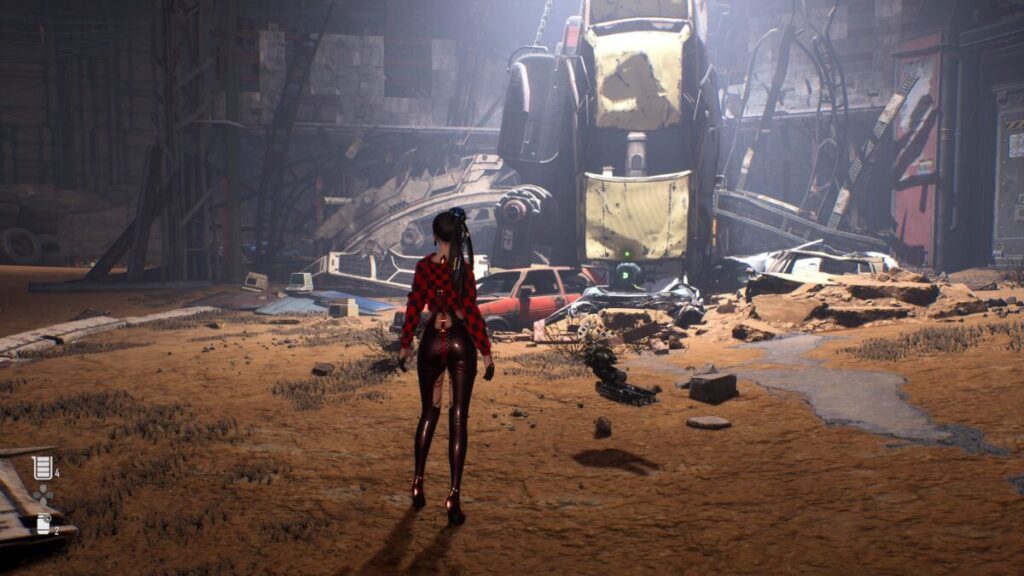
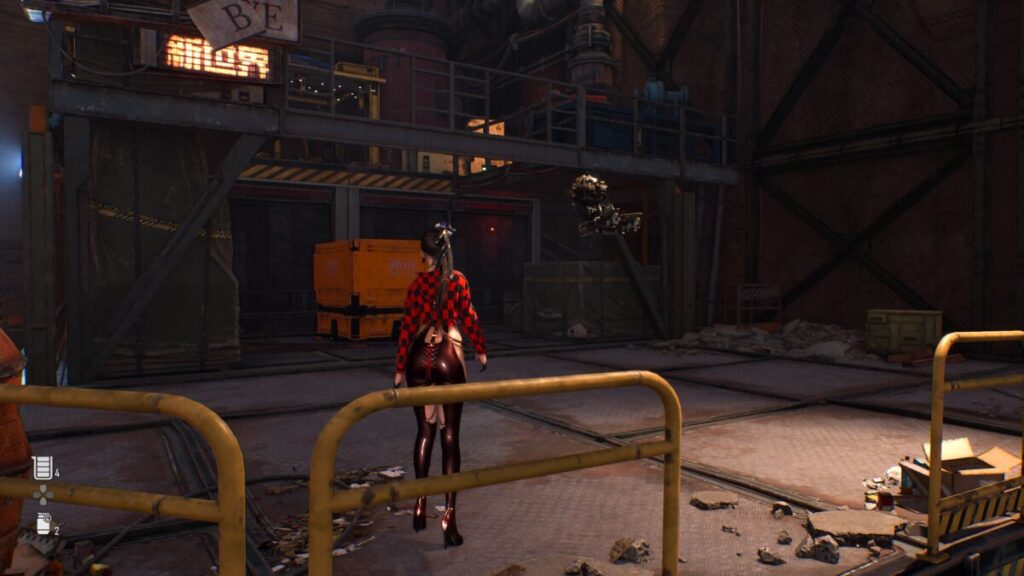
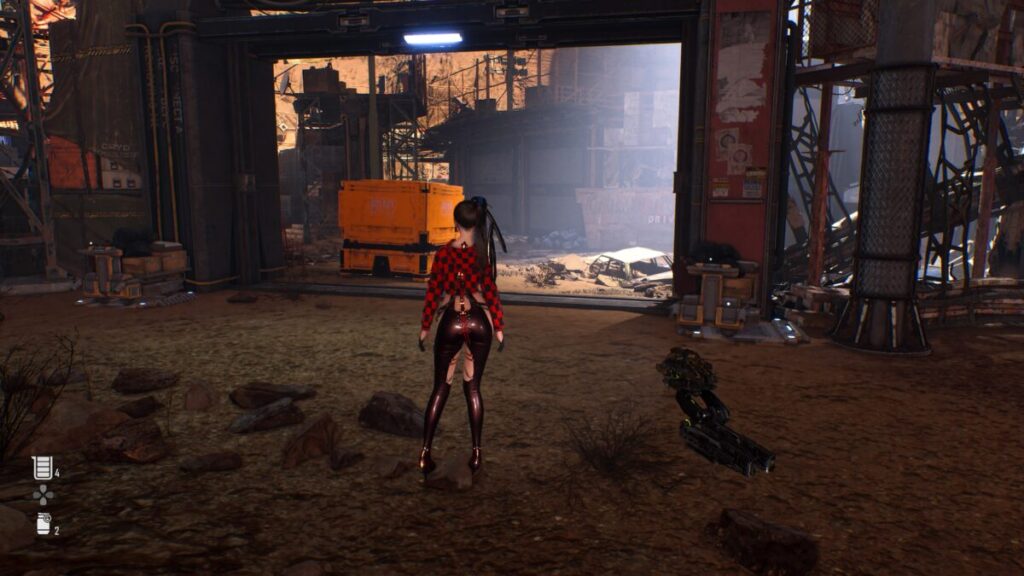
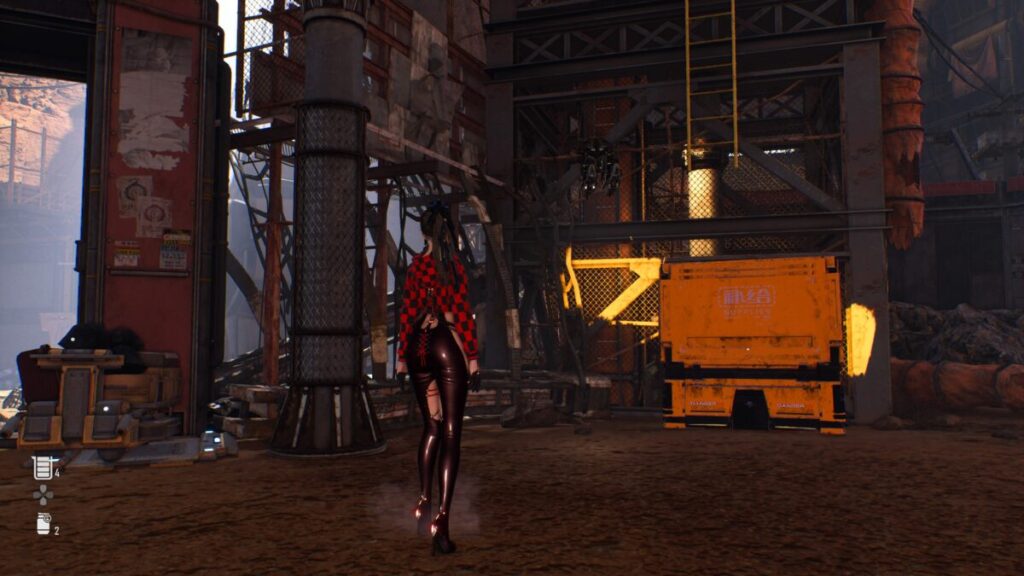
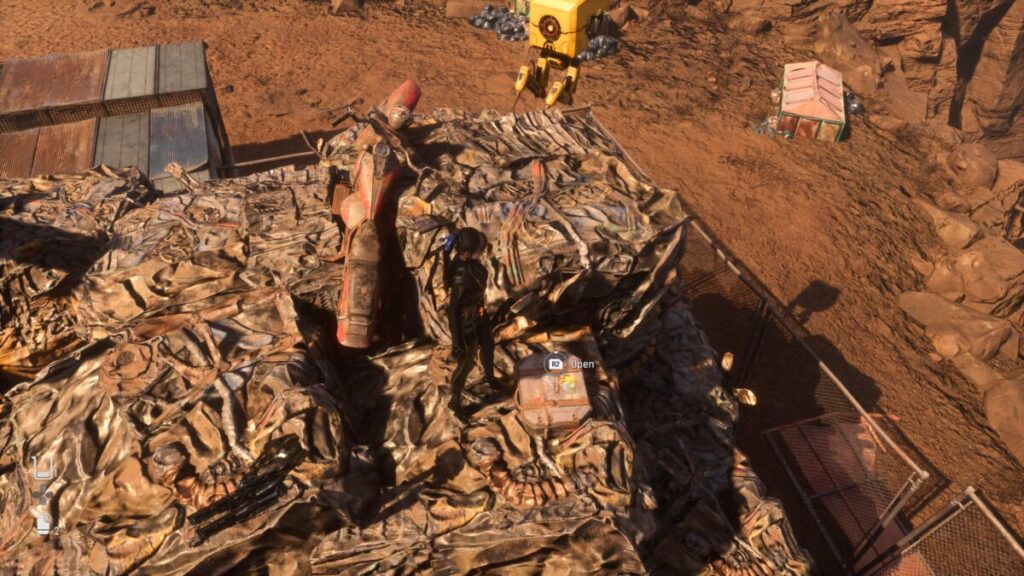
Now that the water is drained, head back to where the station was and work your way down toward the base of the giant statue. Specifically, you want to follow that path behind it to reach Warehouse 77. Inside you’ll need to investigate 6 things to progress the mission. One can be found at the top near the entrance to the warehouse, 4 are on the bottom level and the last one is on a middle ledge you’ll need to jump up to reach. Once you’ve interacted with all of them, return to Xion and speak with the girl you got the message from to complete the mission.

Stellar Blade Oblivion Mission Warehouse 77

Oblivion Mission Rewards

Once you have completed the mission, you’ll be rewarded with the items listed below!

  • SP
  • Pulse Grenade x2
  • Shock Grenade x2
  • Smart Mine x2

Stellar Blade Guides and Walkthroughs

For more Stellar Blade guides and walkthroughs, click here!

Stellar Blade Logo
Guides

Stellar Blade The Words of Mother Sphere Mission

by NightlyGamingBinge in

Welcome to NGB and our Stellar Blade walkthrough for The Words of Mother Sphere mission! Here we’ll cover where to start the quest, how to complete it and the rewards you’ll receive at the end.

How to Start The Words of Mother Sphere Mission

To begin The Words of Mother Sphere mission in Stellar Blade, speak with the man in the book store in Xion after beginning the Light of Hope main quest.

Where to start the Words of Mother Sphere Stellar Blade Mission

How to Complete The Words of Mother Sphere Mission

The requestor will ask EVE to travel to the library on Silent Street in Edios 7 to look for the Book of Faith that his brother treasured. Travel to the safehouse and speak with Adam to travel to Eidos 7 landing on Silent Street. Follow the way forward passing over the broken bridge. When you reach the other side of the river, then work your way through the abandoned city to reach the library. Alternatively, if you opened the shortcut earlier in the game, you can use it across from BAR 99 to reach your destination. You’ll know you are there when you see the sign above the doorway.

Stellar Blade The Words of Mother Sphere Mission Library Area Location

Enter the building and take a left to deal with the Barnacle Naytiba wandering around. Once it’s taken care of, look for examine the nearby bookshelf (on the left side of the building) with a green interact circle to find the book along with the precarious message written inside. Return to Xion and take the book back to Francis to complete the mission.

Stellar Blade The Words of Mother Sphere Mission Book of Faith

Mission Rewards

Once you have completed the mission, you’ll be rewarded with the items listed below!

  • SP
  • Highly Concentrated Potion
  • Lingering Potion
  • 400 Gold

Stellar Blade Guides and Walkthroughs

For more Stellar Blade guides and walkthroughs, click here!

Stellar Blade Logo
Guides

Stellar Blade – Keeping Secrets Mission

by NightlyGamingBinge in

Welcome to NGB and our Stellar Blade walkthrough for the Keeping Secrets mission! Here we’ll cover where you can start the quest, how to complete it and what rewards you’ll receive at the end.

How to Start the Keeping Secrets Mission

To begin the Keeping Secrets mission in Stellar Blade, speak with Enya in the Last Gulp in Xion after beginning the Light of Hope main quest and completing the Looking at You mission.

Where to start the Keeping Secrets Mission in Stellar Blade

How to Complete the Keeping Secrets Mission

When you check on Enya, she’ll mention that she thinks Su is dating someone else based on what one of his co-workers said. You’ll assure her that’s not the case and agree to look into it for her. To start, exit the tavern and talk to Bo at the entrance of the alley leading to the Last Gulp. He’s standing under a light pole. Bo will tell you that Su has been missing for a few days, and he’s wondering what happened. The only clue is the woman Su was meeting.

Stellar Blade Keeping Secrets Mission Bo Area Location

Travel to Memory Square and look for a lady walking around with a pompadour-mohawk-looking haircut and ask her about Su’s whereabouts. She’ll tell you that he was looking for something specific so she told him to check with a merchant and only one comes to mind! Head for Sisters’ Junk and speak with Kaya; asking her about Su’s whereabouts. Kaya will tell EVE that Su was looking for a lower-body exospine system so she told him about a place in the Wasteland near the Solar Tower.

Stellar Blade Keeping Secrets Mission Mysterious Woman

Head to the Wasteland and go past the Solar Tower to the area west of it to enter the mission area. Use your scanner to find Hedgeboars with markers on their heads. Defeat them, then interact with the weapon next to the stacked blue containers.

Stellar Blade Keeping Secrets Mission Trace of Su near the Solar Tower

Pass behind the containers to find a datapad on the ground next to a junk pile. Clear any enemies then interact with the datapad. After that, look for a green storage container and locate the school bus beside it. Go to the bus and examine the dead Naytiba around it.

Stellar Blade Keeping Secrets Mission Trace of Su near the solar tower 2

Head northeast towards some fences near a stack of tires. You’ll find a datapad on the ground beside some tarped objects. Examine it to get data on Su’s location. Go to the Solar Tower Supply Camp and descend the rock ledges on the east side to reach the area south of the Solar Tower. Find the remnants of a giant ship and go inside, heading right to locate a pile of shipping containers. Follow the trail through the leftmost one to find Su. Speak with him to trigger a cutscene. When it ends, return to Enya in Xion and talk to her to complete the mission.

Stellar Blade Keeping Secrets Mission remnants of a giant ship in the Wasteland

Mission Rewards

Once you have completed the mission, you’ll be rewarded with the items listed below!

  • SP
  • 1000 Gold
  • Highly Concentrated Potion x2
  • Lingering Potion

Stellar Blade Guides and Walkthroughs

For more Stellar Blade guides and walkthroughs, click here!

Stellar Blade Logo
Guides

Stellar Blade Lost Ark Mission Guide

by NightlyGamingBinge in

Welcome to NGB and our Stellar Blade walkthrough for the Lost Ark mission! Here we’ll cover where to start the mission, how to complete it and what rewards you’ll receive at the end.

How to Start the Lost Ark Mission

To begin the Lost Ark mission in Stellar Blade, speak with Mann in the Presence Chamber after starting the Light of Hope main mission.

Where to start the Lost Ark Mission in Sellar Blade

How to Complete the Lost Ark Mission

While speaking to Mann, he will ask EVE for a favor and then talk about the various rebel groups at Xion. One particular rebel is missing which is causing some concern among the Sentinels. EVE agrees to search for the missing man and sets out to locate him. Travel to the alley on the northeastern part of town, east of Barry’s Shop then interact with the body you find there to find a message to learn about a place called the ARK.

To reach ARK, head north down the alley to spot a set of stairs straight ahead. Climb up them then interact with the input device there to be prompted for a passcode. Back out to hear some dialog from EVE then examine the datapad on a nearby barrel to learn about the Puzzle System.

Stellar Blade Lost Ark Mission Xion Terminal
Example of a Xion Terminal

To learn the passcode, you’ll need to interact with 6 Xion terminals scattered around the city. Each one has a different character that you’ll need to form the passcode. In the image below, we have marked each location of the Xion terminals with a pink circle.

Stellar Blade Lost Ark Mission Xion Terminal Locations

Once you’ve visited all of the terminals and viewed each character that makes up the passcode, return to the ARK and enter the passcode based on the terminal location going clockwise. If you get the correct sequence, the gate will open allowing EVE to head inside to continue her investigation (our code can be found in the below image).

Stellar Blade Lost Ark Mission ARK Passcode

Enter the building and pass through the set of three medal doors to find a corpse. Interact with it to get the Kament of the Trapped message. Continue down the hallway and take the elevator down to reach the interior of the ARK. Use your droid to scan the room then interact with each of the humans that are tagged. Once that’s done, make your way to the back right room if you’re not there already and interact with the monitor there to read a note from the ARK. This will trigger a lockdown causing all of the doors to close, sealing EVE in the ARK.

Stellar Blade Lost Ark Mission Lock In Room

Use the scanner to highlight 2 devices in the room next to each of the doors. Attak them both with your sword to destroy them, opening the door. Head back out into the main room and take a right up the stairs to destroy a device there as well. Return to the elevator and use it to go back up to the hallway leading to the exit. Enter the hallways and proceed down it until you reach the sealed metal door.

Stellar Blade Lost Ark Mission Sealed Metal Door

Destroy the device on its left to release the doors and exit the ARK. Make your way back to Mann in the Presence Chamber to report your findings completing the mission.

Mission Rewards

Once you have completed the mission, you’ll be rewarded with the items listed below!

  • SP
  • Shock Grenade x2
  • Smart Mine x2
  • Pulse Grenade x2

Stellar Blade Guides and Walkthroughs

For more Stellar Blade guides and walkthroughs, click here!

Stellar Blade Logo
Guides

Stellar Blade – Angel of Death Mission Guide

by NightlyGamingBinge in

Welcome to NGB and our Stellar Blade walkthrough for the Angel of Death mission! Here we’ll cover everything you’ll need to easily breeze through this mission!

How to Start the Angel of Death Mission

To begin the Angel of Death mission in Stellar Blade, speak with a man in the alley leading to the Bulletin Board after reaching the Light of Hope main mission to learn that his sister was taken by some looters.

Stellar Blade Angel of Death Mission Area Location

How to Complete the Angel of Death Mission

For this request, a citizen will claim they were attacked by looters who kidnapped his sister and then ask EVE to chase after them. Pursue the looters around the corner past the citizen to trigger a lengthy cutscene. When the cutscene comes to an end, the Angle of Death mission will complete.

Stellar Blade Angel of Death Mission Xion Looters Location

Mission Rewards

Once you have completed the mission, you’ll be rewarded with the items listed below!

  • SP

Stellar Blade Guides and Walkthroughs

For more Stellar Blade guides and walkthroughs, click here!

Stellar Blade Logo
Guides

Stellar Blade – An Unknown Present Mission Guide

by NightlyGamingBinge in

Welcome to NGB and our Stellar Blade walkthrough for the An Unknown Present mission! Here we’ll cover everything you’ll need to easily breeze through this mission!

How to Start the An Unknown Present Mission

First, you’ll need to start the Light of Hope main mission. Afterwards, this request will become available in Xion so travel to the alley behind Gwen’s Hair Salon to trigger a cutscene where a sentinel will bade EVE to follow him.

Where to start the An Unknown Present Mission in Stellar Blade

How to Complete the An Unknown Present Mission

For this request, you’ll need to head southwest of the Gwen’s Hair Salon to find Inn heading towards Sisters’ Junk. Across from the Sisters’ Junk there will be a gate that you can head through to reach Inn.

Stellar Blade An Unknown Present Inn Location Area Image

Speak with them and they will hand you a terminal prompting you to input a passcode. As you don’t know what it is, back out of it which will cause EVE to question Inn about the device. They’ll respond saying that he was only told to deliver it to you in secret and the An Unknown Present will then complete.

Mission Rewards

Once you have completed the request, you’ll be rewarded with the items listed below!

  • SP
  • Damaged Device

Stellar Blade Guides and Walkthroughs

For more Stellar Blade guides and walkthroughs, click here!

Stellar Blade Logo
Guides

Stellar Blade Urgent Information Mission Guide

by NightlyGamingBinge in

Welcome to NGB and our Stellar Blade guide on the Urgent Information mission! Here we’ll cover how to start the mission, what you’ll need to do to complete it and the rewards you’ll receive at the end.

How to Start the Urgent Information Mission

Travel to the main gate of Xion on the south part of the city along the path leading to Adam’s and speak with the guard on the right when looking at the sign. He’ll mention that some Sentinels tasked with surveilling a mutant Naytiba have gone missing then ask EVE to investigate.

Where to start the Stellar Blade Urgent Information Mission

How to Complete the Urgent Information Mission

To kick off this mission, travel to the Wasteland and head for the northeastern section of the map, just west of the Scarp Yard.

Stellar Blade Urgent Information Mission Wasteland Map Location

Once you’re there, you’ll notice that the way to the Oil Storage Facility is blocked by a fence covered in giant vines. To get past it, you’ll need to climb on top of the overpass and use that to reach a ledge on the right side of the gate that will let you drop down behind it in the Oil Storage Facility.

If you’re also at the Oil Storage Facility for the Valuable Cargo request, you’ll want to collect the cargo before investigating the three bodies. If you don’t you won’t be able to collect it until you defeat the boss enemy for this quest.

Now that you’ve reached your destination, you’ll need to figure out what happened here. There will be 3 bodies you need to examine scattered in the middle of the area. One of them can be found under a stack of crates that you’ll need to destroy. After you examine the last one, a Gigas Alpha Naytiba will show up prompting a fight.

Stellar Blade Urgent Information Mission People to Inspect

After you defeat the Gigas, Adam and EVE will talk about how the Sentinels were ambushed by the Naytiba then EVE will need to return to the guard and report what happened to complete the mission.

Mission Rewards

You’ll receive the items listed below for completing this mission!

  • SP
  • Drone Module Upgrade
  • 1,100 Gold
  • Nano Element x30

Stellar Blade Guides and Walkthroughs

For more Stellar Blade guides and walkthroughs, click here!

Stellar Blade Logo
Guides

Stellar Blade Plan to Clean the Earth Mission Guide

by NightlyGamingBinge in

Welcome to NGB and our Plan to Clean the Earth mission guide for Stellar Blade. Here we’ll cover where to start this mission, how to complete it and what you’ll be rewarded with at the end.

How to Start the Plan to Clean the Earth Mission

In order to start this mission, you’ll need to travel to the Wasteland and head for the northeastern part of the map. Around there, EVE will receive a radio transmission asking for help thus starting the mission.

Where to start the Stellar Blade Plan to Clean the Earth Mission

How to Complete the Plan to Clean the Earth Mission

To kick off this mission, head to the Scarp Yard in the northwestern part of the map to find the source of the signal.

Stellar Blade Plan to Clean the Earth Mission Scrap Yard Map Location

Interact with the trapped doing in the center of the area to learn his name is D1G-g2r (digger) and that he needs help getting unstuck. To do this, you’ll need to rest the claw crane’s control system by interacting with the Ticker, Buzzer and Clunker in that order (you can see the order and how to reach starting with the Restart the Ticker section below). Once all three have been restarted in the correct sequence, return to D1G-g2r and speak with him to trigger a cutscene that will lead to the completion of the mission.

Stellar Blade Plan to Clean the Earth Mission D1G-g2r Trapped

Restart the Ticker

If you open the map, you’ll notice that there are now three objectives in the Scrap Yard flagged as “Reset the claw crane’s control system”. Start out by heading for the most right one. There you’ll spot a raised metal platform with the ticker on it. To reach it, you’ll need to move a nearby yellow cube next to the cliffside and use it to reach a climbable ledge embedded in the cliff. This will allow you to scale the cliff and reach the platform to turn on the ticker.

Stellar Blade Plan to Clean the Earth Mission Ticker Puzzle Step 1

Restart the Buzzer

To find the Buzzer, you’ll want to head to the most southern objective in the scrap yard. Once there, move the yellow cube so that you can use it to climb up to the metal platform.

Stellar Blade Plan to Clean the Earth Mission Buzzer Puzzle Step 1

Next, you’ll want to locate a floor switch and move a nearby cart thing (filled with luggage and boxes) on top of it. This will cause a gate to lower allowing you to move another yellow cube in place to reach the upper level of the metal platform.

Stellar Blade Plan to Clean the Earth Mission Buzzer Puzzle Step 2

Climb up there and interact with the machine to get it going.

Stellar Blade Plan to Clean the Earth Mission Buzzer Buzzle Step 3

Restart the Clunker

Finally, this time to start the Clinker. Head to the northernmost objective from the Buzzer to reach a gate. You’ll need to place the two carts on the floor plates to open the gate revealing a yellow cube.

Stellar Blade Plan to Clean the Earth Mission Clunker Puzzle Step 1

Take that cube and move it to the nearby tower allowing you to reach a yellow ladder. Climb it to the top of the tower and interact with the console to turn it on. This will cause the crane to lift freeing our little droid friend.

Stellar Blade Plan to Clean the Earth Mission Clunker Puzzle Step 2

Mission Rewards

The items listed below are what you’ll receive for completing this quest. In addition, you’ll be able to trade the parts collected from defeating robots and androids to D1G-g2r.

  • SP
  • 400 Gold
  • Extreme Nano Element x5
  • Advanced Nano Element x25
  • Nano Element x50

Stellar Blade Guides and Walkthroughs

For more Stellar Blade guides and walkthroughs, click here!

Stellar Blade Logo
Guides

Stellar Blade The Scavenger’s Story Mission Guide

by NightlyGamingBinge in

Welcome to NGB and our Stellar Blade guide for The Scavenger’s Story mission! Here we’ll cover where to start the mission, how to complete it and the rewards you’ll get at the end.

How to Start the Scavenger’s Story

You’ll automatically start the Scavenger’s Story during the main story after reaching Xion. Adam will send EVE to Sister’s Junk to collect a part for his ship. While there, she’ll meet Kaya who will ask EVE to locate her lost bike in the Scrap Plains.

Where to start the Stellar Blade The Scavenger's Story Mission

How to Complete the Scavenger’s Story

When you’re ready to track down Kaya’s missing bike, set out for the Wasteland and head for the Junkyard Supply Camp located in the Scrap Plains at the southeastern corner of the map.

Stellar Blade The Scavenger's Story Mission Junkyard Supply Camp

From the supply camp, head east passing the pit of junk on the left to spot a shack with two Turret Droids nearby. Deal with the droids then enter the shack. Locate the yellow cube and move it to the other side of the room then use it to reach a rope hanging down from the ceiling.

Stellar Blade The Scavenger's Story Mission Shack Area

Climb up the rope to find the bike near a yellow service droid. Interact with it to examine the bike then grab the nearby trunk. Take it back to Kaya to complete the mission.

Stellar Blade The Scavenger's Story Mission Bike and Trunk

Mission Rewards

You’ll be rewarded with the items listed below after you complete this mission!

  • SP
  • 700 Gold
  • WB Pump
  • Extreme Polymer Material x10
  • Advanced Polymer Material x20

Stellar Blade Guides and Walkthroughs

For more Stellar Blade guides and walkthroughs, click here!

Stellar Blade Logo
Guides

Stellar Blade Reboot! Mission Guide

by NightlyGamingBinge in

Welcome to NGB and our Stellar Balde guide for the Reboot! mission! Here we’ll go over where to start this mission, how to complete it and the rewards you’ll receive at the end.

How to Start the Reboot! Mission in Stellar Blade

In order to start the Reboot! mission, you’ll need to reach the Wasteland and interact with the Supply Camp near the Xion map transition. This will trigger a cutscene where EVE will comment on the power of the camp being out. Adam will then point you in the direction of the Solar Tower.

Where to start the Stellar Blade Reboot! Mission

How to Complete the Reboot! Mission in Stellar Blade

Once you’ve started the mission, head for the Solar Tower in the southwestern part of the Wasteland. When you get there, speak with the service drone outside near the entrance to learn there is a problem with the tower, but not exactly what and it is up to you to figure it out!

Stellar Blade Reboot! Mission Solar Tower Wasteland Map Location

Enter the tower and ascend up to the top using ledges, piped and even droids to reach your destination. Eventually, you’ll reach the Tower Control Panel that you can interact with which will say the reboot failed.

Stellar Blade Reboot! Mission Tower Control Panel

From that panel, continue heading left and jump up to the next ledge. Follow that around to arrive at the source of the problem: a droid is stuck under some debris. Interact with the little guy to free him then return to the control panel. Interact with it one more time to successfully reboot the Solar Tower.

Stellar Blade Reboot! Mission Trapped Droid

You’ll now need to head back down to the bottom and speak with the service bot near the entrance once again to complete the mission. There will be a hovering dartboard nearby that you can shoot to reveal a road you can use as a shortcut to make your descent a bit quicker.

Mission Rewards

For completing this mission, you’ll be rewarded with the items listed below!

  • SP
  • Micro Coil x20
  • Micro Motor x20
  • Micro Drive x80

Stellar Blade Guides and Walkthroughs

For more Stellar Blade guides and walkthroughs, click here!