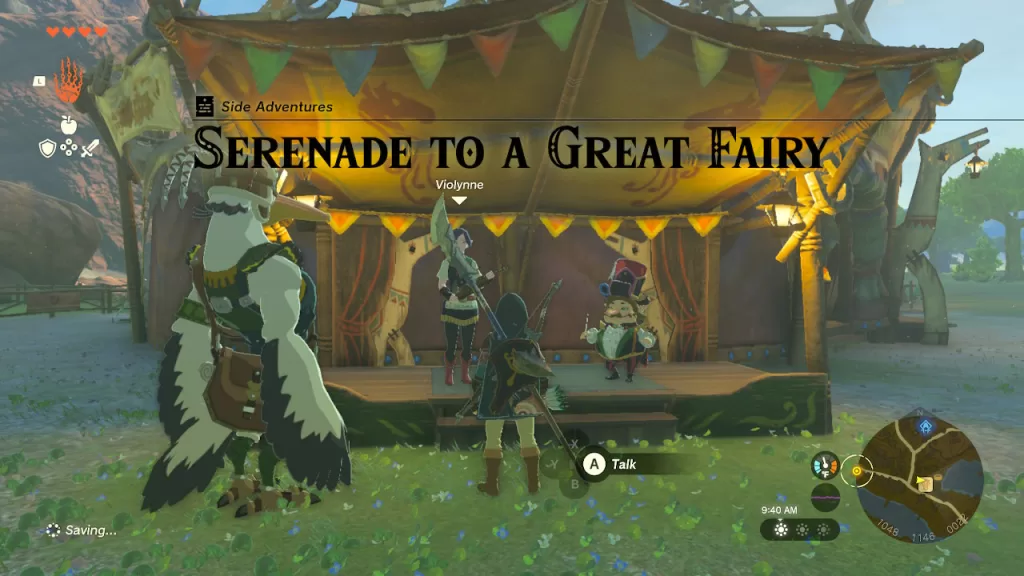
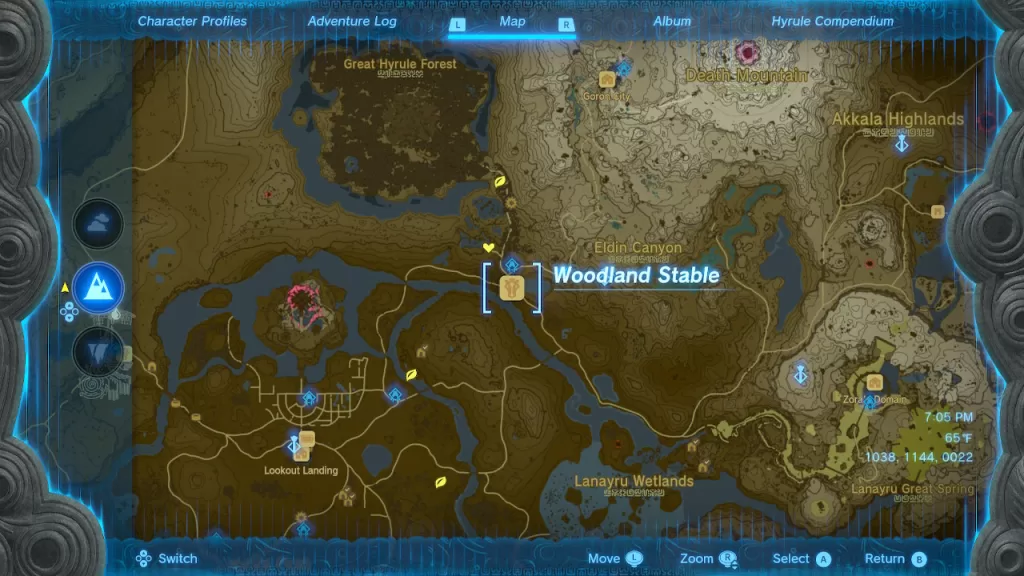
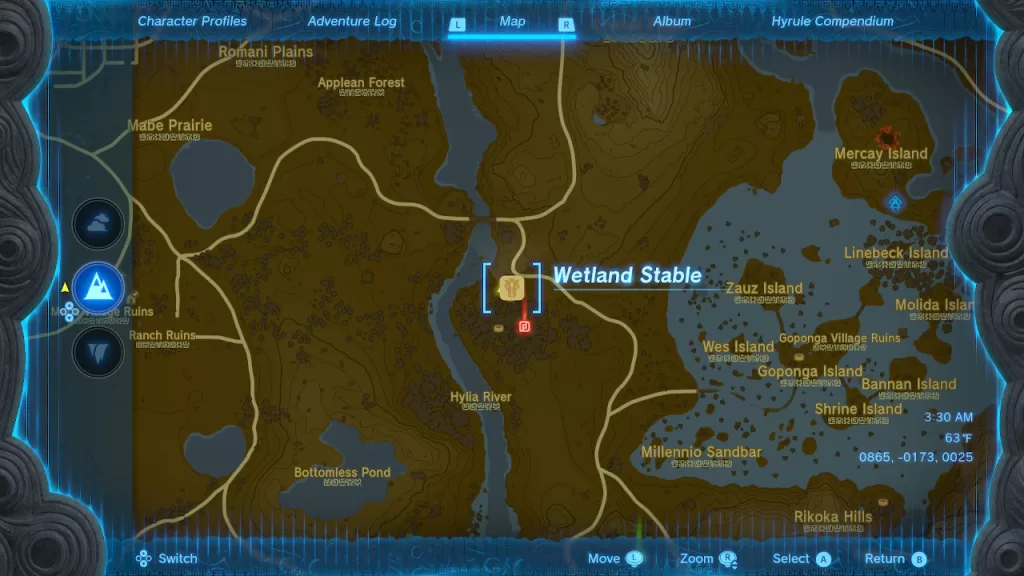
In The Legend of Zelda: Tears of the Kingdom, you can obtain the Serenade to a Great Fairy side adventure from Penn at the Woodland Stable after starting the Potential Princess Sightings side adventure.
For this side adventure, use Ultrahand to grab some wheels from around the stable then place them on the breezer. You’ll then need the Towing Harness, which you can get as a reward from the Pony Points. You’ll also need a horse.
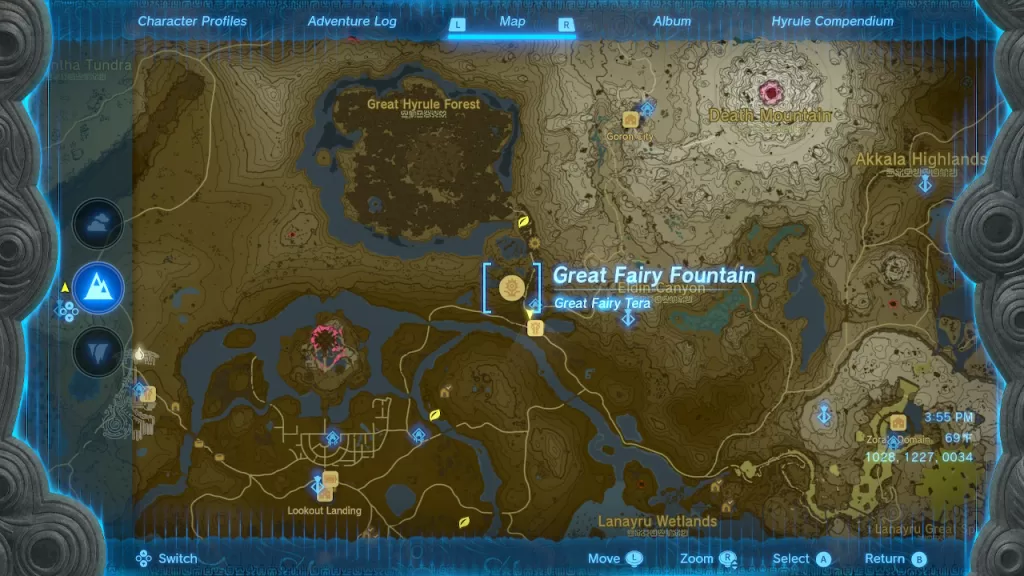
After you’ve attached the horse to the breezer using Ultrahands, hop on the mount and steer it to the Great Fairy who can be found to the north. Just follow the road to the giant plant spewing purple dust.
Once you arrive, the musician will play her violin and the Great Fairy will reveal herself.
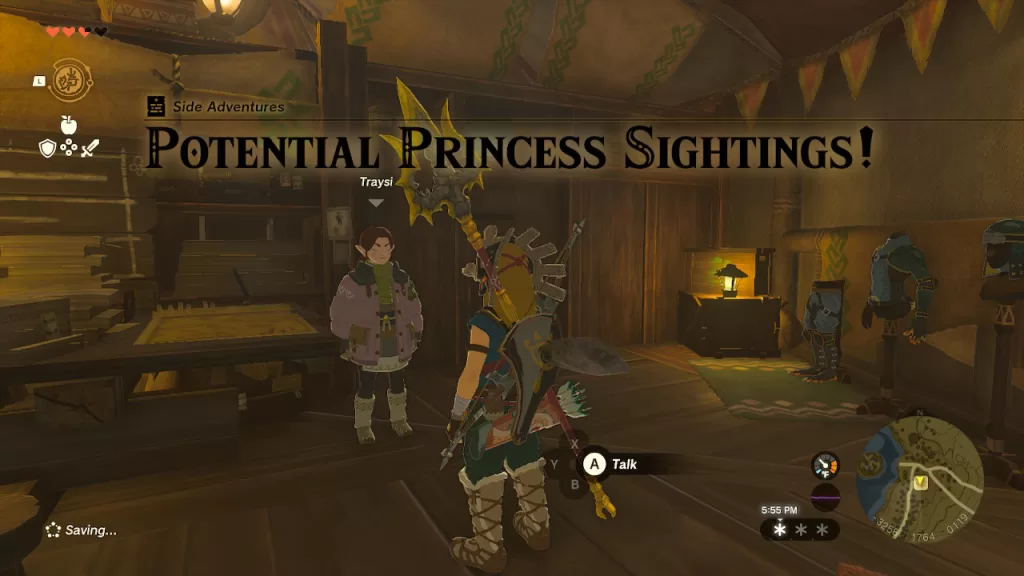
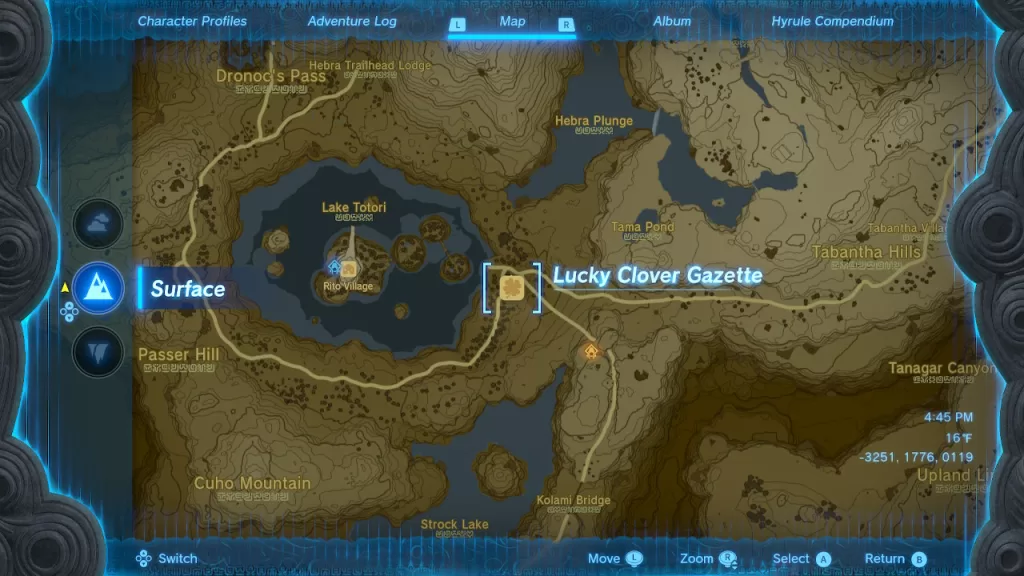
In The Legend of Zelda: Tears of the Kingdom, you can obtain the Potential Princess Sightings! side adventure from speaking to Traysi at the Lucky Clover Gazette, which is east of Rito Village on the southeastern side of Hebra.
For this quest, she’ll want you to visit the below stables. As you complete the tasks, you’ll receive the following rewards:
1 = Purple Rupee
2 = Purple Rupee & Lucky Clover Gazette Fabric
3 = Purple Rupee & Red Rupee
4 = Purple Rupee & Froggy Sleeve
5 = Silver Rupee
6 = Silver Rupee
7 = Silver Rupee & Red Rupee
8 = Silver Rupee & Red Rupee
9 = Silver Rupee & Froggy Leggings
10 = Silver Rupee & Purple Rupee
11 = Silver Rupee x2
12 = Gold Rupee
After you’ve completed the below, return to Traysi at the Lucky Clover Gazette. Upon speaking with her, you’ll receive the Froggy Hood and the Potential Princess Sightings side adventure will complete.
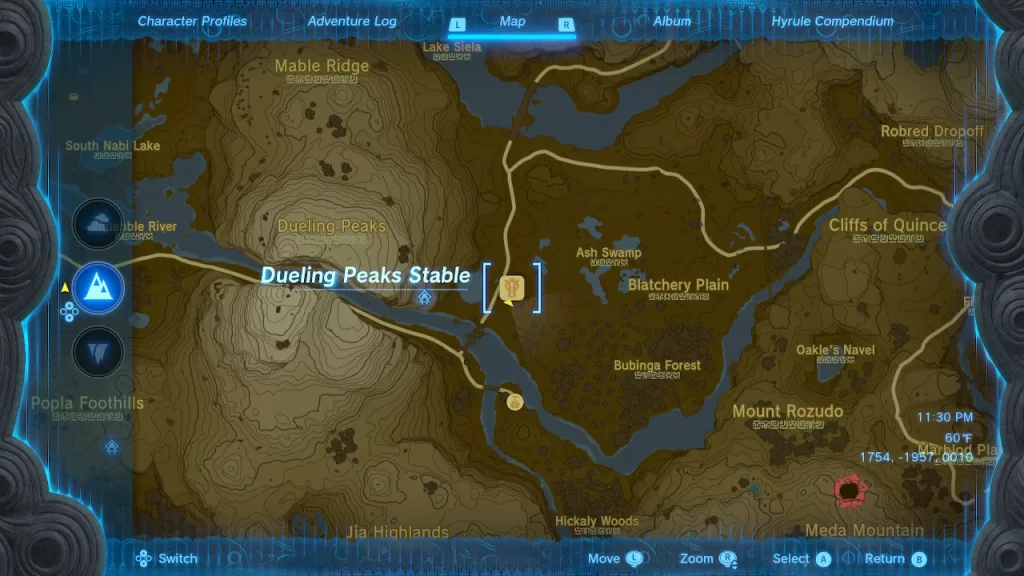
Dueling Peaks Stable
Speak with Penn on the roof (use Ascend to get up there!) of the Dueling Peaks Stable in western Necluda then complete the Princess Zelda Kidnapped side adventure.
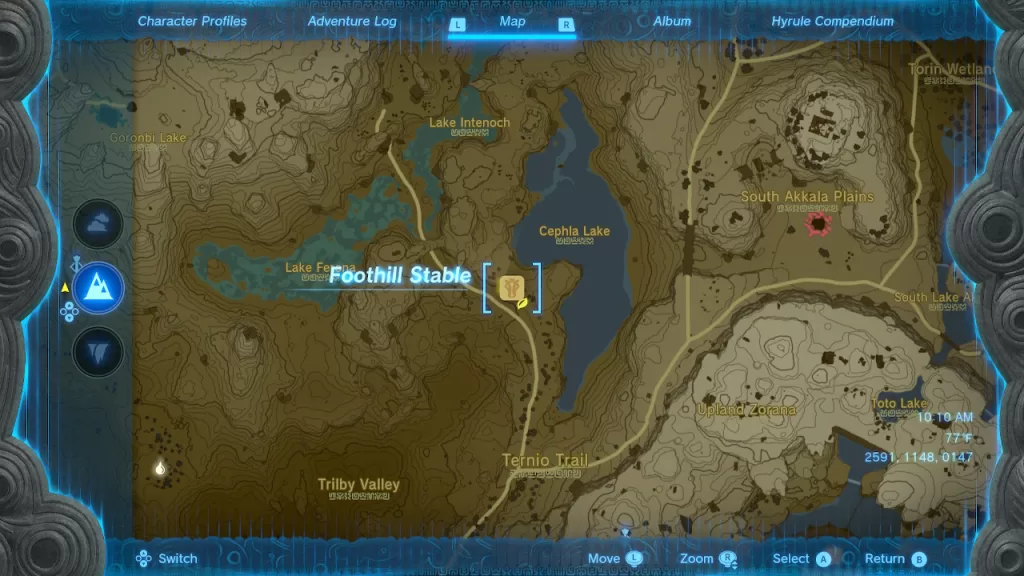
Foothill Stable
Speak with Penn at Foothill Stable, which can be found on the western side of Cephla Lake then complete the For Our Princess side adventure.
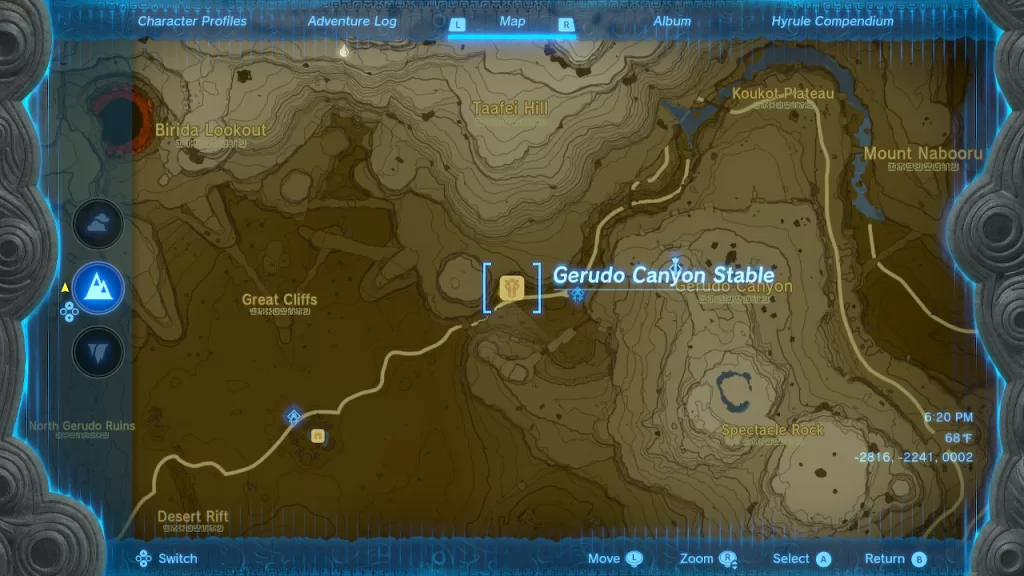
Gerudo Canyon Stable
Speak with Penn at the Gerudo Canyon Stable, which can be found just south of Taafei Hill and west of Gerudo Canyon, then complete The Blocked Well side adventure.
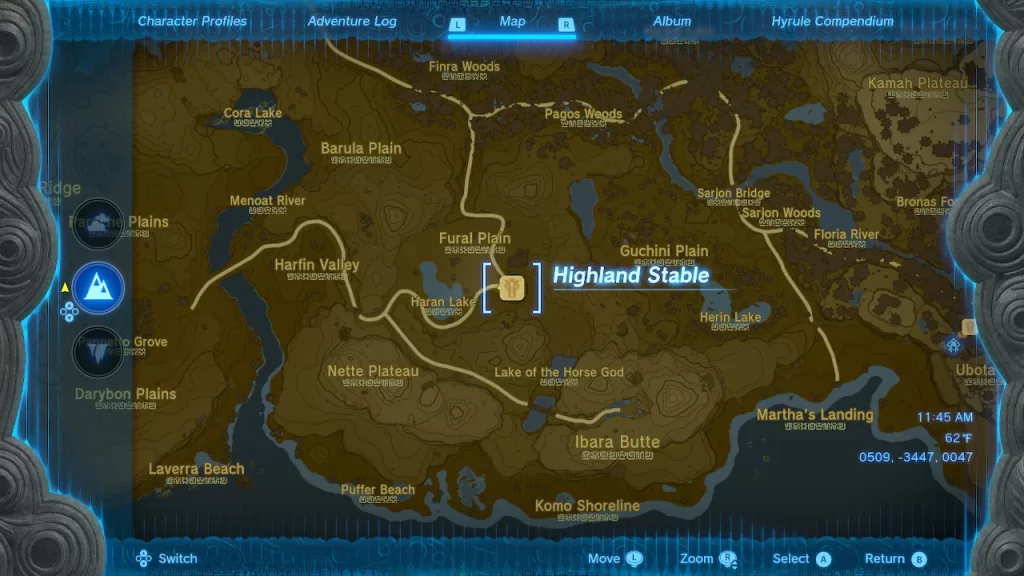
Highland Stable
Speak with Penn at the Highland Stable in the southwestern part of the Faron region then complete An Eerie Voice side adventure.
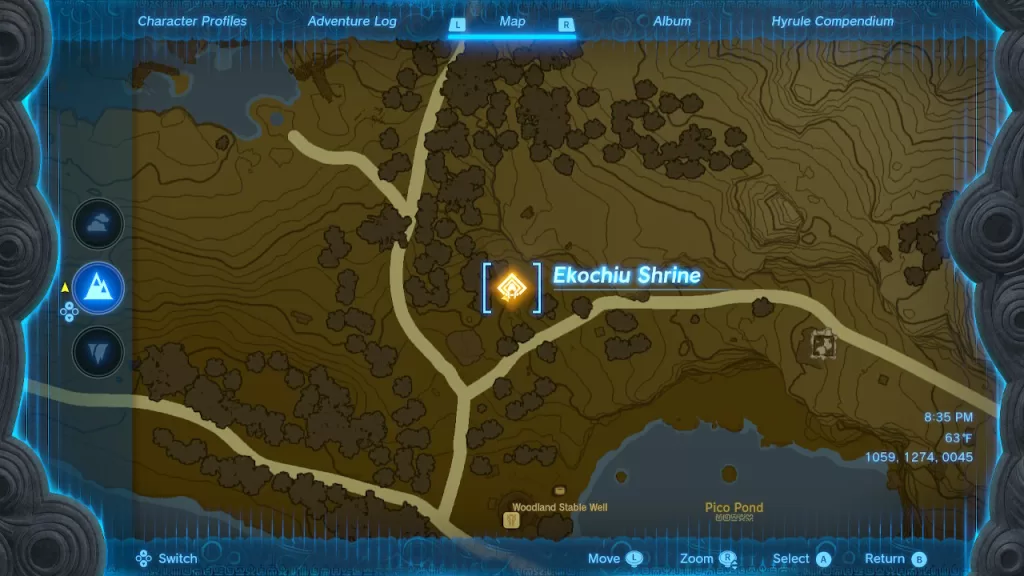
In The Legend of Zelda: Tears of the Kingdom, the Ekochiu Shrine can be found northwest of Pico Pond, which is between Central Hyrule and Eldin.
Enter the shrine to begin the Rise and Fall challenge. Step on the platform to launch the concrete block. When it comes back, stand on the block then cast Rewind to cross the gap.
In the next room, climb up on the cube that drops into the water and cast rewind before it goes over the waterfall to reach the upper ledge. From there, turn around and look back towards the water to find a chest. Glide down to it and open it to receive a Zonaite Shield.
Again, jump on a cube then cast Rewind on it to reach the upper ledge.
For the next puzzle, you’ll need to jump down to the lower level on the right to find a metal cube. Bring this cube to the platform closest to the altar using Ultrahand.
Climb up the ladder then stand on the platform. This will cause the cube to shoot up. Make your way on top of this metal cube then use Rewind to launch up into the air where you will then be able to glide to the altar. Interact with it to receive a Light of Blessing.
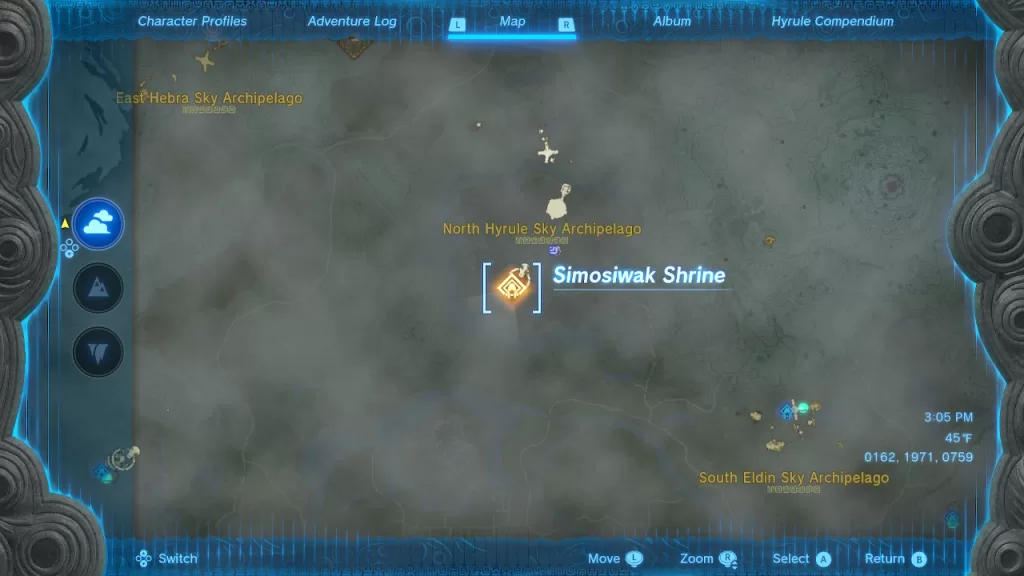
In The Legend of Zelda: Tears of the Kingdom, the Simosiwak Shrine can be found on Bravery Island in the North Hyrule Sky Archipelago above the Great Hyrule Forest.
For this shrine, you’ll need to complete the Proving Grounds: Lights Out challenge where you’ll be unable to use any equipment from outside the shrine and the whole challenge will be done in the dark. When you start, head down the stairs and look to the left to find some weapons. You’ll then need to head into the darkness and go left to find a lone Construct to fight. Use some of the materials it drops to fuse with your weapons to make them stronger.
Next, head to the other side of the room to find an enemy wielding a Ruby Broadsword which shoots fireballs. After you take this Construct out there will only be one left. This one also has a weapon that emits flames. After you defeat this one, the challenge will complete. Head to the altar to claim the Light of Blessing. Just before the altar, open the chest containing a Bright Elixir!
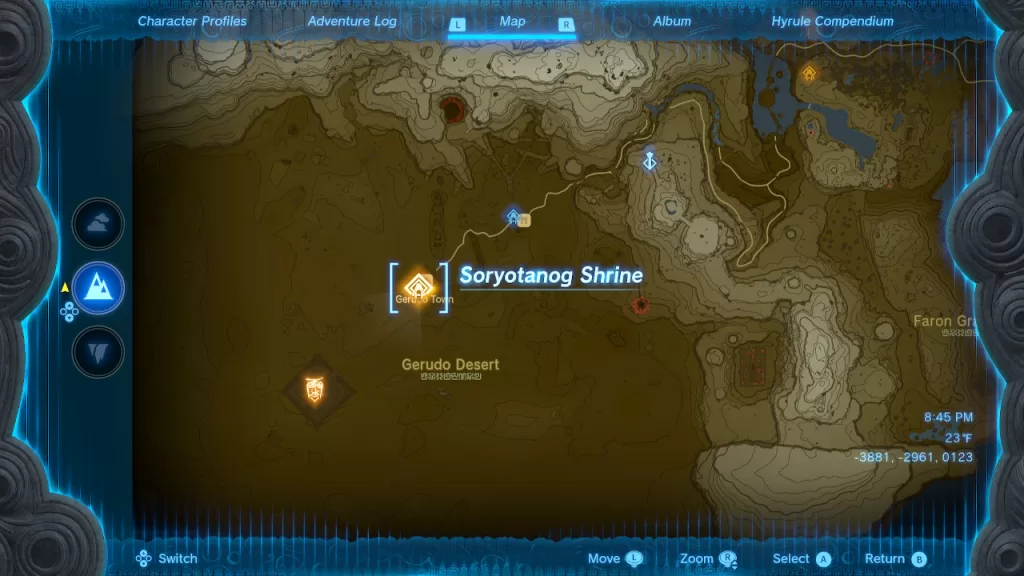
In The Legend of Zelda: Tears of the Kingdom, the Soryotanog Shrine can be found on a top of a giant rock above the throne room in Gerudo Town.
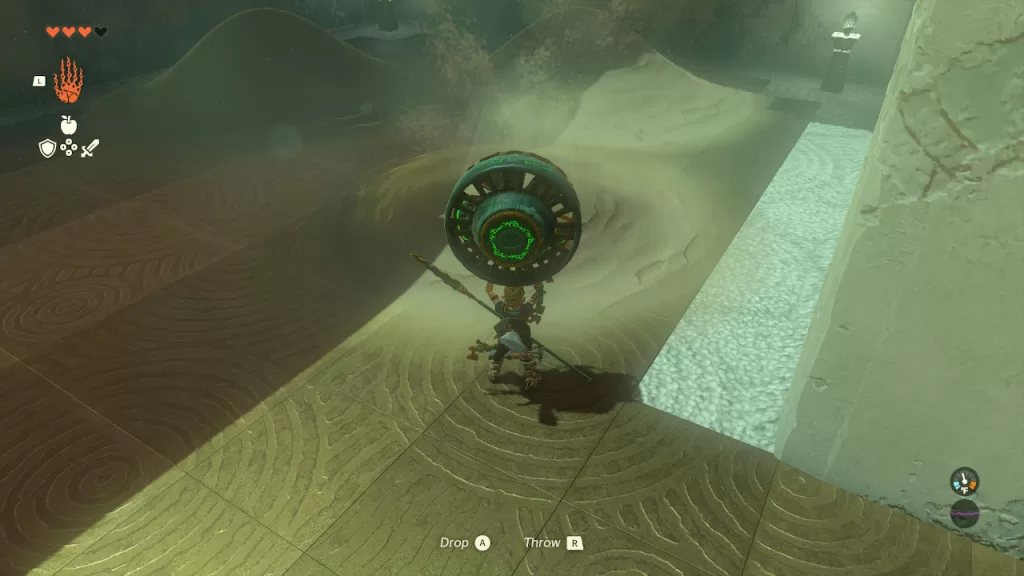
It’s reachable using a combination of the Ascend ability and climbing. In order to clear the shrined you’ll first need to complete the Buried Light challenge. To do this, start by pulling the fan in the room out of the sand by using the Ultrahand ability. Strike the fan with your weapon then pick it up and use it to blow away the sand piles revealing a chest at the bottom of one of them. Loot the chest to receive the small key and use it to unlock the door.
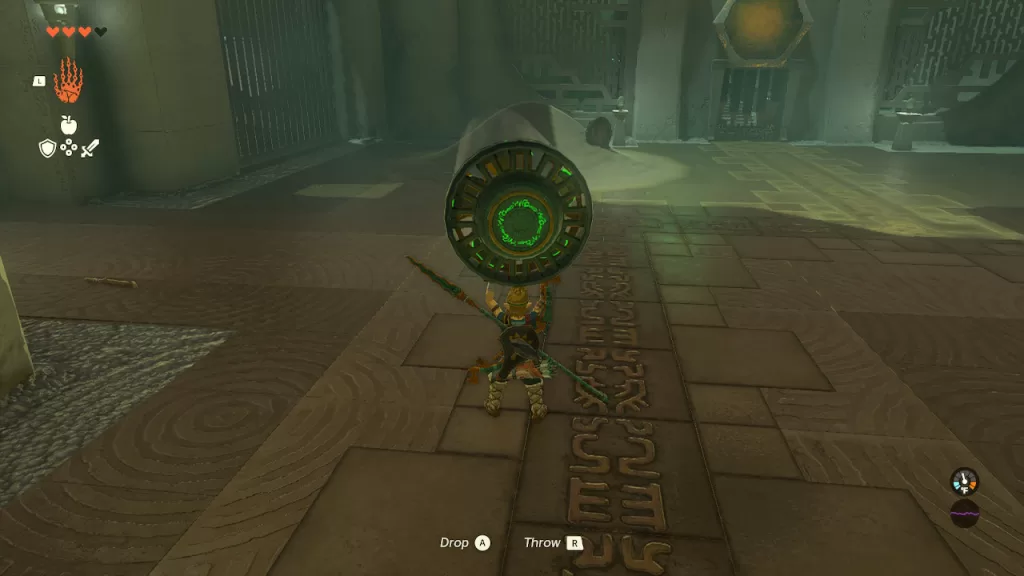
Grab the fan and head through the doorway. Deal with the construct there then use the fan to blow away the sand pile.
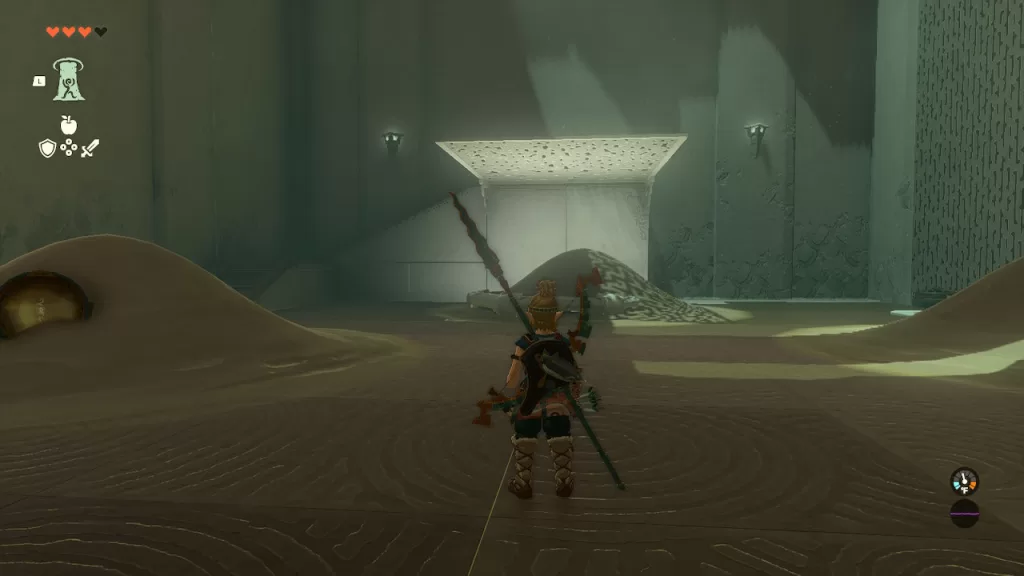
Drop the fan then head back by the doorway to spot a ledge you can get under. Use Ascend to reach the top of it then follow the path around jumping down into the area on the other side.
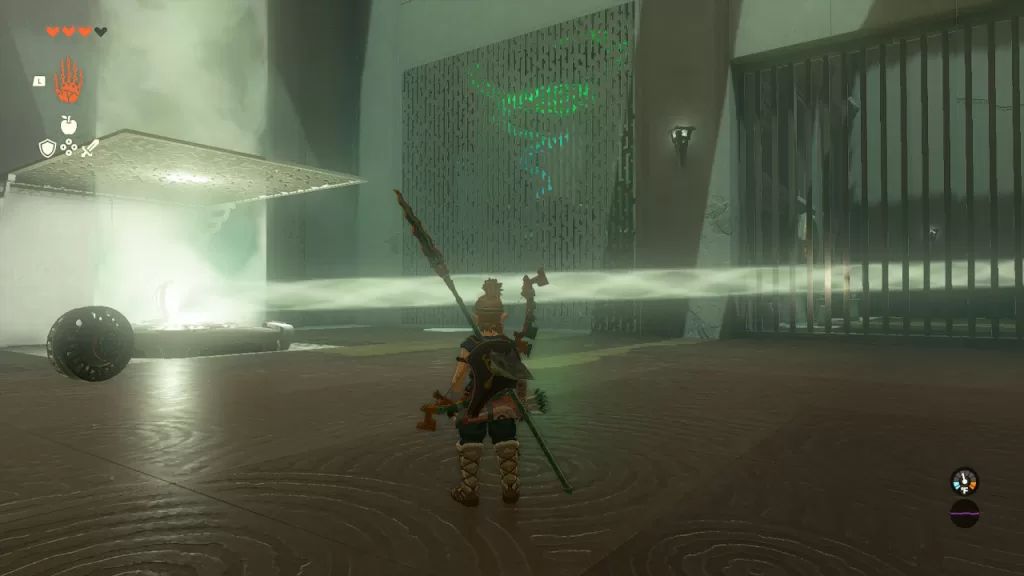
Take care of the construct here then locate the fan on the ground. Use it to blow away the sand piles revealing a beam of light and a mirror. Place the mirror on the light beam and angle it so that its going through the bars into the other room.
Use Ascend to climb up the ledge and drop back into the previous room then grab the mirror using Ultrahand and move it into the beam of light. Angle the beam so that it hits the panel above the door leading to the altar.
This will charge it up opening the door allowing you to receive the Light of Blessing.
In The Legend of Zelda: Tears of the Kingdom, the Mayatat Shrine can be found at the Kara Kara Bazaar, which is northeast of Gerudo Town.
Enter the shrine to begin the A Sliding Device challenge. Start out by heading across a sand slope in the middle of the room to the other side where there will be a sled on a platform. If you look up the slope, three sleds will spawn and slide down the slope. Grab and attach them to the other sled making a giant sled comprised of all 4 sleds. Use this limo-sled as a bridge to climb up the ledge at the top of the slope.
Once at the top, continue heading up the slope to find some steps on the left side. At the top of the steps, there will be another sled, two fans and a device you can use for steering. Attach the steering device and fans to the sled then put it in the sand. Follow the path along the back left side of the room to reach a chest with 10 arrows. You can then head to the altar in the back right side of the room to receive your Light of Blessing.
The Makasura Shrine can be found on the southern hills overlooking Kakariko Village.
To clear the shrine, you’ll need to complete the An Upright Device challenge. Start off by heading down the stairs and then standing under the walkway hanging off the high ledge. Use the Ascend ability then follow the path to the gap. There will be a long piece of metal with an artifact attached to the bottom of it. Use the Ultrahand power to adjust the object so that the device is near the edge.
Climb on top of the metal railing going to the opposite end of the device. Hit it with an arrow to be launched across the gap.
In the next area, you’ll need to do the same thing as before to reach the other side of the fence. Before sending the ball over, you may want to use the makeshift trebuchet to reach a ledge opposite the fence to grab a chest with a Fairy Tonic inside.
With that out of the way, send the ball over the fence then yourself. Place the ball in the floor pressure plate to open a gate. Grab the metal piece behind it and attach it to the one you already have. Position the device so that it faces the altar and place Link in the bucket part.
Hit the device to launch Link across the gap to the altar. Head on up to grab your Light of Blessing.
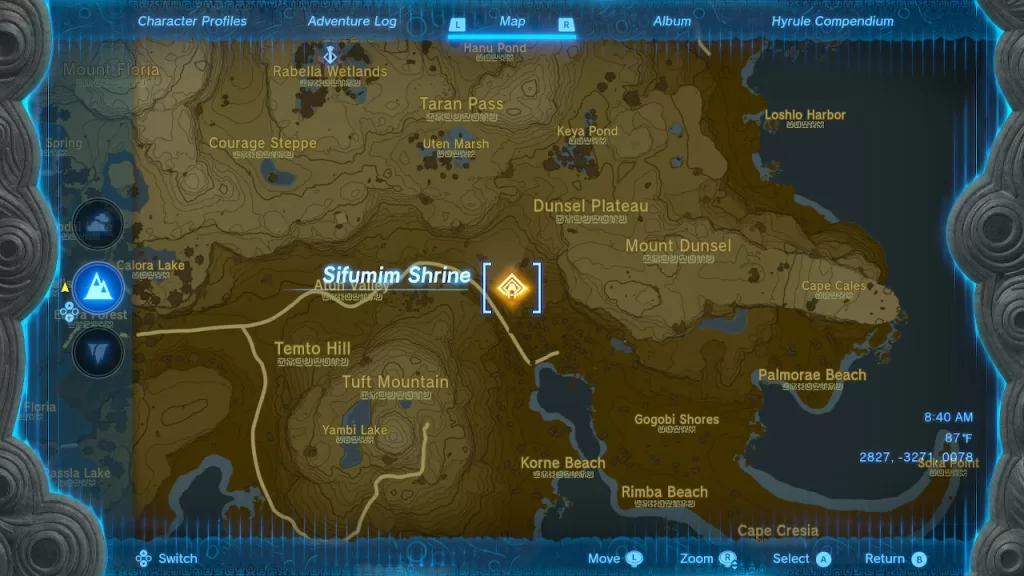
The Sifumim Shrine in The Legend of Zelda: Tears of the Kingdom can be found just north of Korne Beach, southeast of the Rabella Wetlands Skyview Tower.
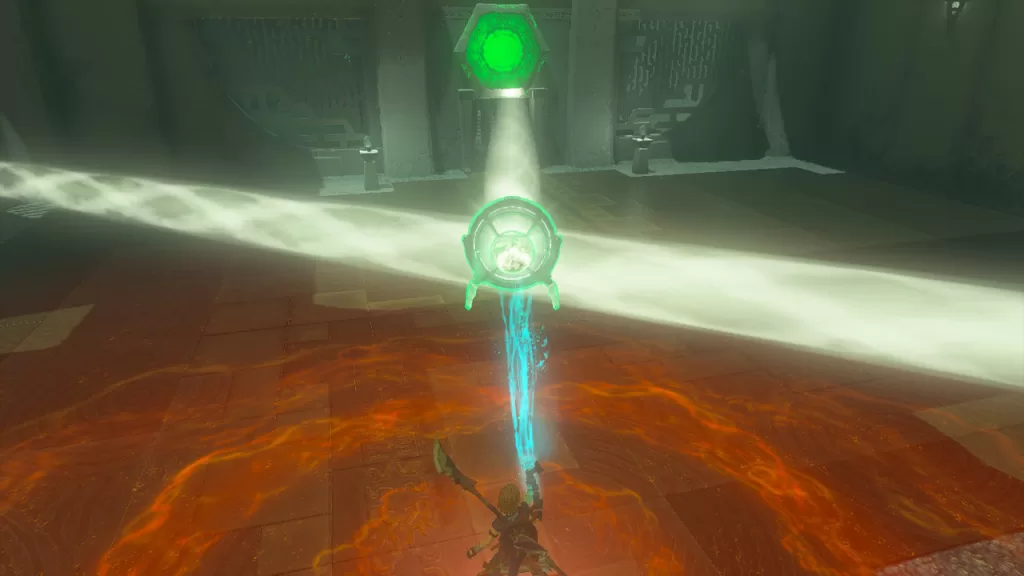
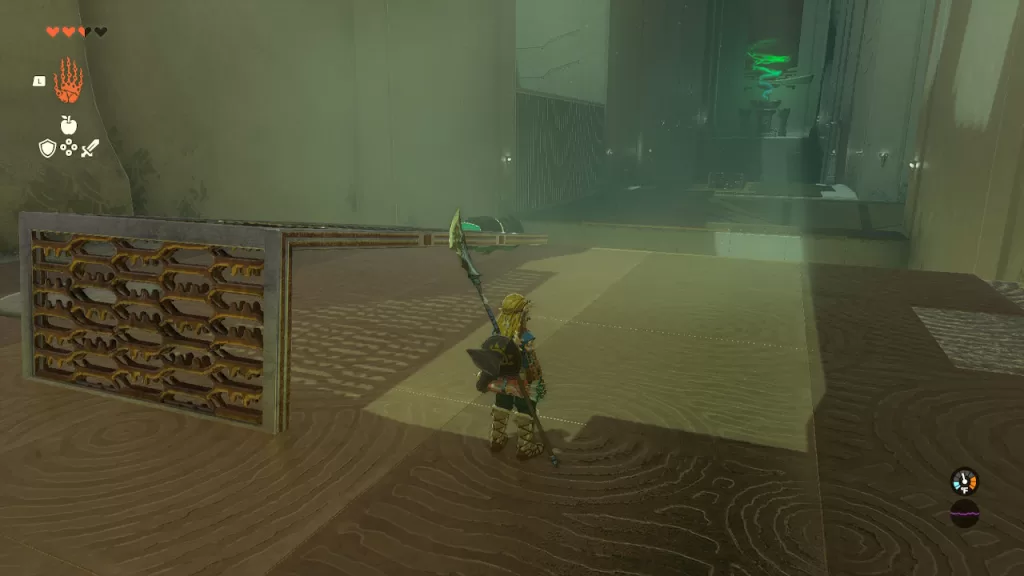
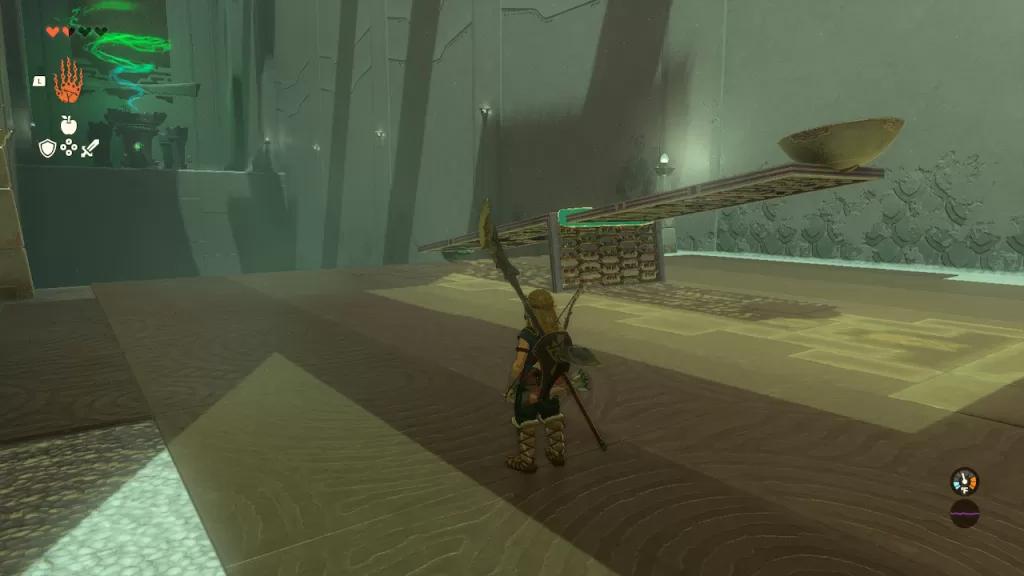
In order to clear this shrine, you’ll first need to complete the Proving Grounds: Flow challenge. During this challenge, you’ll not be allowed to use any outside equipment. Instead, you’ll only be able to use what you collect during the challenge.
To start, head down the stairs and collect the 2 sticks and shield near the weapon rack. Take out all of the Constructs to complete the challenge. What worked best for me was grabbing a bow off of one of the constructs on the rafts and then taking out the big one in the center of the room using the bow. If you can knock it in the water, it will die instantly. This will then allow you to pick off the other constructs until you get them all, completing the challenge and unlocking the altar room. Head to the altar to receive your Light of Blessing. Make sure to loot the chest along the way to receive a Captain II Reaper.
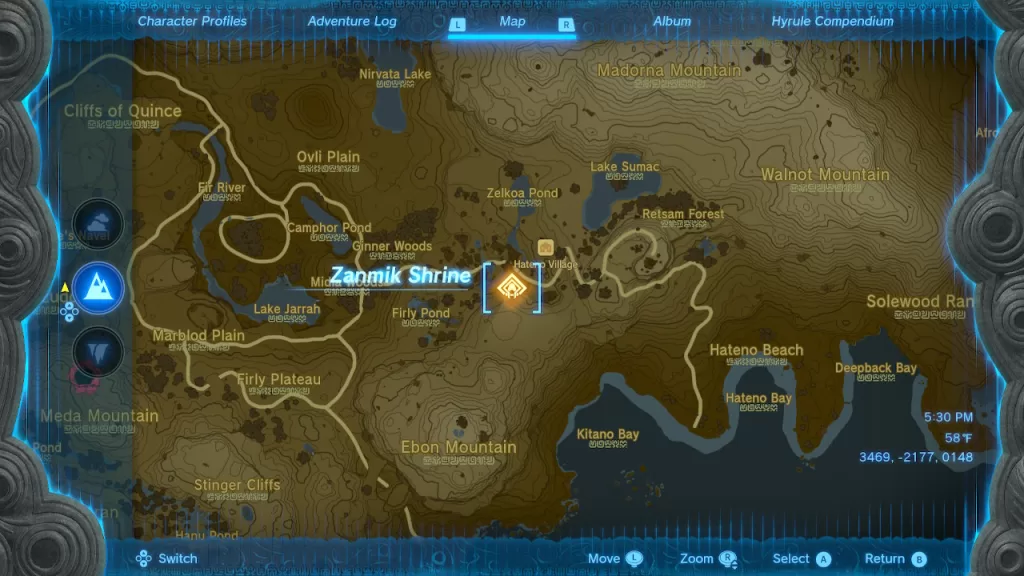
In The Legend of Zelda: Tears of the Kingdom, Zanmik Shrine can be found on a hill overlooking Hateno Village in eastern Hyrule south of Mount Lanayru.
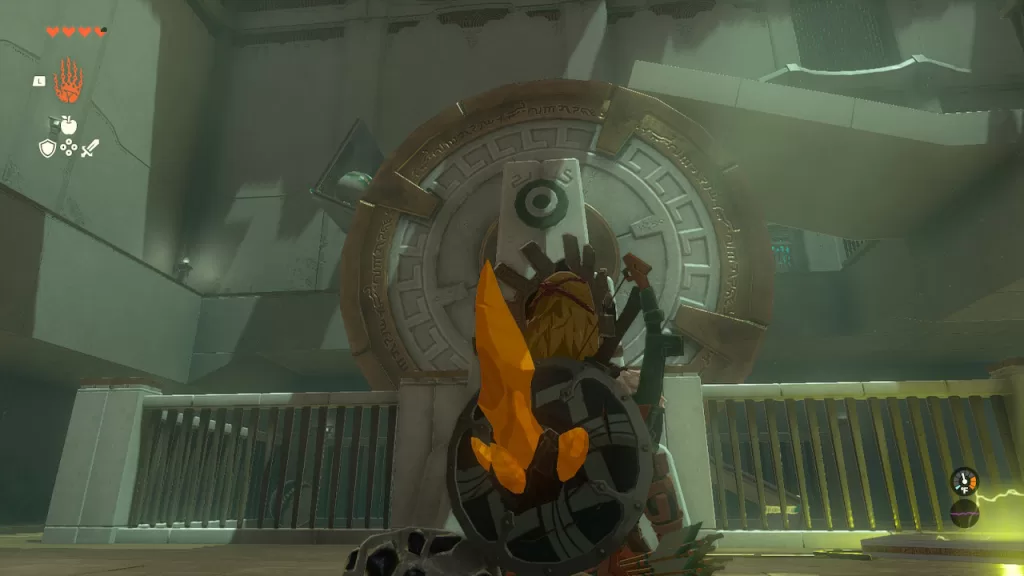
To clear the shrine, you will have to complete the Scoop It Out challenge. To begin, head down the stairs then climb down the ladder on the left. In the middle of the room will be a giant wheel over a ball pit. Head to the far side of the wheel and attach two of the metal squares to it like in the image below.
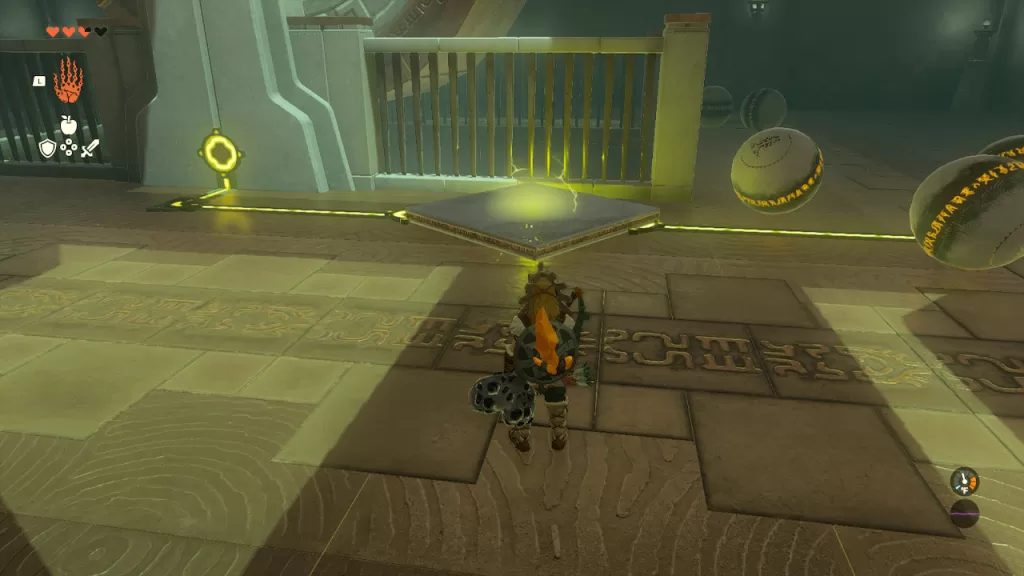
You’ll then want to pick up one of the balls and stick it to the square. Move another square onto the two conductors on the floor to power the wheel. This will bring the ball to the ramp up top. Unstick it from the square and place it on the floor plate to open the gate.
Head to the altar to receive your Light of Blessing.
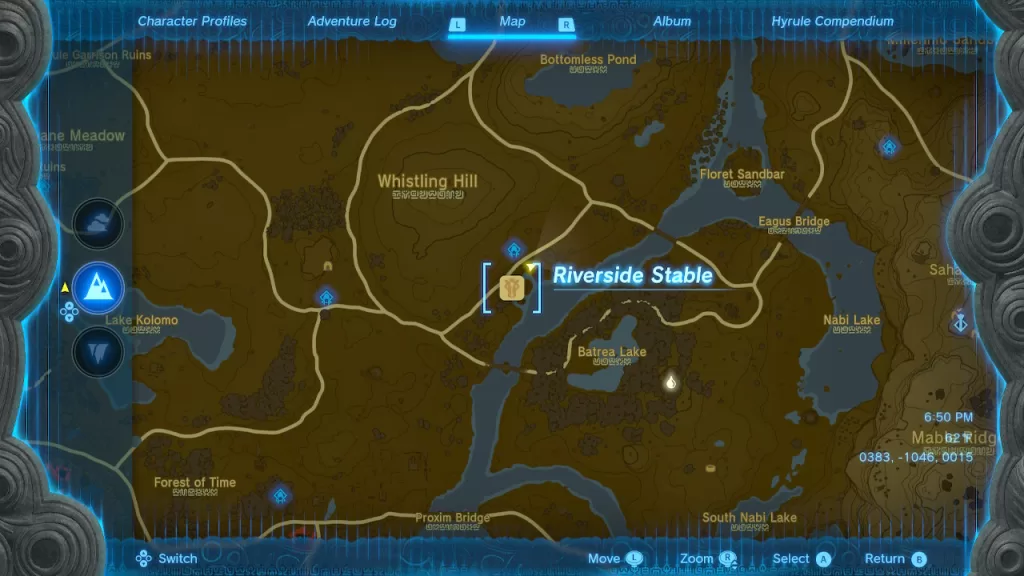
The Teniten Shrine can be found on the road between Whistling Hill and Lake Kolomon southeast of Hyrule Field.
In order to clear this shrine, you’ll need to complete the Combat Training: Throwing challenge. Start by heading down the stairs into the combat zone. This will activate the construct initiating combat. The game will then show you how to throw a weapon. If you don’t have any weapons you want to get rid of, there are some Rusty Halberds nearby that the shrine provides. Ultimately you’ll need to throw 2 at the construct to complete the challenge to open the gate leading to the altar. Along the way loot the chest containing a Zonaite Spear then receive your Light of Blessing.
This site uses cookies. By continuing to use this website, you are giving consent to cookies being used. For more information on cookies, view our Privacy Policy.OkPrivacy Policy