Welcome to NGB and our Eiyuden Chronicle: Hundred Heroes walkthrough for The Final Battle! main quest. Here you’ll find everything you’ll need to breeze through this quest.
The Final Battle! Goals
- Go to the Great Hall
- Defeat Dux Aldric
- Go to give your speech
- Go to the Great Hall and hear the other war results
- Prepare and return to the Great Hall
- Liberate Eltisweiss
- Give your orders from the Great Hall
- Rest to prepare for the final battle
- Search for Dux Aldric
- Gardhaven Castle 3F Library
- Keep searching for Dux Aldric
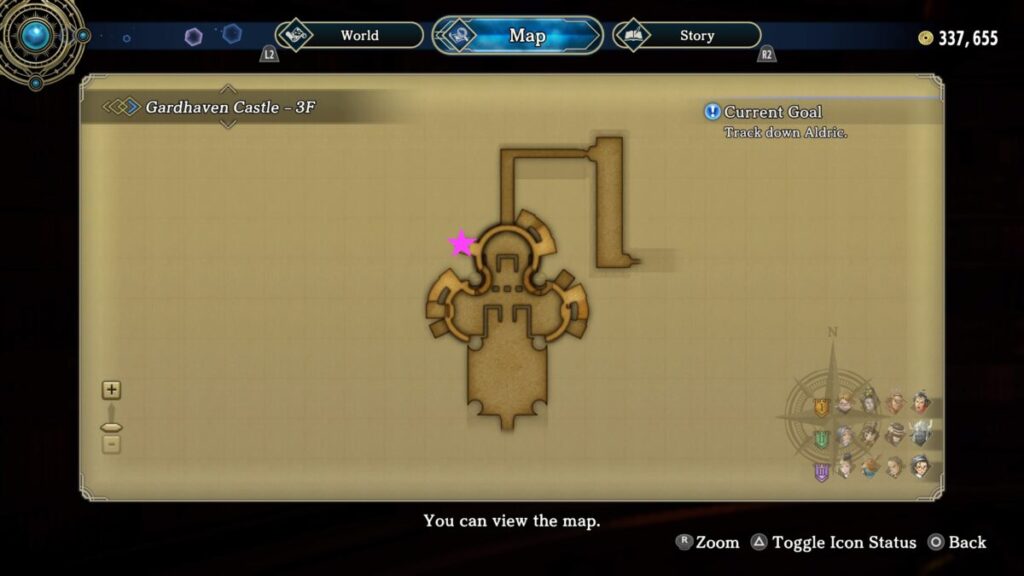
- Track down Aldric
- Defeat Aldric
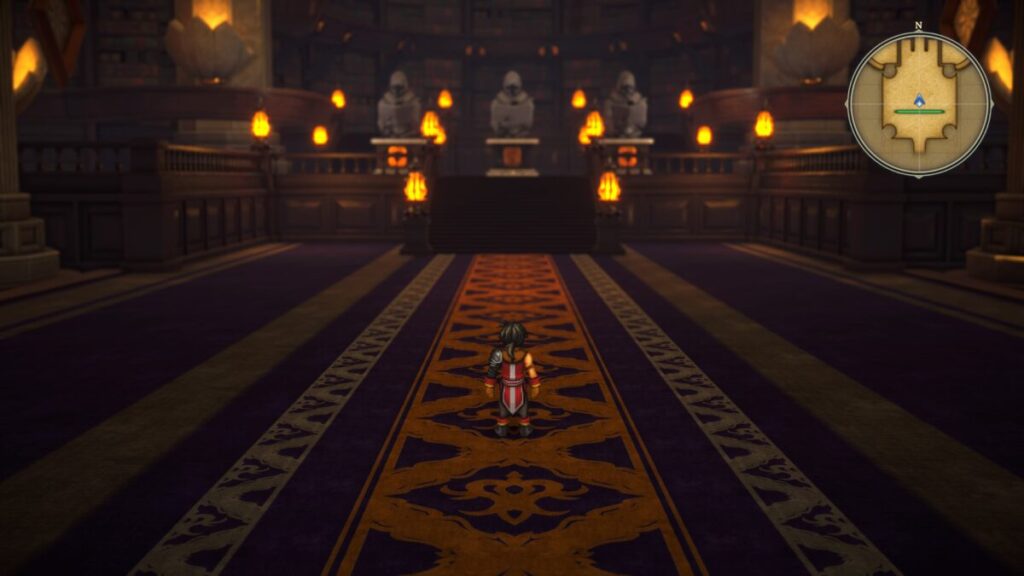
Go to the Great Hall
At the start of The Final Battle story, make your way to the Great Hall to… you guessed it!… begin the final war game.
Defeat Dux Aldric
After the war, you’ll find yourself in the Imperial Army Headquarters. If you wish to save, shop, heal, change your gear or party members, turn around. When you’re ready, press forward! At the end of the area, you’ll encounter the Dux. Instead of fighting him now, you’ll face Heinrich and 2 Imperial Elite (Sword). As soon as victory is yours, a cutscene will trigger and Goldwyn, Elektra, Maxim, Vorrdice, Viesskin will join the Alliance.
Imperial Army Headquarters Collectibles
Enemies
- Imperial Elite (Sword)
- Imperial Soldier (Bow)
- Imperial Soldier (Spear)
- Imperial Soldier (Sword)
- Mach Egg
- Modified Speciment T_1965
- Ogre
- Ripper Raptor
Collectible Materials
- Premium Healing Herb
- Revival Medicine
Go to give your speech
At the start of the Declaring Victory story, head downstairs, exit your HQ then proceed towards the gathered group.
Go to the Great Hall and hear the other war results
At the start of the Counterattack story, enter the Great Hall for the discussion.
Prepare and return to the Great Hall
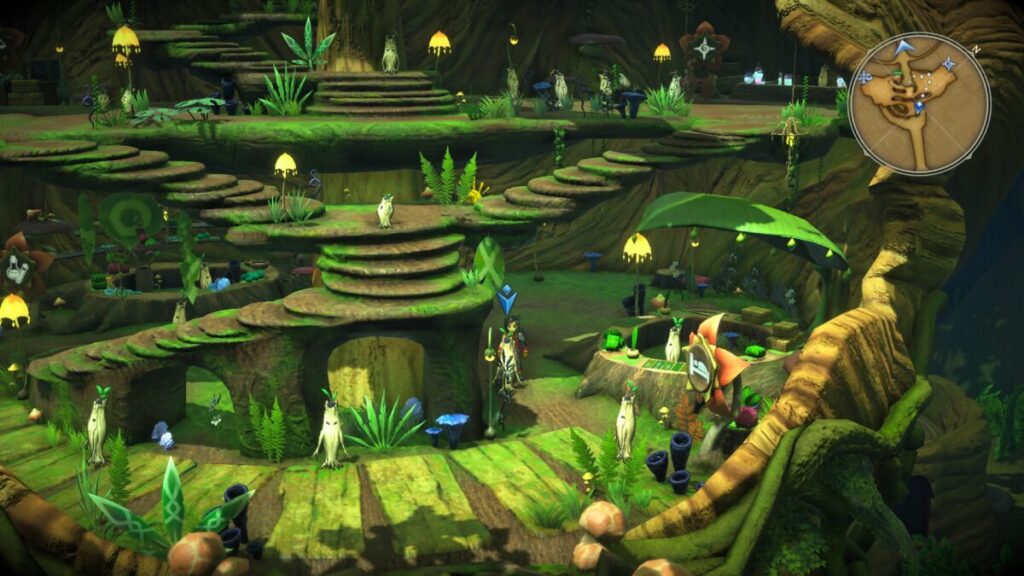
Before heading to the Great Hall, make your way over to The Hero’s Den to check on Kurtz. Interact with the mystery chef to meet Trey. This will prompt Kurtz to want the Scroll of Heaven so he too can get his hands on some arcane recipes. For our guide on where to find this fabled Scroll of Heaven for Kurtz’s side quest, click here!
Also, make sure to explore Twinhorne West now that it’s available for an additional recipe and some recruitable characters!
Twinhorne West Collectibles
- Rohan – Speak with him in the inn and he’ll join you!
- Hogan – Speak with him on the dock. To recruit him, you’ll need to make a profit of 50,000 baqua by buying and selling at the Trading Posts.
- Shrimp Doria Recipe – Speak with the woman in the southwestern most house.
When you’re ready to proceed, enter the Great Hall and tell Melridge that you’re ready to go! You’ll then begin a war battle against Chapell’s forces. Eliminate them to recapture Eltisweiss.
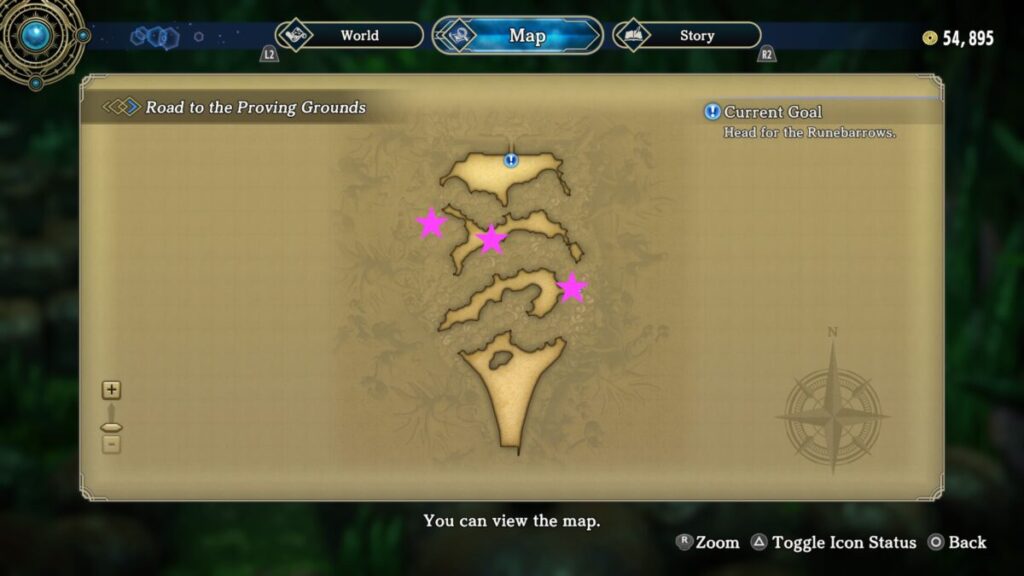
Liberate Eltisweiss
Head north fighting the enemies along the way then turn west when you reach the end of the path!
Give your orders from the Great Hall
After liberating Eltisweiss, The Last Order story will begin. Make your way to the Great Hall and give the order when you’re ready to end the war.
Rest to prepare for the final battle
When you’re ready, head up to your room and sleep. The morning after you’ll engage in a war battle. After organizing your legion, defeat Dux Aldric in battle then move your units to the north to end the battle. You’ll then need to form a party to storm the Gardhaven Castle.
Gardhaven Castle Collectibles
Enemies
- Arch-Demon
- Imperial Elite (Sword)
- Imperial Soldier (Bow)
- Mine Orb
- Modified Specimen H_008
- Ogre
- Synthetic Specimen C_0282
- Synthetic Specimen R_0901
Chests
- Rune of the Knight’s Path
- Osechi Recipe
- Ascent Badge
- Rune of SP+
- Rune of Tremendous Power
- Rune of Supersonic Speed
- Blessed Shield
- Holy Circlet
- Sacred Helmet
- Rune of Medical Studies
- Rune of Quick Movement
- Faded Book, Chapter 17
- Blessed Heavy Helm
- Blessed Armor
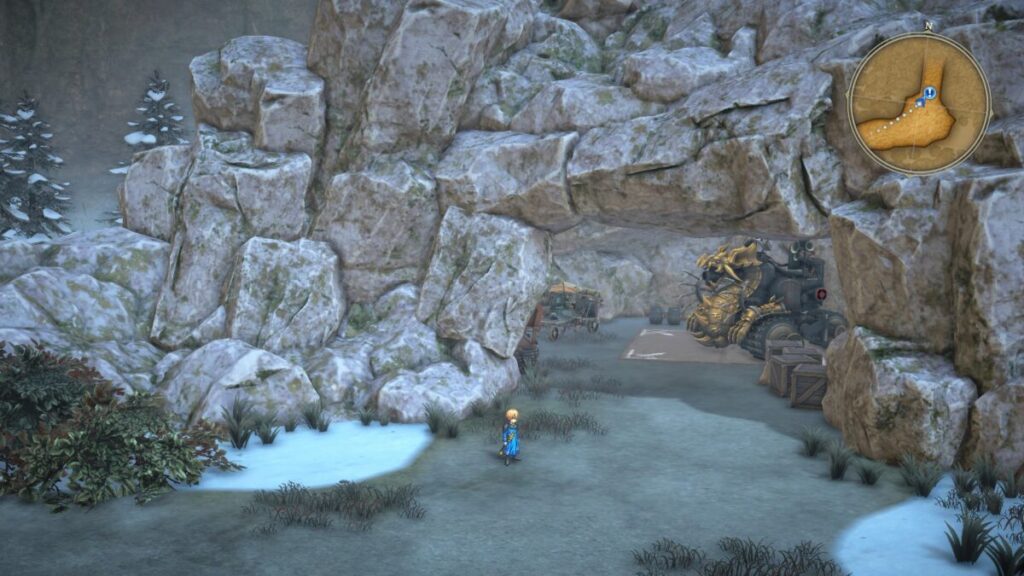
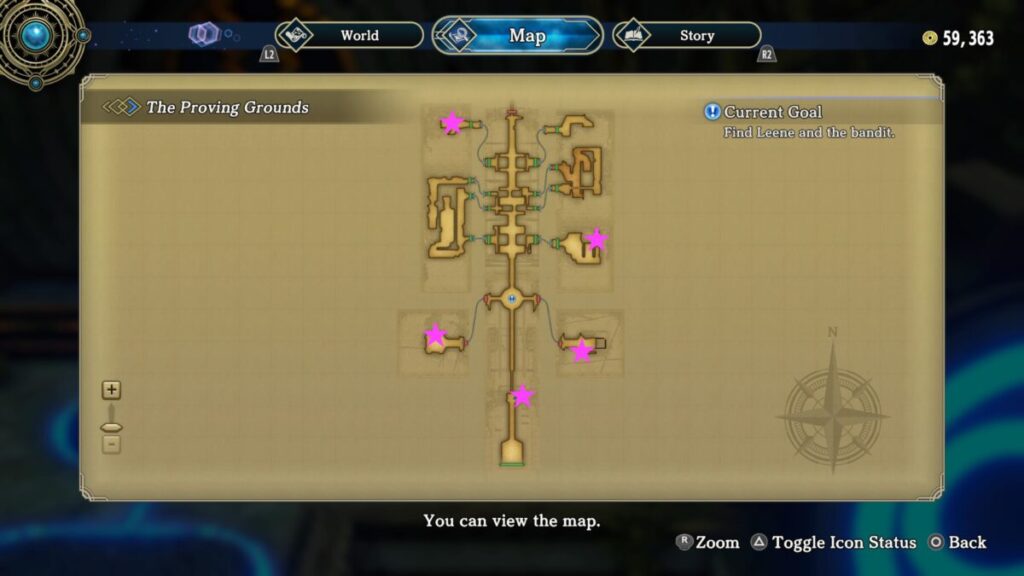
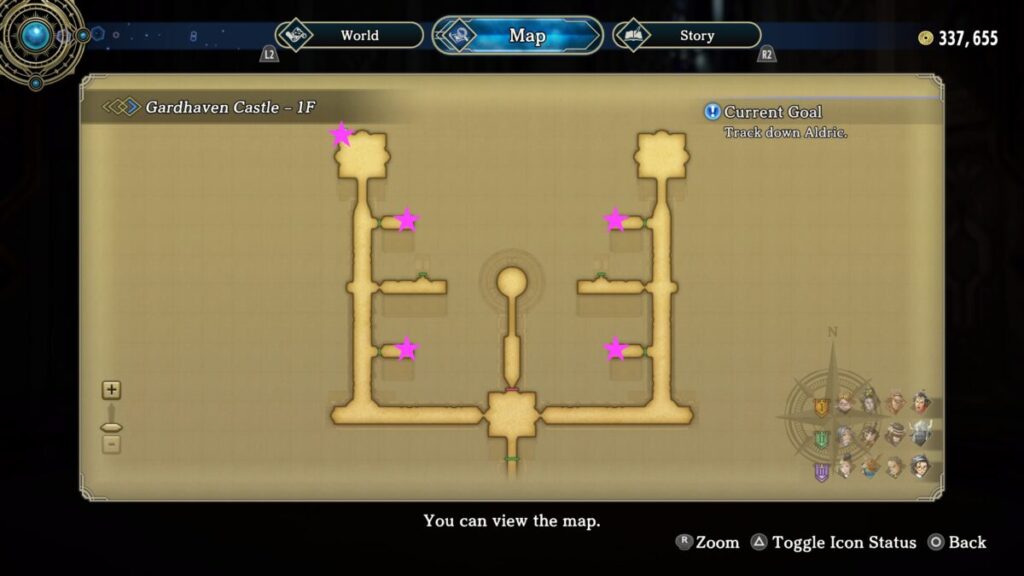
Search for Dux Aldric
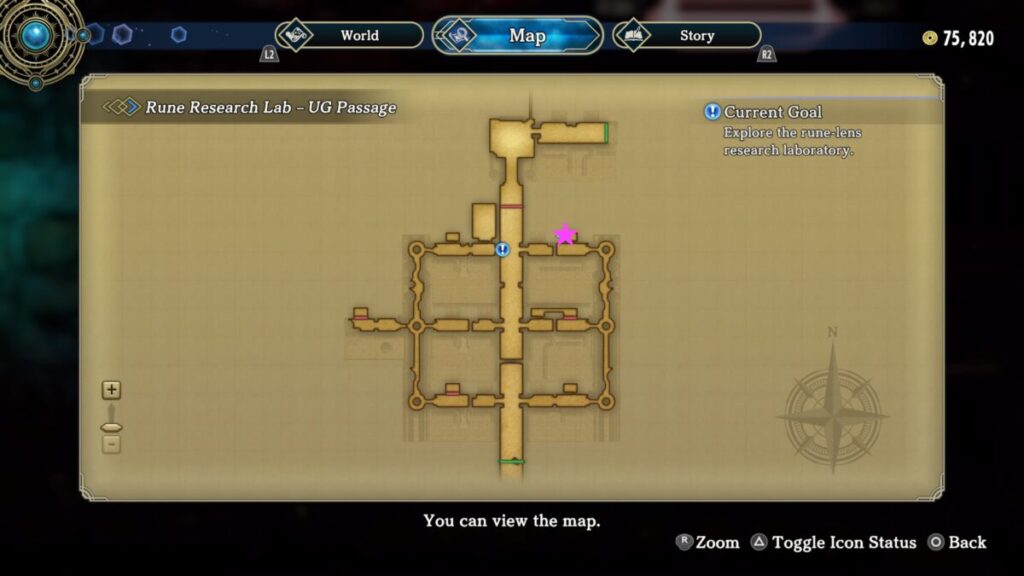
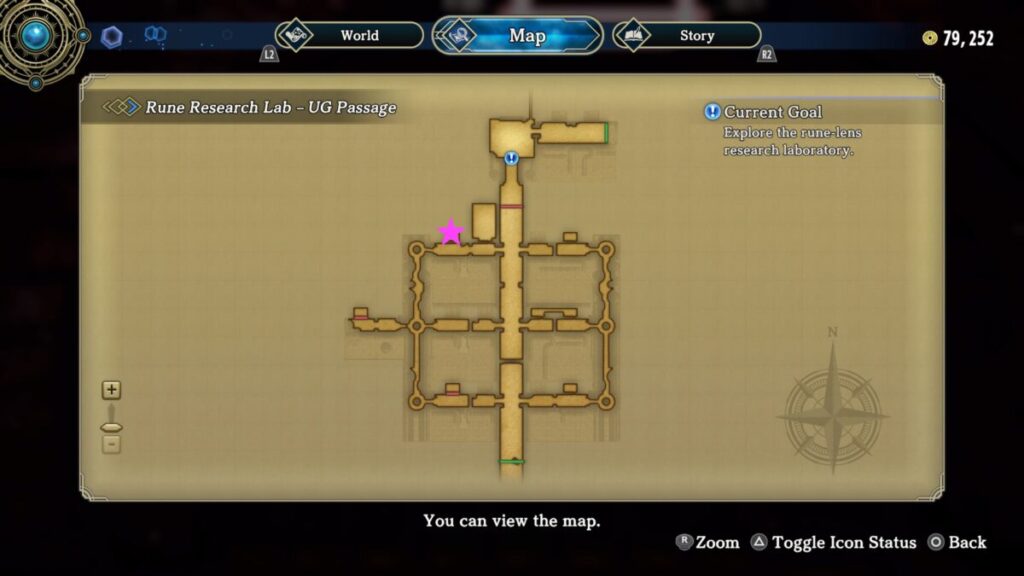
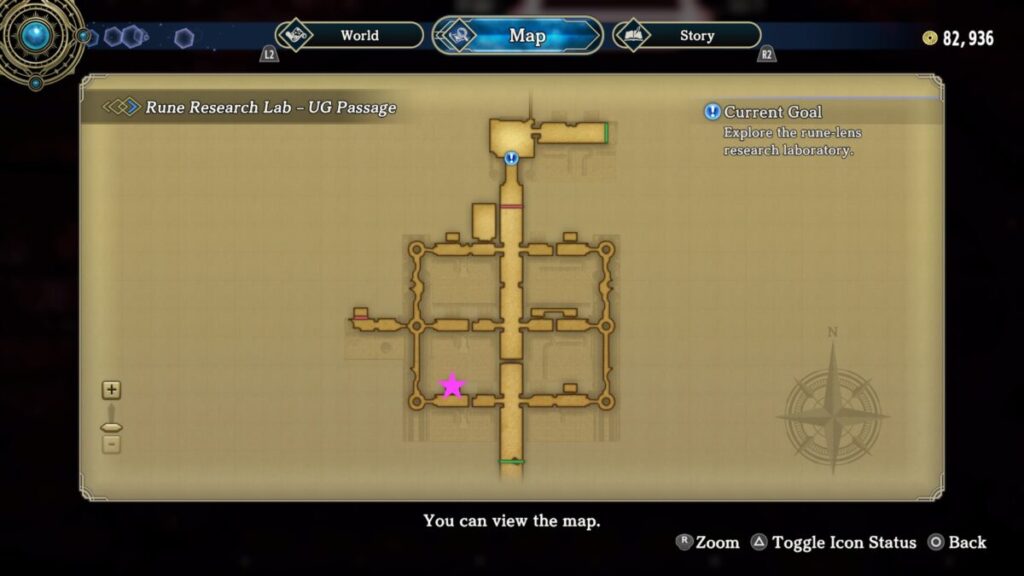
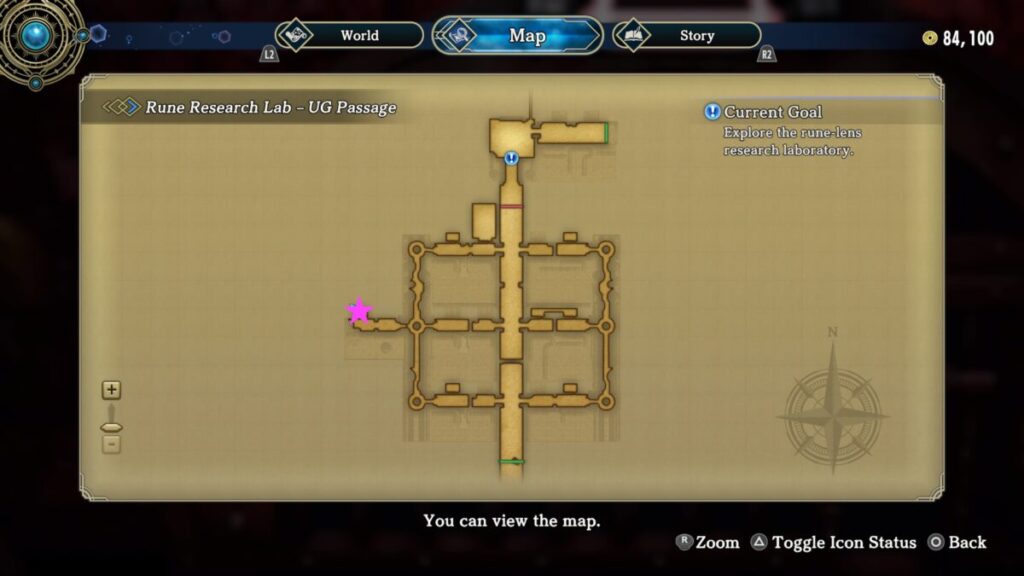
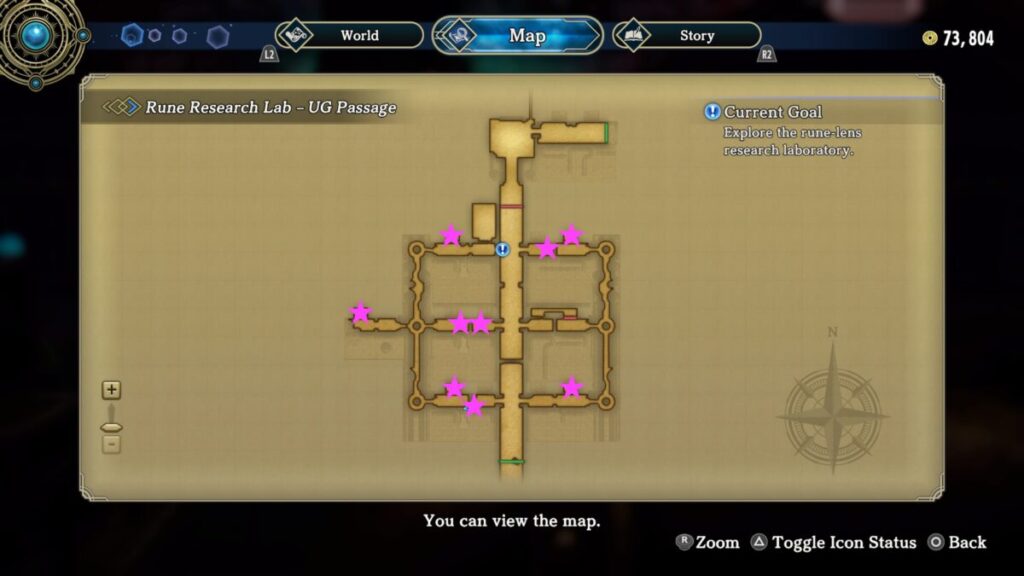
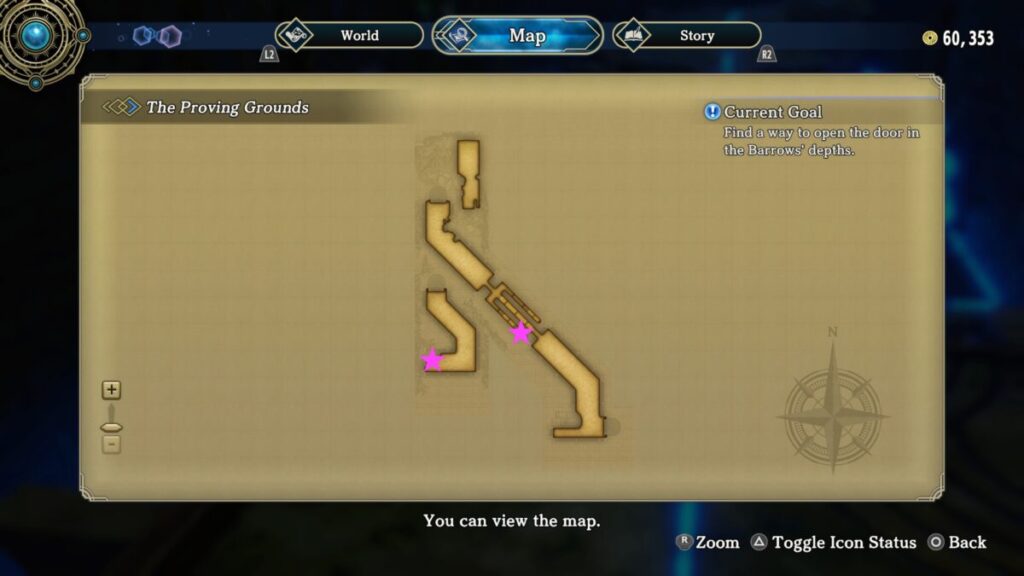
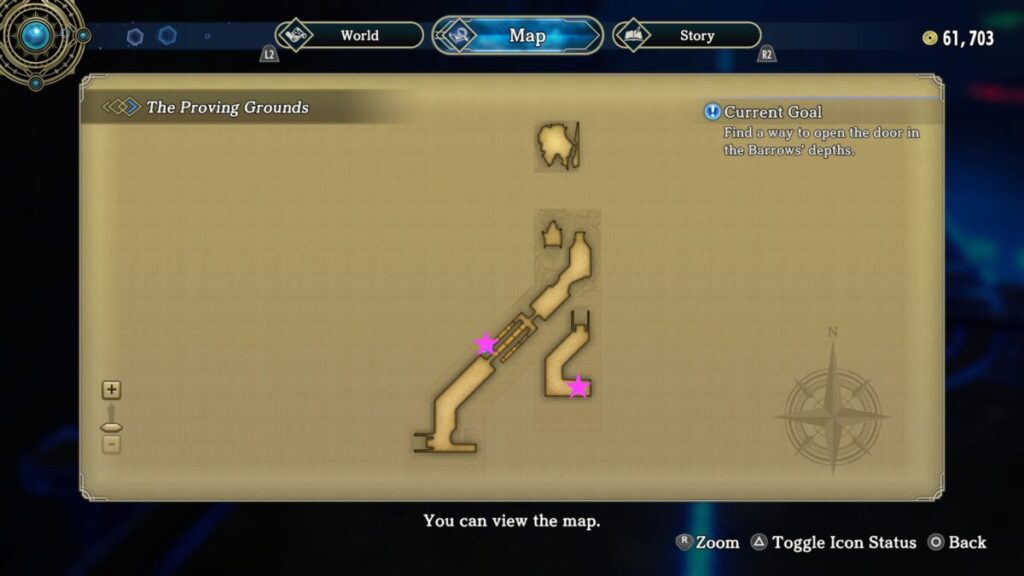
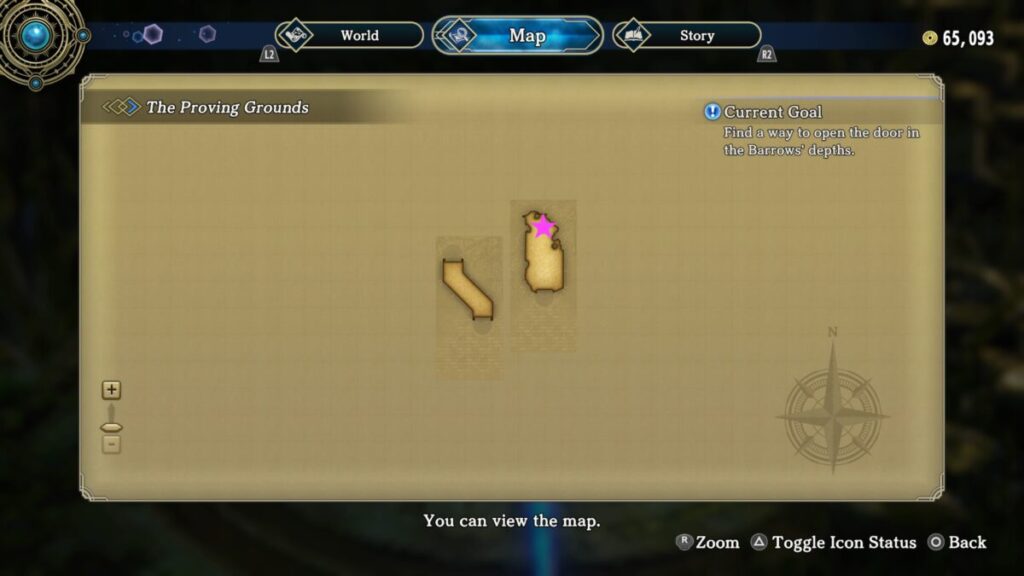
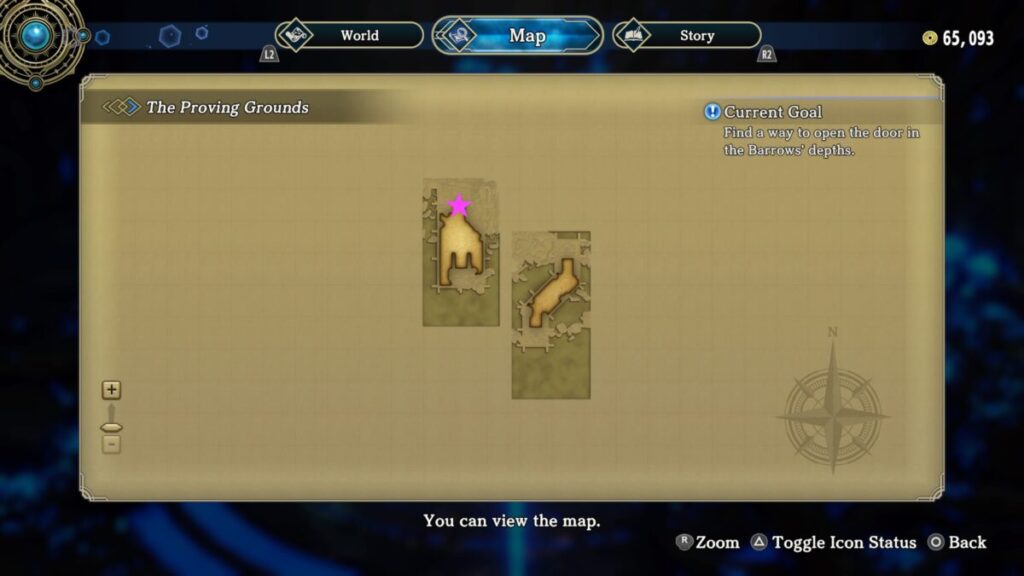
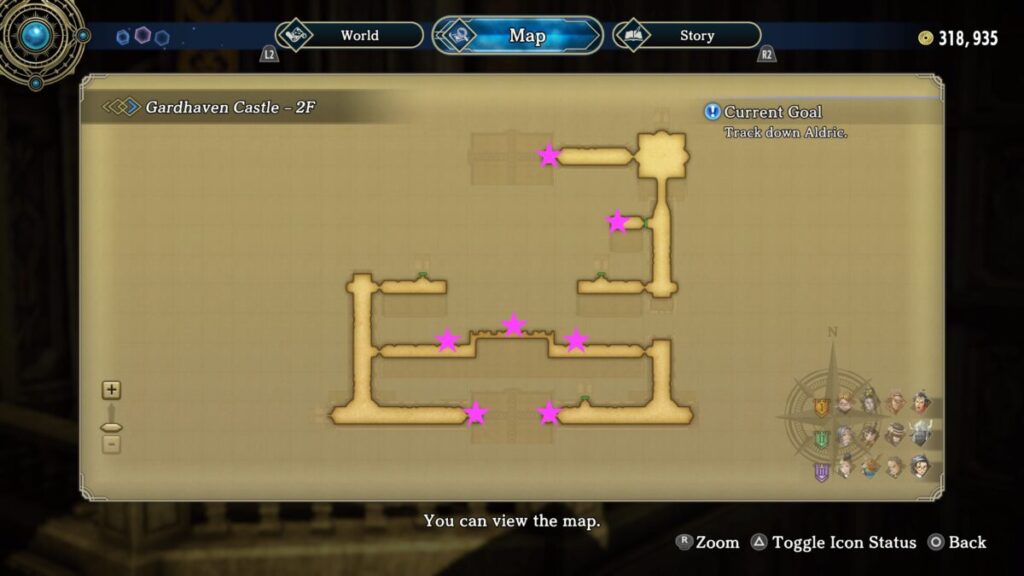
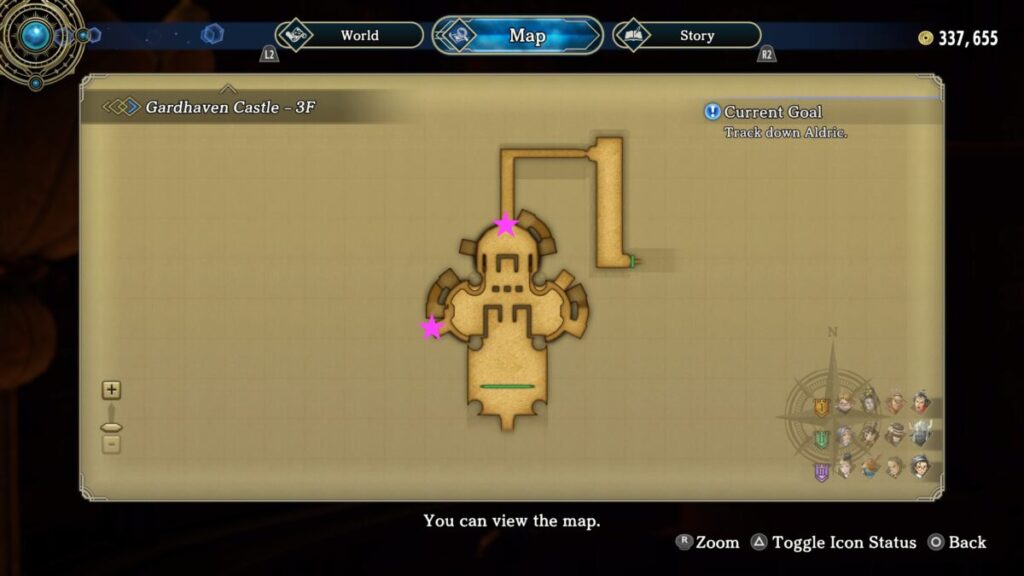
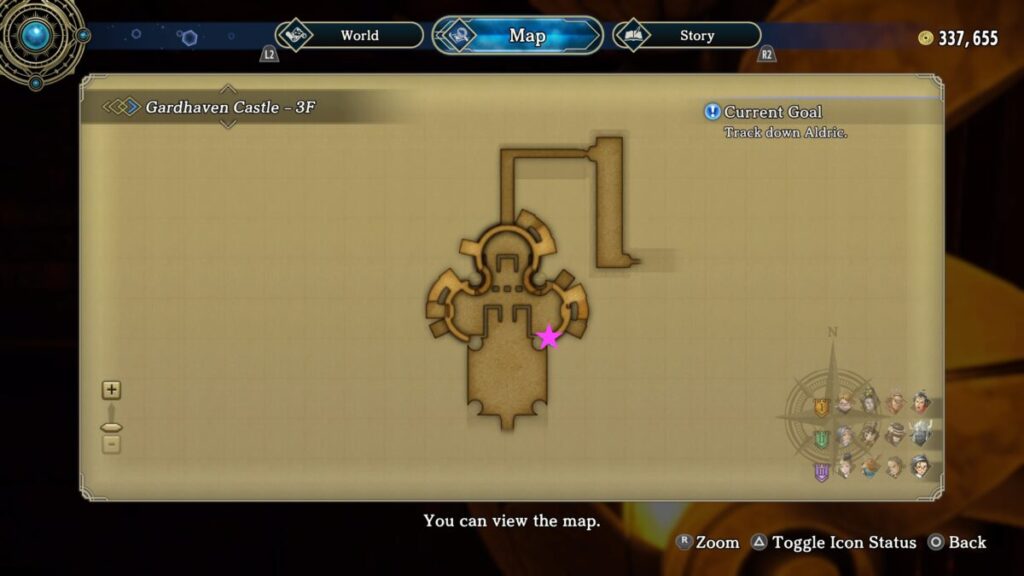
In the castle, start with the right path. When the path turns north, take the second opening down a hallway to find some stairs leading up. On 2F, head north to the dead end to find a blue lens. Head back down to 1F and take the western path. Again, take the middle path to find a set of stairs. Take them up to 2F. Once on 2F head to the southeastern corner of the map to find a set up stairs. Take them to reach 3F where you’ll find a rather complicated library.
Gardhaven Castle 3F Library
In this library, you’ll notice 3 statues that require books to be placed in their pedestals.
Book of Knowledge
For the first book, the Book of Knowledge, head up the right set of stairs behind the pedestals and follow the path to the right, hugging the bookshelves. You’ll notice a point to interact with which will move the bookshelf revealing a chest containing the Book of Knowledge.
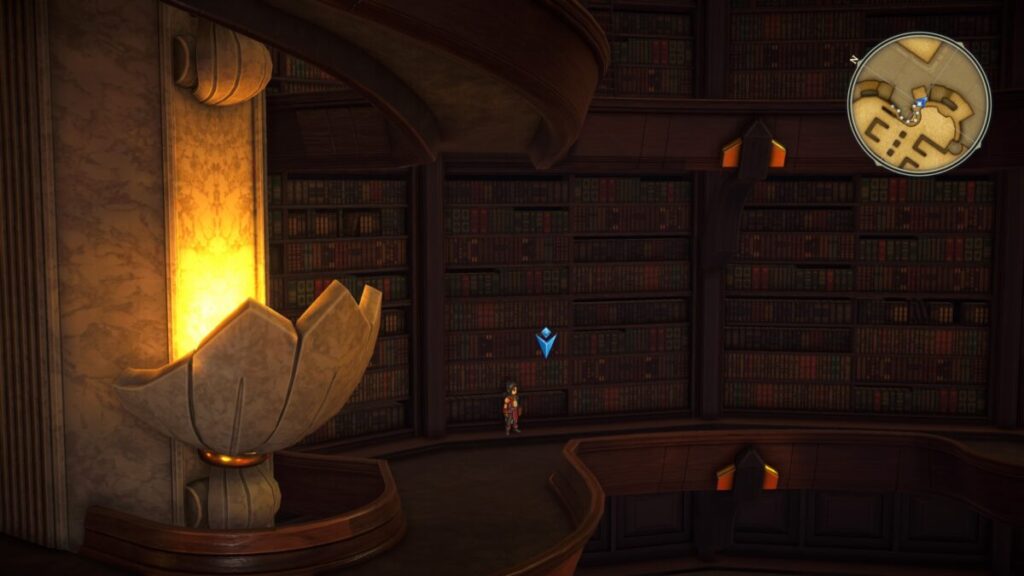
Head down to the statues and place this book on the first statue (western statue). This will reveal a new path on the western side.
Book of Power
For the second book, the Book of Power, head behind the statues and take the left path. Follow it up the stairs then head right at the top. Take the stairs up to reach the next level.
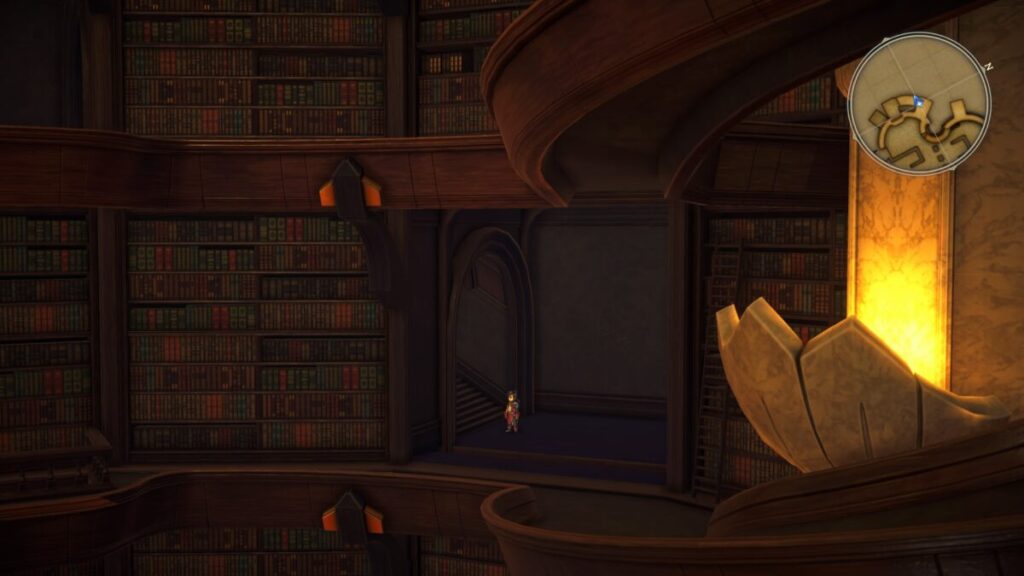
Head right and take the curvy ramp up. Head right and follow the path all the way across to the other side. When you go down the steps, head right to find a chest containing the Book of Power.
Backtrack all the way to the statues and place this book on the last statue (eastern statue). This will reveal a new path.
Book of Fate
For the third and final book, the Book of Fate, head up the stairs behind the statues and take the right path. Follow it around and take the stairs up. At the top, the chest you got the Book of Power from should be on your right. Head to the far left, taking the ramp up to find a new set of stairs leading down. Take them down and at the bottom head left to find a button to push revealing a chest containing the Book of Fate.
Return down to the statues and place it in the middle one.
Keep searching for Dux Aldric
Head down the newly opened path behind the statues to continue forward. Just after the next save, you’ll encounter Narungarde. After you defeat her, she’ll unfortunately get again yet again.
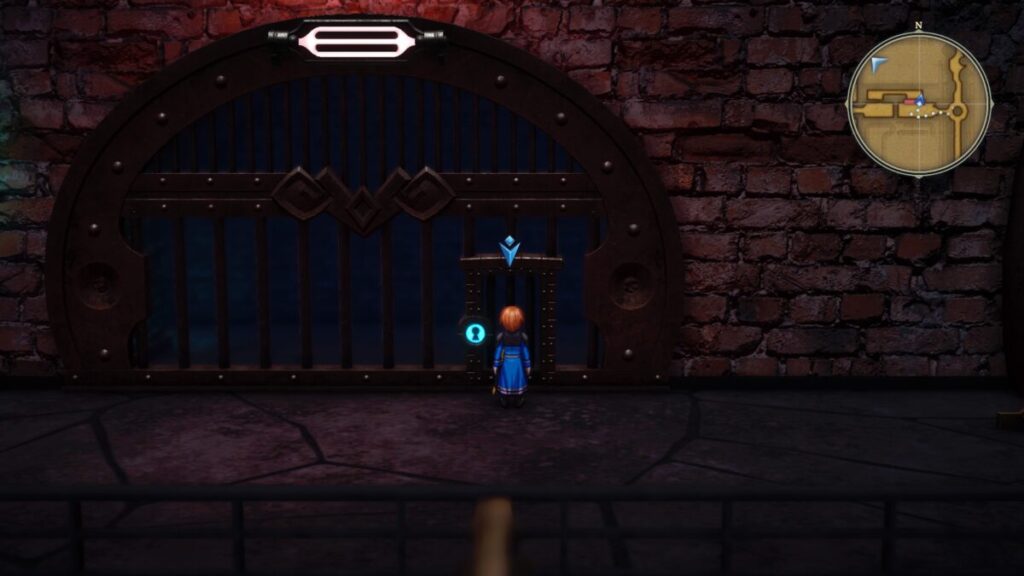
Track down Aldric
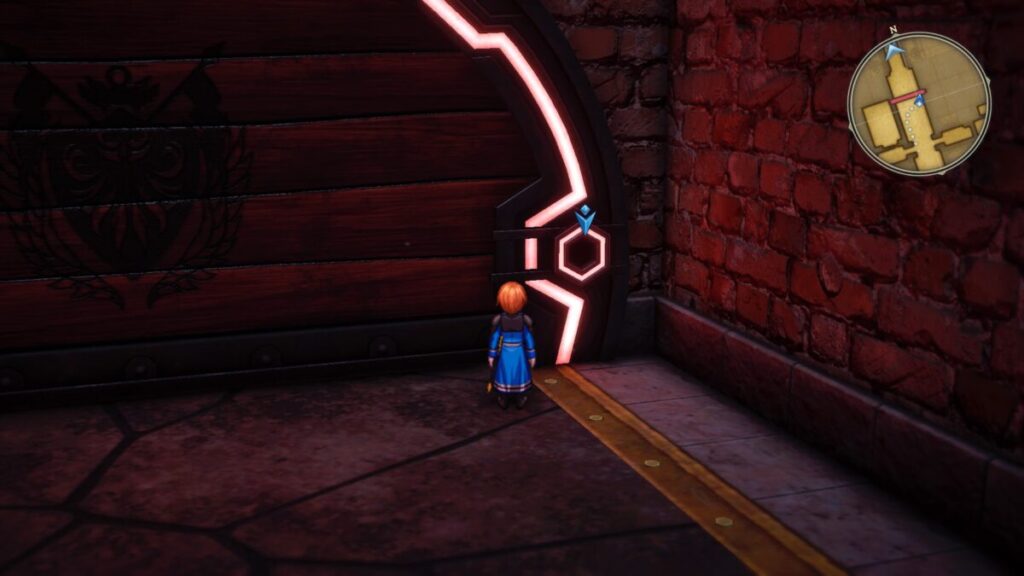
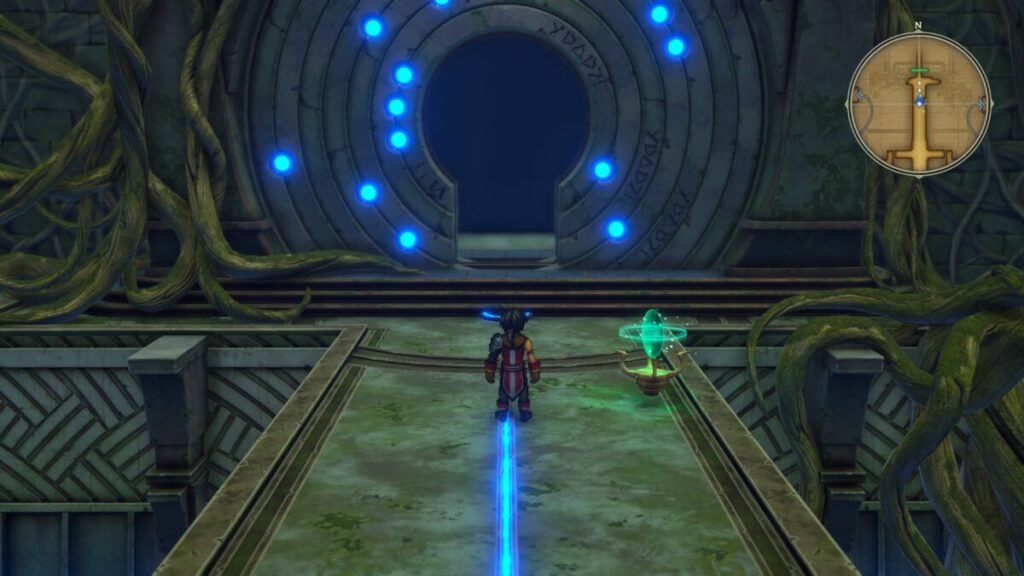
Press forward to find the Red Lens. Once you interact with it, a hidden door will open. Head inside and go down the long staircase. At the bottom, head straight across and take another set of stairs all the way down to the bottom to find yourself on 2F by the previously locked doors next to where the Blue Lens was. Head down to the double doors next to the save point on 1F and place the Blue and Red Lenses in place to open it. If you need to first freshen up your health and supplies, exit to the south to the castle’s perimeter where you’ll find your Alliance waiting!
When you’re ready, head on through and interact with the platform to encounter the dux and his pet, Alde Dracare!

During this fight, Alde Dracare will trap one of your allies and you’ll need to use the gimmick to attack the bubble to break the ally free. After defeating the dragon, you’ll enter Phase 2 of the Alde Dracare fight. Not only does the dragon use a bunch of heavy hitting moves but it can also heal itself!
Defeat Aldric
After the dragon fight, you’ll find yourself alone. Continue into the castle and approach Aldric. You’ll then engage in multiple duels with him. Upon emerging victorious, you’ll finish Eiyuden Chronicle: Hundred Heroes! Congrats!!
Eiyuden Chronicle Hundred Heroes Guides and Walkthroughs
For more Eiyuden Chronicle: Hundred Heroes guides and walkthroughs, click here!