Welcome to our Baten Kaitos Walkthrough Part 2 – Diadem. In this walkthrough, we’ll cover all the areas on the second whale, called Diadem, including the story, items, Quzman family members and favors! If you’d like a guide on each area, specifically what items can be found in the shops, enemy weaknesses and an overview of all items found there, click here then select the area you’re trying to find information on!
Nashira
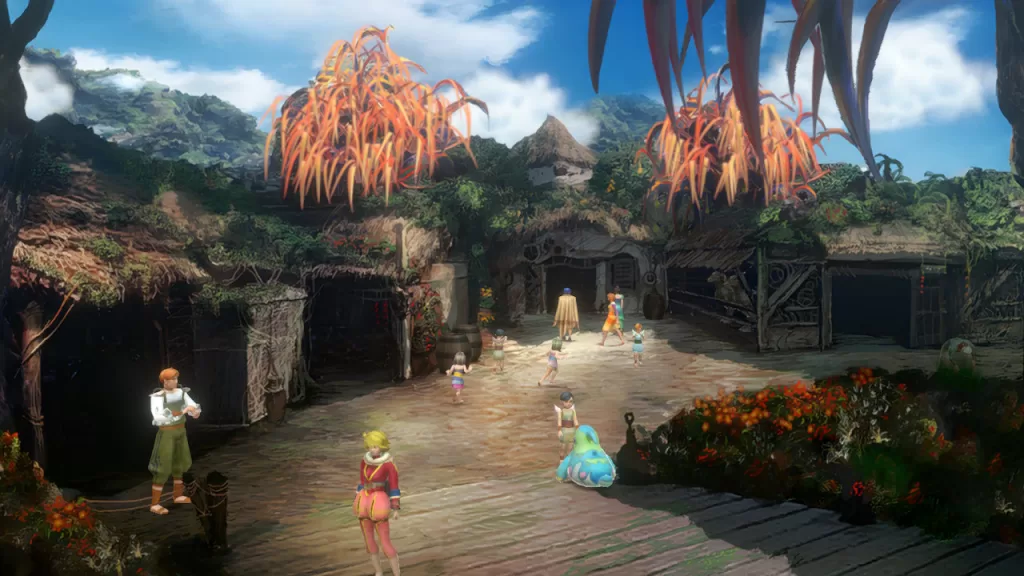
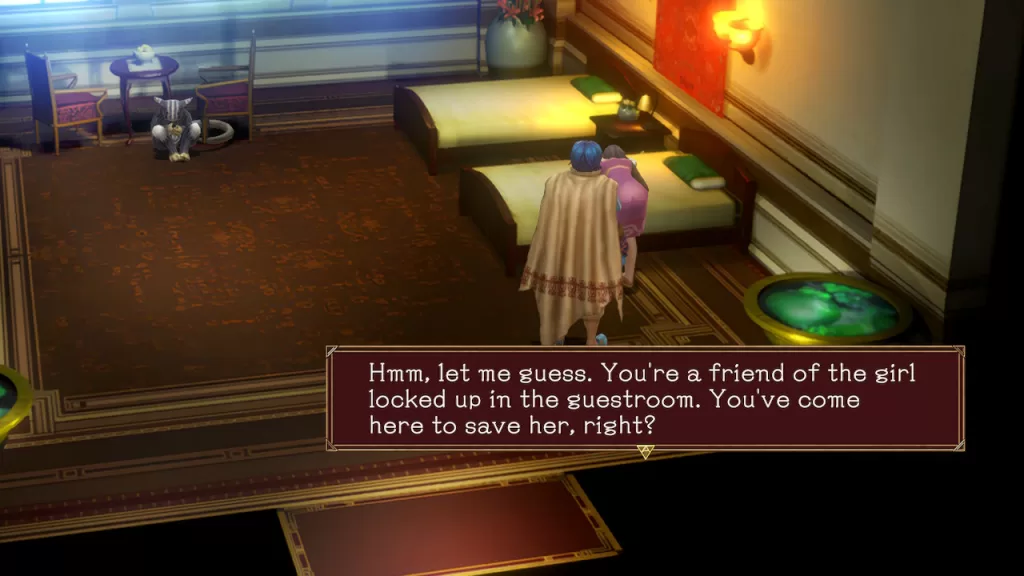
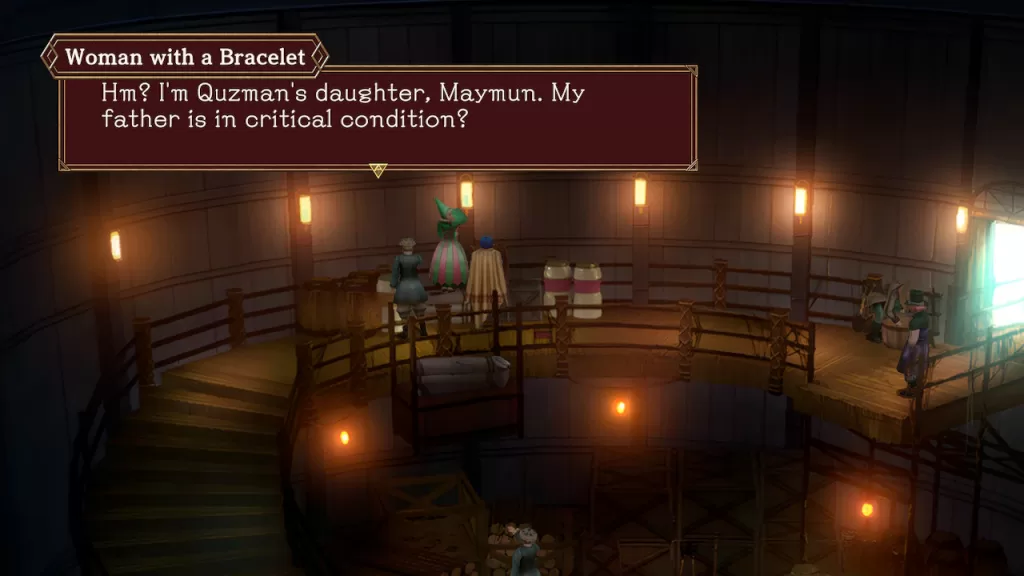
Once you arrive in Nashira, leave the dock and enter the building (aka fish warehouse). Speak with the woman wearing a green and red striped dress to find a Quzman family member!
Head down the stairs and interact with the water jugs in the corner to receive a Magnus: Fire Yell Lv. 1 then exit the building and follow the path to reach the town.
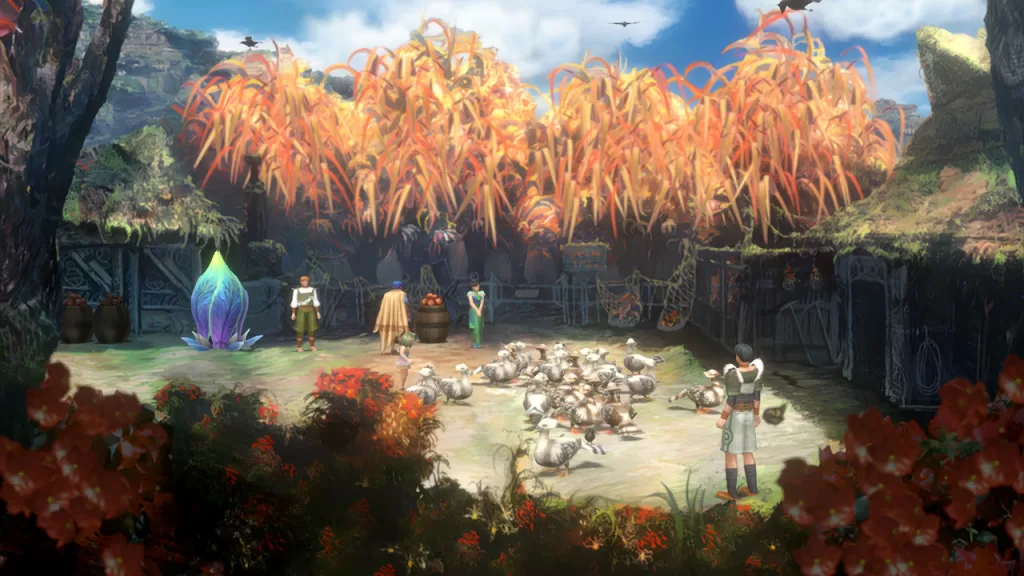
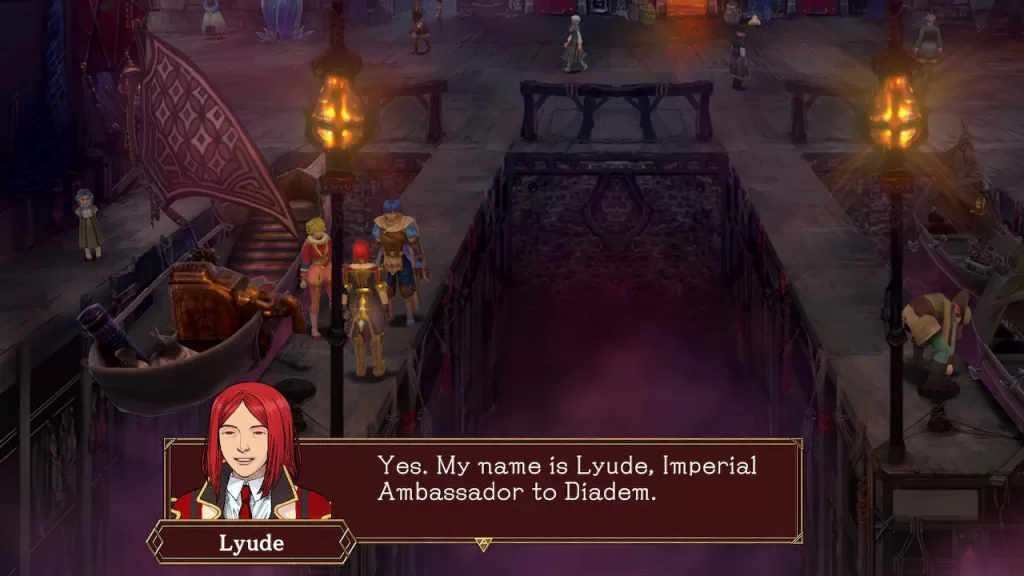
After the cutscene, you can use the blue flower to save! To the left of Lyude’s sailboat, you’ll find a Magnus: Scale Shield in the big container with some traces of rust. Next, speak with Lyude (guy with red hair) near his boat to learn more about him.
On the eastern side of this area, interact with the big rusted container to find a Magnus: Fire Burst Lv. 2. While you’re over there, enter the far eastern building to find the pub. Speak with the Barkeep behind the counter to trigger a cutscene where she will introduce herself as Anna and say if you are looking to reach the capital, then you’ll need to speak with Gibari. He may be willing to ferry the party across the flooded water, but you’ll have to check back at the tavern later to find him.
Exit the building and enter the house to the right of the shop in the northern part of the town. Climb up the ladder inside and interact with the bed to receive a Magnus: Feathered Hat.
Travel to the house to the left of the shop and speak with the Old Fortune Teller sitting behind the round table. This will trigger a cutscene where you’ll learn a little more about Malpercio. Interact with the trunk on the eastern side of the room to receive a Magnus: Carina, a Star Map Fragment!
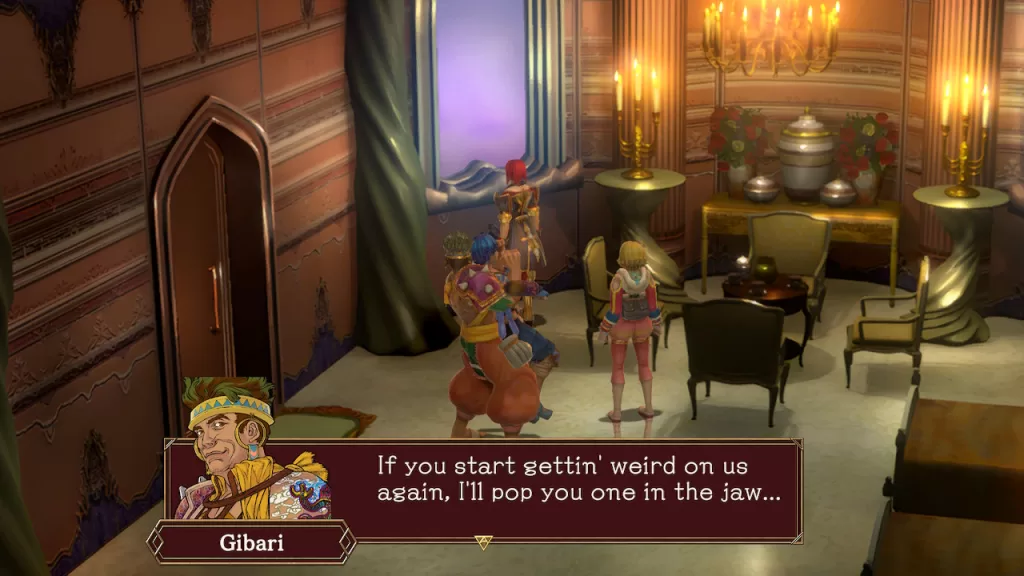
Once you’ve explored the town, return to the pub on the eastern side of town and speak with the Barkeep. This will trigger a cutscene where you’ll meet Reblys and Gibari. As the events unfold, Kalas will want to know your opinion on the favor Gibari asks. We chose the “Let’s do it” option then Gibari joined the party!
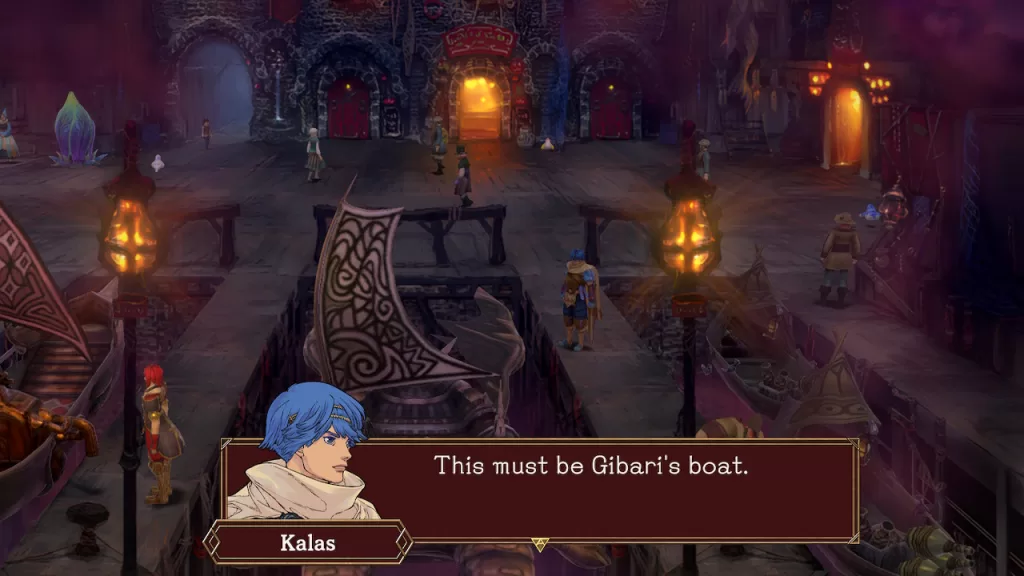
When you’re ready to progress, interact with Gibari’s boat, which is the middle boat docked in the main part of town, to travel to the Lesser Celestial River.
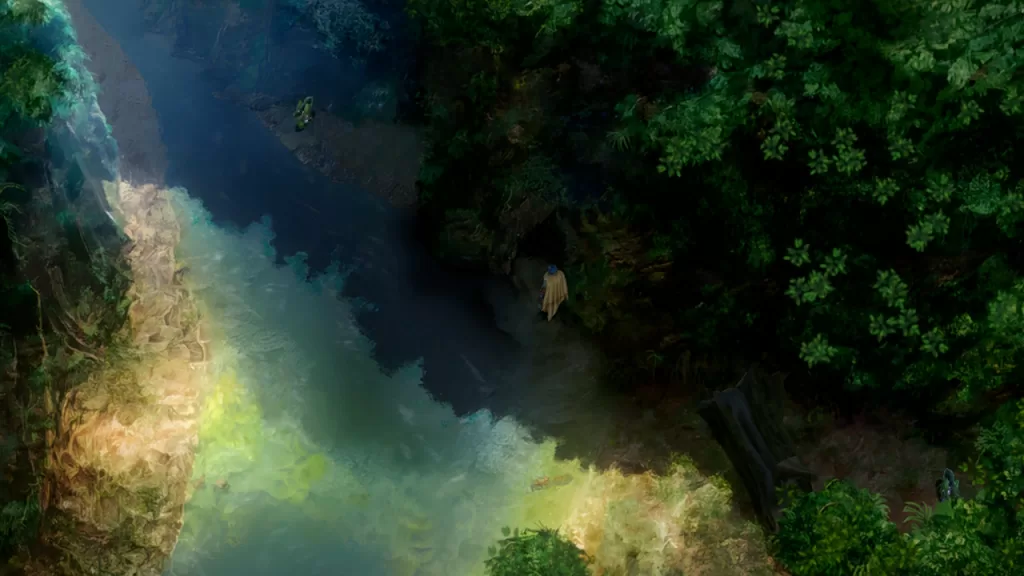
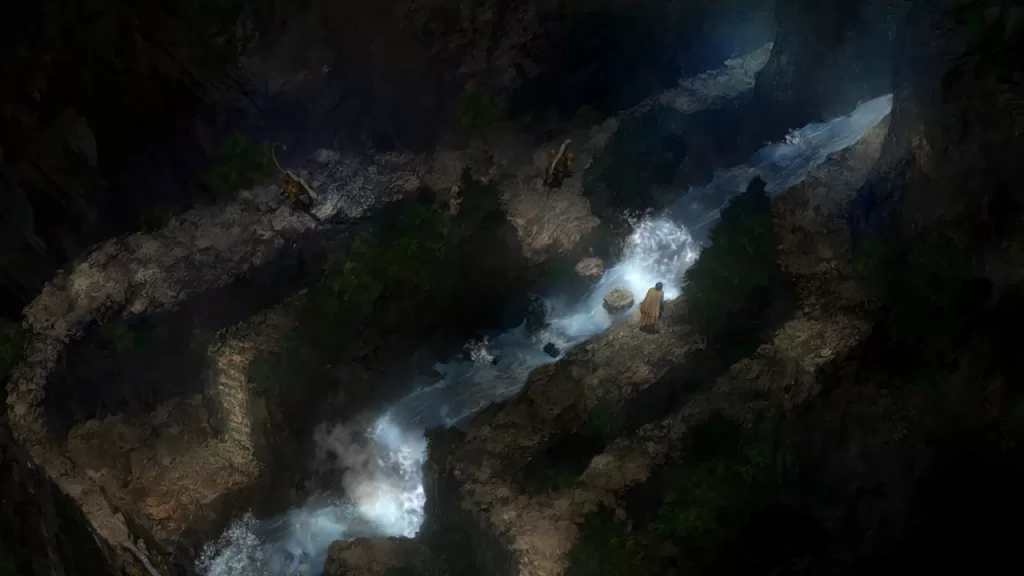
Lesser Celestial River
Immediately upon exiting the boat, pick up the Magnus: Chaos Edge! Follow the trail north across the rocks to find this Magnus: Mana Stone on the right side of the path. Just north of the above item, you’ll find the Magnus: Stream Blade.
Continue north to reach the next area. Along the rushing water, you’ll find a Magnus: Camera Lv. 1. Follow the path to the northeast to find a Magnus: Fire Burst Lv. 2 just southeast of the red flower.
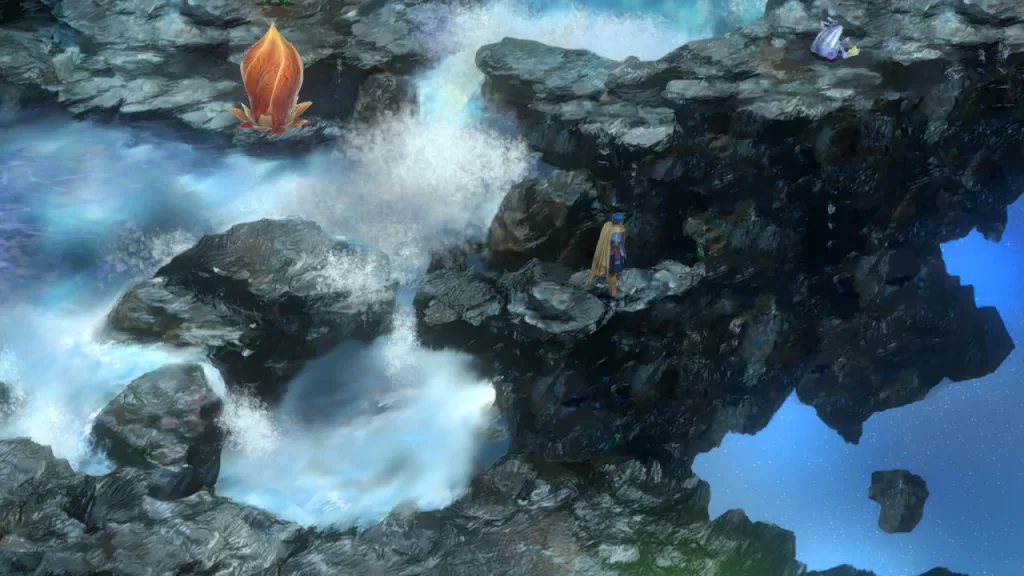
From the above item, backtrack south then skip across the stones to the west to reach the red flower. By this red flower, make sure to pick up the Magnus: Century Veil. Afterwards, continue north to reach the third area where the boss named Thunderfish awaits!!
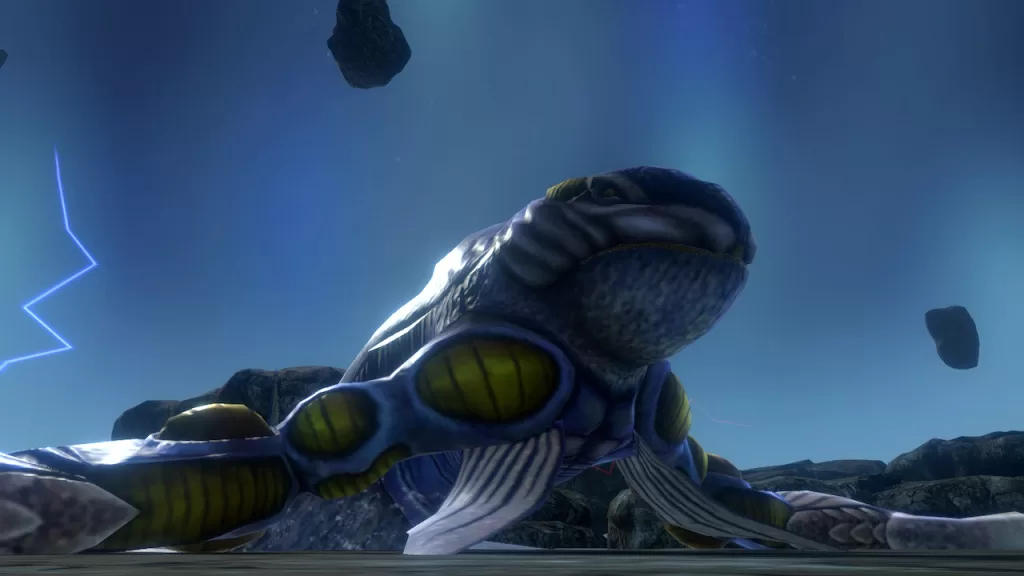
During the battle, make sure to take a picture of the Thunderfish! Also, this creature can inflict poison, is weak to fire and dark and resists water and light. Defeating this creature will award you with a Magnus: Pisces, a Star Map Fragment!
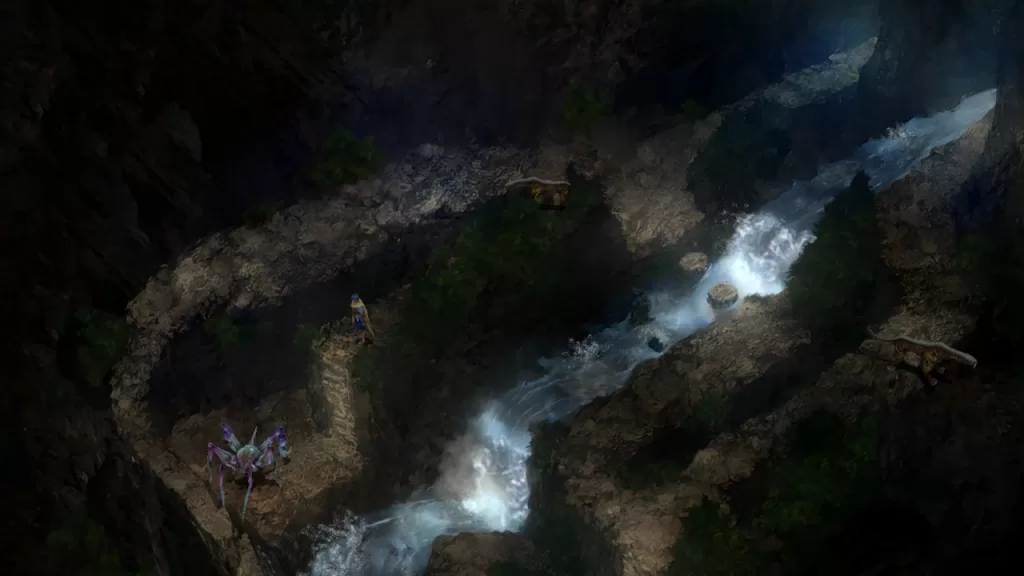
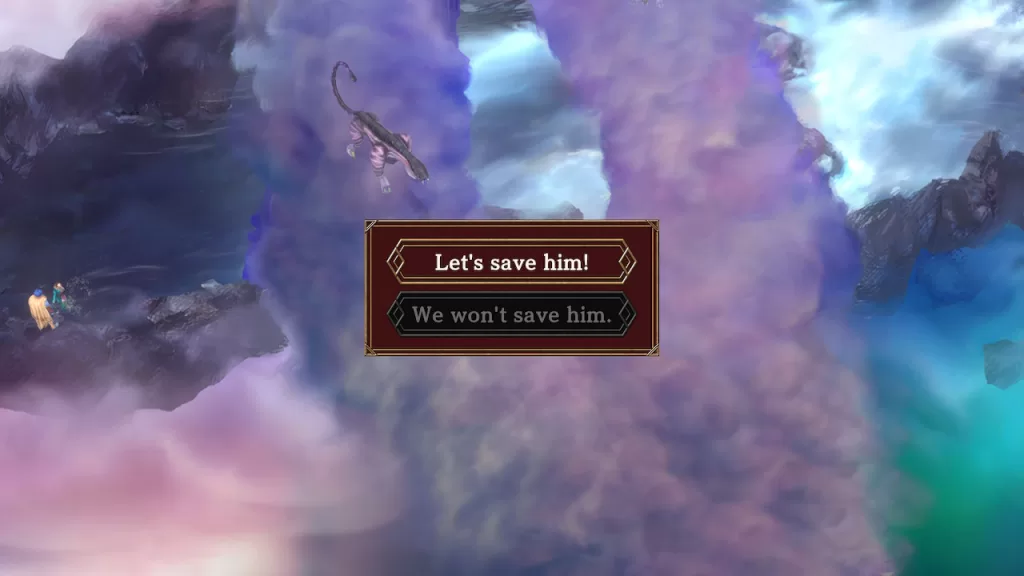
When you defeat the boss, you’ll return to the previous area. Instead of backtracking through this second area, return to the third area where the Thunderfish ambushed you. You’ll be able to find a Magnus: Hemp Creel. Follow the path south to reach a new area filled with clouds. Speak with the Boy with a Bracelet (Rustah) to learn that he’s drowning. Select to save him to gain his entry into Quzman’s Genealogy.
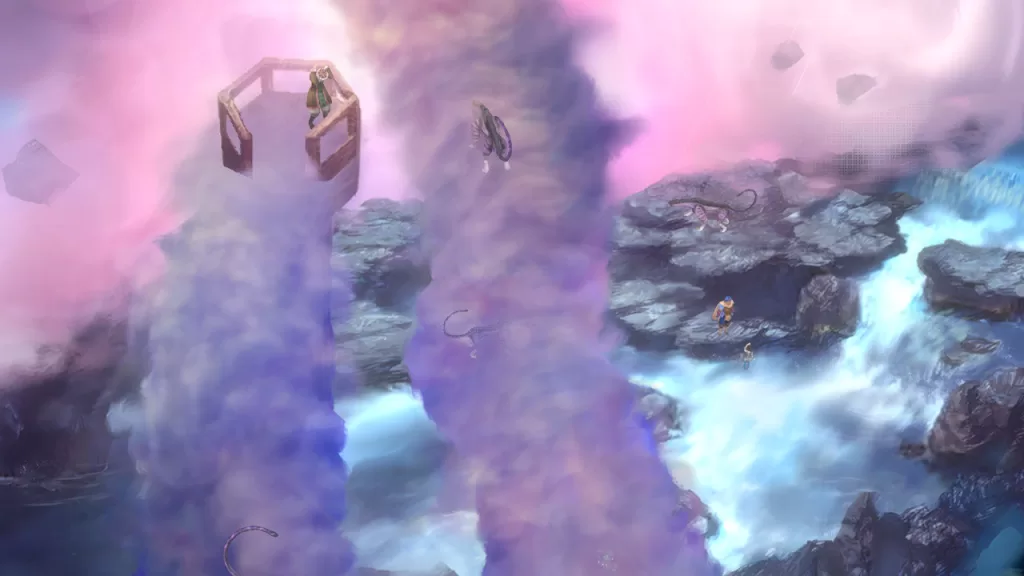
From the boy, head west then follow the stones leading south across the river to find a Magnus: Stream Blade. Next, head directly west to find a boy drowning in the river. Save him to find another entry for Quzman’s Genealogy of Hisham.
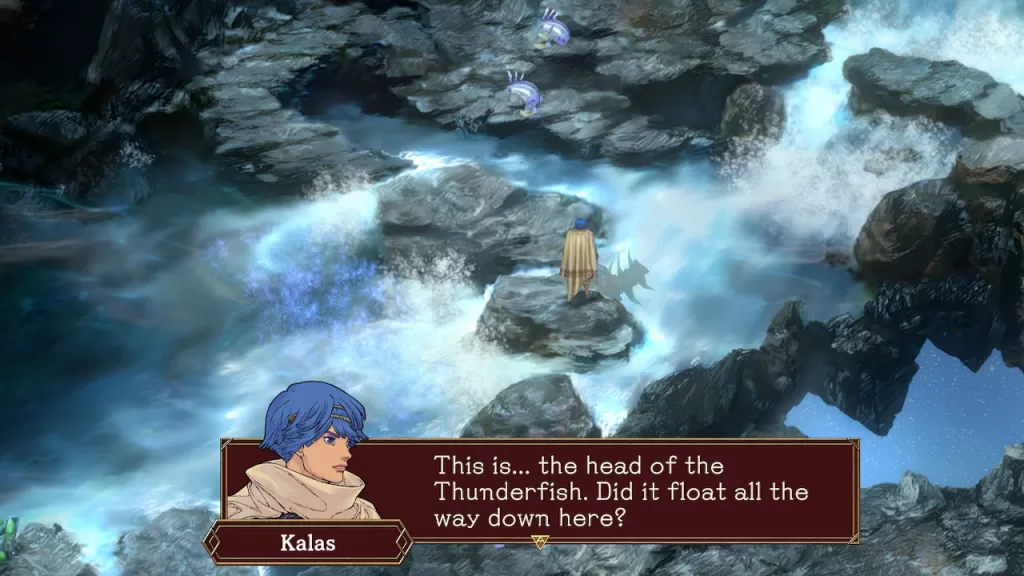
Jump across the eastern set of rocks to return to the Thunderboss area where you can retrieve the Magnus: Cloak of Dark Night. Now that you’ve collected all the items, return to the second area with the red flower. In the water just southeast of the flower, you’ll find the Thunderfish’s head.
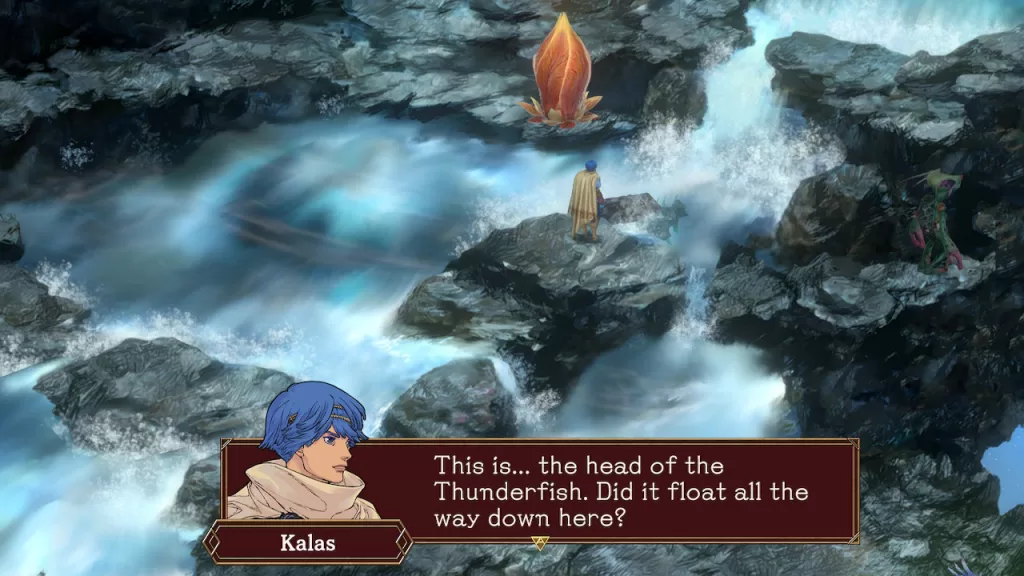
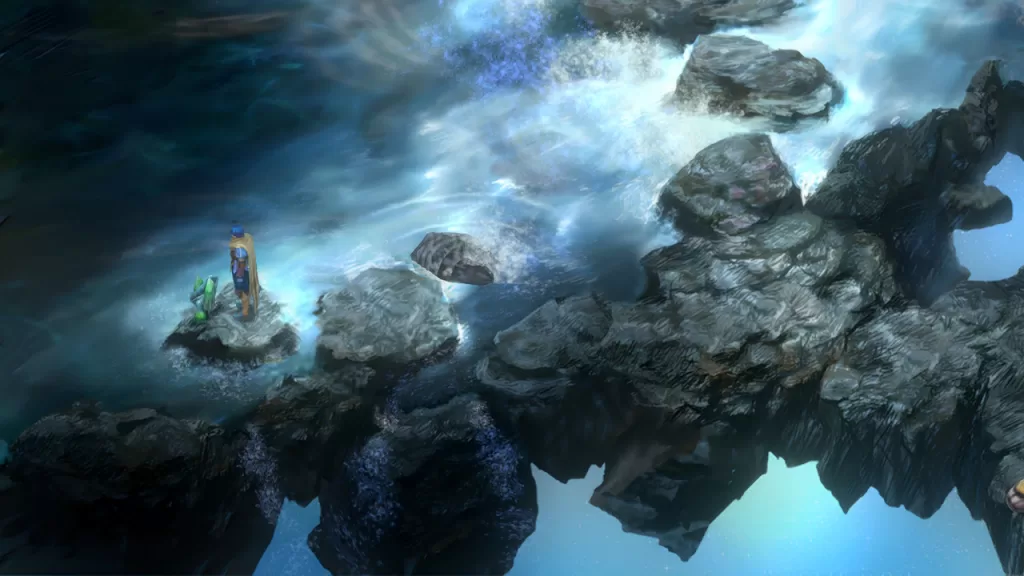
Interact with it and select for it to drift farther. Make your way to the first area where the boat awaits. When you cross the rocks, you’ll notice the fish head is in the water resting against the rocks your crossing.
Interact with it once more to let it drift father. Head south then take the western path to reach the Magnus: Heron Statue, which is required for Xelha’s Level 3 class up.
Now that you’ve officially gathered everything in this area, head east to the boat and use it to reach Nashira.
Nashira
Once in Nashira, head to the pub and speak with Reblys. Afterwards, make your way to the fish warehouse and interact with the door to trigger a cutscene. Next, return to the pub and speak with Anna then make your way to The Cloud Passage.
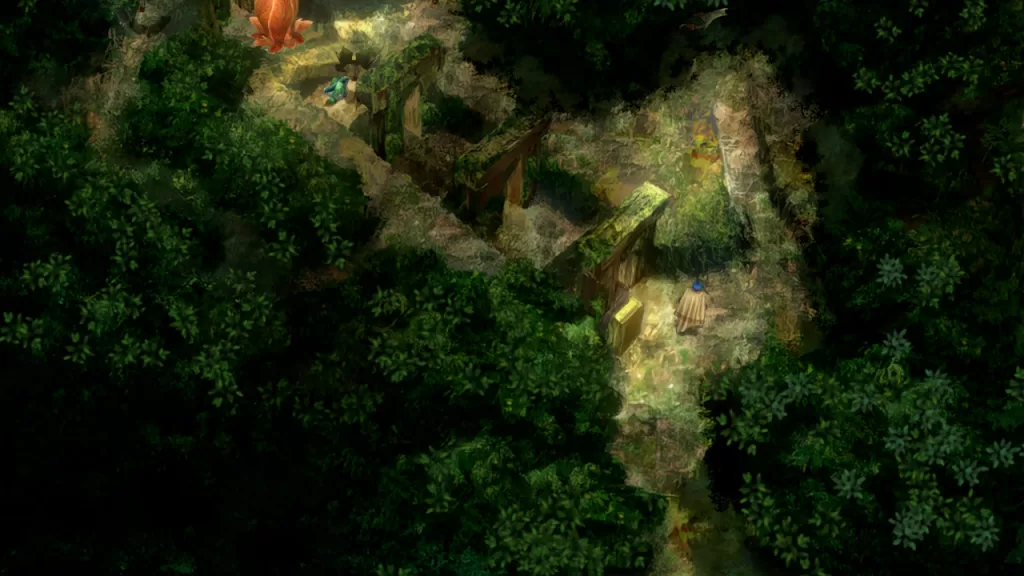
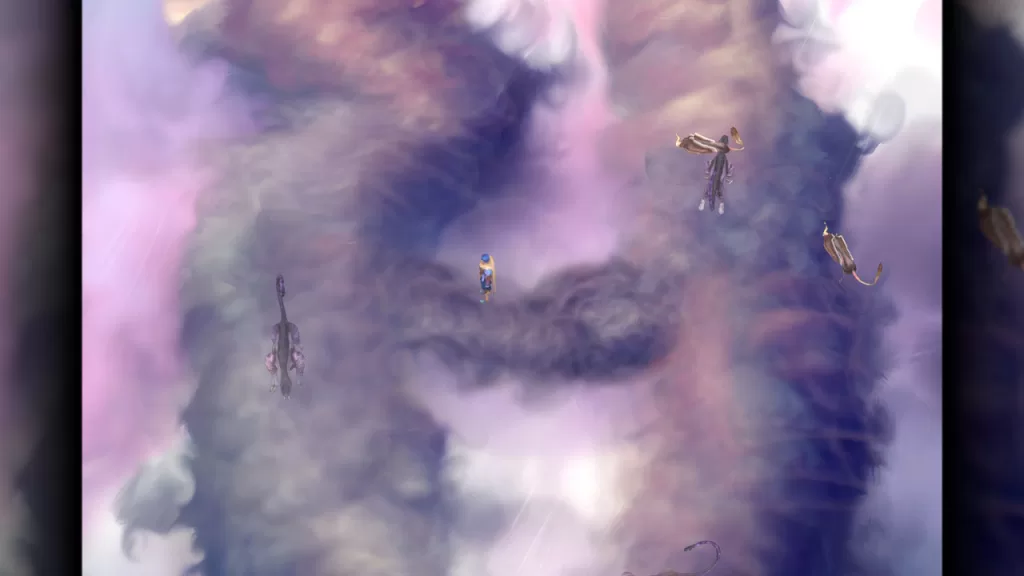
The Cloud Passage
Once in The Cloud Passage, head through the first area to reach the second area. In this area, you’ll find a Man with a Bracelet.
In order to gain his entry (Qutayba), you’ll need to have first saved his 2 children from drowning in the previous area of the Lesser Celestial River. Speak with him to gain his entry of Qutayba in the Quzman Family Tree Genealogy. Afterwards, continue through The Cloud Passage. Please note that the Albireo (flying creatures) drop the Magnus: Triangulum (Star Map Fragment). In the third area, follow the third path to reach the fourth area bringing you to a cloud gathering machine.
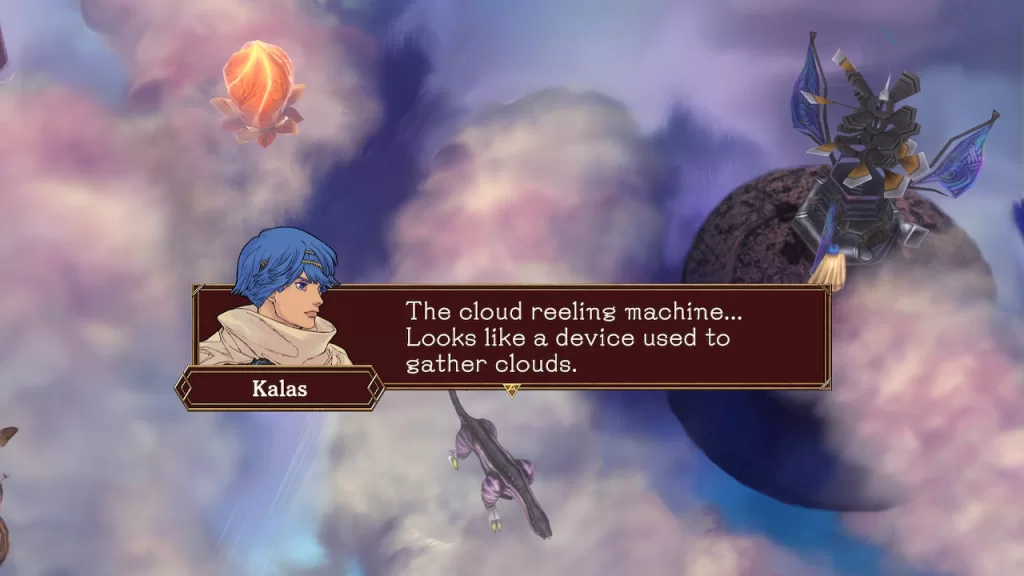
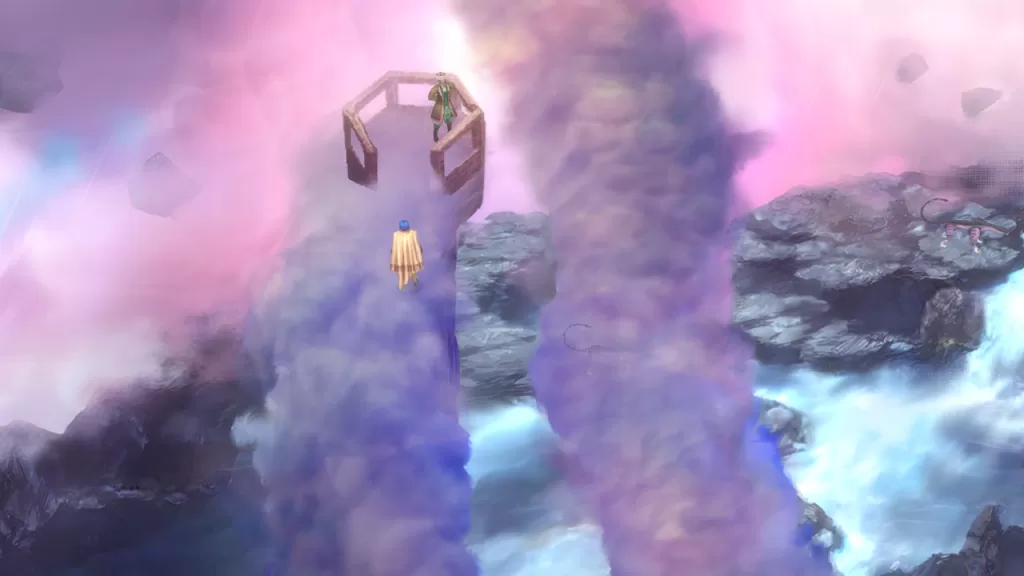
Interact with it and turn it on then interact with it again to get the Magna Essence of the Cloud. Bring this back to the third area and use it on the darker cloud in the middle to build a bridge.
Next, return to the cloud machine to get another essence of the cloud then head back to the third area and follow the left path north. This will bring you to the fourth area. Follow the middle path north and interact with the gap directly right of the red flower to build a bridge.
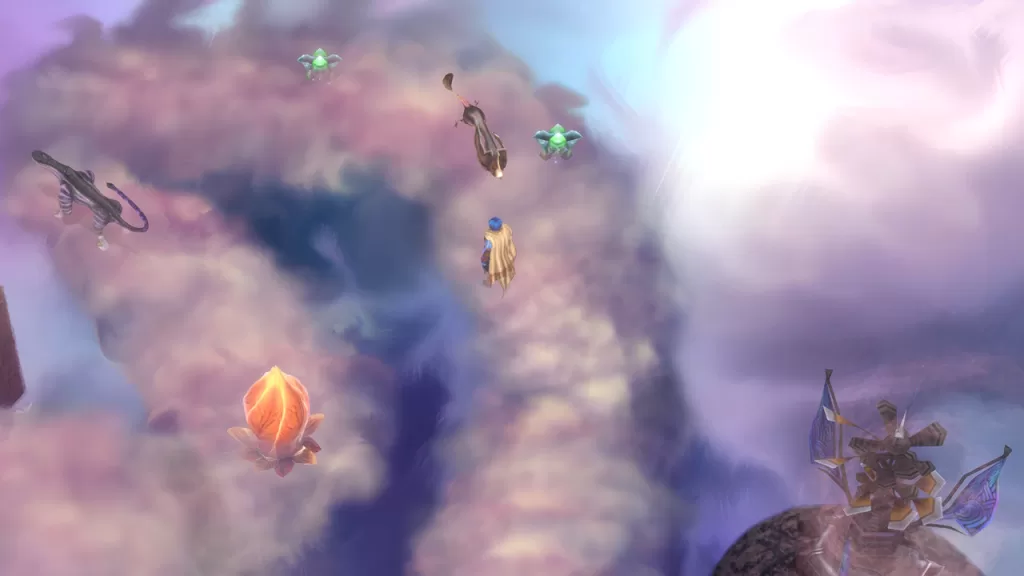
Follow the path north to reach a Magnus: Cygnus and Magnus: Aqua Burst Lv. 2. After you use the red flower to save, backtrack to the beginning of Area 4. There will be a small section you can use to reach the westernmost path. Use this path to reach the wooden bridge!
As soon as you touch this bridge, a cutscene will trigger followed immediately by a boss fight with an Iron Beetle I. This creature regularly uses its Nitro Boost skill which boosts its attack. It follows this up with the Voldocannon which is part of a 5 combo attack with the cannon itself averaging 240-250 damage. It resists fire and dark and is weak to water and light. Make sure to snap a picture of it before taking this boss down! As a reward for defeating the Iron Beetle I, you’ll receive a Shark Tooth, which can be used to upgrade Gibari’s Class Level to 3.
After you defeat the boss, exit The Cloud Passage to reach the world map where you’ll be able to travel to Sheliak, the Castle Town!
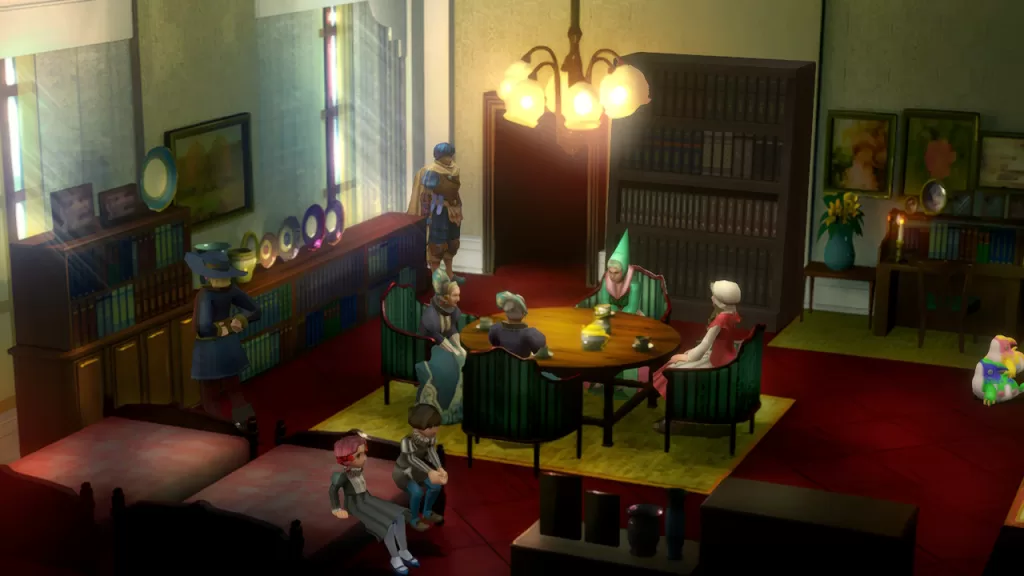
Sheliak
Upon entering Sheliak, a cutscene will trigger! When it ends, head east along the building to trigger another event with Lyude as you pass the closed door. This will cause Kalas to approach a window to listen in on the conversation. After this cutscene, enter the building to find the shop! Once you’re done shopping and resting, exit the building and head east up the stairs. Enter the first building to find a Magnus: Light Flare Lv. 2 by the flower vase. In this same room, interact with the bookcase along the northern wall to find a Magnus: Clock Shield.
Exit this building then continue to the next one to the east. Interact with the desk on the northeastern room to find a Magnus: Red and Blue Pencil. Push the bookshelf in this room to reveal a secret room then head inside to find a Magnus: Calm Helmet and Magnus: Ray of Truth.
Exit this house and continue to the next one to the east. Interact with the cabinet with vases on top to find a Magnus: Voice Lv. 2.
Once you’ve explored the town, head to the church to level up then save at the blue flower. When you’re ready, continue east to reach the third area where a cutscene will trigger. During the cutscene, you’ll get a prompt: “Sounds good to me.” and “Let’s fight our way in through the front door!” We chose the first one then returned to the second area for a quick event. Hop into the bucket at the dock to take off to Castle Elnath.
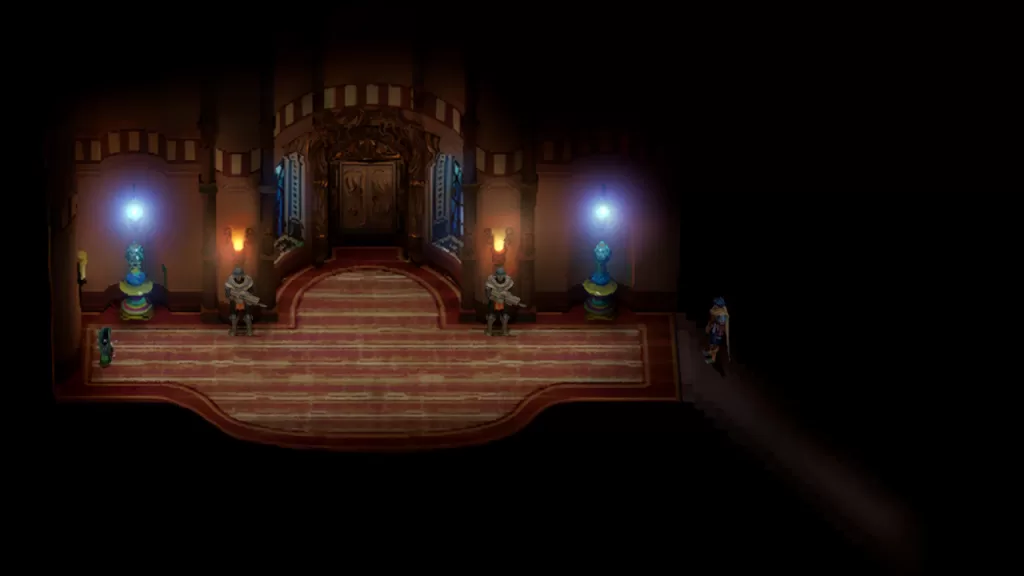
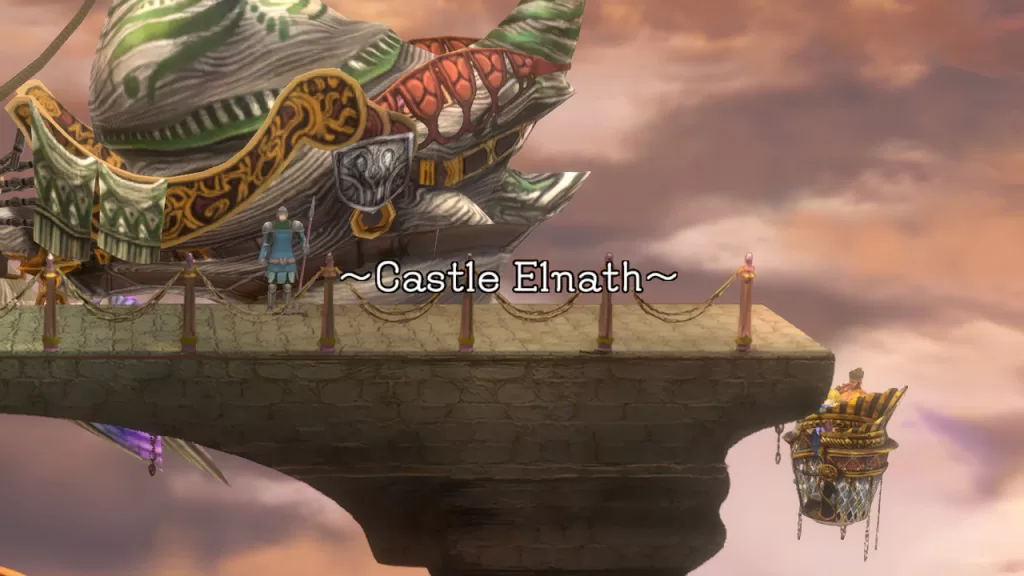
Castle Elnath
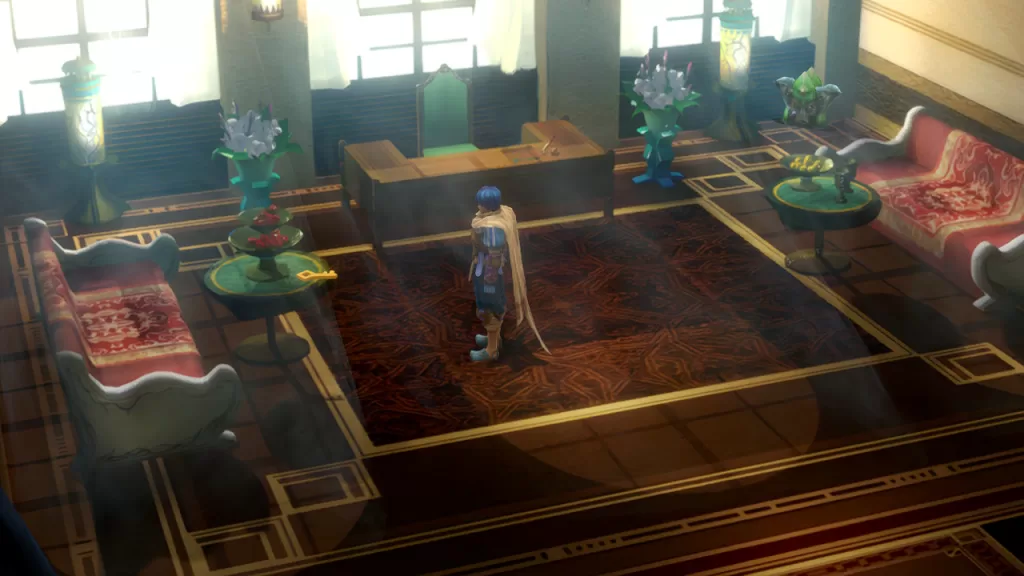
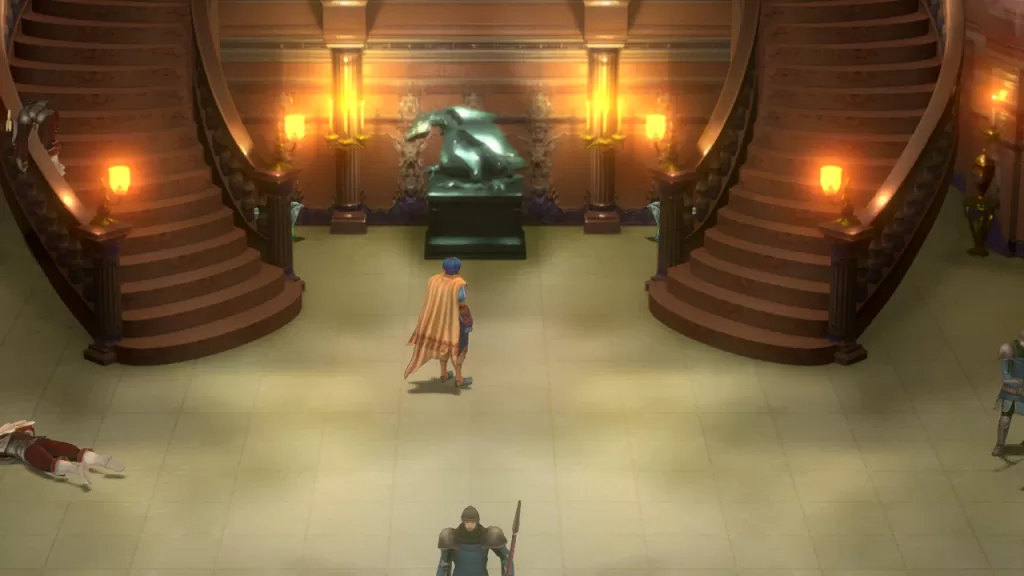
Upon exiting the bucket and first arriving to Castle Elnath, head west of the stairs and retrieve a Magnus: Infinity Mask. Next, head down the stairs then enter the building. Head to the western side of the balcony overlooking the waterfall to find a Magnus: Dark Sword. You’ll then need to speak with the Head Knight who is blocking the stairs. He’ll give you the Diadem Royal Crest and a blank magnus. These items will help someone who is injured with no will to fight rise up and help you. Across from where the knight stood, you can interact with the Diadem Royal Crest on the wall to receive mana essence of the Diadem Royal Crest.
Head down the stairs. At the base of the stairs, head east and interact with the statues to find a Magnus: Dark Flare Lv. 2. As you make your way through this area, you’ll come across groups of knights fighting. You’ll have the option to either dispatch knights to take down the enemies or fight them yourself. If you dispatch the knights, you’ll receive different Magnus as rewards for saving them.
Once in the third area, head west and enter the door then dispatch some troops. In this room, you’ll also find a Magnus: Magical Anklet. Interact with the white pot on the northern cabinet to receive a Magnus: Fading Notebook. Exit this room then head down the stairs to enter the fray. Head west and enter the room to find injured knights that you can show the Diadem Royal Crest to get them to join you. If you leave this room and reenter, more knights will spawn allowing you to recruit them with the crest.
Keep making your way through the areas until you reach the area of the castle with a red flower. Nestled between the bases of the staircases you’ll find a Magnus: Shadow Suit and Magnus: Flash Armor.
In the room with the red flower, head up the northeastern stairs. At the top, follow the hallway east and enter the eastern room. Inside this room, assist the knights inside then interact with the window to climb up to the next floor. Once there, exit the door to reach a balcony where a cutscene will trigger followed by a boss fight with Iron Beetle V. This creature has a 4 combo attack ending with the plasma cannon which deals around 120 damage, a 5 combo attack which ends with Diving Drill that deals a significant amount of damage, and it can heal itself. It resists dark and is weak to light and water. Make sure to snap its photo before defeating it!
Once defeated Iron Beetle V has been defeated, a cutscene will trigger with King Ladekahn. During the cutscene, you’ll have a dialog prompt: “Let’s go.” and “We shouldn’t go.” We chose the first option! Also, Lyude will join the party. When you regain control, there will be a blue flower nearby that you can use to save and level up. Once you’re ready to proceed, head east to reach the world map.
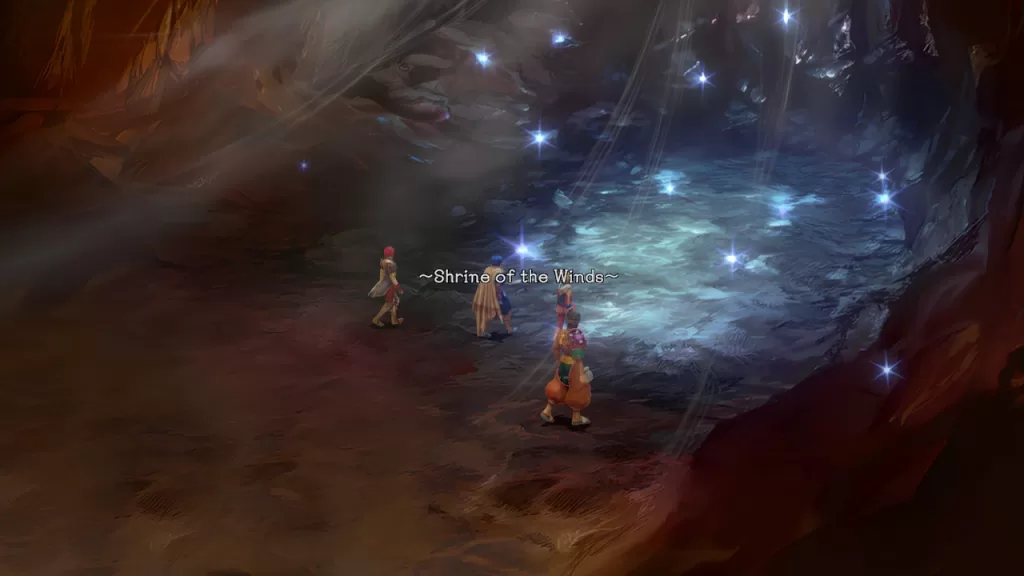
Shrine of the Winds
Upon entering the Shrine of the Winds, a cutscene will trigger with the Lord of the Winds followed by a battle against him. He uses wind attacks and can inflict poison on you. He’s weak to Chronos and resists wind. Make sure to snap a picture of him during the fight! When you defeat him, it will drop the Coral Plant, which is needed for Kalas’s Class Level to 4. After you defeat him, a cutscene will trigger and you’ll be returned to the castle.
Castle Elnath
Once in the castle, speak with Lyude and the king to start another dialog event. Interact with the door when you’re ready to rest! Once you awake, exit the room and interact with the painting next to your room to receive a Magus: Light Yell Lv. 1.
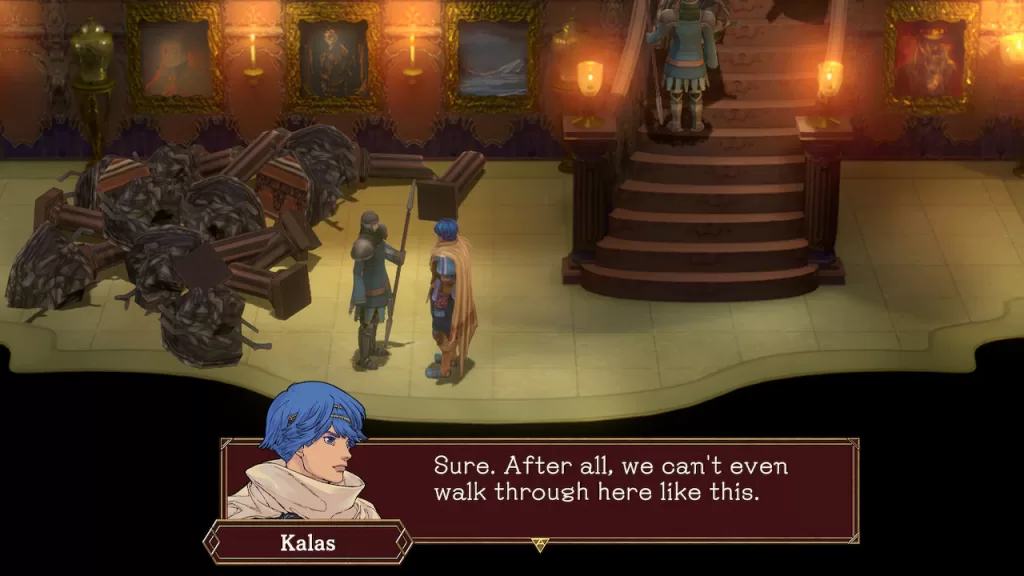
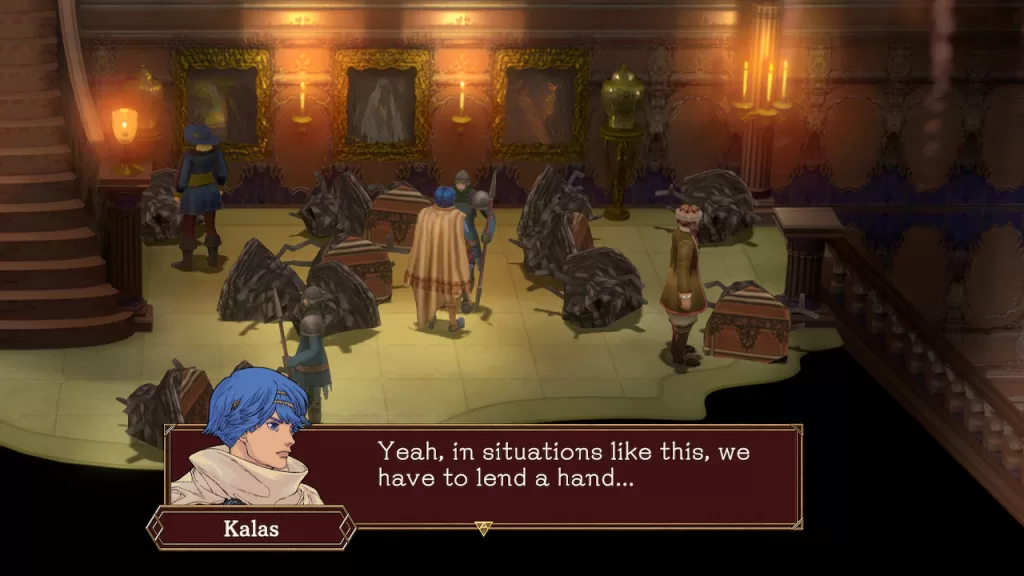
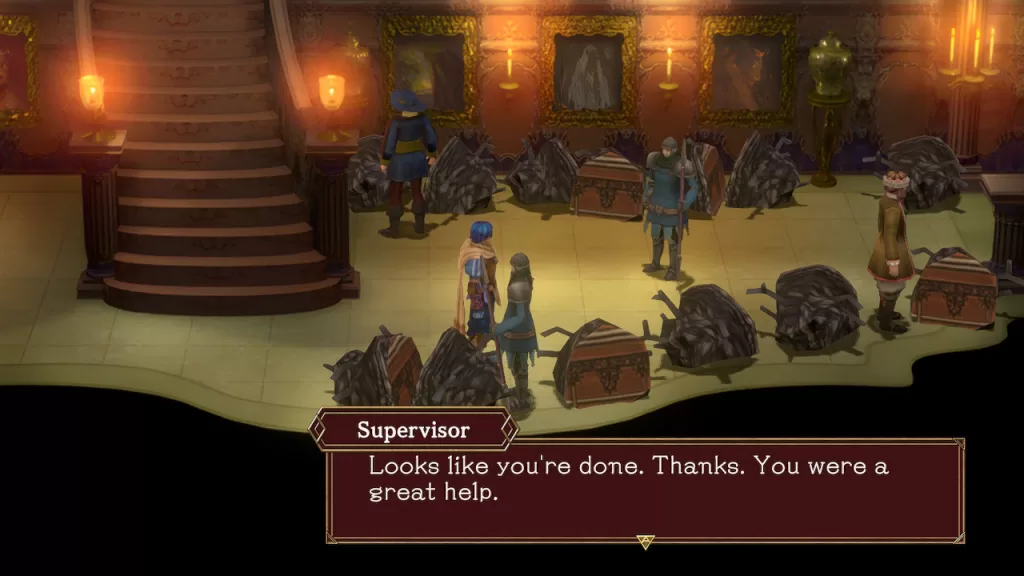
Next, head west, passing the stairs. Speak with the knight who will ask your help in removing the rubble. For our guide on this favor, click here! Head up the stairs and take a right then go through the door. Inside you’ll find Lyude staring out the window.
Speak with him to begin a cutscene where he will officially join the party. Next, head down to the doors that lead to the throne room. Once there, head west and go up the stairs to find some knights surrounded by debris. Agree to help them move the rubble to begin their favor. For a guide on how to do this favor, click here!
Now is the time you should do any clean up as we’re going to the next whale and it will be some time before you can return!
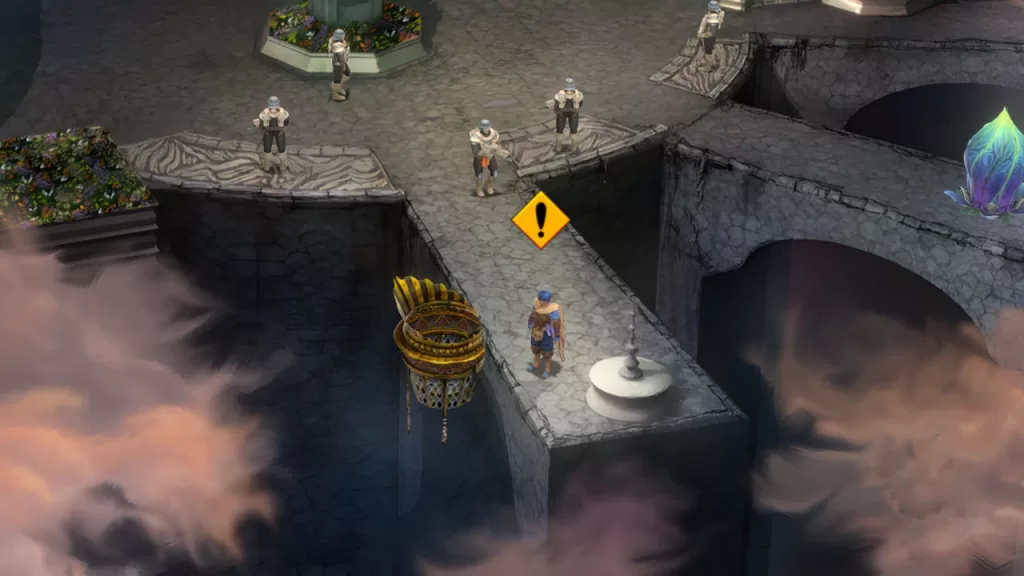
Sheliak
Before progressing with the story there is one favor you can find and complete involving the person outside the mayor’s office in the first area who is trying to clean the lamp. For a guide on how to complete this favor, click here! Also, make sure to stop in the mayor’s office to find a Magnus: Butterfly and Magnus: Savings Book. Once ready, you’ll be able to move on to the next whale!
Castle Elnath
When you’re ready to proceed, head to the very top of the castle where the Head Knight is standing guard. Exit to the east to reach the dock. Speak with the knight there to board the king’s ship! A cutscene will trigger and you’ll sail away to Komo Mai, City of Flowers.