Welcome to our Baten Kaitos Walkthrough Part 3 – Anuenue. In this walkthrough, we’ll cover all the areas on the third whale, called Anuenue, including the story, items, Quzman family members and favors! If you’d like a guide on each area, specifically what items can be found in the shops, enemy weaknesses and an overview of all items found there, click here then select the area you’re trying to find information on!
Anuenue Port
After docking, head up the ladder and enter the building to find a Magnus: Bamboo Grass Creel by the bed. Also inspect the northern bookshelf in this room to find a Magnus: Auriga (Star Map Fragment). Exit the building then head down the ladder then continue south down the climbable cliff to find a Magnus: Explosive Paddle.
Once you’ve collected the items, head east to the next area of Komo Mai, City of Flowers.
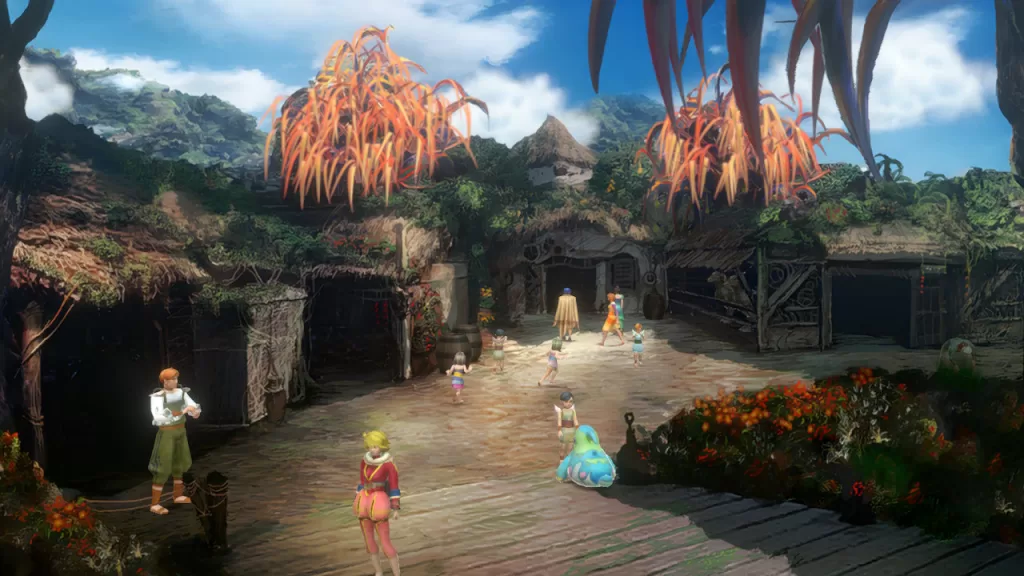
Komo Mai
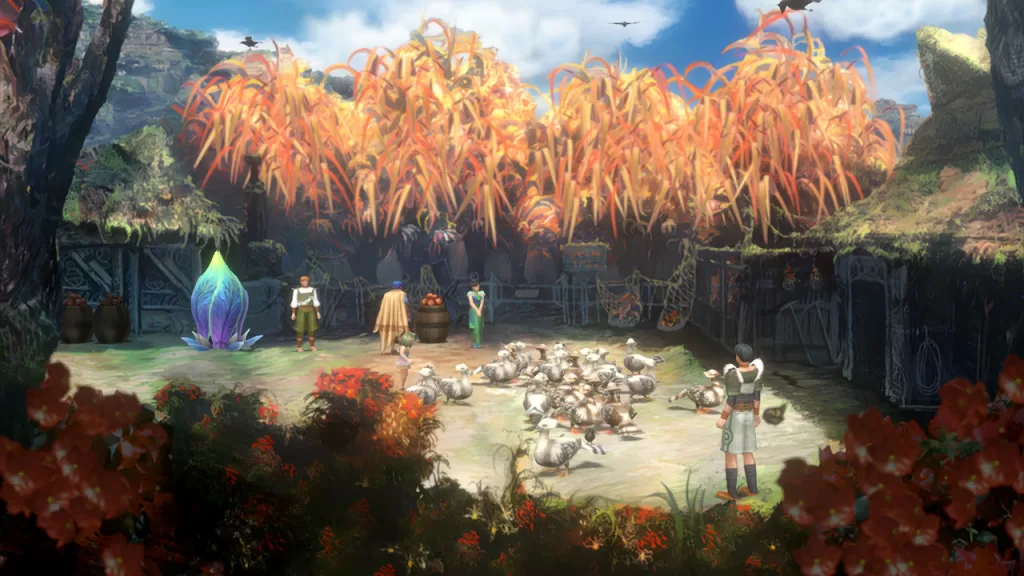
When you arrive in Komo Mai, a cutscene will trigger. Once you gain control, head south through the festival. Examine the bin of bananas on the southern tip to find a Magnus: Bananas. When you swing around in the southern part of the area, head northeast to find a blue flower next to the shop. Take care of your business then head slightly southwest of the blue flower and head up the covered ramp to the next area.
In the second area, head straight towards the castle where the people are dancing with the portable shrine. Your party will decide to take a different path to leave them undisturbed. Take the western path to reach the School of Magic.
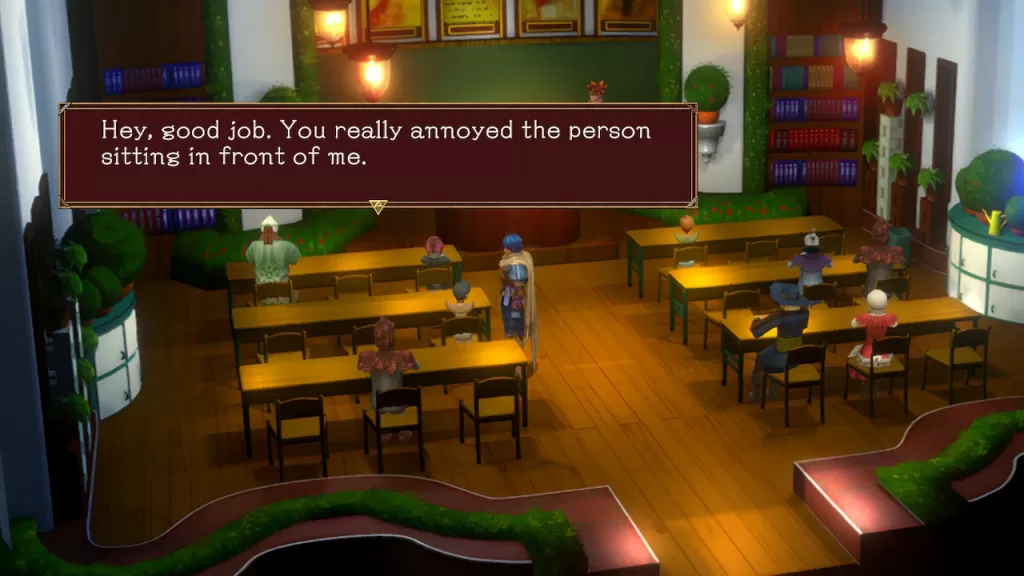
In the School of Magic, enter the first classroom then speak with the kid sitting at the middle table on the left. This kid will ask you to disrupt the person in front of them. Head up to the front row and speak with the person continually until they say “…”, meaning they are done. Return to the kid who asked you to distract the other student to receive a Magnus: Magical Piggy Bank.
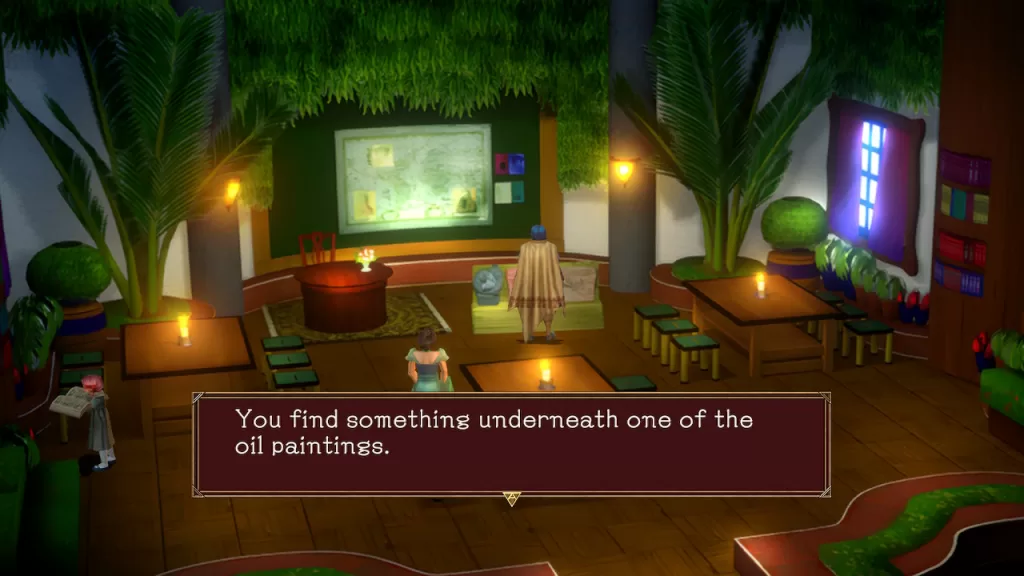
In this same classroom, examine the locker on the east side of classroom to find a Magnus: Chronos Blow Lv. 2. Exit the above classroom and head west to the next door. Enter then speak with the Teacher to learn more about the ocean. In this room, interact with the 3 paintings on display in the front of the classroom to find a Magnus: Sweetheart Picture.
Next, head east and cross the path to reach the other side of the school. After entering through the door, enter the first classroom. Upon entering, a cutscene will trigger and you’ll learn about the Toxiclouds. In this room, investigate the northeastern bookshelf to find a Magnus: Secret Recipe 3. Afterwards, examine the lockers on the west side of the room to find a Magnus: Black Scepter.
Now that you’ve finished exploring the above classroom, head east to the next one! Examine the giant bottle filled with green liquid in the northeastern corner of the room. We chose to taste it cuz why not!
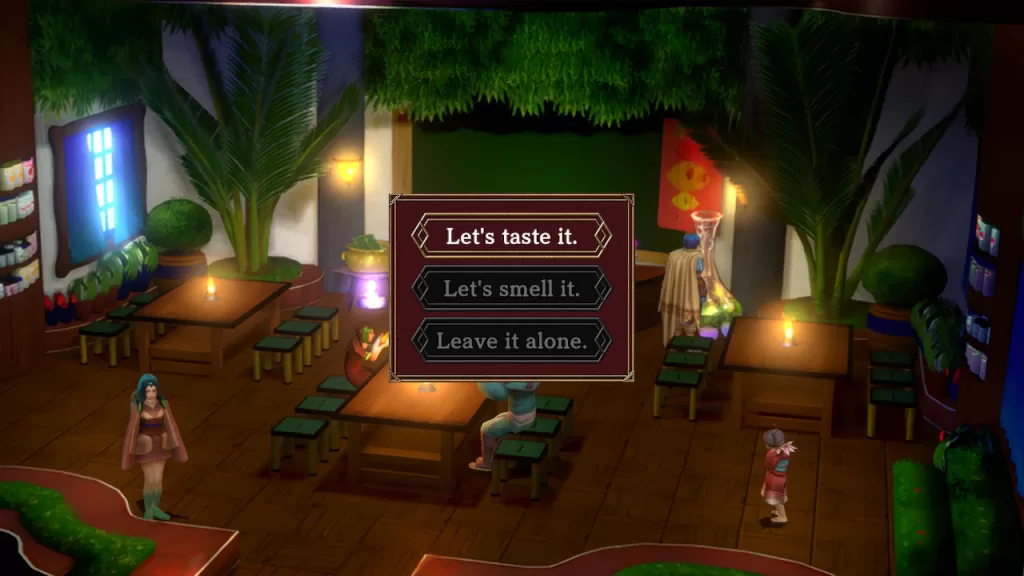
Turn around and speak with the person who approached you afterwards to receive a Magnus: Silkworm.
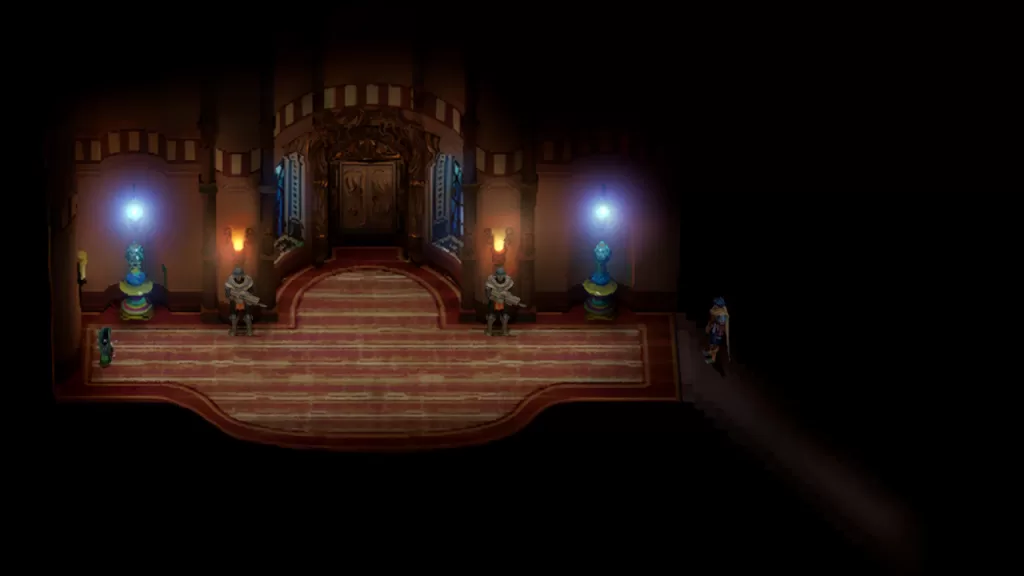
After leaving the school, you’ll notice that the crowd has moved and the way north is clear. Head up the stairs to reach Corellia’s Palace. Once inside the palace, head right and go through the door at the end of the hallway. In this room, interact with the fruit bowl on the table to find a Magnus: Strawberries.
Exit this room and head north to reach Corellia’s bedroom. Inspect the dressing table to the left of the bed to find a Magnus: Hair Dryer. Interact with her bed to receive Magnus: Mattress.
To proceed, exit this room and head up the stairs in the center of the area to trigger a cutscene. Following your audience with the queen, exit the palace to trigger another cutscene where the group will try to formulate a plan. When asked of your opinion, select “Let’s look for it.” Thanks to the help of a Court Lady, you’ll receive a new heading: the library! Once you’re ready to proceed, exit the village to trigger a cutscene then head east on the world map to the Ancient Library of Magic.
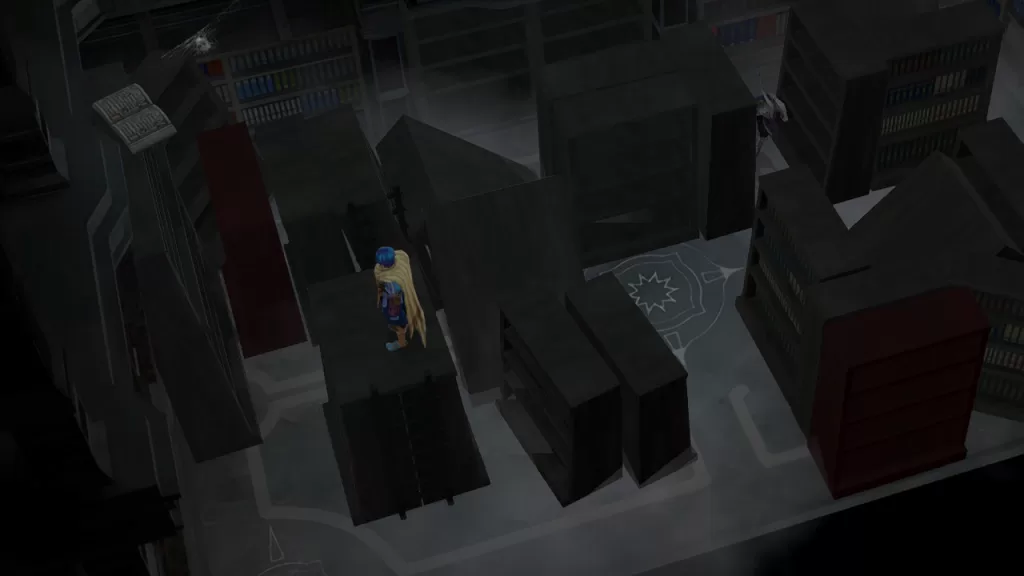
Ancient Library of Magic
Once in the Ancient Library of Magic, look to the north to find a Magnus: Zeit Robe. Afterwards, interact with the seal next to the item and the group will determine that they cannot go further and you decide to continue exploring the library!
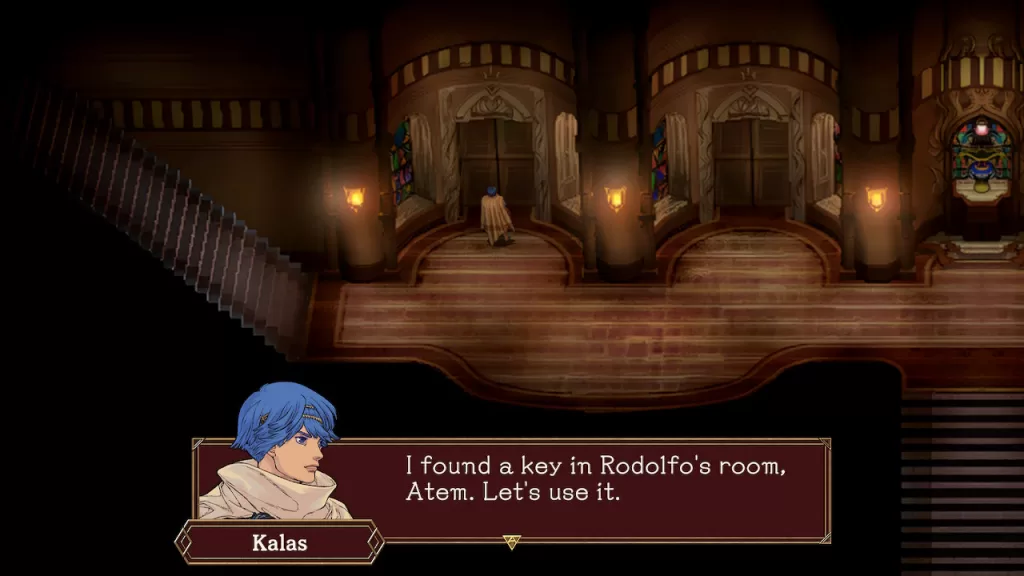
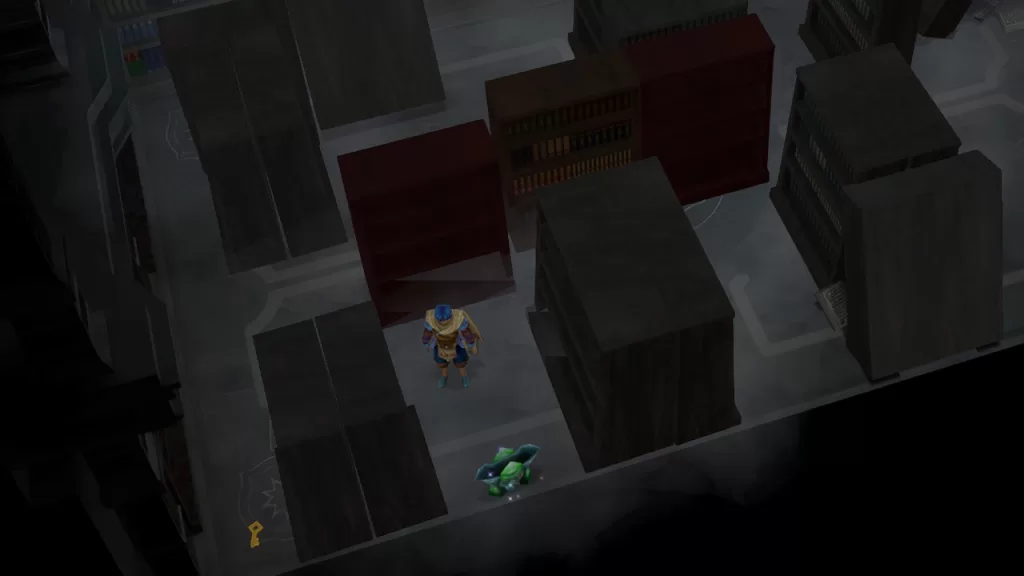
Next, head behind the counter to the right of the above seal and interact with the boxes to find a Geography Section Key. You can bring this to the first seal to unlock it!

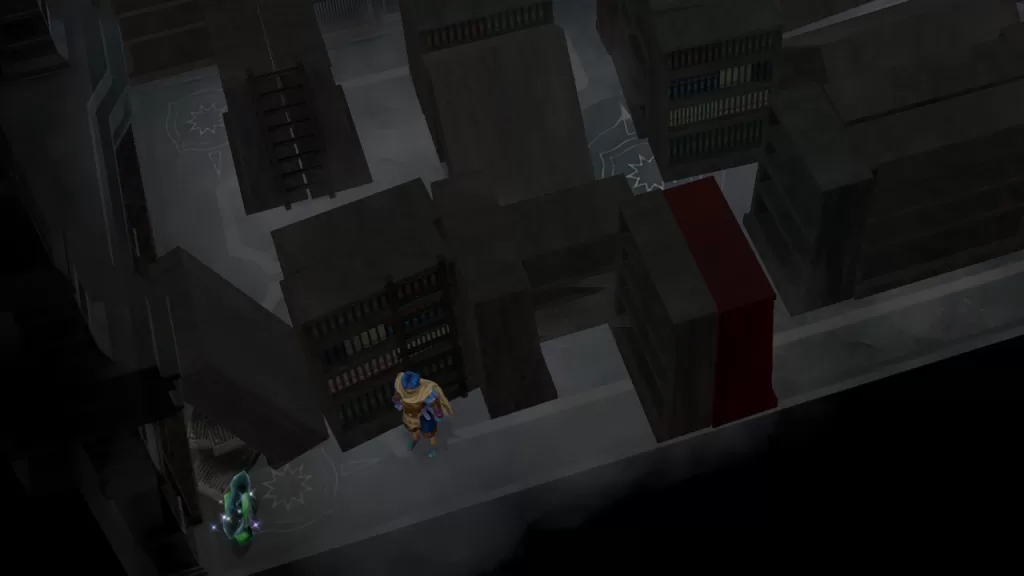
Head inside then push the red bookshelf all the way to the left. Follow the path north then work your way to the next red bookshelf. Push it south (not all the way) then sneak in front of it to grab the Magnus: Sforzando.
In the southwestern corner of the room you’ll find the Philosophy Section Key. In the northwestern corner of this room, you’ll find a Magnus: Will-o’-Wisp Hat behind the bookshelves.
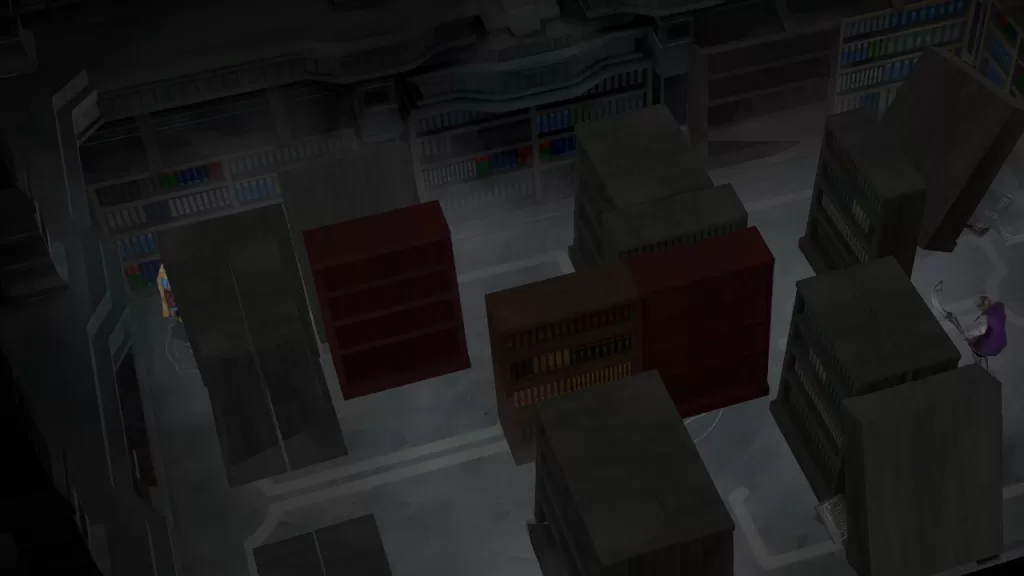
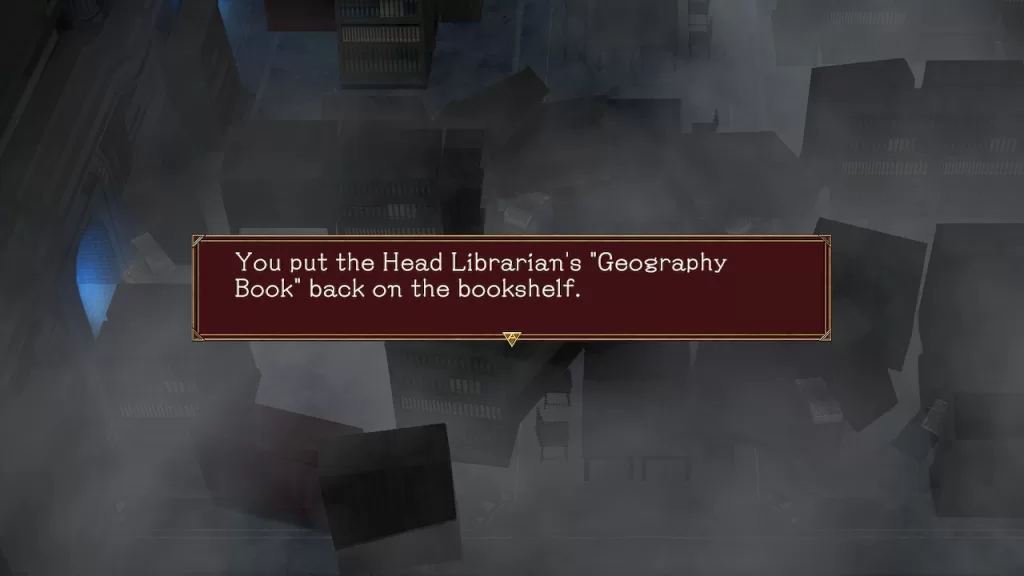
Head to the middle of the room directly south of the red bookshelf you pushed to find Geography Book.
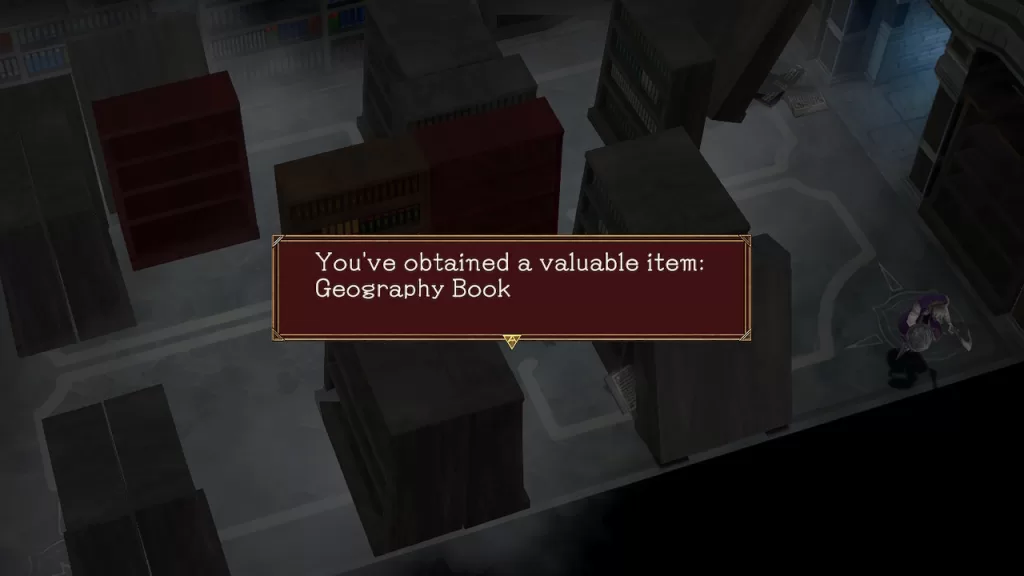
If this book is not there, you might first need to interact with the door near the red flower in the second area for this to become available.
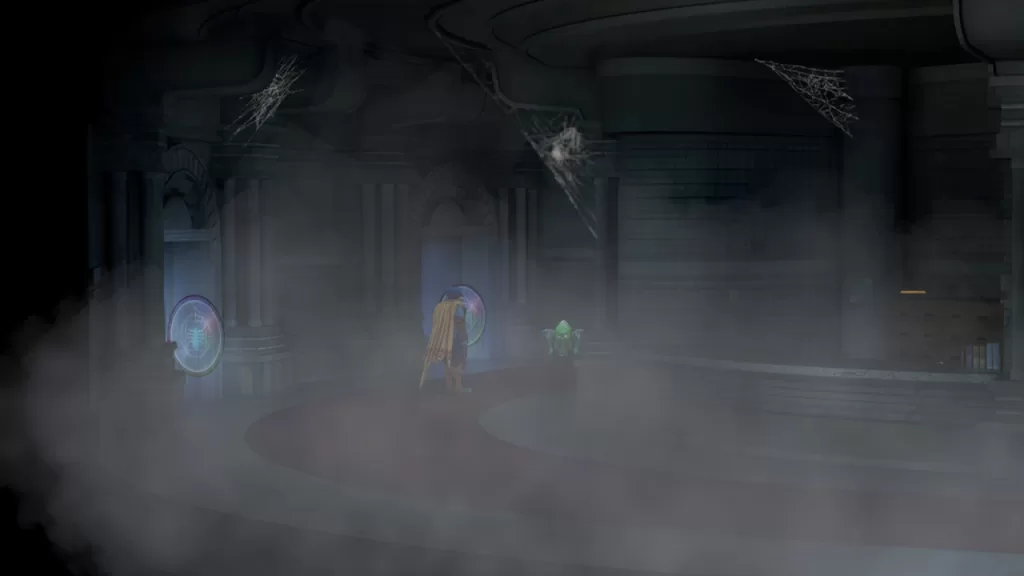
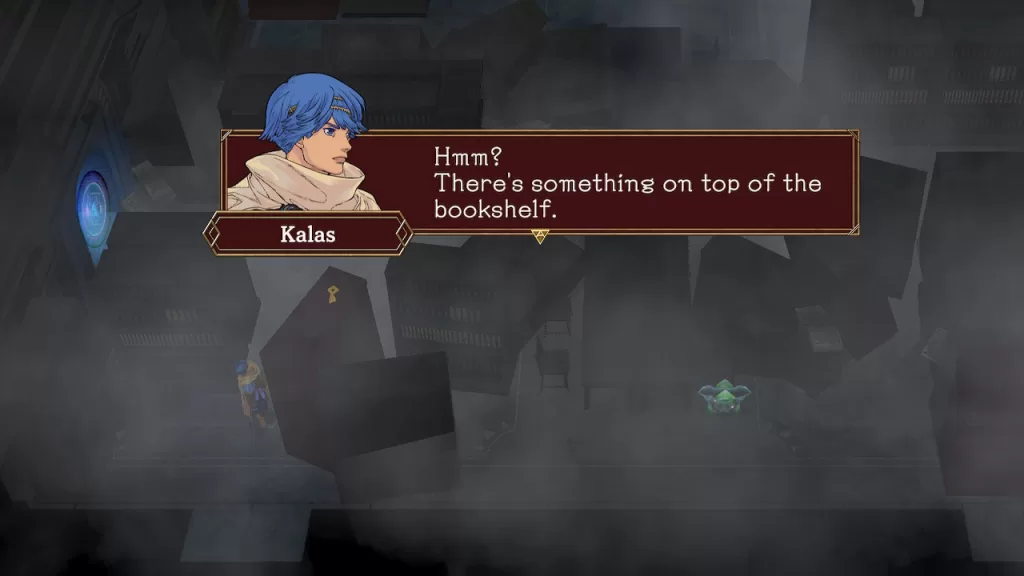
Exit this room and head east side of the room. Go up the floor to reach the second level. Enter the first door to reach a foggy room. Head directly east and interact with a bookshelf to find the Magnus: Deluxe Shortcake.
Head north and follow the path to the right of the red flower to find a Magnus: Falcon Statue.
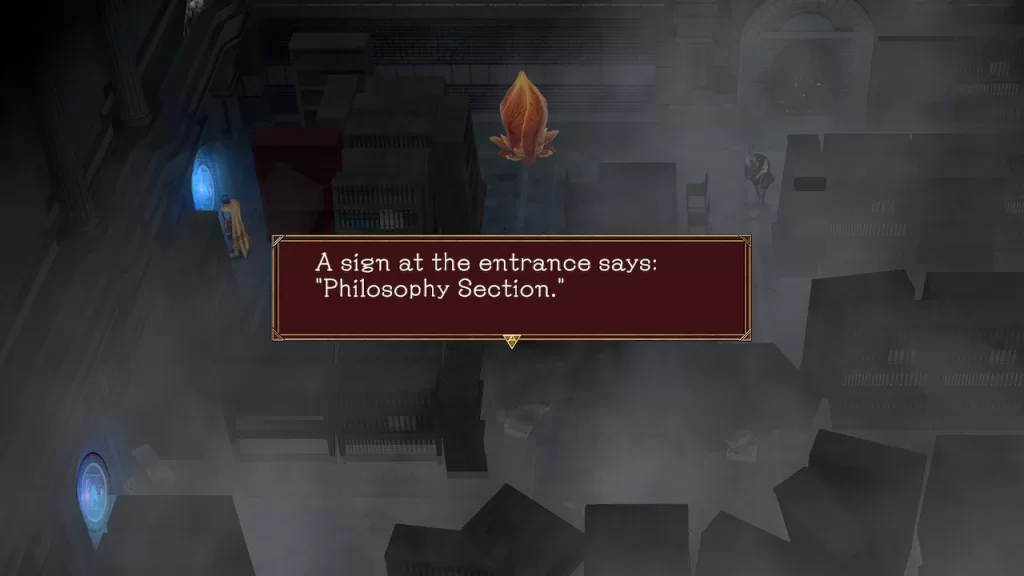
While you’re there, interact with the nearby door to learn that you’ll need to gather the 4 books he wrote. Head to the west and push up the red bookshelf to find the Philosophy Section Seal and use the key to open it!
In the Philosophy Section, you’ll need to climb up the ladder on the southeastern bookshelf to reach the Magnus: Scarlet Shell. Head west and jump the gap to reach another ladder. Take it down to reach the Magnus: Deluxe Cookies and the Literature Section Key.
Follow the path on the ground level to reach the red bookshelf and push it all the way down. Make your way to the southeastern ladder and climb up. Head all the way west to reach the southwestern ladder. Head on down to grab the Magnus: Magnum Cornet.
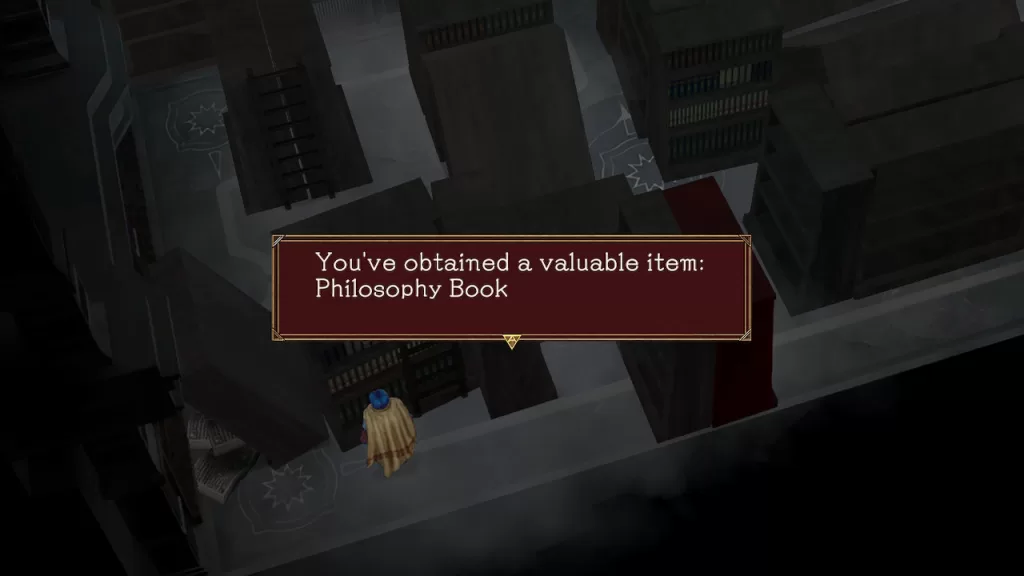
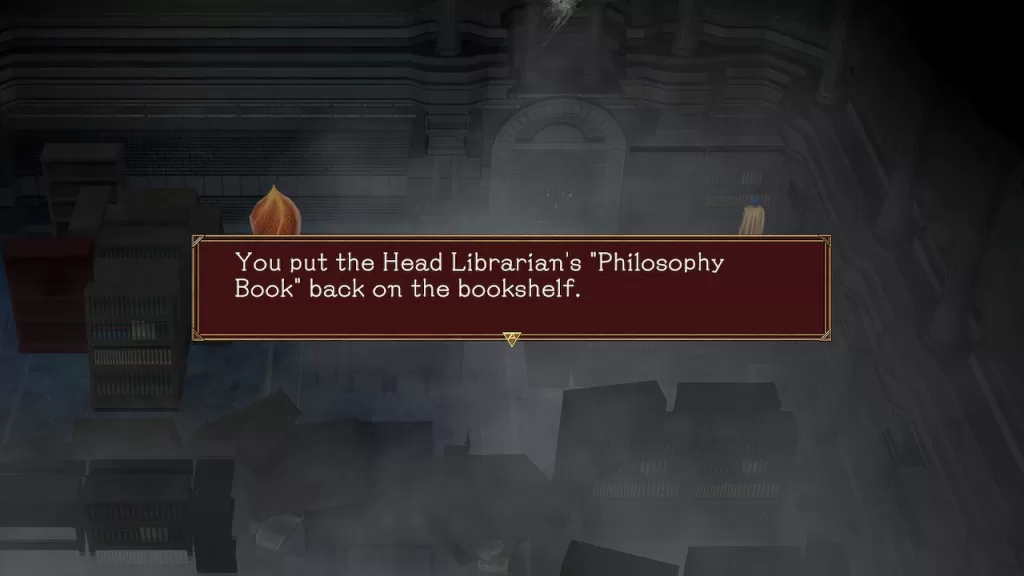
Interact with the bookshelf to the left of the ladder to receive the Philosophy Book.
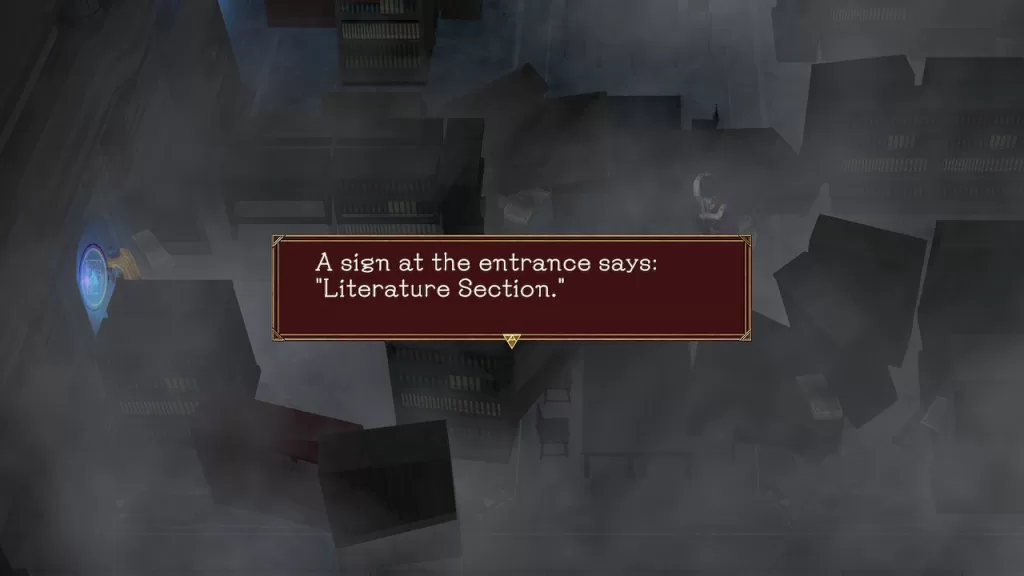
Now that you’ve gotten everything in here, exit the room to return to the foggy room with the red flower! Next, head to the southwestern seal to find the Literature Section.
In the middle of this room, you’ll find the Magnus: Silver Sword. Next, go to the north side of the room. Take a left and push the red bookshelf south (not all the way). Climb up the ladder and jump south. Climb on down and grab a Magnus: Ruby Earrings.
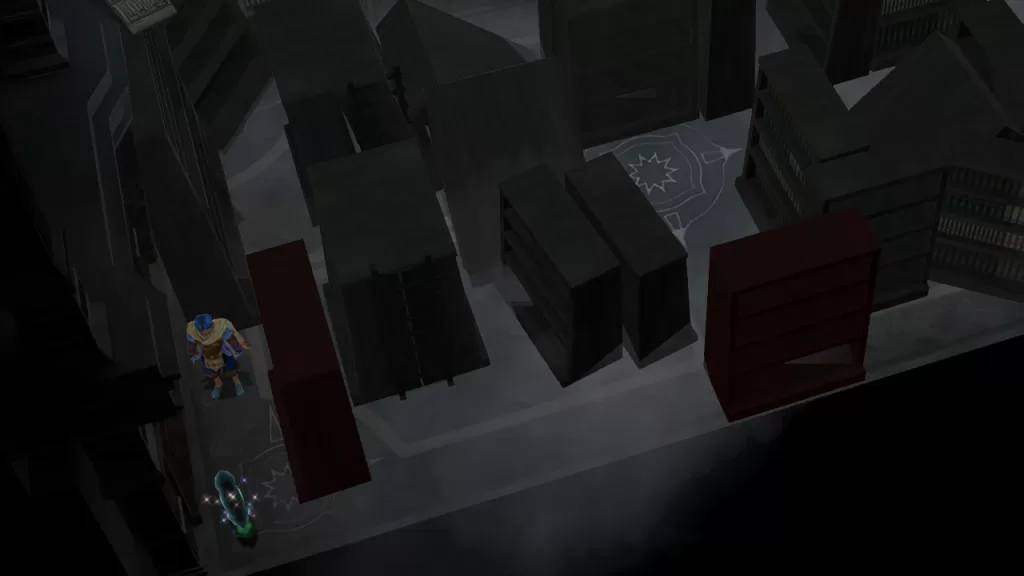
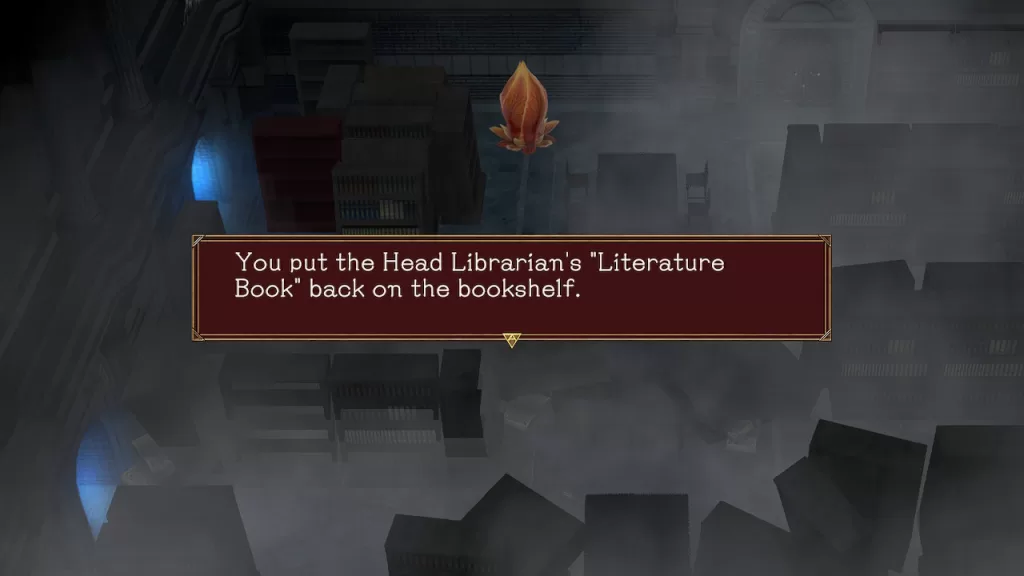
Push the red bookcase up then climb up the ladder and jump north along the gap. Walk over your newly pushed bookshelf to find the Literature Book.
Exit the room and interact with the red bookshelf in the southwestern corner with a key on top to cause it to fall over.
Head through the next path to find a Magnus: Kite Shield. Continue east and push the red bookshelf out of the way. Head south to reach a hallway. In this area head to the east to find a Magnus: Wave Blade. Continue west down the hallway and enter the room to the north to find the History Section Key that you previously knocked off the bookshelf. Next, backtrack to the first area and enter the History Section.
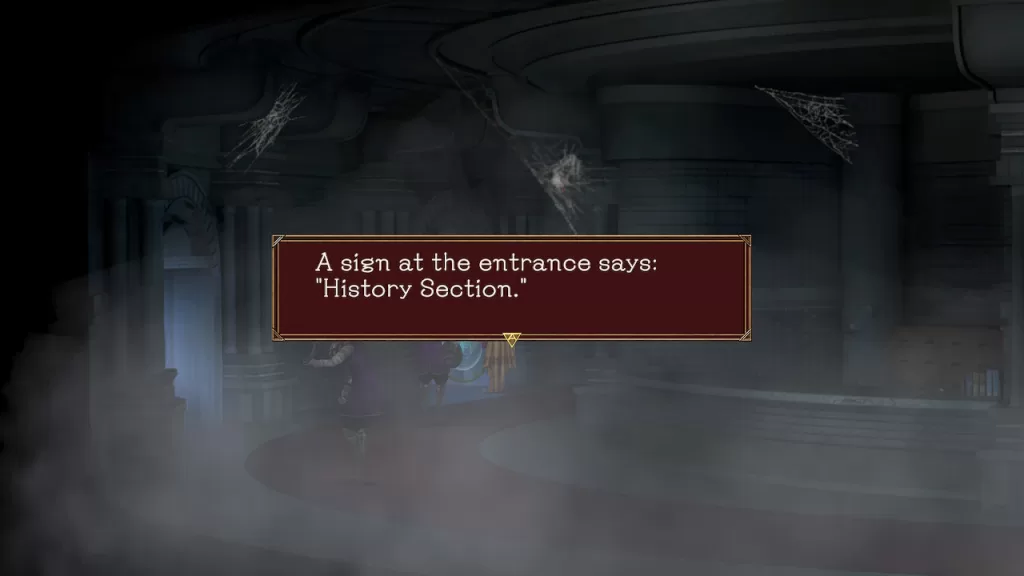
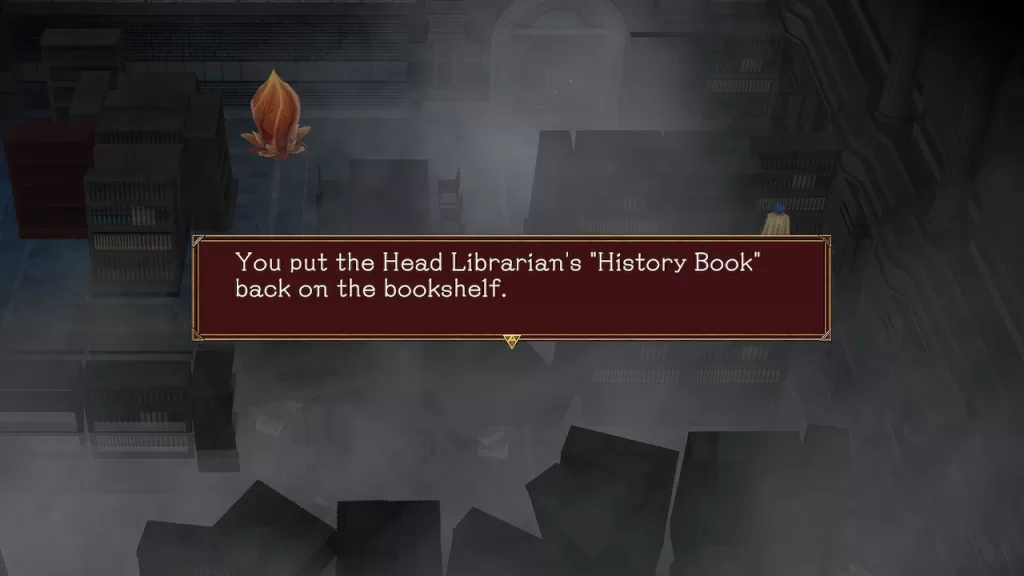
In the northwestern corner, you’ll find a Magnus: Taurus (Star Map Fragment) and Magnus: Fruity Gelatin. In the southwestern corner of this room, interact with the bookshelf to find the History Book.

In the northeastern corner of the room, interact with the bookshelf to find a Magnus: Deluxe Bonbon. Next, exit this room and return upstairs to the foggy red flower room and place the 4 books on the bookshelves.
Once all books have been placed, the northern door will unlock. Head inside to trigger a cutscene followed by a fight against Folon who is weak to light and water and resists fire and dark. During the fight, he can boost his attack at the start of a 4 combo attack that ends with his signature fireball move to deal massive damage. After you defeat him, a cutscene will trigger. When you reach the world map, return to the room you fought Folon to find a Magnus: Water Mirror Anklet.
When you’re ready to move on, return to the world map and head east to Holoholo Jungle.
Holoholo Jungle
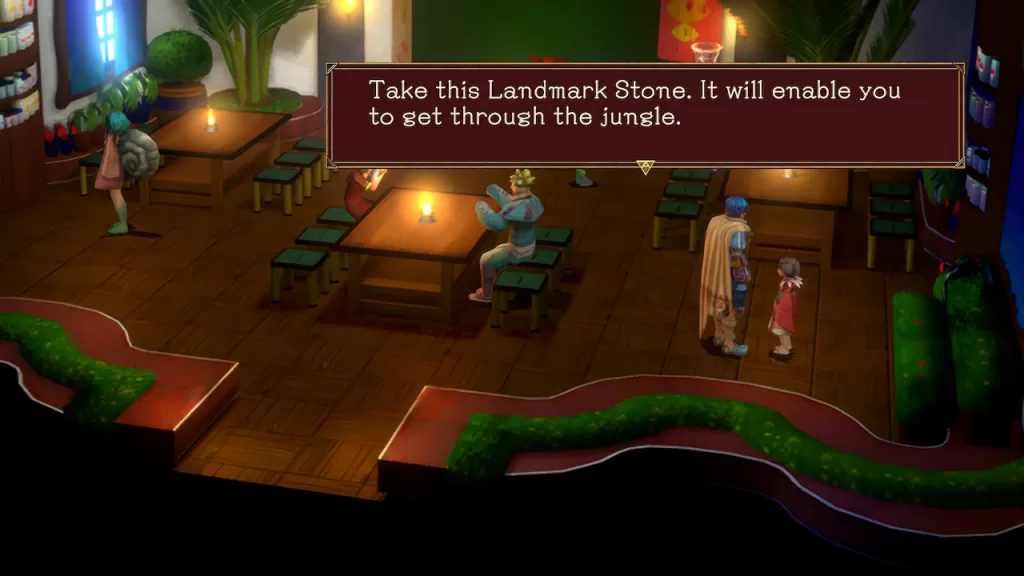
Once you arrive in the Holoholo Jungle, you’ll find out that you can’t proceed until you get a landmark stone. Travel back to Komo Mai!
Komo Mai
After you visit Holoholo Jungle, you’ll find out that you need a Landmark Stone to continue through the area. In Komo Mai, make your way to the east side of the School of Magic. Once there, head to the eastern room and speak with the principal. She’ll give you a Landmark Stone.
Exit the room and head to the other classroom in this wing. Speak with the Woman with a Bracelet in the northwestern corner near a bookshelf.
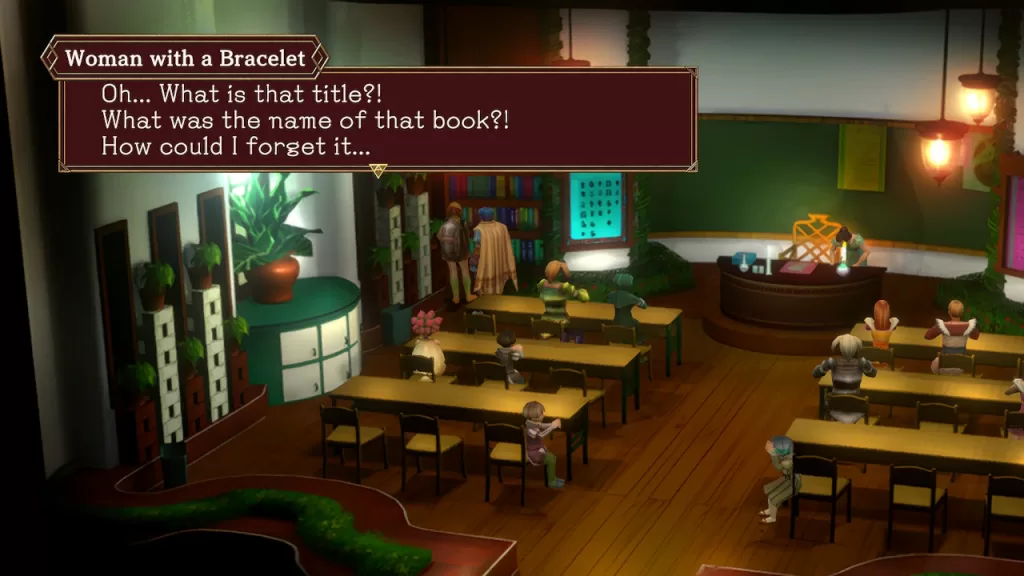
She’ll tell you to talk with her brother in the library.
Ancient Library of Magic
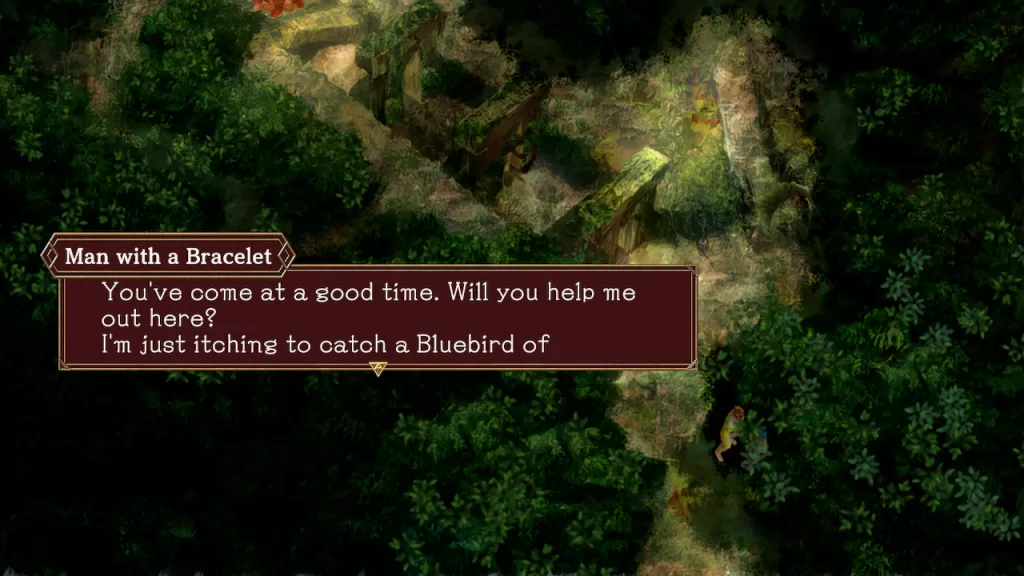
Travel to the Ancient Library of Magic then make your way to the Philosophy Room on the second floor. The Philosophy Room is directly west of the red flower. Inside you’ll find a Man with a Bracelet.
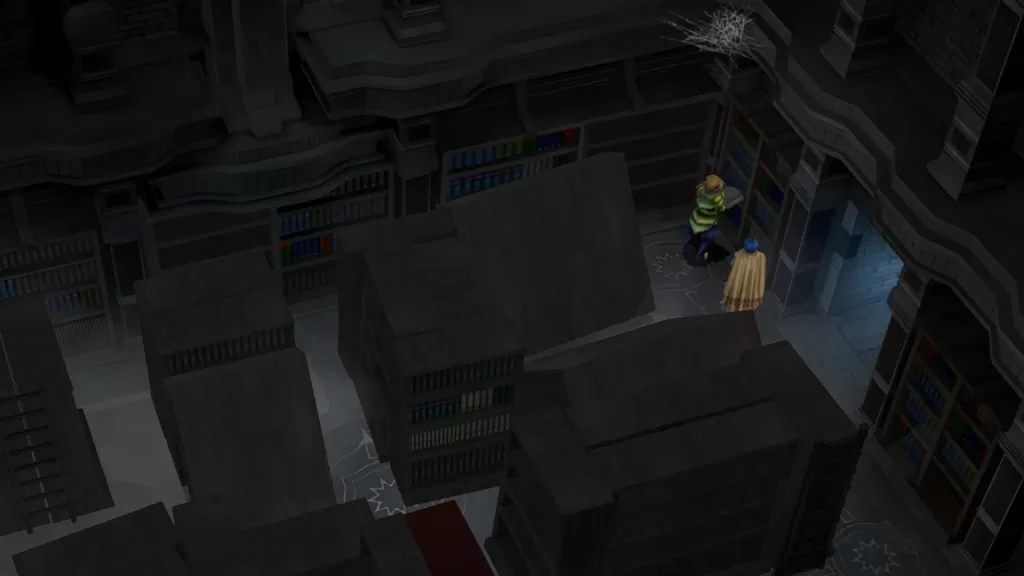
Speak with him to gain his entry in the Quzman Family Book of Tufayr.
Komo Mai
Afterwards, return to his sister and speak with her to get her entry of Tulun. Now that you’ve done everything you can, set off for Holoholo Jungle!
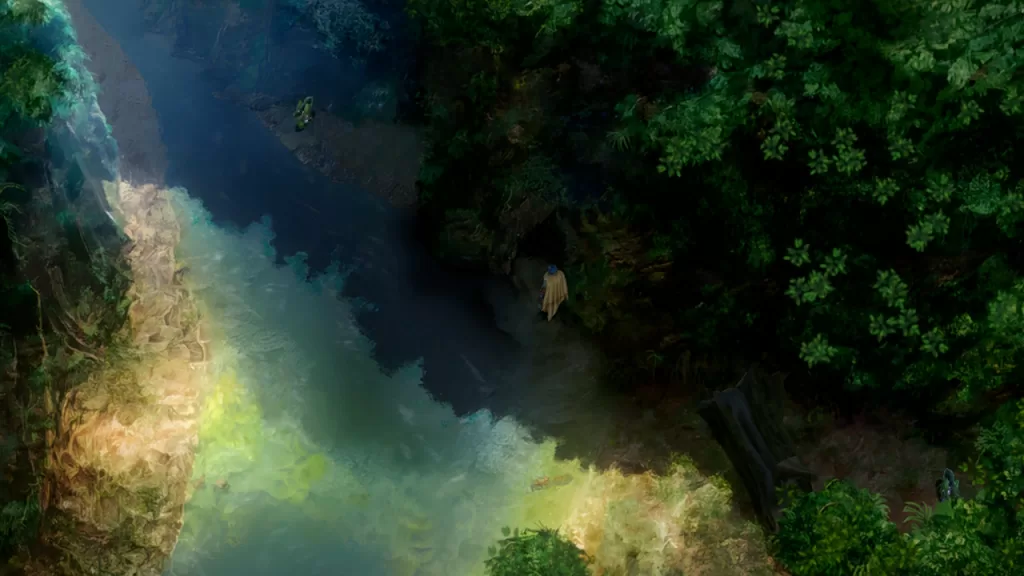
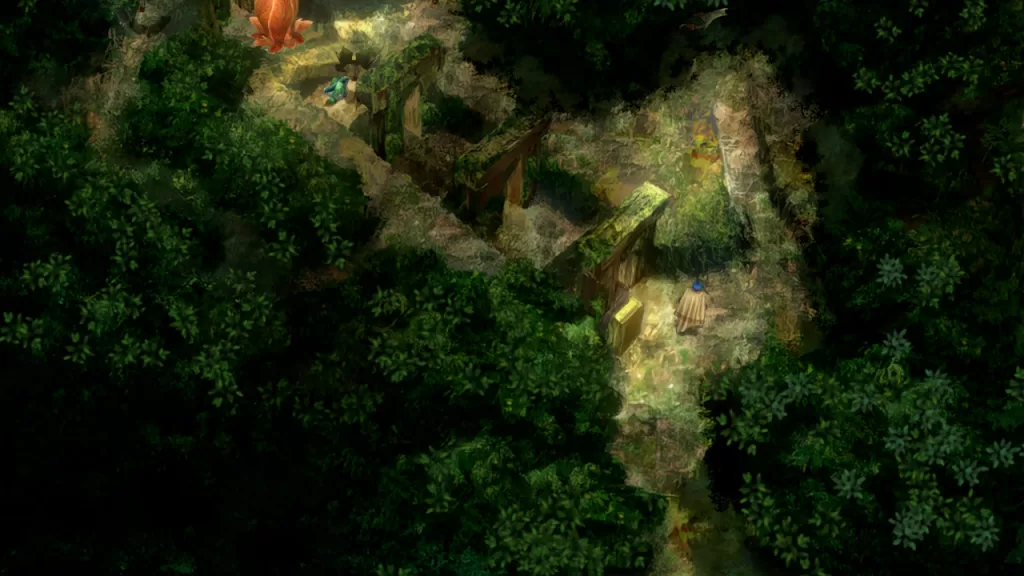
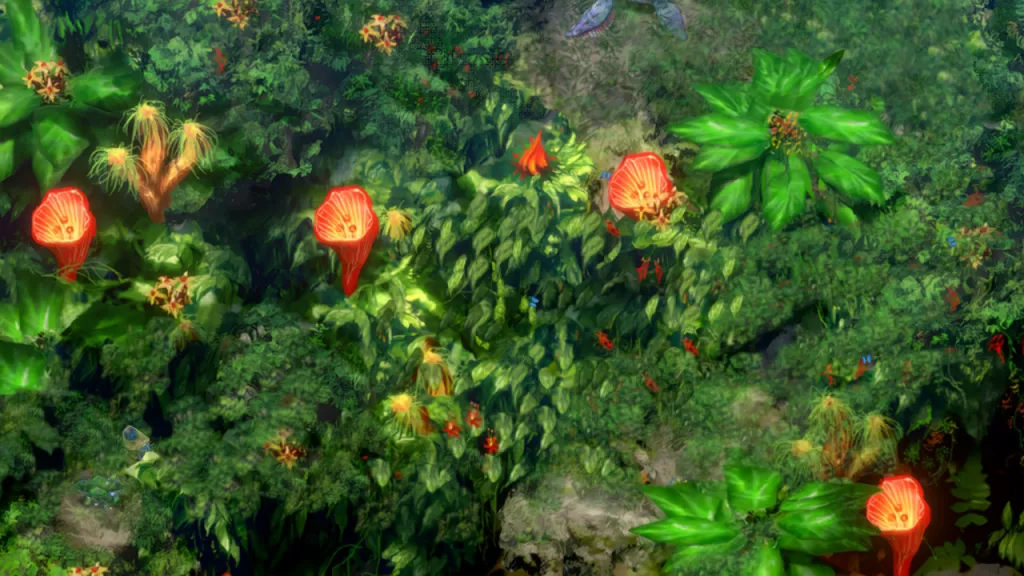
Holoholo Jungle
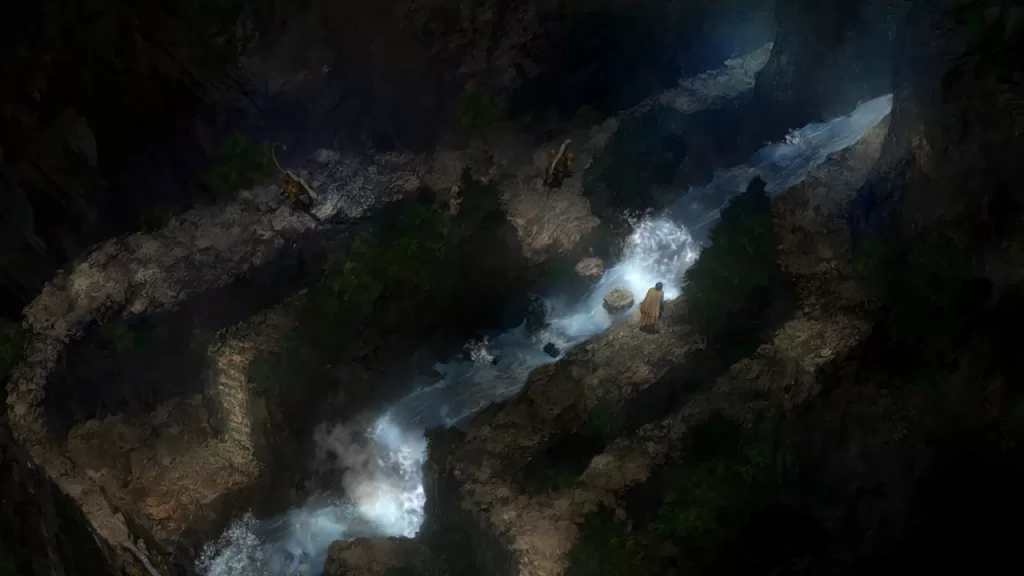
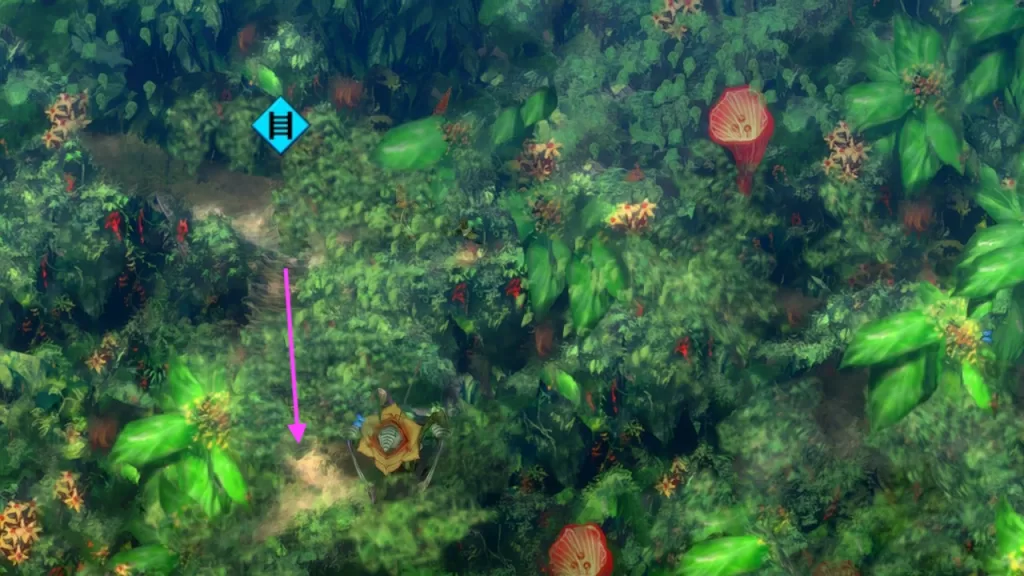
When you return to the jungle after getting the Landmark Stone, you’ll be able to freely explore the area. In the second area on the northeastern side, you’ll find a ladder that you can climb down where a Magnus: Silver Earrings awaits at the bottom.

From the previous magnus, follow the path left to return to the first area where you can find a Magnus: Ice Crystal Buckle at the end of the path.
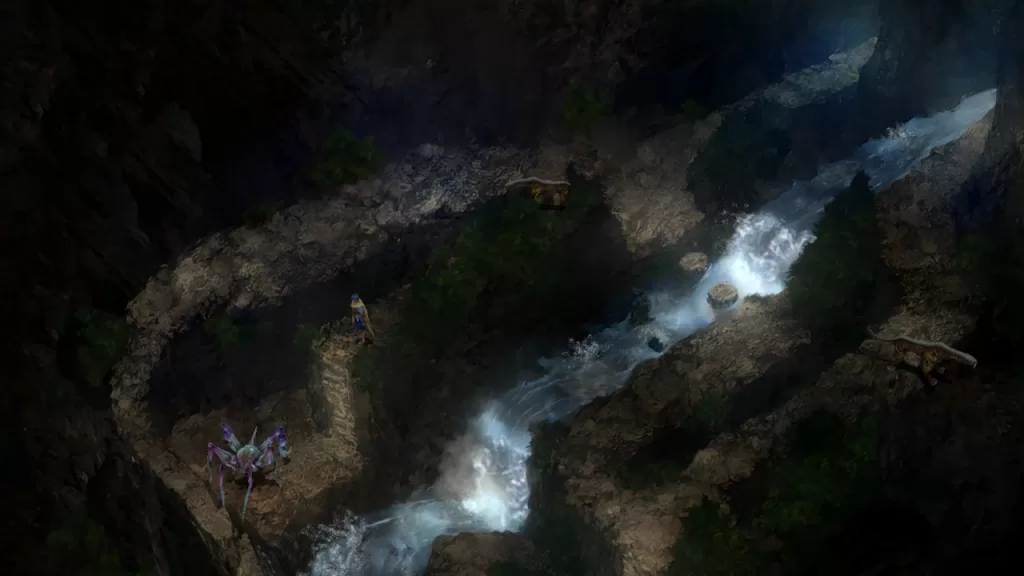
Return to the ladder in the second area, then head east to the third area. Immediately at the start of this area, head down the nearby ladder and follow the path to reach the following: Magnus: Brave Knight Helm, Magnus: Wind Yell Lv. 1, Magnus: Heat Paddle, Magnus: Fire Burst Lv. 3, Magnus: Smash Tackle, and Magnus: Equuleus (Star Map Fragment).
Backtrack to the ladder then follow the path east to reach the exit and arrive at the World Map. Travel south to Opu, the Waterfall Village!
Opu
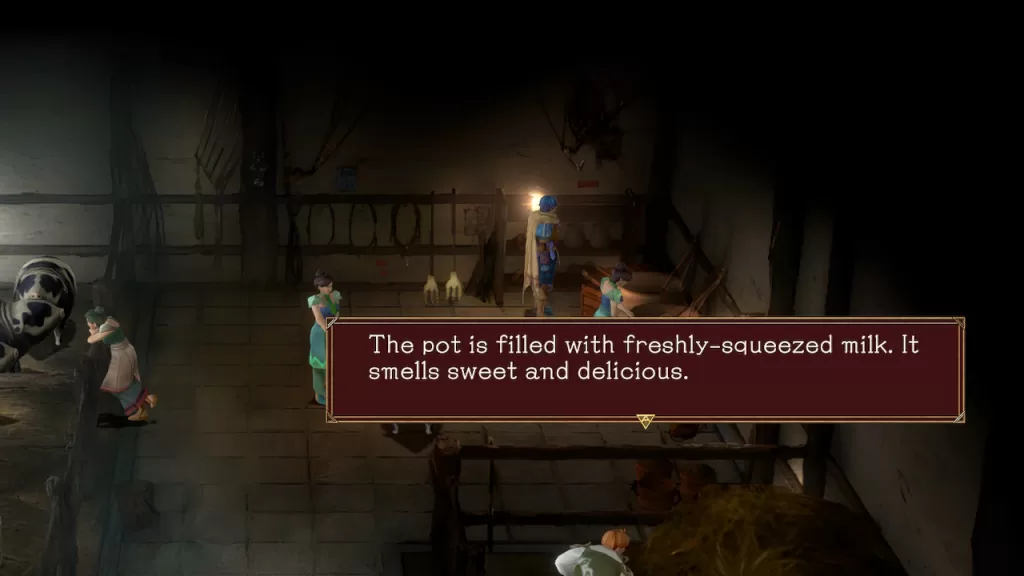
Once you arrive in Opu, enter the first doorway to reach the shop! Afterwards, head west down the bridge to trigger a cutscene. Next, enter the next doorway and inspect the tub to find a Magus: Uncooked Rice. In this room, inspect the northeastern corner to find a Magnus: Lupus (Star Map Fragment). The cooking pot on the northern wall contains a Boiled Egg essence.
Exit this house and follow the path down towards the blue flower. Speak with the little girl on the ground by the blue flower to receive a Magnus: Perseus (Star Map Fragment).
Enter the house next to the blue flower to find a Magnus: Ice Knuckles in the ceramic containers in the southwestern corner. You can also pick up the Magna essence of the Weak Flame from the candle in the center of the rug.
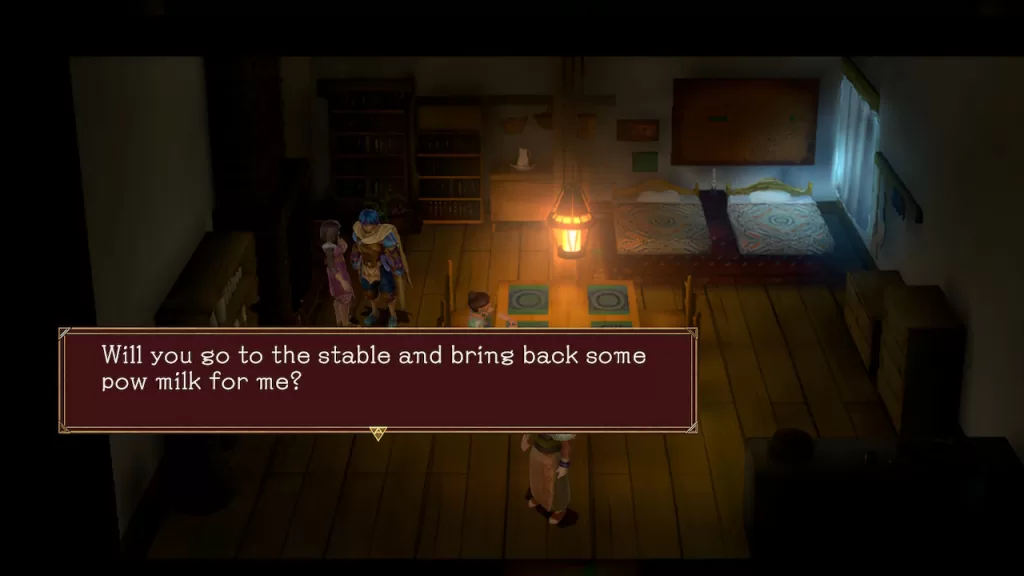
Now that you’ve explored, enter the western doorway to find Mayfee. Speak with Mayfee’s grandma on the bed to hear a story. You can interact with the stove to get a Magna essence of the Weak Flame. After Mayfee leaves, speak with the grandma again then exit the house and head next door. Speak with Mayfee and the other woman in this building then head to Komo Mai in search of cookies!
Komo Mai
Once in Komo Mai, head up the ramp to the entrance of the palace. On the east side speak with the white haired man.
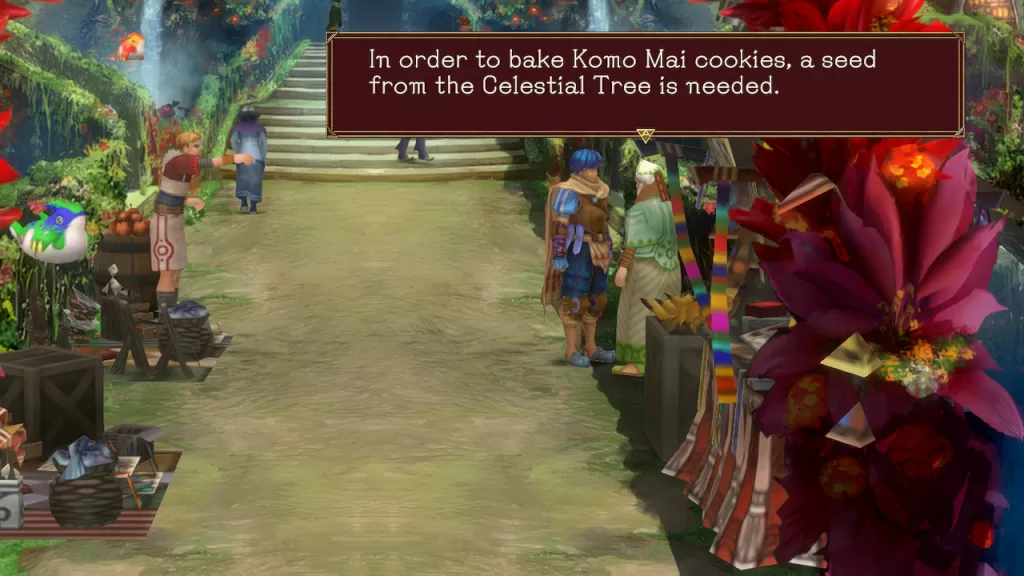
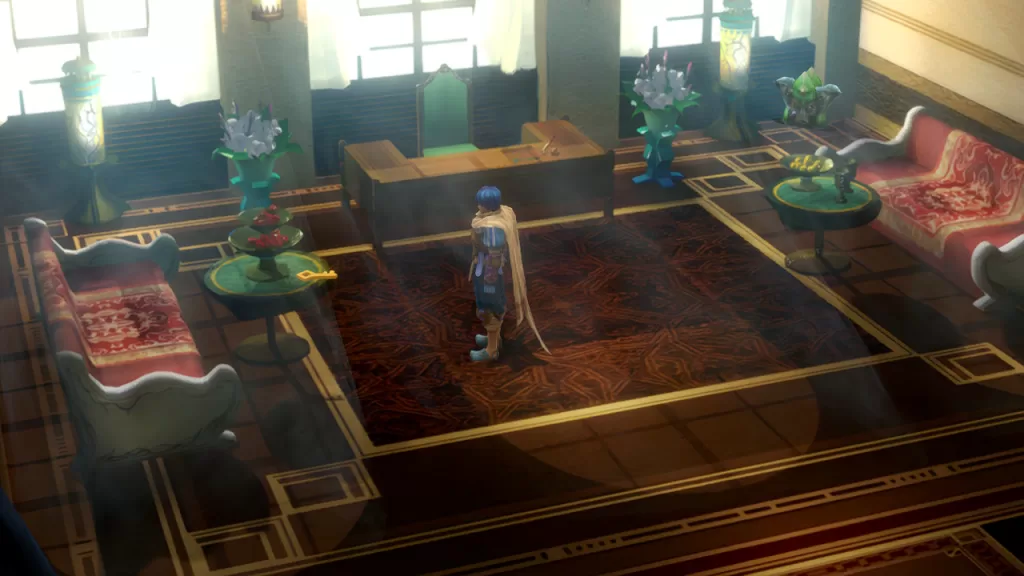
In order to get the item he requires, head into the palace and head to the east side where you’ll find 2 rooms. Enter the northern room to find the queen’s bedroom. Interact with the bookshelf to the right of the bed to acquire the essence of Celestial Flower Seed. Once you’ve gotten the essence, return to the old man and give him the seed. In return you’ll get Komo Mai Cookies! Return to Mayfee to trigger a cutscene involving the waterwheel. Once the cutscene ends, make sure to grab the newly revealed Magnus: Flash Explosion.
Opu
Afterwards, return to Opu and enter the house next to the blue flower then speak with the woman to trigger a cutscene during which Savyna will join your party.
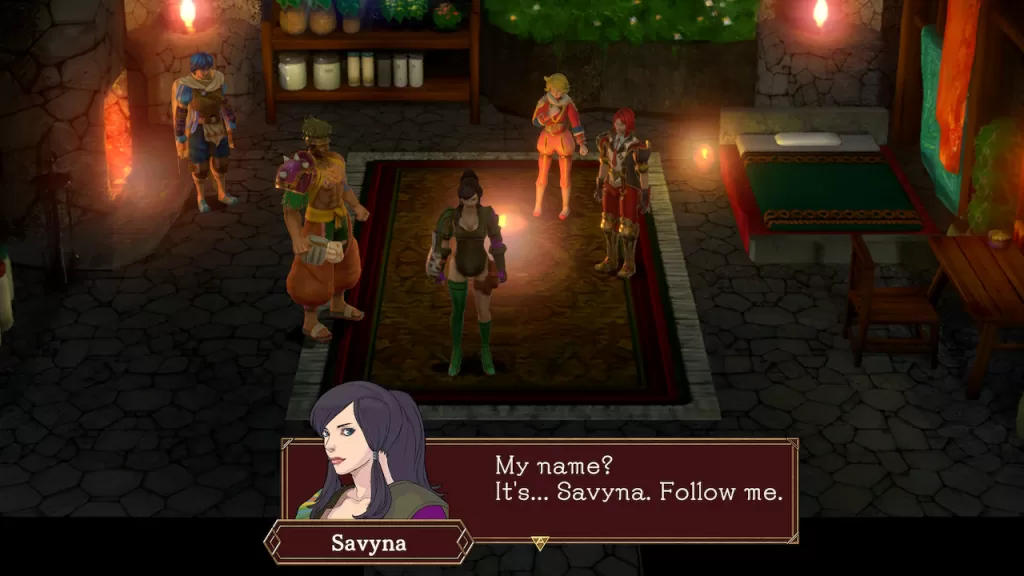
Follow her out of town to The Celestial Tree!
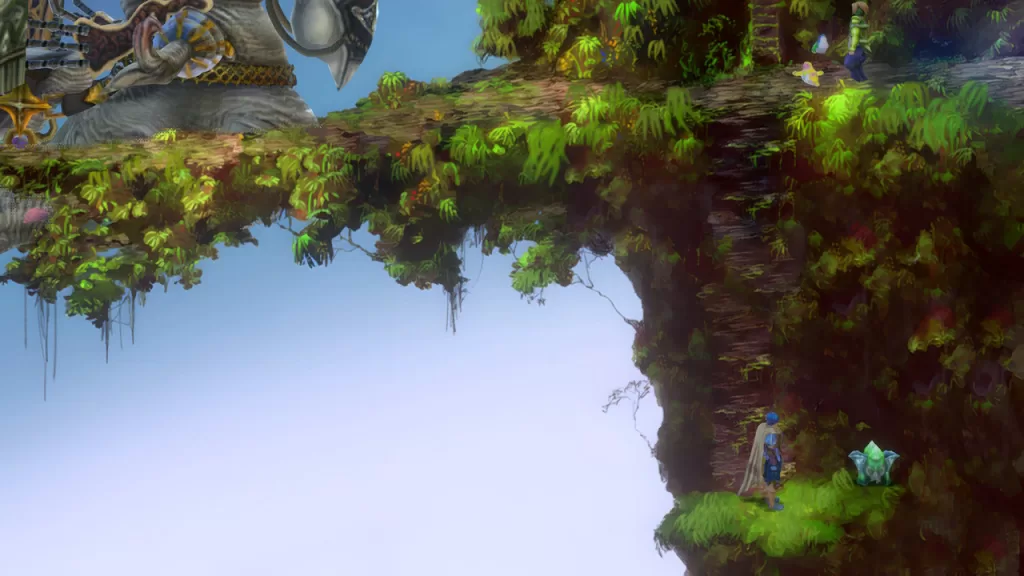
The Celestial Tree
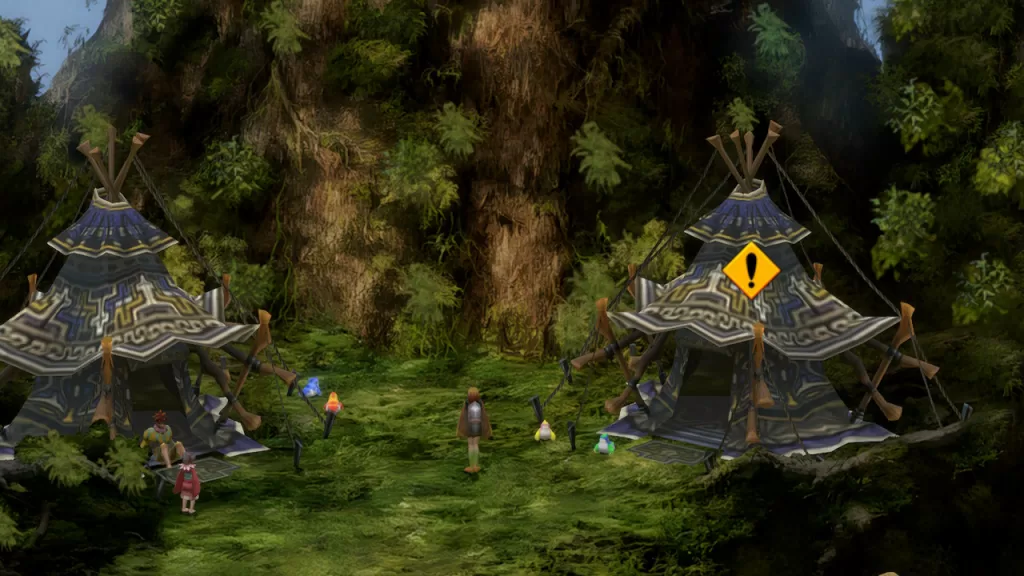
Next, climb up the left side of the tree to find a Magnus: Wild Cherry Bud! Head back down the tree then go up the right side.
Please note the Blood Leaf (flying scorpion creatures) drop the Ursa Major (Star Map Fragment)!
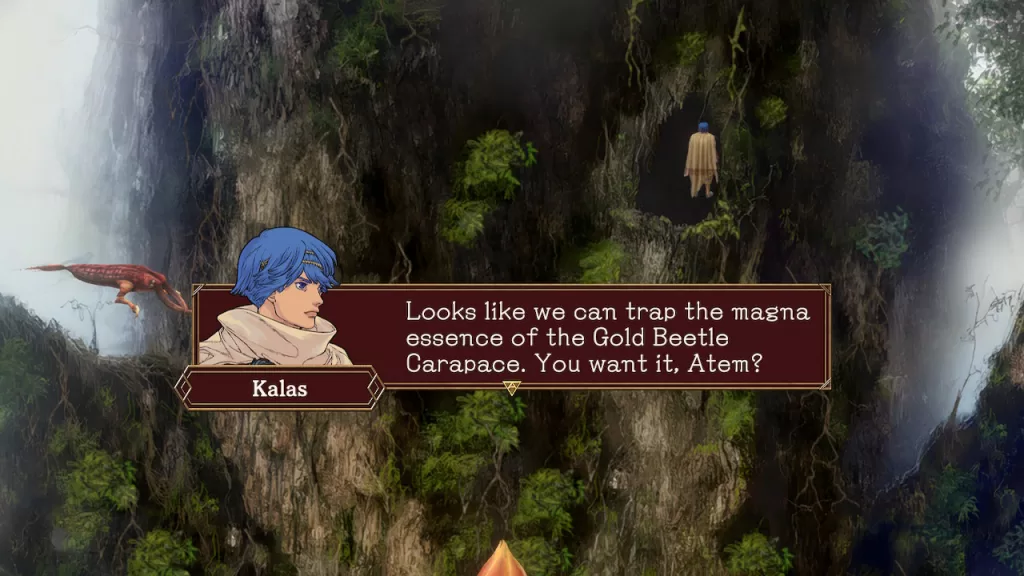
As you make your way up the right side, you’ll come across a red flower. Head down the far right path to find and speak with Mayfee. Afterwards, head back up to the red flower then take the right path up and enter the hollow to find the magna essence of the Gold Beetle Carapace.
Head back down and save at the red flower then take the left path up where you’ll encounter a door. Up next is a back-to-back boss fight!!
When you’re ready, head on through to encounter a boss fight against 2 tentacles and a main body. Make sure to snap a picture of this creature called the Tree Guardian and its tentacles during the fight! The main piece of the body is weak to fire and dark and resists light and water. This creature attacks with both of its tentacles and shoots laser beams at you. It has a 5 combo attack and ends with its signature water move called Sparkling Water. Be mindful that the tentacles will also try to put your character to sleep!
Once you defeat the Tree Guardian and its tentacles, a cutscene will trigger followed by another boss fight against Savyna!! During this fight watch out for a 6 attack combo that ends with her fire arrow attack that can burn a party member. Also, make sure to snap her picture!
After the fight, a cutscene will trigger. When you regain control, return to Komo Mai.
Komo Mai
After taking down the bosses at The Celestial Tree, you’ll return to Komo Mai where you’ll need to enter the palace and speak with Queen Corellia to trigger a cutscene. When it concludes, head to Corellia’s bedroom and speak with her to continue with another cutscene. After it ends, head to the port and take the ship to the Trail of Souls.
Trail of Souls
Aboard the Mindeer, speak with Xelha, Lyude and Gibari. Once you’ve spoken with them, exit the room to speak with Savyna on the deck then return inside and speak with Gibari to trigger a cutscene. Afterwards, speak with everyone again then exit the room to reach the deck where another cutscene will trigger. When you gain control, head back inside the ship and speak with everyone yet again. Before you select to leave for the Portal to an Outer Dimension, make sure to get your party and deck set up. The enemies along the way are all weak to magic but the boss at the end resists magic and takes not damage from dark attacks.
Once you’re ready, set off! During the cutscene, you’ll receive a tutorial on how to control the ship. Use this new information to follow behind the Great Mizuti, fighting enemies as you go!
When you catch up to him, a boss fight against Gnosis will trigger! This boss resists water, chronos, dark, light & wind. It will take no damage from dark attacks! As a reward for beating him, you’ll receive an Andromeda (Star Map Fragment).
After the boss fight, you’ll finally have arrived at Mira!