Welcome to NGB and our complete guide for Parnasse, the Confectionary Village, in Baten Kaitos. Here we’ll cover the story section of Baten Kaitos that takes place in Parnasse, the items you can purchase from the shops and the favors from townsfolk you can pick up. Please note that Quzman family members may be found in this area! Check out our guide here to find out where they are located!
Parnasse Items
Magnus: Frozen Tangerine
Mira Cream
Magnus: Chronos Armor
Magnus: Fresh Meat
Baten Kaitos Parnasse Story
Upon your arrival at Parnasse, a cutscene will trigger with Tisocco and Donella. When it ends, head forward a short way to trigger another cutscene. Afterwards, visit the nearby blue flower! The shop can be found west of the blue flower.
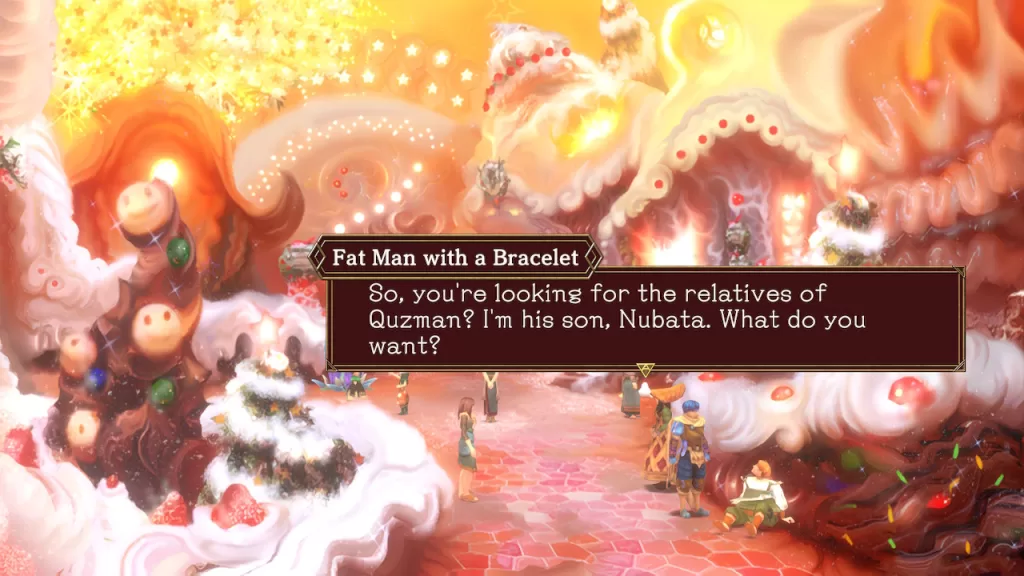
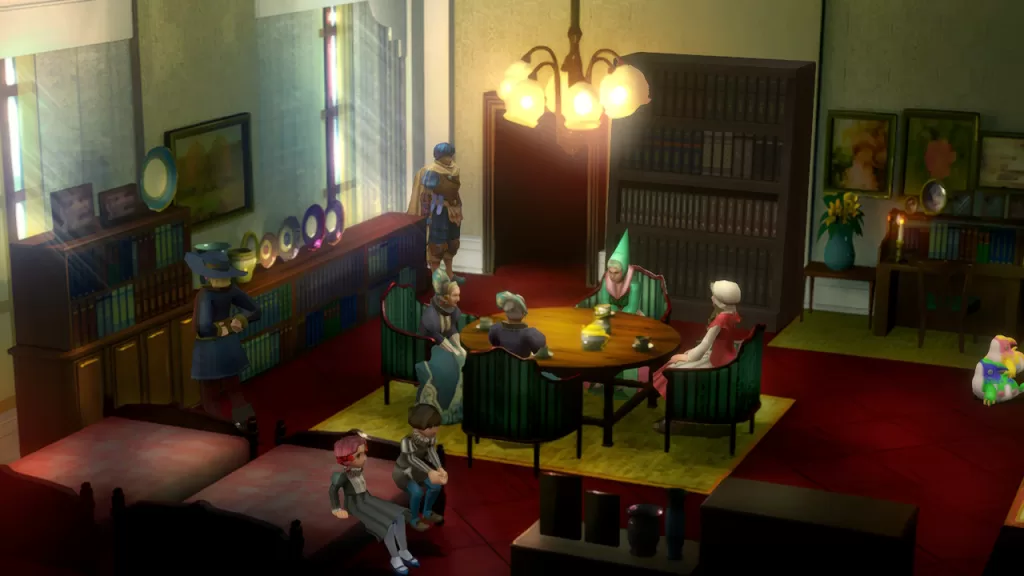
Next, speak with the Fat Man with a Bracelet who is sitting down southeast of the blue flower.
Tell him that Sabin’s there as he’ll see through your lie otherwise. To sign the family tree, he’ll want you to bring him a tasty snack…
Afterwards, enter the southern doorway on the right to find Trill. She’ll need some Mira Chocolate. In this room, make sure to gather a Magnus: Frozen Tangerine from the fridge and Mira Cream from the white pots to the left of the oven.
Exit the house and head up to the next building, which is Donella’s bakery. Inside, speak with the person in the southeastern corner then agree to watch the oven. You don’t actually have to stay so continue exploring. Speak with the guy next to the chocolate to hand over the Mira Cream. In return, you’ll need to interact with the vat of chocolate to receive Mira Chocolate.
Now that you have the chocolate, return to Trill’s bakery and speak with her to hand over the chocolate which will trigger a cutscene.
Afterwards, exit the building and make your way to the northern doorway. Inside you’ll find a Magnus: Chronos Armor in the dresser in the southeastern corner and a Magnus: Fresh Meat in the northwestern corner.
Welcome to our Baten Kaitos Walkthrough Part 3 – Anuenue. In this walkthrough, we’ll cover all the areas on the third whale, called Anuenue, including the story, items, Quzman family members and favors! If you’d like a guide on each area, specifically what items can be found in the shops, enemy weaknesses and an overview of all items found there, click here then select the area you’re trying to find information on!
Anuenue Port
After docking, head up the ladder and enter the building to find a Magnus: Bamboo Grass Creel by the bed. Also inspect the northern bookshelf in this room to find a Magnus: Auriga (Star Map Fragment). Exit the building then head down the ladder then continue south down the climbable cliff to find a Magnus: Explosive Paddle.
Once you’ve collected the items, head east to the next area of Komo Mai, City of Flowers.
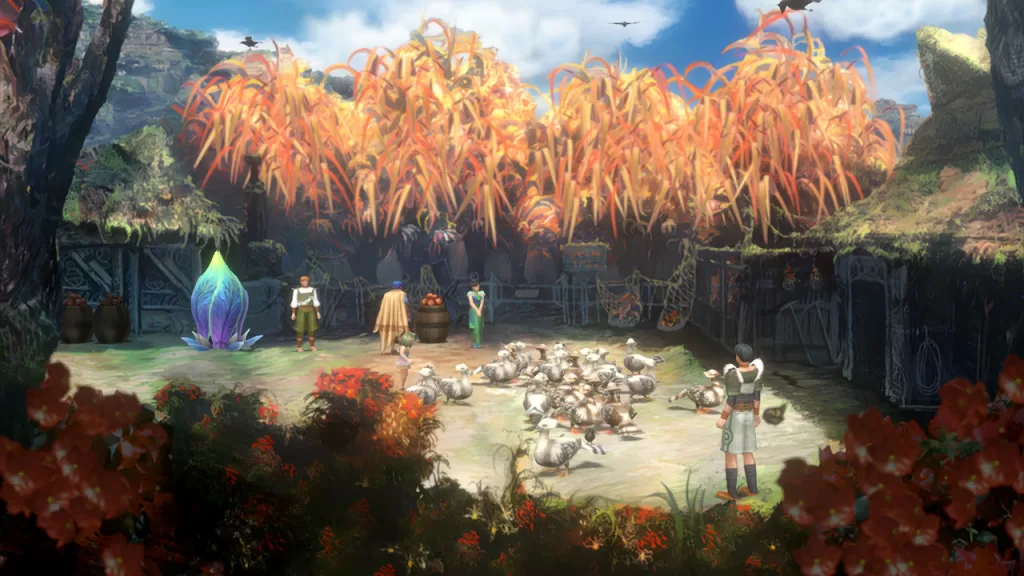
Komo Mai
When you arrive in Komo Mai, a cutscene will trigger. Once you gain control, head south through the festival. Examine the bin of bananas on the southern tip to find a Magnus: Bananas. When you swing around in the southern part of the area, head northeast to find a blue flower next to the shop. Take care of your business then head slightly southwest of the blue flower and head up the covered ramp to the next area.
In the second area, head straight towards the castle where the people are dancing with the portable shrine. Your party will decide to take a different path to leave them undisturbed. Take the western path to reach the School of Magic.
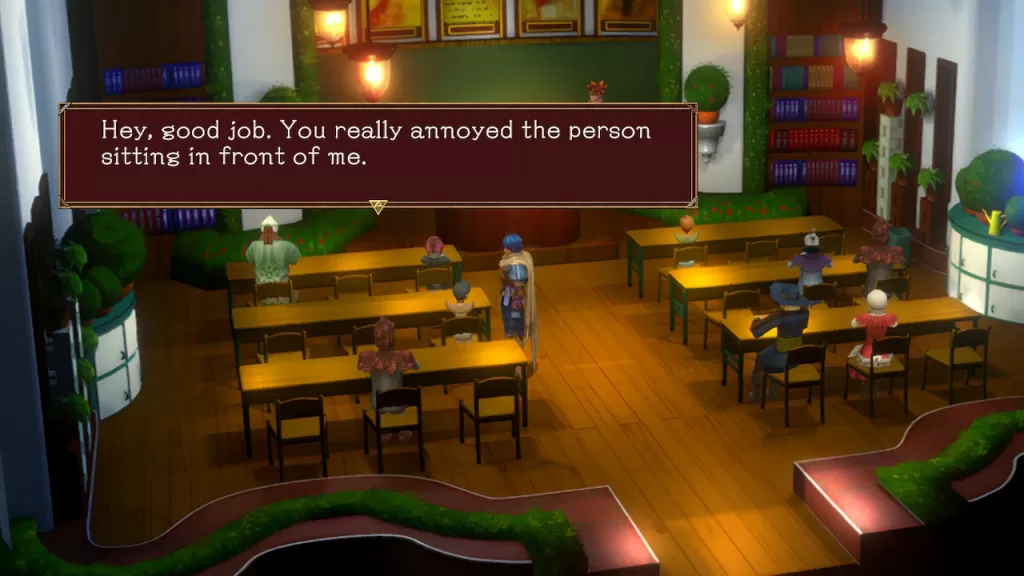
In the School of Magic, enter the first classroom then speak with the kid sitting at the middle table on the left. This kid will ask you to disrupt the person in front of them. Head up to the front row and speak with the person continually until they say “…”, meaning they are done. Return to the kid who asked you to distract the other student to receive a Magnus: Magical Piggy Bank.
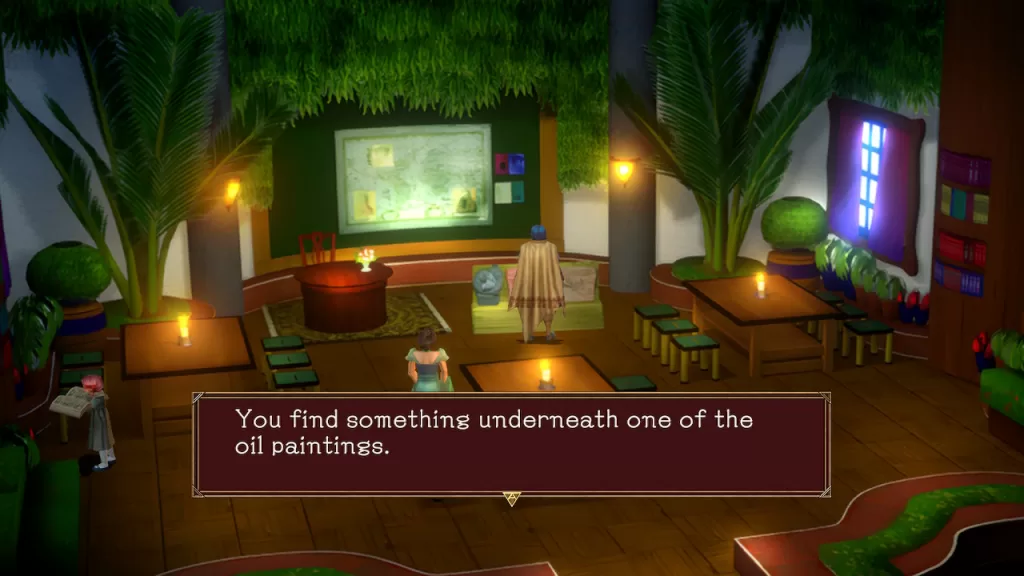
In this same classroom, examine the locker on the east side of classroom to find a Magnus: Chronos Blow Lv. 2. Exit the above classroom and head west to the next door. Enter then speak with the Teacher to learn more about the ocean. In this room, interact with the 3 paintings on display in the front of the classroom to find a Magnus: Sweetheart Picture.
Next, head east and cross the path to reach the other side of the school. After entering through the door, enter the first classroom. Upon entering, a cutscene will trigger and you’ll learn about the Toxiclouds. In this room, investigate the northeastern bookshelf to find a Magnus: Secret Recipe 3. Afterwards, examine the lockers on the west side of the room to find a Magnus: Black Scepter.
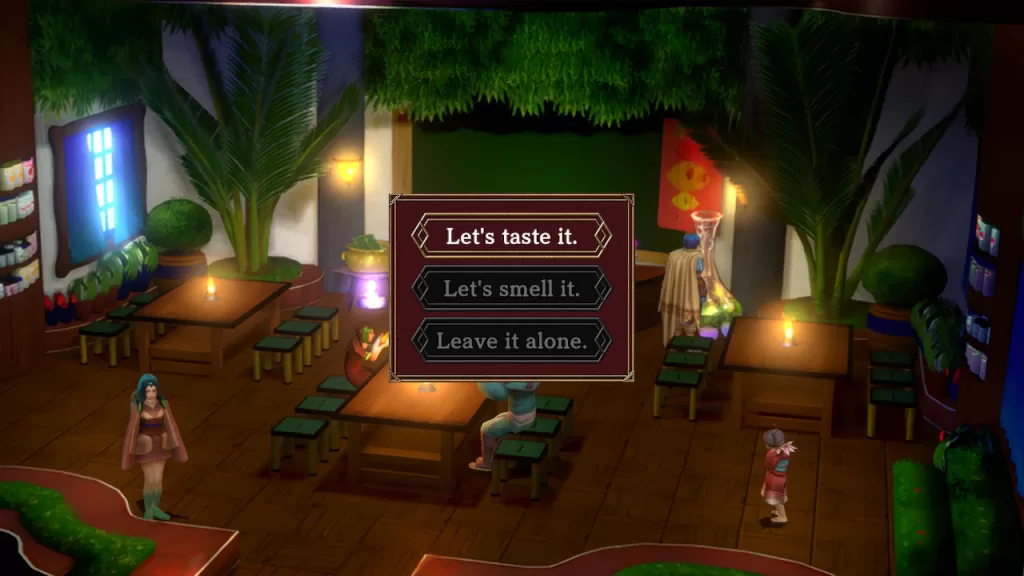
Now that you’ve finished exploring the above classroom, head east to the next one! Examine the giant bottle filled with green liquid in the northeastern corner of the room. We chose to taste it cuz why not!
Turn around and speak with the person who approached you afterwards to receive a Magnus: Silkworm.
After leaving the school, you’ll notice that the crowd has moved and the way north is clear. Head up the stairs to reach Corellia’s Palace. Once inside the palace, head right and go through the door at the end of the hallway. In this room, interact with the fruit bowl on the table to find a Magnus: Strawberries.
Exit this room and head north to reach Corellia’s bedroom. Inspect the dressing table to the left of the bed to find a Magnus: Hair Dryer. Interact with her bed to receive Magnus: Mattress.
To proceed, exit this room and head up the stairs in the center of the area to trigger a cutscene. Following your audience with the queen, exit the palace to trigger another cutscene where the group will try to formulate a plan. When asked of your opinion, select “Let’s look for it.” Thanks to the help of a Court Lady, you’ll receive a new heading: the library! Once you’re ready to proceed, exit the village to trigger a cutscene then head east on the world map to the Ancient Library of Magic.
Ancient Library of Magic
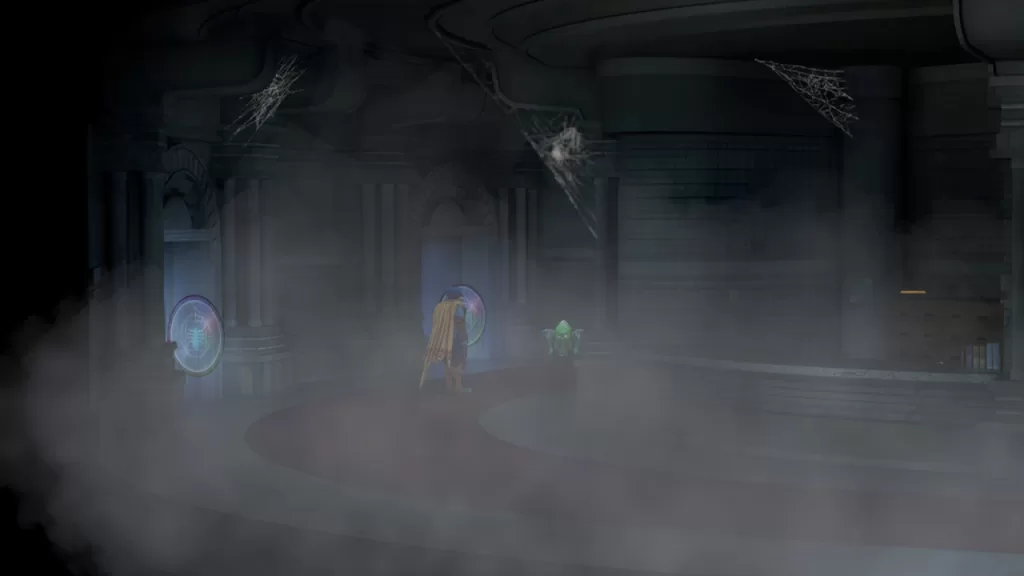
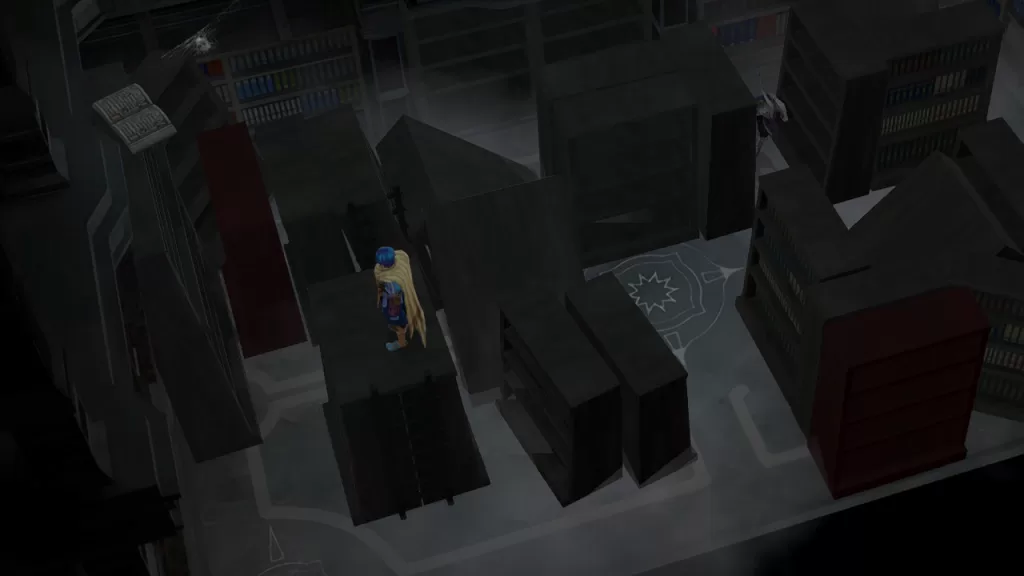
Once in the Ancient Library of Magic, look to the north to find a Magnus: Zeit Robe. Afterwards, interact with the seal next to the item and the group will determine that they cannot go further and you decide to continue exploring the library!
Next, head behind the counter to the right of the above seal and interact with the boxes to find a Geography Section Key. You can bring this to the first seal to unlock it!
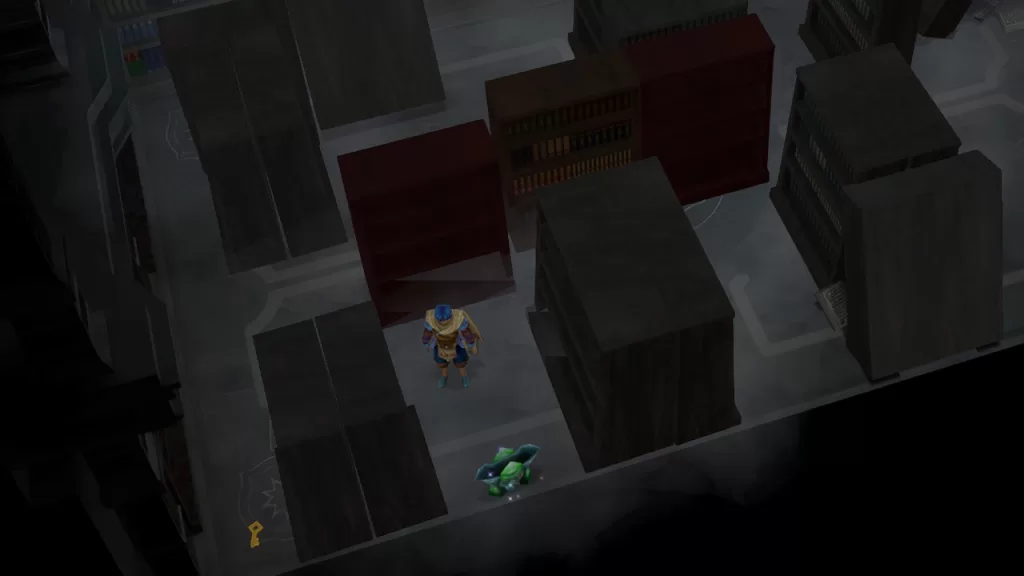
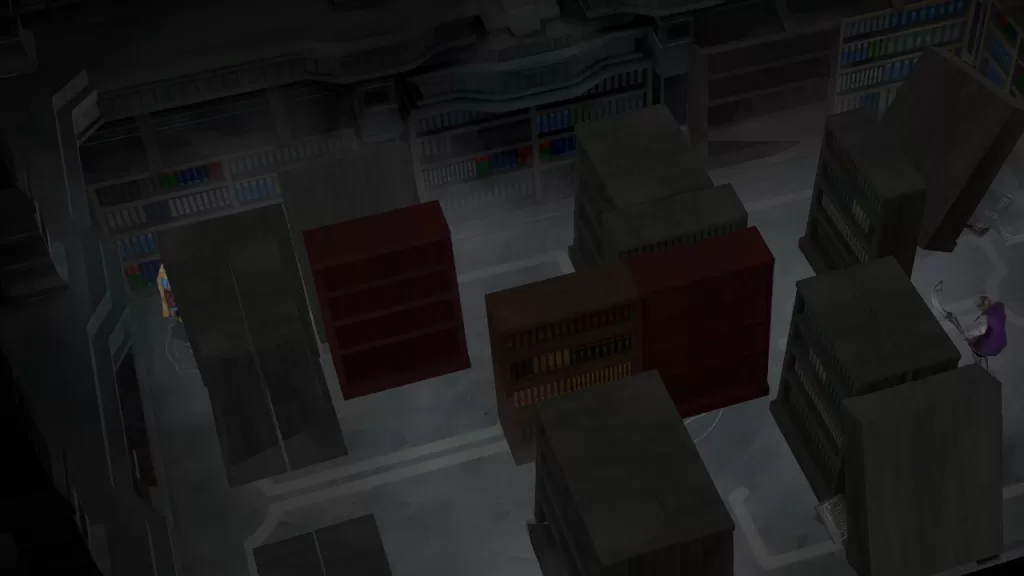
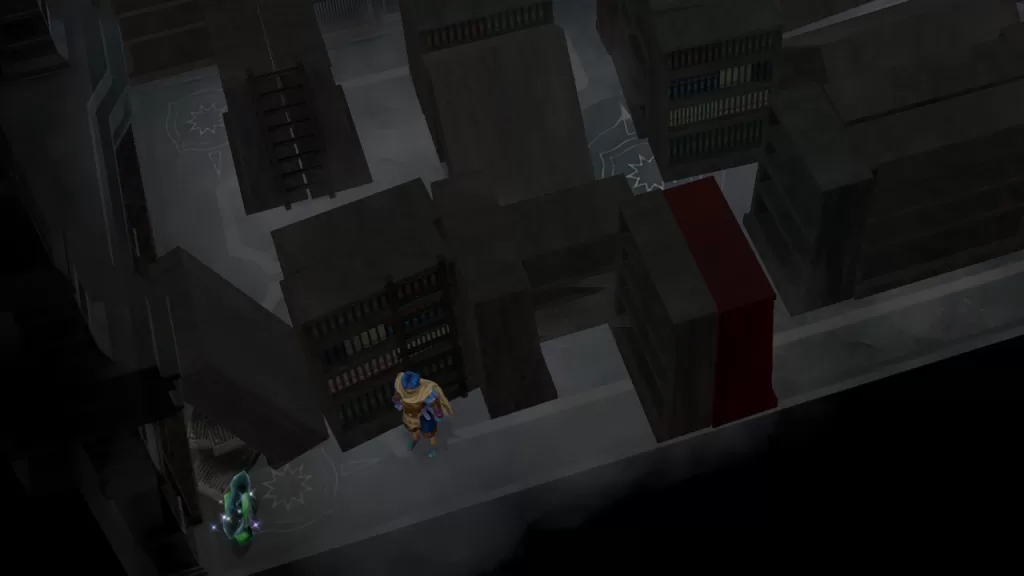
Head inside then push the red bookshelf all the way to the left. Follow the path north then work your way to the next red bookshelf. Push it south (not all the way) then sneak in front of it to grab the Magnus: Sforzando.
In the southwestern corner of the room you’ll find the Philosophy Section Key. In the northwestern corner of this room, you’ll find a Magnus: Will-o’-Wisp Hat behind the bookshelves.
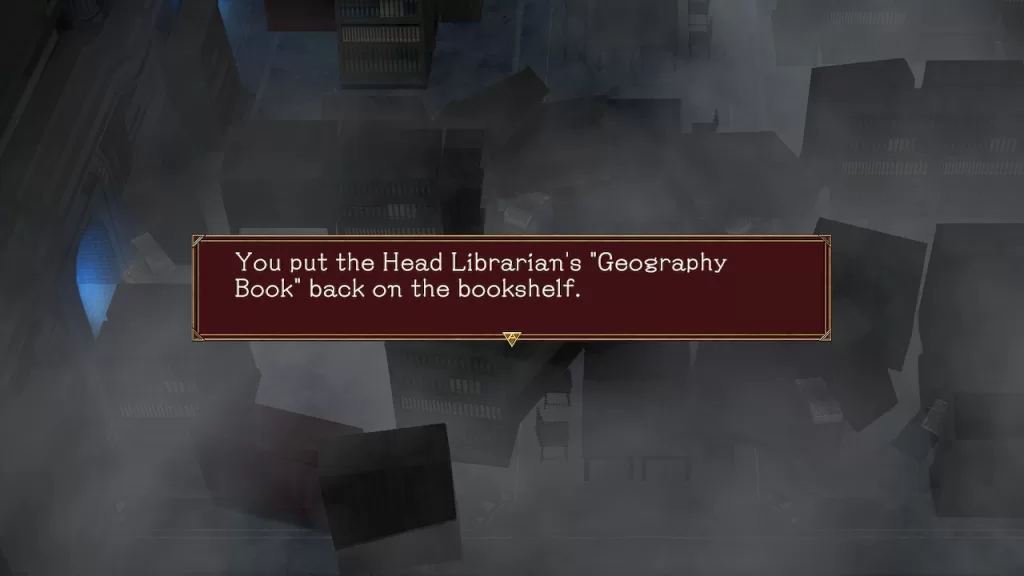
Head to the middle of the room directly south of the red bookshelf you pushed to find Geography Book.
If this book is not there, you might first need to interact with the door near the red flower in the second area for this to become available.
Exit this room and head east side of the room. Go up the floor to reach the second level. Enter the first door to reach a foggy room. Head directly east and interact with a bookshelf to find the Magnus: Deluxe Shortcake.
Head north and follow the path to the right of the red flower to find a Magnus: Falcon Statue.
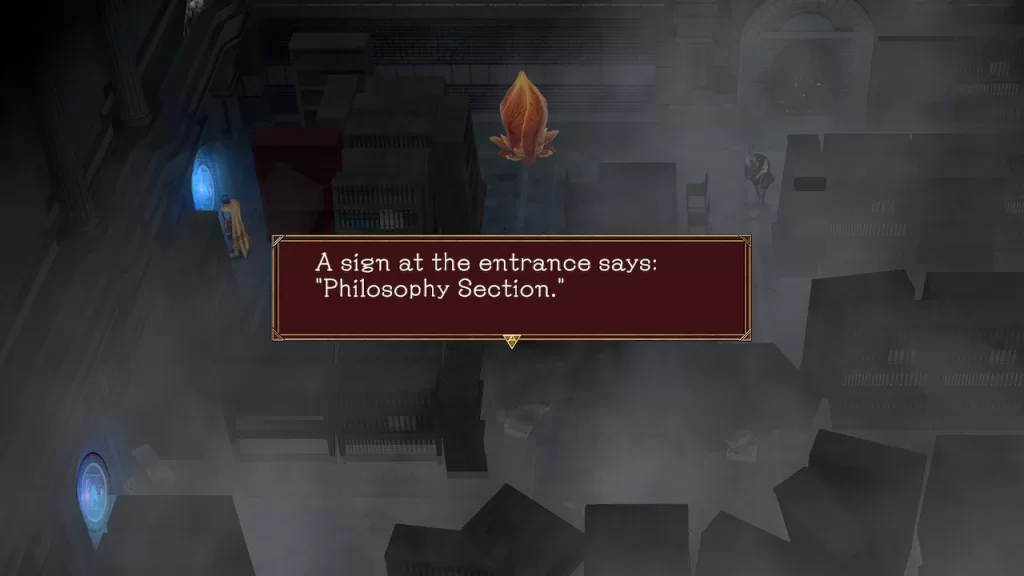
While you’re there, interact with the nearby door to learn that you’ll need to gather the 4 books he wrote. Head to the west and push up the red bookshelf to find the Philosophy Section Seal and use the key to open it!
In the Philosophy Section, you’ll need to climb up the ladder on the southeastern bookshelf to reach the Magnus: Scarlet Shell. Head west and jump the gap to reach another ladder. Take it down to reach the Magnus: Deluxe Cookies and the Literature Section Key.
Follow the path on the ground level to reach the red bookshelf and push it all the way down. Make your way to the southeastern ladder and climb up. Head all the way west to reach the southwestern ladder. Head on down to grab the Magnus: Magnum Cornet.
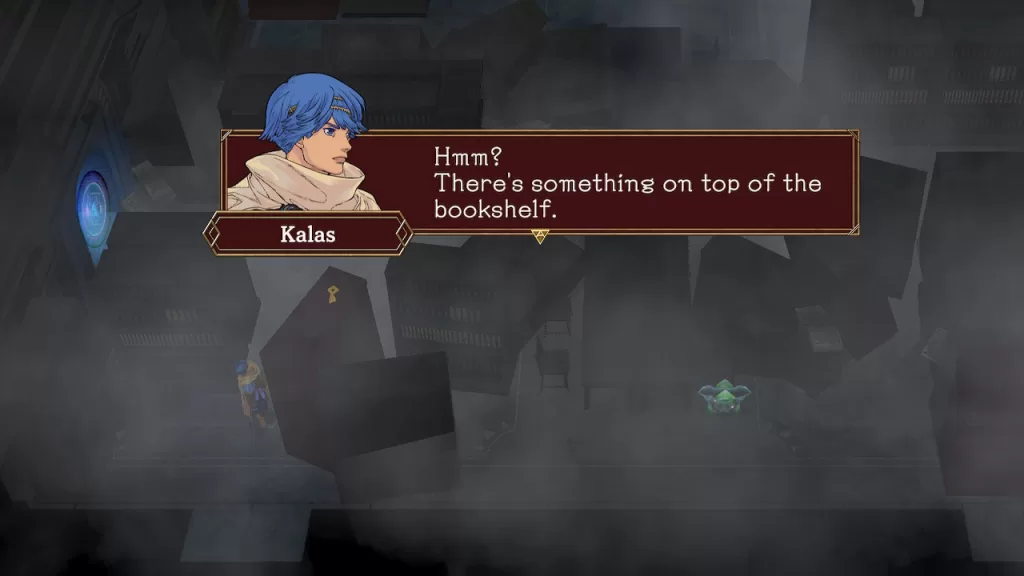
Interact with the bookshelf to the left of the ladder to receive the Philosophy Book.
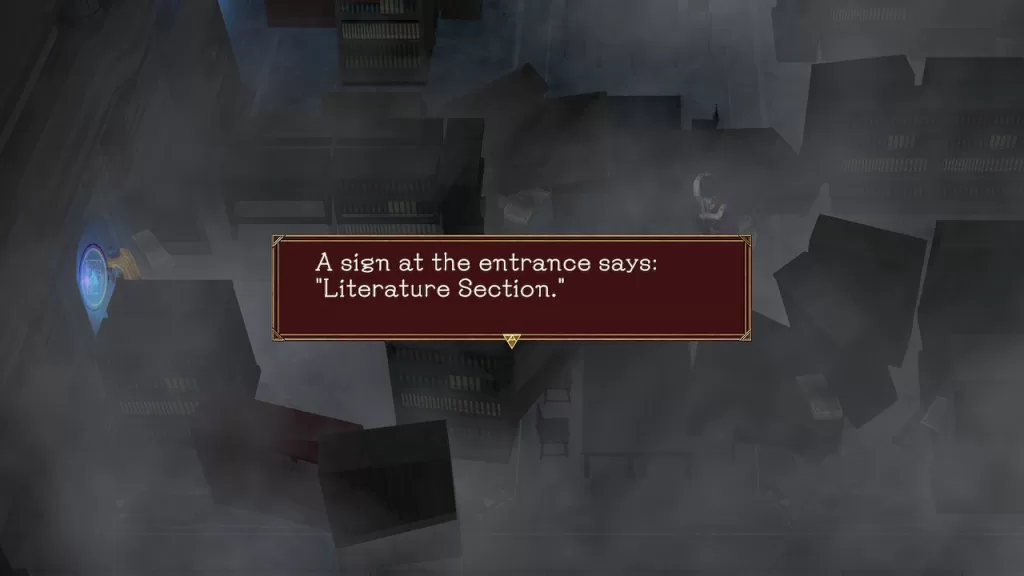
Now that you’ve gotten everything in here, exit the room to return to the foggy room with the red flower! Next, head to the southwestern seal to find the Literature Section.
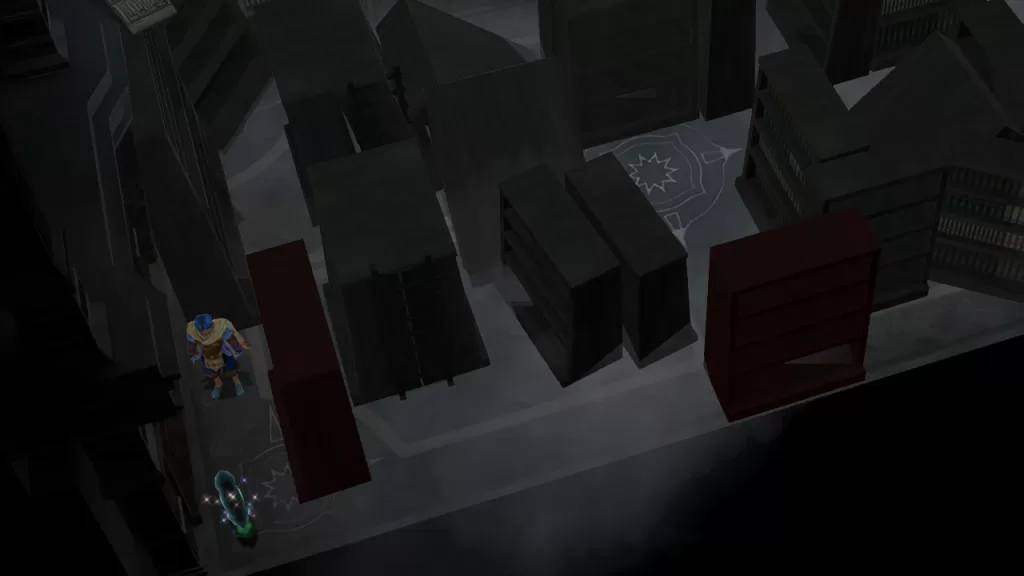
In the middle of this room, you’ll find the Magnus: Silver Sword. Next, go to the north side of the room. Take a left and push the red bookshelf south (not all the way). Climb up the ladder and jump south. Climb on down and grab a Magnus: Ruby Earrings.
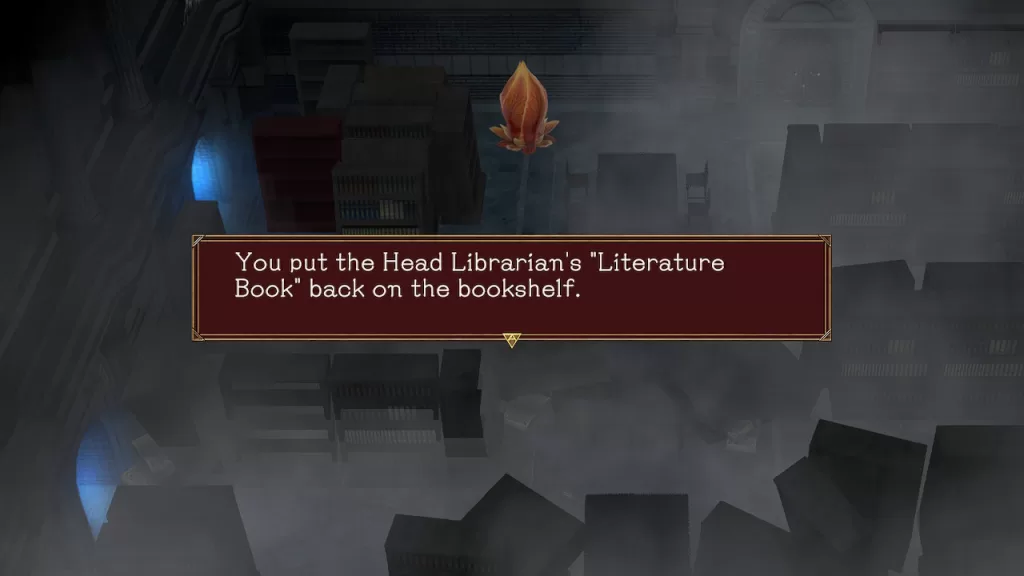
Push the red bookcase up then climb up the ladder and jump north along the gap. Walk over your newly pushed bookshelf to find the Literature Book.
Exit the room and interact with the red bookshelf in the southwestern corner with a key on top to cause it to fall over.
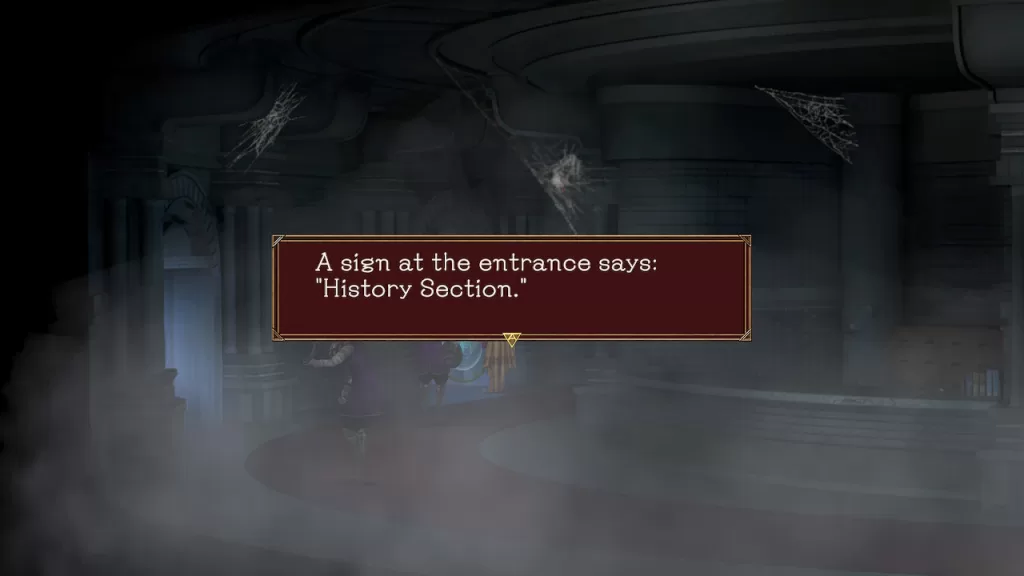
Head through the next path to find a Magnus: Kite Shield. Continue east and push the red bookshelf out of the way. Head south to reach a hallway. In this area head to the east to find a Magnus: Wave Blade. Continue west down the hallway and enter the room to the north to find the History Section Key that you previously knocked off the bookshelf. Next, backtrack to the first area and enter the History Section.
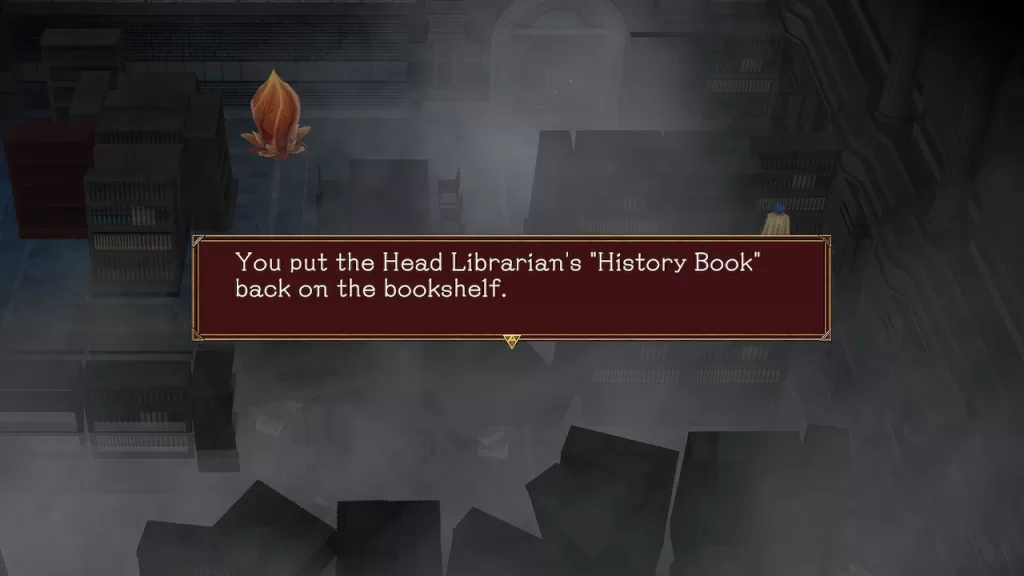
In the northwestern corner, you’ll find a Magnus: Taurus (Star Map Fragment) and Magnus: Fruity Gelatin. In the southwestern corner of this room, interact with the bookshelf to find the History Book.
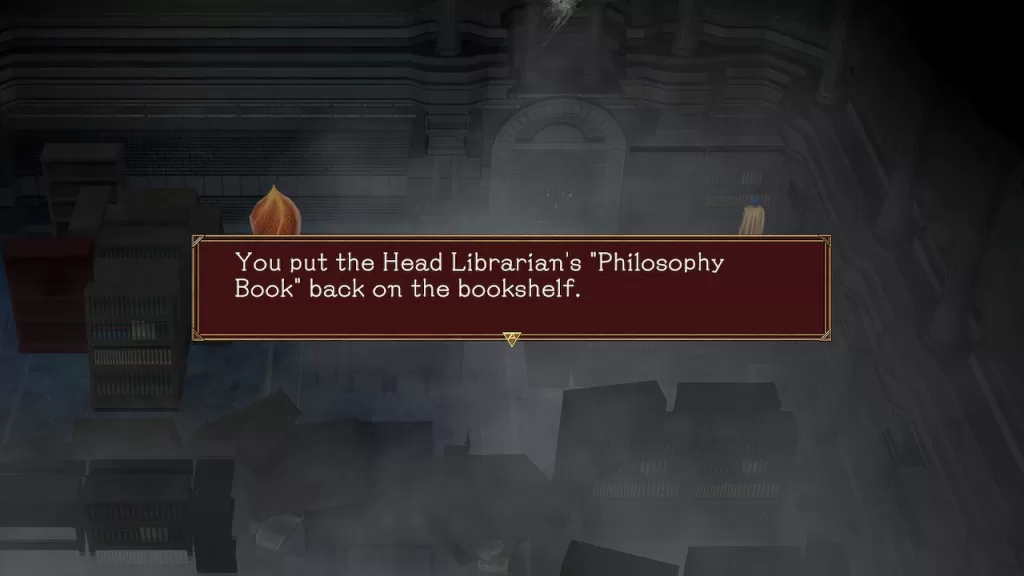
In the northeastern corner of the room, interact with the bookshelf to find a Magnus: Deluxe Bonbon. Next, exit this room and return upstairs to the foggy red flower room and place the 4 books on the bookshelves.
Once all books have been placed, the northern door will unlock. Head inside to trigger a cutscene followed by a fight against Folon who is weak to light and water and resists fire and dark. During the fight, he can boost his attack at the start of a 4 combo attack that ends with his signature fireball move to deal massive damage. After you defeat him, a cutscene will trigger. When you reach the world map, return to the room you fought Folon to find a Magnus: Water Mirror Anklet.
When you’re ready to move on, return to the world map and head east to Holoholo Jungle.
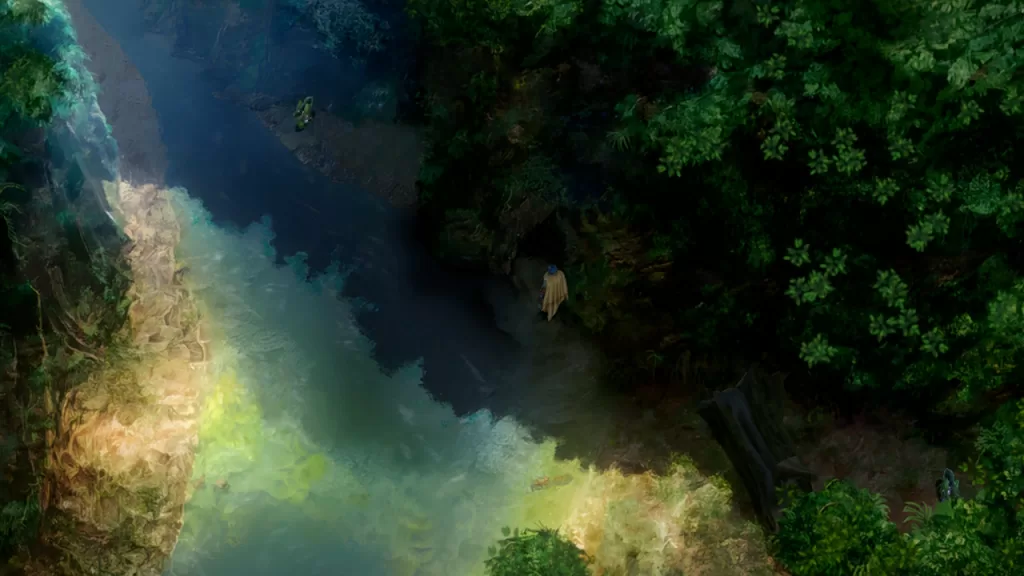
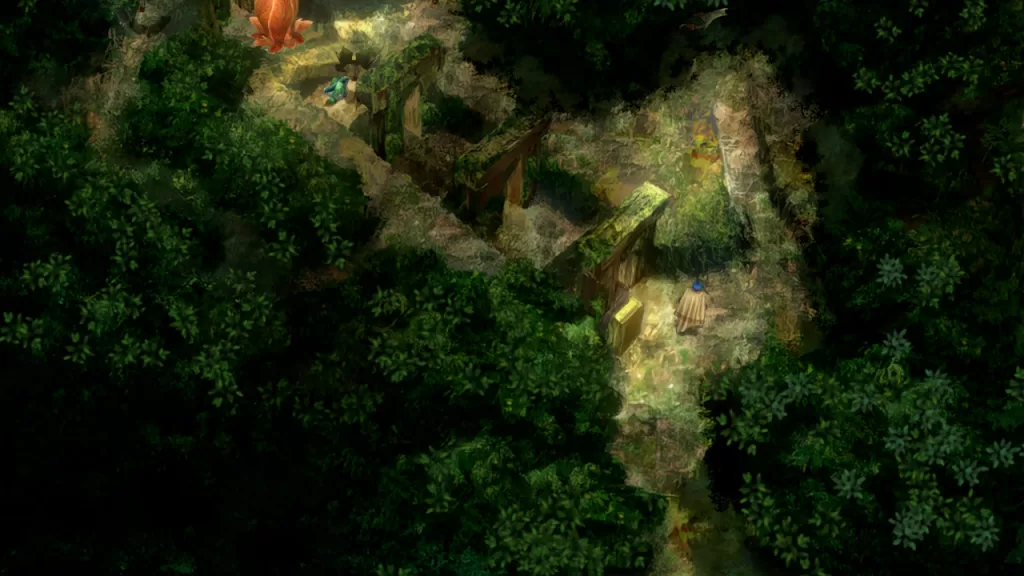
Holoholo Jungle
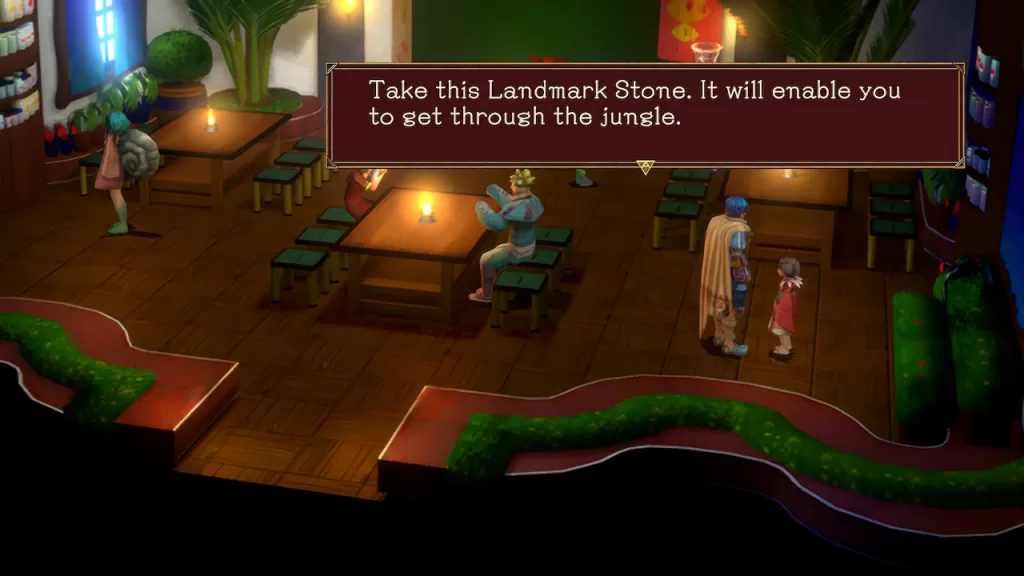
Once you arrive in the Holoholo Jungle, you’ll find out that you can’t proceed until you get a landmark stone. Travel back to Komo Mai!
Komo Mai
After you visit Holoholo Jungle, you’ll find out that you need a Landmark Stone to continue through the area. In Komo Mai, make your way to the east side of the School of Magic. Once there, head to the eastern room and speak with the principal. She’ll give you a Landmark Stone.
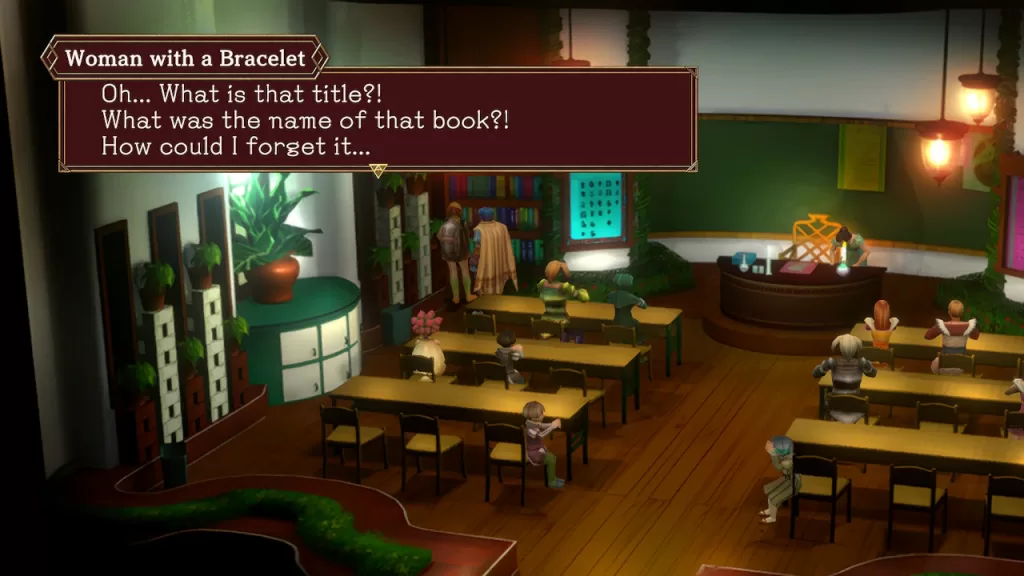
Exit the room and head to the other classroom in this wing. Speak with the Woman with a Bracelet in the northwestern corner near a bookshelf.
She’ll tell you to talk with her brother in the library.
Ancient Library of Magic
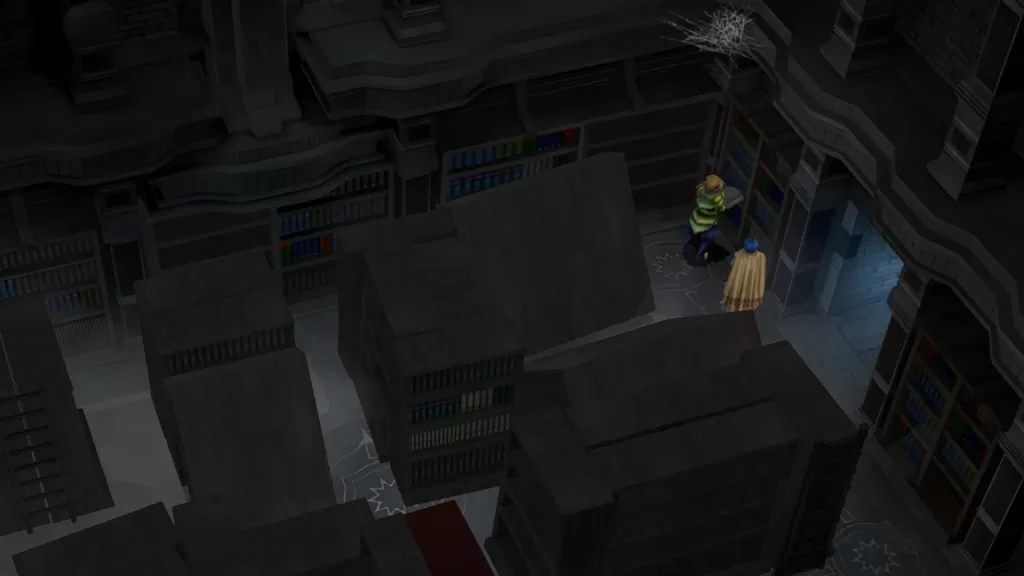
Travel to the Ancient Library of Magic then make your way to the Philosophy Room on the second floor. The Philosophy Room is directly west of the red flower. Inside you’ll find a Man with a Bracelet.
Speak with him to gain his entry in the Quzman Family Book of Tufayr.
Komo Mai
Afterwards, return to his sister and speak with her to get her entry of Tulun. Now that you’ve done everything you can, set off for Holoholo Jungle!
Holoholo Jungle
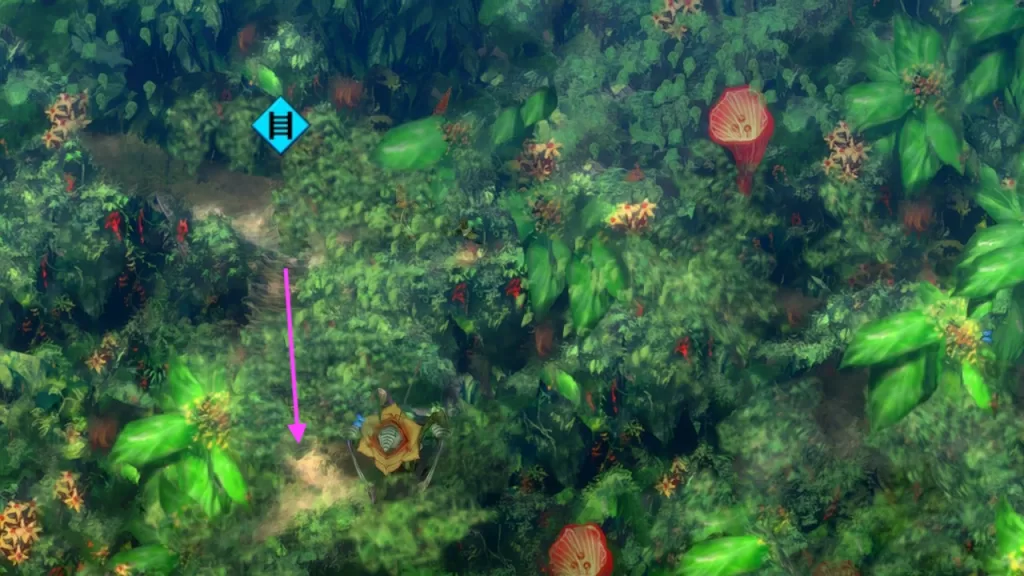
When you return to the jungle after getting the Landmark Stone, you’ll be able to freely explore the area. In the second area on the northeastern side, you’ll find a ladder that you can climb down where a Magnus: Silver Earrings awaits at the bottom.
From the previous magnus, follow the path left to return to the first area where you can find a Magnus: Ice Crystal Buckle at the end of the path.
Return to the ladder in the second area, then head east to the third area. Immediately at the start of this area, head down the nearby ladder and follow the path to reach the following: Magnus: Brave Knight Helm, Magnus: Wind Yell Lv. 1, Magnus: Heat Paddle, Magnus: Fire Burst Lv. 3, Magnus: Smash Tackle, and Magnus: Equuleus (Star Map Fragment).
Backtrack to the ladder then follow the path east to reach the exit and arrive at the World Map. Travel south to Opu, the Waterfall Village!
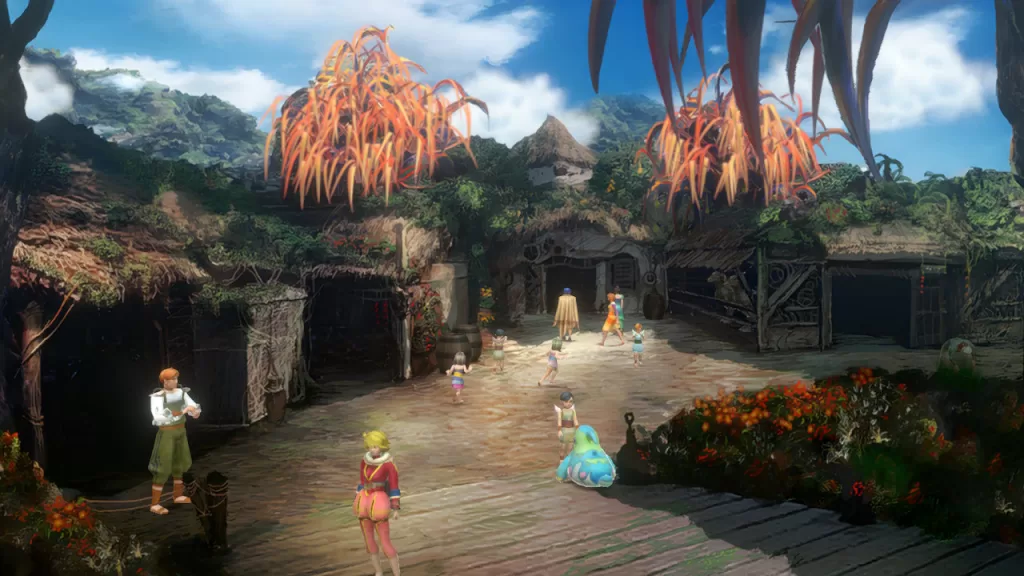
Opu
Once you arrive in Opu, enter the first doorway to reach the shop! Afterwards, head west down the bridge to trigger a cutscene. Next, enter the next doorway and inspect the tub to find a Magus: Uncooked Rice. In this room, inspect the northeastern corner to find a Magnus: Lupus (Star Map Fragment). The cooking pot on the northern wall contains a Boiled Egg essence.
Exit this house and follow the path down towards the blue flower. Speak with the little girl on the ground by the blue flower to receive a Magnus: Perseus (Star Map Fragment).
Enter the house next to the blue flower to find a Magnus: Ice Knuckles in the ceramic containers in the southwestern corner. You can also pick up the Magna essence of the Weak Flame from the candle in the center of the rug.
Now that you’ve explored, enter the western doorway to find Mayfee. Speak with Mayfee’s grandma on the bed to hear a story. You can interact with the stove to get a Magna essence of the Weak Flame. After Mayfee leaves, speak with the grandma again then exit the house and head next door. Speak with Mayfee and the other woman in this building then head to Komo Mai in search of cookies!
Komo Mai
Once in Komo Mai, head up the ramp to the entrance of the palace. On the east side speak with the white haired man.
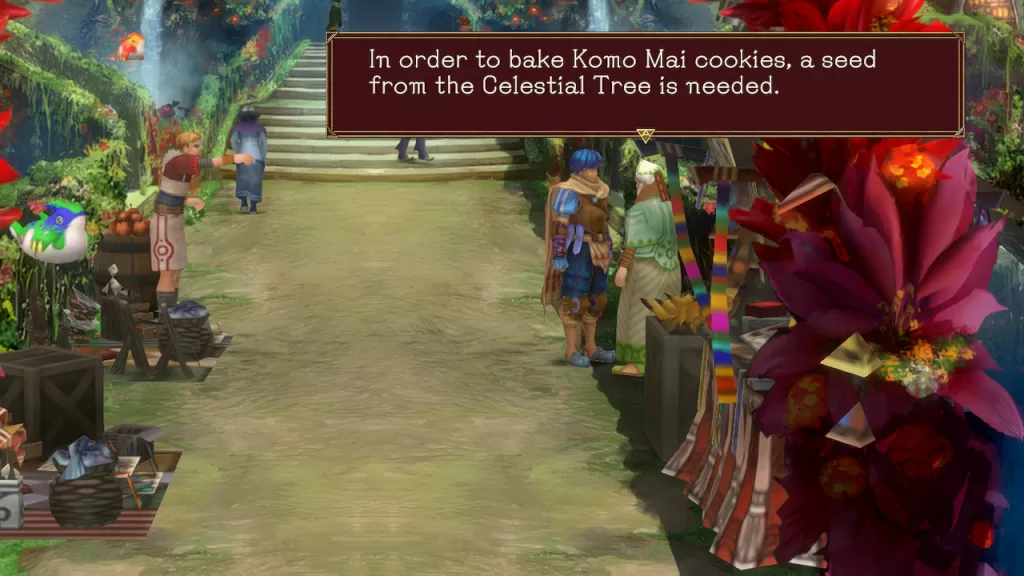
In order to get the item he requires, head into the palace and head to the east side where you’ll find 2 rooms. Enter the northern room to find the queen’s bedroom. Interact with the bookshelf to the right of the bed to acquire the essence of Celestial Flower Seed. Once you’ve gotten the essence, return to the old man and give him the seed. In return you’ll get Komo Mai Cookies! Return to Mayfee to trigger a cutscene involving the waterwheel. Once the cutscene ends, make sure to grab the newly revealed Magnus: Flash Explosion.
Opu
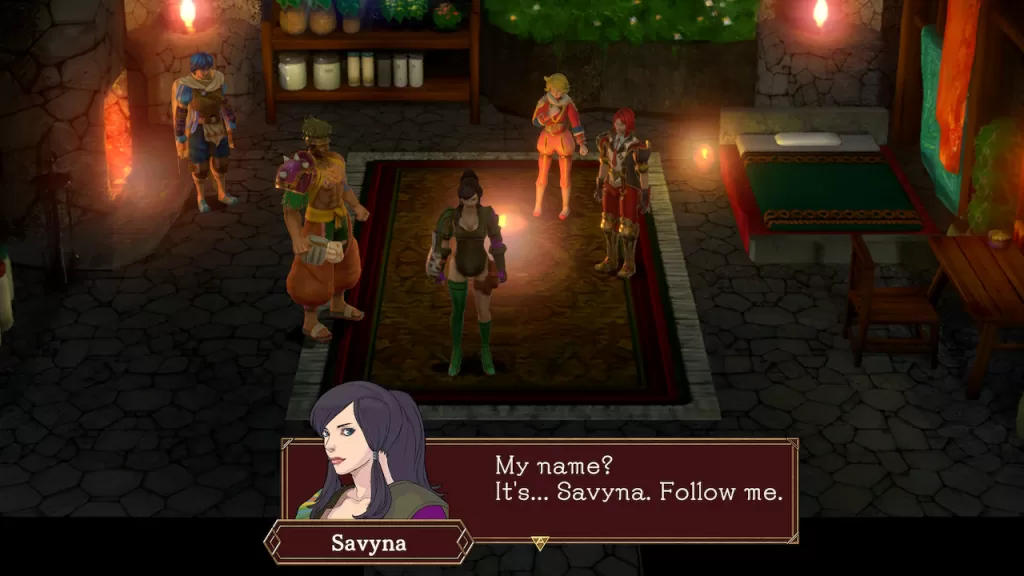
Afterwards, return to Opu and enter the house next to the blue flower then speak with the woman to trigger a cutscene during which Savyna will join your party.
Follow her out of town to The Celestial Tree!
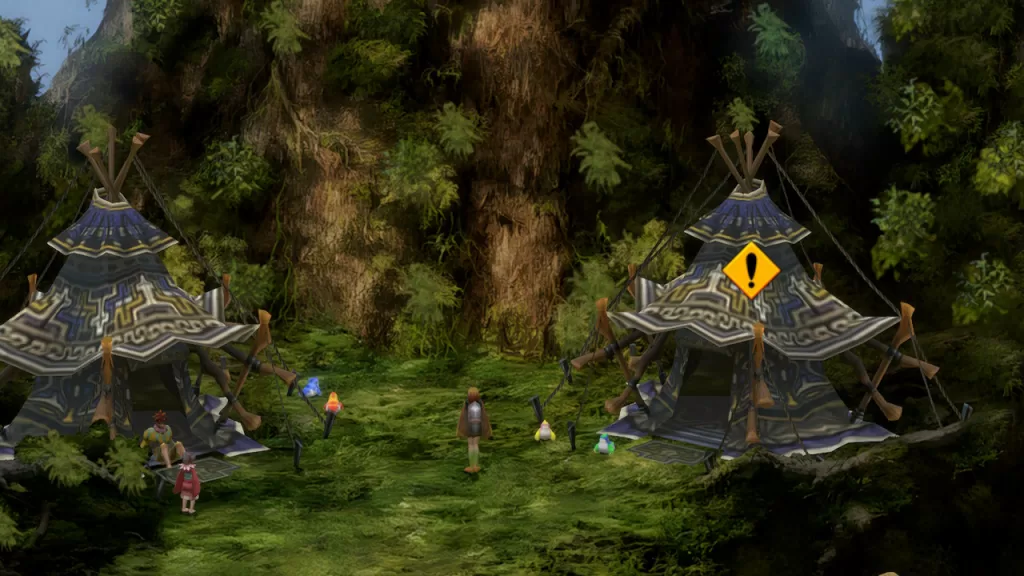
The Celestial Tree
Next, climb up the left side of the tree to find a Magnus: Wild Cherry Bud! Head back down the tree then go up the right side.
Please note the Blood Leaf (flying scorpion creatures) drop the Ursa Major (Star Map Fragment)!
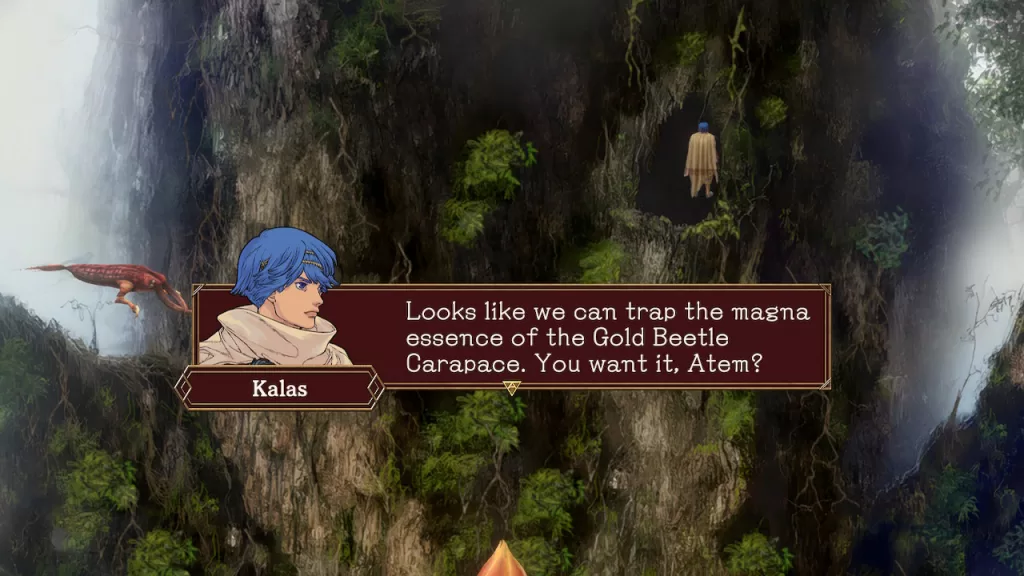
As you make your way up the right side, you’ll come across a red flower. Head down the far right path to find and speak with Mayfee. Afterwards, head back up to the red flower then take the right path up and enter the hollow to find the magna essence of the Gold Beetle Carapace.
Head back down and save at the red flower then take the left path up where you’ll encounter a door. Up next is a back-to-back boss fight!!
When you’re ready, head on through to encounter a boss fight against 2 tentacles and a main body. Make sure to snap a picture of this creature called the Tree Guardian and its tentacles during the fight! The main piece of the body is weak to fire and dark and resists light and water. This creature attacks with both of its tentacles and shoots laser beams at you. It has a 5 combo attack and ends with its signature water move called Sparkling Water. Be mindful that the tentacles will also try to put your character to sleep!
Once you defeat the Tree Guardian and its tentacles, a cutscene will trigger followed by another boss fight against Savyna!! During this fight watch out for a 6 attack combo that ends with her fire arrow attack that can burn a party member. Also, make sure to snap her picture!
After the fight, a cutscene will trigger. When you regain control, return to Komo Mai.
Komo Mai
After taking down the bosses at The Celestial Tree, you’ll return to Komo Mai where you’ll need to enter the palace and speak with Queen Corellia to trigger a cutscene. When it concludes, head to Corellia’s bedroom and speak with her to continue with another cutscene. After it ends, head to the port and take the ship to the Trail of Souls.
Trail of Souls
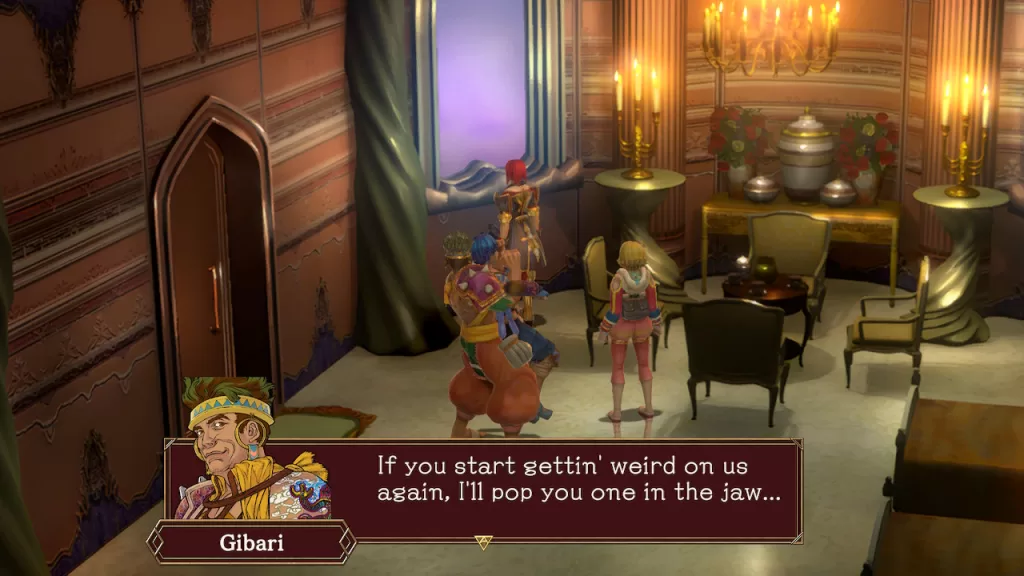
Aboard the Mindeer, speak with Xelha, Lyude and Gibari. Once you’ve spoken with them, exit the room to speak with Savyna on the deck then return inside and speak with Gibari to trigger a cutscene. Afterwards, speak with everyone again then exit the room to reach the deck where another cutscene will trigger. When you gain control, head back inside the ship and speak with everyone yet again. Before you select to leave for the Portal to an Outer Dimension, make sure to get your party and deck set up. The enemies along the way are all weak to magic but the boss at the end resists magic and takes not damage from dark attacks.
Once you’re ready, set off! During the cutscene, you’ll receive a tutorial on how to control the ship. Use this new information to follow behind the Great Mizuti, fighting enemies as you go!
When you catch up to him, a boss fight against Gnosis will trigger! This boss resists water, chronos, dark, light & wind. It will take no damage from dark attacks! As a reward for beating him, you’ll receive an Andromeda (Star Map Fragment).
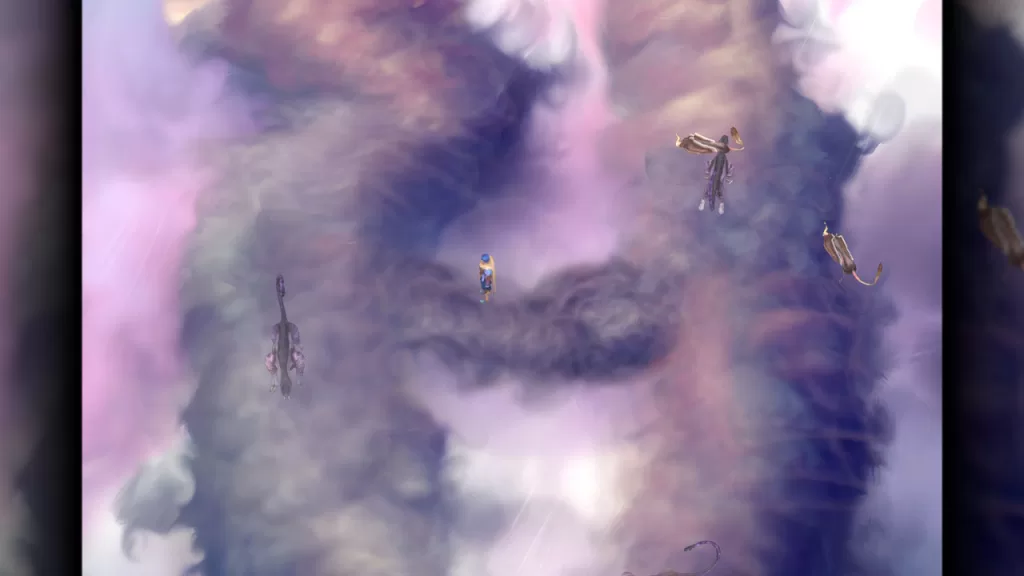
After the boss fight, you’ll finally have arrived at Mira!
Welcome to NGB and our complete guide for Komo Mai, City of Flowers, in Baten Kaitos. Here we’ll cover the story section of Baten Kaitos that takes place in Komo Mai, the items you can purchase from the shops and the favors from townsfolk you can pick up. Please note that Quzman family members may be found in this area! Check out our guide here to find out where they are located!
Komo Mai Items
Main Village
Magnus: Bananas
School of Magic
Magnus: Chronos Blow Lv. 2
Magnus: Secret Recipe 3
Magnus: Black Scepter
Corellia’s Palace
Magnus: Strawberries
Magnus: Sweetheart Picture
Magnus: Hair Dryer
Magnus: Mattress
Essences
House next to the entrance
Nameless Flower
Stagnant Water
Northern house with ducks
Fantail Duck Egg
Stagnant Water
Eastern School of Magic in eastern classroom
Weak Flame
Corellia’s Palace – Corellia’s bedroom
Celestial Flower Seed
Baten Kaitos Komo Mai Story
When you arrive in Komo Mai, a cutscene will trigger. Once you gain control, head south through the festival. Examine the bin of bananas on the southern tip to find a Magnus: Bananas. When you swing around in the southern part of the area, head northeast to find a blue flower next to the shop. Take care of your business then head slightly southwest of the blue flower and head up the covered ramp to the next area.
In the second area, head straight towards the castle where the people are dancing with the portable shrine. Your party will decide to take a different path to leave them undisturbed. Take the western path to reach the School of Magic.
In the School of Magic, enter the first classroom then speak with the kid sitting at the middle table on the left. This kid will ask you to disrupt the person in front of them. Head up to the front row and speak with the person continually until they say “…”, meaning they are done. Return to the kid who asked you to distract the other student to receive a Magnus: Magical Piggy Bank.
In this same classroom, examine the locker on the east side of classroom to find a Magnus: Chronos Blow Lv. 2. Exit the above classroom and head west to the next door. Enter then speak with the Teacher to learn more about the ocean. In this room, interact with the 3 paintings on display in the front of the classroom to find a Magnus: Sweetheart Picture.
Next, head east and cross the path to reach the other side of the school. After entering through the door, enter the first classroom. Upon entering, a cutscene will trigger and you’ll learn about the Toxiclouds. In this room, investigate the northeastern bookshelf to find a Magnus: Secret Recipe 3. Afterwards, examine the lockers on the west side of the room to find a Magnus: Black Scepter.
Now that you’ve finished exploring the above classroom, head east to the next one! Examine the giant bottle filled with green liquid in the northeastern corner of the room. We chose to taste it cuz why not!
Turn around and speak with the person who approached you afterwards to receive a Magnus: Silkworm.
After leaving the school, you’ll notice that the crowd has moved and the way north is clear. Head up the stairs to reach Corellia’s Palace. Once inside the palace, head right and go through the door at the end of the hallway. In this room, interact with the fruit bowl on the table to find a Magnus: Strawberries.
Exit this room and head north to reach Corellia’s bedroom. Inspect the dressing table to the left of the bed to find a Magnus: Hair Dryer. Interact with her bed to receive Magnus: Mattress.
To proceed, exit this room and head up the stairs in the center of the area to trigger a cutscene. Following your audience with the queen, exit the palace to trigger another cutscene where the group will try to formulate a plan. When asked of your opinion, select “Let’s look for it.” Thanks to the help of a Court Lady, you’ll receive a new heading: the library! Once you’re ready to proceed, exit the village to trigger a cutscene then head east on the world map to the Ancient Library of Magic.
After you visit Holoholo Jungle, you’ll find out that you need a Landmark Stone to continue through the area. In Komo Mai, make your way to the east side of the School of Magic. Once there, head to the eastern room and speak with the principal. She’ll give you a Landmark Stone.
Exit the room and head to the other classroom in this wing. Speak with the Woman with a Bracelet in the northwestern corner near a bookshelf.
She’ll tell you to talk with her brother in the library. Travel to the Ancient Library of Magic then make your way to the Philosophy Room on the second floor. The Philosophy Room is directly west of the red flower. Inside you’ll find a Man with a Bracelet.
Speak with him to gain his entry in the Quzman Family Book of Tufayr. Afterwards, return to his sister and speak with her to get her entry of Tulun.
After taking down the bosses at The Celestial Tree, you’ll return to Komo Mai where you’ll need to enter the palace and speak with Queen Corellia to trigger a cutscene. When it concludes, head to Corellia’s bedroom and speak with her to continue with another cutscene. After it ends, head to the port and take the ship to the Trail of Souls.
Welcome to NGB and our complete guide for Opu, the Waterfall Village, in Baten Kaitos. Here we’ll cover the story section of Baten Kaitos that takes place in Opu, the items you can purchase from the shops and the favors from townsfolk you can pick up. Please note that Quzman family members may be found in this area! Check out our guide here to find out where they are located!
Opu Items
1st Area
Magnus: Uncooked Rice
Magnus: Lupus (Star Map Fragment)
Magnus: Perseus (Star Map Fragment)
Magnus: Ice Knuckles
Magnus: Flash Explosion
Essence
1st Area
Boiled Egg
Magna essence of the Weak Flame
Baten Kaitos Opu Story
Once you arrive in Opu, enter the first doorway to reach the shop! Afterwards, head west down the bridge to trigger a cutscene. Next, enter the next doorway and inspect the tub to find a Magus: Uncooked Rice. In this room, inspect the northeastern corner to find a Magnus: Lupus (Star Map Fragment). The cooking pot on the northern wall contains a Boiled Egg essence.
Exit this house and follow the path down towards the blue flower. Speak with the little girl on the ground by the blue flower to receive a Magnus: Perseus (Star Map Fragment).
Enter the house next to the blue flower to find a Magnus: Ice Knuckles in the ceramic containers in the southwestern corner. You can also pick up the Magna essence of the Weak Flame from the candle in the center of the rug.
Now that you’ve explored, enter the western doorway to find Mayfee. Speak with Mayfee’s grandma on the bed to hear a story. You can interact with the stove to get a Magna essence of the Weak Flame. After Mayfee leaves, speak with the grandma again then exit the house and head next door. Speak with Mayfee and the other woman in this building then head to Komo Mai in search of cookies! Once in Komo Mai, head up the ramp to the entrance of the palace. On the east side speak with the white haired man.
In order to get the item he requires, head into the palace and head to the east side where you’ll find 2 rooms. Enter the northern room to find the queen’s bedroom. Interact with the bookshelf to the right of the bed to acquire the essence of Celestial Flower Seed. Once you’ve gotten the essence, return to the old man and give him the seed. In return you’ll get Komo Mai Cookies! Return to Mayfee to trigger a cutscene involving the waterwheel. Once the cutscene ends, make sure to grab the newly revealed Magnus: Flash Explosion.
Afterwards, enter the house next to the blue flower and speak with the woman to trigger a cutscene during which Savyna will join your party.
Welcome to NGB and our complete guide for Baten Kaitos Holoholo Jungle. Here we’ll cover the Baten Kaitos story section that takes place in the Holoholo Jungle, any items you can find in this area and the enemies that call it home along with their weaknesses and resistances.
Holoholo Jungle Items
1st Area
Magnus: Ice Crystal Buckle
2nd Area
Magnus: Silver Earrings
3rd Area
Magnus: Brave Knight Helm
Magnus: Wind Yell Lv. 1
Magnus: Heat Paddle
Magnus: Fire Burst Lv. 3
Magnus: Smash Tackle
Magnus: Equuleus (Star Map Fragment)
Baten Kaitos Holoholo Jungle Story
Once you arrive in the Holoholo Jungle, you’ll find out that you can’t proceed until you get a landmark stone. Travel back to Komo Mai!
When you return to the jungle after getting the Landmark Stone, you’ll be able to freely explore the area. In the second area on the northeastern side, you’ll find a ladder that you can climb down where a Magnus: Silver Earrings awaits at the bottom.
From the previous magnus, follow the path left to return to the first area where you can find a Magnus: Ice Crystal Buckle at the end of the path.
Return to the ladder in the second area, then head east to the third area. Immediately at the start of this area, head down the nearby ladder and follow the path to reach the following: Magnus: Brave Knight Helm, Magnus: Wind Yell Lv. 1, Magnus: Heat Paddle, Magnus: Fire Burst Lv. 3, Magnus: Smash Tackle, and Magnus: Equuleus (Star Map Fragment).
Backtrack to the ladder then follow the path east to reach the exit and arrive at the World Map. Travel south to Opu, the Waterfall Village!
Welcome to our Baten Kaitos Walkthrough Part 2 – Diadem. In this walkthrough, we’ll cover all the areas on the second whale, called Diadem, including the story, items, Quzman family members and favors! If you’d like a guide on each area, specifically what items can be found in the shops, enemy weaknesses and an overview of all items found there, click here then select the area you’re trying to find information on!
Nashira
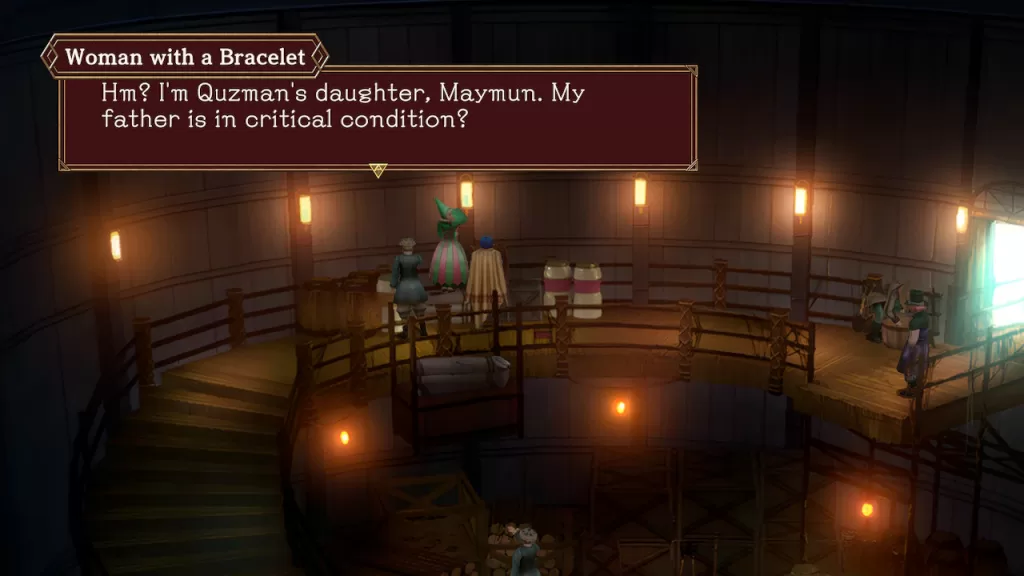
Once you arrive in Nashira, leave the dock and enter the building (aka fish warehouse). Speak with the woman wearing a green and red striped dress to find a Quzman family member!
Head down the stairs and interact with the water jugs in the corner to receive a Magnus: Fire Yell Lv. 1 then exit the building and follow the path to reach the town.
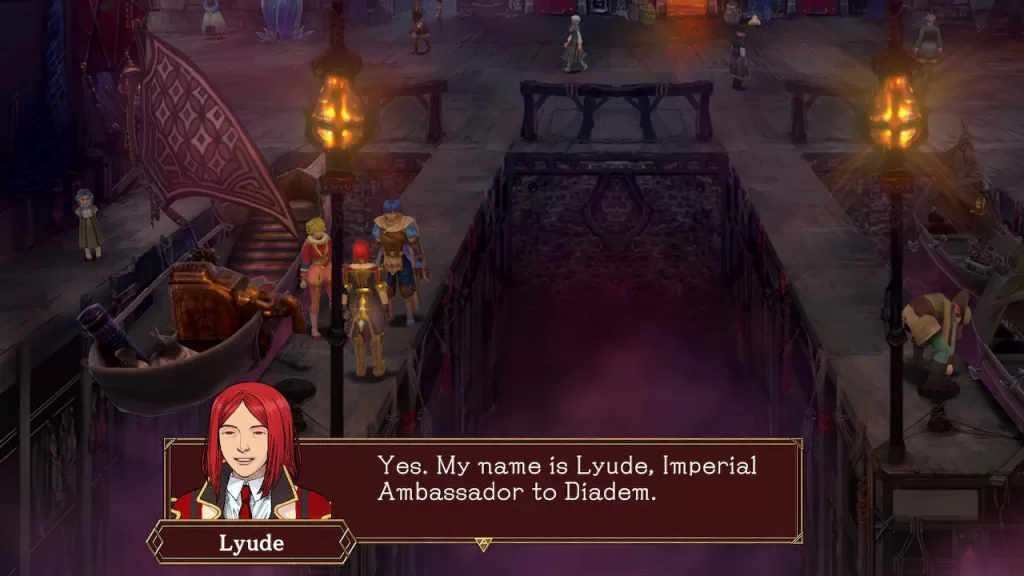
After the cutscene, you can use the blue flower to save! To the left of Lyude’s sailboat, you’ll find a Magnus: Scale Shield in the big container with some traces of rust. Next, speak with Lyude (guy with red hair) near his boat to learn more about him.
On the eastern side of this area, interact with the big rusted container to find a Magnus: Fire Burst Lv. 2. While you’re over there, enter the far eastern building to find the pub. Speak with the Barkeep behind the counter to trigger a cutscene where she will introduce herself as Anna and say if you are looking to reach the capital, then you’ll need to speak with Gibari. He may be willing to ferry the party across the flooded water, but you’ll have to check back at the tavern later to find him.
Exit the building and enter the house to the right of the shop in the northern part of the town. Climb up the ladder inside and interact with the bed to receive a Magnus: Feathered Hat.
Travel to the house to the left of the shop and speak with the Old Fortune Teller sitting behind the round table. This will trigger a cutscene where you’ll learn a little more about Malpercio. Interact with the trunk on the eastern side of the room to receive a Magnus: Carina, a Star Map Fragment!
Once you’ve explored the town, return to the pub on the eastern side of town and speak with the Barkeep. This will trigger a cutscene where you’ll meet Reblys and Gibari. As the events unfold, Kalas will want to know your opinion on the favor Gibari asks. We chose the “Let’s do it” option then Gibari joined the party!
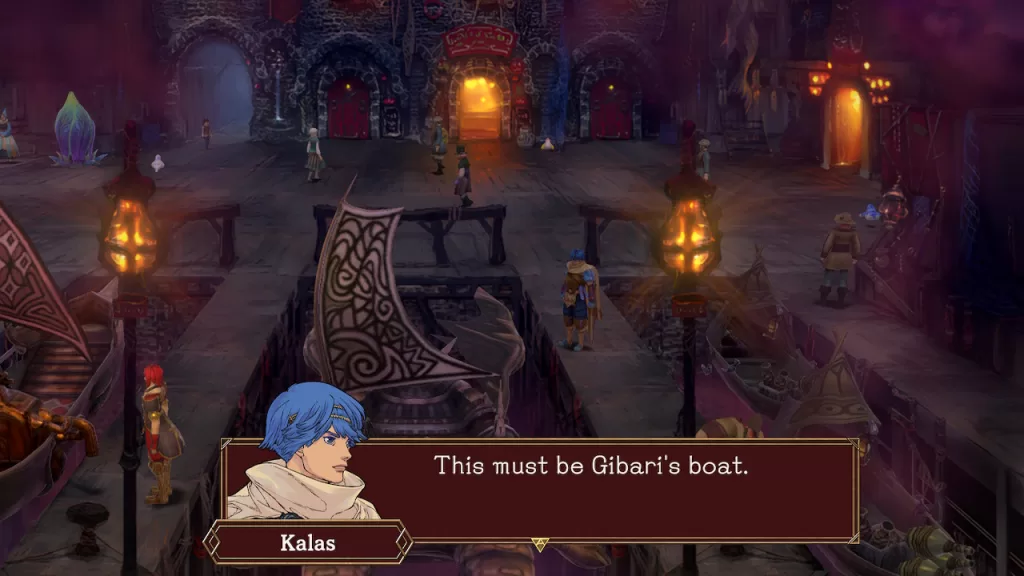
When you’re ready to progress, interact with Gibari’s boat, which is the middle boat docked in the main part of town, to travel to the Lesser Celestial River.
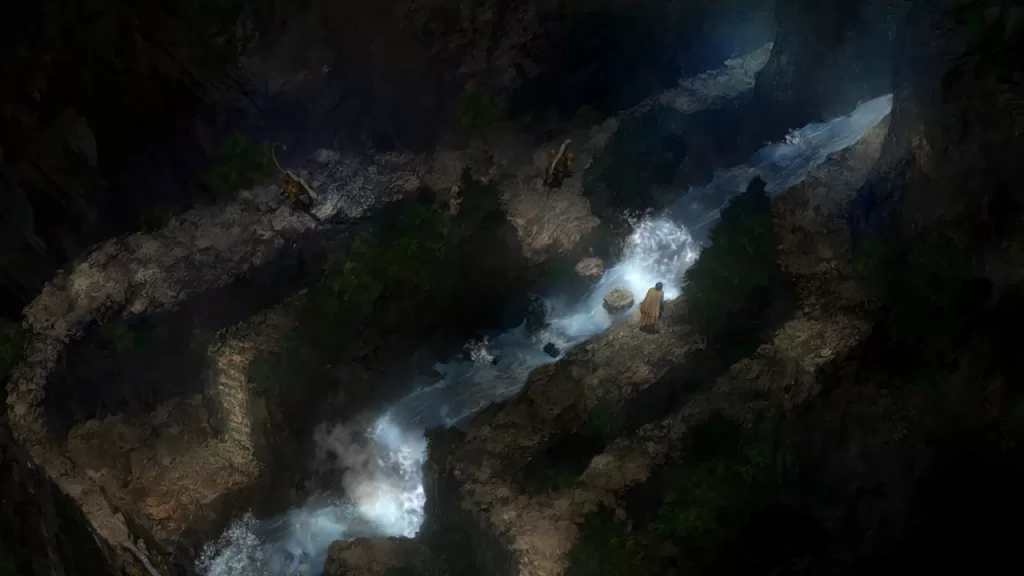
Lesser Celestial River
Immediately upon exiting the boat, pick up the Magnus: Chaos Edge! Follow the trail north across the rocks to find this Magnus: Mana Stone on the right side of the path. Just north of the above item, you’ll find the Magnus: Stream Blade.
Continue north to reach the next area. Along the rushing water, you’ll find a Magnus: Camera Lv. 1. Follow the path to the northeast to find a Magnus: Fire Burst Lv. 2 just southeast of the red flower.
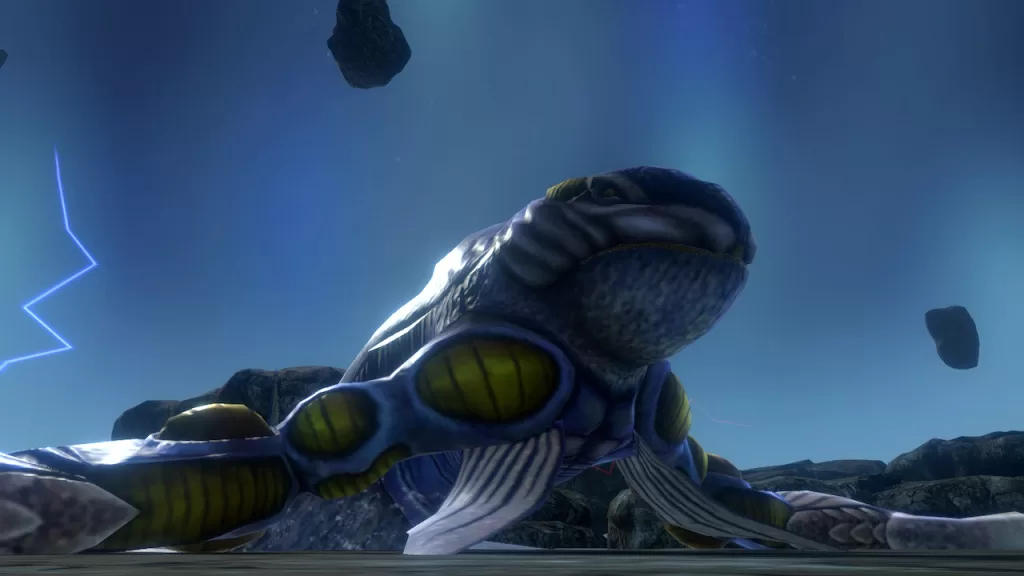
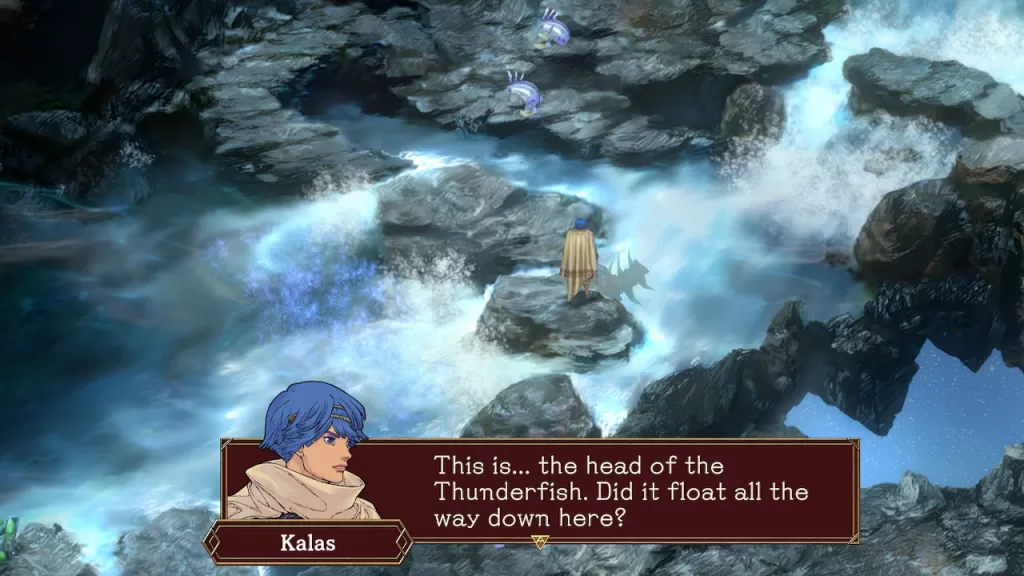
From the above item, backtrack south then skip across the stones to the west to reach the red flower. By this red flower, make sure to pick up the Magnus: Century Veil. Afterwards, continue north to reach the third area where the boss named Thunderfish awaits!!
During the battle, make sure to take a picture of the Thunderfish! Also, this creature can inflict poison, is weak to fire and dark and resists water and light. Defeating this creature will award you with a Magnus: Pisces, a Star Map Fragment!
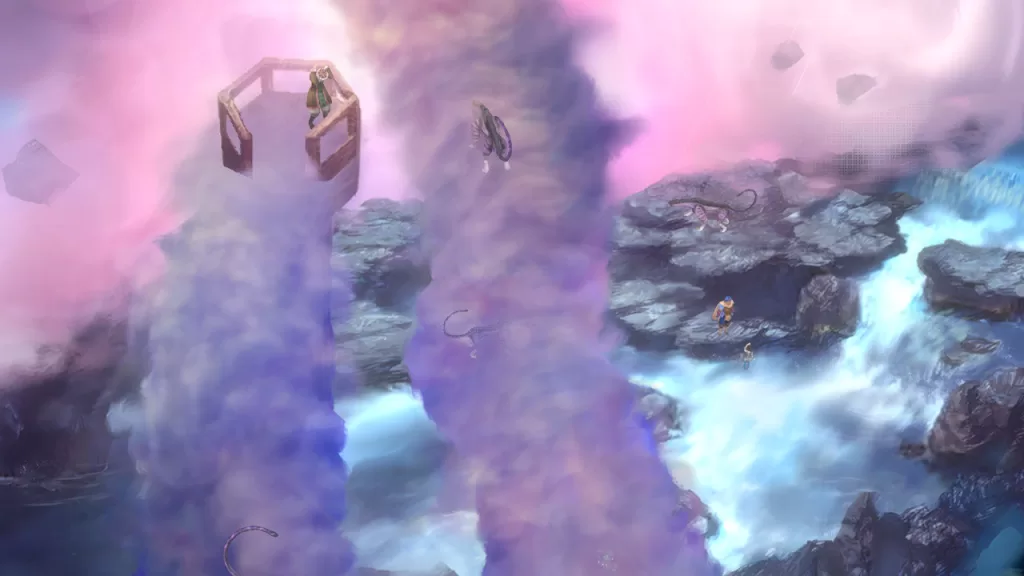
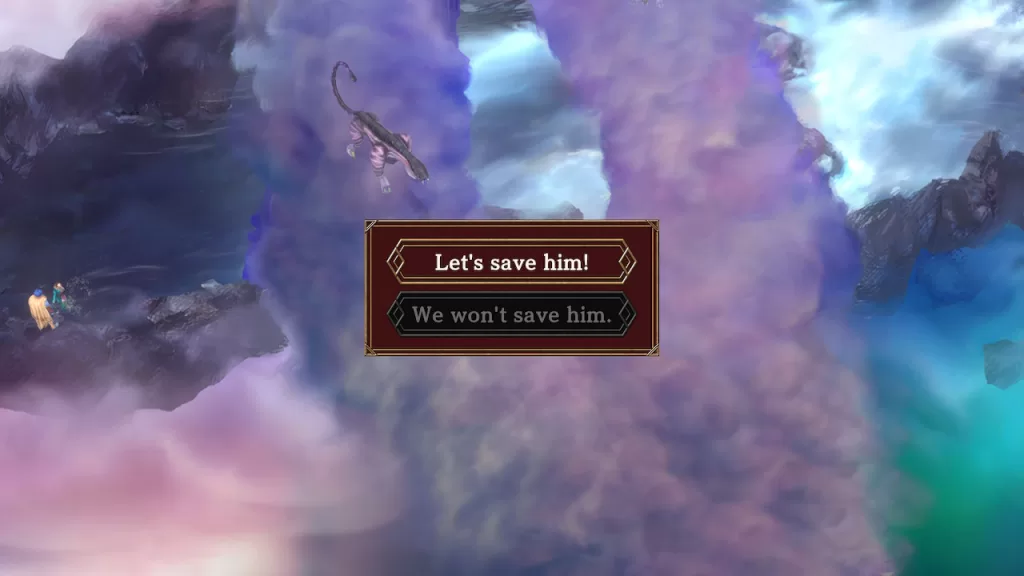
When you defeat the boss, you’ll return to the previous area. Instead of backtracking through this second area, return to the third area where the Thunderfish ambushed you. You’ll be able to find a Magnus: Hemp Creel. Follow the path south to reach a new area filled with clouds. Speak with the Boy with a Bracelet (Rustah) to learn that he’s drowning. Select to save him to gain his entry into Quzman’s Genealogy.
From the boy, head west then follow the stones leading south across the river to find a Magnus: Stream Blade. Next, head directly west to find a boy drowning in the river. Save him to find another entry for Quzman’s Genealogy of Hisham.
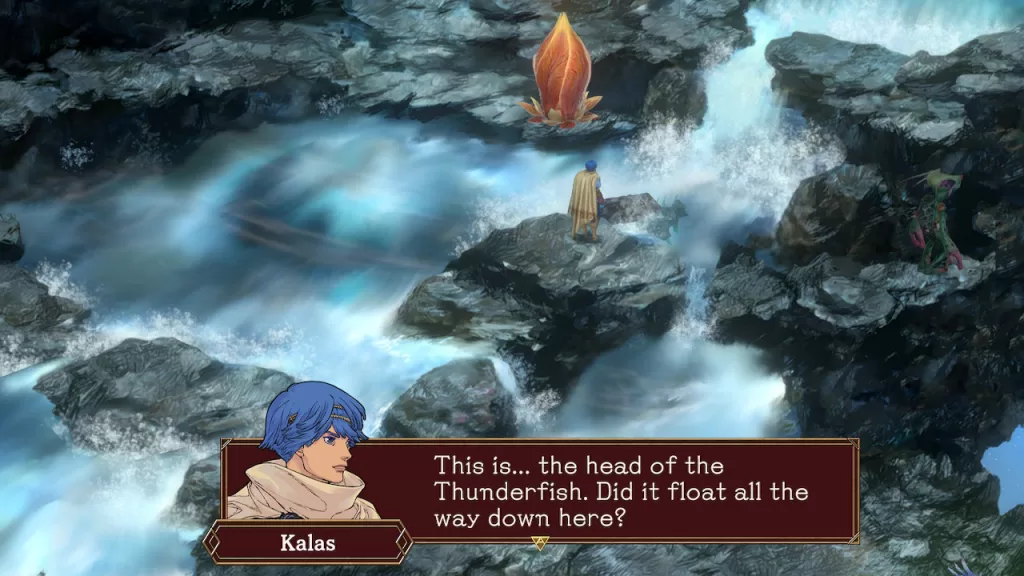
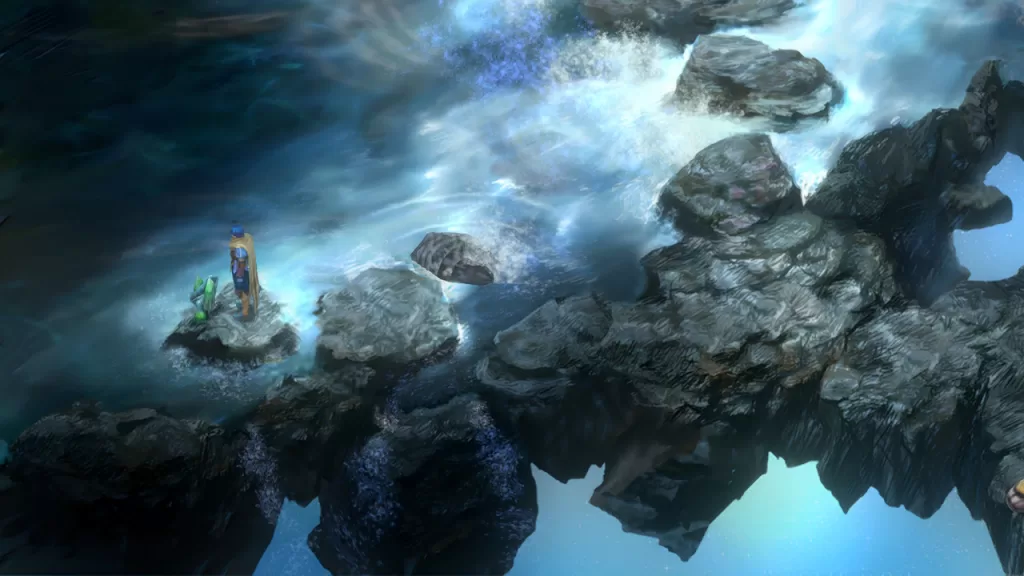
Jump across the eastern set of rocks to return to the Thunderboss area where you can retrieve the Magnus: Cloak of Dark Night. Now that you’ve collected all the items, return to the second area with the red flower. In the water just southeast of the flower, you’ll find the Thunderfish’s head.
Interact with it and select for it to drift farther. Make your way to the first area where the boat awaits. When you cross the rocks, you’ll notice the fish head is in the water resting against the rocks your crossing.
Interact with it once more to let it drift father. Head south then take the western path to reach the Magnus: Heron Statue, which is required for Xelha’s Level 3 class up.
Now that you’ve officially gathered everything in this area, head east to the boat and use it to reach Nashira.
Nashira
Once in Nashira, head to the pub and speak with Reblys. Afterwards, make your way to the fish warehouse and interact with the door to trigger a cutscene. Next, return to the pub and speak with Anna then make your way to The Cloud Passage.
The Cloud Passage
Once in The Cloud Passage, head through the first area to reach the second area. In this area, you’ll find a Man with a Bracelet.
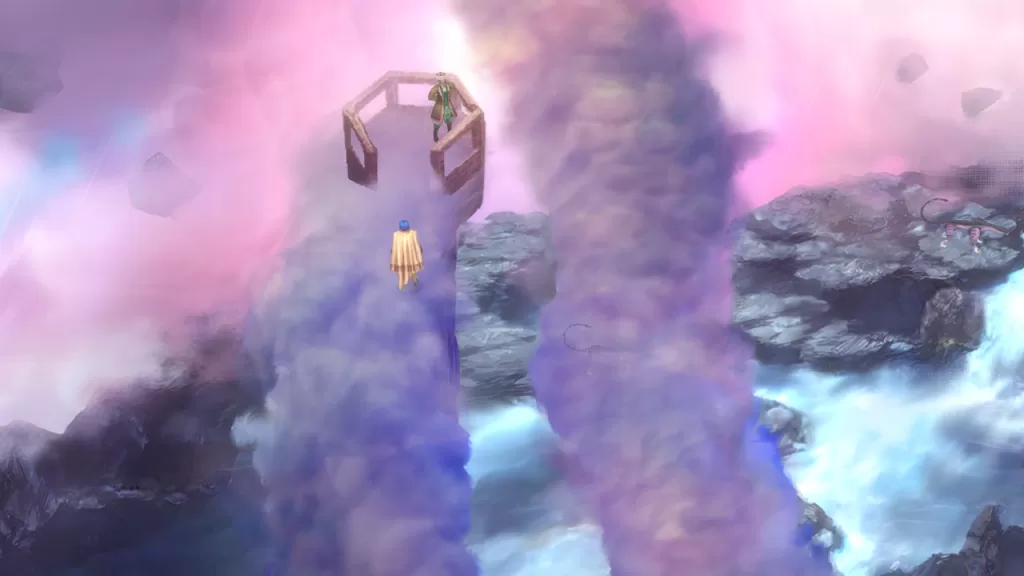
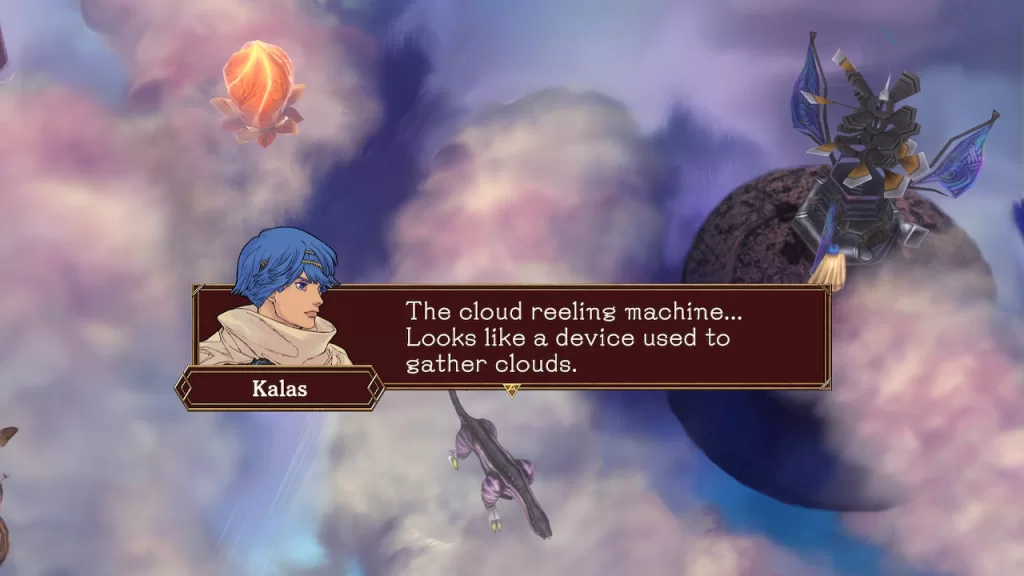
In order to gain his entry (Qutayba), you’ll need to have first saved his 2 children from drowning in the previous area of the Lesser Celestial River. Speak with him to gain his entry of Qutayba in the Quzman Family Tree Genealogy. Afterwards, continue through The Cloud Passage. Please note that the Albireo (flying creatures) drop the Magnus: Triangulum (Star Map Fragment). In the third area, follow the third path to reach the fourth area bringing you to a cloud gathering machine.
Interact with it and turn it on then interact with it again to get the Magna Essence of the Cloud. Bring this back to the third area and use it on the darker cloud in the middle to build a bridge.
Next, return to the cloud machine to get another essence of the cloud then head back to the third area and follow the left path north. This will bring you to the fourth area. Follow the middle path north and interact with the gap directly right of the red flower to build a bridge.
Follow the path north to reach a Magnus: Cygnus and Magnus: Aqua Burst Lv. 2. After you use the red flower to save, backtrack to the beginning of Area 4. There will be a small section you can use to reach the westernmost path. Use this path to reach the wooden bridge!
As soon as you touch this bridge, a cutscene will trigger followed immediately by a boss fight with an Iron Beetle I. This creature regularly uses its Nitro Boost skill which boosts its attack. It follows this up with the Voldocannon which is part of a 5 combo attack with the cannon itself averaging 240-250 damage. It resists fire and dark and is weak to water and light. Make sure to snap a picture of it before taking this boss down! As a reward for defeating the Iron Beetle I, you’ll receive a Shark Tooth, which can be used to upgrade Gibari’s Class Level to 3.
After you defeat the boss, exit The Cloud Passage to reach the world map where you’ll be able to travel to Sheliak, the Castle Town!
Sheliak
Upon entering Sheliak, a cutscene will trigger! When it ends, head east along the building to trigger another event with Lyude as you pass the closed door. This will cause Kalas to approach a window to listen in on the conversation. After this cutscene, enter the building to find the shop! Once you’re done shopping and resting, exit the building and head east up the stairs. Enter the first building to find a Magnus: Light Flare Lv. 2 by the flower vase. In this same room, interact with the bookcase along the northern wall to find a Magnus: Clock Shield.
Exit this building then continue to the next one to the east. Interact with the desk on the northeastern room to find a Magnus: Red and Blue Pencil. Push the bookshelf in this room to reveal a secret room then head inside to find a Magnus: Calm Helmet and Magnus: Ray of Truth.
Exit this house and continue to the next one to the east. Interact with the cabinet with vases on top to find a Magnus: Voice Lv. 2.
Once you’ve explored the town, head to the church to level up then save at the blue flower. When you’re ready, continue east to reach the third area where a cutscene will trigger. During the cutscene, you’ll get a prompt: “Sounds good to me.” and “Let’s fight our way in through the front door!” We chose the first one then returned to the second area for a quick event. Hop into the bucket at the dock to take off to Castle Elnath.
Castle Elnath
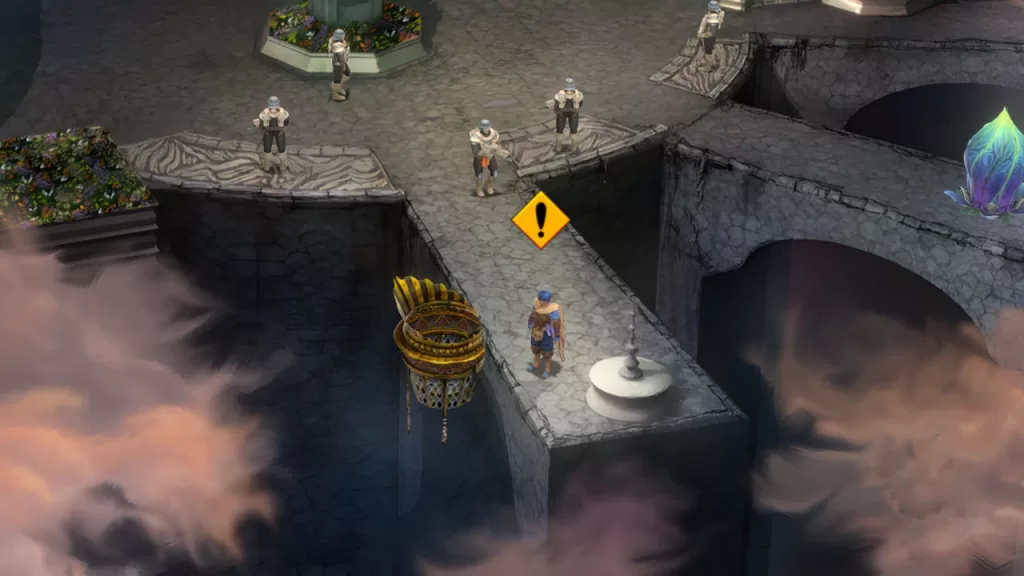
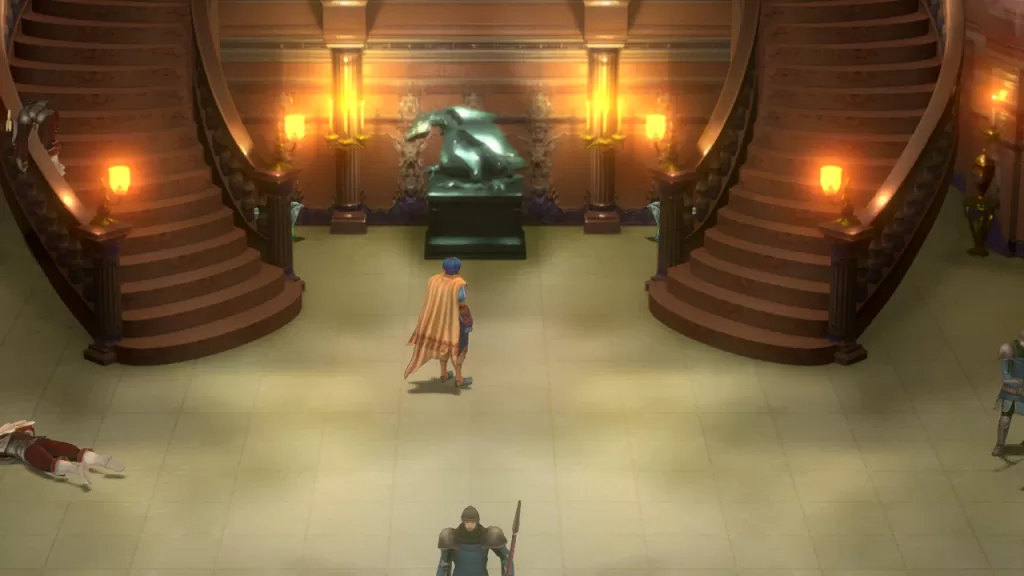
Upon exiting the bucket and first arriving to Castle Elnath, head west of the stairs and retrieve a Magnus: Infinity Mask. Next, head down the stairs then enter the building. Head to the western side of the balcony overlooking the waterfall to find a Magnus: Dark Sword. You’ll then need to speak with the Head Knight who is blocking the stairs. He’ll give you the Diadem Royal Crest and a blank magnus. These items will help someone who is injured with no will to fight rise up and help you. Across from where the knight stood, you can interact with the Diadem Royal Crest on the wall to receive mana essence of the Diadem Royal Crest.
Head down the stairs. At the base of the stairs, head east and interact with the statues to find a Magnus: Dark Flare Lv. 2. As you make your way through this area, you’ll come across groups of knights fighting. You’ll have the option to either dispatch knights to take down the enemies or fight them yourself. If you dispatch the knights, you’ll receive different Magnus as rewards for saving them.
Once in the third area, head west and enter the door then dispatch some troops. In this room, you’ll also find a Magnus: Magical Anklet. Interact with the white pot on the northern cabinet to receive a Magnus: Fading Notebook. Exit this room then head down the stairs to enter the fray. Head west and enter the room to find injured knights that you can show the Diadem Royal Crest to get them to join you. If you leave this room and reenter, more knights will spawn allowing you to recruit them with the crest.
Keep making your way through the areas until you reach the area of the castle with a red flower. Nestled between the bases of the staircases you’ll find a Magnus: Shadow Suit and Magnus: Flash Armor.
In the room with the red flower, head up the northeastern stairs. At the top, follow the hallway east and enter the eastern room. Inside this room, assist the knights inside then interact with the window to climb up to the next floor. Once there, exit the door to reach a balcony where a cutscene will trigger followed by a boss fight with Iron Beetle V. This creature has a 4 combo attack ending with the plasma cannon which deals around 120 damage, a 5 combo attack which ends with Diving Drill that deals a significant amount of damage, and it can heal itself. It resists dark and is weak to light and water. Make sure to snap its photo before defeating it!
Once defeated Iron Beetle V has been defeated, a cutscene will trigger with King Ladekahn. During the cutscene, you’ll have a dialog prompt: “Let’s go.” and “We shouldn’t go.” We chose the first option! Also, Lyude will join the party. When you regain control, there will be a blue flower nearby that you can use to save and level up. Once you’re ready to proceed, head east to reach the world map.
Shrine of the Winds
Upon entering the Shrine of the Winds, a cutscene will trigger with the Lord of the Winds followed by a battle against him. He uses wind attacks and can inflict poison on you. He’s weak to Chronos and resists wind. Make sure to snap a picture of him during the fight! When you defeat him, it will drop the Coral Plant, which is needed for Kalas’s Class Level to 4. After you defeat him, a cutscene will trigger and you’ll be returned to the castle.
Castle Elnath
Once in the castle, speak with Lyude and the king to start another dialog event. Interact with the door when you’re ready to rest! Once you awake, exit the room and interact with the painting next to your room to receive a Magus: Light Yell Lv. 1.
Next, head west, passing the stairs. Speak with the knight who will ask your help in removing the rubble. For our guide on this favor, click here! Head up the stairs and take a right then go through the door. Inside you’ll find Lyude staring out the window.
Speak with him to begin a cutscene where he will officially join the party. Next, head down to the doors that lead to the throne room. Once there, head west and go up the stairs to find some knights surrounded by debris. Agree to help them move the rubble to begin their favor. For a guide on how to do this favor, click here!
Now is the time you should do any clean up as we’re going to the next whale and it will be some time before you can return!
Sheliak
Before progressing with the story there is one favor you can find and complete involving the person outside the mayor’s office in the first area who is trying to clean the lamp. For a guide on how to complete this favor, click here! Also, make sure to stop in the mayor’s office to find a Magnus: Butterfly and Magnus: Savings Book. Once ready, you’ll be able to move on to the next whale!
Castle Elnath
When you’re ready to proceed, head to the very top of the castle where the Head Knight is standing guard. Exit to the east to reach the dock. Speak with the knight there to board the king’s ship! A cutscene will trigger and you’ll sail away to Komo Mai, City of Flowers.
Welcome to our Baten Kaitos Walkthrough Part 1 – Sadal Suud. In this walkthrough, we’ll cover all the areas on the first whale, called Sadal Suud, including the story, items, Quzman family members and favors! If you’d like a guide on each area, specifically what items can be found in the shops, enemy weaknesses and an overview of all items found there, click here then select the area you’re trying to find information on!
Cebalrai
When Kalas first wakes up, he’ll find himself laying on a bed. Speak with the doctor Larikush to learn how you ended up here. Before leaving the room that Kalas wakes up in, speak with the red-headed girl. Exhaust her dialog options to get some information on things like healing efficiently, how to earn money and to learn more about the doctor. Exit the Doctor’s Office to arrive in a courtyard filled with animals. Head to the blue flower on the left side of the area to trigger an event where you’ll learn how to use blue flowers to save.
Once that’s done, interact with the flower and select “Visit the church” to travel to the church. Speak with the Priest in the back by the altar and exhaust his dialog options to learn about leveling up and increasing class levels. When you’re finished, return to the blue flower and interact with it choosing “Return to adventure” to head back to Cebalrai. Before making your way to the main part of the village, speak with the girl wearing the pink dress in the courtyard. She’ll mention that you should visit the mayor. He has something to say to Kalas.
Head left past the blue flower to reach the main area of the village. Proceed to the center of this area to trigger an event with a boy and Meemai. When it ends, head north then through the doorway there to reach the mayor’s house. Speak with him and he’ll invite Kalas to stay in the village as long as he needs while also insisting that he stays away from the Moonguile Forest. when you’ve finished talking to the mayor, examine the bookshelf in the back-left corner of the room to receive a Fire Burst Lv. 1 Magus card. You can this exit the building.
Back in the main part of the village, head south towards the bridge with Meemai. Speak with the blonde girl standing on the bridge to trigger another event. Afterward exit the village. You may want to save again at the blue flower before doing so. There is also a shop in the building to the left of the bridge you can visit to stock up on supplies. You can find the list of items the shop contains in our Baten Kaitos Cebalrai Shop guide. When you reach the world map, head west to reach Moonguile Forest!
Moonguile Forest
When you arrive at Moonguile Forest, Kalas will find himself in a cave. He’ll also be accompanied by two bat enemies and there we’ll be a Magnus: Voice Lv. 1 on the left side. Grab it then head north through the illuminated pathway. This will bring you outside near a river. Nearby, there will be a guy sitting near a log. Speak with him then exhaust his dialog options to get a crash course on combat. When you’ve finished, go north along the river passing through a slightly concealed cave. There will be a Magnus: Leather Hat on the other side for you to collect.
Just past the guy sitting on the ground near a log, there will be another log on the right preventing you find getting the item behind you. You won’t be able to collect this item until after you complete the story section here and return to Cebalrai. You’ll then need to progress the story until Larikush teaches you how to use blank cards.
Backtrack a bit then cross the river and head south to find a Magnus: Bamboo Shoot. Go north along the river to reach the next area of the forest. Make sure you are prepared, as you are about to face a mini boss.
In the next area, a cutscene will trigger involving the blonde girl you met in the village and her companions. This will lead to a fight where she and Kalas will team up against a Sabre Dragon. The beast will resist any fire attacks you send its way but is also weak to water. Use that to your advantage to take it down. Also make sure to snag a picture of the dragon that you can sell later! After the Sabre Dragon falls, another cutscene will trigger. The girl will introduce herself as Xelha and decide to tag along to the ancient ruins.
When you regain control of Kalas, proceed to the next area of Moonguile Forest. When you arrive, head left through the archways to find a Magnus: Flame Sword at the end. Backtrack to the first archway and follow the path north around the area towards the red flower. Along the way, to the east of flower you’ll be able to grab a Magnus: Fire Burst Lv. 1. Make sure to use the red flower to save when you reach it along with healing up as necessary. There is a boss fight coming up in the next area!
Head to the next area to trigger a cutscene during which the Lord of the Spring will appear. After some dialog it will then attack the party. The Spring Lord uses water-based attacks which means it also resists water. To deal extra damage, use fire-based moves to hit its weak point. One thing to watch out for is its 4 attack combo that typically ends with a big attack dealing around 50 damage total. Also make sure to snag a picture of the creature to sell later. When the creature falls, another cutscene will trigger. After it concludes, you’ll be back at the world map so return to Cebalrai!
Cebalrai
Following the events of Moonguile Forest, Larikush will be on the bridge waiting for Kalas and will bring you to the mayor’s house. You’ll catch them up on what happened in the forest to which the mayor is none too pleased. One of the villagers will mention seeing a ship pass by heading towards the city giving us our next destination.
Before setting out, stop by Larikush’s place (where Kalas first woke up) in the hamlet. Speak with him and he’ll ask Kalas for a favor. A landside in Nunki Valley has blocked that path to Pherkad (our next destination) and he would like us to take some explosives there and use them to clear the landslide. He’ll then show you how to turn stuff into magnus then he’ll give you 4 blank cards and task you with bringing him an apple to try it out. Exit his house to find a lady standing next to two barrels of apples in the courtyard. Interact with the apples then press “Sure!” when prompted to seal their magna essence in a blank card.
Head back into Larikush’s house and speak with him to hand over the apple. As a reward, he’ll give you a Magnus: Ice Dagger. With that out of the way, interact with the explosives on the nearby table to seal their essence in one of the cards then leave the doctor’s residence.
Now might be a good time to save, so visit the blue flower and do so. While you’re there, use the flower to visit the church and speak with the priest in the back. Use the pray option to level and class up. Leveling up with make Kalas stronger and classing up will allow you to carry 5 extra cards in your deck, boost your max combo to 3 and also allow you to carry 4 cards at a time in battle.
After you’ve finished, head back to the blue flower. This will trigger an event where the Elder will call out to you. Speak with him and he’ll ask Kalas for a favor. The elder will ask Kalas to keep an eye out for fragments of the star map on his journey in hopes to see the star map completed before he fades away. You’ll will need to find all 50 of them scattered around the world in the form of Constellation Magnus to make this dream a reality. You’ll also be rewarded for each fragment that you find. For our guide on where to find all the Star Map Fragments, click here! Use the blue flower to return to Cebalrai.
Before heading to Nunki Valley, there are a couple of things you can do. First, head to the shop and sell any of the pictures you’ve taken to acquire some money. There are also a couple of favors you can complete. For our guide on these Cebalrai favors, click here! You’ll also want to head back to the Moonguile Forest and complete the favor for the Man wearing a Bracelet there. For our guide on how to complete this favor, click here! Once all of that has been done, travel to the Nunki Valley via world map.
Nunki Valley
After arriving at the Nunki Valley, head north to reach the bottom of the waterfall. Jump across the gap of the first waterfall then turn and jump the gap of the second. Follow the path south to a Magnus: Flame Shield at the end and grab it. Backtrack past both waterfalls to the entrance of the valley and cross the fallen log in the middle of the room. Head south to snag a Magnus: Frozen Shield then follow the path north into the next area.
In the next part of the cavern, you’ll be on the west side next to part of the rockslide. Interact with the rocks on the path then select the explosives to blow them up clearing the way. Continue following the path turn right. This should bring you to an area with two ways forward separated by flowing water in the middle of the room.
You want to take the left path first. This will bring you to a secluded section in the next area where you’ll be able to collect a Magnus: Secret Recipe 1. After doing that, take the right path to proceed towards the city.
Now on the right side of the third area, there will a guy sitting on the ground to the right of the stone ladder. Speak with him and exhaust his dialog options to learn about combat. When your done climb up the ladder and follow the path to reach the end of the Nunki Valley brining you to the world map. Press on to Pherkad, the Ancient Capital!!
Pherkad
Once you reach the city, a cutscene will trigger. During the cutscene, Kalas will explain his bond with the guardian spirit (you!). When prompted choose “Of course”. After the cutscene ends, follow the street north two areas to reach the mansion. Speak with the guards out front who will tell Kala to get lost. This will trigger another cutscene. When it concludes, speak with the lady wearing a green dress and ask about the kid, Palolo. She’ll tell mention one house that hasn’t been broken into yet and suggest camping out there to catch him.
Head back to the main area of Pherkad and enter the house across the street from the tavern (across from the person standing by the apple cart). Once inside, a cutscene will trigger where Kalas will speak with the great Palolo III. When he asks why you want to enter the mansion choose “To get vengeance for my grandfather and brother”. Kalas likes that answer and will spaz a bit if you choose the other one. Regardless of what choice you make, Palolo will request a Rainbow Spider’s Web in exchange for the information.
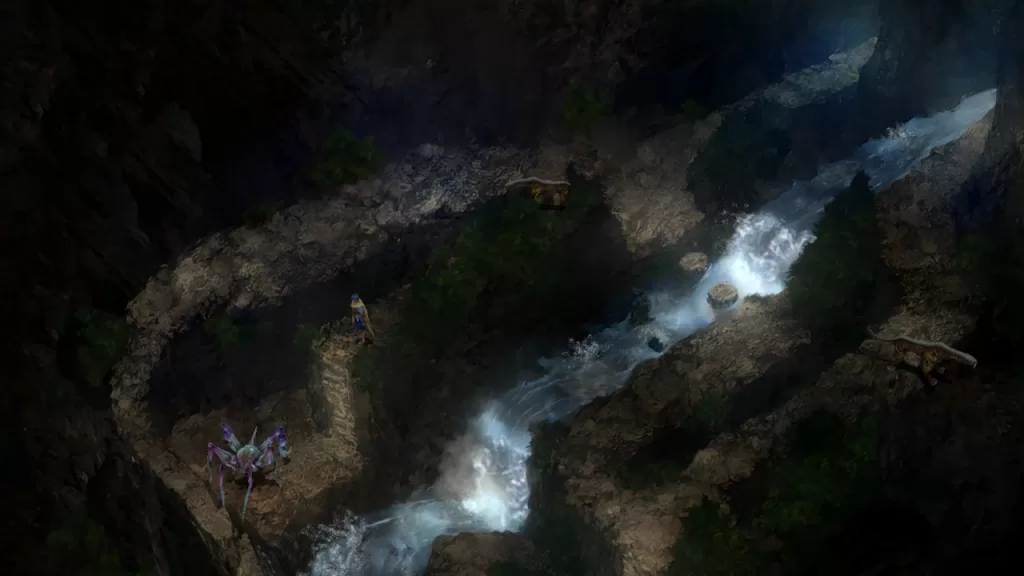
To find a Rainbow Spider’s Web, travel to the Nunki Valley and make your way to the middle area where you blew up the rocks earlier in the story. The spider you are looking for can be found on the left side of the stream. There will be a path along the trees that you can use to reach a stone ladder.
Climb down this ladder to find the spider called Nunkirantula! When battling this creature, note that it’s weak to wind and resistant to light and water. Also, this creature likes to guard often so you’ll be doing half damage unless you’re using something that its weak to. Once the spider is defeated, it will drop the Rainbow Spider’s Web. Bring this item back to Palolo III in Pherkad. After he takes the items off your hands, he’ll tell you that the entrance to the mansion can be found behind him in the well.
If you haven’t done so recently, now would be a good time to complete the favors (click here for a guide on these favors) and head to the church (via blue flower) to level and heal up. Also, if needed head to the shop north of the blue flower to rest your weary wings. When you’re ready, return to the hideout and speak with Palolo III to hop down the well to enter The Lord’s Mansion!
The Lord’s Mansion
Upon entering this area, a cutscene will trigger during which Kalas will talk about the airship. You’ll be prompted with a choice: “Let’s find out way up to the ship!” or “Shouldn’t we find Xelha first?”. You can pick whichever option you’d like but Kalas favors the first option.
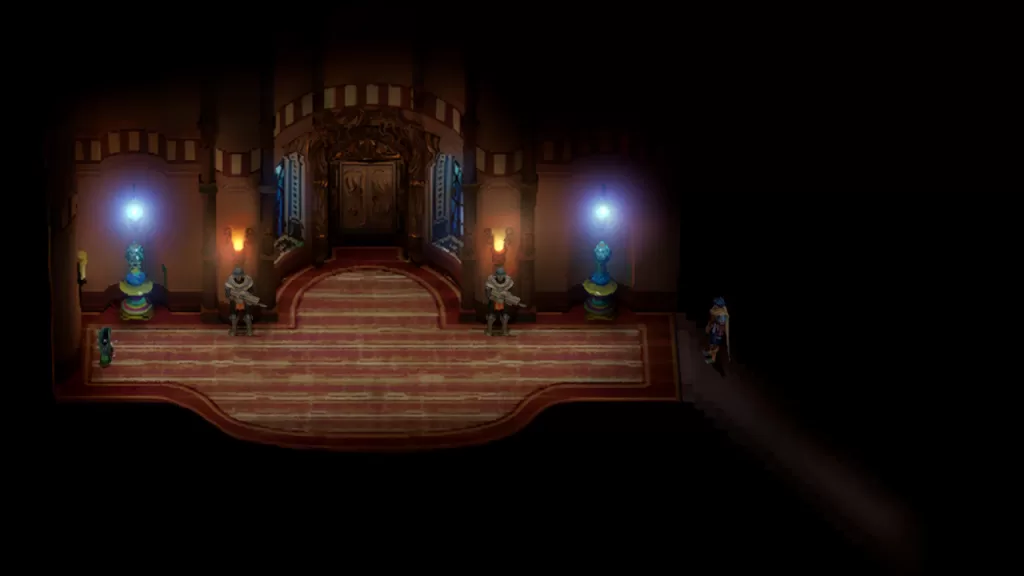
When you reach this area, you’ll start in a room with a fountain in the center. If you need to return to the city at any time, interact with the southern part of the fountain to return to the hideout. Once you’re ready, head up the stairs on the north side of the room to reach a hallway filled with a bunch of enemies.
At the top of the stairs, head directly north and interact with the stained glass window to receive the Magnus: Frozen Shield. Next, enter the room to the left of the stained glass window. You’ll find the Magnus: Shadow Wings in the back left corner. While in this room, speak with the maid to learn some more information about our friend.
Exit the room and go up the stairs on the west side to reach the third floor. On the western side of the third floor, defeat the 2 guards stationed in front of the door then pick up the item on the west side of the hallway to receive the Magnus: Chain Mail.
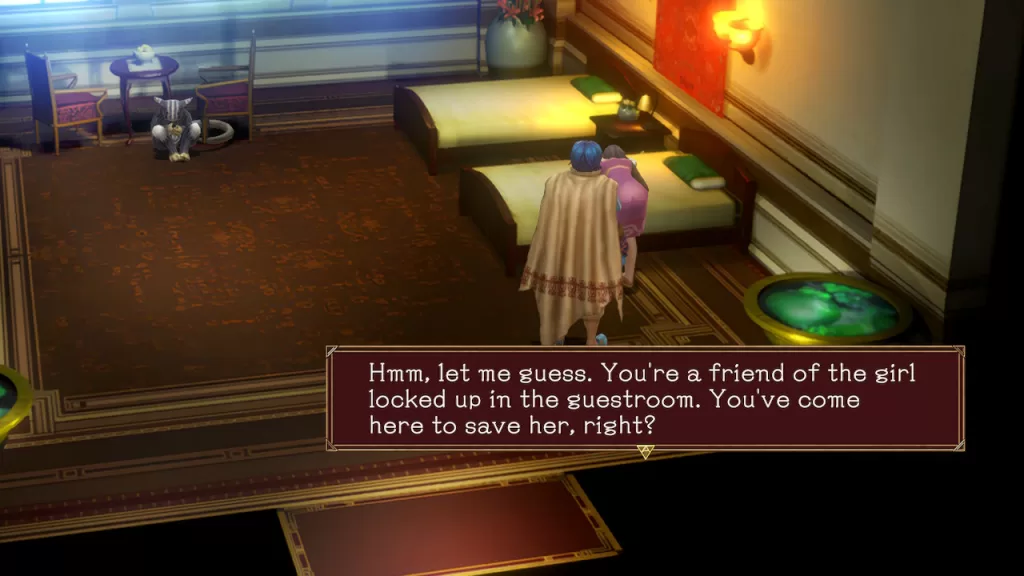
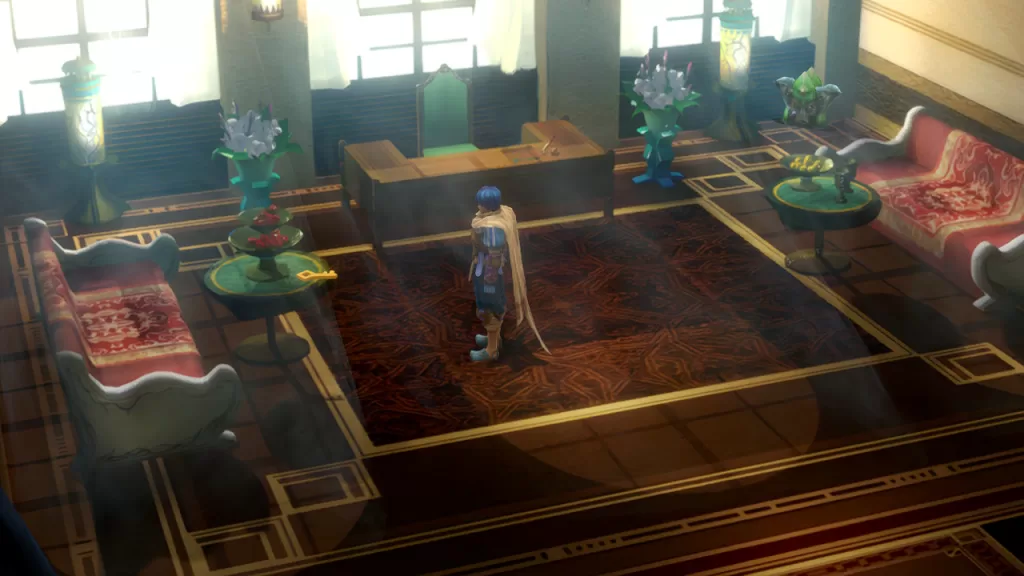
Next, enter the room to reach the lord’s room. Pick up the key on the small round table in front of the western couch.
As soon as you pick up the key, a cutscene will trigger. During the cutscene, you’ll be prompted with another choice: “Let’s get Giacomo.” or “Let’s look for Xelha.”. This time, we chose the second option and Kalas agreed. Before exiting the room, head to the northeastern corner to collect Magnus: Wind Blow Lv. 1.
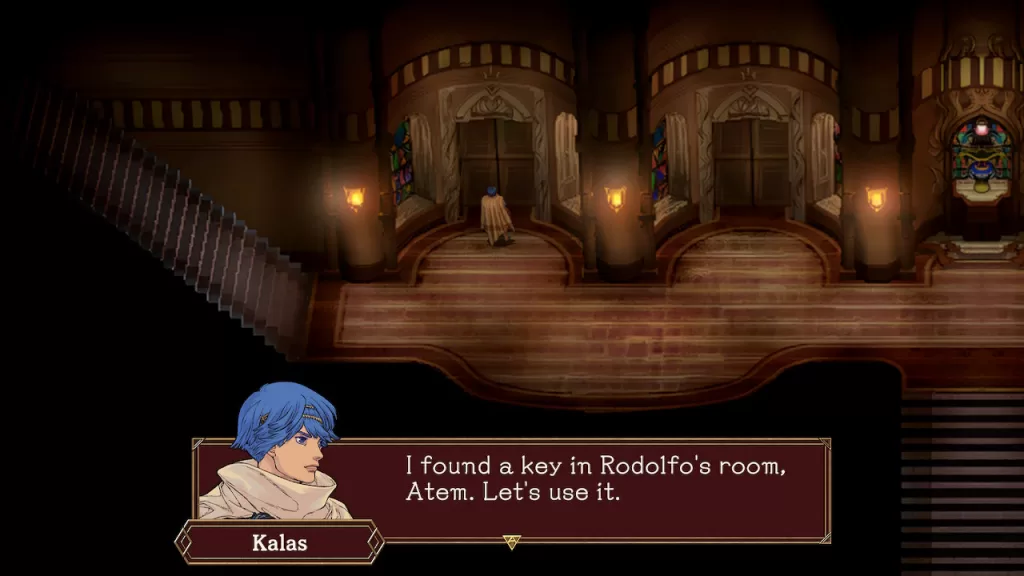
Next, return to the second floor and enter the western most room. You’ll use the key you just found to open this door.
Inside, interact with the end table between the beds to find a Magnus: Mink Coat. Speak with the man in the corner to learn that his name is Aljeemo. If you previously spoke to his wife in Cebalrai, the Farming Hamlet, you’ll be able to give him a pendant. In return he’ll give you a Magnus: Voice Lv. 2.
Exit this room and enter the room to the right of the stained glass window. Use the key to unlock this door to find Xelha! During the cutscene, you’ll receive a choice to either help or refuse her. Choose to help her! After the cutscene, grab the two items in the back of the room to receive a Magnus: Chronos Blow Lv. 1 and Magnus: Shrike Statue.
After exiting the above room, enter the next room to the right. In this room, interact with the nightstand to find the Magnus: Ice Dagger. Exit the room and head up the stairs on the eastern side to reach the third level where you’ll find a blue flower. In the room across from the blue flower, you’ll find the kitchen where two women with favors await! For a guide on how to complete their favors, click here! Now that you’ve found a blue flower, now would also be a good time to return to the church to level up Xelha!
When you’re ready, examine the statues to the right of the flower then press the switch.
This will clear the way forward, allowing you to reach the roof. At the top of the stairs, a cutscene will trigger followed by a fight against Giacomo. He’s weak to water and light attacks and resists fire and dark. He can attack multiple times and uses fire and dark attacks. Each of his combos can be 3 or 4 long. Before you defeat Giacomo, make sure to take a picture! After the fight, a cutscene will trigger and you’ll return to the well. During this cutscene, Xelha asks both Kalas and his guardian spirit for help. You’ll be prompted with “Let’s help her.” or “You’re right, it’s too much of a risk.” If you choose to help her, Kalas does not agree and refuses.
After the cutscene, you’ll gain control of your character again. Now would be a good time to head to the blue flower near the port to level up, heal and save. When you’re ready, approach the ship to escape!
This site uses cookies. By continuing to use this website, you are giving consent to cookies being used. For more information on cookies, view our Privacy Policy.OkPrivacy Policy