Welcome to NGB and our guide on the Starfield Shattered Space Sympathy for the Living mission. This guide will walk you through starting the mission and detail the necessary steps for its completion. If you need help with a specific mission objective, check the quick links section to find the most relevant information easily.
Sympathy for the Living Quick Links
- How to Start the Sympathy for the Living Mission
- Sympathy for the Living Mission Walkthrough
- Additional Starfield Guides and Walkthroughs
How to Start the Sympathy for the Living Mission
To start the Sympathy for the Living Shattered Space mission, you must travel to the Va’ruun Depository near the Spaceport and speak with Nalada Bradi. She’ll welcome you to the team and mention that she’s worried about her brother, Quasim. If you offer to help, she’ll provide more details officially starting the mission.
Sympathy for the Living Mission Walkthrough
Proceed to Deep Gorge Refinery
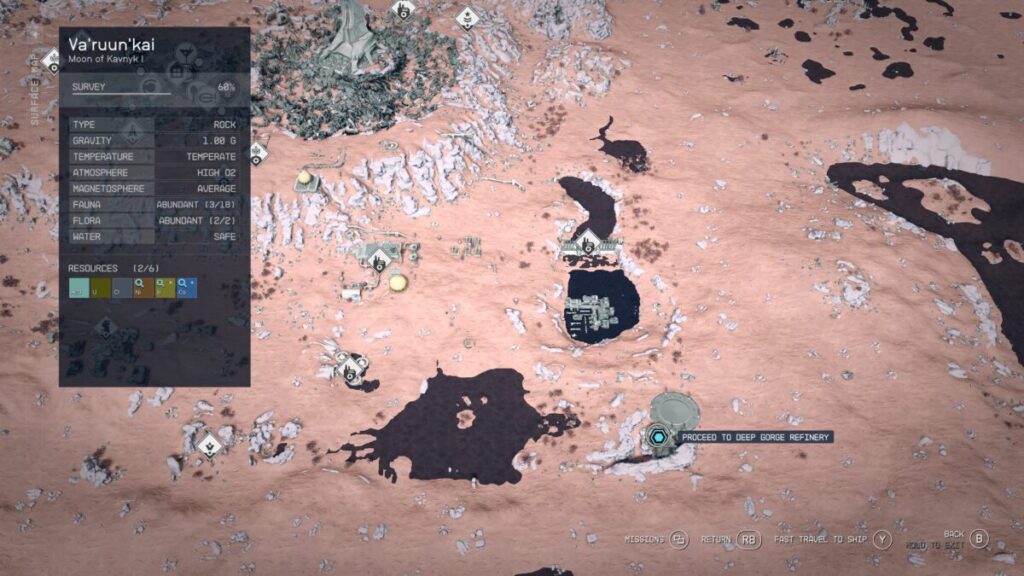
Travel southeast of Dazra to the Deep Gorge Refinery.
Search for Signs of Quasim
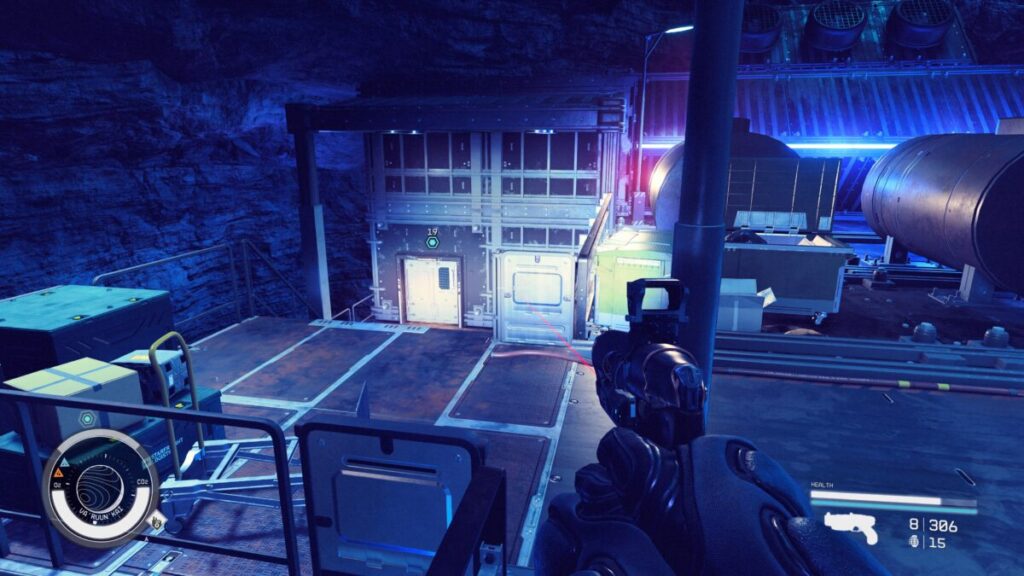
Watch out for the enemies in this area as you enter the Deep Gorge Refinery. You’ll find them inside, too! After entering, take the first right and go down a hallway. When you emerge into the large room, hug the left railing and enter the vent at the end of the walkway.
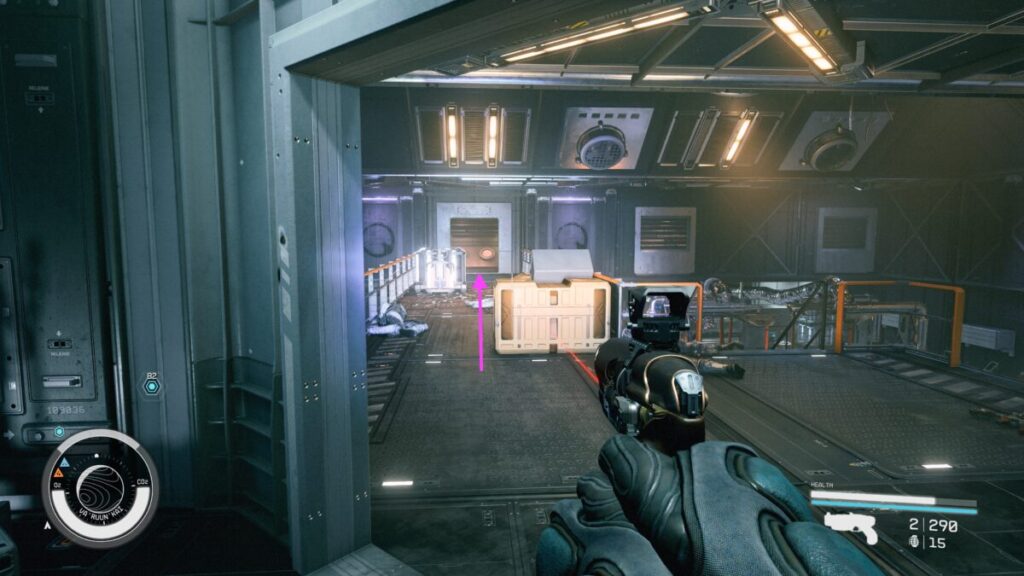
Take a right and follow the vent, dropping down the hole. Continue heading down and exit the vent. Follow the path to a door. Use the terminal next to the door to open it! Once inside, take a right and head down the stairs. At the bottom, head straight down the long red lit hallway and enter the door at the end.
Access the Research Site
Kill the enemies inside and loot the big guy as he has the Refinery Access Key! Make your way to the bottom of this room and enter the orange door using the Refinery Access Key.
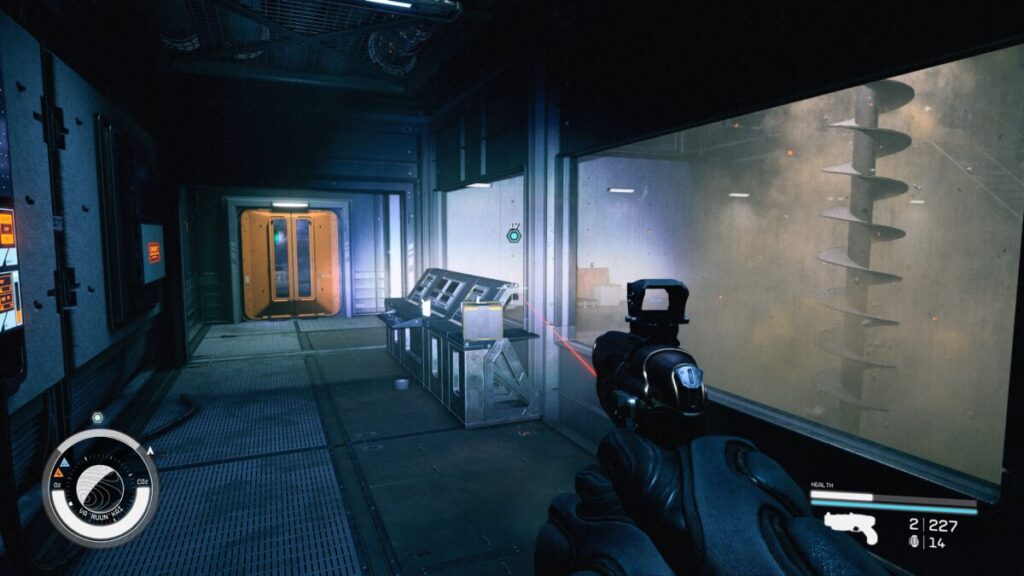
Make sure to loot the industrial crate as it contains a bunch of goodies then hop in the elevator and go to the underground lab.
Restore the Research Site’s Auxiliary Power
Follow the creepy hallway and enter the corner room via the door on the right. Here, you’ll need to put the Emergency Power Cell on the desk into the receptacle to the left of the desk.
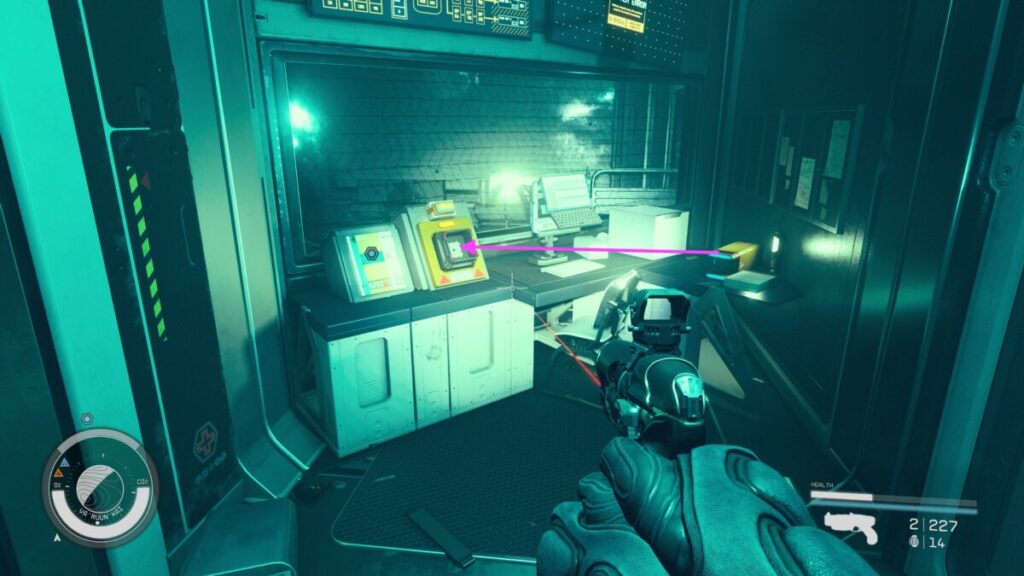
Next, press the switch to the left of the receptacle to restore the power.
Continue Searching for Signs of Quasim
Follow the linear path, heading down a set of stairs. At the bottom, interact with the Cell Block Terminal straight ahead. Select “New Prisoners”.
Search Quasim’s Cell
Head down 1 flight of stairs then take an immediate right. Use the switch on the wall to open the Secure Access door.
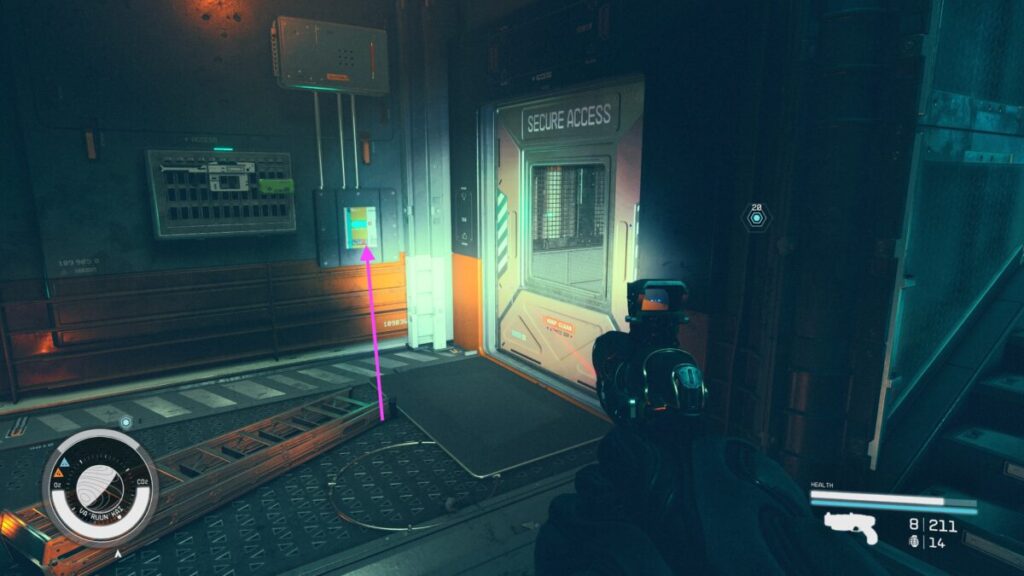
Enter the C-02 cell to find a trail of blood.
Follow the Trail of Blood
Follow the trail of blood to the Medical Laboratory. Watch out for the robots inside! Continue following the blood to Lab 02.
Restore the Research Site’s Main Power
In the room to the left of Lab 02, you’ll see that 3 Emergency Power Cells are required.
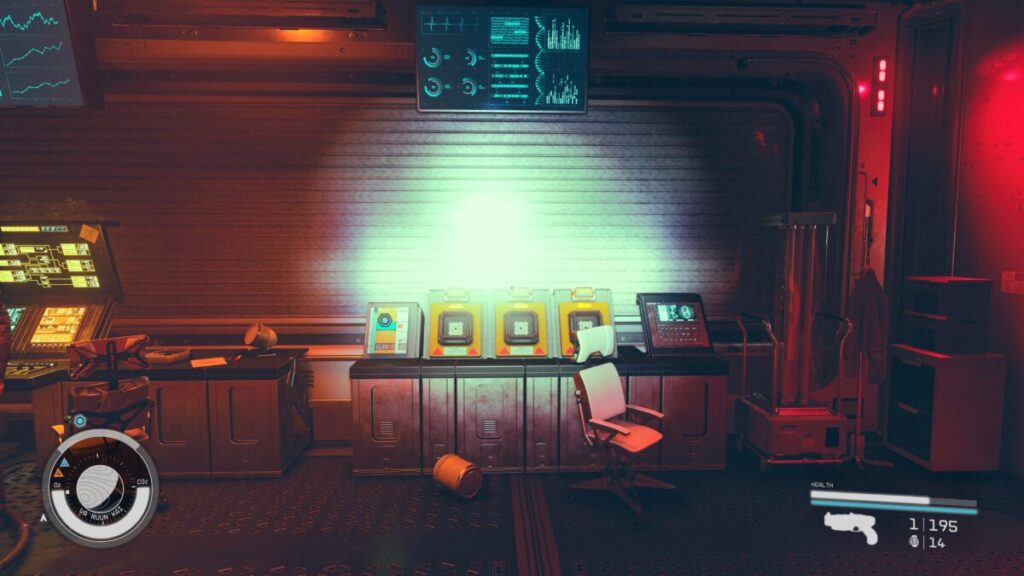
Once you’ve found all the cells, place them into the receptacles then press the switch and wait.
Emergency Power Cell 1
Exit Security Room 02 and take a right. Enter the door labeled Autopsy.
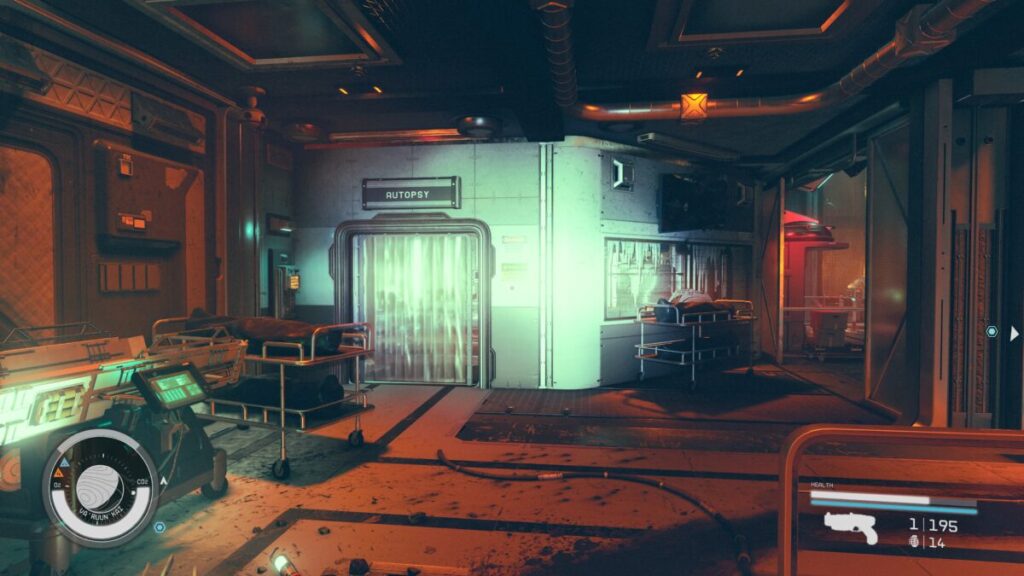
You’ll find the Emergency Power Cell on the back table.
Emergency Power Cell 2
For the next cell, exit the Autopsy room and look left to see the bloody trail.
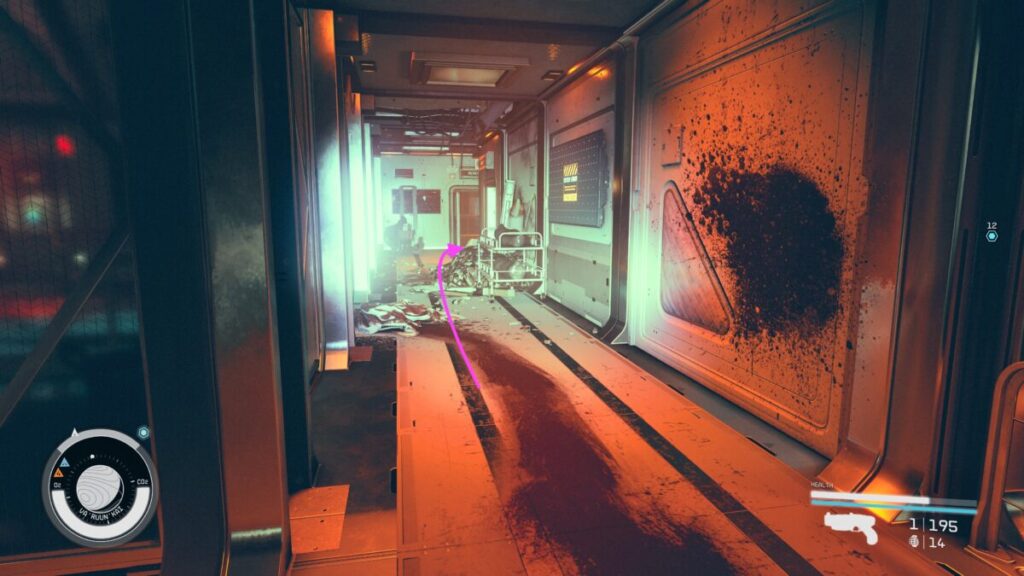
Follow this hallway to the end and enter the room labeled Storage. Drop through the shaft and follow the path to find this cell on the ground by a shelving unit.
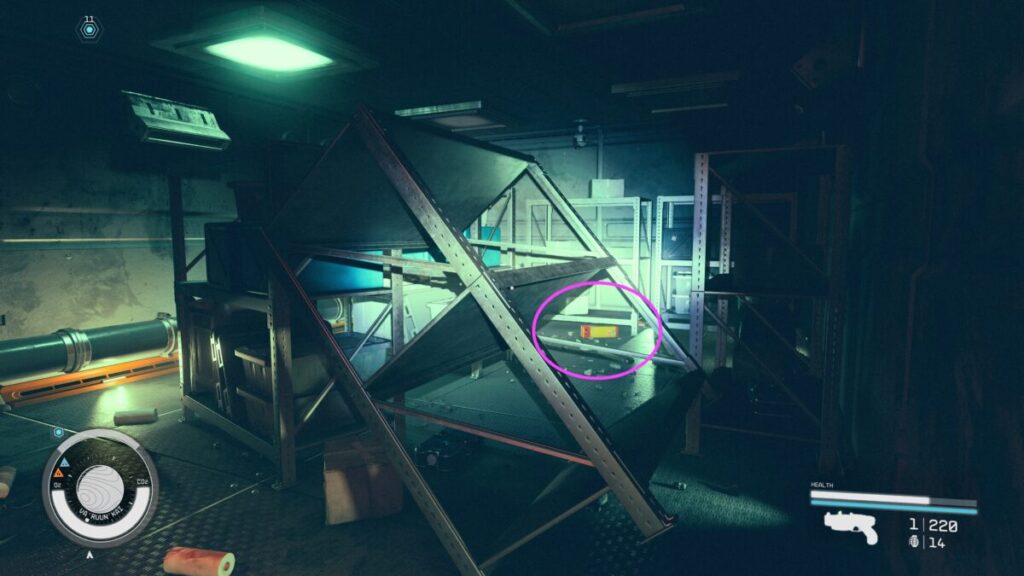
Emergency Power Cell 3
Backtrack and jump out of the hole. Exit the Storage room and take a right. Enter the room called Research 04.
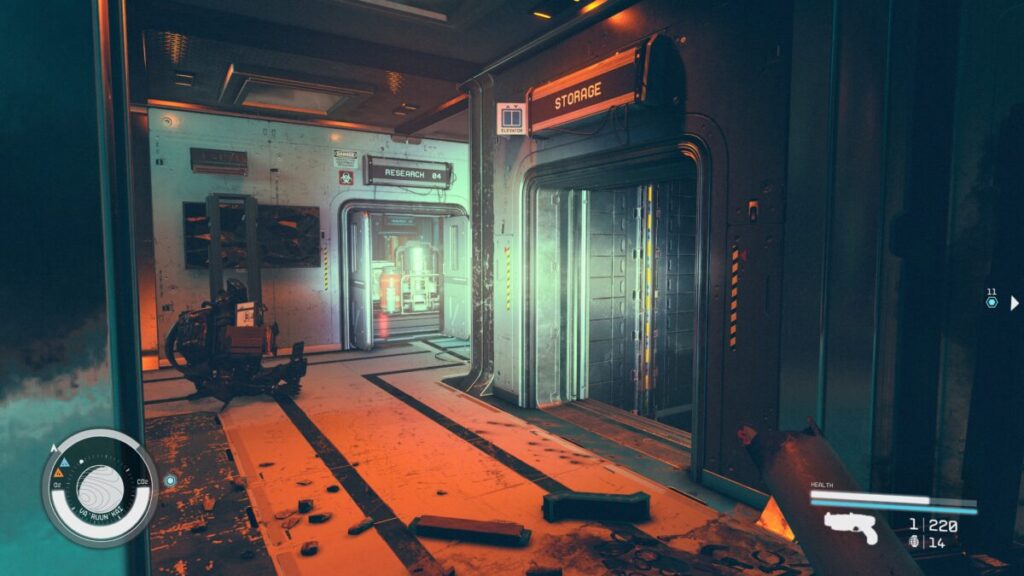
Once inside this room, take a left and head up the stairs. Enter the room labeled Research 07 to find the cell straight ahead under a desk.
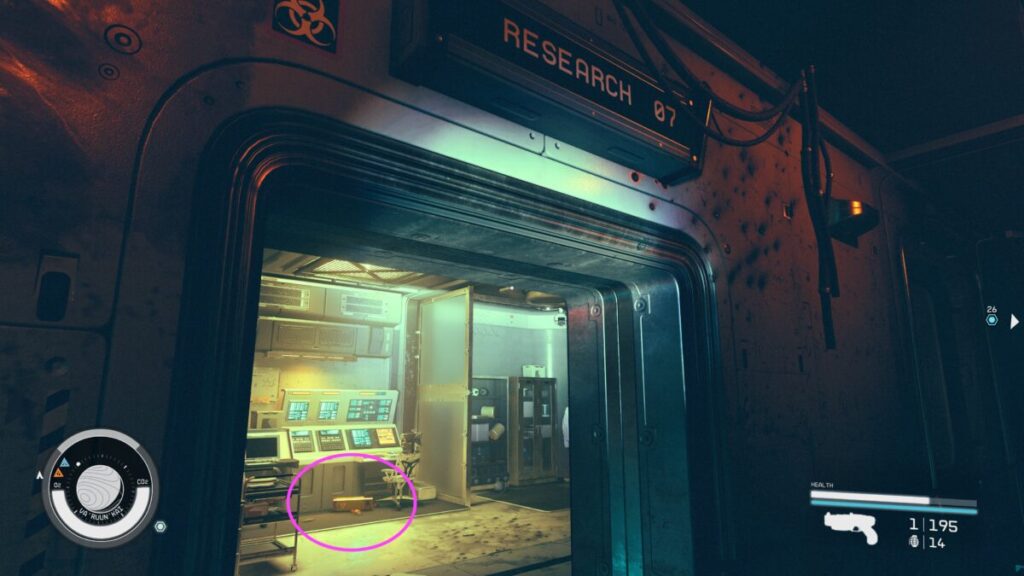
Pursue the Creature
Head into Lab 02 and follow after the creature by boosting up to the higher level. If you can’t boost, there is a vent along the security room window you can use to reach the same area.
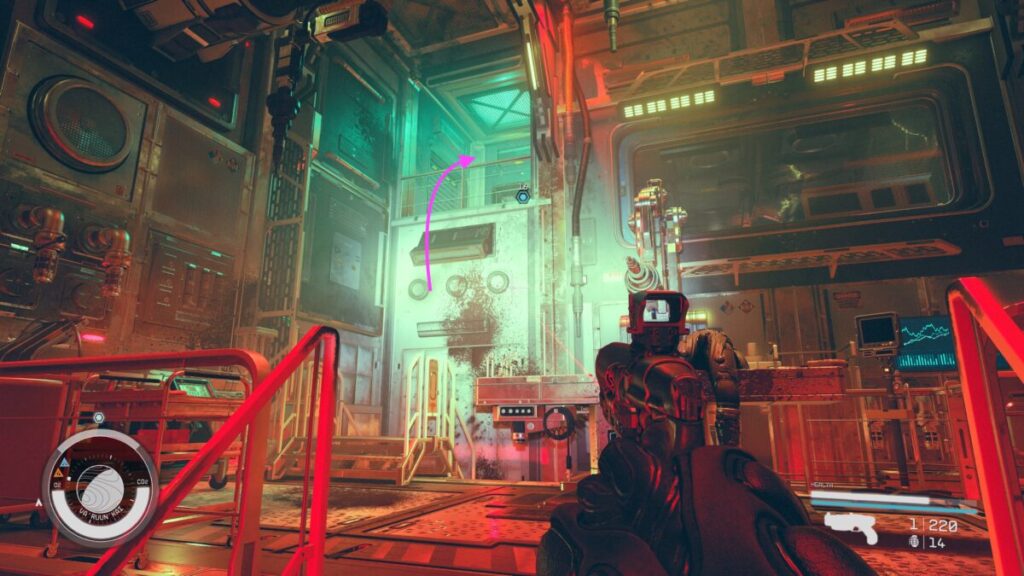
When you descend the stairs, interact with the switch on the wall and follow the linear path to the storage room.
Kill the Redeemed
Inside Storage, you’ll encounter the Redeemed. Kill Quasim then loot his corpse to retrieve the Message to Nalada.
Return to Nalada
Leave the refinery via the door with the exit sign above it.
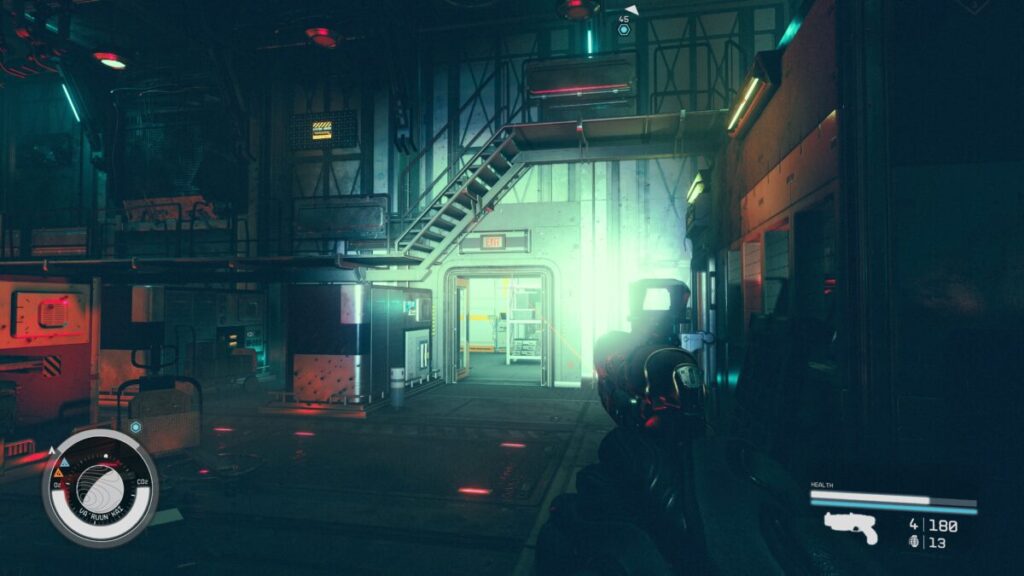
Make sure to loot the industrial crate on your way out the door! When you reach the Emergency Cuttable Wall door, you’ll need to use your cutter (or a bladed melee weapon) to cut the 4 pins. Follow the linear cave until you reach what appears to be a dead end. To the left of the lantern on a metal beam, use your cutter to break through the wall.
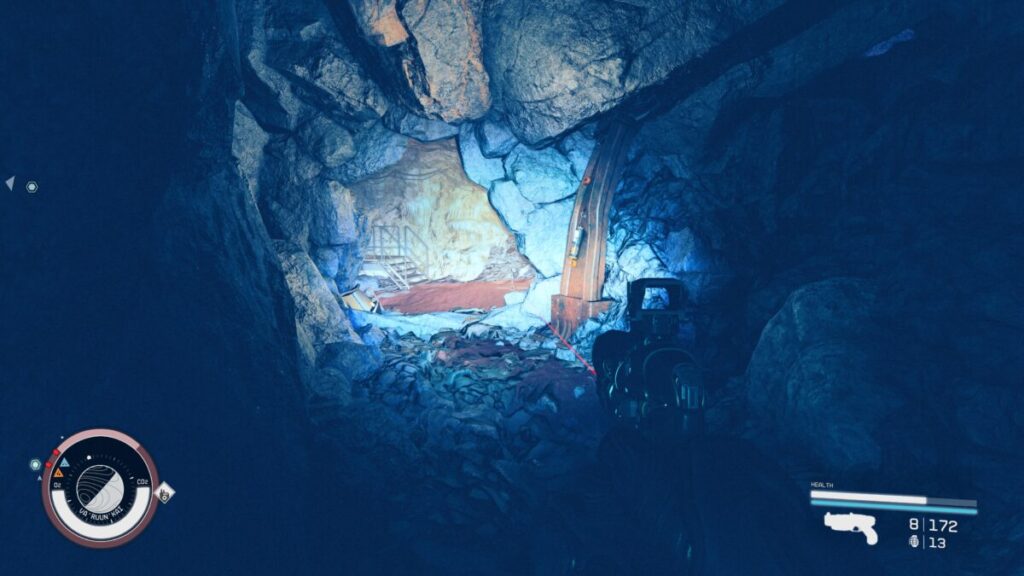
Take a right then head all the way up the stairs. You’ll then be scotch-free! Return to Nalada at the Va’ruun Depository to reveal the fate of her brother.
When speaking with Nalada, make sure to scroll down to get the “I have some bad news for you about Quasim.” option.
You’ll then have the option to tell her that Quasim is dead or lie to her. Either way, the Sympathy for the Living mission will be completed, and you’ll receive 5,000 credits, 200 XP, and a discount at Va’ruun Depository Vendor Discount.
Additional Starfield Guides and Walkthroughs
Be sure to check our main Starfield Guides and Walkthroughs page for additional content on Starfield!

