Welcome to NGB and our guide on the Starfield Shattered Space A House Divided mission. This guide will walk you through starting the mission and detail the necessary steps for its completion. If you need help with a specific mission objective, check the quick links section to find the most relevant information easily.
A House Divided Quick Links
- How to Start the A House Divided Mission
- A House Divided Mission Guide
- Listen to the Discussion
- talk to Qisrani Dul'Khef
- Investigate the Halls of Healing
- Gain Access to Ukaru's Workstation
- Track Down the Missing Supply Shipment
- Find an ID Card or Hack Open the Security Door
- Follow the Signal to Ukaru's Tracking Device
- Follow the Blood Trail
- Gain Access to the Control Room
- Restore Power to the Depot
- Search the Room for Evidence
- Return the Evidence to Qisrani
- Speak to Tevina at the Keep about Jandar's Rest
- Infiltrate Jandar's Rest
- Speak to the Zealot Boss
- Return to Qisrani
- Protect Qisrani
- (Optional) Search House Ka'Dic for More Evidence
- Wait for Qisrani to GAther Reps. for the Trial
- Meet with Qisrani at the Halls of Healing
- Additional Starfield Guides and Walkthroughs
How to Start the A House Divided Mission
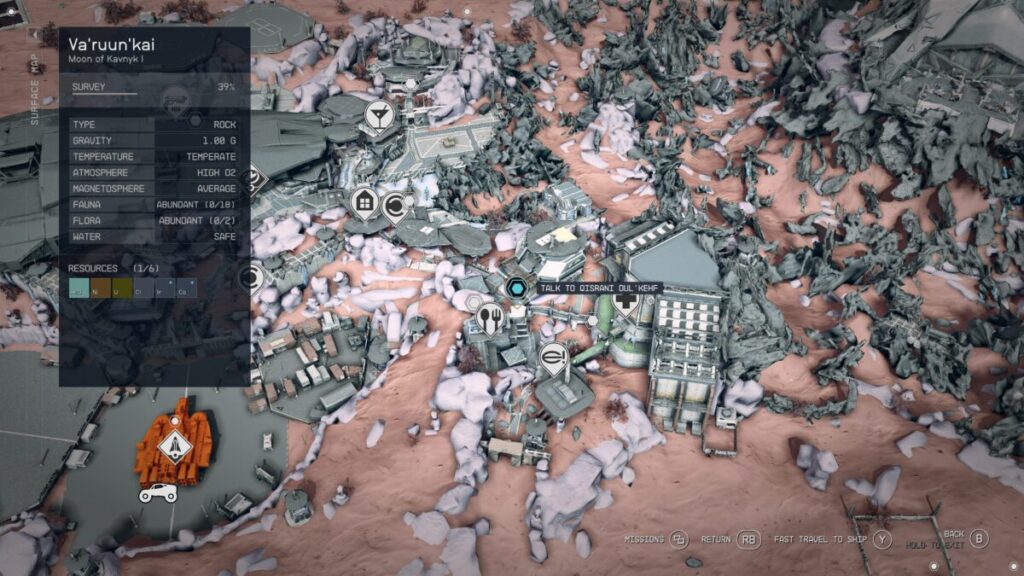
To start the A House Divided mission, travel to Jarek Plaza in Dazra on planet Va’ruun’kai of the Kavnyk system, where you’ll hear three people arguing in front of the Halls of Obedience. Approach them to start them to trigger the mission.
A House Divided Mission Guide
Listen to the Discussion
Once the group starts arguing, stand by and listen to their conversation.
talk to Qisrani Dul’Khef
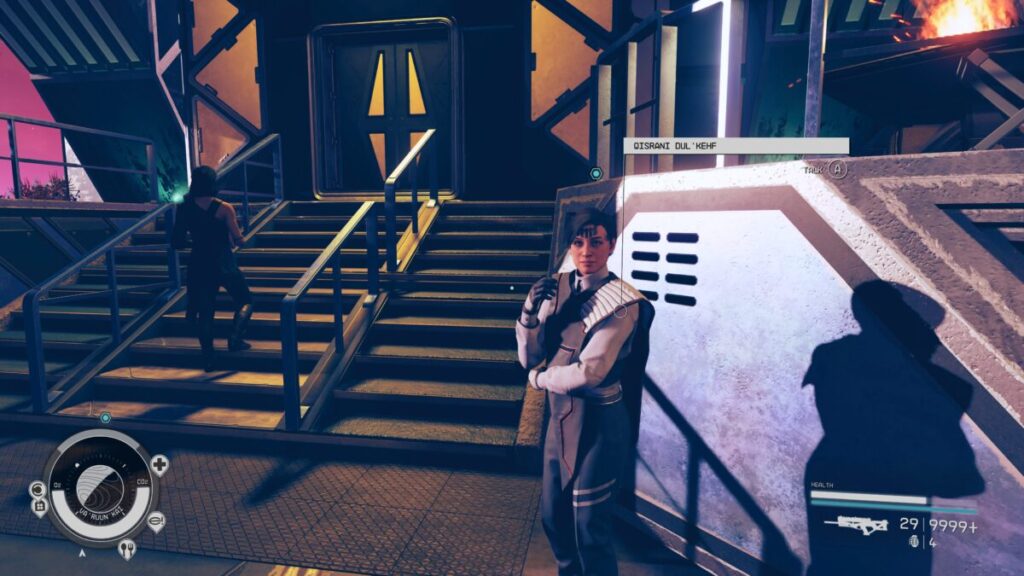
Once it concludes, speak with Qisrani near the Halls of Obedience to introduce yourself and ask for work. She’ll tell you she thinks there is more to the supply shortages than just the cataclysm. Agree to help, then set out for the Halls of Healing.
Investigate the Halls of Healing
Mosey on over to the Halls of Healing which can be found on the right side of the Hall of Obedience at the bottom of the stairs. Once inside, head to the elevator in the back and take it up to Radiology. As you approach the counter, an Executor will stop you. Give him the slate, and he’ll give you access to Ukaru’s workstation. You then need to select the persuasion option and pass the check to be given temporary admin access to his computer.
Gain Access to Ukaru’s Workstation
Head through the door to the right of the counter, then take a left to reach Ukaru’s workstation. Just past the robot on the left, interact with it, and then choose the “Ukaru Dul’kehf’s Logs” folder. After it opens, select the far right attachment to restore the deleted files (this requires admin access). This will restore the files, allowing you to access all four of them. Do so to receive the next objective.
Track Down the Missing Supply Shipment
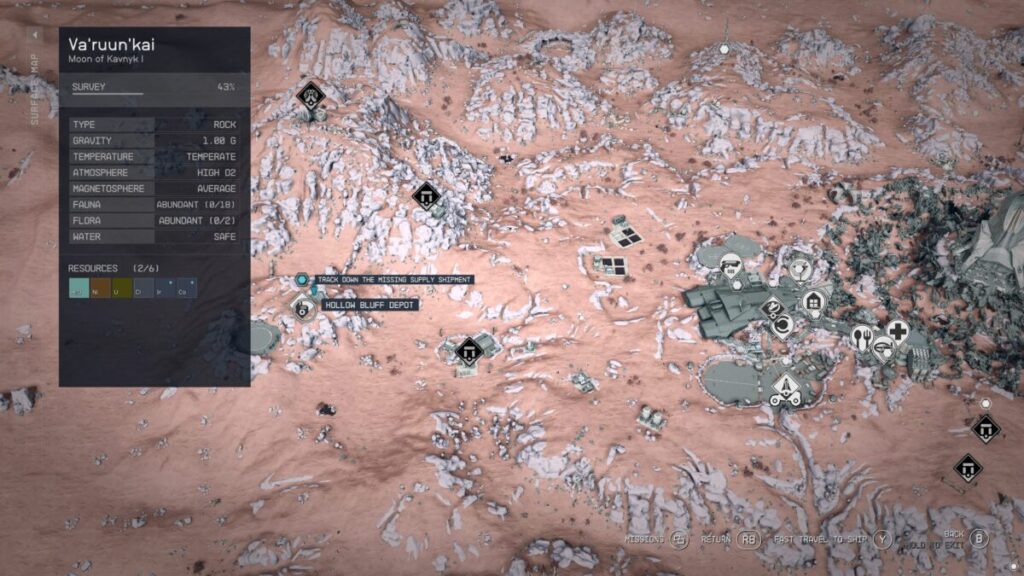
Leave the Halls of Healing and exit Dazra, heading west from the city to Hollow Bluff Depot. Enter the building, then go down the ramp inside and through the grate to enter the depo. This will put you in the vent shaft. Follow it to the end and pass through the vent to enter a command room. Interact with the Supply Depo Computer in this room, then check all its files. You’ll also want to pick the novice lock on the Supply Tracking file.
Find an ID Card or Hack Open the Security Door
Do an Advanced Hack on the computer to open the security door. Alternatively, close the computer and look to the left for a Power Switch next to a chest. Interact with it to open the Security Door. Also, grab Ukaru’s Log #1 off the table in the center of the room.
Follow the Signal to Ukaru’s Tracking Device
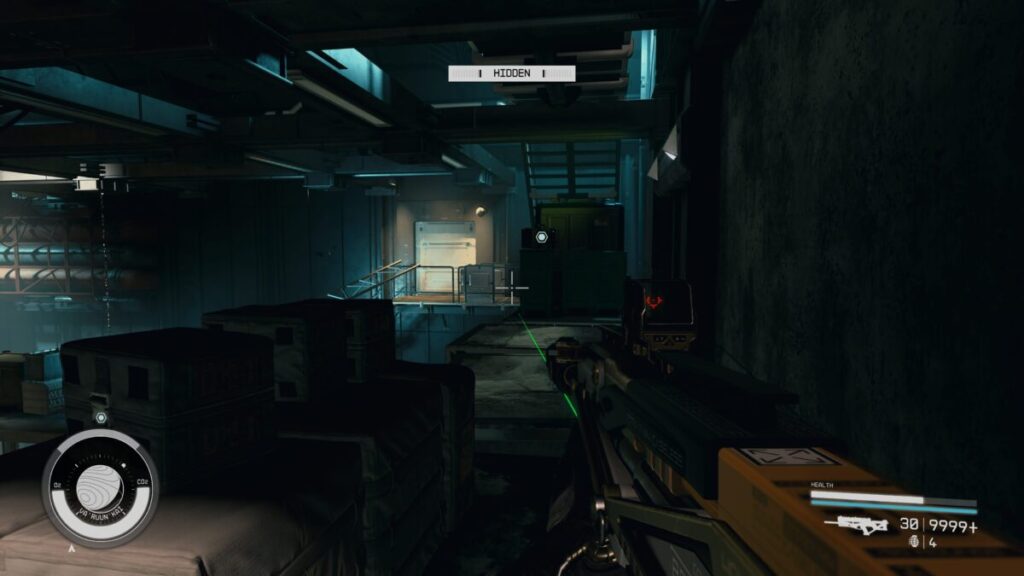
Head through the newly accessible doorway, and then follow the path to reach the upper walkway of the storage room. Somewhere in this room, you’ll find Ukaru’s Log #2 (spawns in different locations).
Follow the Blood Trail
Drop down to the ground level of the warehouse and follow the blood trail along the floor. When you enter the hallway, you’ll be trapped inside and poison gas will start filling the space.
Gain Access to the Control Room
Look along the right side of the hallway to spot a vent you can open, then head inside and follow the shaft. This will bring you back to the warehouse, where you’ll have to fight your way through some Zealots to reach the middle level on the other side. You’ll find a doorway that will take you to the control room if you head right there.
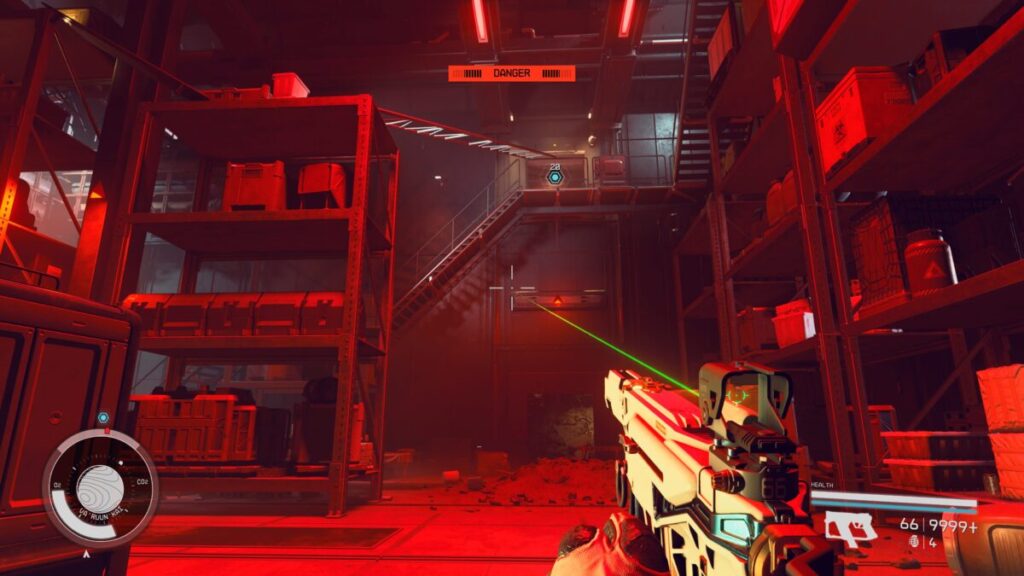
Restore Power to the Depot
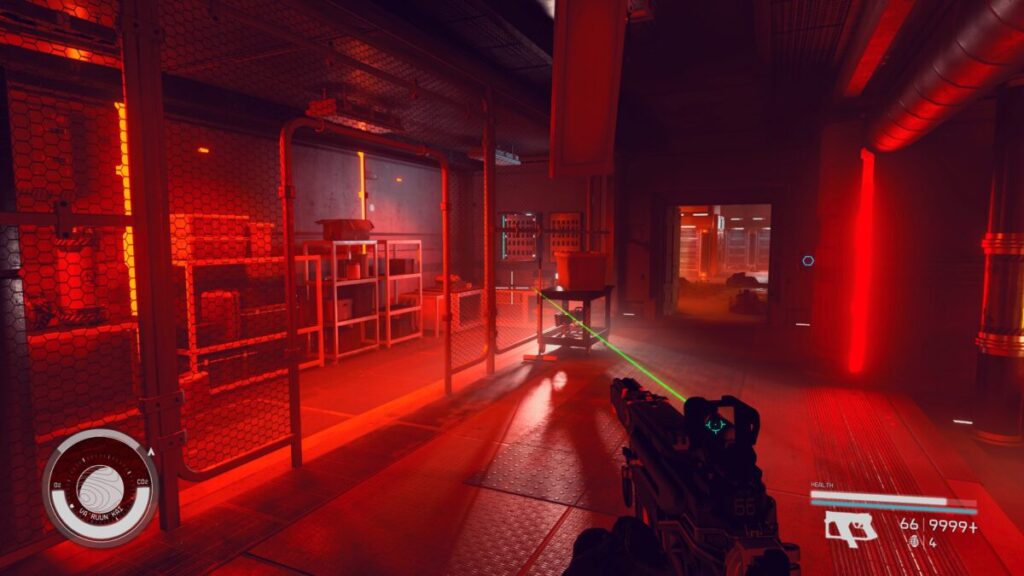
When you reach the room with all of the equipment desks, head to the red gated area and take the Emergency Power Cell on one of the shelves. Enter the next room with all of the circuit boxes (also filled with enemies), and then look to the right to spot the next power cell on top of a computer behind the railing. The next one can be found at the other end of the room on the left, in the last row of servers.
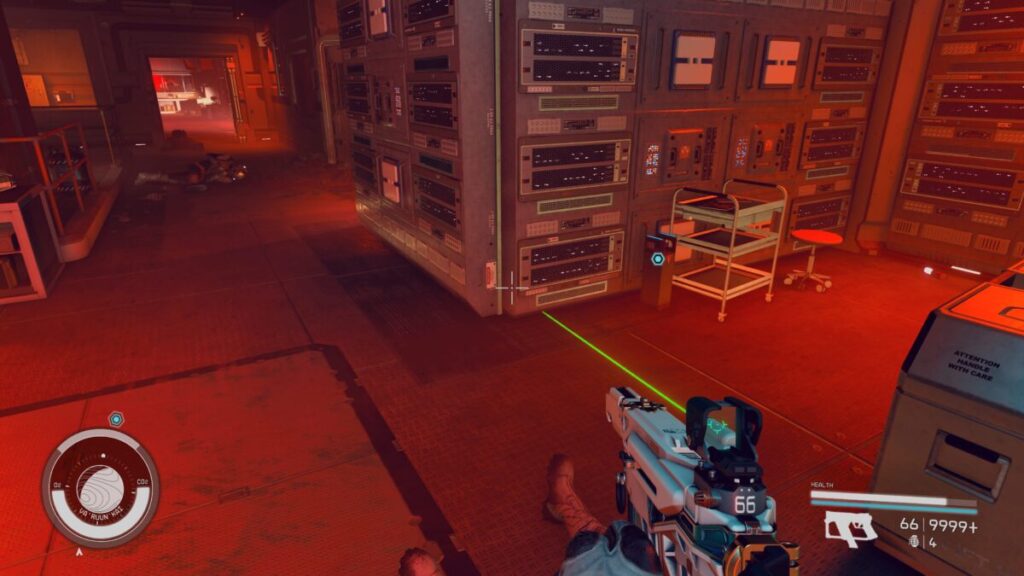
To reach the last one, enter the control room and look to the right to spot a vent. The last one is in there. Grab it, then place all 4 of the power cells into their slots in the control room. If one of the four doesn’t work, another is under the Power Receptacle.
Search the Room for Evidence
Now that the power is back on head through the secure access door that is now open and take a left to find Ukaru. Grab the Supply Closet Passcode and the Encrypted Zealot Slate #2032 from the nearby cabinet, then loot the Supply Depot Recording off him.
Return the Evidence to Qisrani
Now that we have all that we need exit the building through the warehouse…to be attacked by a large group of Zealots. Take them all out, and then head back to Qisrani. She can be found in House Ka’Dic, north of the Goods Exchange. Speak with her there to hand over the slate.
Speak to Tevina at the Keep about Jandar’s Rest
Travel to the Keep on the northern part of Dazra, north of the Spaceport. When you get there, head inside and up to the second floor, passing through the mess toward the command room. Take a left out the door leading to Comman to reach Tevina’s office. Head inside and speak with her. Show her the encrypted slate, and she’ll happen to have a key on her (pick the first option when prompted for the code). She’ll also give you coordinates to Jandar’s Rest. If you wish, you can request some backup or fancy a guess who is behind the stolen goods.
Infiltrate Jandar’s Rest
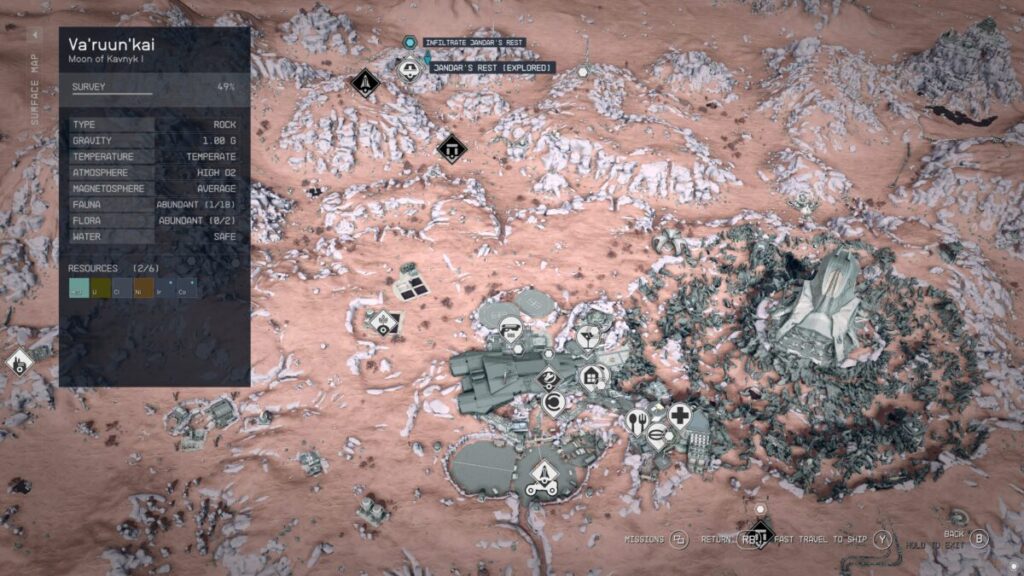
To reach Jandar’s Rest, exit the city and travel north. When you arrive, head to the back of the town to find the entrance cave. Enter said cave, and then proceed through it until you reach the secure access door.
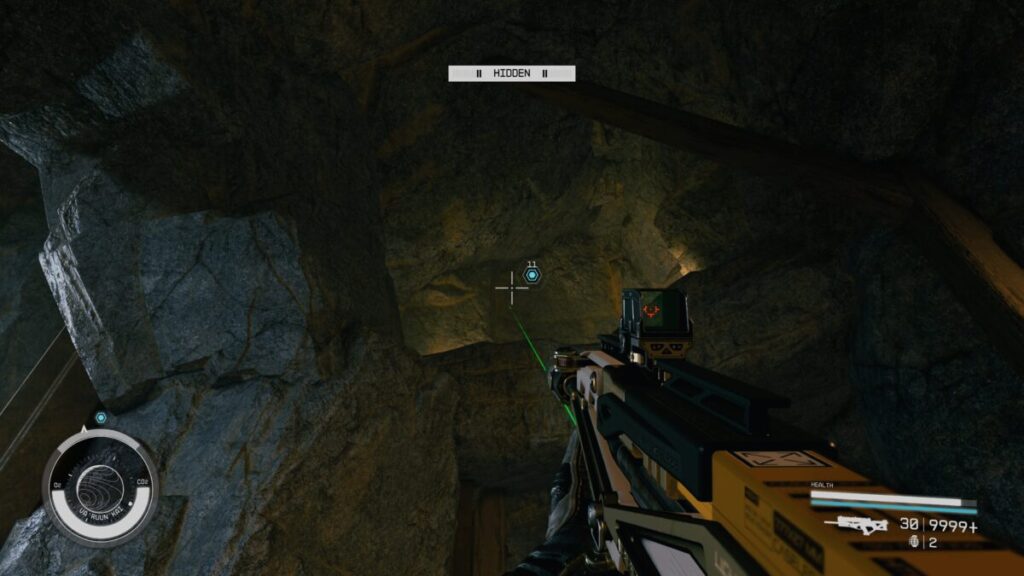
Look up facing where you just came from to find a ledge you can boost up to (or use the boxes on the side of the room to climb up). From, head through the cave going east, dealing with the enemies you encounter. Eventually, you’ll reach a large room filled with enemies and a Zealot Shrine in the back. To enter the shrine, you’ll need to find one of two captains in the big room and take them out for the keycard. We found one in the structure on the left wall.
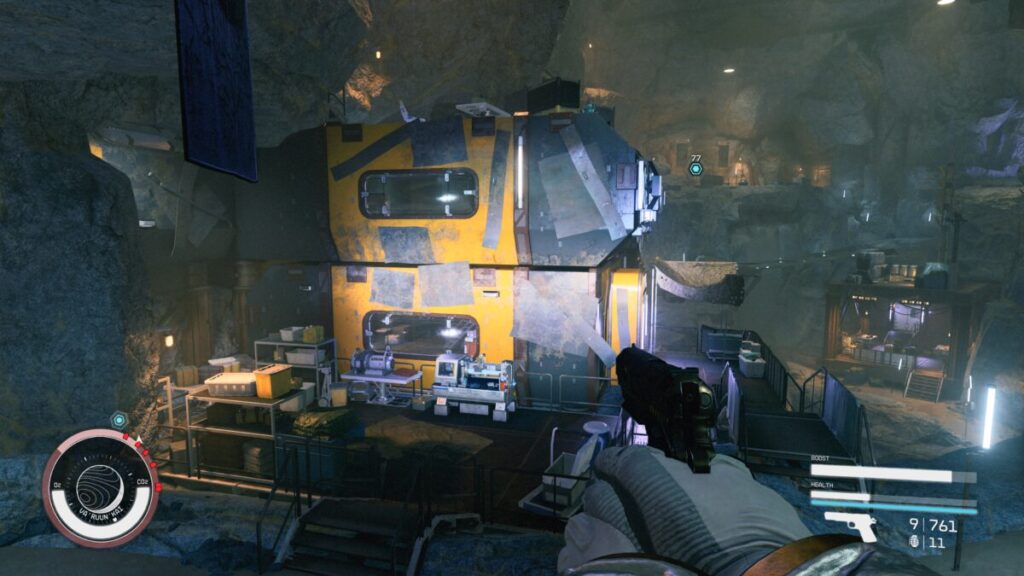
Once you have it, open the shrine, then head inside.
Speak to the Zealot Boss
You’ll then be confronted by the leader of the zealots, Brother Onamide. You’ll have the option to persuade him to give up the contact in exchange for his freedom. If you go this route, he’ll tell you that the contact is from House Ka’doc and give you a slate with evidence. If you fail that check, then you’ll have to kill him and take it from his cold dead fingers!
Return to Qisrani
Now that we have the needed evidence return to Qisrnai at the Halls of Obedience in Dazra. Upon entering the building, she will speak with you. Tell her that Mujeen Ka’dic is the thief. She’ll then say he called this meeting and ask you to back her up.
Protect Qisrani
Follow her up to the meeting and then deal with all three assassins. After the fight, speak with her again. Also, make sure to loot the assassins. You’ll get Ochim’s Computer Passcode and Target: Qisrani Dul’kehf.
(Optional) Search House Ka’Dic for More Evidence
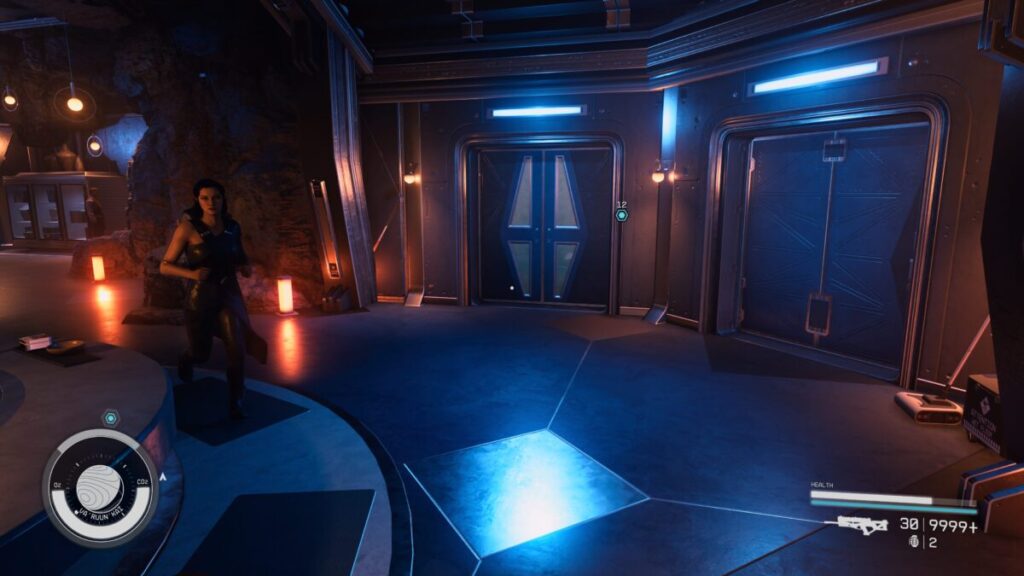
Before the trial, you can search House Ka’dic for more evidence. Make your way there (same house north of Goods Exchange), heading inside once you arrive. Climb up the stairs on the right side of the entry room, then enter the second door on the right at the top to reach the office. Interact with Mujeen Dadic’s computer by bypassing the novice lock to browse his files. On the desktop, you’ll want the Meeting file, which is also protected by a Hack Novice lock. Pick it to view its contents, which will complete the objective.
Wait for Qisrani to GAther Reps. for the Trial
You’ll now need to wait for some time to pass. We’d recommend finding a bench and waiting there for 24 hours. When you’re done, the quest objective should be updated.
Meet with Qisrani at the Halls of Healing
Travel to the Halls of Healing, then take the elevator at the back up to Radiology. Once you get off, go left and follow that path to the end, where Mujeen Ka’dic will greet you. He’ll try to get you to set his ward up to take the fall while he continues his work to bring another house into the fold. You can agree to his terms (for 10,000 credits if you wish) or tell him to take a hike.
Side with Qisrani
If you stick with Qisrani, Mujeen will storm off, ready to argue. Enter the meeting room and speak with Qisrani to begin the meeting. When prompted, hand her the slate to which he will rebuke. Follow that up with the evidence from his computer to have him sent to the clinker. Afterward, speak with Qisrani once more to complete the mission. You’ll be rewarded with 300 EXP and some credits.
Side with Mujeen Ka’dic
If you decide to side with Mujeen (which pisses off your companion), he’ll give you a new slate to give to Qisrani. Enter the meeting and speak with Qisrani to kick things off. When asked, hand over the slate, which will put 100% of the blame on Mujeen’s ward (who has already been dealt with); this will complete the mission, and you’ll be rewarded with 300 EXP and some credits.
Additional Starfield Guides and Walkthroughs
Be sure to check our main Starfield Guides and Walkthroughs page for additional content on Starfield!

