Welcome to NGB and our Starfield guide on the Sabotage mission. This guide will walk you through starting the mission and detail the necessary steps for its completion. If you need help with a specific mission objective, check the quick links section to easily find the information needed.
PLEASE NOTE: Some of the planets referenced in our guides and walkthroughs may not match yours due to how Starfield was created. In these situations, what you do and the places you visit on those planets should remain the same.
Quick Links
- How to Start the Sabotage Mission
- Sabotage Walkthrough
- Meet Dalton in His Office
- Take a Seat in the Conference Room
- Meet Veena in the Neuroamp Division
- Perform the Experiment
- Talk to Masako in Her Office
- Talk to Dalton / Meet Ularu in her Office
- Infiltrate Infinity LTD
- (Optional) Sabotage the Heating System
- Run The Program on Lucas' Computer
- Find a way Into Research and Development
- Run the Program on Faye's Computer
- Obtain the Neuroamp Prototype
- Deliver the evidence to David Barron
- Report to Masako at Ryujin Tower
- Additional Starfield Guides and Walkthroughs
How to Start the Sabotage Mission
Sabotage is one of the faction missions for Ryujin Industries. You’ll automatically begin this mission after completing The Key Ingredient mission.
Sabotage Walkthrough
Meet Dalton in His Office
Enter the elevator in Ryujin Tower and ride it to the Executive Offices. Once there head up the stairs and speak with Dalton in the security room.
Take a Seat in the Conference Room
Follow Dalton to the conference room and sit down to partake in the meeting.
Meet Veena in the Neuroamp Division
Head down to the Research and Development floor and speak with Veena. After your conversation, sit on the Neurosurgery Operating Table to begin the operation. Once it’s over, speak with Veena again.
Perform the Experiment
Exit the room and head up the stairs to the observation deck where you’ll receive a tutorial on how to use the manipulation device. Follow the tutorial to put Demarcus under your control. To open the door, have him interact with the keycard on the table behind him then the door to open it. Once you’ve successfully completed the experiment head down to Veena and speak with her after she finishes talking to Demarcus.
Talk to Masako in Her Office
Head up to the Executive Offices and speak with Masako in her office. She’ll present you with 2 options on how to infiltrate Infinity LTD. For Option A, you’ll gain access to the maintenance access on the roof and need to be completely stealthy the whole time! As you can assume, you’ll start on the roof for this option! For Option B they’ll give you an identity as a slight cover and assign you with a meeting to get you into the door. You’ll then use your acting skills to talk your way out of things. If you select Option B, you’ll start in the Marketing Department. Select whichever option you’d prefer! No matter you’ll choice, you’ll have 3 targets:
- Lucas’ computer in the Executive Offices
- Faye’s computer in Research and Development
- Obtain the prototype in R&D
For this mission, you’ll be given an Operative Suit and Helmet! Make sure to put them on to help you avoid detection!!
Talk to Dalton / Meet Ularu in her Office
Depending on who you sided with, you’ll speak with either Dalton or Ularu before beginning the infiltration. If you sided against Ularu, you’ll need to speak with Dalton to hand over the slate then wait for his analysis. If you sided with Ularu, you’ll speak with her.
Infiltrate Infinity LTD
Head over to New Atlantis on Jemison in the Alpha Centauri System. Once there, head to the Commercial District to find the Infinity LTD building.
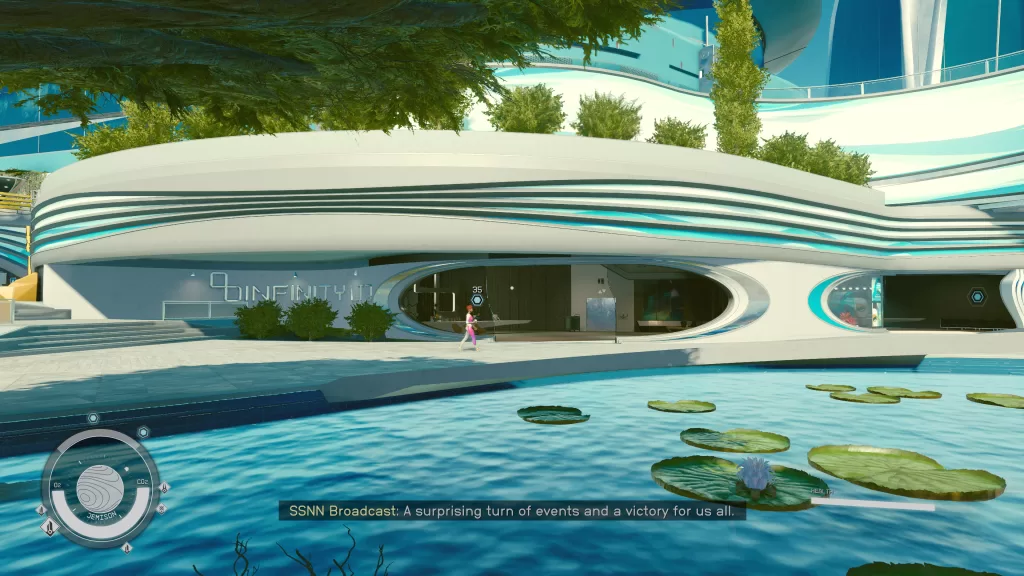
Depending on whether you chose Option A or B, you’ll have 2 ways of infiltrating the building.
Option A – Roof Access
If you want to avoid people the whole time, make your way up to the roof via the door to the right of GAL Bank, which is on the right side of the Infinity LTD building.
Option B – Marketing Floor
Speak with the receptionist on the first floor who will direct you to the nearby elevator. Take it up to the Marketing floor then head straight ahead to find Aelys. He’ll suggest that you take a seat in the waiting area to wait for your appointment. Proceed to the couch and take a seat. Aelys will interrupt you shortly after mentioning that you can explore the facilities on the floor while you wait.
(Optional) Sabotage the Heating System
You’ll want to do this objective first before attempting to move to a different floor as doing this will clear out all the people from the building except the guards. This will make sneaking around waaaayyyy easier plus you’ll get to use your new manipulation skill! Once Aelys leaves (if you’re on the Marketing floor), enter the elevator and ride it up to the Roof Access. Once you exit the elevator, take a right to find a vent. Enter this vent to find a guard in the room ahead on the other side of some spinning fans.
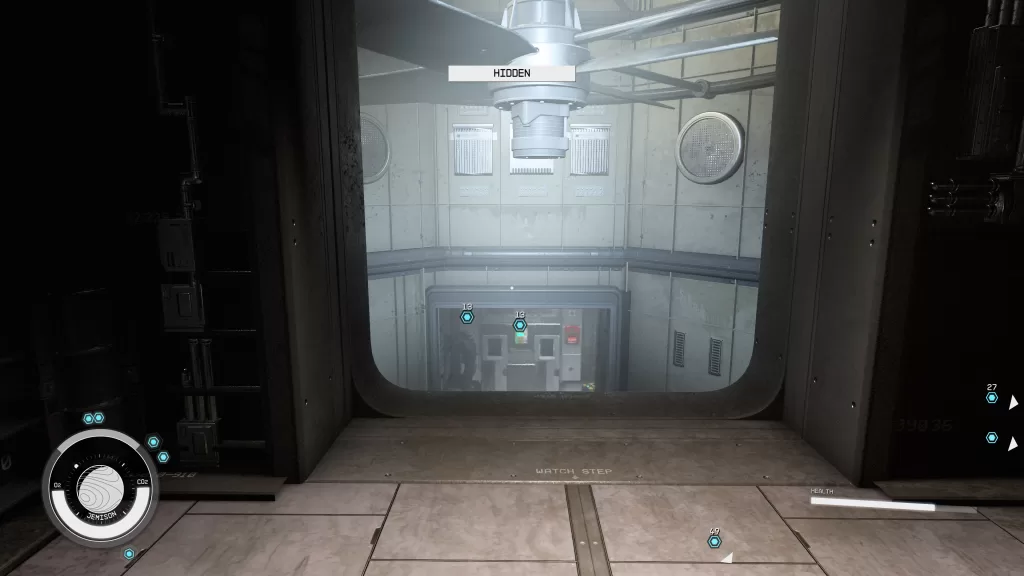
Manipulate this guard to flip the switch next to him causing the fans to stop spinning. Once you’ve completed this task, drop down to the area underneath the fans then take a right. At the T, take a left to find the Mainentance Systems computer. Interact with it then select the following:
- “Critical Systems”
- “Heating [!]”
- “Activate System”
- “Yes”
With a gas leak detected, all nonessential personnel will leave the building. Now’s your chance to explore with fewer eyes watching for you!
Run The Program on Lucas’ Computer
Head back towards the T in the path to find a vent. Take this vent and follow it until you emerge on the rafters of the ceiling. Immediately turn around and head northeast.
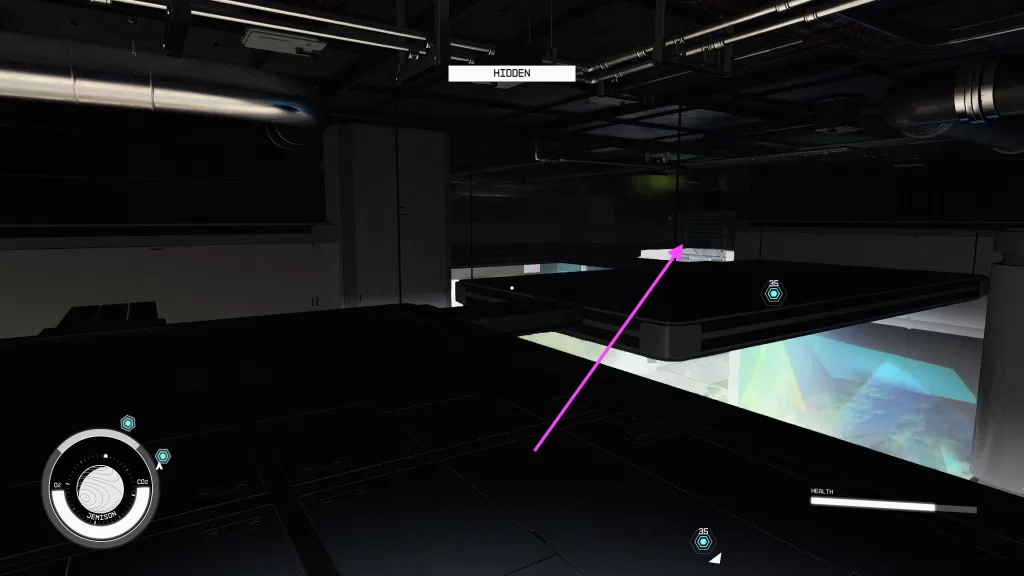
At the end of the path, there will be a door with a label of “Executive Offices” to the right.
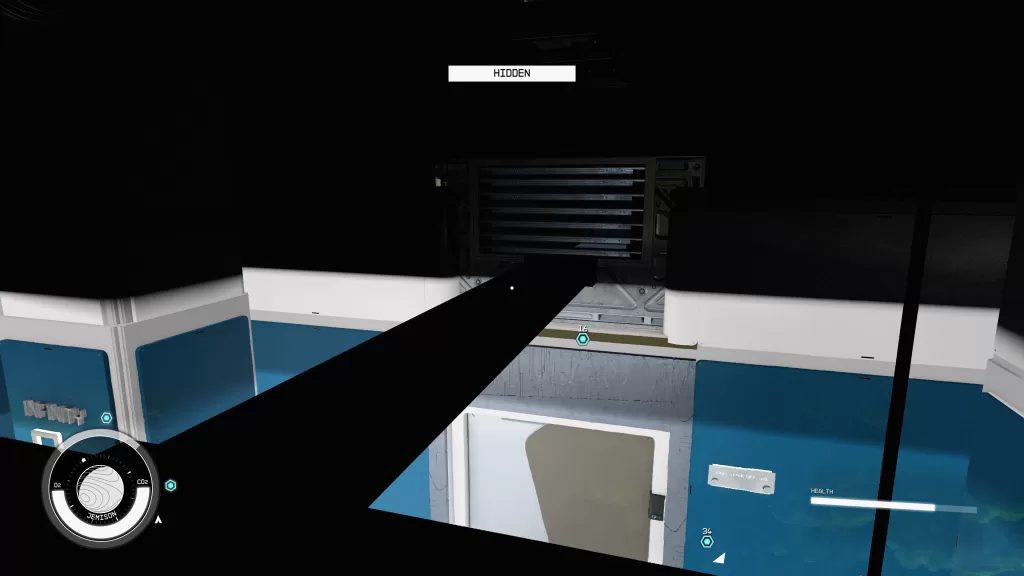
Be mindful of the guard patrolling it. Wait until he turns his back then drop down and unlock this novice door. Quickly head inside and unlock Lucas’ computer. You’ll need to select the “Overseer Program” to run the program on Lucas’ computer.
Find a way Into Research and Development
To exit this room, wait for the guard to turn his back then jump over the rail on the left side near the door.
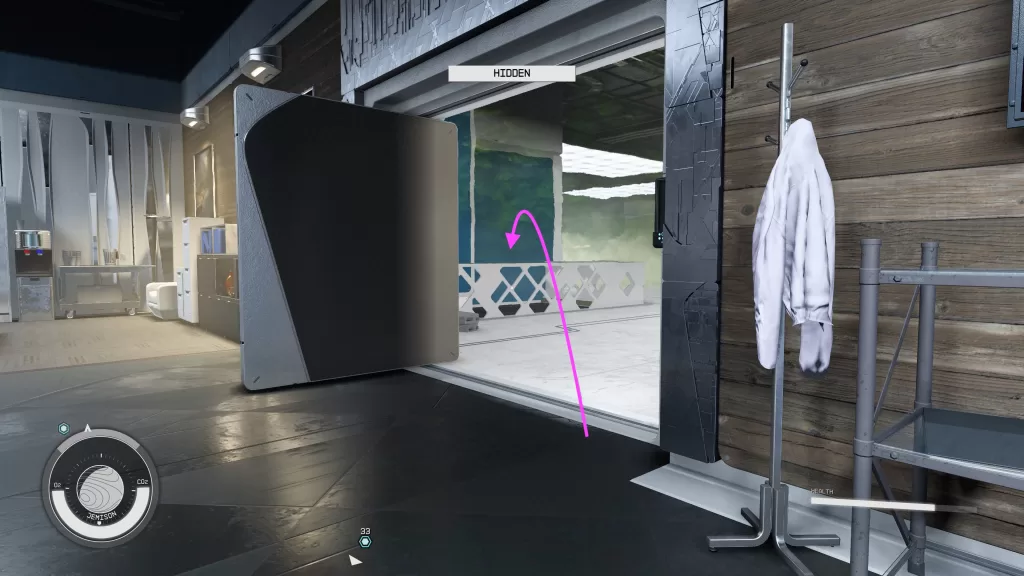
You’ll then be in the rafters again! Enter the vent to the northwest.
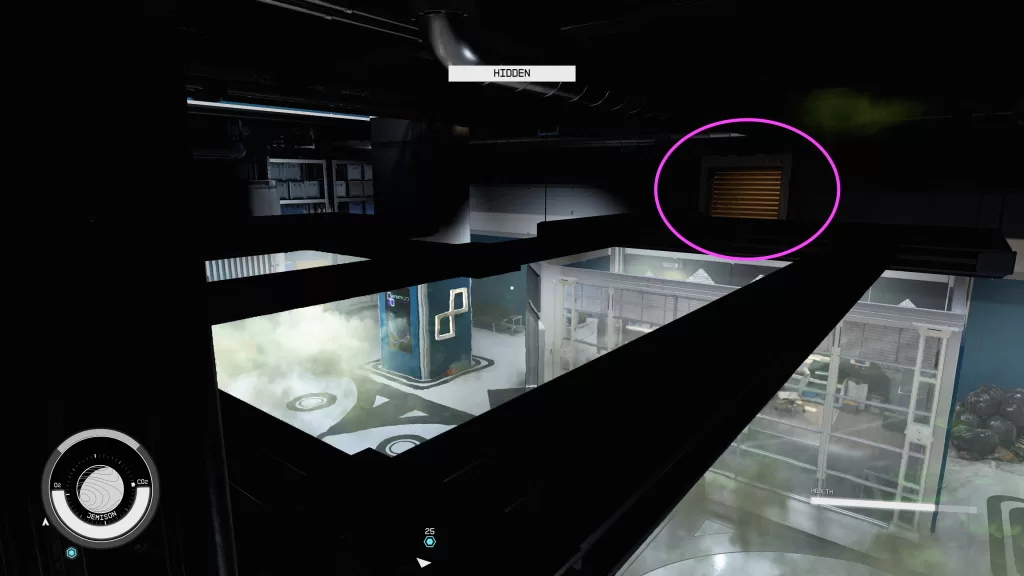
Once in this vent, follow it until you emerge in a bathroom. Exit the bathroom and take a left. Be VERY careful as there are a lot of guards in this area! Remember to use your manipulation skills to guide them away! Take a left and follow the hallway until you spot the cafeteria.
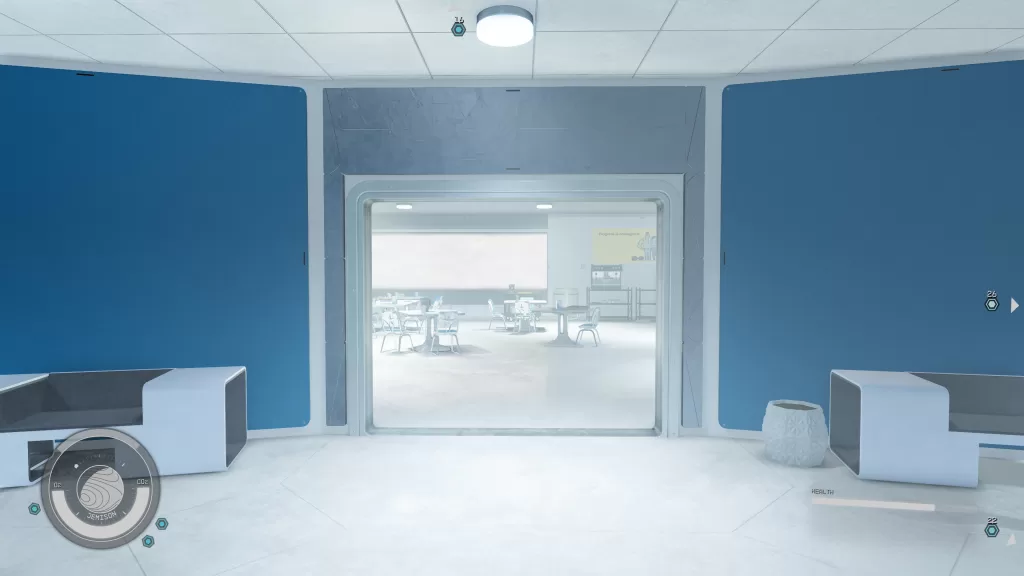
Enter this room and take a left. Follow it to the end and enter the door to reach a small storage room with a vent.
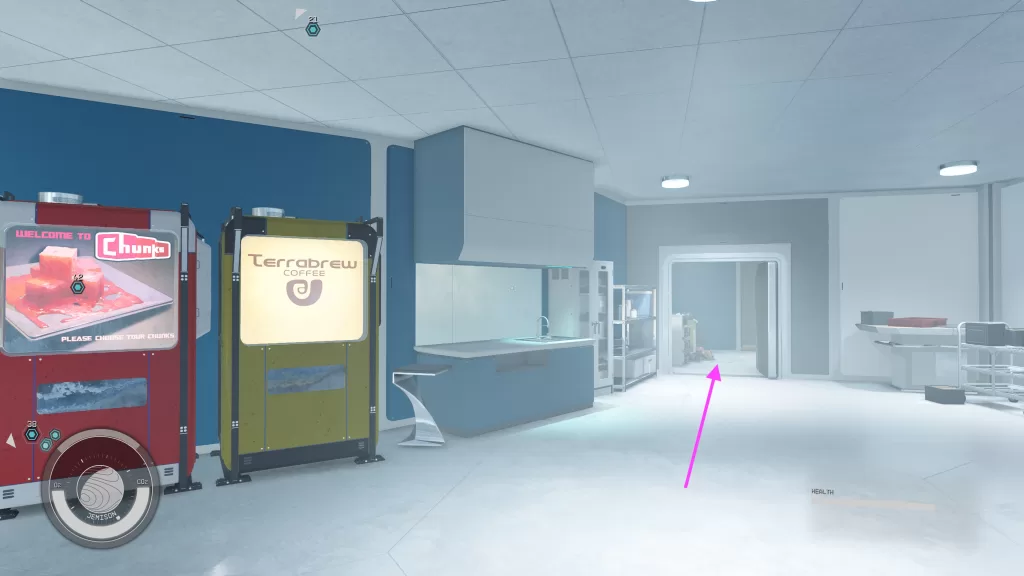
Climb on into the vent and descend. When you emerge from the vent, you’ll be on the rafters of a room. Sneak your way to a vent on the other side. Follow the path shown in the pictures below to reach this vent!
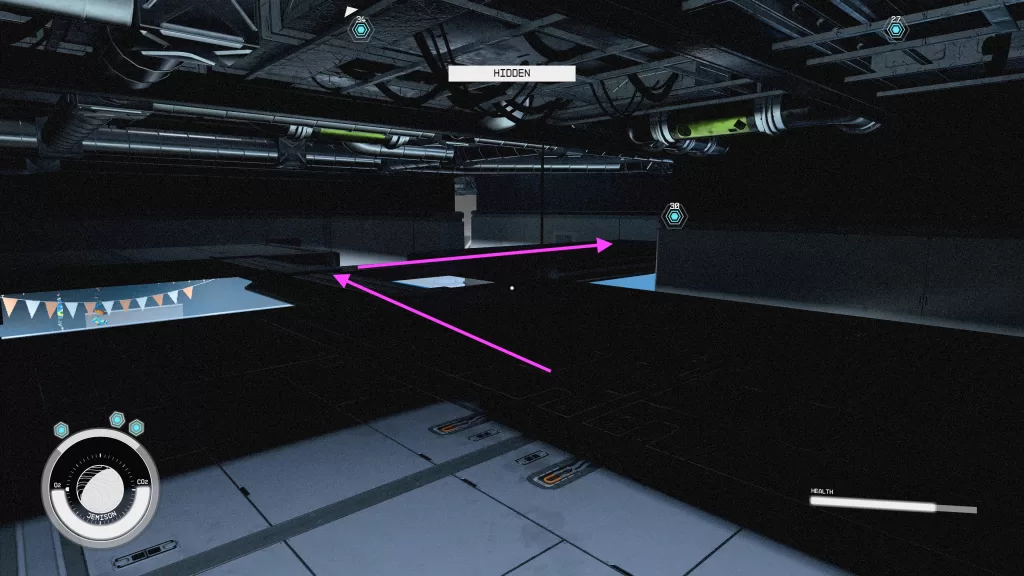
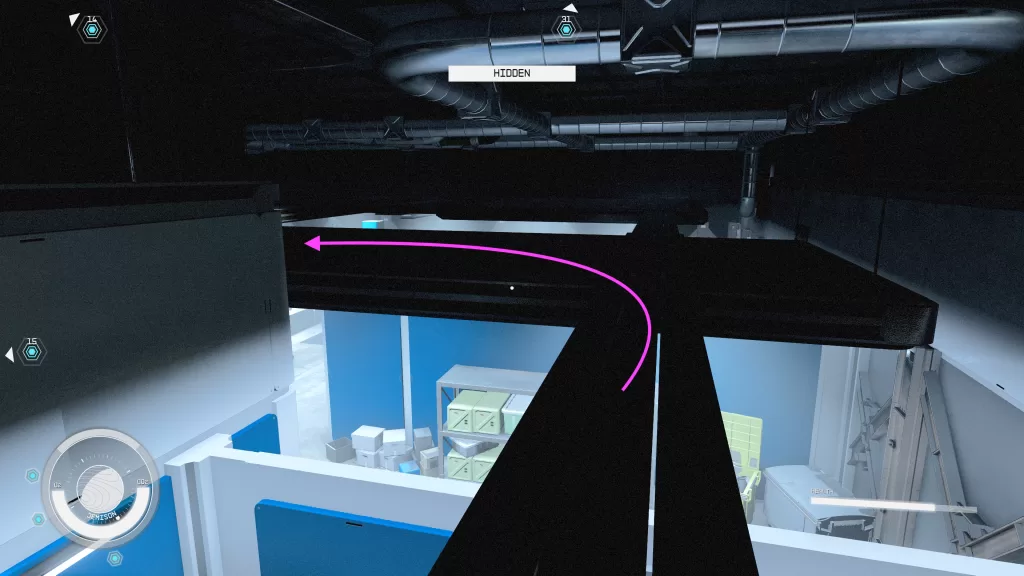
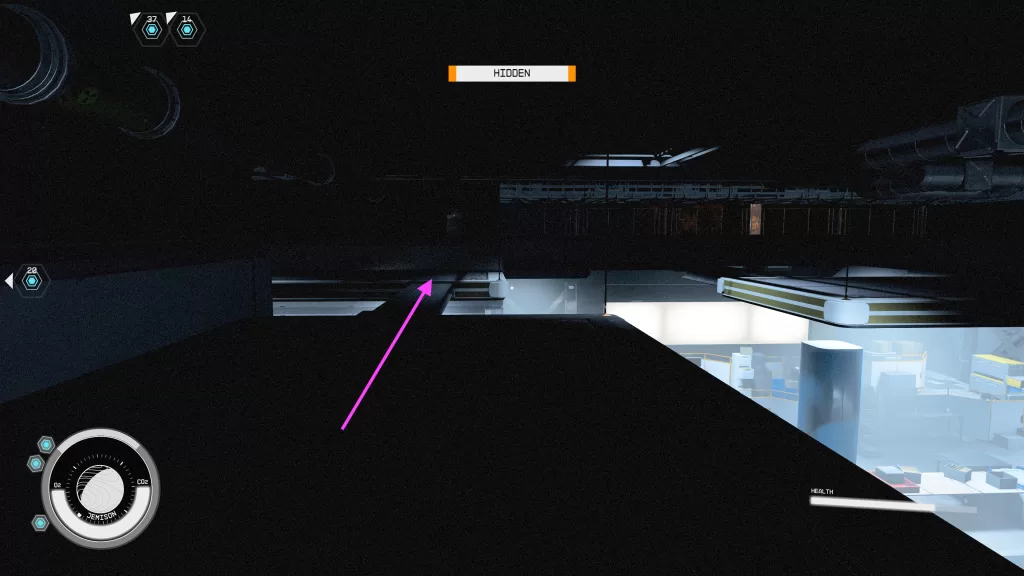
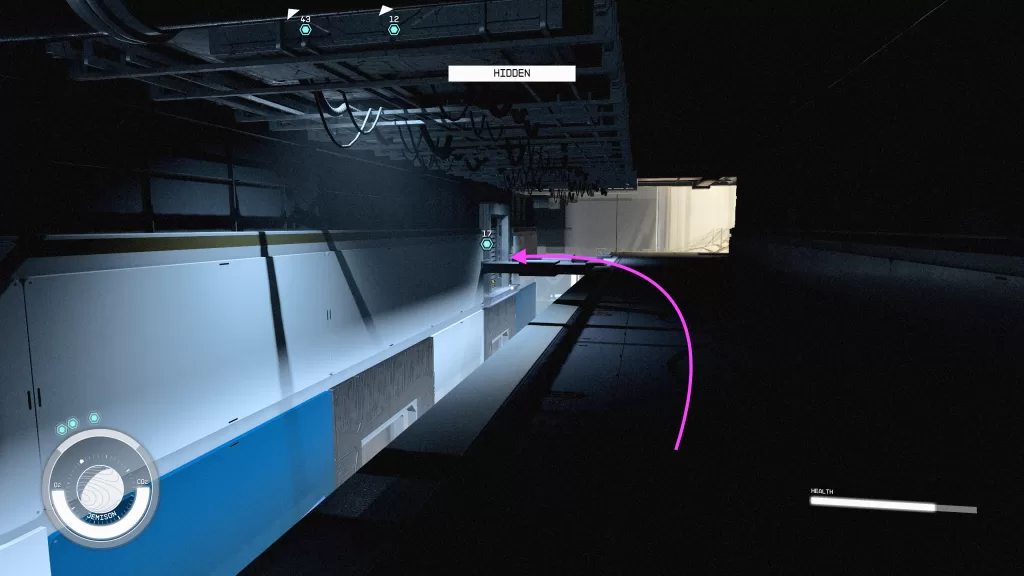
You’ll need to be careful when entering this vent as a guard can spot you! Once inside, you’ll find that you’re in an elevator shaft. Drop down to the bottom and enter the vent. Be mindful of the guard patrolling this corridor as you jump across to the pipes on the other side. You’ll have 2 tasks in this area to complete!
Run the Program on Faye’s Computer
Jump back to the other side of pipes and follow them to reach a vent.
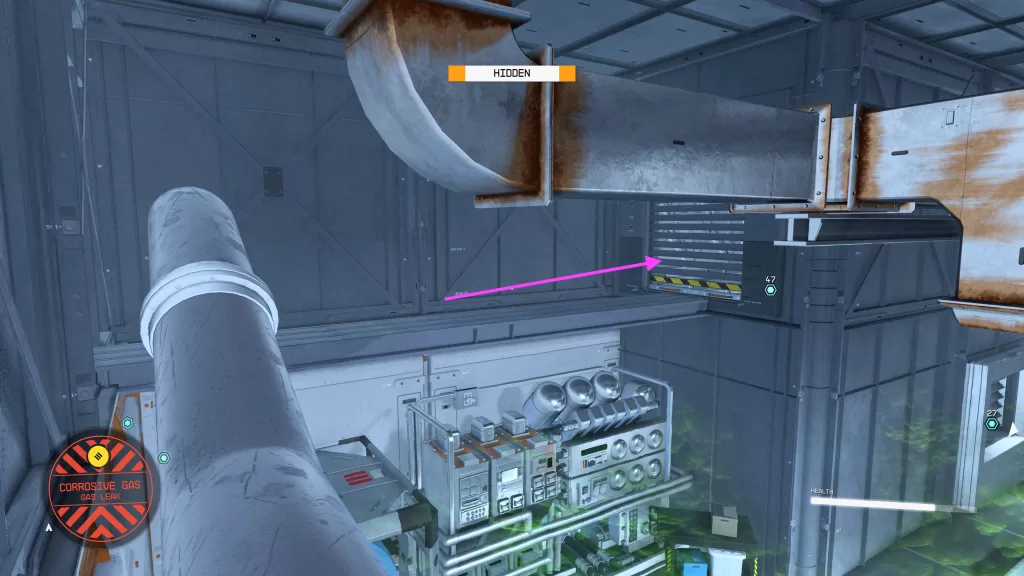
Head inside then exit via the hatch. Be careful in this room as there are guards in the windowed room in front of you. Take a right and head up the stairs to reach Faye’s office and interact with her computer. Select “Overseer Program” to run the program on Faye’s computer. Make sure to loot the R&D ID Card from her desk near the cooler!
Obtain the Neuroamp Prototype
Exit Faye’s office and head down the stairs. Head straight and return to the vent in the bathroom. Follow it. When you reach the pipes, head forward then take a left. Continue straight ahead, jumping to the set of pipes in front of you. Quickly run to the corner as the turret will spot and shoot you. Wait in the corner until all the red goes away and you’re hidden again.
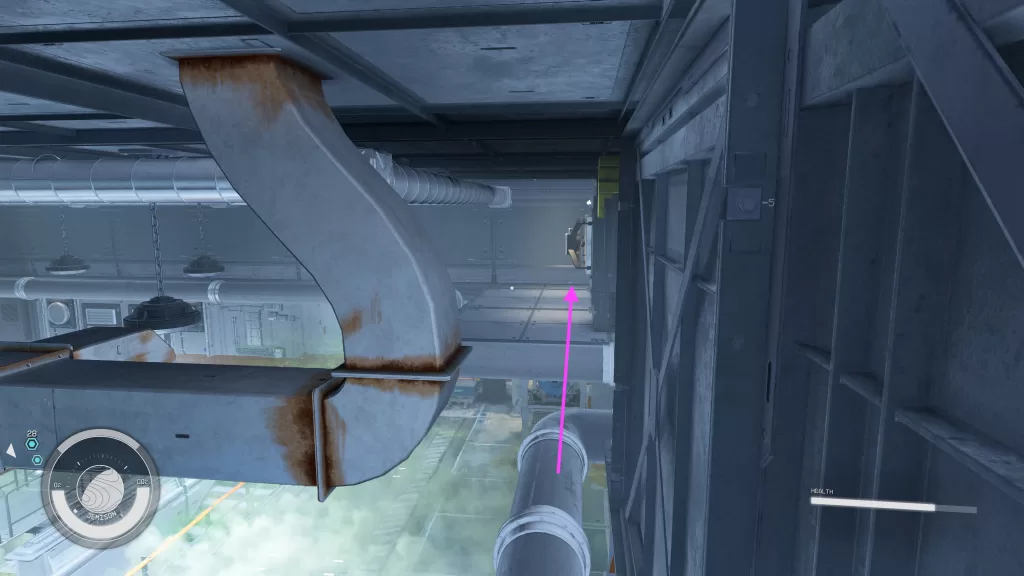
From this point, continue along the path. Hug the wall to remain undetected!
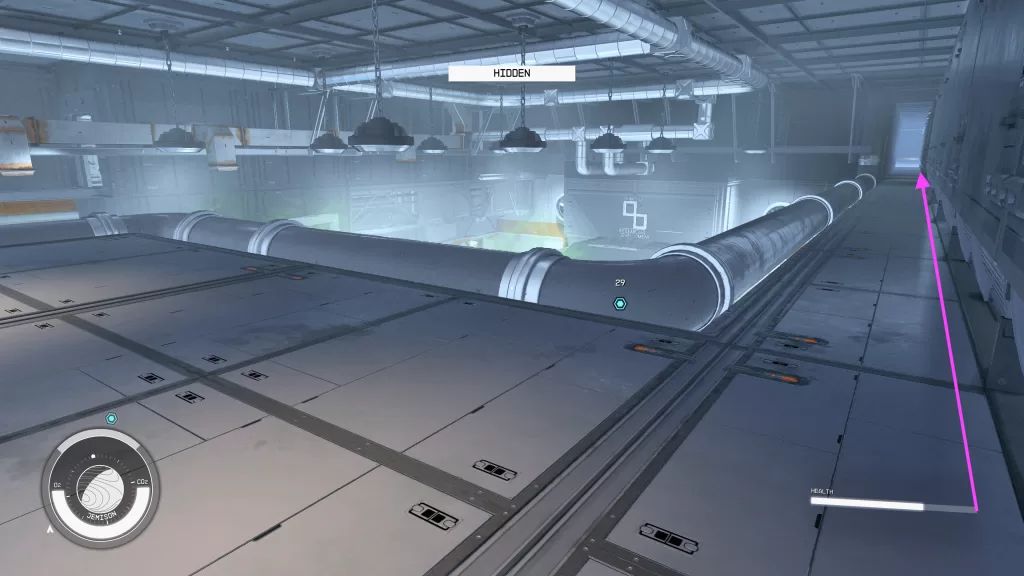
When you emerge from the part with the two walls you’ll be attacked again by a turret. Quickly sprint across the pipes and wait behind the tall column until your fully hidden again!
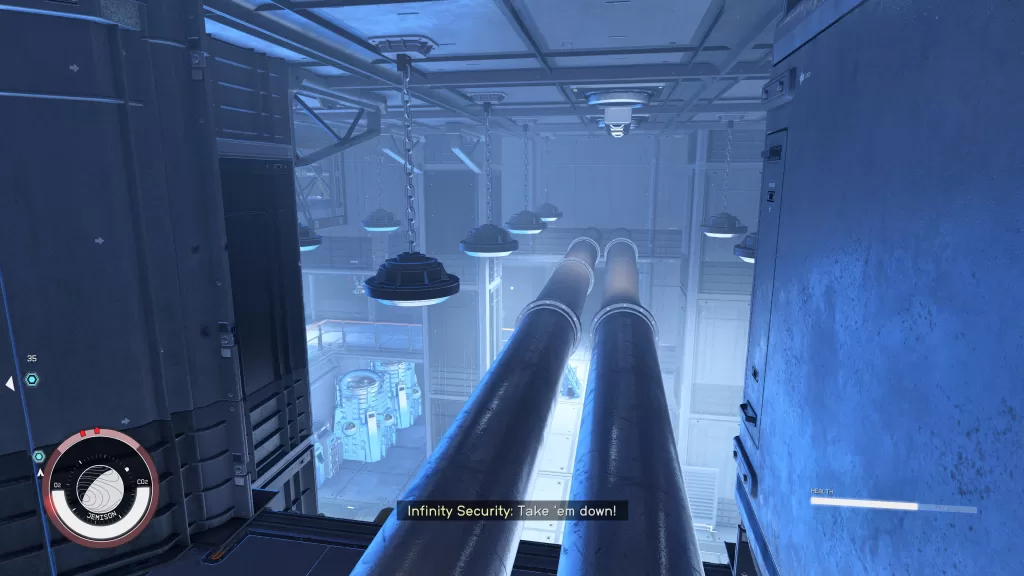
Drop down on the side of the pipes closest to that column to land on an upper walkway. Be mindful of the guard wondering around! You may need to use manipulation.
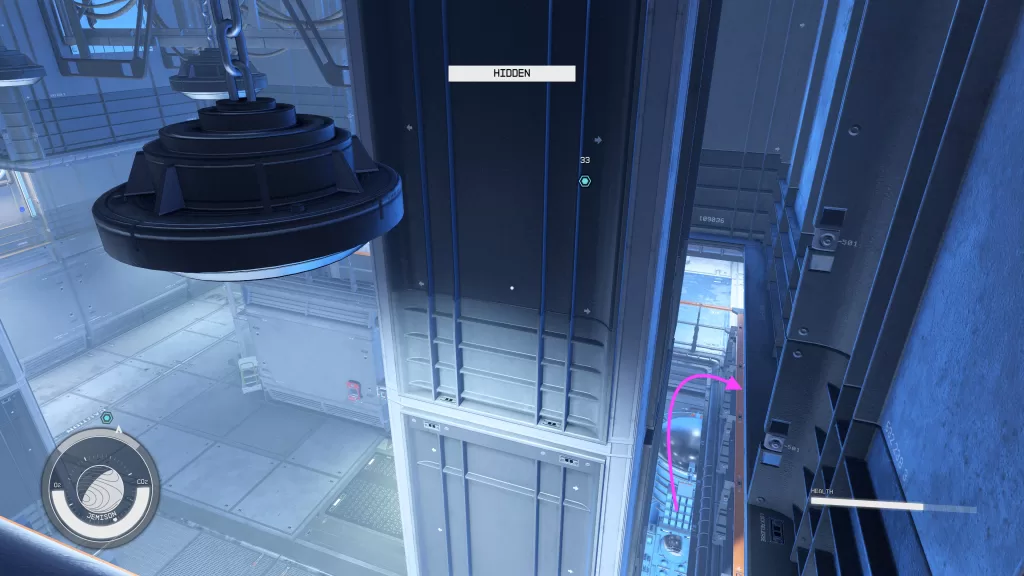
Follow the walkway to reach the room above the red Secure Access doors where the turret controls can be found on the computer. Once you deactivate the turret, head down the stairs and interact with the Emergency Alarm to the left of the Secure Access door to turn off that annoying sound! Afterwards, activate the ID Card Reader also to the left of the door to open it.
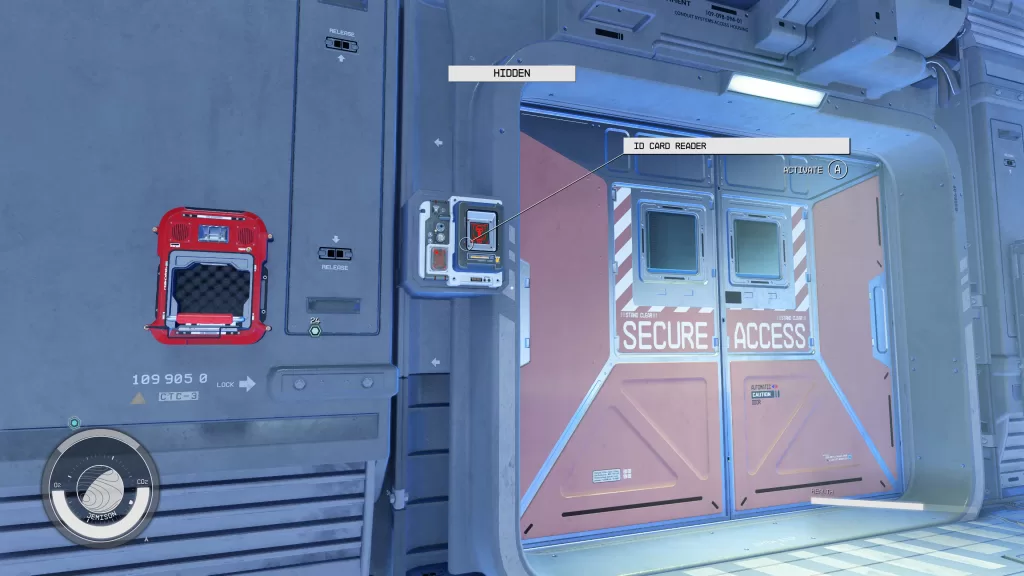
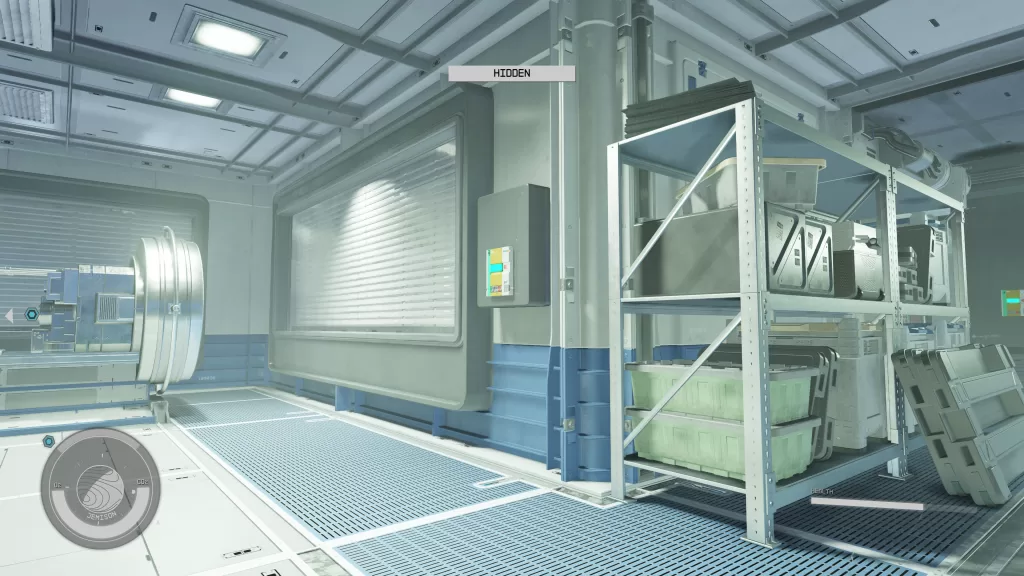
Head stealthy like into the next room as you can be seen in here! To the right of the prototype, you’ll find a switch on the wall that shuts the shutters… use it!
Afterwards, head to the left of the prototype to find the Security Access Controls under the caution sign. You’ll need to unlock this expert lock to deactivate the alarm rigged to the prototype.
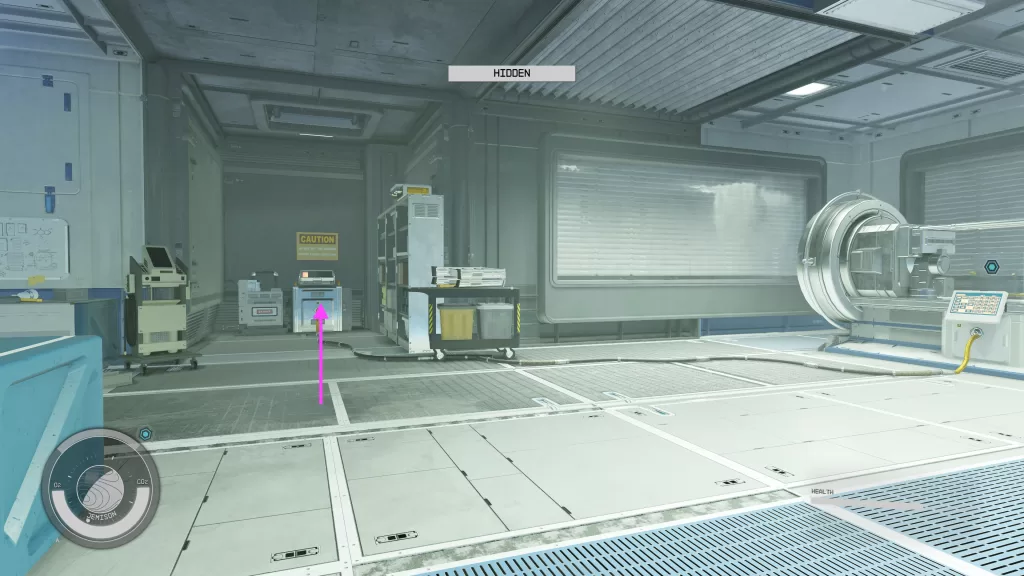
Before you loot the prototype, explore the room to find some goodies, namely a golden science crate and the Cyber Runner’s Cipher 05!
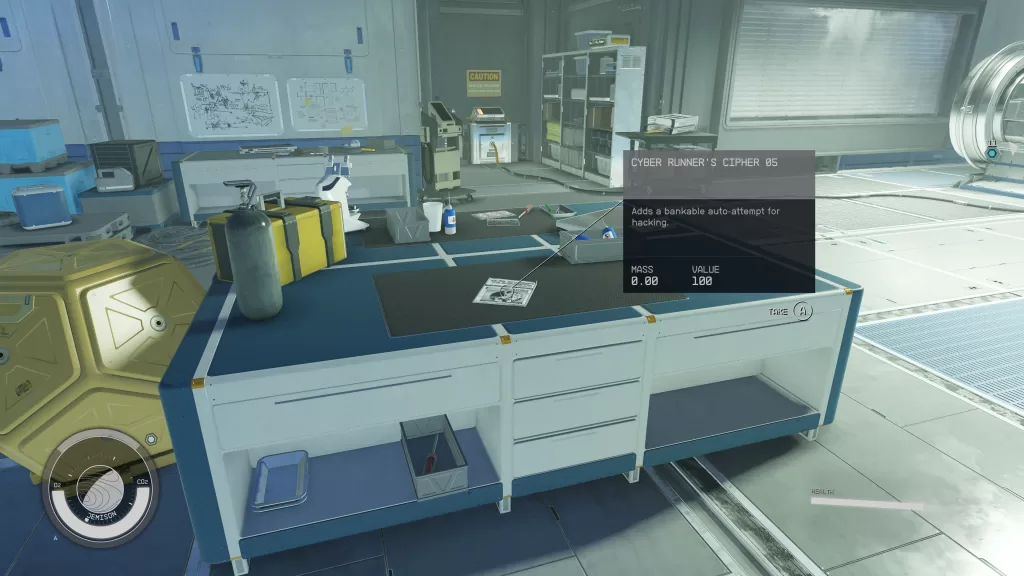
When you’re ready, open the holding chamber then loot the Internal Neuroamp Prototype.
Deliver the evidence to David Barron
Unfortunately, you won’t be able to fast travel out of here! To get out, return to the vent in the bathroom. Backtrack to the spot where you first entered this area to find the elevator. Be mindful of the security guard then drop down and take the elevator to the Entrance where your freedom awaits!!
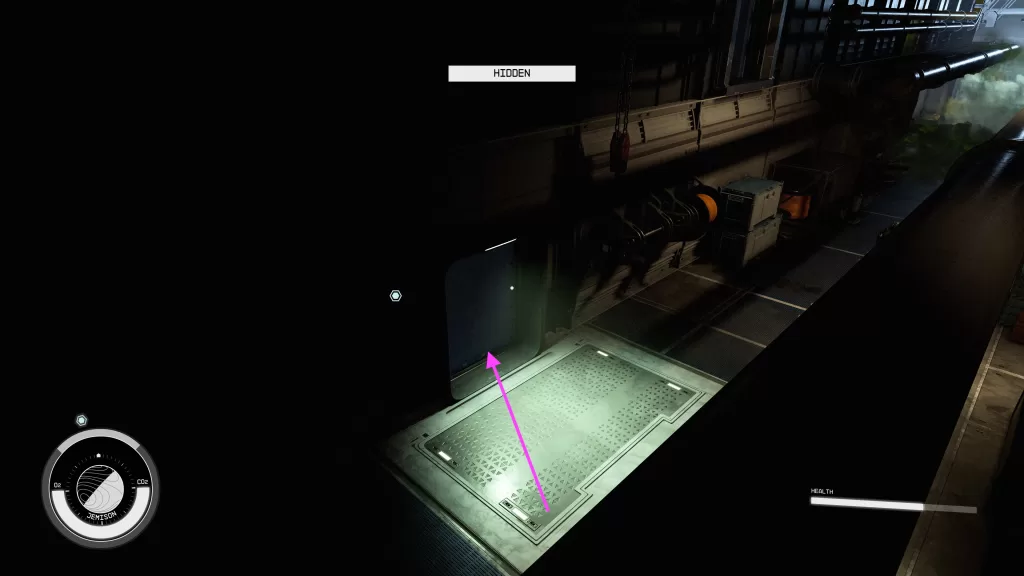
Travel to the SSNN Field Office in the Commercial District of New Atlantis at Jemison in the Alpha Centauri System. Once there, speak with David.
Report to Masako at Ryujin Tower
Travel to Ryujin Tower at Neon on Volii Alpha in the Volii System. Once there, speak with Masako on the Executive Offices floor. You’ll then need to listen to the broadcast with her. When it has finished, continue your conversation with Masako. Afterwards, the mission will finally complete!
Additional Starfield Guides and Walkthroughs
Be sure to check our main Starfield Guides and Walkthroughs page for additional content on Starfield, such as additional guides to assist you during your adventures in the Settled Systems!

