Welcome to NGB and our Star Wars Outlaws guide on the Perched Vault intel chain. In this guide, we’ll cover how you can start the intel and the steps needed to finish it successfully. If you need help with a particular part, be sure to check out our Quick Links section which will direct you to the right spot!
Quick Links
How to Start the Perched Vault Intel Chain
You’ll automatically receive the Perched Vault intel chain after completing the Buried Vault intel chain.
Perched Vault Walkthrough
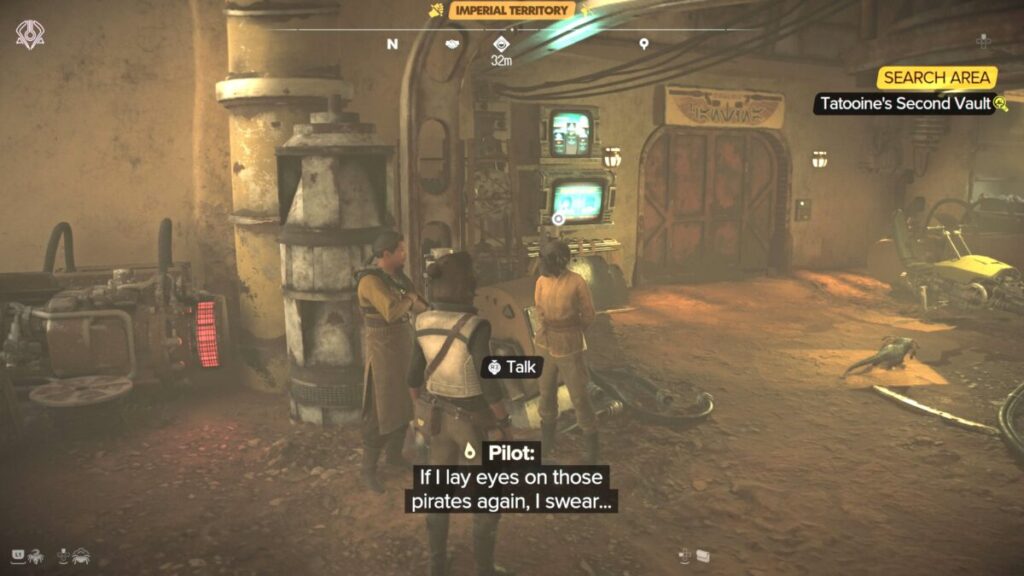
Tatooine’s Second Vault
Travel to Bestine and speak with the two people standing in the port across from the speeder mechanic.
Stolen Miyuki Material
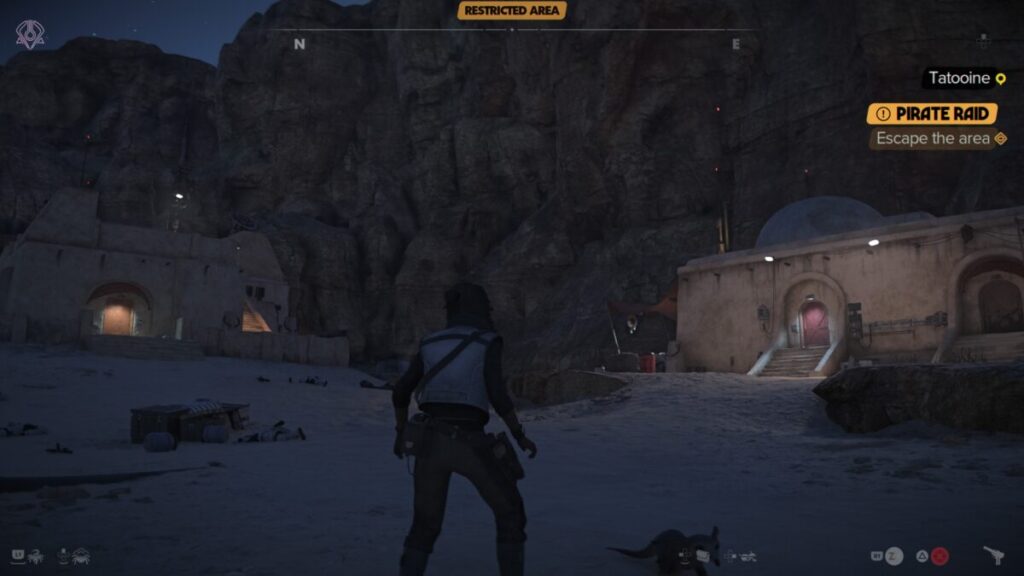
Travel to the objective in the northern part of the South Jundland Wastes. When you arrive, you’ll find two buildings. Enter the eastern building by spicing the switch to the left of the stairs on the wall. Once inside, loot the broken holodisc by the hooka.
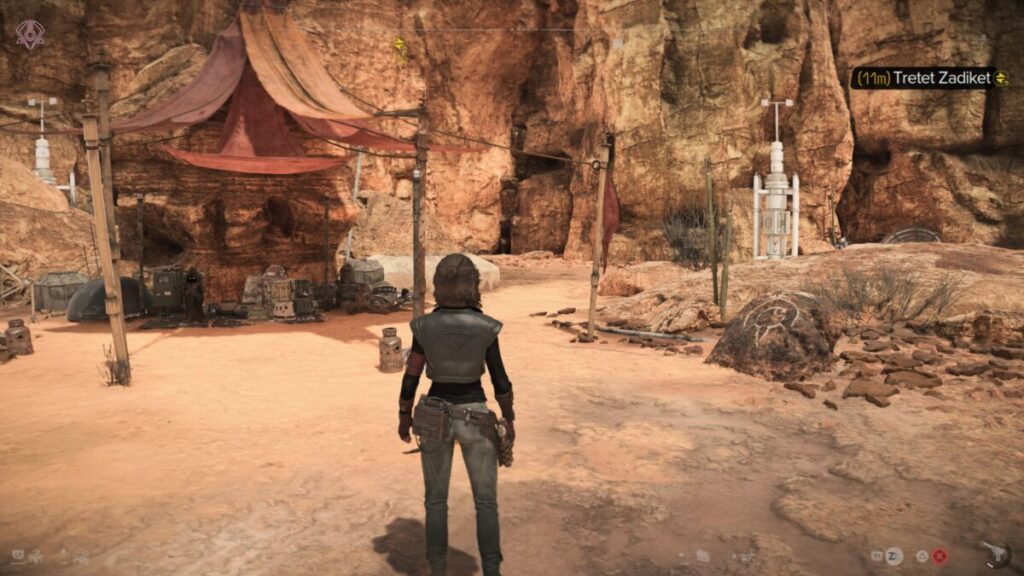
Damaged Holodisc

Travel to Tretet Zadiket, a trader, in the South Jundlands Wastes east of the Fast Travel Point. Across from his stall, interact with the rock that has a symbol on it.
Vault’s Frequency
Follow the frequency north past the rock into the mountain. Work through way through the mountain and eventually you’ll reach a giant climbable wall.
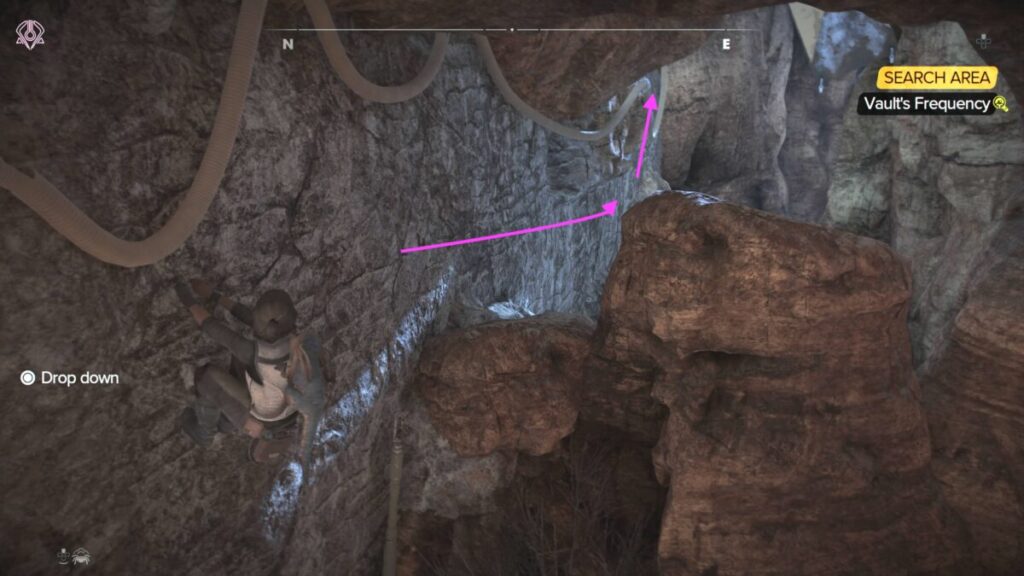
Climb across then up this wall to reach a facility built into the mountain. Insert the disc into the slot near the door.
Perched Vault
Inside the vault, loot the container to receive Jet Kordo’s Legacy Part 7 and Sandcrawler Paint Job for your speeder.
Additional Star Wars Outlaws Guides
Make sure to check out our Star Wars Outlaws Guides and Walkthroughs main page for a complete listing of all our guides and walkthroughs!