Welcome to NGB and our Shin Megami Tensei V (SMTV) Vengeance guide on the Shinjuku subquests. Here you’ll find everything you’ll need to easily breeze through these quests!
Shinjuku Subquests
- A Self of My Own
- A Star is Born
- A Power Beyond Control
- Alice's Wonderland
- An Unusual Forecast
- As God Wills
- Devotion to Order
- Heroes of Heaven and Earth
- Liberate the Golden Stool
- Lighting the Way
- Part-time Gasser
- Reclaim the Golden Stool
- Roar of Hatred
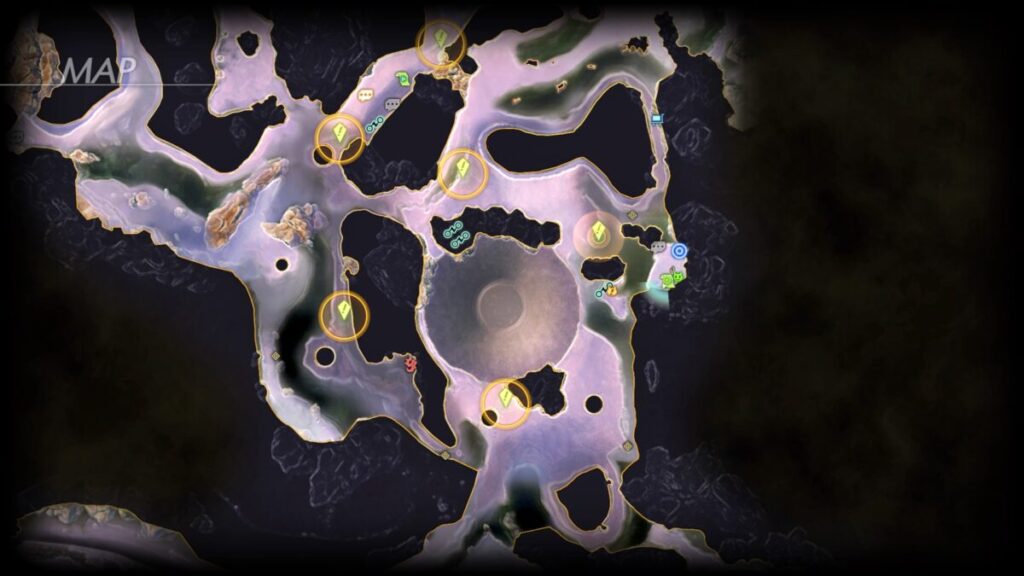
- Shinjuku Jewel Hunt
- Stones of Malice
- The Angel of Destruction
- The Disgraced Bird God
- The Horn of Plenty
- The Hunter in White
- The Vampire in Black
A Self of My Own
Client: Legion

Reward: Soma Drop x1
Summary: Spot the correct Miman for Legion
For the A Self of My Own subquest, you’ll need to pick the correct Miman. The answers are as follows:
- Left One
- Rightmost
- Middle One
A Star is Born
Client: Macabre
Reward: Charm Gem x10
Summary: Find Amabie
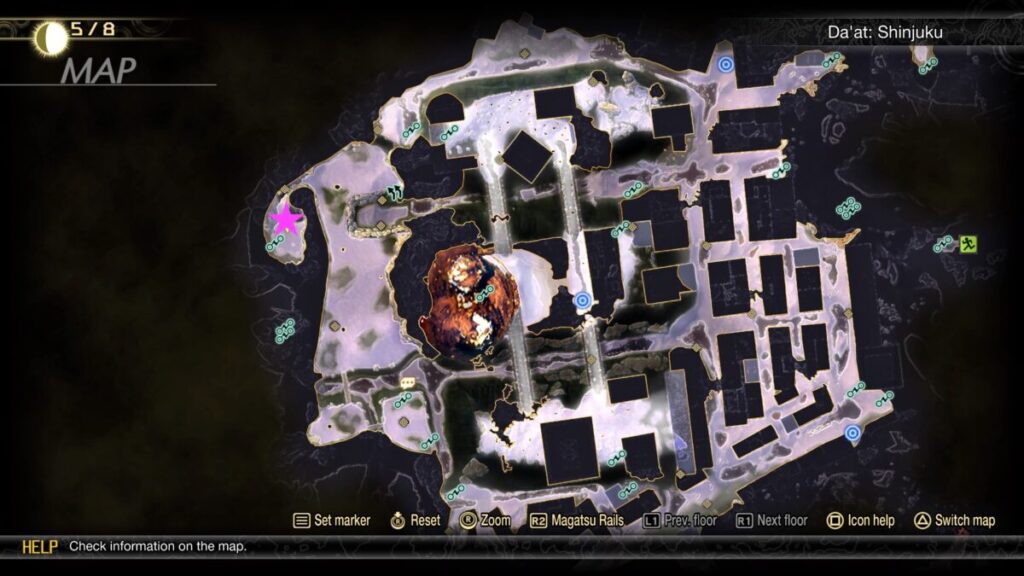
Travel to Tokyo then go to Jozoji Temple. Once there, speak with Amabie then return to Macabre to complete the A Star is Born subquest.
A Power Beyond Control
Client: Patrolling Angel in West Shinjuku 1st Block
Reward: Small Glory Crystal x4
Summary: Investigate the massive hole at Shinagawa North Pier
For the A Power Beyond Control, travel to the Konan 3rd Block leyline in Shinagawa. Once there, head east across the bridge and follow the path to reach Amanozako. She’ll go beserk and you’ll need to fight her!
Amanozako is weak to Fire and Ice, resists Light, blocks Force and Dark and repels Electric. She uses Electric, Force and Almighty skills. Additionally, she can inflict Confusion on your entire party and knows Heavenly Counter which can counter Strength-based attacks with a weak Dark attack and lowers her target’s Attack 1 rank for 3 turns. She can heal moderately and has a skill that lets her reflect a Magic attack once for 1 ally for 1 turn.
After defeating her, return to the Patrolling Angel in West Shinjuku 1st Block to complete the A Power Beyond Control subquest.
Alice’s Wonderland
Client: Alice
Reward: Dark Sutra x1
Summary: Find her big sis
When you’re ready to begin Alice’s Wonderland, speak with her. You’ll then need to follow along the path, speaking with the humans. At the end of the path, speak with the demon then exit the building to have the demon speak with you again. Afterwards, you’ll need to speak with all the humans again. The subquest will then complete!
An Unusual Forecast
Client: Kelpie
Reward: Soma x1
Summary: Deliver Girimekhala’s Head to Kelpie.
You’ll find Girimekhala in Konan 4th Block of Shinagawa. To reach it, travel to the Mitatebashi Leyline then head directly east.

Grimekhala is weak to Electric, Force and Light, resists Dark and repels Physical. After you defeat him, collect its head then return to Kelpie.
As God Wills
Client: Throne
Reward: Attack Mirror x2
Summary: Eliminate the Gogmagog in Shinjuku Gyoen.
West of Throne you’ll find Level 45 Gogmagog. Gogmagog is weak to Fire, Dark and Force. He blocks Physical and Ice. Once defeated, return to Throne to complete the As God Wills subquest.
Devotion to Order
Client: Armaiti
Reward: Critical Gem x5
Summary: Defeat Mara to cleanse Shinjuku and report back to Armaiti
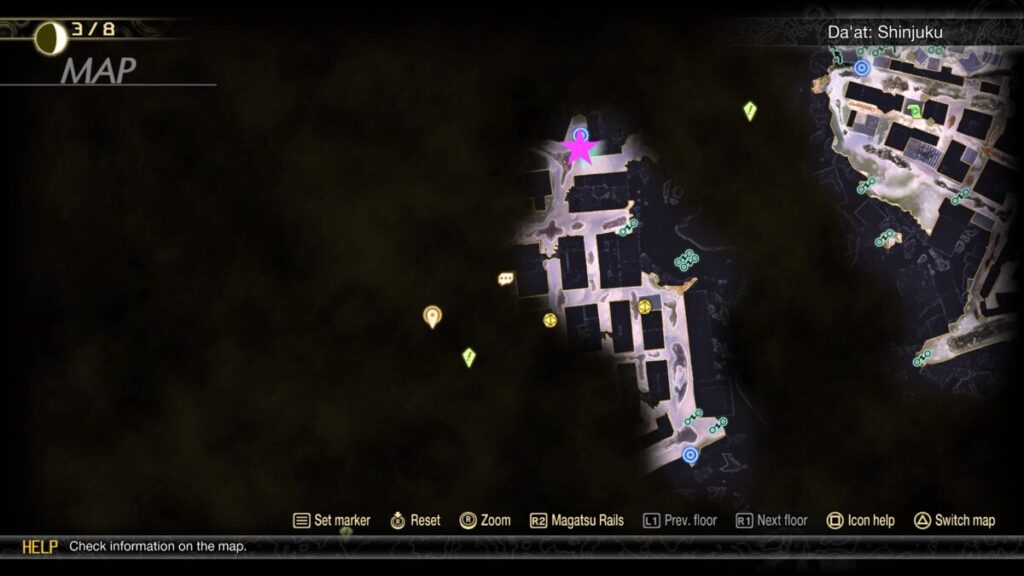
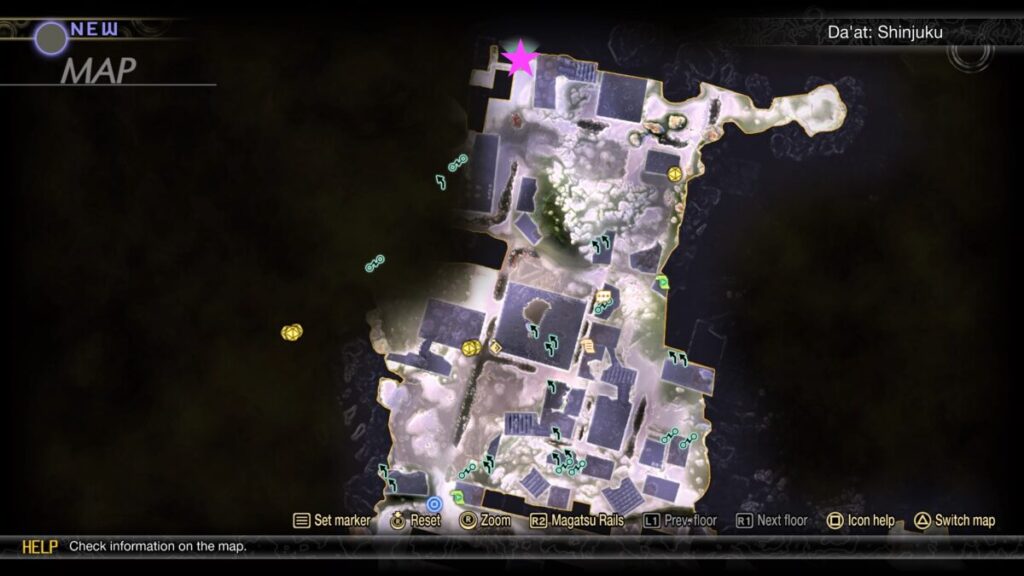
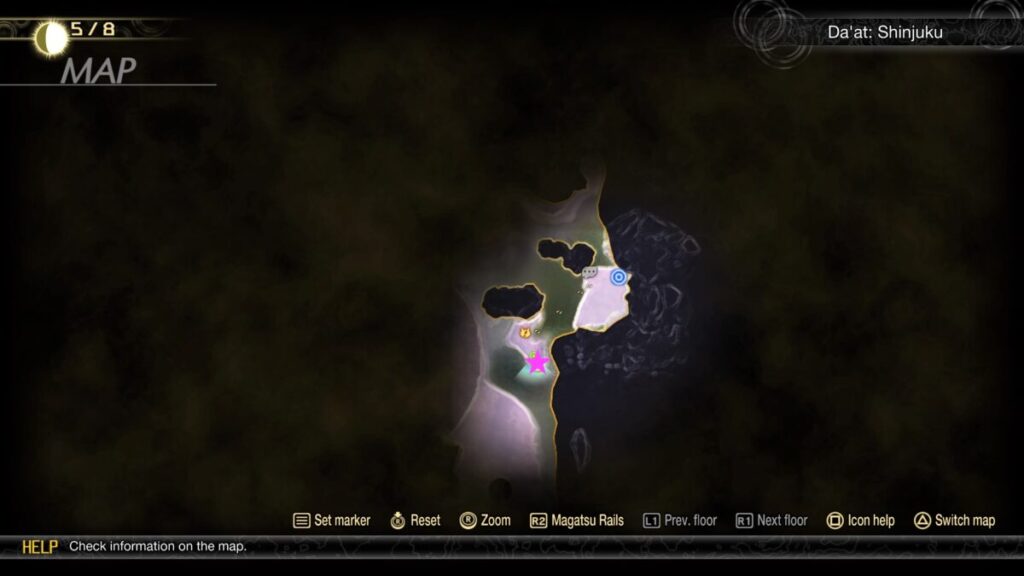
For the Devotion to Order subquest, you’ll need to locate a Mara, which can be found below the overpass in Sendagaya.

Mara is weak to Ice, resists Light and Dark and repels Electric.
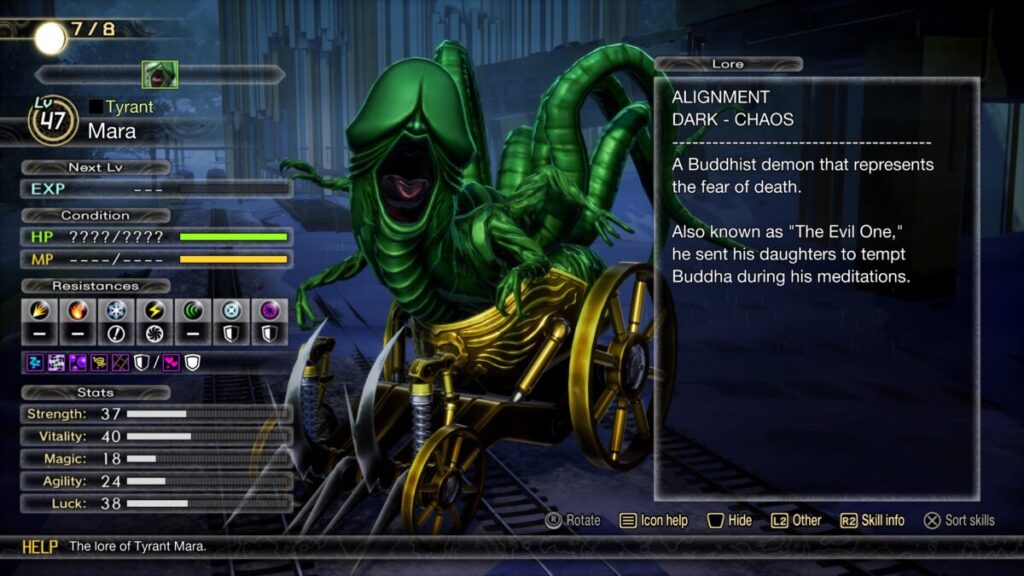
After you defeat 1 Mara, return to Armaiti to complete the Devotion to Order subquest. As an additional reward, Herald Armaiti will unlock for fusion.
Heroes of Heaven and Earth
Client: Kikuri-Hime – Jingu Naien
Reward: Soul-Return x1
Summary: Eliminate Yamata-no-Orochi and recover the Heavenly Keystone. Use Purified Sake at Shinjuku Central Park to summon Yamata-no-Orochi
From the Government Building 1 leyline, head northwest and ride the rail. Jump down to the area below and make your way to the objective.
Once there, you’ll battle Yamata-no-Orochi. It’s weak to Electric and blocks Fire and Ice. It’s skills greatly increase its Accuracy and Critical Rate. Be wary of the eight attacks it gets per turn! Whenever it uses it’s Magatsuhi attack, it’ll get a whopping 16 attacks!! Afterwards, return to Kikuri-Hime to complete the Heroes of Heaven and Earth subquest.
Liberate the Golden Stool
Client: Anansi
Reward: Stamina Balm x1
Summary: Eliminate Onyankopon
This quest goes hand in hand with the Reclaim the Golden Stool subquest. Please see the Reclaim the Golden Stool subquest below!
Lighting the Way
Client: Jack-o’-Lantern
Reward: Chakra Drop x1
Summary: Find 2 Fire Gems
Fire Gems can be collected from the spots your friends point out. Once you’ve found 2, hand them over to Jack-o’-Lantern.
Part-time Gasser
Client: Mad Gasser
Reward: Amrita Shower x4
Summary: Get 10 Poisonous Flower Buds between the new moon and the start of the full moon.
As always, pay attention to the moon in the top left corner of the screen as this mission is timed. You’ll need to collect the shiny orbs on the ground to retrieve the Poisonous Flower Buds while defeating the Zhen in the way. The Zhen are weak to Fire. Once you’ve collected at least 10, return to the Mad Gasser to complete the Part-time Gasser quest.
Reclaim the Golden Stool
Client: Onyankopon

Reward: Health Balm x1
Summary: Recover the Golden Stool that Anansi stole
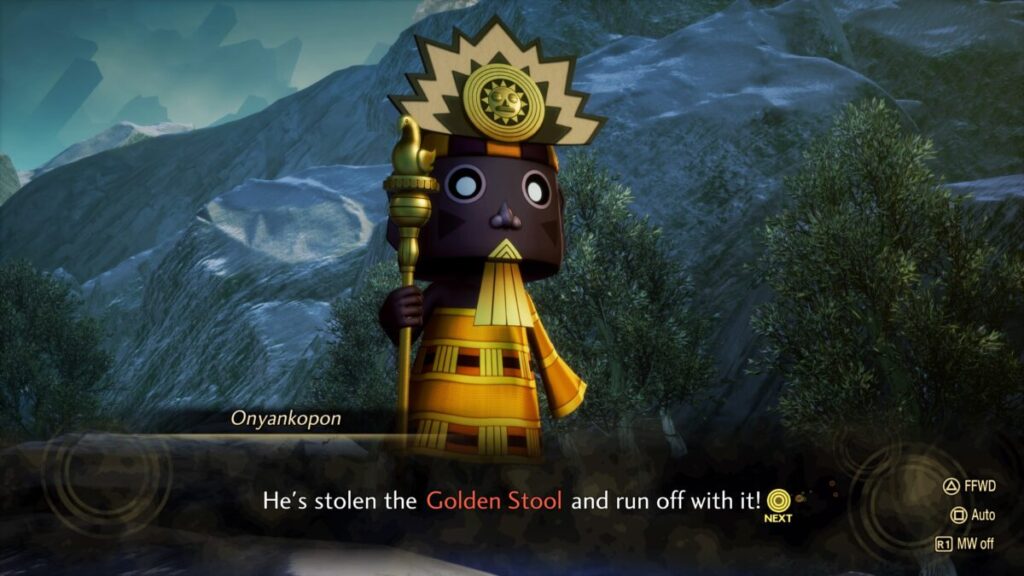
Travel to the Shinjuku 3rd Block leyline and enter the nearby building to find Anansi. When you speak with him and you’ll receive a counter offer in which he’ll want you to take out his dad in the Liberate the Golden Stool subquest.
Siding with Onyankopon
Tao agrees with this choice, however, it doesn’t sit well with Yoko.
If you side with Onyankopon, select the option “Fulfill Onyankopon’s request” then you’ll need to fight Level 49 Anansi. He’s weak to Fire, resists Dark and blocks Ice. During the fight, Anansi will use 3 different skills. The Bufudyne is a heavy attack that will target one of your party members. Makajamaon is a skill that has a chance of inflicting Seal to your whole party. The last move is his signature move that deals Dark attack with a chance of inflicting instakill. After defeating Anansi, Onyankopon will appear. Onyankopon will join your party and both Anansi and Onyankopon will unlock for fusion.
Siding with Anansi
Yoko agrees with this choice, however, it doesn’t sit well with Tao.
If you side with Anansi, return to Onyankopon and select the option “Fulfill Anansi’s request”. You’ll then face Level 50 Onyankopon. He’s weak to Physical and blocks Fire, Electric and Light. He has a Physical blocking barrier and can fully heal himself. He also will throw in some Physical attacks. After the battle, you’ll receive a Stamina Balm and Anansi will join your party. Both Anansi and Onyankopon will unlock for fusion.
Roar of Hatred
Client: Demeter
Reward: Phys Dampener x2
Summary: Eliminate the Tyrant near West Shinjuku
To reach the area needed for the Roar of Hatred subquest, you’ll need to progress the story until the Qadistu Showdown main quest. Travel east of the Shinjuku 3rd Block leyline to find a rail that you’ll need to ride to reach a demon called Moloch. After speaking with him, you’ll begin a fight against 2 Level 49 Orobas, 1 Level 50 Flauros and 1 Level 51 Moloch.
| Demons | Weaknesses | Resists | Blocks |
|---|---|---|---|
| Flauros | Ice | Dark | Fire |
| Moloch | Ice | Electric / Dark | Fire |
| Orobas | Ice | Fire / Dark |
After emerging successfully, return to Shinjuku 3rd Block to find Demeter in the building. Speak with her to complete the Roar of Hatred subquest.
Shinjuku Jewel Hunt
Client: Attis
Reward: Grimoire x3
Summary: Deliver 2 Diamonds, 3 Emeralds and 3 Amethysts
These gems can be found on the ground and are pointed out by your companion. We had Muu Shuwuu following us at the time. After you’ve found 2 Diamonds, 3 Emeralds and 3 Amethysts, return to Attis to hand them over. Afterwards, you’ll be able to trade him jewels for incense at the following rates:
- Diamond x2 for Vitality Incense
- Emerald x3 for Strength Incense
- Amethyst x3 for Magic Incense
- Garnet x3 for Agility Incense
- Aquamarine x3 for Luck Incense
Stones of Malice
Client: Zhen
Reward: Dispel Charm x1
Summary: Find 2 Poison Gems
Poison Gems can be collected from the spots your friends point out. Once you’ve found 2, hand them over to Zhen to complete the Stone of Malice.
The Angel of Destruction
Client: Power – Government Building 1
Reward: Light Sutra x1
Summary: Go to the designated area in Kabukicho and meet with Archangel Camael (Recommended Level: 52)
The Angel of Destruction subquest will become available after completing the Qadistu Showdown main quest. Make your way to the Kabukicho leyline then head north to the marker on the map where you’ll discover a powerful presence. Proceed to complete The Angel of Destruction subquest. Camael will then attack you and is joined by 2 Powers. Camael’s weak to Ice, resists Fire and blocks Light. He deals Physical damage to all your party members, uses a heavy Fire attack and heals. Power is weak to Force and Dark, resists Electric and blocks Light. After the battle, Camael will unlock for fusion.
The Disgraced Bird God
Client: Senri
Reward: Force Sutra x1
Summary: Eliminate Gurulu who flies around Shinjuku 3rd Block
Travel to the center of the Shinjuku 3rd Block to find Gurulu. Gurulu is weak to Light and blocks Force. Be careful of his skills that inflict sleep or mirage to all party members. He also has a heavy Force attack that can hit all party members. Watch out for his 2 Physical attacks. One deals heavy damage and the other does 2 medium attacks with the chance of inflicting Seal. After the fight, return to Senri to complete The Disgraced Bird God subquest.
The Horn of Plenty
Client: Demeter
Reward: Megami Talisman x1
Summary: Find a Horn of Plenty
The Horn of Plenty is held by a Chimera. Take out the demon to receive the horn! Once you’ve found a Horn of Plenty return to Demeter to complete the subquest.
The Hunter in White
Client: Kresnik
Reward: Strength Incense x6
Summary: Defeat Kudlak
See The Vampire in Black subquest below!
The Vampire in Black
Client: Kudlak

Reward: Magic Incense x6
Summary: Defeat Kresnik (Recommended Level: 53)
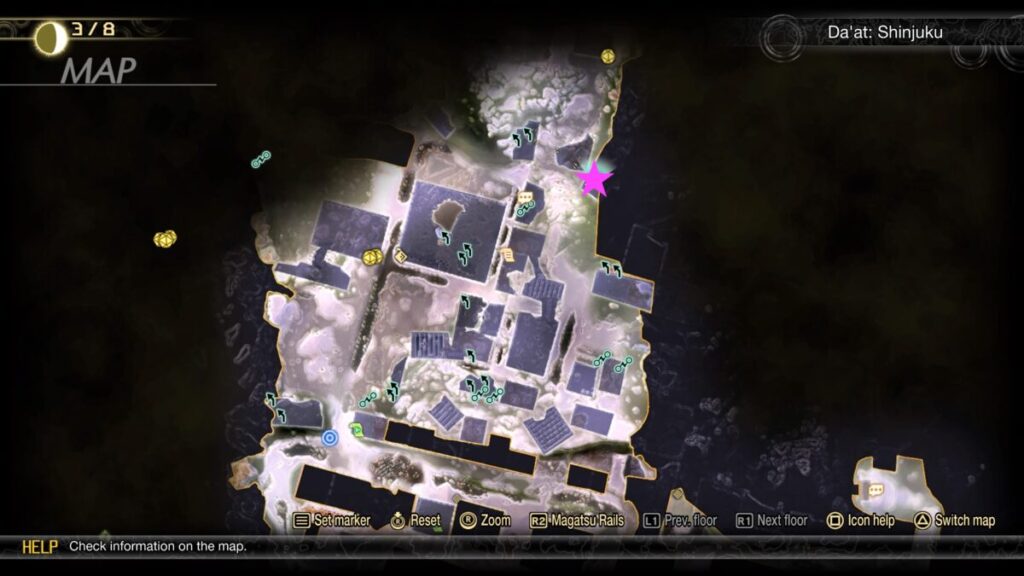
Kresnik can be found just south of the Government Building 1 leyline on a bridge. To reach it, you’ll need to use a rail that is west of the West Shinjuku 1st Block leyline. When you speak with him, you’ll receive The Hunter in White subquest.
Defeat Kresnik
If you side with Kudlak, select “Fulfill Kudlak’s request”. You’ll then need to fight Level 60 Kresnik who is weak to Force, resists Physical and blocks Light. He’ll use Strength-based Light attacks and Physical attacks. His Physical attacks have a high chance of landing Critical hits or have a chance of inflicting Mirage. Lastly, he has a skill that will make his next Strength-based attack be 100% accurate and Critical. After you defeat Kresnik, return to Kudlak to complete The Vampire in Black subquest. Kudlak will then give you the option to drink or refuse the Red Soul. It doesn’t matter your choice as the drink won’t work. Instead, Kudlak will join your party.
Defeat Kudlak
If you side with Kresnik, select “Fulfill Kresnik’s request”. You’ll then need to fight Level 60 Kudlak and 4 Level 58 Black Ooze. Kudlak is weak to Fire and drains Dark. He attacks with Heavy Dark attacks that hits all party members. He can also lower the stats of all your party members for 3 turns and drains MP of 1 foe. Black Ooze is weak to Fire and Light and resists Physical. It uses a Physical skill and a skill that has a chance to inflict Poison and lowers the Defense of whoever it hits for 3 turns. In addition it has a skill that drains MP. After you defeat Kudlak, return to Kresnik to complete The Hunter in White subquest. Kresnik will join your party.
SMTV Guides and Walkthroughs
For other Shin Megami Tensei V guides and walkthroughs, click here!