Welcome to NGB and our Baldur’s Gate III walkthrough for the Save Mayrina quest! This guide will cover everything you need to know so you can easily complete the quest.
If you need help with a specific objective, please refer to our Quick Links section to quickly find the information you need!
BG3 Quick Links
How to Begin the Save Mayrina Quest
The Save Mayrina quest is tied to the Find a Cure main quest sub-objective to Get Help From Auntie Ethel.
Save Mayrina Walkthrough
For this section, we assume that you have decided not to get help from Ethel and are instead going to save Mayrina.
Rescue Mayrina
Picking up from where Get Help From Auntie Ethel left off, you’ll be in a fight at Ethel’s house. She will turn invisible and take off through her fireplace with the girl. Chase after her with all of your party members, ignoring the ads if possible. You’ll have to deactivate the fire and interact with the stairs using all 4 characters to reach her lair.
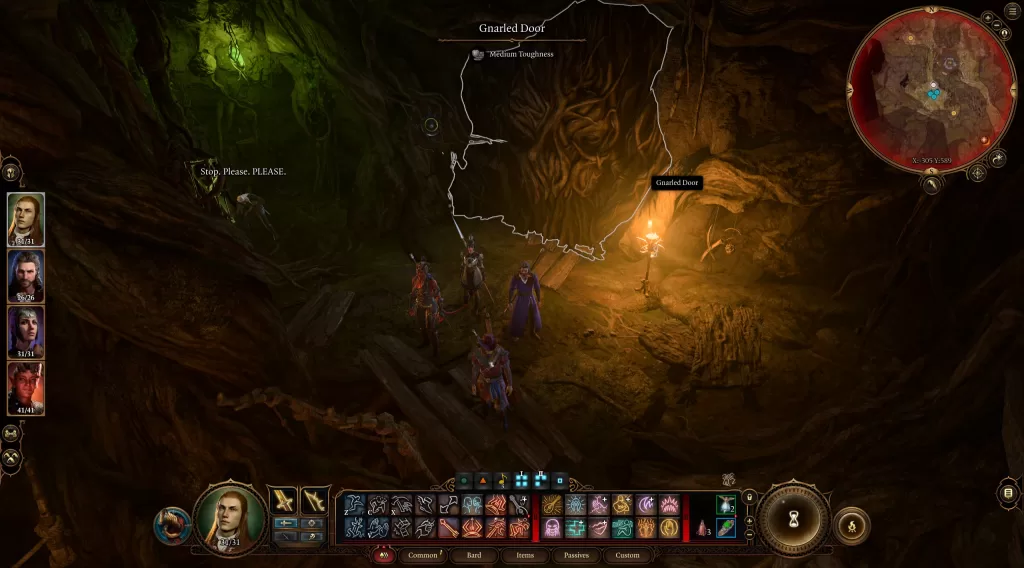
Feel free to look around the hag’s lair upon your arrival. When you’re ready to pursue her, approach and interact with the Gnarled Door.

Regardless of the outcome, the door is actually an illusion, and you can walk right through it. Do so to reach the Overgrown Tunnel.
Inside, you’ll find 4 people under the hag’s control. You’ll need to deal with them, or they will join her in the final fight. It’s worth noting that no matter what you do, you cannot save them.
After the fight, continue heading through the tunnel, jumping through the waterfall at the end. This will bring you to an area with multiple paths covered with toxic gas and loaded with traps.
If you get close to the gas, you can spot where it’s coming from and move an item there to block the gas flow. Keep an eye out for the flowers that explode. I ended up jumping down to the bottom a level at a time and healing up before approaching the Ancient Abode, where the hag awaits.

Defeat the hag
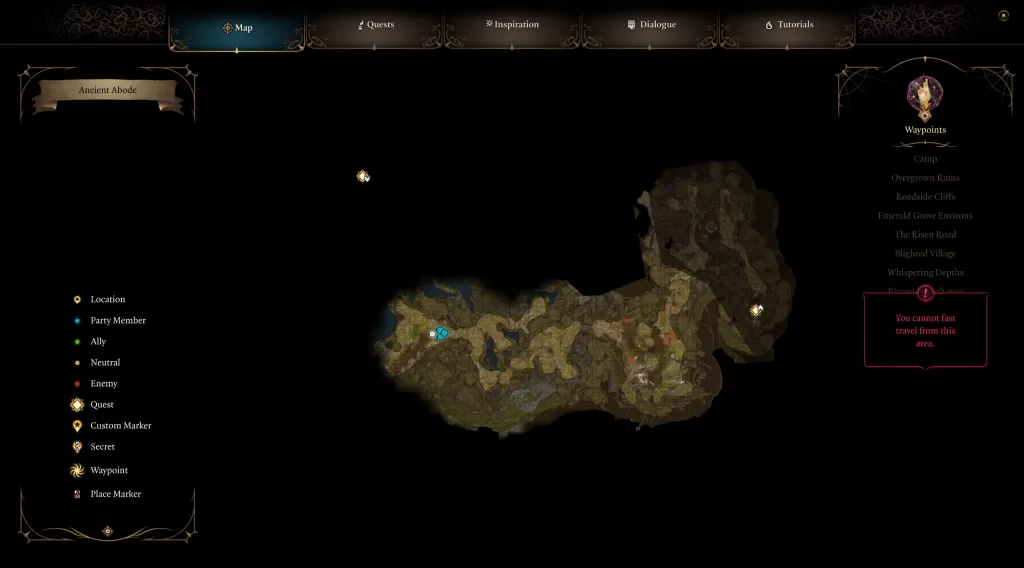
When you reach the abode, Mayrina is locked in a cage hanging from the center of the room. Approach her to cause the hag to show up and begin the fight. The list below is what she’ll do during the fight.
- Starts by making clones and setting the cage on fire
- Damaging the clones makes them disappear
- Use a water spell or something else to put out the flames on the cage
- She will change to look like the girl and then teleport the real one into battle
- Attack the one asking you to save her
- She will turn invisible and teleport around the map
After getting her health low, she will stop the battle, begging you not to kill her.
If you let her keep the girl, the hag will give you power in the form of an Ability Score +1. It will allow you to raise your Wisdom, Strength, Consitution, Dexterity, Intelligence, or Charisma by 1 point.
Below are all of the options you’ll get and the result for choosing each one (if you pass the skill checks).
| Choice | Result |
|---|---|
| No good can come of this. Let Mayrina go. | The girl goes free (and isn’t happy) Shadowheart disapproves Karlach approves |
| Keep the girl. I’ll take the power. | You get Ability Score +1 Shadowheart approves Karlach disapproves |
| I think a dead hag is the answer here. | You finish the fight and kill Ethel Shadowheart approves Karlach approves Corellon’s Grace staff Tarnished Charm |
| [INTIMIDATION] If you want to live, hand over Mayrina and this power. Right now. | The girl goes free (and isn’t happy) You get an Ability Score +1 Shadowheart approves Karlach approves |
| [DECEPTION] My reinforcements are nearly here. Give me the girl and power and they’ll spare you. | The girl goes free (and isn’t happy) You get an Ability Score +1 Shadowheart approves Karlach approves |
If you choose to let Ethel keep Mayrina, then the Save Mayrina quest will be completed, and the two will disappear. Choosing to keep the girl will cause the hag to leave, but Mayrina will be really mad at you. This also applies if you save the girl and keep the power or just kill the hag.
After you make your decision, if you keep Mayrina, she will scold you a bit for ruining everything and then storm off.
Search the lair for a way to help Mayrina
You’ll want to enter Ethel’s Acrid Workshop which can be found north of the cage the girl was trapped in. The room is filled with potions and some chests you can interact with for additional loot.
Go to the table to the right of the giant spike-looking rock and loot the Bitter Divorce wand from the table. You’ll also want to grab the Ever-Seeing Eye off of the table and the Staff of Crones standing on a rock to the left of the stone stairs.
When you’re done exploring the room, use the Mushroom Circle in the corner to be sent back outside to the Putrid Bog.
Bring the wand to Mayrina
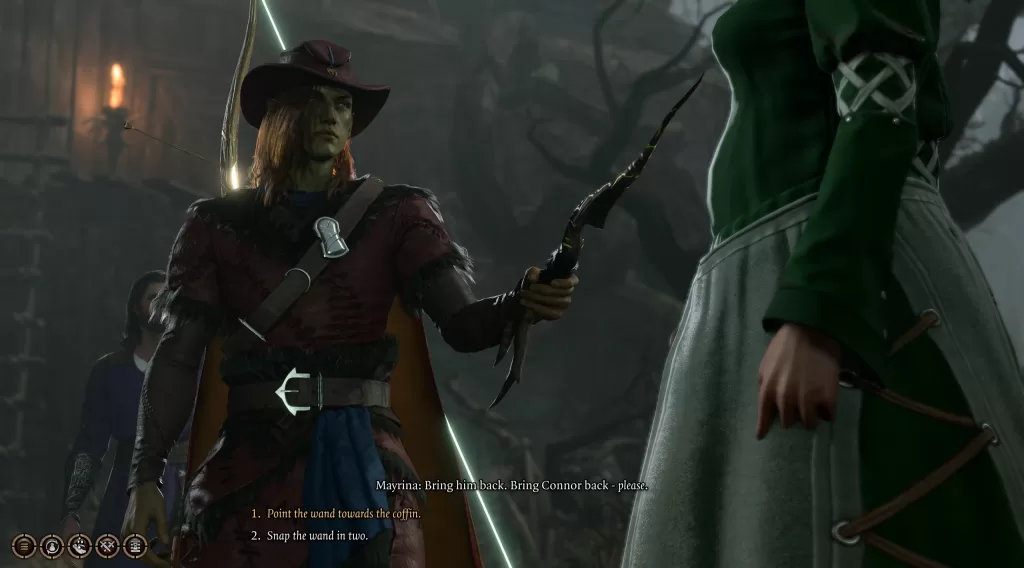
Head over to Mayrina, who will be nearby, and speak with her. Choose the option “I found a wand – I think I can resurrect your husband”. She will then beg you to bring her husband back. You’ll then be allowed to comply or break the wand in two.

Breaking the wand in half will complete the quest.
If you use the wand, Connor climbs out of the coffin as a zombie bound to serve whoever holds the wand. You’ll also be given a group of options.
| Choice | Result |
|---|---|
| This is your husband – do you want him or not? | You can give her the wand You can pocket the wand |
| Don’t worry – I have the wand. I’ll make use of him. | You keep the wand and Connor Mayrina is mad and runs off |
| We can always bury him again. | You can hand Connor over to Mayrina You can kill Connor (and Mayrina) |
| Kill the undead abomination. | You will kill Connor and Mayrina |
The Save Mayrina quest will be completed after you pick one and the dialog ends.
Additional Baldur’s Gate III Guides and Walkthroughs
For more content on Baldur’s Gate III, be sure to check out our Baldur’s Gate III Guides and Walkthroughs page.

